
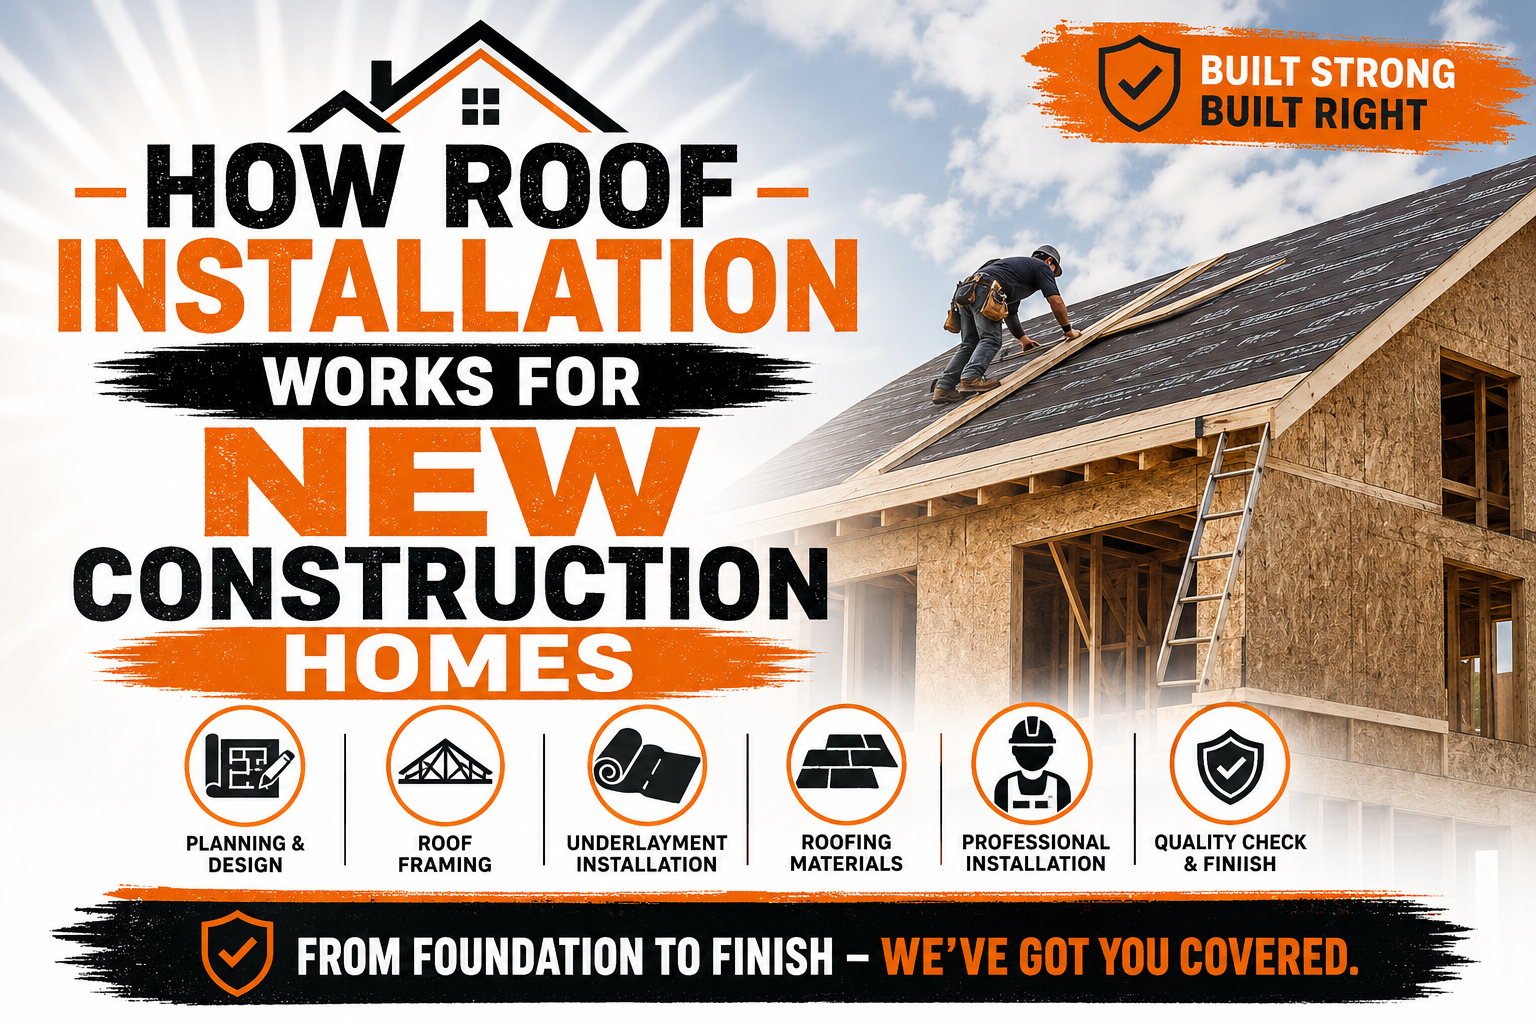
How Roof Installation Works for New Construction Homes
Introduction
Building a new home is an exciting journey, and every stage of construction contributes to the comfort, safety, and value of the finished property. Among all the major construction milestones, roof installation stands out as one of the most important because it protects the structure from weather while supporting energy efficiency and long term durability. A properly installed roof also enhances the home’s appearance and increases its overall market value.
Many homeowners assume that roof installation simply begins once the walls are complete, but the process is much more detailed than that. Every step requires careful planning, precise workmanship, and coordination with other construction activities. Missing or rushing even a single stage can lead to problems that are expensive to repair after the home is finished.
Roof installation for a new construction home follows a systematic process that starts long before the first roofing material is placed on the roof deck. Architects, builders, engineers, and roofing contractors all work together to ensure the roofing system meets structural requirements, local building codes, and the homeowner’s expectations. Their combined efforts create a roofing system that is designed to last for decades.
Unlike replacing an old roof, installing a roof on a newly constructed home offers the advantage of starting with a completely new structure. Since there are no existing materials to remove or repair, contractors can focus on creating a roofing system that performs efficiently from the very beginning. This also provides greater flexibility when selecting roofing materials, ventilation systems, and insulation methods.
Understanding how roof installation works helps homeowners make informed decisions throughout the construction process. Knowing what happens during each stage also makes it easier to communicate with contractors, recognize quality workmanship, and understand why certain materials or installation methods are recommended. The more informed you are, the more confidence you will have in the finished result.
This guide explains how roof installation works for new construction homes from the earliest planning stages through the preparation work that takes place before roofing materials are installed. By understanding these foundational steps, homeowners can better appreciate how every component contributes to a strong, reliable, and weather resistant roofing system.
Understanding Roof Installation in New Construction
Roof installation in new construction involves creating an entirely new roofing system from the structural framework upward. Instead of replacing damaged materials, contractors begin with an unfinished building and gradually add each roofing component according to engineering specifications. Every layer has a specific purpose, from supporting structural loads to preventing water infiltration.
The roofing system is much more than the visible shingles or metal panels that people see from the ground. It includes framing, roof decking, moisture barriers, flashing, ventilation components, insulation, and finishing materials that all work together. When installed correctly, these elements create a complete system that protects the home throughout changing weather conditions.
Construction schedules also play an important role in roof installation. Roofing work cannot begin until the framing crew completes the roof structure and building inspectors verify that the framing meets local building standards. This ensures the roofing contractor begins work on a solid and properly constructed foundation.
Because every home design is unique, roofing methods may vary depending on roof shape, slope, material selection, and regional climate. Homes built in areas with heavy snowfall require different structural considerations than homes located in regions with frequent hurricanes or high temperatures. Planning for these conditions from the beginning improves long term roof performance.
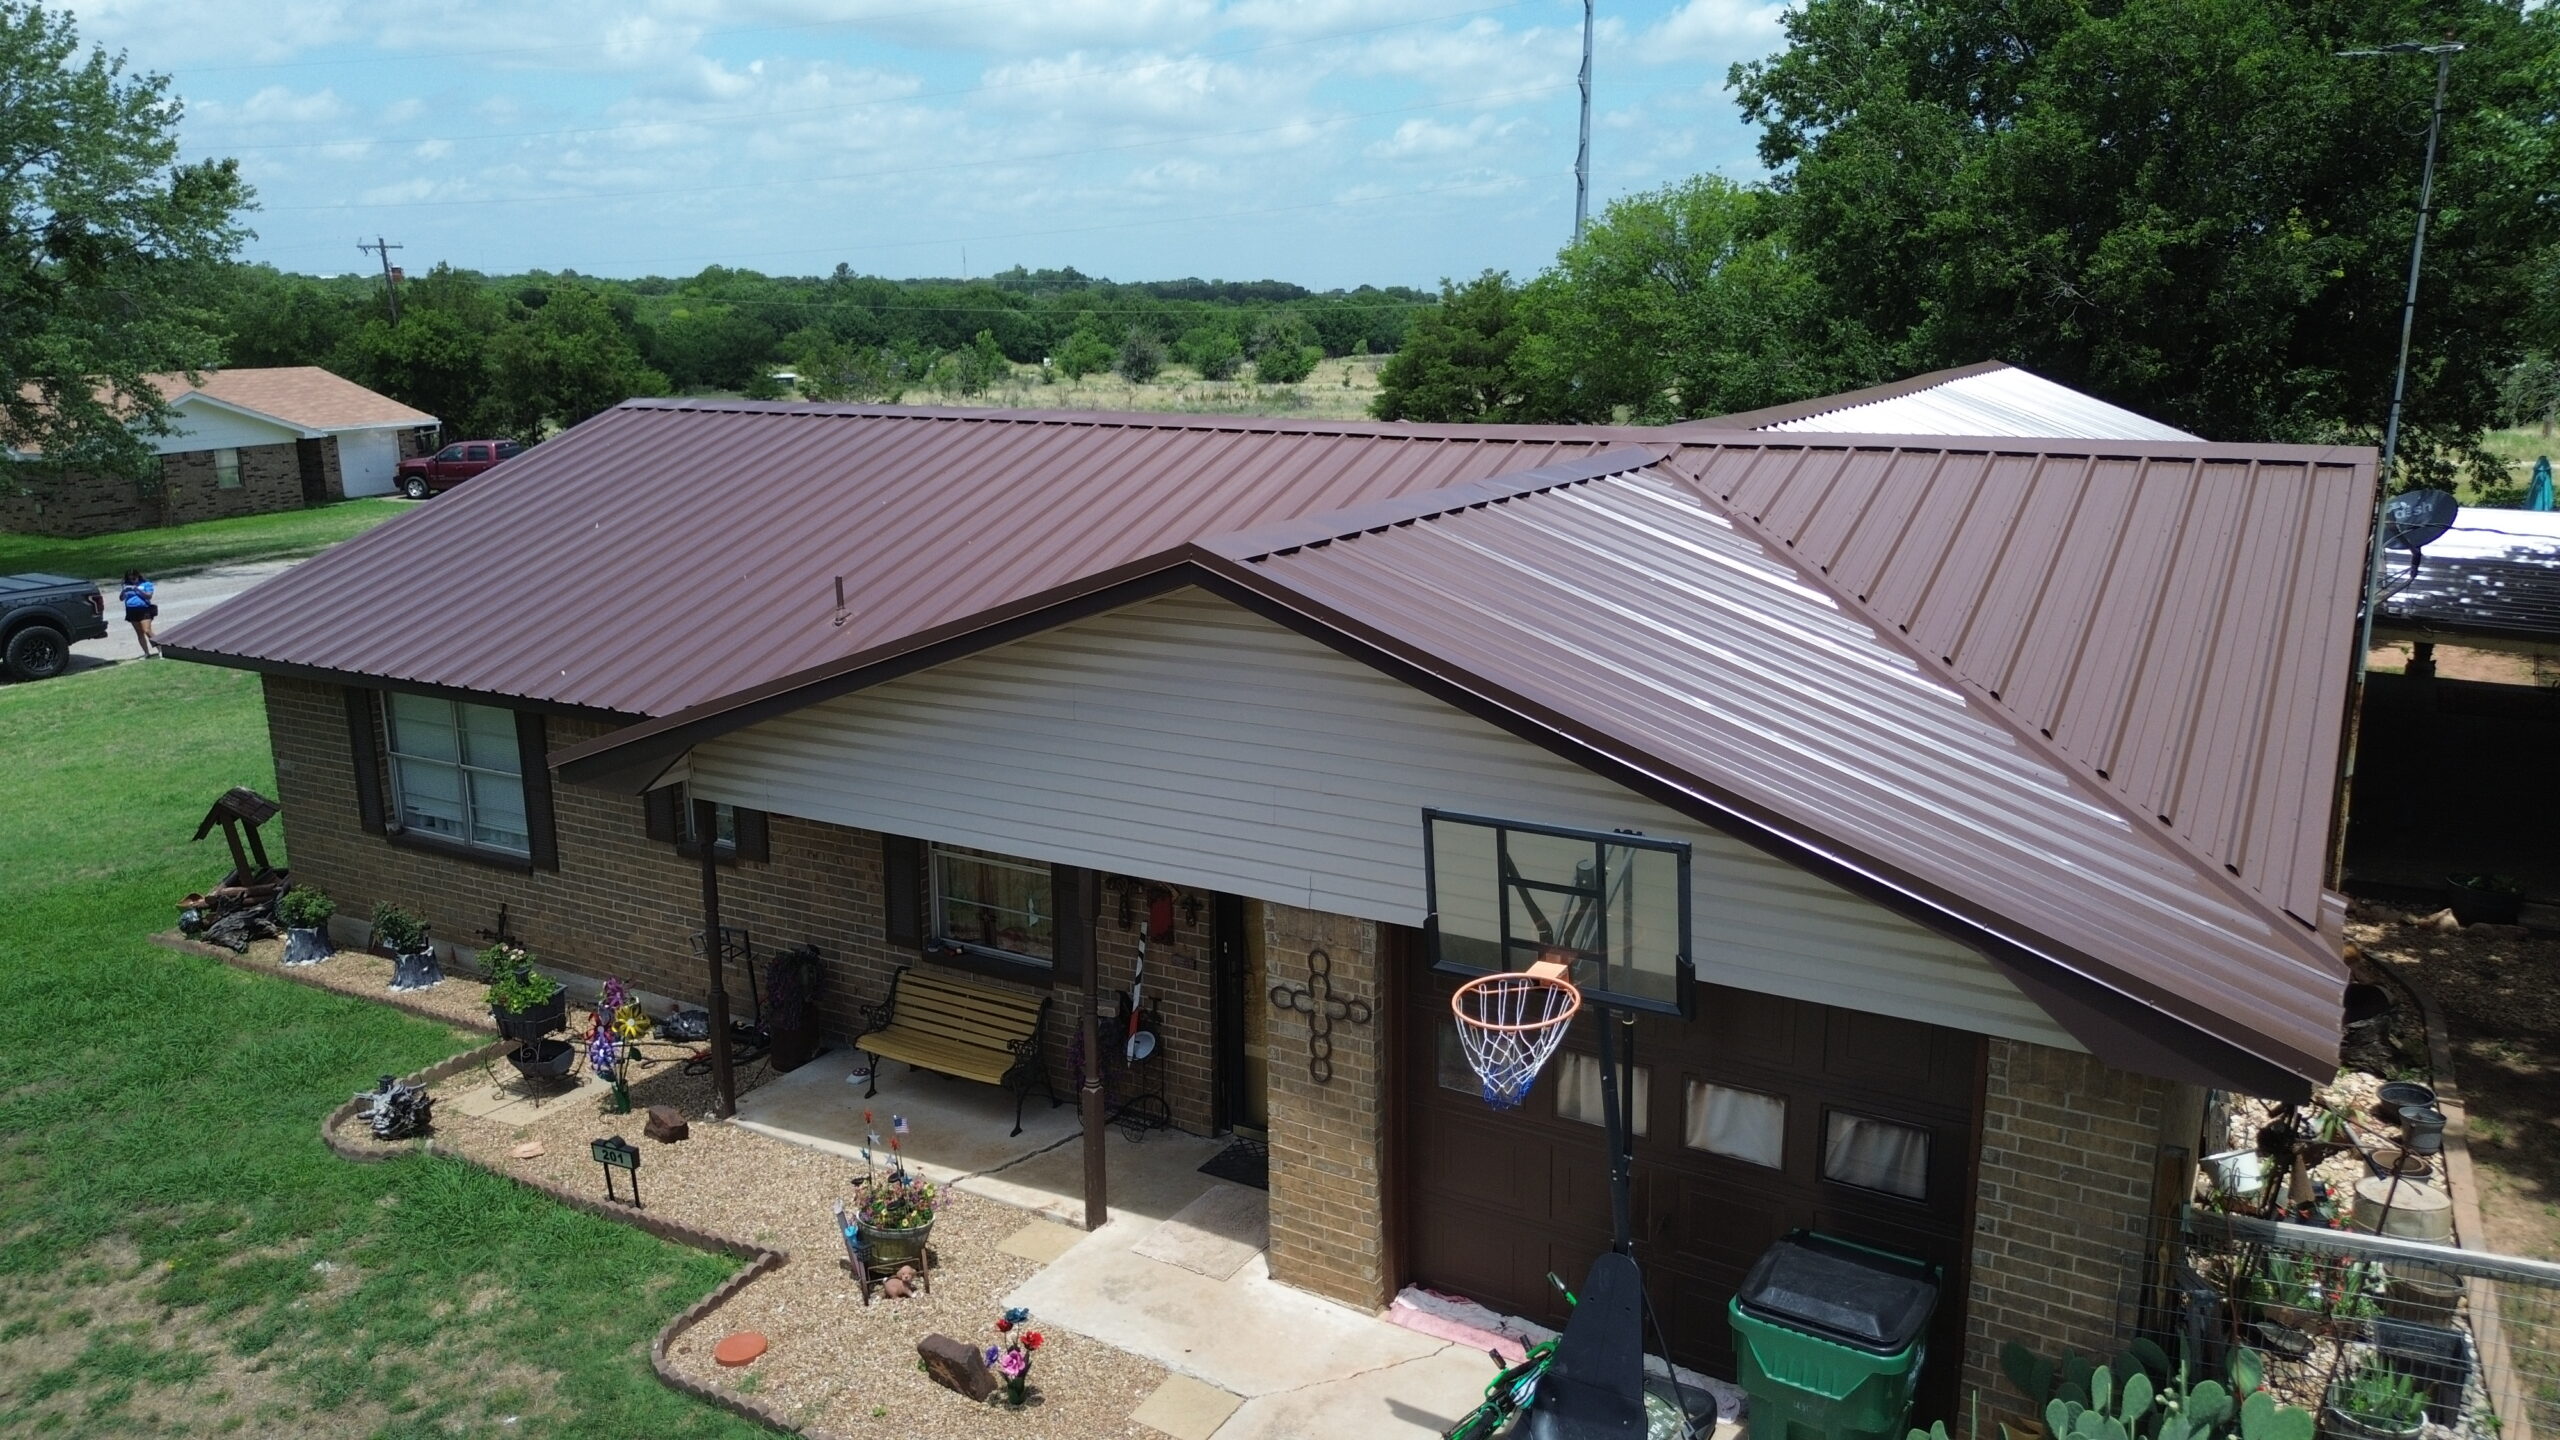
Why Roofing Is Different in New Construction Compared to Roof Replacement
Many homeowners assume that installing a roof on a new home follows the same process as replacing an existing roof. While both projects involve similar roofing materials, the construction process differs significantly because new construction begins with a completely unfinished structure. This creates opportunities as well as additional responsibilities during installation.
Roof replacement projects typically involve removing old roofing materials while preserving the existing roof deck whenever possible. Contractors must inspect hidden damage, replace deteriorated wood, and work around existing structural conditions before installing new roofing materials. Unexpected repairs often increase project costs and extend timelines.
New construction roofing eliminates many of these uncertainties because every component is built from scratch. Contractors can install framing, decking, moisture barriers, and roofing materials according to the original design without worrying about previous damage or outdated construction methods. This allows for greater consistency throughout the installation process.
Another key difference involves coordination with other construction trades. Roofing contractors often work alongside framers, electricians, plumbers, and HVAC professionals during new home construction. Their schedules must align carefully so that roof penetrations, ventilation openings, and utility connections are completed without delaying other phases of construction.
Material selection is also more flexible in new construction. Since homeowners are making decisions before the roof is installed, they can choose roofing systems that best match their architectural style, energy efficiency goals, maintenance preferences, and long term budget. This flexibility often leads to better overall roofing performance.
Planning the Roof Before Construction Begins
Successful roof installation begins long before construction crews arrive at the building site. During the planning stage, architects, engineers, and builders work together to design a roofing system that complements the home’s structure while meeting local building regulations. Careful planning reduces construction delays and helps avoid expensive design changes later.
Architectural drawings define the roof’s dimensions, slope, valleys, ridges, overhangs, drainage paths, and load bearing requirements. These plans also specify the types of roofing materials that will be used along with ventilation systems, insulation requirements, and structural reinforcement where necessary. Every detail serves a purpose in the finished roofing system.
Climate is another major consideration during the planning process. Homes located in rainy regions require excellent water drainage, while homes in areas with heavy snowfall need stronger framing to support additional weight. Wind prone regions may require specialized fastening methods that improve resistance against severe storms.
Budget planning is equally important because roofing materials vary significantly in price, durability, maintenance requirements, and appearance. Homeowners should balance initial installation costs with long term maintenance expenses and expected service life. Investing in higher quality materials often reduces repair costs over many years of ownership.
Builders also coordinate roofing schedules with material suppliers to ensure products arrive when needed. Delayed deliveries can interrupt construction timelines, while early deliveries may expose materials to unnecessary weather conditions. Efficient planning keeps the project moving smoothly from one construction phase to the next.
Choosing the Right Roofing System for the Home
Selecting the right roofing system involves much more than choosing a color or style. Every roofing material offers unique advantages, maintenance requirements, and performance characteristics that influence how well the roof will protect the home over time. The ideal choice depends on climate, architectural design, budget, and homeowner preferences.
Asphalt shingles remain the most popular roofing material because they offer an excellent balance between affordability, durability, and appearance. They are available in a wide variety of colors and styles, making them suitable for many different home designs. Modern asphalt shingles also provide improved wind resistance and longer service life compared to older products.
Metal roofing has become increasingly popular in residential construction because of its exceptional durability and energy efficiency. Metal reflects a significant amount of solar heat, helping reduce cooling costs during warm seasons. Although the initial investment is higher, many homeowners appreciate its long lifespan and minimal maintenance requirements.
Tile roofing creates a distinctive architectural appearance while providing outstanding durability in suitable climates. Clay and concrete tiles perform especially well in hot regions because they resist heat and withstand prolonged exposure to sunlight. Their heavier weight, however, requires stronger structural support during construction.
Wood shakes and synthetic roofing materials offer additional design options for homeowners seeking a unique appearance. These materials provide different combinations of durability, maintenance needs, and environmental benefits depending on the specific product selected. Careful evaluation helps homeowners choose a roofing system that complements both the home’s appearance and its expected long term performance.
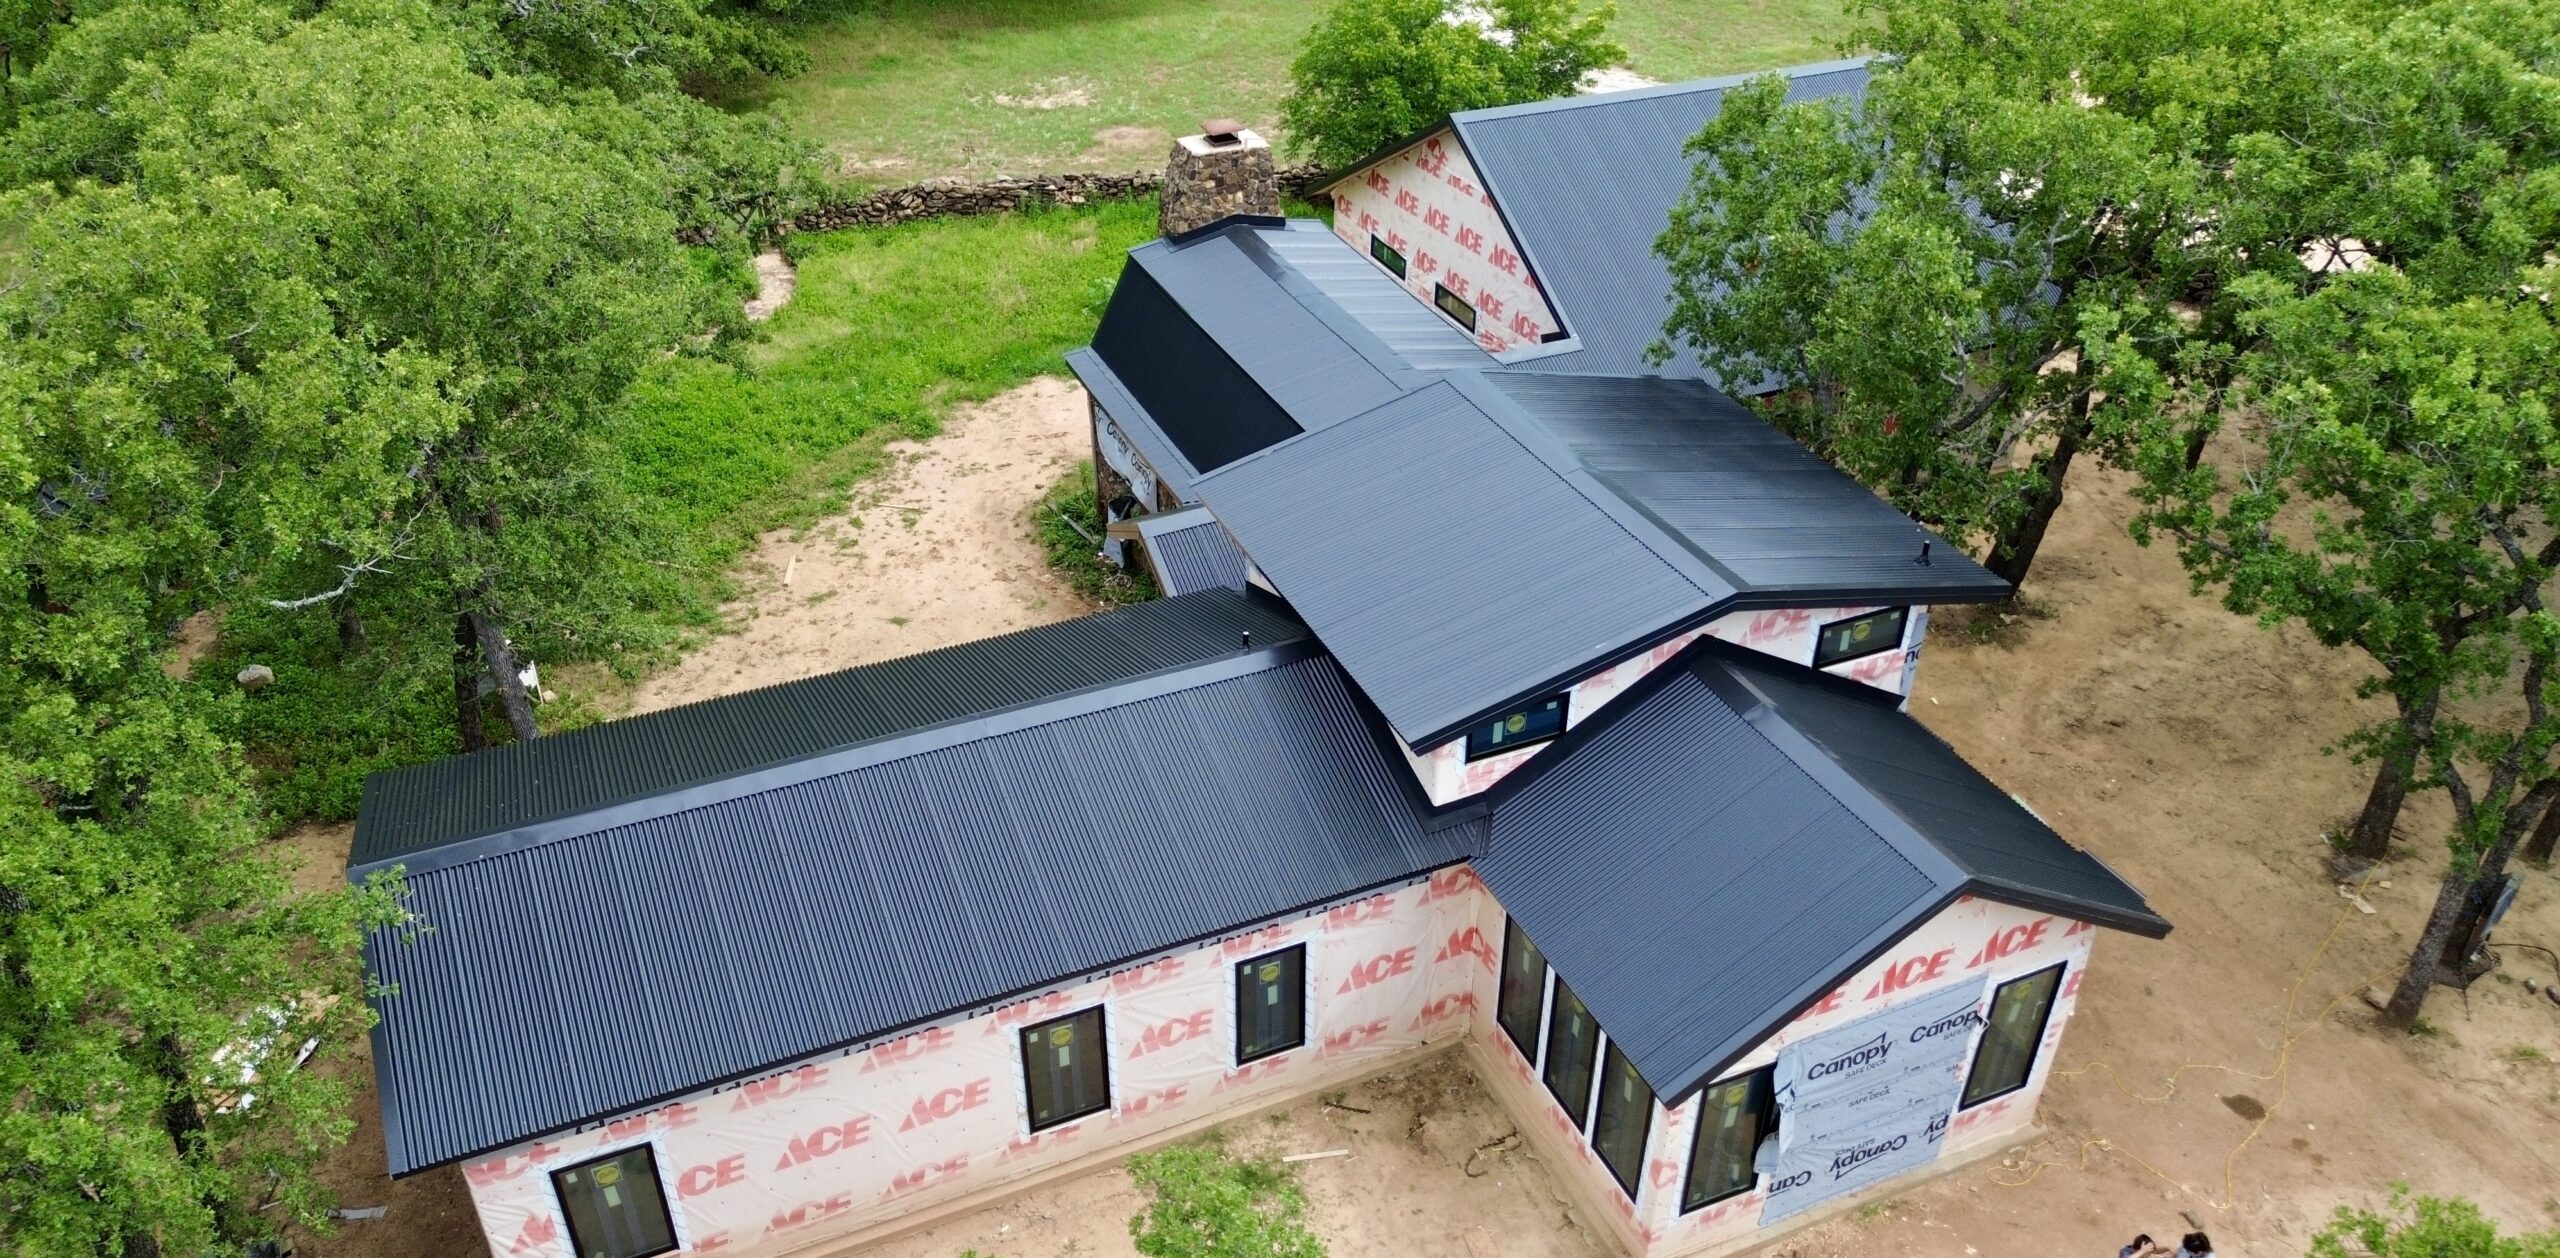
Understanding the Main Components of a Roofing System
A completed roof functions as a single integrated system rather than a collection of separate materials. Every component performs a specific task while supporting the performance of the surrounding layers. Understanding these components helps homeowners appreciate why proper installation is essential.
The main parts of a residential roofing system include:
- Roof framing that supports the overall structure.
- Roof decking that creates a solid installation surface.
- Underlayment that provides secondary moisture protection.
- Flashing that seals roof penetrations and vulnerable joints.
- Roofing material that serves as the primary weather barrier.
- Ventilation components that regulate attic airflow.
- Ridge caps and finishing materials that complete the installation.
Although each component has its own function, none of them works effectively in isolation. The strength of the entire roofing system depends on every layer being installed correctly according to manufacturer specifications and local building requirements.
Quality materials alone cannot compensate for poor installation practices. Even premium roofing products may fail prematurely if moisture barriers, flashing, or ventilation systems are improperly installed. Professional workmanship is therefore just as important as material selection.
How Roof Design Influences the Installation Process
Roof design directly affects nearly every aspect of installation, from structural framing to material selection and labor requirements. A simple roof with two slopes is generally faster to construct than a roof featuring multiple valleys, dormers, intersecting sections, and steep pitches. Increased complexity requires greater planning and installation precision.
Roof pitch influences both appearance and performance. Steeper roofs shed rainwater and snow more efficiently, reducing the likelihood of standing water that could eventually damage roofing materials. Lower slope roofs often require additional waterproofing measures because water drains more slowly.
Architectural features such as skylights, chimneys, roof windows, and ventilation openings introduce additional installation challenges. Each penetration must be carefully sealed using flashing systems that prevent water intrusion without restricting the natural expansion and contraction of roofing materials.
Roof overhangs also contribute to overall performance by directing rainwater away from exterior walls and foundations. Properly designed overhangs improve drainage while protecting siding, windows, and landscaping from excessive water exposure. These seemingly small design choices contribute significantly to the home’s long term durability.
Modern architectural designs sometimes combine multiple roofing materials on a single home to achieve a distinctive appearance. While visually appealing, these combinations require careful planning to ensure different materials expand, contract, and drain water without creating weak points in the roofing system.
Structural Preparation Before Roof Installation
Before roofing materials can be installed, contractors must complete the structural framework that supports the entire roof. This stage establishes the foundation for every roofing component that follows. Accurate framing is essential because even small structural errors can affect the appearance and performance of the finished roof.
Roof trusses or rafters are installed according to engineering specifications that account for expected loads from roofing materials, snow, wind, and maintenance activities. Builders verify spacing, alignment, and fastening methods throughout installation to ensure structural stability. Proper framing distributes weight evenly across the home’s supporting walls.
Construction crews also inspect the framing for level surfaces and consistent dimensions before moving forward. Correcting structural issues at this stage is much easier than attempting repairs after decking and roofing materials have already been installed. Early inspections save both time and money later in the project.
Temporary bracing often remains in place until permanent structural connections are completed. These supports stabilize the framing while workers continue construction activities on the roof. Once the structure is fully secured and inspected, roofing contractors can begin preparing the surface for the next phase of installation.
Building inspectors typically review the completed framing before approving additional work. Their inspection confirms compliance with local building codes and engineering requirements, providing another layer of quality assurance before roofing materials are installed.
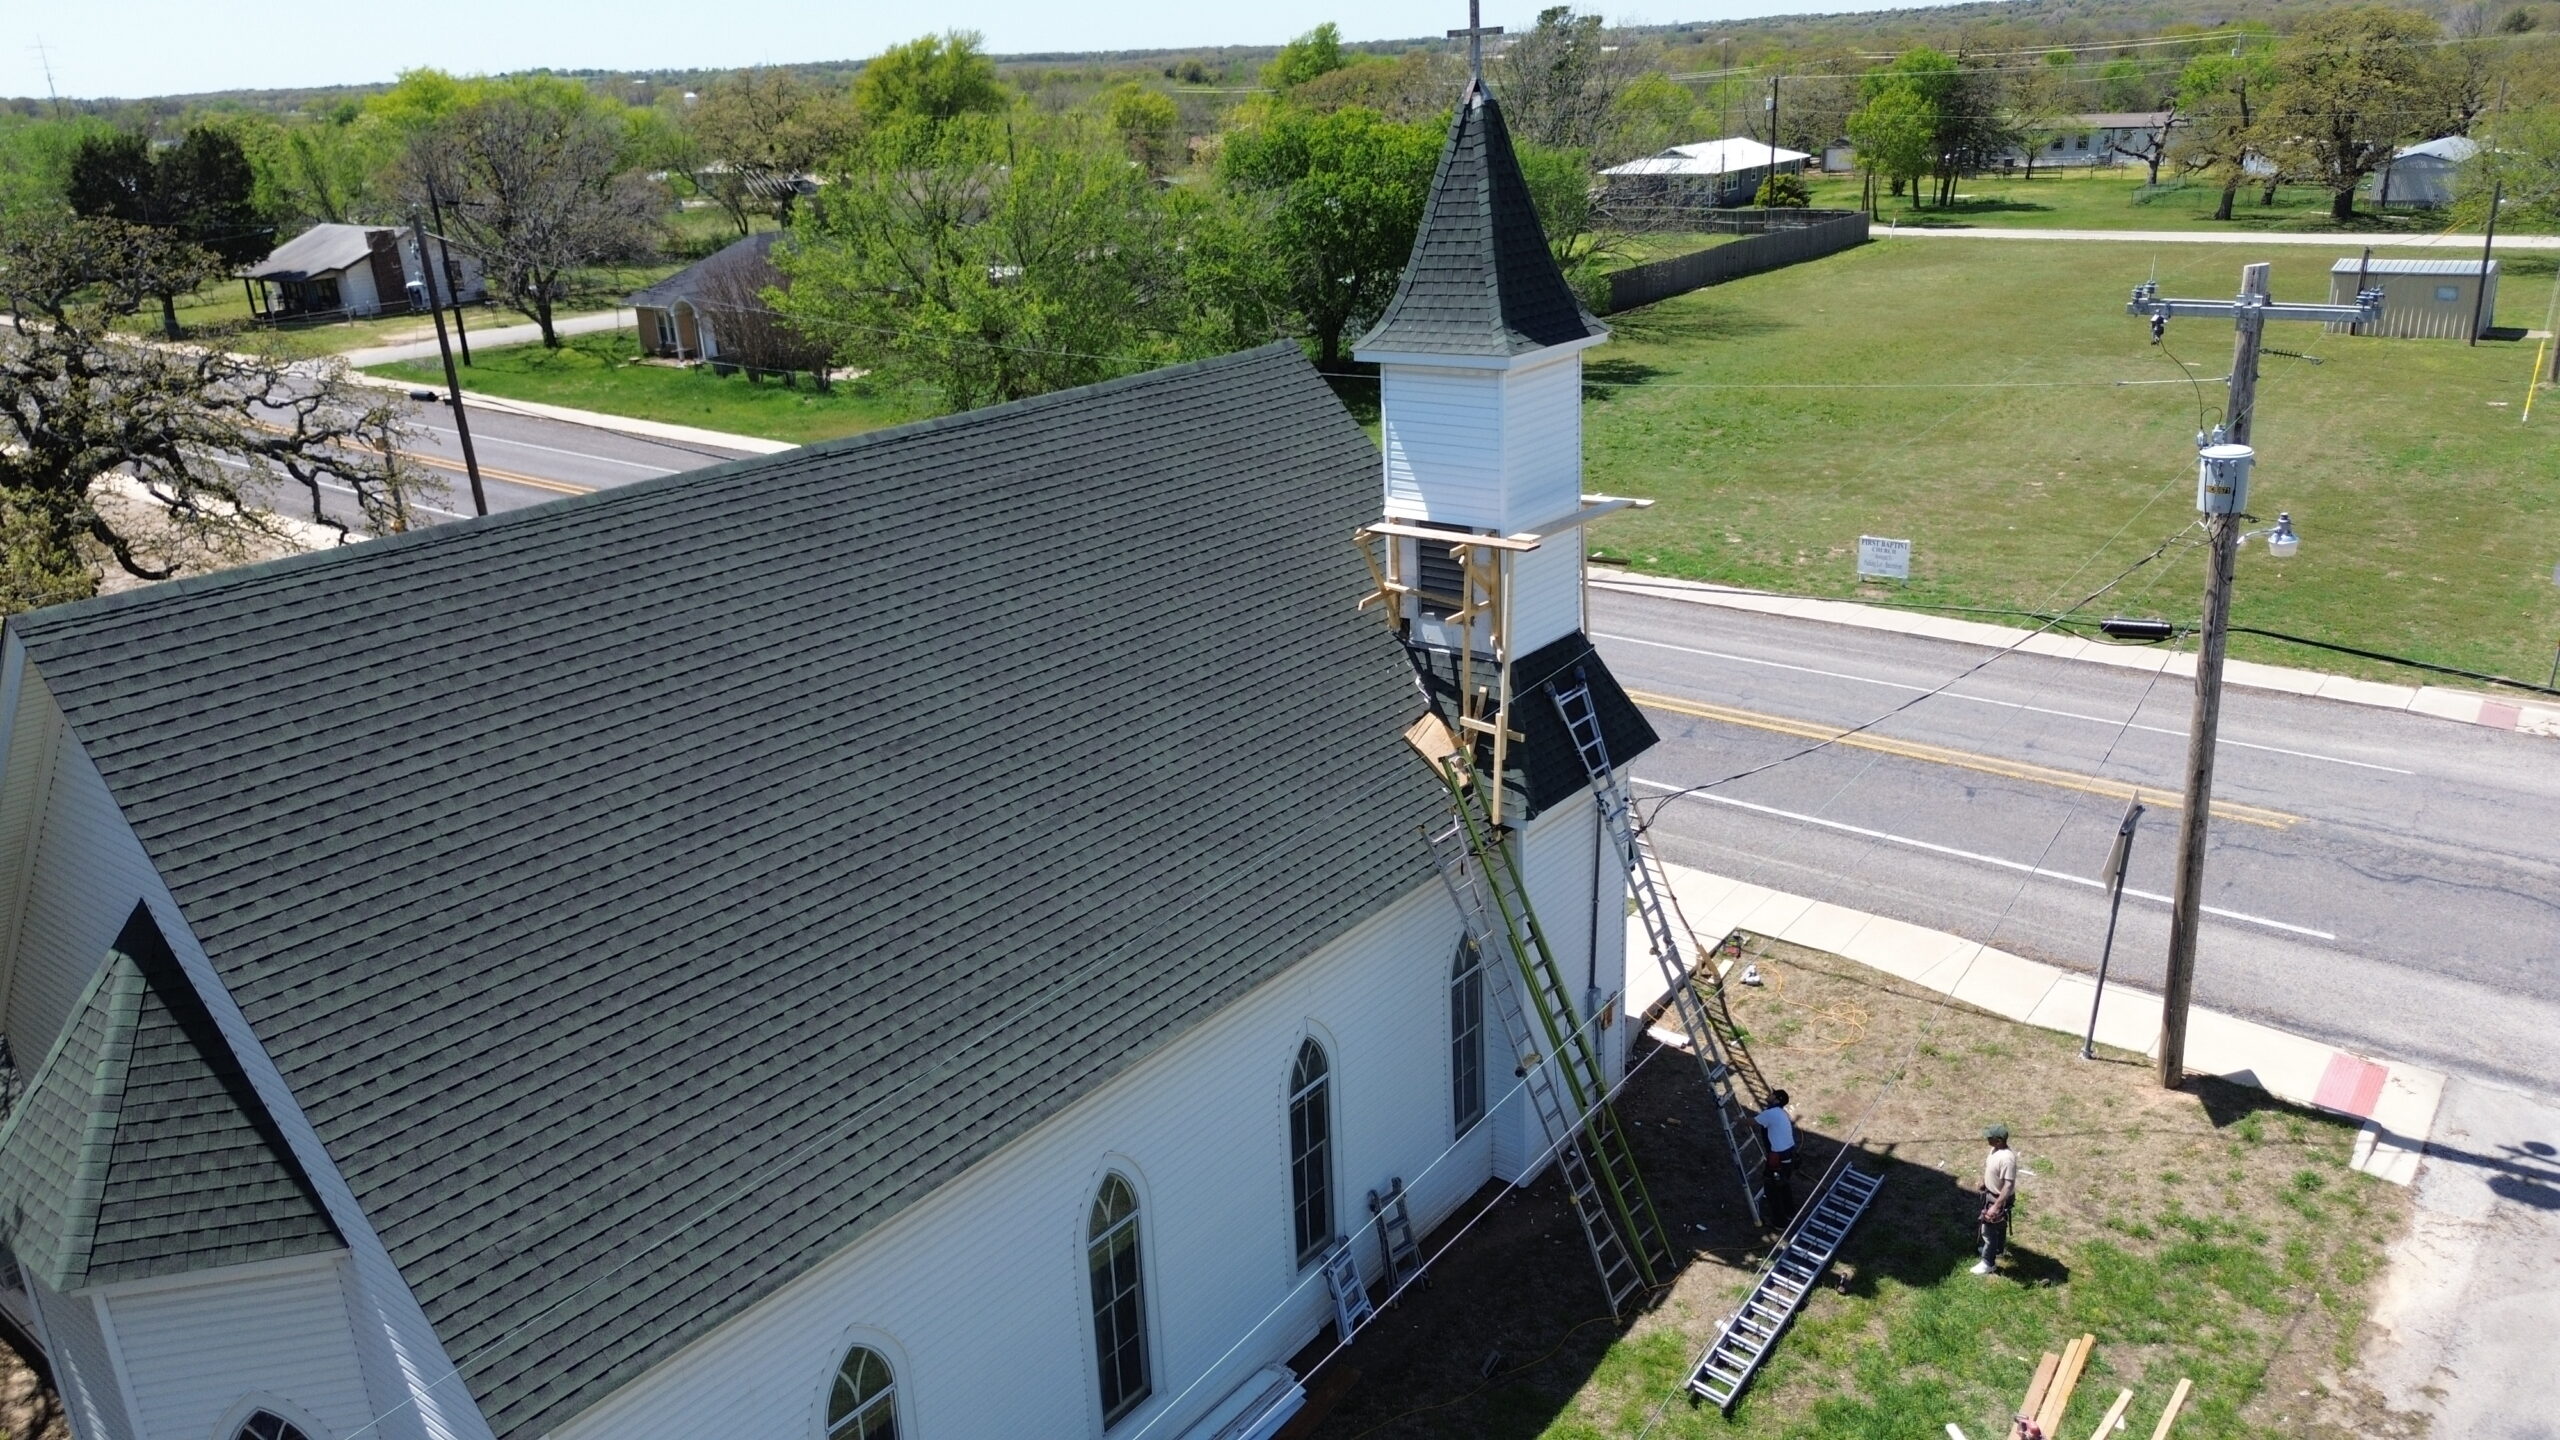
Roof Deck Installation and Inspection
The roof deck forms the solid surface upon which the entire roofing system is built. Most residential homes use plywood or oriented strand board because these materials provide excellent structural strength while creating a smooth foundation for underlayment and roofing materials. Proper installation of the roof deck contributes significantly to the roof’s long term performance.
Contractors carefully position each deck panel to maintain consistent spacing that allows for natural expansion and contraction caused by changing temperatures and humidity. Fasteners are installed according to manufacturer specifications to ensure the panels remain securely attached under varying weather conditions. Uniform fastening patterns also improve structural stability.
Once the decking is installed, contractors perform a thorough inspection before moving to the next stage. They check for uneven surfaces, loose fasteners, damaged panels, and proper alignment throughout the roof. Any deficiencies identified during this inspection are corrected immediately because later roofing layers depend on a solid and stable deck.
A properly installed roof deck also improves worker safety during construction by providing a secure walking surface. This allows roofing crews to install moisture barriers and roofing materials more efficiently while reducing the likelihood of installation errors. The quality of this foundational layer influences every stage that follows.
Installing Underlayment for Moisture Protection
Once the roof deck has passed inspection, the next critical step is installing the underlayment. Although it remains hidden after the roof is completed, underlayment plays an essential role by creating a secondary barrier against moisture. It helps protect the roof deck if rainwater manages to pass beneath the outer roofing material during severe weather.
Modern roofing systems typically use either asphalt saturated felt or synthetic underlayment. Synthetic products have become increasingly popular because they are lighter, more durable, and more resistant to tearing during installation. Their improved performance also allows roofing crews to work more efficiently while maintaining better weather protection.
Roofing contractors begin at the lowest edge of the roof and gradually work upward. Each layer overlaps the previous one, allowing water to flow downward without reaching the roof deck beneath. This overlapping pattern is carefully planned because even small installation mistakes can create pathways for water intrusion.
Fasteners are installed according to manufacturer recommendations to keep the underlayment securely attached until the finished roofing material is installed. Contractors also inspect every overlap, seam, and fastening point before continuing to the next section. Attention to detail during this stage significantly improves the roof’s long term resistance to moisture.
Additional waterproof membranes may be installed in areas that are especially vulnerable to leaks. Roof valleys, eaves, and locations around chimneys often receive extra protection because these areas experience higher water flow during heavy rainfall. Strengthening these critical locations helps reduce the risk of future water damage.
Weather Considerations During Early Roof Installation
Weather has a direct impact on nearly every stage of roof installation. Even with careful planning, construction schedules sometimes need to be adjusted to avoid heavy rain, strong winds, or extreme temperatures. Roofing contractors continuously monitor weather forecasts to protect both workers and building materials.
Rain is one of the biggest concerns during early roof installation because exposed roof decking can absorb moisture if left uncovered for extended periods. Contractors often install temporary coverings whenever unexpected storms threaten unfinished sections of the roof. This precaution helps preserve the structural integrity of the decking until permanent roofing materials are installed.
High winds create additional challenges because they make handling large roofing materials more difficult. Lightweight materials such as synthetic underlayment can become difficult to control, increasing the risk of improper installation or workplace accidents. Roofing crews may temporarily pause work until wind conditions improve.
Extreme heat also affects installation quality. Some roofing materials become softer under high temperatures, making them more susceptible to damage during handling. Cold temperatures, on the other hand, may reduce the flexibility of certain roofing products and require modified installation techniques to achieve proper sealing.
Experienced contractors understand how weather influences installation quality and adjust their schedules accordingly. Rather than rushing through unfavorable conditions, they prioritize proper installation practices that protect the home’s long term performance.
Common Challenges During New Construction Roof Installation
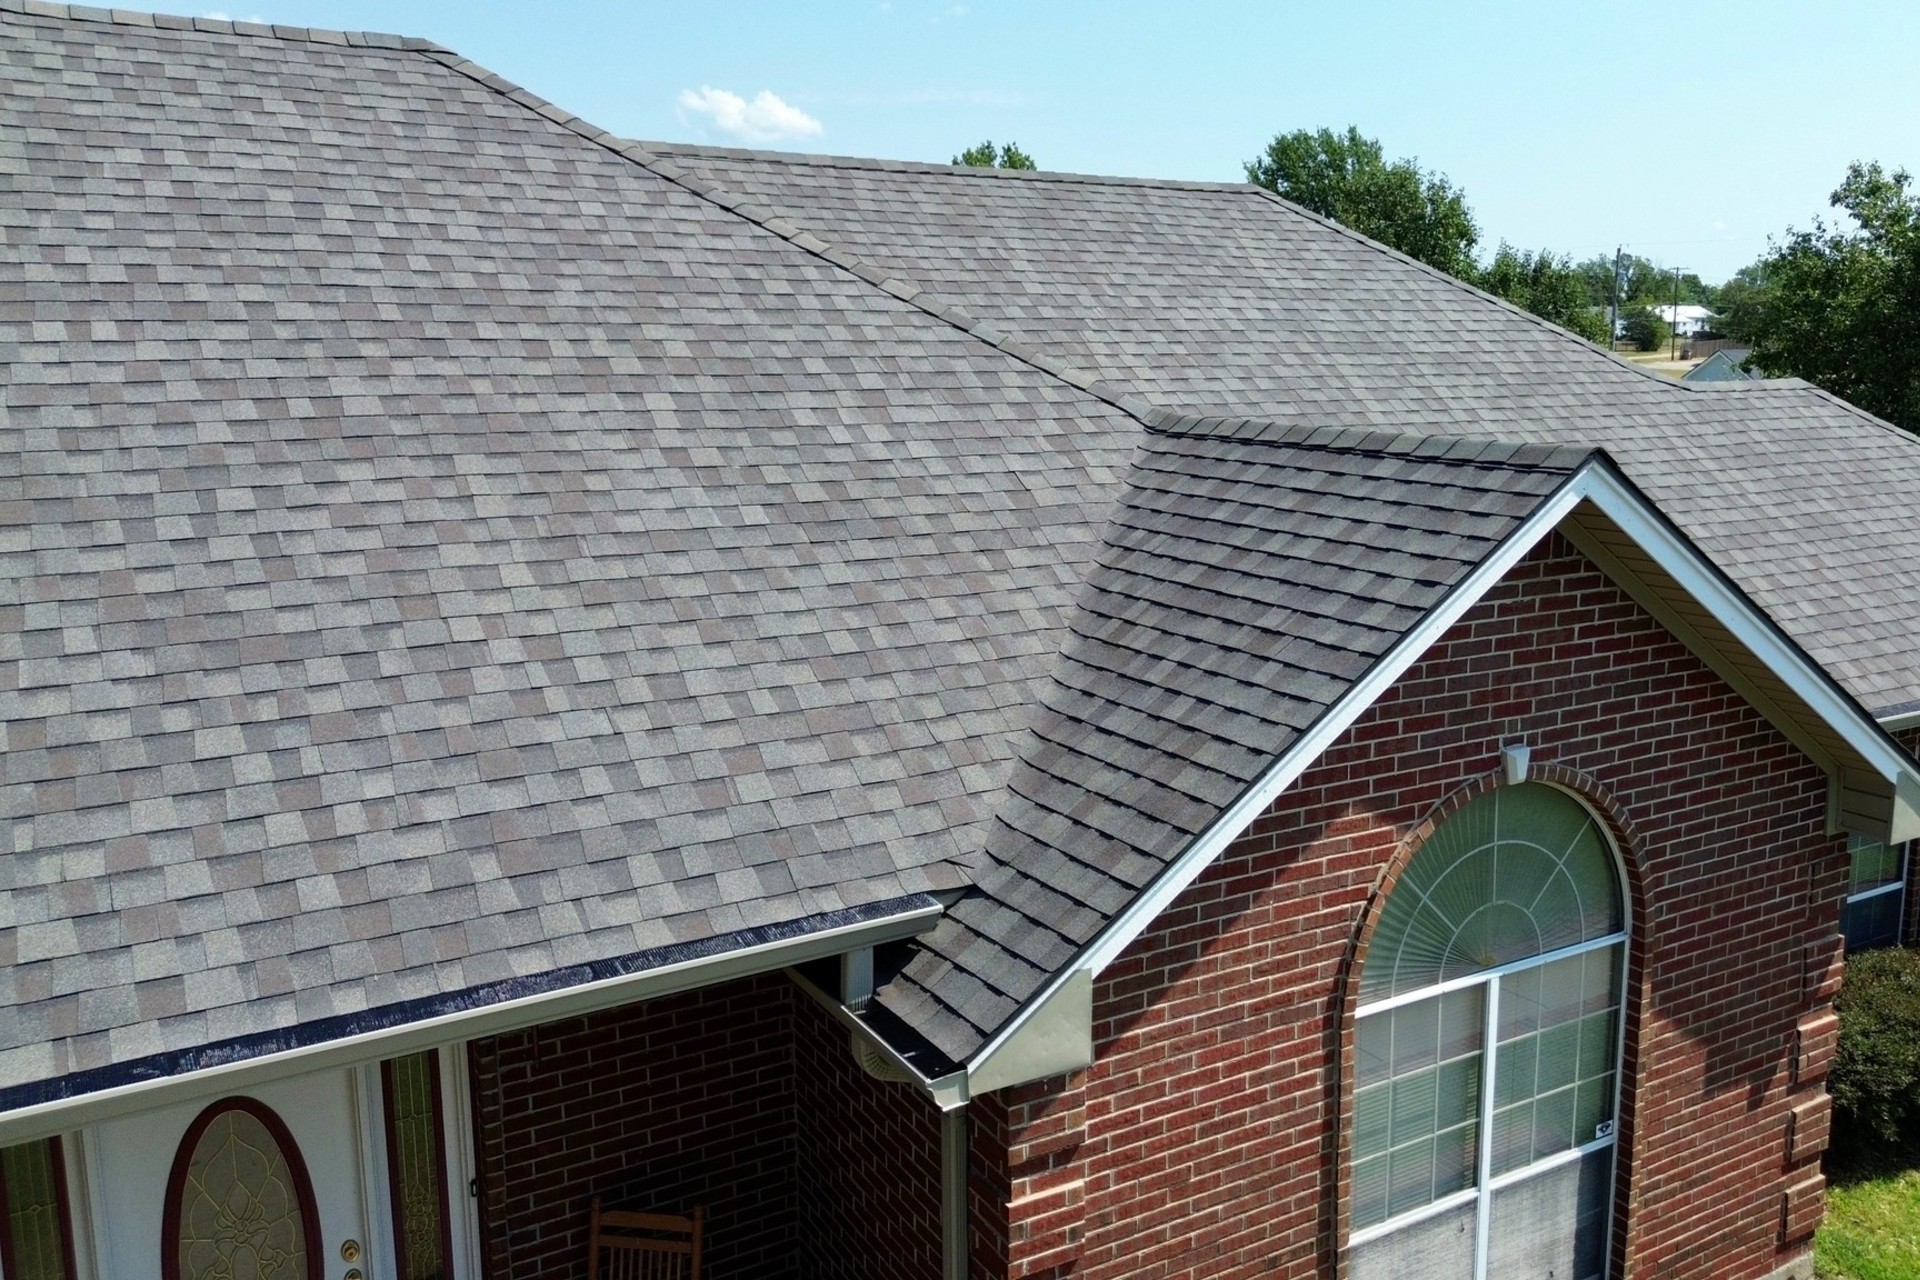
Even well planned construction projects occasionally encounter unexpected challenges during roof installation. Identifying and resolving these issues quickly helps maintain both construction quality and project timelines. Skilled roofing contractors anticipate many of these challenges before they become major problems.
One common issue involves minor framing irregularities that become noticeable after the roof deck is installed. Even slight variations in framing alignment can affect the appearance of finished roofing materials if left uncorrected. Careful inspections throughout construction help identify these issues before they impact the final installation.
Material delivery delays may also interrupt roofing schedules. Since roofing work depends on multiple specialized products arriving in sequence, any supply chain disruption can temporarily pause construction. Builders often coordinate deliveries well in advance to minimize these risks.
Changing weather conditions create another challenge, especially during seasons with frequent rain or storms. Contractors must balance project deadlines with proper installation practices to avoid compromising quality. Protecting unfinished sections of the roof becomes especially important when weather changes unexpectedly.
Design modifications requested during construction may also affect roofing work. Changes such as adding skylights, ventilation systems, or architectural features require adjustments to framing, flashing, and waterproofing details. Close communication between builders, designers, and roofing contractors helps ensure these changes are integrated successfully.
Although these challenges are common, experienced construction teams rely on careful planning, quality inspections, and effective communication to keep projects moving forward. Addressing small concerns early prevents larger structural or waterproofing problems later in the construction process.
Preparing for Roofing Material Installation
With the structural work, decking, and moisture protection complete, the roof is finally ready for visible roofing materials. Before installation begins, contractors organize materials, verify measurements, and review installation plans to ensure everything proceeds efficiently. Careful preparation reduces waste while improving installation accuracy.
Roofing materials are delivered and stored according to manufacturer recommendations. Bundles are distributed evenly across the roof to prevent unnecessary stress on any single area of the structure. Proper placement also allows roofing crews to move safely while maintaining an efficient workflow.
Contractors inspect the roof one final time before installing exterior materials. They verify that flashing locations, ventilation openings, and underlayment overlaps remain properly positioned. Any corrections are completed now because access becomes much more difficult once roofing materials cover the surface.
Safety equipment is also reviewed before installation begins. Workers confirm that harness systems, roof anchors, ladders, and protective equipment are properly secured. Maintaining a safe work environment allows crews to focus on installation quality throughout the remainder of the project.
This preparation stage serves as the bridge between structural construction and the finished roofing system. Once complete, the roof begins to take on its final appearance while gaining its primary weather resistant surface.
Installing Starter Strips and Roof Edges
Starter strips are the first visible roofing components installed on most residential roofs. Although they occupy only the roof’s perimeter, they perform an important function by providing a secure base for the first row of shingles. They also help improve wind resistance along roof edges where uplift forces are strongest.
Roof edge flashing, commonly known as drip edge, is installed to guide rainwater away from the fascia and roof decking. Without this component, water could seep beneath roofing materials and eventually damage wooden structural elements. Properly installed drip edges contribute significantly to the overall drainage system.
Contractors carefully align starter strips to maintain straight roofing rows across the entire roof. Even minor alignment errors at the beginning can become much more noticeable as additional rows are installed. Precision during these early stages ensures a professional finished appearance.
Fasteners are placed according to manufacturer guidelines to maximize holding strength without damaging roofing materials. Contractors also verify that edge components overlap correctly, creating continuous protection around the roof perimeter. These small details help the roof withstand years of changing weather conditions.
Step by Step Roof Shingle Installation Process
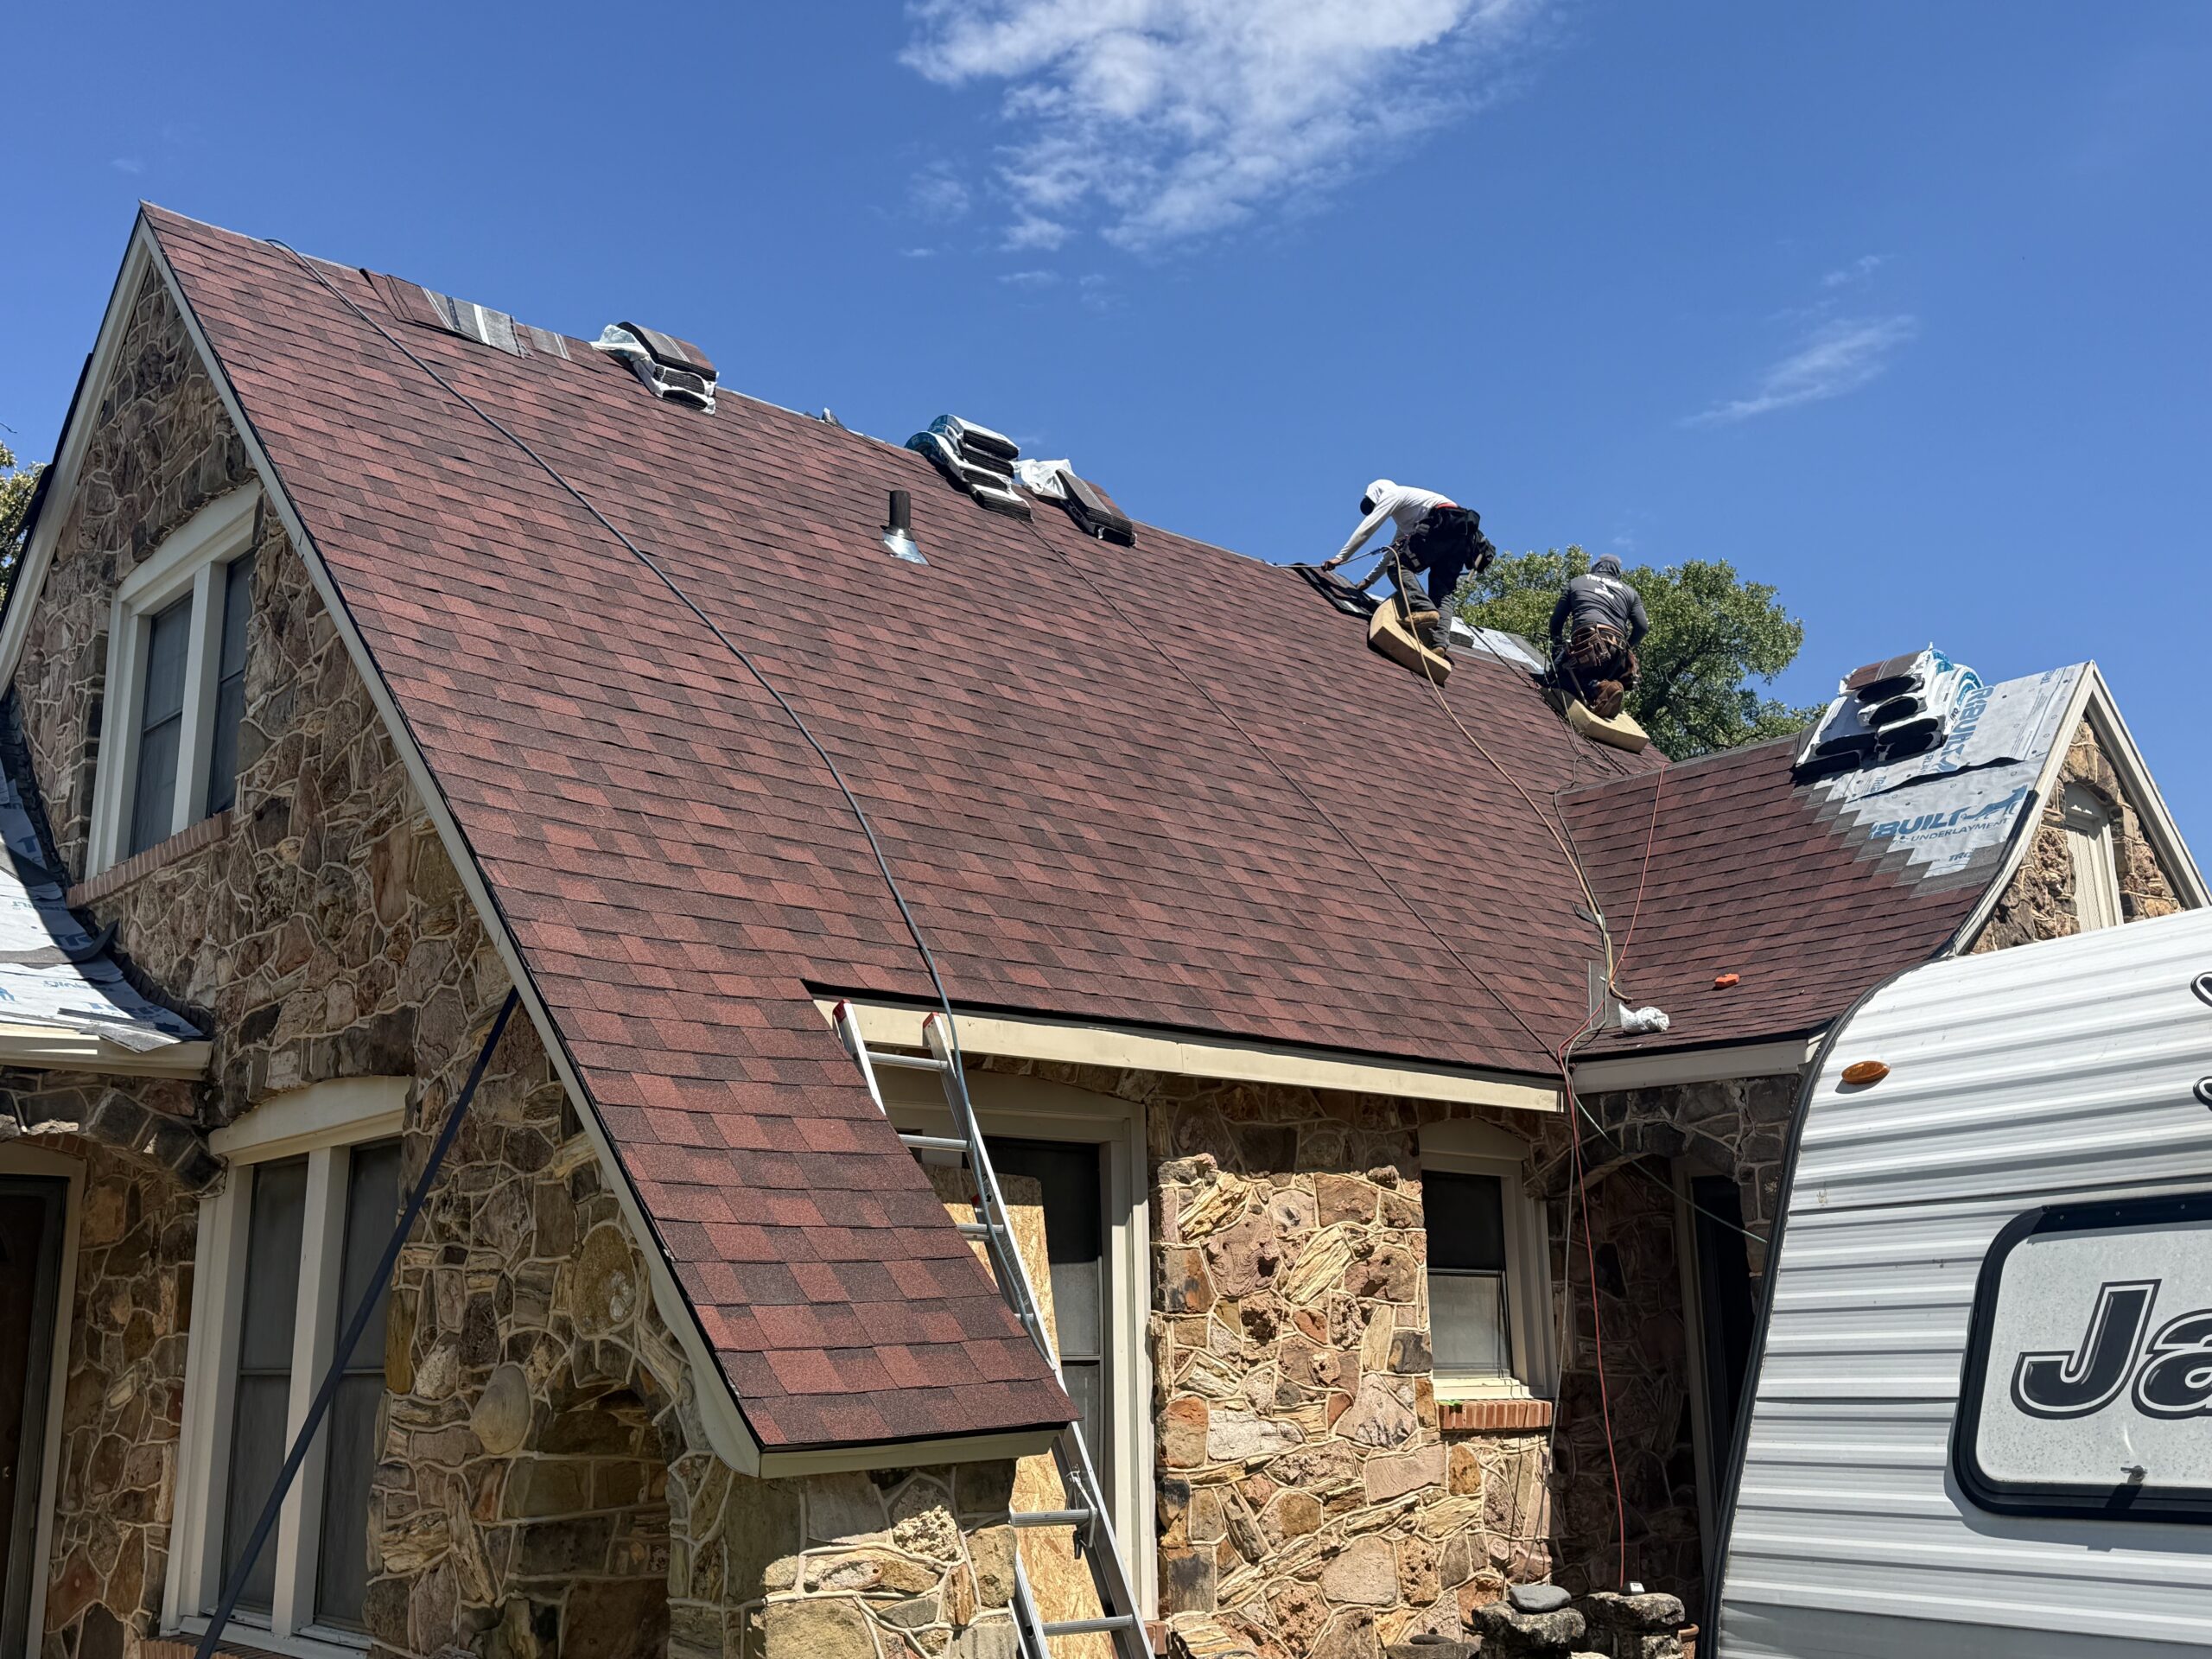
Installing shingles is one of the most recognizable stages of residential roof construction. While the process appears straightforward from the ground, professional installation requires careful planning, consistent alignment, and attention to every fastening point. Proper installation ensures the roof performs reliably throughout its expected lifespan.
The general installation sequence follows these steps:
- Install starter strips along the roof edges.
- Begin laying the first row of shingles at the lowest point of the roof.
- Offset each new row according to the manufacturer’s installation pattern.
- Secure every shingle using the recommended number of fasteners.
- Continue upward toward the roof ridge while maintaining straight alignment.
- Trim roofing materials around roof penetrations and edges.
- Prepare the roof for ridge cap installation.
Every row overlaps the previous one, allowing rainwater to flow naturally toward the gutters without reaching the roof deck. Contractors regularly check alignment using chalk lines or reference markings to maintain a uniform appearance across the roof surface.
Proper fastening is equally important because incorrect nail placement can reduce wind resistance and shorten the roof’s service life. Roofing crews follow detailed installation instructions provided by manufacturers to achieve maximum product performance and warranty compliance.
Throughout installation, supervisors inspect completed sections before work continues. Identifying and correcting minor issues immediately helps ensure the finished roofing system meets both structural requirements and aesthetic expectations.
Installing Roof Flashing Around Critical Areas
Flashing is one of the most important waterproofing components within any roofing system. Its primary purpose is to seal areas where roofing materials meet walls, chimneys, skylights, plumbing vents, and other roof penetrations. Without properly installed flashing, these locations would become vulnerable to water infiltration.
Most flashing is manufactured from corrosion resistant metals such as aluminum, galvanized steel, or copper. These materials provide long lasting protection while accommodating normal expansion and contraction caused by temperature changes. Selecting compatible flashing materials also helps prevent corrosion between different metals.
Each flashing component is carefully shaped to match the surrounding roof geometry. Contractors integrate flashing beneath roofing materials while overlapping waterproof layers to direct water safely away from vulnerable joints. This layered approach ensures rainwater follows a controlled drainage path instead of entering the home.
Careful craftsmanship is particularly important around roof valleys where large volumes of rainwater naturally collect. These areas receive specialized flashing systems designed to handle concentrated water flow during heavy storms. Proper installation greatly reduces the likelihood of future leaks.
Roof Ventilation Installation and Airflow Planning
A roofing system protects much more than the home’s exterior. It also plays an important role in maintaining healthy attic conditions through proper ventilation. Balanced airflow helps regulate temperature, reduce moisture buildup, and improve the overall efficiency of the home’s insulation.
Most residential roofing systems combine intake vents near the roof’s lower edges with exhaust vents positioned near the ridge. This arrangement allows cooler outside air to enter while warmer air naturally exits through the highest points of the attic. Continuous airflow reduces heat accumulation during summer and moisture buildup throughout the year.
Poor ventilation can shorten the lifespan of roofing materials by exposing them to excessive heat and trapped humidity. Moisture accumulation may also contribute to mold growth, wood deterioration, and reduced insulation performance over time. Proper ventilation therefore protects both the roofing system and the home’s structural components.
Ventilation planning begins during the design stage but is carefully implemented during roof installation. Contractors calculate ventilation requirements based on attic size, roof design, insulation levels, and local building codes. Proper balance between intake and exhaust ventilation ensures efficient long term performance.
Ridge Caps and Final Roofing Components
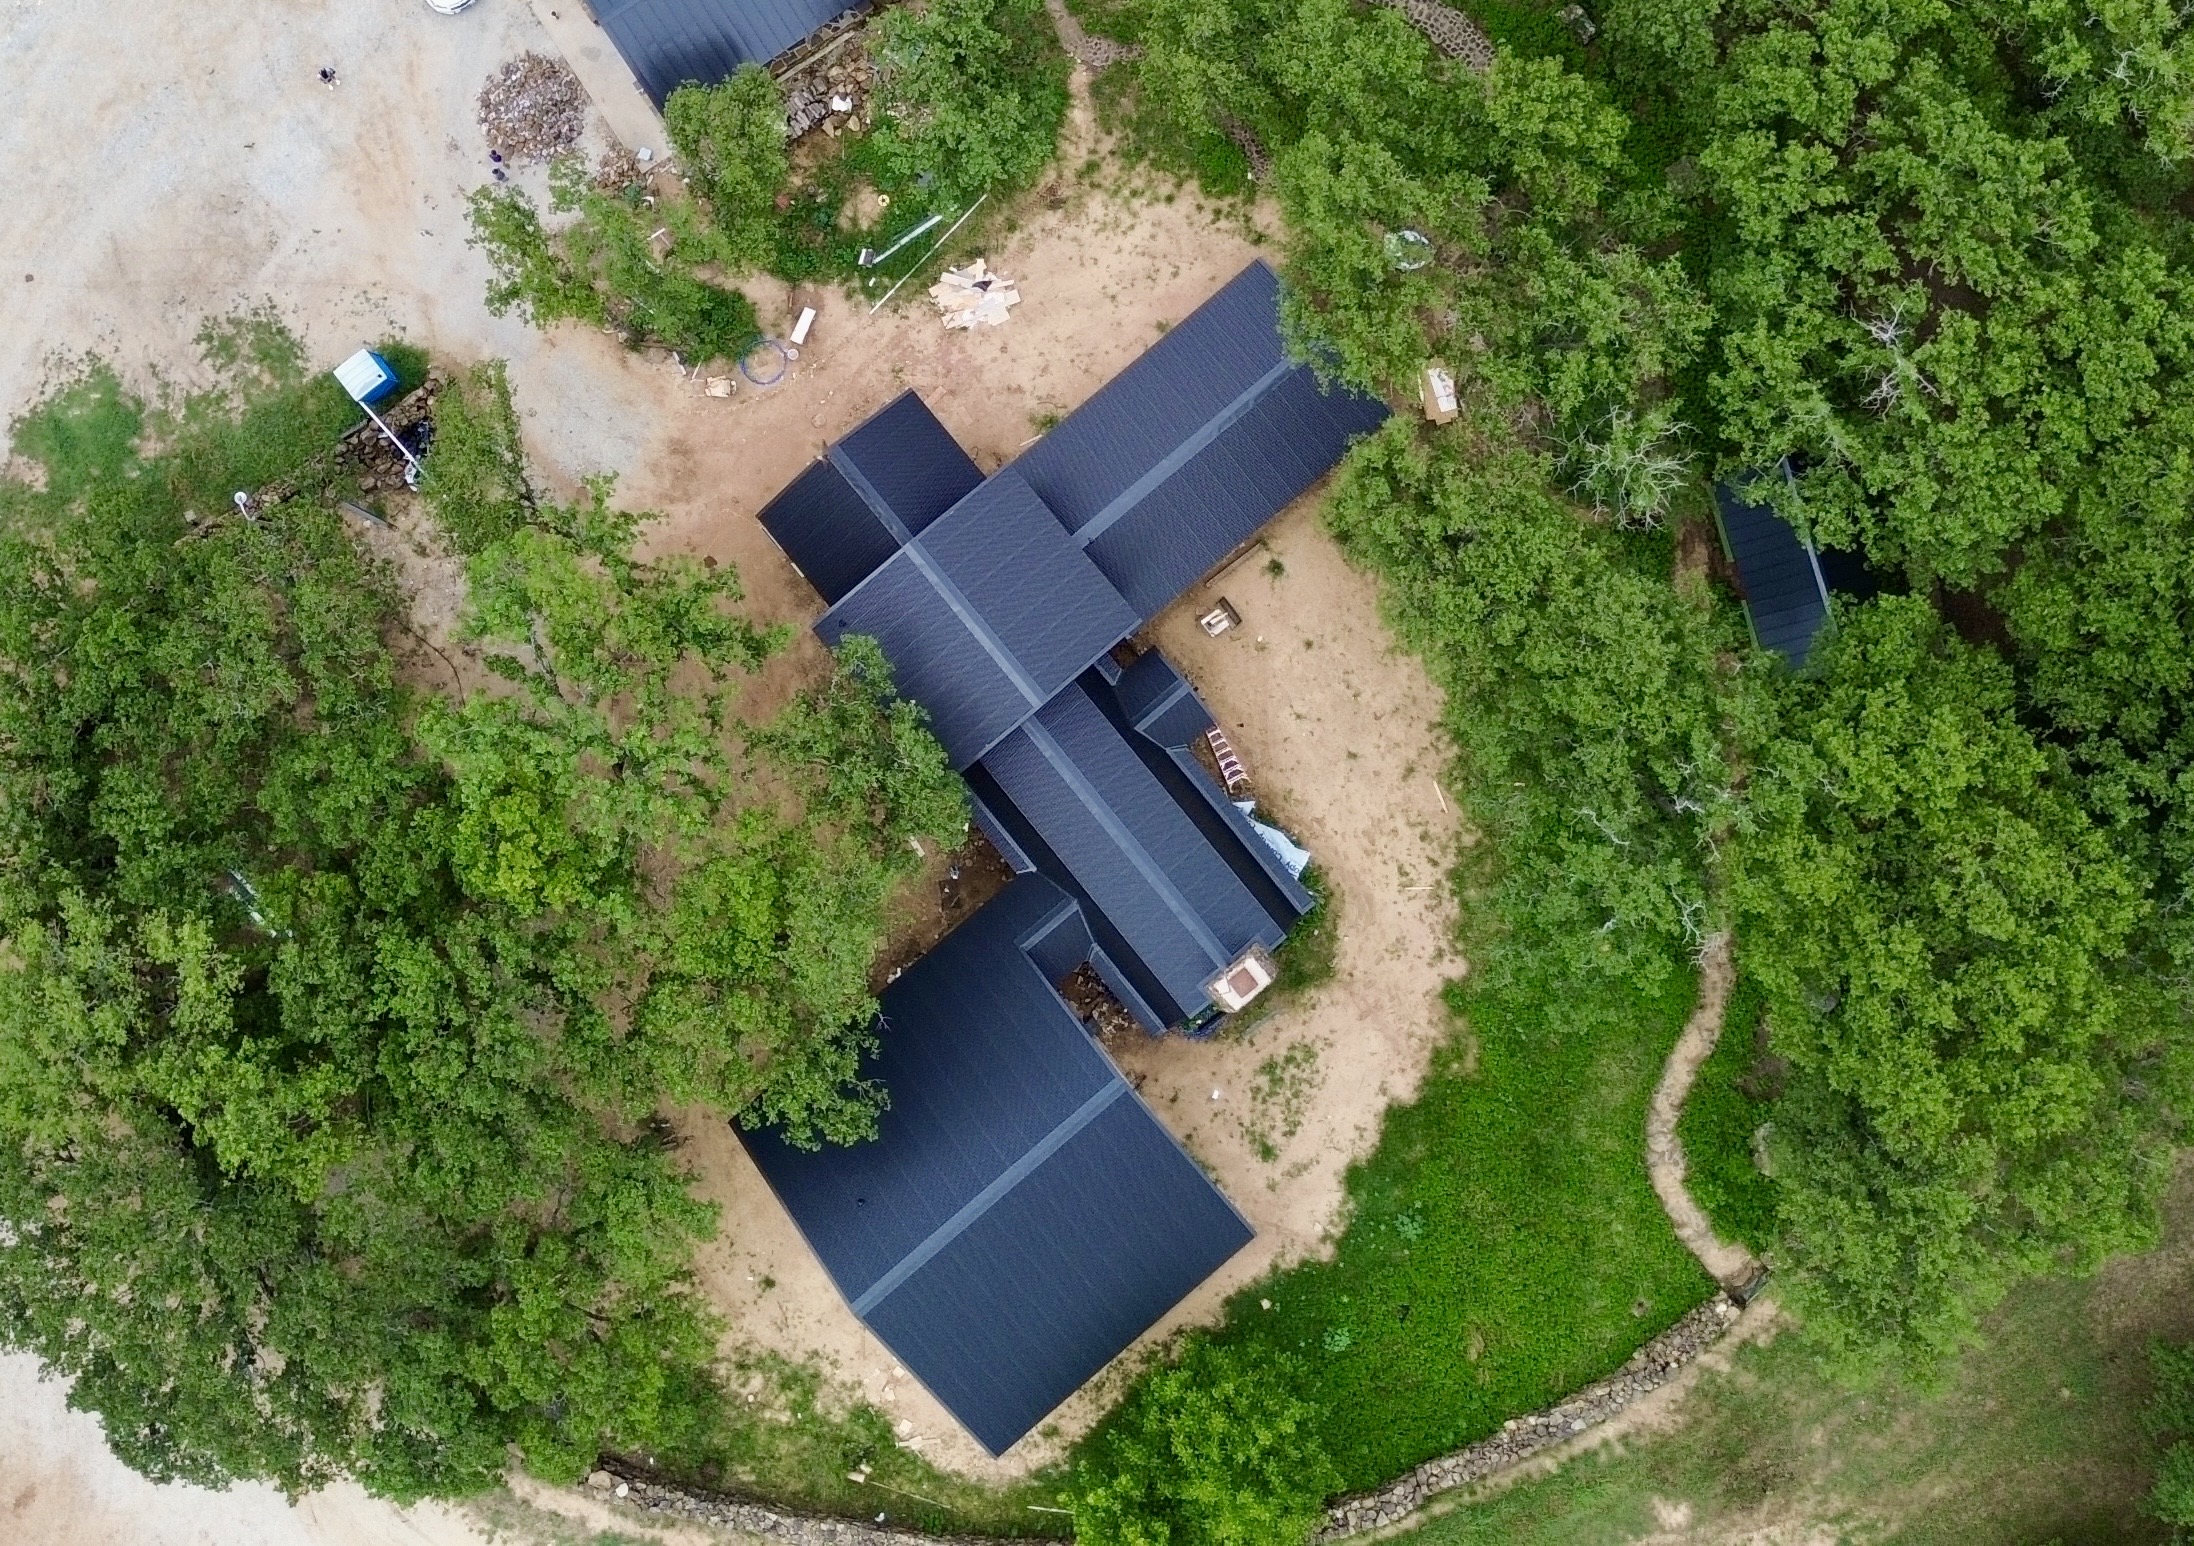
As roofing materials reach the highest point of the roof, contractors install ridge caps to complete the main roofing surface. These specially designed components cover the ridge while protecting the joints where roof slopes meet. Ridge caps also contribute to the roof’s finished appearance by creating a clean and uniform profile.
Modern ridge cap systems often incorporate ventilation features that allow warm attic air to escape without permitting rainwater to enter. Combining ventilation with weather protection improves energy efficiency while maintaining reliable moisture control throughout the roofing system.
Contractors carefully align ridge caps to maintain consistent spacing and appearance along the entire roof peak. Fasteners are concealed whenever possible to reduce weather exposure while preserving the roof’s visual appeal. Final inspections verify that ridge components remain securely attached and properly aligned.
At this stage, the roof has transformed from a structural framework into a complete protective system. The remaining work focuses on drainage, safety inspections, and final quality checks before the home moves toward project completion.
Gutters and Drainage System Integration
A roof cannot perform at its best without an effective drainage system. While shingles and underlayment keep water from entering the home, gutters and downspouts safely carry rainwater away from the roof, walls, and foundation. Together, these components help prevent water damage that could otherwise affect both the structure and surrounding landscape.
Gutters are installed along the roof edges after the primary roofing materials are in place. Contractors ensure they are securely fastened and positioned with the correct slope so water flows naturally toward the downspouts. Even a slight installation error can cause standing water, overflow, or premature wear.
Downspouts direct collected rainwater away from the home’s foundation. In many new construction projects, they connect to underground drainage systems or splash blocks that prevent soil erosion around the building. Proper drainage protects landscaping while reducing the risk of foundation settlement caused by excessive moisture.
Contractors also inspect gutter connections, corners, and outlets before completing the installation. A properly integrated drainage system works together with the roof to provide complete weather protection throughout the year.
Roofing Safety Practices on New Construction Sites
Roof installation involves working at significant heights while handling heavy materials and specialized equipment. Maintaining a safe work environment protects construction workers and helps ensure the installation is completed without unnecessary delays. Safety procedures are therefore an essential part of every roofing project.
Professional roofing contractors follow strict safety standards established by industry regulations. Workers wear fall protection equipment, use secured ladders, and install temporary roof anchors before beginning work. These precautions greatly reduce the risk of accidents during construction.
Material handling is another important aspect of roofing safety. Roofing bundles, flashing, and other supplies are distributed evenly across the roof to avoid creating unnecessary structural stress or hazardous working conditions. Organized material placement also improves efficiency by allowing workers to move safely across the roof.
Weather conditions remain an important safety consideration throughout installation. Roofing crews may postpone work during heavy rain, lightning, or strong winds because these conditions significantly increase the likelihood of accidents. Prioritizing worker safety ultimately contributes to better installation quality.
Safety training also helps workers recognize potential hazards before they become serious problems. Experienced crews understand how to identify unstable surfaces, maintain proper tool usage, and communicate effectively while working on different sections of the roof. These practices create a safer and more productive construction environment.
Quality Control During Roof Installation
Quality control is a continuous process rather than a single inspection at the end of construction. Professional roofing contractors evaluate every stage of installation to ensure materials are installed correctly and meet manufacturer specifications. Identifying issues early prevents expensive repairs after the home is completed.
Supervisors regularly inspect shingle alignment, fastening patterns, flashing installation, and ventilation components throughout the project. They also verify that roofing materials remain free from visible damage caused during transportation or installation. Immediate corrections help maintain consistent quality across the entire roof.
Building inspectors may conduct additional reviews at various stages of construction. These inspections confirm that the roofing system complies with local building codes and approved construction plans. Passing these inspections provides homeowners with additional confidence in the completed work.
Manufacturers often provide detailed installation guidelines that contractors follow to maintain warranty eligibility. Proper fastening methods, overlap requirements, and ventilation standards are all important factors in achieving long term product performance. Following these guidelines helps maximize the roof’s expected lifespan.
Quality control extends beyond the visible roofing surface. Contractors also examine attic ventilation, moisture protection, and drainage systems to ensure every roofing component functions together as a complete system.
Typical Roof Installation Timeline for New Construction
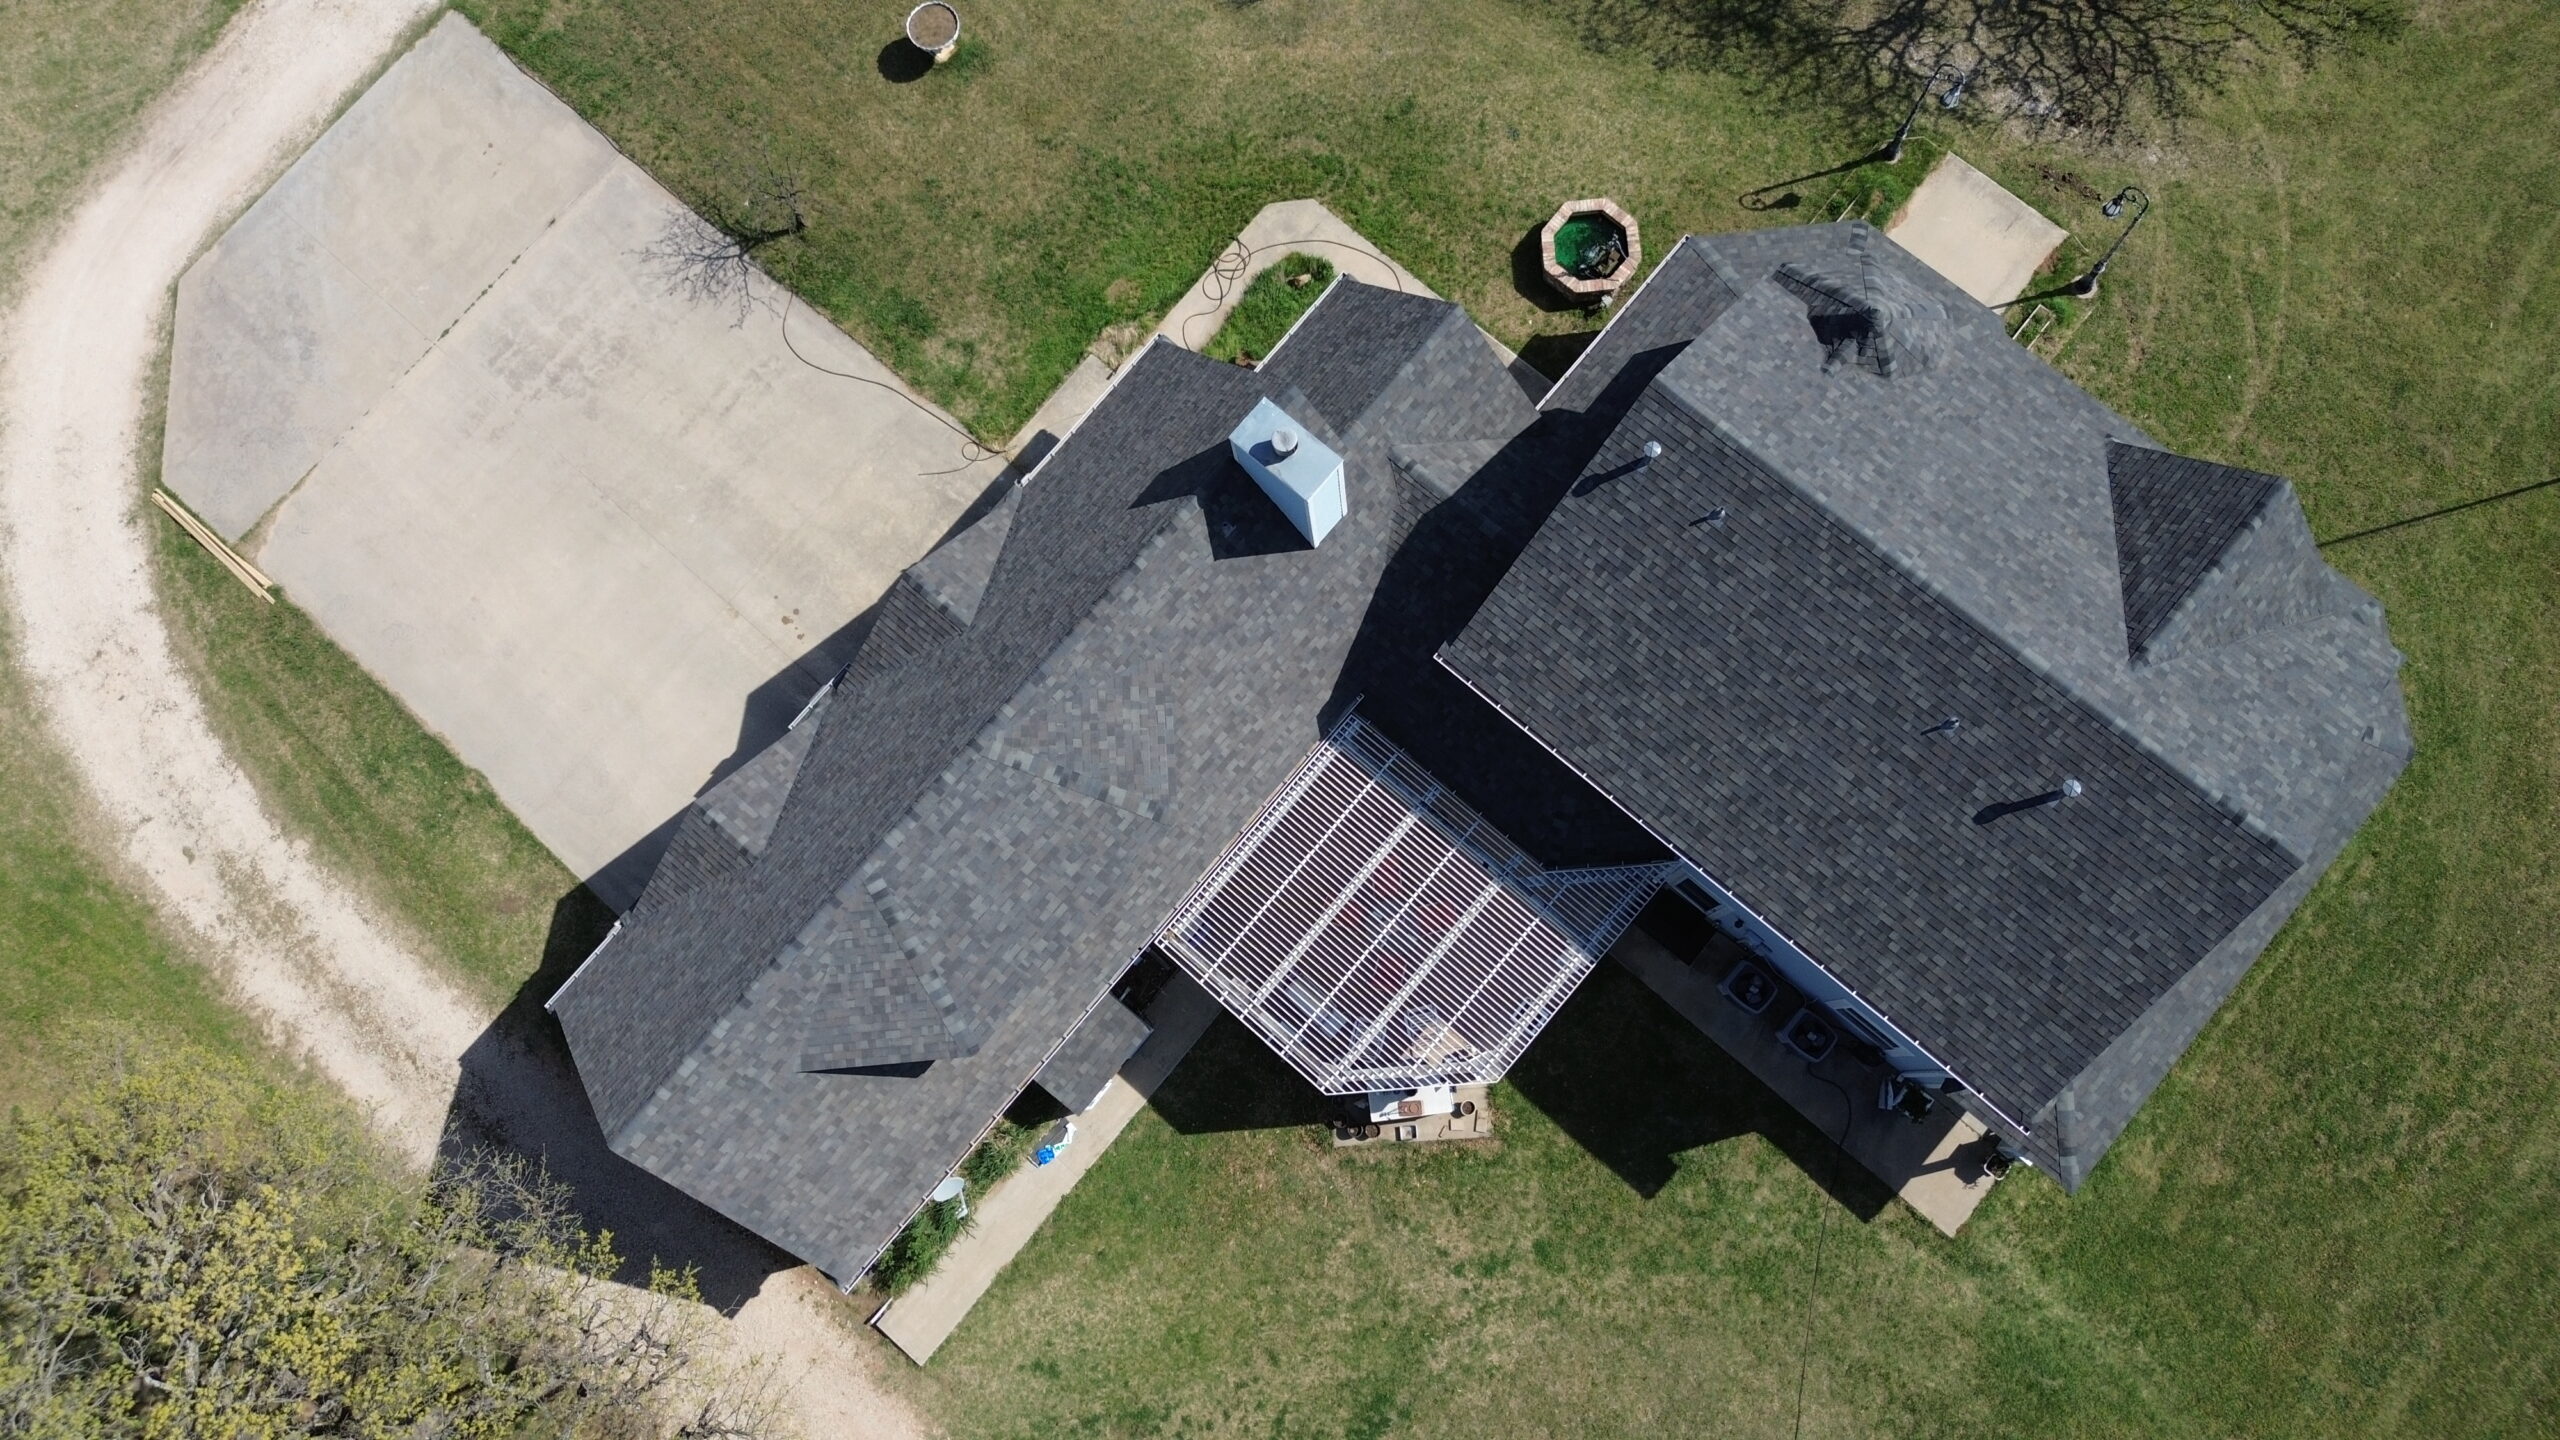
Roof installation schedules vary depending on the home’s size, roof complexity, weather conditions, and material selection. While every project follows its own timeline, understanding the general sequence helps homeowners know what to expect during construction.
The table below outlines a typical residential roof installation schedule for a new construction home.
| Installation Stage | Typical Duration | Primary Objective |
|---|---|---|
| Roof framing completion | 2 to 5 days | Build structural support system |
| Roof deck installation | 1 to 2 days | Create solid roofing foundation |
| Underlayment installation | 1 day | Protect roof deck from moisture |
| Roofing material installation | 2 to 5 days | Install primary weather barrier |
| Flashing and ventilation | 1 to 2 days | Seal roof penetrations and improve airflow |
| Ridge caps and finishing work | 1 day | Complete roofing system |
| Final inspection | 1 day | Verify installation quality and code compliance |
Actual construction schedules may differ depending on local weather and project requirements. Larger homes with complex roof designs generally require additional time because more detailed installation work is involved.
Builders often coordinate roofing activities with siding, window, and exterior finishing crews. Efficient scheduling allows each trade to complete its work without interfering with other phases of construction.
Final Roof Inspection Before Project Completion
As the roofing project nears completion, contractors perform a comprehensive inspection of the entire roofing system. This final review confirms that every component has been installed correctly and functions as intended. The inspection also provides an opportunity to address any remaining issues before the homeowner takes possession of the property.
Inspectors carefully examine shingles, flashing, ridge caps, gutters, and ventilation systems. They look for loose fasteners, uneven installation, damaged materials, and any areas that may require additional sealing. Every visible section of the roof receives close attention.
The attic is often inspected as well to verify proper ventilation and confirm there are no signs of moisture intrusion. Contractors also ensure insulation has not been disturbed during roofing work. These checks help verify that both the exterior and interior portions of the roofing system perform effectively.
Once all inspections are complete, the contractor documents the finished work and confirms compliance with local building regulations. Homeowners may also receive warranty information, maintenance recommendations, and product documentation for future reference.
Common Mistakes Homeowners Should Avoid
Although professional contractors manage the installation itself, homeowners also play an important role in ensuring project success. Making informed decisions throughout construction helps avoid unnecessary expenses and future roofing problems.
Some of the most common mistakes include:
- Choosing roofing materials based only on initial cost instead of long term value.
- Hiring contractors without verifying licenses, insurance, or experience.
- Ignoring the importance of attic ventilation.
- Approving design changes without understanding their structural impact.
- Delaying inspections or overlooking minor installation concerns.
Avoiding these mistakes helps homeowners protect their investment while improving the overall performance of the finished roofing system. Asking questions throughout construction also encourages clear communication between homeowners and contractors.
Proper planning and careful decision making often result in fewer maintenance issues over the life of the roof. Taking time to understand the installation process allows homeowners to recognize quality workmanship and make confident choices.
Roof Installation Checklist for New Construction Homes
Before accepting the completed roofing project, homeowners should verify that every major component has been inspected and finished according to the construction plans. A simple checklist makes it easier to confirm nothing important has been overlooked.
- Roof framing has passed structural inspection.
- Roof decking is securely installed without visible damage.
- Underlayment completely covers the roof deck.
- Flashing is properly installed around all penetrations.
- Roofing materials are evenly aligned and securely fastened.
- Ridge caps and ventilation systems are complete.
- Gutters and downspouts drain water correctly.
- Final inspection and warranty documents have been provided.
Reviewing this checklist with the contractor creates an opportunity to discuss any final questions before construction officially concludes. It also gives homeowners confidence that every major roofing component has been properly completed.
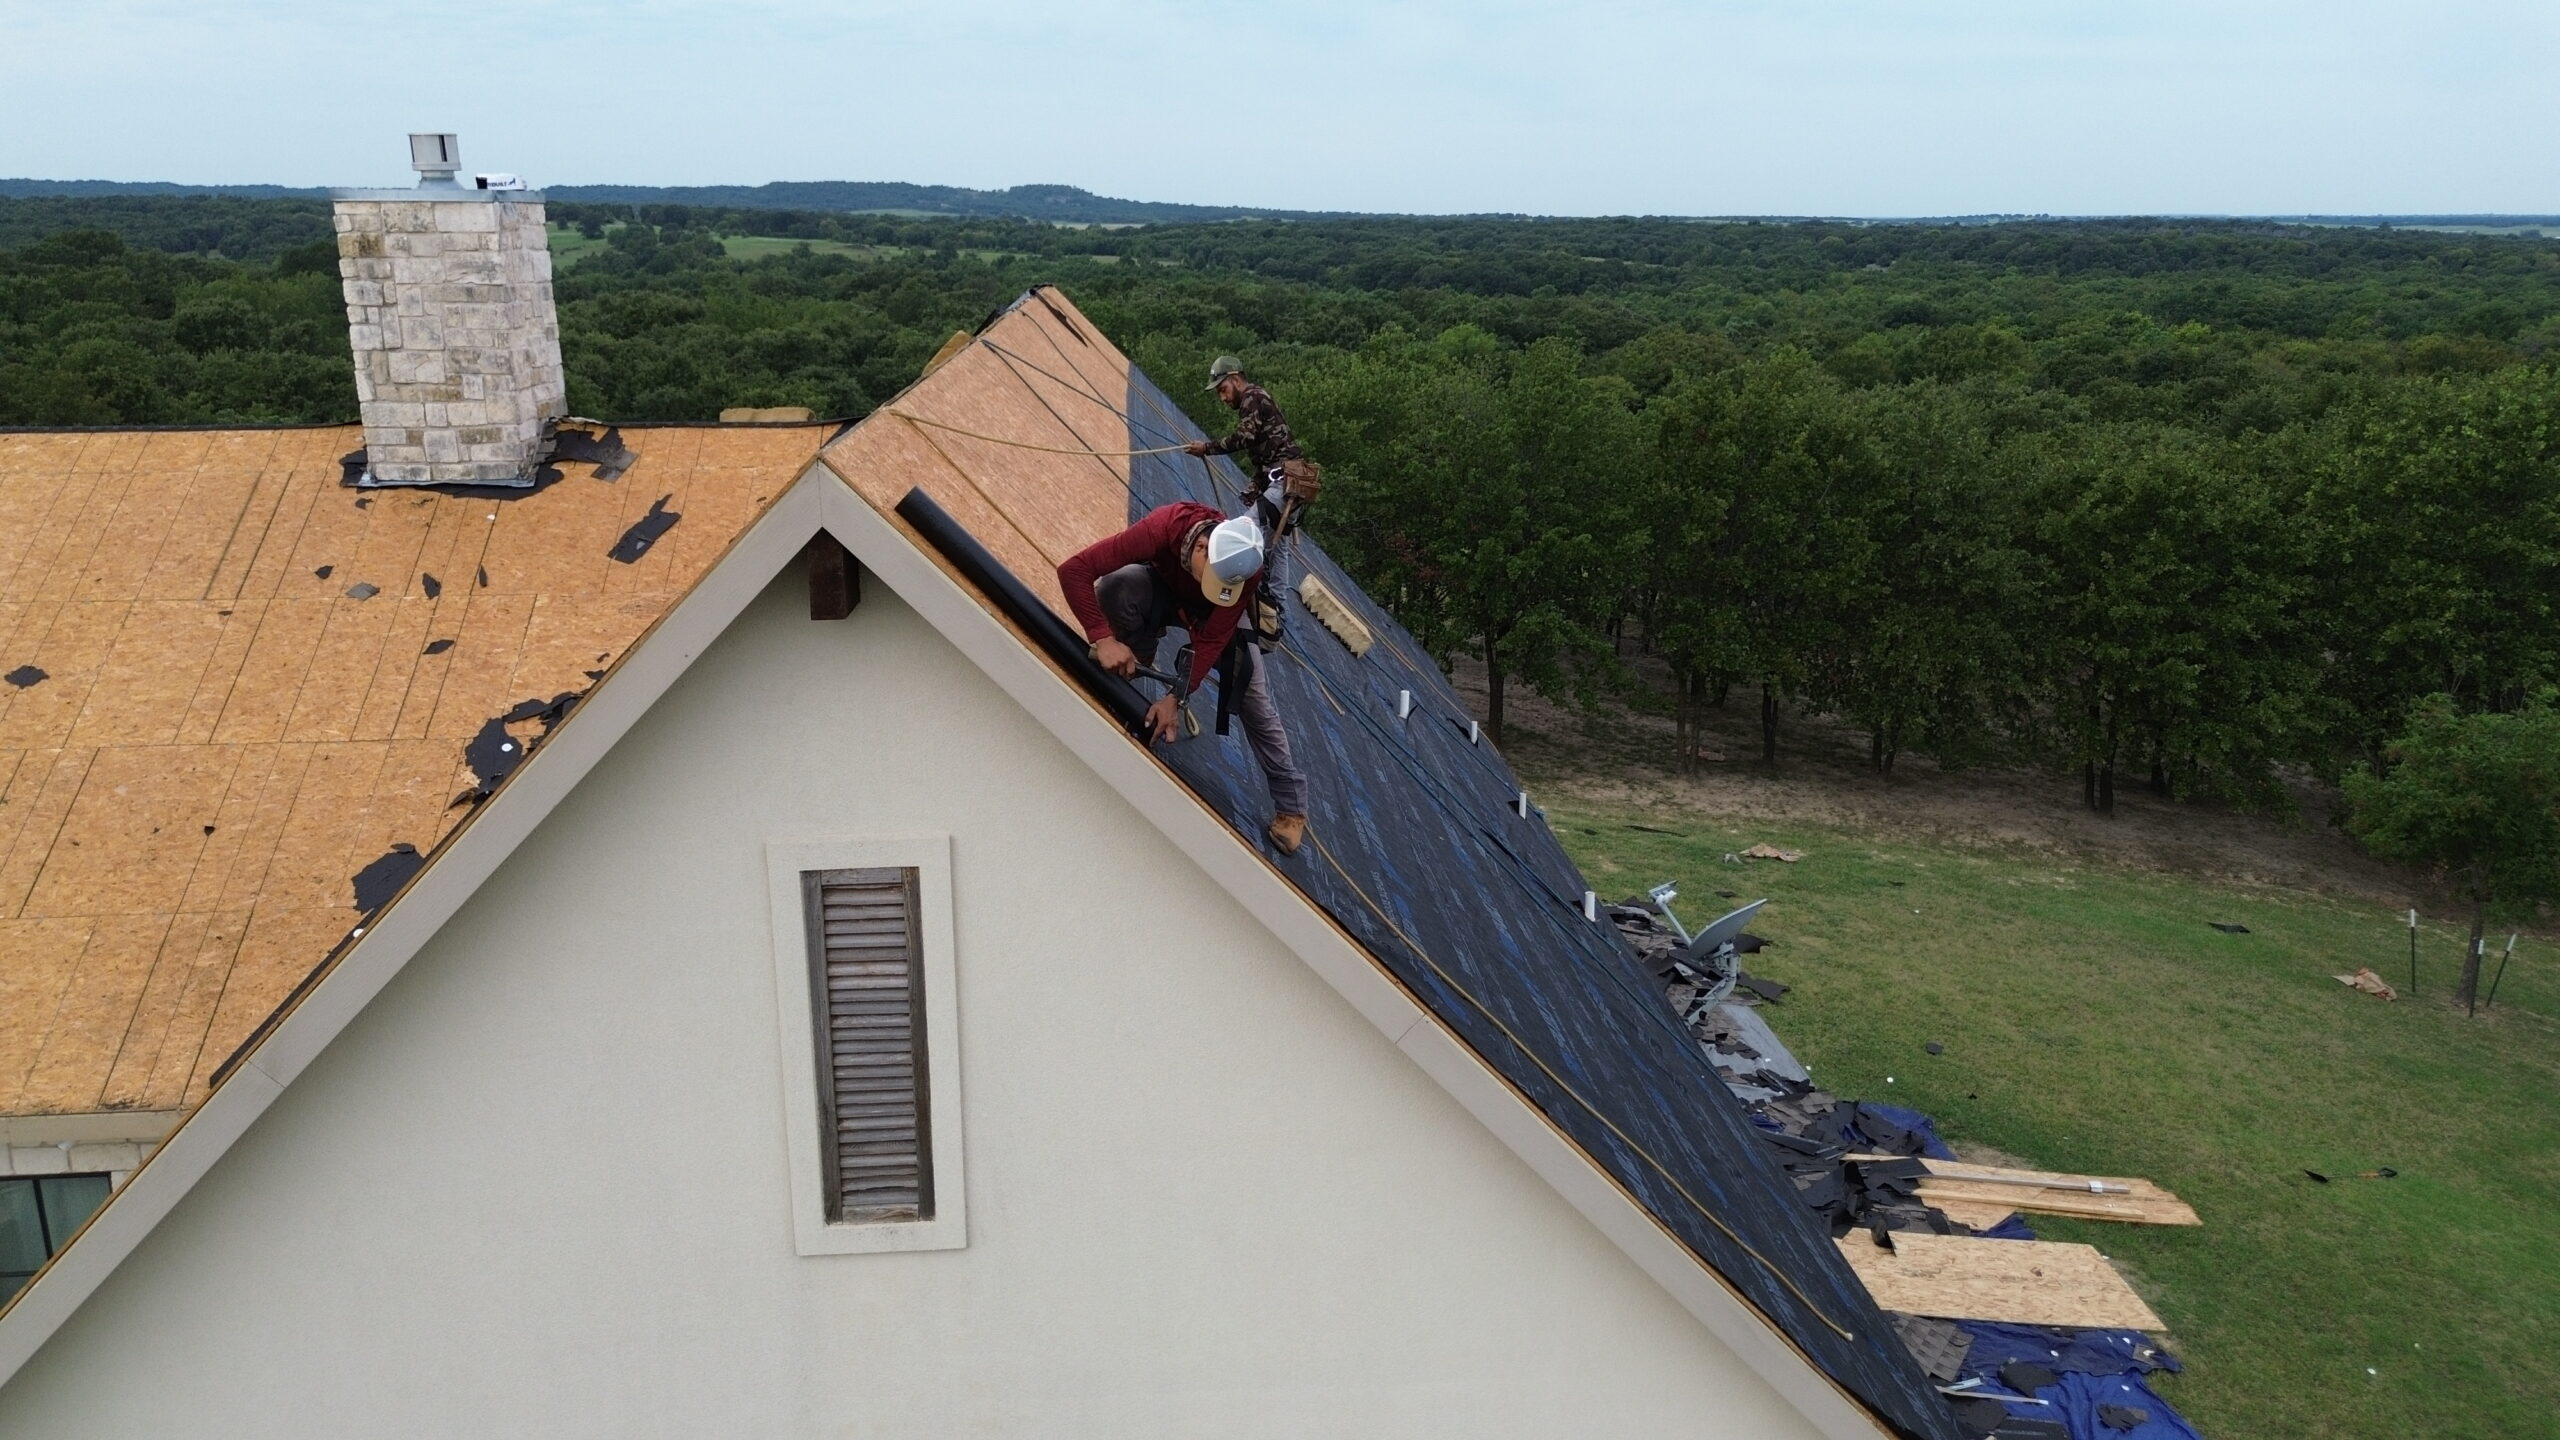
Comparing Popular Roofing Materials
Every roofing material offers its own balance of durability, maintenance, appearance, and cost. Selecting the right option depends on the homeowner’s priorities as well as local climate conditions.
Asphalt shingles remain the most widely used choice because they are affordable, easy to install, and available in many colors and styles. They provide dependable protection while fitting a wide variety of architectural designs.
Metal roofing offers exceptional longevity and excellent energy efficiency. Its reflective surface helps reduce heat absorption, making it especially attractive for homes located in warmer climates. Many homeowners also appreciate its low maintenance requirements.
Clay and concrete tiles provide impressive durability and a distinctive appearance. Although they require stronger structural support because of their weight, they can last for several decades when properly installed.
Synthetic roofing products continue to grow in popularity because they combine attractive appearance with lightweight construction. Many modern products are designed to imitate traditional materials while offering improved durability and lower maintenance requirements.
The best roofing material is not necessarily the most expensive one. Instead, it is the option that provides the right combination of performance, appearance, maintenance, and value for the specific home and environment.
Long Term Roof Maintenance After Installation
Even a professionally installed roof requires regular maintenance to achieve its maximum lifespan. Routine inspections help identify minor issues before they develop into costly repairs. Preventive maintenance also preserves manufacturer warranties in many cases.
Homeowners should visually inspect the roof several times each year, especially after severe storms. Looking for damaged shingles, loose flashing, clogged gutters, or fallen branches helps detect problems while they are still easy to correct. Professional inspections every few years provide additional peace of mind.
Keeping gutters clean is one of the simplest yet most effective maintenance tasks. Blocked gutters can cause water to back up beneath roofing materials, increasing the risk of leaks and wood deterioration. Regular cleaning promotes efficient drainage throughout the roofing system.
Tree branches that hang over the roof should also be trimmed periodically. This reduces debris accumulation while minimizing the risk of branches damaging roofing materials during storms. Proper landscaping contributes to better roof performance over the long term.
Small maintenance efforts performed consistently often prevent major repair expenses later. A well maintained roof not only lasts longer but also continues to protect the home as originally intended.
Signs That a Newly Installed Roof Needs Attention
A newly constructed roof should provide reliable performance from the day it is completed. However, homeowners should still remain aware of early warning signs that may indicate an installation issue requiring prompt attention.
Uneven shingle alignment, loose roofing materials, or visible gaps around flashing should never be ignored. These issues may allow water to enter the roofing system if left uncorrected. Contacting the roofing contractor as soon as concerns appear allows warranty repairs to be completed before additional damage occurs.
Inside the home, water stains on ceilings, damp insulation, or unusual attic moisture can indicate that water is entering the roofing system. Although these problems are uncommon on properly installed roofs, early detection prevents more extensive repairs.
Homeowners should also pay attention to gutters after heavy rainfall. Overflowing water or poor drainage may suggest that gutters require adjustment or cleaning. Addressing these concerns quickly helps maintain the roof’s overall performance.
Regular observation during the first year after construction helps confirm that every roofing component continues to function as expected.
Questions to Ask Your Roofing Contractor
Clear communication with the roofing contractor contributes to a smoother construction experience. Asking thoughtful questions before and during installation helps homeowners understand the project while building confidence in the contractor’s work.
Important topics include material warranties, installation methods, ventilation design, inspection schedules, maintenance recommendations, and expected project timelines. Contractors should be able to explain each stage of the installation process in clear and understandable terms.
Homeowners may also ask whether the roofing products meet local building code requirements and manufacturer specifications. Understanding these details provides reassurance that the roof has been installed according to recognized industry standards.
Requesting written documentation for warranties, inspection approvals, and maintenance guidelines is equally valuable. These records become useful references throughout the life of the roof.
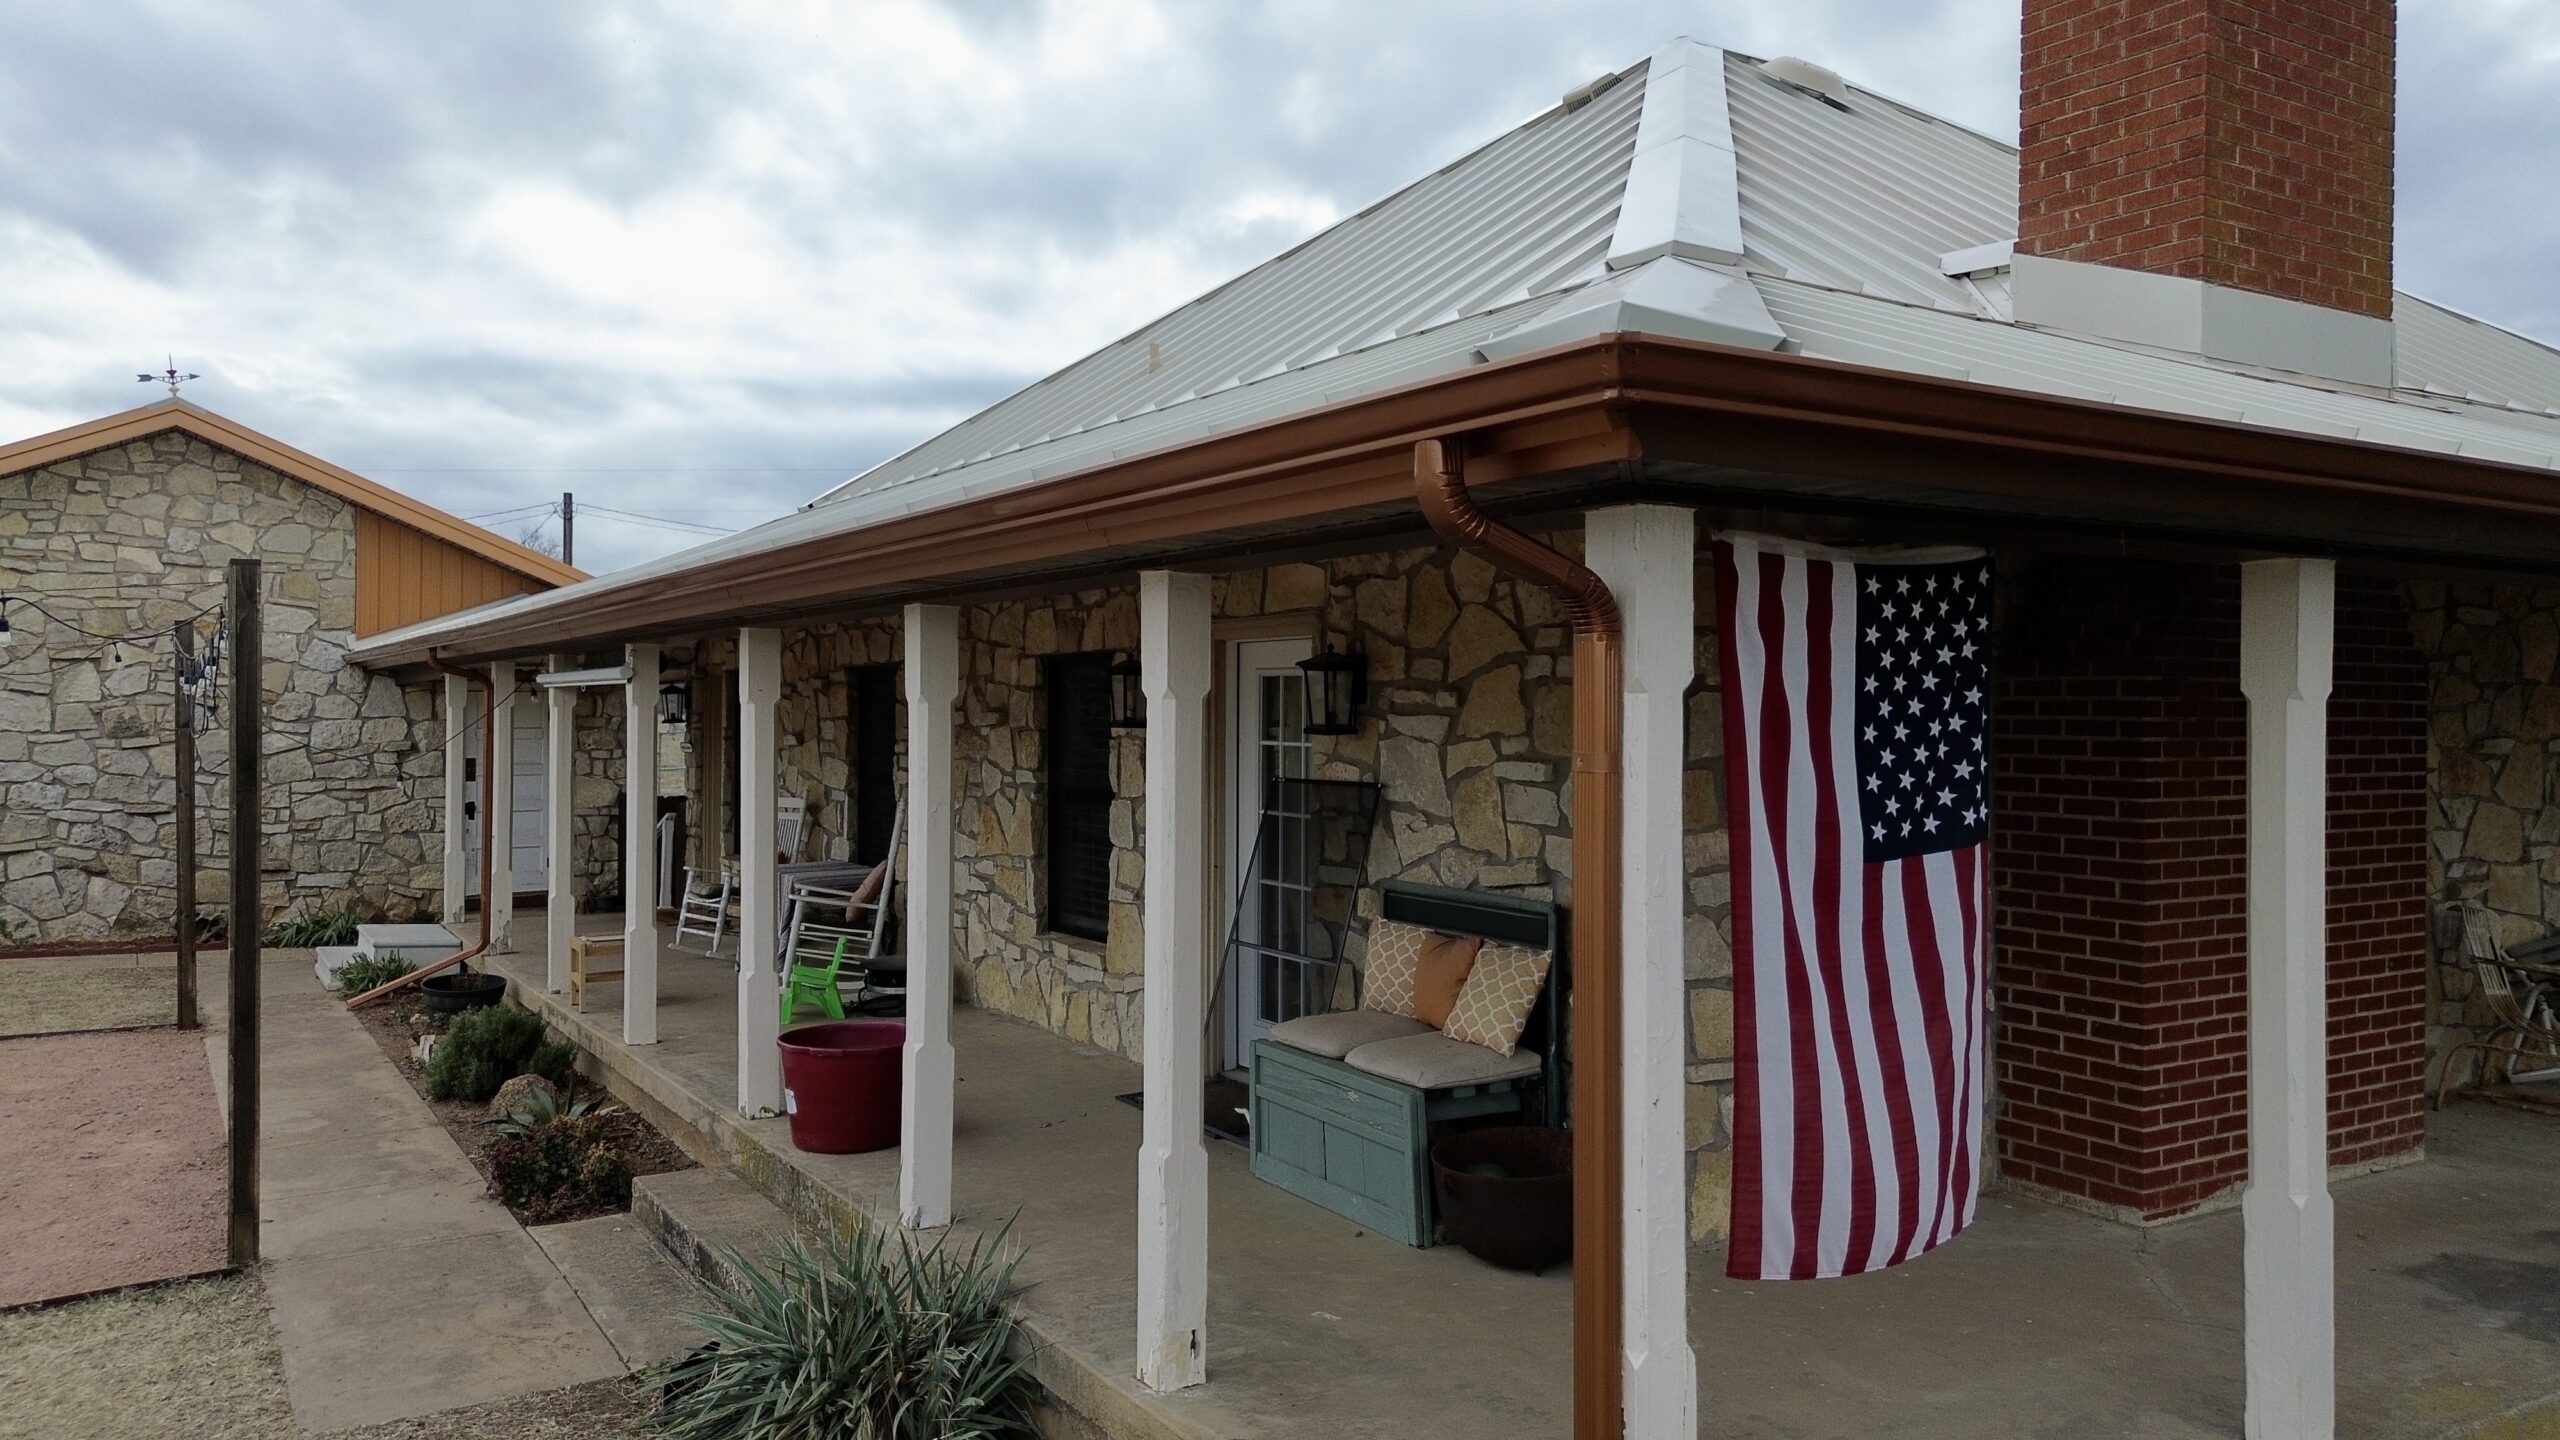
Future Trends in Residential Roof Installation
Residential roofing continues to evolve as manufacturers develop materials that improve durability, energy efficiency, and environmental sustainability. Modern roofing systems are becoming more advanced while remaining easier to maintain and more resistant to extreme weather.
Cool roofing technologies are gaining popularity because they reflect more sunlight and reduce heat absorption. These systems help improve indoor comfort while lowering cooling costs during warmer months. Many homeowners now consider energy performance alongside appearance when selecting roofing materials.
Sustainable construction practices are also influencing roof installation. Recyclable roofing materials, improved insulation systems, and environmentally responsible manufacturing processes are becoming increasingly common. Builders are incorporating these innovations to create homes that are both durable and environmentally conscious.
Technology is further improving quality control during construction. Digital measurement tools, aerial roof imaging, and advanced project management software allow contractors to plan installations with greater precision. These innovations help reduce waste while improving overall installation accuracy.
As construction methods continue to advance, homeowners can expect roofing systems that offer longer service lives, improved weather resistance, and greater energy efficiency without sacrificing appearance.
Conclusion
Roof installation for a new construction home is a carefully planned process that combines engineering, skilled craftsmanship, and quality materials into one complete roofing system. Every stage, from structural framing and roof decking to underlayment, flashing, ventilation, and final inspection, contributes to the roof’s ability to protect the home for decades. When each component is installed correctly, the finished roof provides strength, weather resistance, energy efficiency, and long term value.
Understanding how roof installation works allows homeowners to participate more confidently throughout the construction process. Knowing what happens at each stage makes it easier to communicate with builders, evaluate workmanship, and appreciate the importance of proper planning before the first roofing material is installed. An informed homeowner is better equipped to make decisions that support both immediate construction goals and future maintenance needs.
Although roofing materials and construction methods continue to evolve, the principles of quality installation remain the same. Careful preparation, precise installation, thorough inspections, and ongoing maintenance all work together to maximize the lifespan of the roofing system. Investing in experienced professionals and high quality materials creates a roof that not only enhances the appearance of a new home but also provides dependable protection through every season for many years to come.