
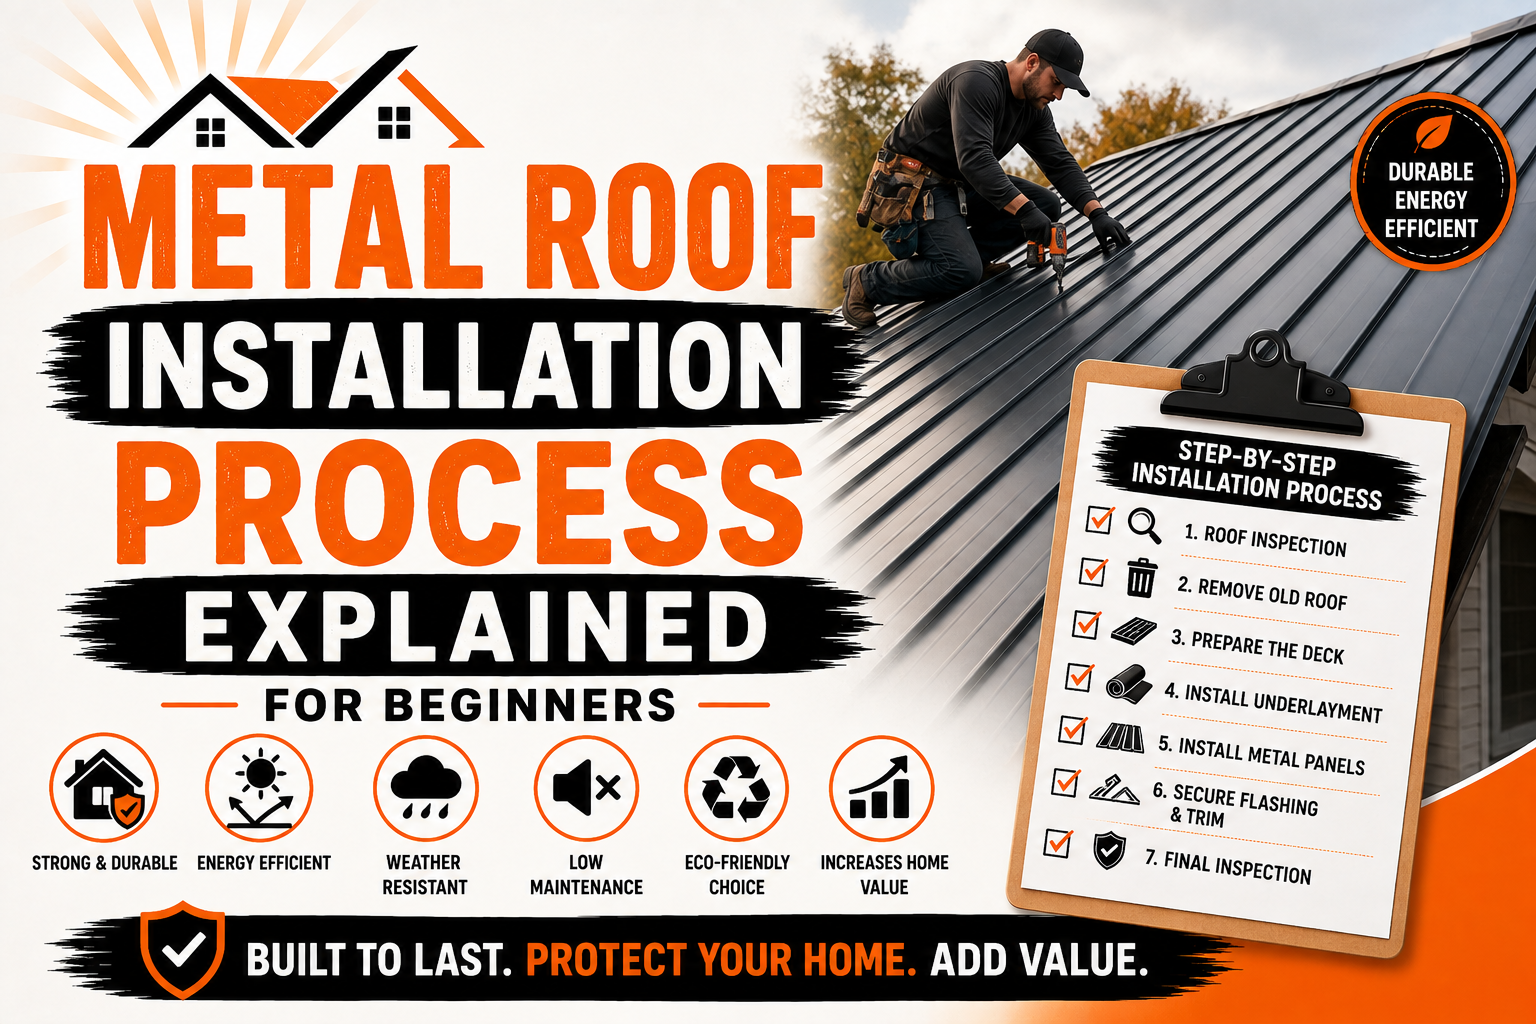
Metal Roof Installation Process Explained for Beginners
Introduction
Metal roofing has become one of the fastest growing roofing options for residential, commercial, and agricultural buildings. Homeowners are increasingly choosing metal roofs because they offer excellent durability, energy efficiency, and long term value. While the installation process may seem complicated at first, understanding each stage makes it much easier to appreciate how a quality metal roof is built.
Unlike traditional asphalt shingles that rely on overlapping layers, metal roofing systems use precisely measured panels, secure fastening methods, protective underlayment, and specialized flashing components. Every step contributes to the roof’s ability to resist wind, rain, snow, and temperature changes. Skipping even a small detail can affect the overall performance of the entire roofing system.
For beginners, learning the installation process is valuable whether you plan to hire a contractor or simply want to understand how your roof is constructed. Knowing what happens during installation helps you ask better questions, recognize quality workmanship, and make informed decisions throughout your roofing project.
This guide explains the complete metal roof installation process in simple language. In this first part, we will cover the preparation phase, including roof evaluation, material selection, safety measures, tools, and the essential groundwork that must be completed before the first metal panel is installed.
Understanding Metal Roofing and Why It Is Popular
Metal roofing has evolved significantly over the past few decades. Modern manufacturing techniques have made metal roofs more attractive, lightweight, and versatile than earlier designs. Today, homeowners can choose from a variety of profiles and finishes that complement nearly every architectural style.
One of the biggest reasons for its popularity is its exceptional lifespan. A properly installed metal roof can often last several decades while maintaining its structural integrity and appearance. Compared to many conventional roofing materials, metal requires less frequent replacement, making it a practical long term investment.
Another advantage is energy efficiency. Metal surfaces reflect a significant portion of solar radiation, reducing heat absorption during warmer months. This can help maintain more comfortable indoor temperatures while lowering cooling costs, particularly in regions with hot climates.
Modern protective coatings also improve corrosion resistance and color retention. High quality finishes help prevent rust, fading, and surface deterioration caused by prolonged exposure to sunlight, rain, and changing weather conditions.
Metal roofs are also appreciated for their strength. They can withstand strong winds, heavy rainfall, hail, and other environmental challenges when installed according to manufacturer guidelines. Their durability often makes them an attractive choice in areas that experience severe weather throughout the year.
In addition to performance, many metal roofing products are environmentally friendly. Many panels contain recycled materials and can be recycled again at the end of their service life. This reduces construction waste and supports more sustainable building practices.
Types of Metal Roofing Materials
Before installation begins, it is important to understand the different types of metal roofing materials available. Each material has unique characteristics, benefits, and ideal applications depending on the building and local climate.
Steel is the most commonly used metal roofing material. It offers an excellent balance between strength, affordability, and durability. Galvanized and Galvalume steel panels include protective coatings that help prevent corrosion and extend the roof’s lifespan.
Aluminum is another popular option because it naturally resists rust. It performs especially well in coastal regions where salt exposure can accelerate corrosion on other materials. Although aluminum is generally more expensive than steel, its lightweight nature makes installation easier.
Copper provides a distinctive appearance that changes over time as it develops a natural protective patina. While copper roofing offers exceptional longevity, its higher cost makes it a premium choice for specialized architectural projects.
Zinc roofing is known for its ability to heal minor surface scratches through natural weathering. It offers excellent durability and requires minimal maintenance, although it also represents a significant initial investment.
The roofing profile is equally important. Some homeowners prefer exposed fastener panels because they are more economical and relatively simple to install. Others choose standing seam systems, which conceal the fasteners beneath raised seams for improved weather protection and a cleaner appearance.
Selecting the right material involves balancing appearance, budget, climate conditions, expected lifespan, and maintenance requirements. Understanding these factors before installation helps ensure the roofing system meets both practical and aesthetic goals.
Key Components of a Metal Roof System
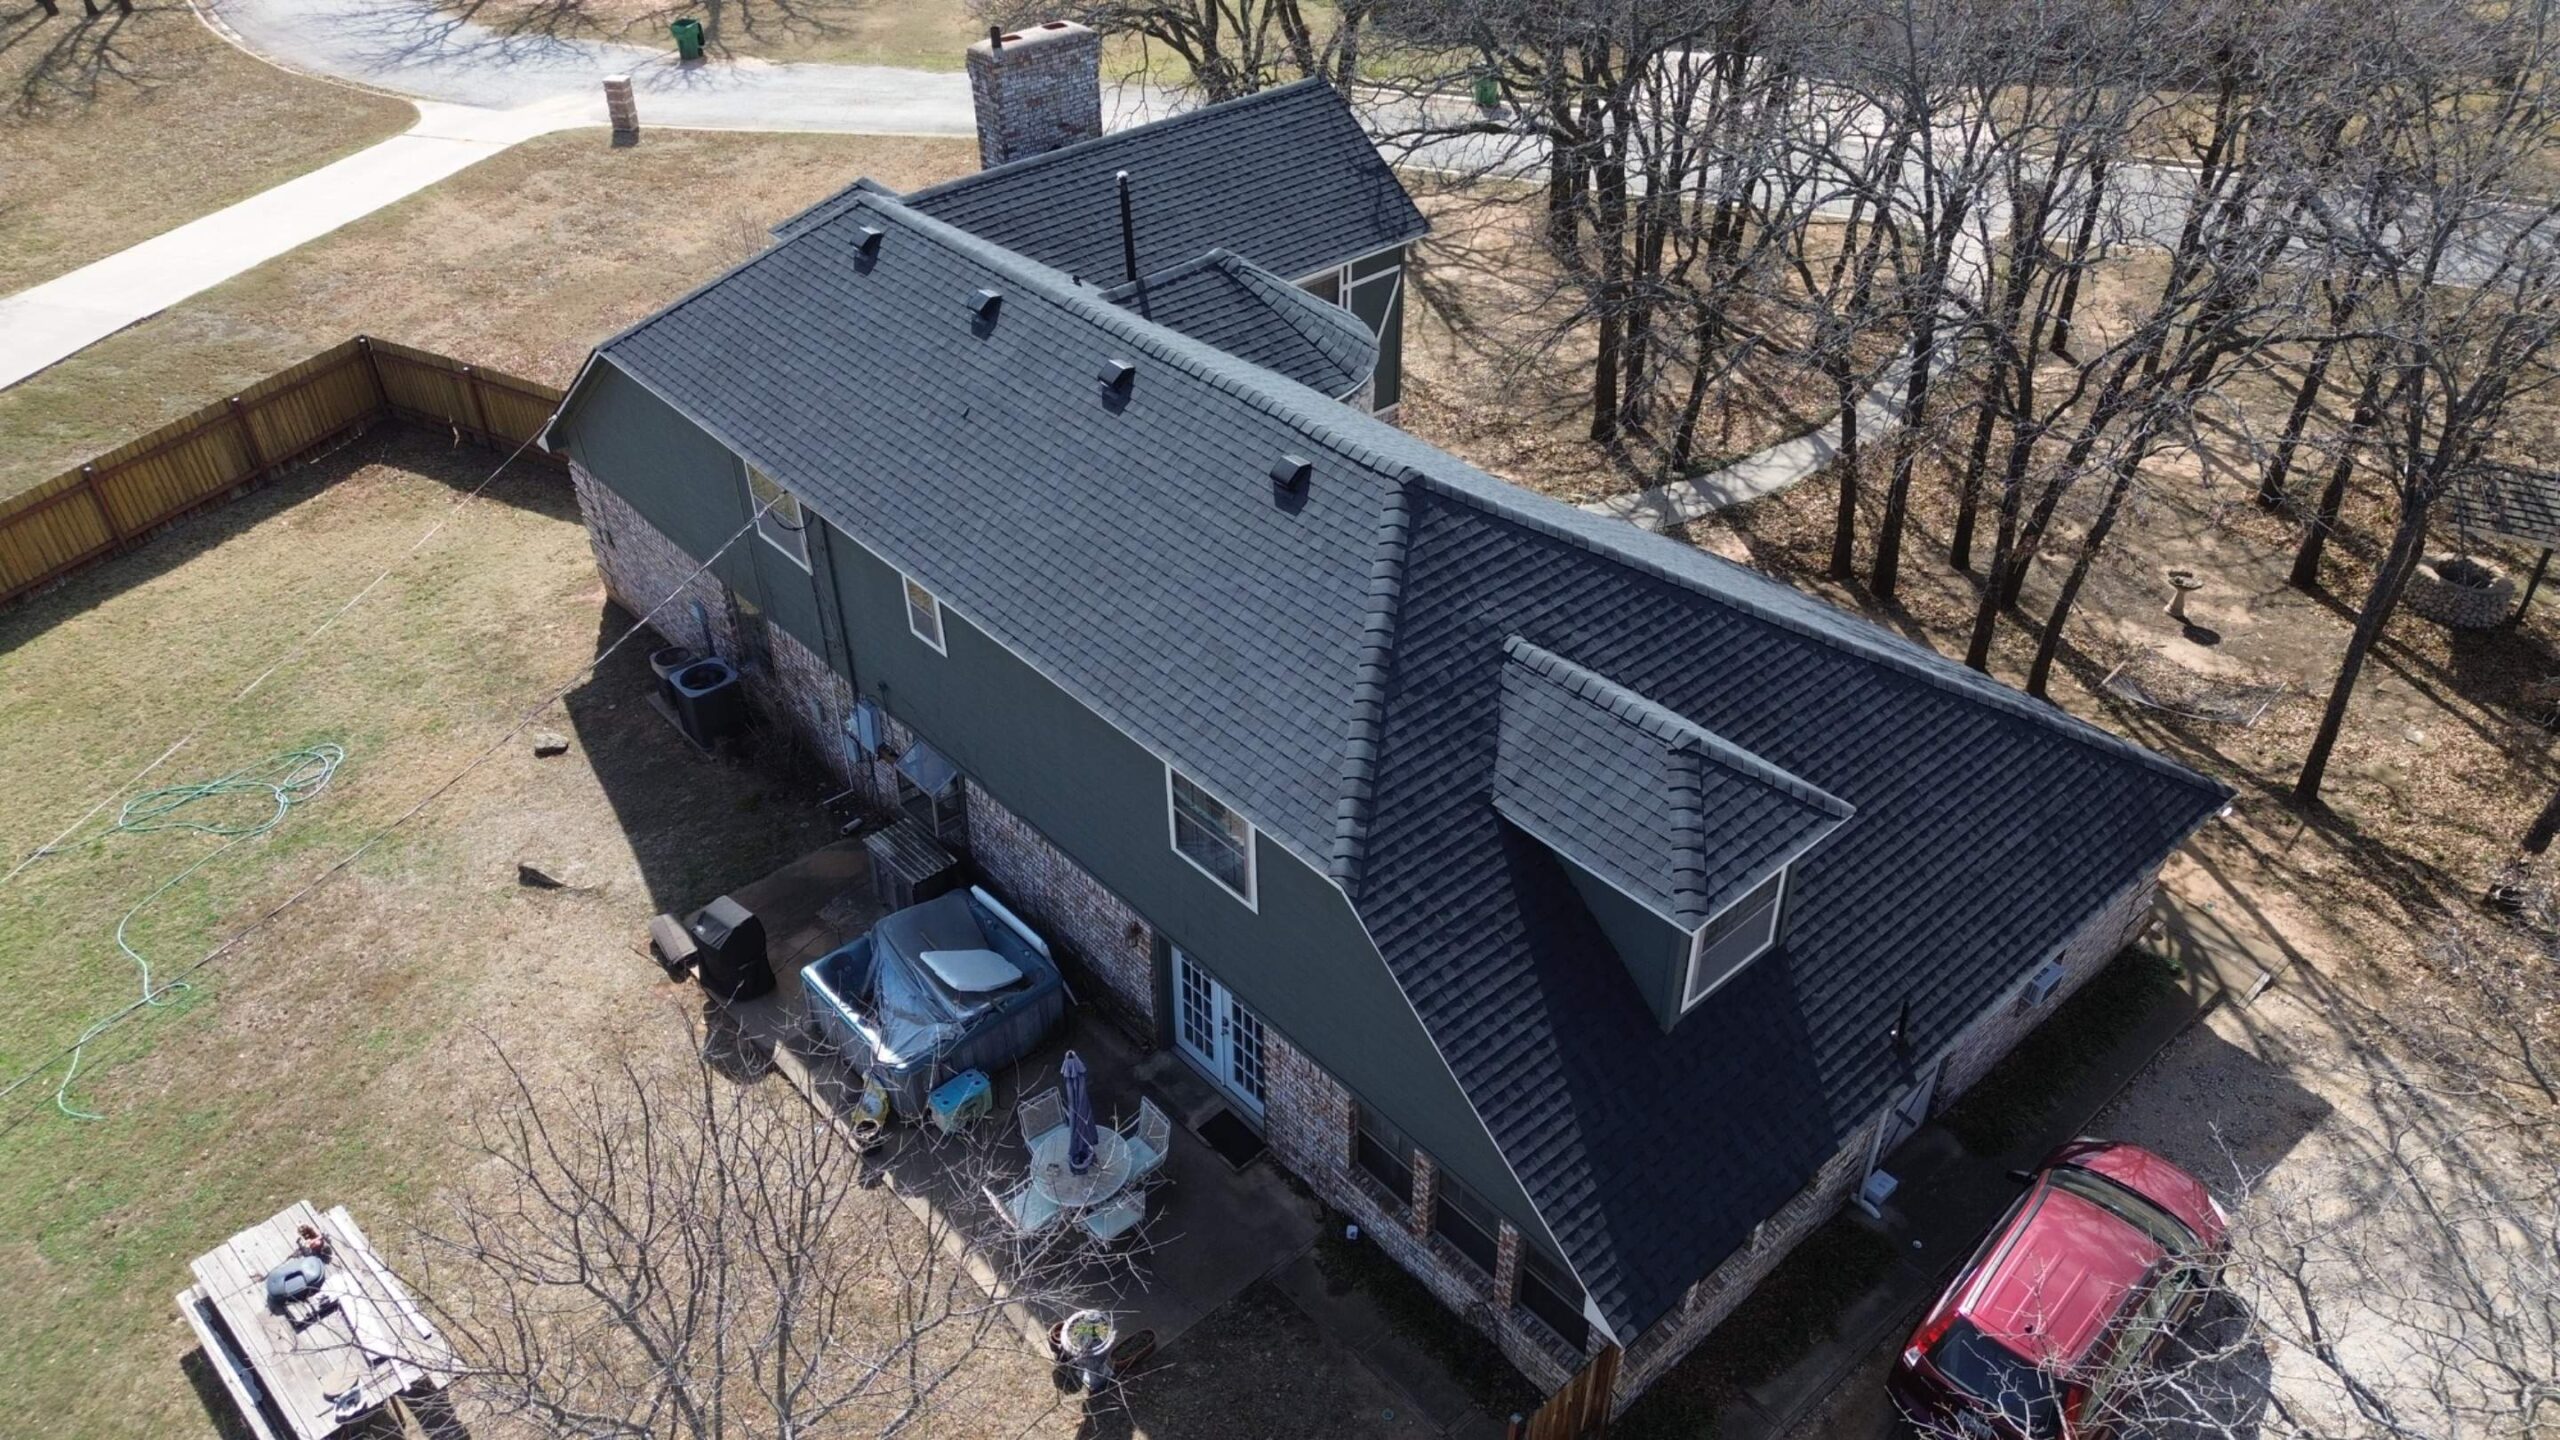
A metal roof consists of much more than the visible panels. Several supporting components work together to create a durable and weather resistant roofing system. Understanding these components helps beginners appreciate why proper installation requires careful attention to detail.
The roof deck serves as the structural foundation. Typically made from plywood or oriented strand board, it provides the solid surface onto which the roofing system is installed. Any damage or weakness in the deck must be repaired before installation continues.
The underlayment forms the first layer of moisture protection. It creates a barrier between the roof deck and the metal panels, helping prevent water infiltration if moisture passes beneath the roofing material.
Fasteners secure the metal panels to the roof structure. These specialized screws usually include rubber washers that create watertight seals around each fastening point while allowing the roof to remain securely attached during strong winds.
Flashing protects vulnerable areas where different roof surfaces meet. Valleys, chimneys, skylights, vents, and wall intersections all require carefully installed flashing to direct water away from openings.
Trim pieces improve both function and appearance. Components such as ridge caps, gable trim, eave trim, and drip edges protect roof edges while providing a finished appearance.
Ventilation components allow proper airflow beneath the roofing system. Effective ventilation helps regulate attic temperatures, reduce moisture buildup, and extend the lifespan of both the roof structure and insulation.
Each component depends on the others for proper performance. Even the highest quality metal panels cannot perform effectively if supporting materials are improperly installed or omitted.
Planning Before Installation Begins
Successful metal roof installation begins long before the first panel arrives at the job site. Proper planning reduces delays, minimizes material waste, and helps ensure every stage of the project proceeds efficiently.
The first step involves measuring the roof accurately. Contractors determine roof dimensions, slope, valleys, ridges, hips, and penetrations to calculate the required materials. Precise measurements reduce unnecessary waste and help ensure panels fit correctly.
Material ordering follows the measurement process. In addition to roofing panels, installers must account for flashing, trim pieces, fasteners, sealants, underlayment, ridge caps, closure strips, and ventilation accessories. Missing components can interrupt installation and create unnecessary delays.
Weather planning also plays an important role. Installing metal roofing during heavy rain, snow, or high winds creates safety risks and can compromise installation quality. Scheduling work during stable weather conditions helps maintain consistent progress.
Permits may also be necessary depending on local building regulations. Some municipalities require inspections before, during, or after roofing work. Verifying these requirements beforehand helps avoid legal complications later.
Proper material storage is another important planning consideration. Roofing panels should be stored on elevated supports in a dry location where moisture cannot become trapped between stacked sheets. Poor storage practices may damage protective coatings before installation even begins.
Finally, contractors establish a clear installation sequence before work starts. Knowing the order in which each component will be installed reduces confusion and helps every member of the installation team work efficiently.
Roof Inspection and Structural Assessment
Before any roofing materials are installed, the existing roof structure must undergo a thorough inspection. This step ensures the building can safely support the new roofing system while identifying problems that require correction.
The roof deck is examined for signs of rot, water damage, mold, insect activity, or structural weakness. Damaged sections are replaced before installation continues because metal panels require a stable and secure foundation.
Installers also inspect rafters and trusses for structural integrity. Although metal roofing is lighter than many traditional roofing materials, any existing structural issues should be repaired before adding new roofing components.
Roof slope is carefully evaluated because different metal roofing systems have minimum pitch requirements. Certain panel profiles perform better on steeper roofs, while others are specifically designed for lower slopes.
Existing flashing around chimneys, skylights, and roof penetrations is also inspected. Damaged flashing is removed and replaced during installation to ensure reliable waterproofing.
Attic ventilation receives careful attention during the inspection process. Poor ventilation contributes to condensation, mold growth, and premature roofing deterioration. Correcting ventilation issues before installation improves long term roof performance.
The inspection stage also identifies obstacles such as damaged fascia boards, deteriorated soffits, or unstable gutters that may require repair. Addressing these issues before installation creates a stronger and more reliable finished roofing system.
Safety Equipment and Preparation
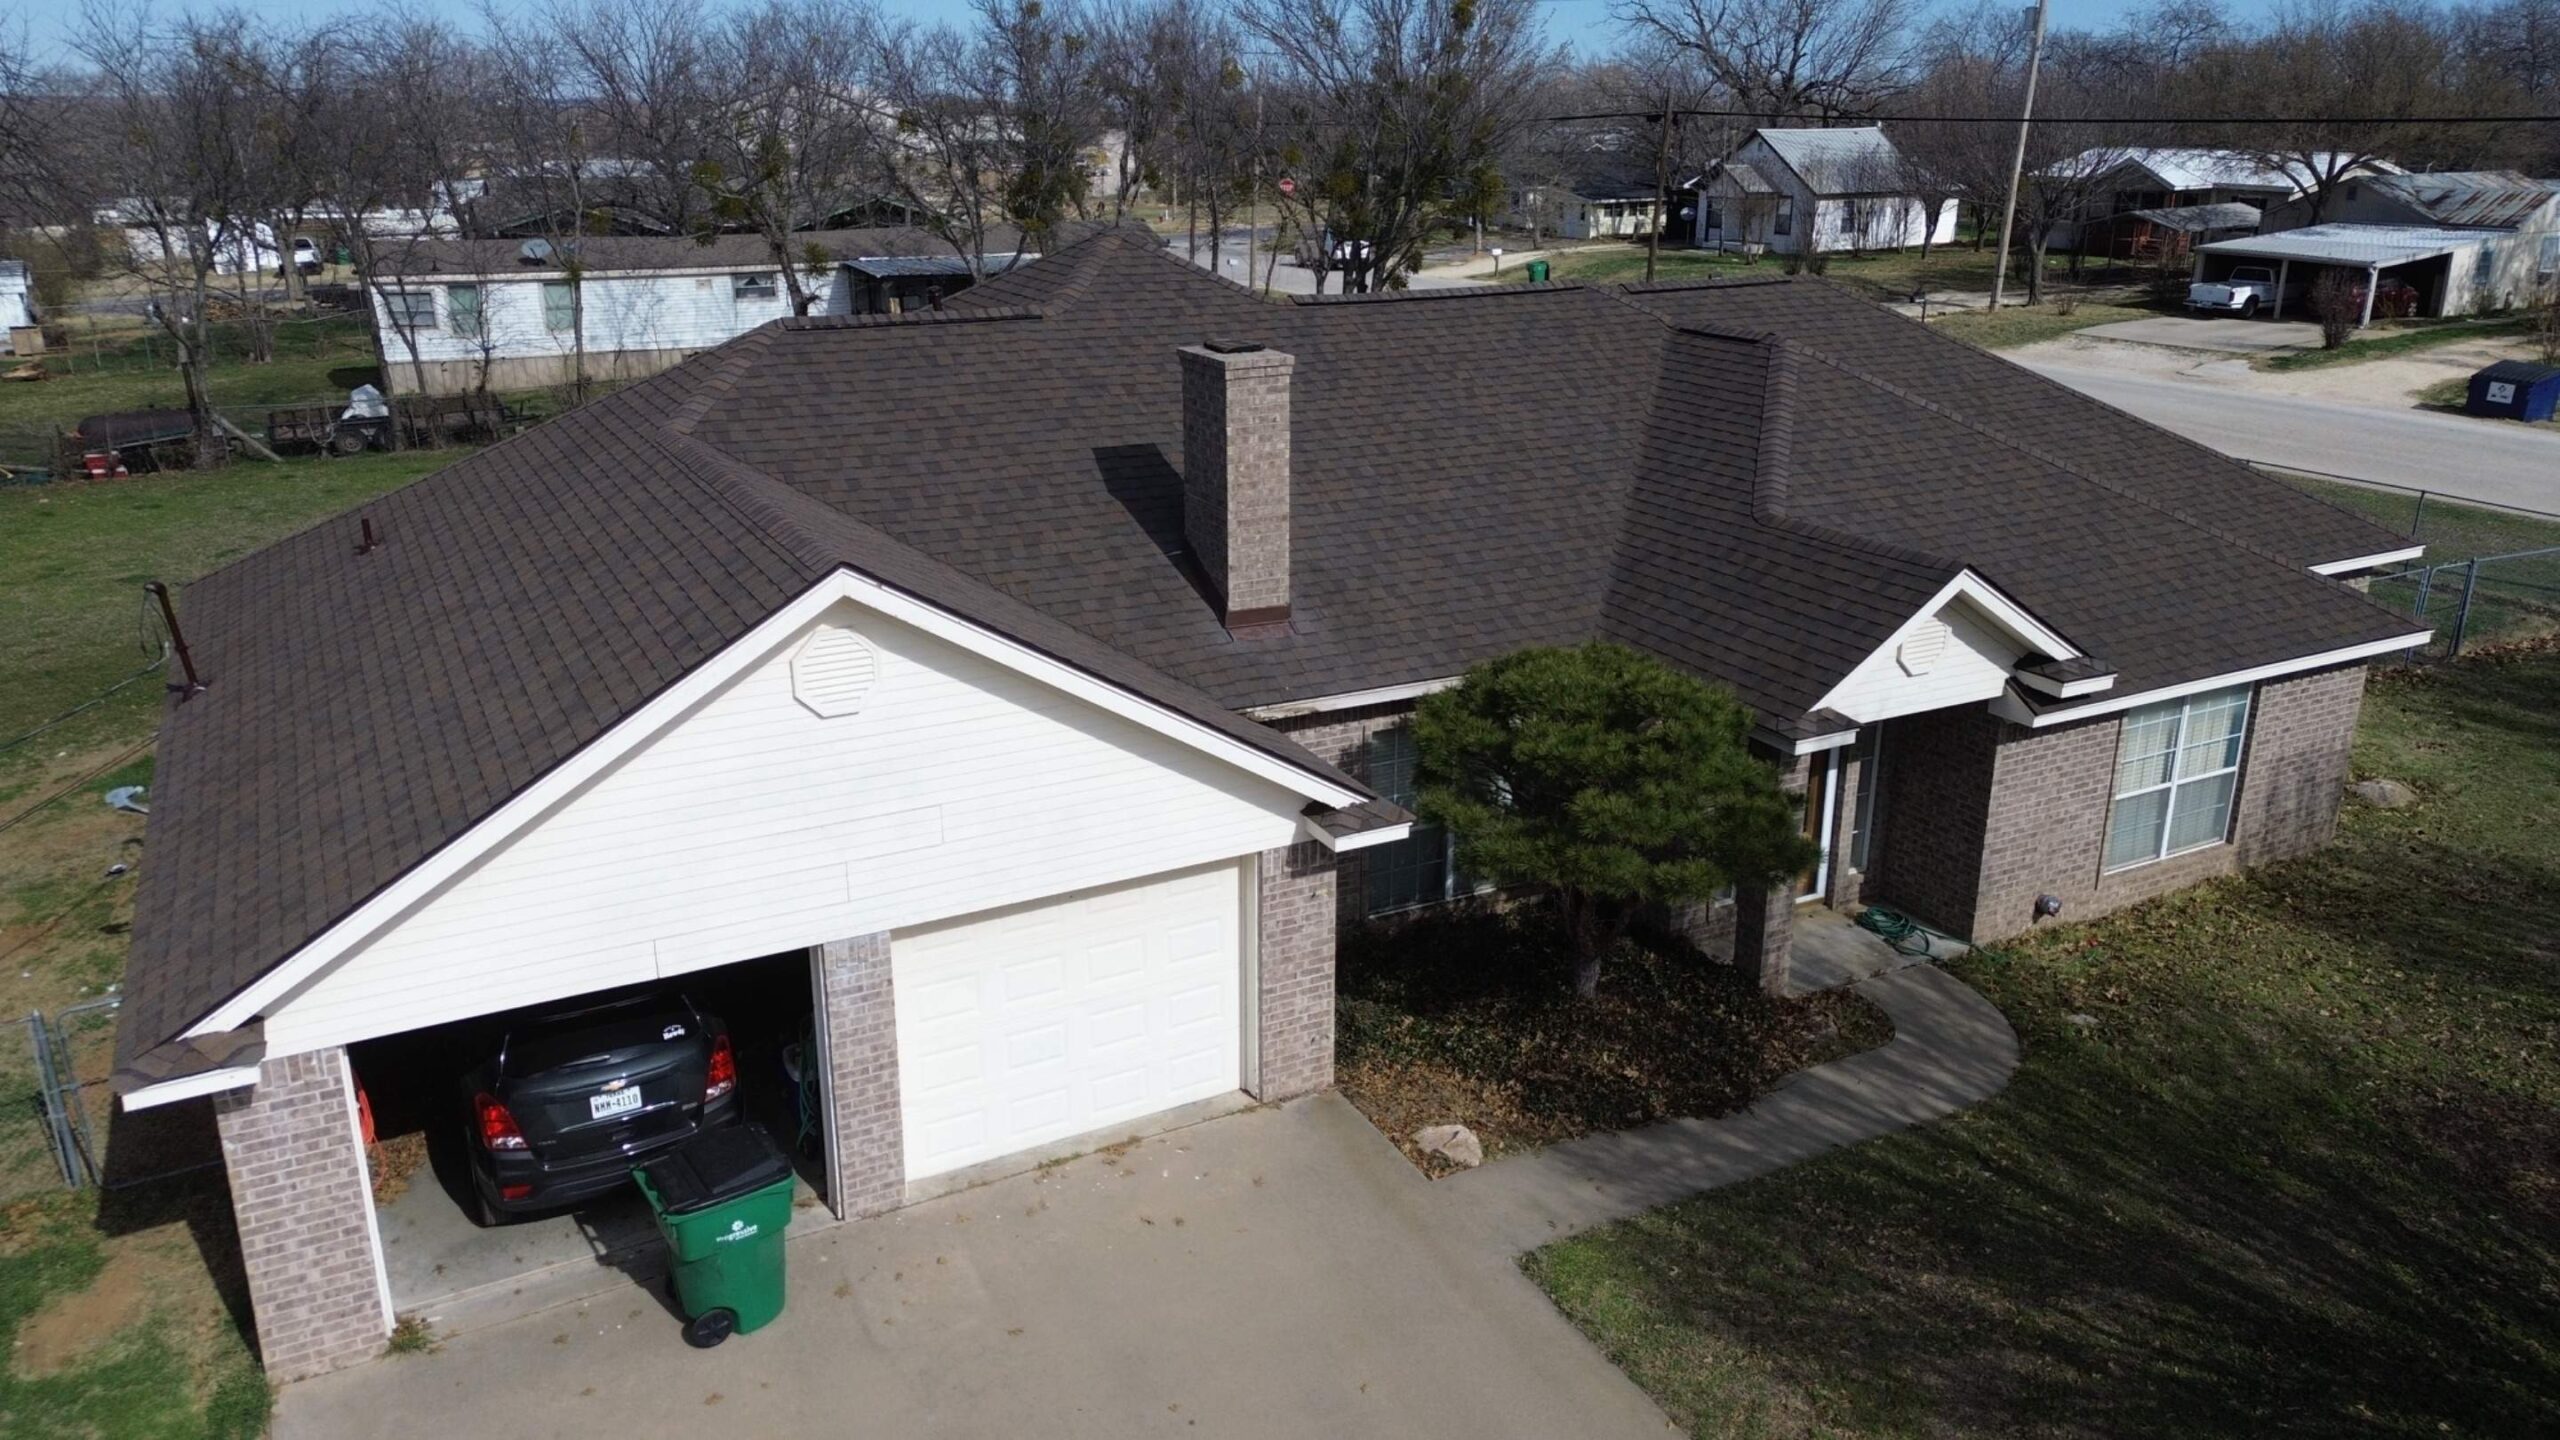
Roof installation involves working at significant heights with sharp materials and power tools. Safety must always remain the highest priority throughout every stage of the project.
Workers begin by wearing appropriate personal protective equipment. This includes hard hats, safety glasses, durable gloves, non slip footwear, and protective clothing designed for construction work. Each item reduces the risk of injury while handling heavy materials or operating equipment.
Fall protection systems are equally important. Roof harnesses, anchor points, safety ropes, and guardrails help prevent serious accidents while workers move across sloped roofing surfaces.
Ladders should be positioned on stable ground and secured properly before use. Extension ladders must extend above the roof edge to provide safe access when climbing onto or off the roof.
Work areas should remain organized throughout the installation process. Loose tools, unused fasteners, and material scraps create unnecessary tripping hazards that increase the likelihood of accidents.
Weather conditions also influence job site safety. Rain, frost, snow, or strong winds make metal surfaces extremely slippery. Installation should be postponed whenever weather conditions create unacceptable safety risks.
Proper lifting techniques protect workers from unnecessary strain. Metal roofing panels are often long and awkward to carry, making teamwork essential when moving materials safely onto the roof.
Tools and Materials Required
Installing a metal roof requires specialized tools that ensure accurate measurements, clean cuts, and secure fastening. Using the proper equipment improves both installation quality and worker safety.
Some of the essential tools include:
- Tape measure
- Chalk line
- Metal snips
- Circular saw with metal cutting blade
- Screw gun
- Hammer
- Utility knife
- Level
- Safety harness
- Ladder
In addition to tools, installers prepare all necessary materials before beginning work. These include metal panels, underlayment, synthetic moisture barriers, fasteners, flashing, ridge caps, trim pieces, closure strips, sealants, and ventilation components.
Having every required material available before installation begins helps maintain steady progress. It also reduces the possibility of using substitute products that may not meet manufacturer specifications.
Proper organization of tools saves valuable time during installation. Keeping equipment within easy reach allows workers to maintain consistent productivity while minimizing unnecessary movement across the roof.
Installing the Drip Edge and Flashing Components
With the roof deck inspected, repairs completed, and underlayment securely installed, the project moves into one of the most important phases of metal roof installation. This stage establishes the waterproof framework that protects the home before the main roofing panels are attached. Proper installation of drip edges and flashing helps direct water away from vulnerable areas and reduces the risk of leaks.
The drip edge is installed along the roof’s eaves and gable edges. This metal trim guides rainwater into the gutters instead of allowing it to seep beneath the roofing system. It also protects the edges of the roof deck from moisture damage over time.
Flashing is then installed around roof penetrations such as chimneys, skylights, plumbing vents, and roof valleys. These locations are naturally more susceptible to water intrusion because multiple roofing surfaces intersect. Carefully shaped flashing pieces create a watertight transition between the roofing panels and these structural features.
Manufacturers often provide flashing components that are specifically designed for their roofing systems. Using compatible materials helps ensure proper fit, long term durability, and compliance with warranty requirements.
Sealants may also be applied beneath certain flashing components where recommended. However, sealant should never replace proper installation techniques. Mechanical fastening and correctly overlapped flashing remain the primary defense against water penetration.
Every flashing piece should overlap according to manufacturer specifications. Incorrect overlap direction can allow water to flow beneath the flashing rather than over it, increasing the likelihood of future leaks.
By completing this step carefully, installers create a strong moisture management system that supports every stage of the remaining installation.
Measuring and Aligning Metal Roof Panels
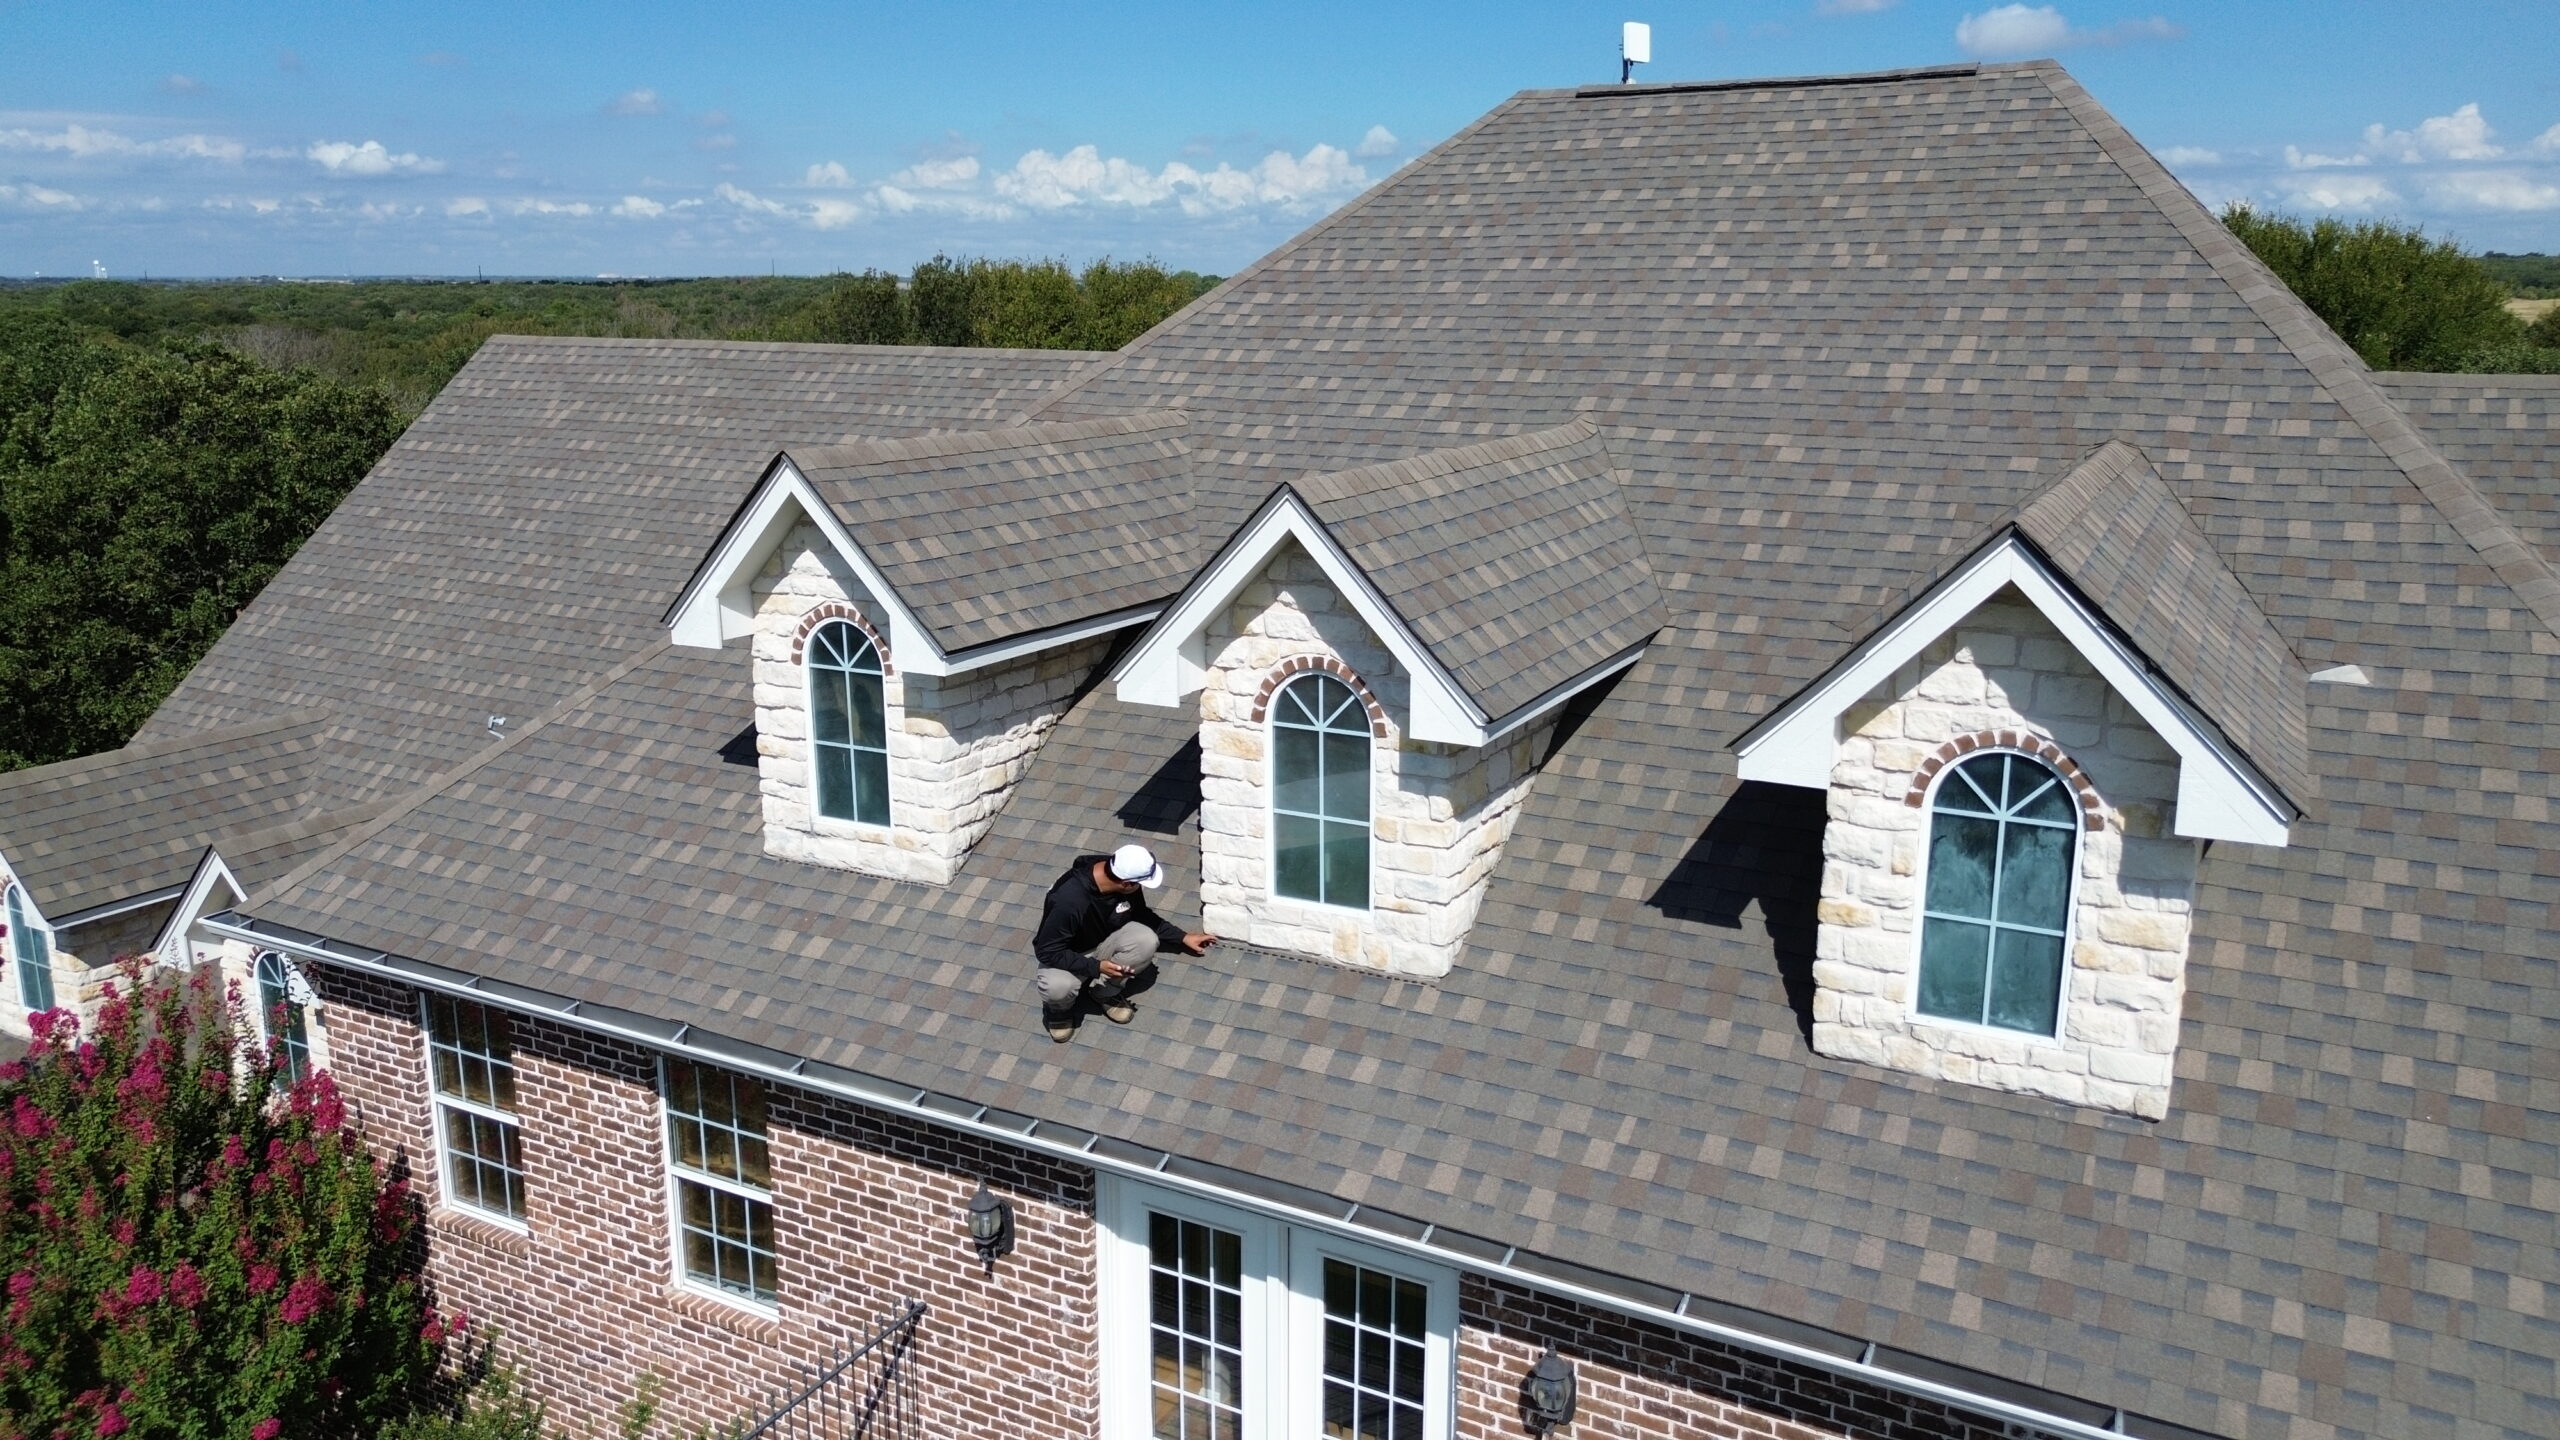
Precision becomes increasingly important once the roofing panels are ready for installation. Even a small alignment error at the beginning can become much larger as additional panels are installed across the roof.
Before placing the first panel, installers use measuring tapes and chalk lines to establish straight reference lines. These guidelines ensure every panel remains square with the roof and maintains consistent spacing from one end to the other.
Panel overhang at the eaves is also carefully measured. Too much overhang may expose the panel to unnecessary wind uplift, while too little can prevent rainwater from draining efficiently into the gutter system.
Installers verify roof dimensions one final time before fastening the first panel permanently. Minor adjustments made at this stage are much easier than correcting alignment problems after several panels have already been installed.
Long metal panels require careful handling during positioning. Carrying them with multiple workers helps prevent bending, twisting, or accidental scratches that could damage protective coatings.
Before fastening begins, installers confirm that the panel sits flat against the roof surface. Uneven placement may create gaps that affect both appearance and weather resistance.
Taking extra time during alignment creates a professional finished appearance. Straight panel lines improve both the roof’s visual appeal and its long term performance.
Installing the First Metal Roof Panel Correctly
The first panel is often considered the most critical part of the installation process. Every remaining panel depends on the accuracy of this initial placement.
The panel is positioned according to the established reference lines and checked multiple times before fastening begins. Even a slight angle can cause noticeable alignment problems across the rest of the roof.
Once satisfied with the position, installers secure the panel using manufacturer approved screws. These fasteners typically include neoprene washers that compress gently against the metal surface to create a watertight seal.
Fasteners should be tightened firmly but not excessively. Over tightening can deform the washer and reduce its ability to prevent water infiltration, while under tightening leaves the panel insufficiently secured.
Most manufacturers specify exact screw spacing based on roof design, panel profile, and local wind conditions. Following these recommendations ensures the roof performs as intended during severe weather.
Throughout installation, installers continue checking measurements after every few fasteners. This simple habit helps identify any movement before it becomes a larger alignment issue.
A properly installed first panel provides a stable starting point for the remainder of the roofing system and significantly reduces the likelihood of installation errors later in the project.
Fastening Techniques and Best Practices
Correct fastening techniques are essential for both structural strength and weather resistance. The quality of the fastener installation often determines how well the roof performs over many years of service.
Roofing screws are specifically designed for metal roofing applications. Their corrosion resistant coatings and integrated sealing washers provide protection against moisture while maintaining strong holding power.
Installers must place screws in the recommended locations according to the panel design. Some systems require fastening through the flat sections of the panel, while others use concealed fastening methods beneath standing seams.
Each fastener should be driven perpendicular to the panel surface. Screws installed at an angle may not compress the sealing washer evenly, creating opportunities for water intrusion.
Power tools should be adjusted to the correct torque setting before installation begins. Consistent fastening pressure helps produce uniform results across the entire roof.
The following practices contribute to reliable fastening:
- Use manufacturer approved roofing screws.
- Drive screws straight into the roof deck.
- Avoid over tightening the sealing washer.
- Maintain consistent fastener spacing.
- Replace damaged or improperly installed fasteners immediately.
Installers should periodically inspect completed sections to verify that all fasteners remain properly seated. Early correction is much easier than repairing widespread fastening issues after installation has progressed.
Installing Additional Panels
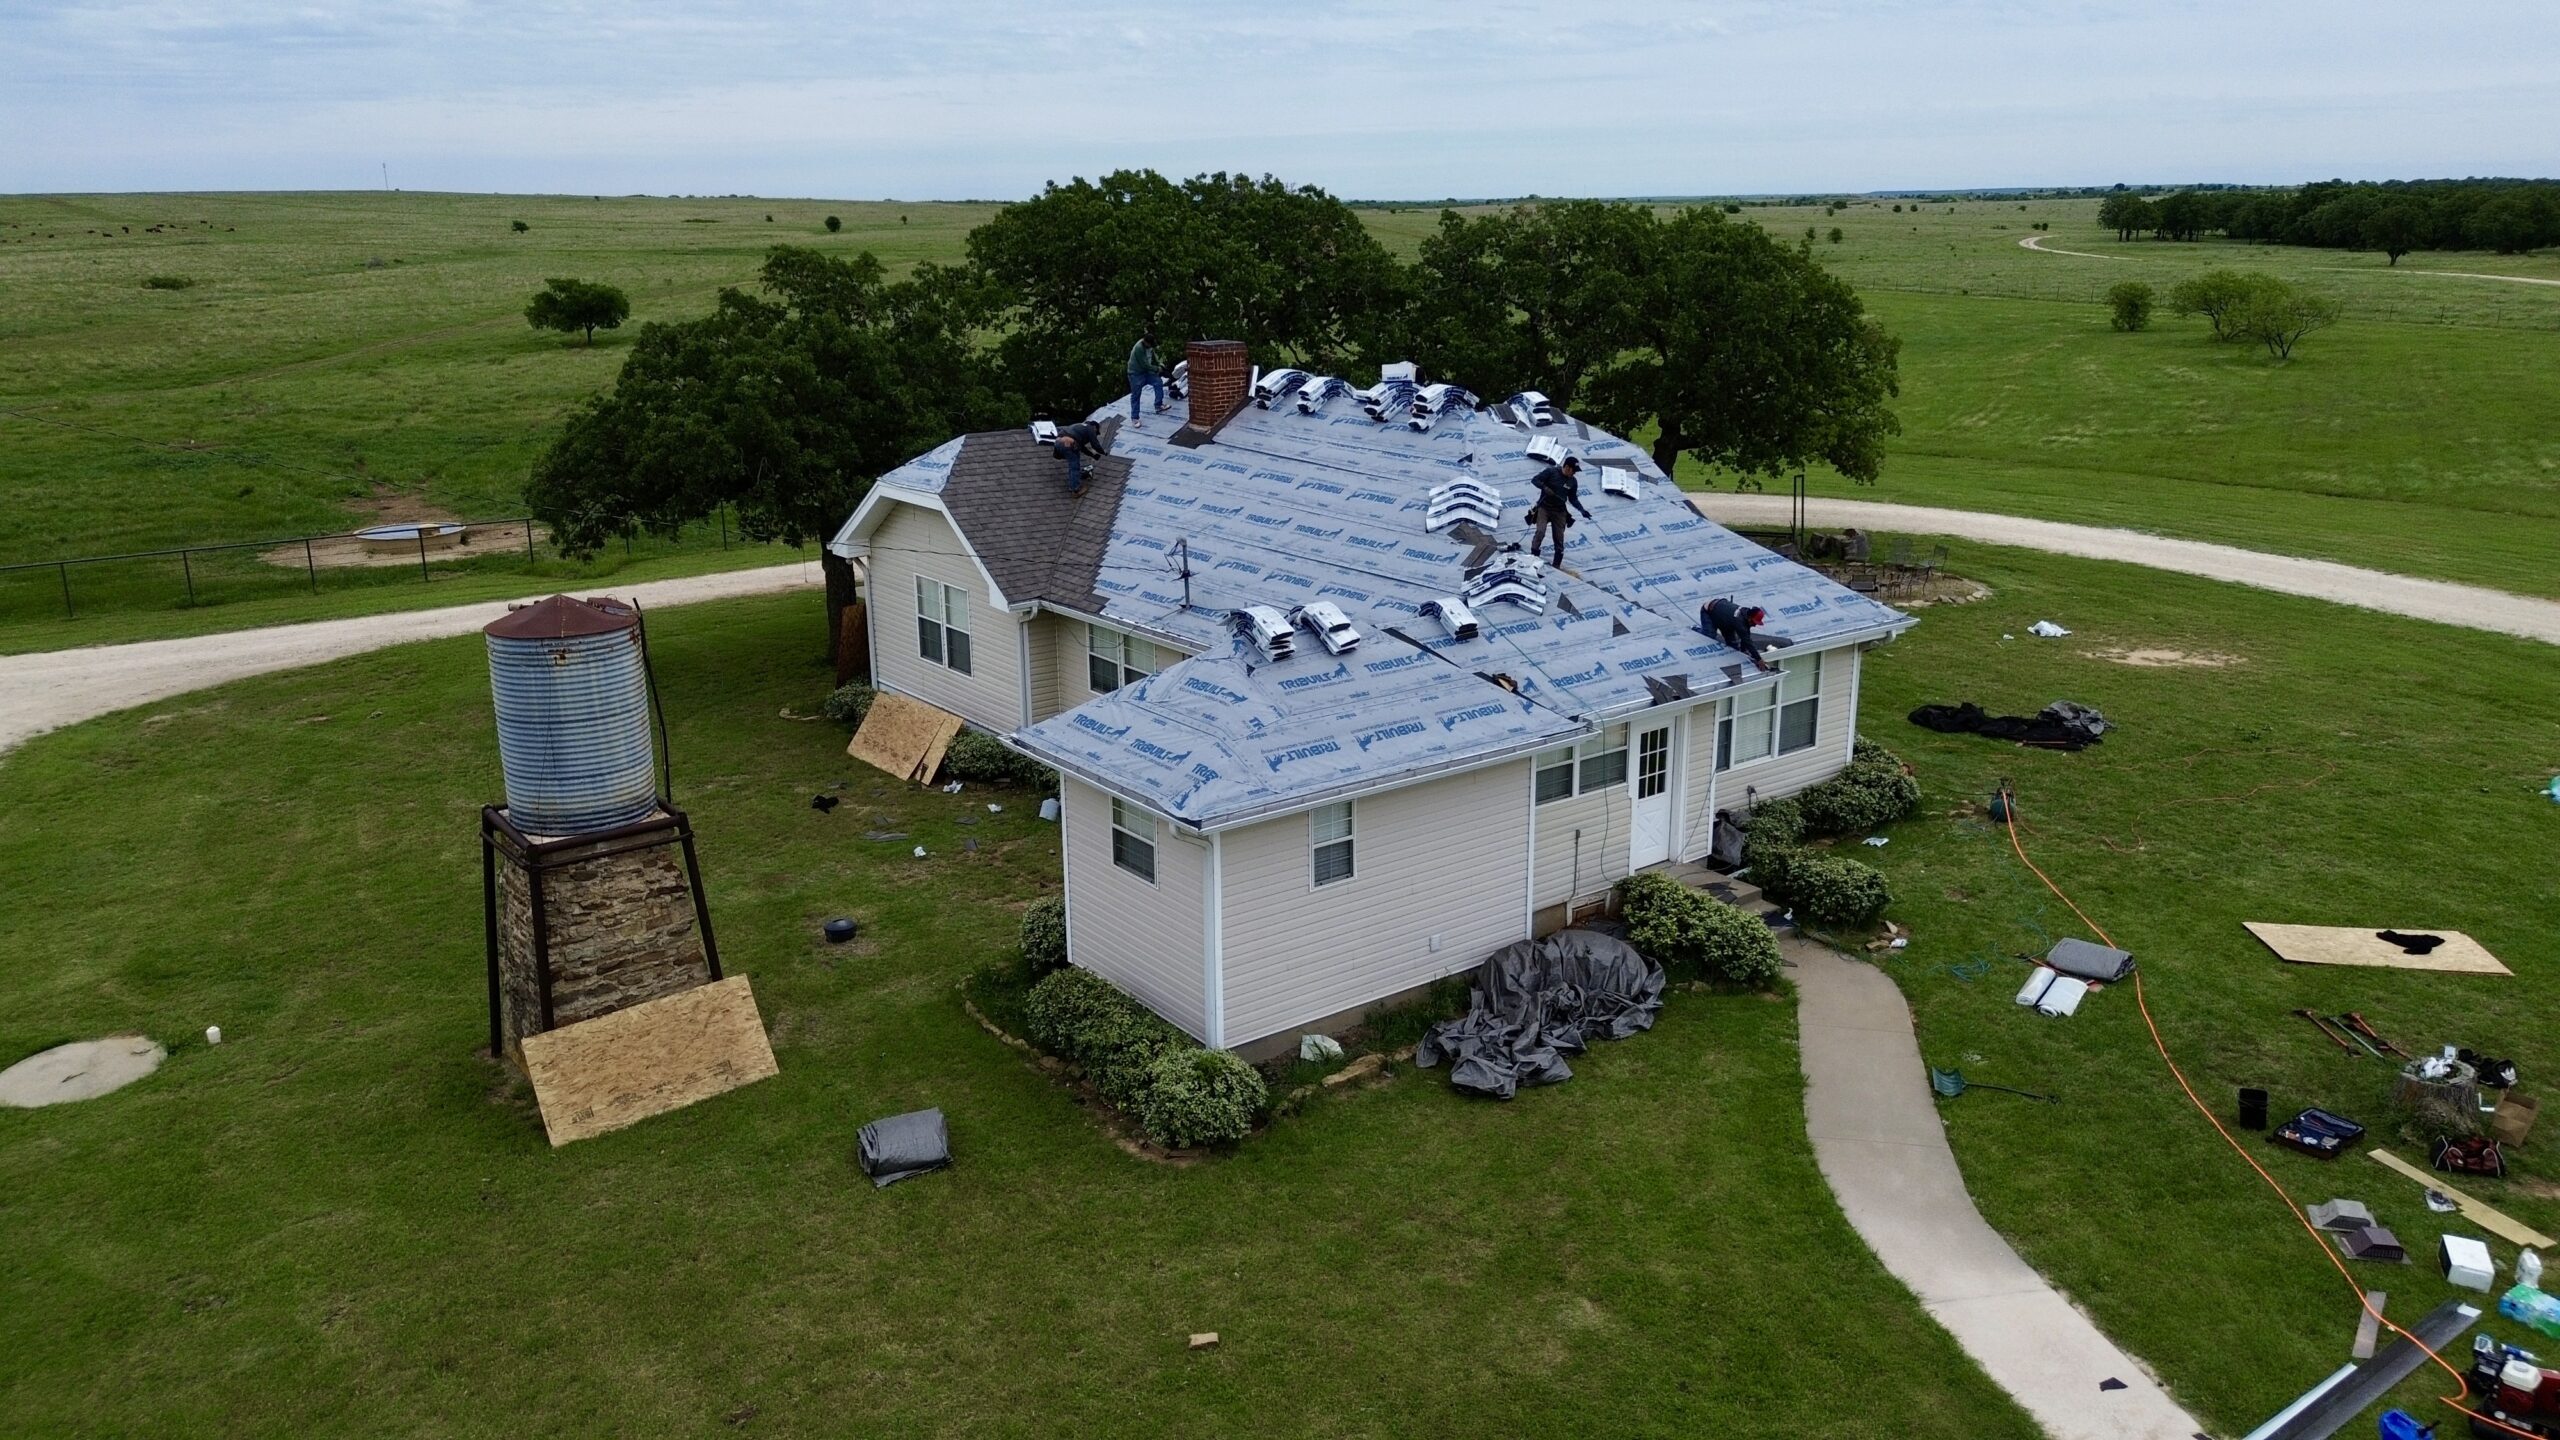
After the first panel is securely installed, the remaining panels are added one by one across the roof surface. Each new panel overlaps or locks into the previous one according to the roofing system being used.
Maintaining consistent alignment remains a priority throughout this stage. Installers frequently check measurements to ensure the panels remain straight and evenly spaced from one side of the roof to the other.
Standing seam systems require careful engagement of panel seams before mechanical seaming or clip fastening is completed. Exposed fastener systems rely on accurate overlap and precise screw placement to maintain weather resistance.
Expansion and contraction should also be considered during installation. Metal naturally expands in warm temperatures and contracts during colder conditions. Proper fastening methods allow controlled movement without damaging the roofing system.
Workers avoid dragging one panel across another because friction may scratch the protective finish. Instead, panels are lifted and positioned carefully before being lowered into place.
As installation progresses, the roof gradually develops its finished appearance. Each correctly aligned panel contributes to both structural strength and visual consistency.
Patience is especially important during this phase. Rushing panel installation often leads to alignment problems that become increasingly difficult to correct later.
Cutting Panels Around Roof Features
Very few roofs consist of simple rectangular surfaces without interruptions. Most roofs include vents, chimneys, skylights, valleys, dormers, or other architectural features that require precise panel modifications.
Measurements are taken carefully before any cutting begins. Accurate marking reduces material waste and helps produce clean, professional looking openings.
Specialized metal cutting tools are preferred because they create smooth edges without excessive heat. High temperatures generated by unsuitable cutting methods may damage protective coatings and increase the risk of future corrosion.
After cutting, sharp edges should be inspected and cleaned of any loose metal filings. Small metal particles left on the roof surface can rust over time and stain finished panels.
Openings around vents and pipes receive specially designed flashing boots that seal tightly against both the roof panel and the penetration itself. Proper installation of these components significantly reduces leak risks.
Installers verify that modified panels fit correctly before permanent fastening begins. Minor adjustments made at this stage help maintain consistent panel alignment.
Attention to detail around roof features often distinguishes professional workmanship from poor quality installation. Properly fitted panels provide better protection while creating a cleaner finished appearance.
Installing Ridge Caps, Hip Caps, and Trim
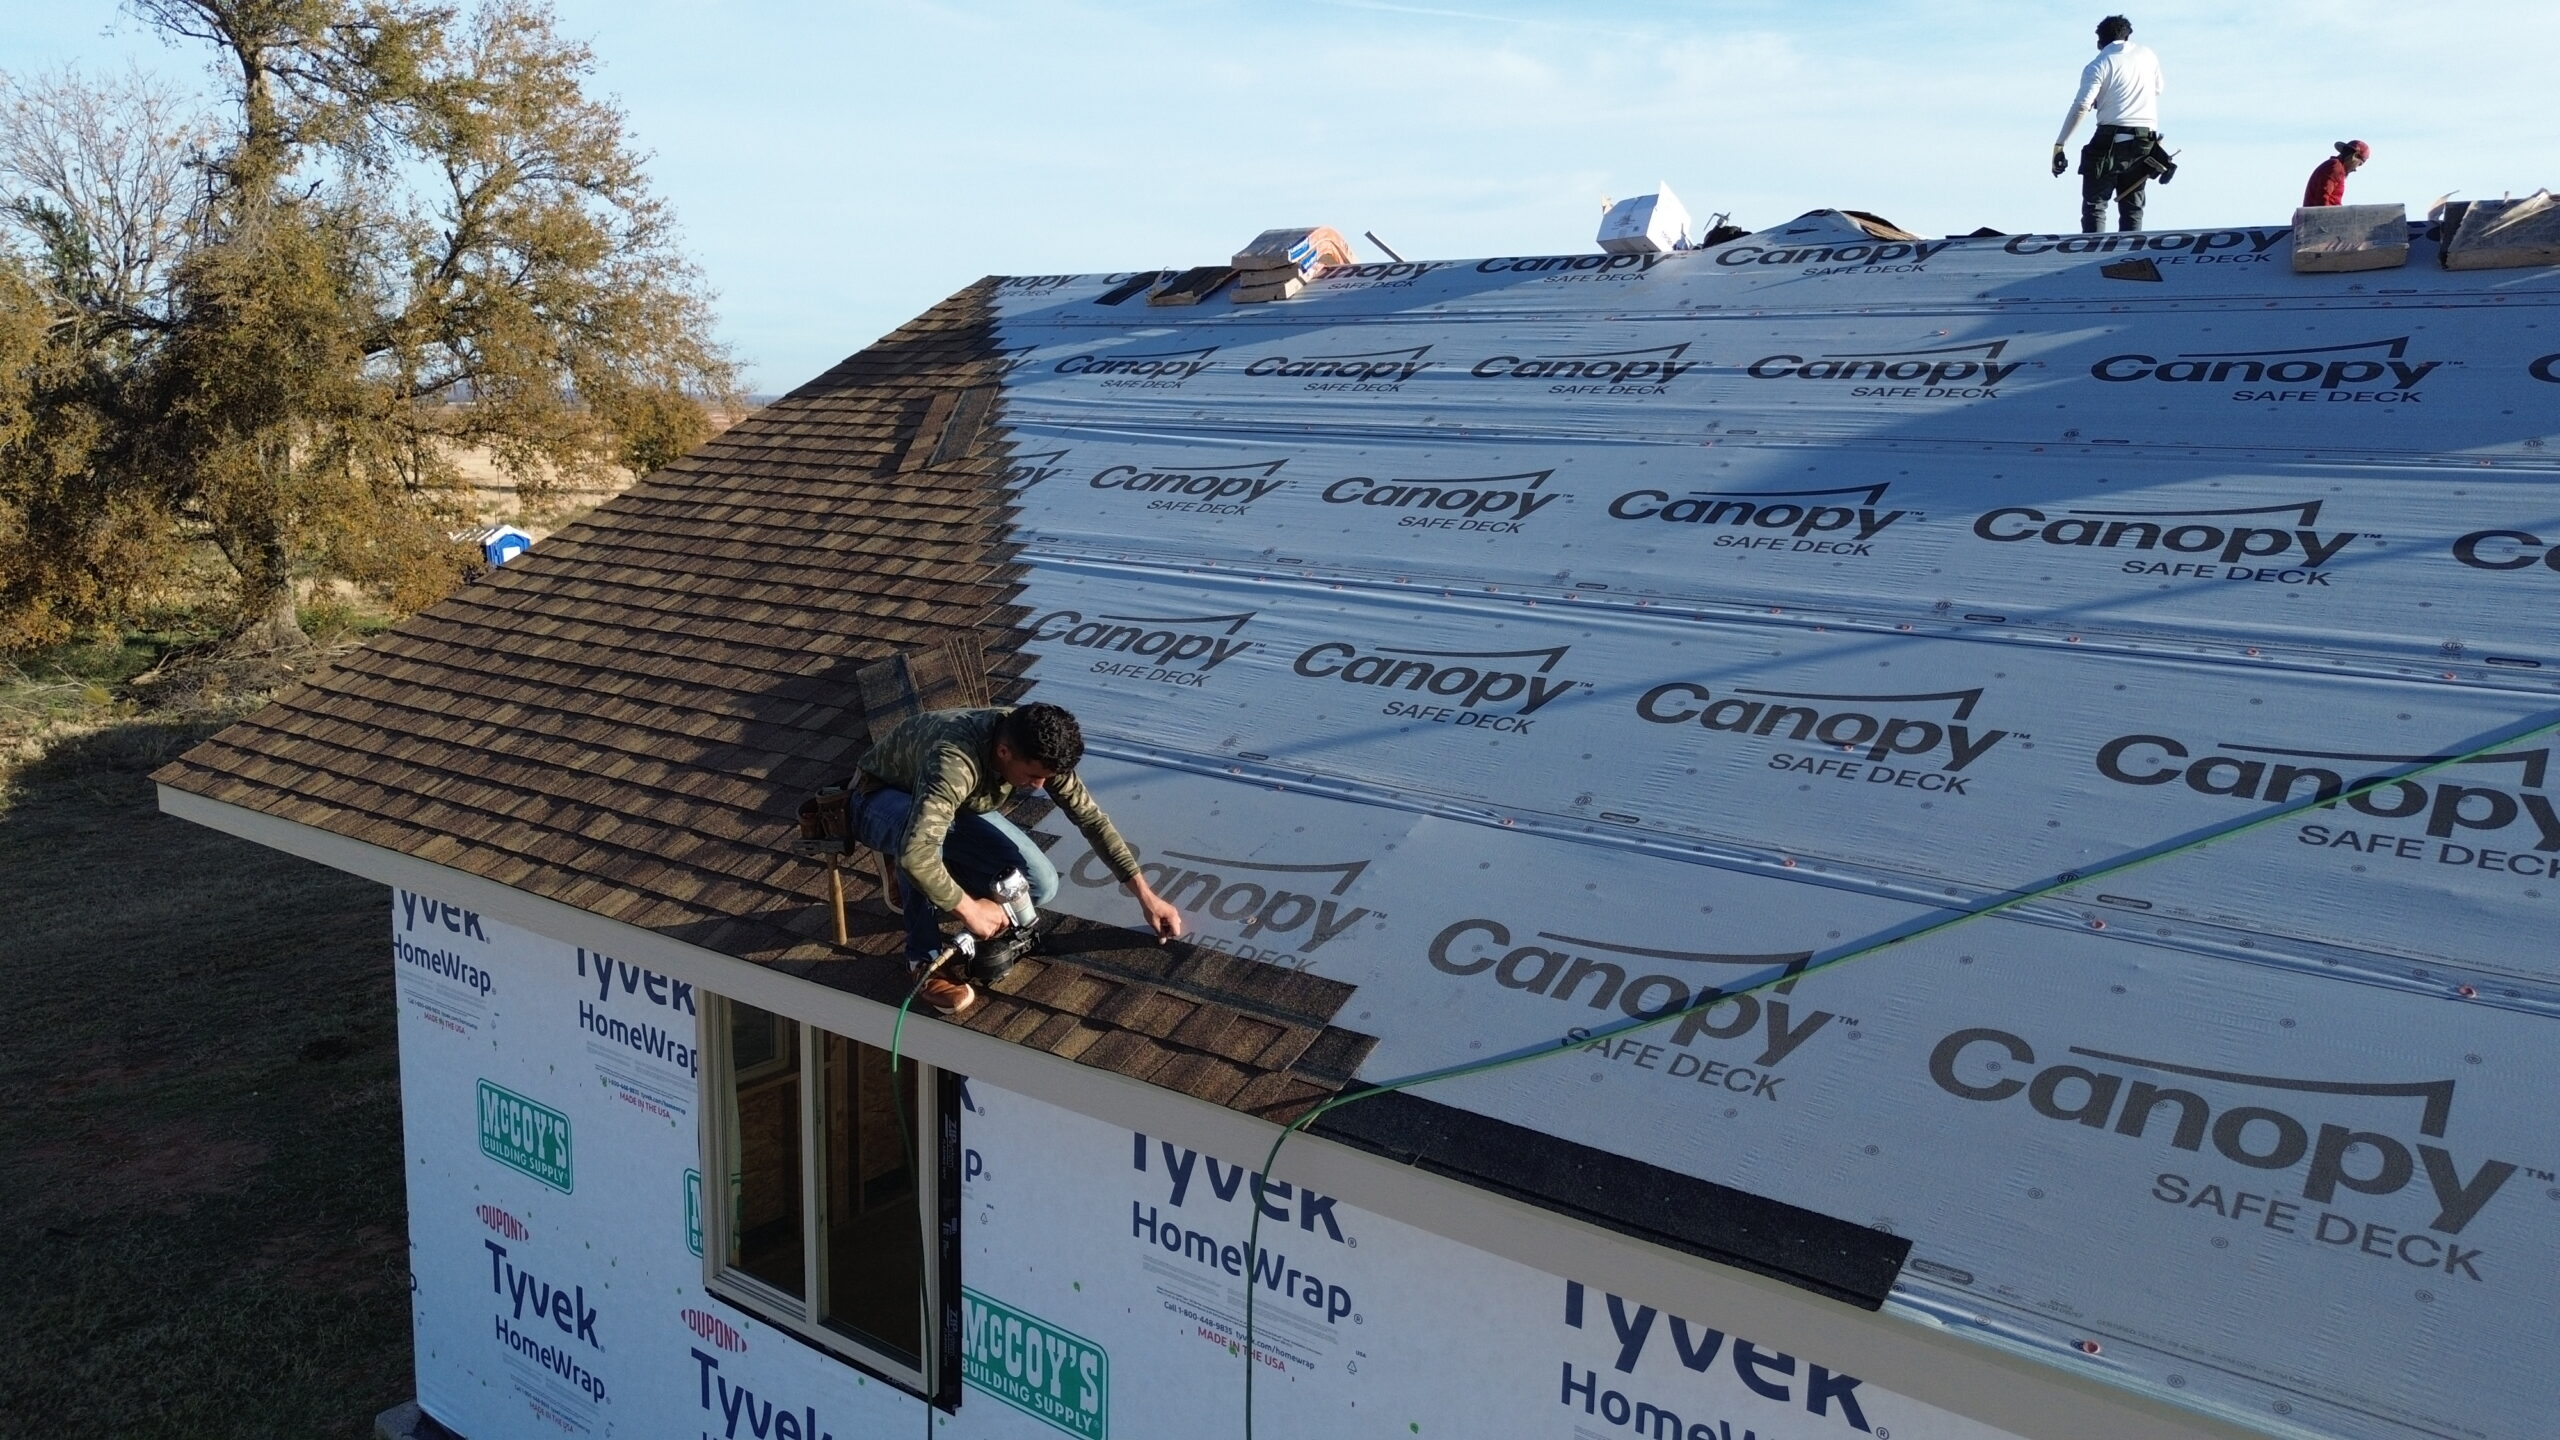
Once the main roof panels have been installed, attention shifts toward finishing components that complete the roofing system. Ridge caps, hip caps, and trim pieces provide both functional protection and an attractive appearance.
The ridge cap covers the highest point where two roof slopes meet. It prevents rain, snow, and debris from entering while allowing ventilation systems to function effectively when vented ridge products are used.
Hip caps protect sloping roof intersections in much the same way. Their precise installation helps maintain consistent weather protection across complex roof designs.
Gable trim finishes the roof edges while shielding exposed panel ends from wind driven rain. Eave trim and rake trim also contribute to improved weather resistance while enhancing overall appearance.
Closure strips are often installed beneath ridge caps and trim components. These specially shaped materials fill gaps created by panel profiles while still allowing appropriate ventilation where required.
Installers verify that every trim piece overlaps correctly before fastening it into place. Proper overlap directs water away from joints instead of allowing it to enter beneath the roofing system.
The finishing components may appear decorative, but they perform essential protective functions that contribute significantly to the roof’s long term reliability.
Proper Ventilation During Metal Roof Installation
Ventilation is frequently overlooked by beginners, yet it plays a major role in roof performance. Even the highest quality roofing materials cannot compensate for inadequate attic ventilation.
A balanced ventilation system allows cooler outside air to enter through intake vents while warmer air exits through ridge or exhaust vents. This continuous airflow helps regulate attic temperatures throughout the year.
Proper ventilation reduces condensation that can develop beneath roofing materials. Excess moisture may contribute to mold growth, wood deterioration, insulation damage, and reduced energy efficiency.
During warmer months, effective ventilation also decreases heat buildup beneath the roof. Lower attic temperatures reduce strain on cooling systems and improve indoor comfort.
Installers evaluate existing ventilation before completing the roof. In some cases, additional ridge vents or intake vents may be recommended to achieve balanced airflow.
Ventilation requirements vary according to roof design, climate, insulation levels, and local building codes. Following manufacturer recommendations helps optimize long term roof performance.
Investing time in proper ventilation protects not only the roofing materials but also the structural components beneath them.
Common Installation Mistakes Beginners Should Avoid
Metal roof installation demands precision from beginning to end. Even experienced installers rely on careful planning and repeated measurements to avoid costly mistakes.
One common mistake is inaccurate panel alignment. Beginning with a slightly crooked first panel often causes increasingly noticeable alignment problems as installation progresses across the roof.
Another frequent error involves improper fastener installation. Screws that are over tightened, under tightened, or installed at an angle may compromise weather resistance and shorten the roof’s lifespan.
Some beginners underestimate the importance of flashing. Poorly installed flashing around chimneys, skylights, and roof penetrations remains one of the leading causes of roof leaks.
Incorrect panel cutting techniques can also damage protective coatings. Using unsuitable cutting tools may create excessive heat that weakens factory finishes and increases corrosion risks.
Walking carelessly across completed panels is another avoidable mistake. Concentrated weight placed in unsupported areas may dent the metal or affect panel alignment.
Ignoring manufacturer installation instructions is perhaps the most serious error. Every roofing system has specific fastening patterns, overlap requirements, and installation procedures that must be followed for proper performance and warranty compliance.
Sealing and Waterproofing the Roof
Once all the metal panels, flashing, ridge caps, and trim pieces have been installed, the project enters its final construction stage. Although the roof now appears complete, several finishing tasks remain that are essential for long term performance. Proper sealing and waterproofing ensure the roofing system can withstand years of exposure to rain, snow, wind, and changing temperatures.
Sealants are applied only where recommended by the roofing manufacturer. Common locations include overlaps between flashing components, around pipe boots, beneath certain trim pieces, and at specific roof penetrations. Applying sealant in unnecessary areas can sometimes trap moisture instead of preventing it, making it important to follow manufacturer guidelines.
Most roofing systems use high quality polyurethane or butyl sealants because they remain flexible as temperatures change. Since metal naturally expands during hot weather and contracts during cold weather, the sealant must be able to accommodate this movement without cracking. A rigid sealant may fail prematurely, allowing water to enter the roofing system.
Installers also inspect every fastener during this stage. Each screw should sit flush against the metal panel with the washer compressed evenly but not excessively. Screws that are too loose may allow water infiltration, while over tightened screws can damage the sealing washer and reduce its effectiveness.
Flashing joints receive additional attention because they are among the most vulnerable parts of any roofing system. Valleys, chimneys, skylights, roof vents, and wall intersections are carefully checked to confirm every overlap directs water away from the building. Even small gaps in these locations can eventually lead to leaks if left uncorrected.
Closure strips installed beneath ridge caps and trim pieces are also inspected to verify proper positioning. These components block wind driven rain, insects, and debris from entering beneath the roofing panels while still allowing ventilation where required. Proper placement contributes to both weather protection and overall roof efficiency.
After all waterproofing materials have been installed, the roof is visually inspected from multiple angles. This helps identify any visible gaps, uneven trim sections, or sealant inconsistencies before the project moves to its final inspection phase.
Final Inspection and Quality Checks
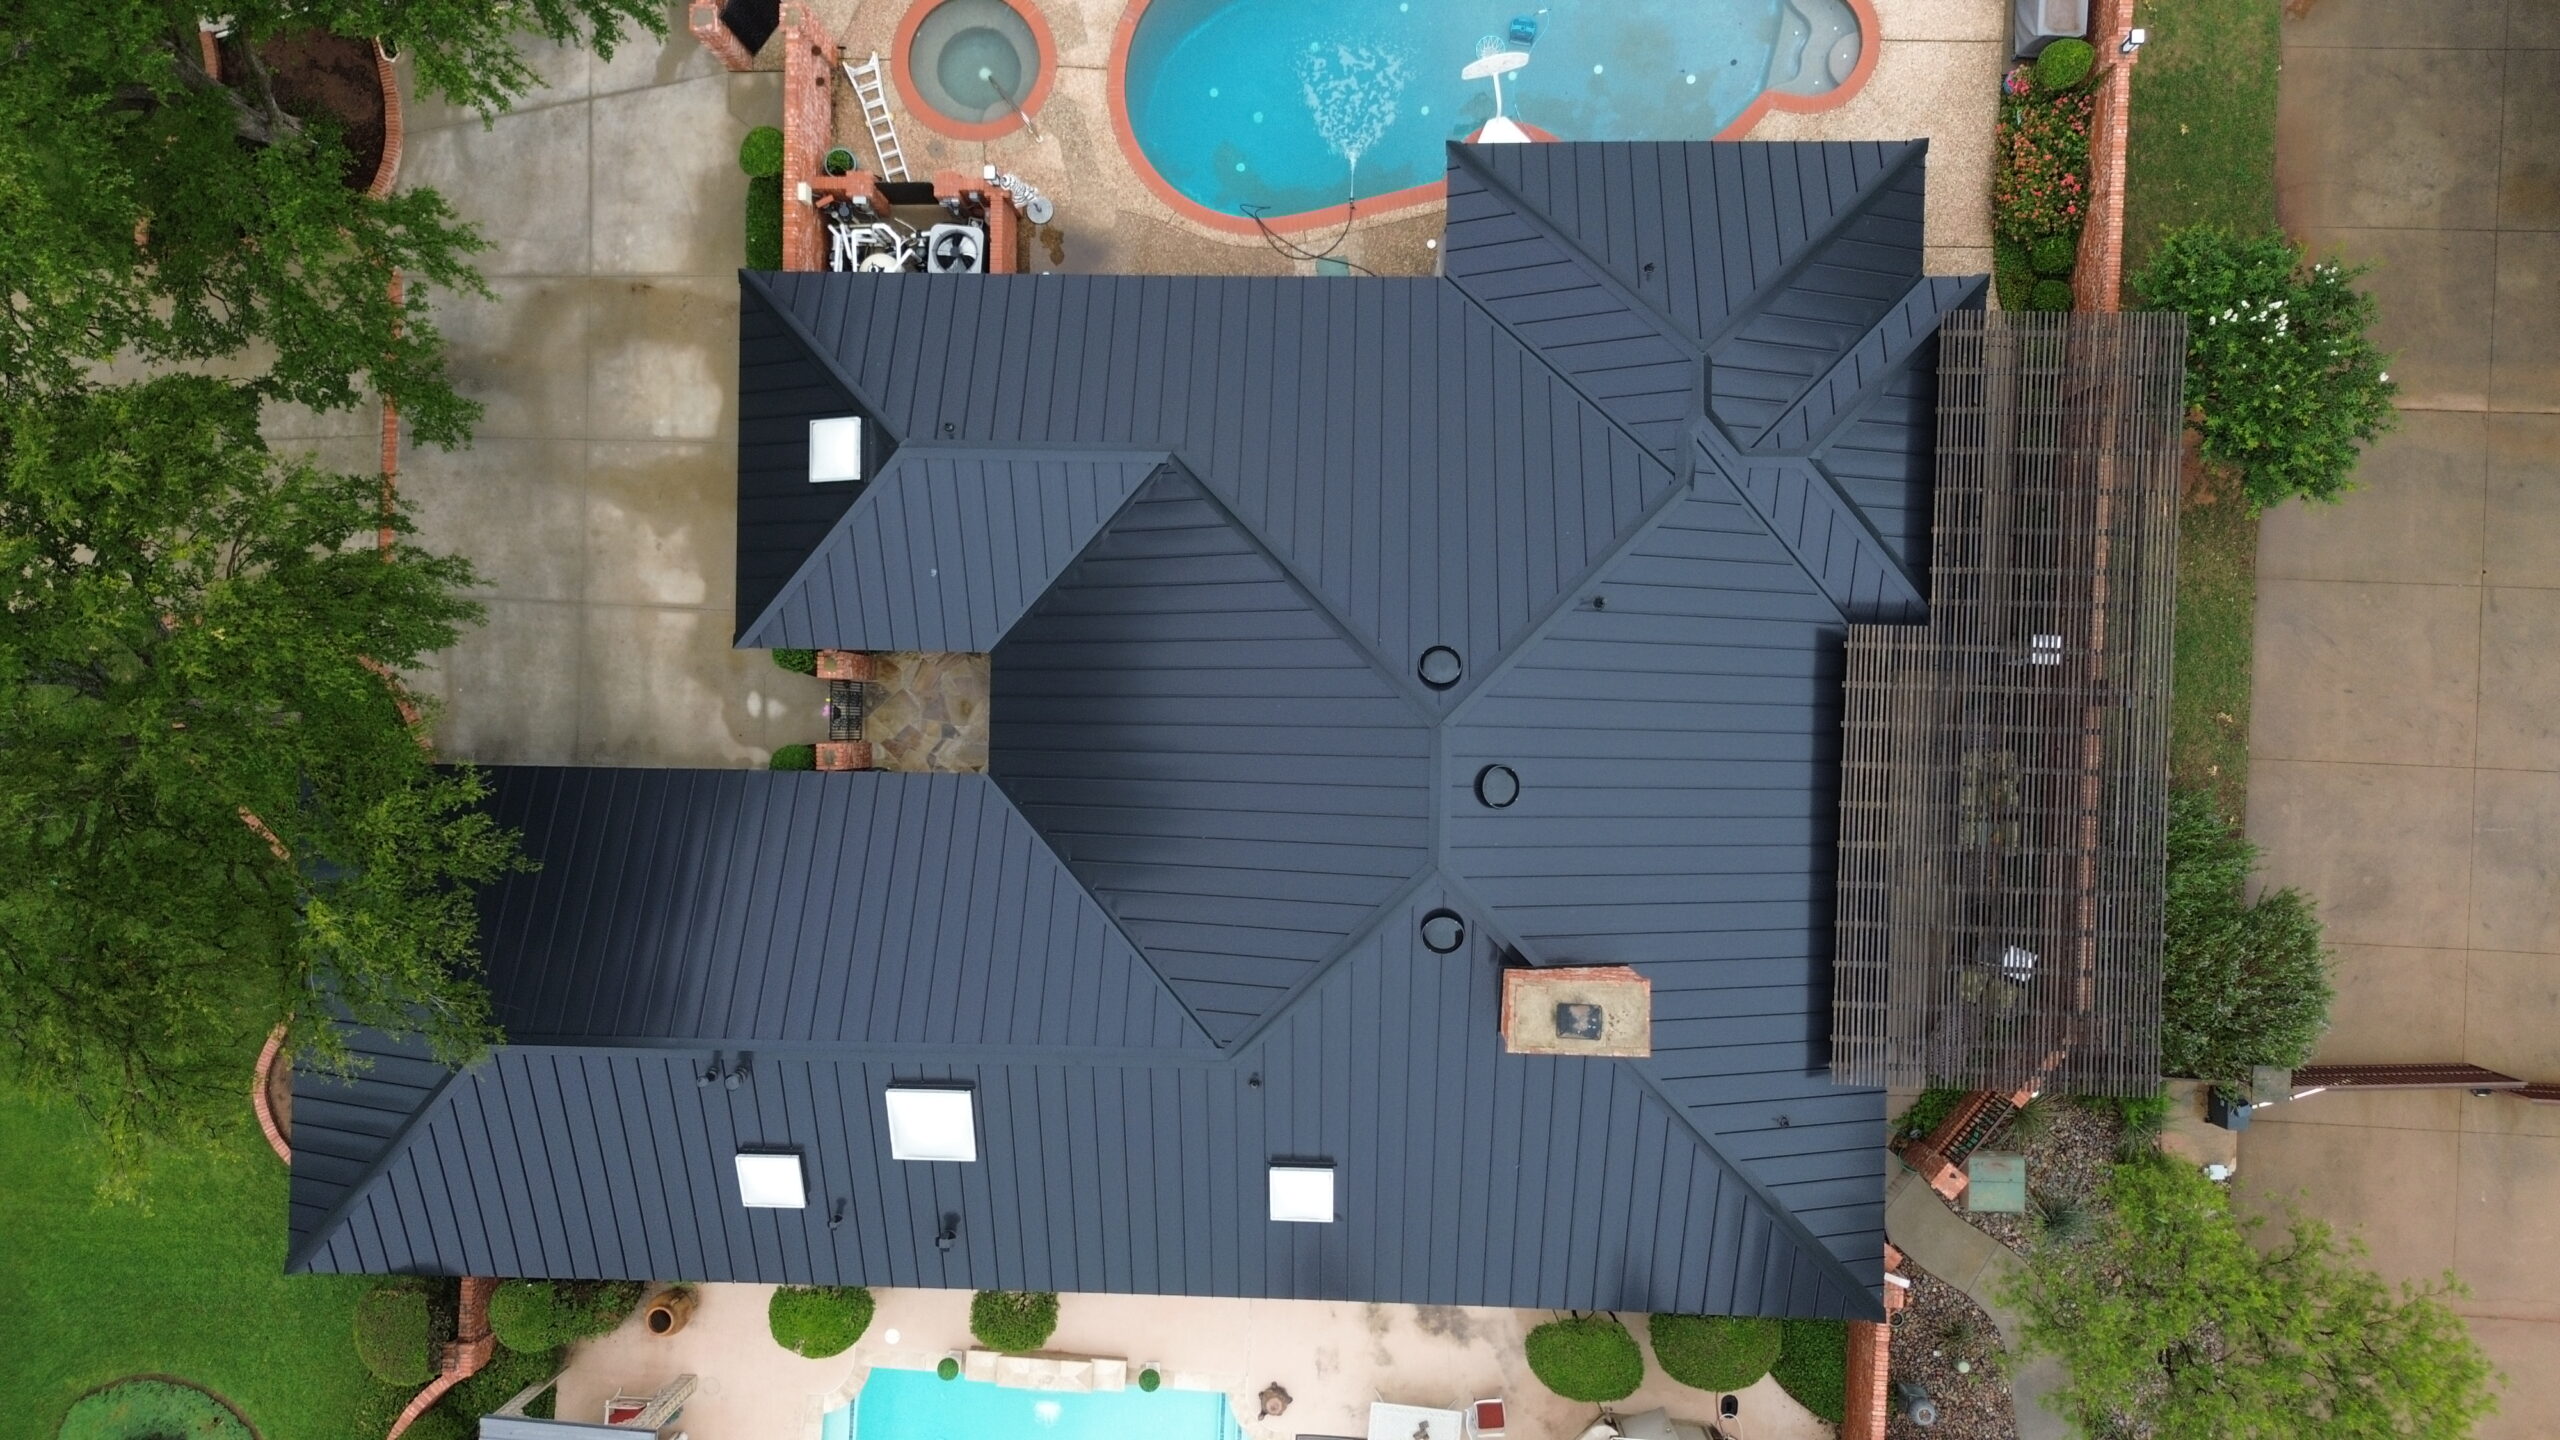
A thorough inspection is one of the most valuable steps in the entire installation process. Rather than assuming everything has been completed correctly, experienced installers carefully evaluate every section of the roof before considering the project finished.
The inspection begins with the overall appearance of the roofing panels. Straight panel lines, uniform spacing, and properly aligned seams indicate that measurements remained accurate throughout installation. A visually consistent roof is often a sign of careful workmanship.
Next, installers verify that every fastener has been installed correctly. Missing screws, improperly seated washers, or inconsistent fastener spacing can affect both appearance and structural performance. Correcting these issues immediately is far easier than repairing them after the roof has been exposed to weather.
Flashing around chimneys, skylights, plumbing vents, and roof valleys is examined closely. These areas experience significant water flow during storms, making proper installation especially important. Installers confirm that flashing overlaps correctly and remains securely attached without visible gaps.
The ridge cap, hip caps, drip edges, and trim pieces are inspected to ensure every component fits tightly against the roofing panels. Loose finishing components may create noise during high winds or allow moisture to penetrate beneath the roof.
Many professional contractors also perform a water test when appropriate. Controlled water flow over selected roof sections helps confirm that drainage occurs as expected and that no leaks are present around critical flashing locations.
The attic should also be inspected after installation. Looking from inside the attic allows installers to identify any unexpected daylight entering through joints or penetrations. If daylight is visible where it should not be, further adjustments may be necessary before the project is complete.
Documentation is another important part of the final inspection. Contractors often provide photographs, warranty information, maintenance instructions, and product documentation for the homeowner’s records. Keeping these documents organized simplifies future maintenance and warranty claims if they ever become necessary.
Cleaning the Roof After Installation
Once construction work is complete, cleaning the roof is an important final step that should never be overlooked. Although the roof may appear clean from the ground, installation often leaves behind small debris that should be removed before the project is officially finished.
Metal shavings created during cutting and drilling are among the most important materials to remove. If these particles remain on the roof, they can rust after exposure to moisture and stain the finished panels. Removing them promptly helps preserve the roof’s appearance.
Loose screws, packaging materials, sealant tubes, and other construction debris should also be collected. These materials can block gutters or create unnecessary hazards around the property if left unattended.
Installers usually inspect gutters and downspouts to ensure they remain free of metal fragments and construction waste. Clear drainage systems allow rainwater to flow efficiently away from the building during future storms.
The roof surface may also be gently cleaned using methods recommended by the manufacturer. Abrasive brushes or harsh chemical cleaners should generally be avoided because they may damage protective coatings or reduce the lifespan of painted finishes.
Nearby landscaping deserves attention as well. Small metal fragments or leftover fasteners hidden in grass or flower beds can become hazardous during lawn maintenance. A careful cleanup around the property helps ensure the work area is completely safe.
A clean roof not only looks more professional but also begins its service life in the best possible condition. Proper cleanup reflects quality workmanship and demonstrates attention to detail throughout the entire installation process.
Long Term Maintenance Tips for Metal Roofs
Although metal roofs require less maintenance than many traditional roofing materials, they still benefit from regular inspections and basic preventive care. Simple maintenance practices can significantly extend the roof’s service life while preserving its appearance.
Homeowners should visually inspect the roof at least twice each year, ideally during spring and autumn. Additional inspections after severe storms are also recommended because high winds or falling branches may damage roofing components.
The following maintenance practices help keep a metal roof performing at its best:
- Remove leaves, branches, and debris from the roof surface.
- Keep gutters and downspouts clean to ensure proper drainage.
- Check flashing around chimneys, vents, and skylights for signs of movement.
- Inspect exposed fasteners for loosening or damaged washers.
- Trim overhanging tree branches that may scratch the roof.
- Remove accumulated snow safely if recommended for your climate.
Walking on the roof should be minimized whenever possible. Although metal roofs are strong, unnecessary foot traffic increases the risk of scratches, dents, or accidental damage to flashing and trim components.
Cleaning should be performed using gentle methods approved by the roofing manufacturer. Soft cloths, low pressure water, and mild cleaning solutions are usually sufficient for removing dirt without damaging protective finishes.
Small problems should always be repaired promptly. A loose fastener or damaged flashing section is much easier and less expensive to fix than a widespread leak caused by delayed maintenance.
Homeowners should also keep records of inspections and repairs. Maintenance documentation may prove valuable when making warranty claims or preparing the property for future resale.
Expected Lifespan and Performance
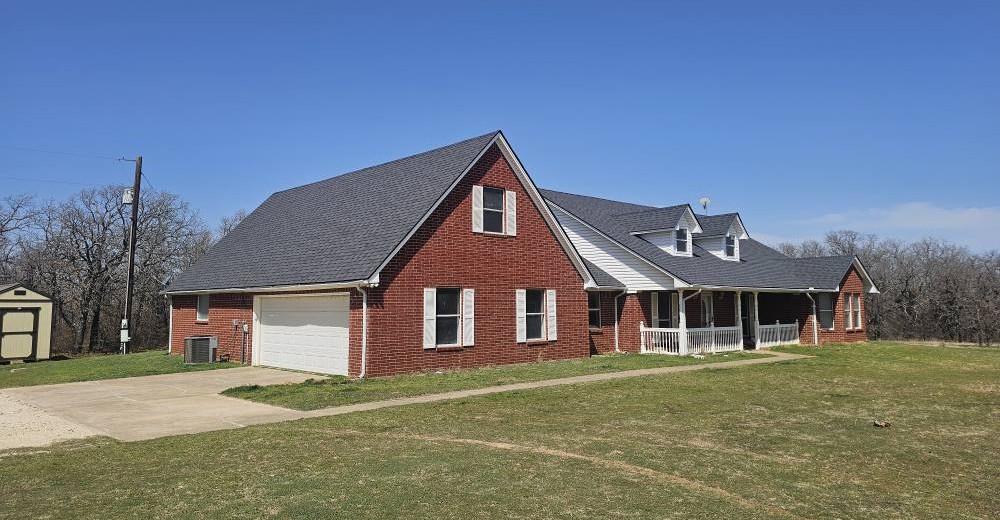
One of the strongest reasons homeowners choose metal roofing is its exceptional durability. While the exact lifespan depends on material quality, installation methods, environmental conditions, and maintenance practices, metal roofs consistently outperform many traditional roofing materials.
The table below provides a general comparison between common roofing materials.
| Roofing Material | Typical Lifespan | Maintenance Level | Weather Resistance |
|---|---|---|---|
| Asphalt Shingles | 15 to 30 years | Moderate | Good |
| Steel Metal Roofing | 40 to 70 years | Low | Excellent |
| Aluminum Roofing | 40 to 60 years | Low | Excellent |
| Copper Roofing | 70 years or more | Very Low | Outstanding |
| Zinc Roofing | 60 to 100 years | Very Low | Outstanding |
Modern protective coatings play a major role in extending service life. High quality finishes resist fading, corrosion, and ultraviolet damage while maintaining an attractive appearance for many years.
Metal roofs also perform exceptionally well during severe weather when installed correctly. Many systems are engineered to withstand high winds, heavy rain, hail, and significant snow loads without suffering major structural damage.
Energy efficiency is another long term advantage. Reflective coatings reduce heat absorption during warm weather, helping lower cooling costs and improving indoor comfort throughout the year.
Fire resistance further enhances the value of metal roofing. Unlike some roofing materials, metal does not ignite when exposed to airborne embers, making it an attractive option in regions where wildfires are a concern.
Cost Factors That Affect Metal Roof Installation
The overall cost of a metal roof depends on much more than the roofing panels themselves. Several factors influence the final project price, making each installation unique.
Material selection is often the largest contributor to project cost. Steel generally offers the most economical option, while aluminum, zinc, and copper typically require a higher initial investment due to their premium characteristics.
Roof size naturally affects material requirements and labor costs. Larger roofs require additional panels, fasteners, flashing, trim pieces, and installation time, increasing the overall project budget.
Roof complexity also has a significant impact. Multiple valleys, dormers, skylights, chimneys, and steep slopes require additional labor and customized flashing components, making installation more time consuming.
Removing existing roofing materials may add to the project cost if complete tear off is necessary. Disposal fees, structural repairs, and replacement of damaged roof decking can further increase expenses.
Labor rates vary depending on location, contractor experience, and project difficulty. Hiring skilled professionals often costs more initially but usually results in better workmanship, stronger warranties, and fewer repair expenses later.
Additional features such as upgraded insulation, enhanced ventilation systems, snow guards, premium coatings, and architectural trim can also influence the final investment.
Although the upfront cost of metal roofing is often higher than some alternatives, many homeowners recover part of the investment through reduced maintenance, lower energy costs, and a longer service life.
When to Hire a Professional Instead of DIY
Learning the installation process helps homeowners understand how a metal roof is constructed, but understanding the process does not necessarily mean every project should be completed without professional assistance.
Simple structures such as small sheds, workshops, or detached garages may be appropriate for experienced DIY enthusiasts who possess the necessary tools and construction knowledge. These projects provide opportunities to develop practical skills while working on relatively uncomplicated roof designs.
Residential homes, however, often present additional challenges. Complex roof shapes, multiple valleys, chimneys, skylights, and strict building code requirements increase the level of difficulty considerably.
Professional roofing contractors bring valuable experience that extends beyond installation. They understand local regulations, manufacturer specifications, ventilation requirements, flashing techniques, and weatherproofing methods that help maximize roof performance.
Safety is another major consideration. Working at heights with large metal panels, power tools, and steep roof slopes presents significant risks. Professional installers receive specialized safety training and use equipment designed to reduce workplace accidents.
Manufacturer warranties may also require installation by certified contractors. Choosing professional installation helps protect warranty coverage while providing additional peace of mind.
Homeowners should carefully evaluate their experience, available equipment, roof complexity, and safety considerations before deciding whether a DIY approach is appropriate.
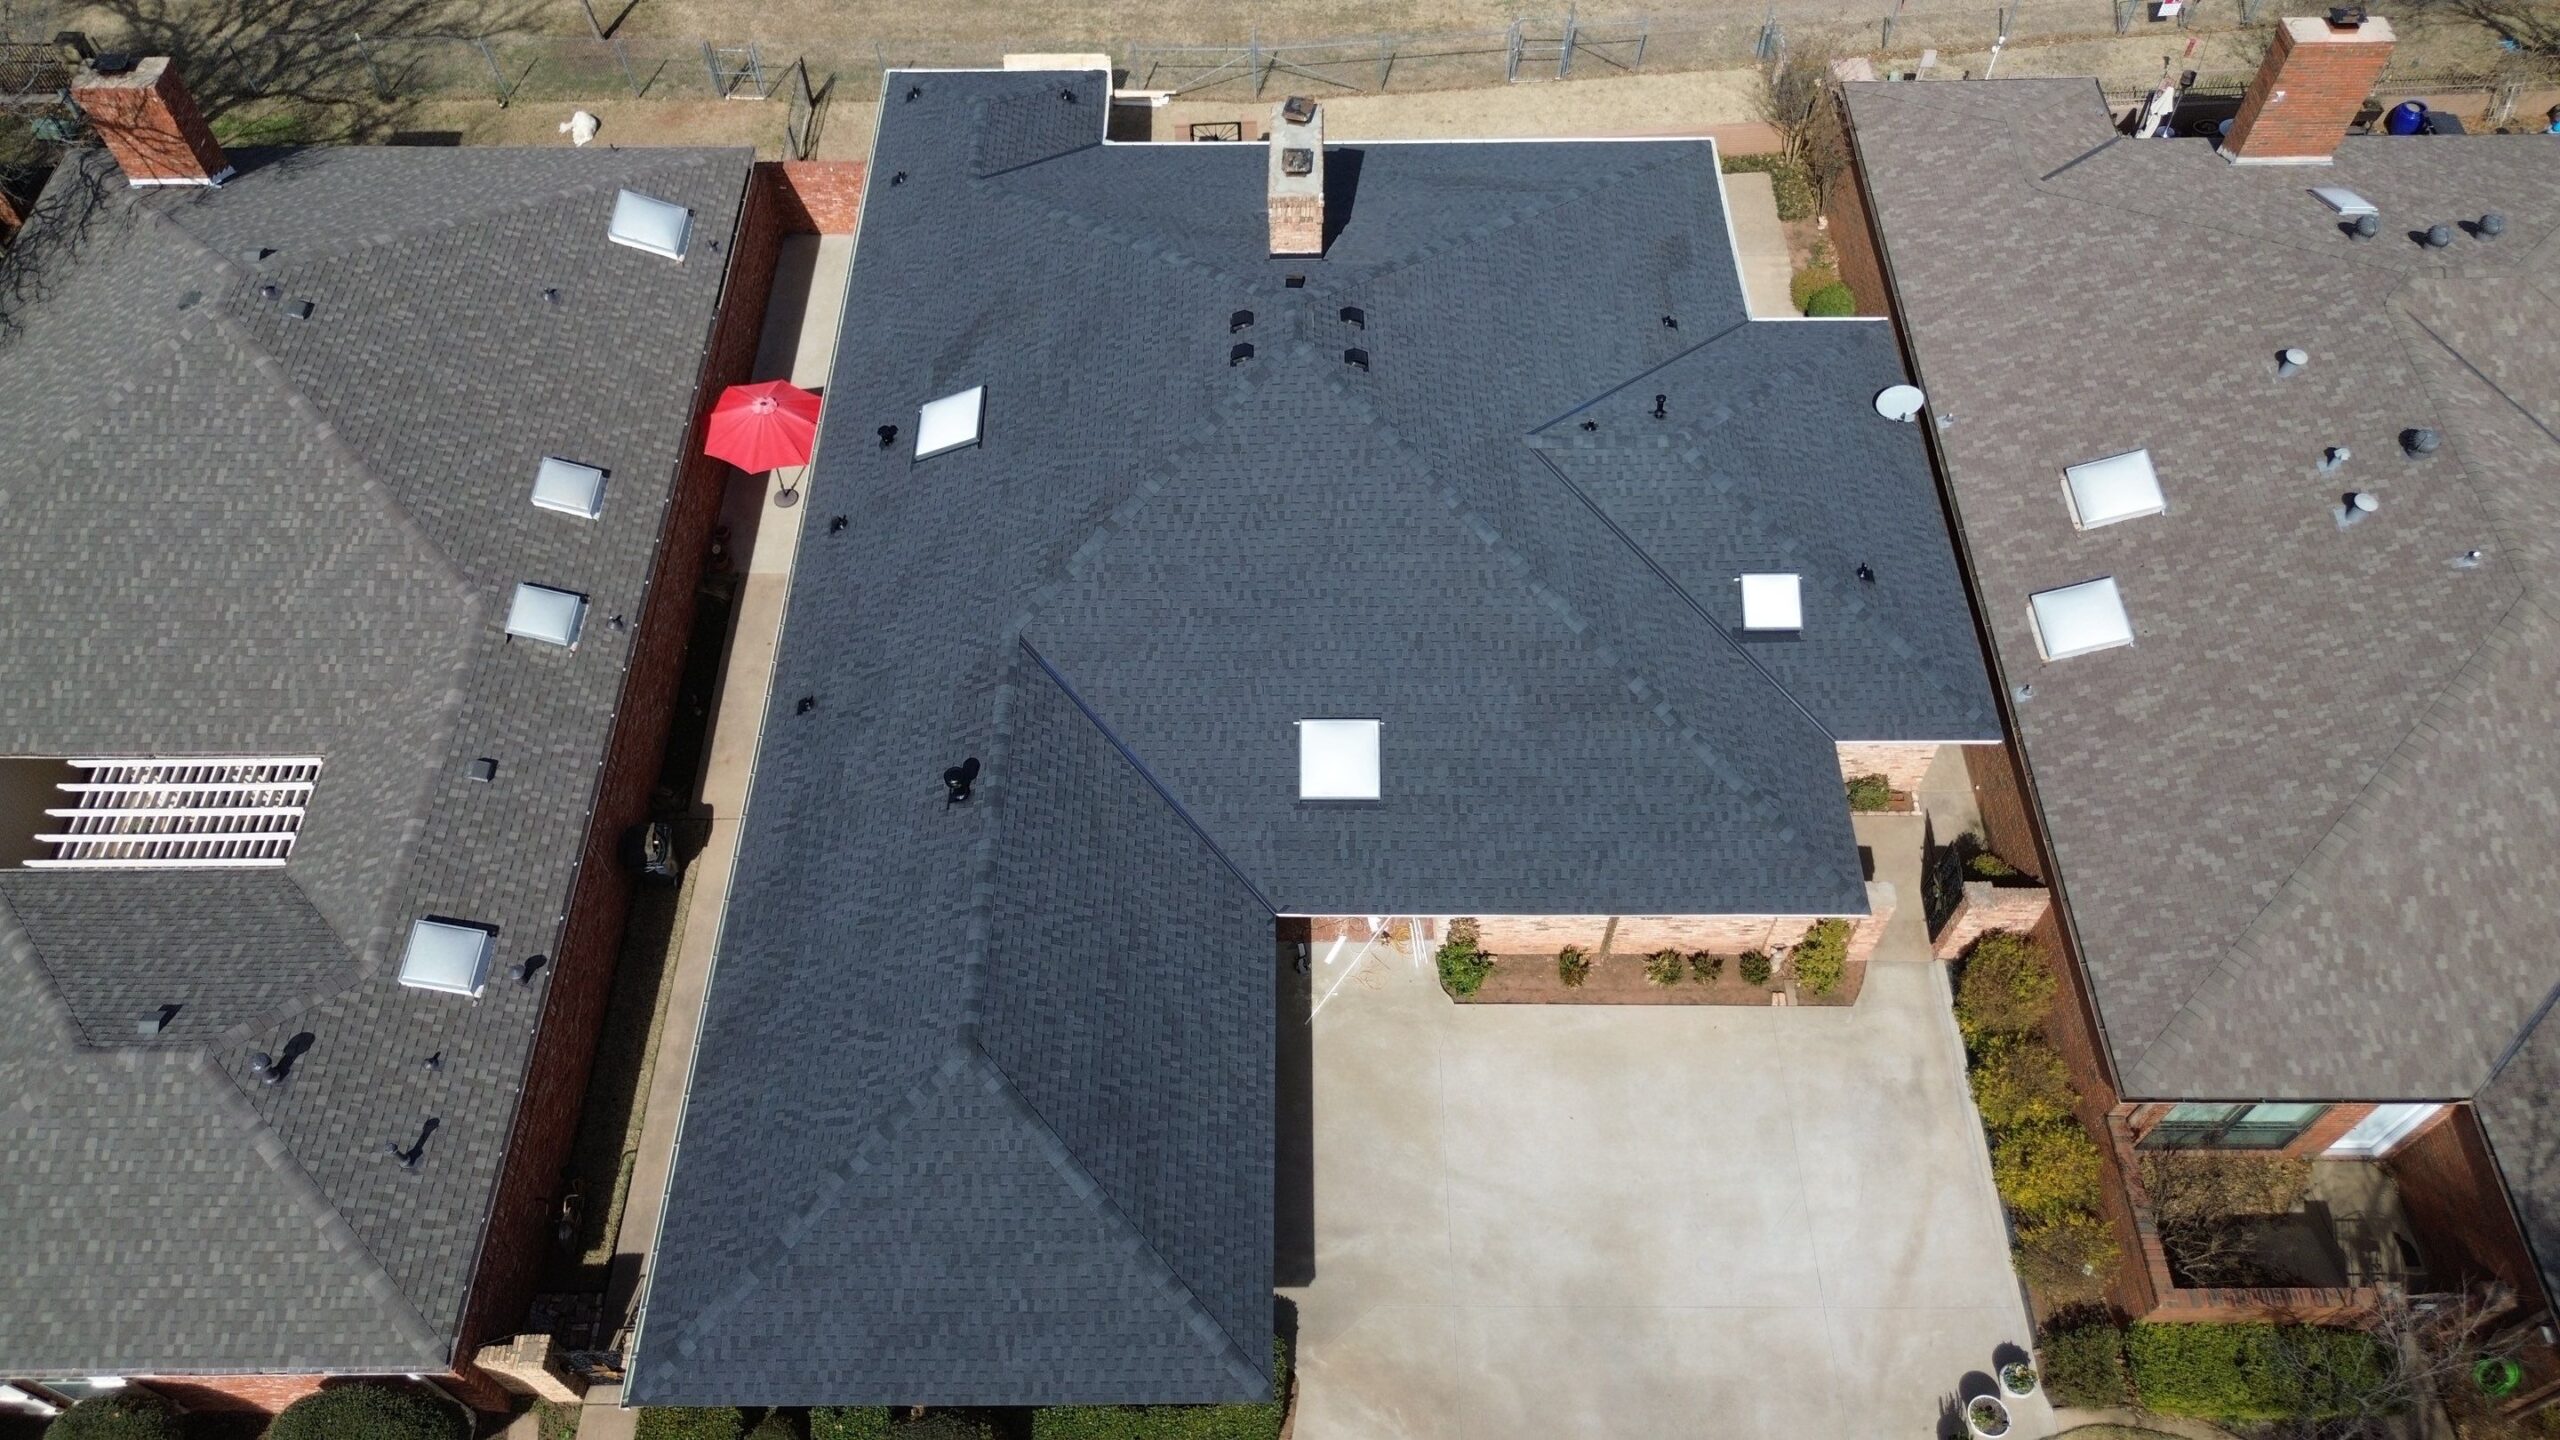
Frequently Asked Questions
Can a metal roof be installed over existing shingles?
In some situations, yes. Local building codes, roof condition, and manufacturer recommendations determine whether installation over existing shingles is appropriate.
How long does metal roof installation usually take?
Most residential projects take several days, although larger or more complex roofs may require additional time depending on weather conditions and project scope.
Is a metal roof noisy during rain?
Modern metal roofs installed with proper underlayment and attic insulation are generally no louder than many other roofing systems.
Does a metal roof attract lightning?
No. Metal roofing does not increase the likelihood of a lightning strike. If lightning does strike, metal roofing is noncombustible and safely disperses electrical energy across its surface.
Can homeowners walk on a metal roof?
Walking should be limited whenever possible. When necessary, proper walking techniques and manufacturer recommendations should always be followed to avoid damaging the roofing panels.
How often should a metal roof be inspected?
A professional inspection every few years, combined with homeowner inspections during spring, autumn, and after major storms, helps identify small issues before they become significant repairs.
Conclusion
Metal roof installation is a carefully planned process that combines precise measurements, quality materials, proper safety practices, and skilled workmanship. Every stage, from the initial roof inspection to the final quality check, contributes to the overall durability and performance of the finished roofing system. Understanding these steps allows homeowners to better appreciate the level of detail required to install a roof that can protect a building for decades.
Preparation forms the foundation of every successful installation. Selecting suitable materials, inspecting the roof structure, installing moisture barriers, and accurately positioning the first panels all help create a stable roofing system that performs reliably under changing weather conditions. Attention to detail during these early stages reduces the likelihood of future repairs and improves long term performance.
The installation itself requires consistent precision. Proper fastening, carefully installed flashing, secure trim components, effective ventilation, and thorough waterproofing work together to protect the building from moisture while allowing the roof to expand and contract naturally with seasonal temperature changes.
After installation is complete, regular maintenance ensures the roof continues performing at its highest level. Routine inspections, prompt repairs, gutter cleaning, and occasional surface maintenance help preserve both appearance and structural integrity for many years. These simple practices often prevent small issues from developing into expensive problems.
Whether you choose professional installation or simply want to understand how the process works, learning the complete metal roof installation process provides valuable knowledge. A properly installed metal roof offers outstanding durability, impressive energy efficiency, low maintenance requirements, and excellent long term value, making it one of the most dependable roofing solutions available for modern homes and buildings.