

How New Commercial Roofing Systems Are Installed Properly
Introduction
A new commercial roofing system is a major investment that affects the protection, efficiency, safety, and daily operation of a business. Unlike a simple residential roof replacement, commercial roofing projects often involve large surface areas, specialized materials, mechanical equipment, drainage systems, rooftop penetrations, insulation assemblies, and strict installation requirements. Because of this complexity, proper installation begins long before roofing materials are placed on the building.
A successful commercial roofing project depends on careful planning, accurate measurements, suitable material selection, structural preparation, and skilled workmanship. Every layer of the roofing assembly has a purpose, and problems in one area can eventually affect the performance of the entire system. For example, poor drainage planning can contribute to standing water, while inadequate surface preparation can reduce the effectiveness of membranes, adhesives, or fasteners.
Understanding how a new commercial roof is installed helps building owners, property managers, facility teams, and contractors make better decisions throughout the project. It also makes it easier to recognize why certain preparation steps are necessary and why rushing through early stages can create expensive problems later. This guide explains the installation process from the initial planning stage through the preparation required before the primary roofing system is installed.
Understanding New Commercial Roofing Systems
Commercial roofing systems are designed as complete assemblies rather than simply a protective outer layer. Depending on the building and project requirements, an assembly may include the structural roof deck, vapor control components, insulation, cover boards, a waterproofing membrane, flashing, edge protection, drainage components, and other accessories. Each component must work with the others to create a durable and weather-resistant roof.
Common commercial roofing options include single-ply membranes such as TPO, PVC, and EPDM, as well as modified bitumen and built-up roofing systems. Some buildings may also use metal roofing or specialized systems designed for particular environmental or operational requirements. The right choice depends on factors such as building use, climate, roof design, expected service life, maintenance requirements, energy goals, and available budget.
A roofing contractor must evaluate the complete assembly rather than selecting a membrane based only on its initial cost. A material that appears inexpensive may require additional preparation, specialized installation methods, or more frequent maintenance. Conversely, a higher-quality system may provide better long-term performance when its characteristics match the building’s needs.
The roof should therefore be treated as a coordinated system with multiple layers and details. Insulation affects thermal performance, the membrane provides weather protection, flashing protects transitions and penetrations, and drainage components help move water away from the roof. When these elements are properly selected and installed together, the finished roof can provide dependable protection for many years.
Why Proper Installation Matters for Commercial Buildings
Proper installation is one of the most important factors determining how well a new commercial roof performs. Even high-quality roofing materials can experience premature problems if they are installed over an unsuitable surface or if seams, edges, penetrations, and drainage details are handled incorrectly. Installation quality can influence waterproofing performance, energy efficiency, durability, maintenance requirements, and the expected service life of the system.
Commercial buildings often have valuable equipment, inventory, electrical systems, offices, production areas, and other assets beneath the roof. A roof failure can therefore create consequences that extend far beyond repairing the roofing material. Water intrusion may damage ceilings, insulation, interior finishes, electrical components, equipment, and stored products while also disrupting normal business activities.
A properly installed roof also helps reduce unnecessary maintenance problems. When seams are secure, flashing is correctly integrated, drainage paths are clear, and materials are installed according to their requirements, the roofing system has a stronger foundation for long-term performance. Regular inspections are still necessary, but proper installation can reduce the likelihood of avoidable defects.
There are several important reasons businesses should prioritize installation quality:
- Better resistance to water intrusion and weather exposure
- More reliable performance around seams, edges, and penetrations
- Improved thermal performance when insulation is properly installed
- Reduced risk of premature material failure
- Easier long-term maintenance and inspection
- Better protection for the building and its contents
Proper installation is also important for preserving manufacturer warranties and meeting project specifications. Roofing manufacturers commonly establish specific requirements for application, fastening, adhesives, seams, flashing, and other components. If those requirements are not followed, warranty coverage or system performance may be affected.
Planning a Commercial Roofing Installation Project
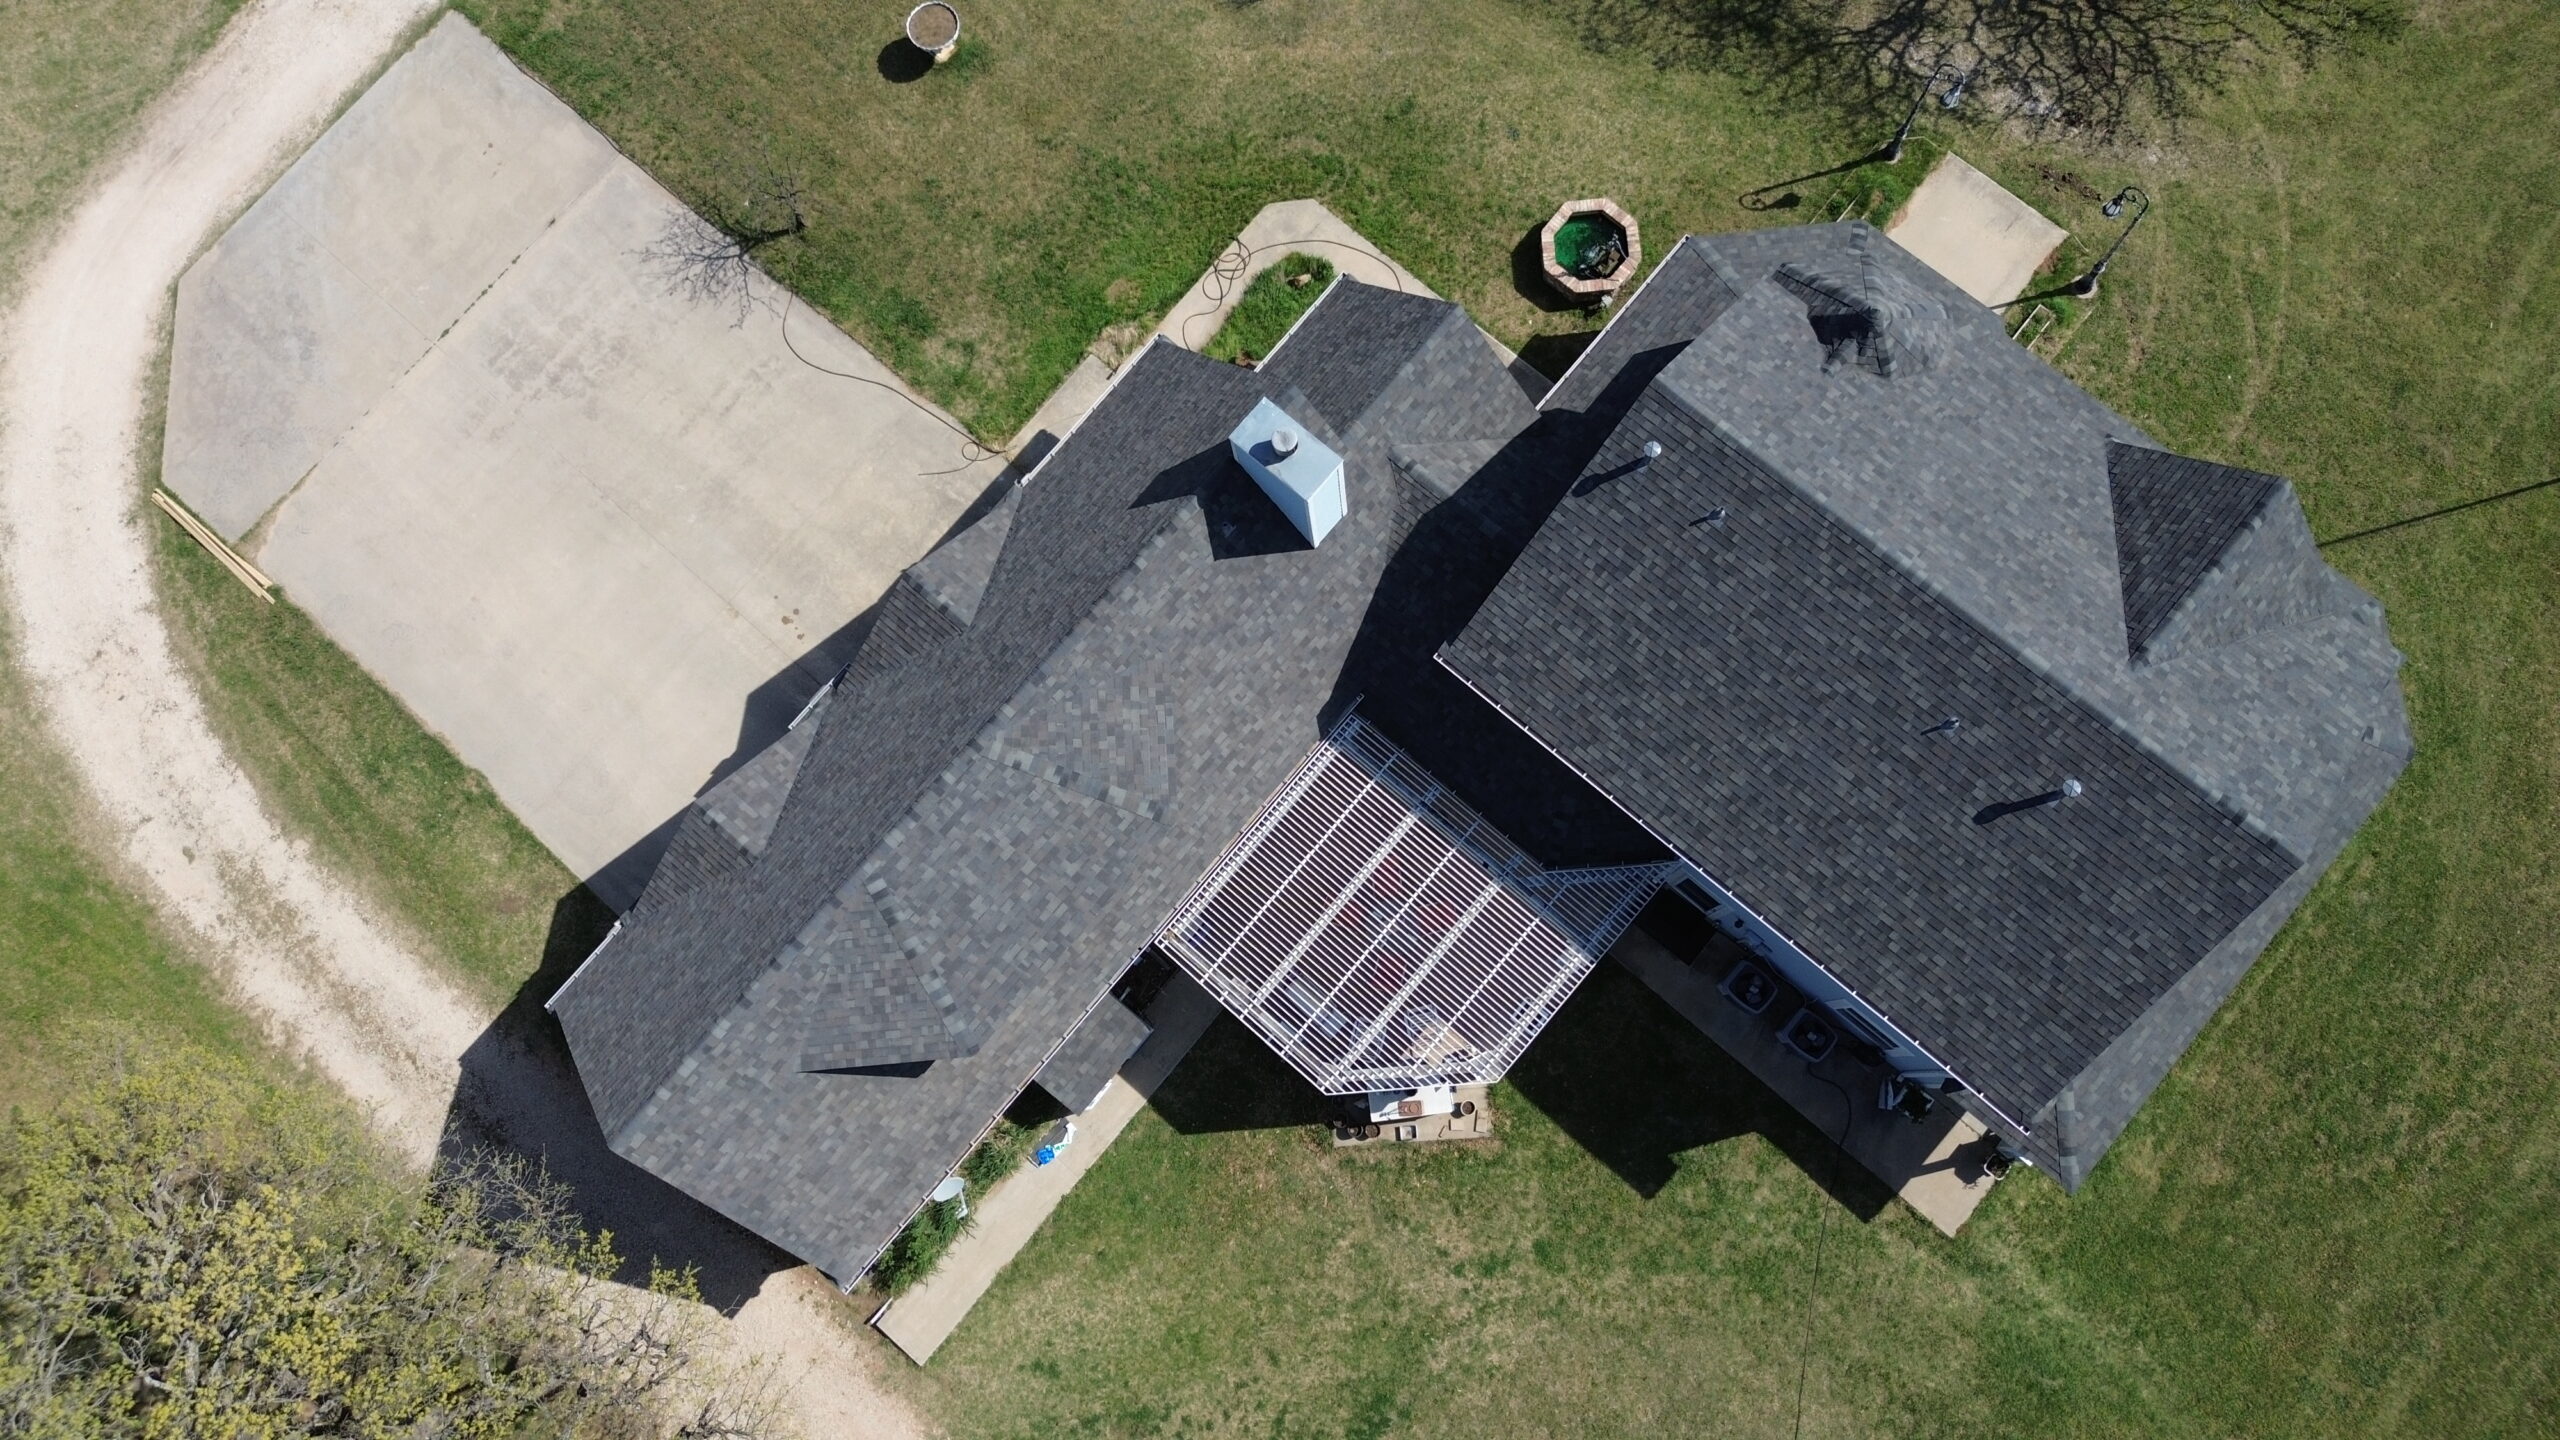
Planning establishes the foundation for the entire roofing project. Before work begins, the property owner and roofing contractor should understand the building’s current condition, the desired roofing system, project objectives, site restrictions, schedule, safety requirements, and expected performance. Good planning reduces surprises and helps the installation team organize materials, equipment, labor, and access requirements.
The first stage usually involves a detailed assessment of the existing roof and building. Contractors need to understand the roof’s size, slope, drainage layout, existing materials, penetrations, equipment locations, edge conditions, and areas showing damage. Measurements and site observations provide important information for estimating material quantities and determining how the new system should be installed.
Project planning should also consider how roofing work will affect normal business operations. Commercial properties may have employees, customers, deliveries, machinery, vehicles, tenants, and sensitive operations that cannot simply stop while the roof is being installed. Contractors may need to establish specific work zones, coordinate material deliveries, control access points, and schedule disruptive activities during appropriate periods.
Weather planning is another important consideration. Roofing materials can have installation requirements related to temperature, moisture, wind, and precipitation. Unexpected weather may affect adhesive application, membrane installation, material handling, and site safety, so the project schedule should allow reasonable flexibility rather than assuming that every workday will have ideal conditions.
A detailed project plan should establish responsibilities between the property owner, roofing contractor, suppliers, consultants, and other parties involved in the work. Clear communication helps prevent misunderstandings about material specifications, roof access, equipment relocation, drainage modifications, safety procedures, and project completion requirements.
Inspecting the Existing Building and Roof Structure
Before a new commercial roofing system is installed, the existing building must be carefully evaluated. This inspection helps determine whether the structure and roof deck can support the proposed system and identifies conditions that could interfere with installation. Looking only at the visible roof surface is not enough because damage can exist beneath membranes, insulation, or other roofing layers.
The roof deck is particularly important because it provides the structural base for the roofing assembly. Depending on the building, the deck may be constructed from steel, concrete, wood, or another material. Contractors should look for deterioration, corrosion, moisture damage, damaged fasteners, structural weaknesses, or other conditions that require attention before the new roof is installed.
Drainage should also be examined during the inspection. Roof drains, scuppers, gutters, internal drainage systems, and slopes must work together to move water away from the roof surface. Areas where water currently collects may indicate inadequate slope, blocked drains, damaged components, or design conditions that should be addressed during the new installation.
Existing rooftop equipment and penetrations require careful consideration as well. HVAC units, pipes, vents, electrical conduits, skylights, curbs, and other features create openings or transitions that must eventually be integrated into the new roofing system. Their locations should be documented before installation so the contractor can plan appropriate flashing and waterproofing details.
If the existing roof contains wet insulation or damaged materials, those areas may need to be removed rather than covered. Installing a new roof over compromised materials without properly evaluating them can trap moisture and create problems within the new assembly. A thorough inspection therefore helps establish what can remain, what needs repair, and what must be replaced.
Selecting the Right Commercial Roofing System
Choosing a new roofing system requires balancing performance requirements with building conditions and long-term objectives. The ideal system for one commercial property may not be appropriate for another because roofs experience different levels of weather exposure, foot traffic, equipment activity, temperature changes, and maintenance demands.
Climate is an important consideration when selecting materials. Buildings exposed to intense sunlight, high temperatures, heavy rainfall, strong winds, freezing conditions, or frequent storms may require different system characteristics. Local environmental conditions should be considered alongside the manufacturer’s published requirements and the building’s design.
The expected use of the building also affects the decision. A warehouse with occasional rooftop access may have different requirements from a facility where technicians regularly service HVAC equipment or mechanical systems. High-traffic areas may require additional protection, walkways, or reinforced components to reduce unnecessary wear.
Energy performance is another factor. Insulation thickness, thermal resistance, membrane characteristics, and the overall roof assembly can influence how much heat enters or leaves the building. A well-designed roofing system can contribute to improved indoor comfort and reduced heating or cooling demands, although actual energy performance depends on the entire building envelope and mechanical system.
Budget should be considered over the expected life of the roof rather than only at the installation stage. Initial price is important, but property owners should also consider expected service life, maintenance requirements, repair accessibility, energy characteristics, replacement intervals, and potential disruption to business operations.
Choosing Roofing Materials and Components
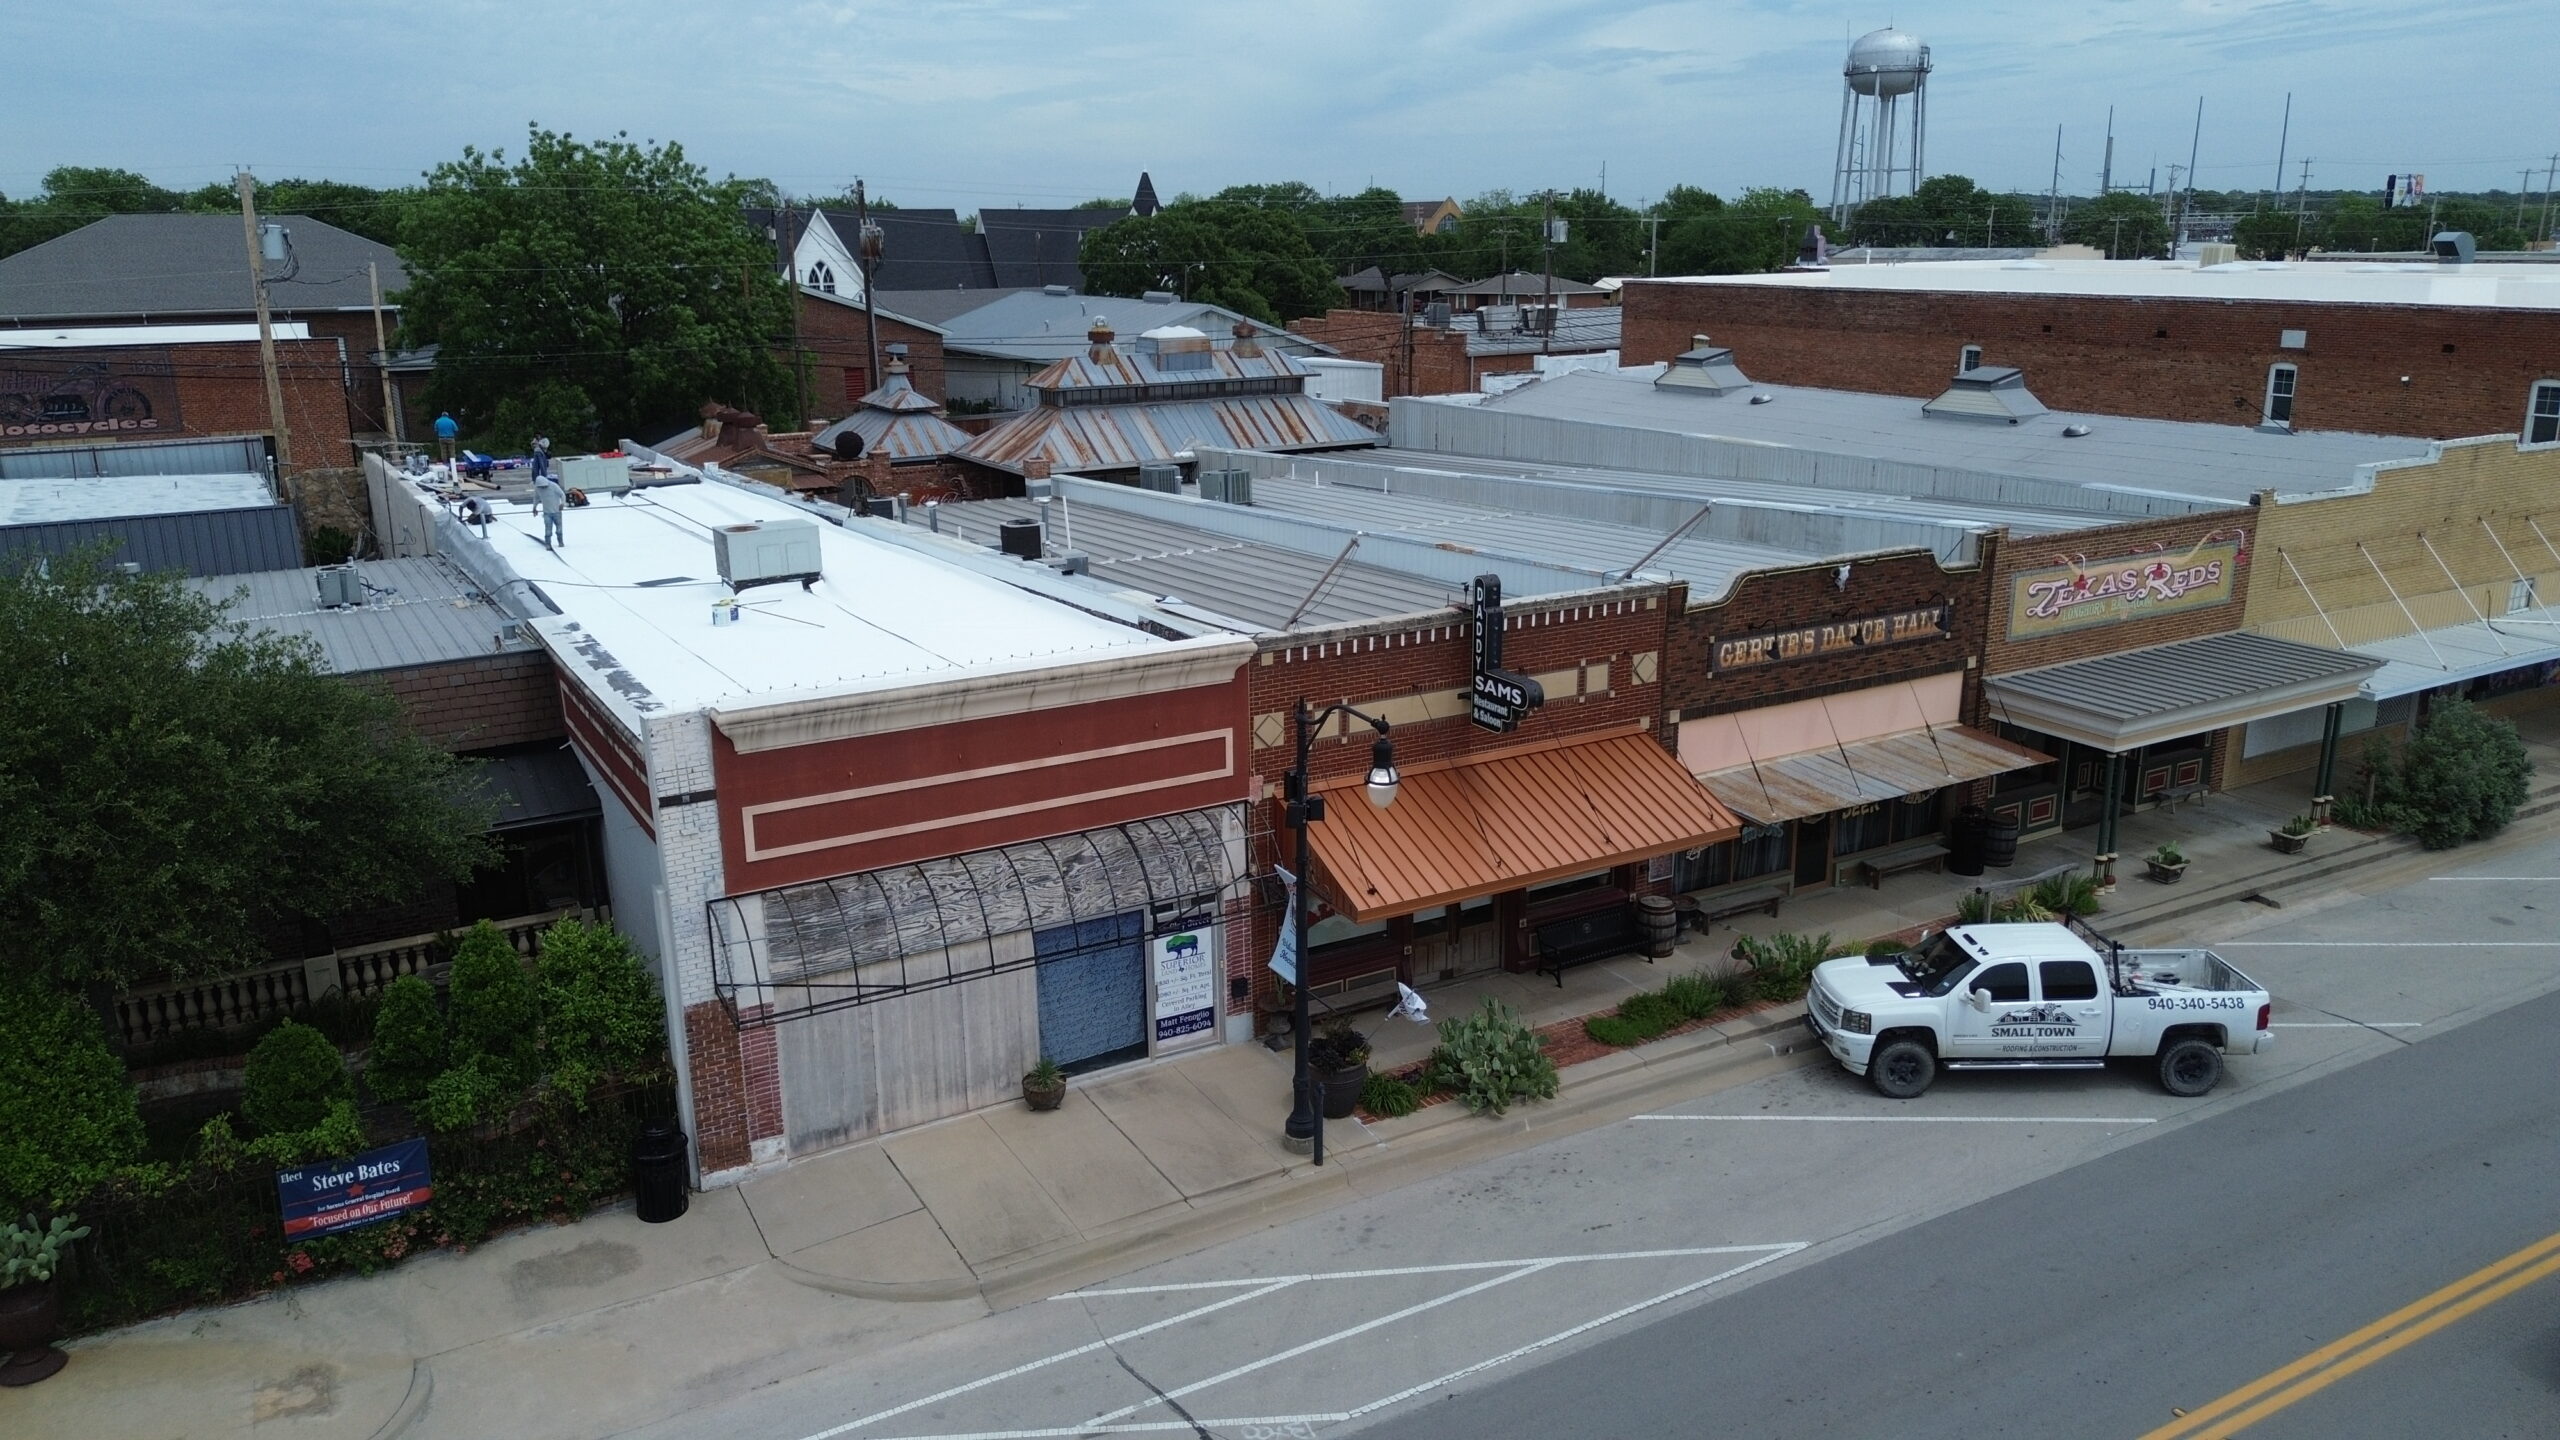
Once the roofing system has been selected, the contractor must identify the materials and components needed to build the complete assembly. This includes more than the primary membrane or outer roofing material. Insulation, cover boards, fasteners, adhesives, primers, flashing materials, edge components, drainage accessories, sealants, and other products may all be necessary.
Compatibility is critical because roofing products are designed to work together in specific assemblies. Materials should meet the project specifications and manufacturer requirements, while components from different manufacturers should not be combined casually when their compatibility has not been established. The installation team should verify product information before materials are applied.
Material storage also matters before installation begins. Roofing products may need to be protected from moisture, excessive heat, contamination, physical damage, or other conditions that could affect their performance. Materials should be stored and handled according to manufacturer recommendations so that products arrive at the installation area in usable condition.
Fasteners and adhesives deserve particular attention because they help secure roofing components to the building. The correct fastening pattern, fastener type, adhesive application, and substrate preparation depend on the selected system and site conditions. Improper installation can create weak areas that may become more vulnerable during severe weather.
Flashing and edge components should be planned at the same time as the main roofing materials. Roof failures often occur around transitions, penetrations, edges, drains, and equipment rather than in the middle of an uninterrupted membrane field. Treating these details as an afterthought can compromise an otherwise well-installed roofing system.
Preparing the Building Before Installation
The building must be prepared before roofing crews begin placing the new system. Preparation can include coordinating access, protecting interior areas, relocating equipment when necessary, establishing staging areas, and making sure the roof is ready for safe and efficient work. These steps help prevent unnecessary delays and protect both the building and the installation team.
Access planning is especially important on large commercial projects. Materials may need to be lifted onto the roof using cranes, hoists, or other equipment, while workers require safe routes between ground-level staging areas and the roof. Delivery schedules should be coordinated so that materials do not obstruct entrances, loading areas, emergency routes, or normal business operations.
Interior protection may also be necessary where existing roof conditions create a risk of debris, dust, moisture, or other disturbances. Sensitive equipment and valuable contents should be considered before demolition or preparation begins. The contractor and property management team should communicate about areas that require additional protection.
The roof surface should be cleared of unnecessary obstacles and prepared for the next stage of work. Existing equipment, loose materials, debris, abandoned components, and damaged roofing materials may need to be removed or addressed. Any repairs identified during the inspection should be completed before the new roofing layers are installed.
A properly prepared building gives the roofing crew a stable starting point for the installation process. Once planning, inspection, material selection, and building preparation are complete, the project can move into the physical preparation of the roof assembly. The next stage focuses on the roof surface, existing materials, deck condition, insulation, and installation of the primary roofing system.
Preparing the Roof Surface
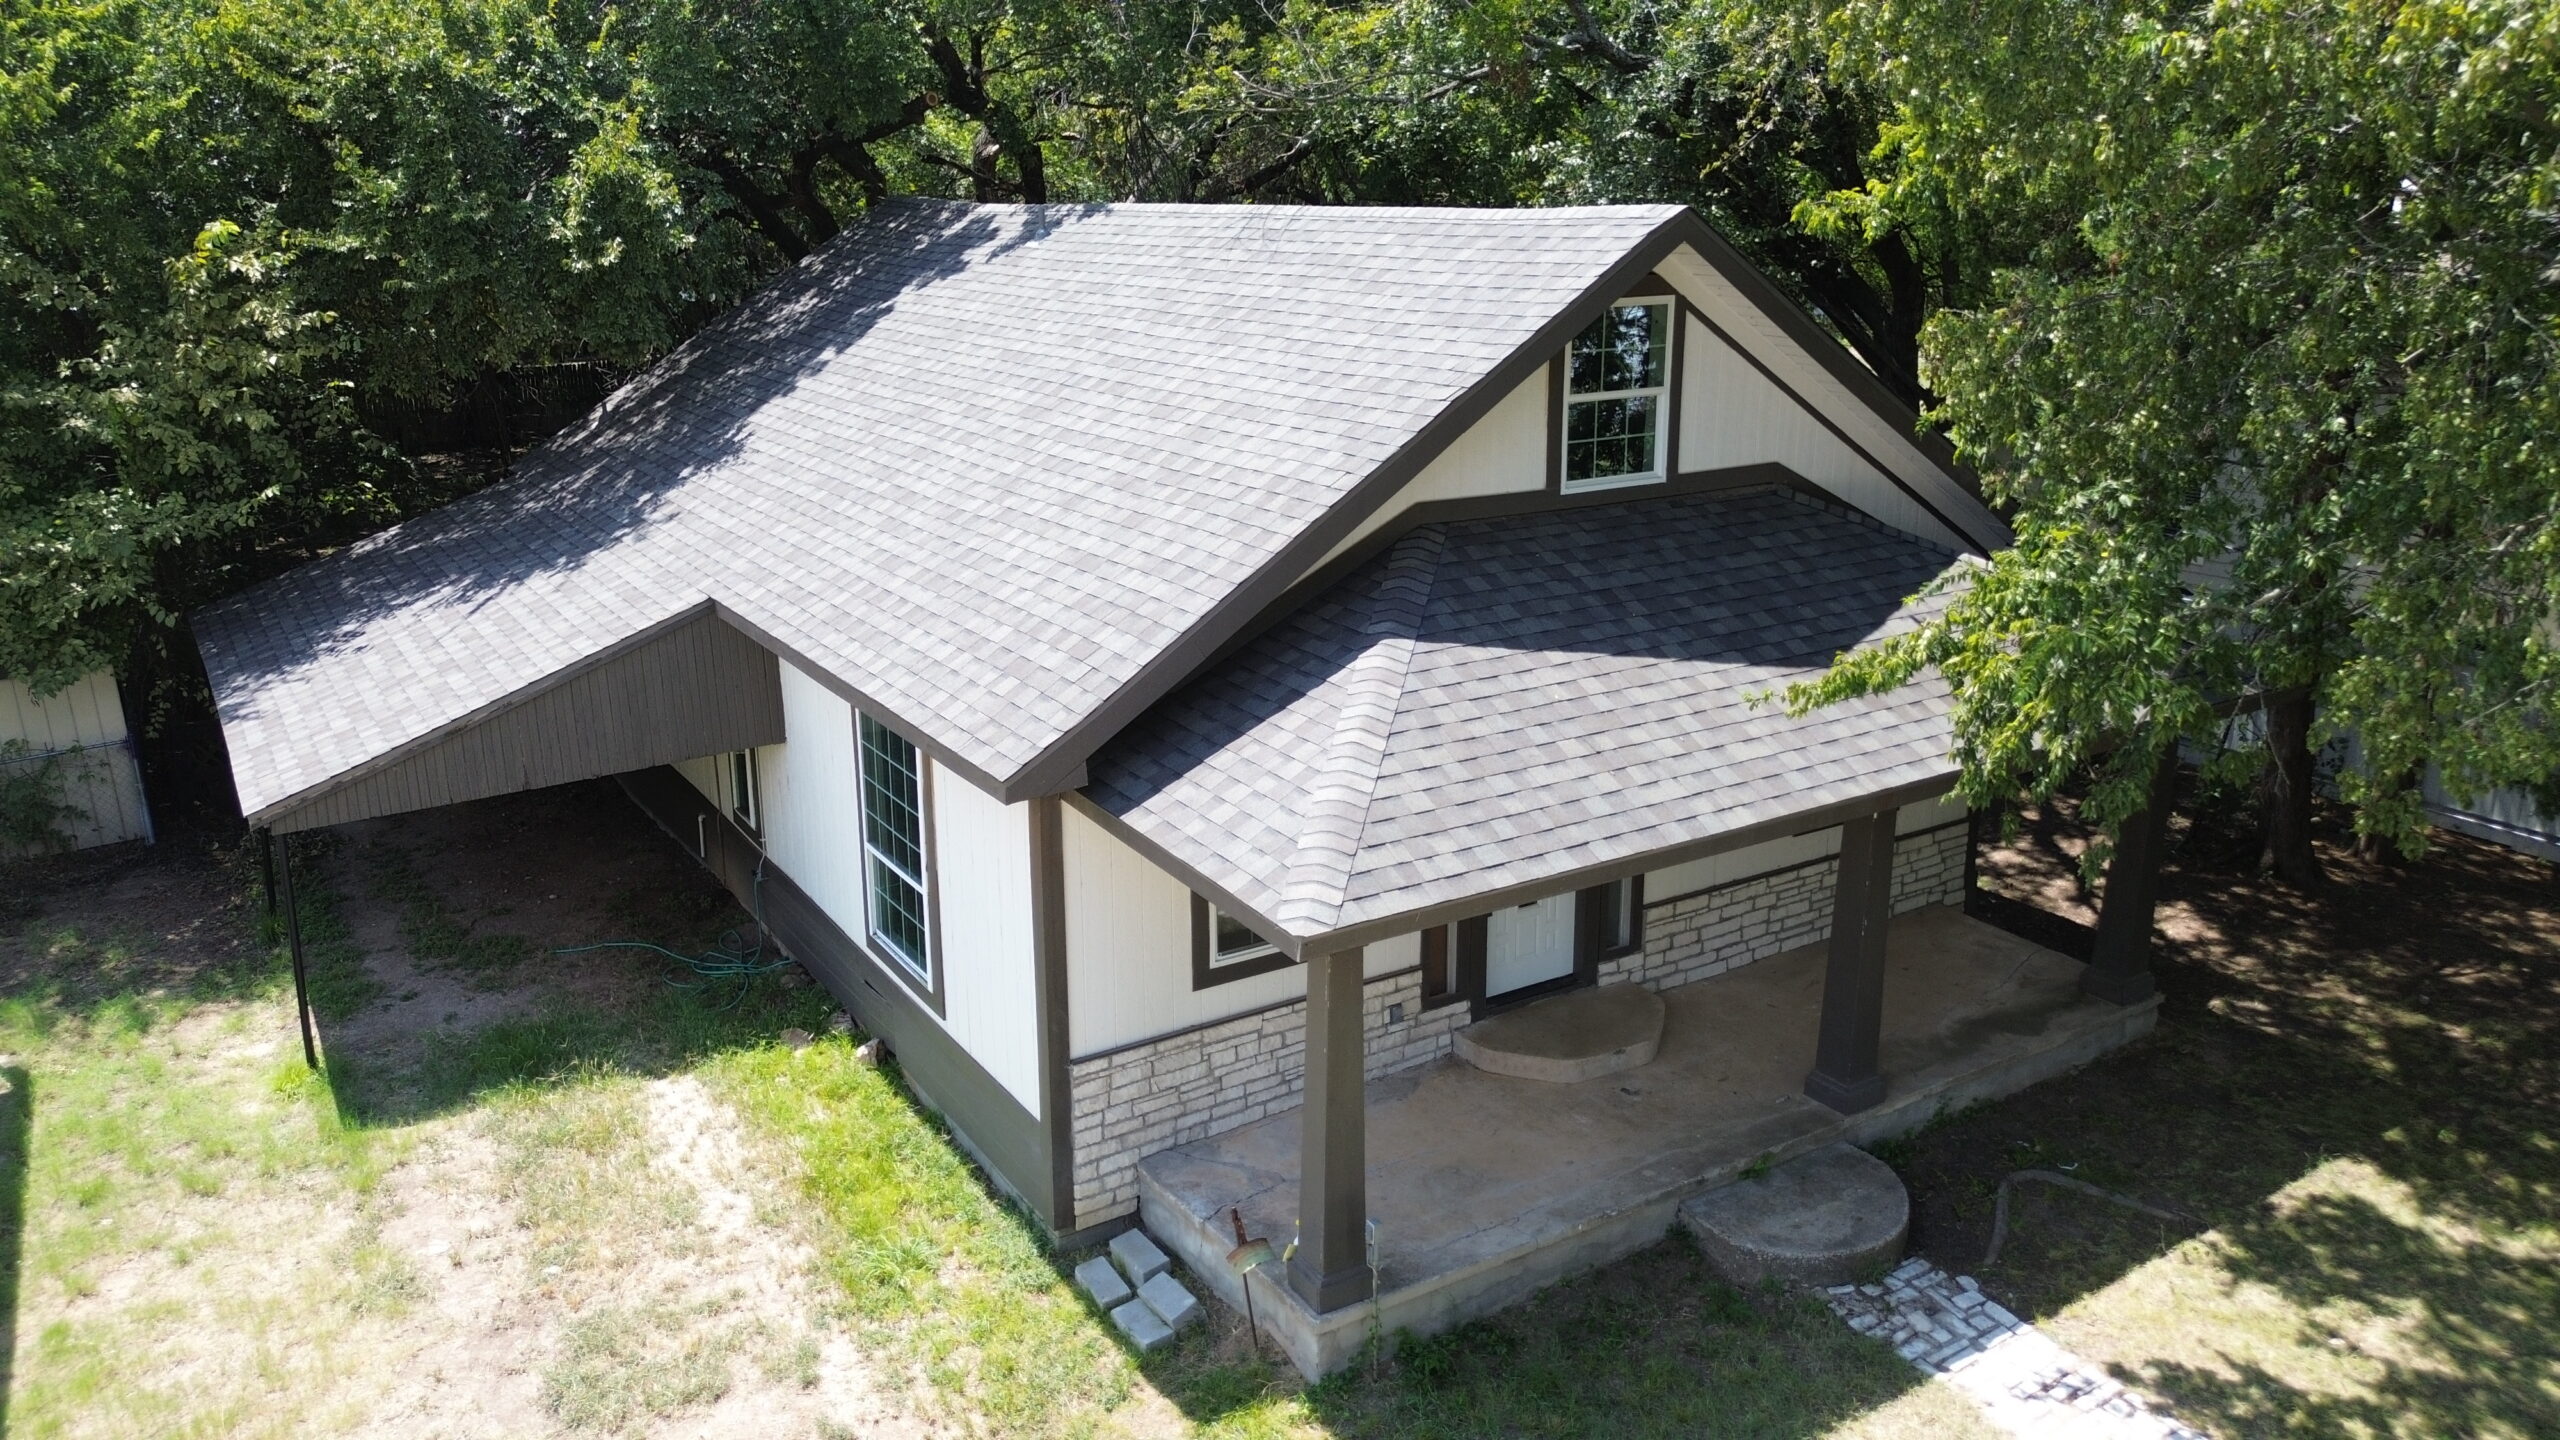
Once the building has been inspected and the installation plan has been established, the roofing crew can begin preparing the roof surface. Proper preparation creates the foundation for the new commercial roofing system and helps ensure that each subsequent layer performs as intended. The exact preparation process depends on whether the project involves a complete tear-off, a partial replacement, or installation over an existing roof assembly that has been approved for reuse.
The first task is generally to remove loose debris, dirt, damaged materials, standing water, and other conditions that could interfere with installation. The roof surface should be reasonably clean and stable before new materials are placed. Dust, moisture, grease, loose particles, or deteriorated materials can affect the adhesion and positioning of roofing components.
The crew must also identify areas that require repair before covering them. Cracks, damaged insulation, deteriorated deck sections, exposed fasteners, and other defects should not simply be concealed beneath a new roof. Addressing these conditions while the roof is accessible is usually more practical than discovering them after the new system has been completed.
Moisture is particularly important during preparation. Wet substrates can create problems beneath a new roofing assembly and may contribute to deterioration if trapped inside the system. Contractors should follow the selected system’s requirements for substrate moisture and weather conditions before proceeding with installation.
Roof slopes and drainage paths should also be checked during preparation. The new system must be installed in a way that supports effective water movement toward drains, scuppers, or other designated drainage points. Areas with poor drainage may require corrective work before the main roofing materials are installed.
Removing Existing Roofing When Required
Some commercial roofing projects require removal of the existing roofing system before the new assembly is installed. A complete tear-off allows contractors to inspect the underlying roof deck and remove deteriorated materials that could compromise the new system. However, whether a full tear-off is appropriate depends on the building, existing assembly, local requirements, manufacturer specifications, and project objectives.
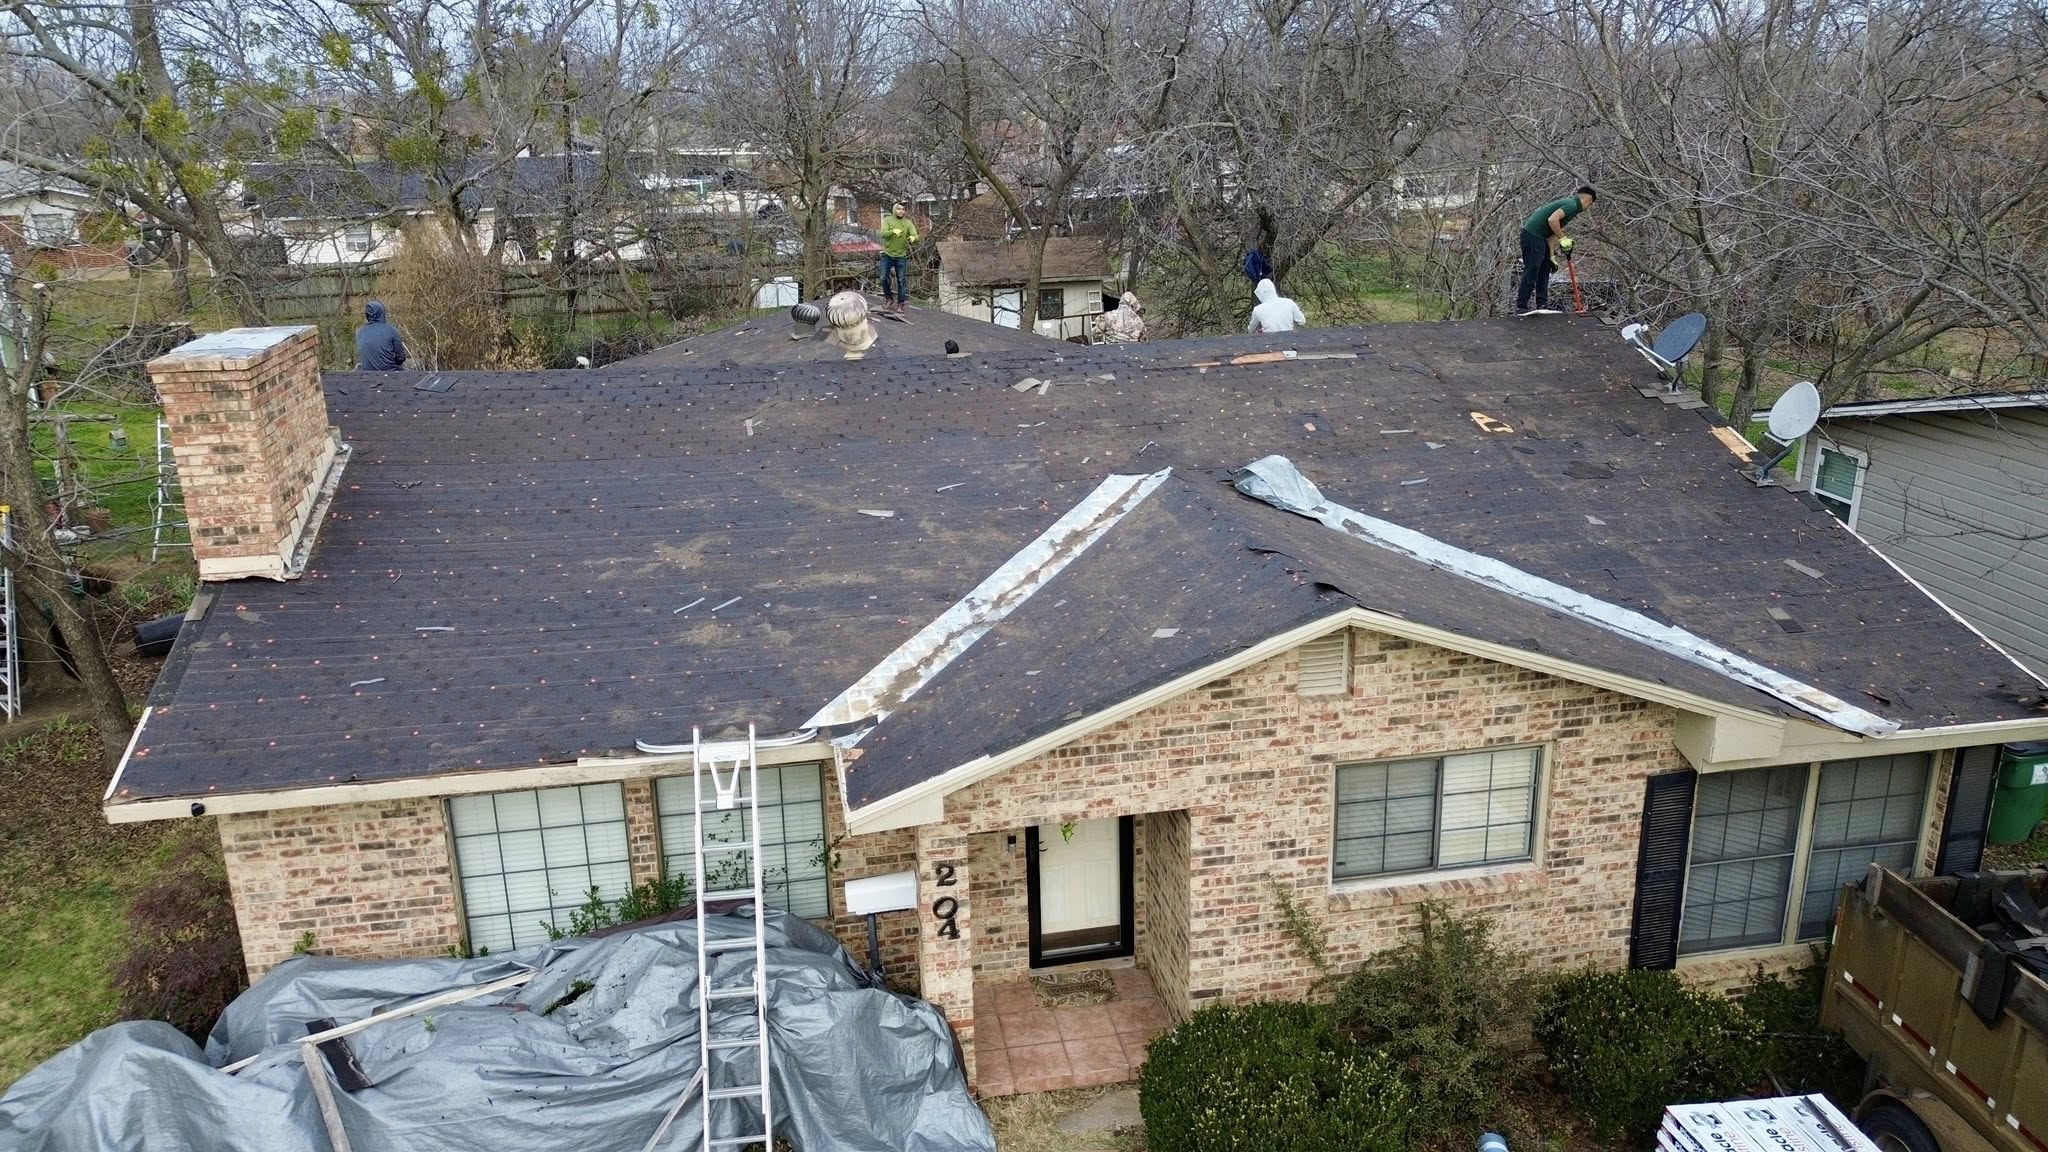
During a tear-off, existing membranes, insulation, flashing, fasteners, and other components are removed according to the project plan. Crews must work carefully because demolition can expose the building to weather and can create falling debris or other hazards. The work area therefore needs appropriate protection and controlled access throughout the process.
Removed materials should be handled systematically rather than being allowed to accumulate on the roof. Excessive material weight can create unnecessary loading concerns, while loose debris can interfere with workers and equipment. Contractors normally establish a process for moving waste from the roof to designated disposal or recycling areas.
The condition of the exposed deck becomes much easier to evaluate after the existing roofing layers have been removed. Steel decks can be checked for corrosion or damaged areas, while concrete or wood decks can be evaluated for cracks, deterioration, moisture damage, or other weaknesses. Any deficiencies should be documented and corrected before the new assembly continues.
In some cases, the existing roof may be suitable for an approved recover system rather than complete removal. Even then, the existing assembly must be evaluated carefully to confirm that it can support the new system and provide an appropriate substrate. Covering an unsuitable roof does not eliminate the underlying problem and may make future repairs more complicated.
Repairing and Preparing the Roof Deck
The roof deck is one of the most important structural components beneath a commercial roofing system. It supports the roofing assembly and provides the surface to which various components may be attached. If the deck is damaged or unstable, installing a new membrane over it will not correct the underlying condition.
Deck repairs should be performed according to the material and structural requirements of the building. Damaged steel sections may require replacement or approved repair methods, while concrete decks may require attention to cracks, deterioration, or surface conditions. Wood decks can also develop moisture-related deterioration that must be addressed before roofing materials are installed.
The contractor should ensure that repaired areas provide a suitable base for the next roofing layers. Uneven or contaminated surfaces may interfere with insulation placement, fastening, adhesives, or other installation methods. The deck should therefore be clean, stable, and ready to receive the planned assembly.
Structural concerns should not be treated as ordinary roofing defects. If inspection reveals significant structural deterioration, the appropriate building professionals may need to evaluate the condition before roofing work proceeds. The roofing contractor should not assume that a structural problem can be solved through membrane installation alone.
Once the deck has been prepared, the installation team can begin building the new roof assembly. Depending on the selected design, this may involve vapor control layers, insulation, cover boards, and other components before the primary waterproofing layer is installed.
Installing Insulation and Vapor Control Layers
Insulation plays an important role in the performance of a commercial roofing system. It can help reduce heat transfer through the roof and contribute to more consistent indoor temperatures. The type, thickness, arrangement, and attachment method of insulation should be determined by the project’s design requirements and applicable standards.
Before insulation is installed, the crew must ensure that the substrate is suitable and that the installation area is ready. Insulation boards should be placed according to the specified layout, with joints properly aligned and gaps minimized where the system requires close-fitting boards. Poor placement can create uneven surfaces and reduce the effectiveness of the roof assembly.
Multiple insulation layers may sometimes be used to achieve the desired thermal performance. When multiple layers are specified, their arrangement should follow the approved design rather than being improvised in the field. Joints may be staggered when required to reduce continuous gaps through the assembly.
Vapor control components may also be included depending on the building design, interior conditions, climate, and roof assembly. Their purpose and placement must be considered as part of the complete system rather than as an independent layer. Incorrect placement can affect moisture movement within the roof assembly.
Cover boards may be installed above insulation when the selected system requires additional protection or a suitable surface for the roofing membrane. These boards can provide improved resistance to certain types of impact and help create a consistent substrate for subsequent roofing work.
Every insulation and cover board component should be installed according to the manufacturer’s requirements. Fastening, adhesive coverage, board layout, and substrate conditions all influence how effectively these layers perform once the roof is completed.
Installing the Roofing Membrane or Primary Roof System
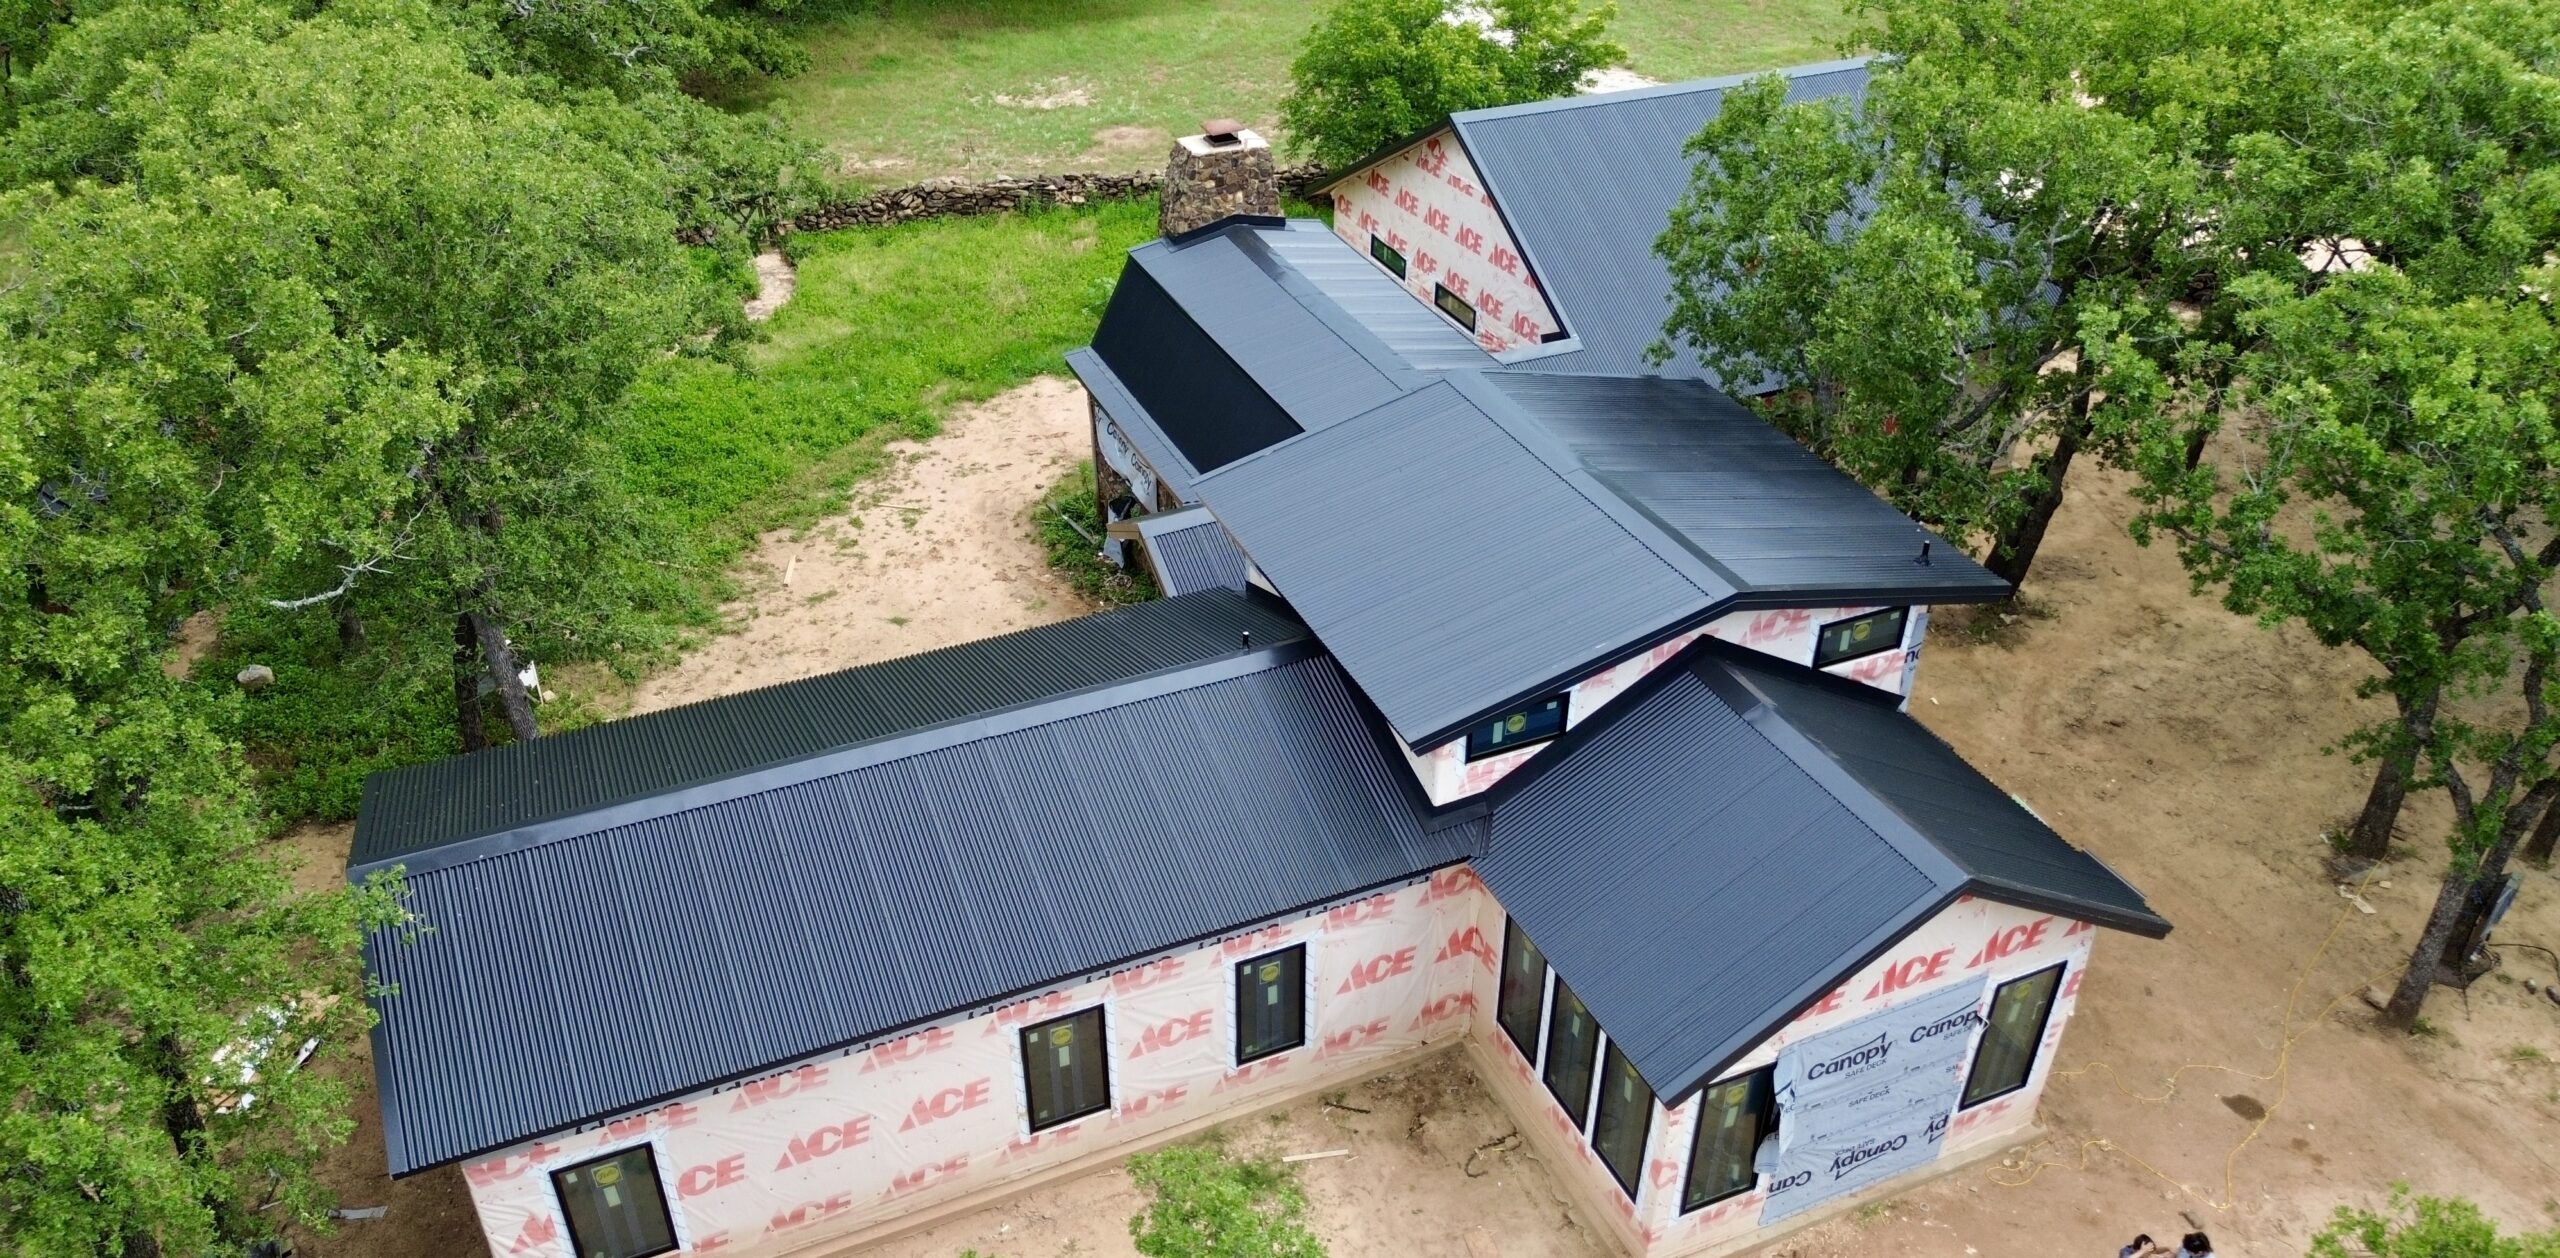
The primary waterproofing layer is one of the most visible and important parts of the commercial roofing assembly. Depending on the project, this may be a single-ply membrane, modified bitumen, built-up roofing system, metal roof assembly, or another approved material. Installation methods vary significantly, so the crew must follow the requirements specific to the selected system.
For single-ply membranes, large sheets are positioned over the prepared substrate and secured using the specified attachment method. Some systems are mechanically fastened, while others are adhered or use combinations of attachment methods. The membrane must be installed carefully so that wrinkles, unnecessary tension, and other installation problems are minimized.
Seams require particular attention because they connect individual membrane sections into a continuous waterproofing surface. Depending on the material, seams may be heat welded, chemically bonded, adhered, or completed using another approved technique. The exact method must be appropriate for the membrane and environmental conditions.
Weather can influence membrane installation significantly. Wind can make large membrane sheets difficult to control, while moisture or unsuitable temperatures can affect adhesives and other products. Contractors need to organize work so that exposed sections of the roof are protected and completed appropriately before conditions change.
The membrane should also be installed with consideration for roof features such as drains, curbs, pipes, equipment supports, expansion joints, and edges. These areas require transitions and detailing that connect the main membrane field to other components. Proper coordination at these points is essential because they can be more vulnerable to water intrusion than uninterrupted roof areas.
Installing Flashing and Edge Details
Flashing is used to protect transitions and areas where the roofing system meets walls, curbs, penetrations, edges, and other structures. These details help prevent water from moving beneath the roofing membrane. Even when the main roof field is installed correctly, poorly completed flashing can create significant vulnerabilities.
Perimeter edges require especially careful installation because they are exposed to weather and wind forces. Edge metal, termination systems, and other components must be attached and integrated according to the approved roofing design. The connection between the roof membrane and perimeter details should create a secure and continuous weather-resistant assembly.
Penetrations such as pipes, vents, conduits, and equipment supports also need specialized flashing. The roofing crew must ensure that the membrane is properly integrated around these features without creating openings or weak transitions. Sealants may be used in certain locations, but they should complement proper detailing rather than replace it.
Wall transitions and rooftop curbs require similar attention. Materials must be arranged so water is directed away from vulnerable joints and does not become trapped behind flashing. The exact detail depends on the roofing system and the construction of the surrounding building components.
Quality control during flashing installation is essential. Crews should inspect these areas as work progresses rather than waiting until the entire roof is complete. Early inspection makes it easier to correct problems while the relevant components remain accessible.
Sealing Penetrations, Drains, Curbs, and Other Roof Features
Commercial roofs rarely consist of a completely open surface. HVAC equipment, drains, skylights, vents, pipes, electrical components, expansion joints, access hatches, and other features interrupt the membrane. Each interruption creates a location where water could enter if the roofing details are not properly designed and installed.
Roof drains deserve particular attention because they are responsible for moving water away from the roof surface. The membrane must be correctly integrated with the drain assembly, while surrounding materials should be arranged to support proper water flow. Drains should also remain clear of construction debris during installation.
Curbs supporting rooftop equipment need secure transitions between the equipment base and the roofing membrane. The contractor must ensure that flashing and membrane materials are properly integrated around the curb. Equipment movement, maintenance access, and future service work should also be considered so the completed detail is not easily damaged.
Other penetrations require suitable boots, flashings, sealants, or prefabricated components depending on the roofing system. These details should be installed using products approved for the specific application. Improvised solutions can create maintenance problems and may reduce the reliability of the waterproofing system.
Walkway pads or protective paths may also be installed where regular foot traffic is expected. These areas help protect the roofing membrane from unnecessary wear caused by maintenance personnel and equipment servicing. Their locations should be planned so workers can reach commonly serviced rooftop equipment without repeatedly walking directly on vulnerable roof surfaces.
At this stage, the main components of the new commercial roofing system are beginning to form a continuous assembly. However, installation is not complete simply because the membrane has been placed. Seams, fasteners, adhesives, flashing, drainage details, safety procedures, and quality-control checks must continue to receive attention as the project progresses.
Managing Proper Fastening, Adhesion, and Seaming
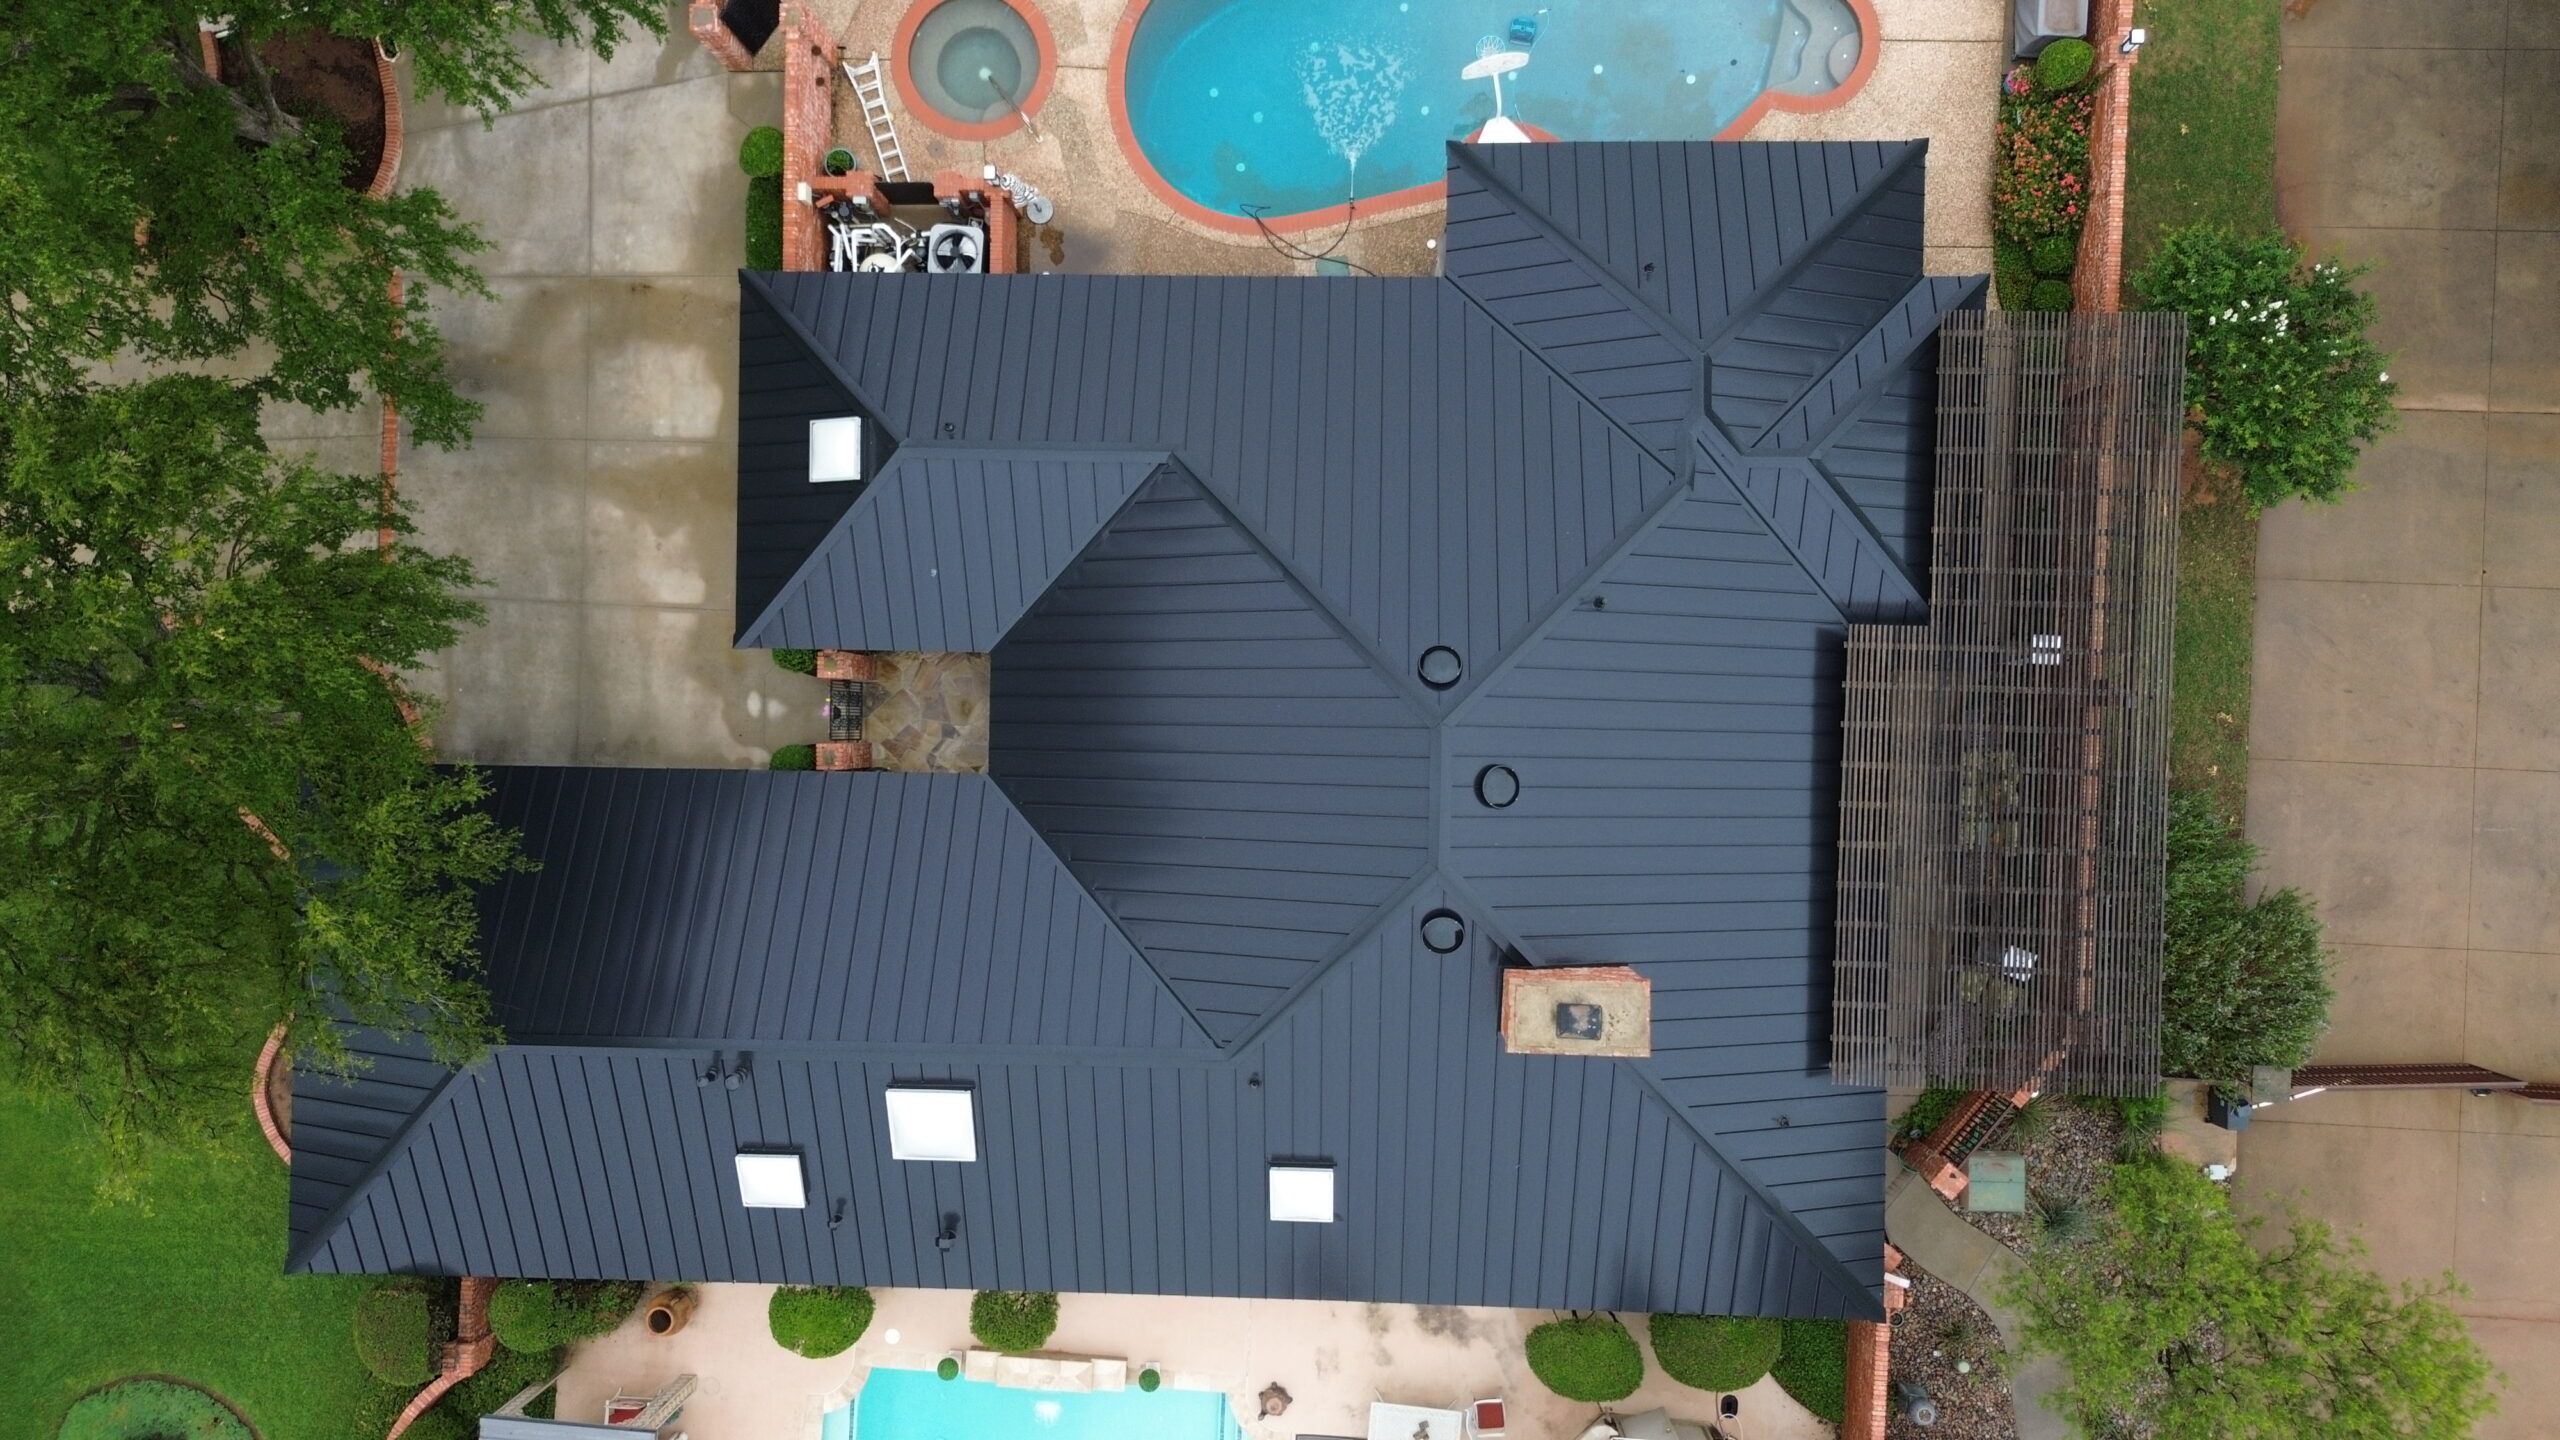
After the primary roofing materials, flashing, and roof features have been installed, the quality of fastening, adhesion, and seaming must be carefully evaluated. These connections hold the roofing assembly together and help create the continuous weather-resistant surface that protects the building. Small installation defects in these areas can become larger problems when the roof is exposed to wind, rain, temperature changes, and regular maintenance activity.
Mechanically fastened systems require fasteners and plates to be installed according to the approved fastening pattern. The spacing and placement should match the roofing design rather than being determined casually in the field. Fasteners that are improperly positioned, overdriven, underdriven, or installed into unsuitable substrates can reduce the effectiveness of the attachment.
Adhered systems require appropriate substrate preparation and consistent adhesive application. The roofing crew must follow the product requirements for coverage, open time, application conditions, and bonding. Uneven adhesive coverage or premature placement of materials can create areas where the membrane does not properly adhere to the underlying surface.
Membrane seams are another critical area of quality control. Depending on the roofing material, seams may be heat welded, chemically bonded, or connected using approved adhesive systems. The completed seams should be continuous and properly formed, without visible gaps, contamination, wrinkles, or other conditions that could allow water to reach the underlying assembly.
Weather conditions can affect these installation methods. Wind, moisture, dust, and unsuitable temperatures may interfere with adhesives, welding, or membrane positioning. A professional roofing crew should adjust its work practices when conditions are outside the manufacturer’s requirements instead of attempting to complete critical work under unsuitable circumstances.
Quality checks should take place as installation progresses. Inspecting only after the entire roof has been completed can make it harder to identify where a defect originated and may require additional labor to access concealed areas. Continuous inspection allows problems to be corrected while the installation remains accessible.
Managing Roof Drainage and Water Flow
Effective drainage is essential for a commercial roofing system because the roof must move rainwater away from the building efficiently. Even a waterproof membrane can experience unnecessary stress when water remains on the surface for extended periods. Proper drainage planning therefore needs to remain a priority throughout installation, not just during the initial roof inspection.
The roofing crew should make sure drains, scuppers, gutters, and other drainage components remain clear while work is taking place. Construction debris, packaging, insulation scraps, and loose roofing materials can obstruct drainage openings and create temporary water accumulation. These materials should be removed regularly instead of being left until the final cleanup.
The finished roof should direct water toward the intended drainage points. Where the design includes tapered insulation or other slope-forming components, the installation must follow the approved layout so that drainage paths are maintained. Small changes in material placement can affect how water moves across large commercial roof areas.
Drain assemblies also require careful membrane integration. The membrane should connect to the drain in accordance with the roofing system’s approved detail, creating a secure transition that reduces the potential for leakage. Surrounding materials should not block the drain or create unnecessary depressions that interfere with water movement.
After the roofing work is substantially complete, drainage areas should be inspected again. The contractor should verify that drains and other outlets remain accessible and that construction activities have not damaged or displaced their components. This final review is particularly important before the building enters its normal operating cycle.
| Roof Area | Installation Focus | Quality Check |
|---|---|---|
| Main roof field | Membrane placement and attachment | Surface condition and secure installation |
| Seams | Welding, bonding, or approved joining | Continuous and properly formed seams |
| Roof edges | Edge metal and membrane termination | Secure attachment and weather-resistant transition |
| Drains | Membrane-to-drain integration | Clear opening and proper water flow |
| Curbs and penetrations | Flashing and waterproof detailing | No visible gaps or weak transitions |
| Walkway areas | Protective surface installation | Secure placement and practical access |
Maintaining Safety and Quality Control During Installation
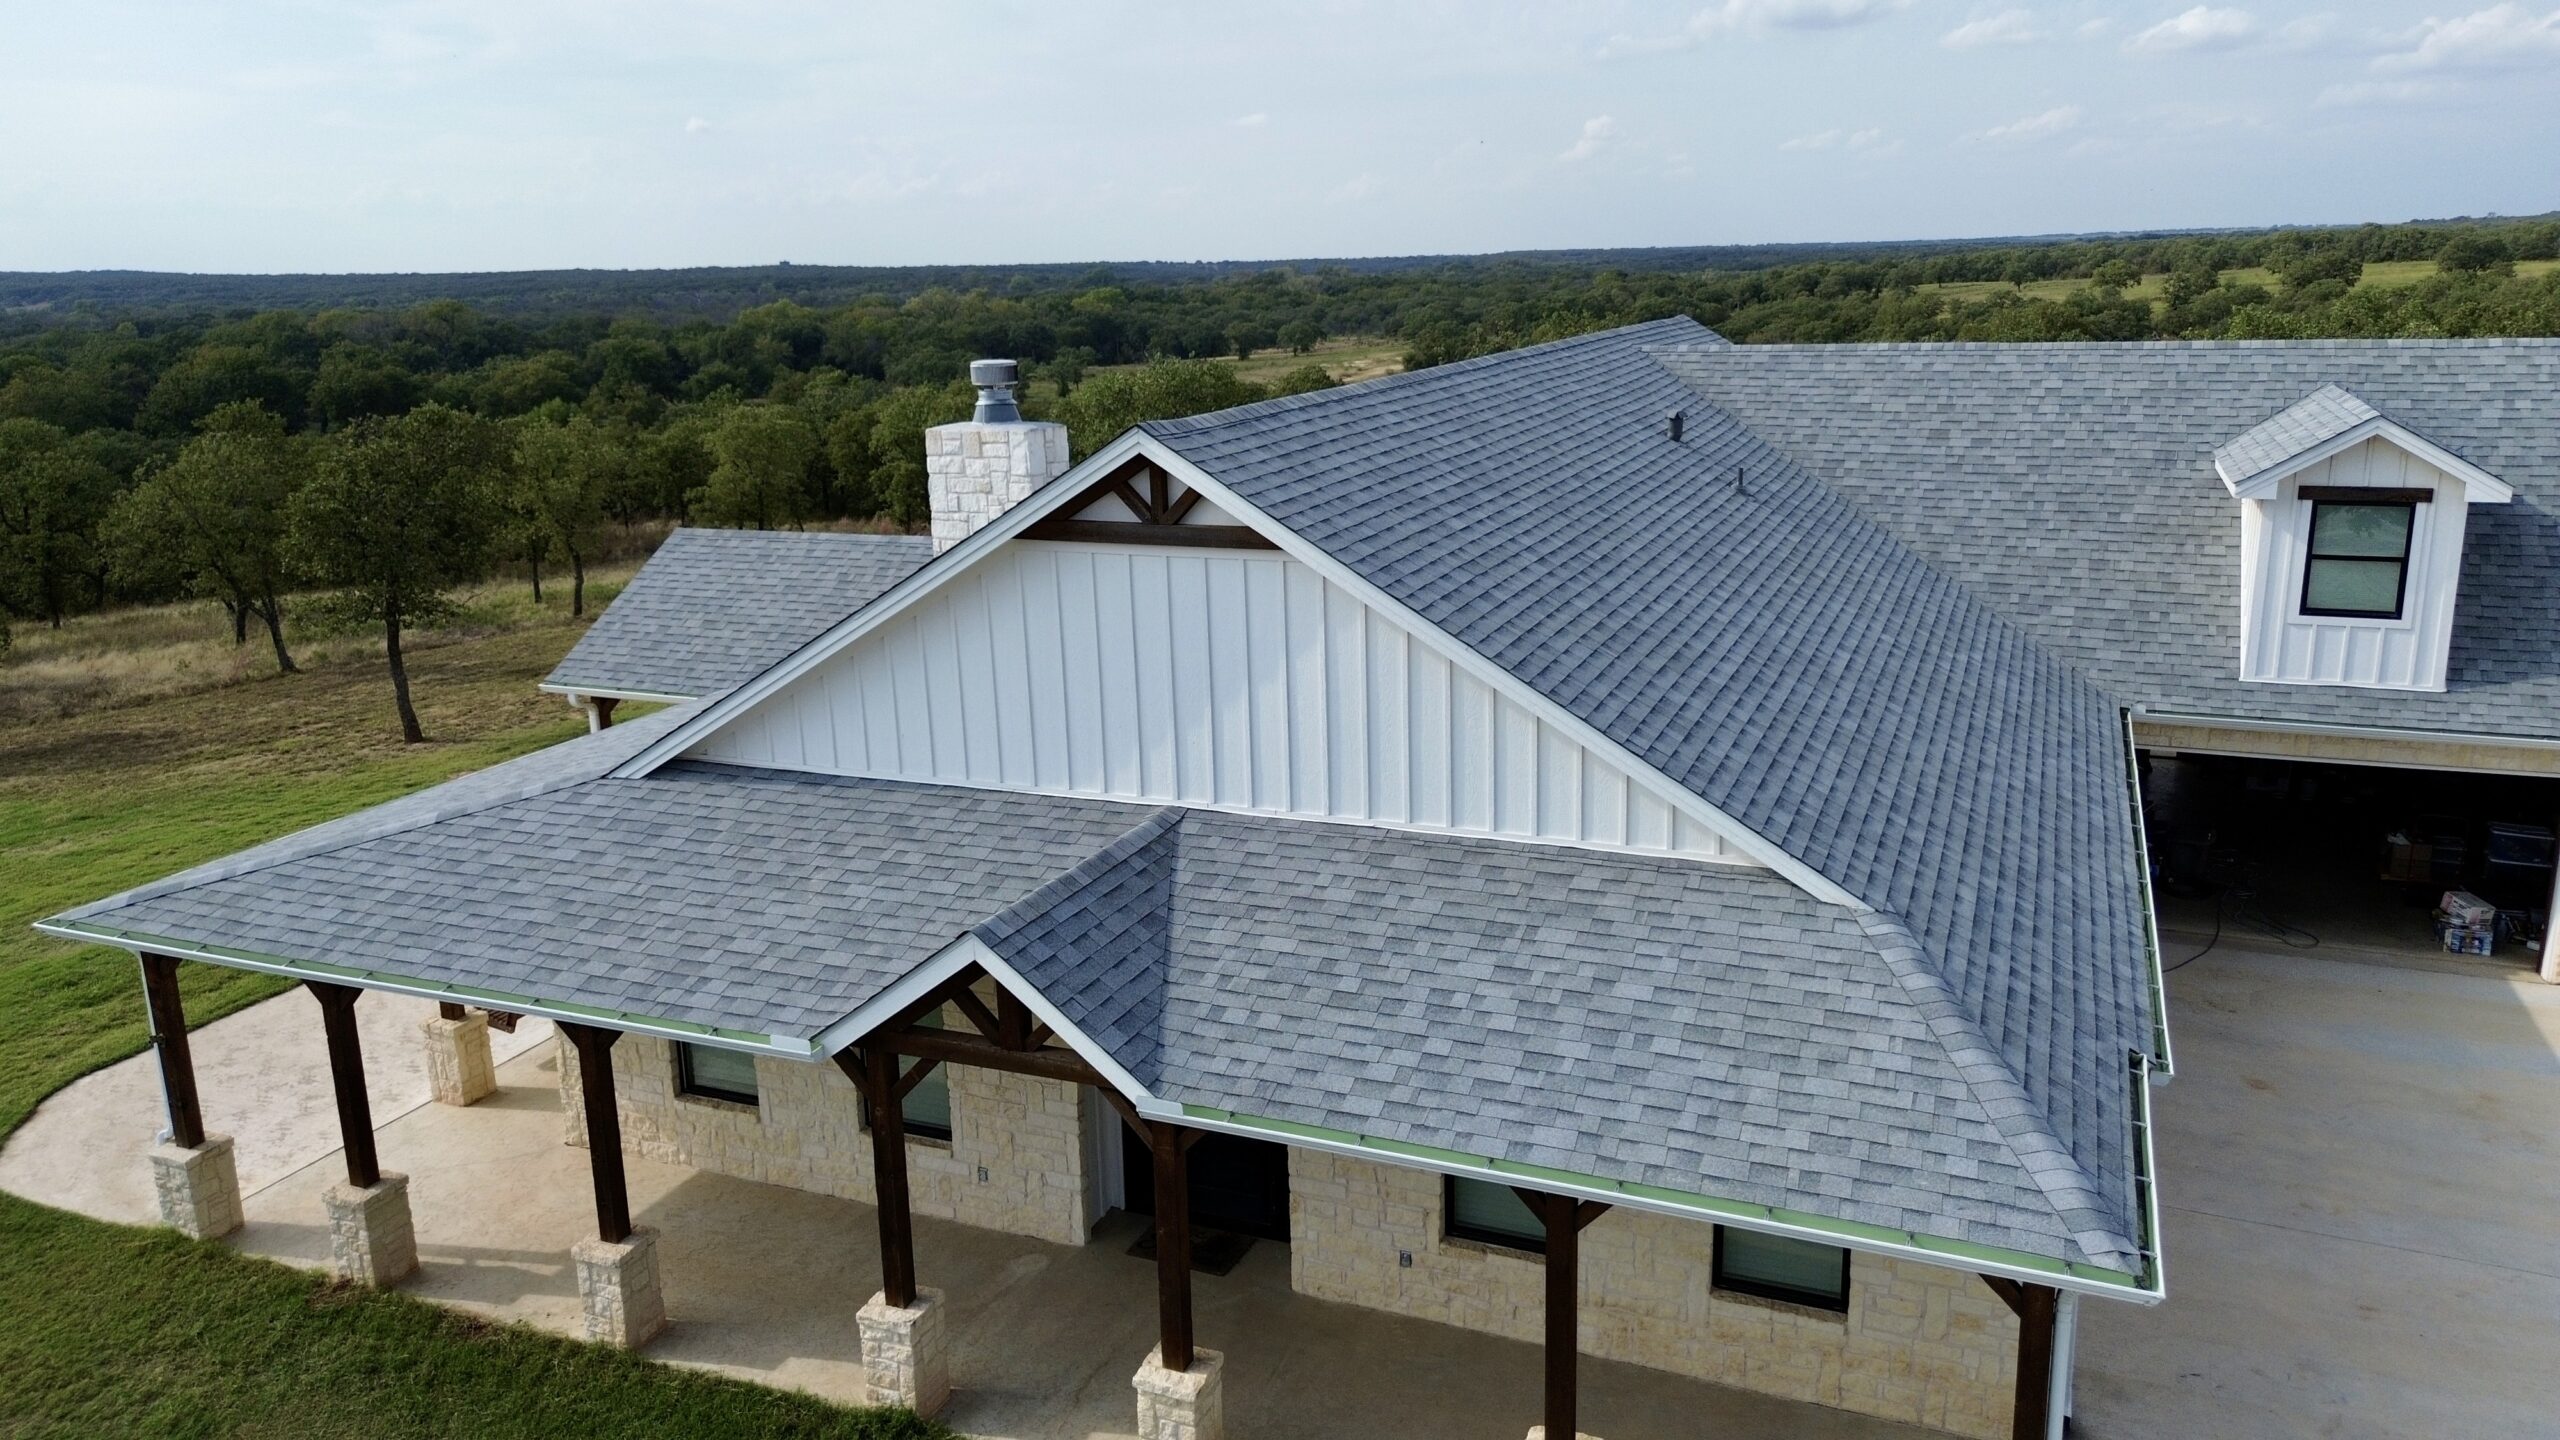
Commercial roofing installation involves elevated work areas, heavy materials, specialized equipment, electrical systems, rooftop machinery, and changing weather conditions. Safety must therefore remain part of the installation process from beginning to end. A project cannot be considered successful if the roof is completed properly but workers, occupants, or property are exposed to unnecessary hazards.
Access to the roof should be controlled throughout the project. Designated routes help keep workers away from unsafe areas and reduce the possibility of unauthorized people entering active work zones. Where the property remains operational during installation, the contractor should coordinate rooftop activities with building management.
Materials and equipment should be organized so they do not create unnecessary trip hazards or obstruct important access points. Loose membrane sections, tools, fasteners, cords, and packaging can become dangerous when left in work areas. Good housekeeping should therefore continue throughout each workday rather than being postponed until the project is finished.
Weather monitoring is also important for safety. Strong winds can affect large membrane sheets and loose materials, while rain can create slippery surfaces. Lightning, extreme heat, and other severe conditions may require roofing operations to be modified or temporarily suspended according to the project’s safety procedures.
Quality control should operate alongside safety rather than being treated as a separate activity. Supervisors and installers should verify important details as they are completed, including membrane seams, flashing, attachment points, penetrations, and drainage components. Correcting a problem immediately is usually easier than discovering it after other materials have covered the area.
Documentation can also support quality control. Photographs, inspection records, material information, and notes about completed work can create a useful record for the property owner. These records may become valuable later when maintenance teams need to understand the roof assembly or investigate a particular area.
Inspecting the Completed Roofing System
When the installation work is substantially complete, the roof should undergo a detailed inspection before final acceptance. This inspection is intended to identify visible defects, incomplete details, damaged materials, and other conditions that should be corrected while the contractor is still working on the project.
The inspection should cover the entire roofing system rather than focusing only on the center of the roof. Perimeter edges, corners, seams, drains, penetrations, equipment curbs, expansion joints, wall transitions, and other details deserve particular attention because these locations often require more complicated installation.
The roof surface should be checked for visible wrinkles, damage, loose components, open seams, poorly finished transitions, and other irregularities. The inspector should also look for areas where materials appear inconsistent with the approved installation requirements. Any concerns should be documented so the contractor can investigate and correct them.
Drainage should be reviewed as part of the final inspection. Drains and scuppers should be accessible and free of construction debris, while the surrounding roofing details should appear secure. Where appropriate, the project team may evaluate how water moves across the completed roof to identify obvious drainage concerns.
Equipment and rooftop features should also be inspected. HVAC units, vents, pipes, skylights, access hatches, and other penetrations need properly completed flashing and waterproofing details. These components should be considered as part of the roof system rather than as separate items.
A final inspection should ideally involve the appropriate project representatives. Depending on the project, this may include the property owner, roofing contractor, consultant, manufacturer’s representative, or facility management team. Any agreed corrections should be completed before final project acceptance.
Testing Critical Details and Correcting Installation Defects
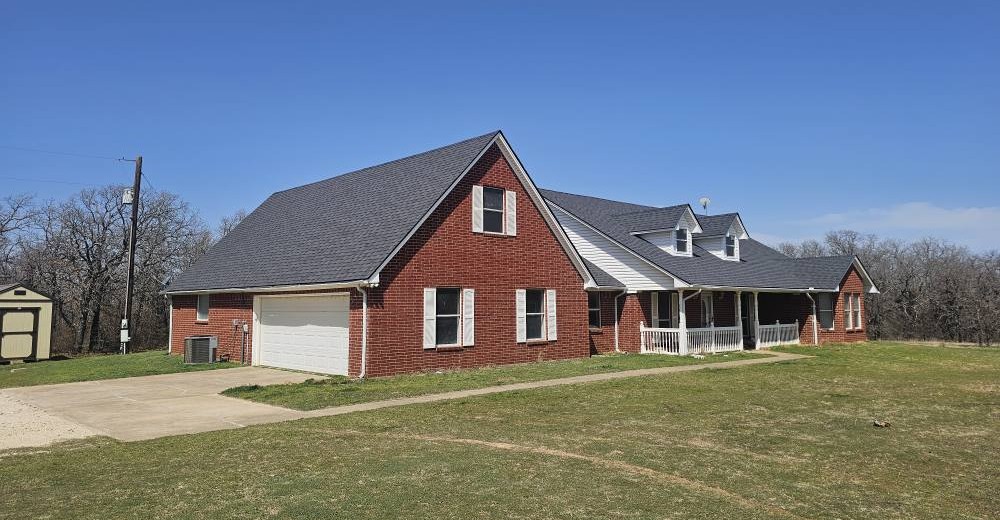
Visual inspection is important, but some roofing systems and projects may require additional testing of critical areas. The specific testing methods depend on the roofing material, project specifications, manufacturer requirements, and applicable standards. Testing can provide additional confidence that seams and waterproofing details were properly completed.
Seams deserve particular attention because they join separate membrane sections into one continuous surface. Depending on the membrane system, specialized inspection methods may be used to identify weak or incomplete seams. Any questionable area should be repaired according to the manufacturer’s approved procedure.
Flashing should also be checked carefully. A small opening at a penetration or edge can provide a path for water even when the main membrane field is intact. Correcting these details before project completion can prevent the building owner from inheriting avoidable maintenance problems.
Fasteners and termination points should be reviewed where applicable. Components should be secure and positioned according to the system requirements. Areas that appear loose, damaged, incorrectly positioned, or otherwise inconsistent with the approved installation should be addressed before the roof is accepted.
Defects should not simply be covered or sealed without understanding their cause. For example, adding sealant over a poorly detailed transition may provide only temporary protection if the underlying installation remains incorrect. Proper repairs should restore the intended roofing detail rather than masking the visible symptom.
Once corrections are completed, the affected areas should be inspected again. This creates a simple quality-control cycle: identify the issue, determine the appropriate correction, complete the repair, and verify the result. That process helps ensure that the final roofing system represents the quality specified at the beginning of the project.
Completing Cleanup, Documentation, and Handover
The final stage of installation includes more than removing construction waste. The site should be returned to an orderly condition so the building can resume normal operations without unnecessary hazards or disruptions. Roofing materials, packaging, loose fasteners, scraps, tools, and other construction debris should be removed from the roof and surrounding work areas.
Roof drains and drainage paths should receive particular attention during cleanup. Even a small amount of leftover material can interfere with water movement if it reaches a drain opening. The contractor should verify that drainage components remain clear after all construction activities have ended.
The property owner should also receive appropriate project documentation. Depending on the agreement, this may include product information, warranty documentation, maintenance recommendations, inspection records, photographs, and information about the installed roofing assembly. Keeping these records organized can make future maintenance and repair work easier.
Facility managers should understand any restrictions or recommendations associated with the new roof. Certain systems may require designated walkways for regular foot traffic, while rooftop equipment service may require specific precautions. Maintenance personnel should know how to access equipment without unnecessarily damaging the roofing membrane.
The handover process is also an opportunity to establish a maintenance routine. A new roof should not be treated as maintenance-free simply because it has just been installed. Regular inspections can identify damaged flashing, blocked drains, punctures, loose components, or other issues before they develop into larger problems.
Maintaining the New Commercial Roof for Long-Term Performance
A properly installed commercial roofing system can provide strong long-term performance, but its condition still depends on how it is used and maintained after installation. Routine inspections help identify minor issues before they become expensive repairs. The frequency of inspections should reflect the building’s environment, roof design, weather exposure, equipment activity, and maintenance needs.
After major storms, additional inspection may be appropriate. Strong winds, hail, falling branches, debris, and heavy rainfall can affect roof membranes, edge components, flashing, and drainage systems. Prompt attention can prevent a small defect from developing into significant water intrusion.
Building owners should also control unnecessary rooftop traffic. Workers servicing HVAC equipment or other systems should use designated walkways where provided and avoid dragging tools or equipment across the membrane. Even durable roofing materials can be damaged by careless movement or repeated uncontrolled foot traffic.
Drainage systems should be kept clear as part of routine facility maintenance. Leaves, dirt, packaging, vegetation, and other debris can accumulate around drains and scuppers over time. Keeping these areas clear helps the roof perform as intended during rainfall.
Maintenance records should be retained throughout the roof’s service life. Recording inspections, repairs, leaks, modifications, and other significant events creates a useful history of the roofing system. This information can help future contractors understand previous work and make better decisions when repairs or upgrades are required.
Conclusion
Installing a new commercial roofing system properly requires much more than placing a waterproof membrane over a building. The process begins with careful planning, building assessment, material selection, and preparation before progressing through deck repairs, insulation, membrane installation, flashing, drainage, fastening, and detailed quality control. Each stage contributes to the performance of the finished roof, and weaknesses in one part of the assembly can affect the entire system.
A successful installation also depends on attention to the details that are easy to overlook. Seams, roof edges, penetrations, drains, curbs, equipment supports, and transitions require careful workmanship because they connect different parts of the roofing assembly. Proper installation practices in these areas help reduce the risk of water intrusion, premature deterioration, and unnecessary maintenance problems.
The project should end with a thorough inspection, correction of identified defects, proper cleanup, and organized documentation. Building owners and facility managers can then protect their investment through regular inspections, appropriate rooftop access, clear drainage paths, and timely maintenance. A new commercial roof is a significant investment, and combining quality materials with proper installation and long-term care gives the building the best opportunity to receive reliable protection and lasting performance.