
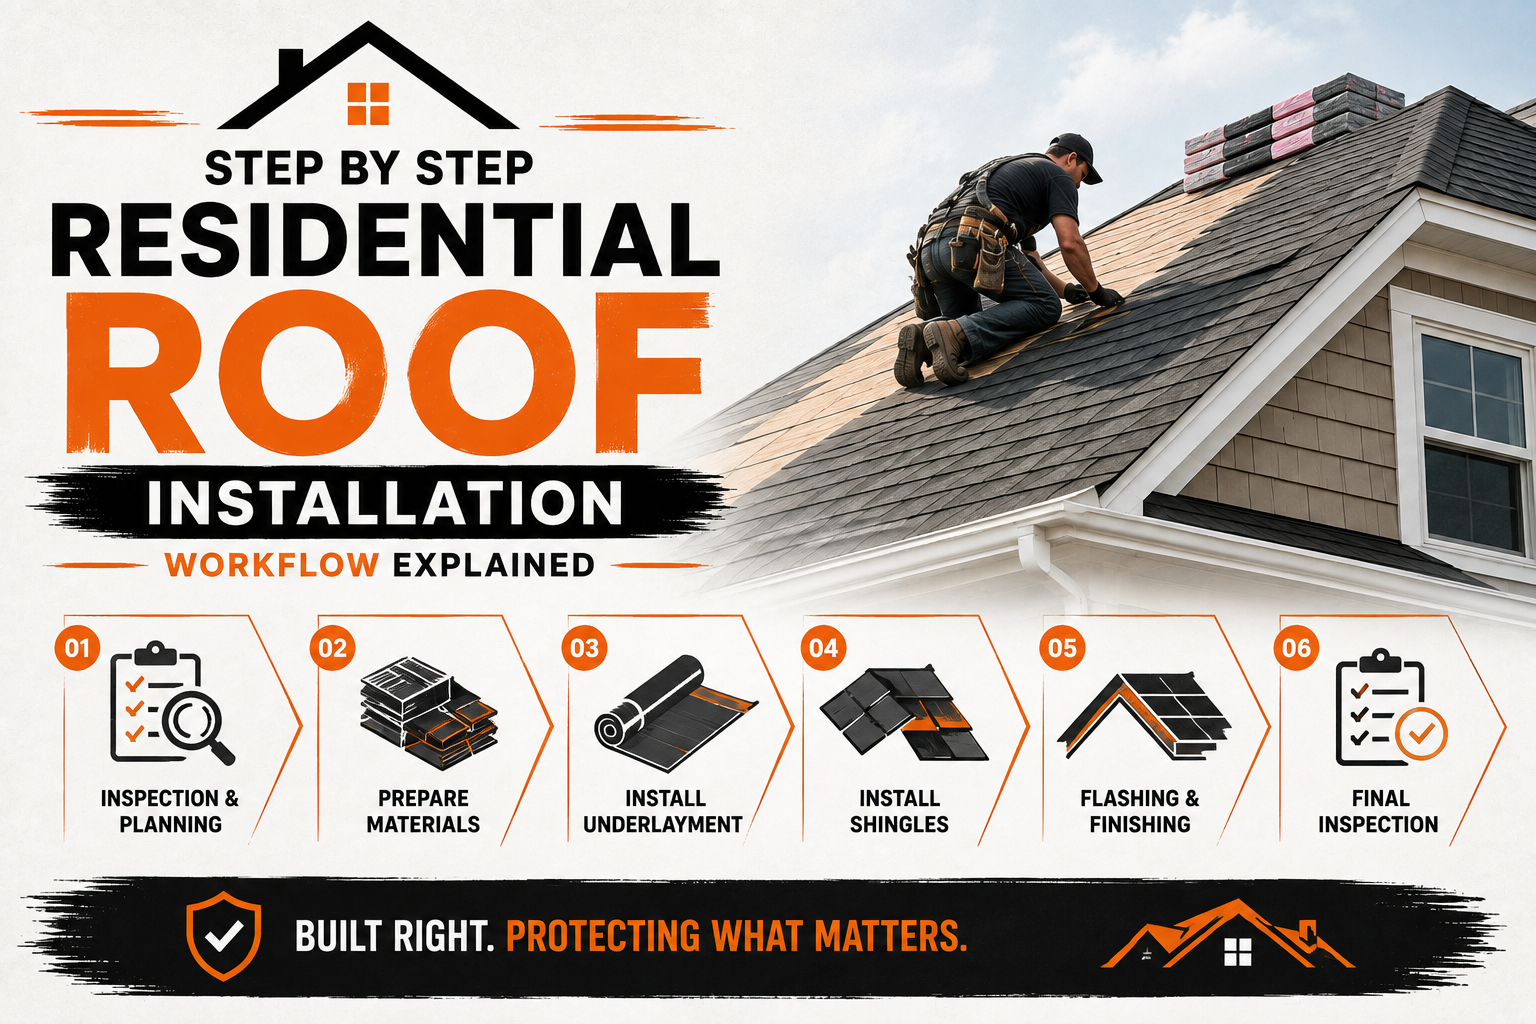
Step by Step Residential Roof Installation Workflow Explained
Introduction
A residential roof installation is one of the most important construction projects a homeowner can undertake. The roof protects the home from rain, wind, sunlight, snow, and changing temperatures while also contributing to energy efficiency and structural stability. Because it performs so many essential functions, every stage of the installation process must be completed with precision and care.
Many homeowners only see the visible part of a roofing project, such as workers removing old shingles or installing new ones. However, the actual workflow involves many carefully planned steps that begin long before the first roofing material is placed on the house. Planning, inspections, structural evaluations, material preparation, and quality checks all contribute to the success of the finished roof.
A well organized workflow helps roofing contractors maintain consistent quality throughout the project. Instead of treating roof installation as a single task, professionals divide the work into logical stages that build upon one another. Completing each phase correctly reduces the likelihood of future leaks, structural issues, and unnecessary maintenance.
Understanding the installation workflow also benefits homeowners. Knowing what happens during each stage makes it easier to communicate with contractors, recognize quality workmanship, and understand why certain steps require additional time. This knowledge helps create realistic expectations while reducing uncertainty during construction.
Residential roofing projects vary depending on roof size, architectural style, material selection, weather conditions, and the condition of the existing roof. Despite these differences, experienced contractors generally follow the same structured process to ensure every roofing system is installed according to manufacturer specifications and local building codes.
This guide explains the residential roof installation workflow step by step, beginning with project planning and ending with the structural preparation required before new roofing materials are installed. By understanding these early stages, homeowners can appreciate how every decision contributes to a durable and dependable roofing system.
Understanding the Residential Roof Installation Workflow
A roof installation workflow is a structured sequence of tasks that guides the entire roofing project from beginning to completion. Rather than completing activities randomly, professional roofing companies follow an organized process that ensures every stage is finished before the next one begins. This systematic approach improves quality while reducing the risk of installation errors.
The workflow begins with evaluating the roof and planning the project. Contractors inspect the existing structure, discuss material options, prepare estimates, obtain permits, and schedule the work before construction starts. These early planning activities often determine how smoothly the installation will proceed.
Once construction begins, contractors prepare the property, remove the existing roofing system, inspect the roof deck, complete any necessary structural repairs, and install protective moisture barriers. Only after these foundational stages have been completed do roofing crews begin installing the finished roofing materials.
Each stage has a specific purpose that contributes to the performance of the completed roof. Structural components provide strength, moisture barriers prevent water intrusion, flashing protects vulnerable areas, and roofing materials create the primary weather resistant surface. Every layer depends on the quality of the work completed before it.
Following a structured workflow also allows contractors to monitor quality throughout the project. Supervisors inspect completed work regularly, ensuring that every stage meets manufacturer requirements before construction continues. This ongoing attention helps produce a roof that performs reliably for decades.
Why Following a Step by Step Process Matters
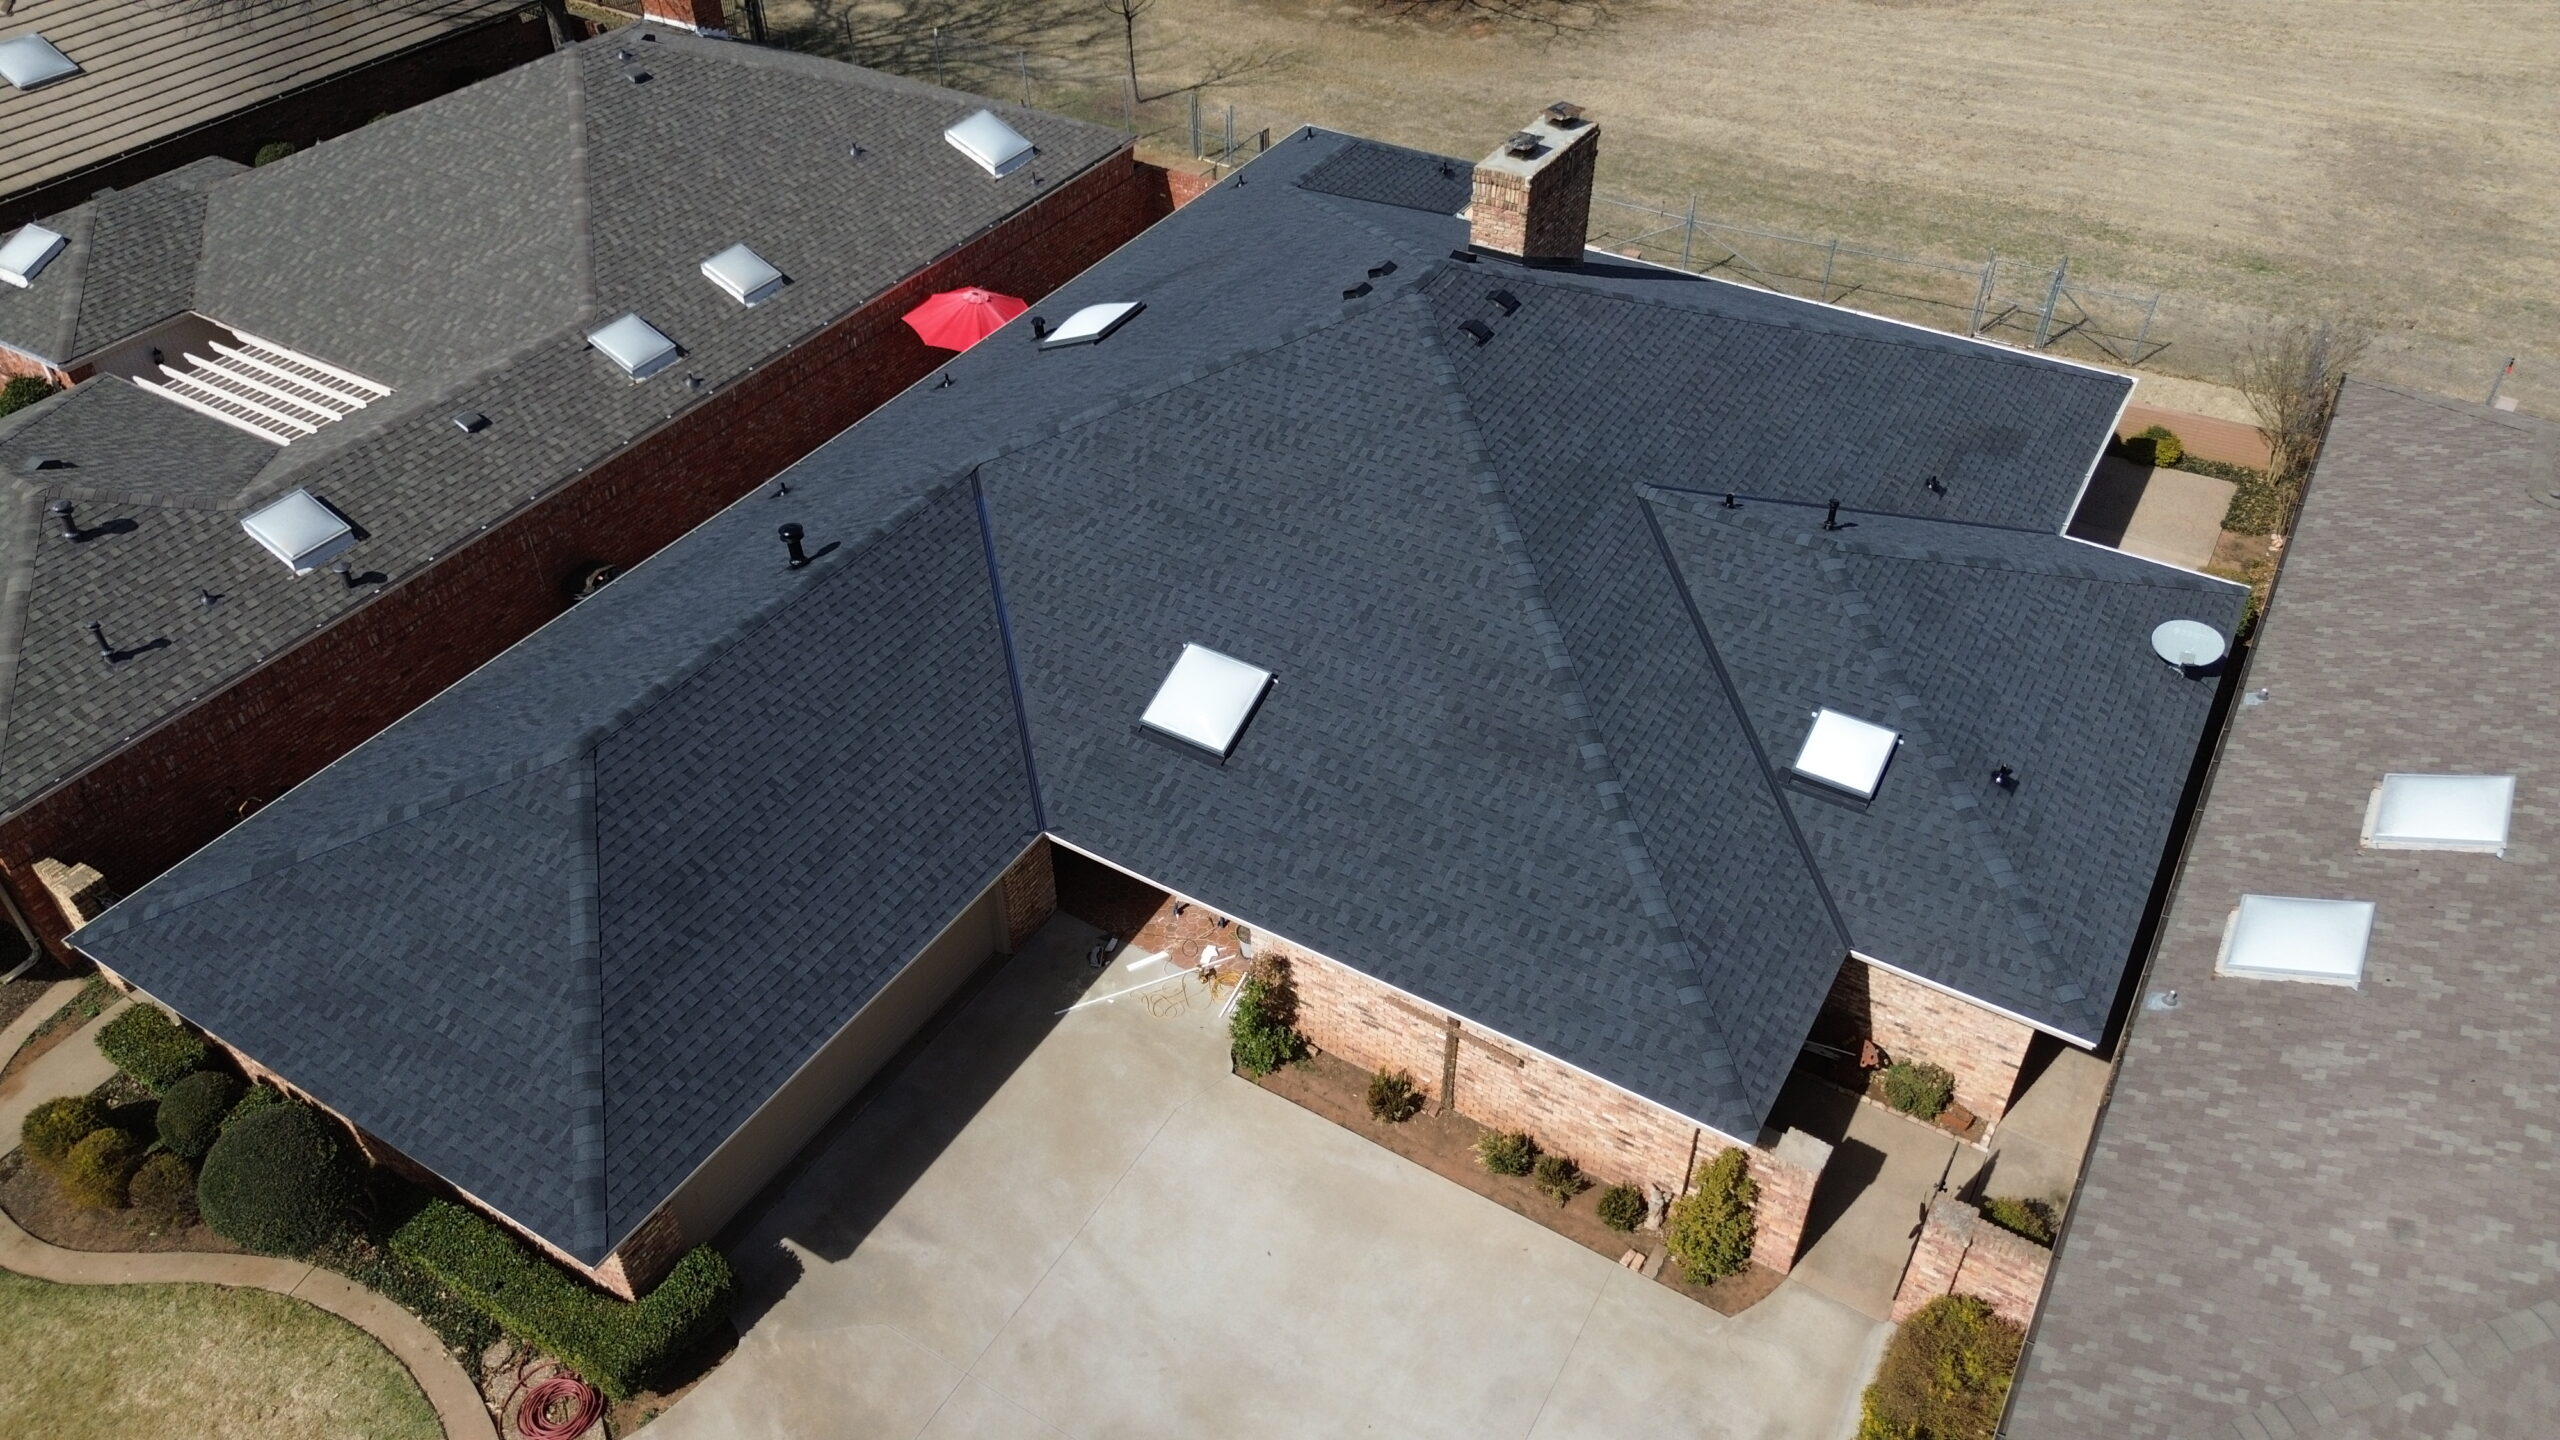
Roof installation is a complex project involving multiple materials, specialized tools, safety procedures, and skilled craftsmanship. Completing the work in the correct order helps prevent mistakes that could reduce the roof’s lifespan or lead to expensive repairs later. A step by step approach creates consistency throughout every phase of construction.
One important advantage of a structured workflow is improved quality control. Contractors inspect each completed stage before moving forward, allowing small issues to be corrected immediately rather than becoming hidden beneath finished roofing materials. Early corrections save both time and money over the life of the roof.
Following an organized process also improves worker efficiency. Roofing crews know exactly which tasks must be completed each day, allowing them to coordinate labor, equipment, and material deliveries more effectively. Efficient organization reduces unnecessary delays while maintaining installation quality.
Safety is another important benefit. Roofing work involves heights, heavy materials, and changing weather conditions. Completing tasks in the correct sequence helps reduce workplace hazards while allowing crews to maintain safe access throughout the project.
Homeowners also benefit from a clearly defined workflow because it provides greater transparency. Understanding the purpose of each stage makes it easier to communicate with contractors, monitor project progress, and appreciate the craftsmanship involved in creating a reliable roofing system.
Initial Roof Inspection and Project Assessment
Every successful roofing project begins with a detailed inspection of the existing roof. This assessment allows contractors to evaluate the condition of the roofing system while identifying structural issues that may influence the installation process. Accurate inspections help create realistic timelines and cost estimates before work begins.
During the inspection, contractors examine shingles, flashing, gutters, roof valleys, ventilation systems, and visible structural components. They look for signs of water damage, missing materials, sagging sections, deteriorated flashing, and previous repair work. These observations help determine whether repairs or complete replacement are the most appropriate solution.
The attic is often inspected as well because many roofing problems become visible from inside the home before they appear on the exterior. Contractors check insulation, ventilation, wood framing, and roof decking for evidence of moisture intrusion, mold growth, or structural deterioration. This information provides a more complete understanding of the roof’s condition.
Measurements are also taken during the assessment to calculate material requirements accurately. Roof dimensions, slope, valleys, dormers, chimneys, and other architectural features all influence the quantity of roofing products required for the project. Accurate measurements reduce material waste while supporting precise cost estimates.
Following the inspection, contractors discuss their findings with the homeowner. They explain recommended repairs, available roofing materials, expected timelines, and project costs so informed decisions can be made before installation begins.
Planning the Roof Installation Project
Careful planning is essential for keeping a roofing project organized from beginning to end. Before construction starts, contractors coordinate materials, labor, permits, inspections, and equipment to create an efficient workflow. Proper planning minimizes delays while improving communication between everyone involved.
The planning stage begins by establishing a realistic project timeline. Contractors consider roof size, complexity, weather forecasts, crew availability, and material delivery schedules before selecting a start date. Allowing sufficient time for each stage helps maintain installation quality without unnecessary pressure.
Project planning also includes organizing labor assignments. Roofing companies determine how many workers will be needed and assign responsibilities based on experience and specialization. Clear role assignments improve efficiency while maintaining consistent workmanship throughout construction.
Equipment preparation is another important planning activity. Contractors ensure ladders, scaffolding, safety harnesses, roofing tools, dumpsters, and protective coverings are available before installation begins. Having all necessary equipment on site prevents interruptions once work is underway.
Communication with homeowners also begins during this phase. Contractors explain the expected workflow, discuss temporary disruptions, answer questions, and provide instructions for preparing the property before installation day. Open communication establishes trust while reducing uncertainty throughout the project.
Selecting the Right Roofing Materials
Choosing roofing materials is one of the most important decisions homeowners make before installation begins. The selected materials influence durability, maintenance requirements, energy efficiency, appearance, and overall project cost. Selecting products that suit both the home and the local climate contributes to long term satisfaction.
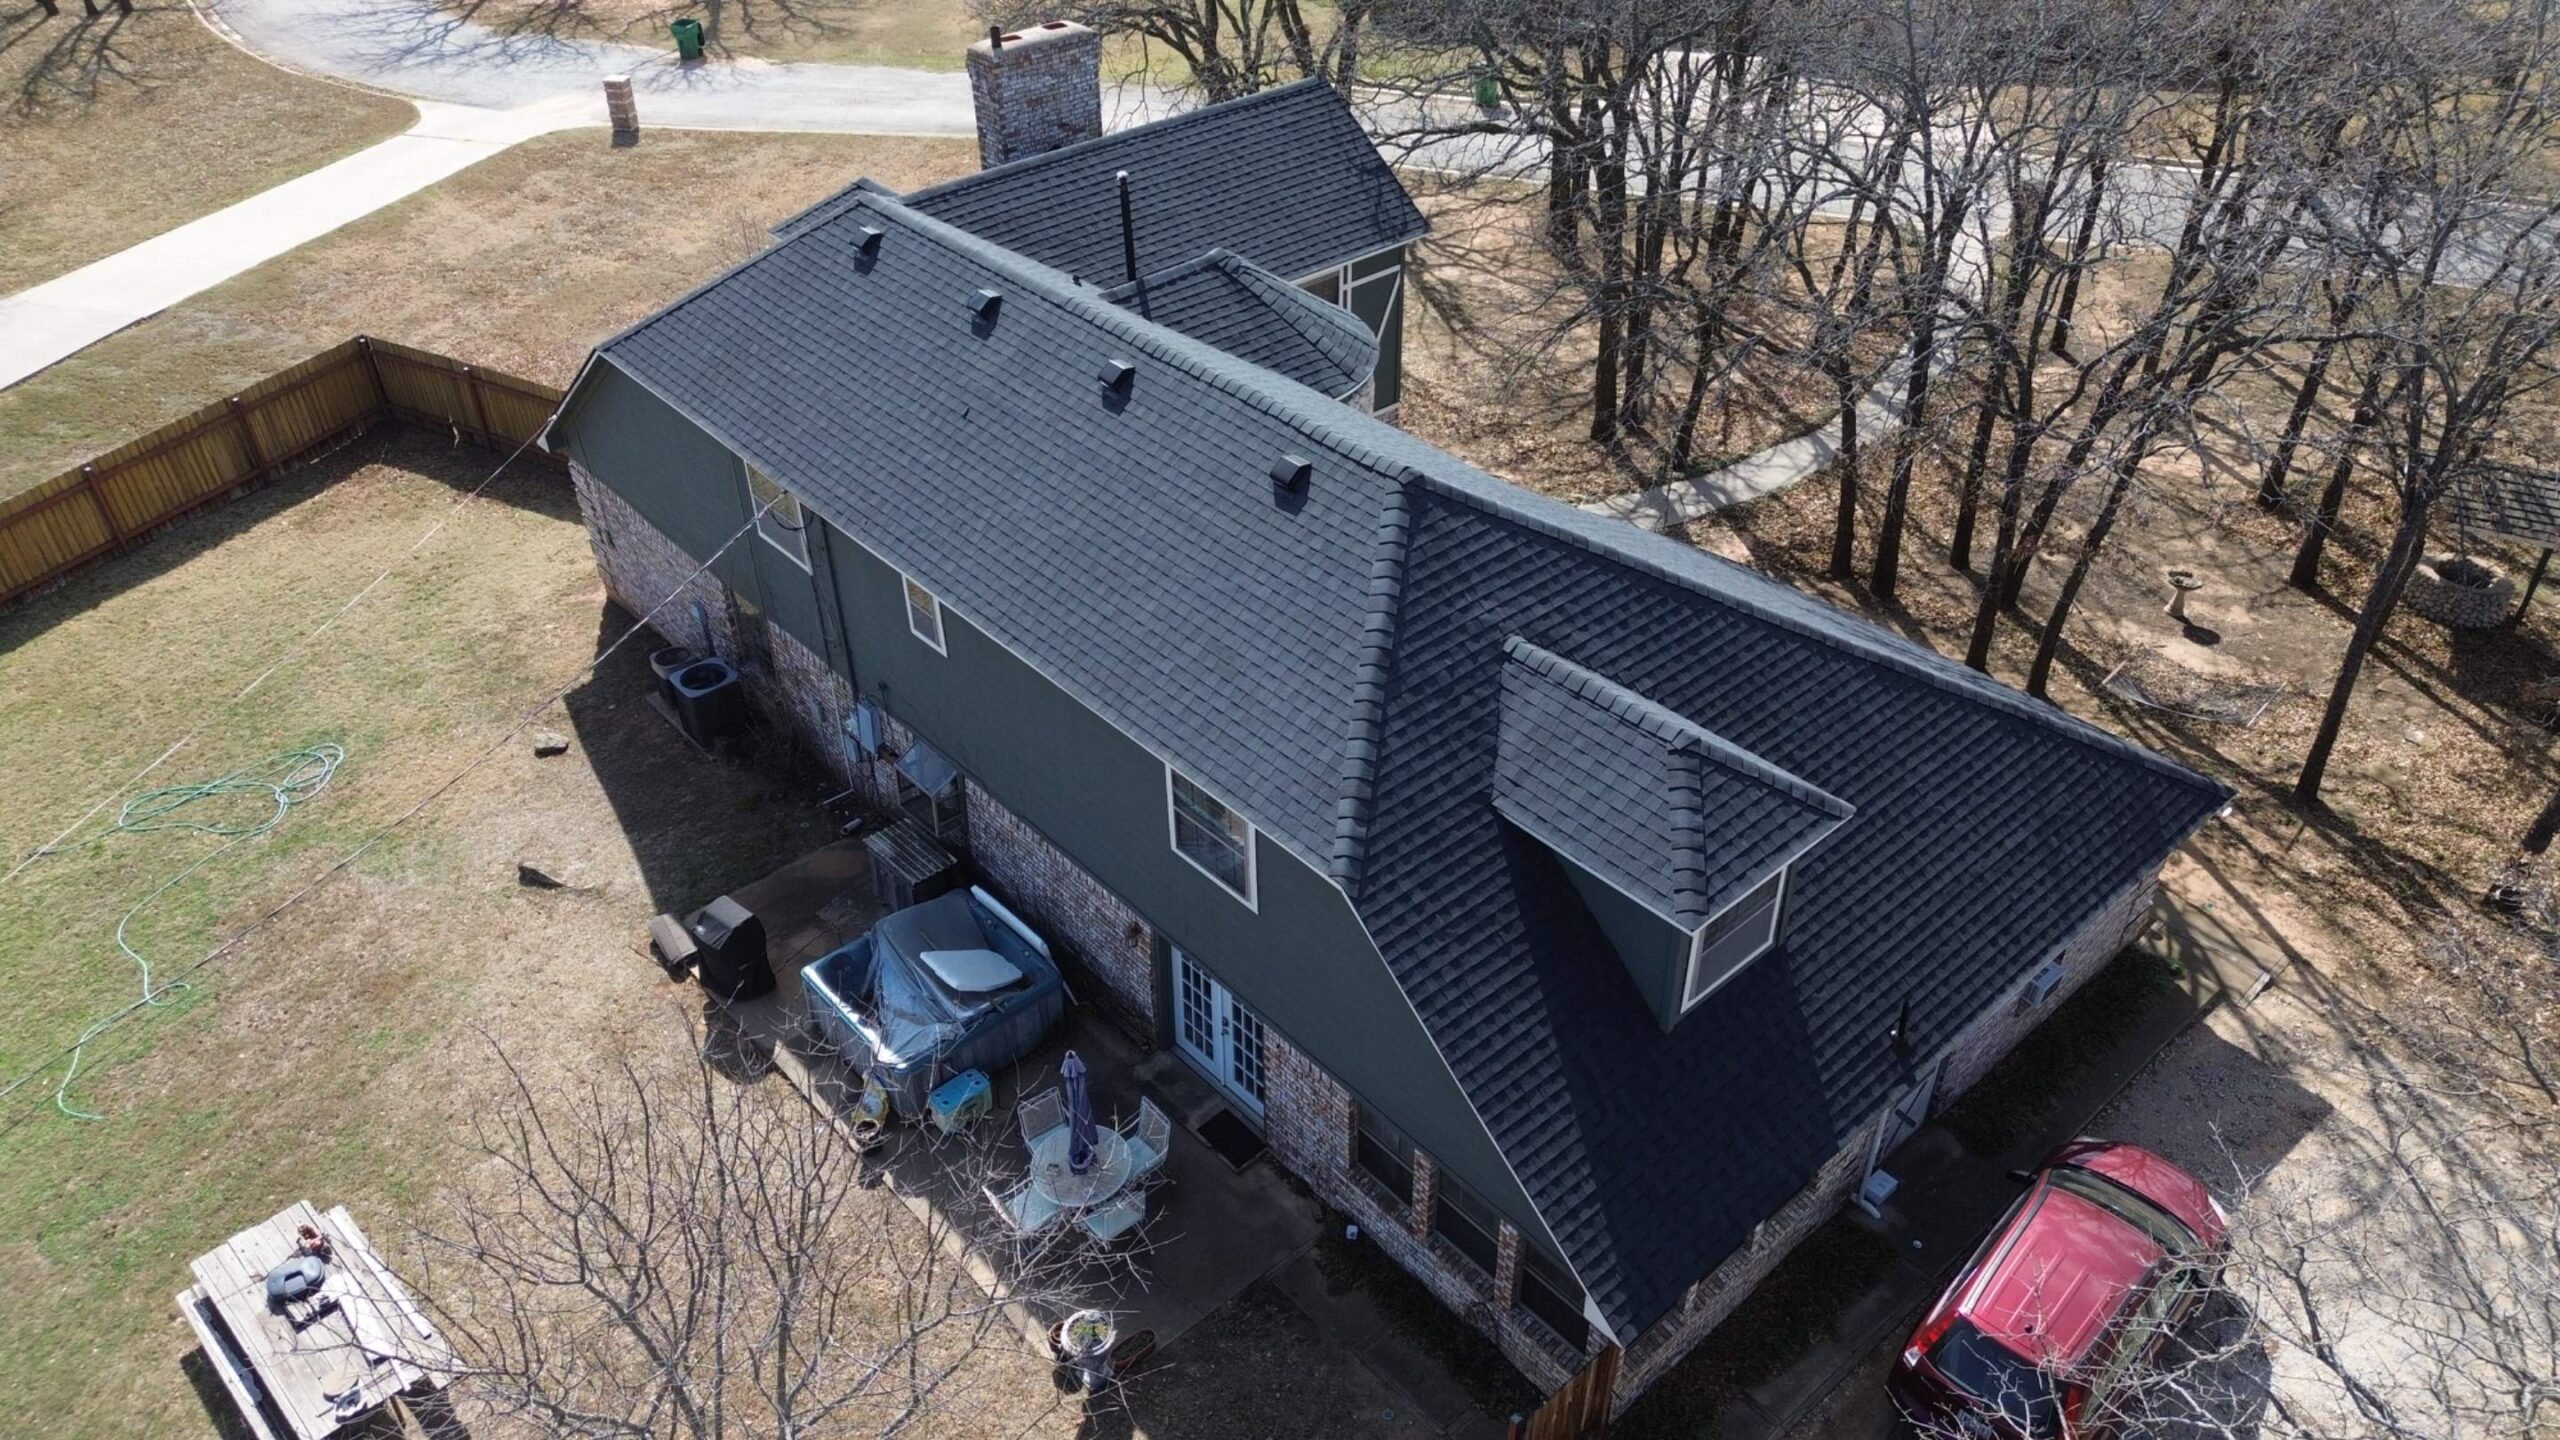
Asphalt shingles remain the most commonly installed residential roofing material because they provide dependable performance at an affordable price. Available in numerous colors and styles, they complement a wide range of architectural designs while offering good weather resistance.
Metal roofing has become increasingly popular because of its exceptional durability and energy efficiency. Its reflective surface helps reduce heat absorption during warm weather, making it an attractive option for homeowners seeking lower cooling costs. Many metal roofs also have significantly longer service lives than traditional roofing materials.
Other roofing options include clay tiles, concrete tiles, wood shakes, slate, and synthetic materials. Each product offers unique benefits related to appearance, maintenance, longevity, and structural requirements. Contractors help homeowners compare these characteristics before making a final decision.
Material selection should always consider local weather conditions. Homes exposed to heavy snowfall, high winds, frequent rainfall, or intense sunlight may benefit from roofing systems specifically designed to perform well under those conditions.
Obtaining Permits and Preparing the Schedule
Most residential roof installations require permits before construction can begin. These permits ensure the project complies with local building regulations while allowing inspectors to verify that the completed roof meets current safety standards. Obtaining permits is an essential part of the installation workflow.
Experienced roofing contractors usually manage the permit application process on behalf of the homeowner. They prepare the required documentation, submit project information, and coordinate inspection appointments with local authorities. This service simplifies the process while helping avoid unnecessary delays.
Scheduling begins once permits have been approved. Contractors confirm material delivery dates, assign roofing crews, reserve equipment, and establish inspection timelines that align with the overall construction schedule. Careful coordination helps every stage progress efficiently.
Weather forecasts are reviewed regularly during scheduling because changing conditions may require adjustments before work begins. Starting a roofing project during stable weather reduces the likelihood of interruptions while improving installation quality.
Homeowners receive detailed information about the planned schedule so they can prepare accordingly. Knowing when workers will arrive, when materials will be delivered, and how long construction is expected to last helps everyone plan around temporary disruptions.
Preparing the Property Before Installation
Before roofing work begins, homeowners and contractors work together to prepare the property for construction. Proper preparation improves job site safety while protecting landscaping, vehicles, outdoor furniture, and interior belongings from construction activity. These simple steps contribute to a smoother installation experience.
Vehicles should be moved away from the driveway and surrounding work areas to create space for delivery trucks, dumpsters, and roofing equipment. Clear access allows materials to be unloaded efficiently while reducing the risk of accidental damage.
Outdoor furniture, grills, potted plants, and decorative items should also be relocated away from the home’s perimeter. During roof removal, debris naturally falls around the building, making it important to protect valuable belongings before construction begins.
Inside the home, fragile wall decorations and valuable attic items should be secured or covered. Roofing work creates vibrations that may cause hanging objects to shift slightly during installation. Taking a few precautionary measures beforehand helps prevent unnecessary damage.
Contractors often install protective coverings over flower beds, shrubs, and other delicate landscaping features before beginning work. These coverings reduce the impact of falling debris while preserving the appearance of the property throughout the project.
Delivering Materials and Organizing the Job Site
Material delivery marks the beginning of visible activity on the roofing project. Roofing products, equipment, and safety supplies typically arrive shortly before installation begins to ensure everything is ready when the crew starts work. Proper organization at this stage supports efficient construction.
Roofing materials are distributed carefully to prevent excessive weight from concentrating in one location. Contractors position bundles strategically so workers have convenient access while maintaining structural safety. Organized material placement also reduces unnecessary movement during installation.
In addition to roofing products, crews prepare ladders, scaffolding, safety harnesses, waste containers, magnetic nail sweepers, and specialized roofing tools. Every piece of equipment has a specific purpose within the workflow and contributes to both productivity and worker safety.
The work area is clearly organized before construction begins. Designated locations for material storage, waste disposal, equipment staging, and worker access help maintain a safe and efficient job site throughout the installation process.
Before beginning demolition, supervisors conduct one final review of the property to verify that protective coverings, safety barriers, and equipment have been positioned correctly. This final preparation allows installation to begin smoothly.
Removing the Existing Roofing System
With planning complete and materials on site, the installation workflow moves into the removal stage. Contractors carefully remove the existing roofing materials to expose the roof deck beneath. This process allows them to inspect the underlying structure before installing the new roofing system.
Roofing crews remove shingles, flashing, ridge caps, underlayment, vents, and any damaged accessories using specialized tools designed to minimize unnecessary damage to the roof deck. Materials are transferred directly into dumpsters to keep the work area organized and safe.
As old materials are removed, contractors remain alert for signs of hidden structural problems. Water damage, deteriorated wood, loose fasteners, or previous repair work may become visible only after the roof has been stripped. Identifying these issues now prevents future complications.
Although demolition is one of the noisiest phases of the project, it is also one of the most important. Removing the old roofing system completely provides a clean foundation for the next stages of installation while allowing contractors to evaluate the roof’s true condition.
Inspecting the Roof Deck and Structural Components
Once the existing roofing materials have been removed, the roof deck becomes fully visible for detailed inspection. This stage determines whether the structure is capable of supporting the new roofing system or whether repairs are necessary before installation continues. A thorough inspection creates the foundation for a successful project.
Contractors examine the roof deck for soft spots, water damage, wood rot, loose fasteners, uneven surfaces, and structural weakness. Every section is evaluated carefully because problems hidden beneath the previous roof must be corrected before new materials are installed. Covering damaged decking would only allow deterioration to continue over time.
If repairs are required, damaged sections of the deck are removed and replaced with new materials that meet current construction standards. Contractors also verify that framing remains properly aligned and capable of supporting the finished roofing system. Completing these repairs now improves both safety and long term durability.
Once the structural inspection is complete and any necessary repairs have been finished, the roof is ready for the installation of moisture protection and the remaining roofing components. At this stage, the workflow transitions from structural preparation to building the new roofing system layer by layer.
Repairing or Replacing Damaged Roof Decking
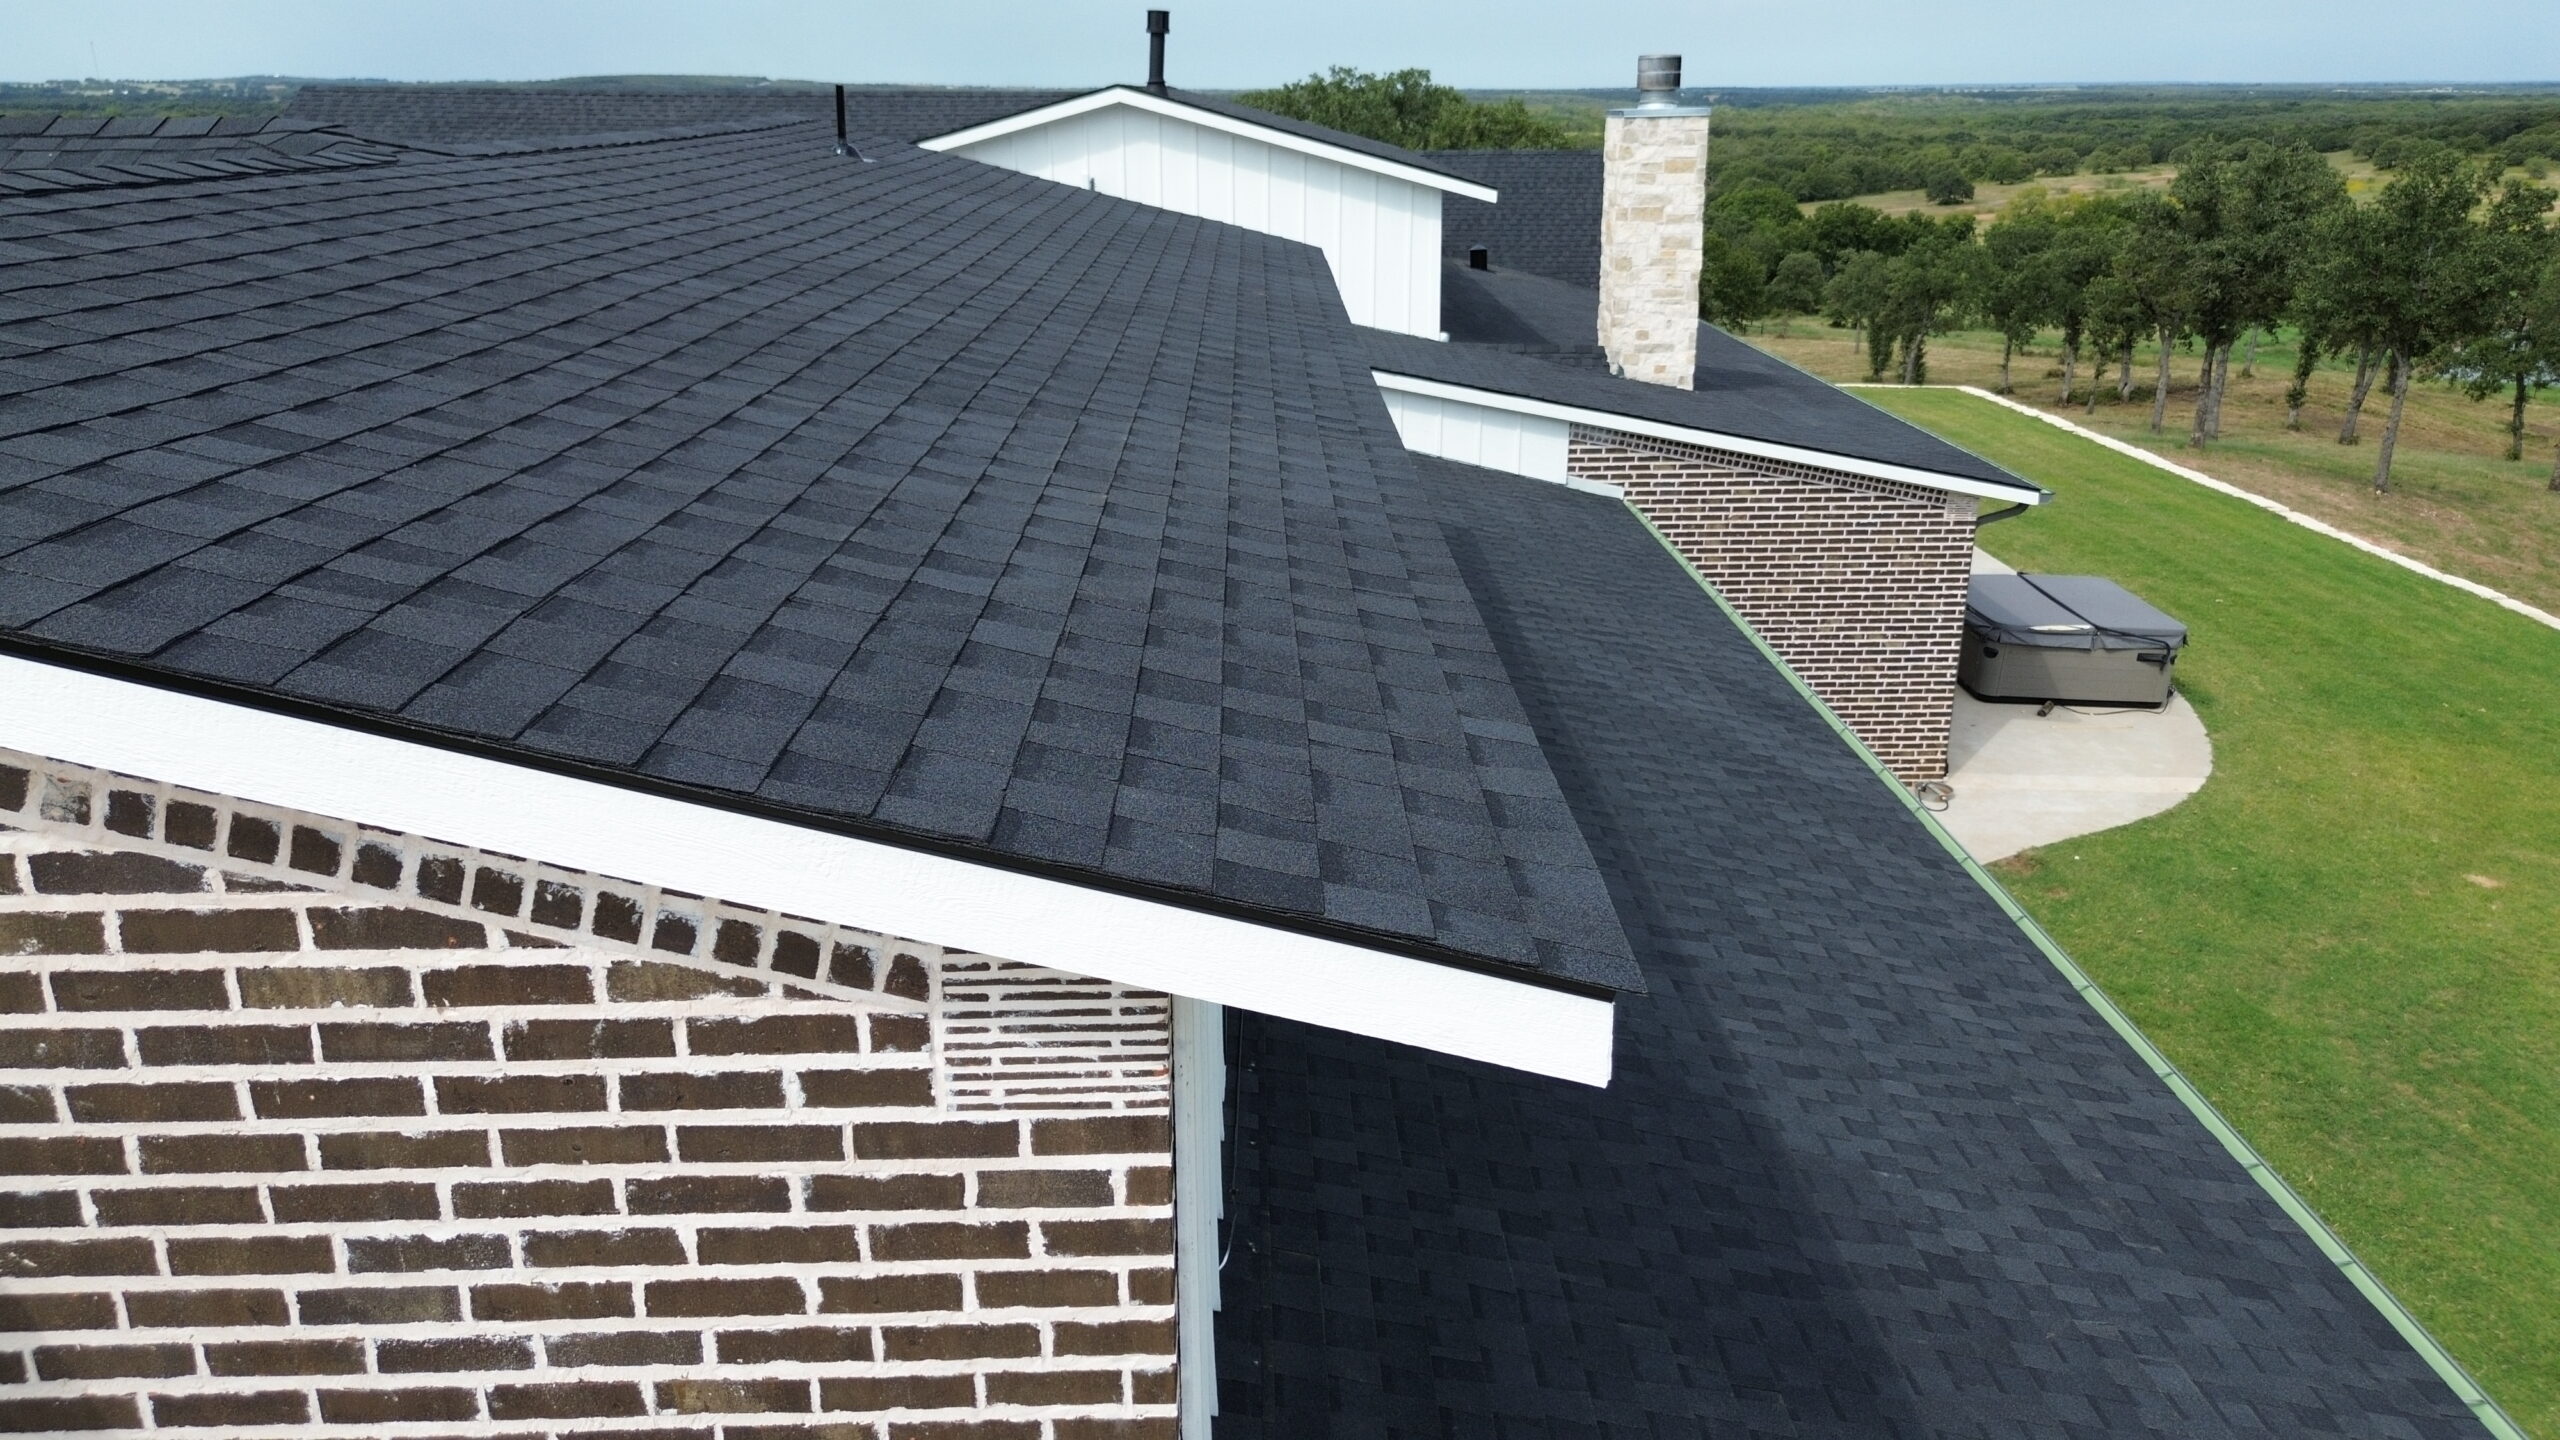
After the roof deck has been thoroughly inspected, contractors begin repairing or replacing any damaged sections before new roofing materials are installed. This stage is one of the most important parts of the installation workflow because every roofing component depends on a strong and stable foundation. Even the highest quality roofing materials cannot perform properly if the deck beneath them is weakened.
Water damage is one of the most common reasons roof decking requires replacement. Leaks that developed over many years may have caused sections of plywood or oriented strand board to soften, rot, or lose structural strength. Contractors remove these damaged areas and replace them with new panels that meet current building standards.
Loose fasteners, uneven surfaces, or improperly supported sections are also corrected during this stage. Roofing materials require a smooth and level installation surface to achieve proper alignment and weather resistance. Correcting these issues before continuing helps prevent visible imperfections in the finished roof.
Once repairs are complete, contractors perform another inspection to confirm the roof deck is structurally sound. Every repaired section is checked carefully because this is the last opportunity to correct structural concerns before waterproofing layers begin covering the roof.
Although replacing damaged decking may slightly extend the project timeline, it greatly improves the durability and lifespan of the completed roofing system. Investing time in proper structural preparation protects the homeowner from costly repairs in the future.
Installing Drip Edge and Roof Underlayment
With the roof deck prepared, contractors begin installing the first protective layers of the new roofing system. These components may not be visible once the project is complete, but they play a critical role in preventing water damage and extending the life of the roof.
The installation usually begins with the drip edge, which is a metal flashing installed along the roof perimeter. Its purpose is to guide rainwater away from the roof deck and fascia while reducing the chance of moisture entering beneath the roofing materials. Proper placement of the drip edge also contributes to a cleaner finished appearance.
Once the drip edge has been secured, roofing crews install the underlayment across the roof deck. Underlayment acts as a secondary moisture barrier that protects the wooden structure beneath the finished roofing material. If wind driven rain or melting snow ever passes beneath the outer roofing layer, the underlayment helps prevent water from reaching the roof deck.
Contractors begin at the lower edge of the roof and gradually work upward. Each section overlaps the previous one, creating a continuous protective layer that encourages water to flow naturally toward the gutters. Proper overlap is essential because even small gaps can reduce the effectiveness of the moisture barrier.
Fasteners are installed according to manufacturer recommendations, and every seam is carefully inspected before work continues. These detailed inspections help ensure the underlayment provides complete coverage across the entire roof surface.
Installing Ice and Water Protection Where Needed
Certain areas of the roof experience greater exposure to water than others. Valleys, roof edges, chimneys, skylights, and low slope sections often require additional waterproofing beyond the standard underlayment. Installing specialized ice and water protection strengthens these vulnerable areas before the finished roofing materials are added.
Ice and water barriers are self adhering membranes that create an extra layer of defense against moisture. They are especially important in regions where snow and ice dams may develop during winter, but they also provide valuable protection against heavy rain in milder climates.
Contractors carefully position these membranes around roof penetrations and drainage areas where water naturally collects. Proper installation ensures the membrane bonds securely to the roof deck while overlapping adjacent waterproofing materials. This layered approach creates a highly effective moisture barrier.
Roof valleys receive particular attention because they handle large volumes of runoff during storms. Strengthening these sections with additional waterproofing reduces the likelihood of future leaks while improving the overall reliability of the roofing system.
Although homeowners rarely see these hidden protective layers after installation, they contribute significantly to the roof’s long term performance. Their presence often makes the difference between a roof that lasts for decades and one that develops moisture problems prematurely.
Installing Starter Strips
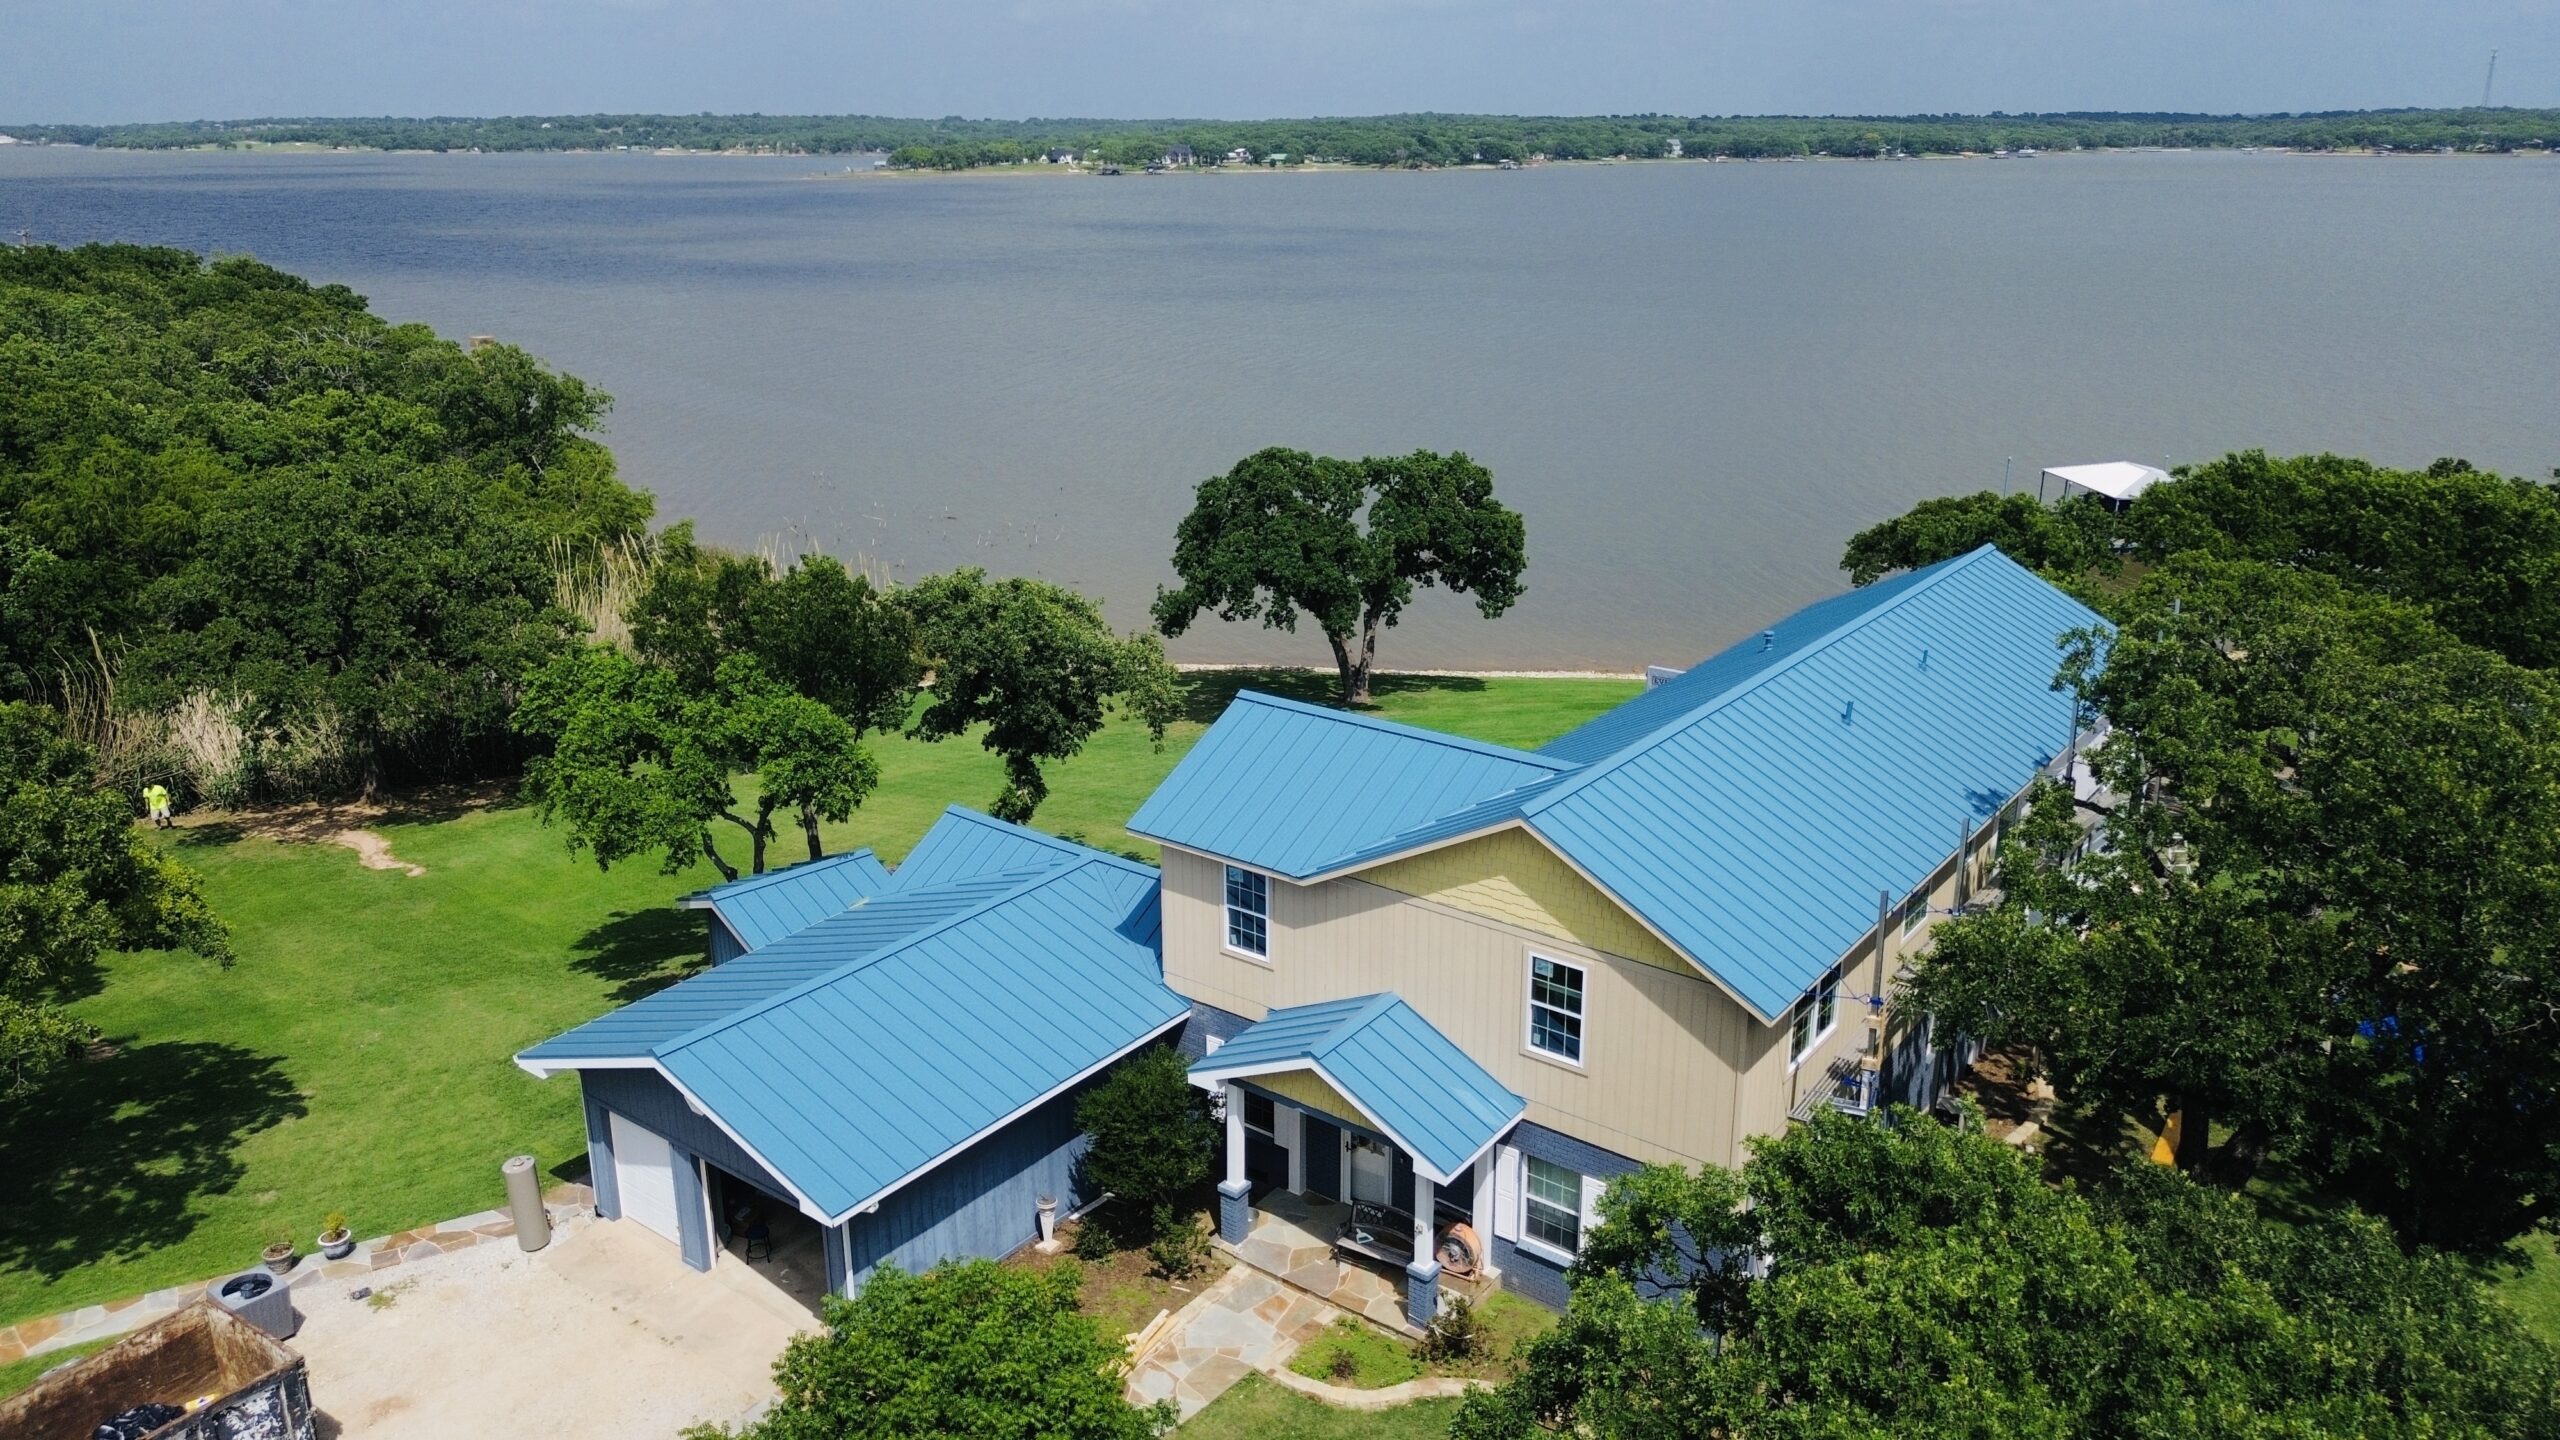
Starter strips are installed before the primary roofing material and serve as the foundation for the first visible row of shingles. While they occupy only the roof’s edges, they play an important role in improving wind resistance and creating a secure starting point for the roofing system.
These specially designed strips help seal the roof perimeter against wind uplift. Without them, the edges of the first row of shingles would be more vulnerable during strong storms. Proper installation therefore contributes to the roof’s ability to withstand severe weather throughout its lifespan.
Contractors align starter strips carefully along the roof edges to establish a straight reference line for the remaining roofing materials. Accuracy at this stage influences the appearance of every row installed afterward. A small alignment error at the beginning can become much more noticeable near the top of the roof.
Fasteners are positioned according to manufacturer specifications to maximize holding strength while preventing unnecessary damage to the roofing material. Contractors also verify that starter strips overlap correctly at corners and transitions to maintain continuous protection around the roof perimeter.
Although starter strips represent only a small portion of the roofing system, they illustrate how every component within the installation workflow contributes to the overall strength and durability of the finished roof.
Installing the Primary Roofing Material
The installation of the primary roofing material is the stage most homeowners associate with a roofing project. At this point, the roof begins to take on its final appearance while gaining the protective surface that shields the home from weather. Even though this phase is highly visible, it depends entirely on the quality of every earlier step in the workflow.
Roofing crews begin at the lowest edge of the roof and gradually work upward toward the ridge. Each row overlaps the previous one, creating a layered system that channels rainwater safely toward the gutters. This overlapping pattern is one of the fundamental principles of residential roof installation.
The installation sequence generally follows this process:
- Position the first row using the installed starter strips.
- Offset each additional row according to the manufacturer’s recommended pattern.
- Secure every roofing material with the specified fasteners.
- Check alignment regularly using reference lines.
- Trim roofing materials around roof edges and penetrations.
- Continue upward until reaching the ridge.
Contractors inspect every completed section before moving forward. They verify alignment, fastening patterns, and material placement to ensure the roof maintains both structural integrity and visual consistency.
Different roofing materials require different installation techniques. Asphalt shingles, metal panels, clay tiles, and synthetic roofing products each have unique fastening methods and spacing requirements. Professional roofing crews follow the manufacturer’s installation instructions carefully to maximize product performance and maintain warranty coverage.
Flashing Installation Around Roof Features
Flashing protects the areas where roofing materials meet other parts of the home. Chimneys, skylights, plumbing vents, roof valleys, and wall intersections all require carefully installed flashing to prevent water intrusion. These locations are among the most common sources of roof leaks when flashing is installed incorrectly.
Roof flashing is typically manufactured from aluminum, galvanized steel, or copper because these materials resist corrosion while remaining durable under changing weather conditions. Contractors select flashing that is compatible with the chosen roofing system to ensure long term performance.
Each flashing component is shaped to fit the surrounding roof geometry. Contractors integrate flashing beneath the roofing material while overlapping moisture barriers to create multiple layers of protection. This design allows rainwater to continue flowing across the roof instead of entering the home.
Roof valleys receive additional flashing because they channel significant amounts of water during storms. Proper installation in these areas greatly reduces the likelihood of future leaks and extends the service life of the roofing system.
After flashing has been installed, contractors inspect every connection carefully before continuing with the remaining roofing work. Small corrections made during this stage help prevent costly water damage years later.
Roof Ventilation Installation
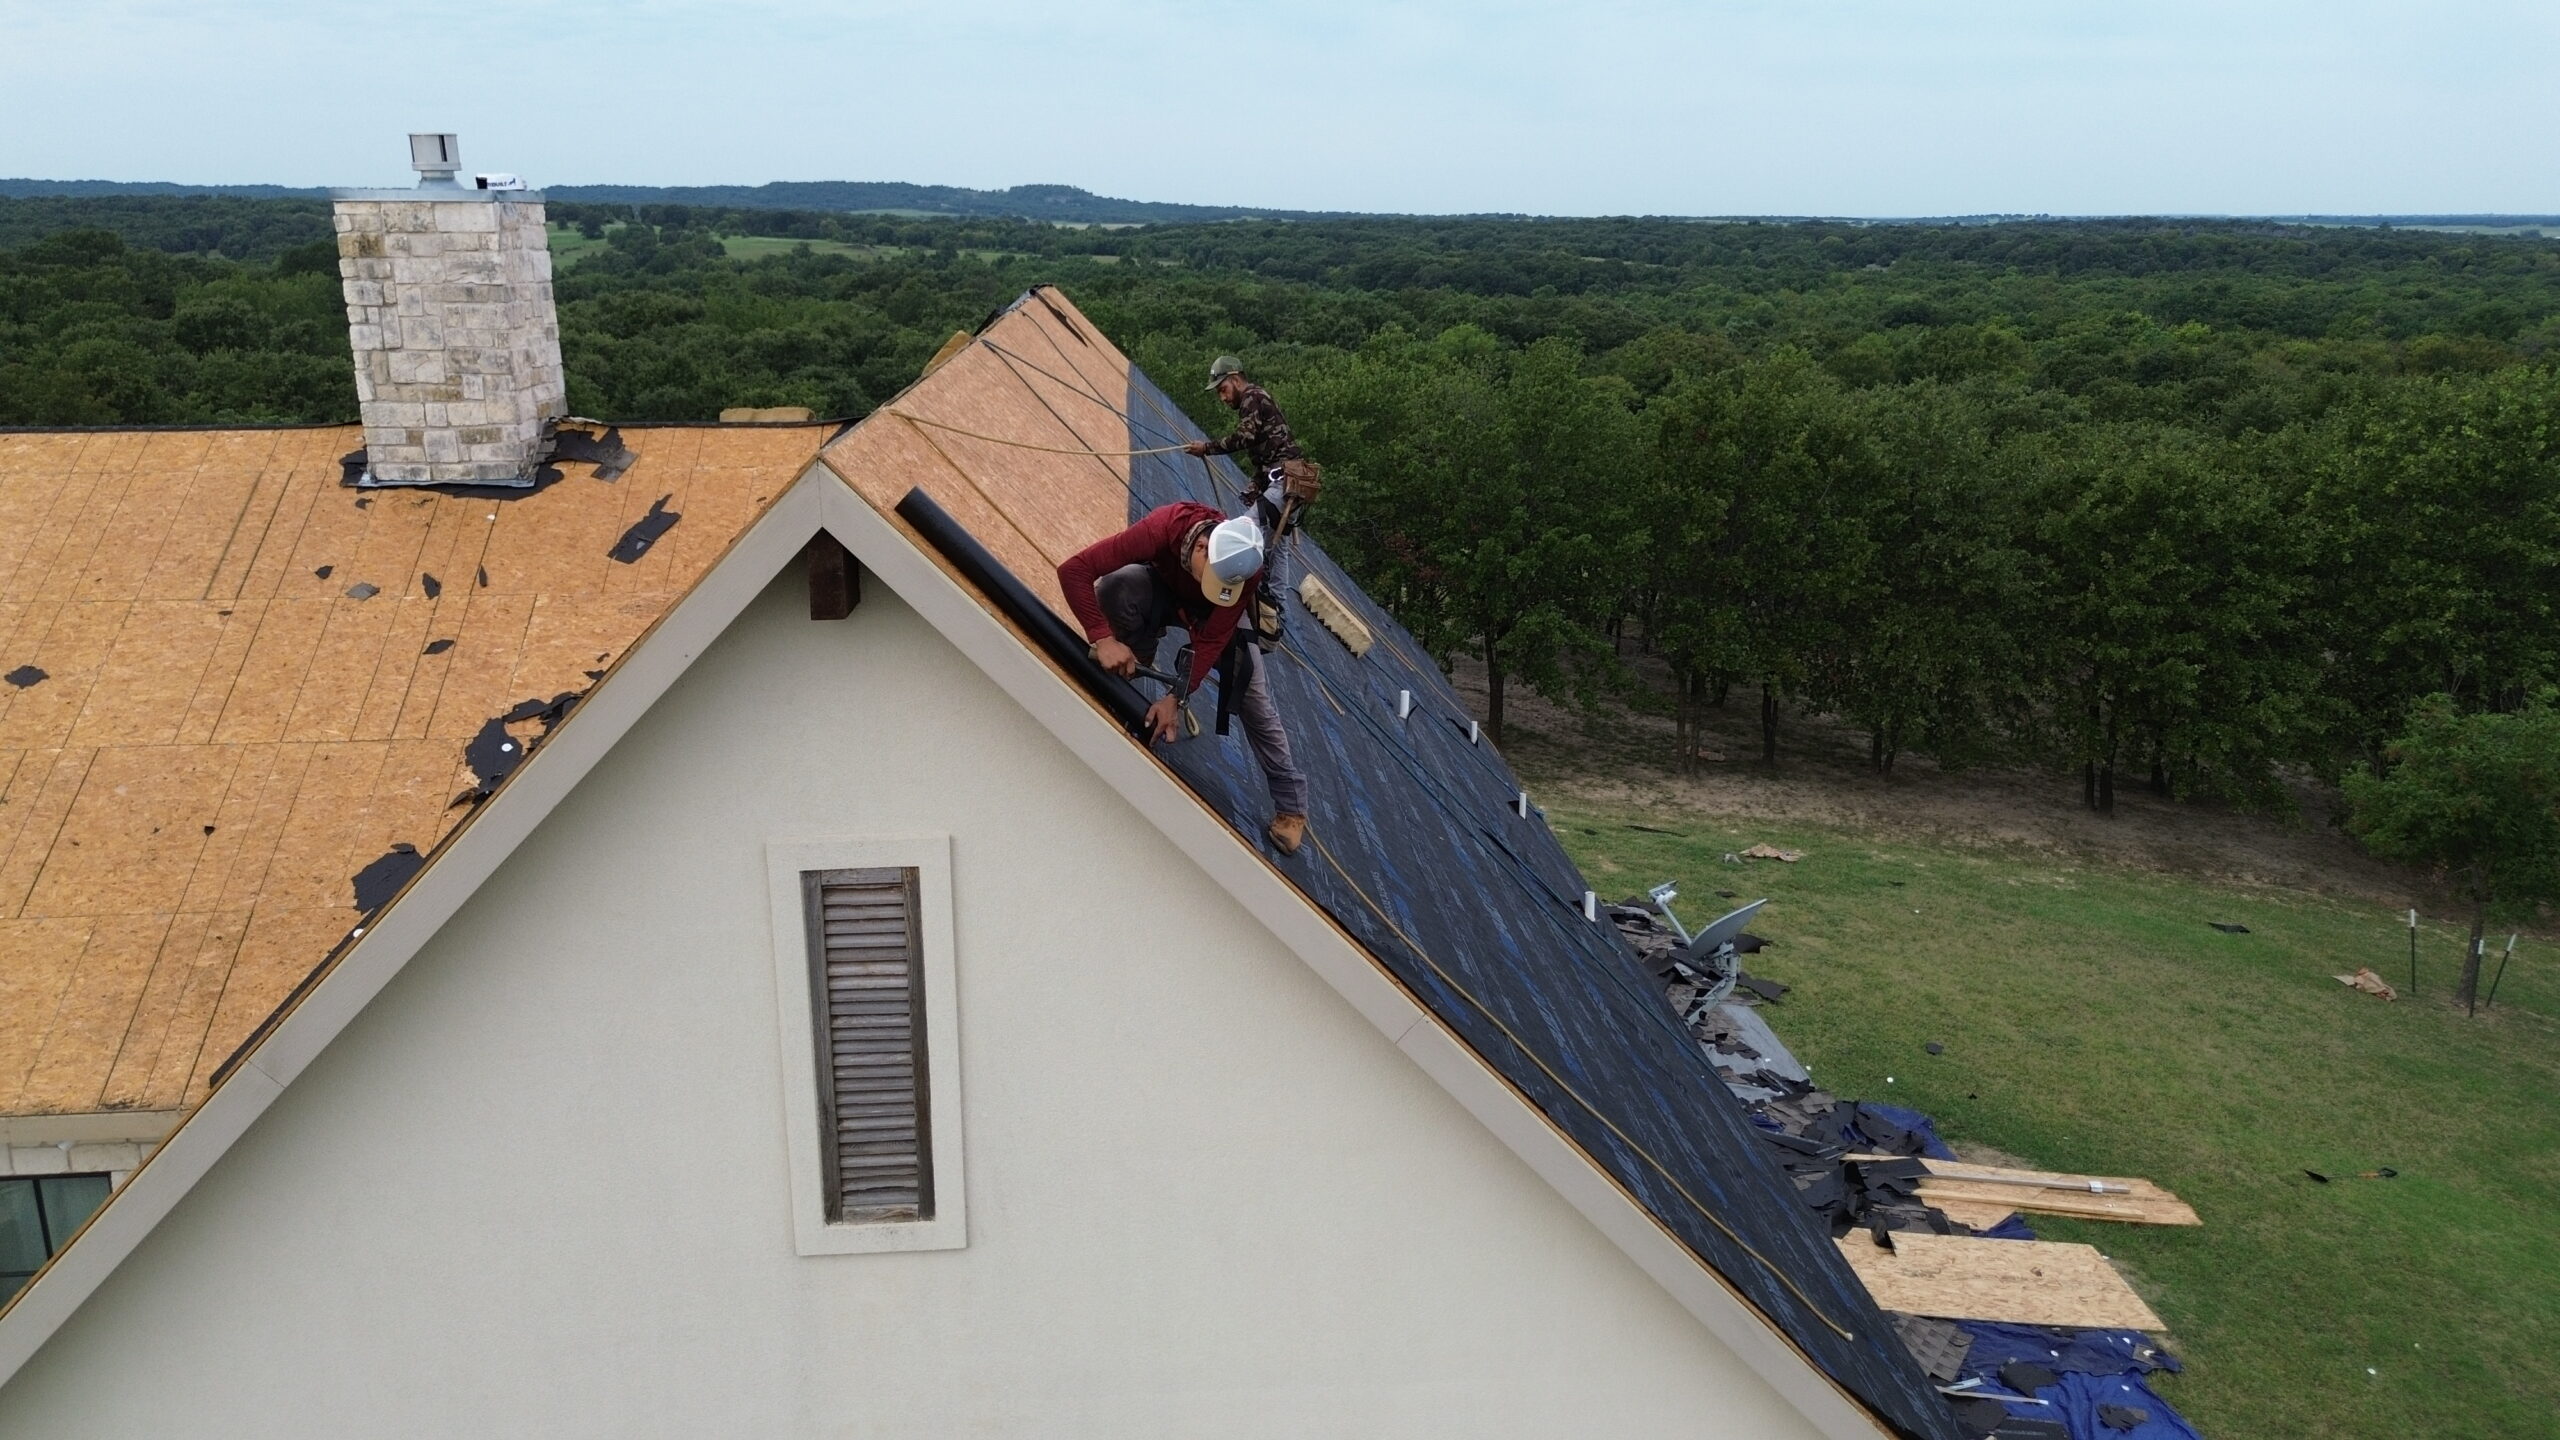
A residential roof protects much more than the home’s exterior. It also plays an important role in maintaining a healthy attic environment through proper ventilation. Installing ventilation components during roof construction helps regulate temperature, reduce moisture buildup, and improve overall energy efficiency.
Most residential roofs use a balanced ventilation system that combines intake vents near the lower roof edges with exhaust vents near the ridge. Cooler outside air enters through the intake vents while warmer attic air exits through the upper vents. This continuous airflow helps prevent excessive heat accumulation and condensation.
Without adequate ventilation, trapped heat and humidity can reduce the lifespan of roofing materials while contributing to mold growth and wood deterioration. Proper ventilation also helps insulation perform more effectively, reducing heating and cooling costs throughout the year.
Contractors calculate ventilation requirements based on attic size, roof design, insulation levels, and local building codes. Achieving the correct balance between intake and exhaust airflow is essential for maintaining healthy attic conditions.
Before moving to the next stage, roofing crews verify that every vent is securely installed and properly integrated with the surrounding roofing materials. This inspection ensures ventilation systems will function efficiently after the project is complete.
Ridge Caps and Final Roofing Components
As the roofing materials reach the highest point of the roof, contractors install ridge caps that cover the joints where opposing roof slopes meet. Ridge caps complete the primary roofing surface while protecting one of the roof’s most exposed areas from weather.
Modern ridge cap systems often work together with ridge ventilation products. These systems allow warm attic air to escape while preventing rain, insects, and debris from entering through the ventilation openings. Combining weather protection with ventilation improves both roof performance and energy efficiency.
Roofing crews align ridge caps carefully to create a consistent appearance along the roof peak. Proper fastening ensures these components remain secure even during high winds. Contractors also inspect spacing and overlap to verify compliance with manufacturer specifications.
Additional finishing details include sealing exposed fasteners where appropriate, trimming roofing materials neatly around roof edges, and confirming that all visible roofing components have been installed correctly. These final touches improve both durability and curb appeal.
At this stage, the roof has transformed from an exposed structural framework into a fully functioning roofing system. The remaining workflow focuses on inspections, drainage, cleanup, and final quality verification.
Daily Quality Checks Throughout Installation
Quality control is integrated into every stage of the residential roof installation workflow. Rather than waiting until construction is complete, professional roofing companies inspect the work continuously to identify and correct small issues before they become larger problems.
Supervisors review shingle alignment, flashing installation, ventilation components, fastening patterns, and waterproofing layers throughout the project. Materials are also inspected for damage that may have occurred during transportation or handling. These daily evaluations maintain consistent workmanship across the entire roof.
Quality checks also ensure compliance with manufacturer installation requirements. Following these specifications is important because improper installation may affect warranty coverage or reduce the expected lifespan of the roofing materials.
Building inspectors may review completed stages when required by local building codes. These inspections provide additional assurance that the roofing system meets current construction standards before the next phase begins.
Continuous quality control creates confidence for both contractors and homeowners. It allows corrections to be made immediately while ensuring the completed roofing system performs as intended for many years.
Gutter Installation and Drainage System Integration
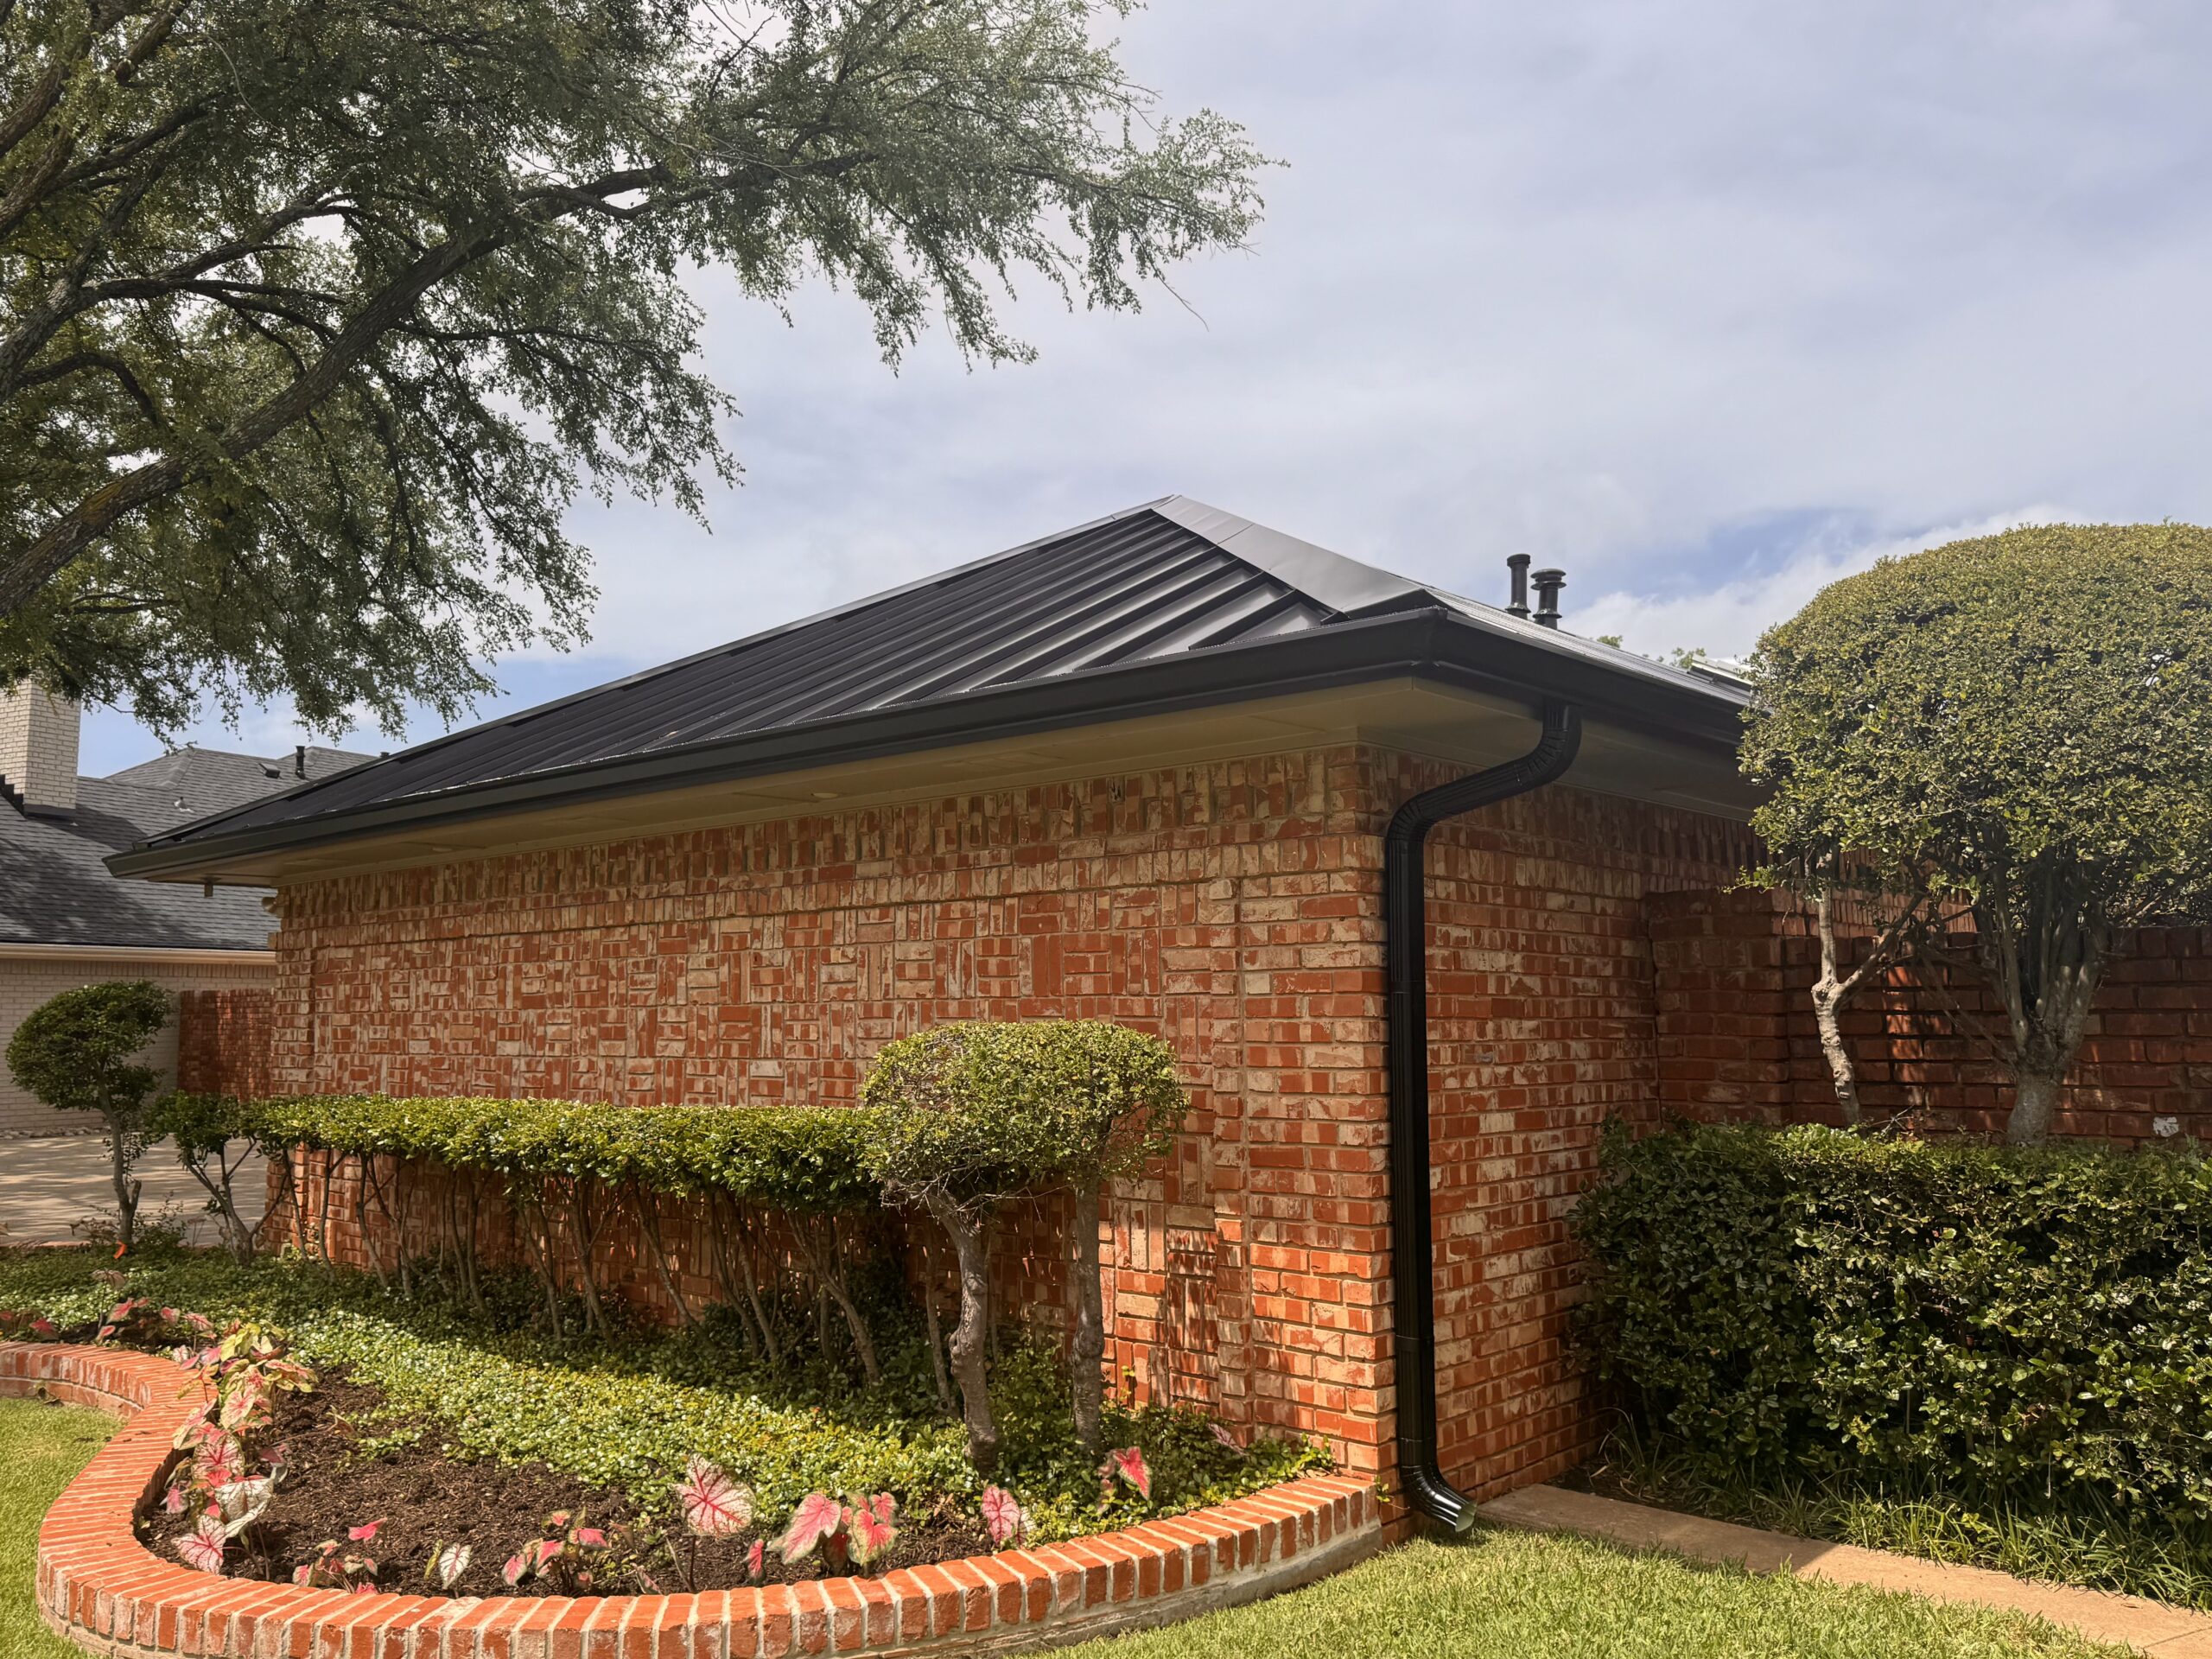
Once the primary roofing system has been completed, contractors focus on the drainage system that directs rainwater safely away from the home. Gutters and downspouts are essential parts of the overall roofing workflow because they prevent water from collecting along the roof edge or around the foundation. A properly installed drainage system protects the roof as well as the rest of the property.
Gutters are carefully attached along the roof edges with a slight downward slope toward the downspouts. This slope allows rainwater to flow naturally without pooling inside the gutter channels. Even small alignment errors can reduce drainage efficiency, so contractors check the angle throughout installation.
Downspouts carry collected water away from the home and discharge it at a safe distance from the foundation. Some homes also include underground drainage systems or splash blocks that further improve water management. These features help prevent soil erosion and reduce the likelihood of water accumulating around the building.
After installation, contractors test the drainage system to verify that water flows smoothly from one end of the gutter to the other. Adjustments are made whenever necessary to ensure reliable performance during heavy rainfall. Proper drainage extends the lifespan of both the roof and the home’s exterior.
Final Roof Inspection and Quality Assurance
A professional roofing project is not considered complete until the finished roof has been thoroughly inspected. The final inspection confirms that every component has been installed according to manufacturer specifications, local building codes, and industry best practices. This step provides homeowners with confidence that the roofing system is ready to protect the home for many years.
Contractors begin by examining the visible roofing surface. They inspect shingles or other roofing materials for proper alignment, secure fastening, consistent spacing, and overall appearance. Any small imperfections identified during this review are corrected immediately.
Flashing around chimneys, skylights, plumbing vents, and roof valleys receives additional attention because these locations are more vulnerable to water intrusion. Contractors verify that waterproof seals remain intact and that flashing overlaps have been installed correctly. Careful inspection of these details helps reduce the likelihood of future leaks.
Ventilation systems are also evaluated to ensure intake and exhaust airflow remain balanced. Proper attic ventilation contributes to energy efficiency while reducing moisture accumulation beneath the roof. Inspectors confirm that vents remain unobstructed and fully operational.
In many municipalities, a local building inspector conducts an independent review before the project is officially approved. Passing this inspection confirms that the completed roof satisfies current building regulations and construction standards.
Property Cleanup and Debris Removal
Cleaning the property is an essential part of the residential roof installation workflow. A professional contractor leaves the property clean, organized, and safe after construction has been completed. Thorough cleanup reflects the same level of attention to detail that should be evident throughout the installation process.
Roofing crews remove discarded shingles, damaged underlayment, flashing scraps, packaging materials, and unused construction debris from the job site. Dumpsters are hauled away once cleanup has been completed, allowing homeowners to regain normal access to driveways and outdoor spaces.
Loose nails receive special attention during cleanup. Contractors use magnetic sweepers across lawns, driveways, sidewalks, flower beds, and surrounding work areas to collect nails that may have fallen during construction. This step helps protect children, pets, lawn equipment, and vehicle tires after the project is finished.
Protective coverings placed over landscaping are removed carefully once work is complete. Contractors inspect shrubs, flower beds, patios, and outdoor furniture to ensure everything has been restored to its original condition. A final walkthrough with the homeowner provides an opportunity to confirm satisfaction with both the installation and cleanup.
Professional cleanup not only improves the appearance of the property but also demonstrates respect for the homeowner and the surrounding neighborhood.
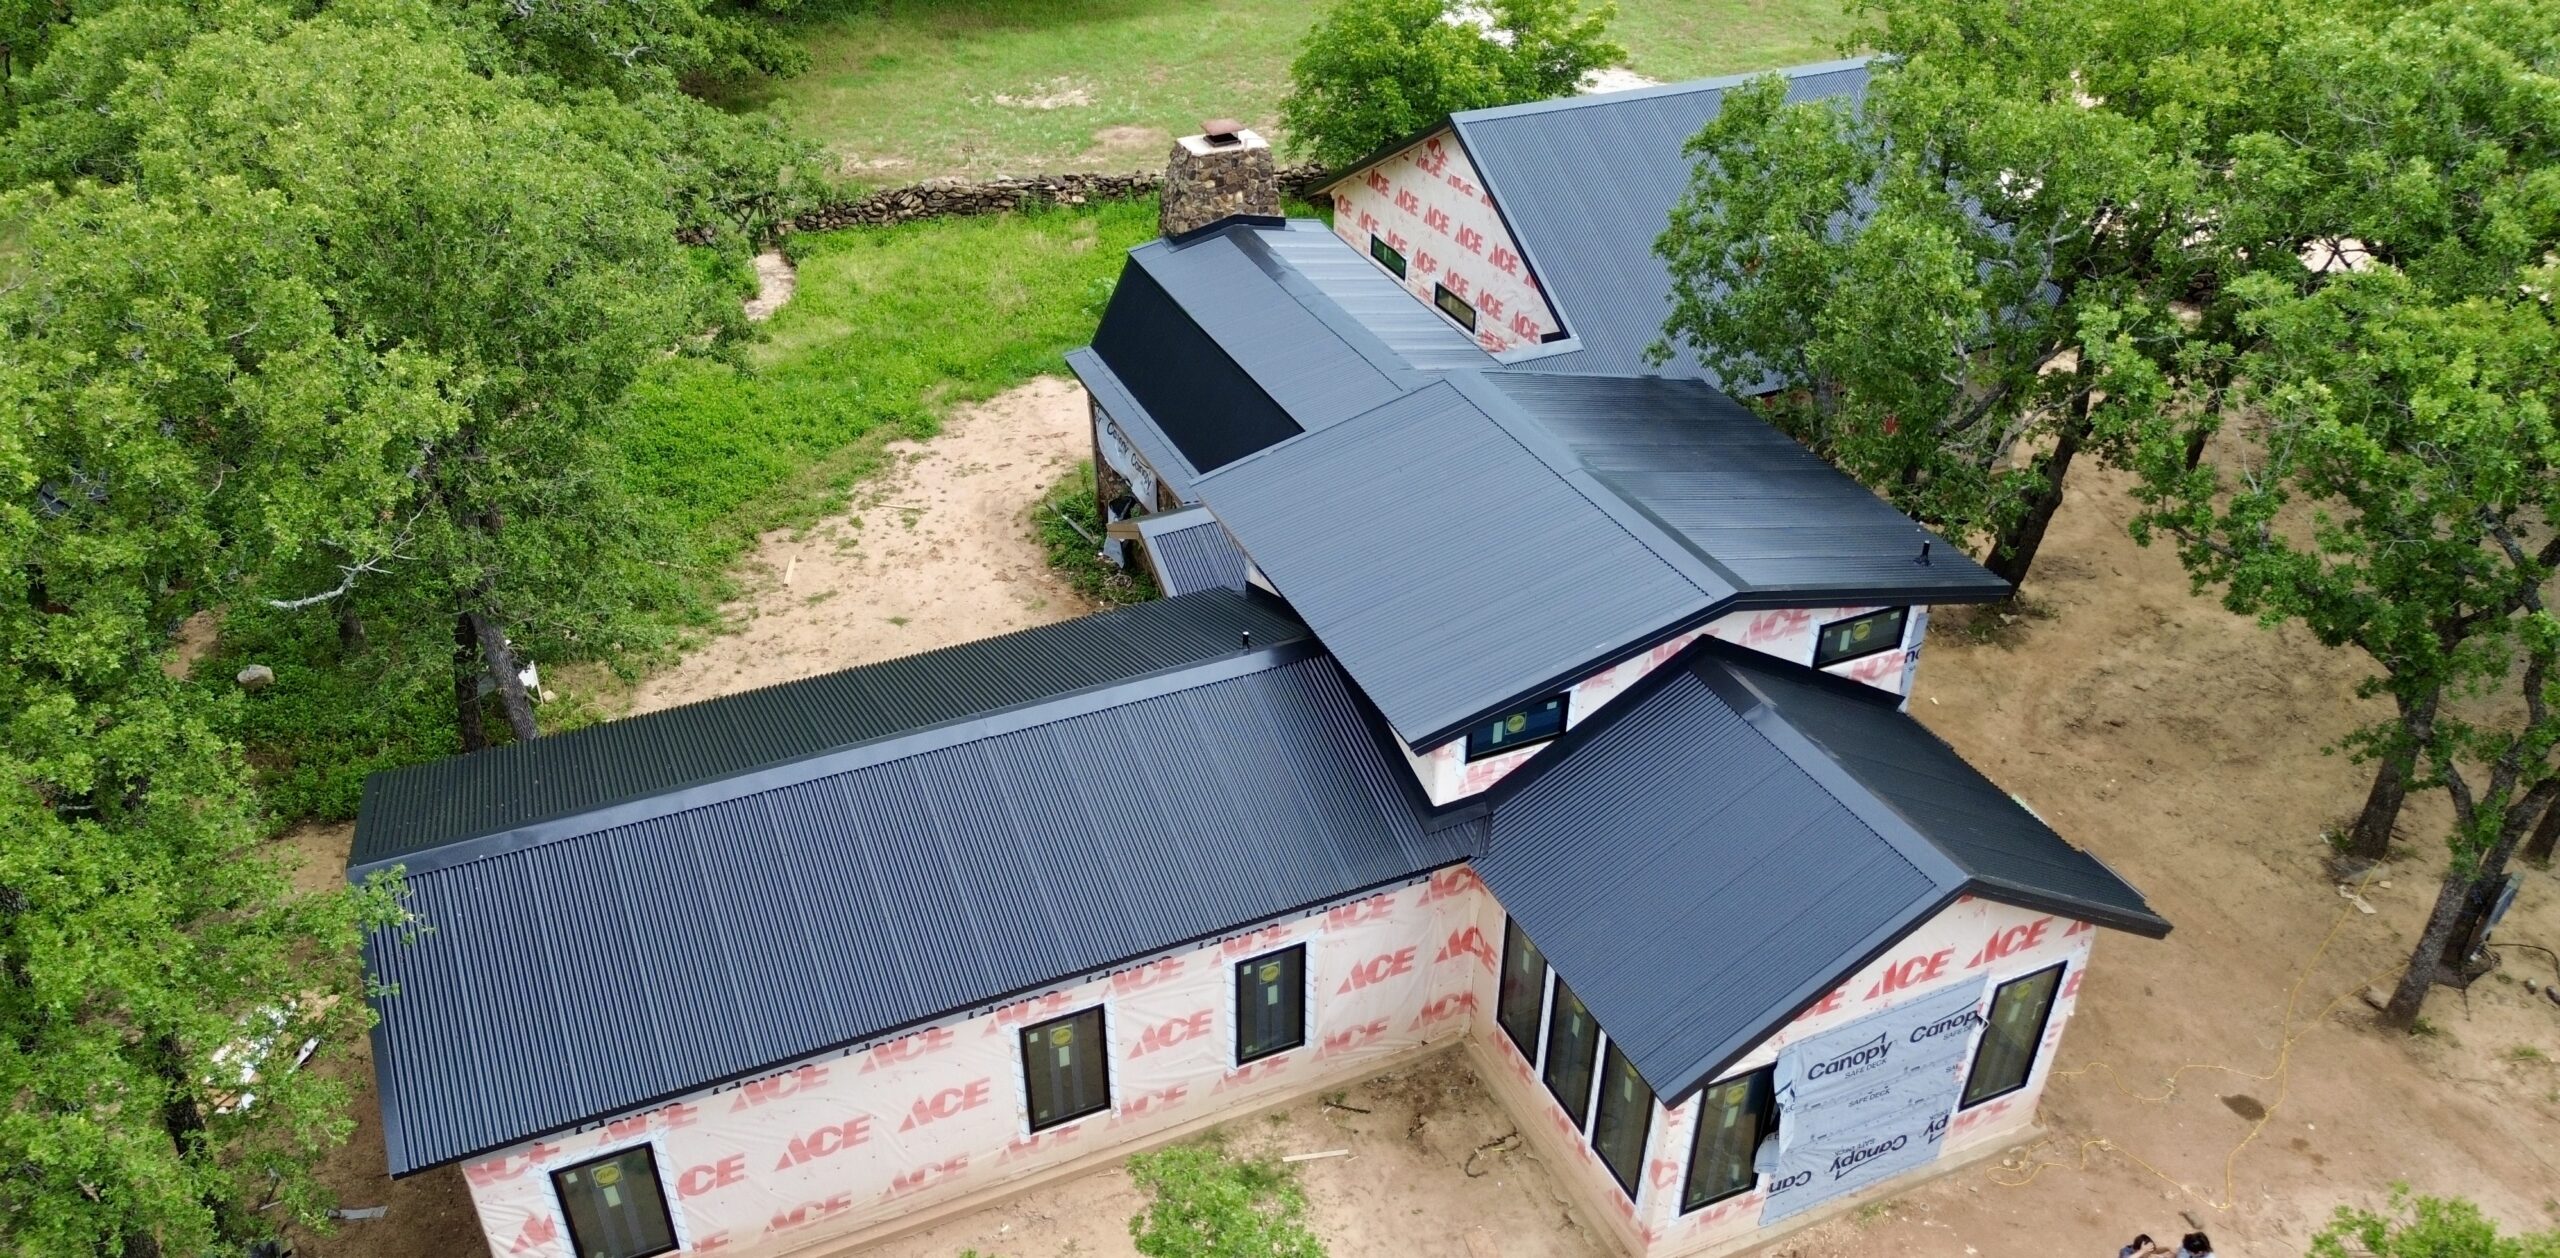
Roof Installation Workflow Summary Table
Understanding the complete workflow helps homeowners see how every stage contributes to the finished roofing system. The following table summarizes the major steps involved in a typical residential roof installation project.
| Installation Stage | Main Objective | Expected Outcome |
|---|---|---|
| Roof inspection | Evaluate existing roof condition | Accurate project planning |
| Project planning | Organize schedule and materials | Efficient workflow |
| Property preparation | Protect the home and landscaping | Safe work environment |
| Roof removal | Remove existing roofing system | Exposed roof deck |
| Deck inspection and repairs | Restore structural integrity | Strong installation base |
| Drip edge and underlayment | Create moisture protection | Waterproof foundation |
| Ice and water protection | Strengthen vulnerable areas | Improved leak resistance |
| Starter strips | Secure roof edges | Better wind protection |
| Primary roofing installation | Install finished roofing surface | Weather resistant roof |
| Flashing and ventilation | Protect penetrations and regulate airflow | Long term roof performance |
| Ridge caps and finishing | Complete the roofing system | Finished roof appearance |
| Final inspection and cleanup | Verify quality and restore property | Project completion |
Although every residential roofing project is unique, most installations follow this same general workflow. Completing each stage carefully helps ensure the roof delivers dependable performance throughout its expected lifespan.
Common Mistakes That Disrupt the Installation Process
Even a carefully planned roofing project can encounter problems if important steps are overlooked. Understanding these common mistakes helps homeowners recognize the importance of following the installation workflow exactly as intended. Preventing errors early often saves significant time and expense later.
Some of the most common installation mistakes include:
- Skipping a detailed roof inspection before beginning work.
- Installing new roofing materials over damaged roof decking.
- Using incorrect fasteners or fastening patterns.
- Rushing flashing installation around roof penetrations.
- Ignoring proper attic ventilation requirements.
- Installing roofing materials during unsuitable weather conditions.
- Failing to perform regular quality inspections throughout the project.
Most of these mistakes are avoidable when experienced roofing professionals follow a structured workflow. Every stage builds upon the quality of the previous one, making attention to detail essential throughout the installation process.
Homeowners can also help prevent problems by selecting qualified contractors with proven experience. Choosing workmanship based on quality rather than price alone often leads to better long term results.
Homeowner Checklist Before Project Completion
Before making the final payment or closing the project, homeowners should verify that every major part of the installation has been completed successfully. Reviewing a checklist together with the contractor provides additional confidence that nothing important has been overlooked.
- The roofing materials match the approved contract.
- Flashing has been installed around all roof penetrations.
- Ridge caps and ventilation components are complete.
- Gutters and downspouts are securely installed.
- The roof has passed the final inspection.
- Construction debris and loose nails have been removed.
- Warranty documents have been provided.
- Maintenance recommendations have been explained.
Completing this final review allows homeowners to ask questions while the contractor is still on site. It also confirms that the entire installation workflow has been completed according to plan.
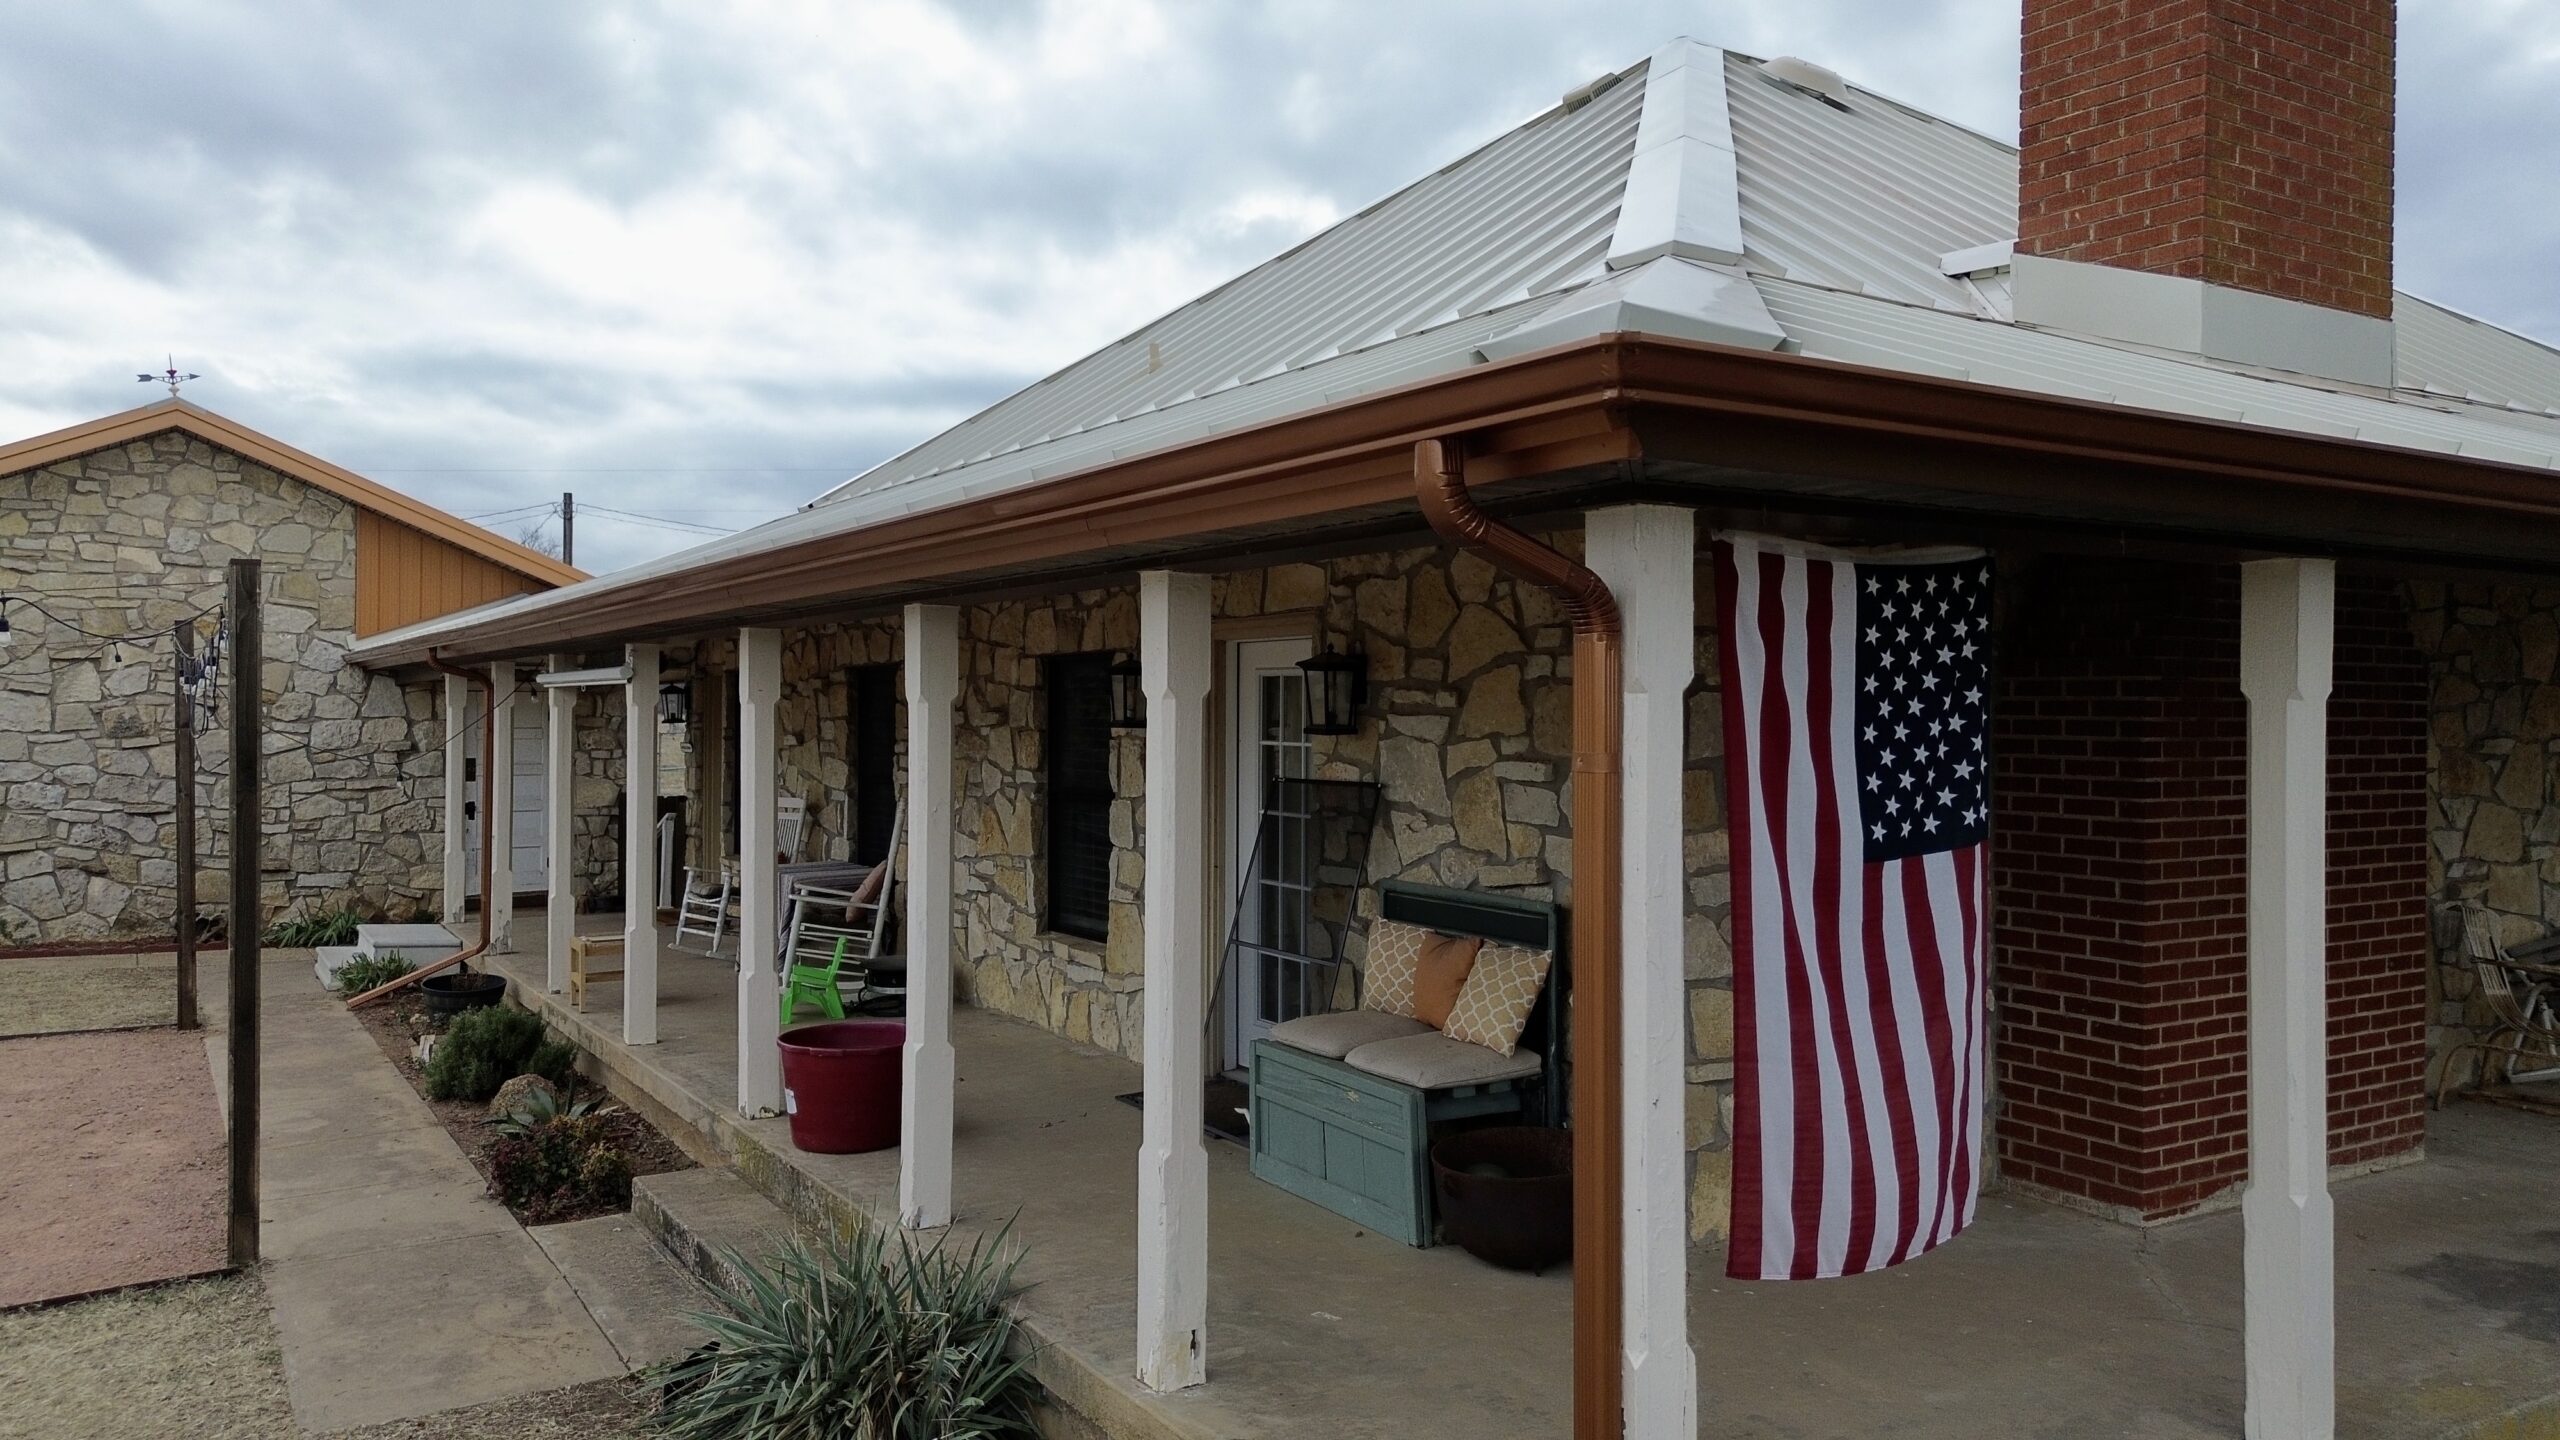
Frequently Asked Questions
Many homeowners have questions about the roofing workflow before beginning a project. Understanding these common concerns helps make the installation process less stressful while improving communication with the roofing contractor.
How long does the complete roof installation workflow usually take?
Most residential roof installations take several days once construction begins. Larger homes, complex roof designs, weather delays, or structural repairs may extend the timeline.
Why can’t contractors install new shingles immediately after removing the old roof?
The roof deck must first be inspected for hidden damage. Repairing structural issues before installing new materials creates a stronger and more reliable roofing system.
Can the installation workflow change depending on the roofing material?
Yes. While the overall sequence remains similar, installation techniques vary for asphalt shingles, metal roofing, clay tiles, slate, and synthetic materials. Contractors follow manufacturer recommendations for each product.
Is underlayment really necessary if quality shingles are being installed?
Absolutely. Underlayment provides secondary moisture protection beneath the finished roofing material and plays an important role in preventing water damage if the outer roofing layer is compromised.
When should homeowners inspect the completed roof?
A visual inspection with the contractor should take place after the final cleanup and before the project is officially completed. Homeowners should avoid walking on the roof unless advised to do so by a qualified professional.
Conclusion
A residential roof installation is much more than simply replacing old roofing materials. It is a carefully organized workflow in which every stage contributes to the strength, durability, and long term performance of the finished roofing system. From the initial inspection and project planning to structural repairs, waterproofing, roofing material installation, ventilation, drainage, inspections, and cleanup, each step has a specific purpose that cannot be overlooked.
Following a structured installation process allows contractors to maintain consistent quality while reducing the likelihood of future roofing problems. Careful planning, professional workmanship, continuous quality control, and adherence to manufacturer specifications all work together to create a roof capable of protecting the home through changing weather conditions for many years.
For homeowners, understanding the installation workflow provides valuable insight into what happens before, during, and after construction. This knowledge encourages better communication with contractors, realistic project expectations, and greater appreciation for the craftsmanship required to build a dependable roofing system.
Ultimately, the success of any residential roof installation depends on respecting every stage of the workflow rather than rushing to the finished result. When experienced professionals follow each step carefully and homeowners understand the process, the outcome is a durable, attractive, and high performing roof that adds lasting value, safety, and protection to the home.