

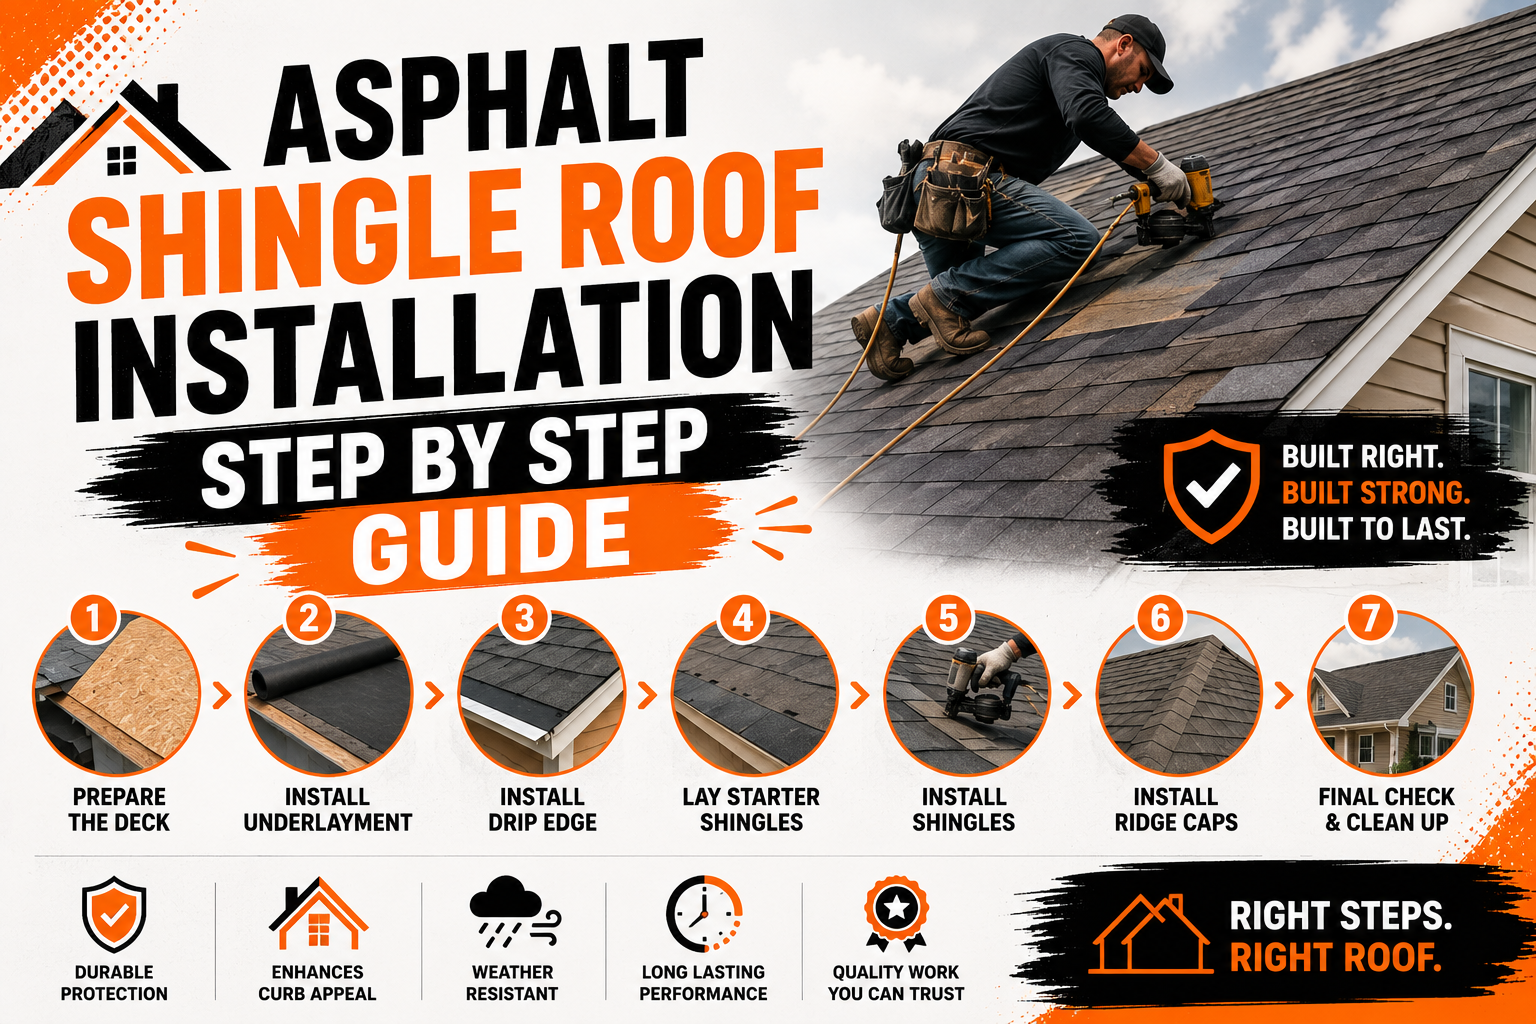
Asphalt Shingle Roof Installation Step by Step Guide
Introduction
Installing an asphalt shingle roof is one of the most reliable ways to protect a home while improving its appearance and long term value. Asphalt shingles remain one of the most widely used roofing materials because they offer an excellent balance of affordability, durability, and visual appeal. Whether the project involves a new home or replacing an aging roof, understanding the installation process helps homeowners make informed decisions and appreciate the craftsmanship behind a quality roofing system.
A successful asphalt shingle roof installation depends on much more than simply laying shingles across the roof deck. Every layer beneath the visible shingles contributes to the roof’s overall performance, including moisture protection, structural support, and proper ventilation. When each component is installed correctly, the finished roof can withstand years of exposure to wind, rain, sunlight, and seasonal temperature changes.
Although professional roofing contractors have the experience and equipment needed for efficient installation, homeowners often benefit from understanding each stage of the process. Knowing how the roof is assembled makes it easier to communicate with contractors, evaluate workmanship, and recognize the importance of every material used during the project.
This guide walks through the complete asphalt shingle roof installation process from the earliest preparation steps to the finished roofing system. In this first part, the focus is on planning, preparation, and building a strong foundation before the first shingle is installed.
Understanding Asphalt Shingle Roofing
An asphalt shingle roof is a layered roofing system designed to provide weather protection, insulation support, and an attractive exterior finish. Rather than functioning as individual pieces, every roofing component works together to create a durable barrier against moisture and environmental damage.
Modern asphalt shingles consist of a fiberglass mat coated with asphalt and covered with protective mineral granules. These granules help shield the shingles from ultraviolet rays while adding color and texture. The fiberglass core provides strength and flexibility, allowing shingles to withstand normal expansion and contraction caused by changing temperatures.
Beneath the shingles are additional protective layers including underlayment, flashing, drip edges, and ventilation components. Each element serves a specific purpose and contributes to the roof’s ability to resist leaks and structural deterioration over many years.
Proper installation is just as important as material quality. Even premium roofing materials can experience premature problems if they are installed without careful planning, accurate alignment, and correct fastening techniques.
Why Asphalt Shingles Are a Popular Roofing Choice
Homeowners continue choosing asphalt shingles because they provide dependable performance without requiring the investment associated with many premium roofing materials. They are available in numerous colors, textures, and profiles, making it easy to match different architectural styles.
One of the biggest advantages is their versatility. Asphalt shingles perform well on a wide range of residential roof designs, including simple gable roofs, complex hip roofs, and structures featuring dormers, valleys, and multiple roof sections.
Another reason for their popularity is straightforward maintenance. Individual damaged shingles can often be replaced without disturbing large portions of the roof, reducing repair costs after storms or accidental damage.
Many manufacturers also offer extended warranties when their complete roofing systems are installed according to recommended guidelines. This provides additional confidence that the roof has been built to meet industry performance standards.
Different Types of Asphalt Shingles
Not all asphalt shingles are identical. Manufacturers produce several styles designed to meet different performance expectations, aesthetic preferences, and budgets.
Three tab shingles are the traditional option found on many older homes. They create a uniform appearance with evenly spaced tabs and remain an economical solution for homeowners seeking reliable protection.
Architectural shingles have become increasingly popular because they feature multiple layers that create greater thickness and a dimensional appearance. Their enhanced construction generally provides improved wind resistance and a longer service life compared to basic three tab products.
Luxury asphalt shingles represent the premium category. They are designed to resemble slate, cedar shake, or other high end roofing materials while maintaining many of the installation advantages associated with asphalt products.
Choosing the right shingle depends on several factors including local weather conditions, expected lifespan, budget, and the desired appearance of the finished home.
Essential Materials Required for Installation
Every successful roofing project begins with gathering the proper materials before installation starts. Missing components or incompatible products can delay work and reduce the effectiveness of the finished roofing system.
The primary materials commonly include:
- Asphalt shingles
- Roofing underlayment
- Ice and water shield
- Starter shingles
- Ridge cap shingles
- Drip edge
- Roofing nails
- Flashing materials
- Ridge vent components
- Roofing sealant
Each material performs a unique function. Removing or substituting one component may compromise the roof’s ability to resist water intrusion, wind uplift, or long term weather exposure.
Using products from compatible roofing systems also improves overall performance. Many manufacturers design their materials to work together, helping installers meet warranty requirements while maximizing durability.
Roofing Tools Needed Before Starting
Proper tools improve both installation quality and worker safety. Experienced roofing professionals organize equipment before work begins so the project can proceed efficiently without unnecessary interruptions.
Some of the most commonly used tools include hammers, pneumatic nail guns, utility knives, chalk lines, measuring tapes, roofing shovels, pry bars, ladders, safety harnesses, and protective gloves. Specialized tools may also be required depending on roof complexity and ventilation design.
Safety equipment deserves equal attention. Roofing projects involve elevated work surfaces, steep slopes, and changing weather conditions that require fall protection and appropriate footwear throughout the installation process.
Keeping tools organized also reduces the risk of accidental damage to roofing materials. Efficient job site management helps maintain productivity while supporting consistent workmanship.
Preparing the Roof for Installation
Preparation establishes the foundation for every step that follows. Rushing through preparation often creates problems that become difficult and expensive to correct after shingles have already been installed.
Before any roofing materials are applied, the work area should be cleaned and surrounding landscaping protected. Tarps help collect debris while reducing cleanup time after old roofing materials have been removed.
Contractors also inspect weather forecasts before beginning work. Dry conditions provide the safest environment for installation while reducing the possibility of moisture becoming trapped beneath newly installed roofing materials.
Material deliveries should be organized carefully to prevent unnecessary movement across the roof. Staging materials properly minimizes handling while reducing the chance of damaging shingles before installation.
Inspecting the Roof Deck Before Work Begins
The roof deck serves as the structural foundation supporting every layer above it. Installing new shingles over damaged decking often leads to premature roofing problems regardless of shingle quality.
After removing old roofing materials, installers inspect the entire deck for signs of rot, moisture damage, loose panels, mold growth, soft areas, or structural weakness. Any compromised sections should be repaired or replaced before work continues.
Fasteners holding the decking should also be examined. Loose nails or damaged fasteners may reduce structural stability during periods of high wind or heavy snow loads.
The deck surface should remain clean, dry, and smooth before underlayment installation begins. Small imperfections may seem insignificant initially but can become visible through finished shingles over time.
Removing Old Roofing Materials
Roof replacement projects usually begin by removing the existing roofing system completely. Although installing new shingles over older roofing layers is sometimes permitted by local building codes, complete removal generally provides better long term performance.
Roofing shovels and pry bars help remove old shingles, nails, underlayment, flashing, and other deteriorated materials. Careful removal prevents unnecessary damage to the roof deck beneath.
As debris is removed, installers continue monitoring the roof structure for hidden problems that were not visible before demolition. Discovering these issues early allows repairs to be completed before new materials cover the affected areas.
Proper debris disposal also contributes to job site safety. Nails, broken shingles, and sharp flashing should be collected regularly to reduce hazards for workers and homeowners.
Installing the Drip Edge
The drip edge is one of the first new components installed during roof construction. Although relatively small, it plays an important role in directing rainwater away from the roof edges and protecting underlying wood components.
Metal drip edge is installed along the roof’s eaves before underlayment in many roofing systems. Along rake edges, installation order may vary depending on local building codes and manufacturer recommendations.
Proper overlap between drip edge sections helps maintain continuous water protection. Fasteners should be spaced evenly to keep the metal securely attached without causing distortion.
Correctly installed drip edge also helps improve the appearance of the finished roof by creating clean, straight roof edges that complement the overall installation.
Applying the Underlayment Correctly
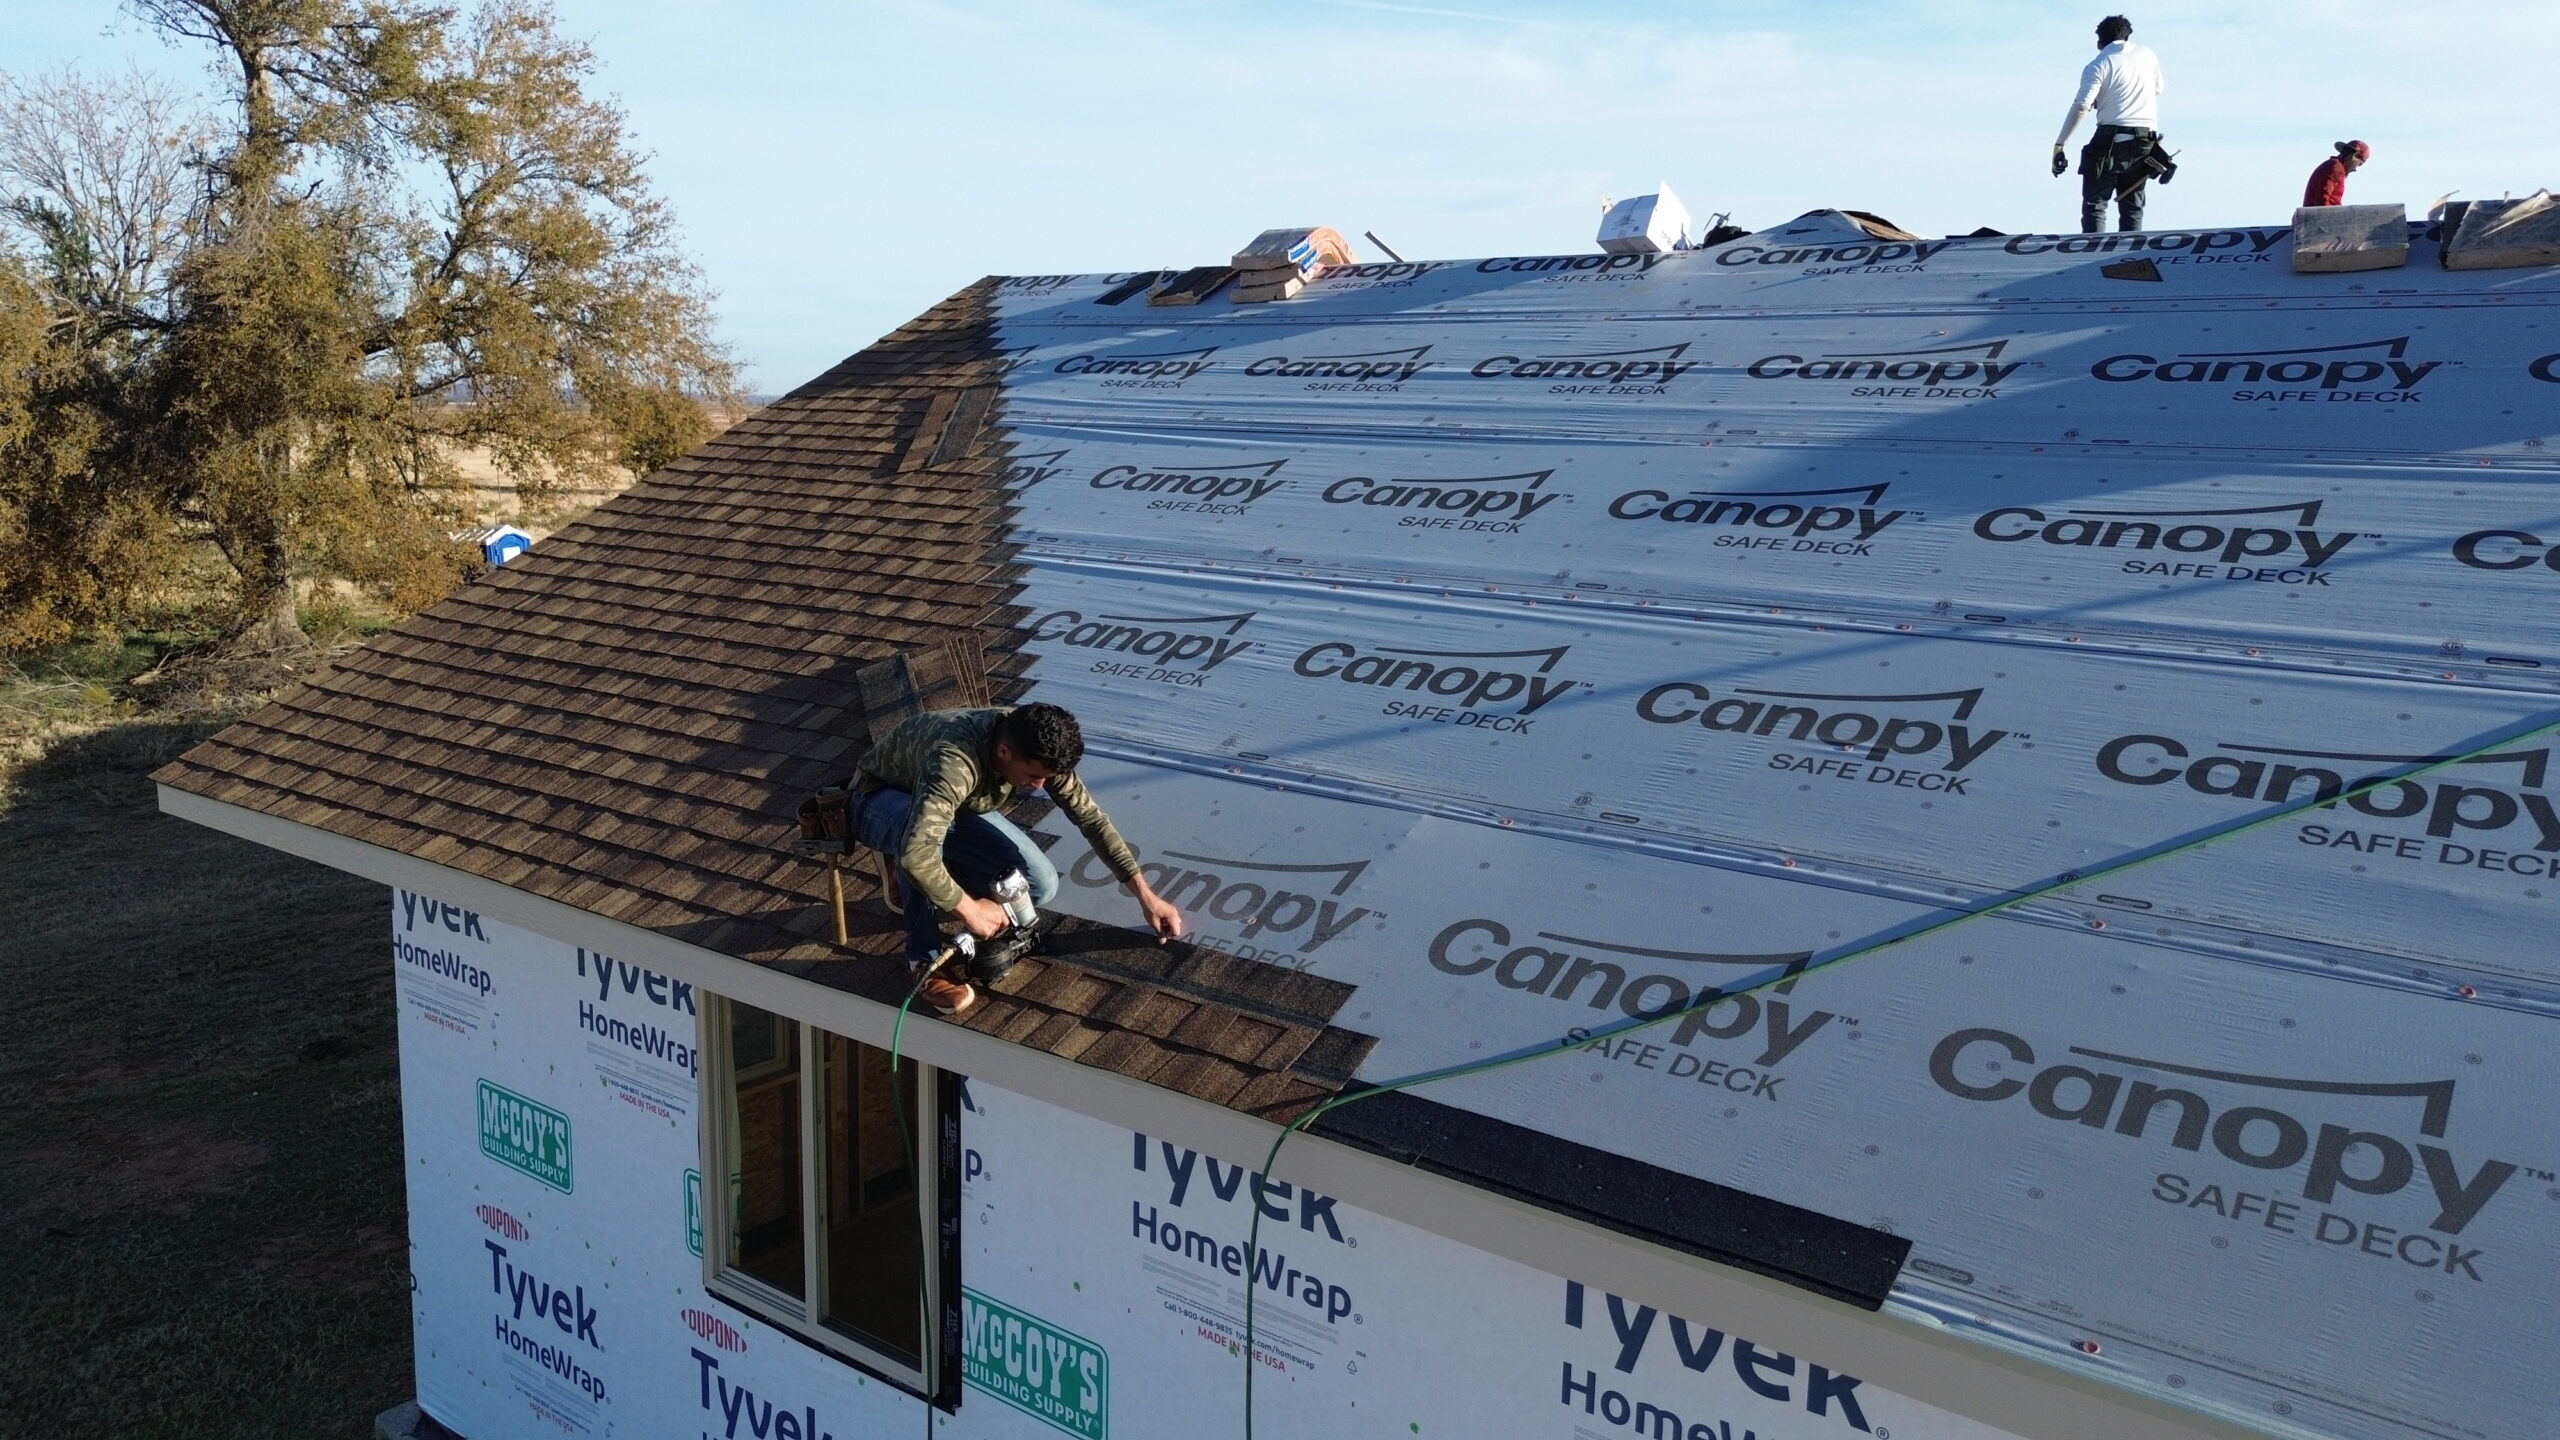
Roofing underlayment forms an important secondary moisture barrier beneath the shingles. While shingles provide the primary weather protection, underlayment helps protect the roof deck if wind driven rain or ice forces moisture beneath the outer roofing layer.
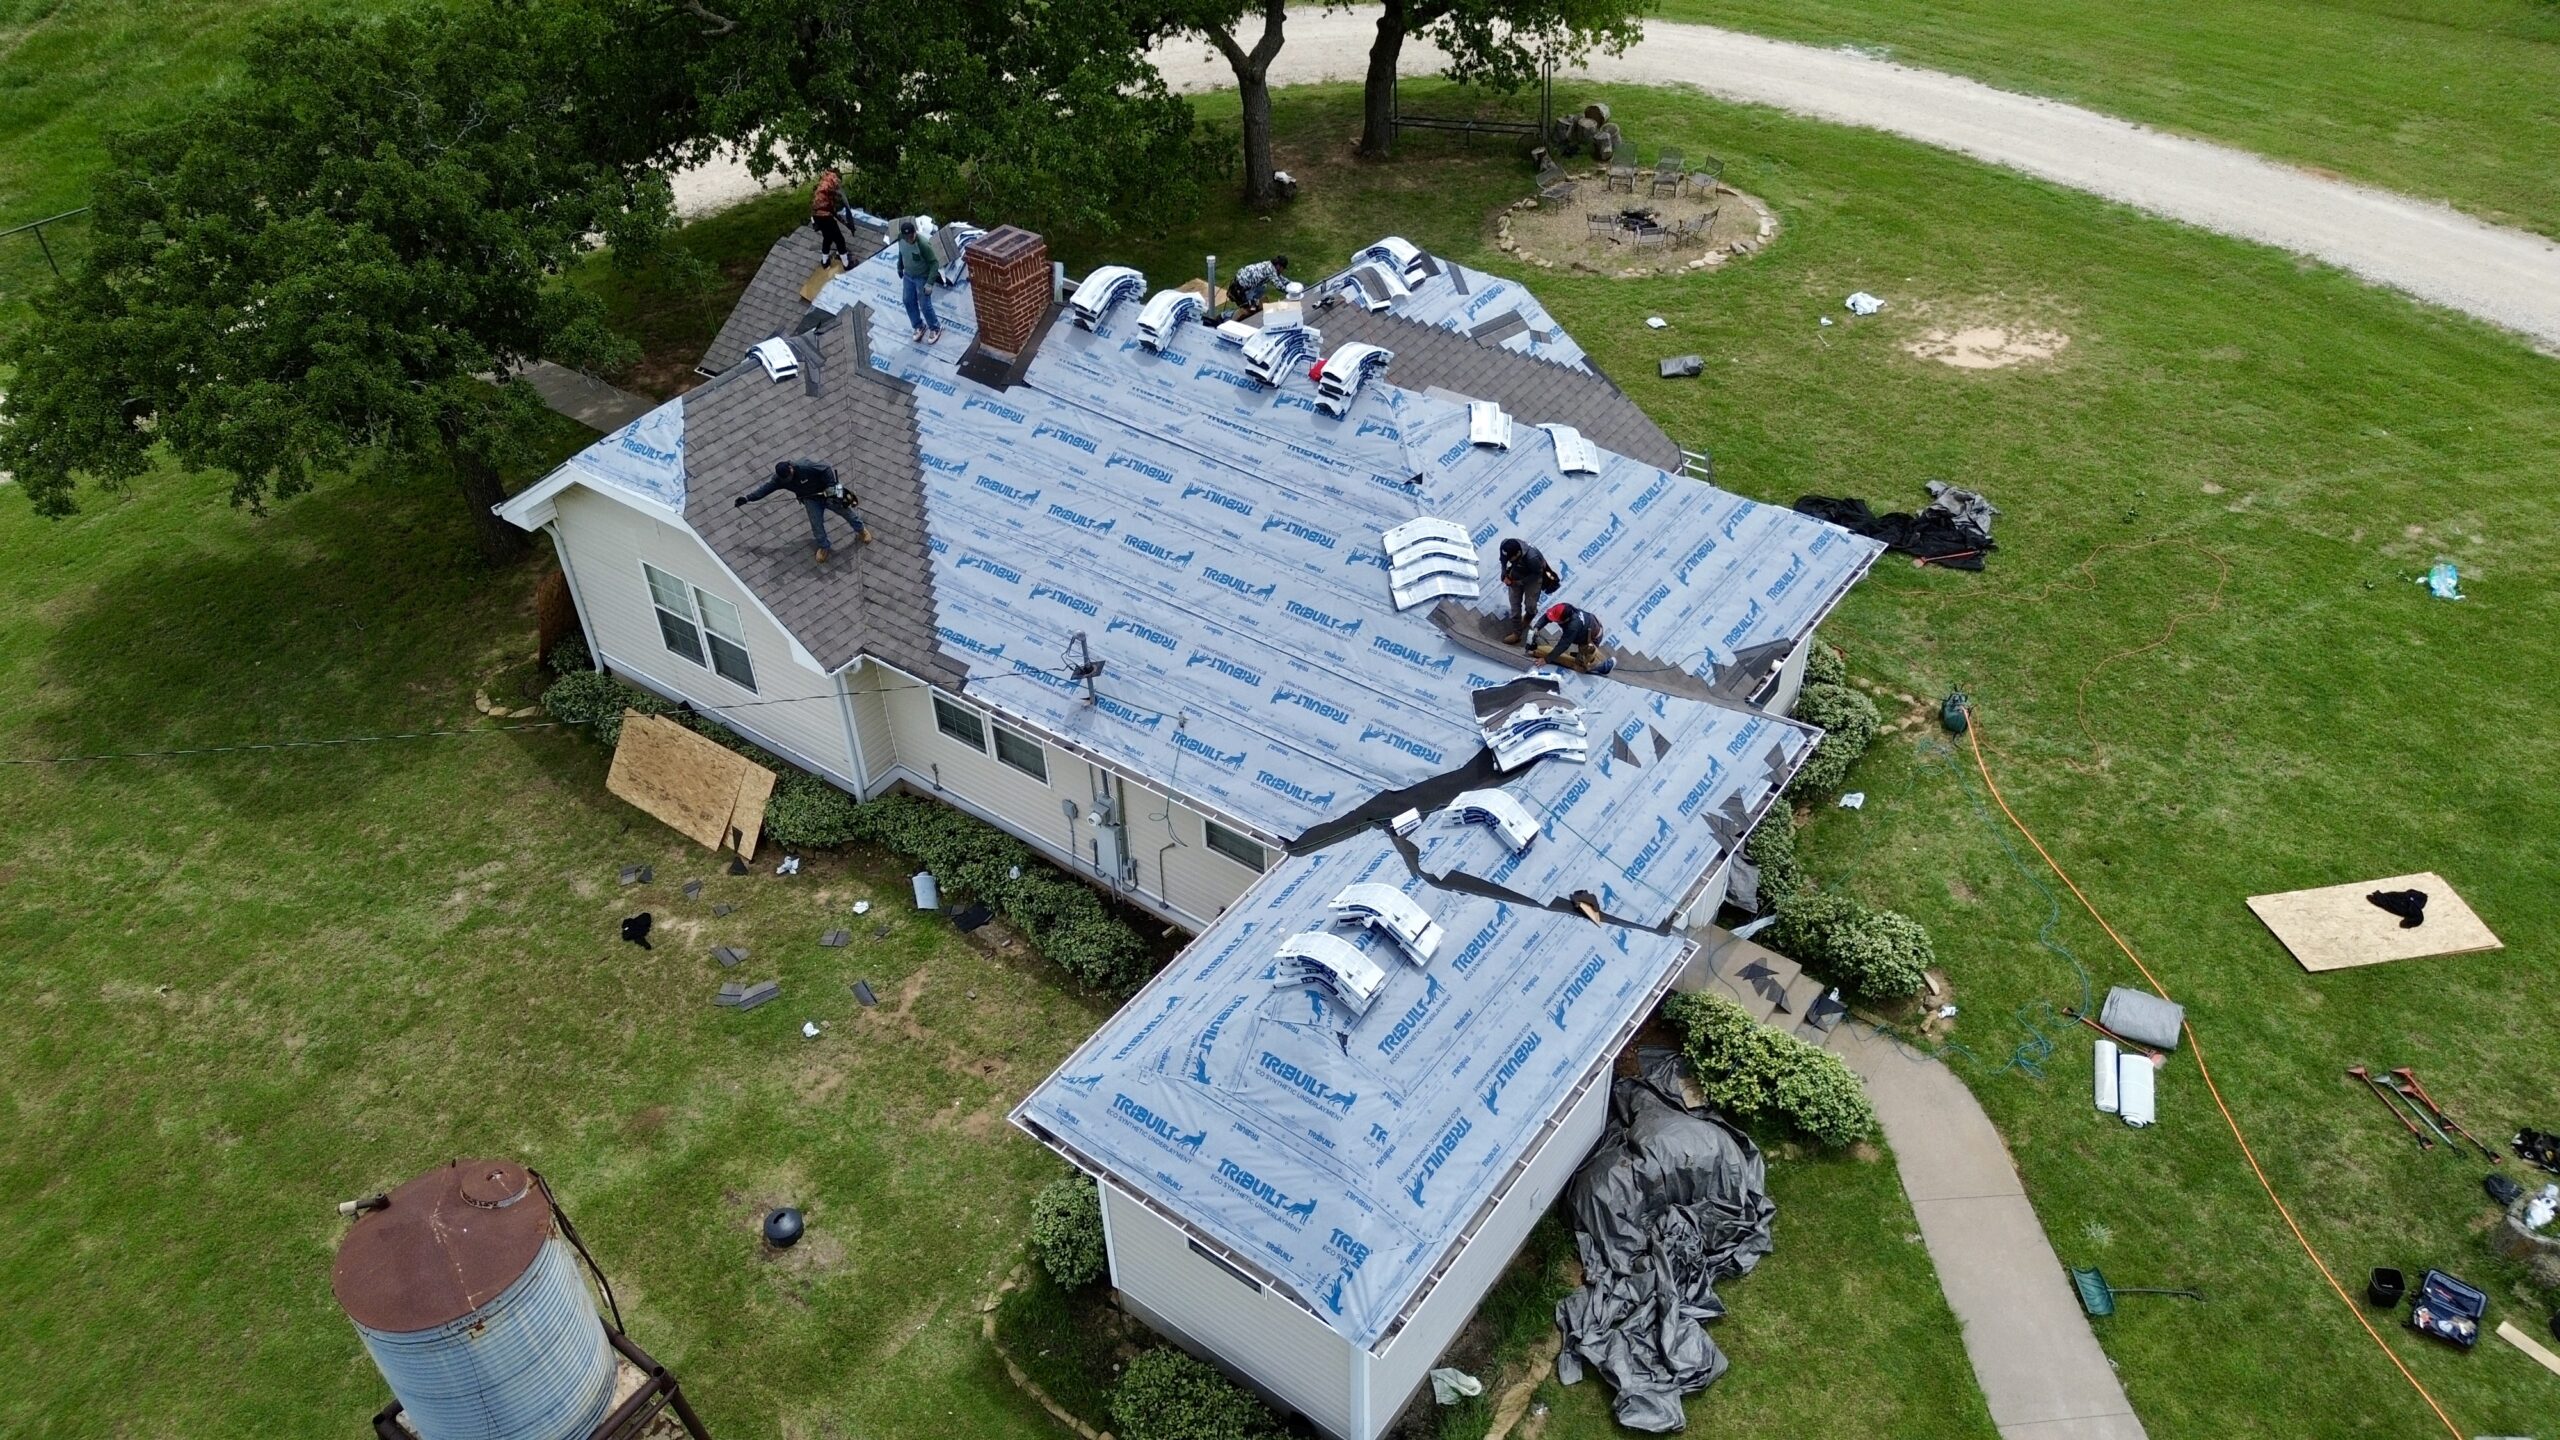
Installers typically roll the underlayment horizontally across the roof while maintaining consistent overlap between adjacent sections. This overlapping pattern encourages water to flow downward rather than entering beneath the material.
Wrinkles, folds, or trapped air should be eliminated during installation because uneven surfaces can affect the appearance of finished shingles. Smooth installation supports better water drainage and consistent roofing performance.
Fasteners should be installed according to manufacturer specifications to prevent movement before shingles are applied. Secure attachment also helps maintain alignment during windy conditions.
Installing Ice and Water Shield in Vulnerable Areas
Some areas of the roof experience greater exposure to water accumulation than others. Ice dams, heavy rainfall, and melting snow can force moisture beneath shingles if these vulnerable locations are not adequately protected.
Ice and water shield is a self adhering waterproof membrane commonly installed along roof eaves, inside valleys, around chimneys, skylights, plumbing vents, and other roof penetrations. The material creates a strong seal that helps prevent water infiltration even when standing moisture is present.
Careful placement is essential because overlapping sections must create continuous waterproof coverage. Gaps or improperly sealed seams reduce the effectiveness of the membrane during severe weather events.
Local building codes often specify where ice and water shield is required based on regional climate conditions. Following these requirements improves both roof performance and code compliance.
Preparing Layout Lines for Accurate Installation
Before the first shingles are nailed into place, installers establish layout lines across the roof using chalk lines and careful measurements. These guide lines help maintain consistent alignment throughout the installation process.
Even minor alignment errors become increasingly noticeable as additional shingle courses are installed. Starting with accurate reference lines prevents uneven rows that can affect both appearance and weather resistance.
Measurements should also account for roof features such as valleys, dormers, chimneys, and ventilation openings. Planning around these obstacles before installation begins reduces unnecessary adjustments later.
A properly planned layout also helps minimize material waste. Strategic positioning of shingle rows allows installers to make efficient use of full shingles while reducing the number of unnecessary cuts required throughout the project.
The preparation completed during these early stages determines the quality of everything that follows. With the roof deck inspected, protective layers installed, and layout lines carefully established, the foundation is now ready for the actual installation of starter shingles and the first courses of asphalt shingles, which will be covered in the next part of this guide.
Installing Starter Shingles
Once the roof deck has been fully prepared and all protective layers are in place, the next stage is installing the starter shingles. Although they are often hidden after the roof is completed, starter shingles play a critical role in the overall roofing system. They provide the first layer of wind resistance and help create a watertight seal along the roof edges.
Starter shingles are installed along the eaves and rake edges before the first visible row of shingles. Their adhesive strip is positioned so it bonds securely with the first course, reducing the risk of shingles lifting during strong winds. This connection strengthens the roof’s perimeter, which is typically the area most exposed to wind pressure.
Manufacturers often produce dedicated starter shingles that match their roofing systems. Some installers also create starter strips by trimming standard shingles according to manufacturer recommendations. Regardless of the method used, maintaining a straight and consistent installation line is essential for achieving a professional result.
Every starter strip should be fastened securely using the recommended nail placement. Proper overlap between sections ensures continuous protection and helps prevent water from reaching the roof deck beneath.
Installing the First Course of Asphalt Shingles
The first course of asphalt shingles establishes the alignment for the entire roof. Any errors made during this stage can continue throughout the installation, making careful positioning extremely important. Installers rely on the chalk lines created during the preparation stage to keep every row straight.
The first shingle is positioned carefully with the correct overhang beyond the drip edge. This slight extension allows rainwater to flow freely into the gutters instead of running back toward the fascia or roof decking. Consistent spacing across the roof creates a uniform appearance while maintaining proper drainage.
Each shingle should be checked before fastening to ensure it sits flat against the roof surface. Twisted or uneven shingles may affect both appearance and performance, especially after exposure to changing weather conditions.
After the first row is secured, installers verify alignment before continuing with additional courses. Correcting minor adjustments early is much easier than attempting repairs after several rows have already been completed.
Proper Nailing Techniques for Maximum Performance
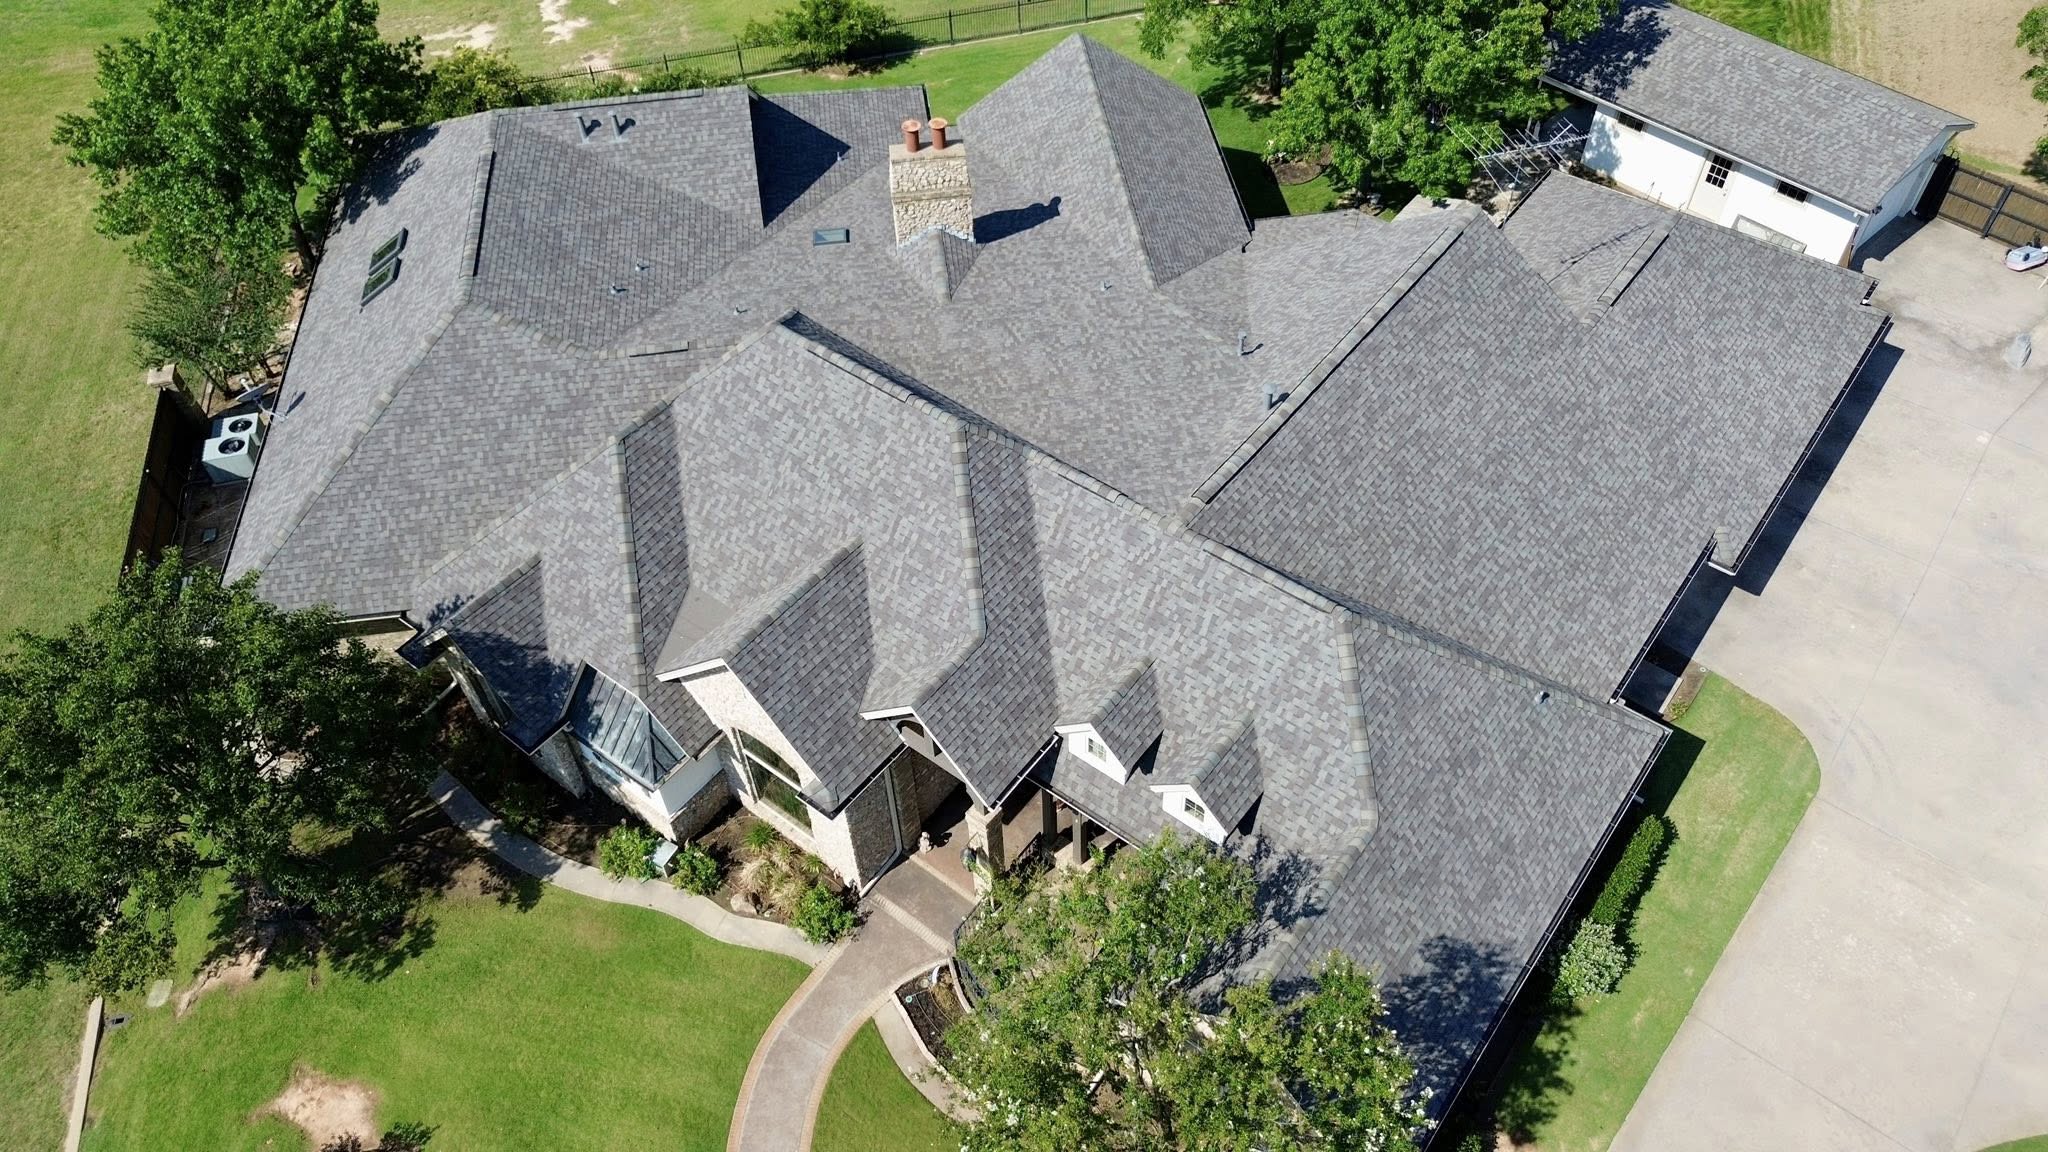
Correct nail placement is one of the most important aspects of asphalt shingle installation. Even high quality shingles may fail prematurely if nails are driven incorrectly or positioned outside the designated nailing zone. Manufacturers provide detailed instructions that specify both nail location and the required number of fasteners.
Roofing nails should penetrate the roof deck sufficiently to provide a secure hold without damaging the shingles. Nails driven too deeply may tear through the shingle surface, while nails that remain raised can interfere with the next course of shingles.
The nail gun should be adjusted to deliver consistent pressure throughout the project. Different roof decking materials and changing temperatures can affect nail depth, making periodic inspection necessary during installation.
Proper fastening also improves wind resistance. Evenly spaced nails distribute holding strength across each shingle and reduce the likelihood of wind uplift during severe storms.
The following table summarizes common nailing issues and their potential impact on roof performance.
| Nailing Issue | Possible Cause | Potential Result |
|---|---|---|
| Overdriven nail | Excessive nail gun pressure | Shingle damage and reduced holding strength |
| Underdriven nail | Low pressure setting | Raised shingles and poor sealing |
| Crooked nail | Incorrect angle | Water intrusion and weakened attachment |
| Missing nail | Installation oversight | Increased wind damage risk |
| Incorrect placement | Failure to follow manufacturer guidelines | Reduced warranty compliance and lower durability |
Continuing the Shingle Installation Pattern
After the first course is complete, installers continue adding shingles while maintaining the recommended offset pattern. This staggered arrangement prevents vertical seams from lining up directly with one another, improving both appearance and weather resistance.
Each new course overlaps the row beneath it according to the manufacturer’s exposure specifications. Maintaining consistent exposure creates an attractive finished roof while ensuring proper water runoff during heavy rainfall.
Periodic measurements help confirm that rows remain level across the entire roof surface. Small alignment errors become more noticeable with every additional course, so frequent verification prevents larger problems later.
Installers also monitor color distribution throughout the project. Because shingles are manufactured in production batches, blending bundles from different packages helps produce a more uniform appearance across the completed roof.
Working Around Roof Valleys
Roof valleys are among the most critical areas of any roofing system because they collect large volumes of rainwater during storms. Proper installation in these locations is essential for preventing leaks and extending roof life.
Several valley installation methods are commonly used, including open valleys, closed cut valleys, and woven valleys. The most appropriate option depends on roof design, local weather conditions, and manufacturer recommendations.
Careful trimming allows shingles to fit neatly along valley lines without creating unnecessary gaps. Clean cuts improve both water flow and the visual appearance of the finished roof.
Additional waterproof protection beneath the valley provides another layer of defense against moisture intrusion. Since valleys experience continuous water movement, attention to detail during installation significantly improves long term performance.
Installing Shingles Around Roof Penetrations
Nearly every residential roof includes penetrations such as plumbing vents, exhaust vents, skylights, satellite mounts, or utility pipes. These openings interrupt the continuous roofing surface and require special installation techniques to maintain a watertight seal.
Each penetration should be approached carefully, with shingles trimmed accurately to fit around the opening. Oversized gaps increase the possibility of water entering beneath the roofing system, while cuts that are too tight may interfere with normal expansion and contraction.
Protective flashing components are installed alongside the shingles to redirect water away from vulnerable joints. Sealants may also be applied where recommended by the manufacturer, although flashing should remain the primary waterproofing element.
Careful workmanship around penetrations often determines whether a roof remains leak free for many years. These areas deserve additional inspection throughout the installation process.
Flashing Installation for Leak Prevention
Flashing directs water away from roof intersections and exposed joints where shingles alone cannot provide complete protection. Without properly installed flashing, even a well constructed roof may develop leaks over time.
Metal flashing is commonly installed around chimneys, roof vents, skylights, dormers, and valleys. Each piece should overlap adjacent materials correctly to encourage water to flow safely toward the roof surface instead of beneath it.
Flashing materials should remain free from excessive bending or damage during installation. Distorted flashing may prevent proper water drainage and reduce long term durability.
High quality flashing materials often last as long as the roofing system itself when installed according to manufacturer specifications. Careful attention during installation reduces the need for future repairs.
Installing Step Flashing Along Roof Walls
Roof sections that meet vertical walls require a different flashing approach than open roof surfaces. Step flashing consists of individual metal pieces installed between each shingle course where the roof meets a sidewall.
Each flashing section overlaps the previous piece while extending beneath the siding or wall covering. This layered arrangement channels water safely down the roof instead of allowing it to enter behind the wall.
Proper overlap is essential because every piece contributes to a continuous drainage path. Incorrect installation may create hidden water entry points that remain unnoticed until interior damage appears.
Step flashing should never rely solely on sealant for waterproofing. Mechanical overlap between flashing components provides the primary defense against water intrusion.
Ridge Vent Preparation Before Final Roofing Stages
Proper attic ventilation supports the long term health of the entire roofing system. Before ridge cap shingles are installed, ridge vent preparation ensures adequate airflow can move through the attic space after the project is completed.
A continuous opening is created along the roof ridge where required by the ventilation design. Ridge vent materials are then positioned so they allow warm air to escape while preventing rain, insects, and debris from entering the attic.
Balanced ventilation works together with intake vents located near the roof eaves. This airflow helps regulate attic temperatures throughout the year while reducing moisture accumulation beneath the roof deck.
Proper ventilation also contributes to longer shingle life. Excessive attic heat may accelerate shingle aging, making ventilation an important part of the overall roofing system.
Common Installation Mistakes to Avoid
Even experienced installers understand that small mistakes can reduce roof performance over time. Careful attention throughout every stage of installation helps minimize future maintenance issues.
Some of the most common installation mistakes include:
- Incorrect nail placement or insufficient fasteners.
- Misaligned shingle rows that affect appearance and water flow.
- Poor flashing installation around roof penetrations.
- Inadequate overlap between shingles or underlayment.
- Skipping damaged roof deck repairs before installation.
- Ignoring manufacturer installation instructions.
- Installing roofing materials during unsuitable weather conditions.
Avoiding these issues improves the durability of the completed roof while reducing the likelihood of expensive repairs in the future. Careful planning and consistent quality checks are often the difference between an average installation and one that performs reliably for decades.
Quality Checks During Installation
Professional roofing contractors do not wait until the roof is complete before evaluating their work. Instead, quality inspections take place throughout the installation process so that any issues can be corrected immediately.
Alignment should be checked regularly as additional courses are installed. Straight rows contribute to both visual appeal and proper water drainage across the finished roof.
Installers also verify nail placement, flashing alignment, and shingle exposure at frequent intervals. Correcting small issues during installation prevents larger repairs after the roof has been completed.
Weather conditions should continue to be monitored as work progresses. Sudden rain or strong winds may require temporary protection until installation can safely resume.
As the main field shingles are completed and the roof begins to take its finished shape, attention shifts toward the final stages of the project. The remaining work includes installing ridge cap shingles, performing detailed inspections, cleaning the job site, evaluating ventilation performance, and reviewing long term maintenance practices, all of which will be covered in the final part of this step by step asphalt shingle roof installation guide.
Installing Ridge Cap Shingles
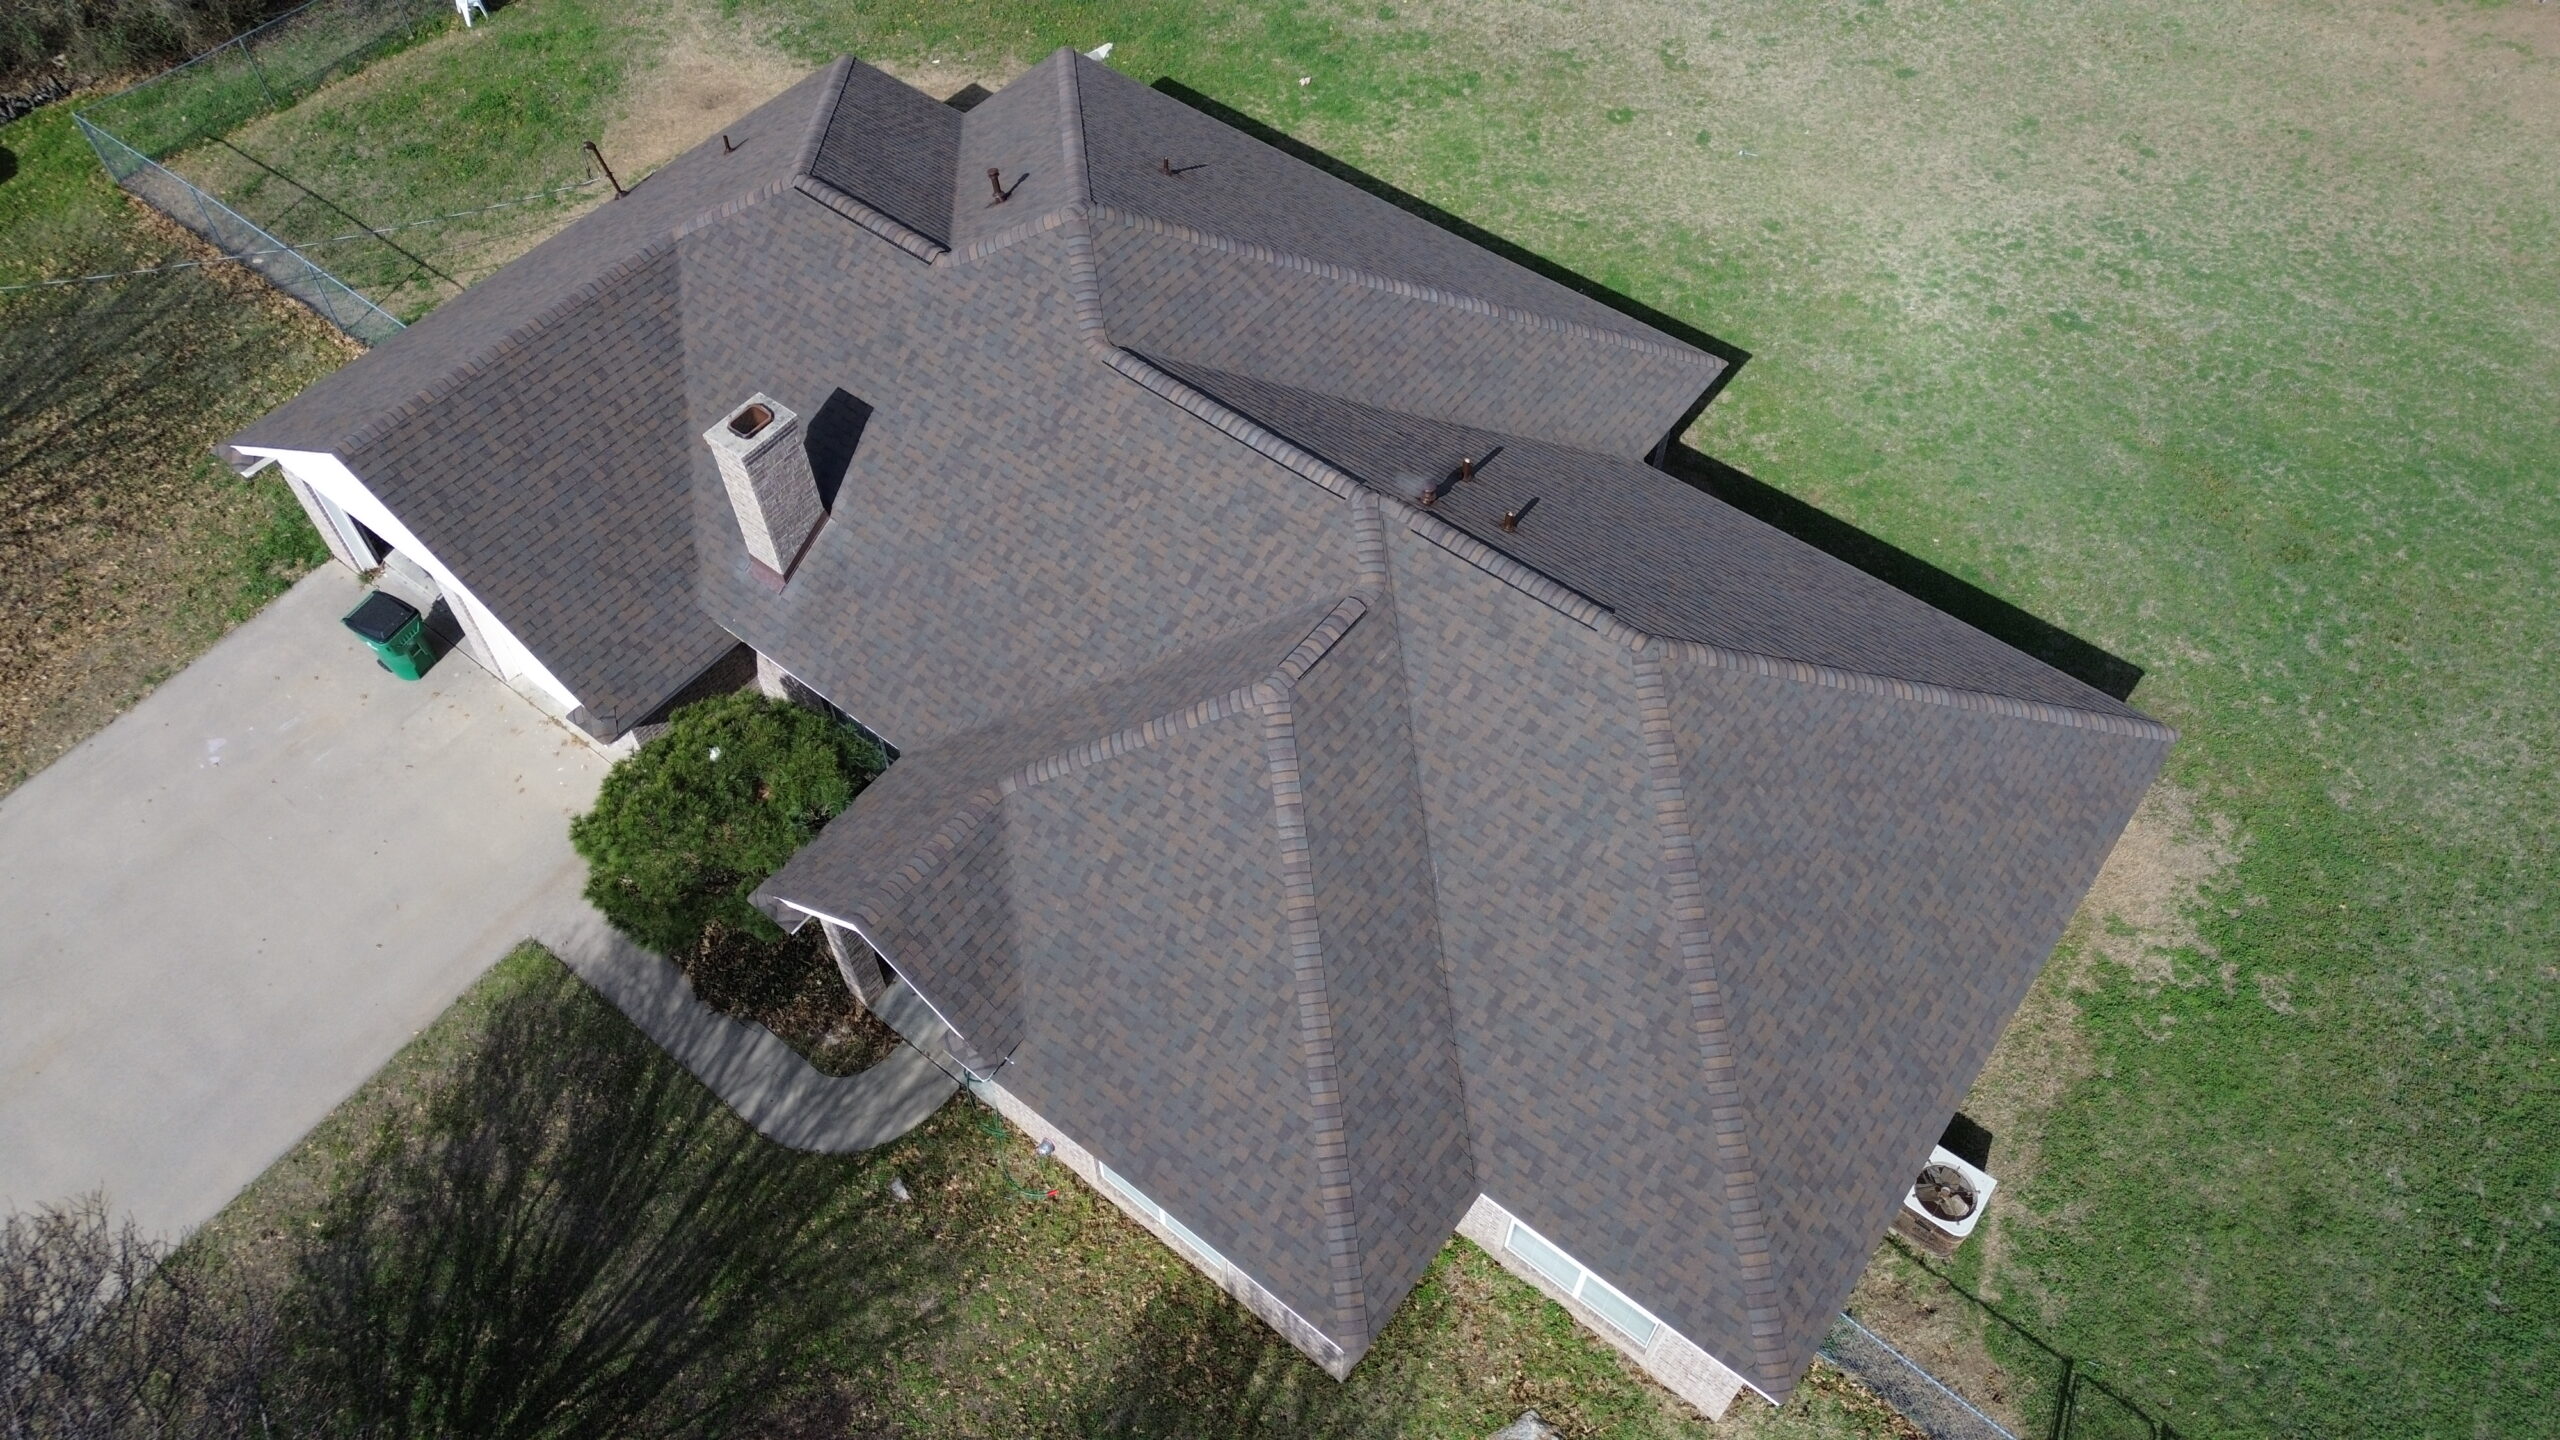
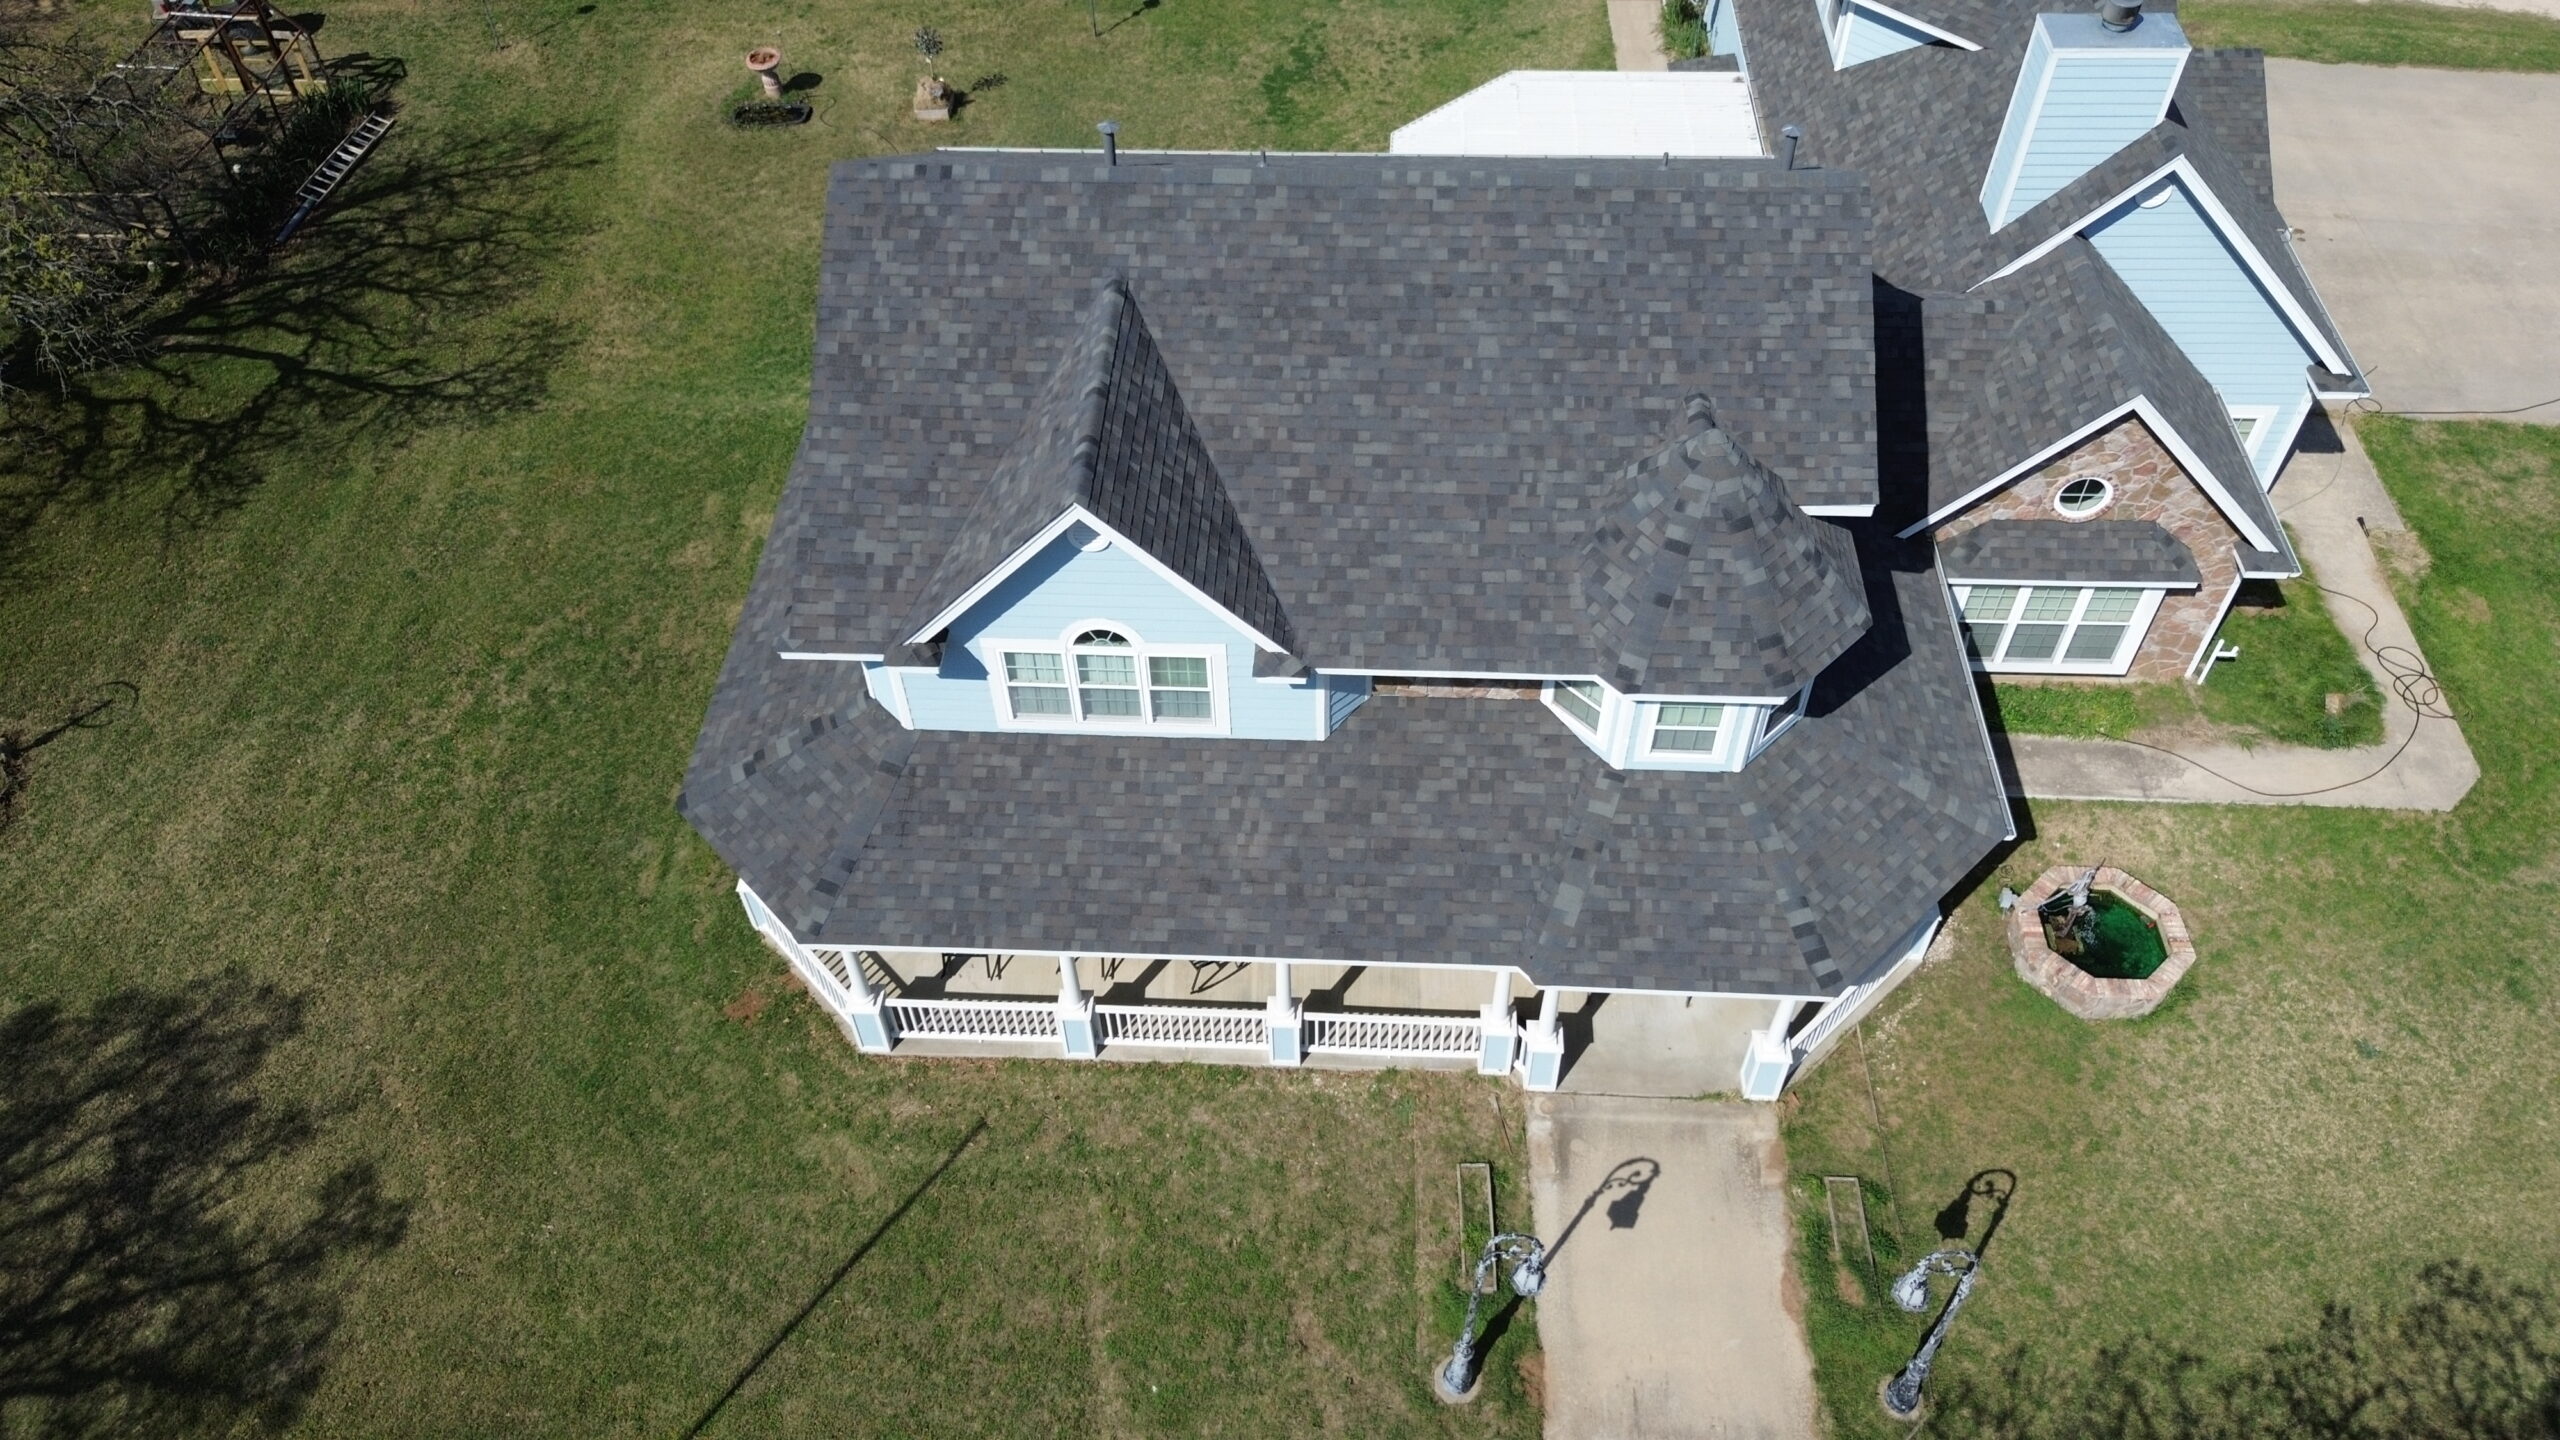
After all field shingles have been installed, the final roofing material placed on the roof is the ridge cap shingles. These specially designed shingles cover the roof ridge, protecting the joint where two roof slopes meet while completing the finished appearance of the roofing system. Although they occupy a relatively small portion of the roof, ridge cap shingles play an important role in preventing water infiltration and resisting wind uplift.
Ridge cap shingles are installed after ridge vent components have been secured, if the roofing system includes ridge ventilation. Each shingle overlaps the previous one in the direction opposite the prevailing wind whenever possible. This overlapping pattern helps prevent wind driven rain from reaching the fasteners beneath the ridge caps.
Proper nail placement is just as important on ridge cap shingles as it is on the field shingles. Nails should be positioned according to the manufacturer’s installation instructions so they remain covered by the next overlapping ridge cap. Exposed fasteners should be minimized because they may become potential entry points for moisture over time.
Installers also ensure that ridge cap shingles remain centered along the ridge. Consistent alignment creates a clean, professional appearance while maintaining even protection across the highest point of the roof. Taking extra time during this final installation stage contributes significantly to both aesthetics and long term performance.
Weather conditions should still be considered before completing the ridge. Strong winds can make handling ridge cap shingles difficult, while cold temperatures may reduce shingle flexibility. Following recommended installation temperatures helps ensure that the shingles seal properly once exposed to sunlight.
Final Roof Inspection and Cleanup
Completing the installation does not mean the project is finished. A comprehensive inspection is necessary to verify that every roofing component has been installed correctly and that no details have been overlooked. This quality assurance process allows installers to identify and correct minor issues before the roof is officially considered complete.
The inspection usually begins with a visual examination of the roof surface. Contractors look for uneven shingle rows, improperly seated shingles, exposed fasteners, damaged flashing, and any visible signs of installation errors. Areas around valleys, chimneys, skylights, and plumbing vents receive additional attention because they are more susceptible to water intrusion.
The roof edges should also be inspected carefully. Drip edges, starter shingles, and ridge caps must remain securely fastened without visible gaps or loose materials. A thorough examination ensures that all roofing layers work together as a complete weather resistant system.
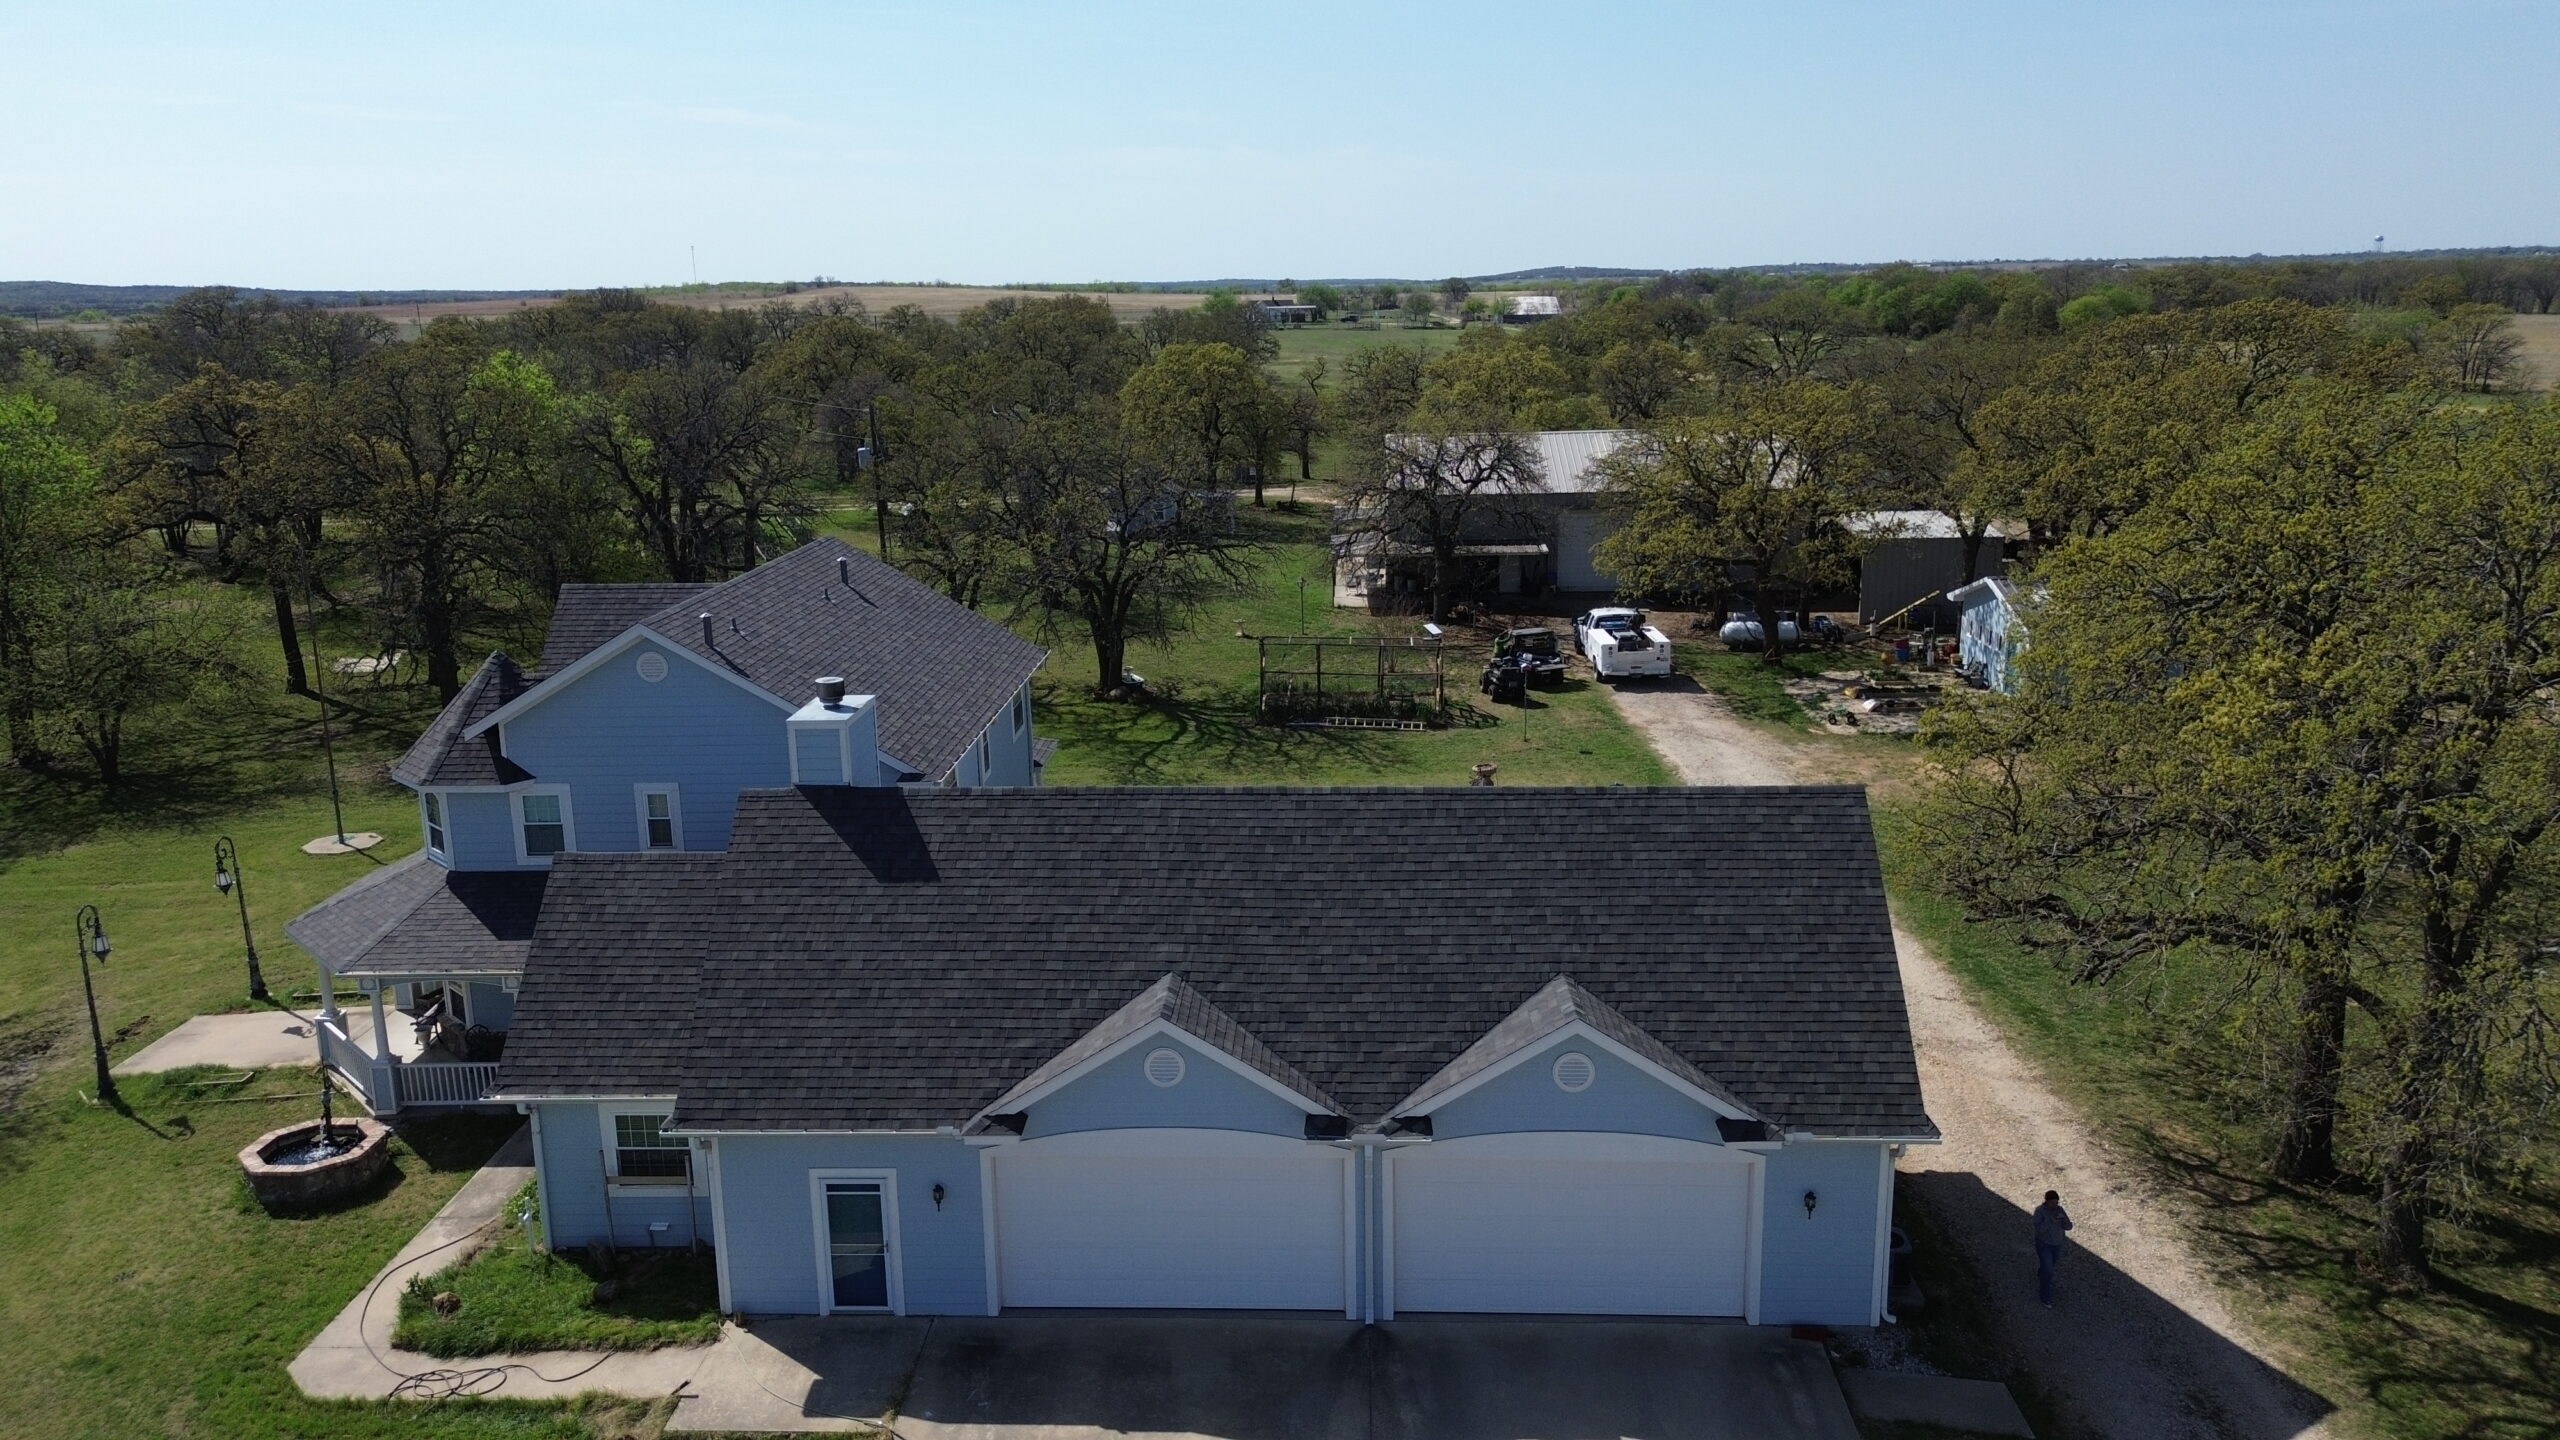
Ground level inspections are equally important. Installers walk around the property to confirm that roof lines appear straight and uniform from every viewing angle. Small inconsistencies sometimes become more noticeable when viewed from a distance than when standing directly on the roof.
Cleanup is another essential part of every professional roofing project. Old shingles, underlayment, damaged flashing, packaging materials, and construction debris should be removed completely from the property. Leaving debris behind not only affects appearance but may also create safety hazards for homeowners.
Roofing nails deserve special attention during cleanup. Contractors typically use magnetic sweepers to collect loose nails from driveways, walkways, gardens, and surrounding landscaping. This simple step helps protect vehicle tires, pets, children, and anyone walking around the property after the project is complete.
Any temporary protective coverings placed over landscaping or outdoor furniture should also be removed carefully. Proper cleanup reflects the professionalism of the installation team and leaves the property in excellent condition once the work has been completed.
Verifying Proper Ventilation Performance
Roof ventilation often receives less attention than shingles or flashing, yet it plays a major role in determining how long the roofing system will last. Proper ventilation helps regulate attic temperatures while reducing excess moisture that can damage insulation, wood framing, and roof decking.
After installation, contractors verify that intake and exhaust ventilation are functioning together as intended. Fresh outside air should enter through intake vents located near the eaves, while warm, moisture laden air exits through ridge vents or other exhaust systems positioned near the roof peak.
Balanced airflow helps maintain consistent attic conditions throughout the year. During hot weather, effective ventilation reduces heat buildup that may accelerate asphalt shingle aging. During colder months, proper airflow helps reduce condensation that could otherwise lead to mold growth or wood deterioration.
Blocked vents should be corrected immediately. Insulation, debris, bird nests, or improperly installed materials can restrict airflow and reduce the effectiveness of the entire ventilation system. Routine inspections help ensure these pathways remain unobstructed throughout the roof’s lifespan.
Homeowners should also understand that ventilation affects more than roofing materials alone. Proper attic ventilation contributes to improved indoor comfort, better energy efficiency, and reduced strain on heating and cooling equipment.
Comparing Installation Steps and Their Purpose
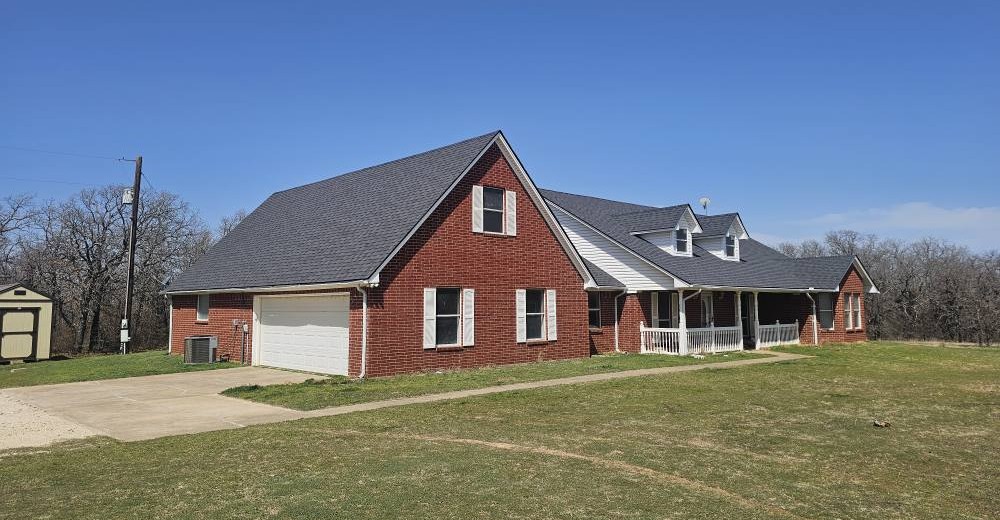
Every stage of asphalt shingle roof installation serves a specific purpose. Skipping or rushing even one step may reduce the roof’s ability to resist weather, protect the home, and achieve its expected service life.
| Installation Stage | Primary Purpose | Why It Matters |
|---|---|---|
| Roof deck inspection | Identify structural damage | Creates a solid foundation for the roofing system |
| Drip edge installation | Direct water away from roof edges | Protects fascia boards and decking |
| Underlayment application | Add secondary moisture protection | Reduces leak risk beneath shingles |
| Ice and water shield installation | Protect vulnerable roof areas | Improves protection against ice dams and standing water |
| Starter shingle installation | Strengthen roof edges | Improves wind resistance and sealing |
| Field shingle installation | Provide primary weather protection | Shields the home from rain, sunlight, and wind |
| Flashing installation | Protect roof intersections | Prevents leaks around penetrations and walls |
| Ridge cap installation | Seal the roof peak | Completes the roofing system and protects the ridge |
| Final inspection | Verify installation quality | Confirms proper workmanship before project completion |
Understanding how each component contributes to the finished roof helps homeowners appreciate why professional installation follows a structured sequence rather than simply placing shingles across the roof surface.
Maintenance Tips After Installation
Even a professionally installed asphalt shingle roof benefits from regular maintenance. Preventive care helps extend the roof’s service life while reducing the likelihood of expensive repairs caused by neglected minor issues.
Homeowners should inspect the roof periodically, especially after severe weather events. Wind, hail, and falling tree branches may damage shingles without creating immediately visible interior leaks. Early detection often allows repairs before larger problems develop.
Keeping gutters clean is another important maintenance practice. Clogged gutters prevent proper water drainage, allowing moisture to accumulate near roof edges. Overflowing water may eventually damage fascia boards, soffits, and even the home’s foundation.
Tree branches that hang over the roof should be trimmed regularly. Branches rubbing against shingles can gradually wear away protective granules, while falling limbs may cause sudden structural damage during storms.
Moss, algae, and accumulated debris should also be removed when necessary. Organic growth may trap moisture against the roof surface, creating conditions that accelerate material deterioration over time.
Homeowners can follow these practical maintenance practices to help preserve roof performance:
- Inspect the roof at least twice each year.
- Clean gutters and downspouts regularly.
- Remove leaves, branches, and other roof debris.
- Check flashing around chimneys and roof penetrations.
- Trim overhanging tree branches before storm seasons.
- Schedule professional inspections after major weather events.
These simple maintenance tasks require relatively little effort but can significantly increase the lifespan of an asphalt shingle roof.
Signs That Professional Repairs May Be Needed
Although asphalt shingle roofs are designed for long term durability, no roofing system remains maintenance free forever. Recognizing the early warning signs of damage allows homeowners to arrange repairs before small issues become major structural problems.
Missing or loose shingles are among the most obvious indicators that professional attention may be required. High winds, aging materials, or improper installation can cause shingles to become detached, exposing the underlayment and roof deck to weather.
Curled, cracked, or blistered shingles often indicate weather related aging. While isolated damage may only require limited repairs, widespread deterioration could suggest that the roof is approaching the end of its service life.
Water stains on interior ceilings or attic surfaces should never be ignored. Even small stains may indicate active roof leaks that require prompt investigation. Delaying repairs increases the risk of insulation damage, mold growth, and structural deterioration.
Granule loss is another sign that shingles are aging. Finding excessive granules inside gutters or near downspouts may indicate that the protective outer surface is wearing away. As granules disappear, shingles become more vulnerable to ultraviolet exposure and weather damage.
Flashing should also be inspected periodically. Loose, rusted, or damaged flashing around chimneys, skylights, or roof vents often becomes one of the earliest sources of roof leaks. Timely repairs help preserve the integrity of the surrounding roofing materials.
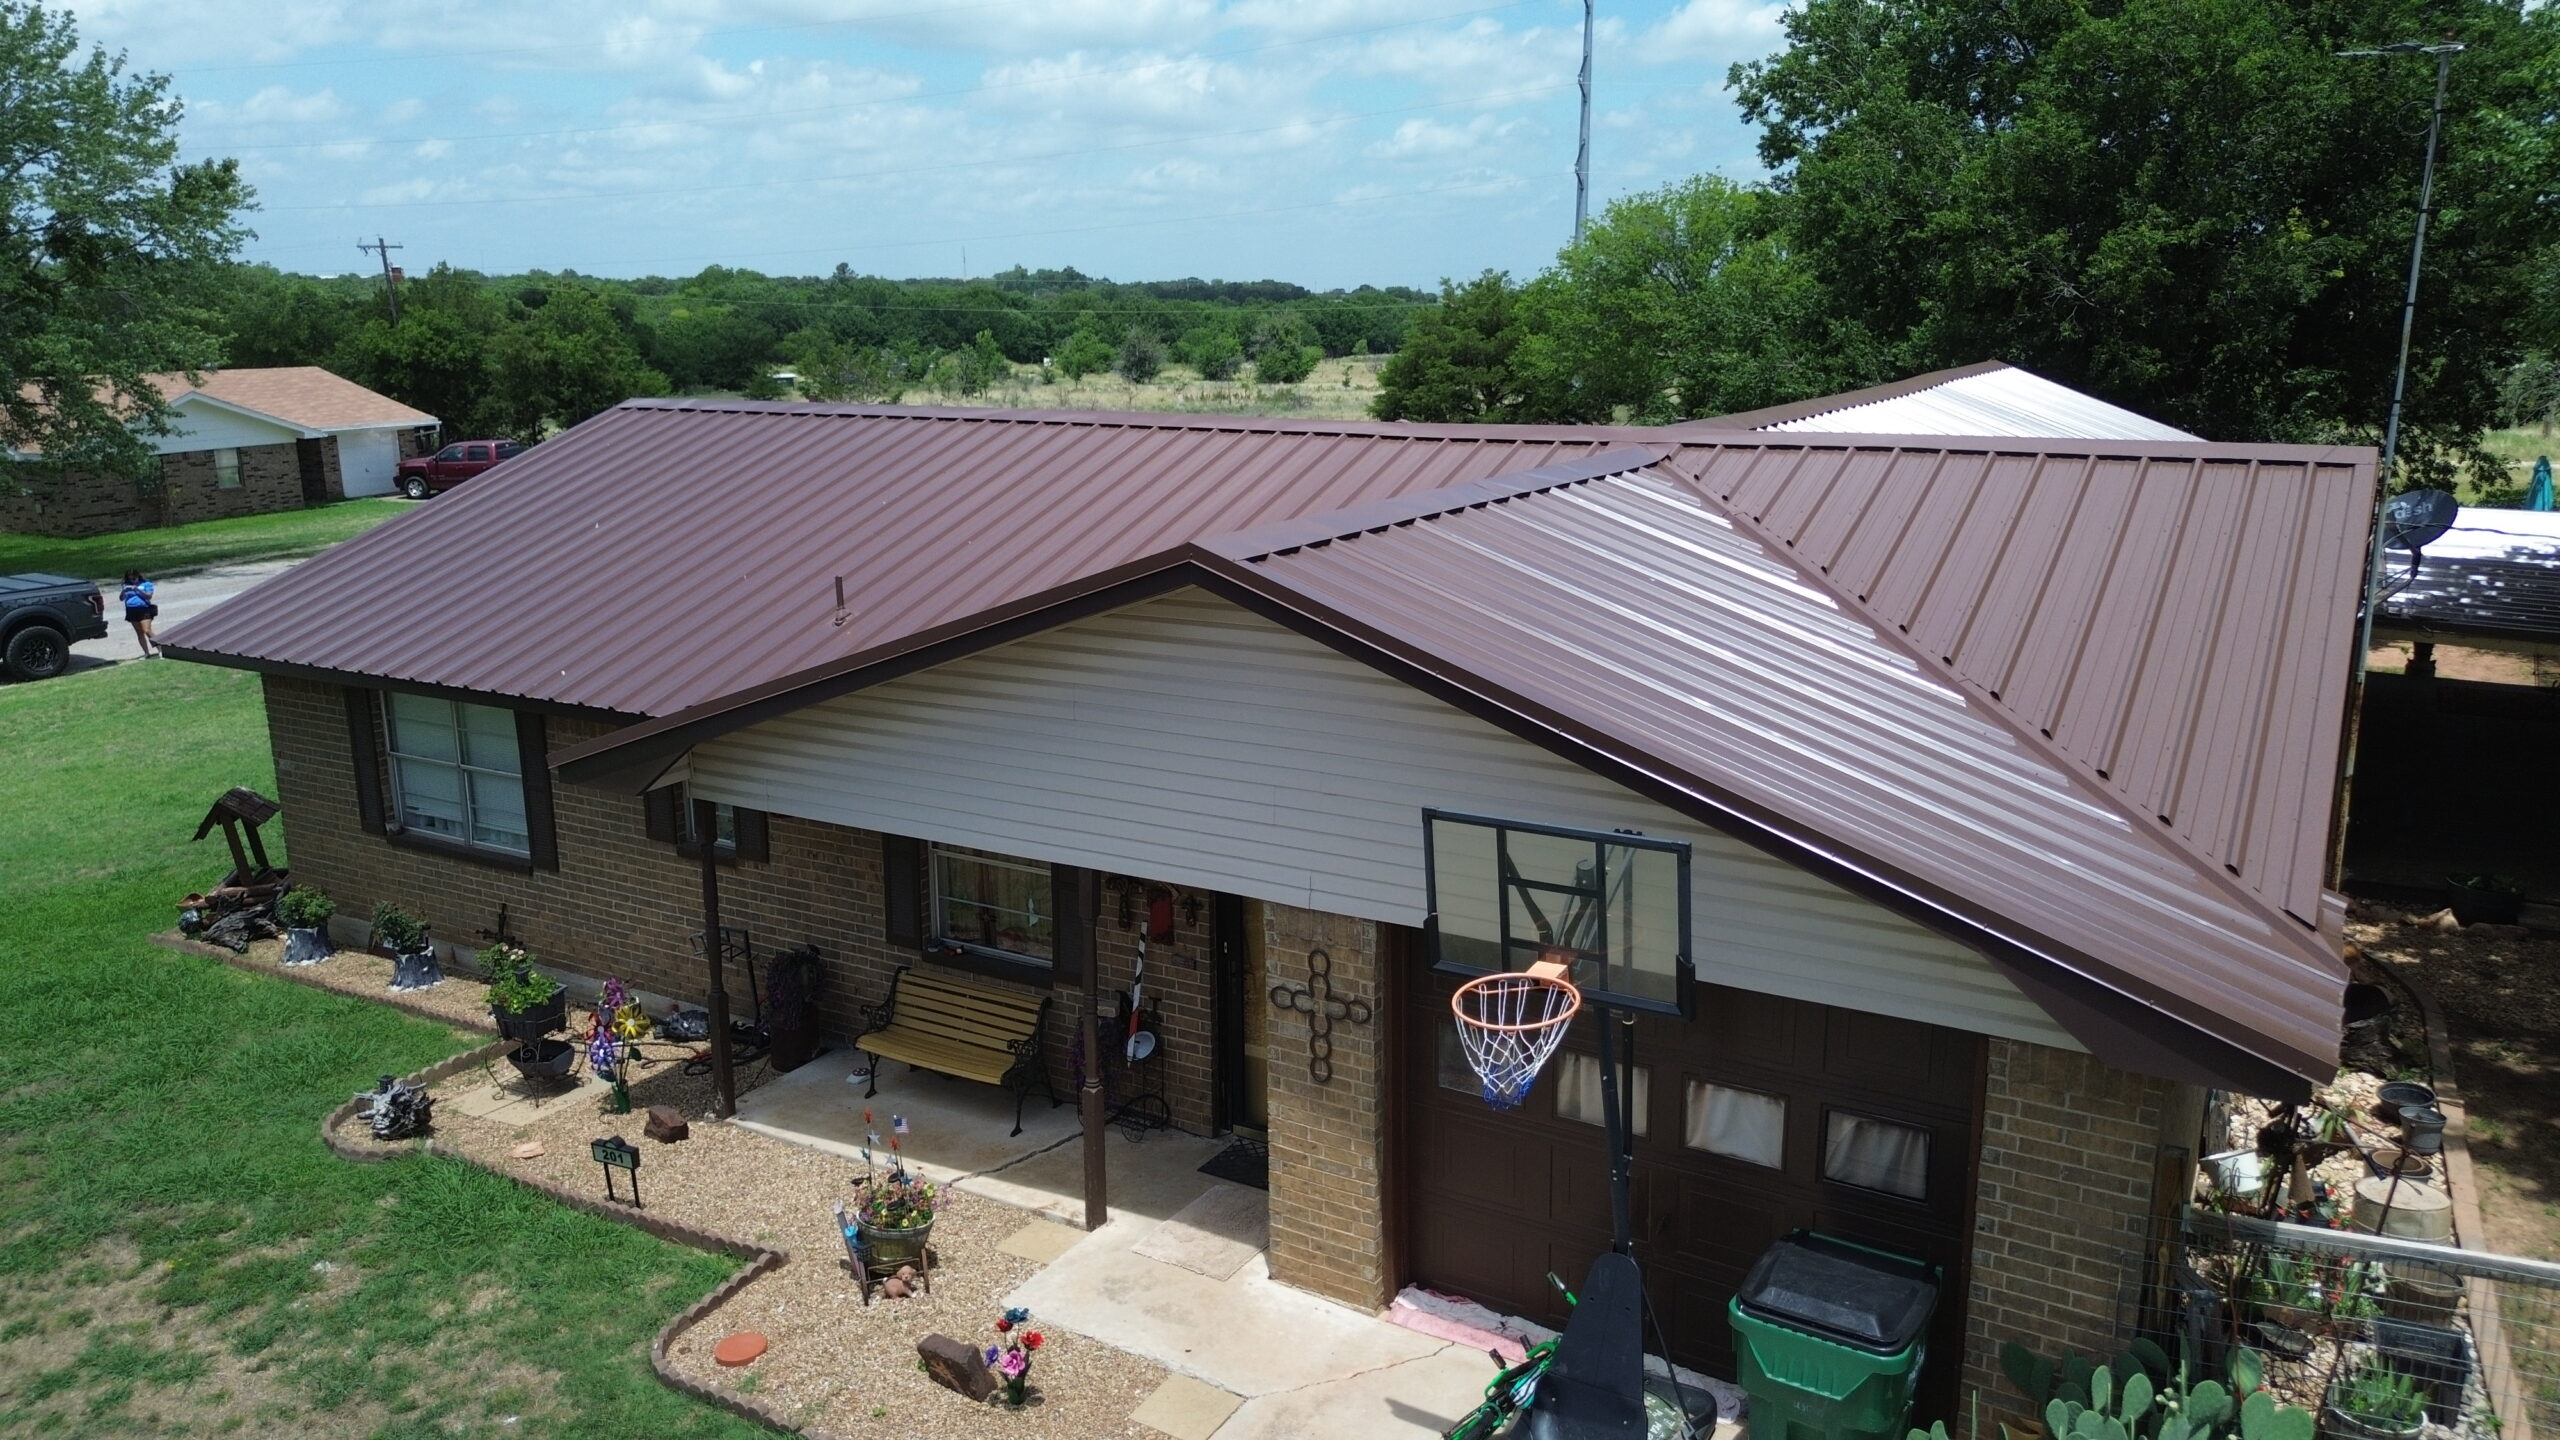
Expected Lifespan of an Asphalt Shingle Roof
The lifespan of an asphalt shingle roof depends on several factors rather than a single fixed number. Material quality, installation standards, local climate, roof ventilation, and ongoing maintenance all influence how long the roof continues performing effectively.
Standard three tab shingles commonly provide service lives of approximately 20 to 25 years under normal conditions. Architectural shingles generally last between 25 and 30 years or even longer when properly installed and maintained. Premium luxury shingles may continue performing for several decades depending on environmental conditions and manufacturer specifications.
Climate plays a significant role in roof longevity. Areas experiencing frequent hail, hurricanes, high winds, or extreme temperature fluctuations often place greater stress on roofing materials than regions with milder weather patterns. Regular inspections become even more valuable in these environments.
Installation quality remains one of the most important factors affecting roof lifespan. Even the highest quality shingles cannot deliver their full expected performance if they are installed incorrectly. Careful workmanship, proper ventilation, and compatible roofing components all contribute to achieving maximum service life.
Routine maintenance further extends roof durability by addressing small issues before they develop into larger structural concerns. Homeowners who combine professional inspections with consistent maintenance often enjoy many additional years of reliable roof performance.
Frequently Asked Questions
Can asphalt shingles be installed over an existing roof?
Some building codes permit installing new shingles over a single existing layer, provided the roof deck remains in good condition. However, complete removal of the old roofing system generally provides better long term performance because hidden damage can be identified and repaired before the new roof is installed.
How long does asphalt shingle roof installation usually take?
Most residential asphalt shingle roof installations are completed within one to several days, depending on roof size, complexity, weather conditions, and the number of workers involved. Larger homes or projects requiring structural repairs may require additional time.
Is roof ventilation really necessary?
Yes. Proper ventilation helps regulate attic temperatures, reduces moisture accumulation, and contributes to longer shingle life. Without balanced ventilation, excessive heat and humidity may shorten the lifespan of both roofing materials and structural components.
What weather conditions are best for roof installation?
Dry weather with moderate temperatures generally provides the best installation conditions. Rain, snow, strong winds, or extreme heat may affect worker safety and reduce the quality of the finished installation.
How often should an asphalt shingle roof be inspected?
Most roofing professionals recommend inspecting the roof at least twice each year, typically during the spring and fall. Additional inspections are advisable after severe storms, hail events, or unusually strong winds.
Conclusion
An asphalt shingle roof is far more than a collection of overlapping shingles. It is a carefully engineered system in which every layer, from the roof deck and underlayment to flashing, ventilation, and ridge caps, works together to protect the home from the elements. When each installation step is completed with precision and according to manufacturer recommendations, the finished roof delivers dependable performance, improved energy efficiency, and long lasting protection.
Throughout this guide, the installation process has progressed from preparation and roof deck inspection to laying protective barriers, installing shingles, integrating flashing, and completing the roof with ridge caps and final quality checks. Every stage builds upon the previous one, demonstrating why proper sequencing is essential for creating a durable and weather resistant roofing system.
Regular maintenance remains just as important as proper installation. Periodic inspections, gutter cleaning, prompt repairs, and attention to ventilation help preserve the roof’s condition and maximize its service life. Small maintenance efforts today can prevent costly repairs and extend the lifespan of the roofing system for many years.
Whether planning a new construction project or replacing an aging roof, understanding the complete asphalt shingle roof installation process allows homeowners to make informed decisions and appreciate the value of professional workmanship. A properly installed asphalt shingle roof not only enhances curb appeal but also provides reliable protection, comfort, and peace of mind for decades to come.