
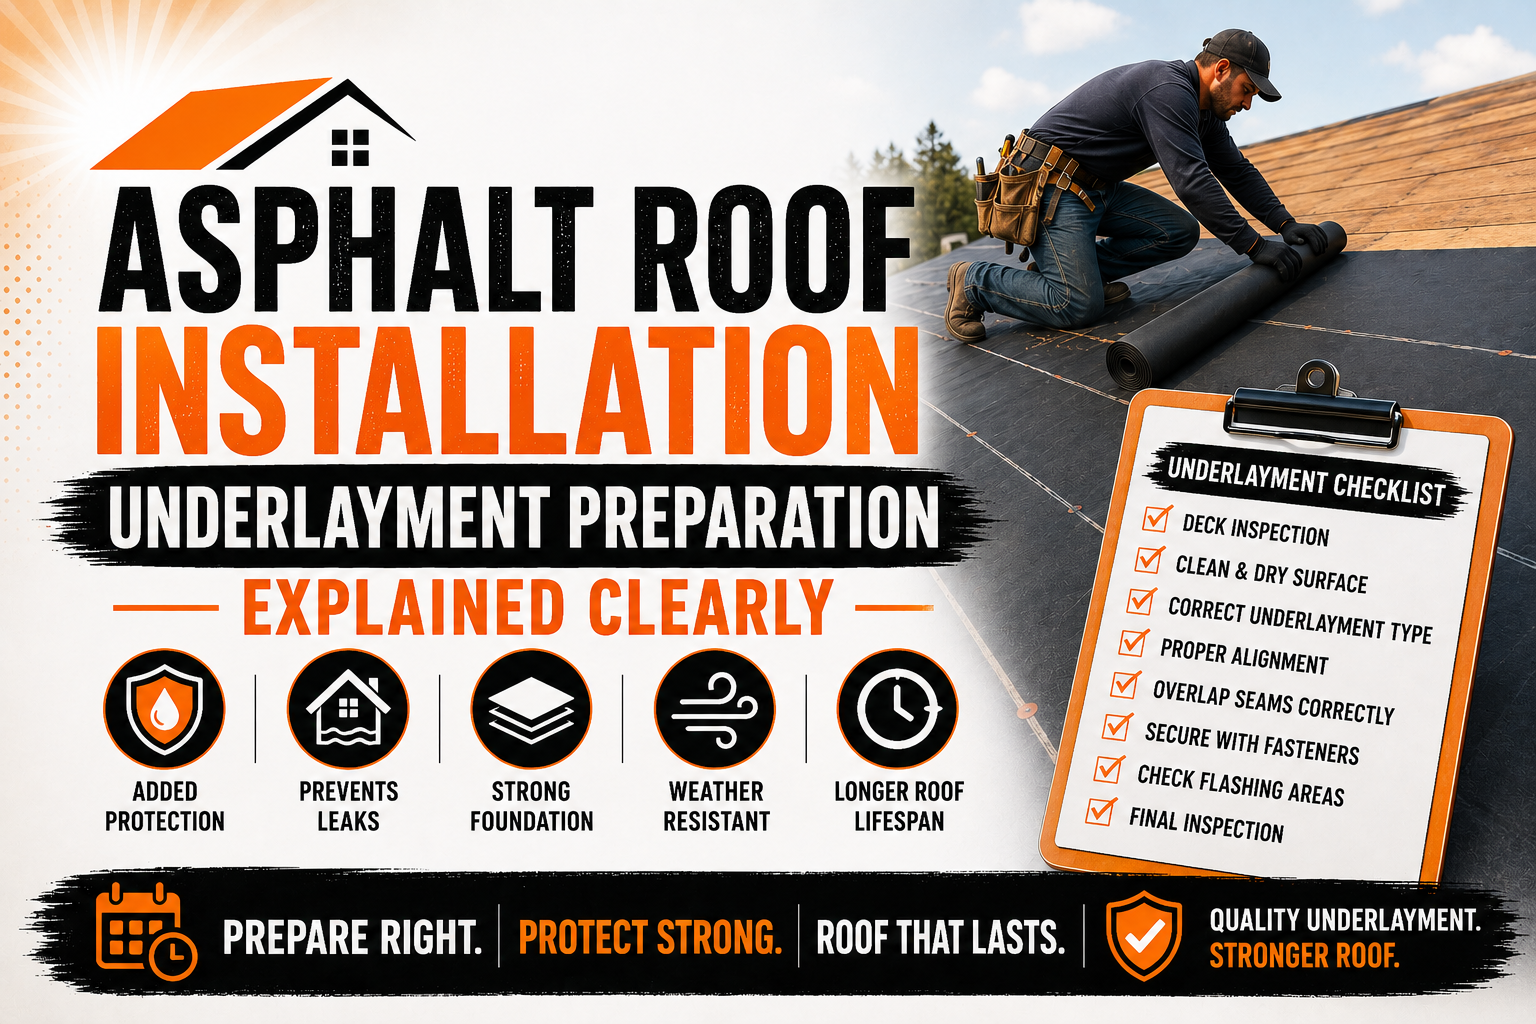
Asphalt Roof Installation Underlayment Preparation Explained Clearly
Introduction
A successful asphalt roof installation begins long before the first shingle is nailed into place. One of the most important stages in the entire process is preparing the roof for underlayment installation. While asphalt shingles receive most of the attention because they are visible from the outside, the underlayment beneath them provides an essential layer of protection that helps the roof resist moisture, wind, and changing weather conditions.
Roof underlayment acts as a secondary barrier between the roof deck and the shingles. If water finds its way beneath the shingles because of heavy rain, strong winds, or damaged roofing materials, the underlayment helps prevent that moisture from reaching the roof deck and the interior of the home. Without proper preparation, even the highest quality underlayment may not perform as intended.
Many roofing problems that appear years after installation can often be traced back to mistakes made during the preparation stage. Uneven roof decking, trapped moisture, damaged wood panels, and poor planning may not be visible after the shingles are installed, but these hidden issues can gradually shorten the lifespan of the entire roofing system.
Proper preparation also improves installation efficiency. A clean, dry, and structurally sound roof allows installers to position the underlayment correctly, maintain consistent overlaps, and create a smooth foundation for the shingles that follow. Every step completed during preparation contributes to the long term performance of the finished roof.
This guide explains the complete preparation process before asphalt roof underlayment is installed. It explores why each step matters, discusses the different types of underlayment available, and highlights the preparation practices that create a durable and reliable roofing system.
Understanding Asphalt Roof Underlayment
Roof underlayment is a protective material installed directly over the roof deck and beneath the asphalt shingles. Although it remains hidden after the roof is completed, it serves several important purposes that support the overall performance of the roofing system.
The primary function of underlayment is to provide temporary and secondary moisture protection. During construction, it shields the roof deck from unexpected rain before the shingles are installed. Once the roofing project is complete, it continues protecting the structure if wind driven rain or damaged shingles allow water beneath the outer roofing surface.
Underlayment also creates a smoother installation surface. Minor imperfections in the roof deck become less noticeable, allowing shingles to lie more evenly across the roof. This contributes to a cleaner appearance while improving water drainage across the finished roofing system.
Another important benefit is protection against wood resins and surface irregularities. The material creates separation between the roof deck and asphalt shingles, reducing direct contact that may affect long term performance.
Some underlayment products also improve wind resistance by creating an additional protective layer beneath the shingles. During severe storms, this secondary barrier can help reduce water intrusion if individual shingles become damaged or detached.
Many homeowners assume that shingles alone keep water out of the home. In reality, the roofing system relies on multiple protective layers working together. Underlayment forms one of the most important hidden components because it provides backup protection whenever the outer roofing surface becomes compromised.
Although underlayment is designed to remain concealed, its installation quality often determines how well the roof performs during years of exposure to changing weather conditions.
Why Proper Underlayment Preparation Matters
Preparing the roof before installing underlayment is just as important as selecting the correct roofing materials. Proper preparation ensures that the underlayment can perform its intended function without interference from hidden structural issues or surface defects.
One of the biggest advantages of thorough preparation is improved moisture protection. A clean and dry roof deck allows the underlayment to lie flat against the surface, reducing opportunities for water to collect beneath wrinkles or raised sections. Proper contact between the underlayment and the deck also improves fastening strength and overall stability.
Preparation also supports the longevity of the roofing system. When damaged wood panels, loose fasteners, or uneven decking remain hidden beneath the underlayment, they continue deteriorating even after the roof appears complete. Correcting these issues before installation prevents future structural concerns that may otherwise require expensive repairs.
Manufacturer warranties often depend on following approved installation procedures. Many roofing manufacturers specify detailed preparation requirements because they recognize that poor preparation reduces product performance. Ignoring these recommendations may affect warranty coverage if roofing problems develop later.
A well prepared roof deck also improves installation efficiency. Installers spend less time correcting surface imperfections during underlayment placement, allowing them to maintain proper alignment and consistent overlap throughout the project.
The benefits of proper preparation include:
- Better moisture protection beneath the shingles.
- Improved adhesion and fastening performance.
- Reduced risk of future structural damage.
- Longer service life for the roofing system.
- Improved compliance with manufacturer installation guidelines.
- Better overall appearance after shingle installation.
Although preparation requires additional effort before visible progress begins, it establishes the foundation for every remaining stage of the roofing project.
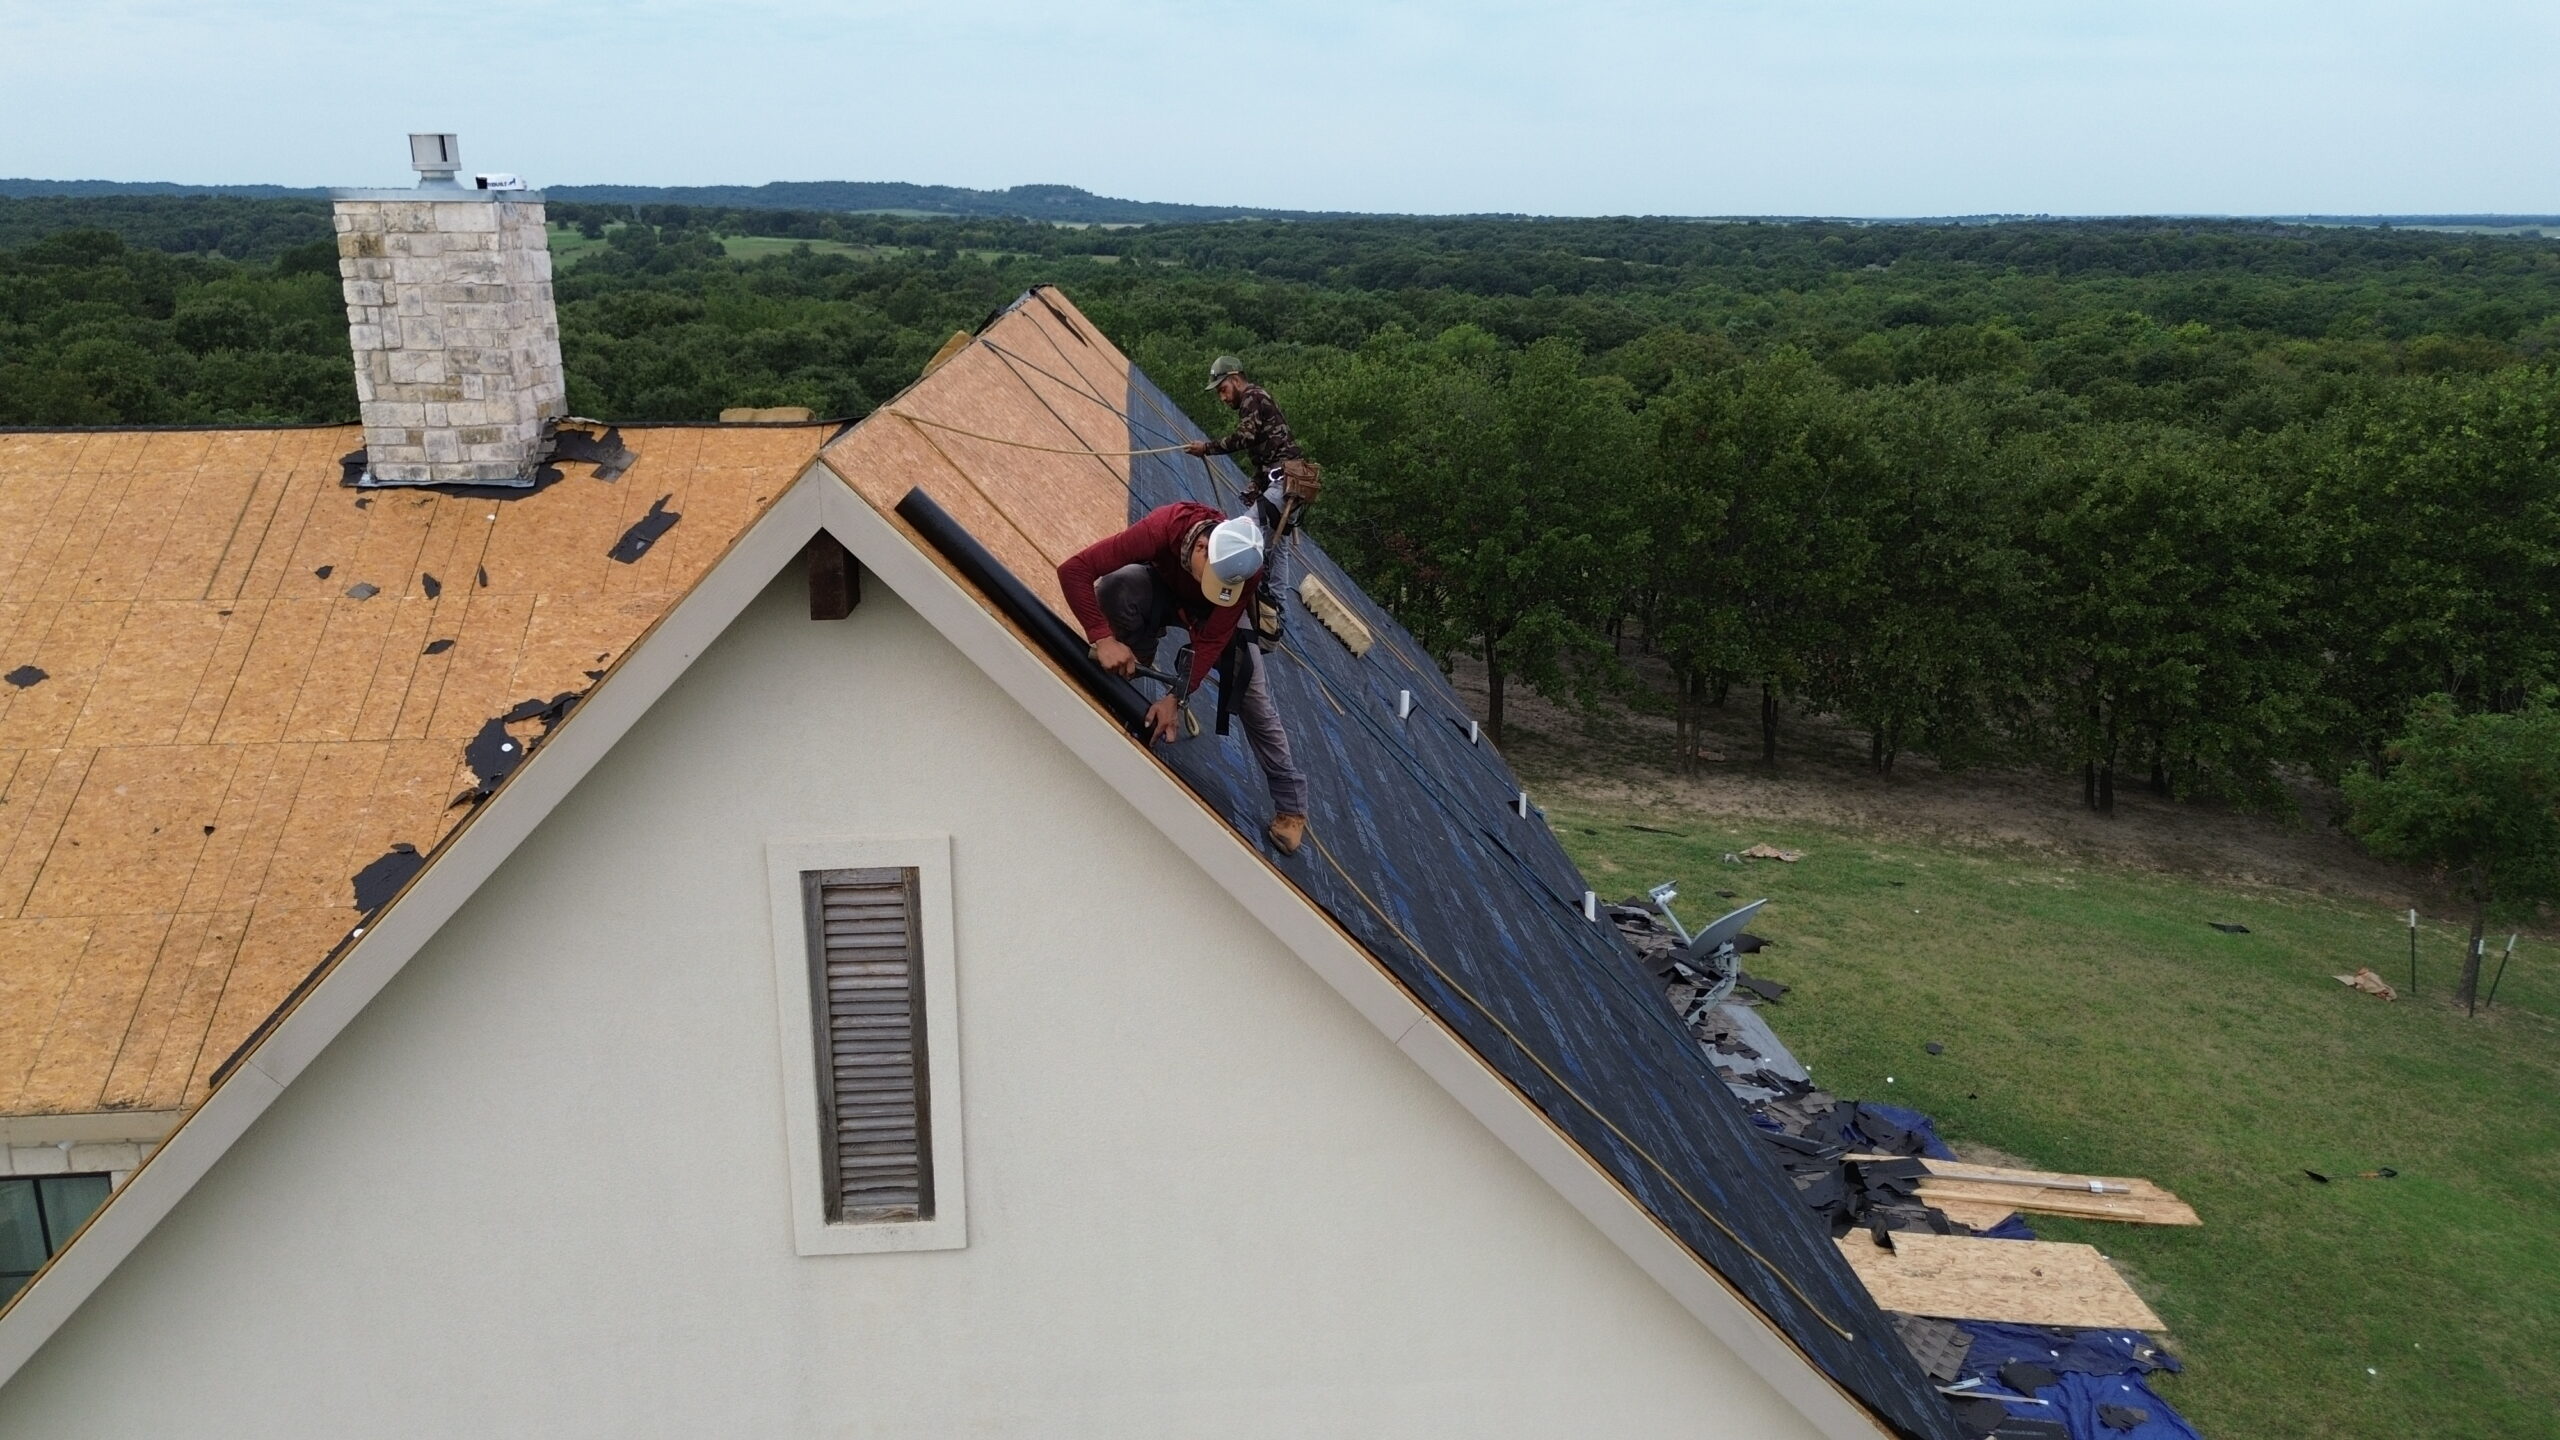
Types of Asphalt Roof Underlayment
Several types of underlayment are available for asphalt roofing systems, and each offers unique advantages depending on the building, climate, and project requirements. Understanding these materials helps property owners make informed decisions before installation begins.
Asphalt Saturated Felt
Asphalt saturated felt has been used for many decades and remains a common roofing underlayment. It consists of organic or fiberglass fibers saturated with asphalt to improve water resistance.
This material provides dependable protection during normal weather conditions and continues to serve many residential roofing projects successfully. However, it is generally heavier than modern synthetic products and may wrinkle if exposed to moisture before shingle installation.
Felt underlayment remains a practical choice for many roofing applications, particularly where local building codes and environmental conditions make it suitable.
Synthetic Underlayment
Synthetic underlayment has become increasingly popular because of its strength, durability, and ease of installation. Manufactured from engineered polymers, these products typically resist tearing more effectively than traditional felt underlayment.
Synthetic materials are lighter, making them easier to transport and position on the roof. Their textured surfaces often provide improved traction for installers, contributing to safer working conditions during construction.
Many synthetic products also tolerate longer periods of weather exposure before shingles are installed. This additional flexibility can be valuable when unexpected weather delays affect project schedules.
Self Adhering Ice and Water Barrier
Certain sections of a roof experience greater moisture exposure than others. Roof valleys, eaves, penetrations, and low slope areas often require additional waterproof protection beyond standard underlayment.
Self adhering ice and water barriers contain adhesive backing that bonds directly to the roof deck. This creates an effective waterproof seal around fasteners and vulnerable roof areas where leaks commonly develop.
These membranes are especially valuable in regions that experience snow accumulation or frequent heavy rainfall. Even in milder climates, many contractors install them in high risk locations to improve long term moisture protection.
Selecting the most appropriate underlayment depends on several factors including roof design, local climate, building codes, and manufacturer recommendations. The goal is not simply choosing the most expensive material but selecting products that match the specific needs of the roofing project.
Inspecting the Roof Before Underlayment Installation
Before any underlayment is installed, the roof must undergo a thorough inspection. This stage identifies existing problems that could interfere with the performance of the completed roofing system.
The inspection begins after the old roofing materials have been removed. Exposing the roof deck allows installers to examine the structure closely without hidden layers concealing damage.
One of the first priorities is checking the condition of the roof decking. Soft areas, cracked panels, water stains, and signs of wood rot indicate sections that require repair or replacement before work continues.
Moisture inspection is equally important. Damp wood panels may appear solid during installation but gradually weaken if moisture remains trapped beneath the new roofing materials. Allowing the roof deck to dry completely before installing underlayment helps prevent future mold growth and structural deterioration.
Fasteners should also receive careful attention. Old nails left protruding above the roof surface may puncture underlayment or create uneven areas beneath the shingles. Removing or securing these fasteners contributes to a smoother installation.
Roof framing should also be evaluated whenever concerns arise. Sagging roof sections, loose structural members, or signs of movement should be corrected before the roofing system is rebuilt.
Flashing around chimneys, skylights, and roof penetrations should not be overlooked during inspection. Although many flashing components are replaced during reroofing projects, identifying damaged areas early improves planning and prevents installation delays.
The inspection should also consider attic conditions whenever access is available. Interior examination often reveals moisture problems, ventilation deficiencies, or previous leak locations that may not be obvious from the roof surface alone.
A detailed inspection allows roofing crews to address structural concerns before new materials conceal them for many years.
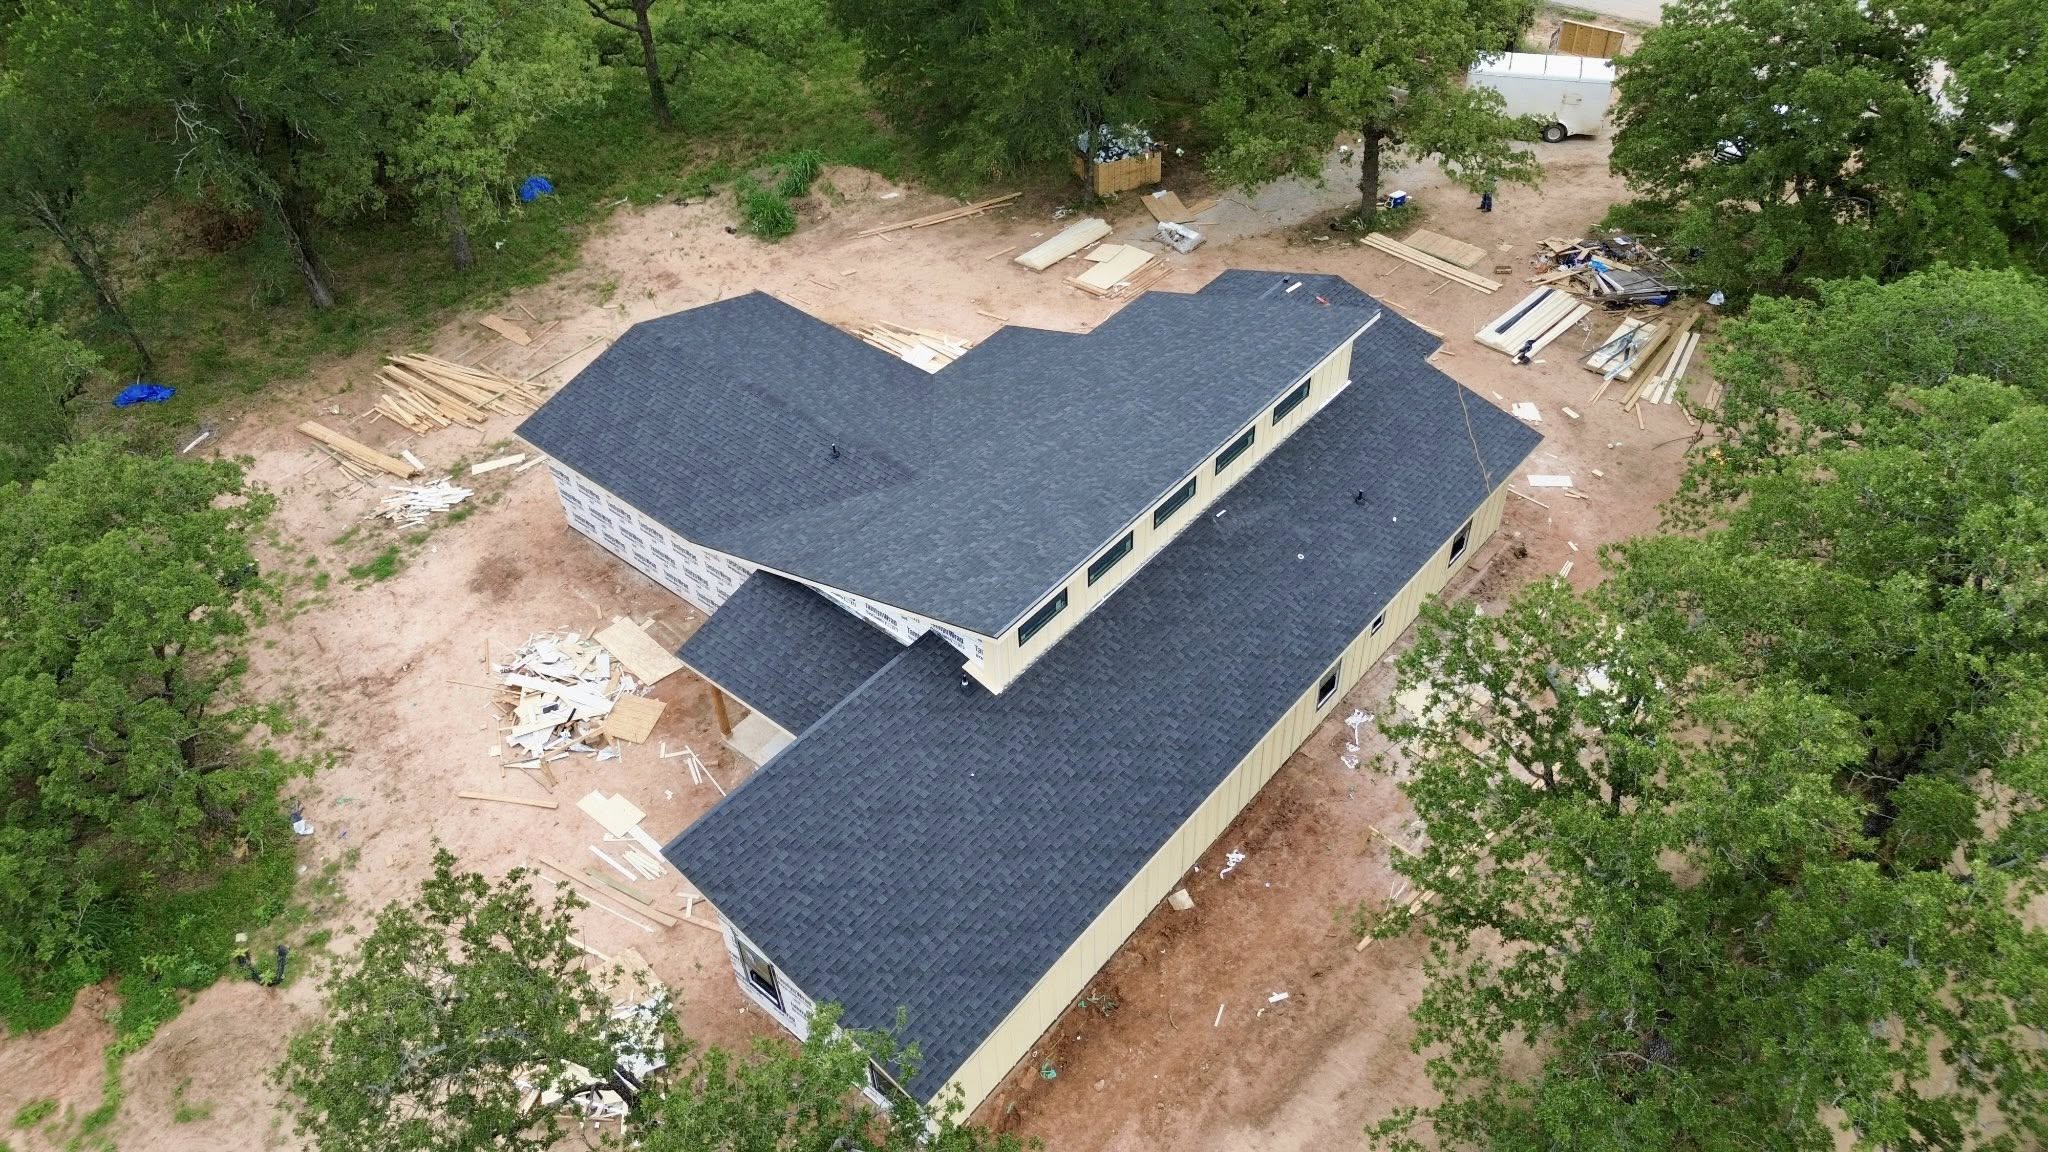
Preparing the Roof Deck
Once the inspection has been completed, the roof deck must be prepared to receive the underlayment. This stage creates the smooth, stable foundation necessary for proper installation.
Cleaning the roof surface is the first priority. Dust, dirt, loose shingle granules, old adhesive, and construction debris should all be removed before underlayment is rolled into position. A clean surface allows the material to lie flat while improving adhesion where self adhering products are used.
Damaged decking should be replaced rather than repaired temporarily. Small patches may appear acceptable initially, but replacing weakened panels provides greater long term stability and improves the overall strength of the roofing system.
Loose sheathing panels must also be secured. Movement beneath the underlayment can eventually affect the shingles above, creating uneven surfaces or loosening fasteners over time.
Surface smoothness is another important consideration. Raised nail heads, splintered wood, and uneven joints should all be corrected before installation begins. These irregularities may otherwise become visible through the finished shingles or interfere with proper water drainage.
Roof deck moisture must be checked one final time before underlayment installation starts. Even after cleaning, unexpected rain or overnight condensation may leave portions of the roof damp. Installing underlayment over wet surfaces increases the possibility of trapped moisture and future structural problems.
Preparation also includes organizing materials and planning installation paths. Positioning underlayment rolls, fasteners, safety equipment, and tools before work begins improves efficiency while reducing unnecessary movement across the roof surface.
A properly prepared roof deck offers several important advantages.
| Preparation Task | Purpose | Benefit to the Roofing System |
|---|---|---|
| Remove debris | Creates a clean surface | Improves underlayment placement |
| Replace damaged decking | Restores structural strength | Increases roof durability |
| Secure loose panels | Prevents movement | Creates a stable foundation |
| Remove raised fasteners | Eliminates surface irregularities | Produces smoother shingle installation |
| Confirm dry conditions | Prevents trapped moisture | Reduces risk of mold and wood decay |
Every roofing project benefits from careful preparation because the roof deck supports every remaining component installed above it. Taking time to complete these tasks properly helps create a durable roofing system capable of providing reliable protection for many years.
Preparing Materials and Tools Before Installation
Successful underlayment installation depends not only on the condition of the roof but also on proper preparation of the materials and equipment. Organizing everything before installation begins reduces interruptions and helps maintain consistent workmanship throughout the project.
Underlayment rolls should be stored on a flat, dry surface before use. They should remain protected from standing water and unnecessary sunlight exposure until they are needed on the roof. Improper storage can affect the material’s condition before installation even begins.
Fasteners should also be checked to ensure they meet the underlayment manufacturer’s specifications. Using incorrect nails or cap fasteners may reduce holding strength or fail to secure the material adequately during windy conditions.
Roofing crews should inspect their tools before starting work. Utility knives should have sharp blades for clean cuts, measuring tapes should be accurate, and chalk lines should be ready to mark straight installation paths. Small preparations like these improve both efficiency and installation quality.
Safety equipment deserves equal attention. Harnesses, roof anchors, ladders, and personal protective equipment should all be inspected before work starts. Safe working conditions allow installers to focus on precision without unnecessary distractions.
Measuring and Planning Underlayment Installation
After the roof deck has been inspected, cleaned, and repaired, the next step is planning the underlayment installation. Careful planning reduces material waste, improves installation efficiency, and helps ensure every section of the roof receives complete protection. Skipping this stage often leads to uneven overlaps, unnecessary seams, and avoidable installation errors.
Roof measurements should always be verified before underlayment rolls are brought onto the roof. Although construction drawings may provide estimated dimensions, actual field measurements help account for roof additions, dormers, valleys, hips, and other architectural features. Accurate measurements also make it easier to estimate the amount of material required.
Planning should include identifying the direction in which the underlayment will be installed. Most asphalt roofing projects begin at the lowest point of the roof and continue upward toward the ridge. This method allows each new course to overlap the one below it, encouraging water to flow naturally down the roof rather than beneath the protective layers.
Roof features such as chimneys, skylights, plumbing vents, solar panel mounts, and exhaust fans should also be located during the planning stage. These areas require additional cutting, sealing, or waterproofing, making it helpful to anticipate their locations before installation begins.
Large roofs often benefit from dividing the surface into manageable sections. Completing one section at a time allows installers to maintain consistent alignment while reducing the chance of wrinkles or misplaced overlaps across long roof slopes.
Planning material placement also improves efficiency. Positioning underlayment rolls, fasteners, tools, and safety equipment close to the working area minimizes unnecessary movement across the roof. This not only saves time but also reduces wear on the newly installed materials.
Another important planning consideration involves weather forecasts. Even though quality underlayment can tolerate temporary exposure, installers should schedule work so that shingles are installed as soon as practical after the underlayment is completed. Prolonged exposure to harsh sunlight or severe weather may reduce the performance of some products.
Good planning creates an organized workflow that supports consistent installation quality. Every minute invested before installation often saves considerably more time later by reducing corrections and preventing avoidable mistakes.
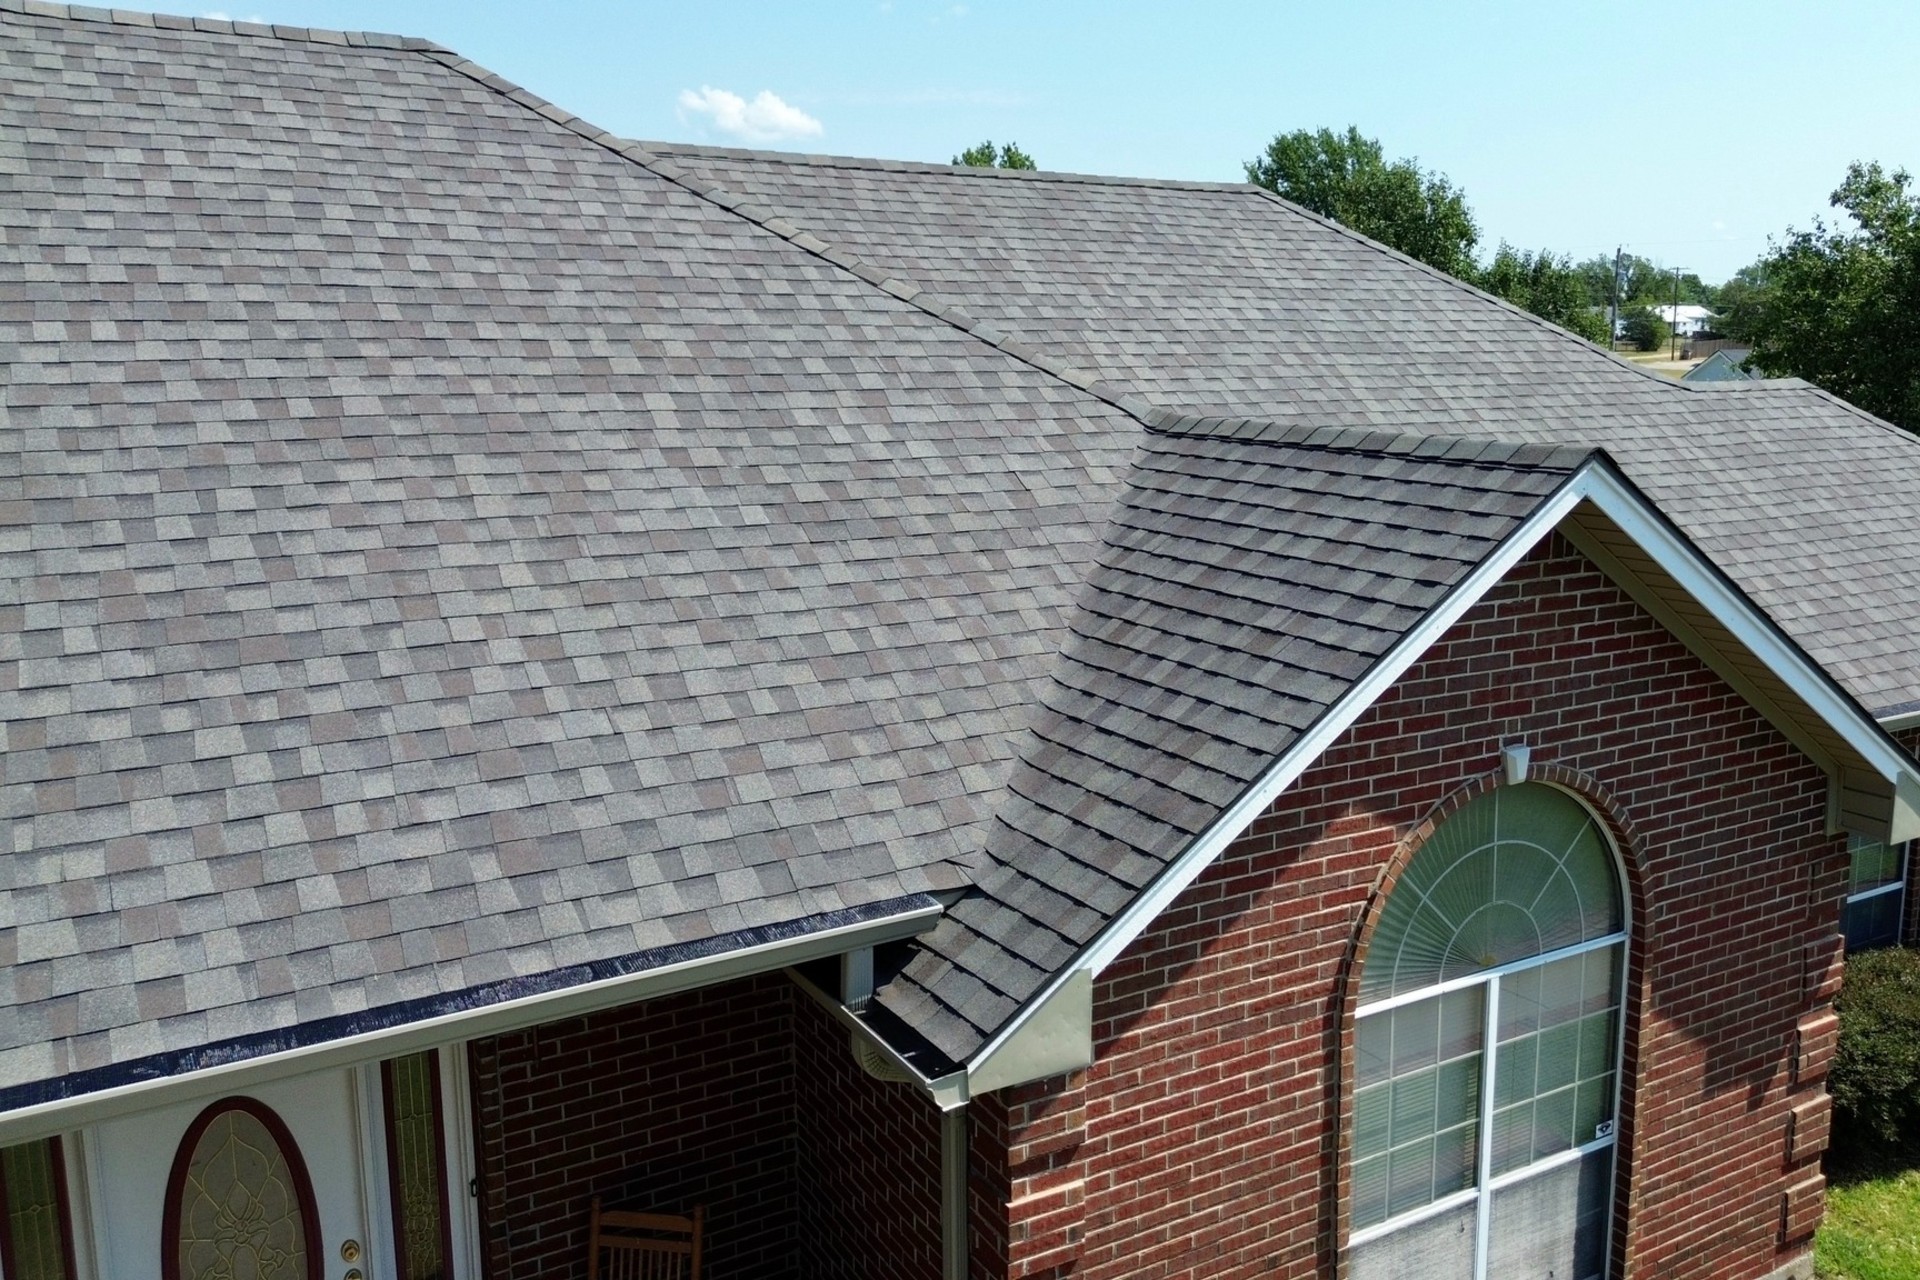
Installing Drip Edge Before Underlayment
The drip edge is a metal flashing installed along the roof edges to guide water safely into the gutters. Although it may appear to be a simple component, correct installation plays an important role in protecting the roof deck and fascia boards from water damage.
Along the eaves, the drip edge is typically installed before the underlayment. This allows the underlayment to overlap the metal flashing, creating a continuous drainage path that directs water toward the gutters instead of allowing it to reach the roof deck.
At the rake edges, installation practices may vary depending on local building codes and manufacturer recommendations. In many roofing systems, the underlayment is installed first, followed by the drip edge to provide additional wind protection along the roof edges.
Proper alignment is essential throughout the installation process. Sections of drip edge should overlap according to manufacturer recommendations to prevent gaps where water could enter. The metal should lie flat against the roof deck without bends or distortions that could interfere with the underlayment.
Fasteners should be evenly spaced to secure the drip edge without causing unnecessary deformation. Loose sections may vibrate during strong winds, while excessive fastening can distort the metal and reduce its effectiveness.
Corners deserve special attention because multiple pieces of flashing often meet in these locations. Proper cutting and overlapping help maintain continuous protection around the entire roof perimeter.
Some installers mistakenly omit drip edge flashing to reduce costs or simplify installation. While the roof may initially appear complete, the exposed roof deck edges remain more vulnerable to moisture infiltration and long term deterioration.
Correct drip edge installation supports the performance of both the underlayment and the shingles. It forms an important part of the roof’s drainage system by directing rainwater safely away from vulnerable structural components.
Installing Ice and Water Protection
Certain sections of a roof experience greater moisture exposure than others. These vulnerable areas often require additional waterproof protection beyond standard underlayment. Self adhering ice and water barriers provide this extra defense by sealing directly to the roof deck.
Roof valleys are among the first areas to receive this specialized membrane. Because large volumes of water naturally collect and flow through valleys during rainfall, these locations face greater leak potential than most other roof sections.
Roof eaves also benefit from additional waterproofing, particularly in regions where snow and ice accumulation occur. Ice dams can force water beneath shingles, making the waterproof membrane an important safeguard against moisture intrusion.
Penetrations such as plumbing vents, chimneys, skylights, and roof vents should receive careful attention as well. These interruptions in the roofing surface create natural pathways for water if not properly protected.
Low slope roof sections often require expanded waterproof coverage because water drains more slowly than it does on steeper roof surfaces. Extended moisture exposure increases the importance of reliable secondary protection beneath the shingles.
Proper installation begins with a clean and completely dry roof deck. Since the membrane uses adhesive backing, dust, dirt, or moisture may reduce its ability to bond securely with the wood surface.
Installers should gradually remove the protective backing while pressing the membrane firmly into place. Working slowly helps eliminate air pockets that might otherwise reduce waterproof performance.
Corners, valleys, and penetration details require careful shaping of the membrane. Smooth transitions without excessive folds improve long term durability while reducing opportunities for water infiltration.
Although not every climate requires extensive ice and water protection, using these membranes in vulnerable areas significantly strengthens the overall roofing system. They provide valuable insurance against unexpected weather events that may challenge the outer roofing materials.
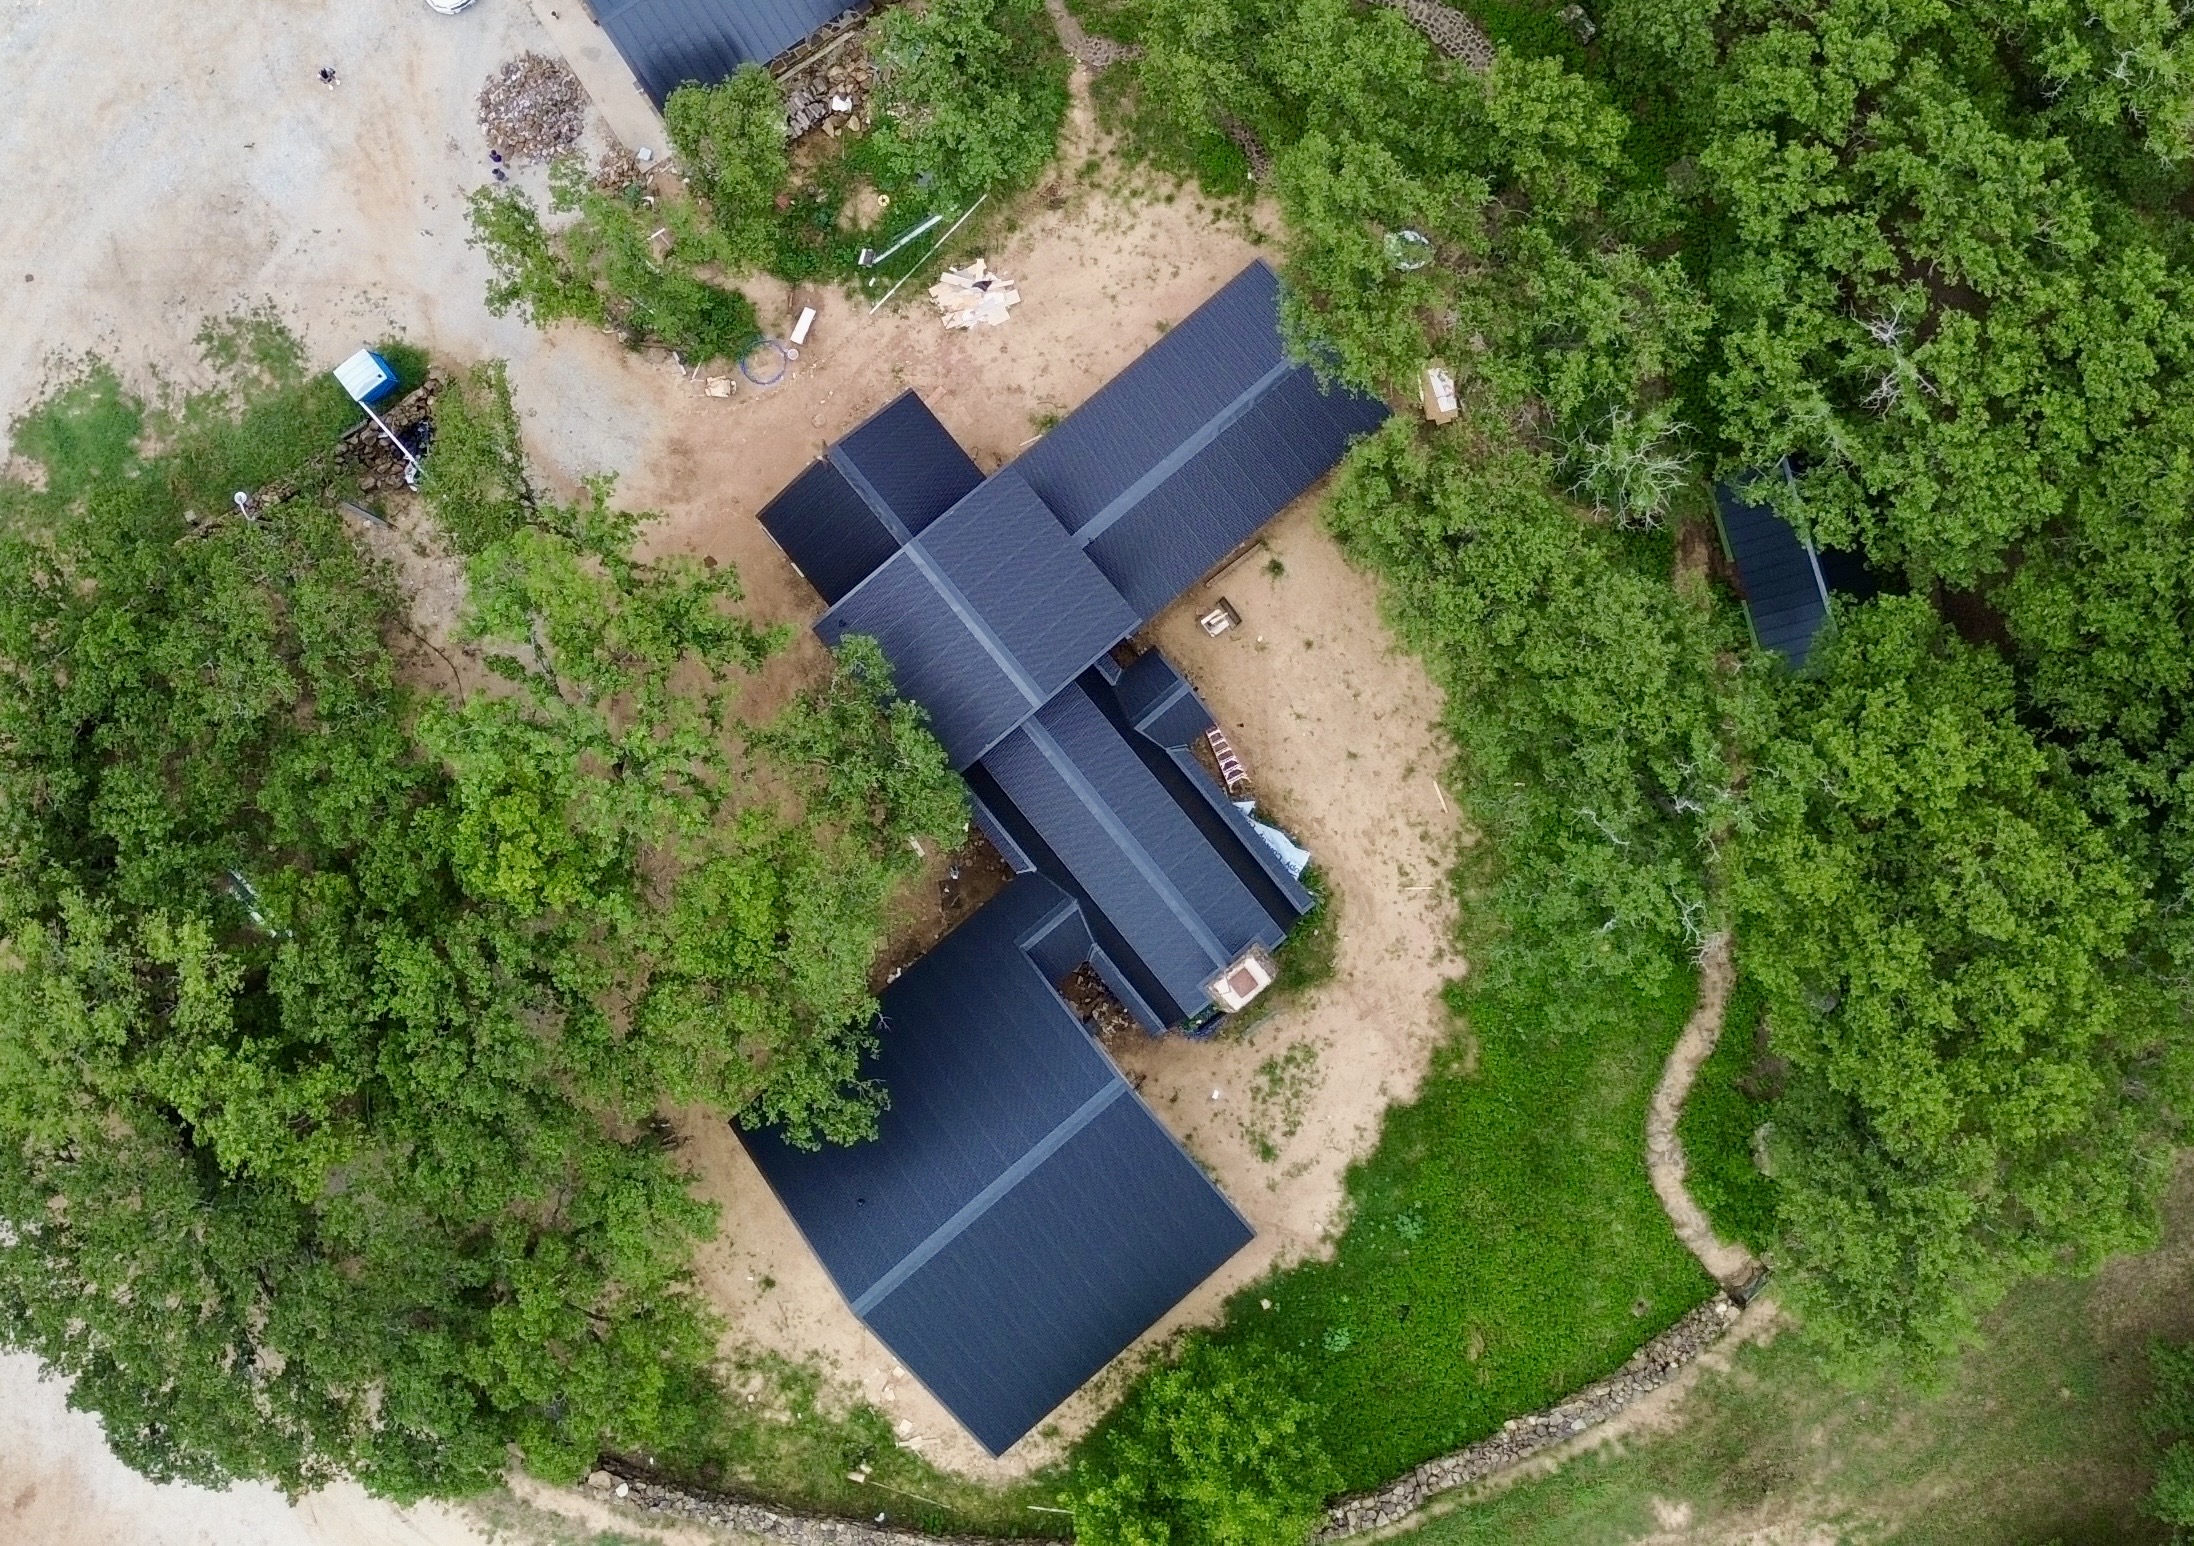
Proper Underlayment Installation Process
Once the roof deck has been prepared and the necessary waterproof membranes have been installed, the main underlayment installation can begin. Although the process appears straightforward, maintaining accuracy throughout every stage is essential for creating a dependable moisture barrier.
Installation typically starts at the lowest edge of the roof. The first course establishes the alignment for every additional row, making careful positioning especially important. A straight starting line reduces the likelihood of cumulative alignment errors across the roof surface.
Each roll should be unrolled gradually while maintaining consistent tension. Pulling too tightly may distort the material, while allowing excessive slack often creates wrinkles that remain beneath the shingles.
Correct overlap between adjacent courses is one of the most critical aspects of installation. These overlaps create continuous moisture protection by directing water over the lower layers rather than beneath them. Manufacturer instructions should always determine the recommended overlap distances because requirements vary among products.
Fastening should begin only after the material has been positioned correctly. Cap nails or other approved fasteners distribute pressure more evenly across the underlayment than standard roofing nails, reducing the risk of tearing during windy conditions.
Fasteners should follow the spacing recommended by the manufacturer. Too few fasteners may allow movement before shingles are installed, while excessive fastening introduces unnecessary penetration points into the roofing system.
Wrinkles require immediate attention whenever they appear. Even small surface irregularities may become visible through the shingles or create areas where water can collect beneath the roofing materials.
Installers should also avoid stretching the underlayment excessively around roof features. Allowing the material to rest naturally reduces stress that might otherwise contribute to tearing or movement as temperatures change.
Working systematically from one roof section to the next helps maintain consistent quality throughout the installation. Frequent visual inspections allow corrections before additional layers conceal potential problems.
Careful installation ensures that the underlayment performs as intended for many years. Although it remains hidden beneath the shingles, its quality directly influences the long term reliability of the completed roofing system.
Managing Roof Valleys During Underlayment Installation
Roof valleys require special attention because they collect runoff from two roof slopes simultaneously. This concentrated water flow makes valleys one of the most vulnerable locations for future leaks if the underlayment is not installed carefully.
The waterproof membrane installed earlier provides the primary defense within the valley, but the standard underlayment must also integrate properly with this protective layer. Smooth transitions between the two materials help maintain continuous moisture protection without creating unnecessary gaps.
Installers should avoid placing wrinkles directly inside the valley because these irregularities may interfere with water flow. A smooth valley allows rainwater to move efficiently toward the gutters while minimizing opportunities for standing water.
Cutting underlayment around valleys requires precision. Rough or uneven cuts may complicate later shingle installation and reduce the effectiveness of overlapping materials.
Valley preparation often takes longer than work on open roof sections, but this additional effort contributes significantly to the long term performance of the roofing system.
Working Around Roof Penetrations
Every roof contains penetrations that interrupt the otherwise continuous surface. Plumbing vents, skylights, chimneys, attic vents, and electrical penetrations all require careful preparation during underlayment installation.
Rather than simply cutting holes through the material, installers should measure each opening carefully before making precise cuts. Openings that are too large reduce waterproof protection, while openings that are too small may distort the surrounding underlayment.
The underlayment should fit closely around each penetration while maintaining proper overlap with flashing components that will be installed later. Careful integration between these materials creates multiple layers of protection against water intrusion.
Temporary sealing measures may also be used if weather delays prevent immediate shingle installation. Protecting exposed penetrations reduces the chance of unexpected moisture entering the building before construction resumes.
Attention to detail around penetrations greatly improves the overall reliability of the roofing system because many roof leaks originate in these vulnerable locations.
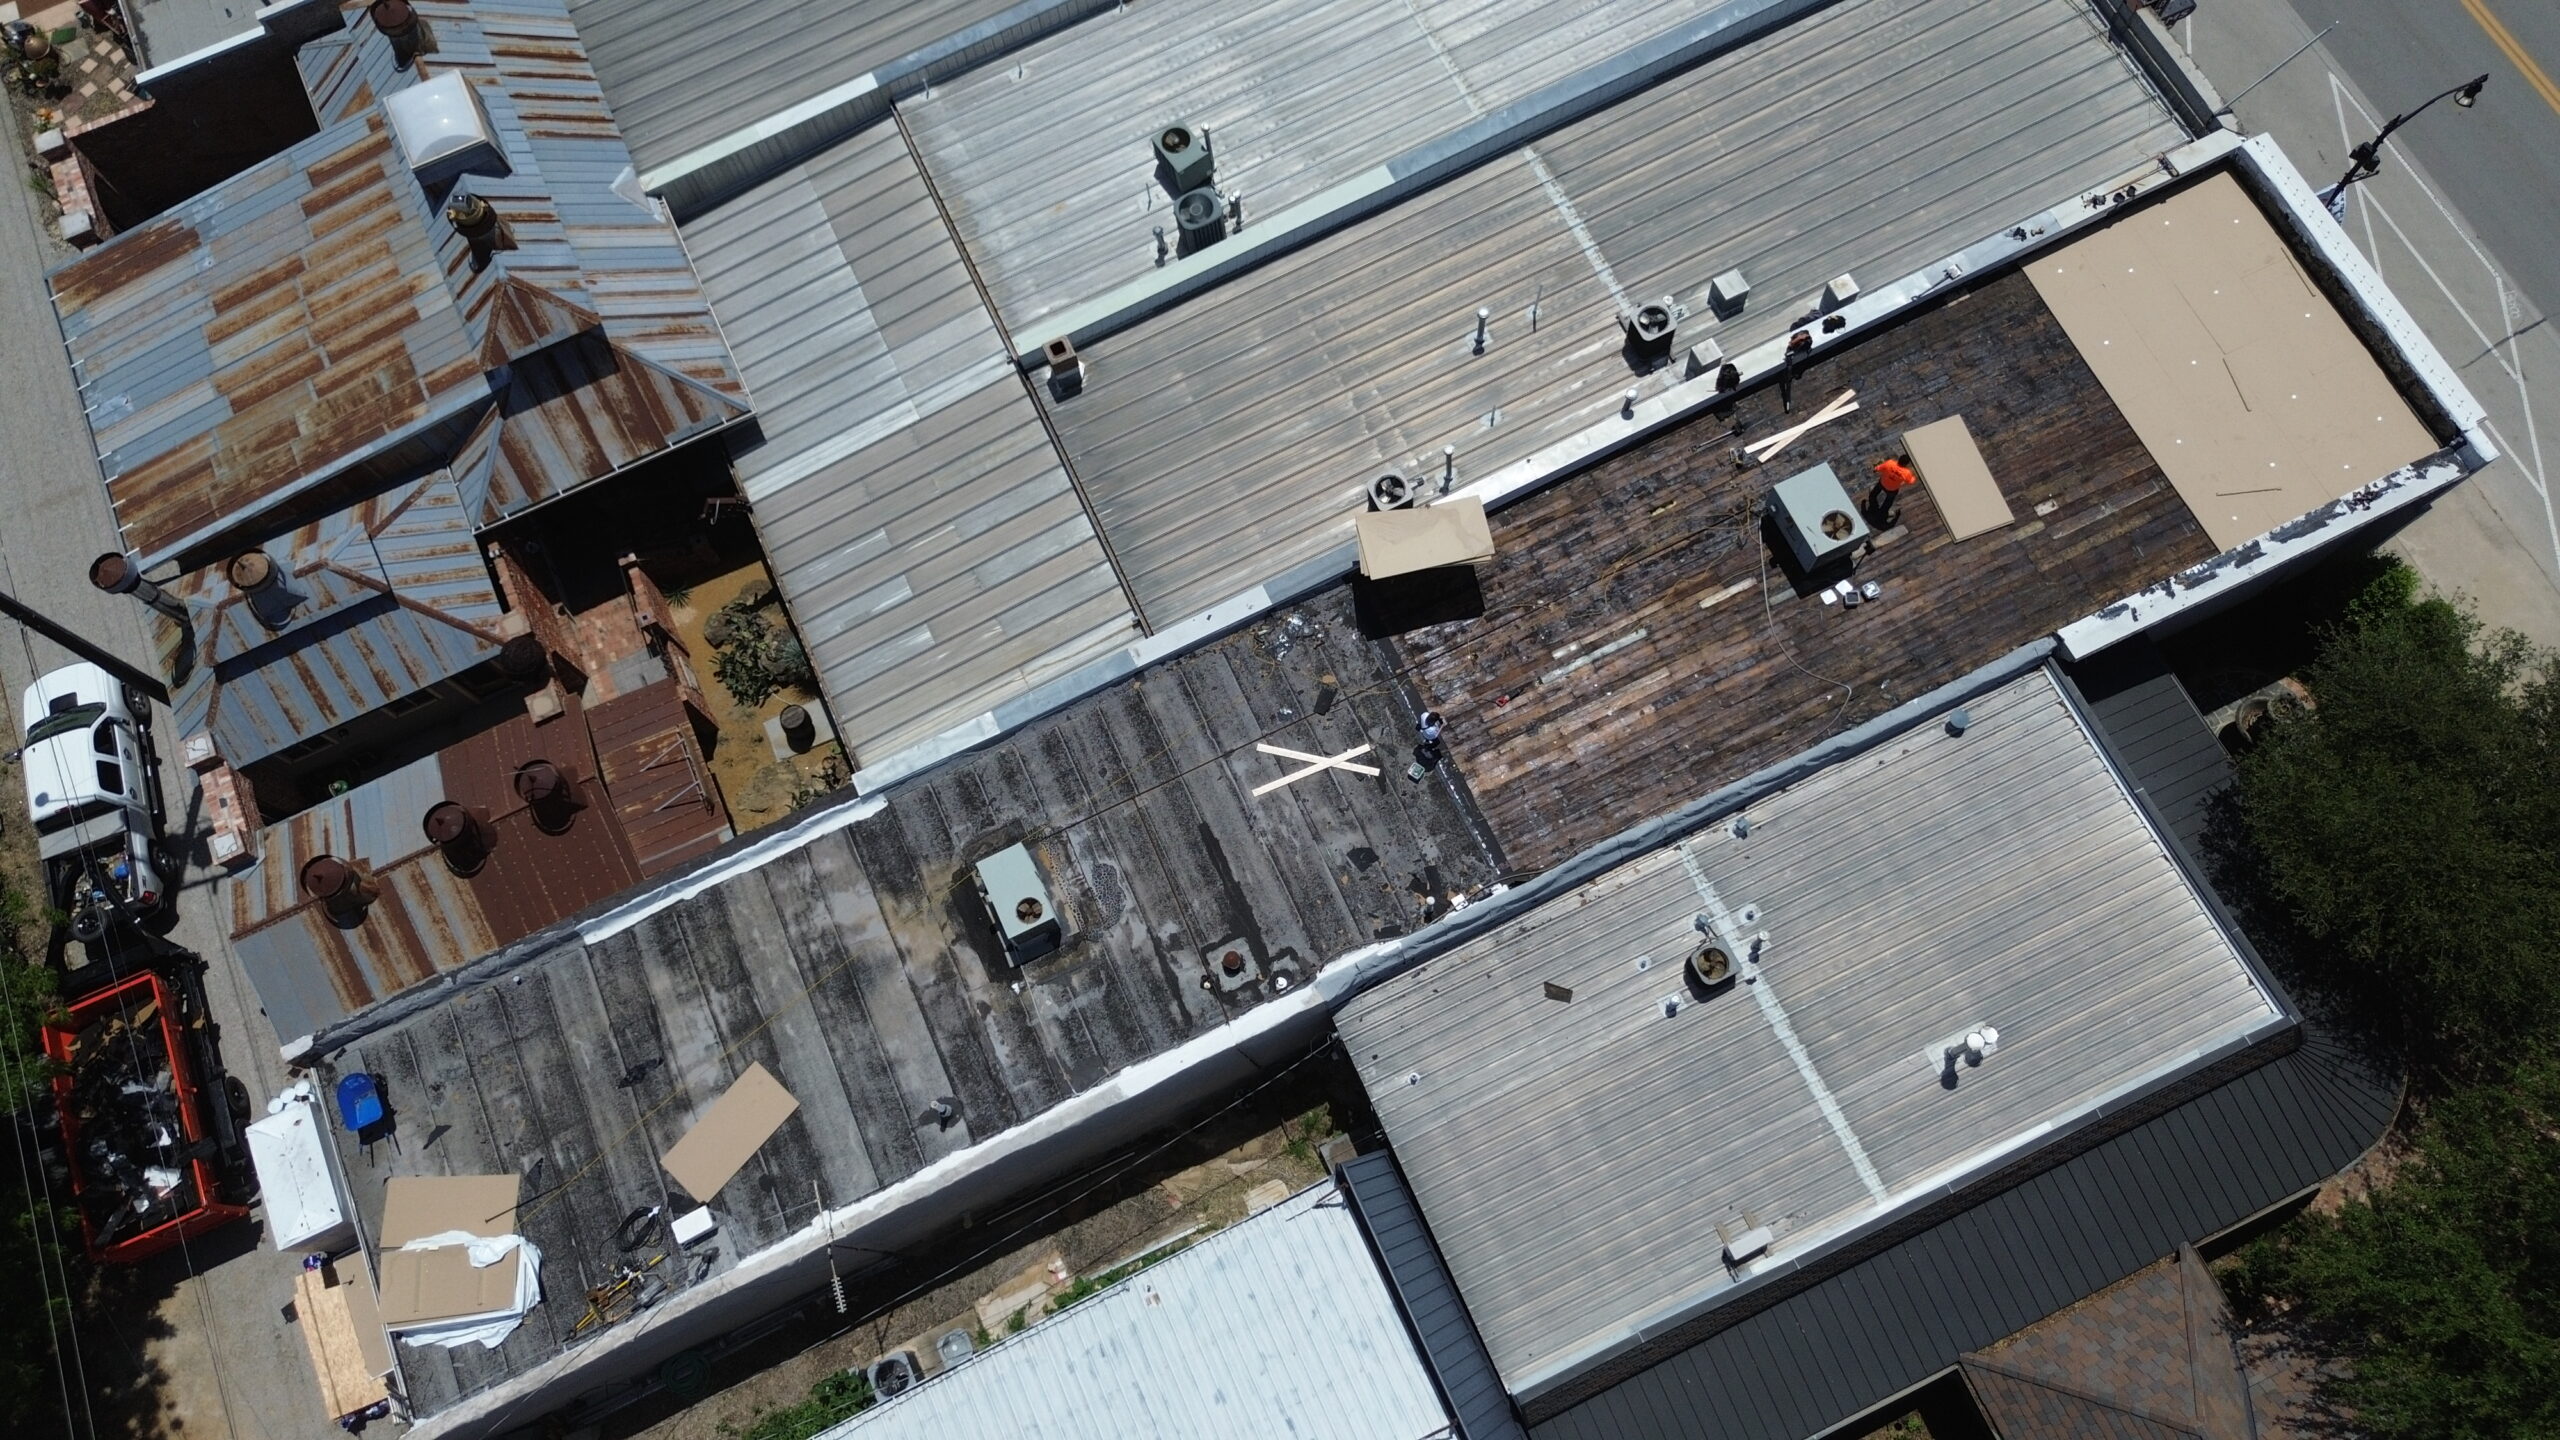
Common Underlayment Preparation Mistakes
Even experienced roofing crews occasionally encounter preparation errors. Understanding these common mistakes helps homeowners recognize the importance of following proper installation procedures throughout the project.
| Mistake | Possible Cause | Impact on Roof Performance |
|---|---|---|
| Installing underlayment over damp decking | Inadequate drying after rain | Trapped moisture and wood deterioration |
| Wrinkled underlayment | Poor positioning during installation | Uneven shingles and reduced drainage |
| Incorrect overlaps | Failure to follow manufacturer guidelines | Increased risk of water infiltration |
| Inadequate fastening | Too few approved fasteners | Material movement before shingle installation |
| Damaged roof deck left unrepaired | Rushed preparation | Reduced structural strength |
| Poor integration around penetrations | Inaccurate cutting or planning | Higher chance of roof leaks |
| Leaving underlayment exposed too long | Project delays | Possible weather related deterioration |
Most preparation mistakes are preventable with careful planning and regular quality inspections. Small errors corrected immediately are far easier to address than problems discovered after the shingles have already been installed.
Preparing for the Next Stage of Roof Installation
With the underlayment securely installed, the roof now has a continuous protective layer covering the deck. However, the preparation process is not completely finished until the entire surface has been inspected one final time.
Installers should verify that every overlap remains secure, all fasteners are properly seated, valleys are smooth, and penetrations are ready for flashing installation. Any wrinkles, loose sections, or damaged areas should be corrected before the first shingles are installed.
This careful review provides confidence that the roofing system has a solid foundation. Since the shingles will soon cover the underlayment permanently, this is the final opportunity to address hidden issues that could affect the roof’s long term performance.
Handling Roof Valleys, Hips, Ridges, and Penetrations
Once the primary underlayment has been installed across the roof deck, installers must pay close attention to the roof’s most complex areas. Valleys, hips, ridges, and roof penetrations require additional preparation because these locations experience greater exposure to moisture, wind, and temperature changes than flat roof sections.
Roof valleys remain one of the most vulnerable areas because they collect water flowing from two separate roof slopes. During heavy rainfall, a significant volume of water passes through these channels within a short period. Even a small gap in the underlayment or waterproof membrane can eventually allow moisture to reach the roof deck.
Proper overlap is especially important in valleys. Every layer should direct water toward the gutter without creating reverse seams where water could travel beneath the protective materials. Smooth installation also prevents debris from becoming trapped inside the valley, allowing rainwater to drain efficiently.
Roof hips require similar attention even though they carry less water than valleys. Since hips form raised intersections between roof slopes, the underlayment should wrap evenly over these areas without excessive stretching or bunching. Proper coverage creates a continuous barrier beneath the ridge cap shingles that will be installed later.
The roof ridge marks the highest point of the roofing system and often supports ridge ventilation. Underlayment should be installed according to the ventilation system being used while maintaining proper protection around the ridge opening. Blocking ventilation openings with excess material can reduce airflow and affect attic performance.
Roof penetrations require some of the most precise workmanship during underlayment preparation. Chimneys, skylights, plumbing vents, attic fans, and exhaust vents interrupt the continuous roof surface and therefore demand careful waterproofing.
Each penetration should be surrounded by properly fitted underlayment that integrates smoothly with flashing components. Large gaps should be avoided because they reduce moisture protection, while excessive folds may create uneven surfaces beneath the shingles.
Modern roofing projects may also include solar panel mounting brackets, satellite dishes, communication equipment, or roof mounted mechanical systems. Every penetration introduced into the roof should receive the same careful attention regardless of its size.
Preparing these complex roof features properly provides continuous moisture protection across the entire roofing system. Although these details require additional time, they often determine how well the roof performs during years of exposure to severe weather.
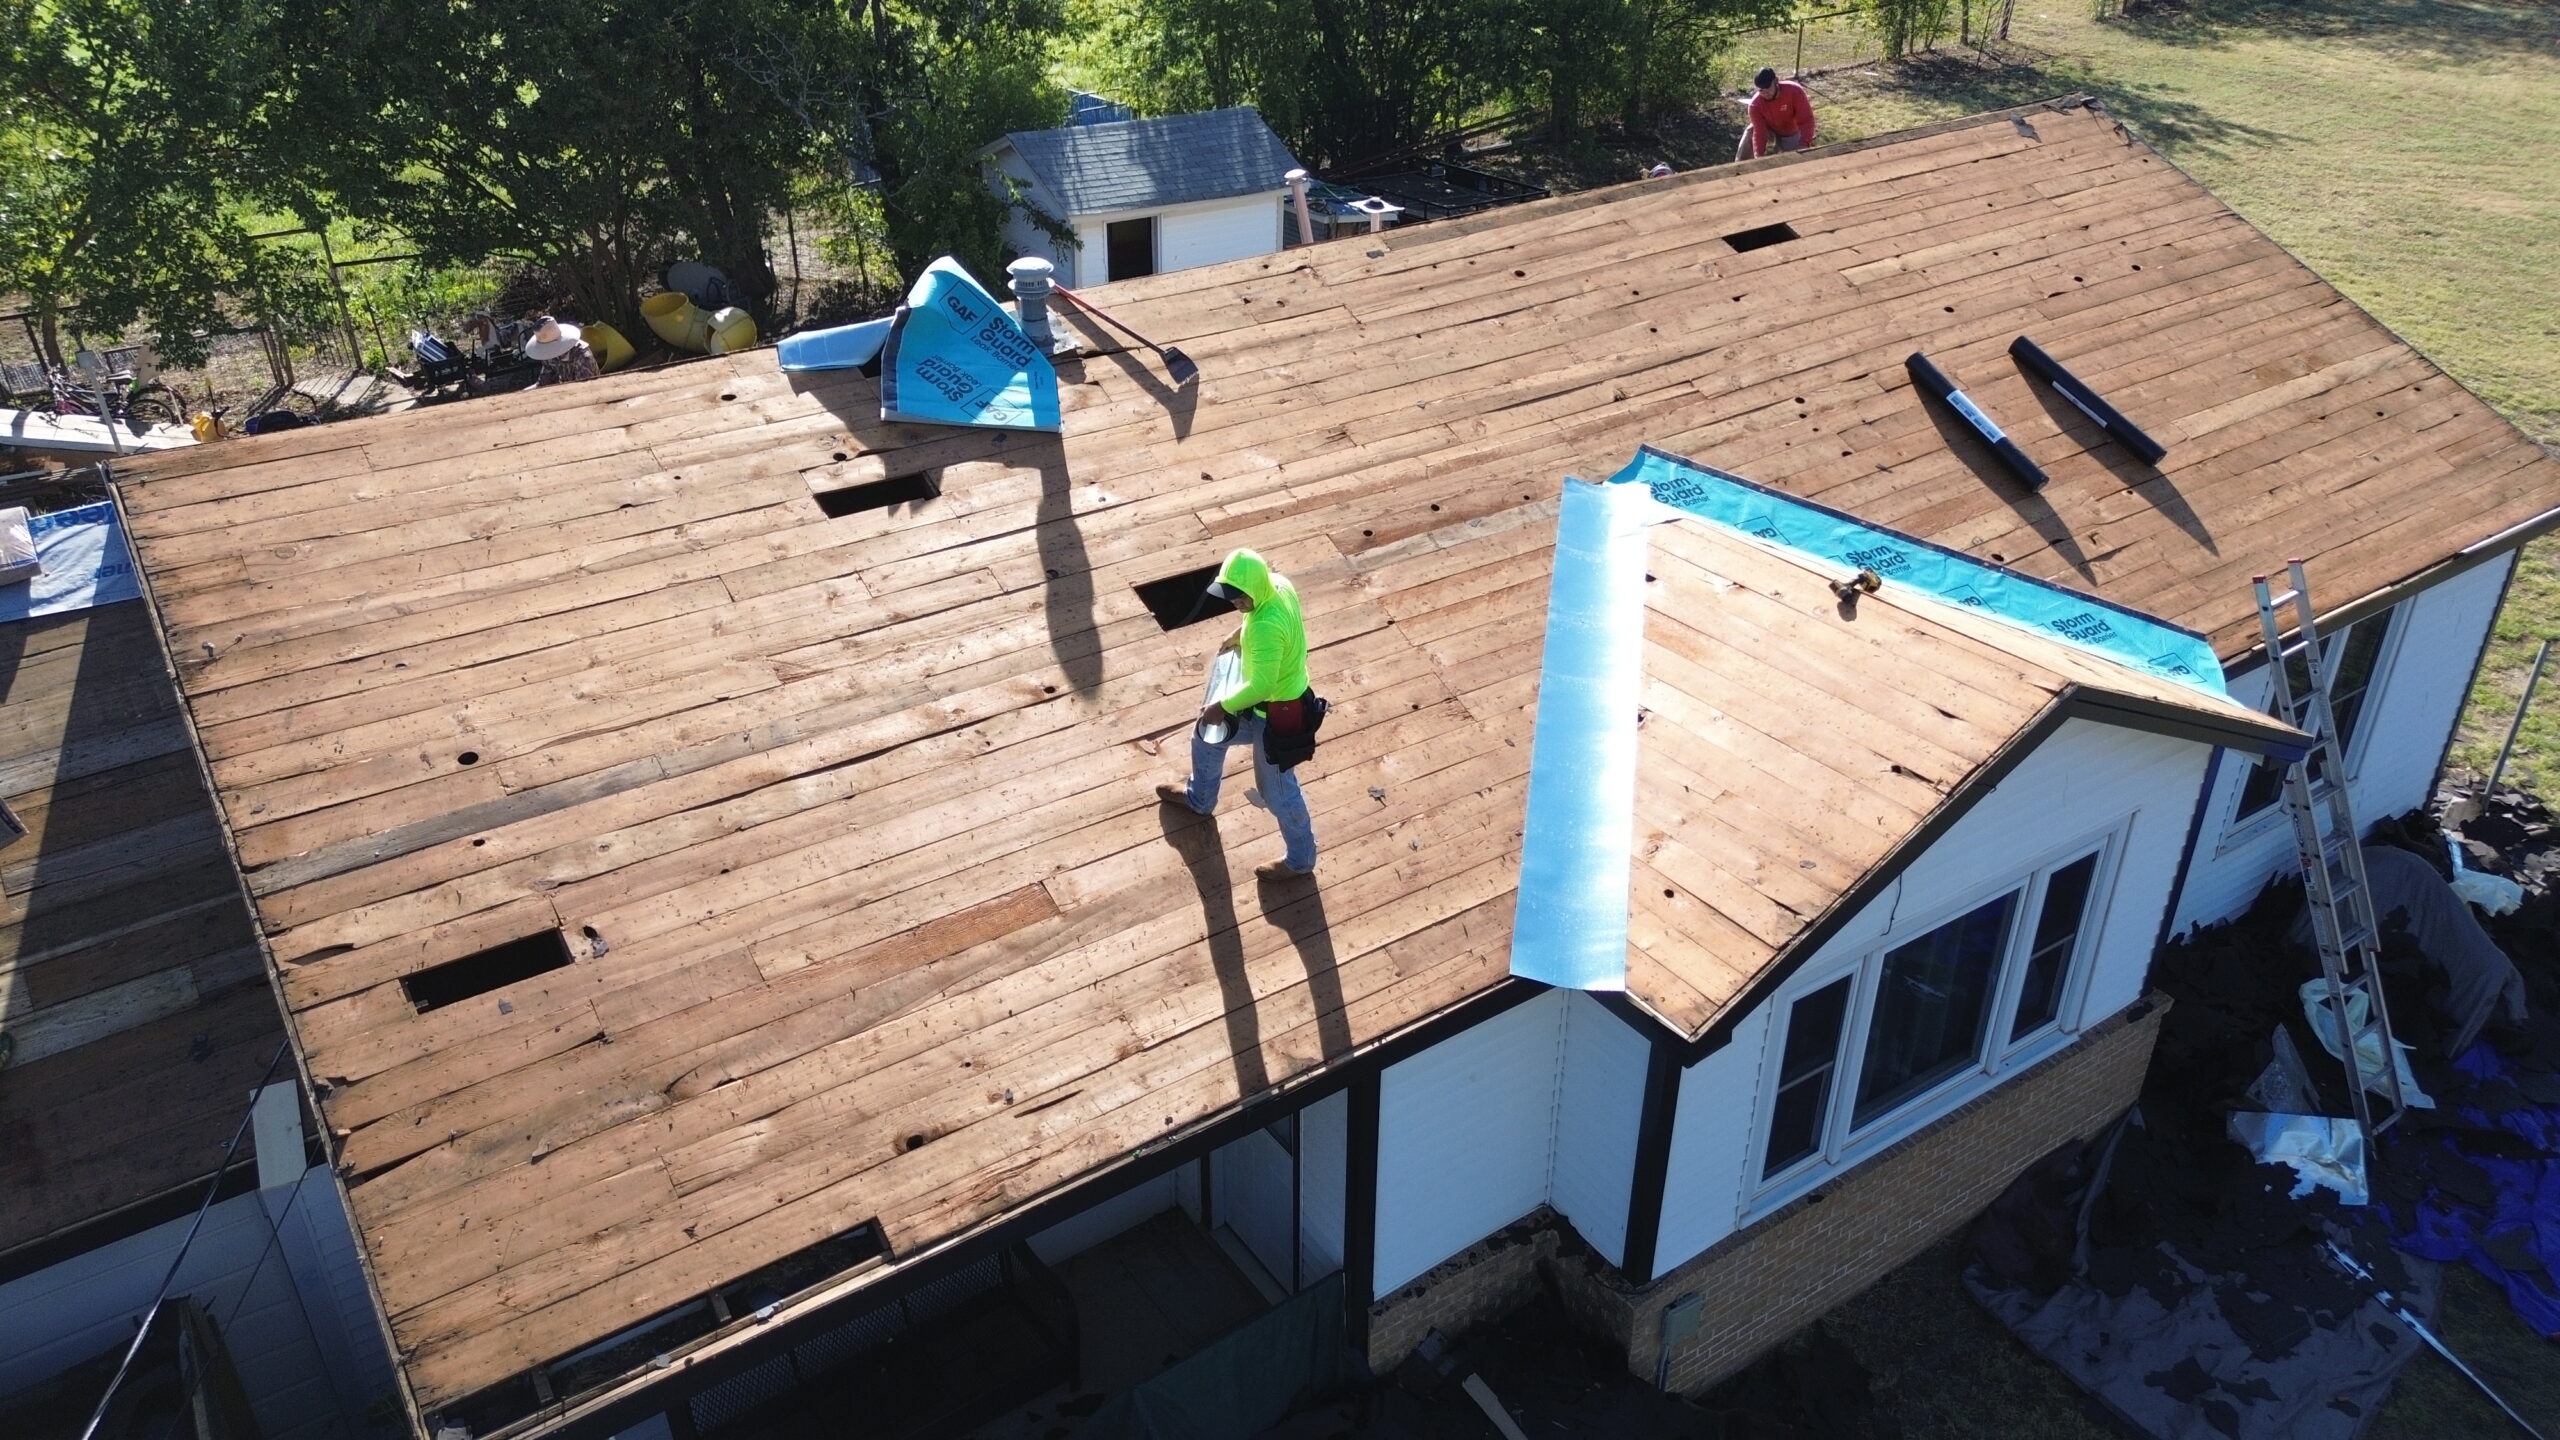
Weather Considerations During Underlayment Preparation
Weather conditions influence nearly every aspect of roof installation. Even the highest quality underlayment cannot perform as intended if it is installed under unsuitable environmental conditions. Understanding how weather affects preparation helps improve installation quality while reducing unnecessary risks.
Hot weather creates several challenges. Underlayment materials may become more flexible when exposed to intense sunlight, making them easier to position but also more susceptible to stretching if handled carelessly. Roofing crews should avoid pulling the material excessively because it may contract later as temperatures decrease.
Installers also need to consider worker safety during hot weather. High temperatures increase fatigue, making it more difficult to maintain the precision required for accurate measurements, fastening, and overlap alignment. Regular breaks and proper hydration help maintain consistent workmanship throughout the project.
Cold weather presents different concerns. Some underlayment materials become stiffer at lower temperatures, making them more difficult to roll out smoothly. Careful handling reduces the likelihood of cracking or creating wrinkles that may remain beneath the shingles.
Moisture is another important consideration. Rain should never be ignored during roof preparation because wet roof decking reduces traction and increases the possibility of trapping moisture beneath the underlayment. If rainfall occurs unexpectedly, installers should allow the roof deck to dry completely before resuming work.
Strong winds may also interfere with installation. Large sheets of underlayment can shift before fastening, creating wrinkles or alignment problems across the roof surface. Windy conditions also increase safety concerns for roofing crews working at elevated heights.
Morning dew should not be overlooked. Even when no rainfall has occurred, overnight condensation can leave roof surfaces damp enough to affect installation quality. Taking time to inspect the roof deck before beginning work each morning helps avoid unnecessary complications.
Manufacturers generally provide recommended installation temperature ranges for their products. Following these guidelines improves material performance and helps ensure that the roofing system functions as designed.
Carefully selecting installation days based on favorable weather conditions benefits both the roofing crew and the completed roof. Although schedules are important, delaying installation for better weather often produces more reliable long term results.
Quality Inspection Before Shingle Installation
Before asphalt shingles cover the underlayment permanently, the roofing system should undergo a thorough quality inspection. This review allows installers to identify and correct hidden issues while the underlayment remains fully accessible.
The inspection should begin by checking the overall appearance of the roof. Underlayment should lie flat across the deck without wrinkles, bubbles, tears, or loose edges. Even small imperfections deserve attention because they may affect the appearance or performance of the finished roof.
Overlap consistency should also be verified. Every course should overlap according to the manufacturer’s specifications so that water naturally flows over the protective layers rather than beneath them. Uneven overlaps may not cause immediate leaks but can reduce long term moisture protection.
Fastener placement deserves careful examination as well. Approved fasteners should remain securely seated without tearing the underlayment or leaving raised heads that could interfere with shingle installation. Loose or missing fasteners should be corrected before work continues.
Roof valleys should receive additional inspection because they experience concentrated water flow during rainfall. Installers should confirm that waterproof membranes remain fully adhered and that underlayment transitions are smooth throughout the valley.
Roof penetrations also require close attention. Every vent, chimney, skylight, and mechanical opening should be ready for flashing installation without unnecessary gaps or damaged material surrounding the penetration.
The roof deck should remain completely dry before shingles are installed. Unexpected rain, morning condensation, or construction related moisture should be addressed before additional roofing layers are added.
A final walkthrough often includes checking material storage, confirming that no construction debris remains beneath the roofing materials, and ensuring that all preparation work complies with manufacturer recommendations.
This inspection may appear to be a simple final review, but it provides one last opportunity to correct hidden issues that could otherwise remain concealed beneath the finished roofing system for decades.
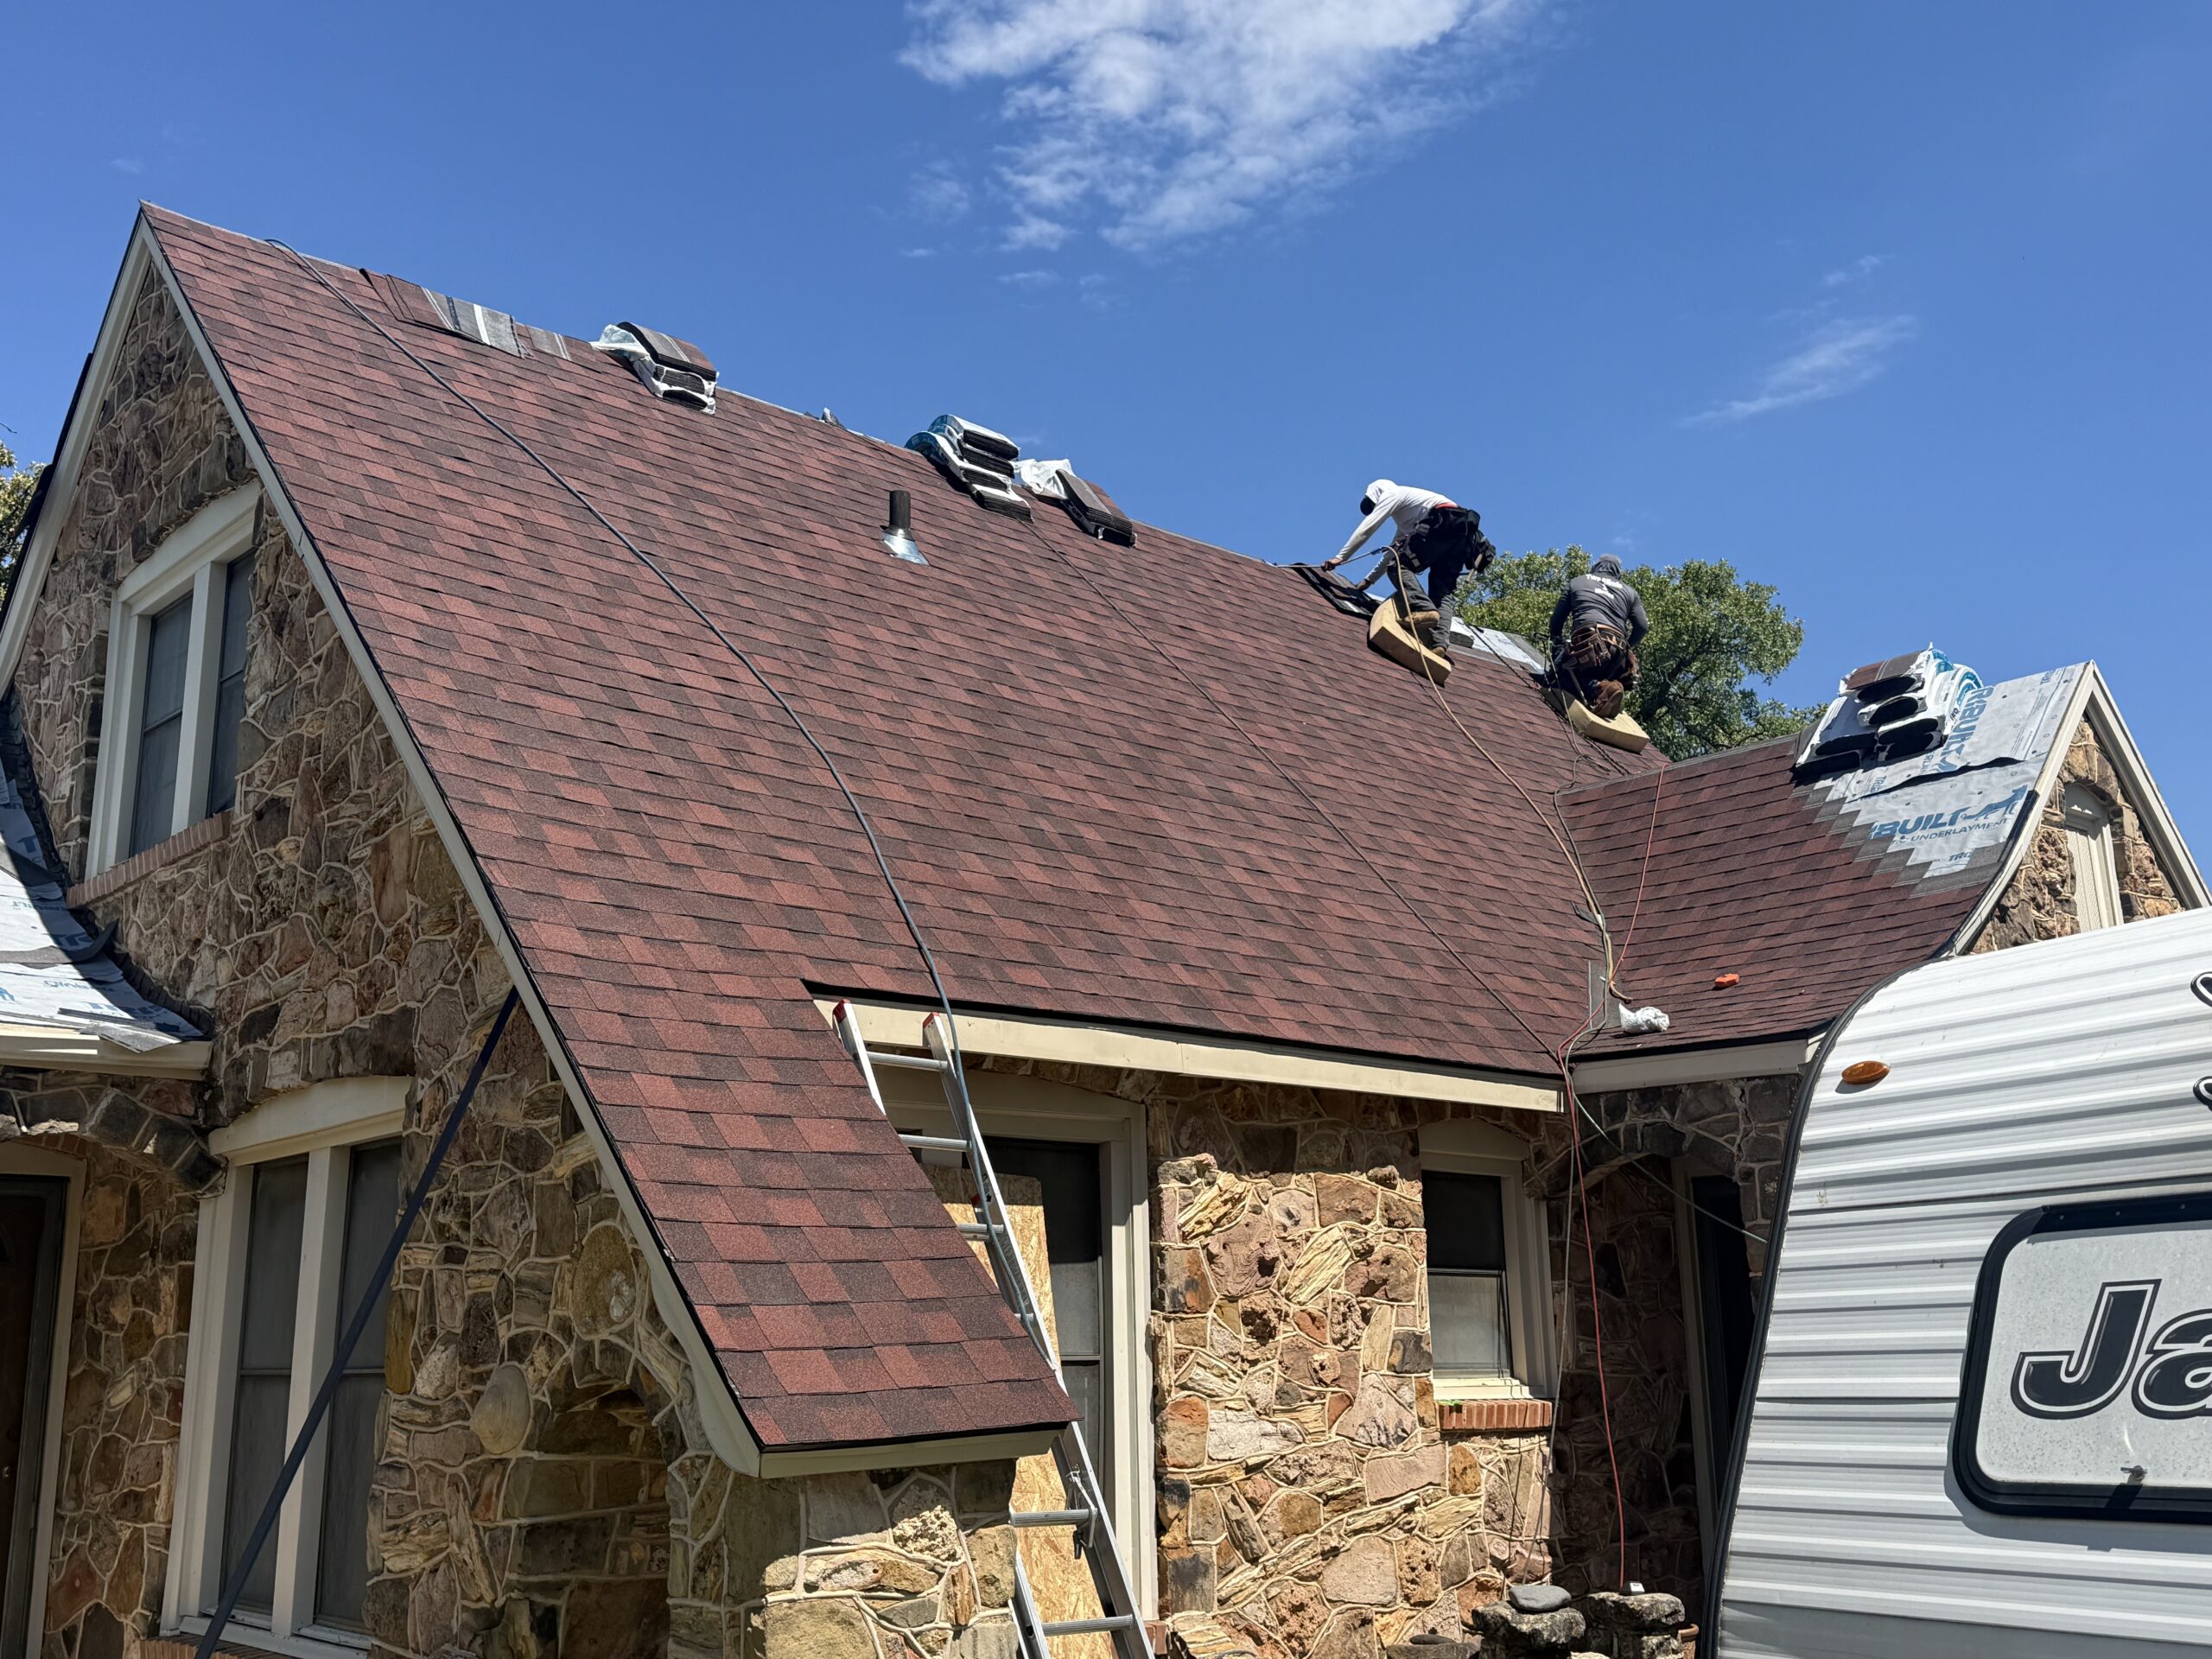
Best Practices for Successful Underlayment Preparation
Every successful roofing project follows a consistent process that emphasizes careful planning, accurate installation, and ongoing quality control. While individual roofing systems differ in design, several best practices apply to nearly every asphalt roof installation.
These practices help create a strong foundation for the shingles while reducing the likelihood of future roofing problems. Consistency throughout the preparation stage often determines how well the completed roof performs over its entire service life.
Following these proven steps improves installation quality from beginning to end.
- Perform a detailed inspection of the existing roof before any materials are installed.
- Replace damaged or weakened roof decking rather than covering structural defects.
- Choose underlayment products that match the local climate and roofing design.
- Follow all manufacturer recommendations for overlap, fastening, and installation sequence.
- Install materials only when weather conditions support safe and effective workmanship.
- Inspect every completed section before moving to the next area of the roof.
- Complete a comprehensive quality inspection before beginning shingle installation.
Each step contributes to the long term durability of the roofing system. Skipping even one stage may reduce the effectiveness of the underlayment and increase the likelihood of future repairs.
Contractors also benefit from continuing education and product training. Roofing materials continue to evolve, and updated installation techniques help improve both efficiency and long term performance.
Maintenance Tips After Installation
Although the underlayment remains hidden beneath the shingles, proper roof maintenance helps preserve its protective function throughout the life of the roofing system. Regular inspections allow small issues to be corrected before they affect the underlying materials.
Homeowners should inspect the roof after severe storms whenever it is safe to do so. Missing shingles, damaged flashing, or fallen tree branches may expose sections of the underlayment to weather that it was not designed to withstand for extended periods.
Gutters should also be cleaned regularly. Blocked gutters slow water drainage and increase the amount of moisture remaining near roof edges. Efficient drainage reduces unnecessary stress on both the shingles and the underlayment beneath them.
Overhanging tree branches should be trimmed to reduce the accumulation of leaves and debris on the roof. Organic material that remains wet for extended periods may encourage moisture related problems and increase the likelihood of damage during storms.
Attic inspections provide another valuable maintenance opportunity. Signs of water stains, mold growth, unusual odors, or damp insulation may indicate roofing problems before they become visible inside living spaces.
Roof penetrations should receive periodic attention as well. Flashing, vent boots, and sealants naturally age over time and may require maintenance to preserve waterproof protection.
Professional roof inspections every few years provide additional reassurance that the roofing system continues performing as expected. Early identification of developing issues often prevents more extensive and expensive repairs later.
Consistent maintenance extends the service life of every roofing component, including the underlayment that remains hidden beneath the shingles.
Frequently Asked Questions About Roof Underlayment
Many homeowners have questions about roof underlayment because it is one of the least visible yet most important parts of an asphalt roofing system. Understanding these common concerns helps explain why careful preparation receives so much attention.
Is roof underlayment necessary if high quality shingles are being installed?
Yes. Asphalt shingles provide the primary weather barrier, but underlayment serves as an important secondary layer that protects the roof deck if water reaches beneath the shingles.
Can damaged underlayment be repaired without replacing the entire roof?
Minor repairs may be possible if the affected area is accessible. However, since underlayment is located beneath the shingles, many repairs require removing roofing materials to reach the damaged section.
How long can underlayment remain exposed before shingles are installed?
The allowable exposure period depends on the specific product. Some synthetic underlayments tolerate longer exposure than traditional felt products, but manufacturer recommendations should always be followed.
Does every roof require an ice and water barrier?
Not every climate requires extensive waterproof membranes. However, many roofing professionals install them in valleys, eaves, and other vulnerable areas because they provide valuable additional moisture protection.
Can old underlayment remain in place during roof replacement?
In most complete roof replacement projects, the existing underlayment is removed along with the old shingles. Installing new underlayment allows the roof deck to be inspected thoroughly and ensures compatibility with the new roofing system.
What is the biggest preparation mistake before installing underlayment?
One of the most common mistakes is covering damaged or damp roof decking instead of repairing it first. Hidden structural problems continue to worsen beneath the new roofing system if they are not corrected during preparation.
Understanding these questions helps homeowners appreciate why underlayment preparation is considered one of the most important stages of asphalt roof installation.
Conclusion
Underlayment preparation forms the foundation of every successful asphalt roof installation. Although it remains hidden beneath the shingles after construction is complete, its quality directly influences the roof’s ability to resist moisture, withstand changing weather conditions, and provide reliable protection for many years.
The preparation process begins with careful inspection of the existing roof, followed by repairing damaged decking, cleaning the surface, selecting the appropriate underlayment, and installing every component according to manufacturer recommendations. Attention to details such as overlap, fastening, waterproof membranes, and weather conditions helps create a continuous protective barrier beneath the finished roofing surface.
Proper preparation also reduces the likelihood of future roofing problems. Many issues that appear years after installation can often be traced back to overlooked defects during the early stages of construction. Investing additional time in careful planning and quality workmanship during underlayment preparation helps prevent expensive repairs while improving the overall lifespan of the roofing system.
Whether the project involves a new home or a complete roof replacement, underlayment preparation should never be viewed as a routine step that can be rushed. It is one of the most important investments in the long term durability, performance, and reliability of an asphalt roof.
By following proven preparation practices, using quality materials, and maintaining high installation standards, homeowners and roofing professionals can build a roofing system that delivers dependable weather protection, improved structural integrity, and lasting value for decades.