
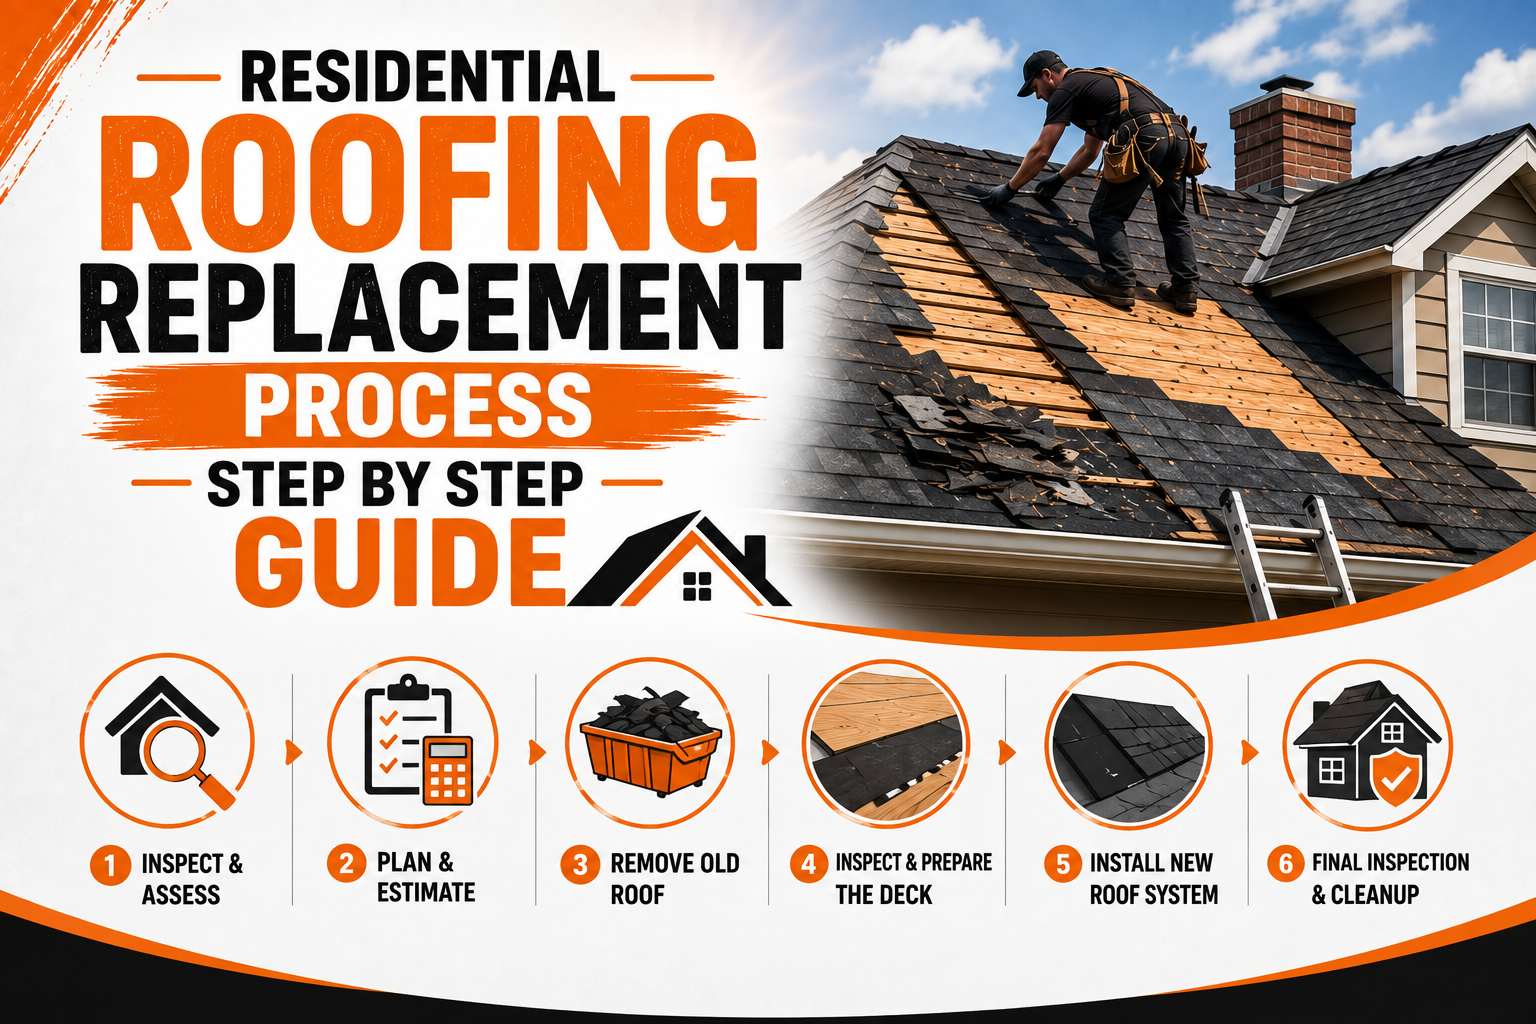
Residential Roofing Replacement Process Step by Step Guide
Introduction
A residential roof replacement is a major home improvement project that involves much more than removing old shingles and installing new ones. The process can affect the structure, weather protection, ventilation, insulation, drainage, and long-term performance of the entire roofing system. Understanding each stage helps homeowners prepare properly, make informed decisions, and recognize what should happen before, during, and after the replacement.
Every roof replacement project is slightly different because homes vary in age, design, roof pitch, materials, local weather conditions, and existing damage. Some roofs may require only a straightforward replacement of worn-out shingles, while others may have hidden problems beneath the surface that require additional work. A professional evaluation is therefore an important starting point before any materials are ordered or installation begins.
The replacement process generally follows a logical sequence, beginning with an inspection and project planning and eventually moving through removal, preparation, installation, inspection, and cleanup. Knowing this sequence allows homeowners to communicate more effectively with contractors and understand why certain steps may take longer than expected.
A properly planned replacement can also prevent unnecessary delays and unexpected expenses. When homeowners understand what is involved, they can compare estimates more carefully, select appropriate roofing materials, prepare their property, and make sure important details are not overlooked.
Understanding When Residential Roof Replacement Is Necessary
One of the first decisions homeowners face is determining whether the existing roof actually needs complete replacement. Roofing materials naturally deteriorate over time, but age alone does not always mean that the entire system must be removed. A professional inspection can help determine whether the problems are isolated or widespread.
Signs of an aging roof may include cracked, curled, missing, or severely worn shingles. Homeowners may also notice granules collecting in gutters, visible areas of exposed roofing material, damaged flashing, or repeated leaks around ceilings and walls. When several of these problems occur across different areas of the roof, replacement may be more practical than continuing with repeated repairs.
Water damage is another important warning sign. A small interior stain does not necessarily mean the entire roof has failed, but recurring leaks can indicate that water is entering through deteriorated roofing materials, damaged flashing, or areas where the underlying roof structure has been compromised. Moisture that remains hidden for an extended period can contribute to wood deterioration, mold growth, and other costly problems.
Severe weather can also accelerate the need for replacement. Strong winds, hail, heavy rain, falling branches, and storms can damage large portions of a roofing system within a short period. If the damage is extensive enough that repairs would leave the roof with multiple vulnerable areas, full replacement may provide a more reliable long-term solution.
Homeowners should also consider the remaining service life of the roofing system. Replacing a roof that is already near the end of its expected lifespan may make more financial sense than investing heavily in repairs that only extend its useful life for a short period. The final decision should be based on the roof’s condition, expected remaining life, repair history, and overall project costs.
Initial Roof Inspection and Damage Assessment
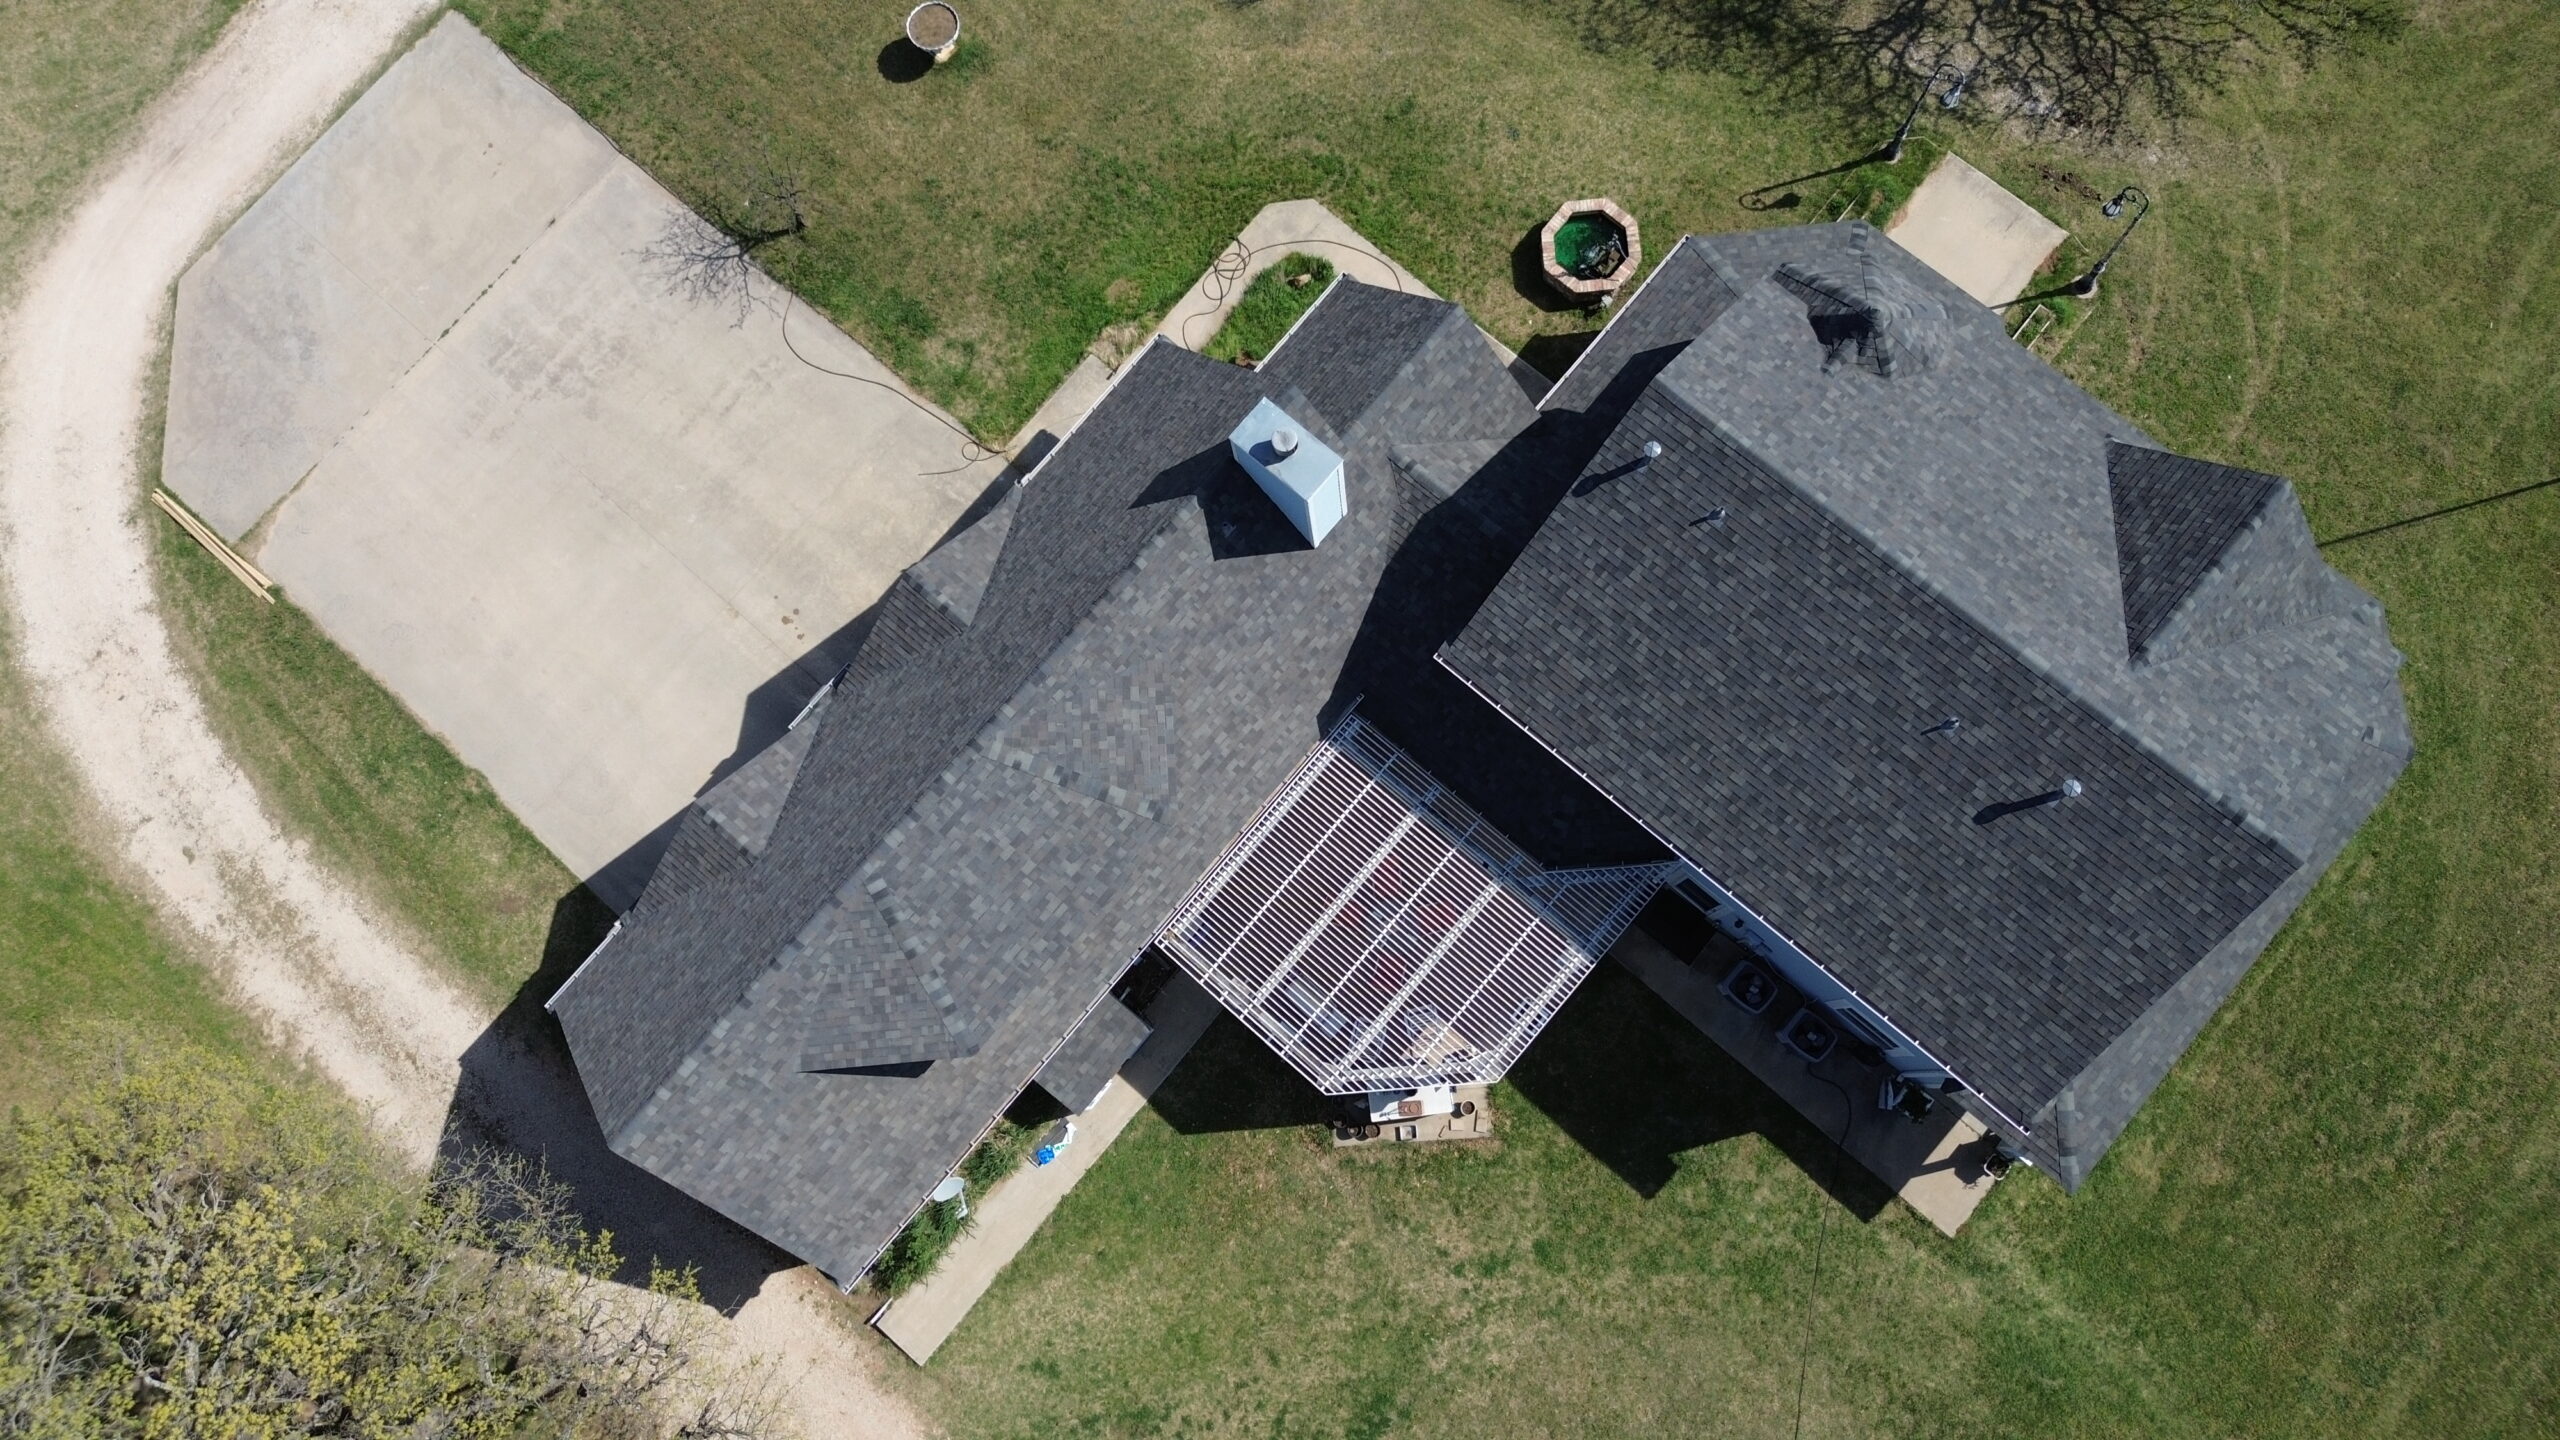
Once replacement becomes a possibility, the next step is a detailed roof inspection. This assessment gives the homeowner and contractor a clearer understanding of the roof’s current condition and identifies areas that may require attention before new materials are installed.
A professional inspection usually examines both the visible roofing surface and important components underneath it. The contractor may look for damaged shingles, deteriorated flashing, exposed fasteners, blocked drainage paths, damaged vents, and signs of moisture penetration. The condition of roof edges, valleys, ridges, penetrations, and other vulnerable areas is also important because these locations are common sources of water intrusion.
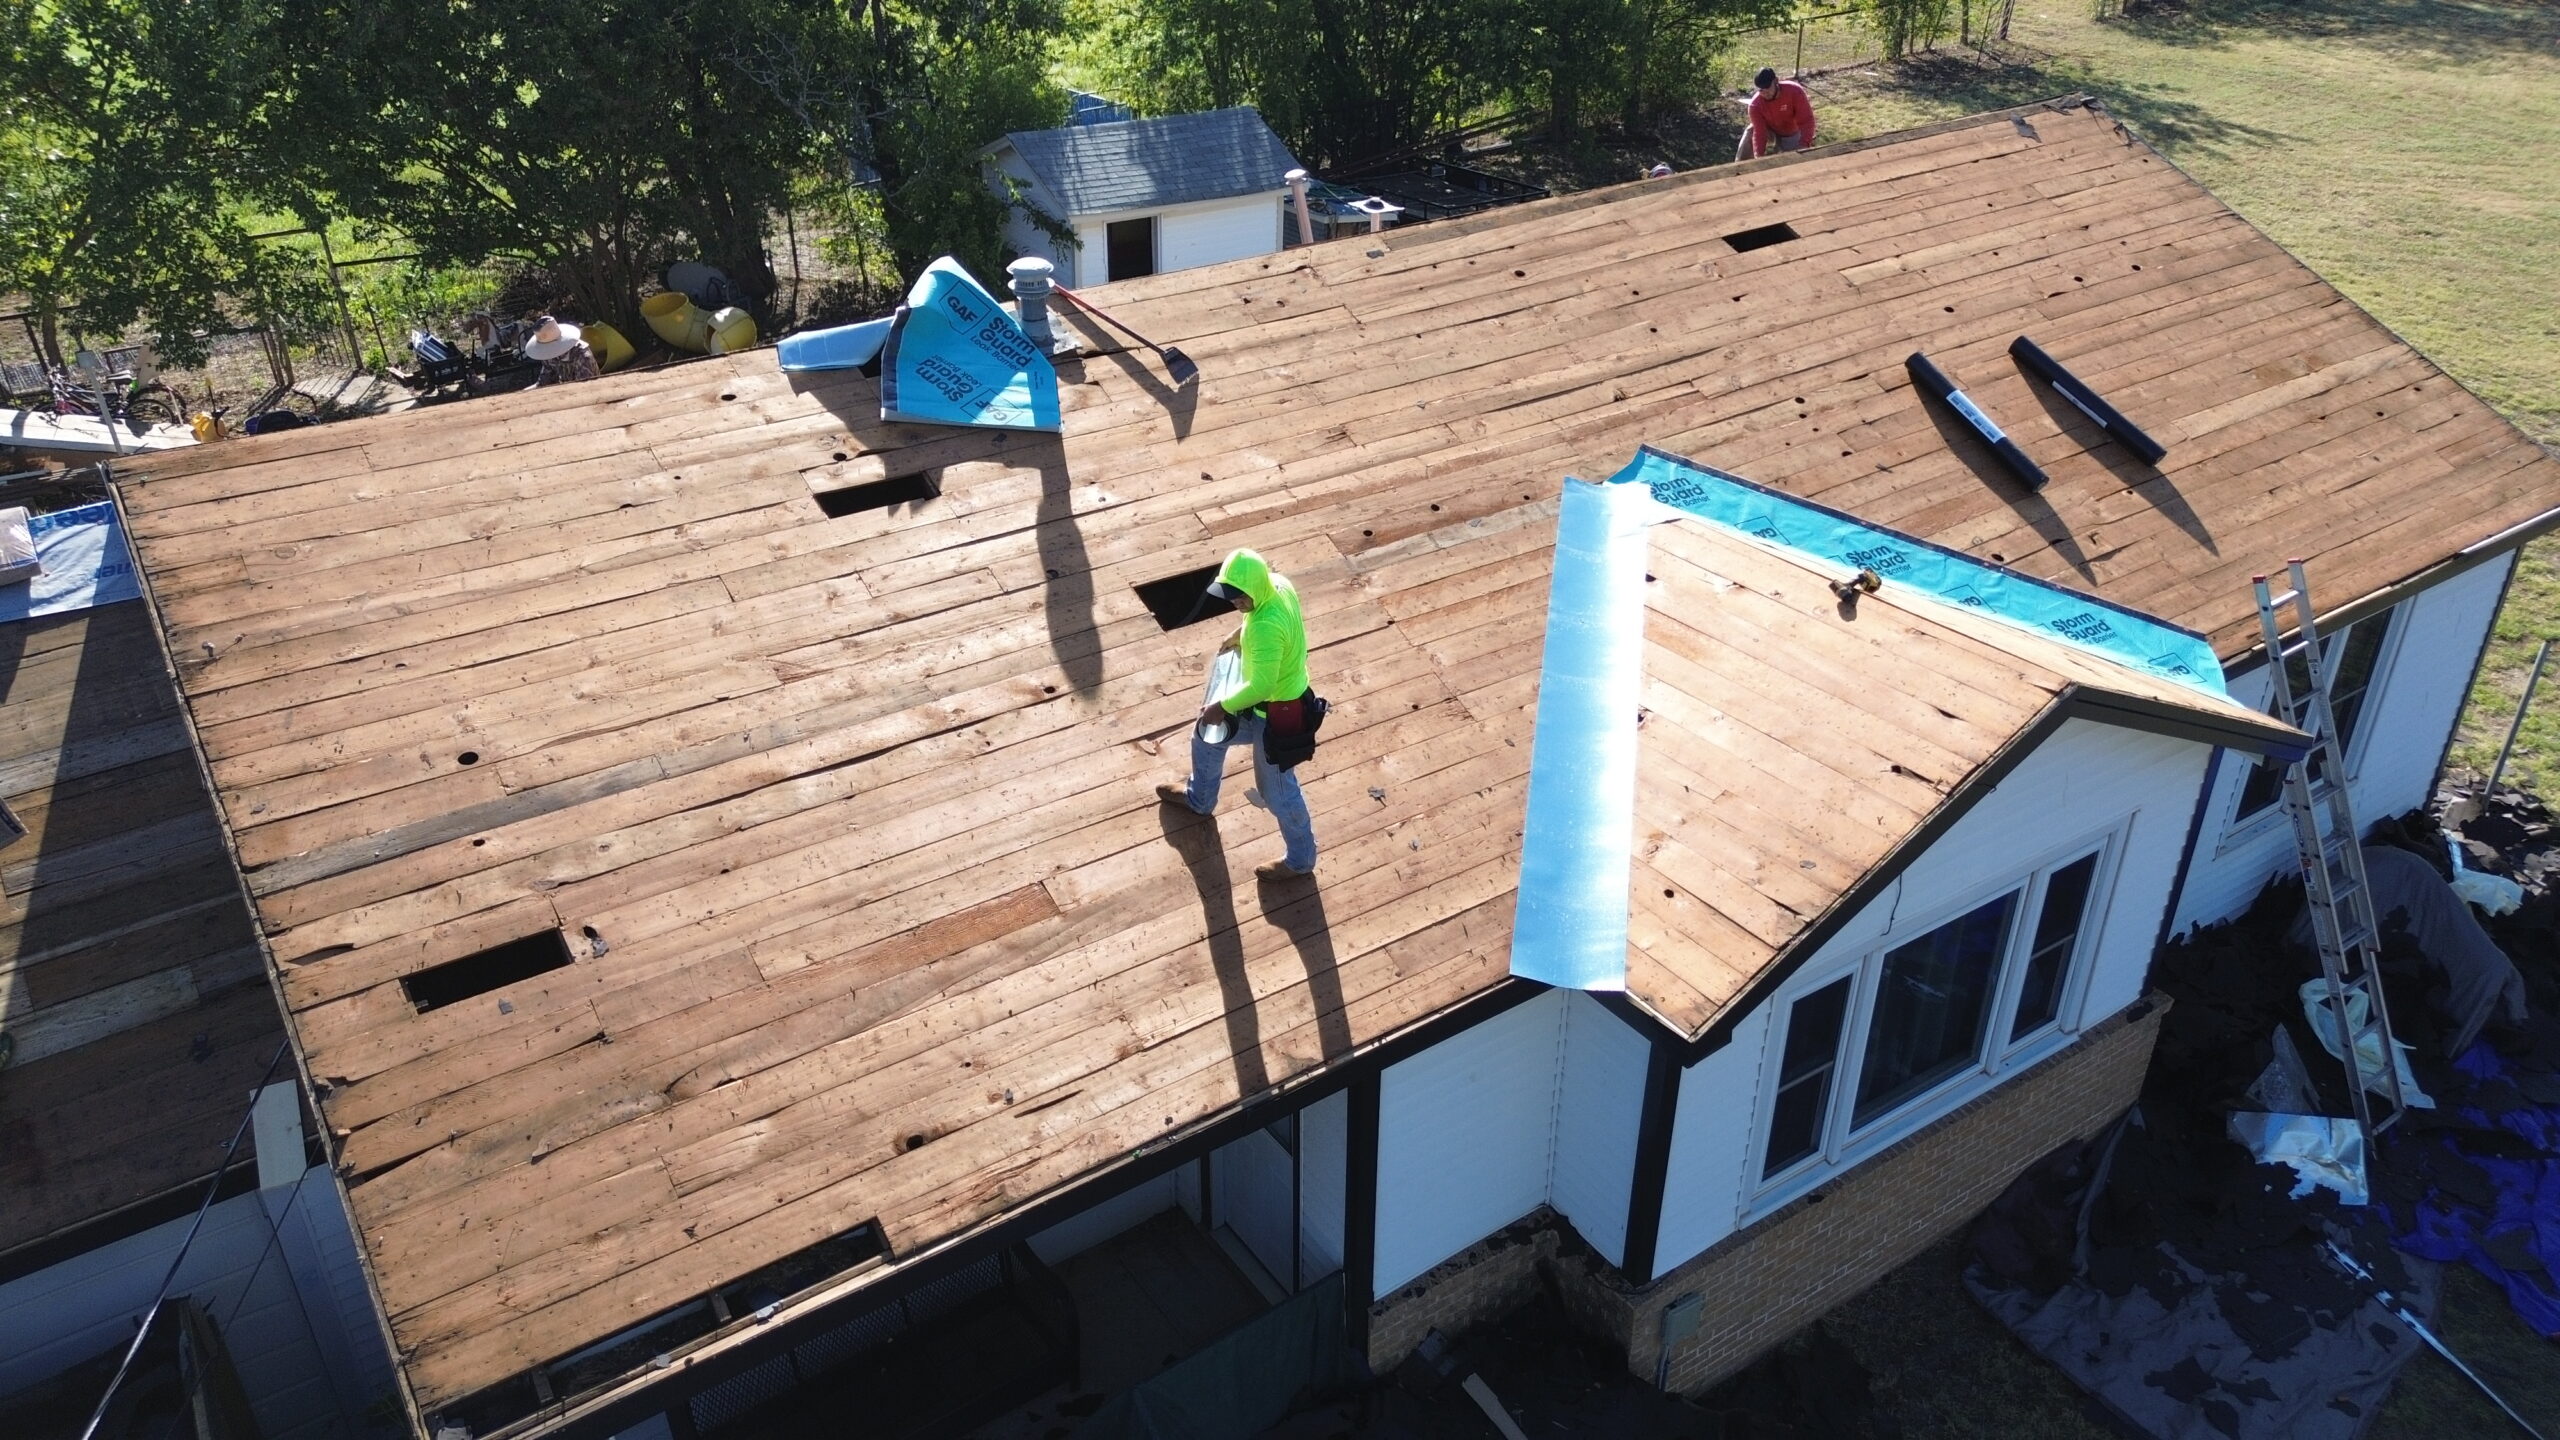
The roof deck deserves particular attention during the inspection. Although it may not be visible while the existing roofing system is intact, its condition becomes much clearer after the old materials are removed. Soft, rotten, cracked, or water-damaged decking may need to be replaced before the new roofing system can be installed properly.
Homeowners should ask the contractor to explain any damage discovered during the inspection rather than relying only on general statements. Clear photographs and written descriptions can make it easier to understand which areas require replacement and why certain costs may be included in the estimate.
The inspection should also consider ventilation and drainage. Poor attic ventilation can contribute to excessive heat and moisture accumulation, while inadequate drainage can allow water to remain around vulnerable roof areas. Correcting these issues during replacement can improve the performance and durability of the new roofing system.
Deciding Between Roof Repair and Full Replacement
Choosing between repair and complete replacement requires more than looking at the number of damaged shingles. The overall condition of the roofing system, the age of the roof, the extent of deterioration, and the likelihood of future problems all need to be considered together.
A repair may be appropriate when damage is limited to a small, clearly defined area and the surrounding roofing materials remain in good condition. For example, replacing a few damaged shingles or repairing a localized flashing problem may restore the roof without requiring a full replacement.
Full replacement becomes more reasonable when deterioration is widespread. If large sections of the roof are damaged, materials are approaching the end of their useful life, or leaks continue despite previous repairs, repeatedly fixing individual problems may become inefficient.
The condition of the underlying structure can also influence the decision. A roof that has experienced long-term water intrusion may have damaged decking or other components that cannot be properly protected through surface-level repairs. In these circumstances, replacement provides an opportunity to address the entire system rather than treating symptoms individually.
Homeowners should avoid making the decision solely on the lowest immediate cost. A cheaper repair may appear attractive initially but could require additional work later if the surrounding roof continues to deteriorate. Conversely, replacing a roof that still has many years of reliable service remaining may not always be necessary.
A useful way to evaluate the decision is to consider these factors together:
- Age and expected remaining service life of the roof
- Number and severity of damaged areas
- Frequency of previous repairs and leaks
- Condition of the roof deck and other underlying components
- Cost difference between continued repairs and complete replacement
Discussing these points with a qualified roofing professional can help homeowners choose an approach based on the actual condition of the property rather than assumptions.
Planning the Residential Roof Replacement Project
Once full replacement has been selected, careful planning should begin before installation day. Good preparation helps establish the project scope, expected timeline, materials, costs, and responsibilities between the homeowner and contractor.
The contractor should provide a clear estimate describing the work that will be performed. The estimate should identify the roofing materials, underlayment, flashing, ventilation components, removal and disposal of old materials, cleanup, and any anticipated deck repairs. If some conditions cannot be confirmed until the existing roof is removed, the contractor should explain how unexpected repairs will be handled.
Weather is another important planning consideration. Roofing work generally requires suitable conditions because rain, strong winds, or other severe weather can interfere with installation and expose the home to moisture. Contractors may adjust the schedule when weather conditions create safety or installation concerns.
Homeowners should also consider how the project will affect daily routines. Roof replacement can involve noise, workers moving around the property, temporary access restrictions, and construction debris. Families with children or pets may need to establish safe areas away from the work zone.
Before work begins, homeowners should discuss practical details with the contractor, including where materials will be delivered, where workers will park, how debris will be collected, and how outdoor property will be protected. Clear communication before installation can reduce misunderstandings once the project is underway.
Choosing Roofing Materials and Replacement Options
Selecting the right roofing material is an important part of the replacement process because the material influences appearance, durability, maintenance, cost, and expected service life. Homeowners should consider the characteristics of the property and the local environment instead of choosing materials based only on appearance.
Asphalt shingles are widely used in residential roofing because they are available in different styles and price ranges. Architectural shingles can provide a more dimensional appearance, while other roofing materials may offer different levels of durability and aesthetic appeal.
Metal roofing is another option that can provide long-term performance and resistance to certain weather conditions. Tile, slate, and other specialized materials may also be suitable for some homes, although they can have different structural, installation, and maintenance requirements.
The roof’s design must be considered when selecting materials. Roof pitch, existing structure, ventilation, flashing details, and local building requirements can influence which materials are appropriate. Some roofing systems also require specific installation methods or compatible components.
Homeowners should evaluate more than the initial purchase price when comparing materials. A material with a higher upfront cost may provide greater longevity or require less maintenance, while a lower-cost option may be suitable when budget considerations are more important.
It is also important to confirm whether the selected material is appropriate for local weather conditions and building requirements. The contractor should explain the advantages, limitations, maintenance expectations, and warranty terms associated with each option before the final selection is made.
Getting Estimates and Selecting a Qualified Roofing Contractor
Choosing the right contractor is one of the most important decisions in the entire replacement process. Even high-quality roofing materials can perform poorly when they are installed incorrectly or when important preparation steps are skipped.
Homeowners should obtain detailed estimates rather than comparing contractors based only on a single total price. A useful estimate should explain what materials will be used, how the old roof will be removed, what preparation is included, how damaged decking will be handled, and what cleanup is provided.
When comparing contractors, homeowners should look at experience, licensing or registration requirements applicable to their location, insurance coverage, references, workmanship warranties, and communication practices. It is also helpful to ask who will perform the installation and whether subcontractors will be involved.
Before signing an agreement, homeowners should review the payment schedule and written scope of work carefully. Any allowances for unexpected repairs should be clearly explained so there is less risk of confusion when concealed damage is discovered after the existing roofing materials are removed.
A professional contractor should also be willing to explain the installation process in understandable terms. Homeowners do not need to become roofing experts, but they should feel comfortable asking questions about materials, preparation, ventilation, flashing, warranties, project timing, and cleanup.
Once the contractor has been selected and the project details have been finalized, attention can turn to preparing the property for installation. The next stage involves protecting the home and its surroundings before the existing roofing system is removed, creating the foundation for the replacement work that follows.
Preparing the Home Before Roof Replacement Begins
Before the first roofing materials are removed, the property needs to be prepared for construction activity. Roof replacement can create noise, vibration, falling debris, and increased movement around the home, so preparation helps protect household belongings, landscaping, vehicles, and people. The contractor should also establish a safe work area and confirm that materials and equipment can be delivered without unnecessary disruption.
Homeowners should remove fragile or valuable items from areas directly beneath the roof, especially if they are stored in the attic. Vibrations from workers walking on the roof and removing old materials can cause dust or small particles to fall through existing gaps, while interior objects may shift slightly during heavy construction activity.
Outdoor preparation is equally important. Patio furniture, grills, decorations, planters, and other movable items should be relocated away from the work zone. Vehicles should also be parked at a safe distance because roofing materials, tools, and debris may be moved around the property throughout the project.
The contractor may place protective coverings over plants, exterior walls, windows, doors, and other vulnerable areas. Temporary protection helps reduce the possibility of damage from falling debris and keeps construction materials contained as much as possible.
Homeowners should also discuss access arrangements before work begins. The roofing crew may need access to driveways, electrical connections, water sources, or specific areas around the house, so understanding these requirements in advance can prevent delays.
Once the property has been prepared and the work area secured, the replacement process can move into the removal of the existing roofing system.
Removing the Existing Roofing System
The removal stage begins by taking off the existing roofing materials so the contractor can access the underlying structure. Depending on the roof design and material, this may involve removing shingles, underlayment, flashing, vents, fasteners, and other components that are no longer suitable for reuse.
Workers typically begin in a planned section of the roof and carefully remove the old materials while controlling where debris falls. Roofing debris can be heavy and sharp, so professional crews use appropriate equipment and procedures to move waste safely from the roof to designated collection areas.
The contractor may inspect the roof continuously as old materials are removed. This is important because problems hidden beneath shingles or other surface materials cannot always be identified during the initial visual inspection.
In some cases, an existing roof may have multiple layers of roofing material. Local building requirements and the condition of the underlying structure can determine whether these layers can remain or need to be removed. A complete replacement generally provides an opportunity to expose the roof deck and evaluate its condition more thoroughly.
Old flashing around chimneys, skylights, vents, walls, and other penetrations may also be removed if it has deteriorated or is not compatible with the new roofing system. Reusing damaged flashing can create future leakage risks even when the new roofing material itself is installed correctly.
During removal, the crew should also pay attention to nails and other debris around the property. Effective debris management is important for both worker safety and household safety, particularly when children, pets, or vehicles are present.
After the old roofing materials have been removed, the condition of the roof deck becomes much easier to evaluate. This inspection is one of the most important stages because the new roofing system depends on a stable and properly prepared surface.
Inspecting and Preparing the Roof Deck
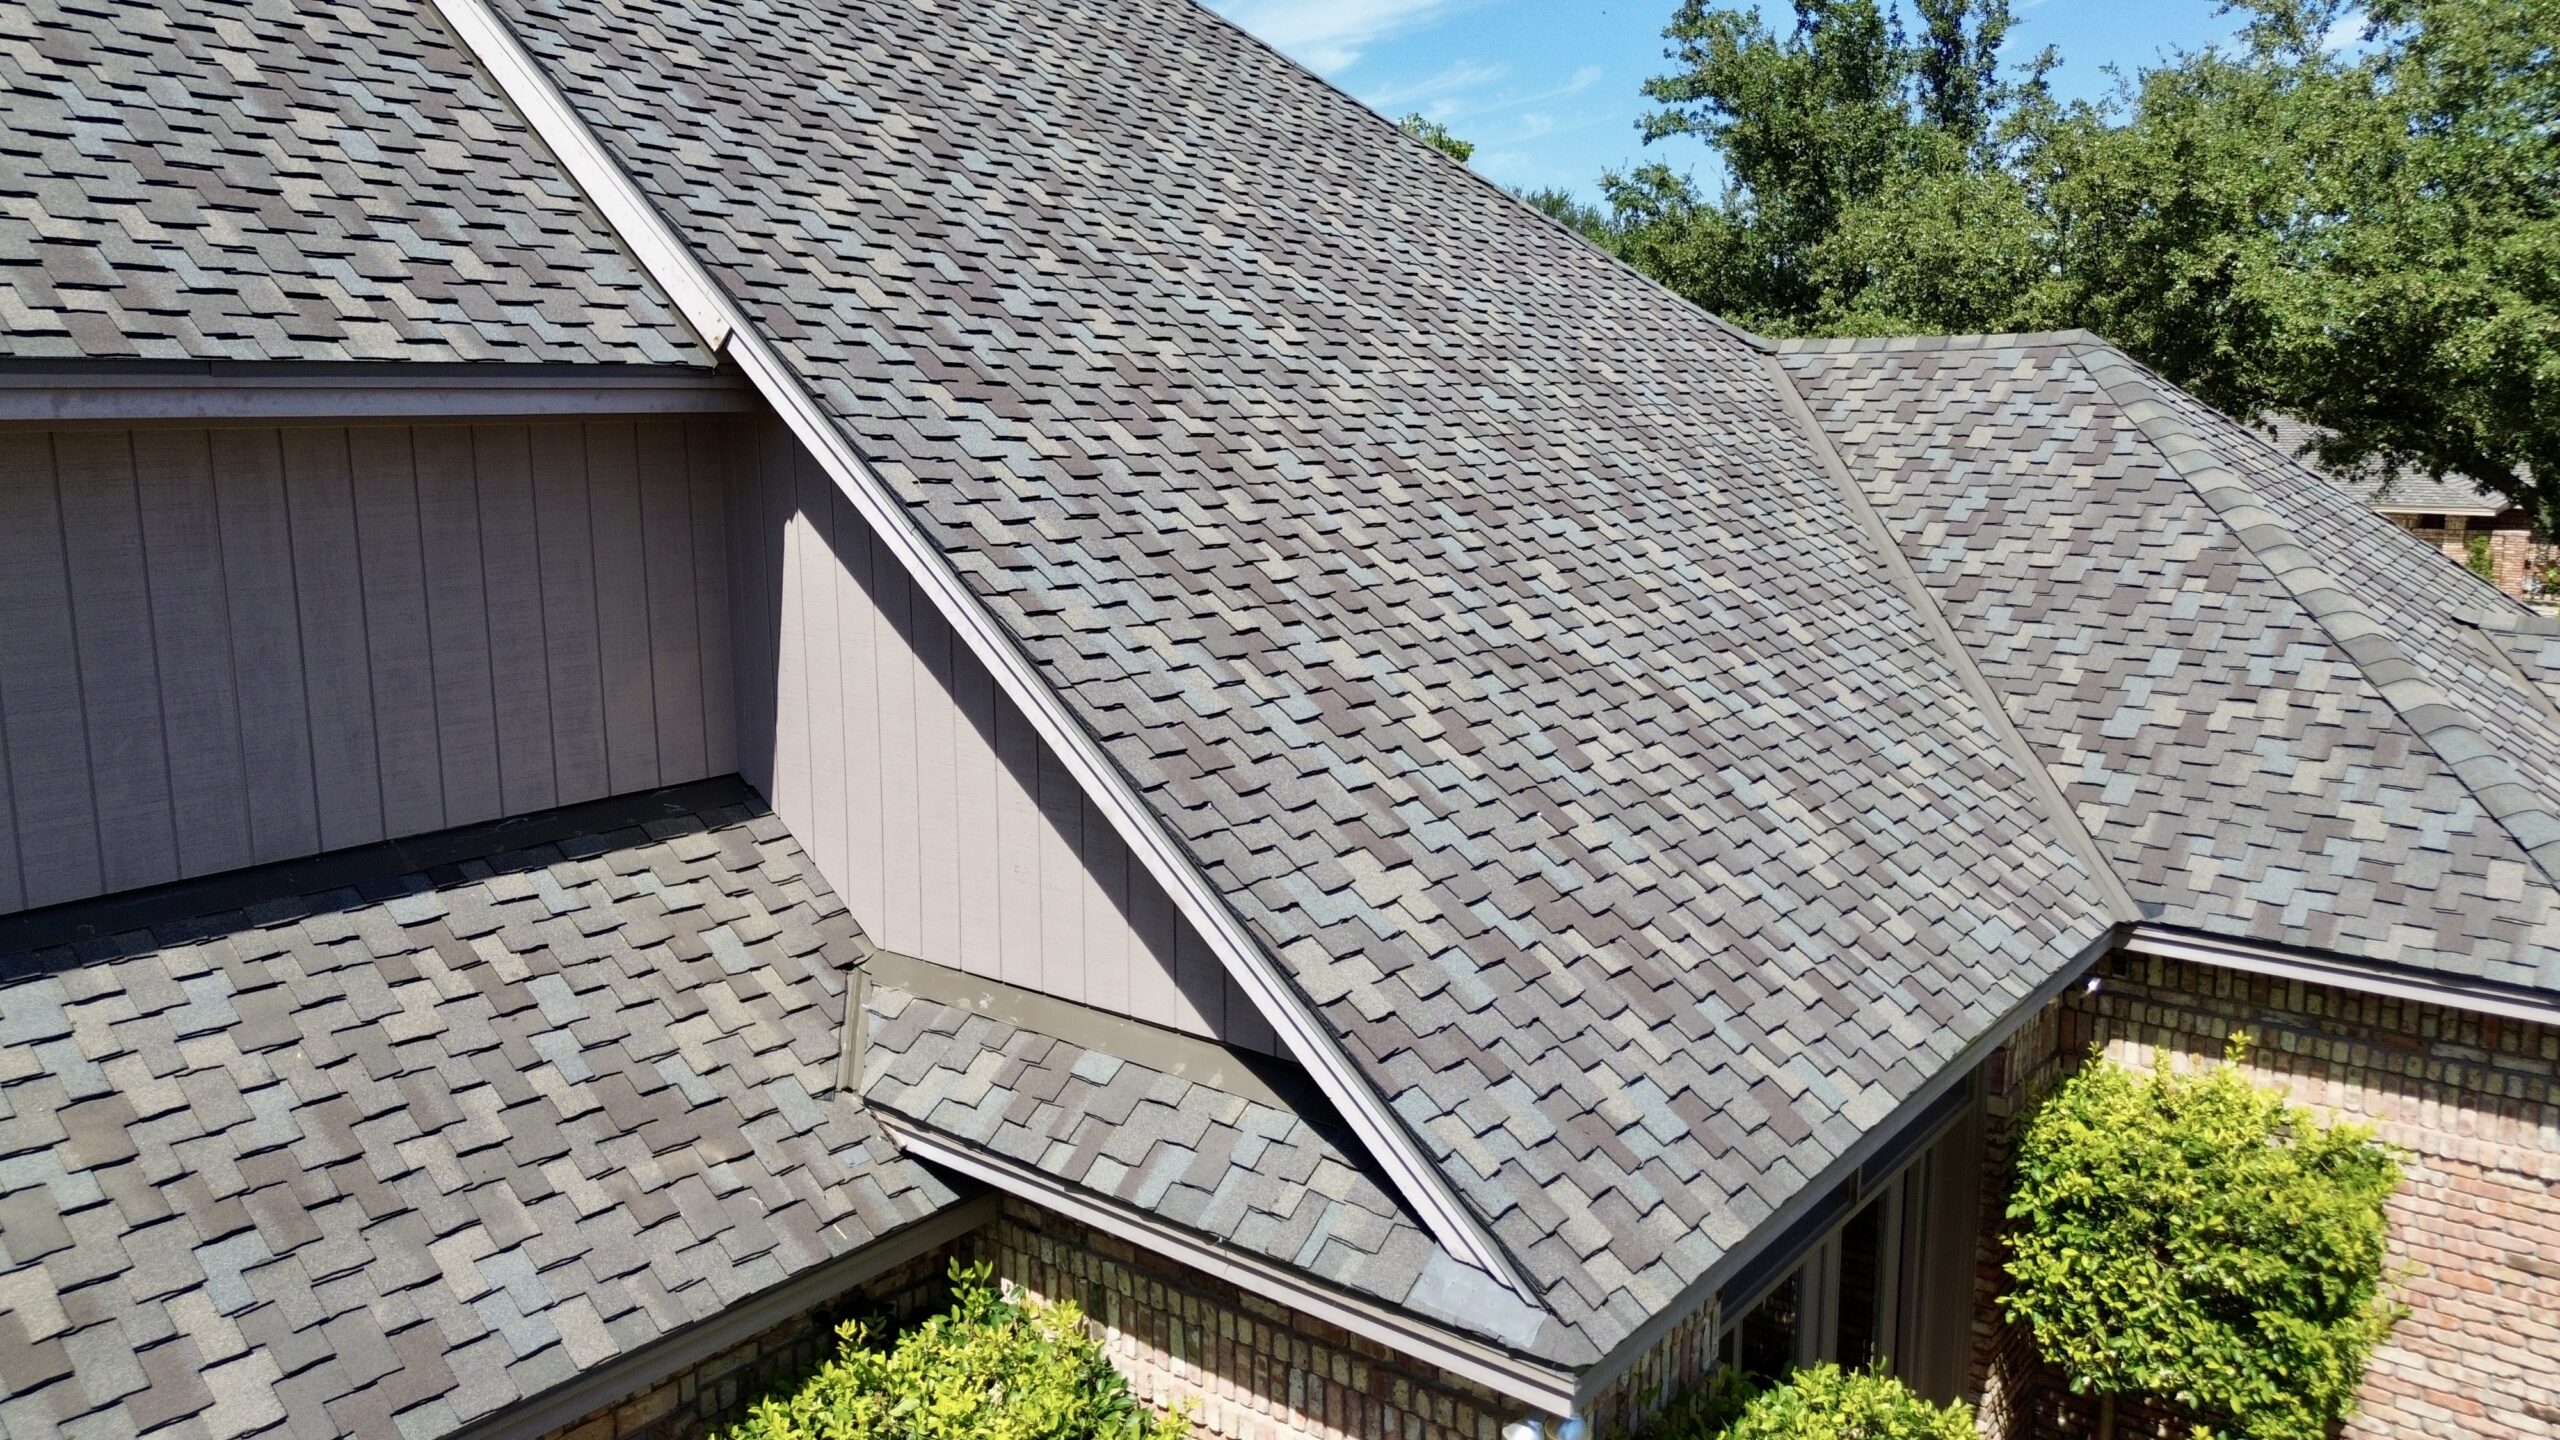
The roof deck is the structural surface installed over the roof framing, and it provides the base for many components of the roofing system. If the deck is weak, damaged, or exposed to prolonged moisture, installing new roofing materials directly over it can create problems later.
Contractors inspect the exposed deck for signs of water damage, rot, cracking, warping, holes, or areas that feel soft underfoot. Dark staining can sometimes indicate previous moisture exposure, although the exact cause and severity need to be evaluated before deciding whether replacement is necessary.
Damaged sections of decking are generally removed and replaced with suitable materials. The replacement pieces should be properly supported and securely fastened so the finished roof has a stable foundation.
Not every imperfection automatically requires extensive structural work. Minor surface issues may be handled differently from areas where the wood has lost its strength, so homeowners should ask the contractor to explain why specific sections are being replaced.
If unexpected damage is discovered, the project cost and timeline may change. A professional contractor should communicate these findings before performing significant additional work whenever practical, giving the homeowner an opportunity to understand the situation.
The roof deck should be clean and ready for the next installation stage. Once the underlying surface is properly prepared, the contractor can begin installing protective components designed to reduce moisture intrusion and improve the overall performance of the new roofing system.
Repairing Structural and Moisture-Related Problems
Roof replacement provides an opportunity to address problems that may have contributed to the deterioration of the old roof. Ignoring these issues can reduce the effectiveness of the new roofing system, even if the surface installation appears attractive when finished.
Moisture-related problems may occur around valleys, roof penetrations, flashing areas, damaged decking, and poorly sealed transitions. Water can follow paths beneath the surface, meaning the location of an interior stain does not always identify the exact point where water entered the roof.
The contractor may inspect framing and other accessible components when there is evidence of long-term moisture exposure. If structural members have been weakened, additional repairs may be required before the roofing system can be installed.
Drainage problems should also be considered at this stage. Gutters, downspouts, valleys, and roof slopes need to direct water away from vulnerable areas rather than allowing it to collect or flow improperly across the roof surface.
Ventilation problems may require attention as well. A properly designed roofing system needs appropriate airflow through the attic or roof assembly, depending on the home’s construction and local requirements. Correcting ventilation deficiencies during replacement can help manage heat and moisture conditions after installation.
These repairs may add to the initial project cost, but addressing underlying problems before covering them with new materials is generally more effective than discovering the same issues after the replacement has been completed.
Once structural and moisture-related concerns have been addressed, the contractor can begin installing the protective layers that sit beneath the primary roofing material.
Installing Underlayment and Weather Protection
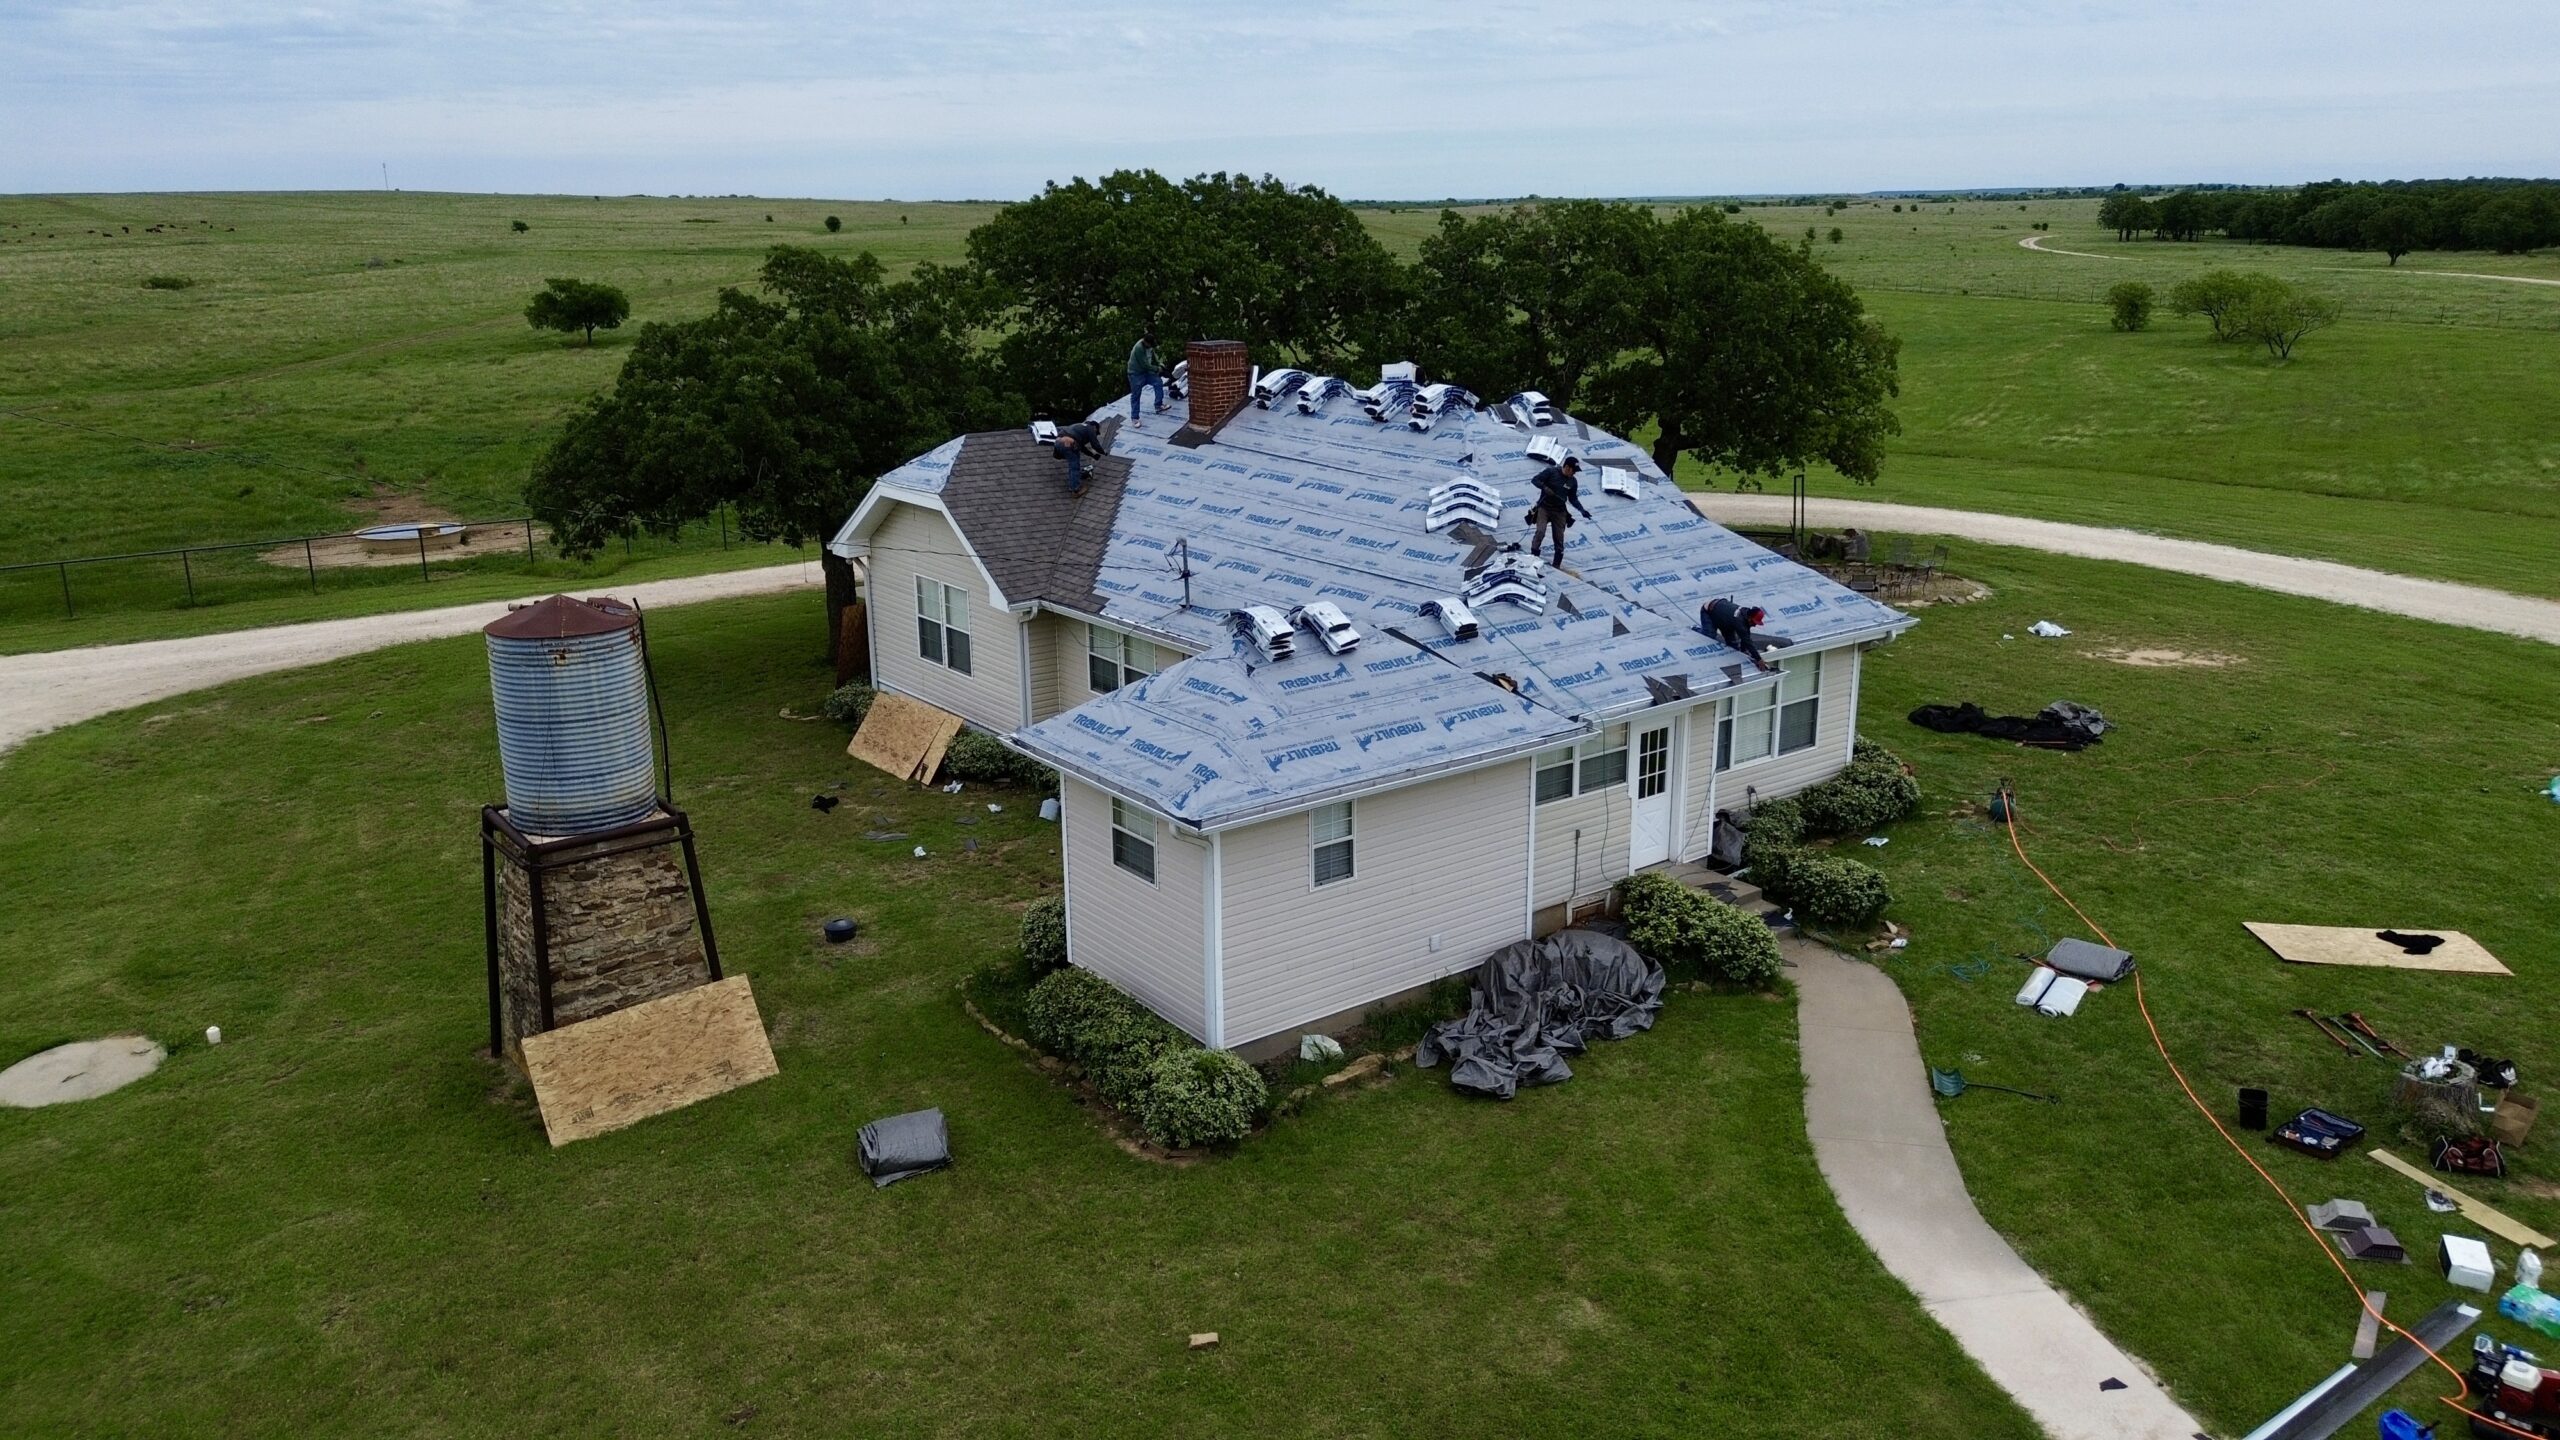
Underlayment is an important component installed between the roof deck and the primary roofing material. It provides an additional layer of protection against moisture and can help reduce the risk of water reaching the roof deck if rain moves beneath the outer roofing surface.
The type of underlayment used depends on the roofing system, local requirements, manufacturer specifications, and project design. Some roofs use traditional felt-based products, while others use synthetic or specialized membranes designed for particular applications.
Installation needs to be performed carefully because gaps, improper overlaps, or damaged sections can reduce the effectiveness of the protective layer. The material should be positioned according to the manufacturer’s requirements and secured appropriately for the roof design.
Certain vulnerable areas may receive additional water protection. Roof valleys, eaves, and other locations exposed to increased water flow may require specialized membranes or additional layers depending on the roofing system and local construction requirements.
Underlayment should also be coordinated with flashing and other roof components. These parts work together rather than functioning as completely separate layers, so improper sequencing can create weak points around transitions and penetrations.
The contractor should avoid leaving sensitive areas exposed for longer than necessary, particularly when changing weather conditions are expected. Temporary protection may be used when the installation cannot be completed in a single working period.
With the protective underlayment in place, the roof is prepared for additional components that control water movement around areas where the roofing surface meets other structures.
Installing Flashing Around Roof Penetrations
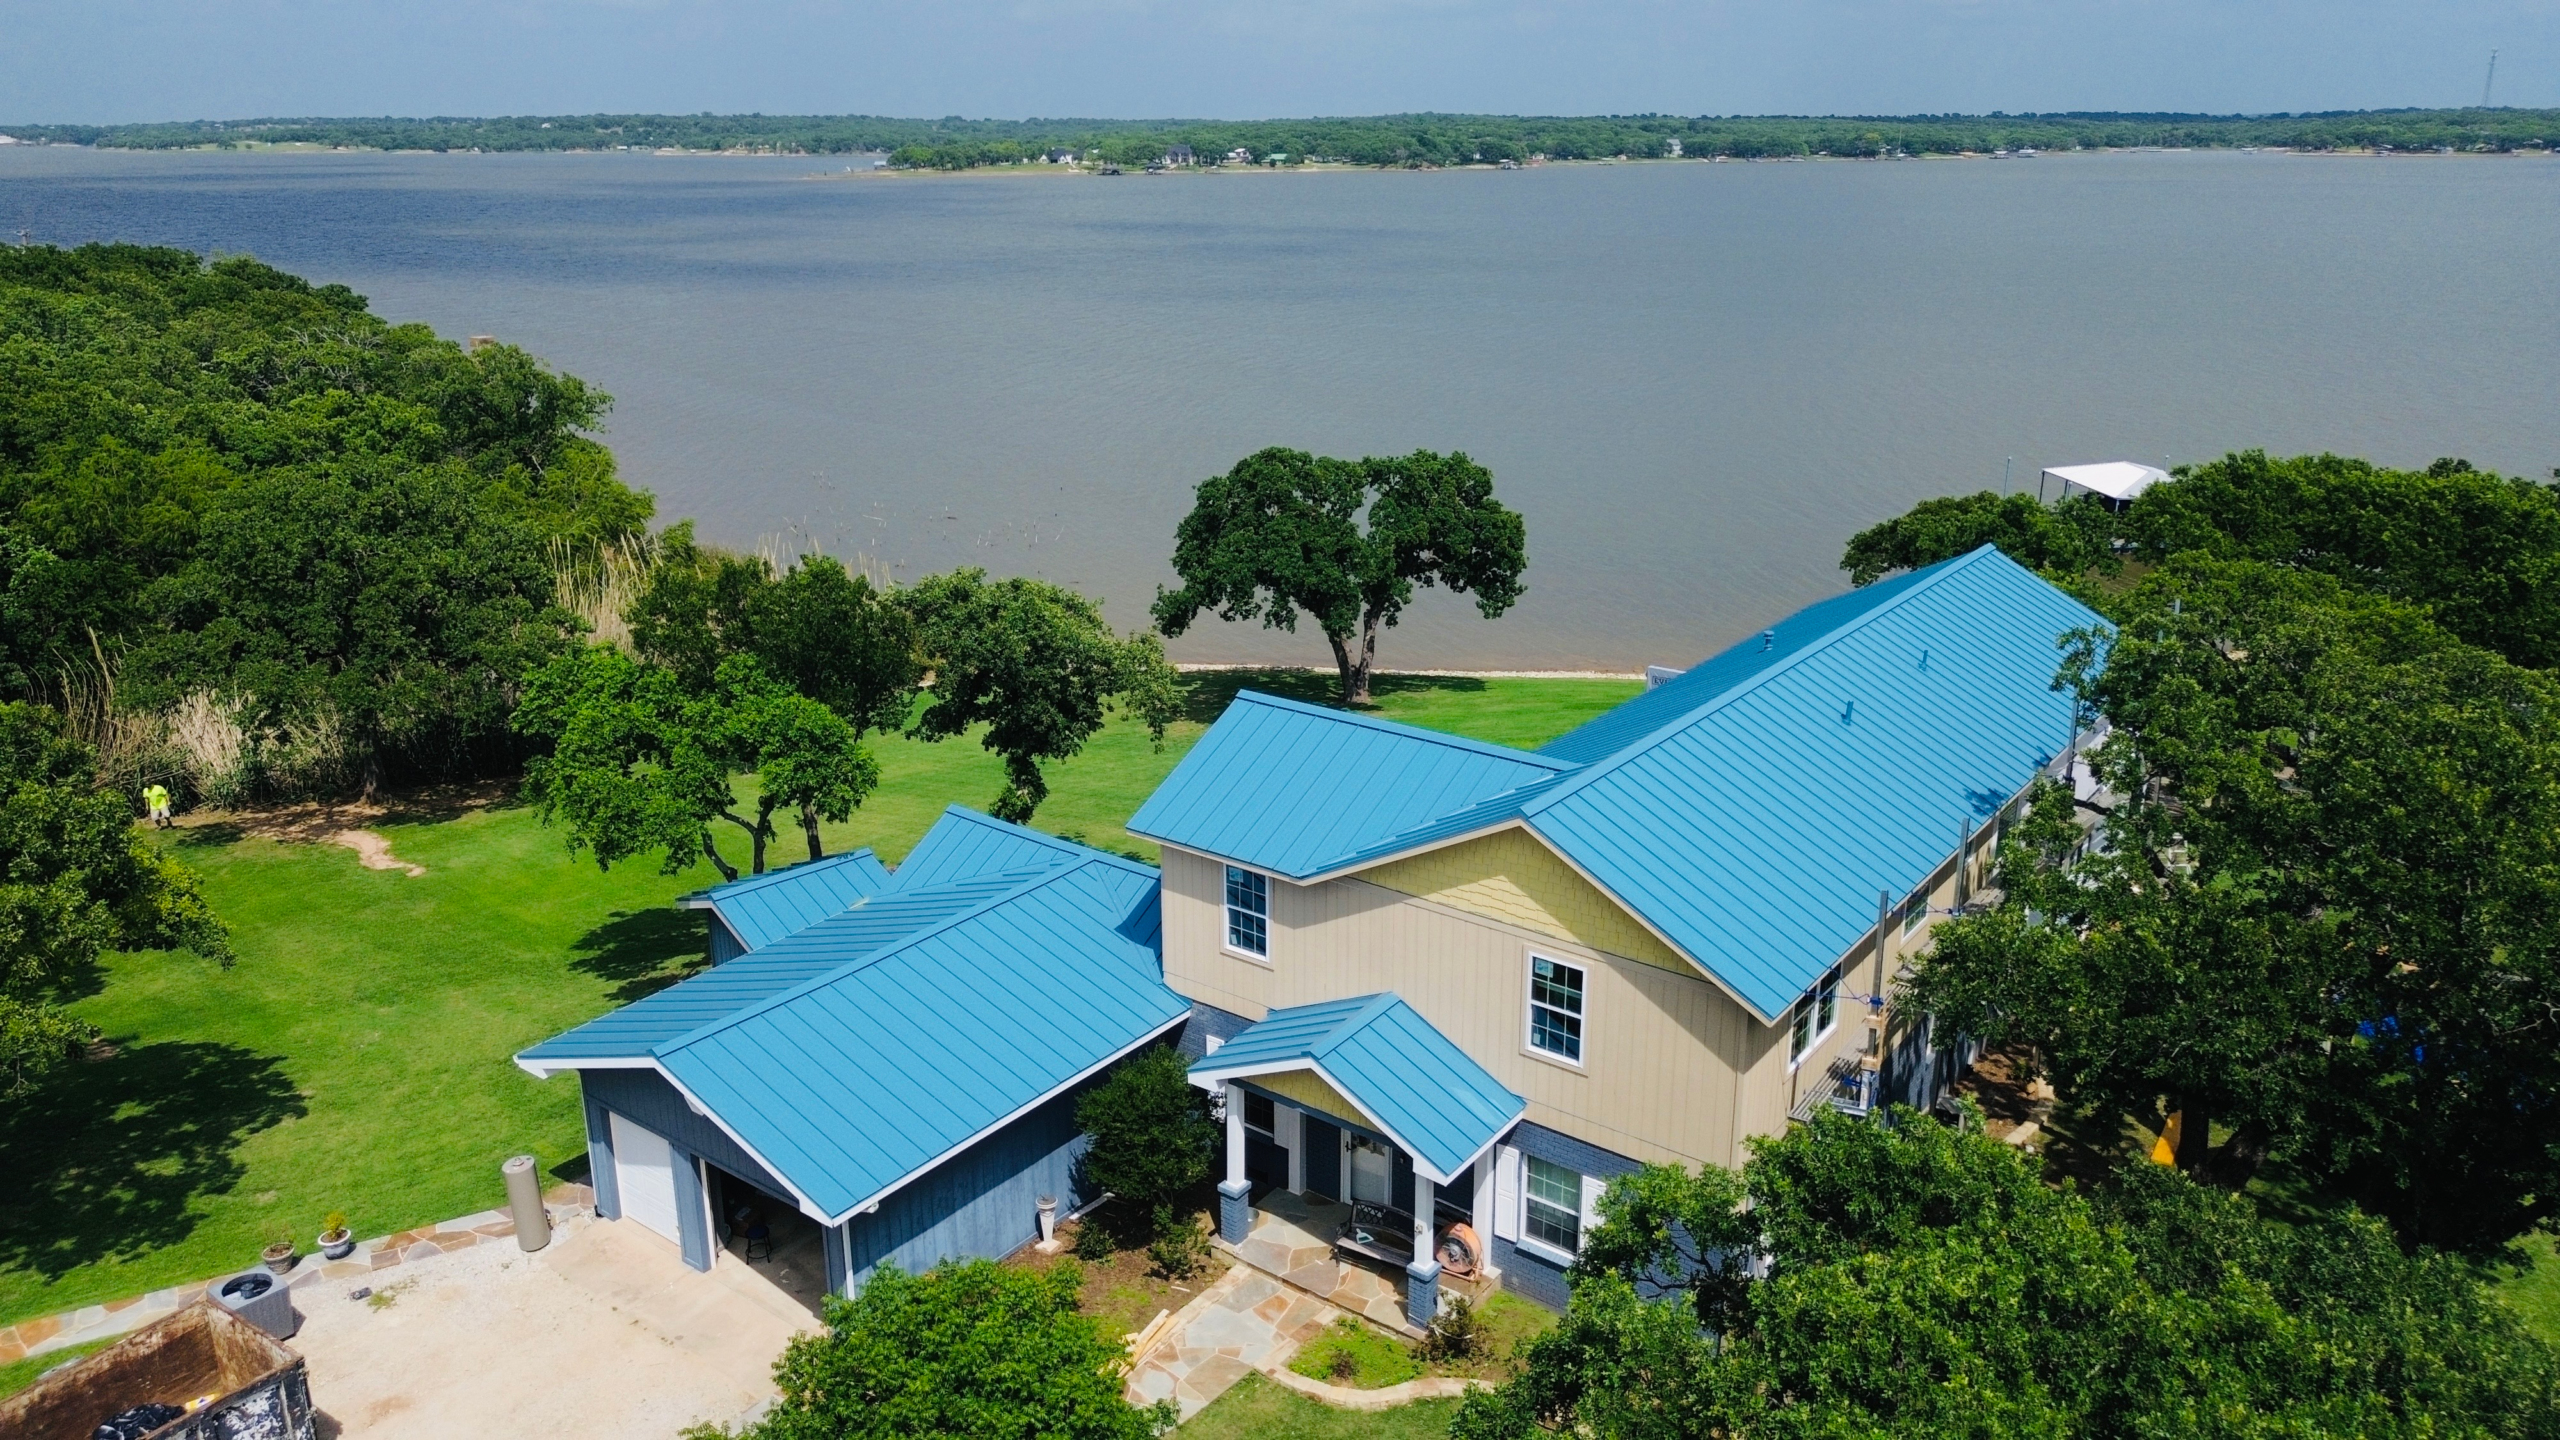
Flashing is designed to help direct water away from vulnerable joints and transitions. It is commonly installed around chimneys, skylights, vents, walls, roof valleys, and other locations where the roofing material meets another surface or changes direction.
These areas require careful attention because water naturally looks for gaps and low points. Even a small installation mistake around a penetration can eventually allow moisture to enter beneath the roofing system.
Existing flashing may be reused only when it is in suitable condition and compatible with the replacement system. In many replacement projects, deteriorated or outdated flashing is replaced so the new roof does not depend on components that have already reached the end of their service life.
Flashing installation involves more than simply placing metal over a joint. Pieces need to overlap correctly, integrate with the surrounding roofing layers, and allow water to move toward the intended drainage path.
Chimneys and wall intersections can require particularly careful detailing because they combine different building materials and surfaces. The contractor may use step flashing, counterflashing, or other appropriate components depending on the construction details.
Roof valleys also deserve special attention because they collect and direct significant amounts of rainwater. The valley design and flashing or membrane installation should be compatible with the selected roofing material and the expected water flow.
Once flashing and protective layers are installed correctly, the project reaches the main visible installation stage. The new roofing material can then be placed across the prepared roof surface according to the manufacturer’s specifications.
Installing the New Roofing Material
The installation of the new roofing material is the stage where the replacement begins to take its finished appearance. However, appearance is only one part of successful installation because proper alignment, fastening, spacing, and integration with other roof components determine how well the system performs.
For shingle roofing, installation generally begins at designated lower roof areas and progresses upward in an organized pattern. Each course needs to be positioned correctly so that the finished surface provides consistent coverage and directs water toward the drainage system.
Fasteners are another critical detail. Nails or other approved fasteners must be installed in the correct locations and with appropriate penetration, quantity, and placement. Incorrect fastening can affect wind resistance and may also violate manufacturer requirements.
The contractor must follow the installation instructions for the specific roofing product being used. Different materials can have different requirements for overlap, fastening, exposure, temperature conditions, and placement around roof features.
As the roofing material progresses upward, workers must integrate it with vents, flashing, valleys, skylights, chimneys, and other penetrations. These transitions need to be completed carefully so the visible roofing surface remains continuous while water is directed away from vulnerable points.
The installation process may also vary depending on roof complexity. A simple roof with broad slopes and few penetrations can move more quickly than a roof with multiple valleys, dormers, skylights, chimneys, or changes in pitch.
By the end of this stage, most of the roof surface will have its new covering, but several important components still need to be completed. Ridge areas, edges, ventilation openings, drainage details, and finishing components will be addressed as the replacement progresses toward completion.
Completing Ridge, Edge, and Finishing Components
After the main roofing material has been installed across the roof slopes, the contractor moves to the finishing components that complete the roofing system. These details may not cover as much surface area as the primary roofing material, but they are essential for protecting exposed edges, controlling water, and creating a durable finished roof.
Ridge areas receive particular attention because they are where two roof slopes meet at the highest point. Depending on the roofing system, the contractor may install ridge shingles or another approved ridge covering that protects the joint while maintaining the intended appearance of the roof.
Roof edges also need proper treatment because wind and rain can affect these exposed areas. Drip edge components may be installed along appropriate roof edges to help guide water away from the roof deck and toward the gutters or away from vulnerable structural surfaces.
Eaves, rakes, valleys, and other transitions are checked as the finishing work progresses. Each component should connect properly with the surrounding roofing materials so that there are no unnecessary openings or weak points where moisture can enter.
Ventilation components are also completed during this stage when the roofing design includes them. Ridge vents, intake vents, and other ventilation features need to remain unobstructed so air can move through the intended ventilation pathway.
The contractor should also inspect areas around chimneys, skylights, plumbing vents, and other roof penetrations. These locations require careful finishing because they combine different materials and are more vulnerable to water intrusion if installation details are incomplete.
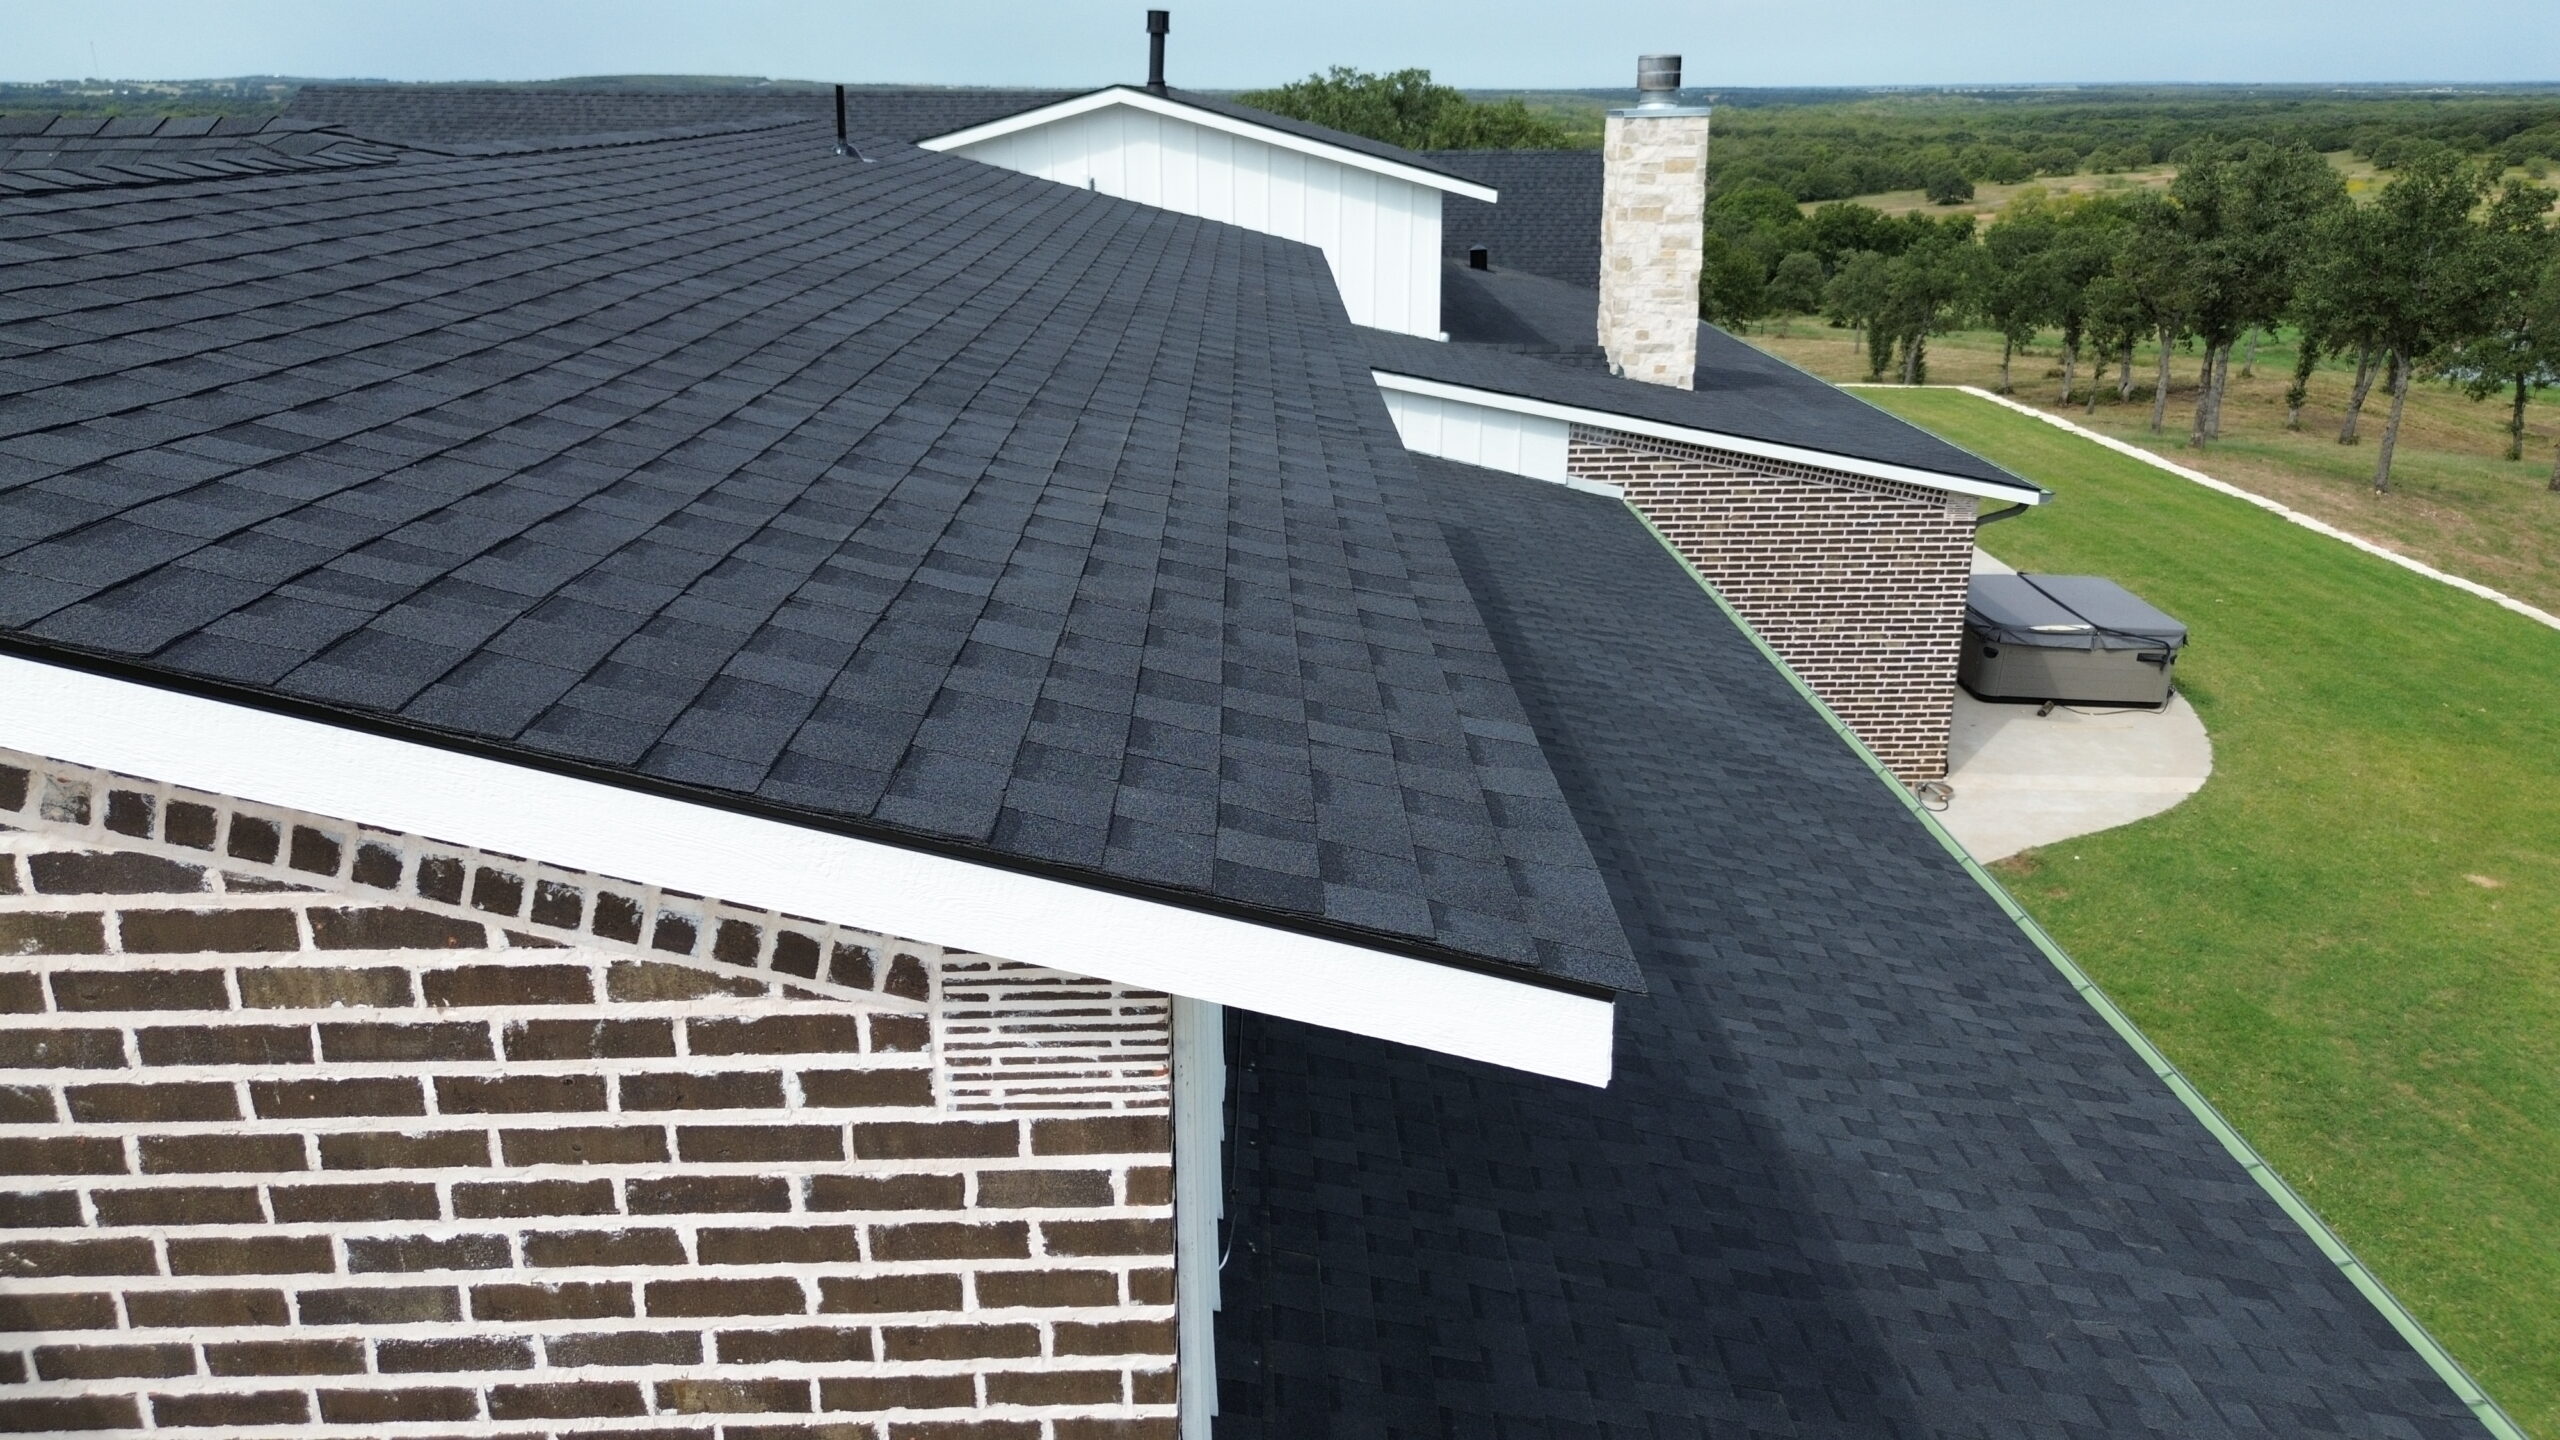
A properly finished roof should have clean lines, secure components, consistent material placement, and properly sealed transitions where appropriate. Once these details are complete, the contractor can begin a systematic inspection of the entire roofing system.
Final Roof Inspection and Quality Checks
The final inspection is an important part of the residential roofing replacement process because it provides an opportunity to identify installation issues before the crew leaves the property. A roof can look complete from the ground while still having problems that are visible only from closer inspection.
The contractor should examine the roofing surface for missing materials, loose components, inconsistent installation, damaged sections, or exposed areas. Fasteners should be properly installed, and materials should be securely attached according to the roofing manufacturer’s requirements.
Flashing is another major inspection point. Areas around chimneys, skylights, walls, valleys, vents, and other penetrations should be checked to confirm that the flashing is properly integrated with the new roofing system.
The inspection should also include drainage components. Gutters and downspouts need to remain clear of significant construction debris so that rainwater can move away from the roof efficiently. Roof valleys and other drainage paths should also be free from materials or debris that could interfere with water flow.
Ventilation openings should be checked to ensure that they have not been blocked during installation. Poor ventilation can reduce the performance of the roofing system and contribute to unwanted heat and moisture conditions within the attic.
Homeowners should participate in the final walkthrough when possible. A professional contractor can explain the work completed, identify any areas that required additional repairs, and point out features that may require special attention during future maintenance.
A useful final inspection should confirm that the major stages have been completed correctly:
- Roofing materials are properly installed and secured.
- Flashing and roof penetrations are appropriately finished.
- Roof edges, ridges, and valleys are properly completed.
- Ventilation components remain functional and unobstructed.
- Gutters, downspouts, and surrounding areas are free from construction debris.
The final inspection is not simply a formality. It provides an important quality-control step before the project is considered complete and helps ensure that concerns are addressed while the roofing crew and equipment are still available.
Cleaning the Property After Roof Replacement
Once the roofing installation and inspection are complete, the work area needs to be cleaned carefully. Roof replacement generates substantial debris, including old shingles, nails, packaging materials, damaged decking, and other construction waste.
Professional roofing crews normally use collection systems, tarps, magnetic tools, and other cleanup methods to reduce debris around the property. However, homeowners should still inspect accessible areas after the crew has finished because small materials can occasionally remain in landscaping, driveways, walkways, or other locations.
Particular attention should be given to areas where children or pets may walk. Roofing nails and sharp fragments can create hazards if they are left behind, so the property should be checked carefully before normal household activities resume around the work area.
Gutters may also require cleaning after the replacement. Even when contractors take precautions, small amounts of roofing granules or debris can enter gutters during installation. Clearing this material helps restore proper drainage after construction.
The driveway and surrounding outdoor areas should be inspected as well. Roofing materials may have been delivered, moved, or cut around these locations, so homeowners should make sure the final condition of the property is satisfactory.
Cleanup should include removing temporary protective coverings where appropriate. Plants, outdoor furniture, windows, doors, and other protected areas should be checked to make sure they have not been damaged during the project.
Before the contractor leaves, homeowners should walk around the property and raise any concerns they notice. Addressing cleanup or minor workmanship issues immediately is generally easier than discovering them several weeks after the project has ended.
Understanding the Final Roofing Documentation and Warranty
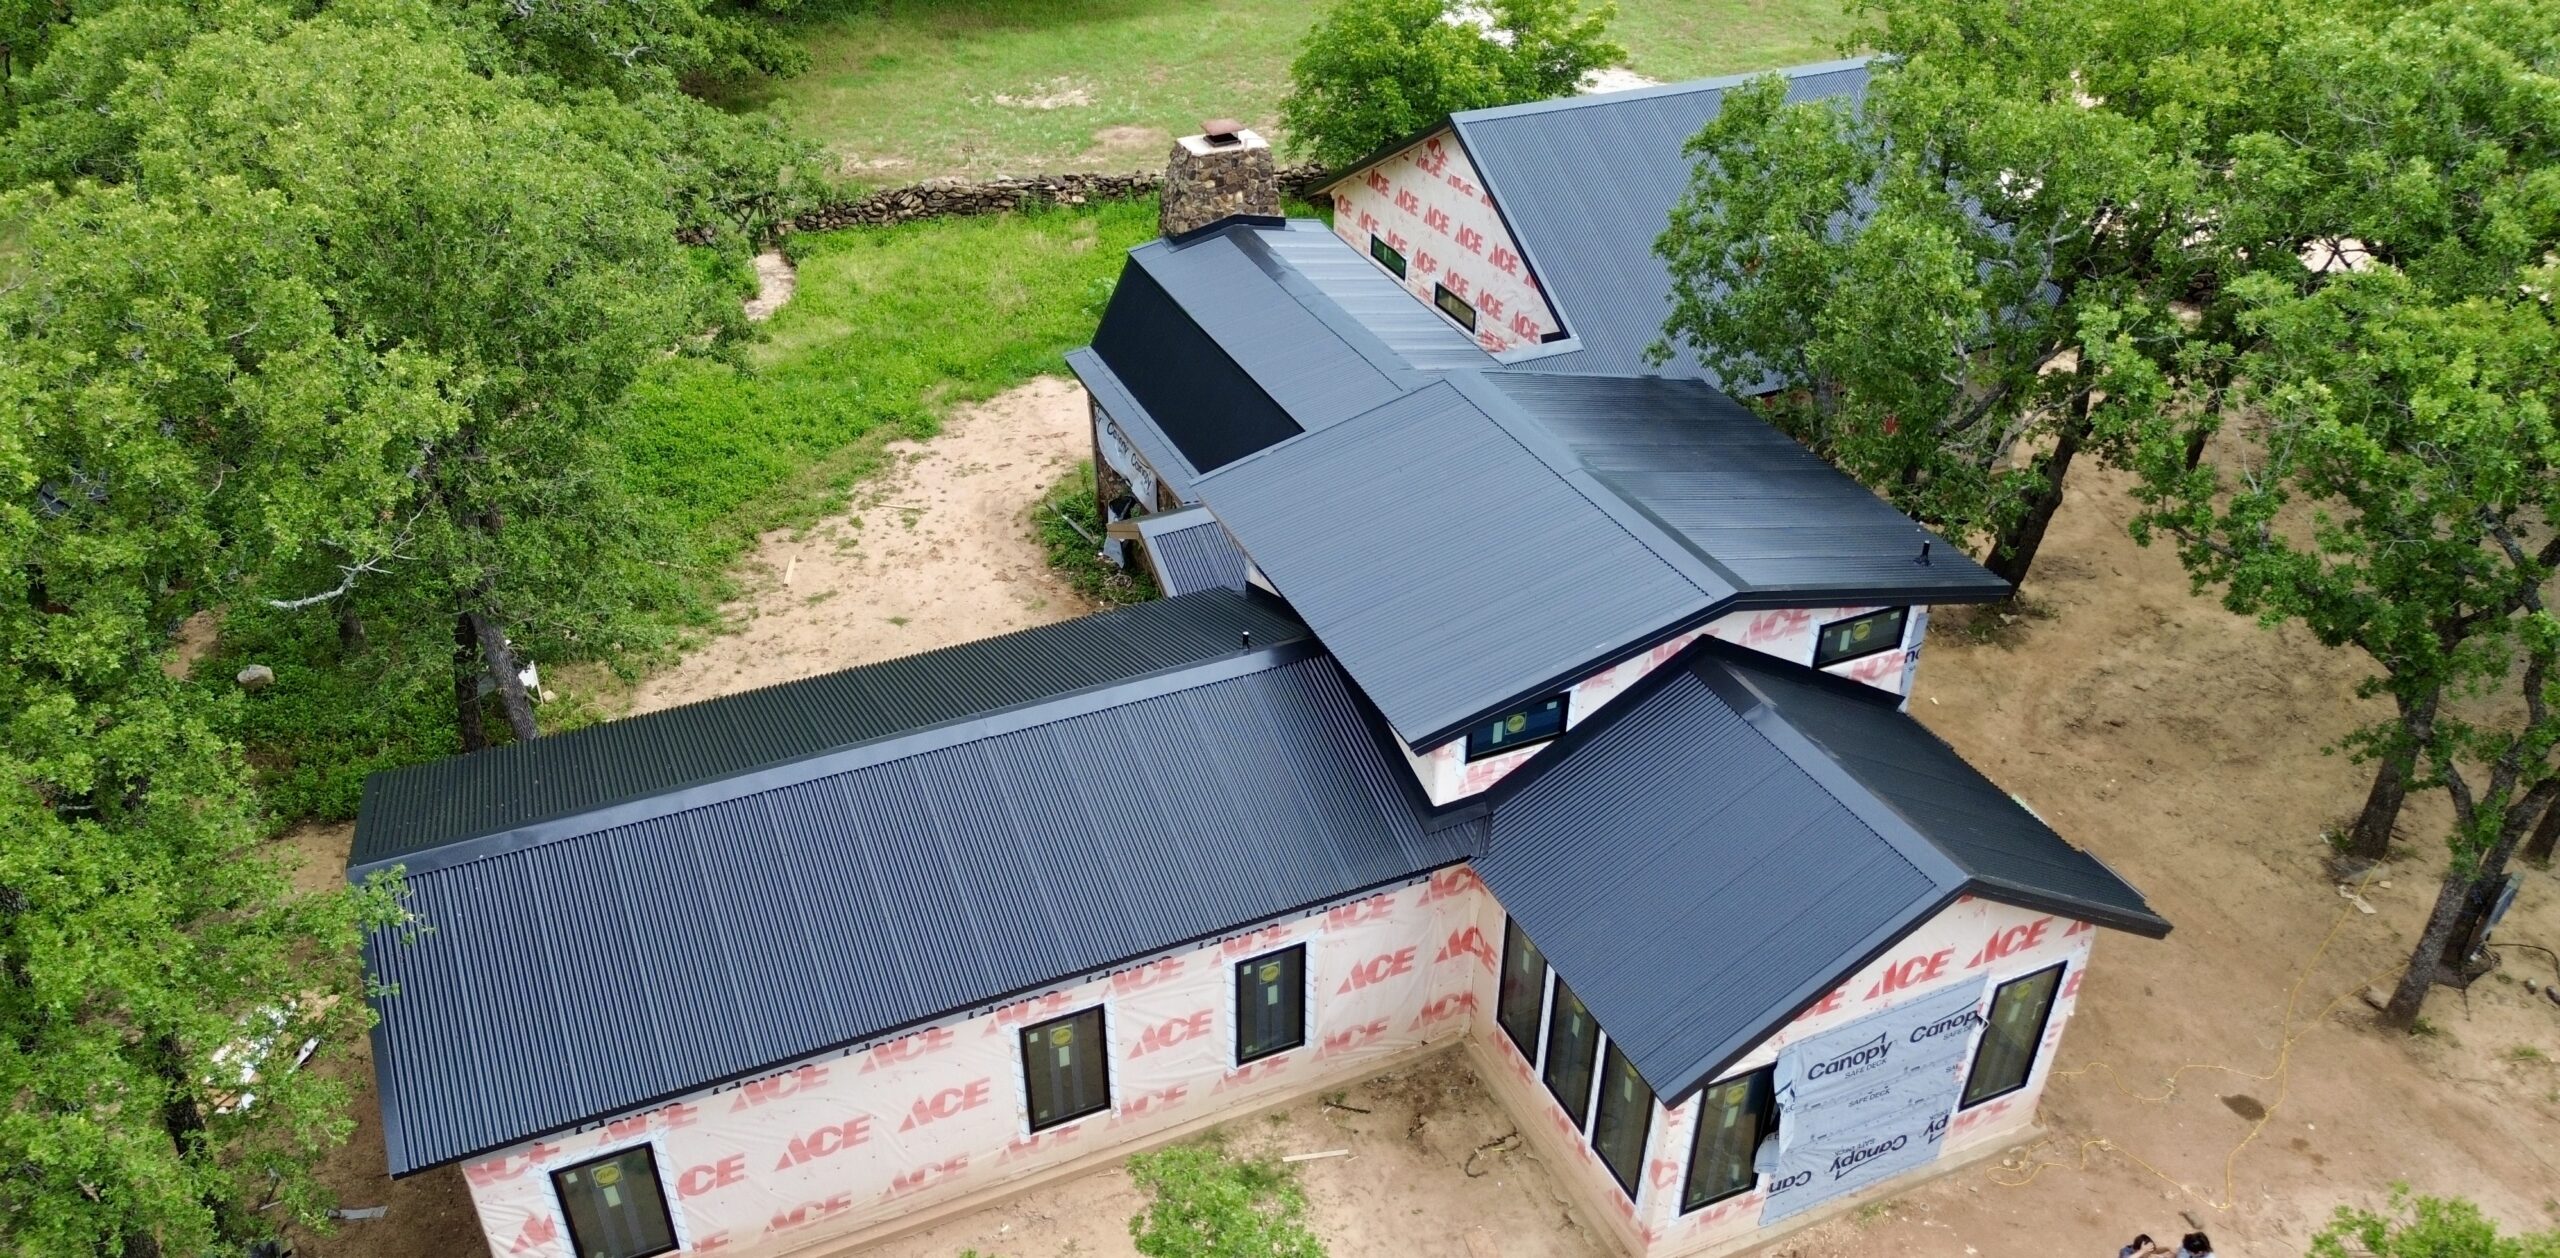
After the physical work is completed, homeowners should organize the documentation associated with the replacement. Keeping records can be useful for future maintenance, warranty questions, insurance purposes, and potential property transactions.
The final documents may include the contractor’s invoice, description of completed work, material information, warranty documents, and records of any additional repairs. Homeowners should review these documents rather than placing them away without checking the details.
Roofing warranties can include different types of coverage. A manufacturer’s warranty generally concerns the roofing product itself, while a workmanship warranty may relate to the contractor’s installation. The terms, exclusions, duration, and procedures for making a claim can vary considerably.
Homeowners should understand what actions could affect warranty coverage. Some manufacturers may have specific installation, maintenance, or inspection requirements, so following the applicable instructions can help protect the value of the warranty.
It is also useful to record the date of replacement and the specific materials installed. If the home is sold later, this information can help demonstrate when the roof was replaced and what products were used.
If additional work was performed on the roof deck, ventilation system, flashing, or other components, those details should also be retained. Future contractors may need this information when performing inspections or repairs.
A well-organized roofing file can include:
- Final contractor invoice and payment records
- Roofing material and manufacturer information
- Workmanship and manufacturer warranty documents
- Records or photographs of completed work
- Documentation of structural or decking repairs
Homeowners should also confirm how to contact the contractor if a concern develops after completion. Knowing the correct process for reporting a potential workmanship issue can make future communication much easier.
Common Problems Homeowners Should Watch For After Replacement
A newly replaced roof should provide reliable protection, but homeowners should continue paying attention to its condition. Not every issue noticed after installation indicates a major failure, but unusual changes should be investigated rather than ignored.
Water stains appearing on ceilings or walls after replacement deserve prompt attention. While a stain can sometimes be related to an older moisture problem that was already present inside the building, new or recurring moisture should be evaluated to determine whether the source is connected to the roof or another part of the home.
Homeowners should also watch for visibly loose or damaged roofing materials. Strong winds and severe weather can affect even recently installed roofs, particularly if the property experiences conditions outside normal expectations.
Gutters and downspouts should remain functional. Excessive granules, accumulated debris, or unusual drainage patterns may indicate that additional inspection is appropriate, especially if they occur together with other visible changes.
Interior attic conditions can also provide useful information. Unusual moisture, condensation, or signs of water intrusion may indicate a ventilation or roofing issue that should be investigated by a qualified professional.
Homeowners should not climb onto a roof to investigate problems themselves unless they have the appropriate training and equipment. Roof surfaces can be steep, slippery, and hazardous, so professional inspection is generally the safer option.
Prompt attention can prevent minor concerns from becoming larger problems. If a homeowner notices a potential issue, documenting the location with photographs from a safe position and contacting the contractor can help establish what happened and determine the appropriate next step.
Maintaining a Newly Replaced Residential Roof
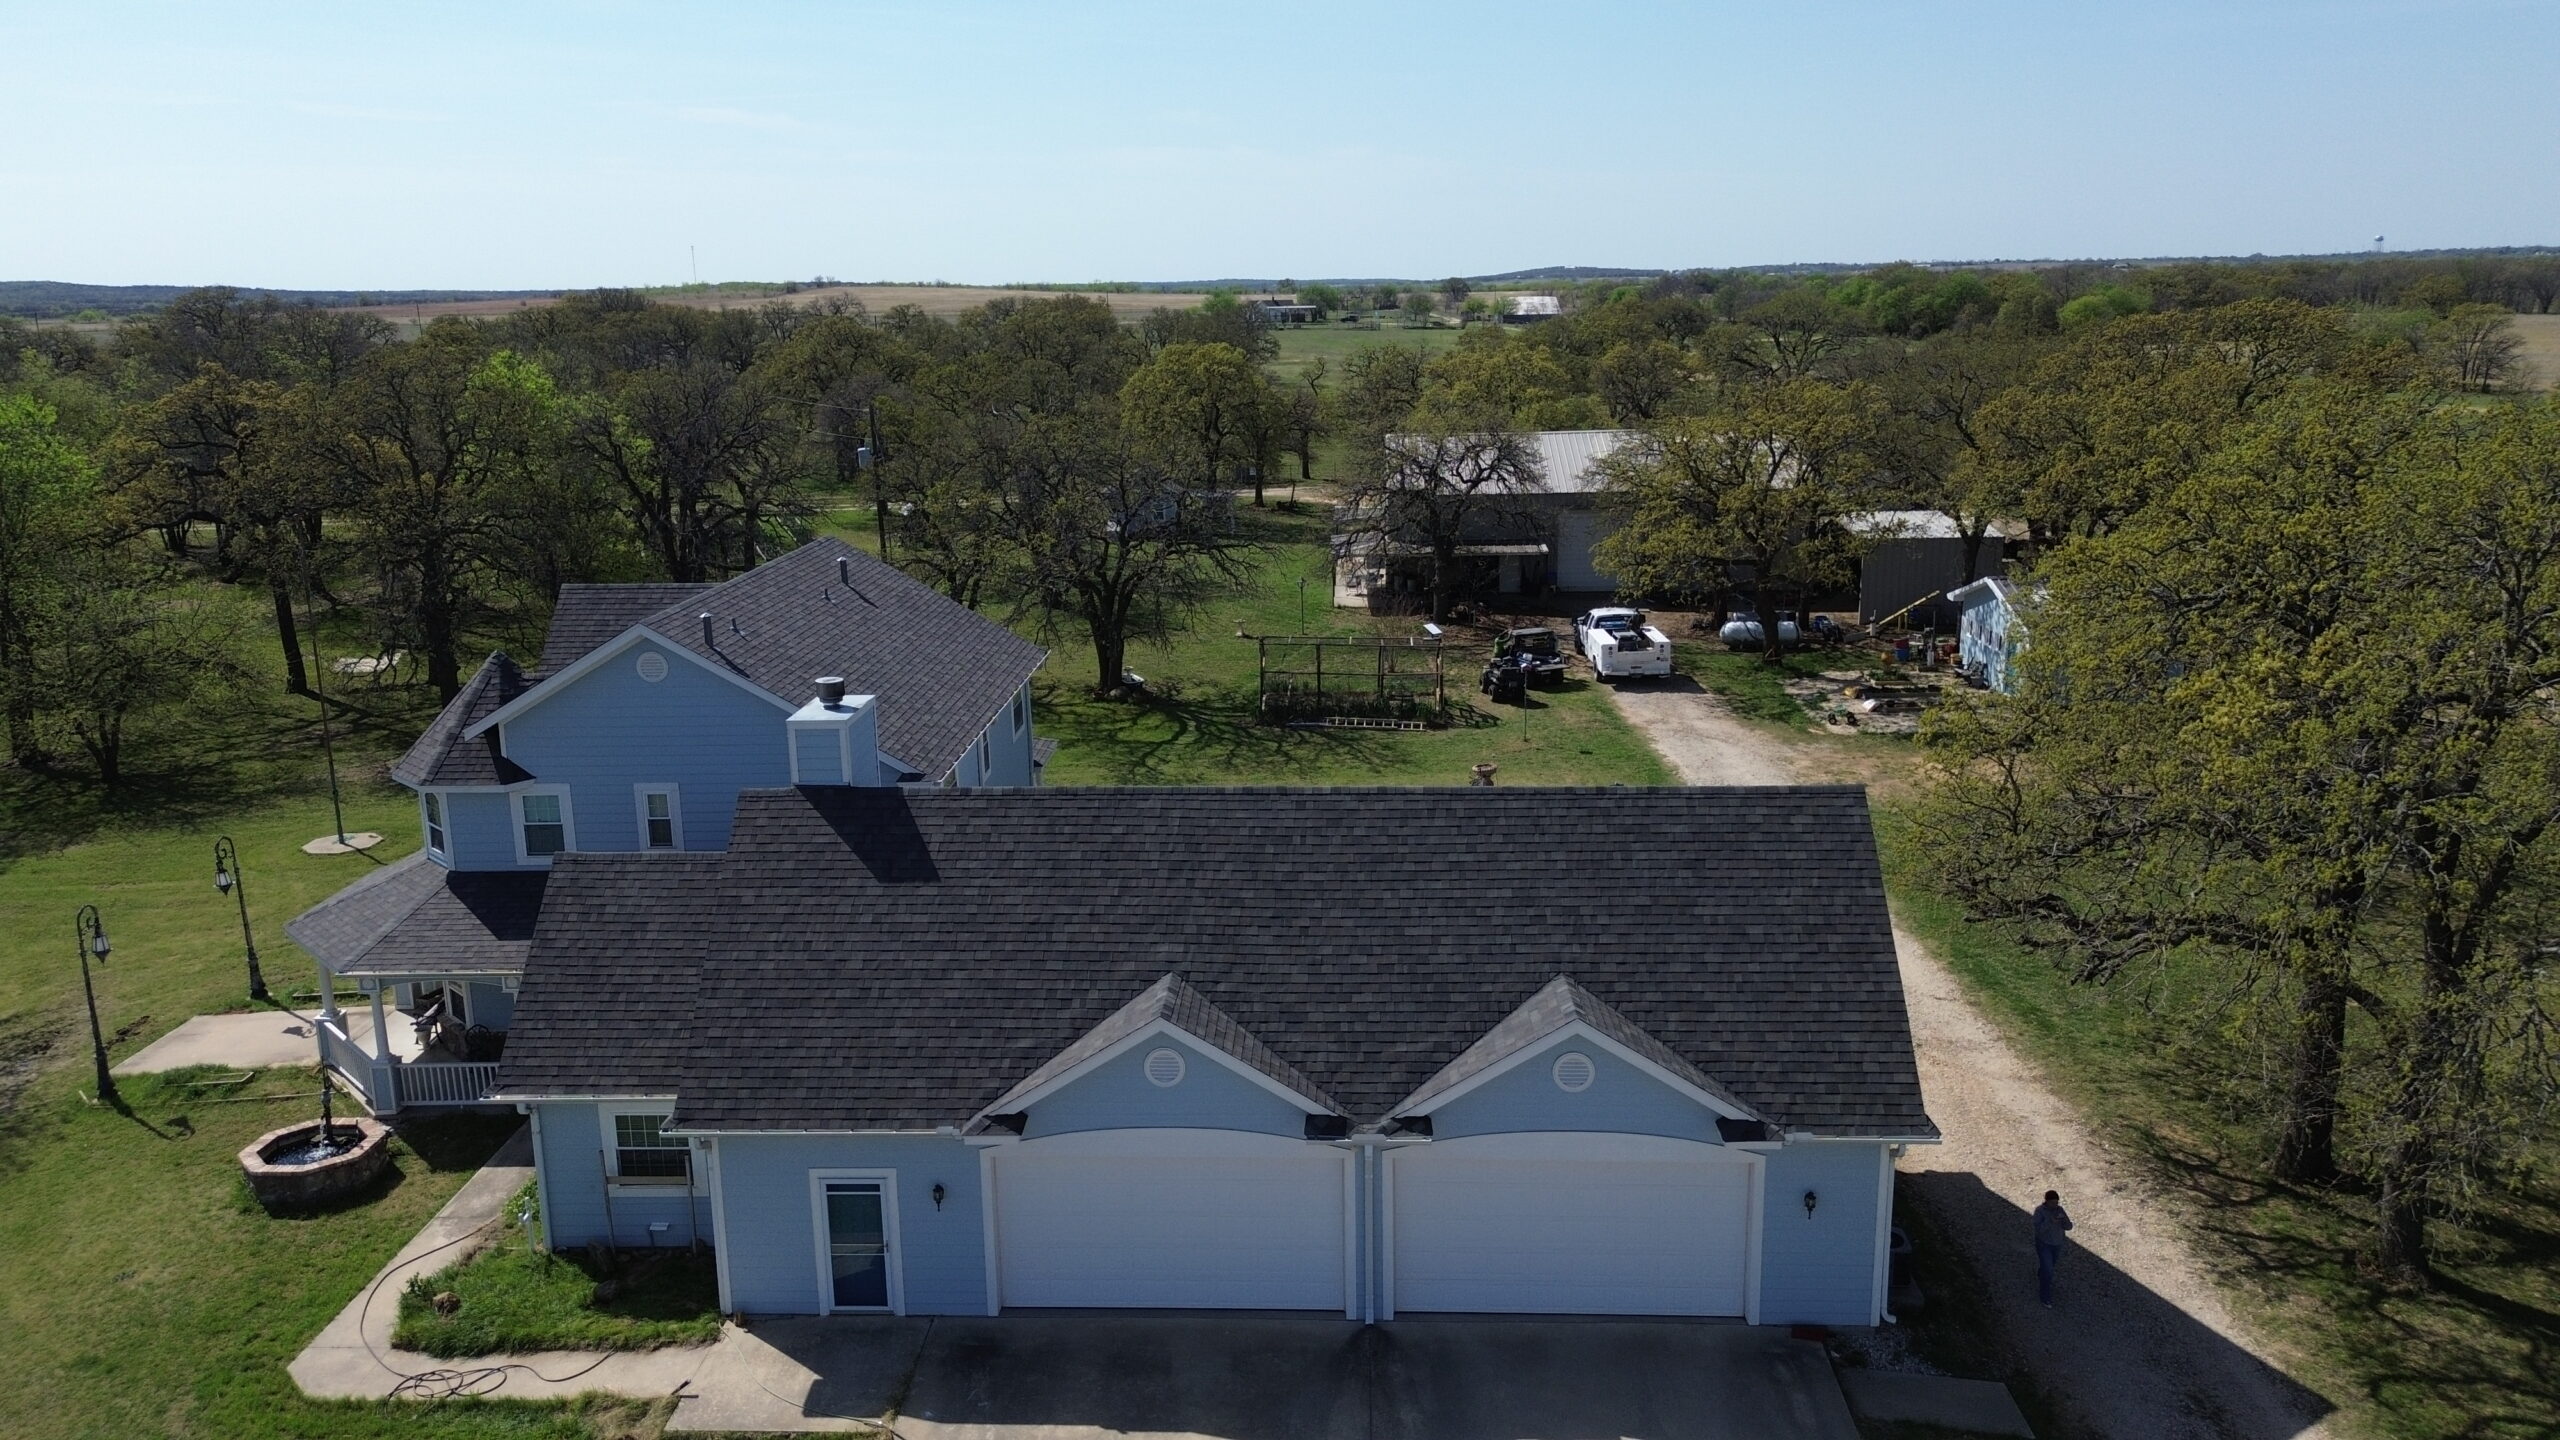
Roof replacement provides a fresh start, but regular maintenance is still necessary to protect the investment. Even durable roofing materials can deteriorate faster when drainage problems, debris accumulation, storm damage, or neglected maintenance are allowed to continue.
Routine visual inspections can help homeowners identify obvious changes before they become serious. Inspections are especially valuable after major storms because strong winds, hail, fallen branches, and heavy rainfall can damage roofing components even when the damage is not immediately visible from inside the home.
Gutters and downspouts should be kept clear so rainwater can move away from the roof and foundation. Leaves, branches, and other debris can obstruct drainage and cause water to accumulate where it should not.
Trees near the home should also be managed appropriately. Overhanging branches can scrape roofing materials, drop debris onto the roof, and create additional risks during storms. Keeping surrounding vegetation under control can reduce these problems.
Roof penetrations and flashing areas deserve periodic attention because they are among the more vulnerable parts of a roofing system. Homeowners should look for visible deterioration around vents, chimneys, skylights, and other structures and arrange professional inspection if concerns arise.
Ventilation should not be overlooked after replacement. Homeowners should avoid blocking attic intake or exhaust vents during later home improvements because proper airflow can contribute to better roof performance and help manage attic moisture and temperature.
Maintenance does not mean performing complicated roofing work personally. Instead, it means identifying potential problems early, keeping drainage systems functional, maintaining the surrounding property, and arranging professional inspections when necessary.
Conclusion
A residential roofing replacement is a multi-stage project that begins long before new roofing materials are placed on the roof. The process starts with determining whether replacement is necessary, inspecting the existing system, evaluating damage, choosing suitable materials, preparing the property, and selecting a qualified contractor.
Once work begins, the existing roofing system must be removed carefully so the underlying roof deck can be examined. Damaged decking and moisture-related problems should be addressed before underlayment, flashing, ventilation components, and new roofing materials are installed.
The visible installation is only one part of a complete replacement. Ridge and edge components, flashing, drainage, ventilation, roof penetrations, and other finishing details all contribute to the performance of the finished roofing system.
A thorough final inspection and property cleanup are also essential. Homeowners should review the completed work with the contractor, keep warranty and material records, and make sure the property is safe and free from construction debris before the project is considered finished.
After replacement, regular maintenance helps preserve the new roof for as long as possible. Keeping gutters clear, watching for storm damage, maintaining nearby trees, monitoring attic conditions, and arranging professional inspections when necessary can help homeowners identify problems before they become expensive repairs.
The most successful roof replacement projects combine proper planning, suitable materials, skilled installation, careful quality control, and ongoing maintenance. By understanding the process from the initial inspection through final maintenance, homeowners can make better decisions, communicate more effectively with roofing professionals, and protect one of the most important parts of their home.