
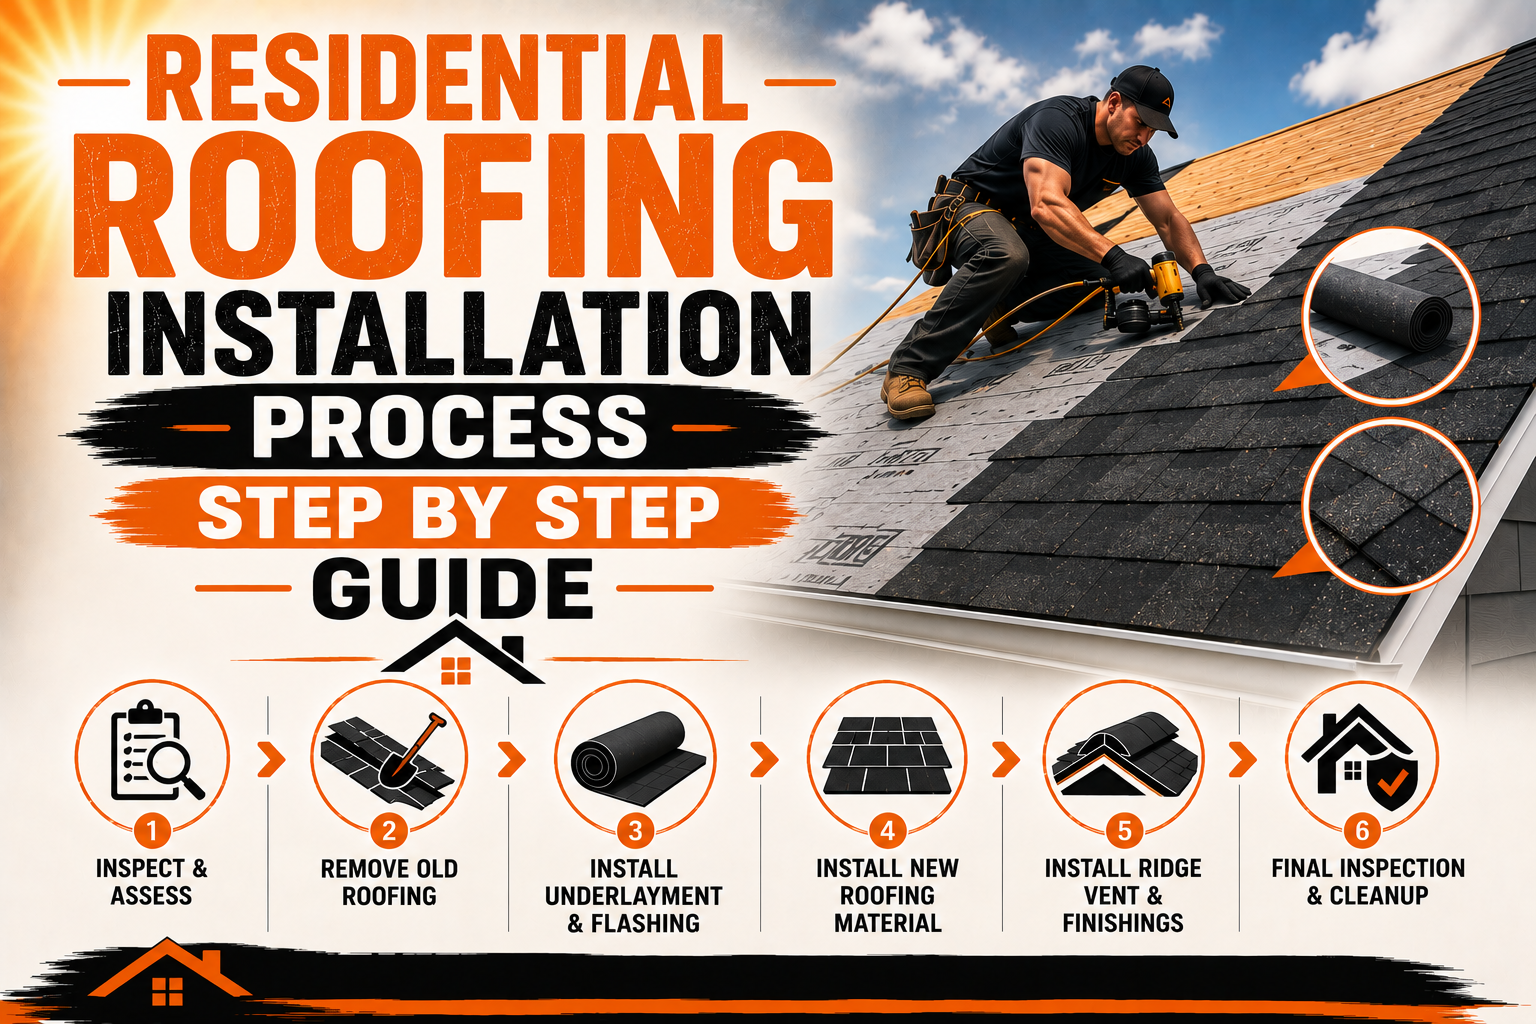
Residential Roofing Installation Process Step by Step Guide
Introduction
A residential roofing installation is a detailed process that involves much more than placing new shingles, panels, or tiles over the top of a house. A properly installed roof is a complete system made up of several layers and components that work together to protect the home from rain, wind, sunlight, moisture, and changing temperatures. Each stage of installation contributes to the final performance of the roof, which is why careful planning and professional workmanship are essential.
The installation process begins before any roofing material reaches the roof. Homeowners and contractors first need to evaluate the existing roof, determine whether replacement is necessary, select appropriate materials, prepare the property, and establish a clear work plan. These early decisions can influence the cost, timeline, durability, and overall quality of the finished roofing system.
A professional installation also requires attention to the roof’s underlying structure. The roof deck provides the foundation for the new system, so damaged or deteriorated areas need to be identified before new materials are installed. Covering a weak or moisture-damaged surface with a new roof can hide problems that may eventually affect the new installation.
Once the roof deck is ready, protective layers such as underlayment and drip edges are installed. These components help manage moisture and protect vulnerable areas around the roof boundaries. The primary roofing material is then installed along with flashing, fasteners, ventilation components, and drainage features.
The exact process can vary depending on whether the home uses asphalt shingles, metal roofing, tile, slate, wood, or another roofing system. Each material has its own installation requirements, fastening methods, handling procedures, and manufacturer recommendations. Contractors should therefore follow the specifications for the selected roofing product instead of applying the same techniques to every roof.
Safety is another important part of the process. Roofing work involves heights, tools, heavy materials, sharp components, and changing weather conditions. Professional contractors should use appropriate safety procedures and equipment throughout the project.
Understanding the installation process helps homeowners know what to expect and makes it easier to evaluate the quality of the work. It also explains why a roofing project can involve several stages even when the visible roof appears relatively simple.
Planning and Preparing for Roof Installation
Planning is the first major stage of a residential roofing installation. Before removing existing materials, the contractor needs to understand the roof’s condition, dimensions, structure, design, and requirements. Good planning helps reduce unexpected problems and provides a clear sequence for completing the work.
The existing roof should first be inspected to determine whether replacement is necessary and what preparation will be required. The inspection can identify damaged roofing materials, leaks, deteriorated flashing, poor drainage, ventilation concerns, and possible problems beneath the visible roof surface.
The roof’s design also needs to be considered. A simple gable roof may have fewer transitions than a complex roof containing valleys, dormers, skylights, chimneys, and multiple changes in slope. Each additional feature can require specialized flashing and installation details.
The roofing material should be selected according to the property’s requirements. Asphalt shingles are commonly used on many residential properties, while metal, tile, slate, wood, and synthetic systems may be suitable for other homes. Material selection should consider climate, roof slope, structural capacity, appearance, maintenance requirements, budget, and expected service characteristics.
Climate is particularly important. A home exposed to heavy rainfall needs effective drainage and moisture protection, while a property in an area with strong winds may require appropriate fastening and edge details. Intense sunlight, hail, snow, and coastal conditions can also influence material selection.
The roof structure should be considered before installing heavier materials. Tile and natural slate, for example, can place greater loads on the supporting structure than some lightweight roofing systems. A professional should evaluate the structure when the proposed material creates different load requirements.
The project budget should include the complete installation rather than only the visible roofing material. Costs may include removal of old materials, disposal, roof deck repairs, underlayment, flashing, ventilation, drip edges, labor, and other necessary components. A detailed written estimate gives the homeowner a clearer understanding of the project.
The contractor should also establish how unexpected conditions will be handled. Damaged roof decking may only become visible after the existing materials are removed. The contract should explain how additional work will be approved and priced if hidden damage is discovered.
Property preparation is another important part of planning. Outdoor furniture, vehicles, decorations, and other items near the work area may need to be moved or protected. Landscaping, windows, doors, and exterior surfaces should also be considered when planning material removal and installation.
Weather conditions should be considered when scheduling the project. Roofing materials and installation methods can have specific requirements related to temperature, rain, wind, or other conditions. Contractors should plan the work according to the requirements of the selected roofing system.
Good communication between the homeowner and contractor can prevent many misunderstandings. Before work begins, both parties should understand the materials being installed, project scope, expected schedule, cleanup arrangements, payment terms, and warranty information.
A clear plan creates the foundation for the rest of the installation. When the roof has been properly evaluated and the materials, labor, safety requirements, and preparation needs are understood, the project can proceed more efficiently.
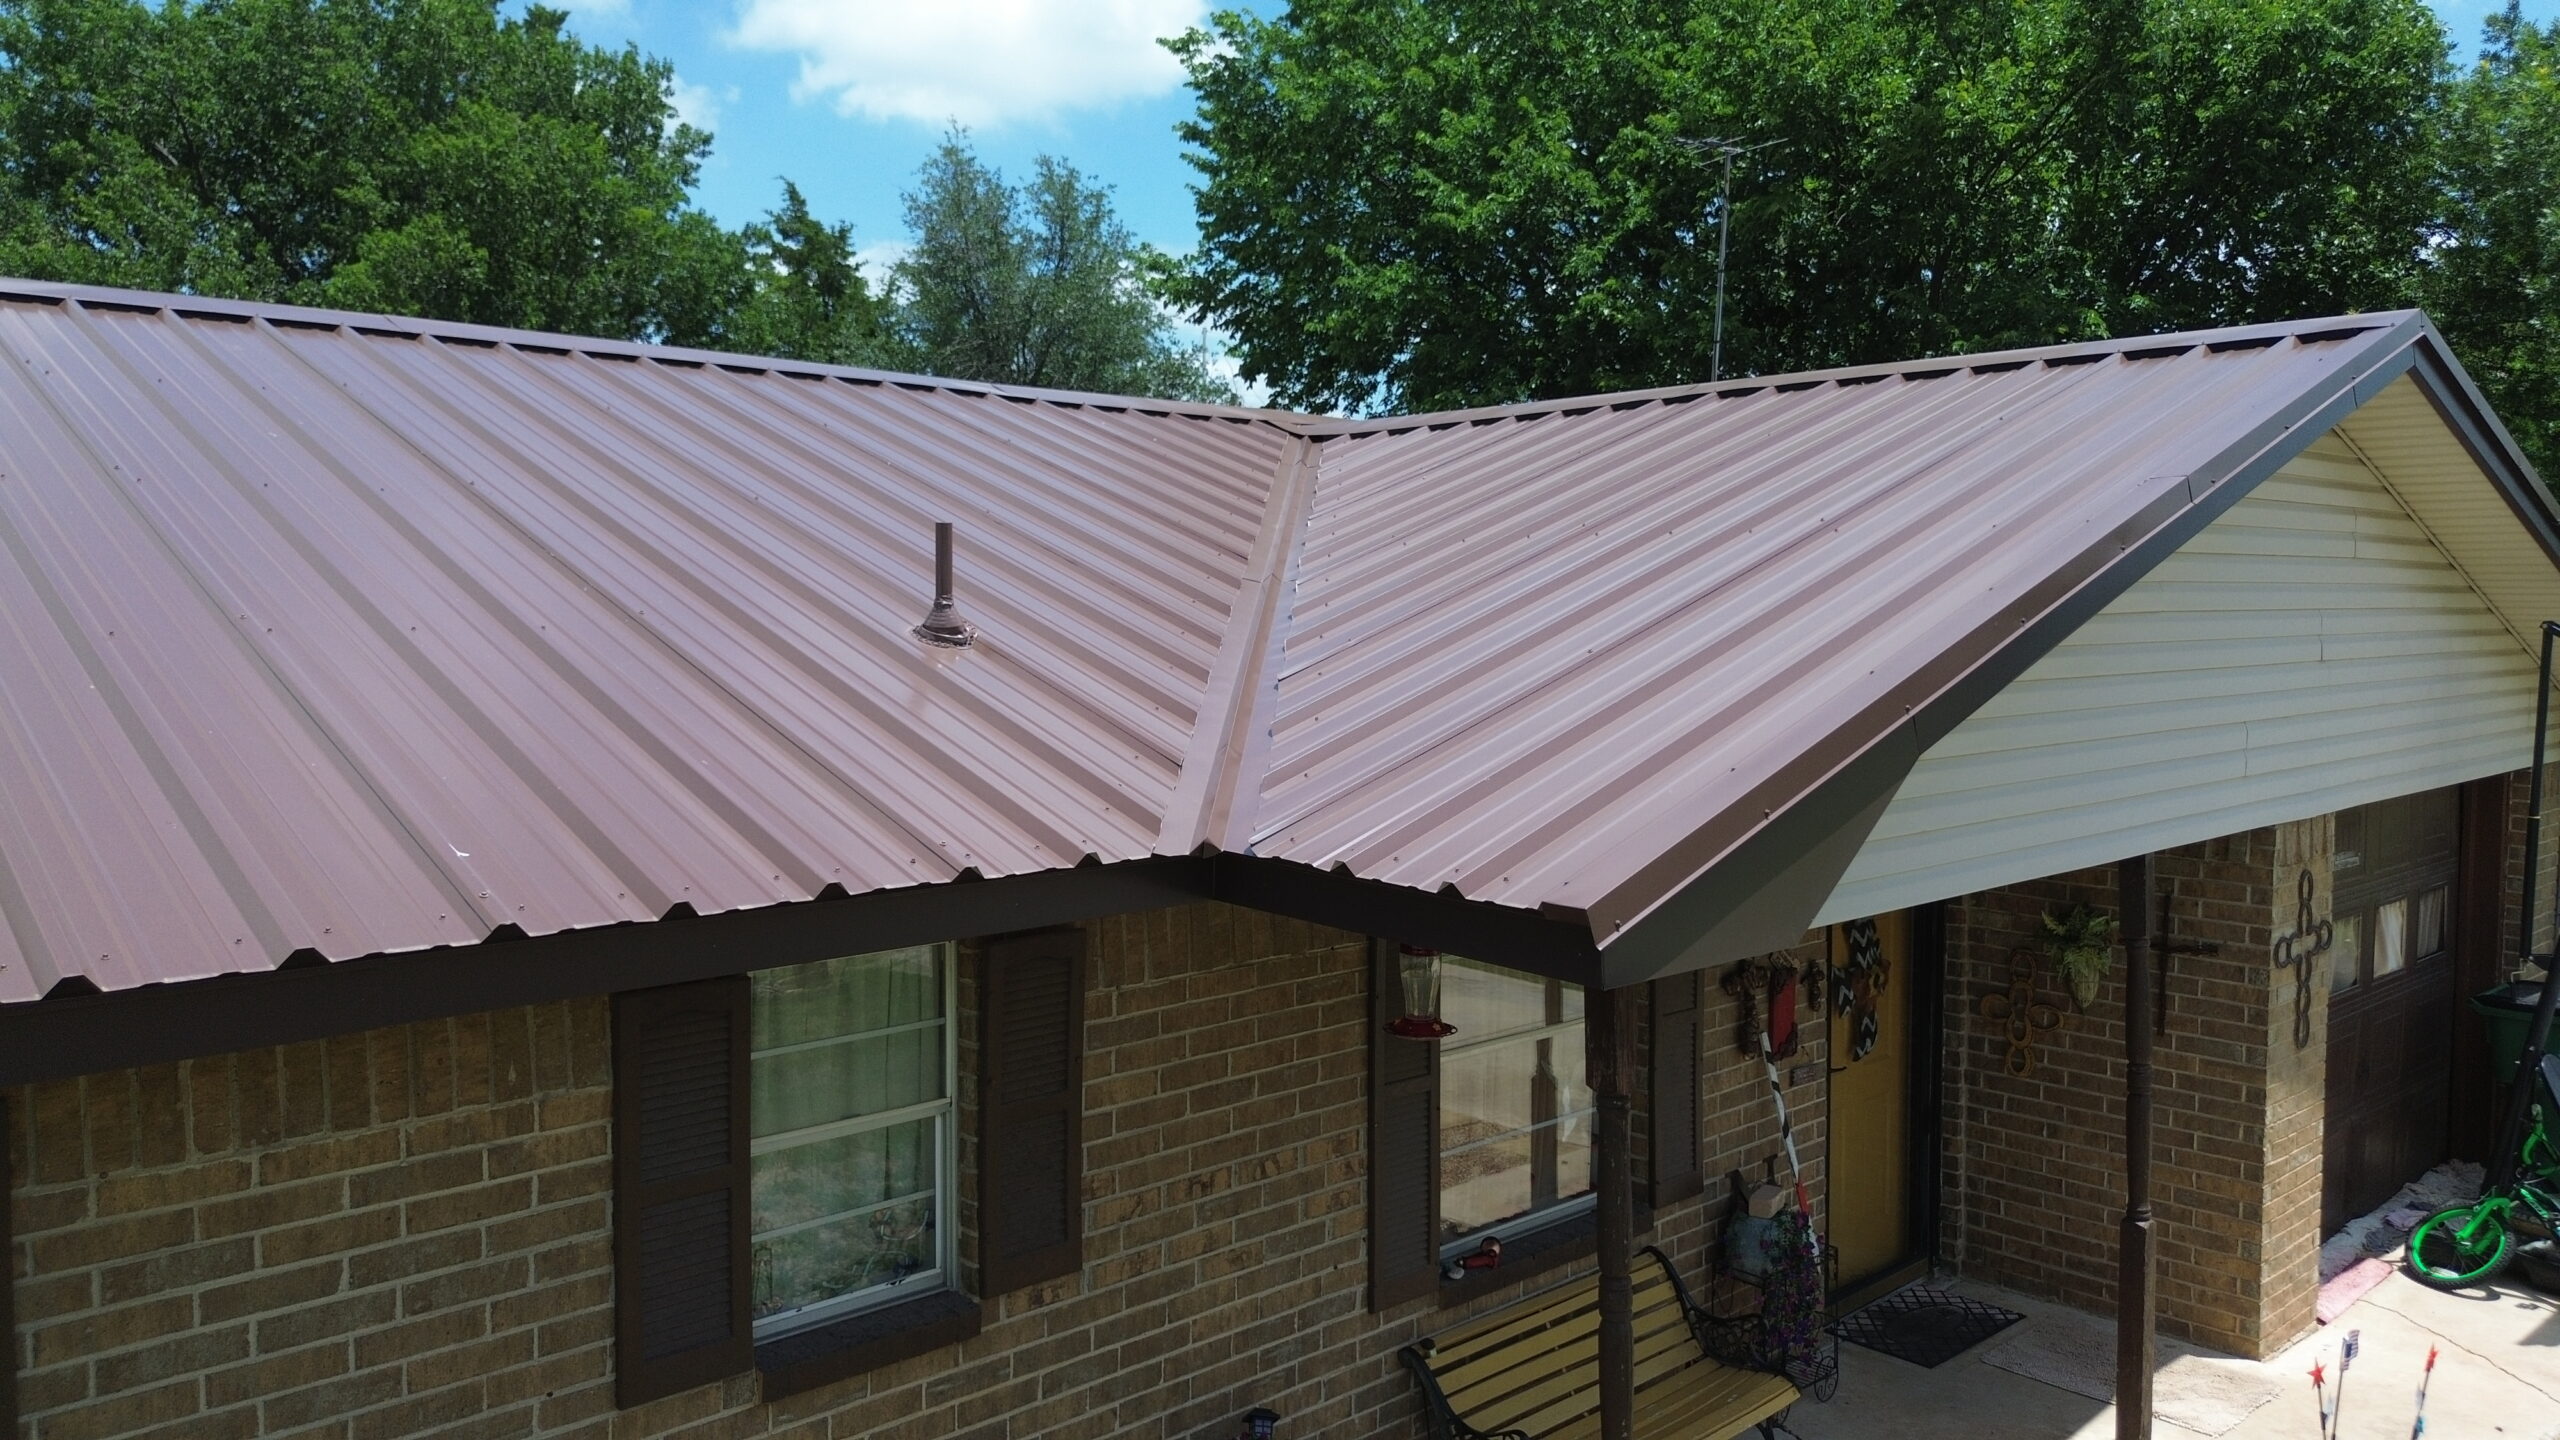
Removing the Existing Roofing Materials
Removing the existing roofing materials is the next major stage when a complete roof replacement is being performed. This process exposes the underlying roof deck and allows contractors to identify conditions that could not be properly evaluated while the old roofing remained in place.
The removal process depends on the existing roofing material. Asphalt shingles may be removed using specialized roofing tools, while metal panels, tiles, slate, or other systems may require different handling techniques. Contractors need to remove materials carefully to avoid unnecessary damage to the roof structure and surrounding property.
Safety is particularly important during this stage. Old roofing materials can be heavy, sharp, brittle, or unstable. Workers should use appropriate protective equipment and establish safe methods for moving debris from the roof to the ground.
Debris should be controlled throughout the project rather than allowed to accumulate around the property. Roofing contractors commonly use designated collection areas or other methods to manage removed materials. Proper debris management helps protect landscaping, walkways, vehicles, and people around the work area.
As the old roof is removed, contractors can examine previously hidden components. Areas around valleys, chimneys, skylights, vents, roof edges, and previous repair locations may require particular attention because these locations can experience increased moisture exposure.
Existing flashing should also be evaluated. Some components may be damaged, deteriorated, or incompatible with the new roofing system. Reusing compromised flashing can create problems after installation, so replacement should be considered when necessary.
Old underlayment may also be removed during the process. Once the roof deck is exposed, the contractor can inspect the surface for moisture damage, rot, warping, cracks, or other conditions that could affect the new roof.
Homeowners should understand that removing the old roof can reveal unexpected problems. An initial inspection can identify many concerns, but some defects remain hidden until the roofing materials are taken off. This is why a professional estimate may include provisions for unforeseen deck or structural repairs.
The removal process also provides an opportunity to identify previous installation problems. Incorrect fastening, inadequate flashing, poor drainage, or damaged components may explain why the previous roof experienced premature deterioration. Understanding these problems can help contractors avoid repeating them during the new installation.
Old roofing materials should be disposed of appropriately. Contractors should follow applicable waste-handling requirements and keep the work area reasonably organized throughout the project.
Once the old roofing system has been removed, the roof deck becomes the main focus. The next stage is to inspect and prepare this surface before any new protective layers are installed.
Inspecting and Repairing the Roof Deck
The roof deck provides the structural foundation for many residential roofing systems. It supports the layers installed above it and provides the surface where roofing materials and fasteners are attached. A properly prepared deck is therefore essential for a successful roof installation.
After the old roofing materials have been removed, the contractor should inspect the exposed deck carefully. The inspection should look for signs of moisture damage, rot, cracks, warping, delamination, weak areas, or other conditions that could affect the new roofing system.
Moisture damage is one of the most common concerns. Long-term leaks can cause wood-based decking to deteriorate gradually. Areas that have been exposed to water may lose strength and may no longer provide the secure foundation required for roofing fasteners.
Damaged decking should be repaired or replaced as necessary. Installing new roofing materials over severely deteriorated sections does not correct the underlying structural problem. Replacing unsuitable sections creates a stronger and more stable surface for the new roof.
The contractor should also check areas around previous leaks. Chimneys, skylights, vents, valleys, and roof edges may deserve additional attention because these locations can experience water intrusion when flashing or drainage details fail.
The roof deck must also be suitable for fastening. Nails, screws, clips, or other attachment systems need adequate supporting material to achieve the required holding strength. A weak deck can reduce the effectiveness of even correctly selected fasteners.
During preparation, loose debris and other materials that could interfere with the new roofing system should be removed. The surface should be reasonably clean and stable so that underlayment and other components can be installed correctly.
Homeowners should be aware that deck repairs can change the final project cost. Since some damage cannot be identified until the existing roof is removed, contracts should explain how additional repairs will be handled. A clear approval process helps prevent confusion when unexpected conditions are discovered.
The deck should also be evaluated for structural concerns beyond surface damage. Sagging or unusual movement may indicate problems that require additional professional assessment. Roofing contractors should not simply cover structural concerns with new materials.
Once necessary repairs are complete, the roof deck provides a stable foundation for the next stages of installation. A properly prepared surface allows underlayment, flashing, fasteners, and roofing materials to perform more effectively.
The condition of the roof deck may not be visible after the installation is complete, but its importance continues throughout the roof’s service life. Protecting it from moisture and ensuring proper attachment helps support the long-term performance of the entire roofing system.
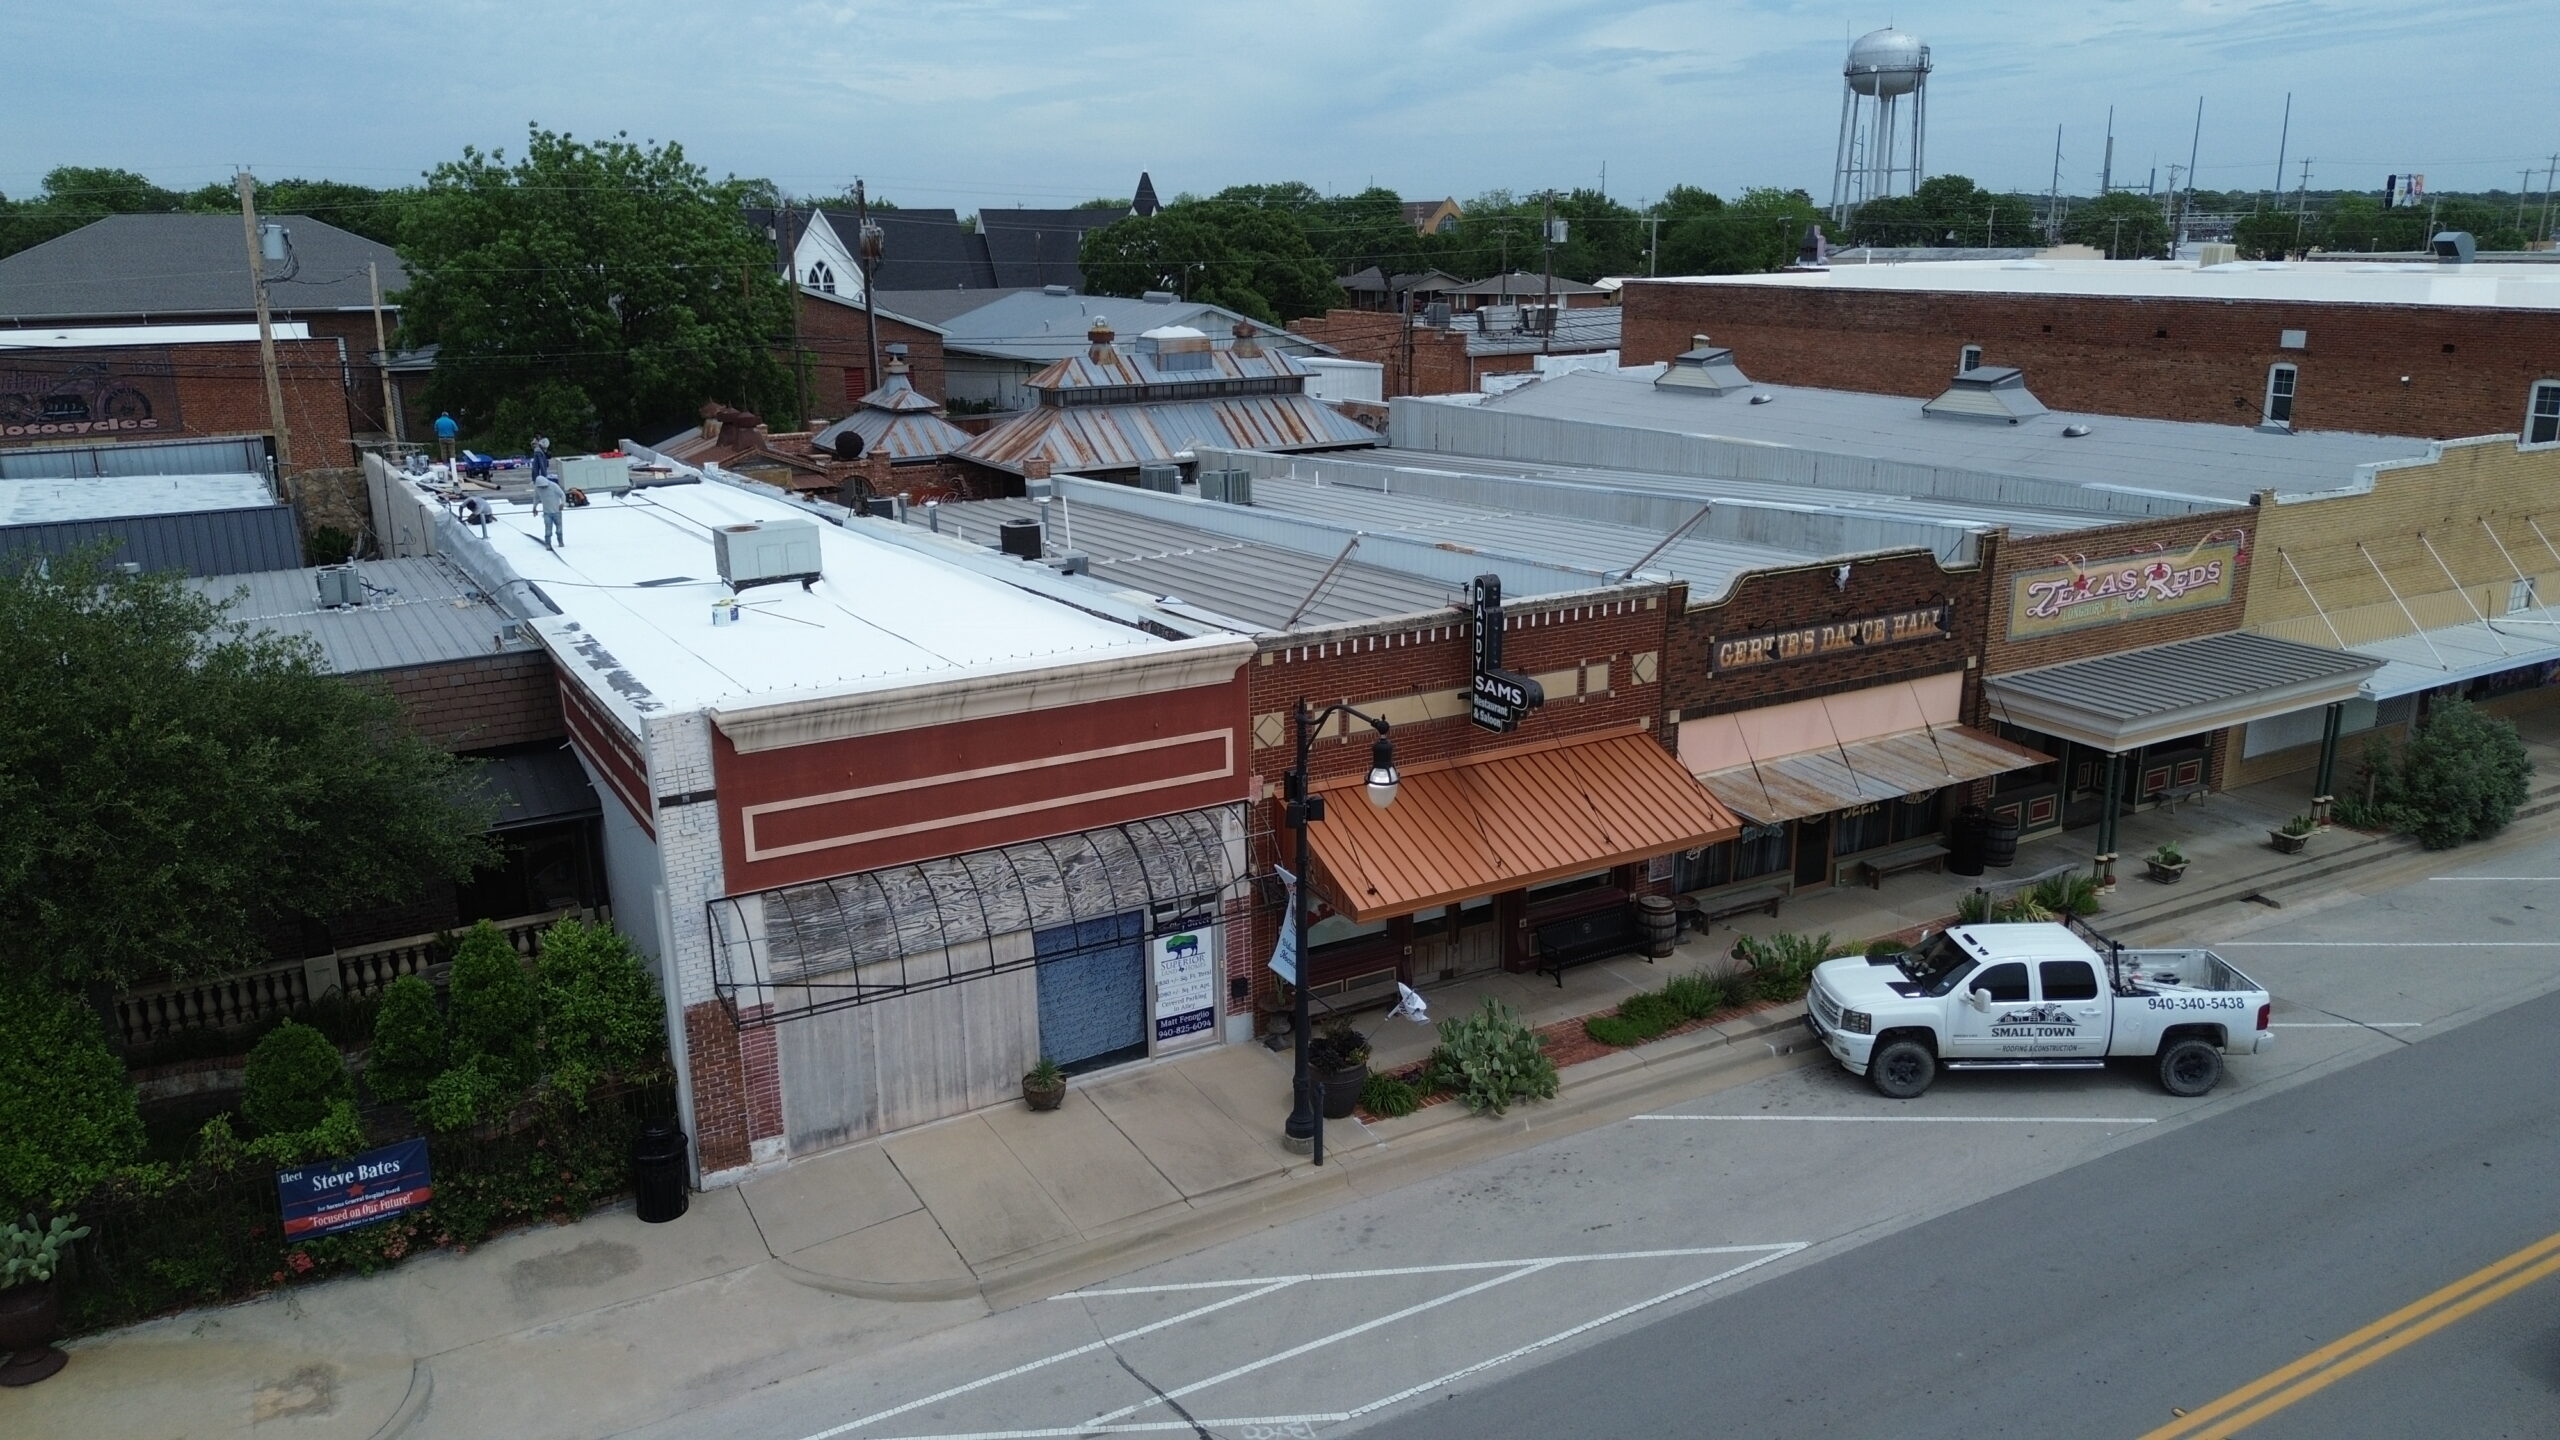
Installing Underlayment and Moisture Protection
After the roof deck has been inspected and properly prepared, the next stage involves installing underlayment and other moisture-protection components. Underlayment is positioned beneath the primary roofing material and provides an additional protective layer between the exterior roof covering and the structural deck.
The importance of underlayment becomes clear when considering how rainwater interacts with a roof. The primary roofing material is designed to shed most water, but wind-driven rain, damaged materials, and water movement around transitions can sometimes allow moisture to move beneath the exterior surface.
Underlayment provides another line of defense before water reaches the roof deck. Common products include synthetic underlayments, asphalt-based felt, and specialized waterproofing membranes. The appropriate product depends on the roofing material, roof design, climate, and manufacturer requirements.
Installation needs to follow the correct sequence. Underlayment sections should be positioned with appropriate overlaps so water cannot easily move between joints. The material should also be secured according to the product’s installation requirements.
Certain areas require additional attention. Valleys collect water from multiple roof sections and may need enhanced protection. Eaves and roof edges can also experience significant runoff, while areas around penetrations may require specialized waterproofing details.
Underlayment must also be coordinated with flashing. Flashing around chimneys, skylights, vents, pipes, walls, and valleys should be integrated with the underlying moisture-protection layers so that water is directed toward the exterior rather than beneath the roof assembly.
During installation, contractors should avoid unnecessary tears or punctures. Damaged sections should be repaired or replaced before the primary roofing material covers them. Once the roof is completed, damaged underlayment can be difficult to access.
The selected underlayment should also be compatible with the primary roofing system. Manufacturers may specify particular products or installation methods for their roofing materials. Following these requirements can help maintain the intended performance of the complete system.
Moisture protection does not stop with underlayment. Drip edges, flashing, roofing materials, drainage, and seals all contribute to keeping water outside the building. These components need to be installed as part of a coordinated system.
Proper underlayment installation is therefore an important stage in the residential roofing process. Although it will eventually be hidden beneath the visible roofing material, it provides a valuable secondary barrier that can help protect the roof deck from moisture throughout the life of the roof.
Installing Drip Edges and Preparing Roof Boundaries
The roof boundaries need careful preparation before the primary roofing material is completed. Eaves and rakes are exposed to water and wind, and these edges connect several important components, including the roof deck, underlayment, roofing material, fascia, and drainage system.
Drip edges are commonly used to help direct water away from vulnerable roof edges. They can help prevent runoff from moving behind the roofing system and toward the roof deck or fascia. The exact installation method depends on the roofing system and applicable requirements.
At the eaves, the relationship between the drip edge, underlayment, roofing material, and gutter needs to be carefully coordinated. Water should have a clear path from the roof surface toward the drainage system without becoming trapped beneath the protective layers.
Rake edges require attention as well. These sloped roof boundaries can experience significant wind exposure, particularly during storms. Appropriate edge materials and fastening help protect the roofing assembly and maintain a finished appearance.
The fascia should also be checked before gutters are installed or reattached. If fascia boards are damaged or deteriorated, they may not provide adequate support for the drainage system. Repairing these components during installation can prevent future problems.
Roof edges should be kept free from unnecessary gaps or exposed sections. Poorly finished boundaries can allow water and wind to reach vulnerable parts of the roofing system. Proper installation helps create a continuous transition from the roof surface to the building’s drainage components.
The contractor should also check that drainage pathways remain clear. Construction debris, packaging, loose fasteners, and unused materials should not be left where they can obstruct gutters or other drainage features.
Proper roof-edge preparation contributes to both weather resistance and appearance. These areas may not receive as much attention as the main roof surface, but they are important to the complete installation.
Once the boundaries have been properly prepared, the project can move toward installing the primary roofing material and completing the other major components of the roofing system.
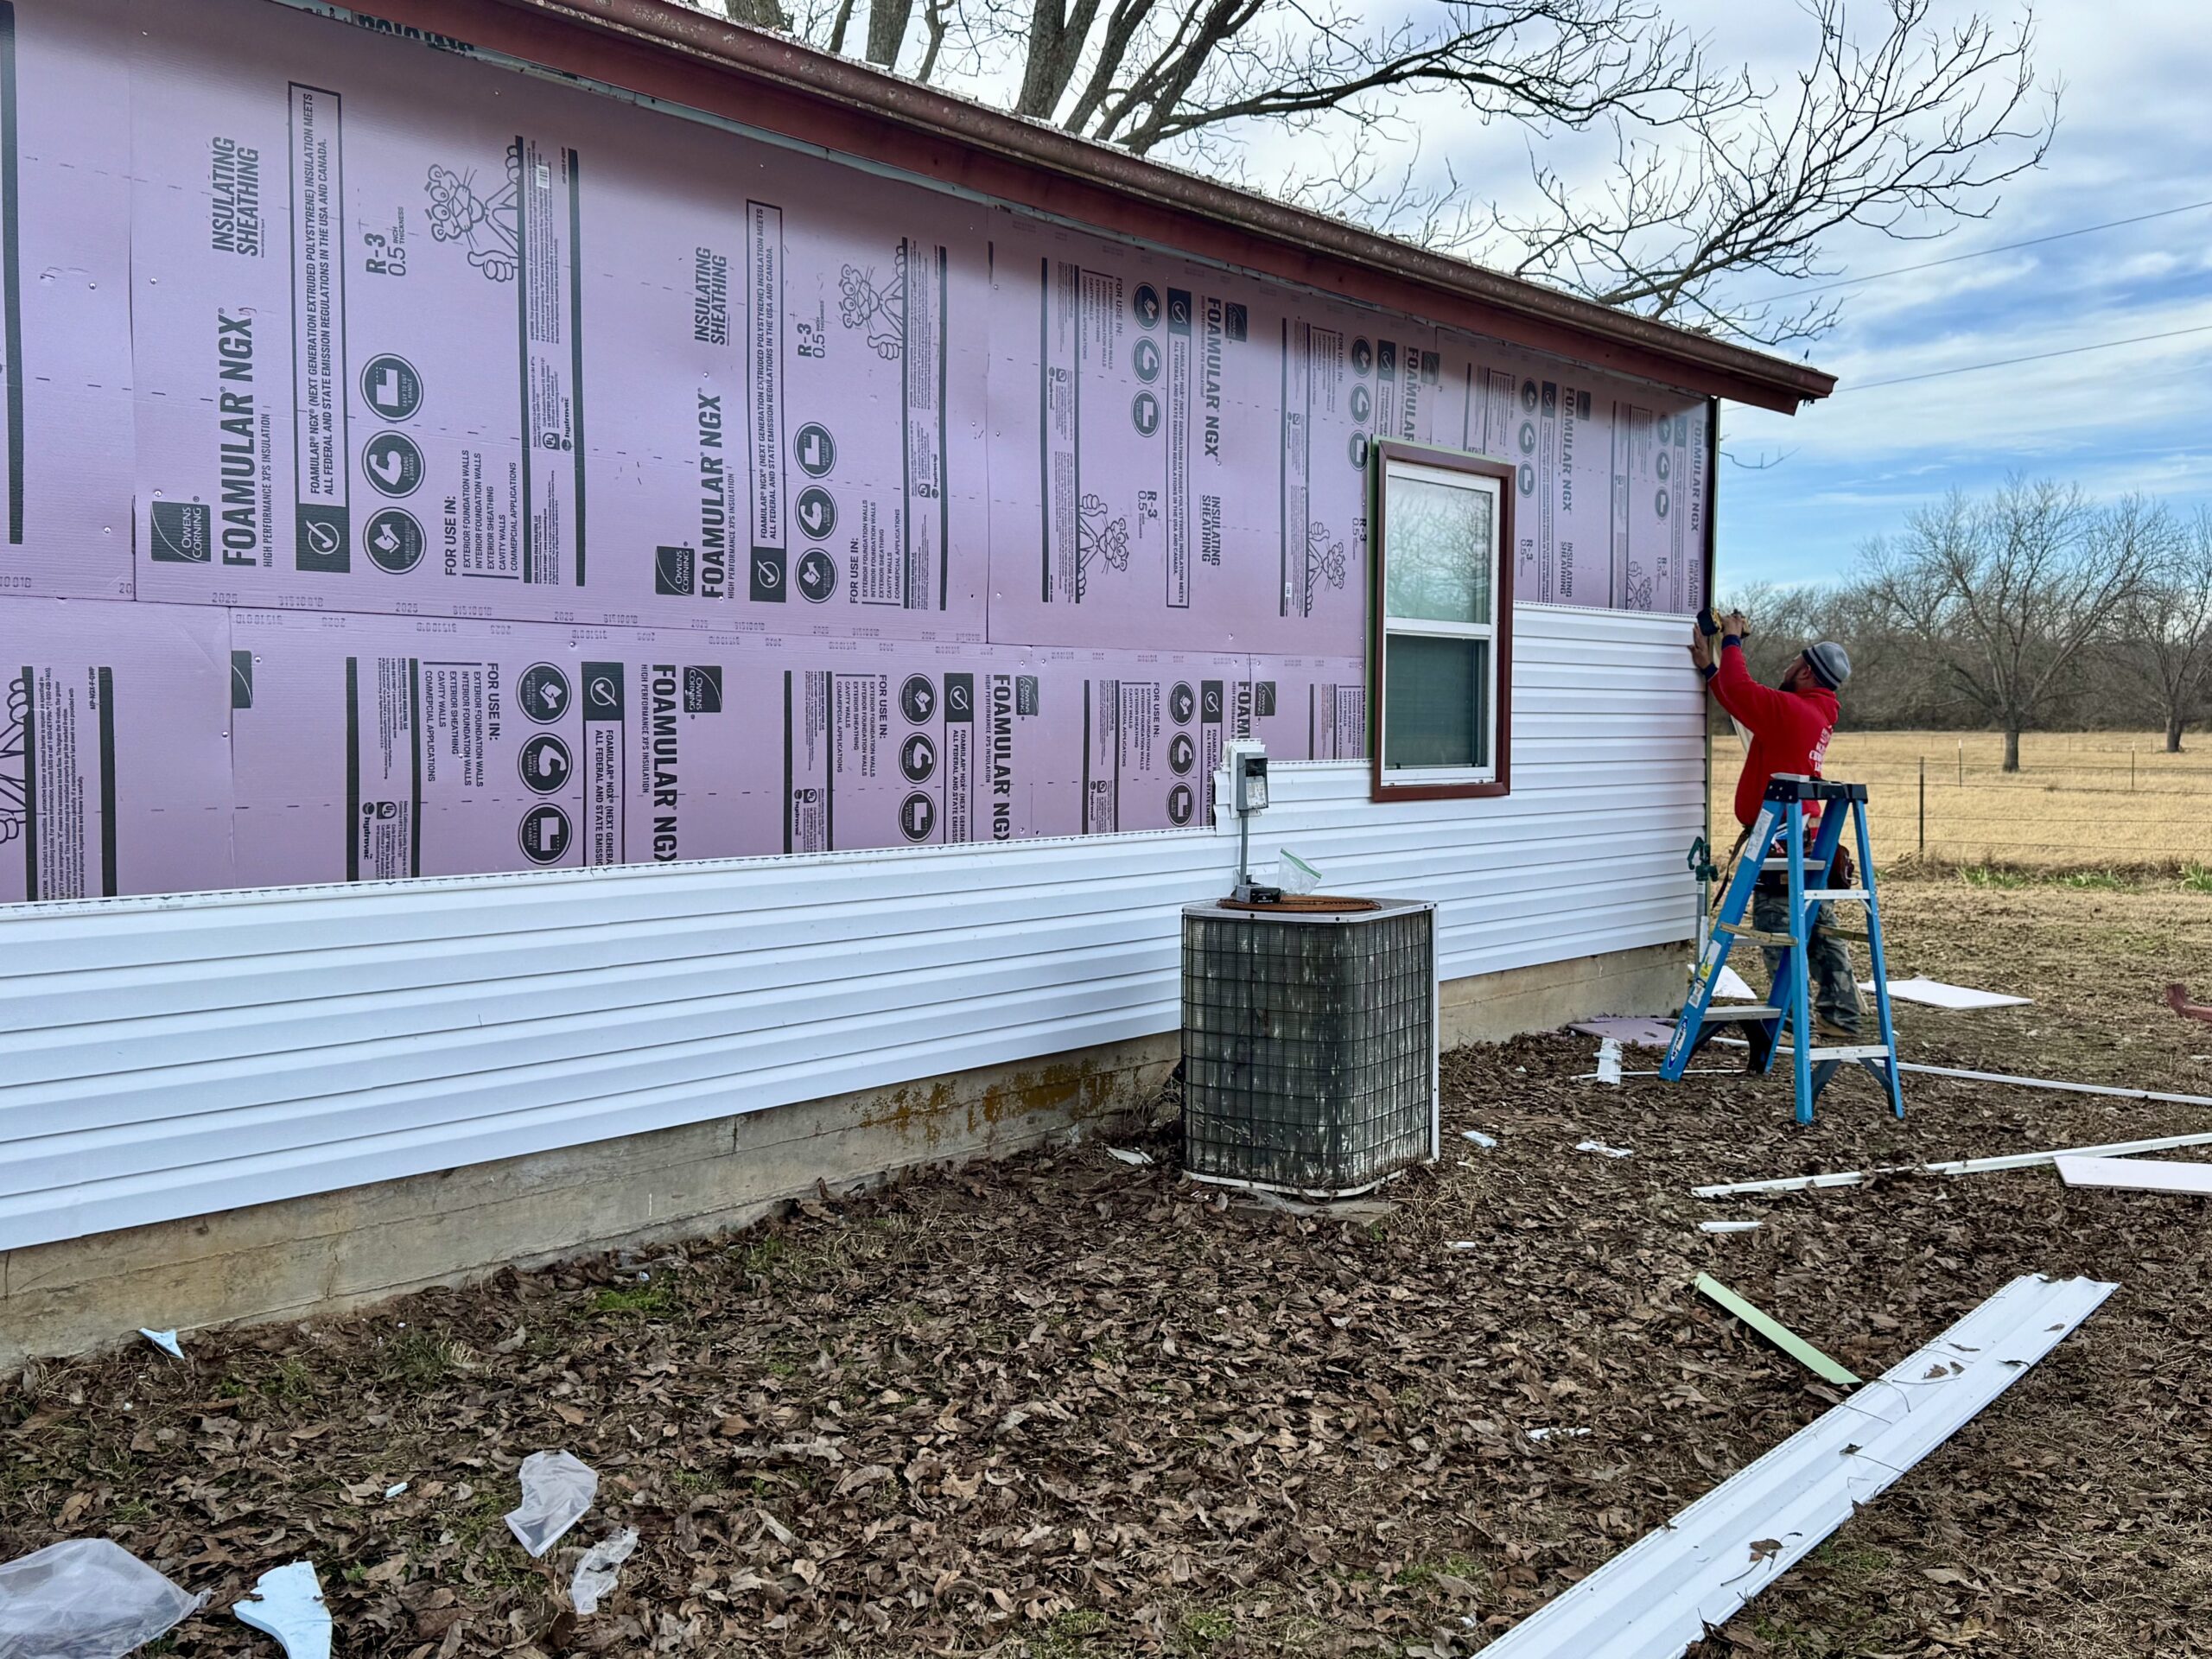
Installing Flashing Around Vulnerable Areas
Flashing is one of the most important waterproofing components in a residential roofing system because it protects locations where the roof meets another structure or where an opening passes through the roofing surface. These areas can become pathways for water if they are not properly detailed. During installation, flashing must be coordinated with the underlayment and primary roofing material so that water is consistently directed away from vulnerable areas.
Common flashing locations include chimneys, skylights, plumbing vents, exhaust vents, roof-to-wall transitions, valleys, dormers, and other penetrations. Each location has different requirements, so contractors should use flashing methods appropriate for the roof design and selected roofing material.
Chimney flashing requires particular attention because masonry structures interrupt the continuous roof surface. Step flashing and related components may be used where the roof meets the chimney, while additional flashing details help prevent water from entering the joint. The flashing should be integrated with the roofing layers rather than simply placed over visible roofing materials.
Skylights also require careful installation because they create a significant opening in the roof. The skylight flashing system should work with the surrounding underlayment and roofing material to guide water around the opening. Improperly installed skylight flashing can result in leaks that may appear inside the home some distance from the actual source.
Plumbing and ventilation pipes require specialized flashing components that fit around the penetrations. These components need to remain securely positioned while accommodating normal movement and weather exposure. Damaged or poorly fitted pipe flashing can become a common source of roof leaks.
Roof-to-wall transitions need appropriate flashing because water can collect where a sloped roof meets a vertical surface. Properly installed flashing helps direct water over the protective layers and toward the drainage system. The installation should prevent water from moving behind the flashing and into the wall or roof assembly.
Valleys are another critical area because they receive concentrated water flow from multiple roof sections. Valley flashing or other approved valley systems need to be installed carefully and integrated with the underlayment. Roofing materials should then be placed in a way that maintains a clear path for water.
Flashing should not depend entirely on sealants for protection. Sealants can have useful applications in specific locations, but they can deteriorate due to sunlight, temperature changes, and movement. Properly designed flashing provides a more reliable long-term method of directing water away from vulnerable areas.
During installation, contractors should inspect flashing before covering it with subsequent roofing layers. Any visible gaps, incorrect overlaps, damaged components, or installation defects should be corrected immediately. It is much easier to fix flashing while the surrounding area remains accessible.
Installing the Primary Roofing Material
After the underlayment, drip edges, and important flashing details are prepared, the primary roofing material can be installed. This is the visible layer of the roof and provides the main barrier against rain, wind, sunlight, and other environmental conditions. The installation process varies significantly depending on the selected material.
Asphalt shingles are commonly installed in overlapping courses that create a layered surface. Contractors need to maintain consistent alignment and exposure while following the manufacturer’s requirements for fastening and placement. Incorrect alignment can affect both appearance and weather resistance.
Metal roofing requires careful attention to panel alignment, seams, fasteners, edges, and penetrations. Metal can expand and contract with temperature changes, so the installation method should accommodate expected movement. The fastening system must also be compatible with the specific metal roofing product.
Tile roofing requires careful handling because individual tiles can crack if they are improperly transported, placed, or walked on. Tiles must be installed according to the system’s attachment requirements and positioned to provide appropriate overlap and water shedding.
Slate requires specialized installation knowledge because the material can be fragile and may require specific fastening techniques. Contractors should understand how to handle and secure slate without causing unnecessary damage. The roof structure must also be capable of supporting the weight of the completed system.
Wood shingles and shakes have their own installation considerations. Proper spacing, fastening, ventilation, and moisture management are important because wood can respond to changes in environmental conditions. Installation should follow the requirements for the specific product.
Synthetic roofing materials can imitate the appearance of natural materials but still require product-specific installation methods. Contractors should not assume that synthetic products can be installed exactly like the materials they resemble.
Regardless of material, the installation should maintain a consistent pattern and provide appropriate coverage. Roofing components should be checked throughout the process so that mistakes do not continue across large sections of the roof.
The contractor should also avoid unnecessary damage during installation. Roofing materials can be scratched, cracked, bent, or displaced when handled incorrectly. Tools and foot traffic should be managed carefully, particularly when working with fragile materials.
Weather conditions can influence installation as well. Rain, strong winds, extreme temperatures, and other conditions may affect material handling and installation requirements. Contractors should follow product instructions and appropriate safety practices when working under changing conditions.
The primary roofing material is only one part of the complete system. Its performance depends on the underlayment, flashing, fasteners, ventilation, drainage, and roof structure beneath it. Proper installation therefore requires attention to the complete assembly rather than simply covering the roof surface.
Proper Fastening and Attachment
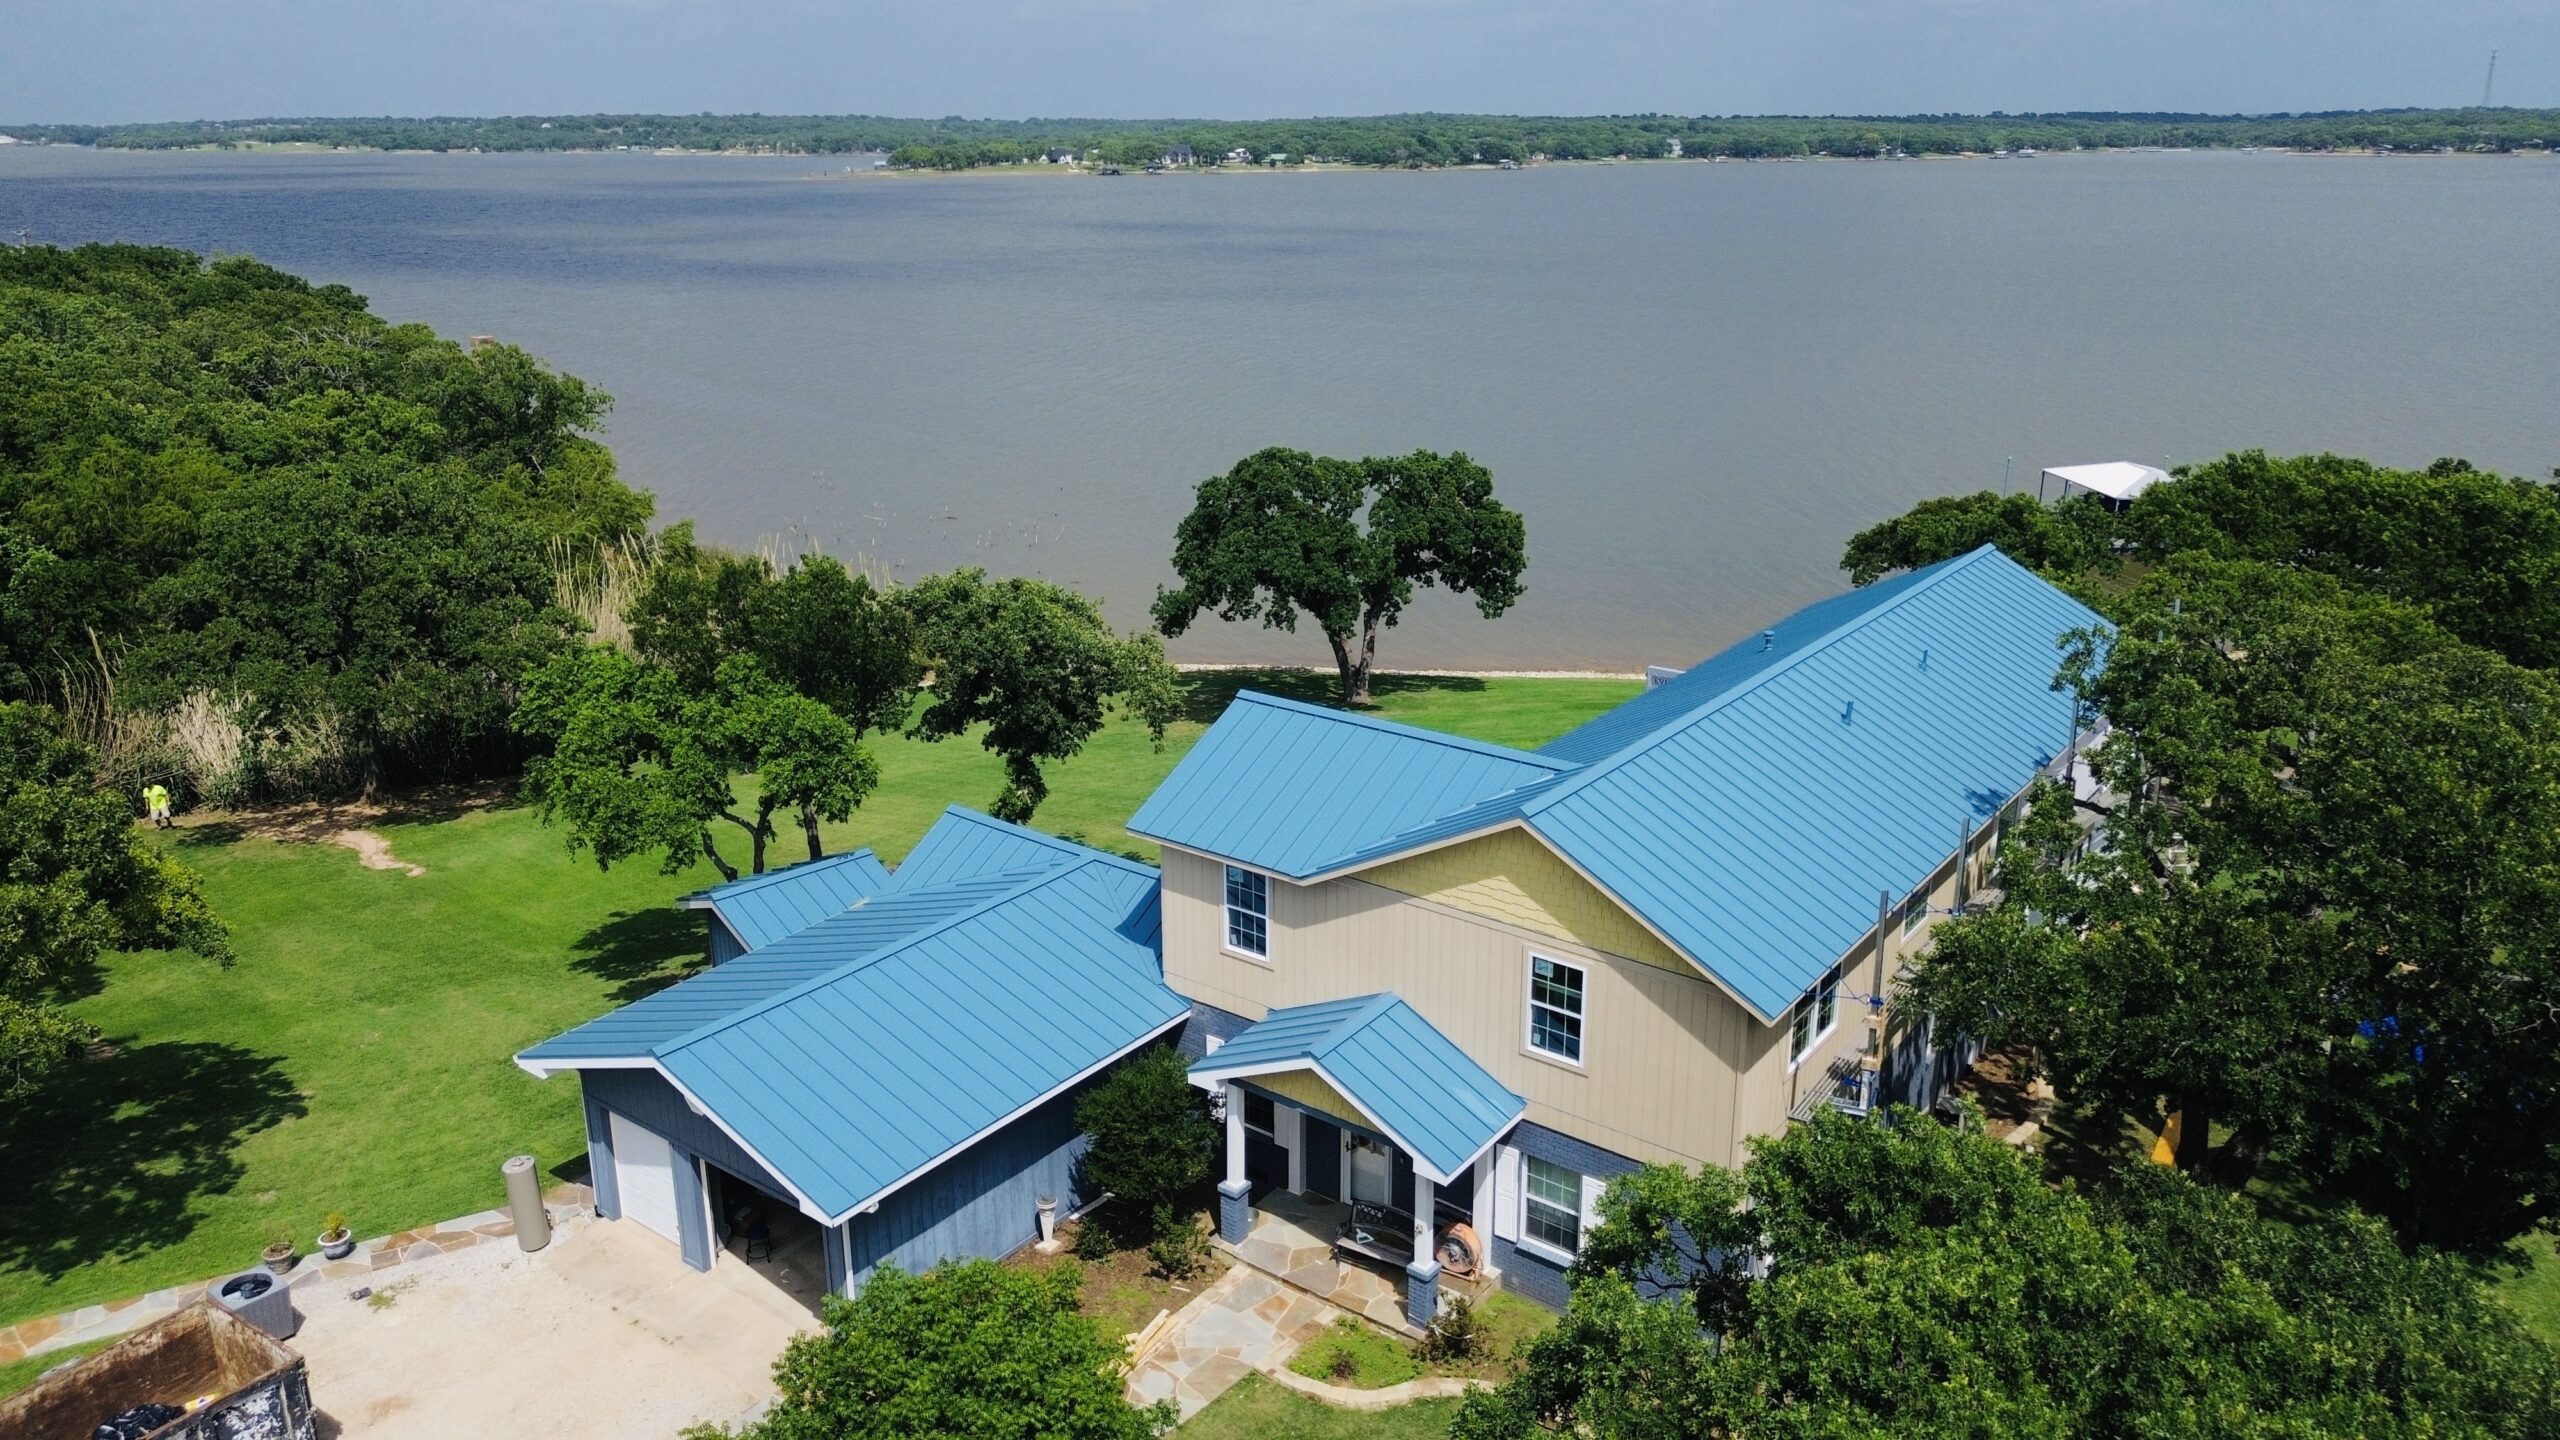
Fastening is a critical stage of residential roofing installation because it connects the roofing materials to the supporting structure. The correct nails, screws, clips, or other attachment systems must be selected according to the roofing material and manufacturer’s requirements. Proper attachment helps the roof resist wind and remain stable throughout its service life.
Asphalt shingles commonly use roofing nails, but the number and location of fasteners can vary by product and wind requirements. Nails should be placed in the specified fastening area rather than randomly across the shingle. Incorrect placement can reduce holding strength and potentially interfere with water resistance.
Overdriving is a common fastening problem. When a nail or screw is driven too deeply, it may damage the roofing material or reduce its ability to hold securely. Underdriving creates the opposite problem because the fastener may remain too high and prevent the material from sitting correctly.
Fasteners should also be installed straight and securely. Angled or improperly placed fasteners may not provide the intended attachment. Contractors should maintain consistent fastening practices throughout the roof rather than relying on visual appearance alone.
Metal roofing systems may use exposed screws, concealed clips, or other attachment methods depending on the product. Fasteners need to be compatible with the metal and supporting structure. Improperly installed screws can create leaks or reduce the ability of panels to withstand wind forces.
Tile and slate systems may use nails, screws, clips, hooks, or other approved attachment methods. The exact approach depends on the material, roof design, climate, and manufacturer specifications. Heavy or specialty materials require particular attention because their weight and installation characteristics differ from common shingle systems.
Fastening is closely connected to the roof deck. A fastener can only provide reliable holding strength if it is attached to suitable supporting material. If the deck is damaged or deteriorated, the contractor may need to repair it before continuing.
Roof edges and corners can require additional attention because wind forces can be greater in these areas. Proper edge fastening and related components help reduce the possibility of roofing materials lifting during severe weather.
The contractor should also avoid unnecessary punctures. Every fastener creates an opening through a roofing material, so placement and integration with the waterproofing layers are important. Fasteners should be positioned according to the roofing system’s requirements.
A quality installation should include checks throughout the fastening process. Contractors can verify that fasteners are correctly positioned, properly driven, and used in the required quantity. Identifying fastening errors while installation is underway is easier than correcting them after the roof is complete.
Proper attachment helps preserve the relationship between the roofing material and the structure beneath it. When fasteners are correctly selected and installed, they support wind resistance, material stability, and the overall durability of the roofing system.
Installing Roof Ventilation Components
Roof ventilation is an important part of the installation process because it helps manage heat and moisture in appropriate attic spaces. A properly designed ventilation system normally uses intake and exhaust pathways that work together to move air through the roof or attic area.
Soffit vents are commonly used as intake openings along the lower edge of the roof. They allow outside air to enter the attic or roof space. Ridge vents and other exhaust components can then allow warmer air to leave near the highest part of the roof.
The exact ventilation arrangement depends on the home’s design. Some properties may use gable vents, roof vents, turbine vents, or other systems. Contractors should determine the appropriate approach based on the building rather than simply adding vents without considering airflow.
Balanced airflow is important. Installing exhaust vents without adequate intake ventilation may not provide the desired result. Likewise, blocked intake openings can reduce the effectiveness of an otherwise properly installed exhaust system.
Ventilation openings also need weather protection. Roof-mounted vents create penetrations through the roofing surface, so they require appropriate flashing and integration with underlayment. Water should be directed around the penetration rather than into the attic.
Insulation should not block intended ventilation pathways. When insulation is installed or adjusted, contractors should ensure that air can continue to move through designated intake areas. Blocking soffit vents can interfere with the intended ventilation design.
Ventilation can also help manage moisture. Warm indoor air can contain moisture that moves toward cooler attic areas through air leaks. Under certain conditions, this moisture can condense on surfaces and contribute to dampness or deterioration.
Homeowners should understand that ventilation is not a substitute for proper insulation and air sealing. These components have different functions and need to work together. A well-designed roof assembly manages heat and moisture through coordinated building-envelope measures.
During installation, contractors should verify that vents are securely attached and properly flashed. They should also check that roofing materials do not obstruct the openings.
A completed ventilation system should provide a clear pathway for intended airflow while remaining protected from weather. Proper installation can contribute to healthier attic conditions and support the long-term performance of the roofing system.
Completing Valleys, Ridges, and Roof Transitions
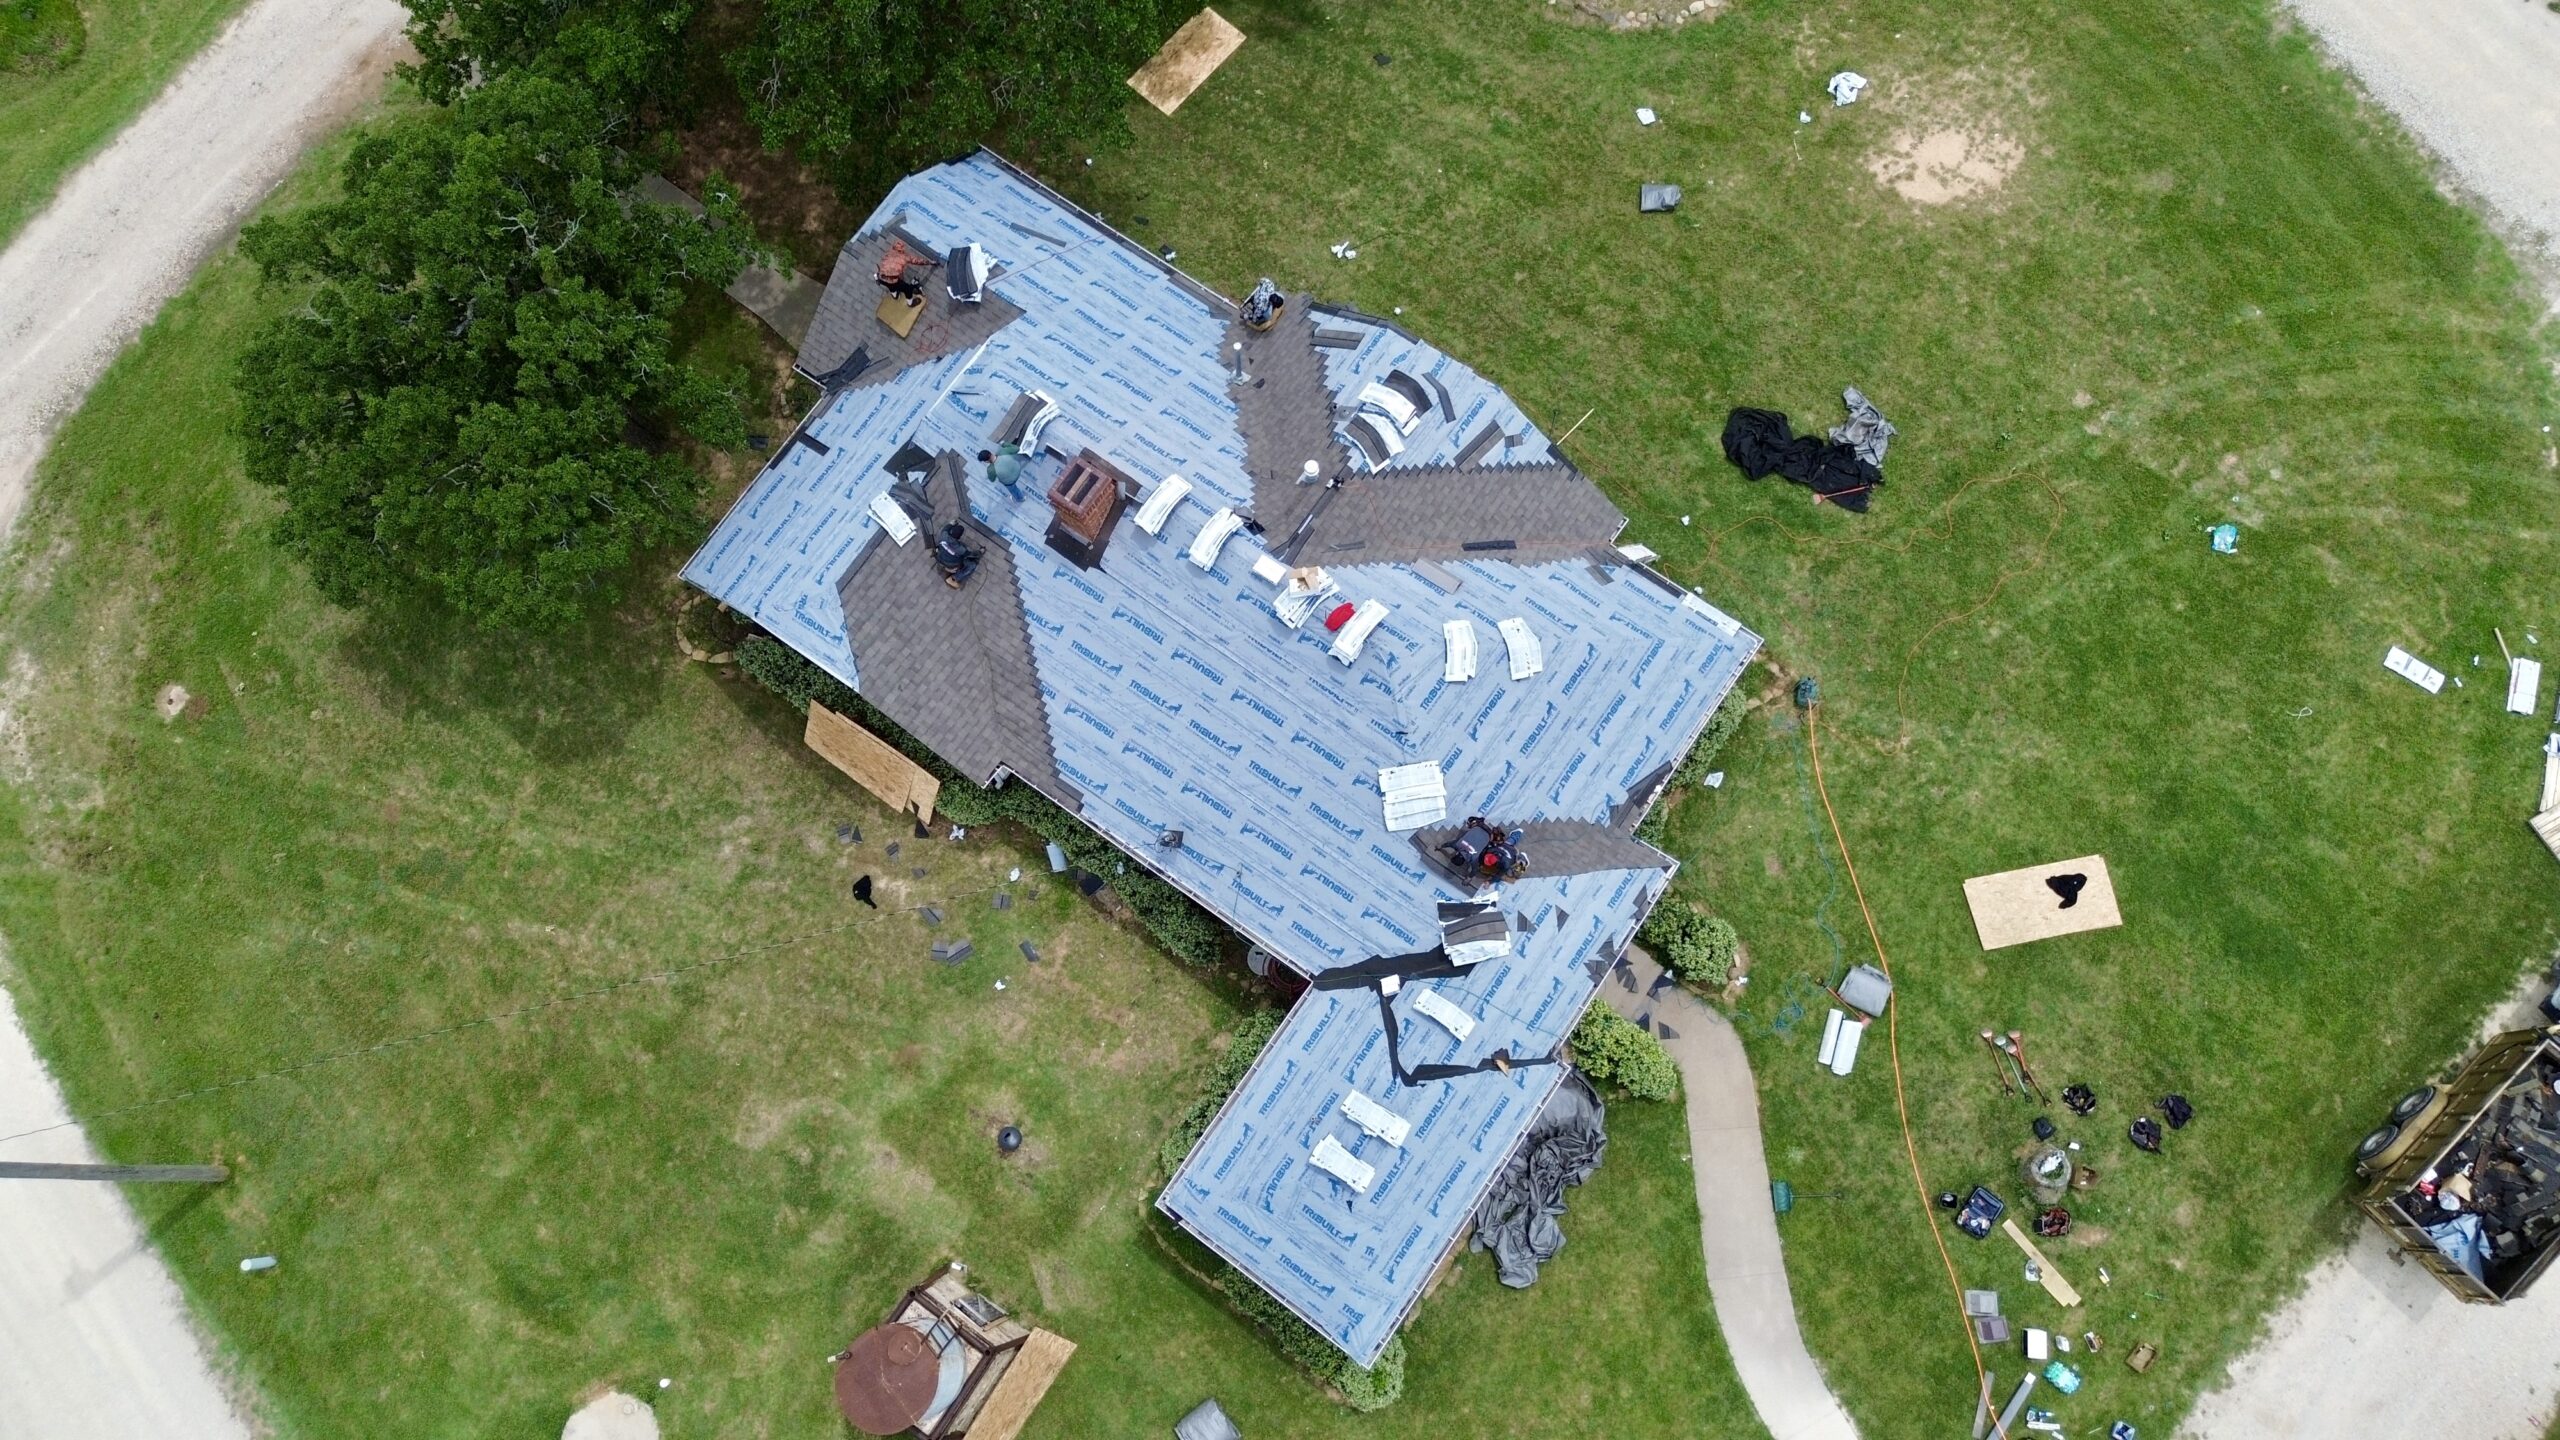
Valleys, ridges, and roof transitions are among the most detailed areas of a residential roof. They require careful installation because they involve changes in direction, concentrated water movement, or connections between different roof sections. These areas should be completed according to the requirements of the selected roofing system.
Valleys collect water from two or more roof surfaces, making them particularly important for drainage. During heavy rainfall, substantial amounts of water can move through these channels. The valley system must provide a clear and durable pathway toward the roof’s drainage outlets.
Different roofing systems may use different valley methods. Some roofs use metal valley flashing, while others use specially designed membrane or roofing-material details. The selected method should be compatible with the roofing material and local installation requirements.
Ridges are located near the highest portions of many sloped roofs. Ridge components can provide weather protection while also working with ventilation systems where ridge ventilation is part of the design. The installation needs to maintain proper alignment and secure attachment.
Roof transitions occur where one section of the roof changes slope, direction, or configuration. These areas may require specialized flashing and underlayment details. Contractors need to ensure that water is directed across these transitions without entering the roofing assembly.
Dormers and other architectural features can create additional transitions. Each connection between a roof surface and another building element needs appropriate waterproofing. These details are especially important because complex roof designs have more potential water-entry points.
The contractor should inspect these areas as installation progresses. Roofing materials should remain properly aligned, flashing should be secure, and drainage paths should remain unobstructed.
The finished appearance also matters, but visual quality should not replace functional inspection. A valley or ridge may look neat while still having an underlying installation problem. Both appearance and technical performance should be evaluated.
Properly completed transitions help connect separate sections into one continuous roofing system. They reduce vulnerable gaps and provide predictable pathways for water and weather forces.
Installing and Checking the Drainage System
The final major stage in this part of the installation process involves completing the roof’s drainage system. Effective drainage ensures that rainwater moves away from the roofing surface and toward safe discharge points rather than accumulating around vulnerable areas.
Gutters are commonly installed along roof edges to collect runoff. They need to be positioned correctly so water enters the gutter rather than flowing behind it or over its edge. Proper attachment is also important because gutters can become heavy when filled with water and debris.
Downspouts carry water from gutters toward the ground. Their placement should allow water to discharge away from the building where possible. Poorly positioned downspouts can direct water toward foundations, walls, or other areas where moisture may become a problem.
Valleys should be checked before the project is considered complete. Water should be able to travel through these areas without obstruction. Roofing materials should not be positioned in a way that restricts the intended drainage path.
Low-slope or flat residential roofs may use drains, scuppers, or other drainage components instead of conventional gutters. These systems require particular attention because standing water can place additional demands on roofing membranes and supporting components.
Construction debris should be removed from all drainage pathways. Small pieces of roofing material, packaging, fasteners, and other debris can accumulate in gutters, valleys, or drains during installation.
The contractor should also check the relationship between roof edges and drainage components. Drip edges, underlayment, roofing materials, fascia, and gutters should work together to move water away from vulnerable areas.
An effective drainage system protects more than the roof itself. It helps reduce moisture exposure to the roof deck, fascia, exterior walls, and foundation. When drainage is completed correctly, the roof is better prepared to handle rainfall throughout its service life.
Once these major components are installed and checked, the roofing project moves into its final stages. The remaining work involves completing roof edges and details, conducting a thorough inspection, cleaning the property, reviewing documentation, and establishing a maintenance plan for the newly installed system.
Completing Roof Edges and Final Installation Details
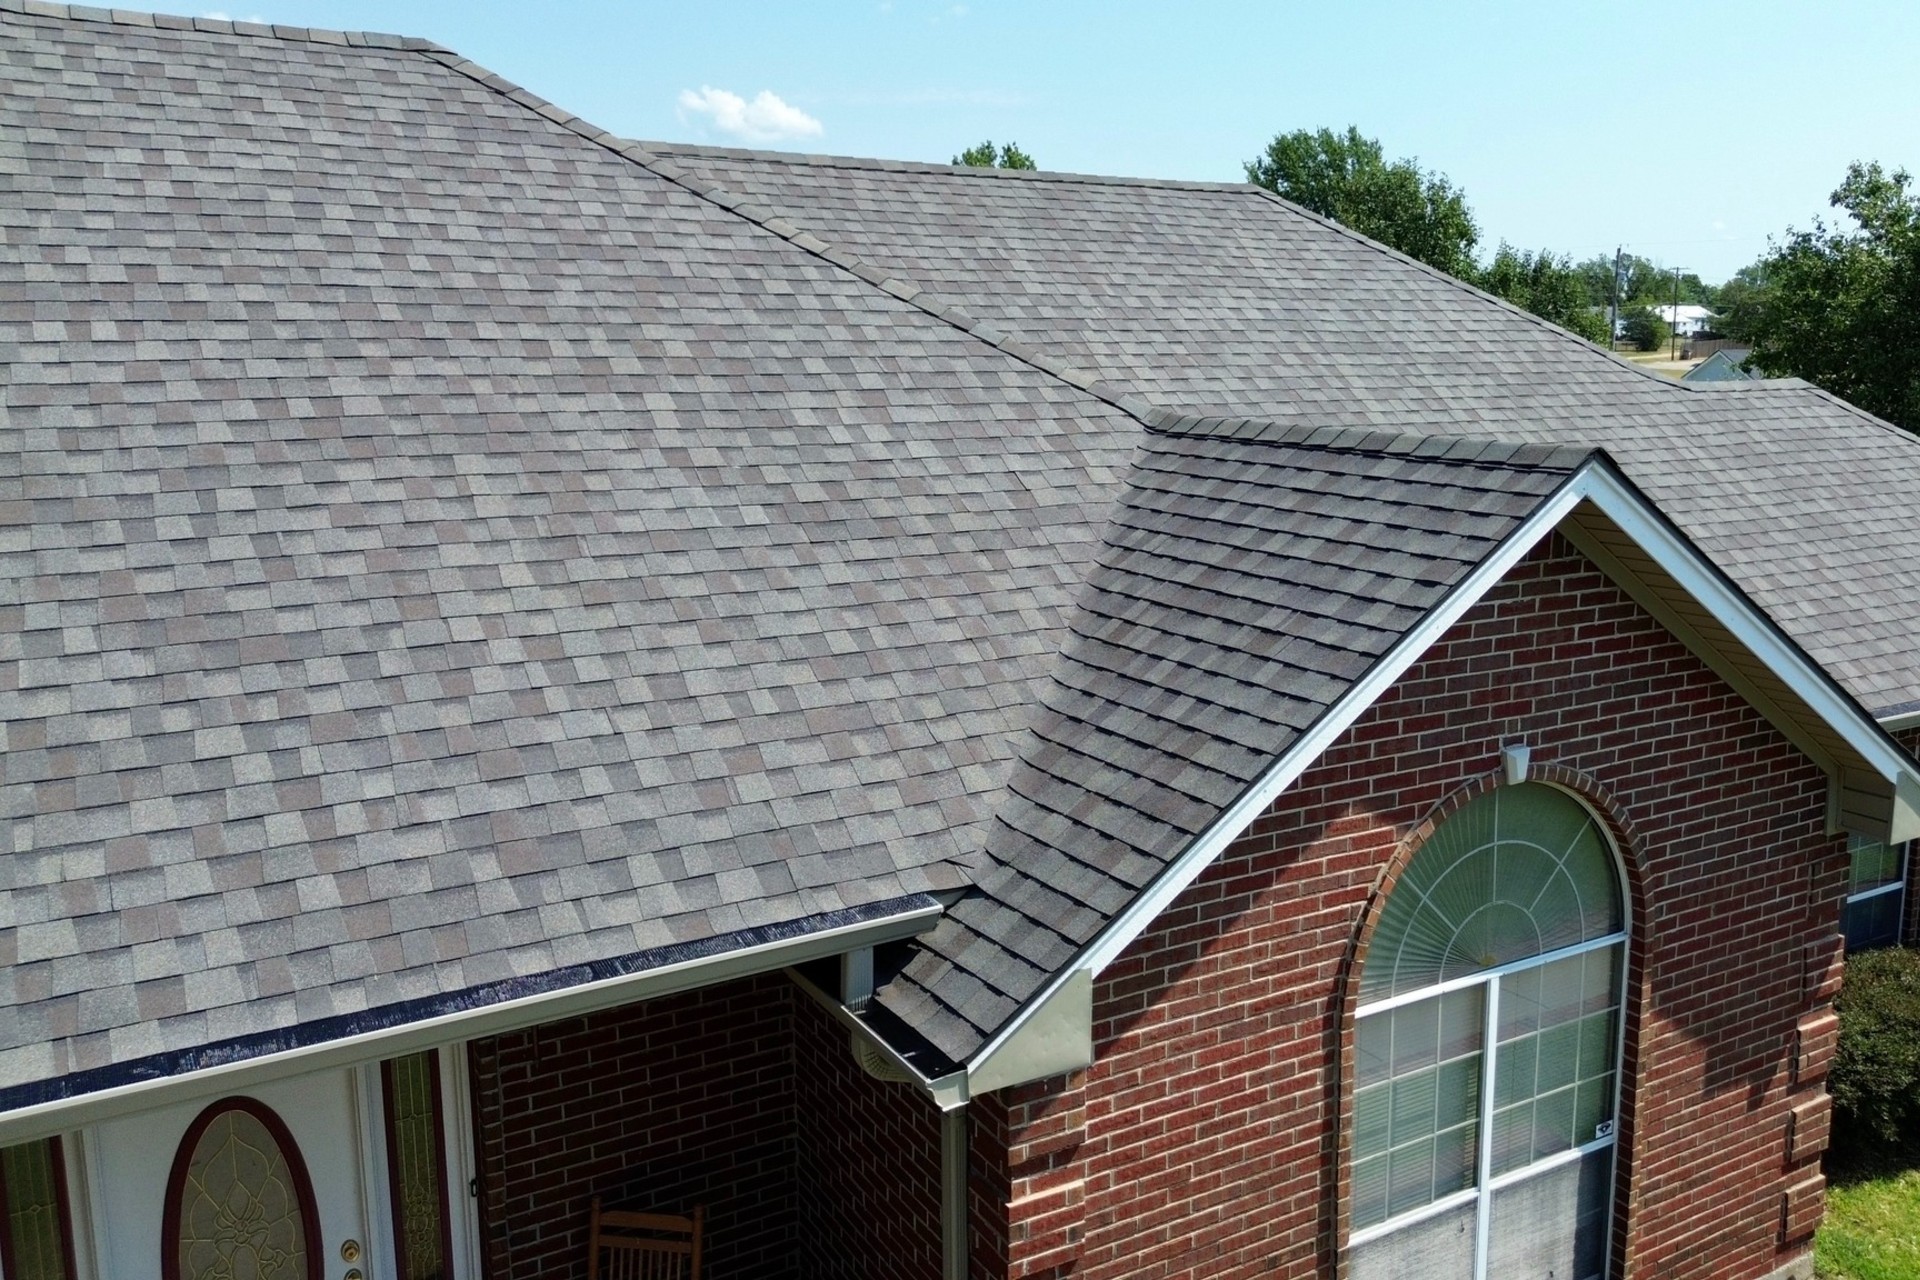
Once the primary roofing material, flashing, fasteners, ventilation, valleys, ridges, and drainage components have been installed, the contractor needs to complete the remaining roof edges and finishing details. These areas may seem minor compared with the main roof surface, but they are important for creating a complete and weather-resistant roofing system.
Roof edges should be checked carefully for proper alignment and attachment. Drip edges, fascia connections, rake edges, eaves, and other boundary components should fit together without creating unnecessary gaps. These details help control water movement and protect vulnerable portions of the roof structure.
Roof penetrations should also receive a final review. Chimneys, skylights, plumbing vents, exhaust vents, and other openings interrupt the roof surface and therefore require reliable waterproofing. Flashing around these areas should be properly positioned and integrated with the surrounding roofing material.
Sealants may be used in specific locations where they are appropriate for the roofing system. However, sealant should not be used to hide poor workmanship or replace properly designed flashing. The contractor should correct the underlying installation problem rather than depending on a temporary surface treatment.
Exposed fasteners should be checked to ensure they are appropriate for the selected material and correctly installed. Missing, loose, overdriven, or improperly positioned fasteners can affect the stability and weather resistance of the roof.
The contractor should also look for damaged roofing materials caused during installation. Shingles can become cracked, tiles can break, and metal panels can become scratched or bent if they are handled incorrectly. Damaged components should be replaced or repaired before the project is considered complete.
Any remaining construction materials should be removed from the roof surface. Loose nails, packaging, cut pieces of roofing material, and other debris can interfere with drainage and create unnecessary hazards around the property.
The finished roof should have consistent lines, properly completed edges, secure components, and clear drainage pathways. Although appearance is important, the contractor’s final review should focus primarily on performance and workmanship.
Conducting a Complete Roof Installation Inspection
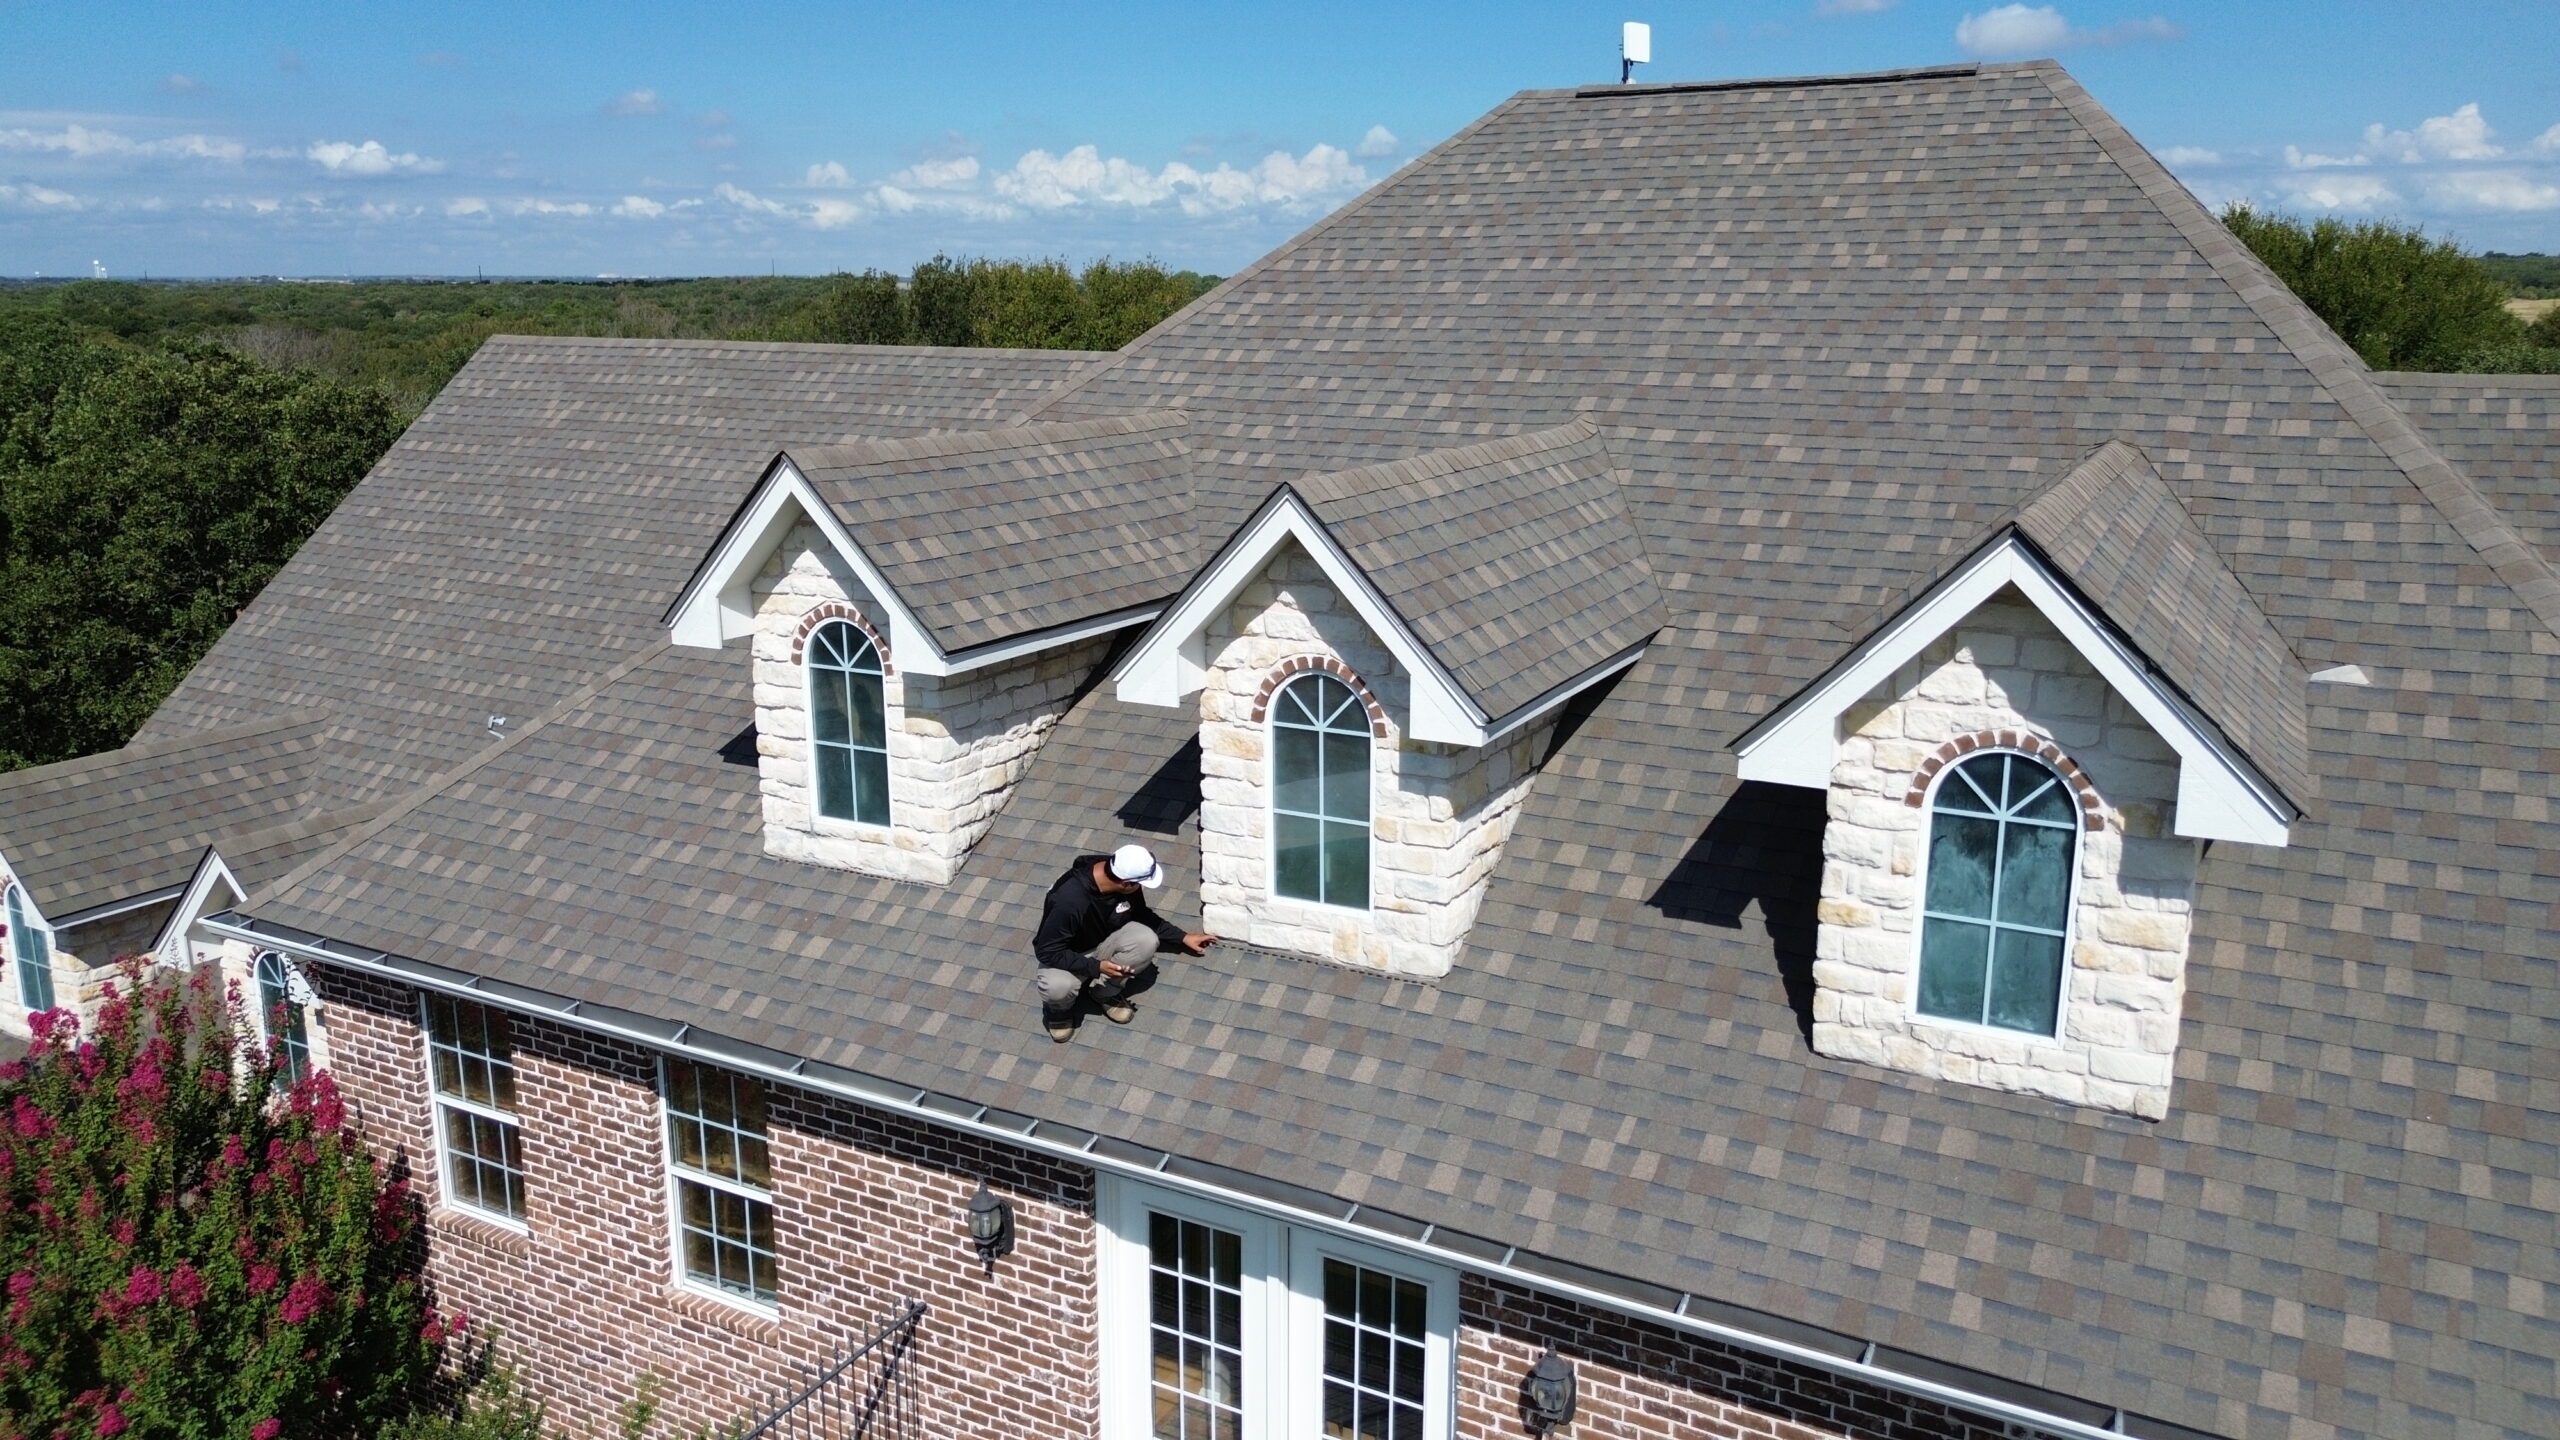
A final inspection is an essential part of the residential roofing installation process. It provides an opportunity to evaluate the completed system and identify problems before the contractor leaves the project. A thorough inspection should cover both visible roofing materials and the major components that support their performance.
The primary roofing material should be checked for proper alignment, coverage, fastening, and visible damage. Shingles, panels, tiles, slate, or other materials should be installed according to the requirements of the selected product.
Flashing should receive particular attention during the inspection. Chimneys, skylights, vents, pipes, valleys, walls, and other transitions should be reviewed to ensure that water can move around them without entering the roofing assembly.
Roof edges should also be inspected. Drip edges, eaves, rakes, fascia, and gutters need to be properly coordinated. The contractor should verify that water is directed toward the drainage system instead of behind the edge components.
Ventilation should be checked to ensure that intended intake and exhaust openings remain functional. Roofing materials, insulation, debris, or other components should not block the designed airflow pathways.
The drainage system should also be evaluated. Gutters and downspouts should be clear, valleys should provide unobstructed water pathways, and drains or scuppers should function appropriately where applicable.
The roof deck may not be visible after installation, but documentation of any repairs should be retained. If damaged sections were replaced during the project, homeowners should keep records of where and why the work was performed.
A professional final inspection should also consider workmanship around all roof penetrations and transitions. These areas are often more vulnerable than the central portions of the roof and deserve careful attention.
Homeowners should have an opportunity to review the completed work with the contractor. Any questions about maintenance, warranties, repairs, or unusual features should be addressed before the project is closed.
Cleaning the Roof and Surrounding Property
Roof installation creates a significant amount of construction debris, so cleanup is an important final stage. Roofing materials may leave behind small pieces, nails, packaging, protective materials, and other waste that should be removed from both the roof and surrounding property.
Gutters should receive particular attention during cleanup. Small pieces of roofing material can collect inside gutters and restrict water flow. The contractor should make sure that gutters and downspouts are clear before leaving the property.
The ground around the home should also be inspected for loose fasteners and sharp debris. A careful cleanup process helps protect residents, pets, vehicles, landscaping, and anyone who may walk around the property after the installation.
Landscaping and exterior surfaces should be checked for accidental damage. If protective coverings were used during construction, they should be removed carefully once the work is finished.
The contractor should also remove unused roofing materials and construction waste according to the agreed project arrangements. Homeowners should understand whether disposal is included in the contract and how remaining materials will be handled.
Some leftover roofing materials may be useful for future repairs. If appropriate, homeowners can ask the contractor whether a small quantity of matching material should be retained. Properly stored spare materials can sometimes make future repairs easier.
The completed roof should be visually reviewed after cleanup. Debris should not remain in valleys, around vents, near roof edges, or in drainage components. A clean roof makes it easier to identify any visible installation issues.
Cleanup is not simply about making the property look finished. Removing debris protects the drainage system, reduces hazards, and provides a cleaner environment for the homeowner to begin maintaining the new roof.
Reviewing Warranties and Roofing Documentation
Documentation should be collected before the roofing project is considered fully complete. Homeowners should keep information about the roofing materials, contractor, installation work, warranties, maintenance requirements, and any repairs made during the project.
Product warranties may cover specific manufacturing defects, but their terms can vary considerably. Homeowners should understand what the manufacturer covers, how long the coverage lasts, and whether specific maintenance or installation requirements apply.
Workmanship warranties are separate from product warranties in many roofing projects. They relate to the contractor’s installation work and may have different conditions and periods of coverage. Homeowners should keep the contract and warranty information together for future reference.
The roofing material information should also be recorded. Knowing the exact product, profile, color, manufacturer, and installation system can make future maintenance and repairs easier.
Photographs can provide a useful record of the completed roof. Images of flashing, valleys, penetrations, roof edges, and other important areas can document the installation condition before these components become difficult to inspect.
Homeowners should also keep invoices and receipts related to the project. These documents can be useful for warranty claims, future repairs, insurance matters, or property transactions.
Maintenance recommendations should be reviewed as well. Different roofing materials have different care requirements, and following the manufacturer’s recommendations can help protect the roof’s expected performance.
Keeping organized records creates a history for the new roofing system. If a problem develops years later, these documents can help contractors understand what materials were installed and how the roof was originally constructed.
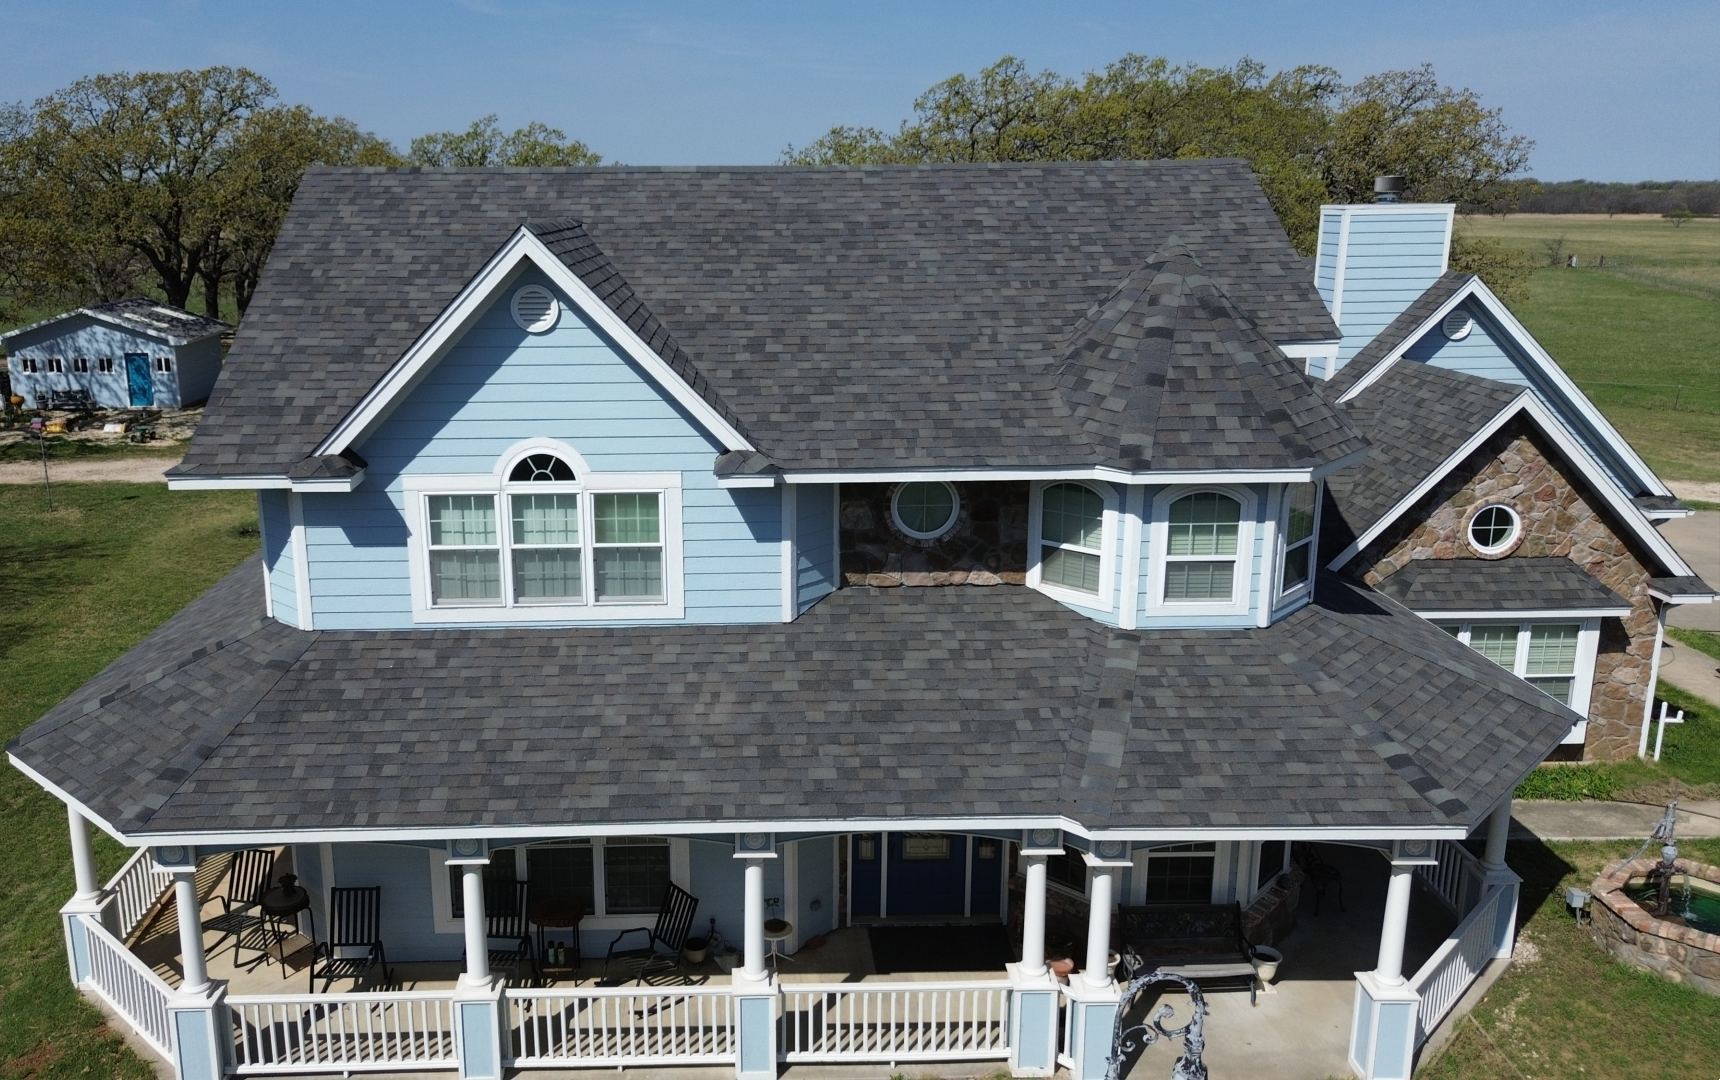
Maintaining the Newly Installed Residential Roof
A new roof still requires regular maintenance even when it has been professionally installed. Maintenance helps preserve the condition of the roofing materials and allows homeowners to identify developing problems before they become major repairs.
Gutters and downspouts should be kept clear so rainwater can move away from the roof efficiently. Leaves, branches, and other debris can restrict drainage and cause water to overflow around roof edges.
Nearby vegetation should also be controlled. Tree branches can damage roofing materials during storms, while leaves can collect on the roof and inside drainage pathways. Maintaining trees around the property can reduce these risks.
Homeowners should arrange periodic professional inspections, particularly as the roof ages or after significant weather events. Strong winds, hail, heavy rain, and falling branches can cause damage that may not be visible from the ground.
Interior areas should also be monitored for signs of moisture. Water stains, damp areas, peeling finishes, or unexplained changes around ceilings can indicate a possible roofing problem. Early professional investigation can help prevent a small issue from becoming more extensive.
Homeowners should avoid unnecessary roof traffic and inappropriate cleaning methods. Pressure washing, harsh chemicals, or incorrect repair materials can damage certain roofing systems.
Any modifications involving solar panels, antennas, skylights, vents, or other roof-mounted equipment should be planned carefully. Improper installation of additional equipment can compromise flashing, waterproofing, or structural components.
A maintenance record should be updated whenever inspections or repairs are completed. This provides a useful history of the roof and can help homeowners make informed decisions later in its service life.
Conclusion
The residential roofing installation process involves a carefully connected series of stages, beginning with planning and ending with inspection and ongoing maintenance. Preparing the property, removing the existing roof, inspecting the deck, installing underlayment, completing flashing, attaching the primary roofing material, and establishing proper drainage all contribute to the performance of the finished system.
The final installation details are just as important as the major roofing materials. Roof edges, penetrations, valleys, fasteners, ventilation components, and drainage pathways must all be checked before the project is considered complete.
A thorough final inspection helps identify workmanship concerns while they can still be corrected. Cleaning the property then removes construction debris and ensures that gutters, valleys, and surrounding areas are ready for normal use.
Documentation is also an important part of completing the project. Keeping warranties, material information, invoices, photographs, and maintenance recommendations gives homeowners useful information for future inspections and repairs.
The installation process does not truly end when the contractor leaves the property. Regular maintenance, drainage care, professional inspections, and prompt repairs are necessary to protect the new roofing system throughout its service life.
Ultimately, a successful residential roof installation depends on both the quality of the materials and the quality of the workmanship. When every stage is completed carefully and the finished system is properly maintained, the roof can provide dependable protection, improve the home’s condition, and support long-term performance for years to come.