
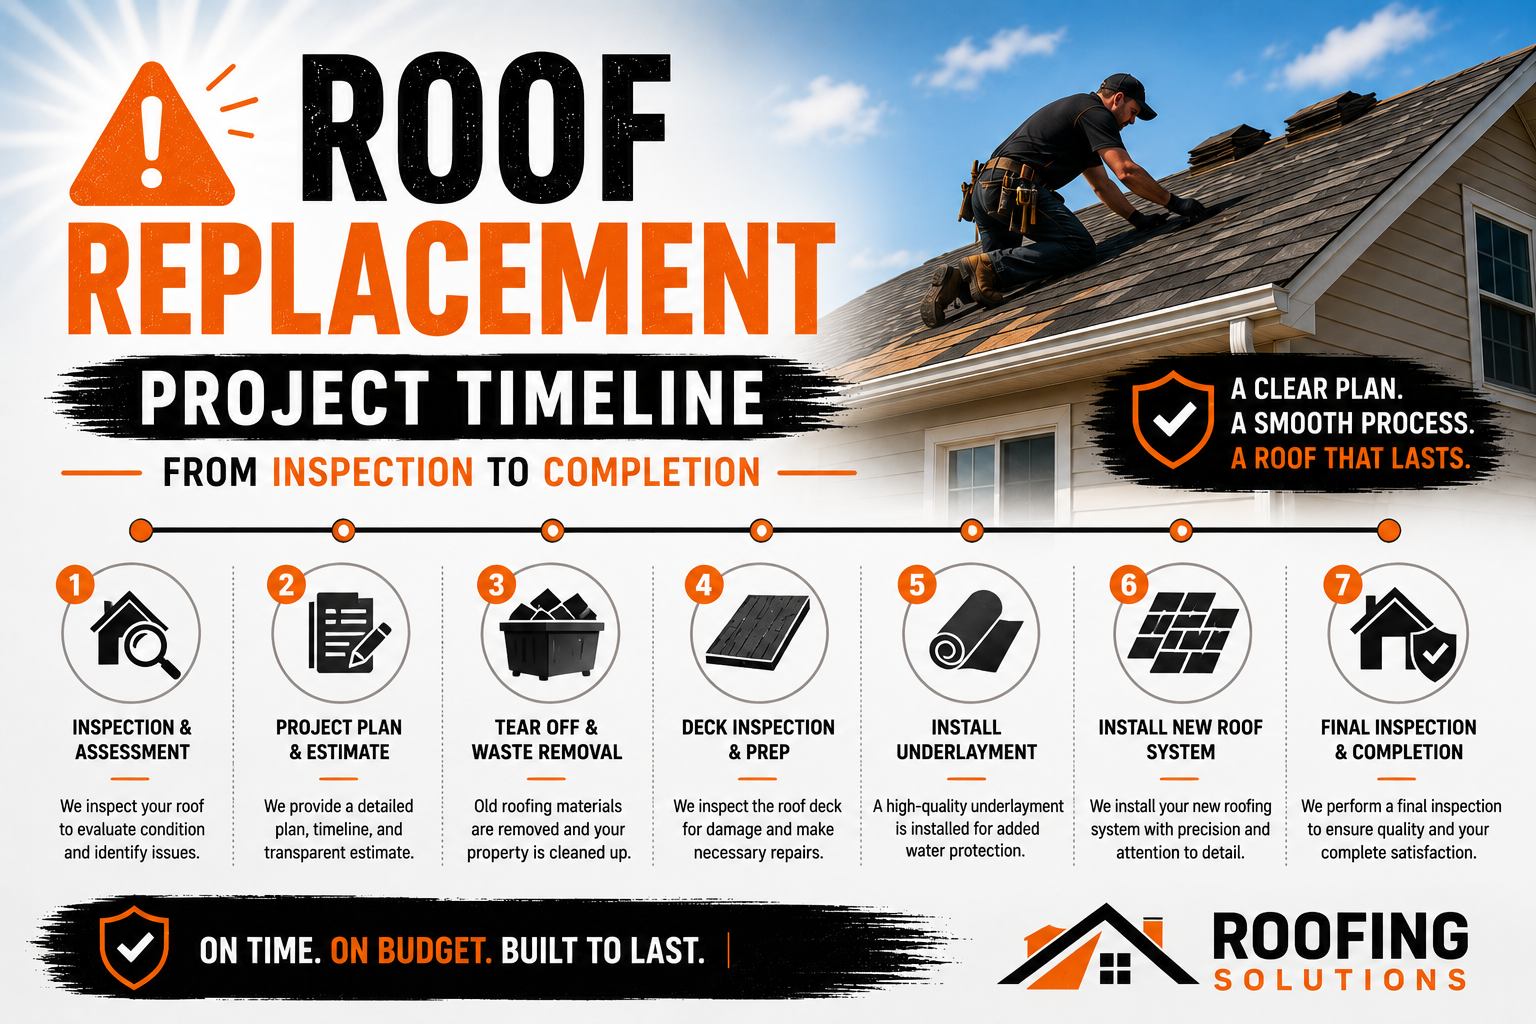
Roof Replacement Project Timeline From Inspection to Completion
Introduction
Replacing a roof is a major construction project that involves far more than removing old shingles and installing new ones. Every successful roof replacement follows a carefully planned timeline that begins with the initial inspection and continues through material selection, scheduling, installation, cleanup, and final quality checks. Understanding this timeline helps homeowners know what to expect at each stage while allowing them to prepare their property and make informed decisions throughout the process.
Professional roofing contractors rely on structured project planning to ensure every phase is completed efficiently and according to industry standards. Rather than rushing from one task to another, experienced contractors complete each step in sequence because the quality of one phase directly affects the success of the next. Careful planning reduces delays, improves communication, and ensures the finished roofing system delivers long term performance.
The overall timeline varies depending on factors such as roof size, material type, weather conditions, permit requirements, and the condition of the existing roof structure. While some residential roof replacements may be completed within a few days of construction, the planning and preparation that occur beforehand often require additional time. These early stages are just as important as the installation itself because they establish the foundation for a smooth and successful project.
Knowing how the roof replacement timeline progresses from inspection to completion also helps homeowners communicate more effectively with their contractor. When expectations are clear from the beginning, there is less confusion regarding scheduling, material deliveries, temporary disruptions, and project milestones.
This guide explains every stage of the roof replacement timeline, beginning with the initial inspection and project planning activities that occur before construction starts. Each phase builds naturally into the next, providing a complete understanding of how professional roofing contractors manage replacement projects from beginning to end.
Why Understanding the Roof Replacement Timeline Matters
Many homeowners focus primarily on the day installation begins, but a roof replacement project actually starts well before any construction equipment arrives at the property. Understanding the complete timeline allows property owners to appreciate the amount of planning, coordination, and technical evaluation required before the first roofing material is removed.
A clearly defined timeline also reduces uncertainty. Homeowners know when inspections will occur, when materials are expected to arrive, how long construction may last, and when the final walkthrough will take place. This knowledge makes it easier to plan around temporary inconveniences such as driveway access restrictions, construction noise, and limited use of outdoor spaces.
From the contractor’s perspective, a structured timeline improves project management. Scheduling inspections, ordering materials, coordinating labor, arranging permits, and monitoring weather conditions all require careful organization. When every stage follows a logical sequence, contractors can maintain efficiency without compromising workmanship.
The timeline also helps identify potential delays before they affect the project. Material shortages, permit approvals, unexpected structural repairs, or unfavorable weather can all influence scheduling. Recognizing these possibilities early allows contractors to adjust plans while keeping homeowners informed about any necessary changes.
Another advantage of understanding the timeline is improved decision making. Homeowners often need to select roofing materials, approve project estimates, review warranties, and schedule installation dates. Knowing when these decisions occur helps prevent last minute changes that could delay the project.
Ultimately, the roof replacement timeline serves as a roadmap that guides both homeowners and contractors from the first inspection through final completion. Every stage has a specific purpose, and together they create an organized process that supports high quality results.
Initial Contact and Scheduling the Roof Inspection
The roof replacement timeline officially begins when a homeowner contacts a roofing contractor to request an inspection. This first interaction establishes the foundation for the entire project because it allows both parties to discuss the property’s current condition, visible concerns, and overall replacement goals.
During the initial conversation, contractors gather information about the roof’s age, previous repairs, leak history, and any damage caused by storms or normal wear. Homeowners may describe issues such as missing shingles, water stains, sagging areas, or increased energy costs that suggest the roof is no longer performing effectively.
After gathering preliminary information, the contractor schedules a convenient inspection date. Appointment availability depends on workload, seasonal demand, and weather conditions, but professional roofing companies strive to complete inspections promptly so homeowners can move forward with necessary repairs or replacement decisions.
Some contractors provide guidance before the inspection takes place. Homeowners may be asked to ensure access to the attic, remove vehicles from the driveway if ladders or equipment are needed, and prepare any documentation related to previous roofing work or insurance claims.
Scheduling the inspection early also allows homeowners to begin planning financially. While the inspection itself does not determine the final cost, it initiates the evaluation process that leads to a detailed project estimate and replacement recommendation.
The initial contact may appear straightforward, but it begins a coordinated process that ultimately leads to the installation of a completely new roofing system.
Comprehensive Roof Inspection Process
A thorough roof inspection is one of the most important stages of the replacement timeline because it determines the overall condition of the existing roofing system. Professional contractors evaluate much more than the visible roof covering. They assess structural components, moisture protection systems, ventilation, flashing, and other elements that influence the roof’s long term performance.
The inspection begins with an exterior evaluation. Contractors examine shingles or roofing panels, ridge caps, valleys, flashing, gutters, chimneys, skylights, roof penetrations, and drainage systems. They look for signs of aging, cracking, missing materials, storm damage, and improper previous repairs that may affect replacement planning.
The attic or interior ceiling spaces are inspected whenever possible. Water stains, mold growth, inadequate ventilation, damaged insulation, and daylight entering through the roof structure often reveal hidden problems that cannot be identified from the exterior alone. These observations help contractors determine whether repairs beyond the roofing surface may be necessary.
Roof measurements are also collected during the inspection. Accurate dimensions allow contractors to calculate material quantities, estimate labor requirements, and prepare detailed project proposals. Modern roofing companies may use measuring tools, aerial imagery, or digital technology to improve accuracy while reducing the need for repeated site visits.
Photographs and written documentation are commonly prepared during the inspection. These records help homeowners understand the roof’s condition while providing clear evidence to support replacement recommendations. Visual documentation is particularly valuable when discussing insurance claims or comparing multiple contractor proposals.
Rather than focusing only on existing damage, experienced contractors also identify opportunities for improvement. Upgraded ventilation, stronger waterproofing systems, or enhanced flashing details may significantly improve the performance of the new roof once installation begins.
Evaluating Roof Damage and Determining Replacement Needs
Following the inspection, contractors carefully evaluate their findings to determine whether complete roof replacement is the most appropriate solution. Not every roofing problem requires a full replacement, so professionals assess the extent of damage before making recommendations.
Age is one of the first considerations. Roofing materials gradually deteriorate after years of exposure to sunlight, rain, wind, temperature changes, and seasonal weather patterns. Even if major leaks have not yet developed, an aging roof approaching the end of its expected lifespan may justify replacement rather than continued repairs.
The distribution of damage also influences the recommendation. Localized problems affecting only a small section of the roof can often be repaired effectively. However, widespread deterioration, repeated leaks, extensive shingle loss, or structural damage usually indicate that replacement provides greater long term value.
Contractors evaluate the condition of supporting components as well. Damaged flashing, deteriorated underlayment, weakened roof decking, poor ventilation, and drainage problems often accompany older roofing systems. Replacing only the visible roofing material without correcting these underlying issues may lead to future performance problems.
Energy efficiency is another factor considered during the evaluation process. Modern roofing systems often include improved ventilation designs, advanced moisture barriers, and energy efficient materials that enhance indoor comfort while reducing heating and cooling costs.
Contractors discuss their findings with homeowners in clear, understandable language. Rather than simply recommending replacement, they explain the reasons behind their assessment so property owners can make informed decisions based on the roof’s actual condition.
Preparing the Roof Replacement Estimate
Once the inspection and evaluation are complete, contractors prepare a detailed roof replacement estimate. This document outlines the scope of work, recommended materials, projected costs, estimated timeline, and services included in the project. A comprehensive estimate allows homeowners to compare proposals accurately while understanding exactly what the contractor intends to provide.
Preparing an accurate estimate requires more than calculating material quantities. Contractors also consider roof complexity, labor requirements, disposal costs, permit fees, equipment needs, and any structural repairs identified during the inspection. Each project has unique characteristics that influence the overall cost and schedule.
Professional estimates generally describe the roofing system in detail. Information may include the type of roofing material, underlayment, flashing, ventilation products, fasteners, ridge caps, waterproofing membranes, and warranty coverage associated with the proposed installation.
The estimate also identifies work that may require additional approval if unexpected conditions are discovered after roof removal. For example, damaged roof decking hidden beneath the existing shingles cannot always be evaluated fully until demolition begins. Contractors explain how such situations will be handled if they arise.
Homeowners are encouraged to review the estimate carefully and ask questions before approving the project. Understanding the proposed scope of work helps prevent misunderstandings once construction begins.
A well prepared estimate serves as both a planning document and a communication tool. It establishes clear expectations while providing the information needed to move confidently into the next stage of the roof replacement timeline.
Selecting Roofing Materials and System Components
After approving the project estimate, homeowners work with the contractor to select the roofing materials and supporting components that will be used during installation. This stage is important because every component of the roofing system contributes to long term durability, weather resistance, energy efficiency, and overall appearance.
The visible roofing material receives considerable attention, but contractors also recommend compatible underlayment, flashing systems, ridge ventilation products, starter strips, drip edges, and fasteners. These components are designed to function together as a complete roofing system rather than as individual products.
Several factors influence material selection. Local climate conditions, roof slope, architectural style, maintenance preferences, budget, and expected service life all help determine which roofing system best suits the property. Contractors explain the advantages and limitations of each option so homeowners can make informed decisions.
Manufacturer warranties are also discussed during this stage. Many warranties require approved installation methods and compatible roofing components to remain valid. Selecting products that work together according to manufacturer specifications helps maximize warranty protection.
Material availability can influence scheduling as well. Popular roofing products or specialty colors may require additional ordering time, particularly during peak construction seasons. Contractors coordinate these details before confirming the installation schedule.
Choosing the right roofing system represents a significant milestone in the replacement timeline because it allows contractors to begin ordering materials and preparing for construction.
Project Planning and Scheduling the Installation
With materials selected and the project approved, contractors begin detailed planning for the installation phase. Careful scheduling ensures labor, materials, equipment, and permit requirements are coordinated effectively before construction starts.
Project planning includes confirming material delivery dates, assigning roofing crews, arranging dumpsters, organizing equipment, and reviewing safety procedures. Contractors also evaluate weather forecasts because favorable conditions improve both installation quality and worker safety.
Communication with the homeowner remains an important part of this planning stage. Contractors explain the anticipated project timeline, expected working hours, parking arrangements, property access requirements, and temporary disruptions that may occur during construction. Providing this information early helps homeowners prepare their households accordingly.
Planning also includes reviewing manufacturer installation guidelines to ensure every roofing component will be installed according to warranty requirements. Contractors verify that all necessary materials have been ordered and that specialized equipment will be available when needed.
Before construction begins, the project schedule is finalized based on the availability of materials, labor, permits, and suitable weather conditions. Although adjustments may occasionally become necessary, a carefully planned schedule significantly reduces delays and improves overall project efficiency.
By the end of this stage, the roof replacement project has moved from planning into active preparation. The next phase of the timeline focuses on permits, material deliveries, property preparation, and the beginning of the physical roof replacement process.
Obtaining Permits and Meeting Building Code Requirements
Before any roofing materials are removed, contractors ensure the project complies with all applicable building regulations. Depending on the location, a roof replacement may require permits, inspections, or approvals from local building authorities. Completing these requirements before construction begins helps prevent delays, penalties, and unnecessary complications later in the project.
Building permits verify that the planned roof replacement meets current construction standards. These regulations are designed to improve structural safety, weather resistance, ventilation, fire protection, and overall building performance. Professional roofing contractors are familiar with these requirements and typically manage the permit application process on behalf of the homeowner.
Building codes may also specify installation methods for roofing materials, flashing, underlayment, fasteners, and ventilation systems. Contractors review these requirements carefully before work begins so the completed roof complies with both local regulations and manufacturer recommendations.
Some jurisdictions require inspections during different phases of the project. For example, officials may inspect the roof deck after old materials have been removed or perform a final inspection after installation has been completed. Contractors coordinate these inspections within the project schedule to avoid interruptions.
Permit approval times vary depending on local authorities and project complexity. Simple residential roof replacements may receive approval quickly, while larger commercial projects or buildings located within historic districts sometimes require additional review.
Obtaining permits before construction demonstrates professionalism while ensuring the roof replacement proceeds according to established safety and quality standards.
Ordering Materials and Coordinating Deliveries
Once permits have been addressed and the installation schedule is confirmed, contractors begin ordering the roofing materials required for the project. Careful coordination during this stage ensures everything arrives on time and in the correct quantities so installation can proceed without unnecessary delays.
Material orders typically include the primary roofing product along with underlayment, flashing, drip edges, starter strips, ridge caps, ventilation components, fasteners, sealants, and other accessories. Contractors verify that all products are compatible and meet manufacturer requirements for warranty coverage.
Delivery timing is planned carefully. Roofing materials are usually delivered shortly before installation begins to minimize long term storage at the property. Delivering materials too early may expose them to unnecessary weather conditions, while late deliveries can delay the project schedule.
Contractors also select safe unloading locations. Roofing materials are often placed on driveways or other stable surfaces where they remain accessible without blocking emergency access or creating hazards for homeowners. In some cases, materials are lifted directly onto the roof using specialized equipment to reduce manual handling.
Each delivery is inspected upon arrival. Contractors verify product quantities, check for shipping damage, and confirm that the correct colors, profiles, and accessories have been received before construction begins.
Proper coordination during this stage helps prevent installation delays while ensuring roofing crews have everything they need to complete the project efficiently.
Preparing the Property Before Construction Begins
With materials delivered and equipment ready, contractors prepare the property for active construction. Proper site preparation protects the home, landscaping, vehicles, and outdoor belongings while creating a safe and organized work environment for the roofing crew.
Homeowners are usually asked to move vehicles away from the driveway and surrounding work areas before construction starts. This provides space for dumpsters, delivery vehicles, ladders, and construction equipment while protecting vehicles from falling debris.
Outdoor furniture, grills, potted plants, decorations, and other movable items are relocated or covered to reduce the possibility of accidental damage. Contractors may also place protective coverings over shrubs, flower beds, air conditioning units, and other exterior features located near the roof.
Inside the home, homeowners are often advised to remove fragile wall decorations or valuable items from shelves. Vibrations created during roof removal can occasionally affect objects attached to interior walls, particularly in older homes.
Contractors establish designated work zones before the first roofing material is removed. Equipment, tools, and materials are organized efficiently to maintain clear pathways and reduce unnecessary movement around the property. Safety barriers or warning signs may also be installed where appropriate.
This preparation stage ensures the property is ready for construction while minimizing disruption to the homeowner throughout the roof replacement process.
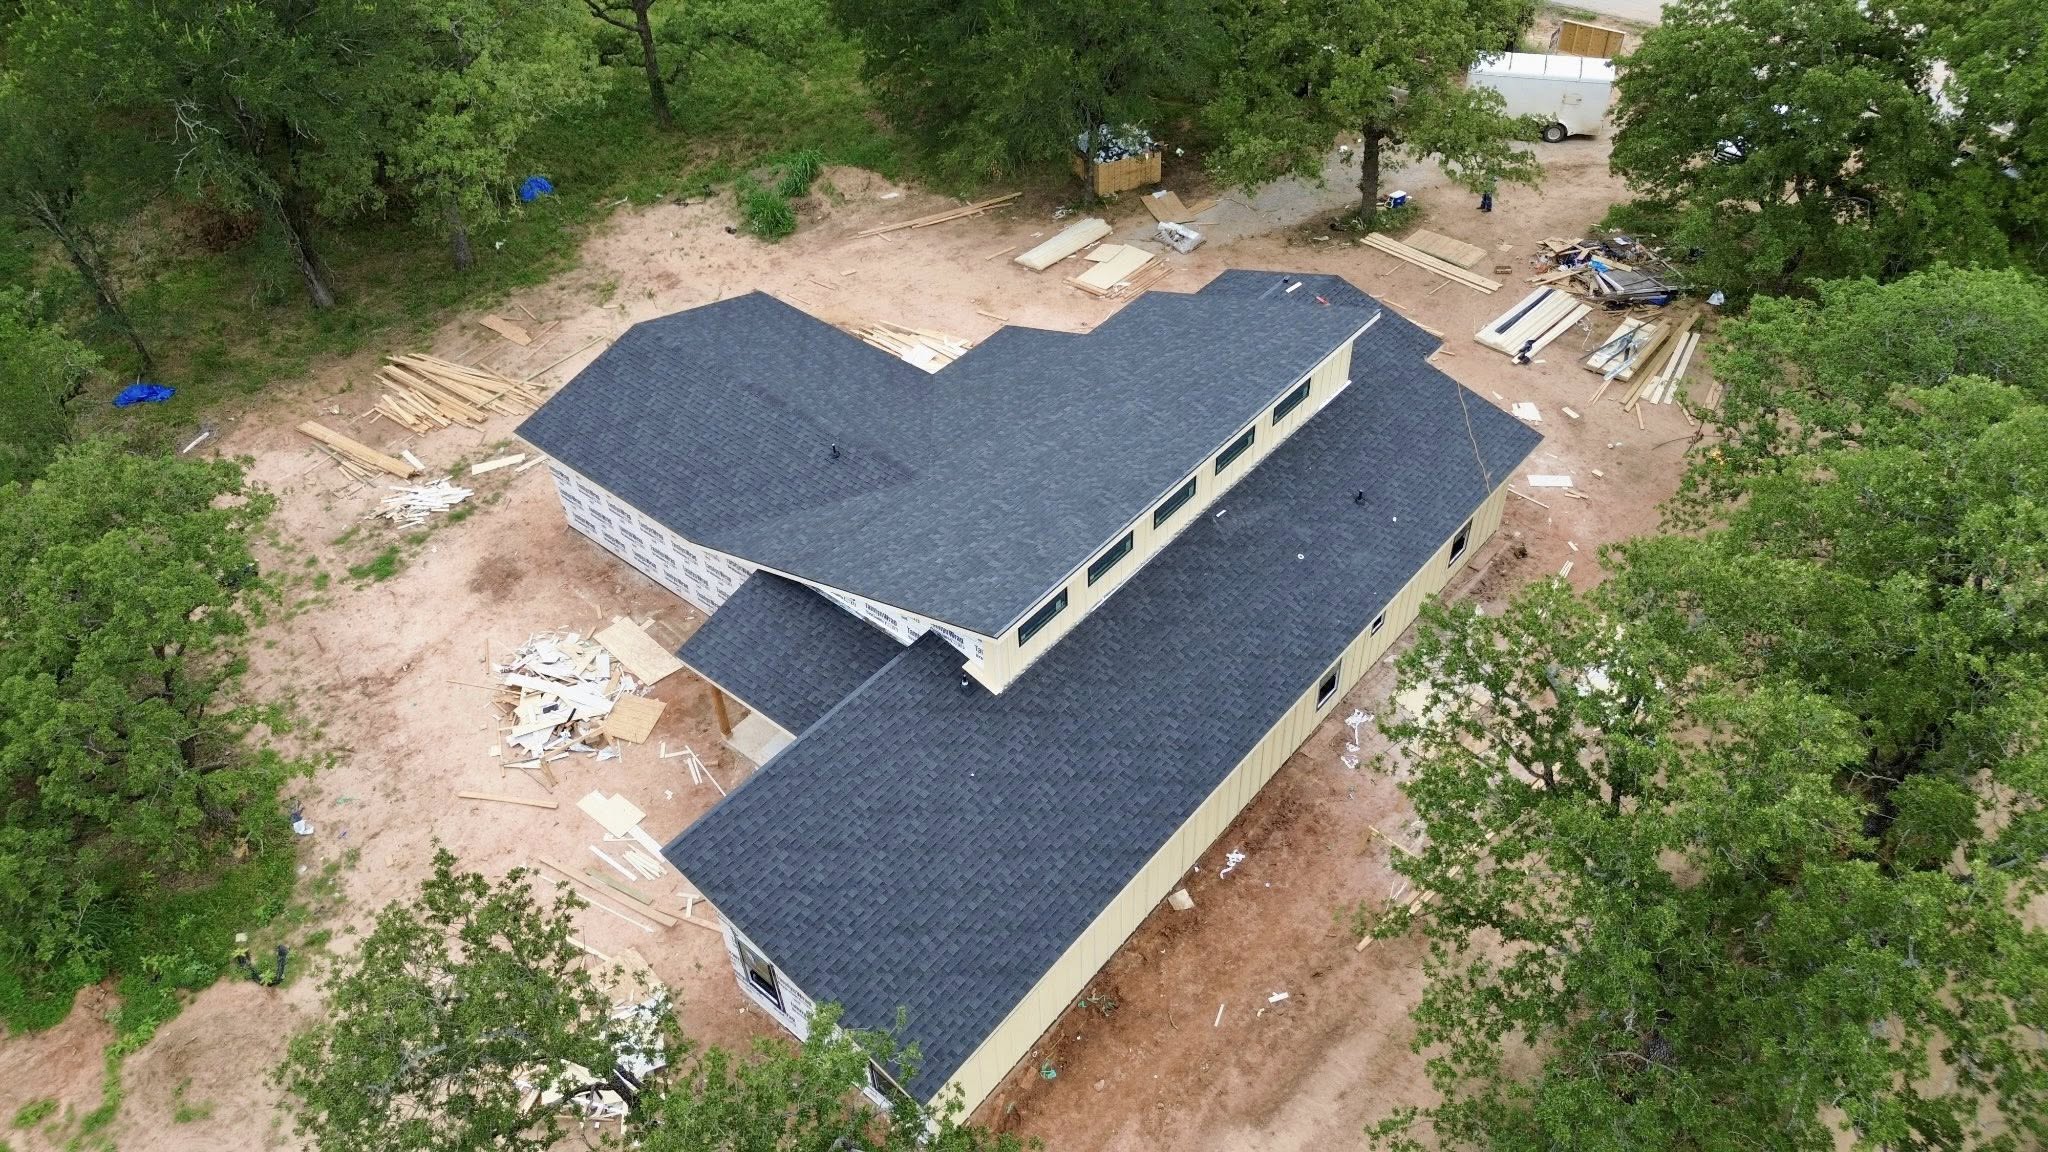
Roof Removal and Disposal of Existing Materials
The first major construction activity in the roof replacement timeline is the removal of the existing roofing system. This stage exposes the roof structure beneath the surface and allows contractors to evaluate the condition of the underlying components before installing new materials.
Roof removal generally begins at the highest sections of the roof and progresses downward in carefully planned sections. Contractors remove shingles, metal panels, tiles, flashing, ridge caps, underlayment, and fasteners while working systematically across the roof surface.
Rather than allowing debris to accumulate, roofing crews transfer removed materials directly into designated dumpsters throughout the day. Continuous waste removal improves safety, reduces clutter, and allows workers to move efficiently during the replacement process.
Contractors also take precautions to protect the surrounding property during demolition. Debris paths are controlled carefully, and protective coverings help shield landscaping, windows, and exterior surfaces from accidental damage.
As old materials are removed, contractors continuously inspect the exposed roof deck for hidden problems. Areas showing signs of water damage, wood rot, or structural deterioration are documented for repair before installation continues.
Removing the existing roof is a critical milestone because it provides the first complete view of the structure that will support the new roofing system.
Roof Deck Inspection and Structural Repairs
After the old roofing materials have been removed, contractors perform a detailed inspection of the roof deck. This structural layer serves as the foundation for the new roofing system, making its condition essential to the long term success of the replacement project.
The inspection focuses on identifying soft spots, moisture damage, cracked panels, loose fasteners, insect damage, and structural movement. Any weakened sections are repaired or replaced before new roofing materials are installed.
Contractors also verify that the roof deck remains properly attached to the supporting framework. Loose or improperly secured panels are refastened to create a stable and consistent installation surface. This attention to detail improves the overall strength of the completed roofing system.
If additional structural concerns are discovered, contractors discuss the findings with the homeowner before proceeding with repairs. Clear communication ensures homeowners understand why the additional work is necessary and how it contributes to the durability of the new roof.
Once repairs have been completed, the roof deck is cleaned thoroughly. Dust, loose debris, and protruding fasteners are removed so the moisture protection layers can be installed on a smooth, secure surface.
A solid roof deck provides the stable foundation required for every remaining stage of the installation process.
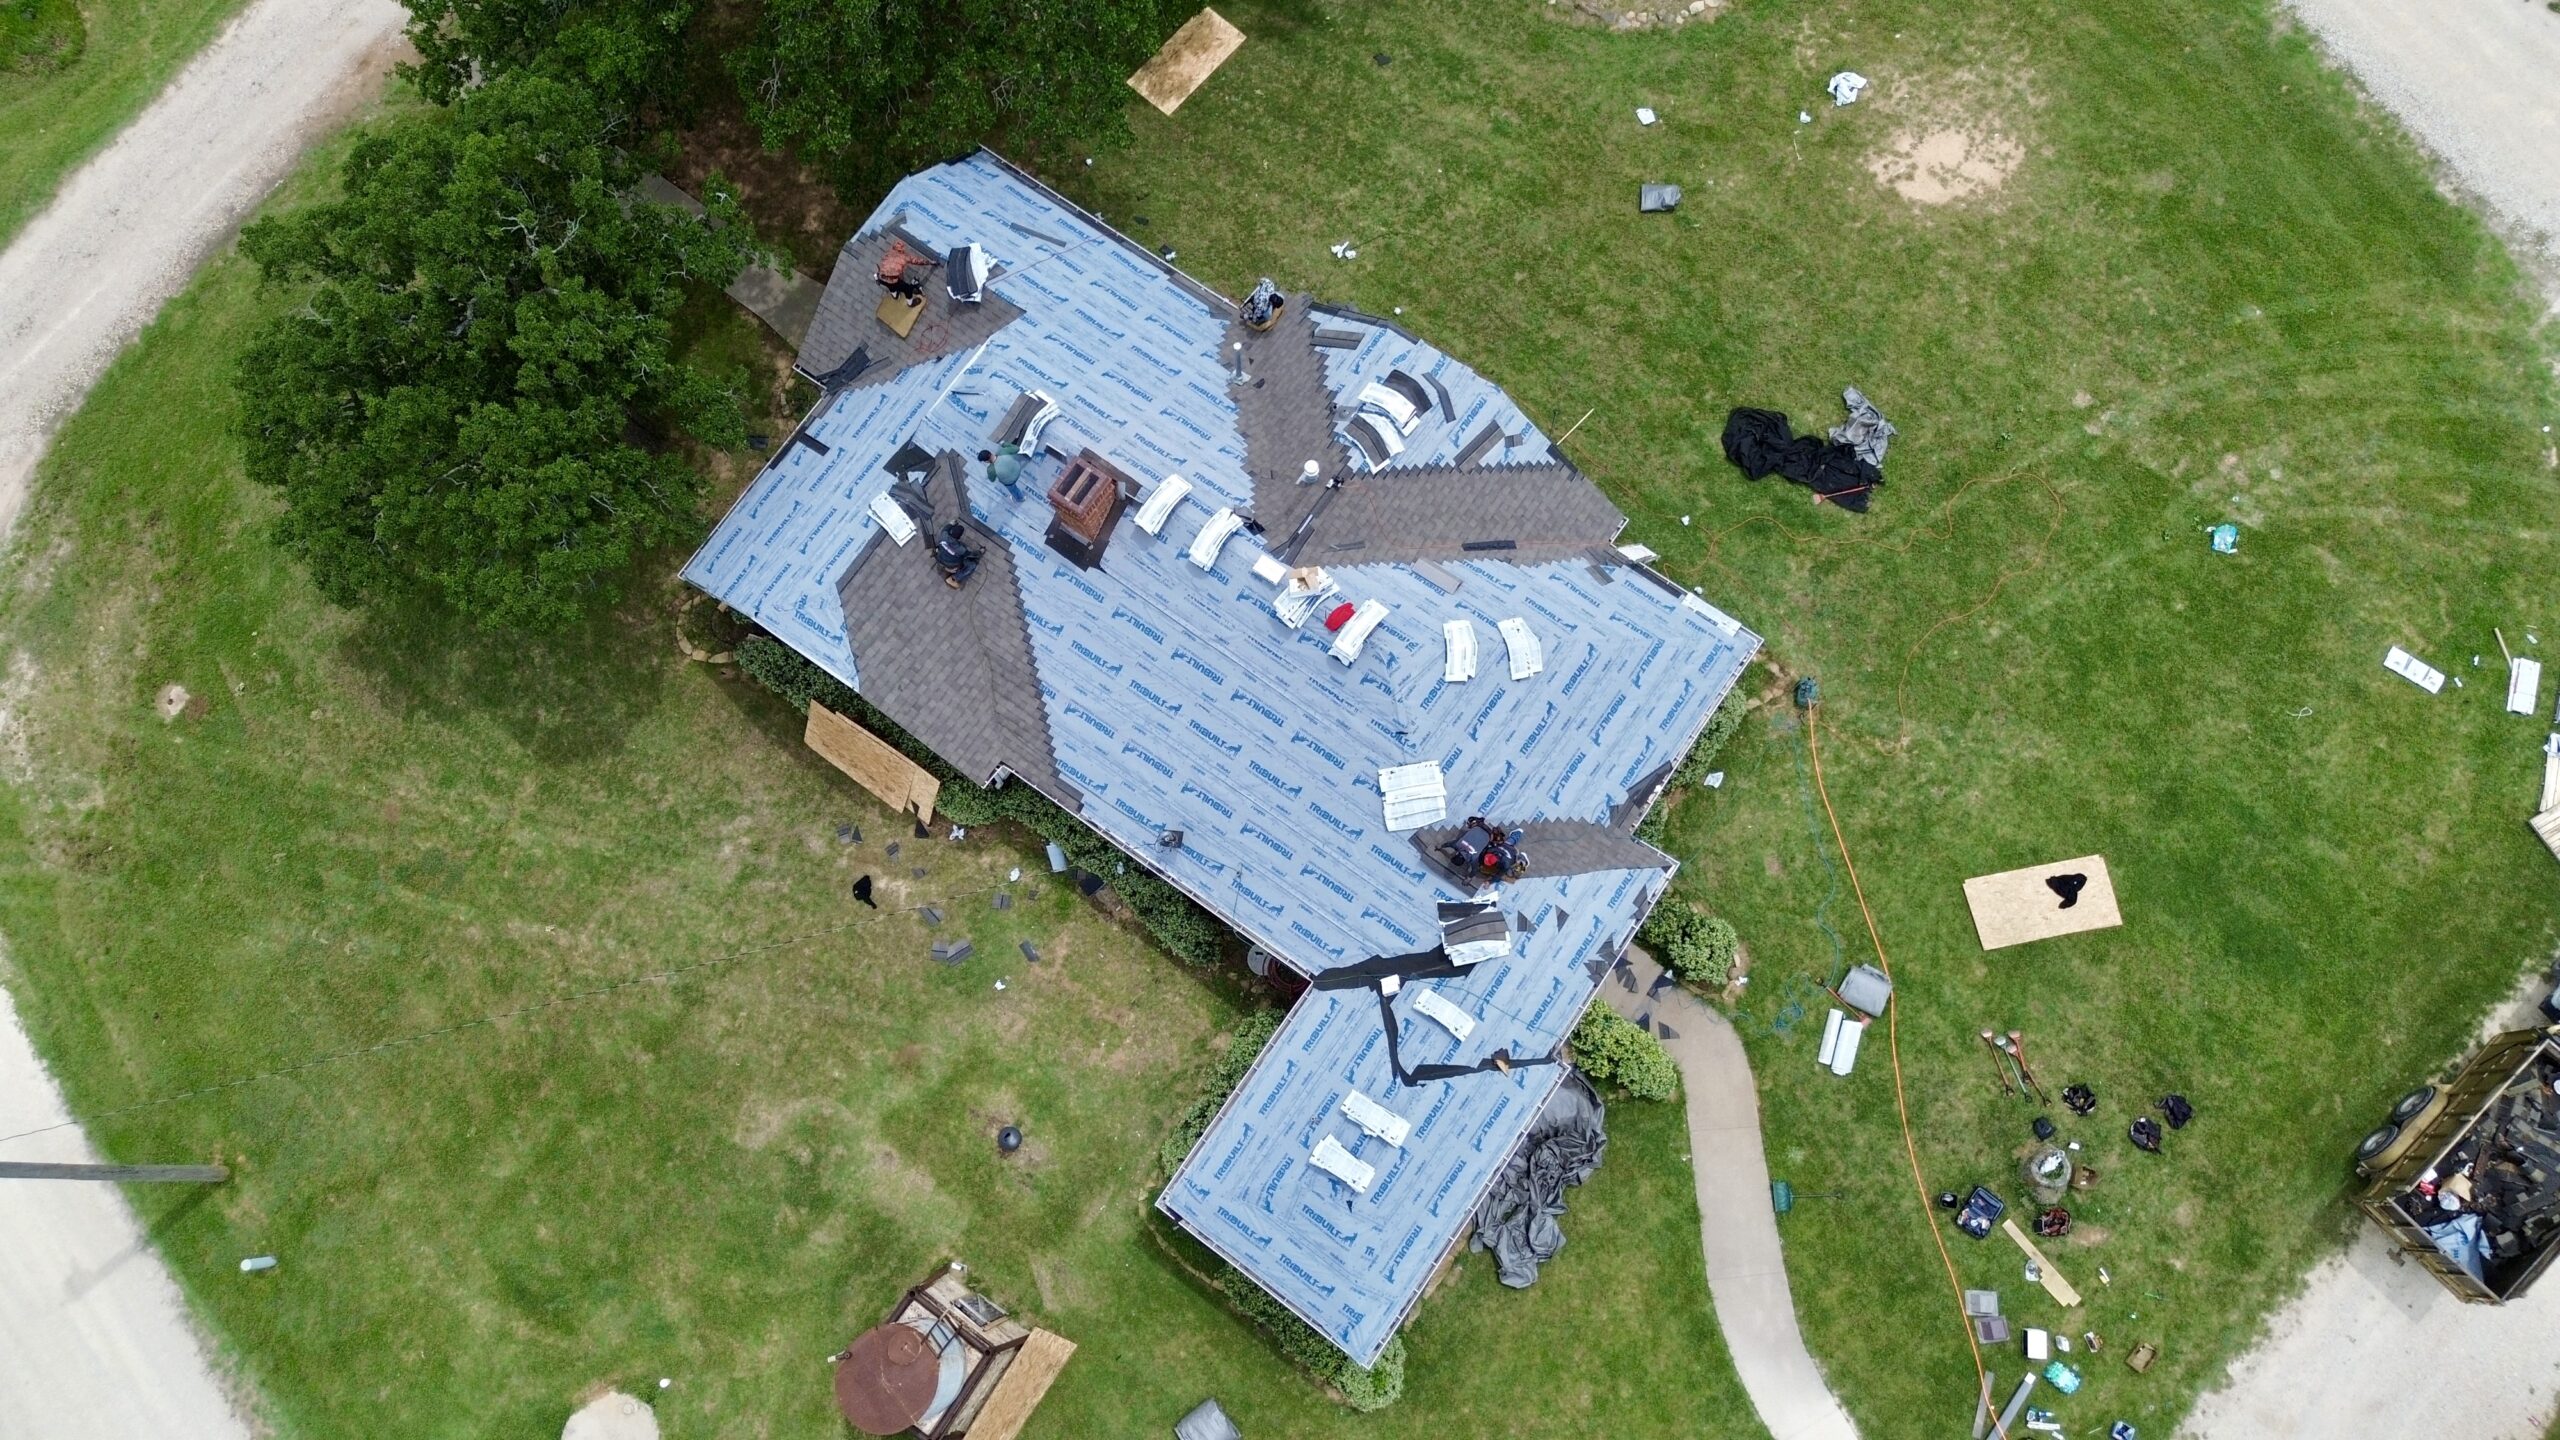
Installing Underlayment and Waterproofing Layers
With the roof deck prepared, contractors begin installing the moisture protection system that safeguards the building beneath the visible roofing material. Although these layers are hidden after installation, they play a vital role in preventing water intrusion throughout the life of the roof.
The primary underlayment is installed across the roof surface beginning at the lower edge and progressing upward. Each course overlaps the previous one according to manufacturer specifications so water naturally drains toward the gutters instead of reaching the roof deck.
In areas particularly vulnerable to moisture, contractors install additional waterproofing membranes. Roof valleys, eaves, chimneys, skylights, plumbing vents, and other roof penetrations receive extra protection because these locations experience greater water exposure during storms.
Every seam is aligned carefully to maintain continuous coverage across the roof. Wrinkles, gaps, or improper overlaps are corrected immediately because even small imperfections may reduce long term performance.
Fasteners are installed according to manufacturer recommendations to secure the underlayment without creating unnecessary damage to the protective barrier. Contractors verify that each section remains smooth and firmly attached before continuing.
By the end of this stage, the roof already possesses a significant level of moisture protection even though the finished roofing material has not yet been installed.
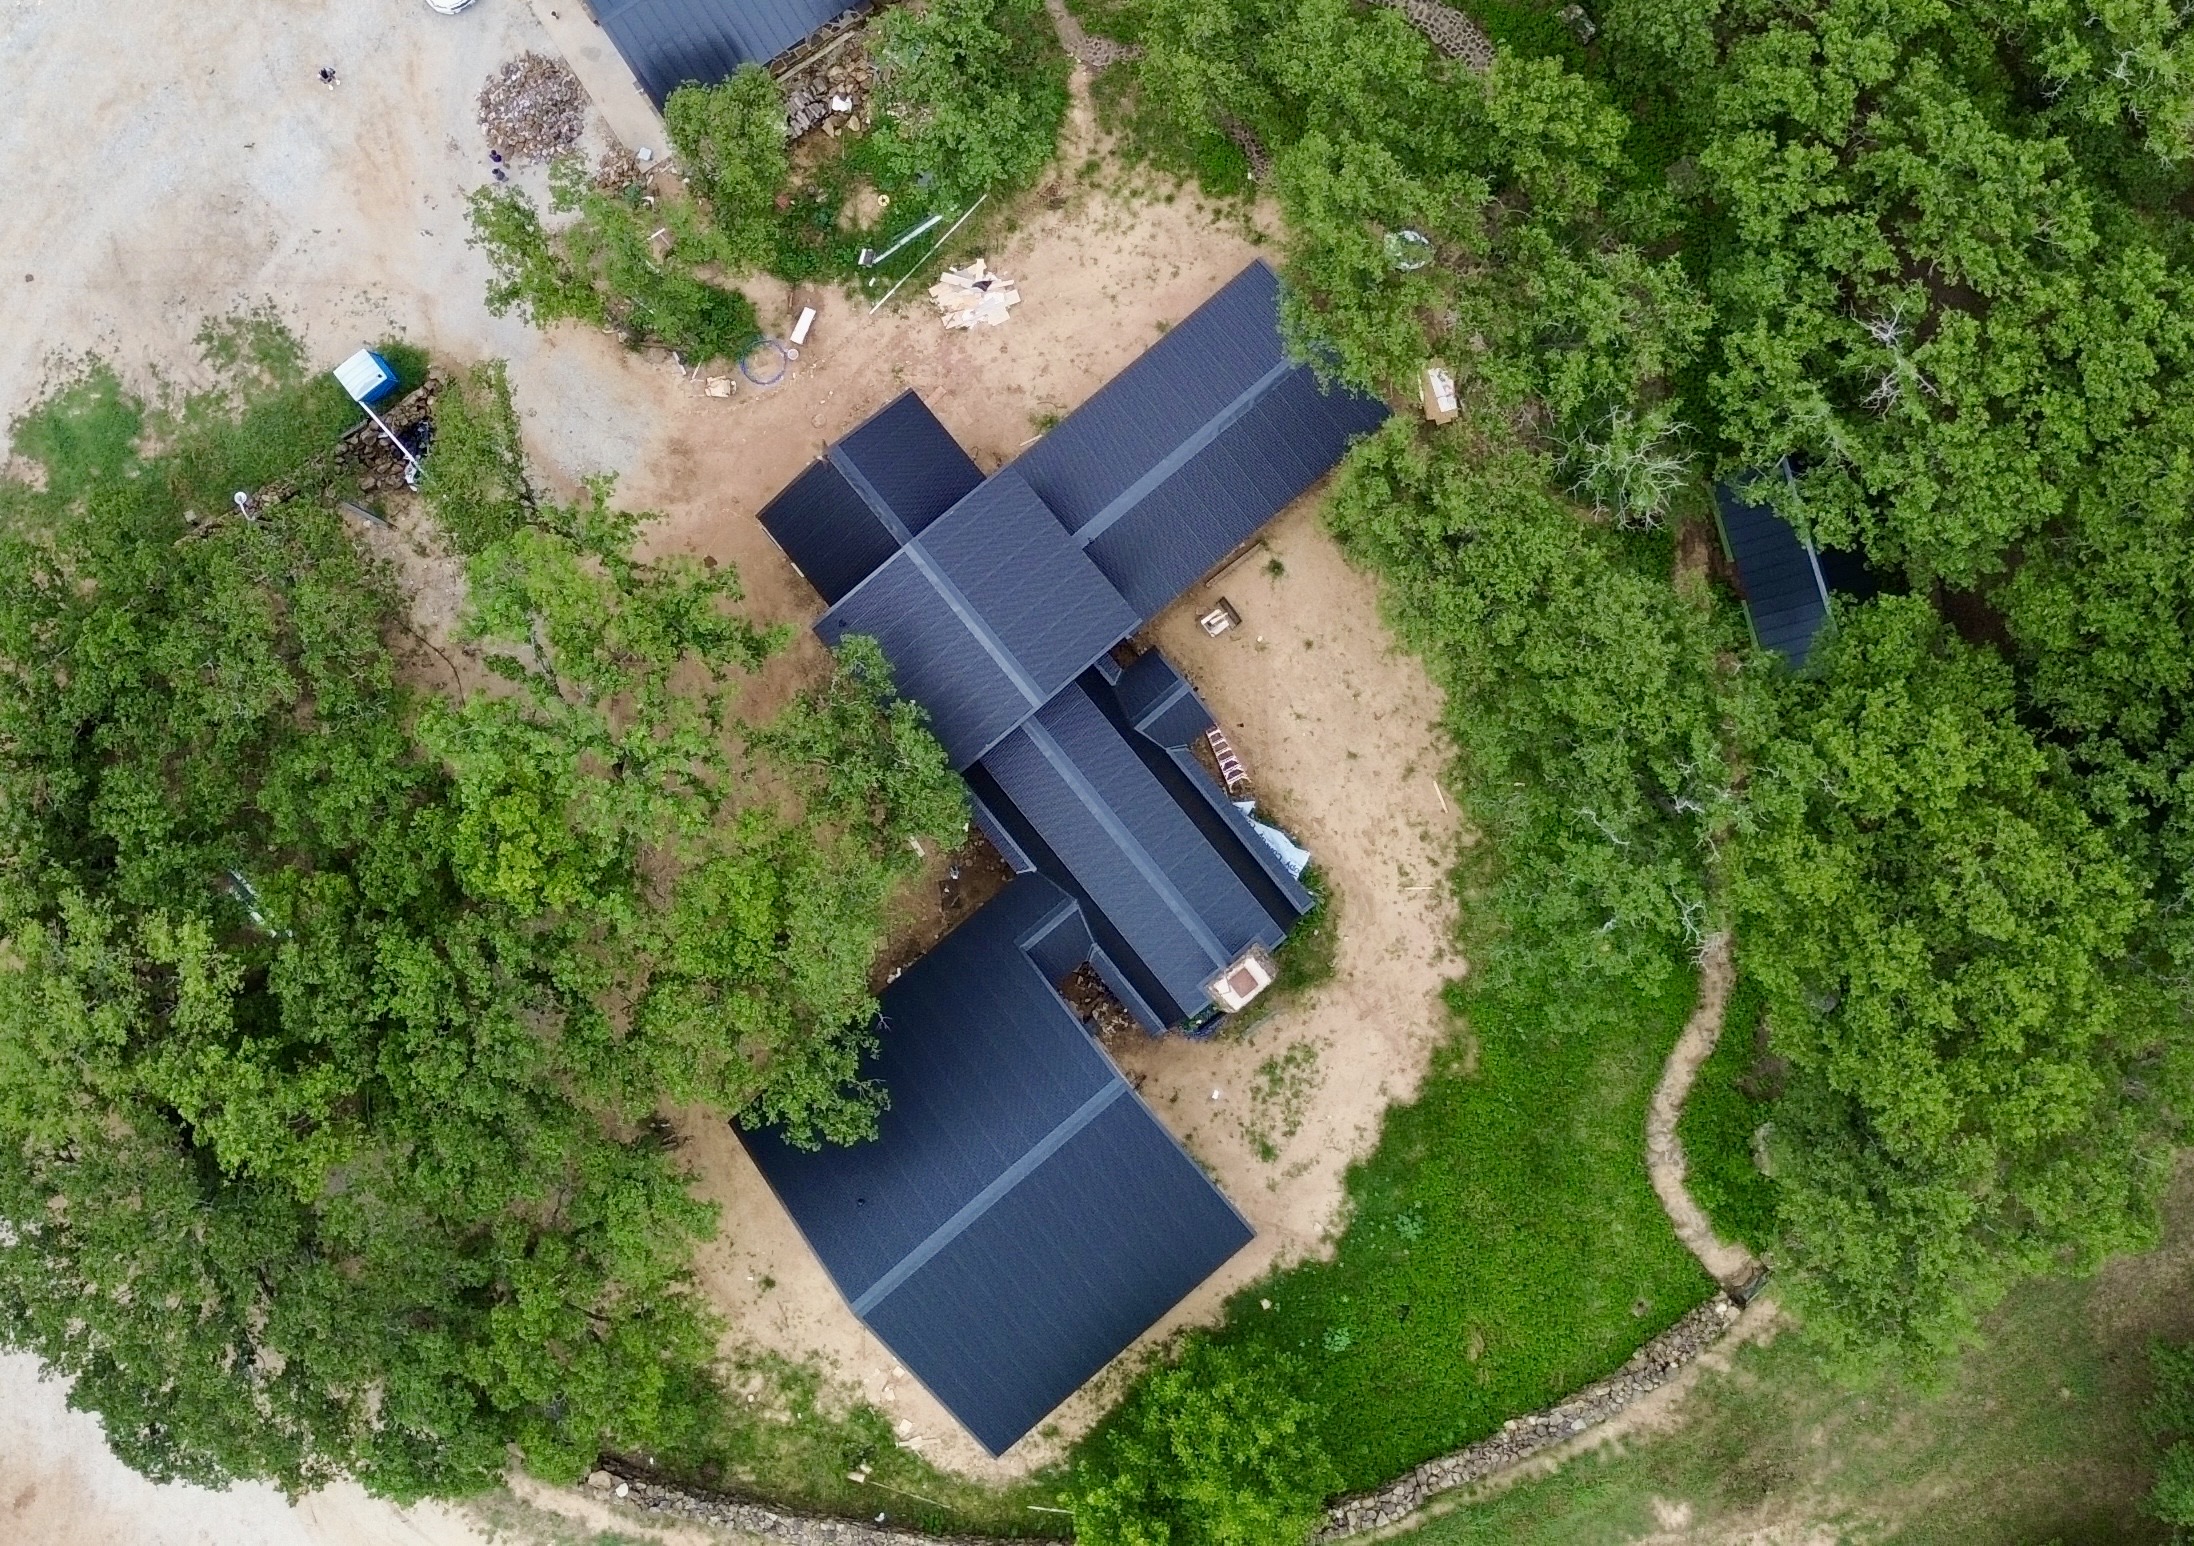
Installing the New Roofing System
After waterproofing layers are complete, contractors begin installing the new roofing system. This stage represents the most visible portion of the replacement project because the selected roofing material gradually transforms the appearance of the building.
Installation techniques vary according to the roofing material selected during the planning stage. Asphalt shingles are typically installed in overlapping rows from the bottom of the roof upward. Metal roofing panels require careful alignment and secure fastening, while tile roofing systems involve placing and fastening each individual tile according to manufacturer specifications.
Throughout installation, contractors maintain consistent alignment across the roof surface. Straight installation lines not only improve appearance but also contribute to effective water drainage and overall roof performance.
Flashing is installed around chimneys, skylights, valleys, plumbing vents, and roof intersections as work progresses. These components create waterproof transitions that help prevent leaks in areas where different surfaces meet.
Roof ventilation components are also integrated into the installation where required. Proper ventilation helps regulate attic temperatures, reduce moisture buildup, and extend the lifespan of roofing materials.
Each completed section undergoes continuous visual inspection before contractors move to the next area. This ongoing quality control allows any minor adjustments to be made immediately rather than after the entire roof has been completed.
By the end of this phase, the new roofing system covers the building completely and provides the primary protection against weather exposure.
Quality Checks During the Installation Process
Quality assurance is not reserved solely for the end of the project. Professional roofing contractors evaluate workmanship continuously throughout installation to ensure every component meets company standards, manufacturer requirements, and local building codes.
Supervisors inspect the placement of roofing materials, flashing alignment, underlayment installation, ventilation components, ridge caps, and fastener spacing as work progresses. Regular inspections allow corrections to be made before additional materials cover completed sections.
Contractors also monitor weather conditions throughout construction. If rain, strong winds, or severe weather develop unexpectedly, exposed roof sections are protected with temporary coverings until safe working conditions return. Protecting unfinished areas helps preserve the integrity of the roofing system.
Communication among crew members remains important during quality control. Workers verify measurements, confirm installation details, and report any unexpected structural issues immediately. This teamwork reduces the likelihood of overlooked problems while maintaining consistent workmanship.
Photographs are frequently taken throughout the project to document important installation stages. These records demonstrate that underlayment, flashing, waterproofing membranes, and other hidden components were installed correctly before being covered by the finished roofing material.
By the conclusion of this stage, the roof replacement has progressed from planning and preparation to a fully installed roofing system that has already undergone multiple quality evaluations. The final phase of the project focuses on finishing details, cleanup, inspections, warranty documentation, and successful project completion.
Final Roof Components and Finishing Details
As the new roofing system nears completion, contractors focus on the finishing components that strengthen the roof while giving it a clean and professional appearance. Although these elements represent the final stage of installation, they play an important role in protecting the roof from weather and improving its long term durability.
Ridge caps are installed along the highest points of the roof where two slopes meet. These specially designed components cover exposed joints while helping direct water away from the roof structure. If ridge ventilation is part of the roofing system, contractors ensure the ridge caps are installed correctly so airflow remains unobstructed.
Additional trim pieces are installed around roof edges, hips, valleys, and other transition points. Contractors inspect these areas carefully because proper alignment and secure fastening improve both weather resistance and curb appeal.
Flashing receives one final review before the project moves forward. Contractors confirm that flashing around chimneys, skylights, plumbing vents, and wall intersections is sealed properly and integrated correctly with the surrounding roofing material. These details are essential for preventing leaks during heavy rain.
Roof accessories such as vent covers, pipe boots, attic ventilation components, and gutter connections are also checked for secure installation. Every visible component should blend naturally with the completed roofing system while performing its intended protective function.
Although these finishing tasks may appear minor compared to earlier construction stages, they complete the roofing system and contribute significantly to its long term performance.
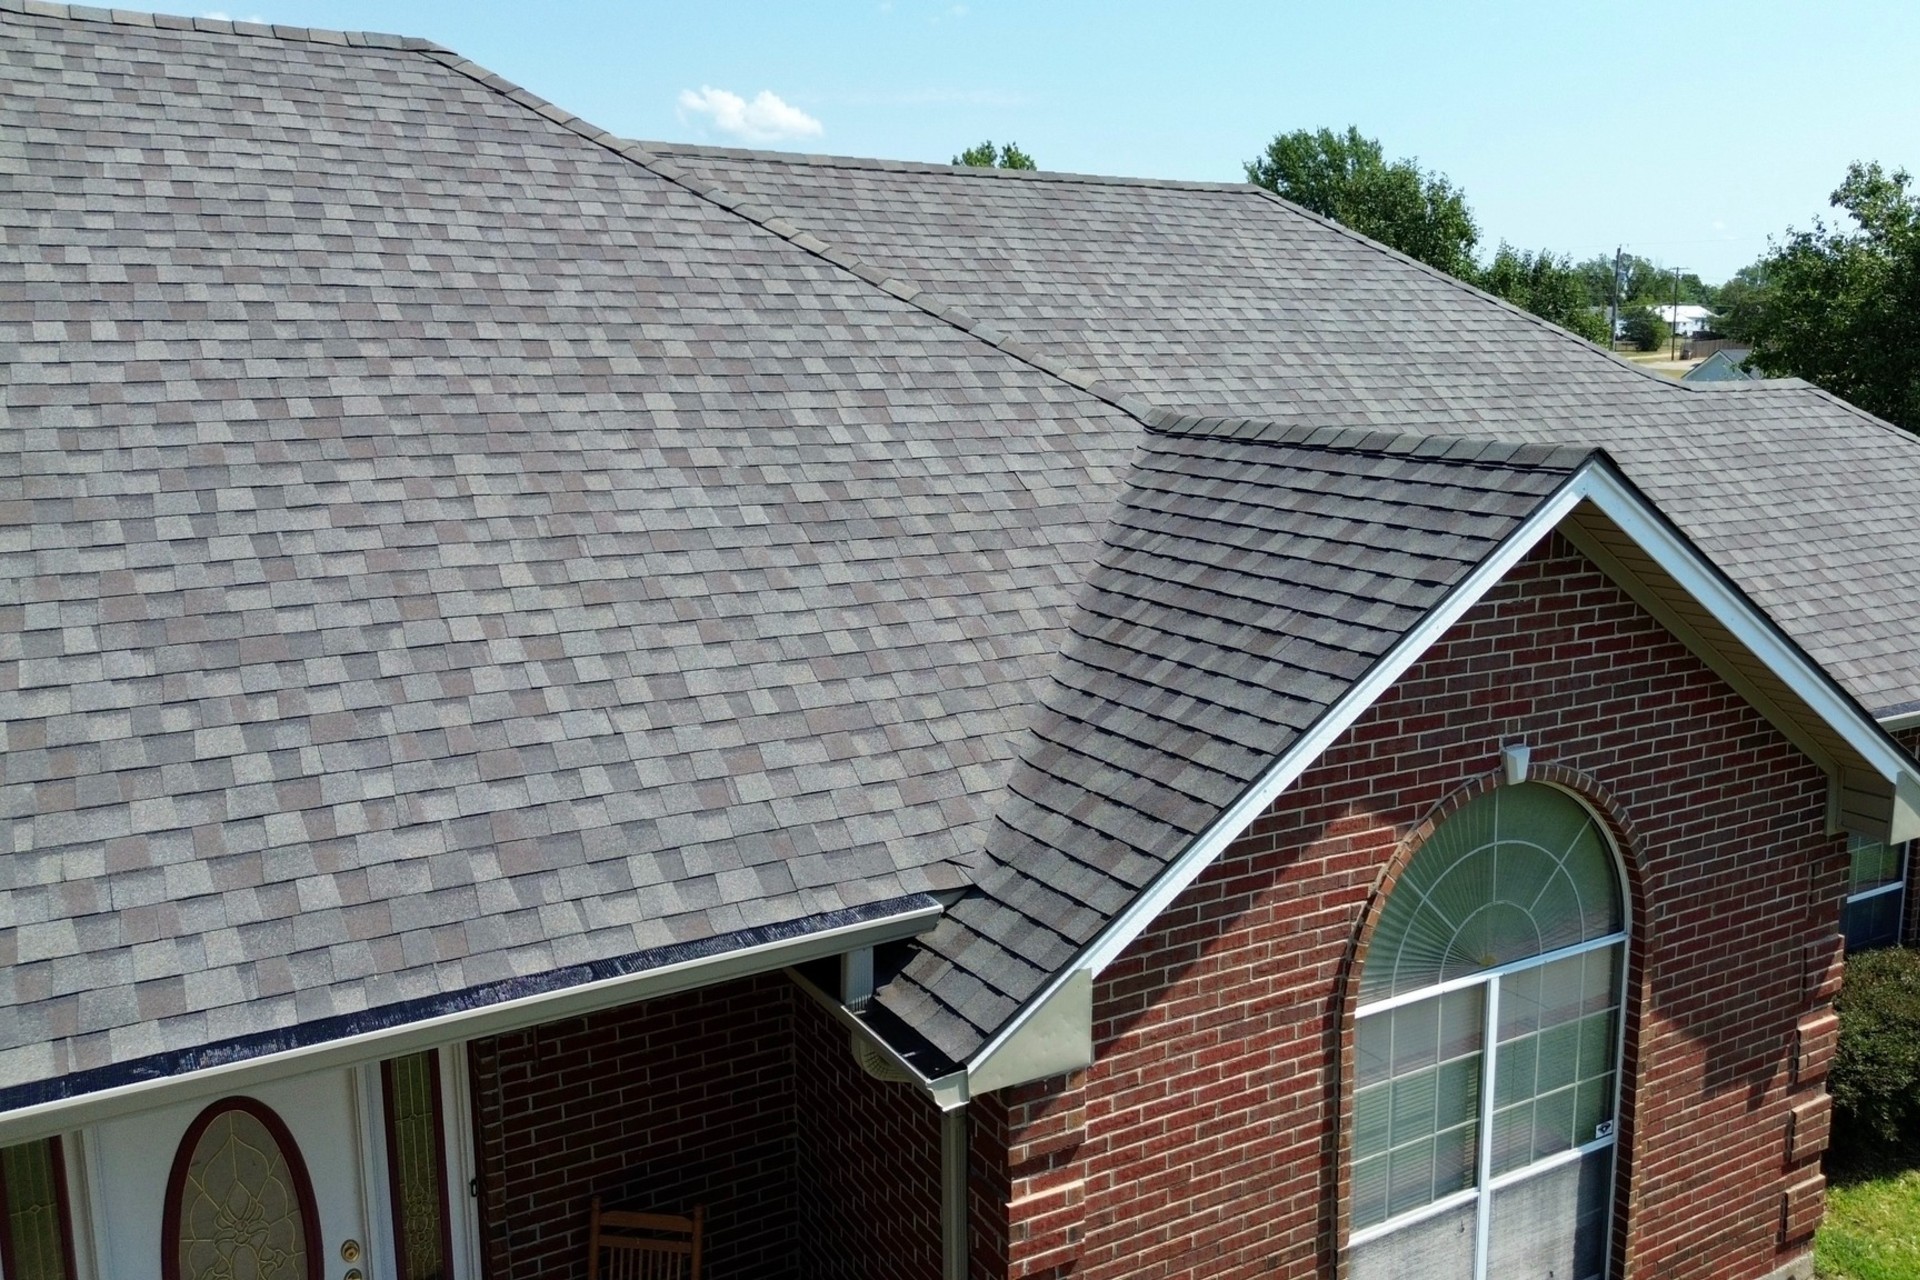
Site Cleanup and Waste Removal
With installation complete, contractors begin restoring the property to its original condition. Roof replacement generates considerable debris, including old roofing materials, nails, packaging, flashing, damaged wood, and construction dust. A thorough cleanup ensures the property is safe and ready for normal use once the project is finished.
Crews first remove all remaining materials from the roof surface. Unused products, temporary equipment, protective coverings, and installation tools are collected before the final cleanup begins. Contractors also inspect gutters to remove roofing granules, dust, and loose debris that may have accumulated during installation.
Construction waste is loaded into dumpsters throughout the project, but a final inspection ensures no debris remains around the property. Driveways, sidewalks, patios, flower beds, and landscaping areas are checked carefully before the dumpster is removed.
One of the most important cleanup procedures is the magnetic nail sweep. Powerful rolling magnets are moved across the property to collect roofing nails that may have fallen during roof removal or installation. This step helps protect homeowners, children, pets, and vehicle tires from hidden sharp objects.
Contractors also inspect exterior walls, windows, decks, and outdoor furniture for dust or debris created during construction. Any remaining dirt is cleaned before the project is considered complete.
A clean property reflects professional workmanship and demonstrates respect for the homeowner long after the installation work has ended.
Final Inspection and Project Approval
After cleanup is complete, contractors perform a comprehensive final inspection to verify that every stage of the roof replacement has been completed according to industry standards. This inspection confirms that the roofing system is ready to provide reliable protection for many years.
The inspection includes checking roofing material alignment, flashing installation, ridge caps, ventilation components, gutters, drainage systems, and all visible fasteners. Contractors confirm that every section of the roof has been installed according to manufacturer specifications.
Attention is also given to areas that commonly experience heavy water flow, including valleys, roof penetrations, and roof edges. These locations receive careful evaluation because they play an important role in preventing leaks during severe weather.
If local building authorities require a final inspection, contractors coordinate the visit as part of the project schedule. Passing this inspection demonstrates compliance with applicable building codes and confirms that the installation meets required construction standards.
Homeowners are often invited to participate in the final walkthrough. Contractors explain the completed work, answer questions, and point out important features of the new roofing system. This walkthrough provides an opportunity to verify that the project has been completed as expected.
Only after all inspections have been completed successfully is the roof replacement officially considered finished.
Warranty Documentation and Homeowner Walkthrough
Completing the physical installation is only one part of a successful roof replacement project. Contractors also provide homeowners with important documentation that supports future maintenance, warranty claims, and property records.
Manufacturer warranties are reviewed during the final walkthrough. These warranties typically cover roofing materials for a specified period, provided they were installed according to approved guidelines. Contractors explain what the warranty includes and any maintenance requirements necessary to maintain coverage.
Workmanship warranties offered by the roofing contractor are also discussed. These warranties provide additional assurance regarding the quality of the installation itself and outline the contractor’s responsibilities should installation related issues arise after project completion.
Homeowners receive copies of invoices, permits, inspection reports, material specifications, and warranty information. Keeping these documents organized is valuable for future maintenance, insurance purposes, or when selling the property.
During the walkthrough, contractors also explain basic roof maintenance practices. Homeowners learn how often inspections should be scheduled, why gutters should remain clean, and which warning signs should be reported promptly to prevent larger problems.
This educational discussion helps homeowners protect their investment while establishing realistic expectations for the long term performance of the new roof.
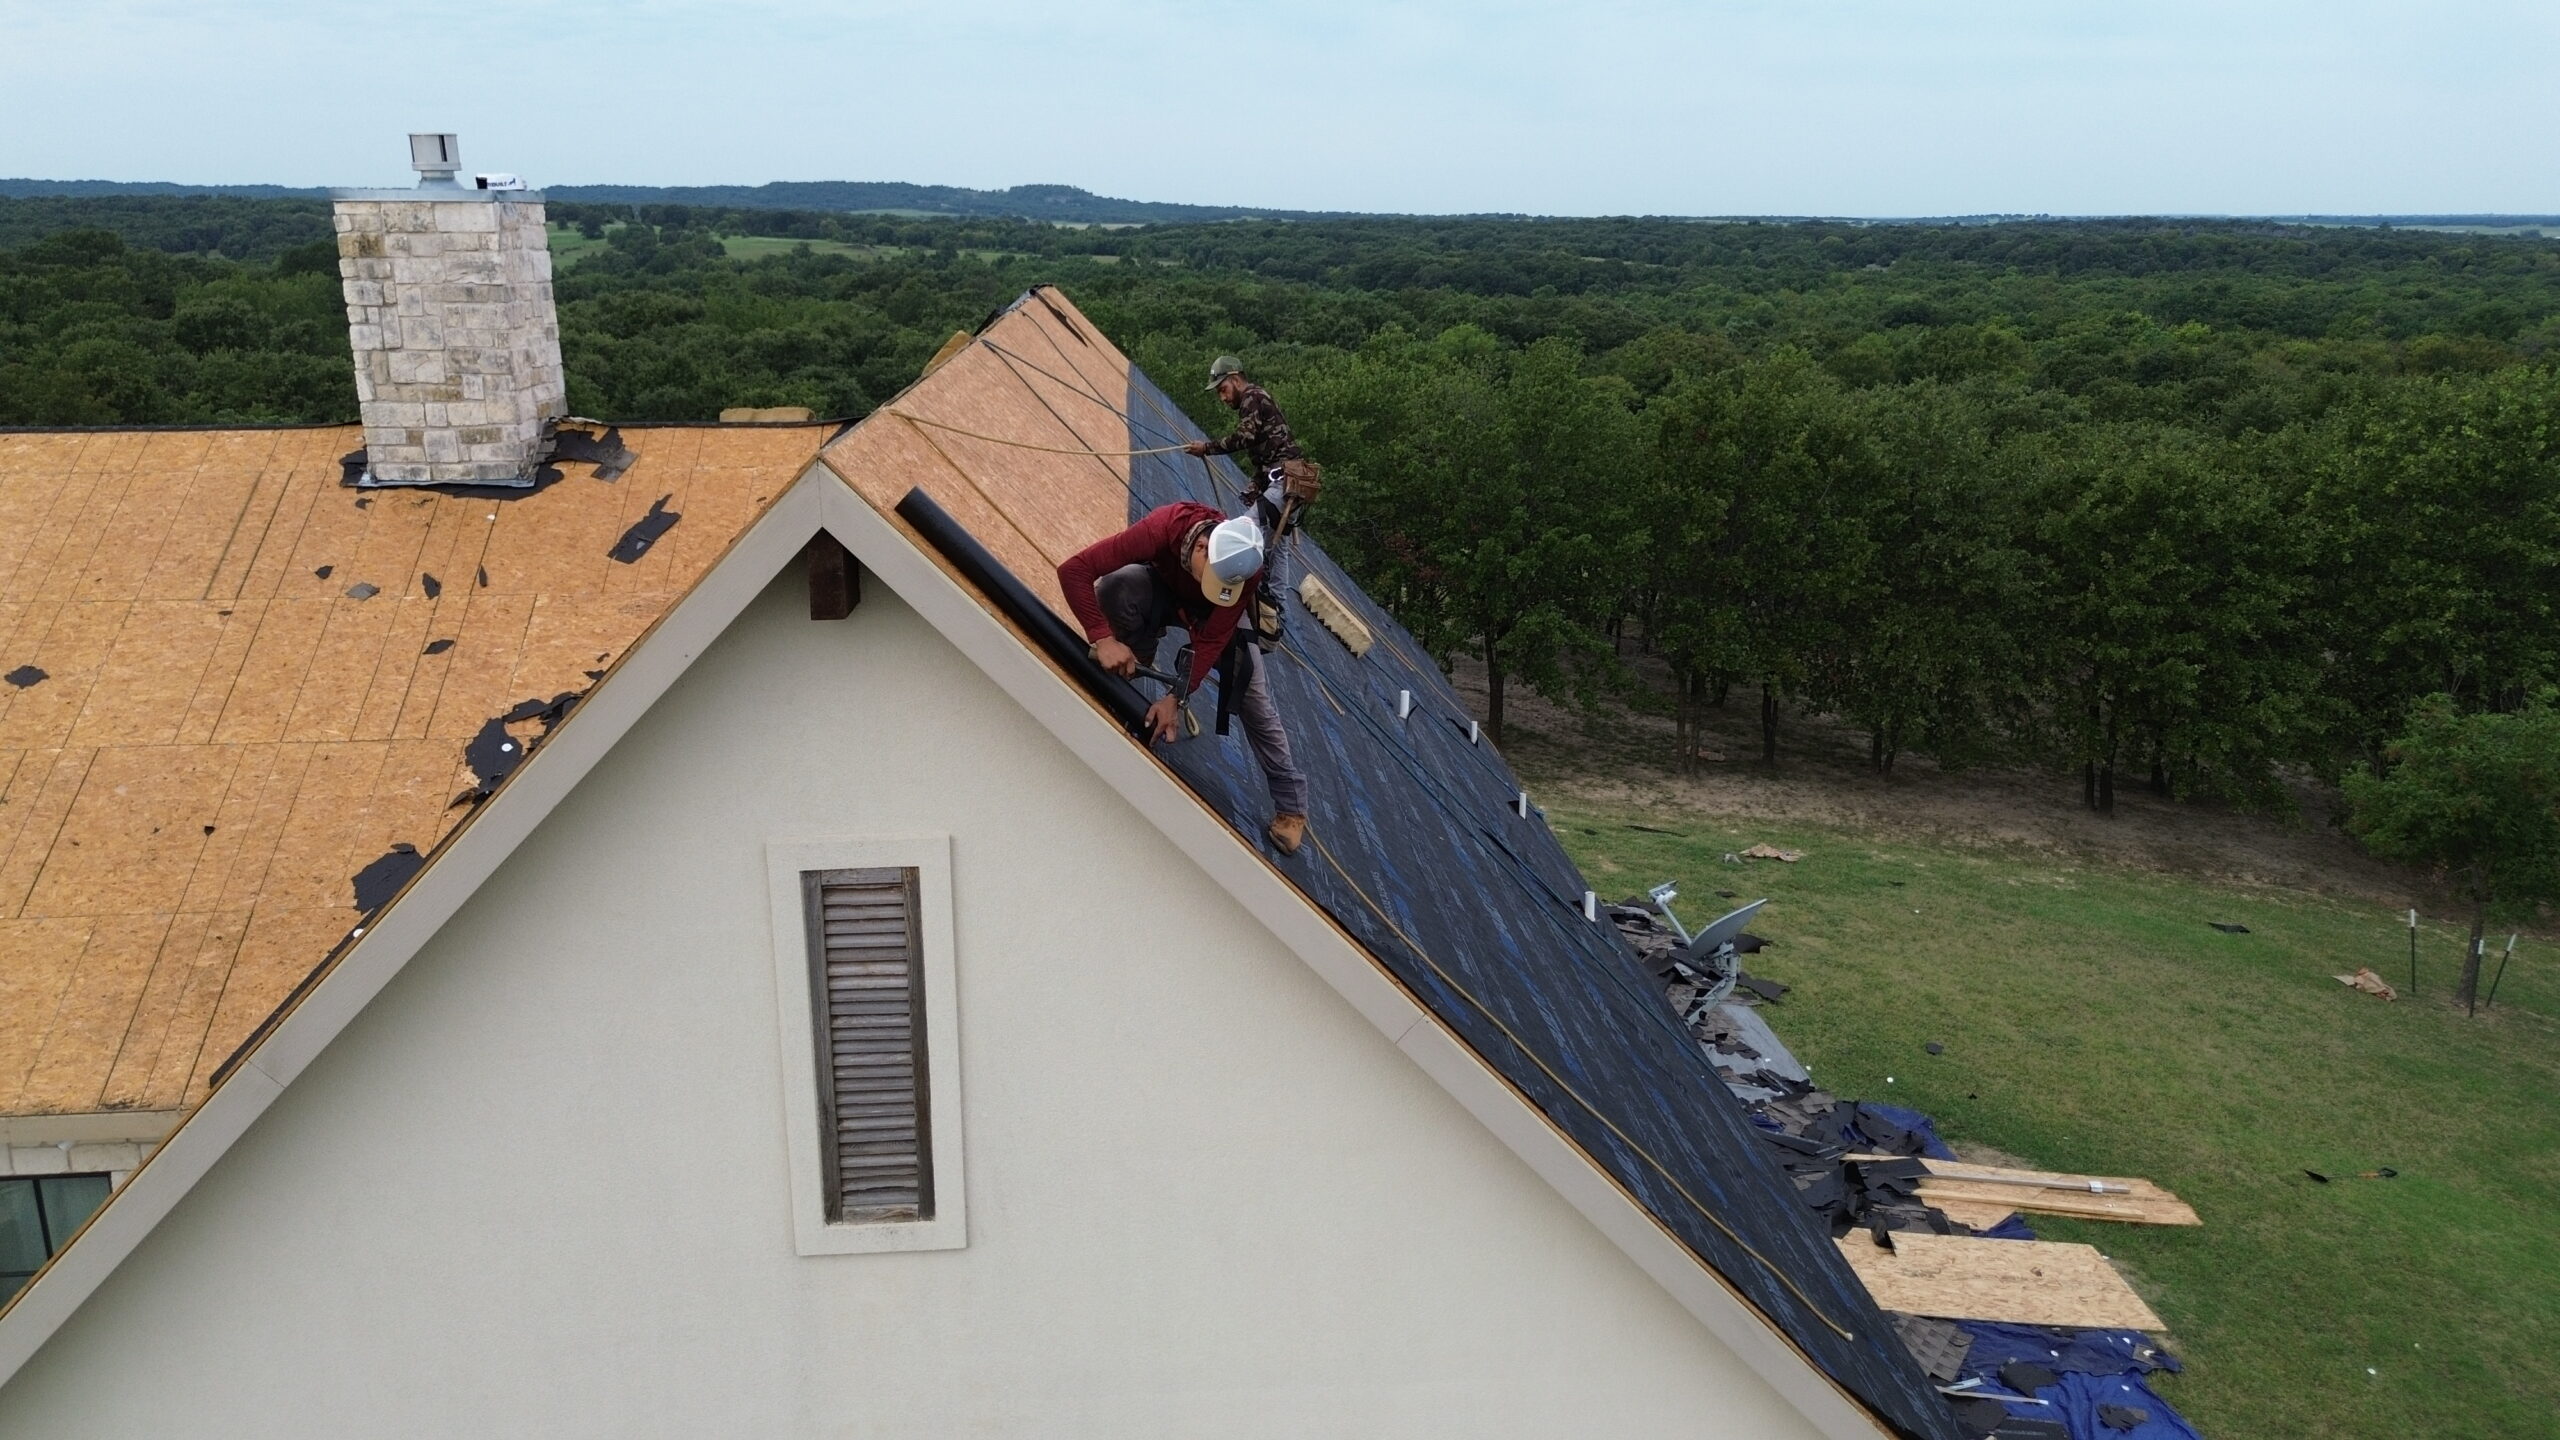
Factors That Can Affect the Roof Replacement Timeline
Although contractors create detailed schedules before construction begins, several factors can influence how long a roof replacement project ultimately takes. Understanding these variables helps homeowners recognize why project timelines sometimes change despite careful planning.
Weather is one of the most significant influences. Heavy rain, strong winds, lightning, or extreme temperatures may temporarily suspend roofing work because safety and installation quality always take priority over speed.
Roof size and design complexity also affect scheduling. Large roofs, steep slopes, multiple valleys, dormers, skylights, and chimneys require additional installation time because these features involve more detailed workmanship.
Unexpected structural repairs can extend the timeline as well. Once the existing roof has been removed, contractors may discover damaged roof decking, weakened framing, or moisture related deterioration that must be repaired before installation continues.
Permit approvals and inspection scheduling occasionally influence project duration, particularly in areas with high construction activity or specific regulatory requirements. Contractors coordinate these processes as efficiently as possible, but approval times remain outside their direct control.
Material availability is another important consideration. Specialty roofing products, custom colors, or temporary supply shortages may affect delivery schedules if products are not immediately available.
Despite these variables, experienced roofing contractors communicate regularly with homeowners and adjust project schedules whenever necessary to maintain quality without creating unnecessary confusion.
Typical Roof Replacement Timeline From Start to Finish
The overall timeline varies from one project to another, but most roof replacements follow a similar sequence of activities. The table below provides a general overview of the process.
| Project Stage | Main Activity | Typical Duration* |
|---|---|---|
| Initial Contact | Consultation and inspection scheduling | 1 to 3 days |
| Roof Inspection | Property evaluation and measurements | 1 day |
| Estimate and Material Selection | Proposal review and product selection | Several days to 2 weeks |
| Permits and Scheduling | Permit approval and project planning | A few days to several weeks |
| Material Delivery | Delivery of roofing products and equipment | 1 day |
| Roof Removal | Remove existing roofing system | 1 day |
| Roof Deck Repairs | Repair structural damage if required | Half day to 2 days |
| New Roof Installation | Install underlayment, flashing, and roofing materials | 1 to 4 days |
| Cleanup and Final Inspection | Site restoration and quality verification | 1 day |
*Actual timelines vary depending on weather conditions, roof size, material type, and project complexity.
This timeline illustrates that a roof replacement involves much more than installation alone. Planning, inspections, and coordination are equally important parts of the overall process.
How Homeowners Can Help Keep the Project on Schedule
Homeowners can contribute to a smoother roof replacement by preparing the property and responding promptly throughout the project. Simple preparations reduce delays while allowing roofing crews to work more efficiently.
Before installation day, homeowners should complete the following steps:
- Approve the project estimate and material selections promptly.
- Move vehicles away from designated work areas.
- Relocate outdoor furniture, grills, and decorative items.
- Provide contractors with clear access to the property.
- Secure pets and inform family members about construction activities.
- Remove fragile wall decorations if recommended by the contractor.
- Communicate any scheduling concerns before installation begins.
- Keep important contact information readily available during the project.
Completing these preparations helps contractors begin work on schedule while reducing unnecessary interruptions throughout the replacement process.
What to Expect After Roof Replacement Is Complete
Once the roof replacement has been completed successfully, homeowners should notice several positive signs that indicate the roofing system is functioning as intended. These observations provide confidence that the installation has been completed professionally and according to accepted standards.
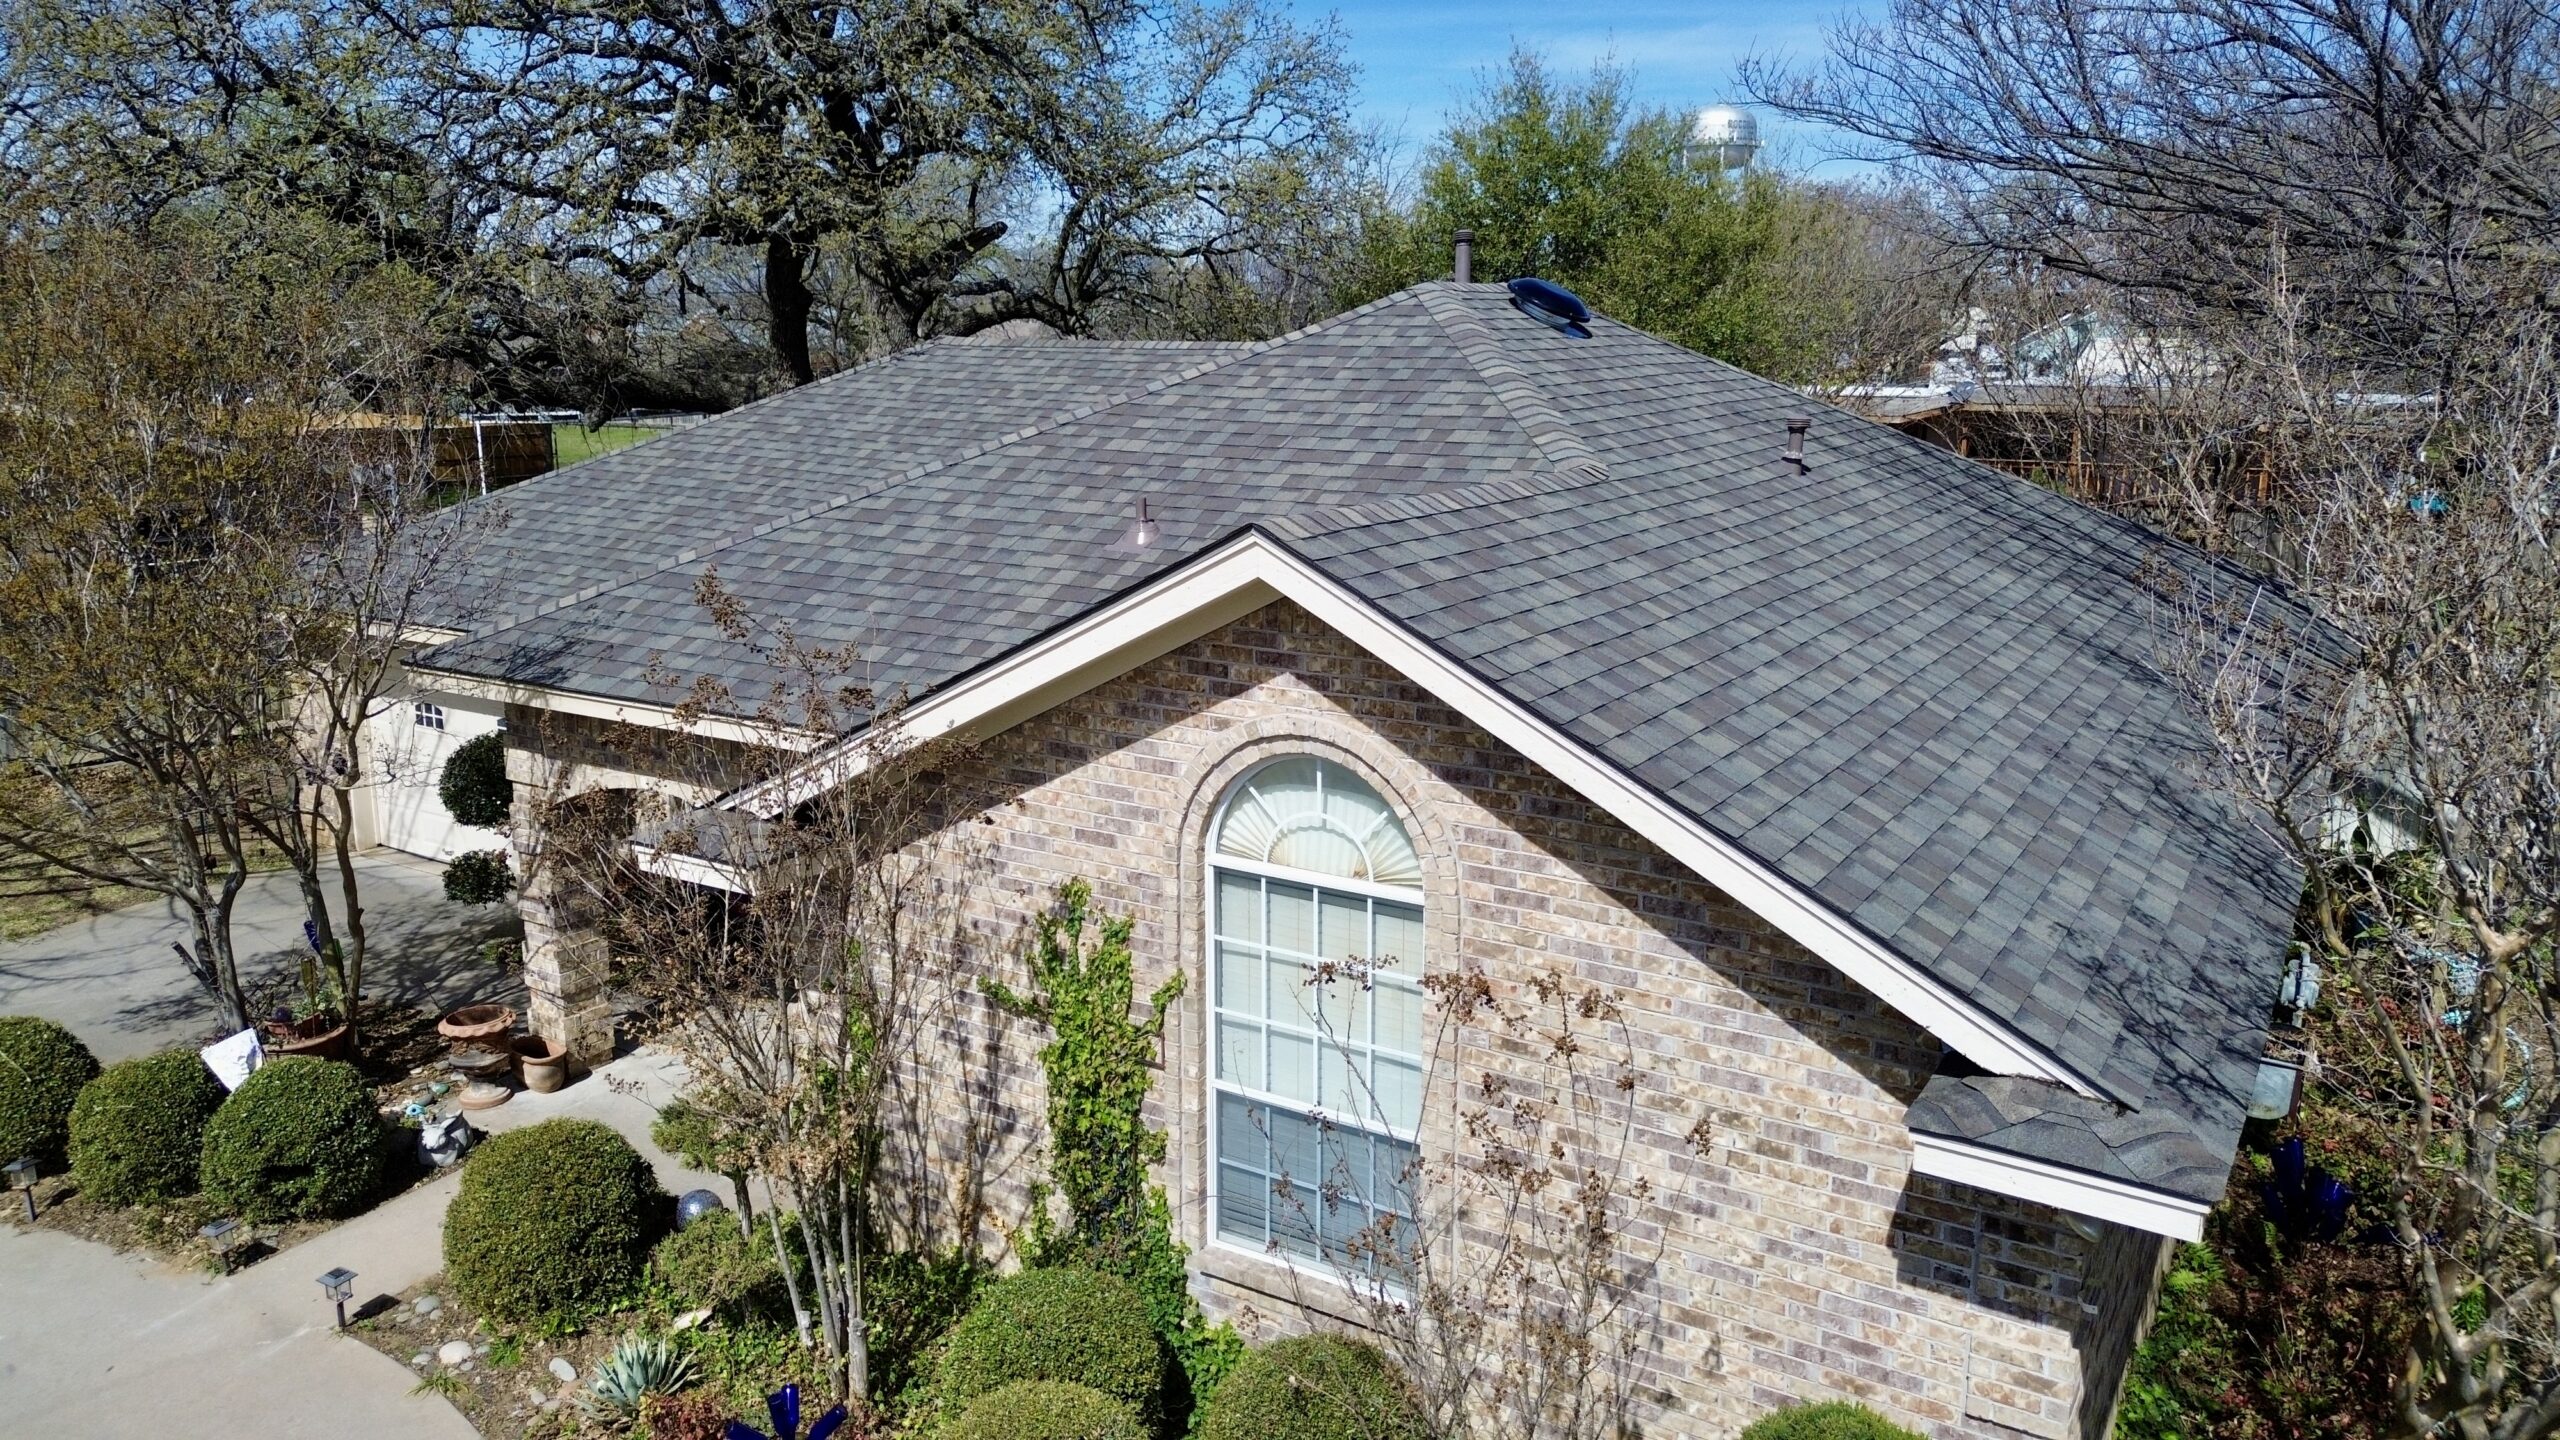
The roof should display a clean, uniform appearance with straight installation lines and properly aligned materials. Flashing, ridge caps, gutters, and roof accessories should fit securely without visible gaps or loose components.
During rainfall, water should flow smoothly into the gutter system without pooling on the roof or leaking around penetrations. Inside the home, ceilings and attic spaces should remain dry while ventilation continues to function effectively.
Homeowners should also receive all documentation related to the completed project before the contractor leaves the property.
Signs of a successfully completed roof replacement include:
- Evenly aligned roofing materials across the entire roof.
- Secure flashing around chimneys, skylights, and roof penetrations.
- Clean gutters and properly functioning drainage systems.
- No visible debris, loose nails, or leftover construction materials.
- Complete warranty and project documentation provided by the contractor.
- A clean, organized property following final cleanup.
Observing these indicators helps homeowners confirm that the roof replacement has been completed according to professional standards.
Conclusion
A roof replacement is a carefully organized process that extends well beyond the days when construction is visible on the property. From the initial inspection and project planning to material selection, permit coordination, installation, cleanup, and final inspection, every stage contributes to the strength, durability, and reliability of the finished roofing system.
Professional roofing contractors follow a structured timeline because each phase builds upon the one before it. Thorough inspections identify existing problems, careful planning minimizes delays, quality installation protects the structure, and detailed final inspections ensure the completed roof meets both manufacturer recommendations and local building requirements.
While project timelines vary depending on weather, roof complexity, and material availability, understanding the complete process helps homeowners prepare for each stage with realistic expectations. Good communication between contractors and property owners further supports a smooth and efficient replacement experience.
Ultimately, following a well managed roof replacement timeline leads to more than just a new roof. It results in a durable, weather resistant roofing system that protects the property, improves energy efficiency, enhances curb appeal, and provides dependable performance for many years. By understanding the journey from inspection to completion, homeowners can approach their roof replacement project with greater confidence and make informed decisions at every step.