


How Roofing Contractors Install New Roof Replacement Systems
Introduction
A roof replacement is one of the most significant investments a property owner can make because the roof protects every other part of the building from weather, moisture, and structural damage. Whether the project involves a residential home or a commercial property, installing a new roofing system requires careful planning, skilled workmanship, and strict adherence to industry standards. Professional roofing contractors follow a detailed process that ensures every component of the roof works together to provide durability, weather resistance, and long term performance.
Many property owners only see the finished roof once the work is complete, but the installation process involves far more than simply laying down new shingles or roofing panels. Contractors inspect the existing structure, identify hidden issues, prepare the job site, remove old materials safely, and install multiple protective layers before the visible roofing material is added. Every stage contributes to the strength and lifespan of the finished roofing system.
Understanding how roofing contractors install new roof replacement systems helps homeowners make informed decisions throughout the project. It also provides insight into why experienced professionals follow specific installation procedures rather than rushing through the work. Knowing what happens during each phase can improve communication with the contractor and increase confidence in the quality of the completed roof.
This guide explains each stage of the installation process in detail, beginning with the preparation and planning activities that lay the foundation for a successful roof replacement. The following sections explore how contractors evaluate existing conditions, prepare the property, remove the old roofing system, and inspect the roof deck before installing the new materials.
Understanding the Need for a Roof Replacement
Roof replacement becomes necessary when repairs can no longer restore the roof’s performance or when aging materials begin to compromise the structure beneath them. While small leaks and isolated damage can often be repaired, widespread deterioration usually indicates that the roofing system has reached the end of its service life. Contractors carefully evaluate the roof before recommending replacement because replacing a roof is a major investment that should only be undertaken when truly needed.
Several factors influence the decision to replace a roof rather than continue repairing it. Age is one of the most common reasons since roofing materials naturally wear down after years of exposure to sunlight, rain, snow, wind, and changing temperatures. Even high quality roofing systems eventually lose their protective capabilities as materials become brittle, cracked, or weakened.
Visible signs of deterioration also help contractors determine whether replacement is the best solution. Missing shingles, damaged flashing, persistent leaks, sagging roof sections, and extensive water damage often indicate problems that affect more than just the surface layer. If these issues continue to spread, replacing the entire roofing system can be more cost effective than performing repeated repairs.
Energy efficiency is another reason many property owners choose roof replacement. Older roofing systems may lack proper ventilation, insulation compatibility, or reflective materials that help regulate indoor temperatures. Installing a modern roofing system often improves energy performance while providing better protection against future weather damage.
Professional contractors explain these factors during the inspection process so property owners understand why replacement may be recommended. Their goal is not simply to install a new roof but to ensure the building remains safe, efficient, and protected for many years.
How Roofing Contractors Prepare Before Installation
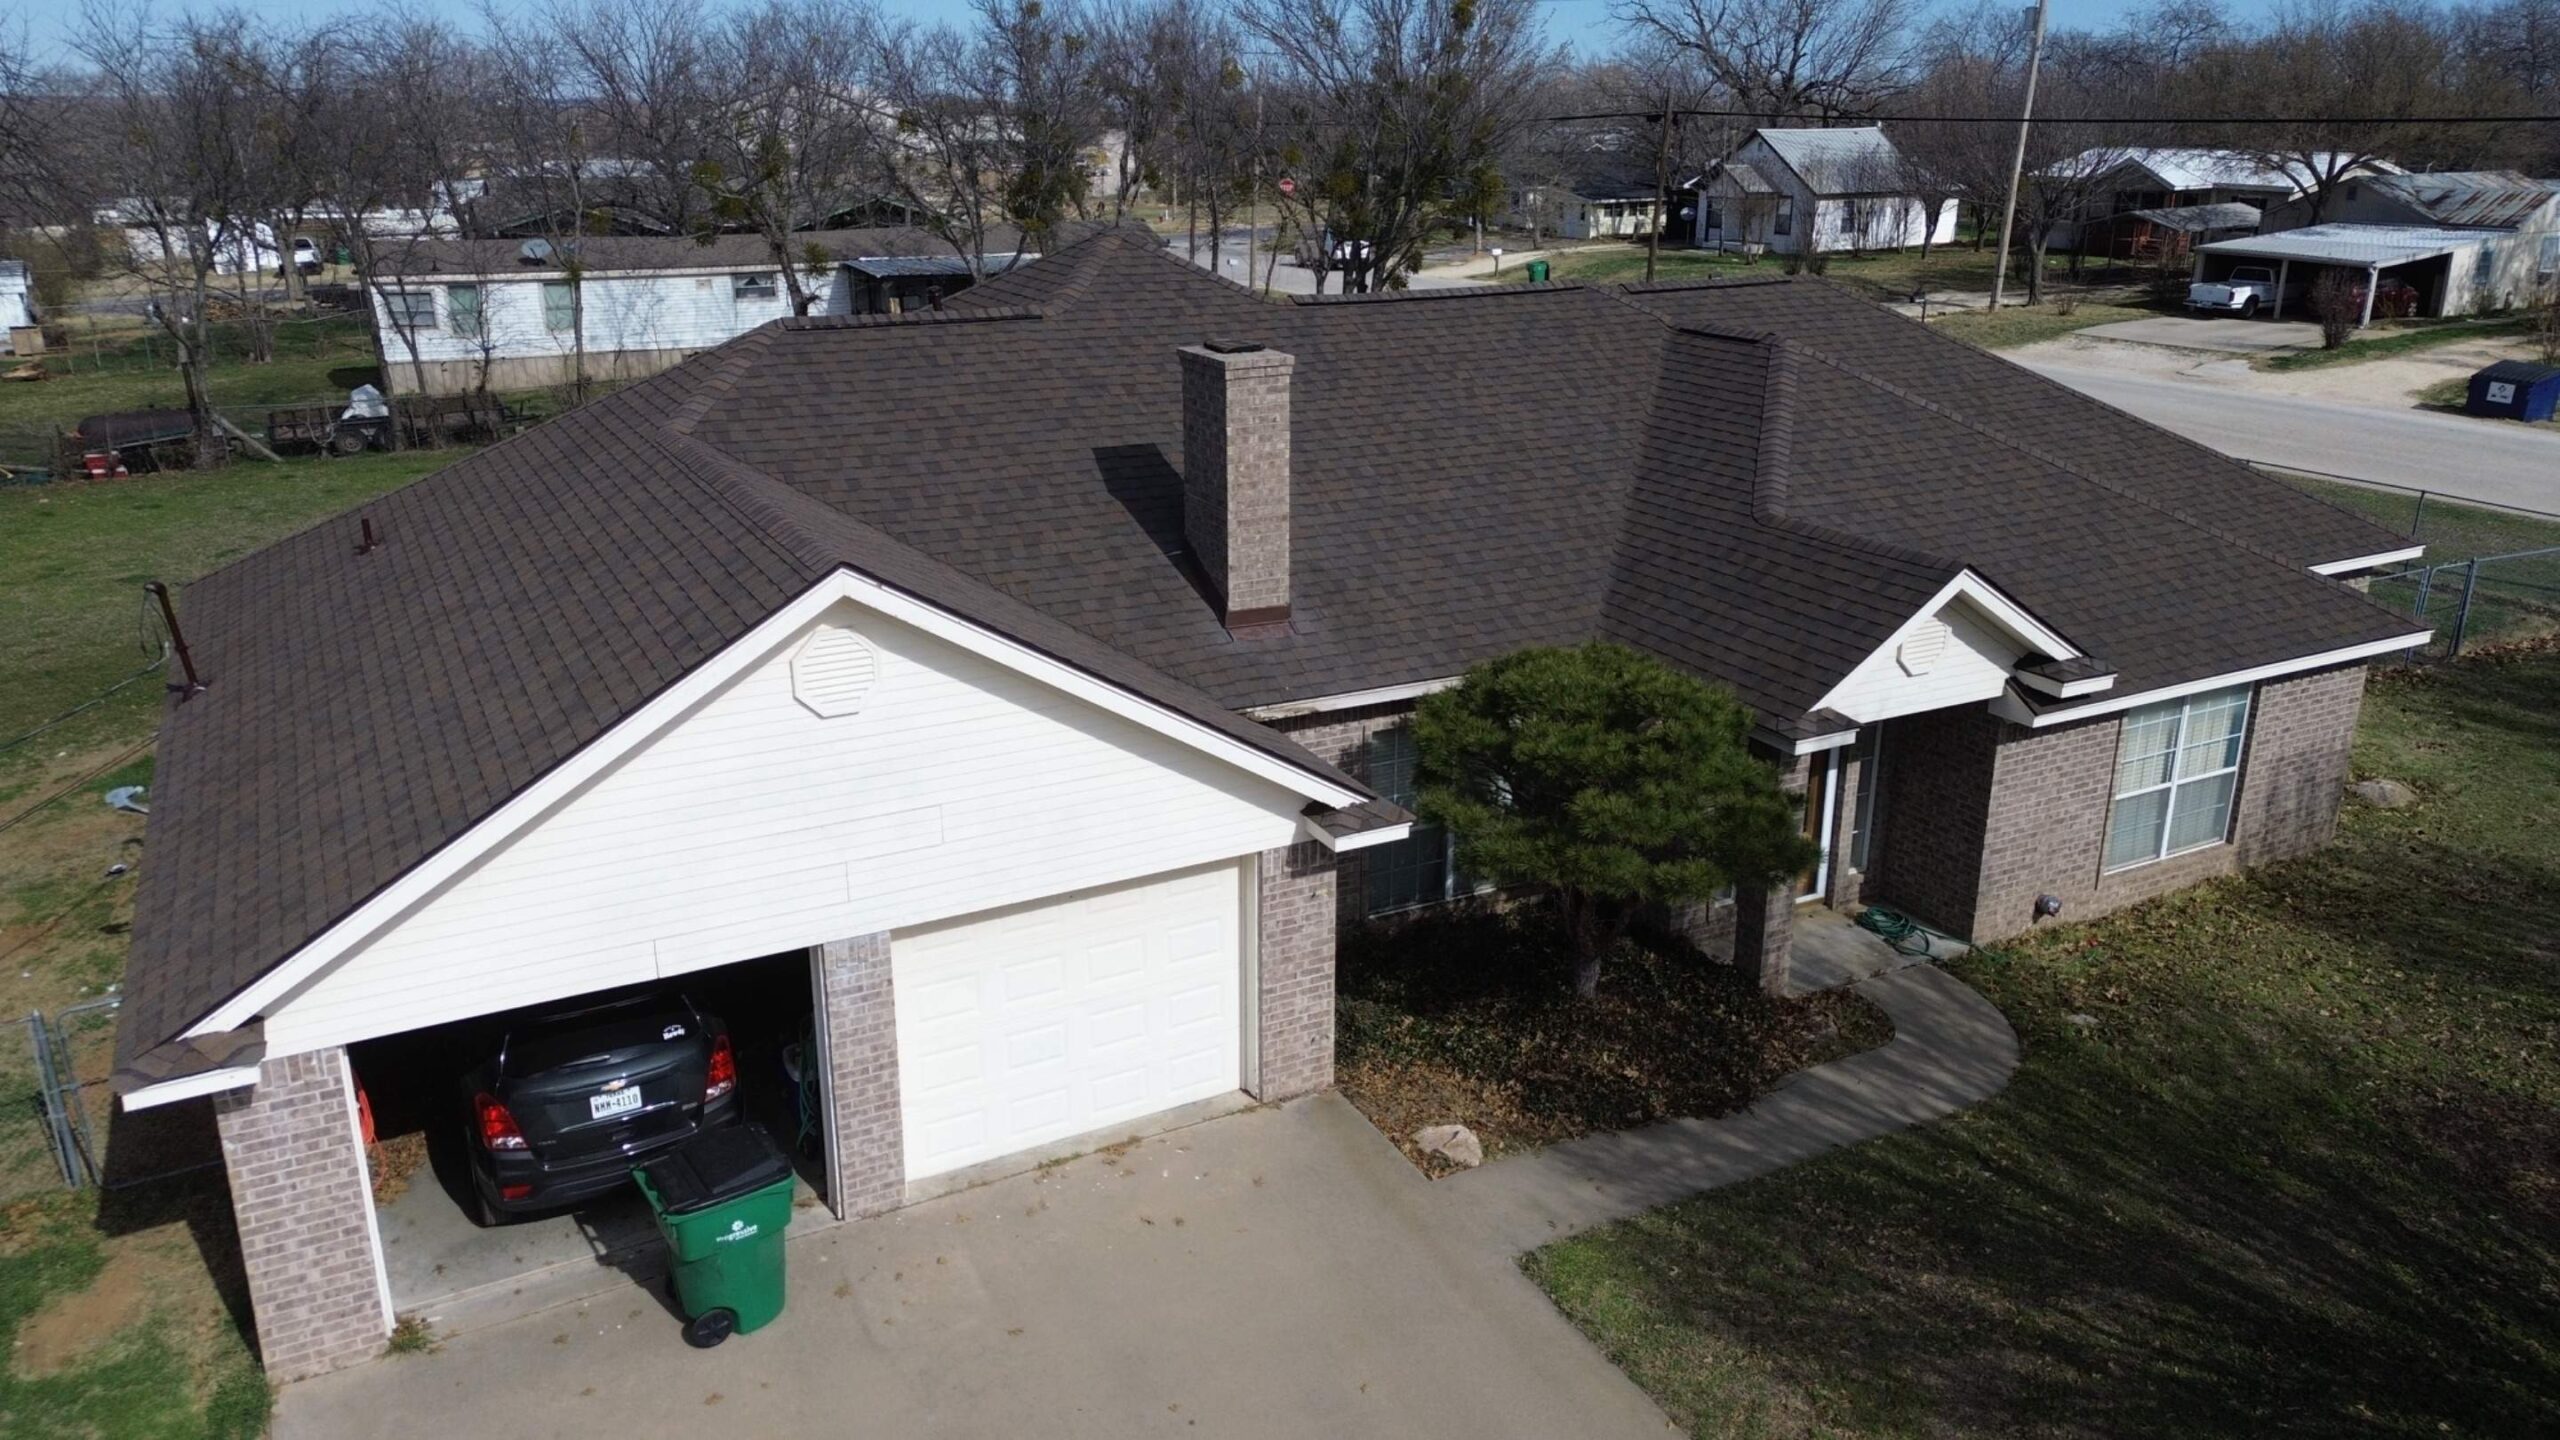
Preparation begins long before the first roofing material is removed. Experienced roofing contractors understand that successful roof replacement depends on careful planning, accurate measurements, material coordination, and organized scheduling. Every detail is reviewed before installation day to reduce delays and ensure the project proceeds smoothly.
Contractors first review the inspection findings and verify the dimensions of the roof. Accurate measurements determine how much roofing material, underlayment, flashing, fasteners, and ventilation equipment will be required. Ordering the correct quantity minimizes waste while preventing shortages that could interrupt installation.
Material delivery is also coordinated before work begins. Roofing products are usually delivered shortly before installation so they remain in good condition and are available when needed. Contractors select safe locations for storing materials where they will not block driveways, damage landscaping, or interfere with daily activities.
Project scheduling is another important aspect of preparation. Roofing companies monitor weather forecasts to choose installation dates with favorable conditions because rain, high winds, or severe storms can delay work and expose the building to moisture. Planning around weather helps protect both workers and the property.
Contractors also discuss project expectations with the property owner before installation starts. They explain the estimated timeline, working hours, access requirements, parking arrangements, and safety precautions. Clear communication ensures everyone understands what will happen during each stage of the roof replacement.
Preparation may seem less visible than the actual installation, but it establishes the organization needed for a safe and efficient project. Careful planning reduces unexpected complications and helps contractors maintain quality throughout the installation process.
Comprehensive Roof Inspection and Assessment
Every professional roof replacement begins with a thorough inspection. Contractors need to understand the condition of the existing roof before deciding how the new system should be installed. A detailed assessment helps identify hidden problems that could affect the durability of the replacement roof if left unaddressed.
During the inspection, contractors examine both the exterior and interior of the building. Exterior evaluations focus on roofing materials, flashing, gutters, roof penetrations, chimneys, skylights, valleys, and ridge areas. Inside the attic or upper ceiling spaces, they look for water stains, mold growth, inadequate ventilation, and signs of structural movement.
The inspection also determines whether damage extends beyond the visible roofing material. Moisture may have weakened the roof deck, damaged insulation, or affected supporting structural components. Discovering these issues before installation allows contractors to include the necessary repairs in the project plan.
Contractors often document their findings with photographs and written reports. These records help property owners understand the current condition of the roof and provide a reference for discussing recommended repairs or upgrades. Transparent communication builds trust and allows informed decisions about the replacement project.
Some inspections also identify opportunities for improvements beyond simply replacing worn materials. Better ventilation, upgraded flashing systems, improved drainage, or stronger underlayment may significantly increase the performance and lifespan of the new roofing system.
Choosing the Right Roofing Material
Selecting the appropriate roofing material is one of the most important decisions made before installation begins. Roofing contractors guide property owners through this process by considering climate conditions, building design, maintenance expectations, budget, and long term performance goals. The chosen material influences not only appearance but also durability, energy efficiency, and maintenance requirements.
Modern roofing systems are available in many different materials, each offering unique advantages. Asphalt shingles remain one of the most popular choices because they combine affordability with dependable weather resistance. Metal roofing offers exceptional longevity and performs well in regions with heavy rain, snow, or high winds. Tile and slate roofs provide outstanding durability while creating a distinctive architectural appearance, although they require stronger structural support due to their weight.
Contractors also evaluate manufacturer warranties when recommending roofing products. A quality roofing system includes compatible components such as underlayment, flashing, ventilation products, and ridge caps that work together under the manufacturer’s specifications. Using approved materials throughout the system helps maximize warranty protection.
The following table compares several common roofing materials used during replacement projects.
| Roofing Material | Average Lifespan | Main Advantages | Common Considerations |
|---|---|---|---|
| Asphalt Shingles | 20 to 30 years | Affordable, widely available, easy installation | Moderate lifespan |
| Metal Roofing | 40 to 70 years | Durable, energy efficient, low maintenance | Higher initial cost |
| Clay Tile | 50 to 100 years | Excellent durability and appearance | Heavy, requires structural support |
| Concrete Tile | 50 years or more | Strong weather resistance | Greater roof weight |
| Slate Roofing | 75 to 100+ years | Extremely long lifespan and premium appearance | Expensive and heavy |
Choosing the right material requires balancing cost with long term value. Contractors help property owners evaluate these options so the selected roofing system matches both the building’s needs and the owner’s expectations.
Planning the Roof Replacement Project
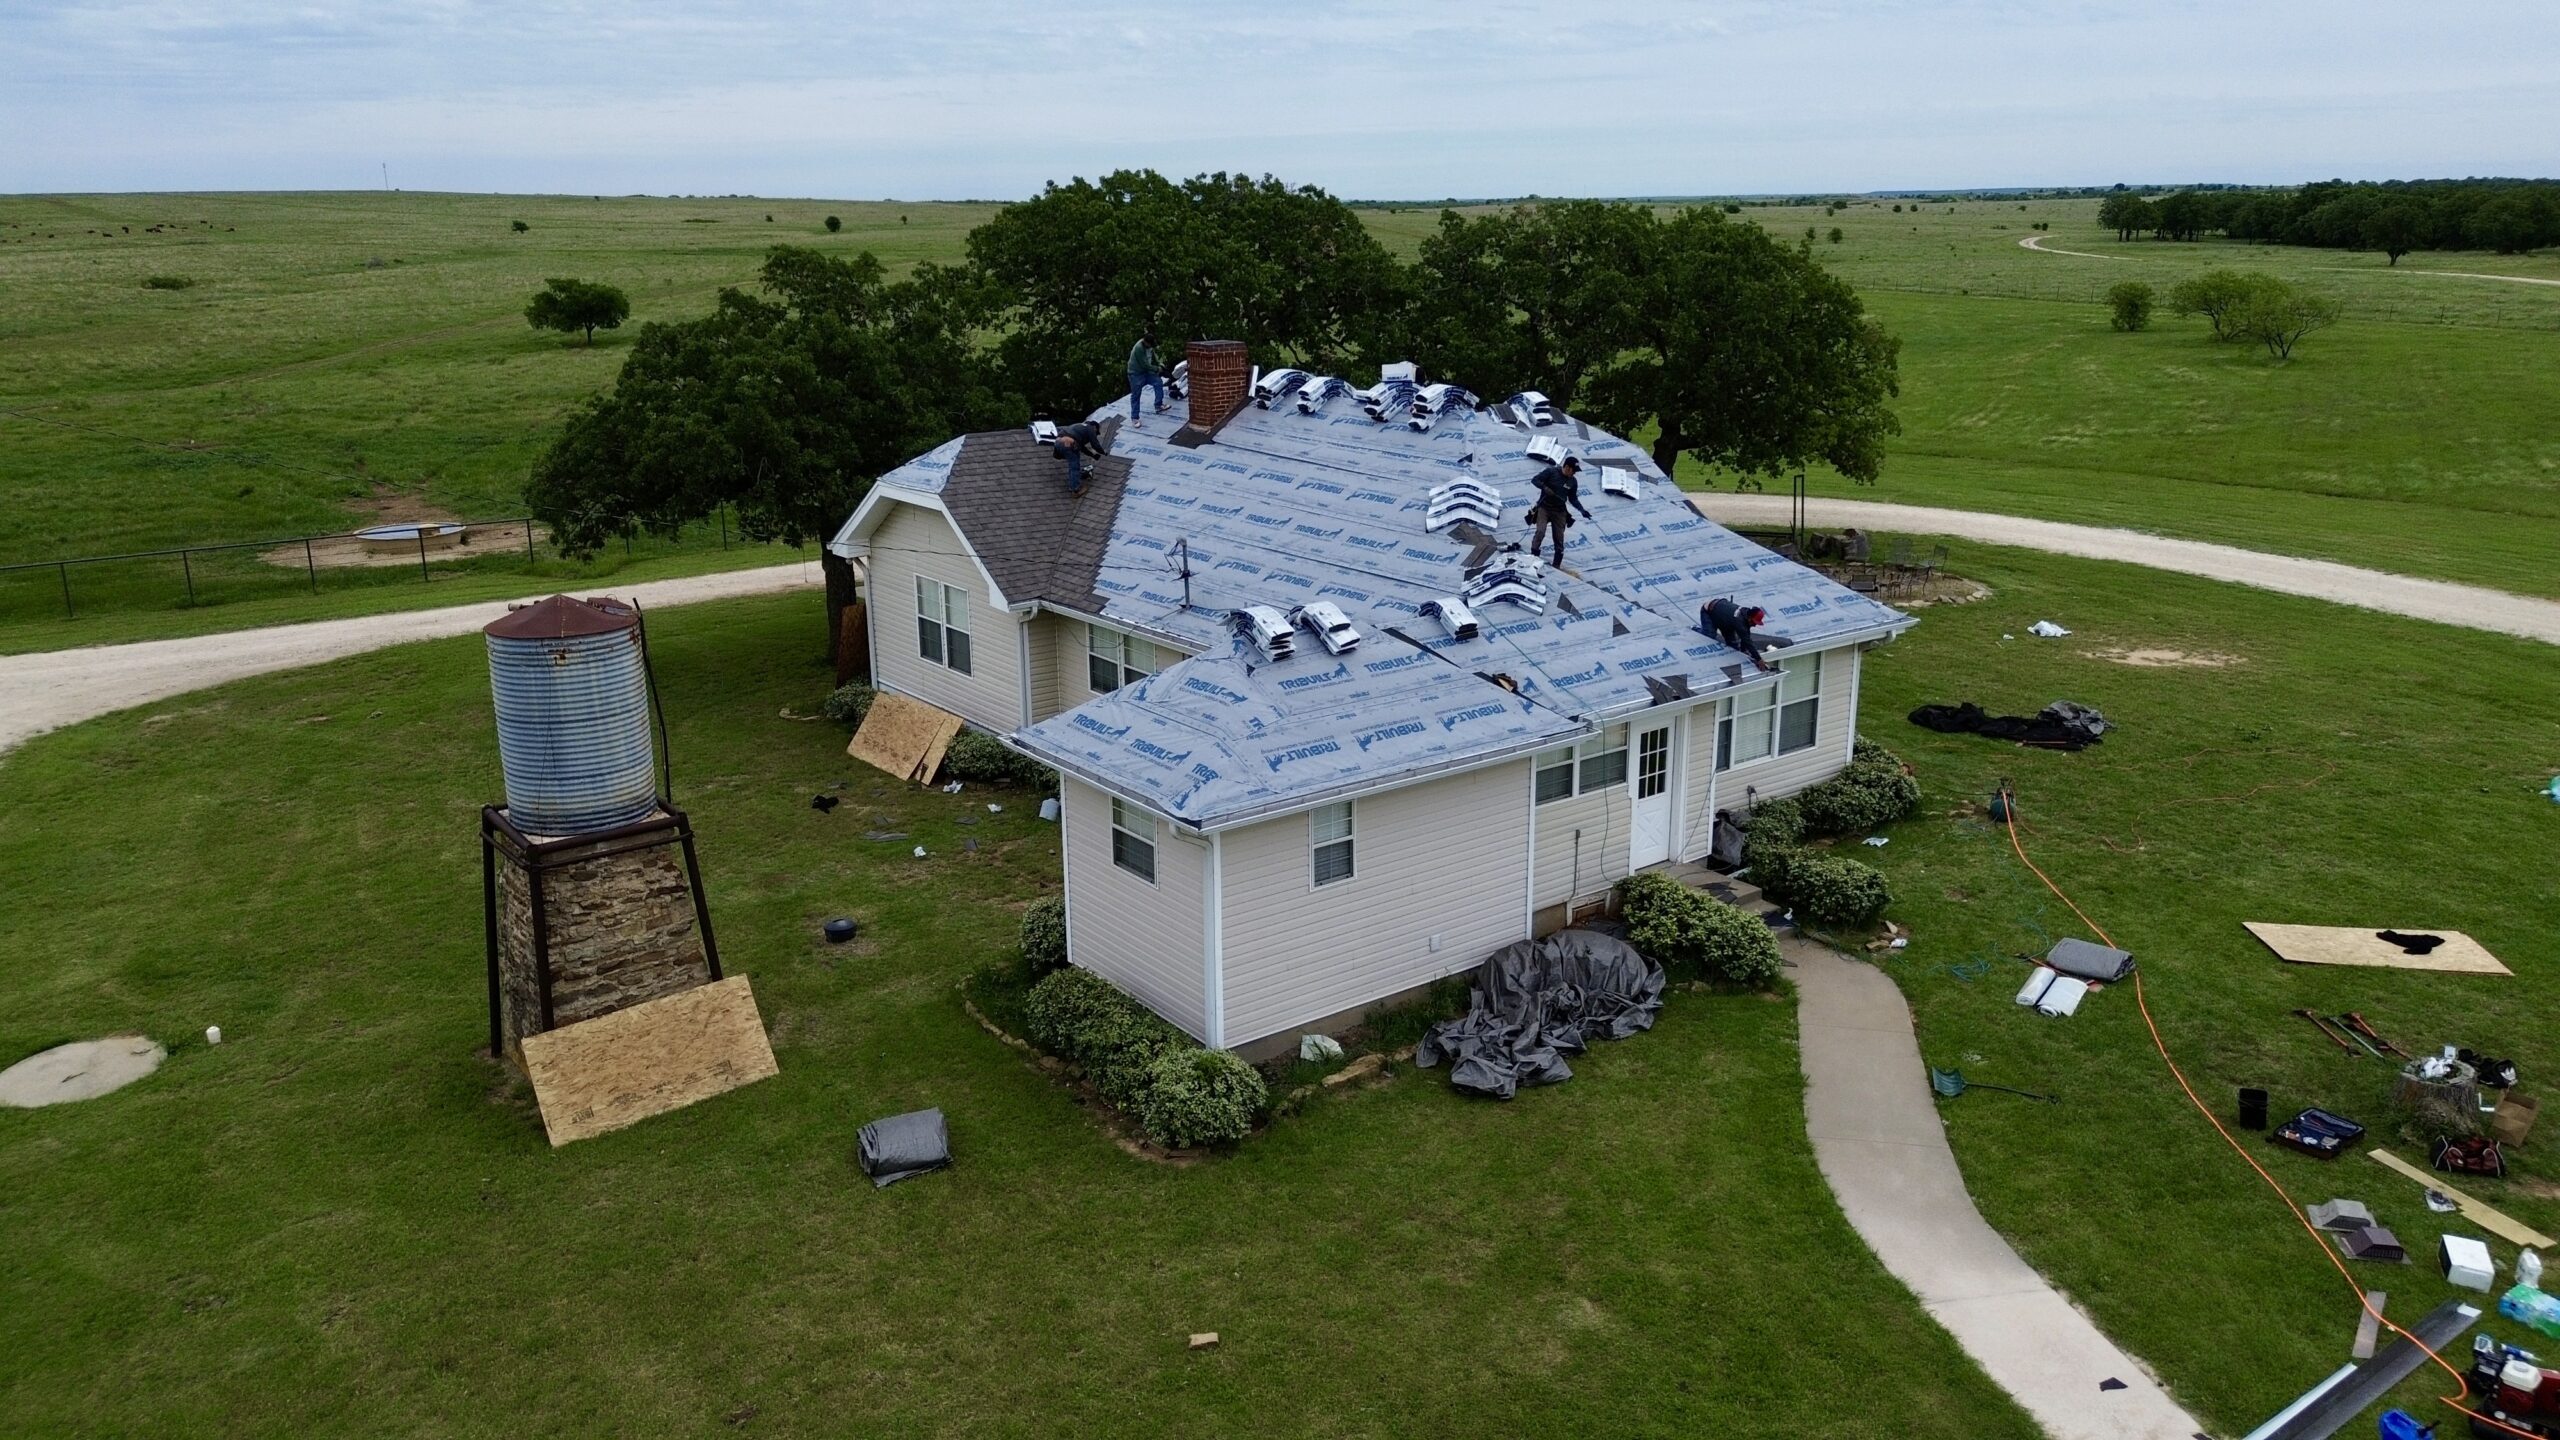
Once the roofing material has been selected, contractors develop a detailed project plan that coordinates every stage of the installation. Planning reduces delays, improves safety, and ensures all required resources are available when needed. Every successful roof replacement follows an organized schedule rather than relying on last minute decisions.
The planning process includes several essential activities:
- Confirming material quantities and delivery schedules.
- Scheduling labor crews with appropriate experience.
- Arranging permits if required by local authorities.
- Preparing equipment such as ladders, scaffolding, dumpsters, and safety gear.
- Establishing contingency plans for unexpected weather or structural repairs.
Each of these tasks contributes to efficient project management and minimizes interruptions once installation begins. Contractors also review manufacturer installation guidelines to ensure every step complies with warranty requirements and building standards.
Communication remains an important part of project planning. Homeowners receive information about expected work hours, temporary access restrictions, noise levels, and safety precautions around the property. Setting realistic expectations before installation helps prevent misunderstandings throughout the replacement process.
A carefully planned project also allows contractors to allocate enough time for inspections and quality checks instead of rushing toward completion. This organized approach improves both workmanship and overall customer satisfaction.
Preparing the Property and Job Site
Before removing any roofing material, contractors prepare the surrounding property to reduce the risk of accidental damage. Roof replacement generates debris, falling materials, and frequent movement of workers and equipment, making proper site preparation an essential safety measure. Protecting the property is just as important as protecting the roof itself.
Vehicles are typically moved away from the work area to prevent damage from falling debris. Outdoor furniture, grills, decorative items, and potted plants are either relocated or covered with protective materials. Contractors may also place plywood over delicate landscaping to distribute weight and shield plants from falling roofing materials.
Inside the home, property owners are often advised to remove fragile items from walls and shelves. Vibrations caused by roof removal can sometimes loosen picture frames or decorative objects. Taking these precautions helps avoid accidental damage during the installation process.
Dumpsters or debris containers are positioned close to the building so old roofing materials can be removed efficiently. Contractors organize equipment in designated areas to keep walkways clear and maintain a safe working environment throughout the project.
Job site preparation also includes establishing clearly marked work zones where only authorized personnel may enter. Restricting access protects residents, visitors, children, and pets from construction hazards while allowing roofing crews to work safely and efficiently.
Safety Measures Roofing Contractors Follow
Roof replacement involves working at significant heights while handling heavy materials and power tools. Because of these risks, professional roofing contractors follow strict safety procedures throughout every stage of installation. Safety protects workers, property owners, and nearby structures while helping the project progress without unnecessary interruptions.
Contractors begin by inspecting ladders, scaffolding, harnesses, and fall protection equipment before work starts. Personal protective equipment such as hard hats, gloves, non slip footwear, eye protection, and high visibility clothing is worn whenever appropriate. These measures reduce the likelihood of injuries during roof removal and installation.
Weather conditions are monitored continuously throughout the project. High winds, lightning, heavy rain, or slippery roof surfaces create dangerous working conditions that may require temporary suspension of work. Experienced contractors understand that delaying installation is preferable to risking worker safety or compromising installation quality.
Crews also receive training on material handling, equipment operation, and emergency response procedures. Proper lifting techniques reduce the risk of injury when moving heavy bundles of roofing materials, while organized communication helps workers coordinate safely across different sections of the roof.
Maintaining a clean work area is another important safety practice. Debris is removed regularly instead of allowing discarded materials to accumulate on the roof or around the property. Good housekeeping reduces trip hazards and creates a safer environment for everyone involved in the project.
Removing the Existing Roofing System
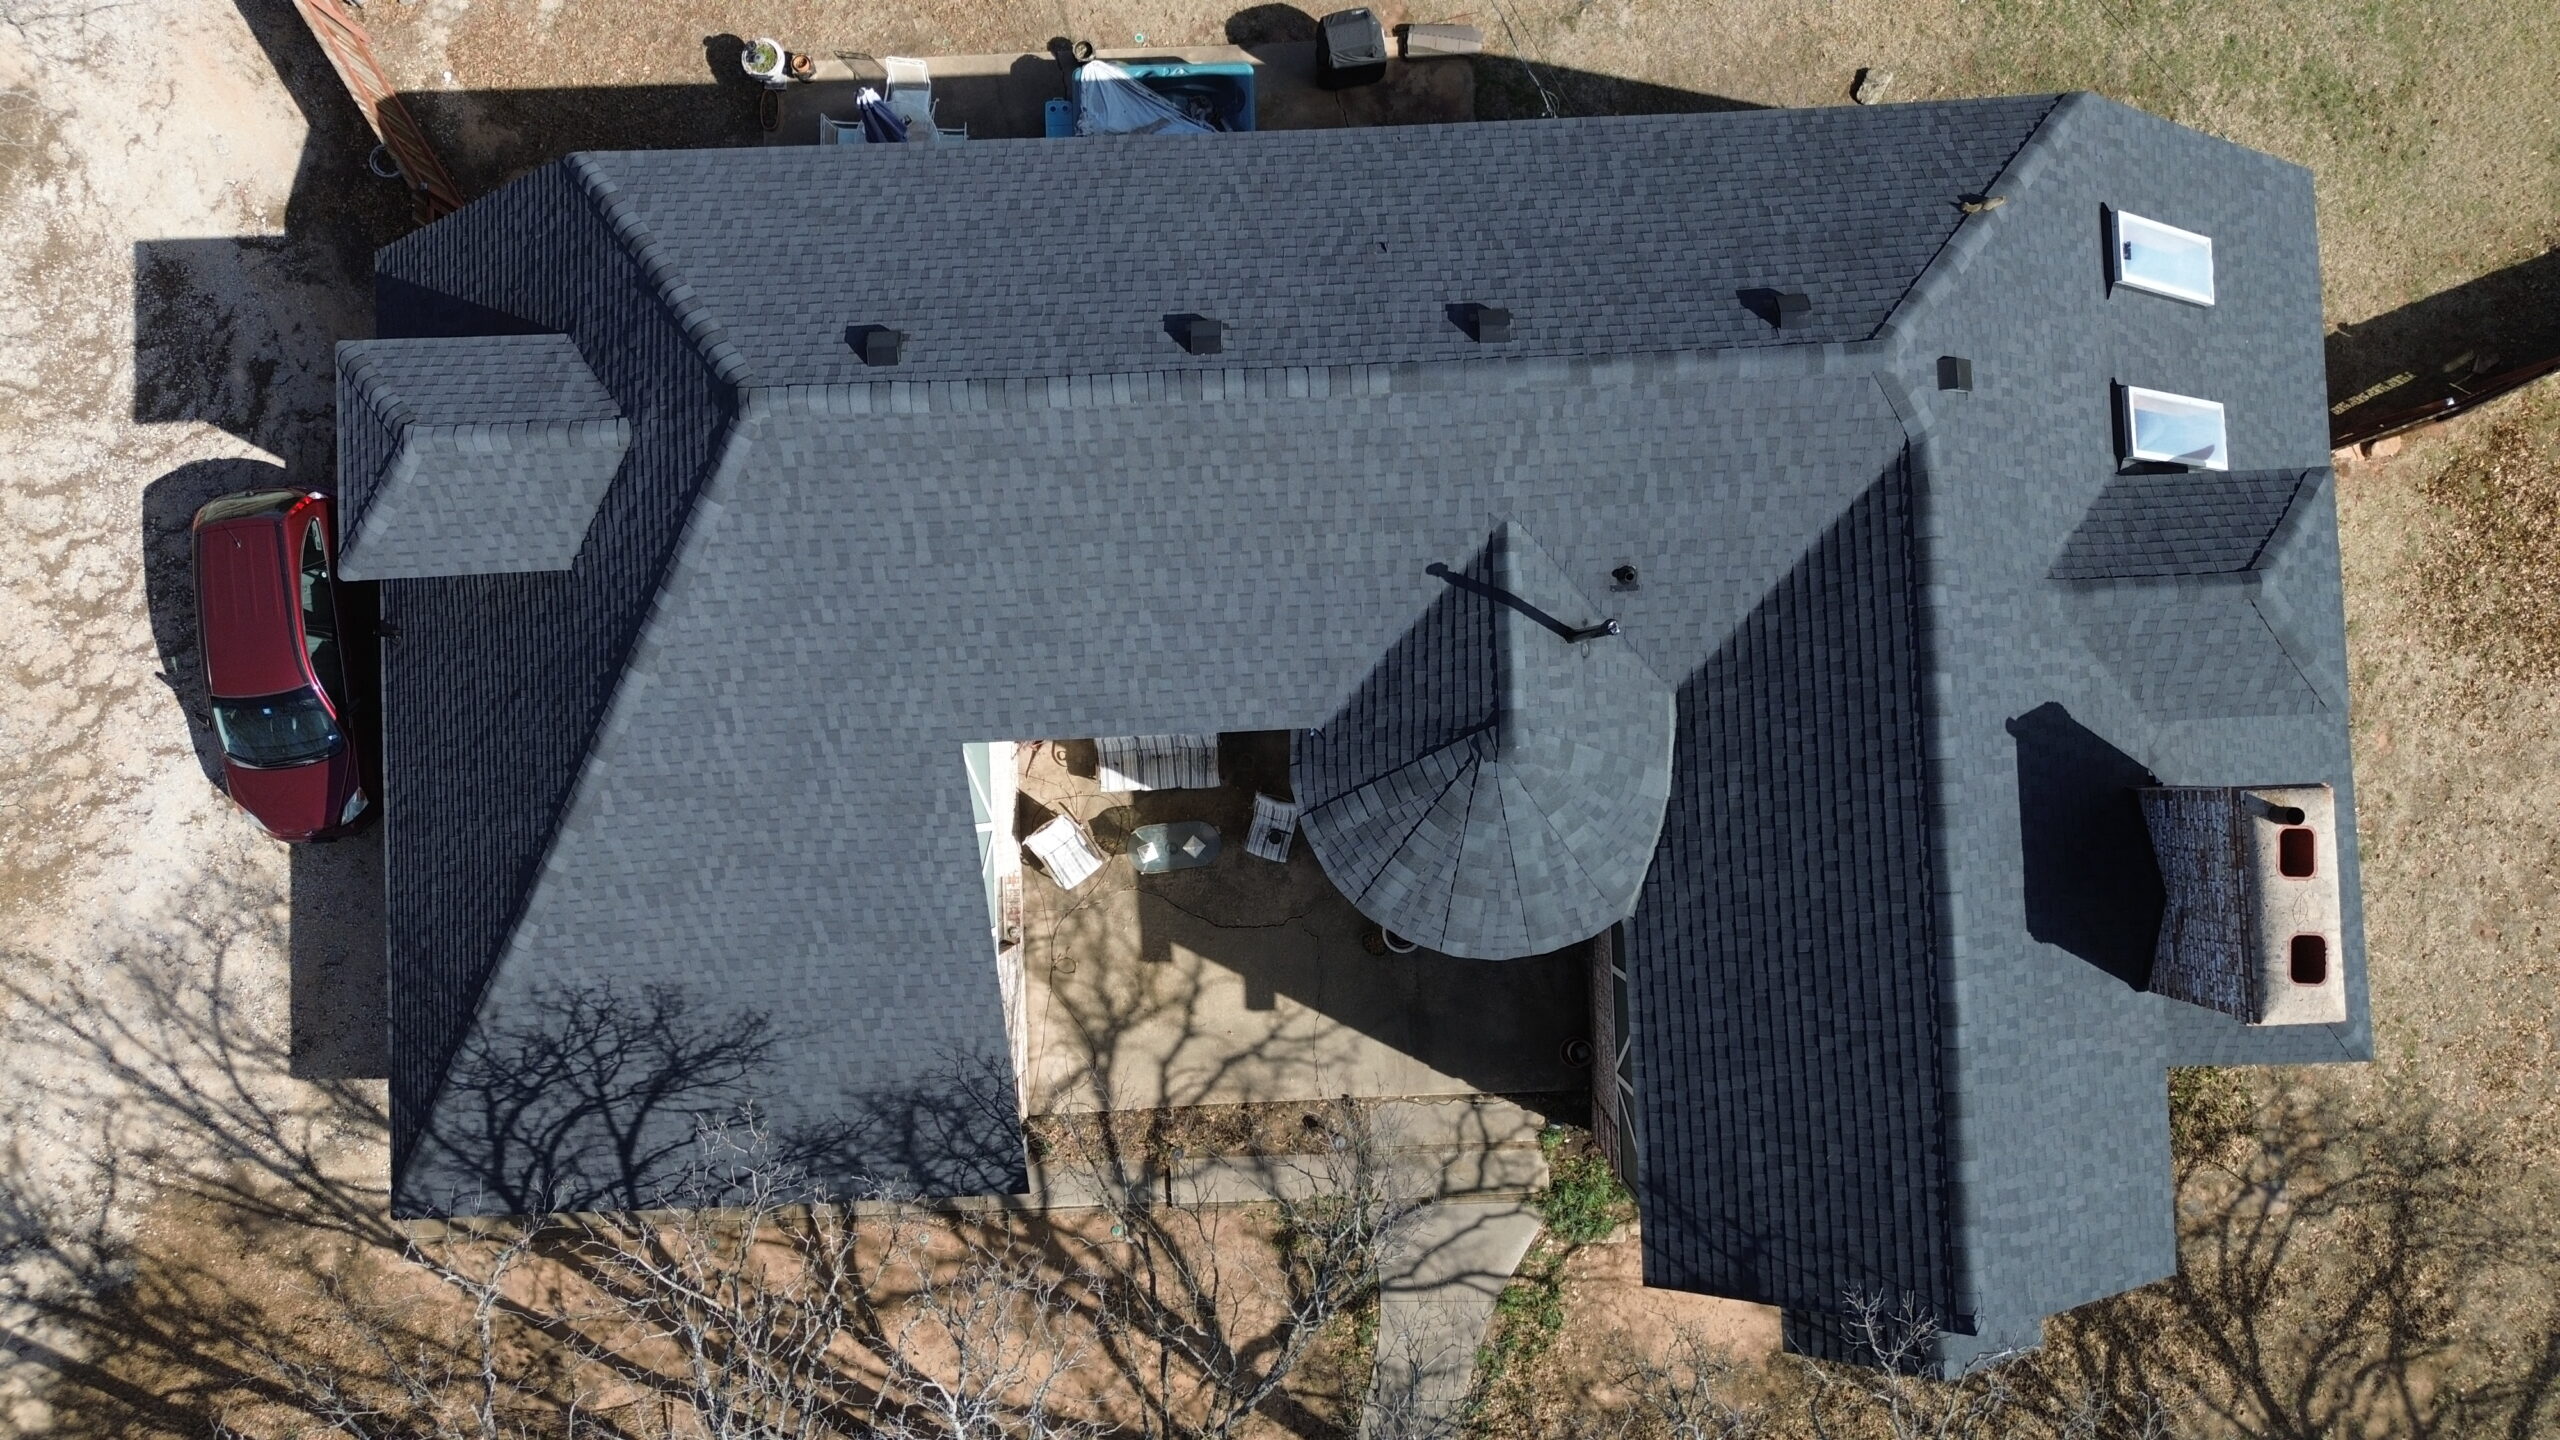
After preparation is complete, contractors begin removing the old roofing materials. This phase exposes the roof structure beneath the surface and allows the installation of a completely new roofing system. Although it may appear straightforward, roof removal requires careful attention to avoid damaging the underlying deck.
Contractors typically start at the highest point of the roof and work downward in controlled sections. Roofing shingles, metal panels, tiles, or membranes are removed systematically rather than all at once. This organized approach keeps the work area manageable while allowing crews to inspect the roof as materials are removed.
Old flashing, vents, ridge caps, nails, and deteriorated underlayment are also removed during this stage. Leaving worn components in place could reduce the effectiveness of the new roofing system or create future leak points. Complete removal allows every new component to be installed on a clean and stable surface.
Debris is transferred directly into dumpsters whenever possible instead of being thrown around the property. Contractors frequently use magnetic tools to collect loose nails from driveways, walkways, and landscaping areas, helping maintain a safe environment throughout the project.
As sections of the old roof are removed, contractors continually assess the condition of the roof deck underneath. This ongoing evaluation prepares the crew for any repairs that may be necessary before new materials can be installed.
Inspecting and Repairing the Roof Deck
Once the old roofing system has been completely removed, contractors gain full access to the roof deck. This structural layer supports every component installed above it, making its condition critical to the performance of the new roof. Even the highest quality roofing materials cannot perform properly if the underlying deck has been weakened by moisture or structural damage.
Contractors inspect the deck for soft spots, rot, cracked panels, loose fasteners, water damage, insect activity, and structural movement. Any damaged sections are removed and replaced before installation continues. Repairs performed at this stage help prevent future problems that would otherwise remain hidden beneath the finished roof.
The deck is also checked for proper alignment and fastening. Loose panels are secured firmly to maintain structural stability and provide a consistent surface for underlayment installation. Contractors ensure the roof surface remains clean and dry before moving to the next phase of the replacement process.
Completing these repairs before installing the new roofing system protects the investment and improves long term durability. A solid roof deck provides the stable foundation needed for every layer that follows, ensuring the new roof performs as intended for decades to come.
Installing Roof Underlayment for Moisture Protection
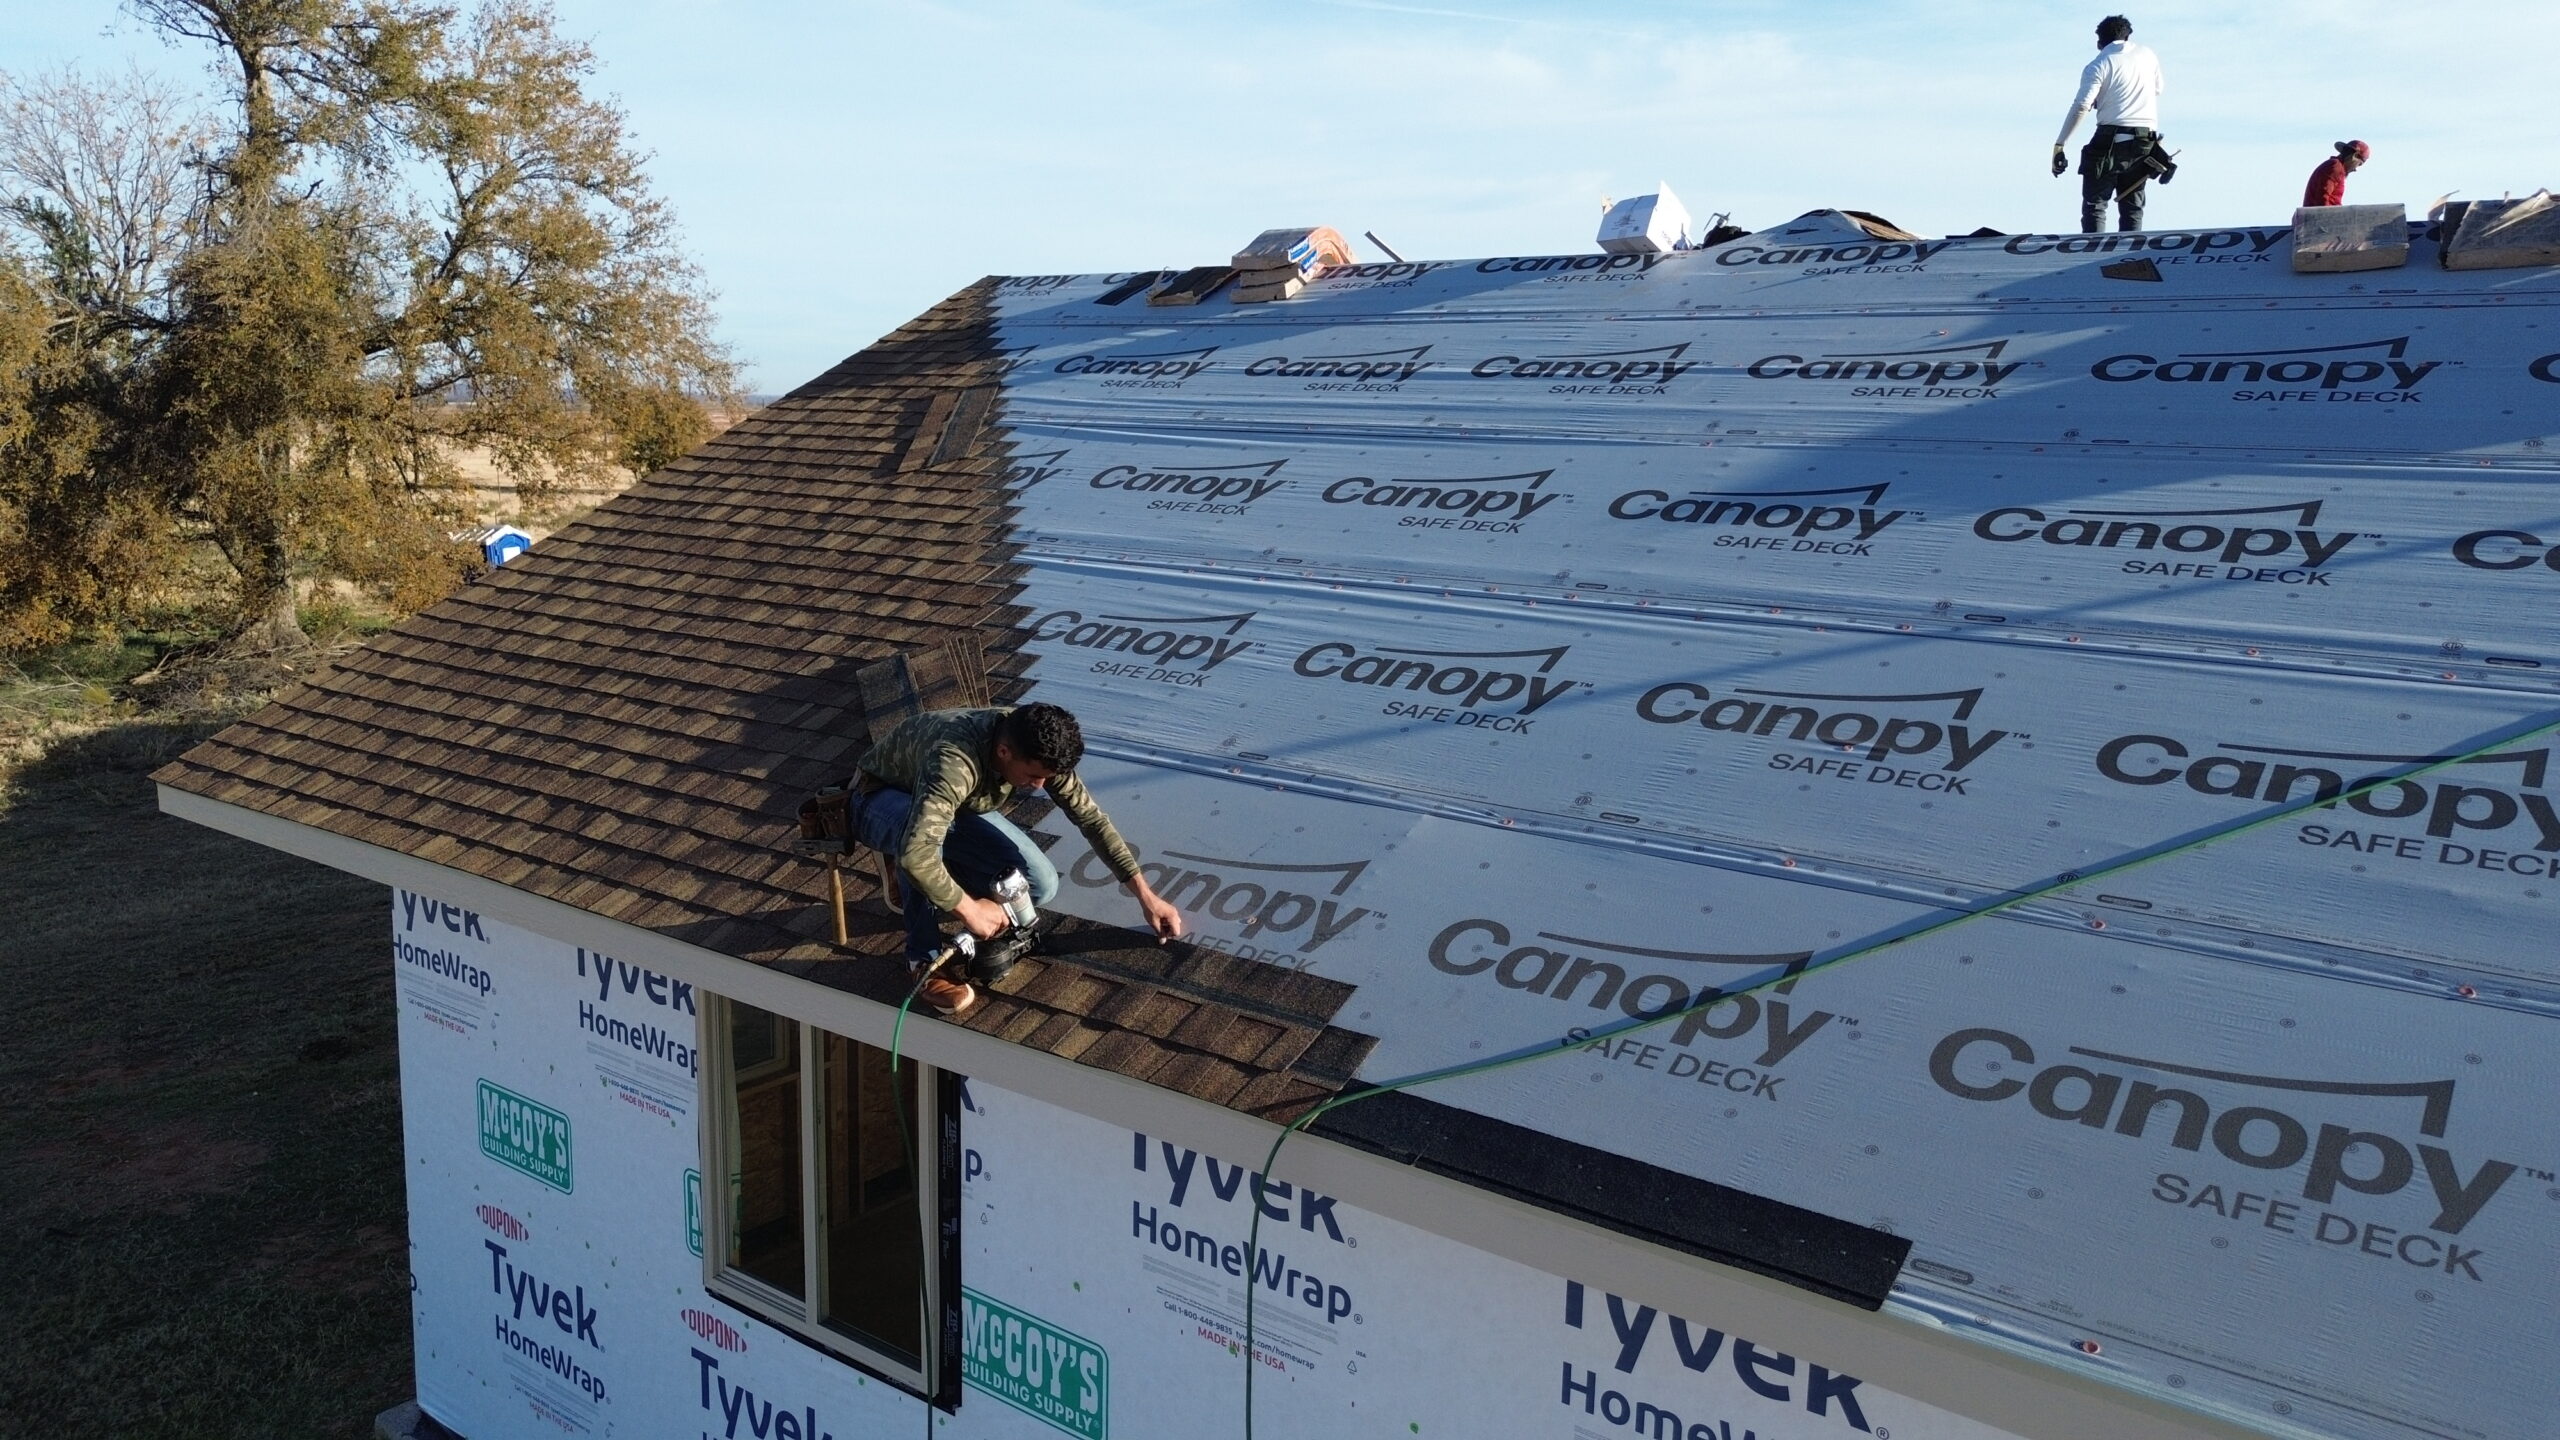
After the roof deck has been inspected and repaired, contractors begin installing the first protective layer of the new roofing system. This layer is known as the roof underlayment, and it serves as a secondary moisture barrier beneath the visible roofing material. Even though homeowners rarely see it once the roof is complete, underlayment plays a critical role in protecting the building from water infiltration.
Roof underlayment creates a protective shield between the roof deck and the outer roofing material. If rainwater or melting snow manages to pass beneath shingles or metal panels during severe weather, the underlayment helps prevent moisture from reaching the wooden roof deck. This extra layer significantly reduces the risk of leaks, wood rot, mold growth, and structural deterioration.
Modern roofing contractors typically choose between synthetic underlayment and asphalt saturated felt, depending on the roofing material, local climate, and manufacturer recommendations. Synthetic products have become increasingly popular because they are lightweight, tear resistant, and provide excellent moisture protection while remaining easier to install.
Installation begins at the lowest edge of the roof and progresses upward toward the ridge. Each row overlaps the previous one according to manufacturer specifications so water naturally flows downward without penetrating between the seams. Contractors carefully smooth the material to eliminate wrinkles or gaps that could interfere with the roofing material installed above.
Fastening methods are equally important during this stage. Roofing crews use approved fasteners that securely hold the underlayment in place without causing unnecessary damage to the material. Proper spacing ensures the underlayment remains stable during both installation and future weather events.
Attention to detail during underlayment installation directly affects the overall performance of the roofing system. A properly installed moisture barrier provides continuous protection throughout the life of the roof and serves as an essential defense against unexpected water intrusion.
Adding Ice and Water Shield in Vulnerable Areas
While standard underlayment protects most sections of the roof, certain locations require additional waterproofing. Roofing contractors install specialized ice and water shield membranes in areas that experience higher concentrations of moisture or where leaks are more likely to occur. These self sealing membranes provide enhanced protection in the roof’s most vulnerable locations.
Ice and water shield is commonly installed along roof edges, valleys, around chimneys, skylights, roof vents, plumbing penetrations, and other transition points. These areas frequently experience water accumulation or changing drainage patterns that increase the likelihood of moisture penetration during storms.
Unlike traditional underlayment, the membrane contains an adhesive backing that bonds directly to the roof deck. When roofing nails penetrate the material, it seals tightly around each fastener, reducing the possibility of water entering through nail holes. This feature offers an additional layer of protection in critical sections of the roof.
Contractors carefully align each membrane section while maintaining proper overlap between adjacent pieces. Every seam is pressed firmly to create a continuous waterproof barrier across the protected area. Proper installation requires patience because wrinkles or air pockets can reduce the effectiveness of the membrane.
Although some regions require ice and water shield by building code, many contractors recommend its use even where it is not mandatory. The added protection can significantly reduce future repair costs by preventing hidden water damage in areas that experience repeated moisture exposure.
Installing these specialized membranes early in the replacement process creates a stronger foundation for the remaining roofing components. This extra layer contributes to a more reliable roofing system capable of withstanding demanding weather conditions.
Installing Drip Edge and Starter Strips
Once the moisture protection layers are complete, contractors begin installing components that improve water management and provide a secure starting point for the visible roofing material. Two of the most important components installed at this stage are the drip edge and starter strips.
The drip edge is a metal flashing installed along the roof edges. Its primary purpose is to guide rainwater away from the fascia boards and into the gutter system instead of allowing water to seep beneath the roofing material. Without a properly installed drip edge, water can damage roof decking, fascia boards, and exterior walls over time.
Roofing contractors fasten the drip edge securely along the eaves and rake edges while ensuring proper overlap between individual sections. This overlapping design prevents water from entering through the joints while maintaining continuous protection around the roof perimeter.
Starter strips are installed directly above the drip edge before the main roofing material is applied. These specially designed strips create a secure foundation for the first row of shingles while helping resist wind uplift. They also seal the roof edges where wind driven rain is most likely to enter.
Contractors carefully align starter strips to maintain straight installation lines across the roof. Even slight alignment errors at the beginning of installation can become more noticeable as additional rows of roofing material are added. Precision during this stage improves both appearance and long term performance.
Although these components occupy only the outer edges of the roof, they perform essential functions that contribute to the durability of the entire roofing system. Proper installation helps manage water efficiently while strengthening the roof against severe weather conditions.
Installing the New Roofing Material
The installation of the primary roofing material represents the most visible stage of the roof replacement process. By this point, contractors have prepared the roof deck, installed moisture protection layers, and completed the necessary edge details. The roof is now ready to receive the finished material that will provide long term weather protection and define the building’s appearance.
The installation method varies depending on the selected roofing material. Asphalt shingles, metal panels, clay tiles, concrete tiles, and synthetic roofing products each require different fastening techniques and layout procedures. Professional roofing contractors follow manufacturer guidelines closely because proper installation directly affects product performance and warranty coverage.
For asphalt shingle roofs, installation begins at the lower edge of the roof and progresses upward in evenly spaced rows. Each row overlaps the one below it, creating multiple protective layers that direct water toward the gutters. Contractors stagger the joints between shingles to improve both structural integrity and visual appearance.
Metal roofing systems require precise alignment because individual panels often extend from the ridge to the eaves. Contractors secure each panel using approved fasteners while maintaining consistent spacing and allowing for natural thermal expansion. Special attention is given to seams so they remain watertight throughout seasonal temperature changes.
Tile roofing systems involve individually placing and fastening each tile according to the manufacturer’s specifications. Because tiles are heavier than many other roofing materials, contractors verify that the roof structure provides adequate support before installation begins.
Throughout this process, contractors continually check alignment, spacing, and fastening quality. Small corrections made during installation help prevent larger problems from developing as work progresses across the roof surface.
The goal is not simply to cover the roof but to create a complete roofing system where every component functions together. Proper installation techniques improve weather resistance, extend service life, and enhance the finished appearance of the property.
Proper Flashing Installation Around Roof Features
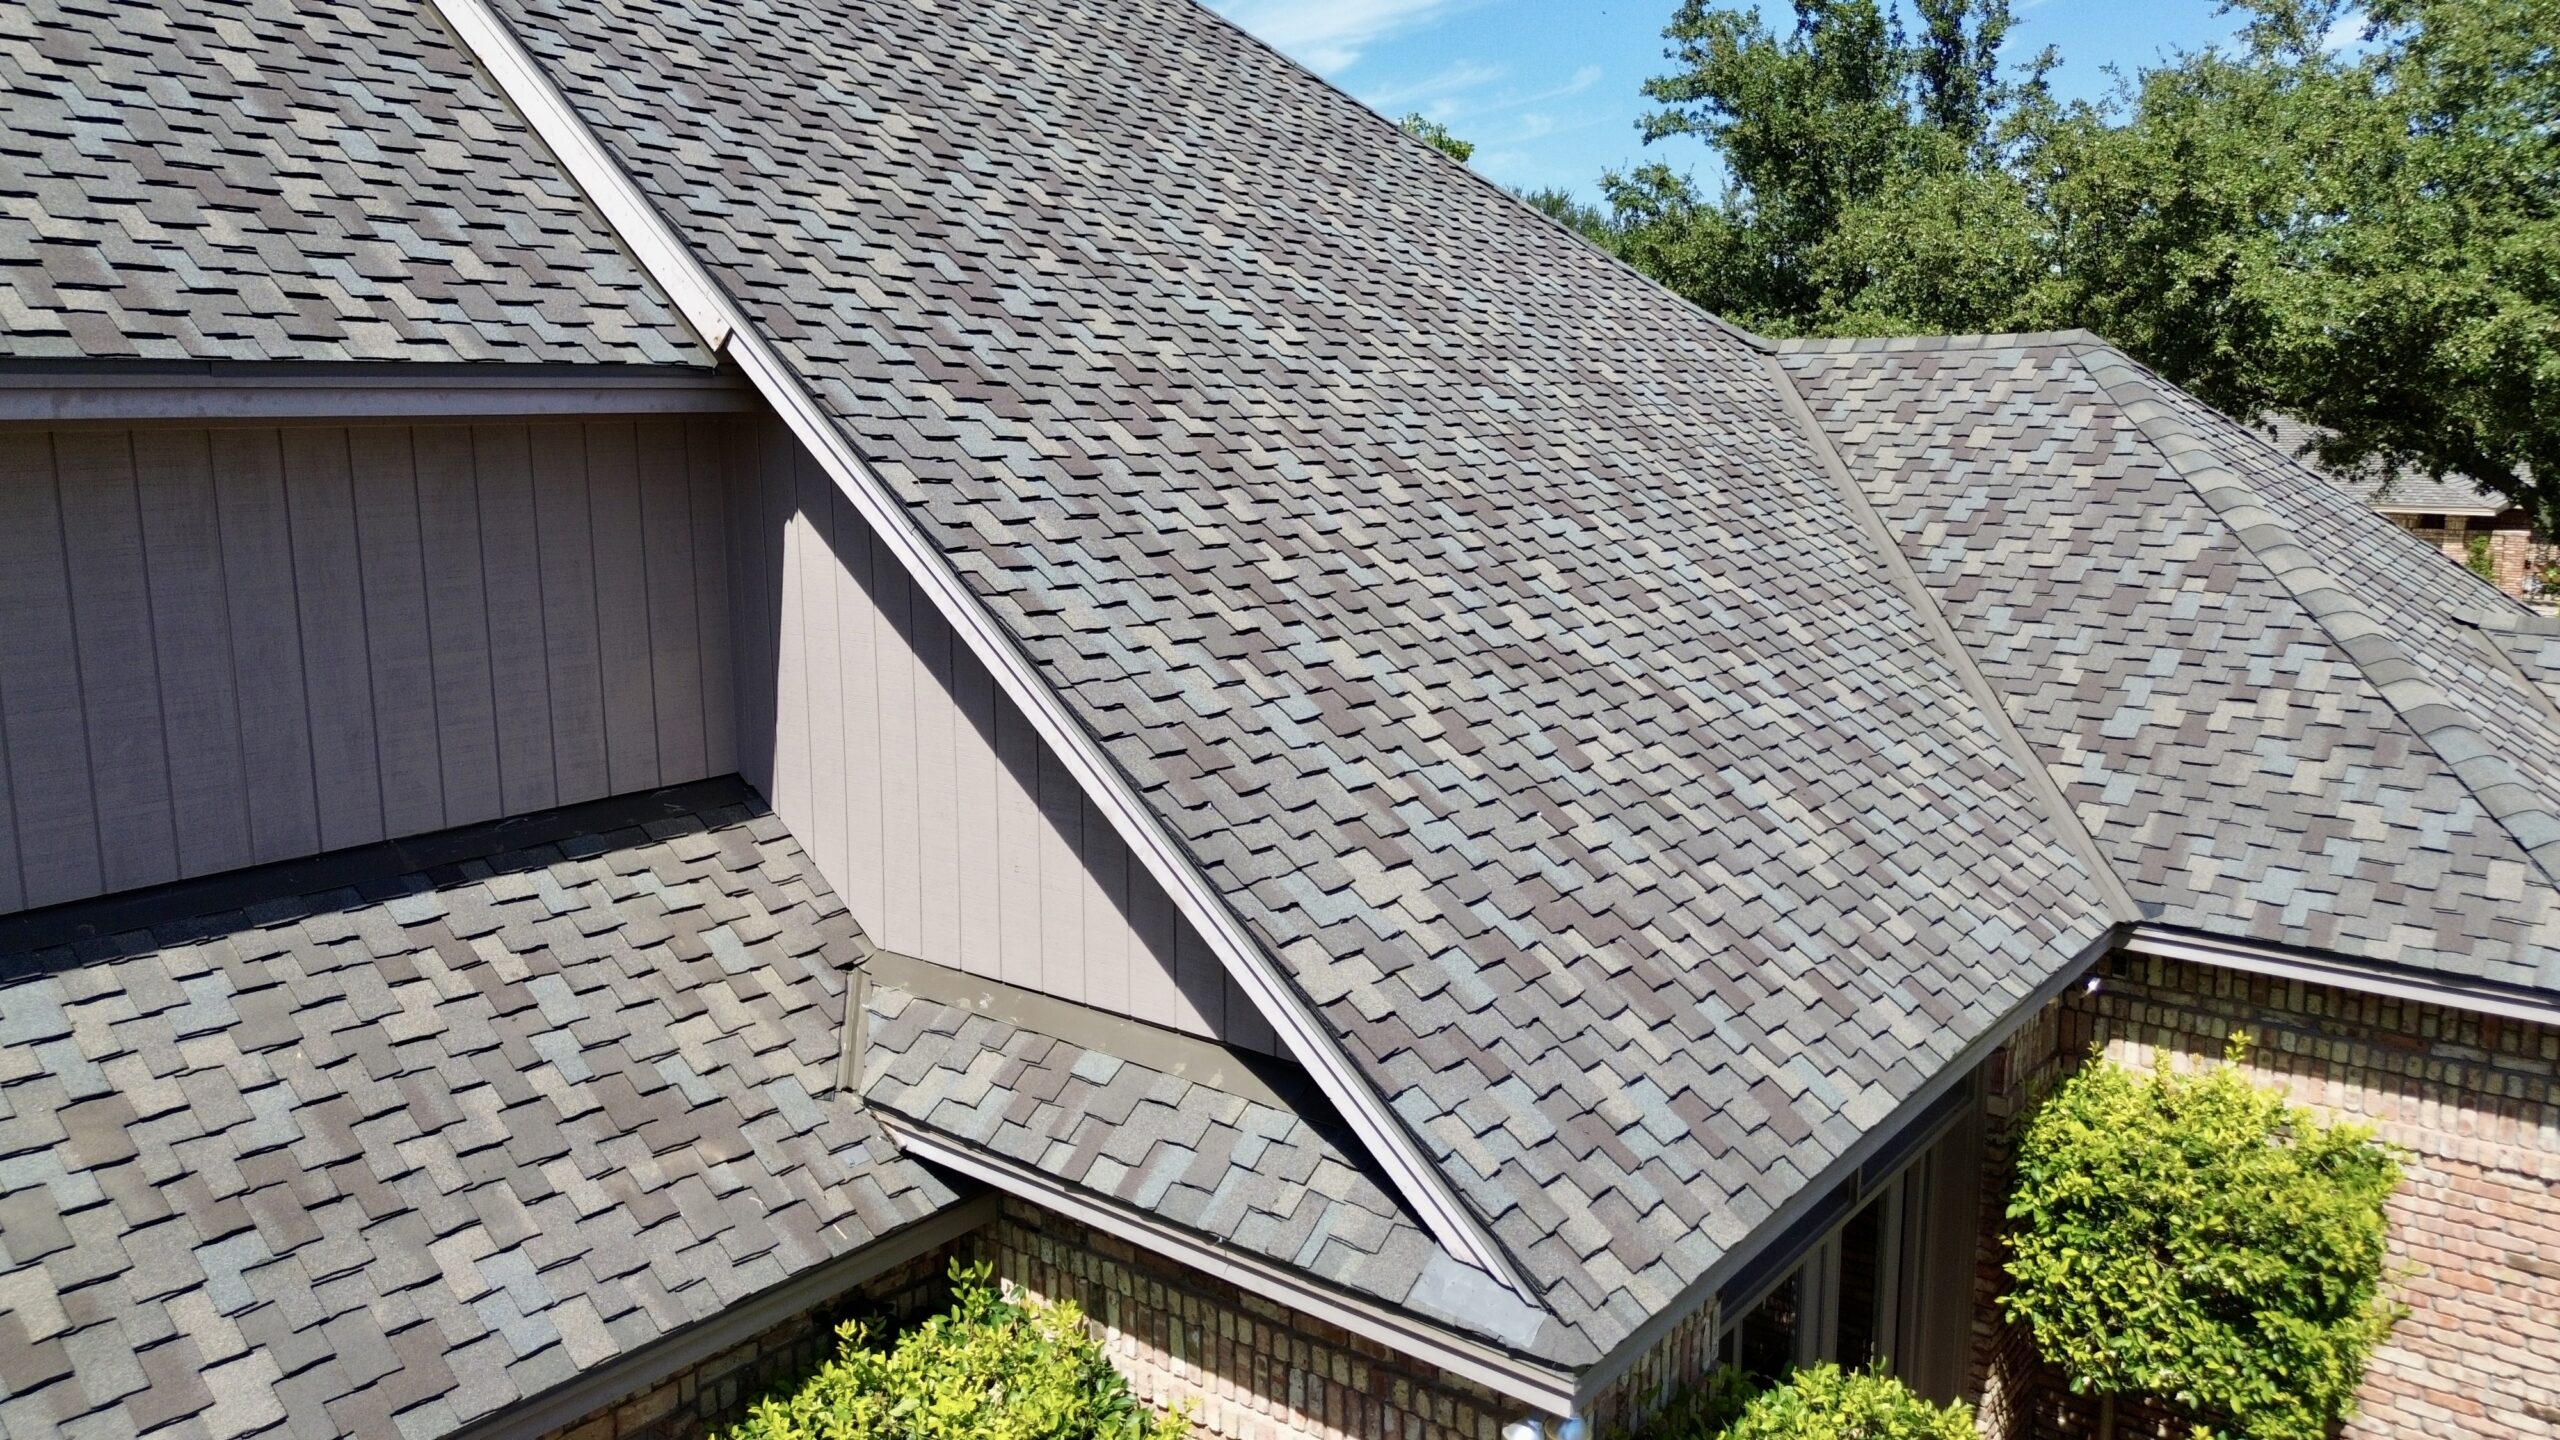
Flashing is one of the most important components of any roofing system because it protects areas where different surfaces meet. Roof penetrations and transitions naturally create opportunities for water intrusion, making proper flashing installation essential for preventing leaks.
Roofing contractors install flashing around chimneys, skylights, plumbing vents, dormers, sidewalls, valleys, and other roof intersections. These locations experience concentrated water flow during rainstorms and therefore require carefully designed waterproof connections.
Different types of flashing are used depending on the application. Step flashing protects areas where the roof meets vertical walls by overlapping each section with the surrounding roofing material. Counter flashing is installed over step flashing to provide additional protection while allowing for natural building movement.
Pipe boots are installed around plumbing vents to create waterproof seals where pipes extend through the roof surface. Modern pipe boots are manufactured from durable rubber or synthetic materials designed to resist weather exposure for many years.
Valley flashing receives special attention because roof valleys collect large volumes of rainwater during storms. Contractors ensure the valley remains smooth and free of obstructions so water can flow efficiently toward the gutters without backing up beneath the roofing material.
Proper flashing installation requires careful measuring, cutting, bending, and fastening. Every joint must be sealed correctly while still allowing for expansion and contraction caused by changing temperatures. Experienced roofing contractors understand that even high quality roofing materials cannot prevent leaks if flashing is installed incorrectly.
Roof Ventilation Installation for Long Term Performance
A new roofing system performs best when combined with effective attic ventilation. Proper ventilation helps regulate temperature and moisture levels beneath the roof, improving both energy efficiency and the longevity of roofing materials. Roofing contractors evaluate existing ventilation systems during replacement projects and recommend upgrades whenever necessary.
Roof ventilation works by allowing cool air to enter through intake vents while warm, moist air exits through exhaust vents near the roof peak. This continuous airflow reduces excessive heat buildup during summer and minimizes moisture accumulation during colder months.
Without adequate ventilation, trapped heat can cause roofing materials to age more quickly while increasing cooling costs inside the building. Moisture buildup can also damage insulation, promote mold growth, and contribute to wood deterioration within the roof structure.
Contractors select ventilation products based on roof design, attic size, and local climate conditions. Ridge vents, soffit vents, roof vents, and gable vents may all be incorporated into the overall ventilation strategy depending on the building’s requirements.
Proper airflow depends on maintaining a balanced system rather than simply adding more vents. Contractors calculate ventilation requirements carefully to ensure intake and exhaust ventilation work together efficiently.
Installing ventilation components during roof replacement is often more practical than adding them later because contractors already have full access to the roof structure. This timing allows ventilation improvements to become fully integrated into the new roofing system.
Securing Ridge Caps and Roof Finishing Components
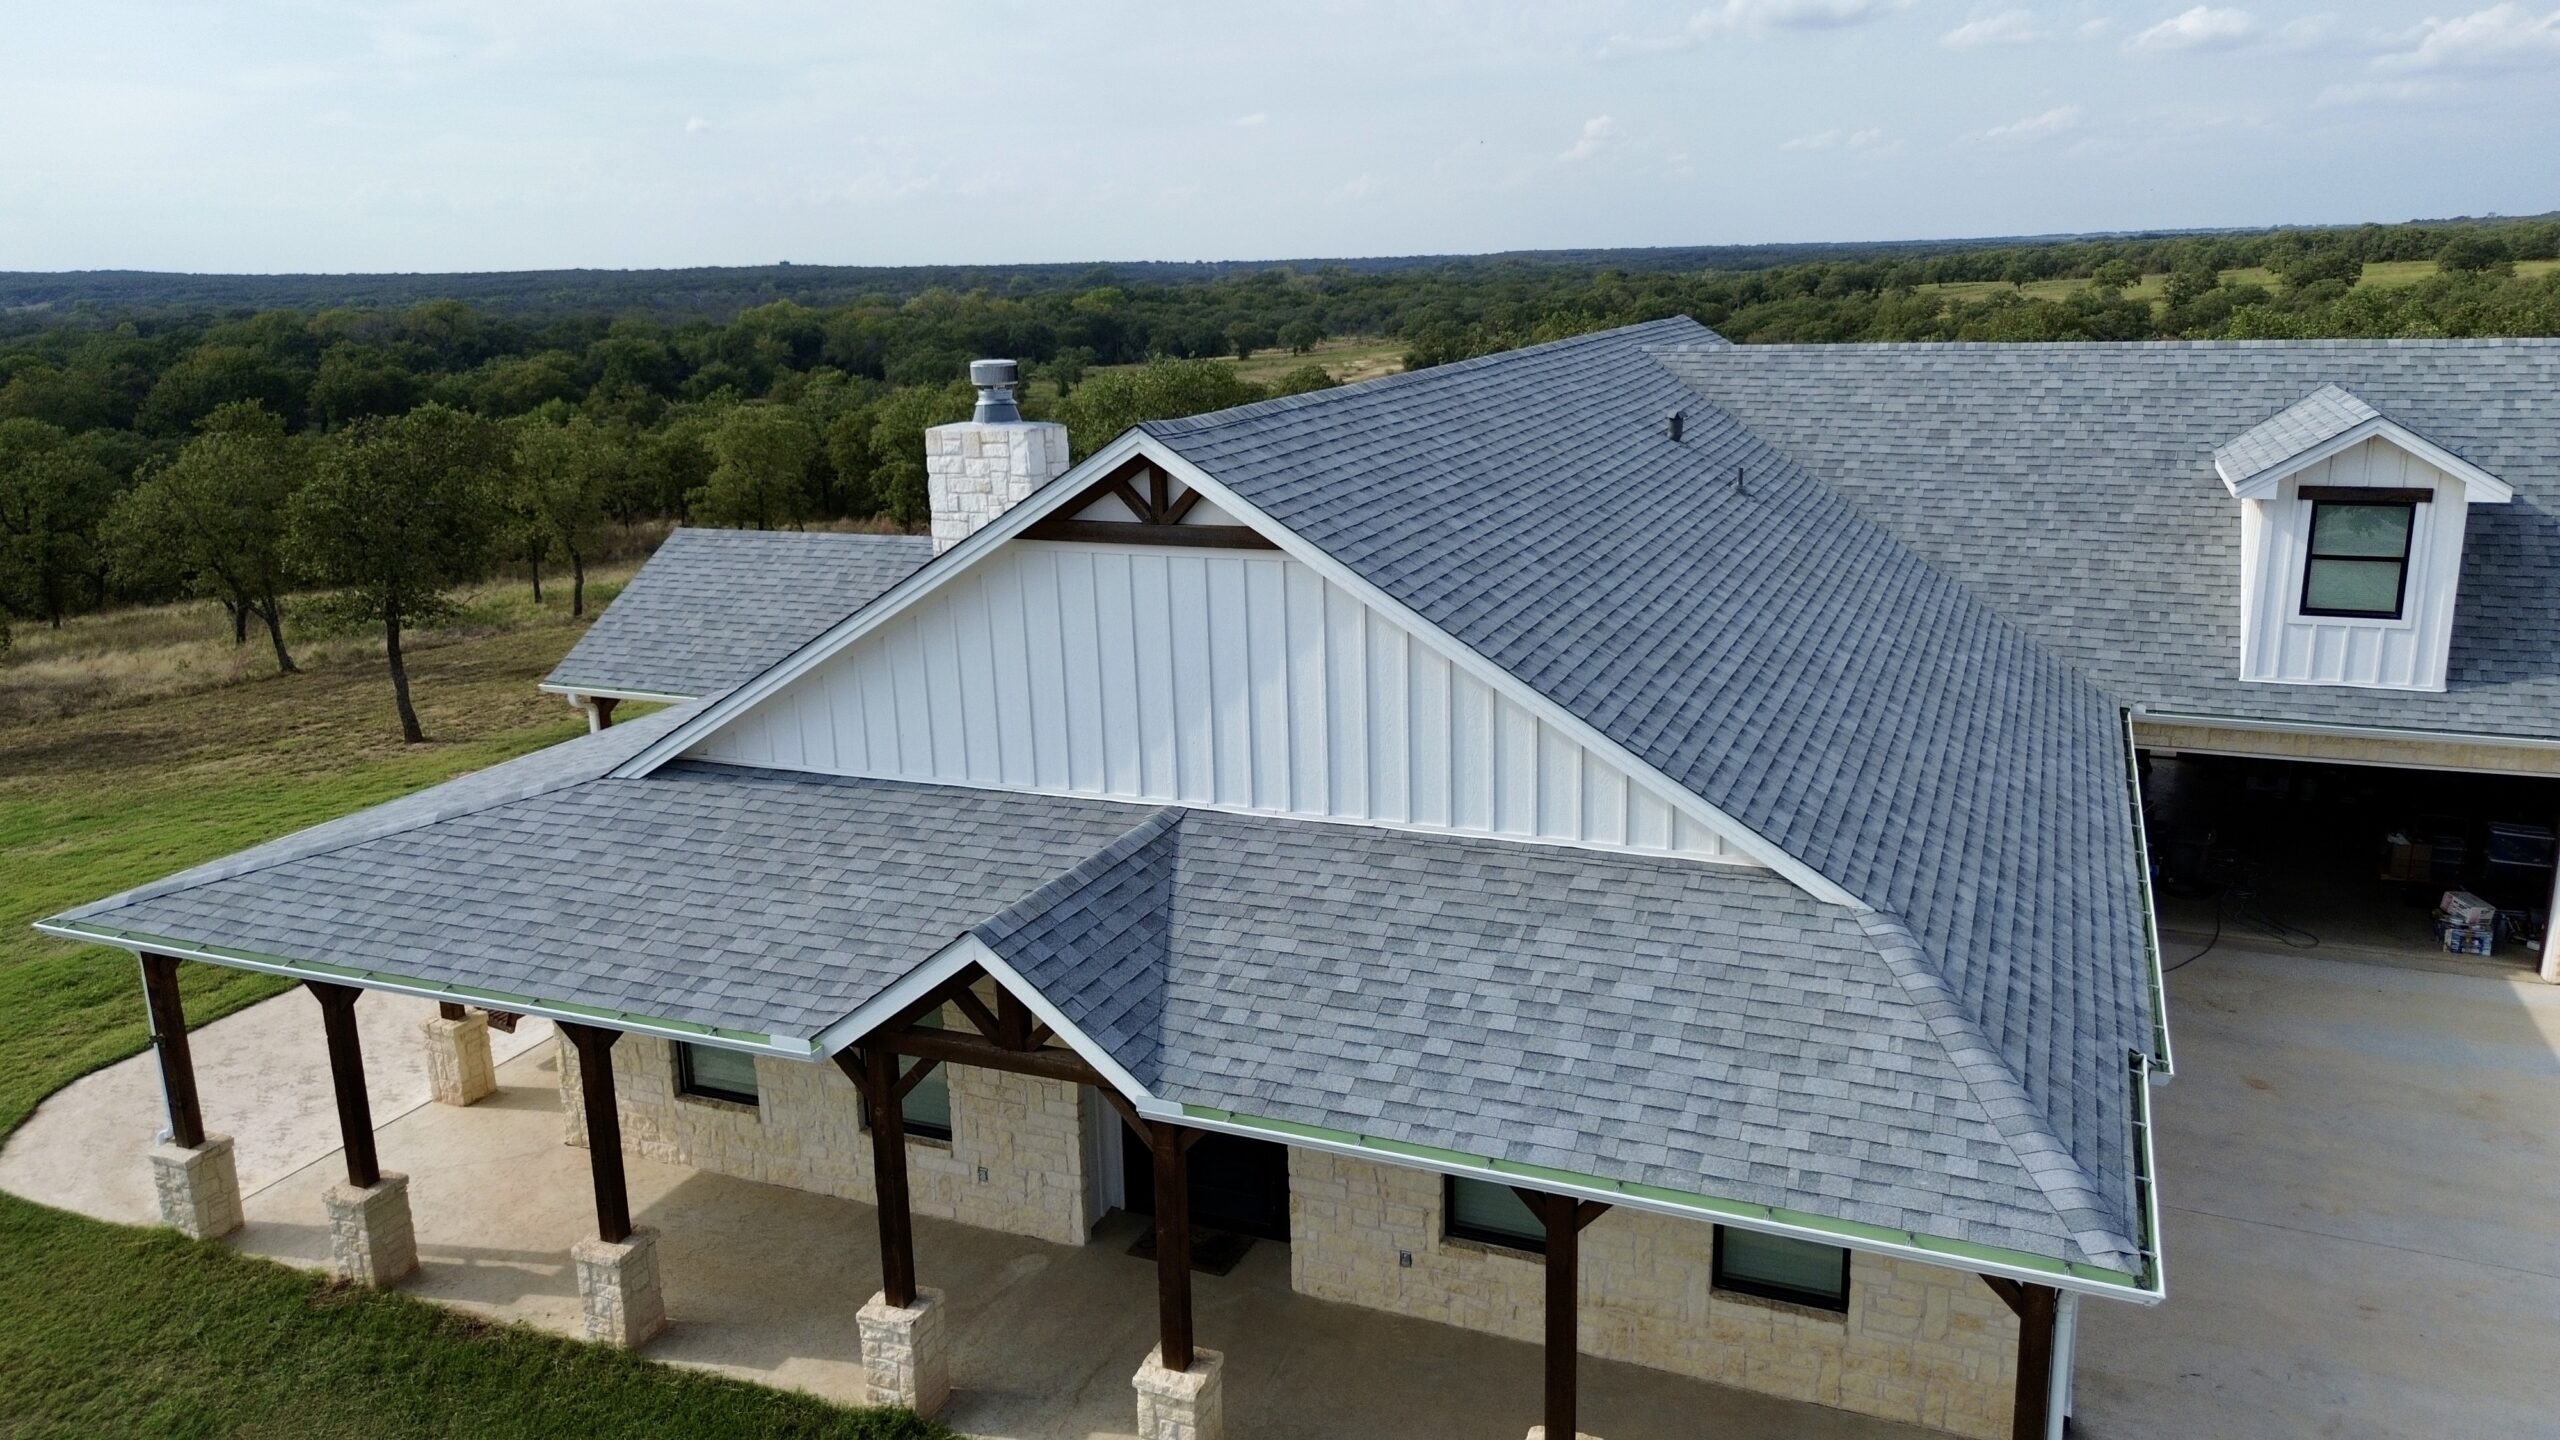
As installation approaches completion, roofing contractors focus on finishing details that strengthen the roof while providing a clean, professional appearance. Ridge caps, hip caps, trim pieces, and other finishing components complete the roofing system by protecting exposed joints and enhancing weather resistance.
Ridge caps are installed along the highest point of the roof where two roof slopes meet. These specially designed components cover the ridge while allowing ventilation systems beneath them to function properly when ridge vents are used. Contractors secure each ridge cap with approved fasteners that provide both strength and weather protection.
Hip roofs require additional cap pieces along each hip line. Contractors install these components carefully to maintain consistent alignment while ensuring complete coverage of exposed joints. Precision during this stage contributes to both durability and overall curb appeal.
Additional finishing work may include installing matching trim around roof edges, sealing exposed fasteners where appropriate, and completing transitions between roofing materials and flashing components. Every finishing detail contributes to the overall integrity of the roofing system.
Contractors also inspect roof accessories such as satellite mounts, snow guards where required, and ventilation covers to ensure they remain securely attached following installation. Any adjustments needed are completed before the project advances to the final inspection stage.
Although these finishing components represent the last visible installation work, they perform essential protective functions throughout the life of the roof. Properly installed finishing details improve resistance to wind, rain, and long term weather exposure.
Quality Control During the Installation Process
Professional roofing contractors do not wait until the end of the project to evaluate workmanship. Instead, quality control takes place continuously throughout every stage of installation. Regular inspections allow crews to identify and correct minor issues before they develop into larger problems that could affect the roof’s performance.
Supervisors routinely verify that installation follows manufacturer specifications, building codes, and company quality standards. Fastener placement, material alignment, flashing installation, ventilation components, and waterproofing details are all inspected as work progresses across the roof.
Contractors also monitor weather conditions during installation. If unexpected rain or strong winds develop, temporary protective coverings may be used to shield unfinished sections of the roof until work can safely resume. Protecting exposed areas helps prevent moisture from reaching the roof deck before installation is complete.
Quality control extends beyond the roof itself. Contractors inspect the surrounding property throughout the project to ensure debris is managed properly, landscaping remains protected, and safety procedures continue to be followed. Maintaining an organized job site contributes to both worker safety and customer satisfaction.
Many roofing companies document installation progress with photographs taken at key stages of the project. These records demonstrate that important components such as underlayment, flashing, and ventilation were installed correctly before they became hidden beneath the finished roofing material.
By the end of this stage, the new roofing system is fully installed and has undergone multiple quality checks. The project now moves toward the final phases, where contractors perform detailed inspections, complete cleanup, verify overall performance, and prepare the roof for many years of reliable service.
Final Cleanup and Debris Removal
Once the new roofing system has been fully installed, contractors shift their attention to restoring the property to a clean and safe condition. Roof replacement generates a significant amount of debris, including old roofing materials, nails, flashing, packaging, and other construction waste. A professional cleanup is an essential part of the project and demonstrates the contractor’s commitment to quality from beginning to end.
Crews begin by removing all remaining roofing materials from the roof surface. Any leftover bundles, unused fasteners, protective coverings, or temporary equipment are taken down carefully to prevent accidental damage to the newly installed roof. Contractors also inspect gutters to ensure they are free of roofing granules, nails, and debris that could restrict water flow.
The surrounding property receives equal attention during the cleanup process. Roofing waste is collected from driveways, walkways, flower beds, lawns, patios, and outdoor living spaces. Contractors often use magnetic sweepers across the entire property to locate loose nails that may not be visible to the eye.
Waste materials are loaded into dumpsters or disposal trailers before being transported to approved recycling or disposal facilities. Many roofing materials can be recycled, reducing the environmental impact of the replacement project. Responsible disposal practices also help property owners comply with local waste management regulations.
A clean job site is more than a finishing touch. It reflects careful workmanship and ensures the property is safe for occupants immediately after the roofing project is completed.
Final Roof Inspection and Quality Assurance
After cleanup is complete, roofing contractors perform a comprehensive final inspection. This step verifies that every component has been installed correctly and that the finished roof meets both manufacturer requirements and local building codes. Rather than relying on visual appearance alone, contractors carefully examine the roof’s structural integrity and weather protection features.
The inspection includes reviewing shingles or roofing panels for proper alignment, confirming flashing installation, checking ridge caps, verifying ventilation components, and examining fastener placement. Contractors also inspect valleys, roof edges, penetrations, and drainage systems to ensure they perform as intended.
Inside the building, contractors may inspect attic spaces for signs of daylight penetration, ventilation performance, or unexpected moisture issues. This additional evaluation confirms that the completed roofing system functions correctly from both the exterior and interior perspectives.
Many roofing companies create a final inspection checklist to maintain consistency across every project. This systematic approach reduces the chance of overlooking small details that could affect long term performance.
Only after the inspection confirms that all quality standards have been met is the roof considered ready for project completion. The homeowner is then invited to review the finished work and ask questions about maintenance or warranty coverage.
Common Challenges Contractors Handle During Installation
Every roof replacement project presents unique conditions, and experienced roofing contractors are prepared to solve unexpected problems without compromising installation quality. While careful planning reduces surprises, hidden structural issues and changing weather conditions can still create challenges during construction.
One common challenge involves discovering damaged roof decking after the old roofing material has been removed. Moisture intrusion over many years may weaken plywood or wooden boards beneath the surface. Contractors replace these damaged sections immediately to provide a solid foundation for the new roof.
Weather is another factor that requires constant attention. Sudden rain, high winds, or extreme heat can temporarily interrupt installation. Professional roofing crews monitor forecasts closely and use temporary coverings whenever necessary to protect exposed roof areas until work can safely continue.
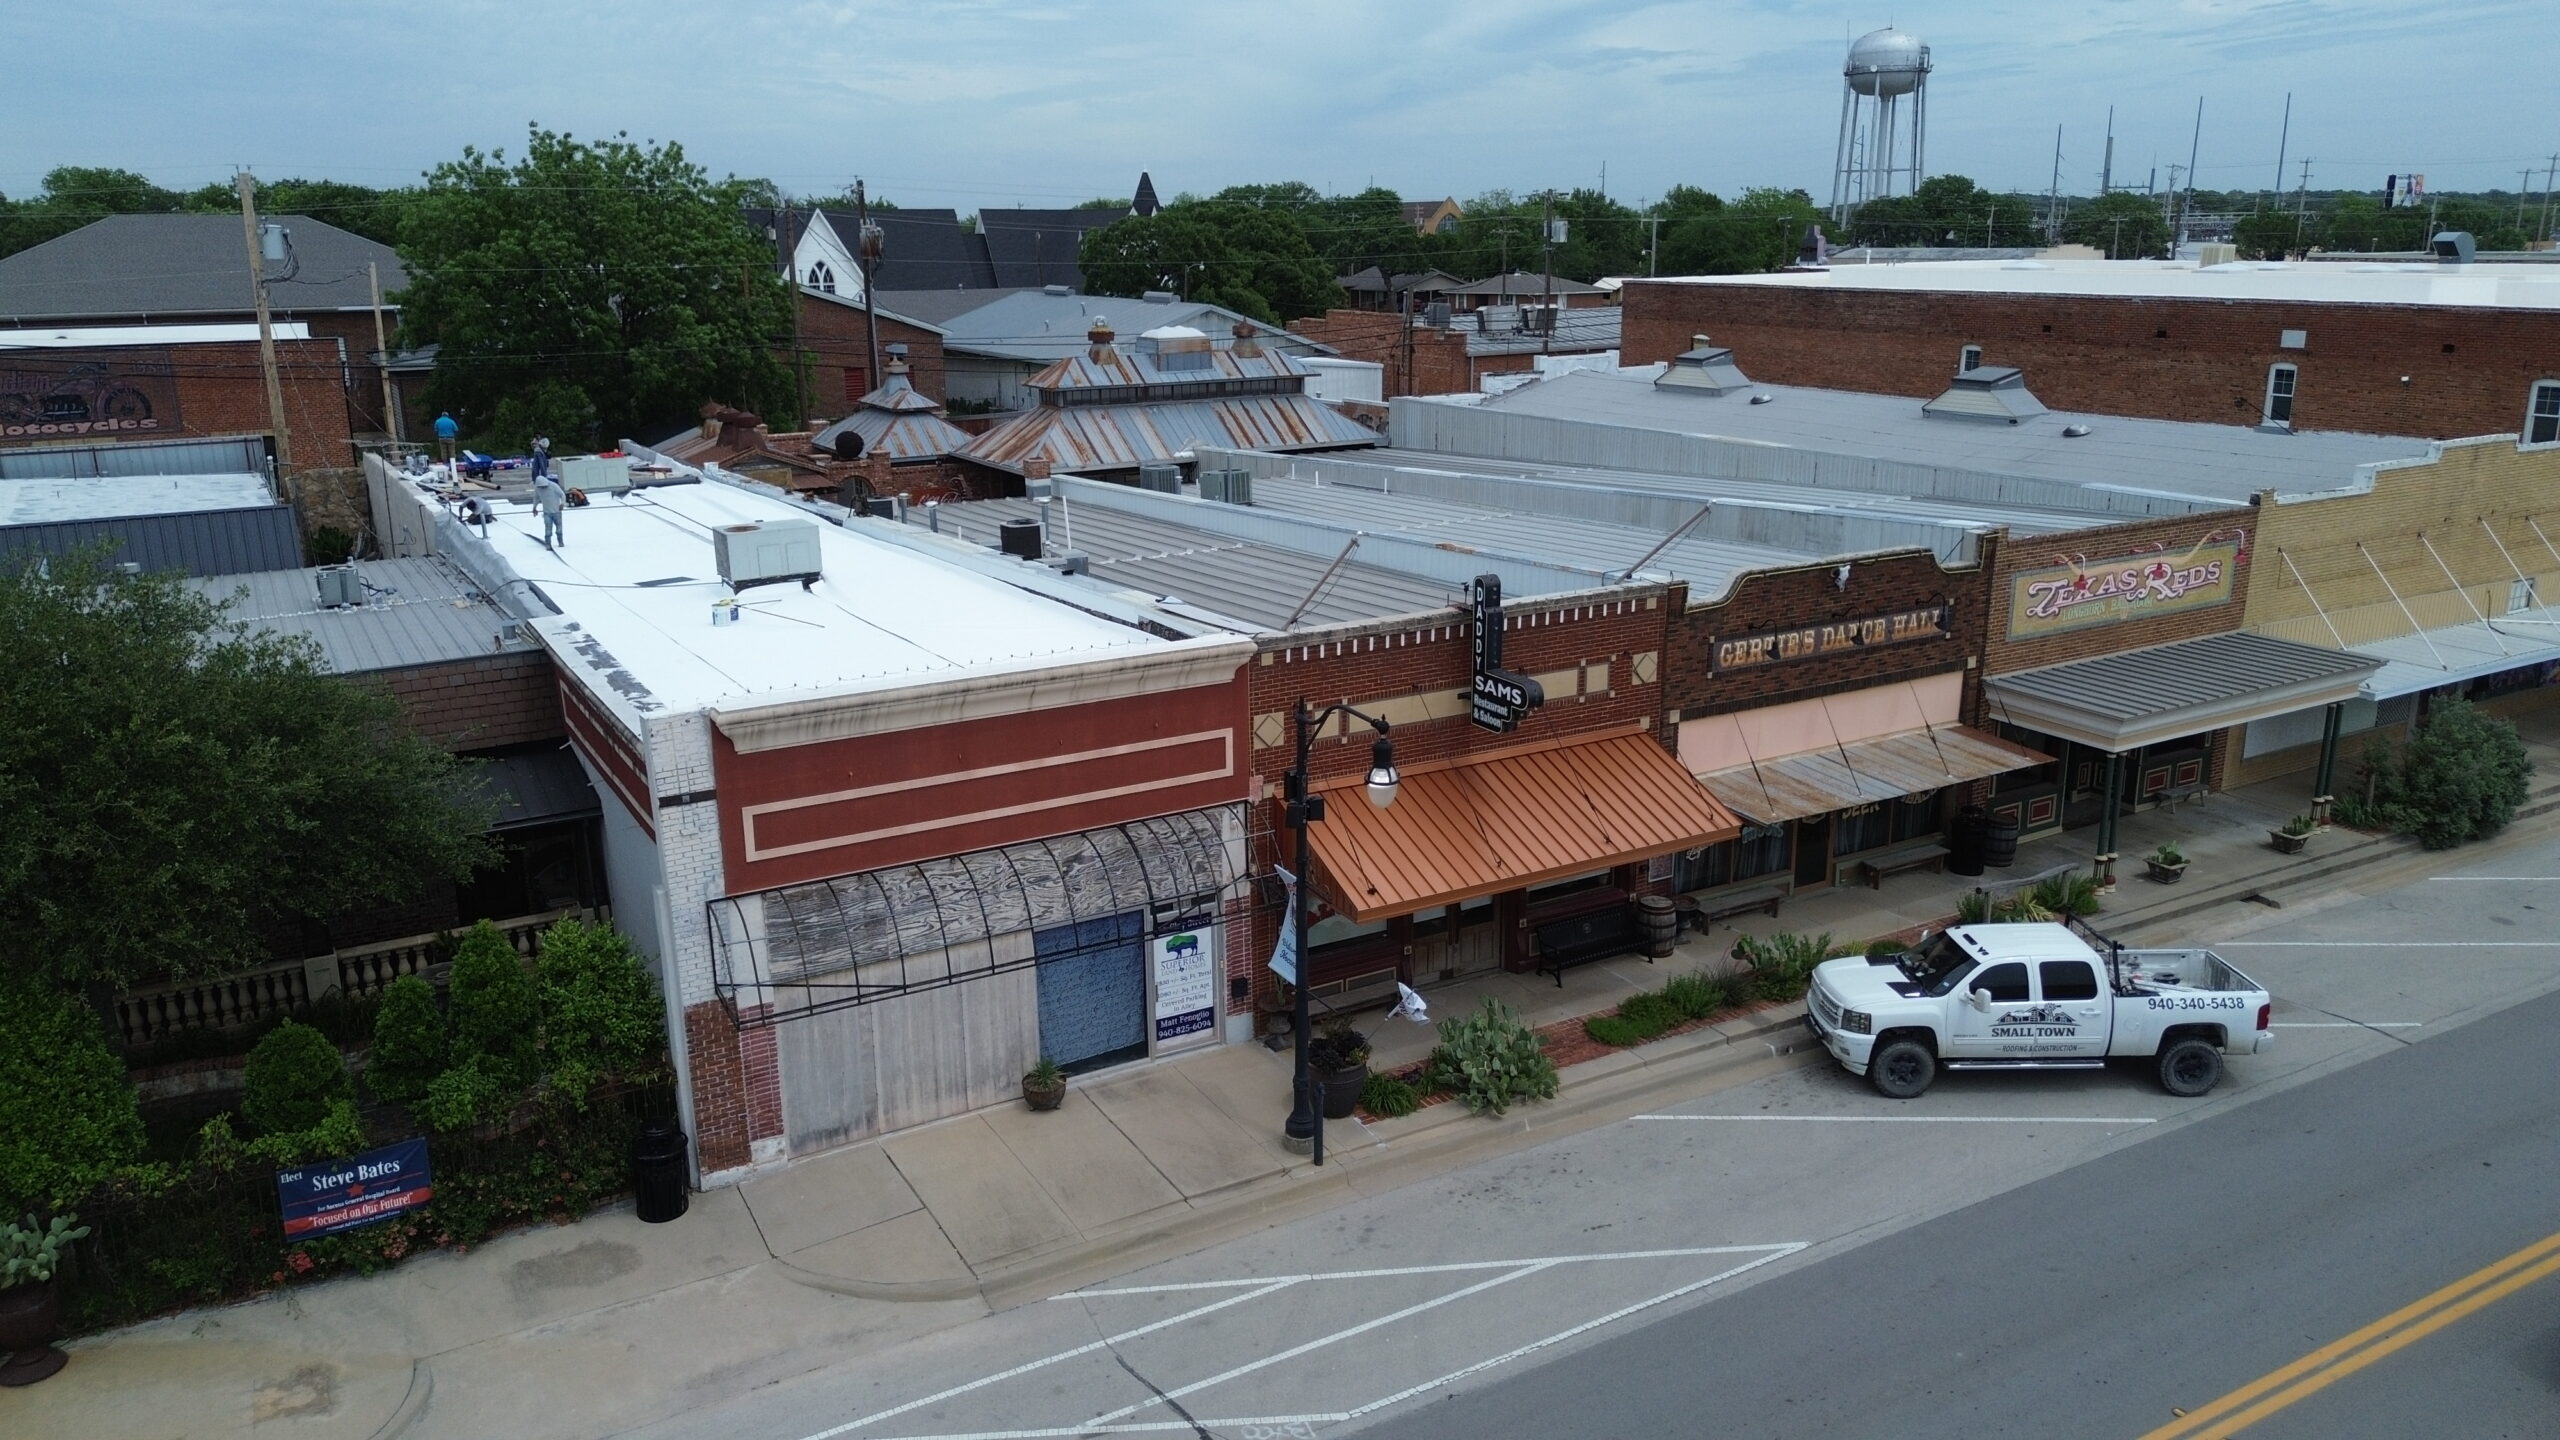
Roof designs themselves can also increase installation complexity. Steep slopes, multiple valleys, skylights, chimneys, dormers, and intersecting rooflines require additional precision during flashing and roofing material installation. Contractors rely on specialized techniques to ensure these features remain watertight.
Material availability occasionally affects project schedules as well. Supply chain delays or manufacturer shortages may require contractors to coordinate deliveries carefully or recommend approved alternatives that maintain the desired quality and warranty protection.
Unexpected structural issues represent another challenge that may arise during replacement. Older buildings sometimes contain framing damage, inadequate ventilation, or outdated construction methods that need correction before installation proceeds. Addressing these issues improves the overall reliability of the completed roofing system.
Handling these challenges successfully requires experience, technical knowledge, and effective communication with property owners. Skilled contractors understand that solving problems correctly is far more important than completing the project as quickly as possible.
How Long a Roof Replacement Installation Typically Takes
One of the most common questions property owners ask is how long a roof replacement will take. The answer depends on several variables, including roof size, design complexity, weather conditions, roofing material, and the extent of any structural repairs discovered during installation.
Smaller residential roofs with simple layouts can often be completed within a few days under favorable weather conditions. Larger homes, complex roof designs, or commercial buildings generally require additional time because more materials, specialized equipment, and larger work crews are involved.
Certain roofing materials also influence project duration. Asphalt shingles are generally installed more quickly than clay tiles, slate roofing, or standing seam metal systems because those materials require greater precision and additional installation steps.
Weather remains one of the biggest scheduling factors. Even a well organized project may pause temporarily during heavy rain or strong winds because roofing contractors prioritize safety and installation quality over maintaining the original schedule.
The table below provides a general overview of typical roof replacement stages.
| Installation Stage | Primary Purpose | Typical Time Frame* |
|---|---|---|
| Site Preparation | Protect property and organize equipment | Half day to 1 day |
| Roof Removal | Remove existing roofing materials | 1 day |
| Roof Deck Inspection and Repairs | Repair structural issues before installation | Half day to 2 days |
| Underlayment and Waterproofing | Install protective moisture barriers | 1 day |
| Roofing Material Installation | Install primary roofing system | 1 to 4 days |
| Finishing, Inspection, and Cleanup | Complete quality checks and restore property | 1 day |
*Actual project timelines vary depending on roof size, weather conditions, and project complexity.
Understanding the expected timeline helps homeowners prepare for temporary disruptions while appreciating the amount of work required to install a high quality roofing system properly.
Homeowner Checklist After Roof Installation
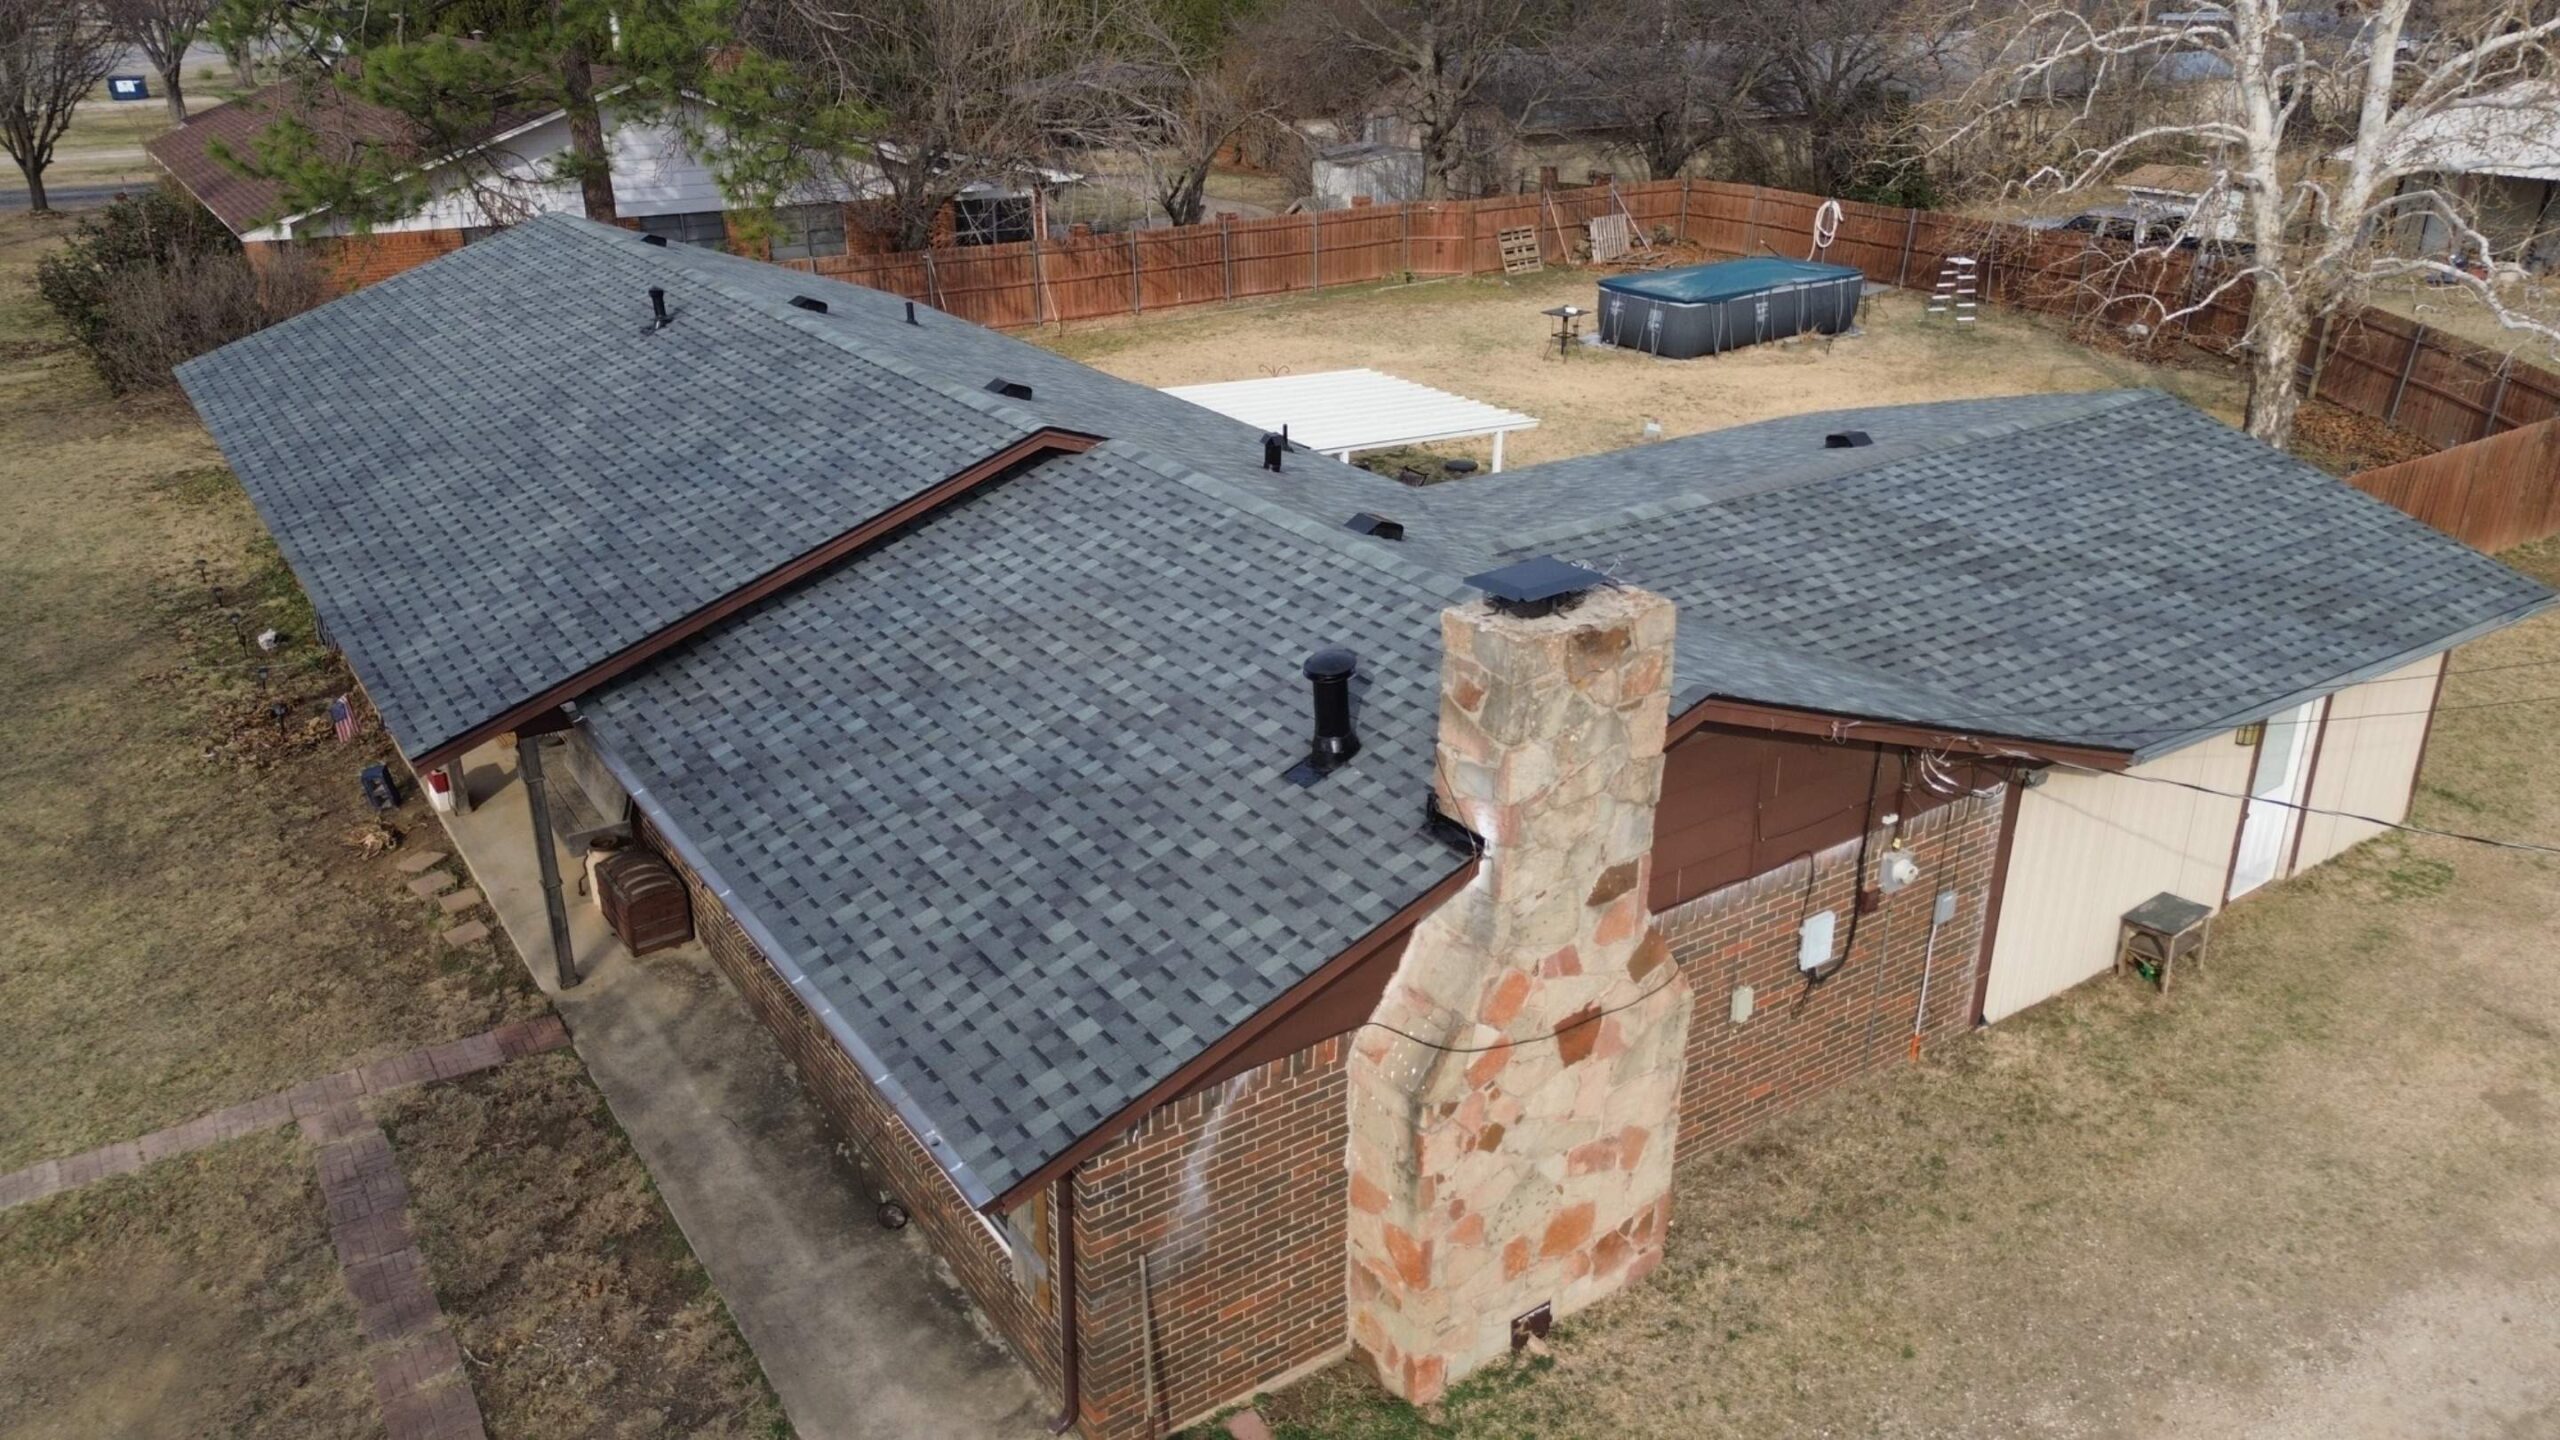
Although the roofing contractor completes the installation, homeowners also play an important role once the project is finished. Taking a few simple steps immediately after roof replacement helps confirm everything has been completed properly and provides a clear understanding of future maintenance responsibilities.
Homeowners should review the completed work with the contractor before considering the project fully finished. This walkthrough provides an opportunity to ask questions, inspect visible areas, and receive important documentation.
A helpful post installation checklist includes:
- Review the completed roof with the contractor.
- Confirm that all debris has been removed from the property.
- Request warranty documentation for both materials and workmanship.
- Ask about recommended maintenance intervals.
- Verify that gutters and downspouts are functioning properly.
- Store project documents, invoices, and inspection reports in a safe location.
Completing these simple steps provides peace of mind while ensuring important records remain available for future maintenance, insurance claims, or property sales.
Tips for Maintaining a Newly Installed Roof
Installing a new roof is only the beginning of its service life. Regular maintenance helps preserve the roofing system, maximize its lifespan, and reduce the likelihood of unexpected repairs. Even the highest quality roofing materials benefit from routine inspections and preventative care.
Property owners should inspect the roof periodically, especially after severe storms, heavy snowfall, or strong wind events. While climbing onto the roof is not always necessary, visible signs such as missing shingles, damaged flashing, or clogged gutters should be addressed promptly by qualified professionals.
Keeping gutters clean is one of the simplest yet most effective maintenance practices. Blocked gutters can cause water to back up beneath roofing materials, increasing the risk of leaks and wood damage around roof edges.
Overhanging tree branches should also be trimmed regularly. Branches rubbing against roofing materials may cause premature wear, while falling limbs during storms can create significant damage. Maintaining proper clearance reduces these risks and limits the accumulation of leaves on the roof.
Homeowners should avoid making unauthorized repairs themselves, particularly when the roof remains under warranty. Professional contractors understand manufacturer requirements and can perform repairs without unintentionally affecting warranty coverage.
Following a consistent maintenance routine helps identify small concerns before they become expensive repairs. Preventative care extends the useful life of the roof while protecting the investment made during the replacement project.
Best Practices for Extending Roof Life
The following practices can significantly increase the lifespan of a newly installed roofing system:
- Schedule professional roof inspections at recommended intervals.
- Clean gutters and downspouts regularly to maintain proper drainage.
- Remove leaves, branches, and debris from the roof surface.
- Repair minor damage before it develops into larger structural problems.
- Maintain adequate attic ventilation throughout the year.
- Trim nearby trees to prevent physical damage.
- Monitor flashing around chimneys, skylights, and roof penetrations.
- Keep maintenance records and warranty documents for future reference.
These proactive measures require relatively little effort but can substantially improve the long term performance and reliability of the roofing system.
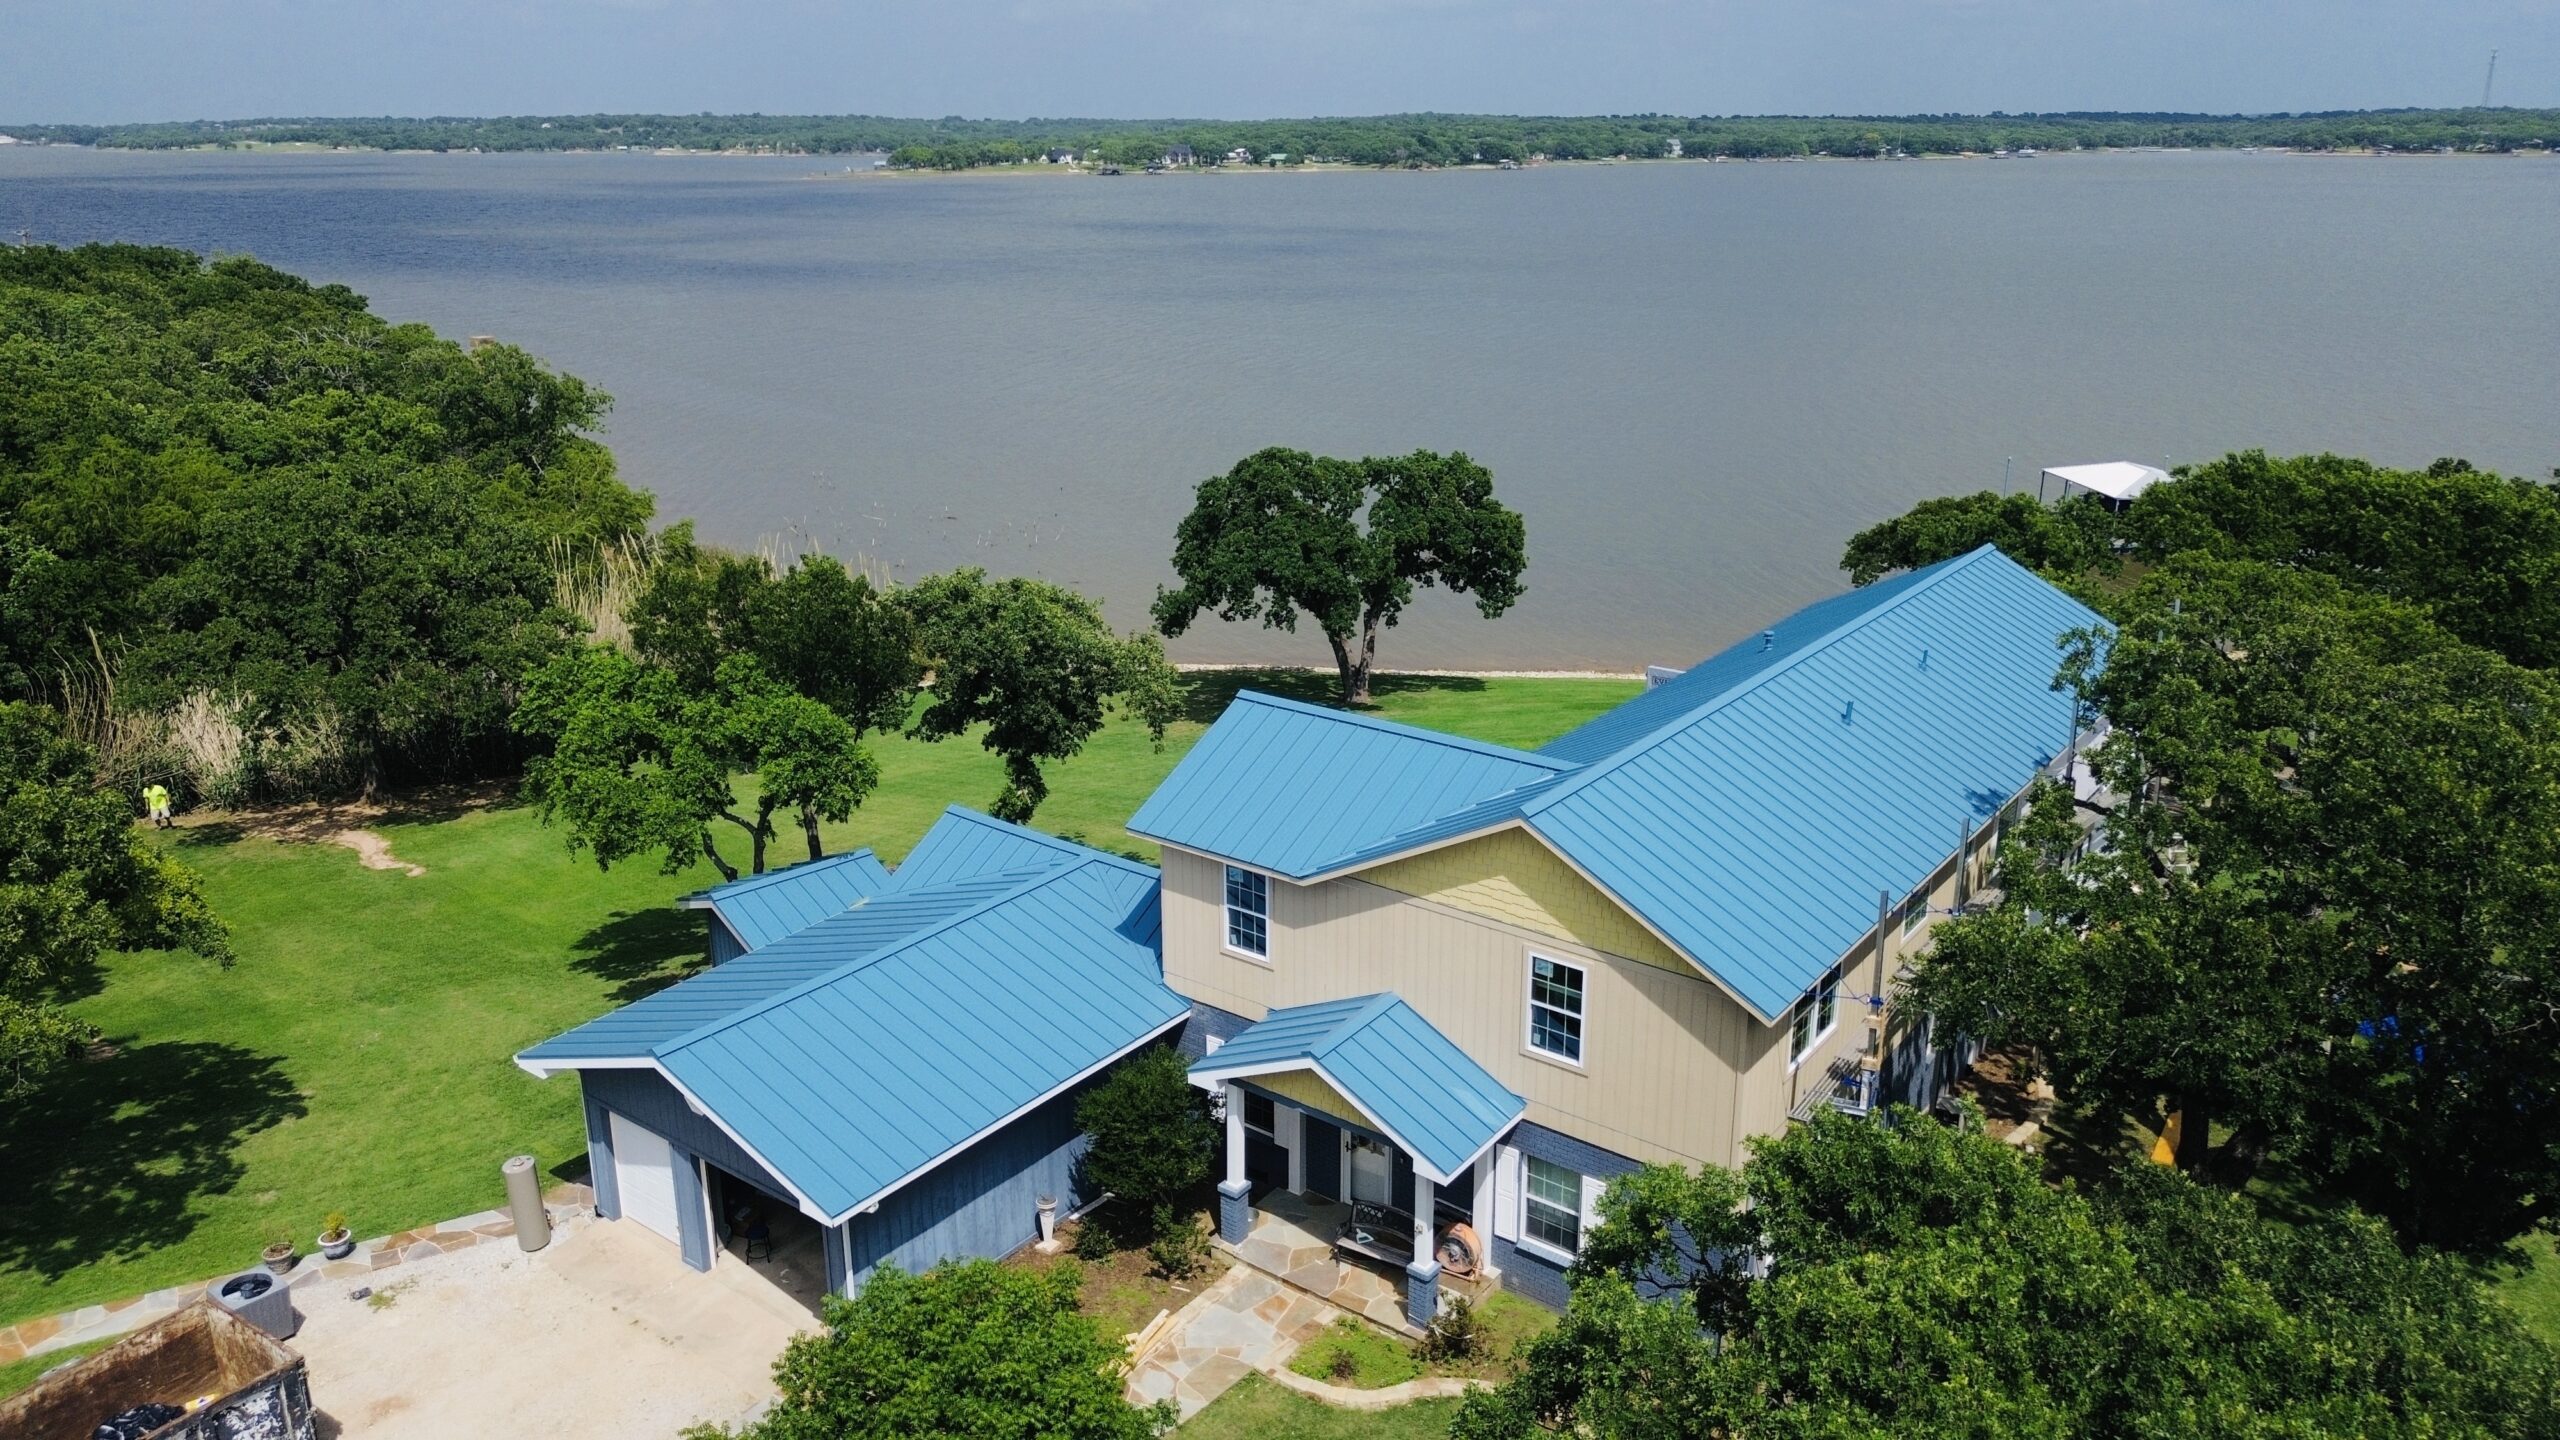
Signs That Your New Roof Is Performing Correctly
After installation, homeowners naturally want reassurance that their investment is functioning as intended. Fortunately, a properly installed roof displays several positive indicators that demonstrate effective workmanship and reliable weather protection.
One of the first signs is the uniform appearance of the roofing material. Shingles or panels should appear straight, evenly spaced, and securely fastened across the roof surface. Flashing should fit neatly around roof features without visible gaps or loose sections.
Proper drainage is another important indicator. During rainfall, water should flow smoothly toward gutters without pooling on the roof or overflowing unexpectedly. Gutters and downspouts should direct water safely away from the building foundation.
Inside the home, ceilings and attic spaces should remain dry even during heavy storms. Stable indoor temperatures and reduced drafts may also indicate that ventilation and insulation systems are working effectively alongside the new roof.
Homeowners should also notice consistent performance over time. A professionally installed roof should continue protecting the building through changing seasons with minimal maintenance beyond routine inspections.
Key indicators of a properly installed roof include:
- Straight and evenly aligned roofing materials.
- Secure flashing around chimneys, vents, and skylights.
- Smooth water drainage into gutters.
- No visible leaks or interior water stains.
- Stable attic ventilation and airflow.
- Clean roof edges with securely installed ridge caps.
Observing these characteristics provides confidence that the roofing system has been installed according to professional standards and is prepared to deliver many years of dependable service.
Conclusion
Installing a new roof replacement system involves far more than placing new shingles or roofing panels on top of an existing structure. Professional roofing contractors follow a carefully planned process that begins with inspection and preparation, continues through structural repairs and waterproofing, and concludes with detailed installation, quality assurance, and long term maintenance guidance. Every stage contributes to the overall strength, durability, and weather resistance of the finished roofing system.
From preparing the property and inspecting the roof deck to installing underlayment, flashing, ventilation, and the final roofing material, each component serves a specific purpose within the complete roofing assembly. Skilled contractors understand that lasting performance depends on precision, quality materials, and strict adherence to proven installation practices rather than speed alone.
The final inspection, cleanup, and homeowner education ensure that the project delivers value long after construction has ended. With proper installation and regular maintenance, a professionally installed roof can protect a home or commercial building for decades while improving energy efficiency, enhancing curb appeal, and reducing the likelihood of costly future repairs.
Understanding how roofing contractors install new roof replacement systems allows property owners to appreciate the expertise involved in every phase of the project. It also helps them make informed decisions when selecting contractors, evaluating workmanship, and maintaining their investment so the new roof continues performing reliably for many years to come.