
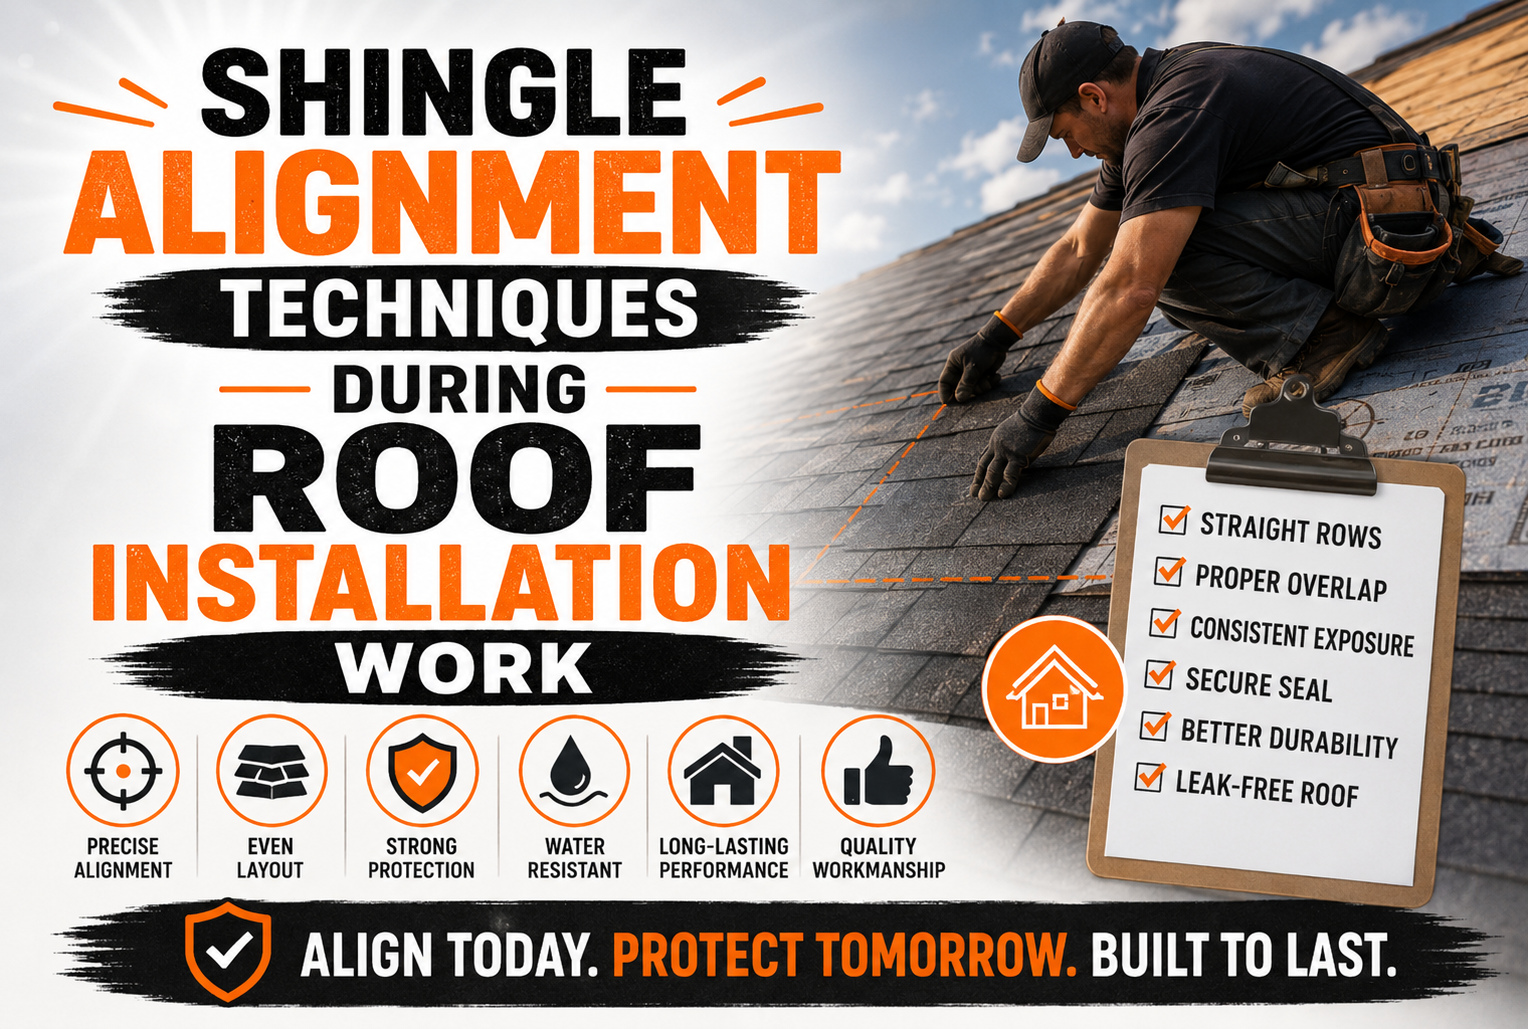
Shingle Alignment Techniques During Roof Installation Work
Introduction
Proper shingle alignment is an important part of professional roof installation because it affects both the appearance and performance of the finished roofing system. Shingles need to be positioned consistently across the roof so that their courses, exposures, offsets, and edges follow the intended installation pattern. Even small alignment errors can become increasingly noticeable as more rows are installed.
Shingle alignment is not simply about making rows look straight from the ground. Correct positioning helps maintain the designed overlap between shingles, supports proper water shedding, and allows the roofing material to be fastened according to the manufacturer’s requirements. A roof may contain high-quality shingles, but inconsistent installation can still affect the overall result.
Professional roofing contractors use several techniques to maintain alignment throughout the installation process. These can include measuring the roof, establishing reference lines, positioning the starter course carefully, maintaining consistent shingle exposure, checking offsets, and periodically inspecting completed sections.
Roof geometry also influences alignment. Simple rectangular roof planes are generally easier to lay out, while valleys, dormers, hips, ridges, chimneys, skylights, and other penetrations can require adjustments to the normal shingle pattern. Contractors need to maintain the overall layout while adapting the shingles around these features.
Understanding how shingles are aligned during professional installation can help property owners recognize the difference between simply covering a roof and installing the roofing material with careful attention to detail. Proper alignment creates a more uniform finished appearance while supporting the intended performance of the roofing system.
Understanding Shingle Alignment and Why It Matters
Shingle alignment refers to the controlled positioning of individual shingles and courses across the roof surface. It involves maintaining consistent horizontal lines, proper exposure, appropriate offsets between courses, and accurate positioning around roof edges and transitions.
Every shingle system has specific installation requirements. Manufacturers typically specify how much of each shingle should remain exposed, where fasteners should be placed, how courses should overlap, and how adjacent shingles should be offset.
These requirements are connected to the way the shingles shed water. The visible portion of one shingle overlaps the shingle beneath it, while the course above overlaps the course below. When the shingles are positioned correctly, water can move downward across the surface without easily reaching the underlying roof assembly.
Alignment also contributes to the appearance of the roof. Consistent horizontal courses create a clean visual pattern, while uneven rows can make the roof look irregular even when viewed from a distance.
The problem with poor alignment is that errors can accumulate. If each course is slightly out of position, the difference may become much more noticeable several rows later. Correcting a small error early is usually easier than trying to compensate for a large deviation near the top of the roof.
Shingle alignment involves several related measurements and visual references. Contractors may establish horizontal guide lines, use chalk lines, measure exposures, and check the position of shingles at different points across a roof plane.
The roof edge provides another important reference. The first course must be positioned correctly because every subsequent course depends partly on the location of the material beneath it.
The starter course is particularly important. If it is installed too high, too low, or unevenly, the mistake can affect the alignment of the field shingles above it.
Shingle offset is also a major consideration. The vertical joints between shingles in adjacent courses should be positioned according to the manufacturer’s requirements rather than randomly placed.
Maintaining the correct offset helps prevent joints from lining up in a way that could interfere with the intended water-shedding pattern. It also creates the visual pattern expected from the selected shingle product.
Contractors therefore need to consider alignment as both a functional and aesthetic requirement. A properly aligned shingle roof is easier to inspect, more consistent in appearance, and better positioned to follow the installation specifications of the roofing manufacturer.
Preparing the Roof for Accurate Shingle Layout
Accurate shingle alignment begins before the first field shingle is installed. Contractors first need to make sure the roof deck and underlying roofing layers are properly prepared so the shingles have a suitable surface.
The roof deck should be stable, reasonably smooth, and free from significant defects. Damaged or deteriorated sections should be repaired before shingle installation begins because uneven or unstable decking can affect the position of the roofing materials.
The underlayment should also be properly installed. It provides a protective layer beneath the shingles and needs to be positioned without large wrinkles, loose sections, or unnecessary gaps.
Roof edges should be inspected before the layout begins. The contractor needs to understand where the shingles will start and how the roofing material will interact with drip edge components and other perimeter details.
Valleys and other roof transitions should also be considered during planning. These areas can affect the normal shingle pattern, so the installer needs to know how the courses will approach and pass through each transition.
The contractor measures the roof surface to understand its dimensions. Measurements can help determine how many shingles are needed and whether the final course near a ridge or other transition will require a planned adjustment.
Roof width is particularly important when establishing horizontal alignment. A course should be laid out so that shingles maintain the required exposure across the entire roof plane without creating unnecessary narrow pieces at the edges.
The installer may also identify the centerline of the roof plane. This can provide a useful reference for maintaining symmetry, particularly on roofs where the appearance of the shingle pattern is important.
Before installation begins, the contractor should review the shingle manufacturer’s instructions. Different shingle designs may have different alignment, exposure, offset, and fastening requirements.
Weather conditions can also influence the layout process. Strong winds can make handling shingles more difficult, while extreme temperatures may affect how certain products behave during installation.
Proper preparation reduces the likelihood of alignment problems later. Once the roof surface, materials, tools, and reference points are ready, the installer can establish the first course with greater accuracy.
Establishing the Starter Course and Reference Lines
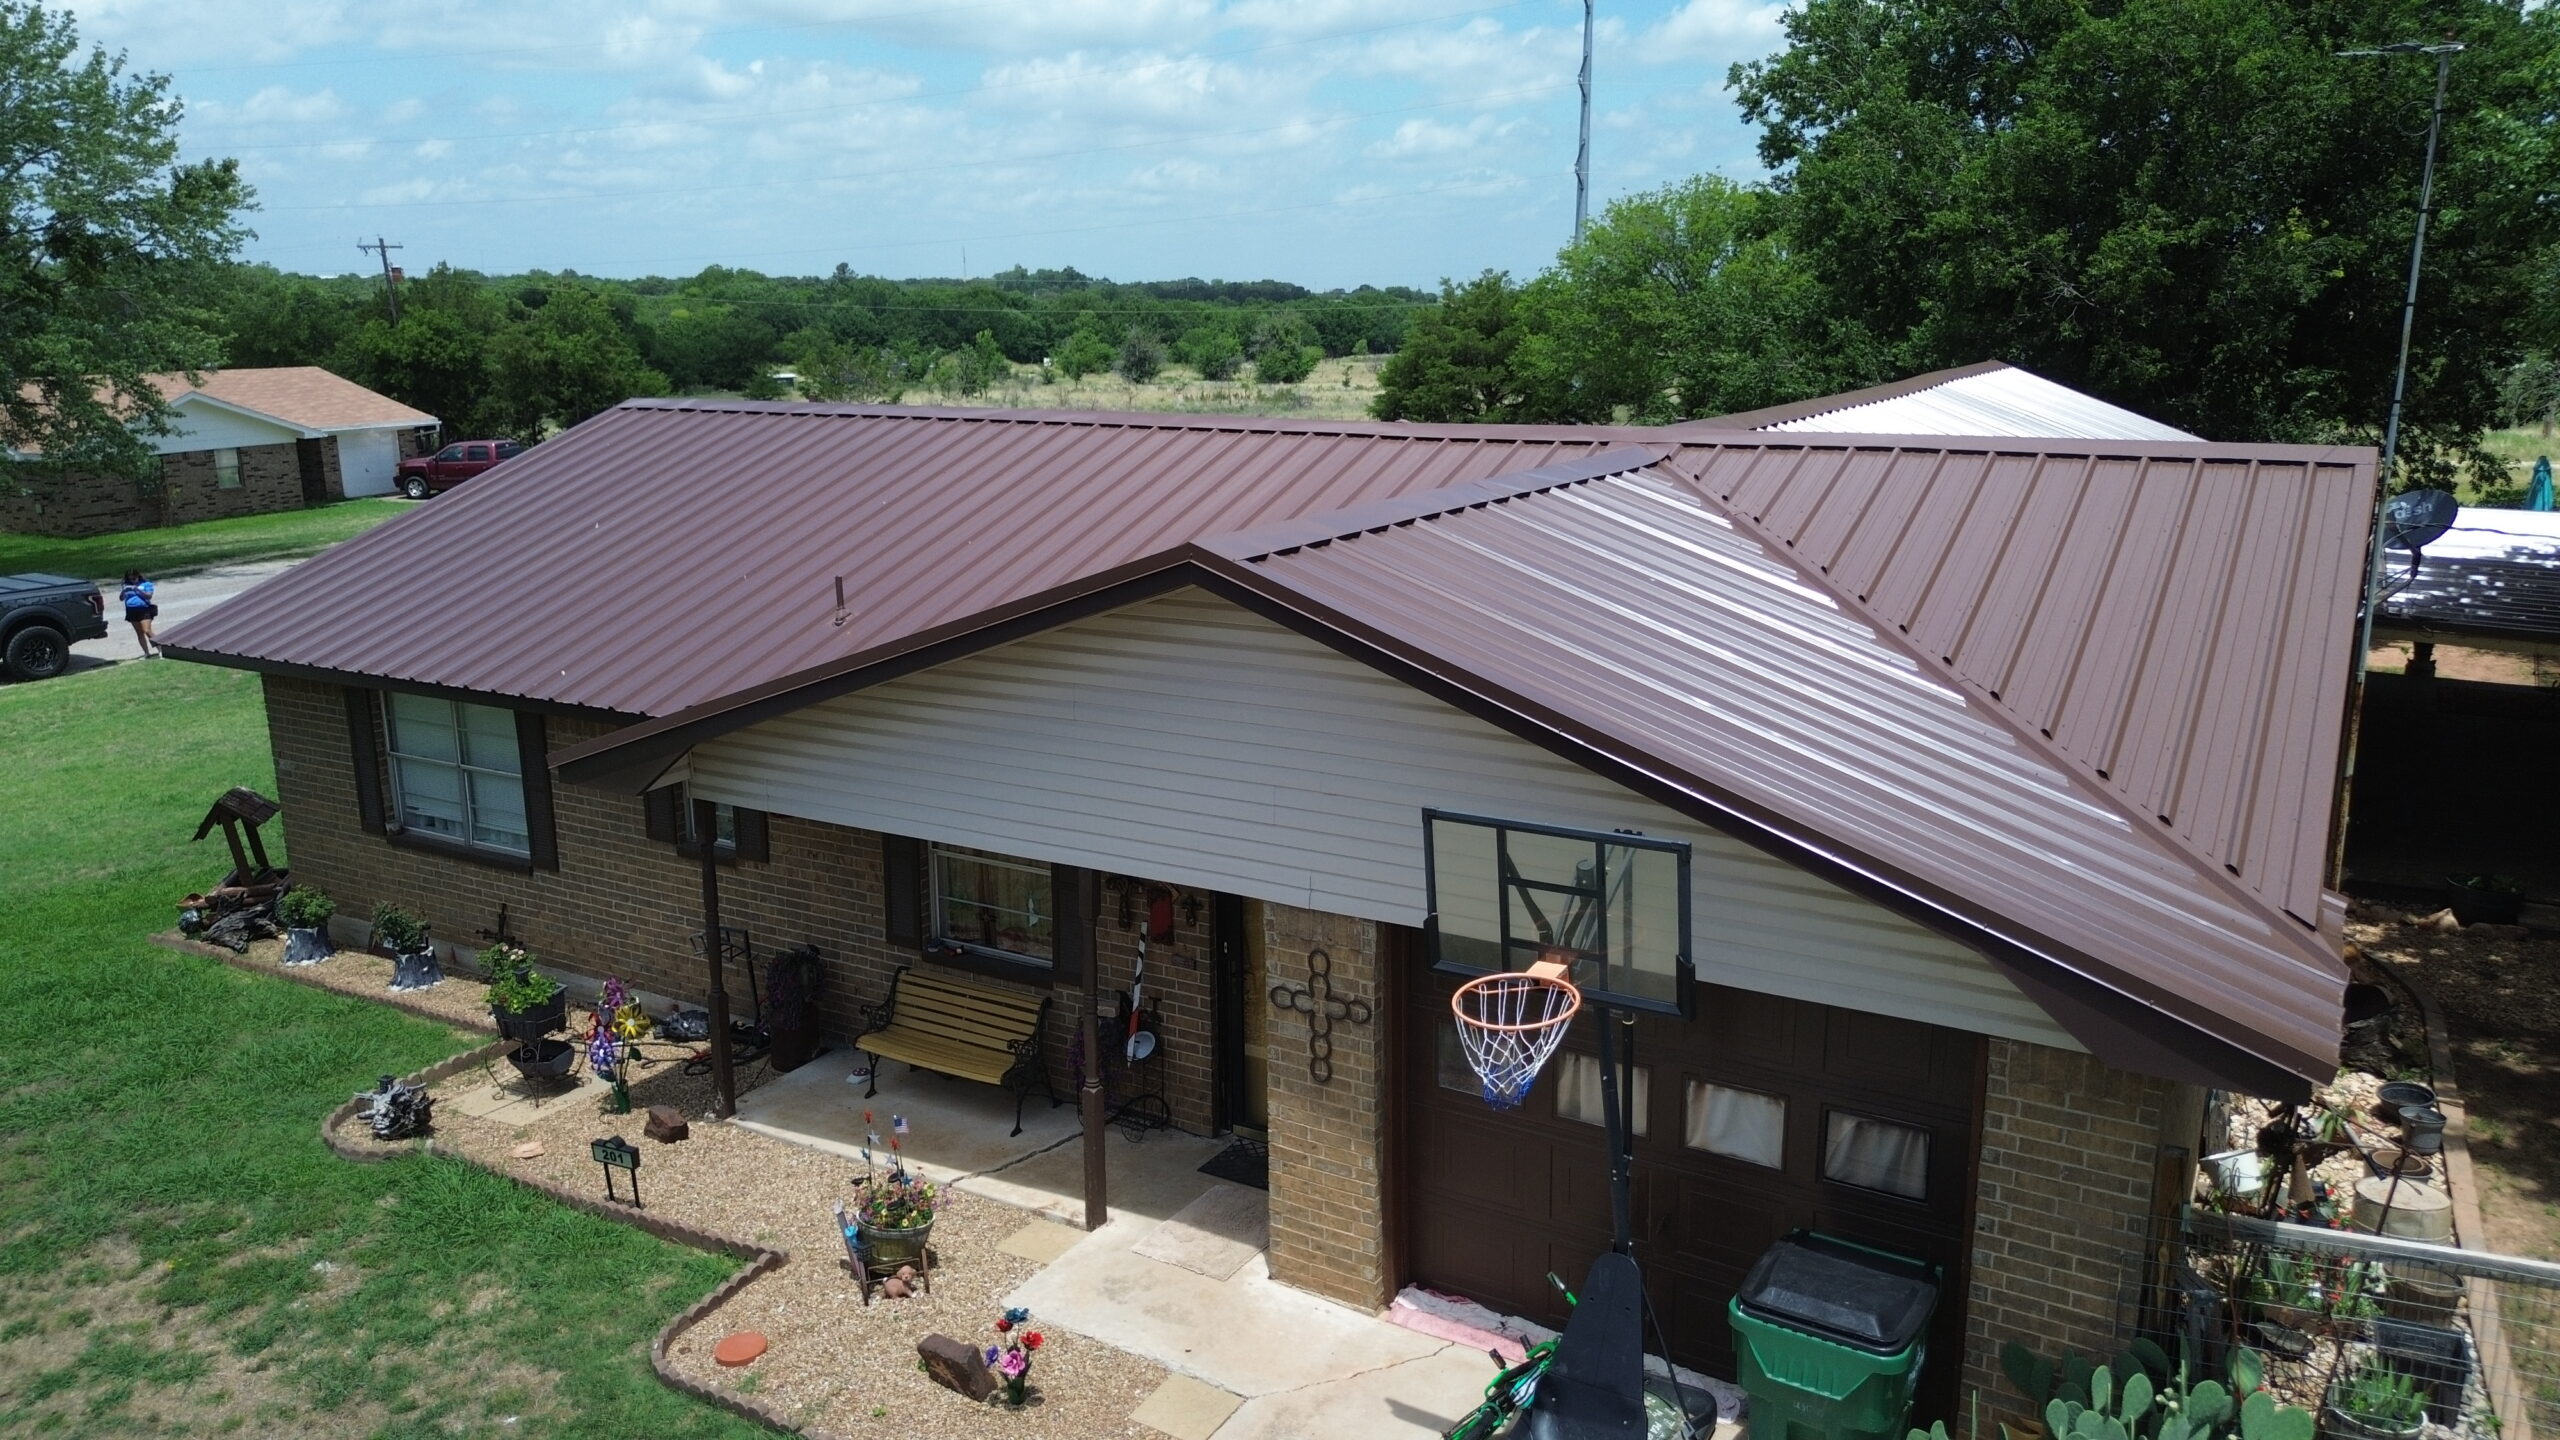
The starter course establishes the foundation for the field shingles above it. Because each subsequent course follows the position of the previous one, contractors pay close attention to the placement of the starter material.
The starter course is installed along the appropriate lower roof edge according to the roofing manufacturer’s requirements. Its position should remain consistent from one side of the roof plane to the other.
Contractors may use measurements and chalk lines to establish the correct starting position. A reference line provides a visual guide that helps prevent the starter material from gradually drifting upward or downward across the roof.
The line should be established using accurate measurements rather than simply following the edge of the roof by eye. Roof edges can sometimes contain minor irregularities, and relying entirely on the physical edge may transfer those irregularities into the shingle layout.
Once the starter course is positioned, the contractor checks its alignment before moving upward. This early inspection is important because correcting the starter course is much easier than correcting several completed courses.
Horizontal chalk lines can then be used to establish reference points for the field shingles. These lines help installers maintain consistent exposure as they move across the roof.
The exact placement of reference lines depends on the shingle design and installation requirements. Contractors calculate the appropriate exposure and use that measurement to determine where each subsequent course should be positioned.
The lines should remain visible enough to guide installation without interfering with the roofing material. Installers may establish multiple reference points across a large roof rather than relying on a single measurement at one end.
On wide roof planes, measuring from only one side can allow small errors to accumulate. Contractors may periodically verify measurements at different locations to ensure that the installation remains consistent.
The starter course also needs to work correctly with the roof edge and drip edge. The relationship between these components affects both appearance and water management.
A properly established starting point gives the installer a reliable reference for the rest of the roof. Once the first course and layout lines are accurate, maintaining alignment becomes more manageable throughout the installation.
Maintaining Consistent Shingle Courses
After the starter course has been installed, the field shingles are placed in successive courses. Each course needs to maintain a consistent position so that the roof develops the intended horizontal pattern.
Contractors generally work across one roof plane while checking the position of the shingles as they progress. The installer does not simply place each shingle against the previous one without reference to the overall layout.
The exposure of each shingle must remain consistent. Exposure refers to the portion of the shingle that remains visible after the next course is installed over it.
If exposure changes from one section to another, the horizontal lines of the roof can become irregular. Significant variations can also affect the intended overlap between courses.
Reference lines help control exposure. Installers position the shingles so that the designated portion aligns with the appropriate guide rather than estimating the distance visually for every piece.
The contractor may periodically step back or view the roof from a different position to assess the overall pattern. This can reveal gradual alignment changes that may not be obvious when the installer is standing close to the work.
Large roof planes often require repeated measurements. The installer can compare the position of the course at several points across the roof to make sure it remains consistent.
Shingle courses should also maintain the appropriate relationship with roof edges. If the installation starts correctly but gradually shifts toward one edge, the final appearance may be noticeably uneven.
Installers may use chalk lines across the roof to reduce this risk. The lines provide reference points that allow the crew to compare the position of the shingles as each course is installed.
A useful alignment approach involves checking both the immediate shingle and the broader course. The individual shingle should be correctly positioned relative to adjacent pieces, while the entire row should remain aligned with the established reference line.
This combination of local and overall checking helps prevent small errors from spreading. It is much easier to correct a course while only a few shingles have been installed than after the entire roof plane is covered.
The installer also needs to account for shingle characteristics. Some products have visible design features, shadow lines, tabs, or patterns that make alignment more noticeable.
For these products, consistent positioning becomes particularly important to the finished appearance. Even when the roofing system is installed according to its basic functional requirements, inconsistent placement can make the roof look uneven.
Professional installation therefore involves continuous attention to course alignment rather than checking only at the beginning and end.
Controlling Shingle Exposure and Spacing
Shingle exposure is one of the most important measurements in roof installation. It determines how much of each shingle remains visible and how the courses overlap one another.
The correct exposure is specified by the roofing manufacturer for the particular product. Contractors should use that specification rather than applying a general measurement to every shingle type.
Maintaining consistent exposure across the roof helps create straight horizontal lines. It also ensures that the shingles provide the intended overlapping coverage.
The installer may use a measuring tool, chalk line, or other reference method to maintain the required exposure. The exact technique can vary according to the crew and roofing product.
Spacing between adjacent shingles is also important. Shingles should be positioned according to the manufacturer’s installation pattern rather than being compressed tightly or separated unnecessarily.
The joints between shingles need to follow the intended pattern. If gaps become inconsistent, the visual appearance of the roof can change and the relationship between adjacent shingles may not match the product’s design.
The horizontal spacing should remain consistent as the installer works across the roof. Contractors often check several shingles in each course instead of assuming that one correctly positioned piece guarantees that the entire row is accurate.
Shingle dimensions can vary slightly, and installers need to work with the actual material rather than expecting every piece to be identical. Proper layout accounts for these practical variations while maintaining the overall installation pattern.
The roof’s dimensions can also affect how shingles fit at the edges. Contractors may need to plan the layout so that edge pieces remain appropriately sized and do not create an awkward appearance.
Narrow pieces can sometimes result when the layout is not planned before installation. Thoughtful measurement and positioning can help reduce unnecessary small cuts while still following the required roofing pattern.
Alignment should never be achieved by sacrificing the manufacturer’s required exposure or fastening pattern. If the roof dimensions create a challenging layout, the contractor should use an approved installation method rather than improvising.
The main goal is to maintain a consistent relationship between every course. When exposure and spacing are controlled, the shingles form a predictable pattern that supports both appearance and the intended weather-shedding design.
A professional installer continues checking these measurements throughout the roof rather than assuming that the original reference line will automatically guarantee accuracy. This ongoing attention is what helps maintain consistent shingle alignment from the bottom of the roof toward the upper sections.
Aligning Shingles Across Different Roof Sections
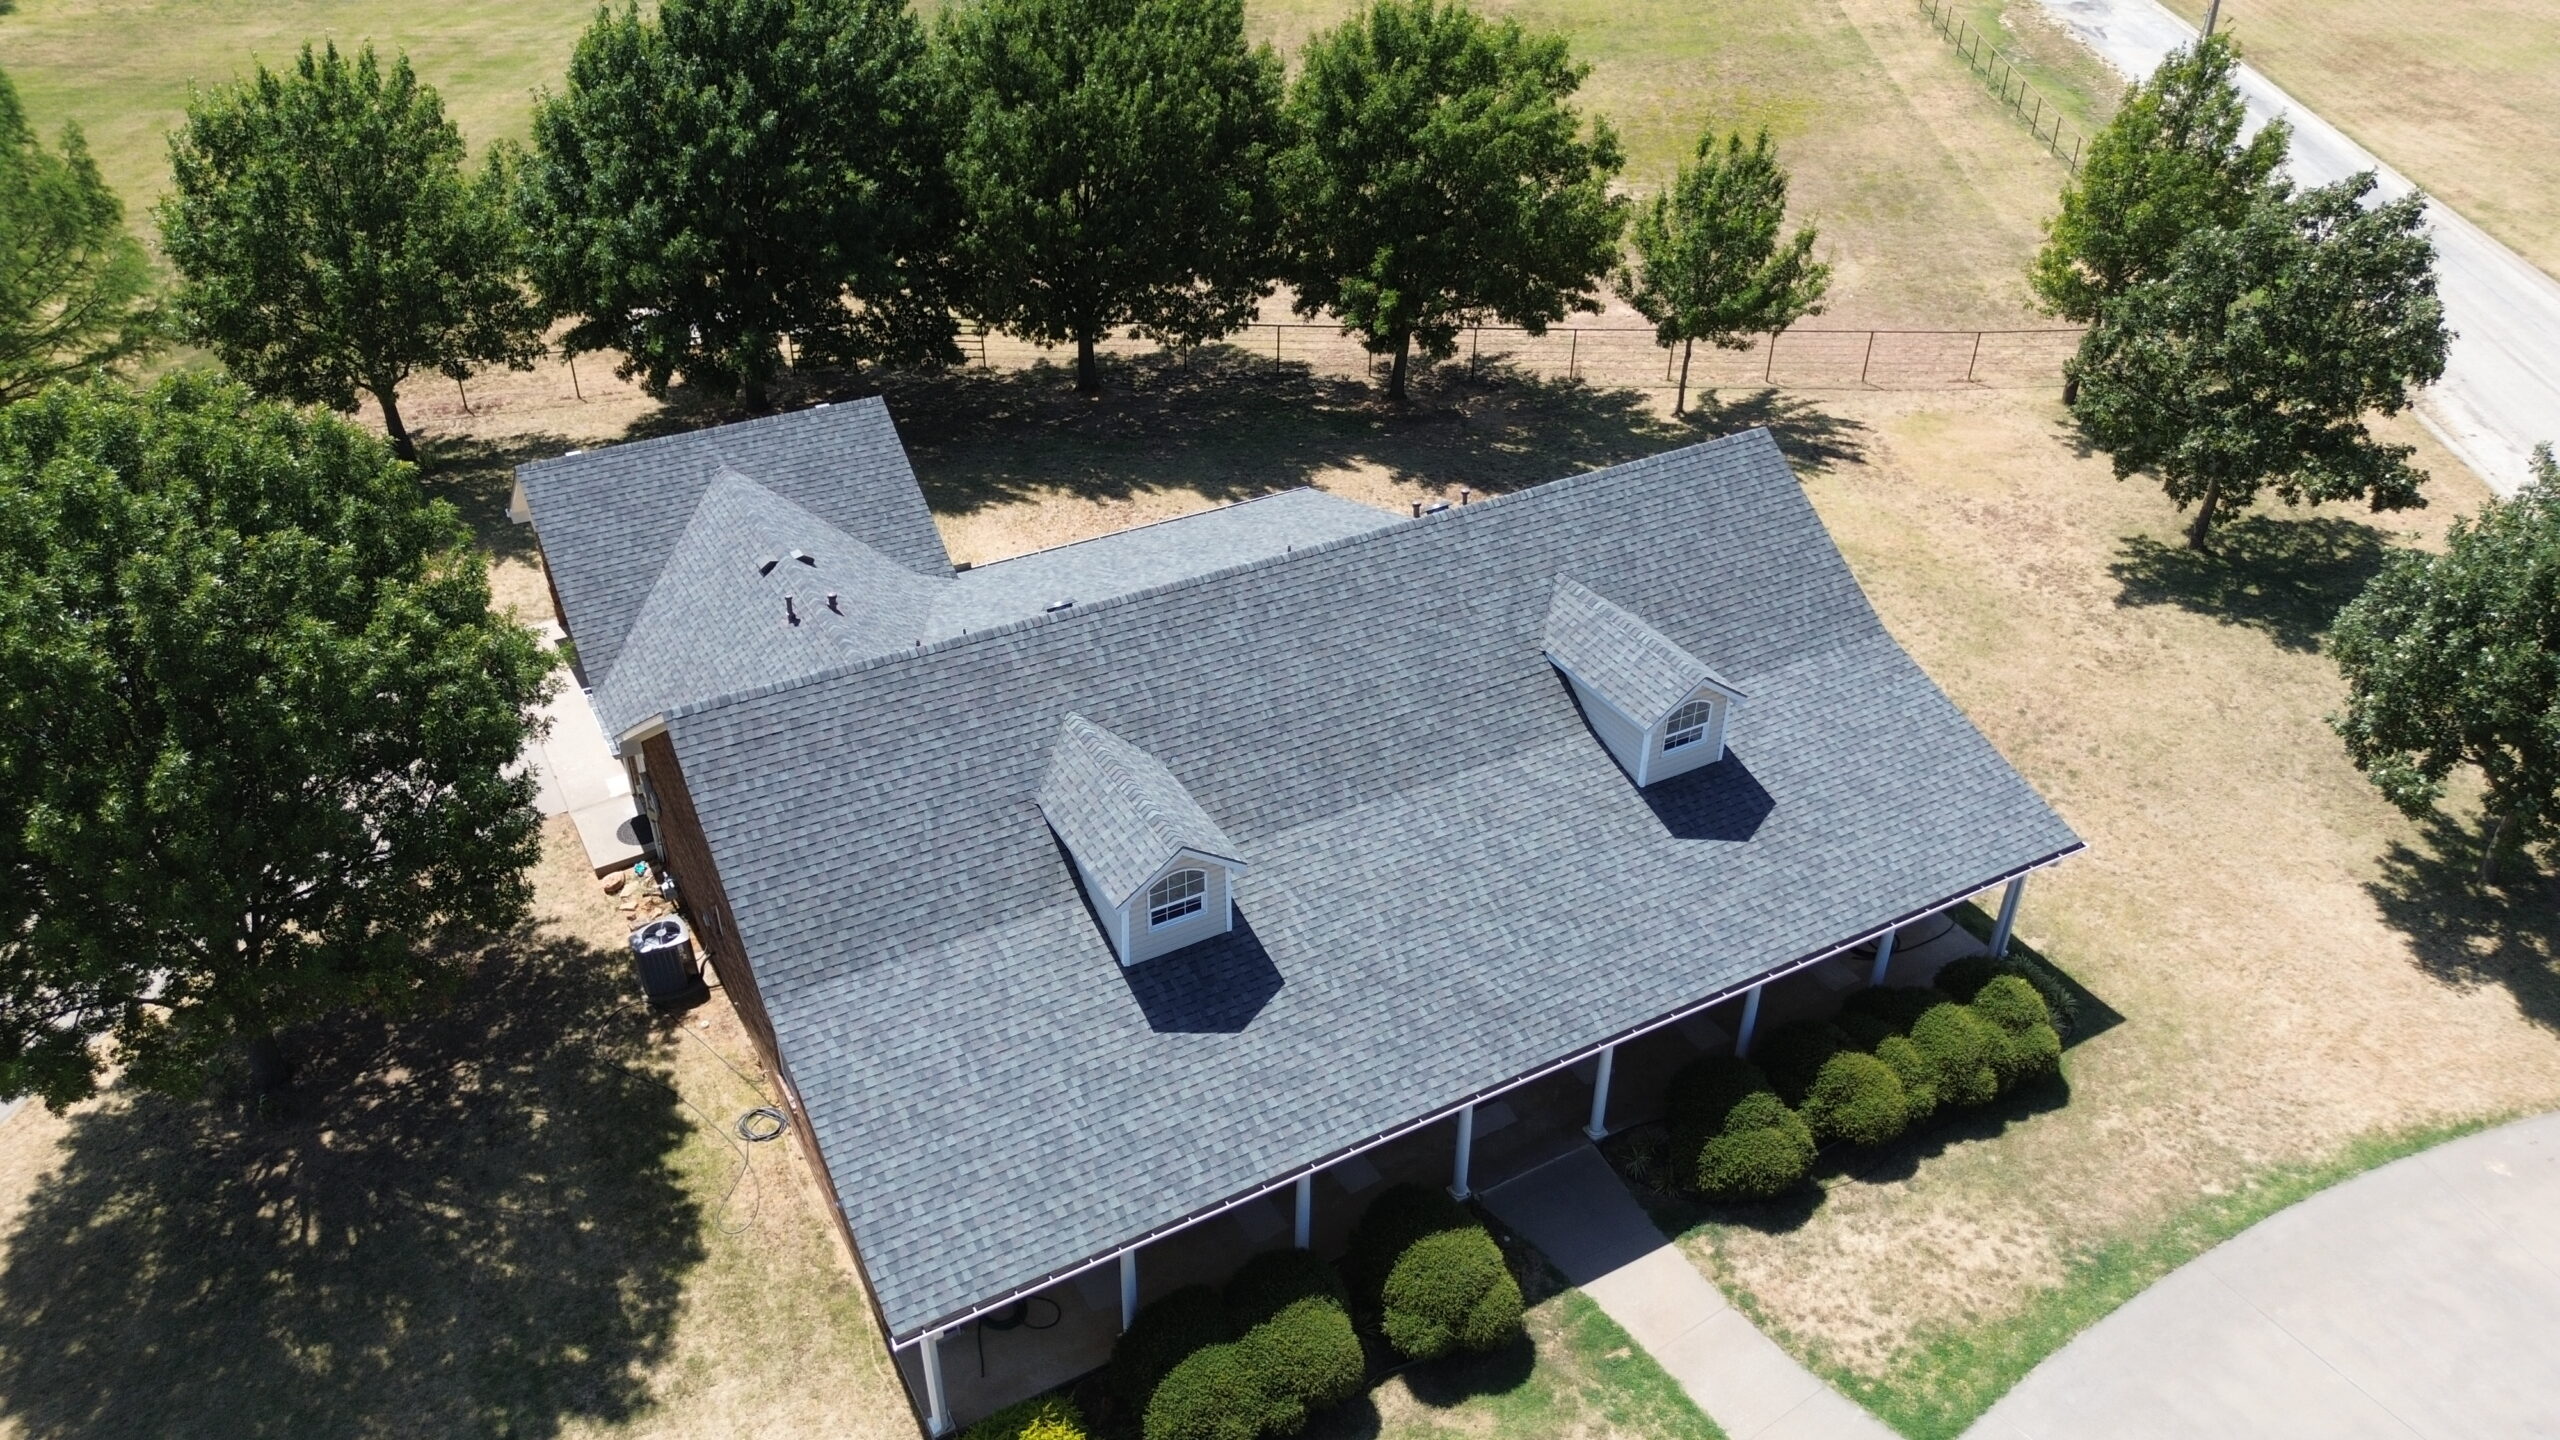
Maintaining shingle alignment becomes more challenging when a roof contains multiple sections with different shapes, slopes, and dimensions. A contractor may need to move from a large open roof plane into a smaller section, dormer, side slope, or another connected area while keeping the overall installation pattern consistent. Careful planning helps prevent the shingle courses from appearing disconnected or uneven where different roof sections meet.
Each roof plane should be evaluated before shingles are installed. Contractors identify the direction of the slope, the position of the eaves, the ridge location, and any valleys or transitions that will influence the layout. This allows the installer to determine where reference lines should be established and how the shingle courses should approach adjoining sections.
Large roof planes are generally easier to align because they provide enough space for continuous courses. Even on these sections, however, contractors need to monitor the exposure and horizontal positioning of the shingles as work progresses. Small errors can become more noticeable when the roof contains long, uninterrupted rows.
When two roof sections meet at a valley, the normal shingle pattern may need to change. Contractors should plan the valley treatment before installing the surrounding shingles so that the courses remain properly positioned while maintaining the required water-shedding arrangement.
Dormers can create another alignment challenge. The smaller roof surface around a dormer may need to connect visually and functionally with the larger roof plane, requiring the contractor to establish appropriate reference points before installing shingles.
Roof sections with different widths also require planning. If the installer simply begins at one edge and works toward the other without considering the final dimensions, the last shingles may need unusually narrow pieces. Planning the layout in advance can help avoid awkward edge conditions while maintaining the manufacturer’s installation requirements.
The appearance of adjacent roof planes can be especially important when they are visible from the same location. A professional contractor considers how the courses relate to one another rather than treating each section as completely independent.
This does not mean every roof plane must use an identical layout regardless of its dimensions. Roofing systems have specific installation requirements, and the layout may need to be adjusted within those requirements to accommodate the geometry of the building.
Contractors can use chalk lines, measurements, starter references, and periodic visual checks to maintain consistency. These techniques help establish a relationship between different sections without relying solely on visual estimation.
When working around a transition, the installer should avoid forcing shingles into an unnatural position simply to make two lines appear identical. Proper alignment must remain consistent with the roof design, drainage requirements, and manufacturer’s instructions.
The goal is to create a roof that appears organized while preserving the intended technical installation pattern. Careful planning makes this possible even when the roof contains several connected sections.
Working Around Valleys, Hips, Ridges, and Roof Edges
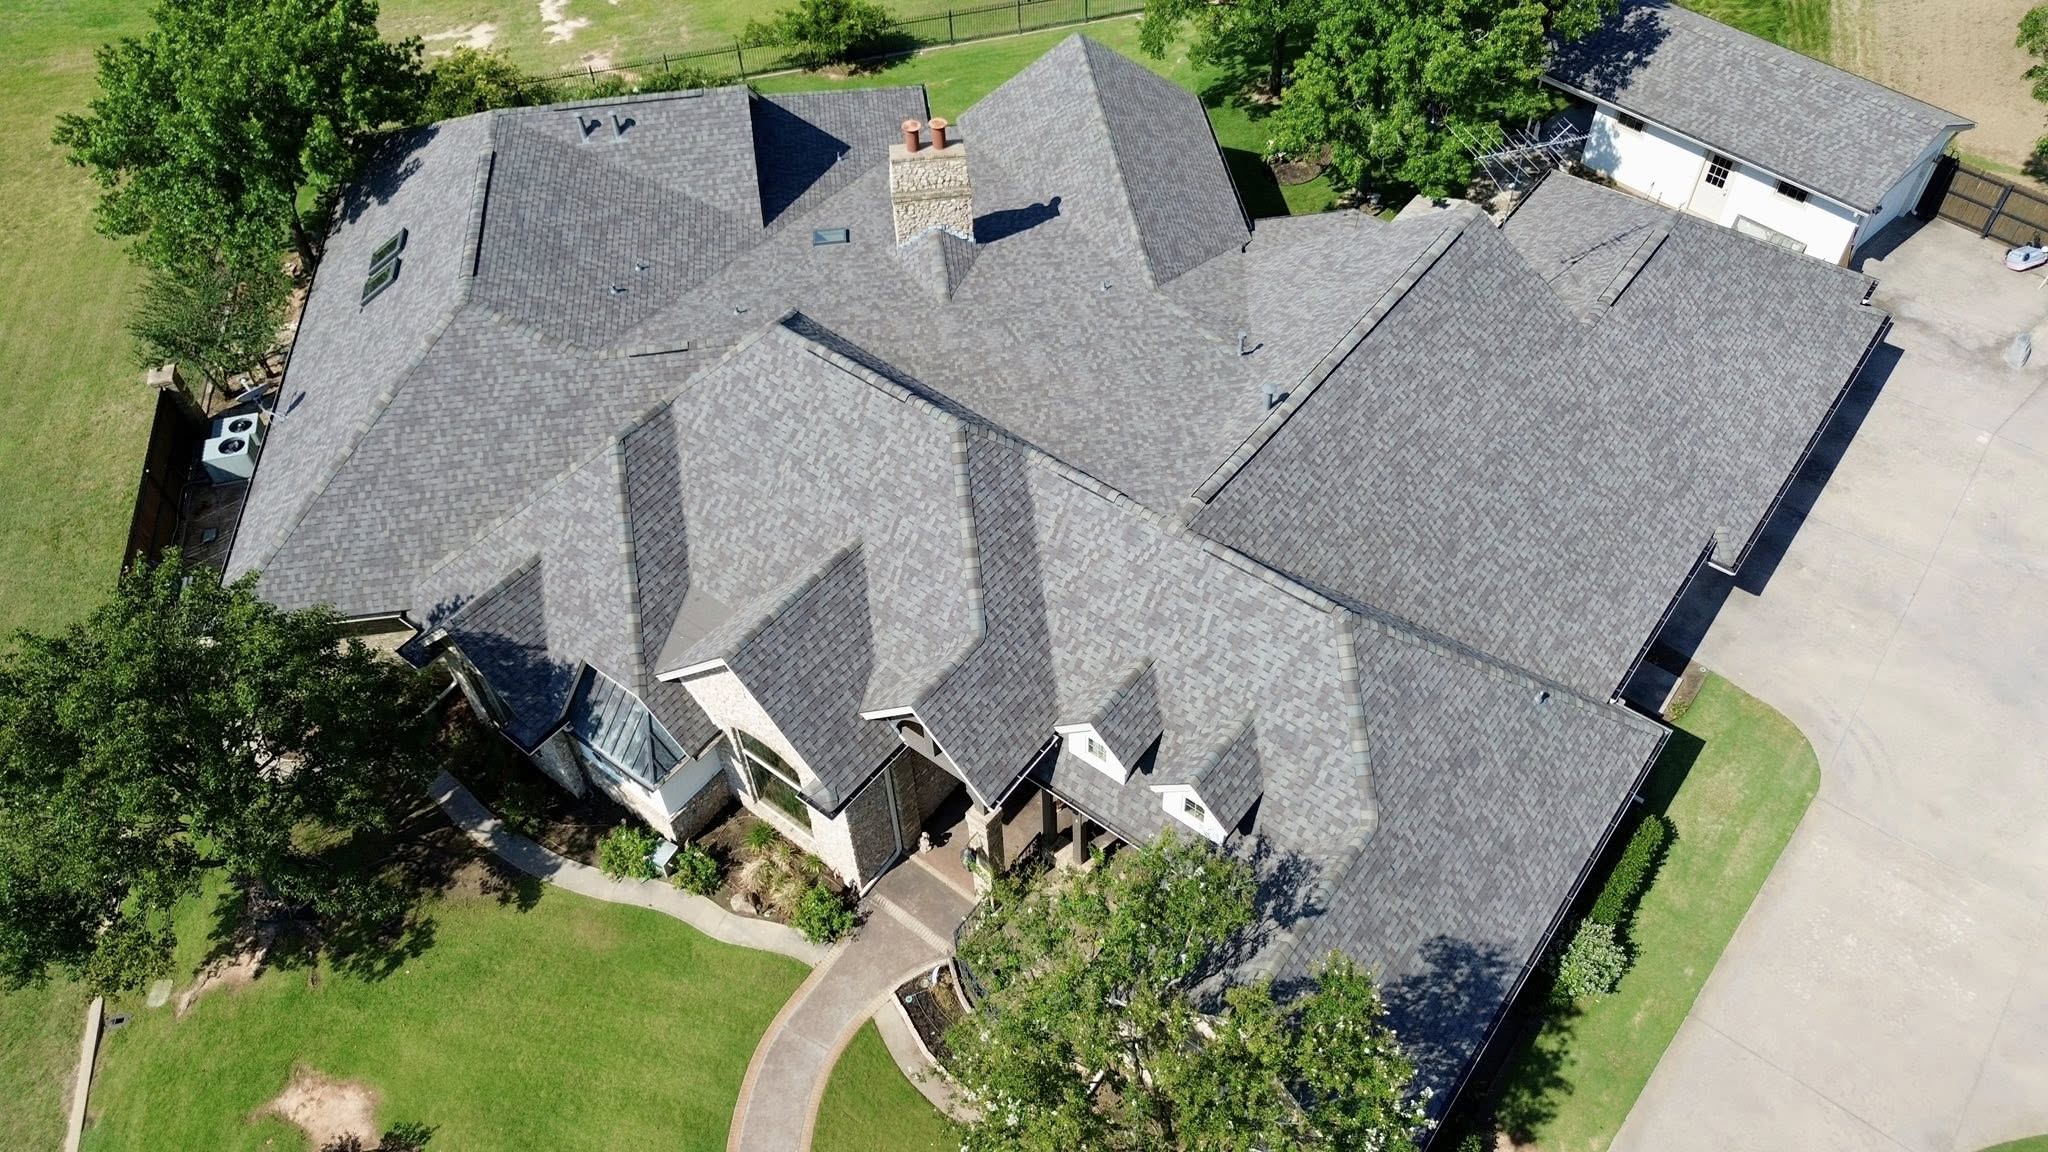
Valleys are among the most important areas for maintaining both shingle alignment and proper drainage. They collect water from two roof slopes, so the shingles approaching a valley must be positioned carefully to maintain the intended water path.
Before installing shingles near a valley, contractors determine the required valley method. The method may involve an open valley, closed-cut arrangement, or another system approved for the selected roofing product.
The shingle courses need to approach the valley without blocking the drainage area. Contractors make controlled cuts where necessary and ensure that the remaining shingle pieces maintain adequate support and fastening.
Alignment around the valley should be planned rather than improvised. If the installer waits until the shingles reach the valley before determining how they will be positioned, the resulting cuts may become inconsistent or unnecessarily complicated.
Hips create a different type of alignment challenge because shingles from two sloping roof planes meet along a raised intersection. The field shingles should approach the hip in a consistent pattern before the hip cap materials are installed.
The same principle applies at ridges. The final courses need to meet the ridge area in a controlled manner, while ridge cap shingles are later positioned to provide a finished and weather-resistant transition.
Ridge ventilation may also affect the installation. Where a vent is installed along the ridge, the shingles and ridge cap materials must be arranged so the ventilation pathway remains functional.
Roof edges require accurate positioning as well. The first and last shingles along an edge should follow the planned layout without creating irregular gaps or unnecessarily narrow pieces.
The relationship between shingles and drip edge is also important. Contractors position the roofing material according to the roofing system requirements so runoff is directed toward the edge and does not interfere with the protective components below.
Eaves provide another important reference because they establish the lower boundary of the shingle system. The starter course and first field course should be positioned consistently along this edge.
At rake edges, installers need to maintain the intended shingle exposure while fitting the material against the edge protection. Careful measurement helps keep the edge visually straight.
The final visible alignment of these areas depends partly on how the earlier courses were installed. If the lower courses are inconsistent, the problem can become more obvious as shingles approach the ridge or other transitions.
This is why professional contractors frequently check their work as they move upward. Maintaining alignment throughout the installation is generally more effective than attempting to correct a major deviation near the end.
Maintaining Alignment Around Roof Penetrations
Roof penetrations create another challenge because the normal shingle pattern must be interrupted to accommodate an object extending through the roof. Common examples include plumbing vents, exhaust outlets, skylights, chimneys, and other roof-mounted features.
The surrounding shingles need to be cut and positioned carefully while maintaining the required overlap and water-shedding pattern. Contractors should avoid making unnecessarily large openings because excessive gaps can complicate the weatherproofing detail.
Plumbing vent installations often require shingles to be fitted around a flashing component or vent boot. The shingles above and beside the penetration need to remain aligned with the surrounding courses while integrating with the flashing.
The installer should use the existing course lines as references when making these cuts. This helps the shingles around the penetration remain visually connected to the rest of the roof.
Skylights can require more detailed coordination. The flashing system around the skylight needs to be installed according to the product requirements, while shingles are positioned around the flashing without interfering with the intended drainage path.
Chimneys create an even larger interruption because they can extend across several shingle courses. Contractors need to maintain the course pattern on both sides while integrating the required flashing around the chimney.
The same principle applies to roof vents and other small penetrations. Even though the opening may be relatively small, inaccurate shingle cuts can become visually noticeable or create unnecessary gaps.
Contractors should measure before cutting. Taking a moment to determine where the penetration intersects each course can help avoid damaged materials and reduce the need for repeated adjustments.
Shingles should also remain properly supported around penetrations. Small pieces should not be left in unstable positions simply to maintain a visual line.
Weatherproofing takes priority over purely visual alignment. If maintaining a particular pattern would interfere with proper flashing or drainage, the installation should follow the roofing system’s technical requirements.
After shingles have been installed around a penetration, contractors should inspect the area before moving on. The flashing, shingle cuts, fasteners, and surrounding courses should all work together as part of the same roofing detail.
Proper alignment around penetrations is therefore a balance between appearance, material requirements, and weather protection. Experienced installers know how to preserve the overall shingle pattern while making the modifications necessary for the roof’s individual features.
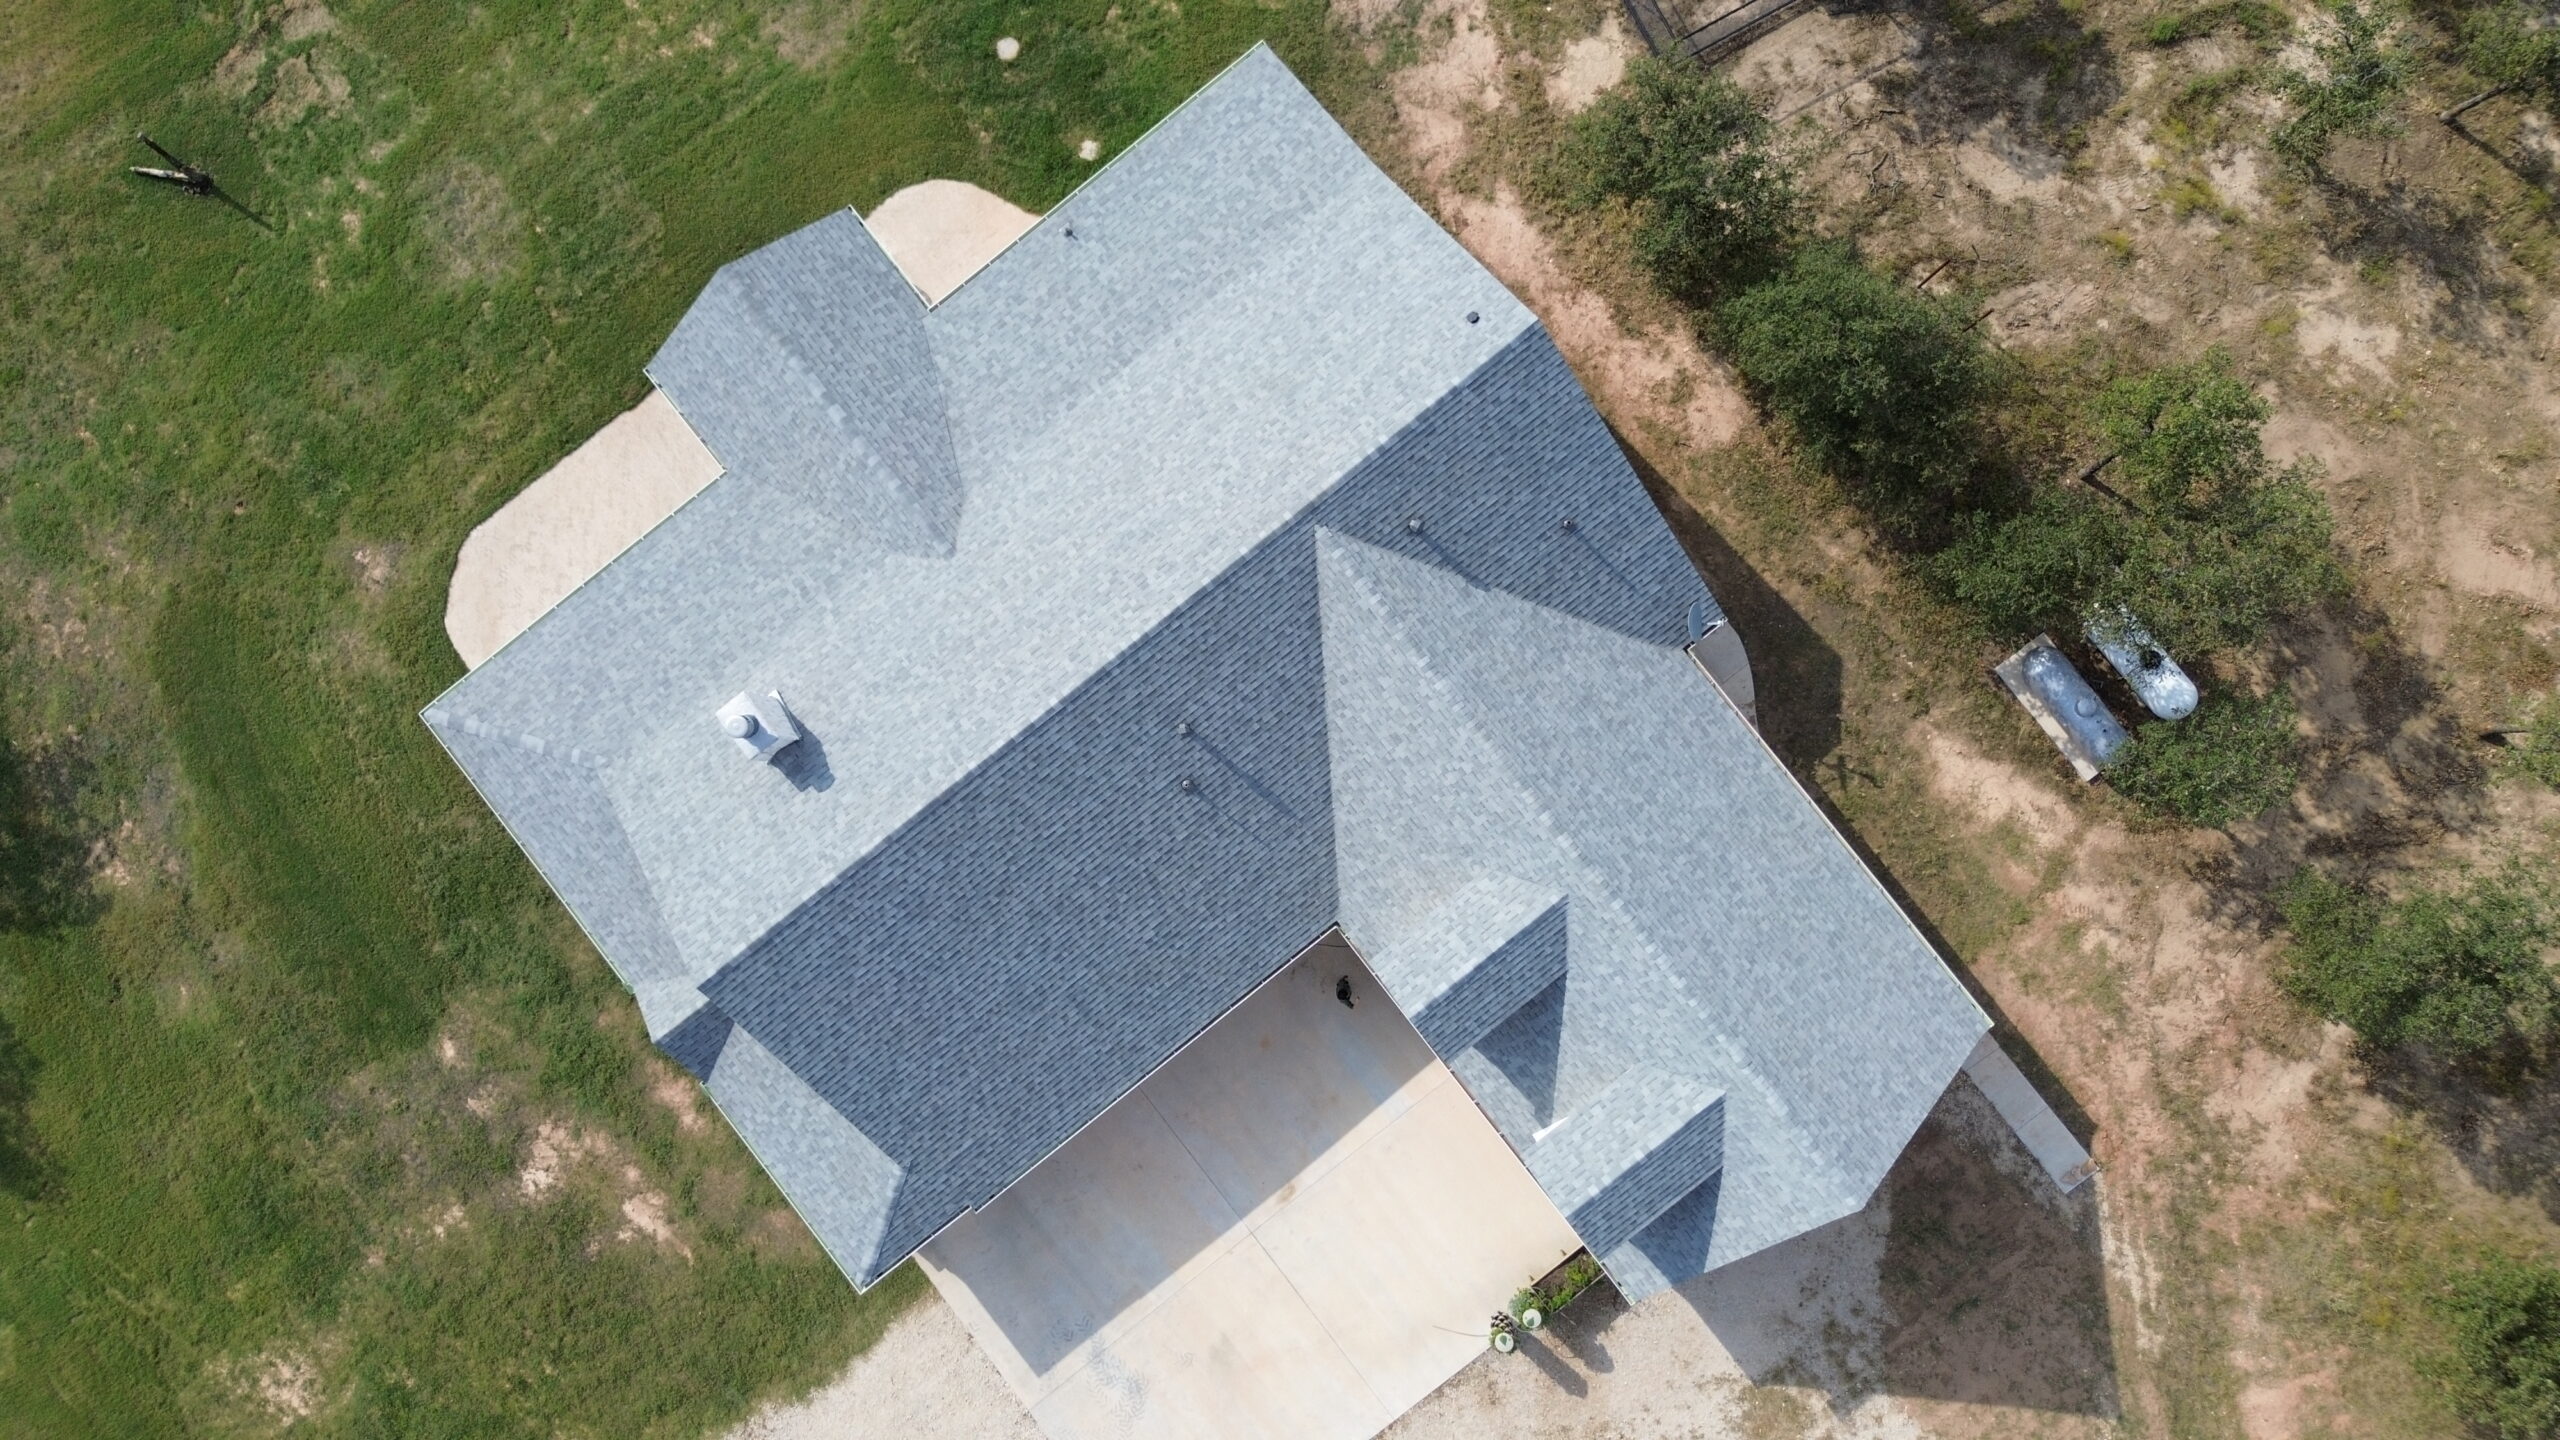
Managing Shingle Offsets and Pattern Consistency
Shingle offset refers to the horizontal relationship between joints in successive courses. Maintaining the correct offset is important because the joints should not be positioned randomly or in a way that conflicts with the manufacturer’s installation pattern.
The required offset depends on the specific shingle design. Contractors review the product instructions before installation and establish a consistent pattern for the courses.
If the joints between courses line up too closely, the roof may develop a visually repetitive appearance and may not follow the intended shingle design. Proper offsets distribute the joints across the roof and maintain the manufacturer’s specified installation pattern.
Installers may begin each course with a different starting piece depending on the product. These starting dimensions are planned rather than chosen randomly during installation.
The first few courses are particularly important because they establish the pattern that continues toward the ridge. If the offset pattern is incorrect at the beginning, the error can affect every subsequent course.
Contractors often keep a reference to the required starting dimensions or use layout marks to maintain consistency. This reduces the possibility of relying on memory or visual estimation.
Pattern consistency also matters when materials are cut around roof features. A penetration or valley may require a modified shingle, but the surrounding courses should continue to follow the established pattern where practical.
Material variation should also be considered. Shingles from different bundles may have slight differences in appearance, and contractors may distribute materials according to the manufacturer’s recommendations to create a more uniform visual result.
The goal is not to make every individual shingle look identical. Instead, the installation should create an organized pattern in which the exposure, joints, and overall layout follow the roofing system’s requirements.
On large roofs, contractors may periodically compare the installed courses with their reference points. This can help identify gradual changes in the pattern before they become difficult to correct.
Consistent offsets also contribute to the visual quality of the finished roof. When joints are positioned according to a planned pattern, the surface tends to look more balanced and intentional.
Fastening Shingles Without Affecting Alignment
Fastening is closely connected to shingle alignment because the shingle must remain in its intended position while being secured to the roof. A properly aligned shingle can shift during fastening if the installer does not control its position.
Contractors first position the shingle according to the established course line and exposure. The material is then fastened using the type, number, and placement specified by the manufacturer.
Fasteners should be driven into the correct locations. A nail placed outside the required fastening area can affect both the security of the shingle and its relationship with neighboring materials.
Overdriving fasteners can damage the shingle. Underdriving can leave the fastener raised, which may interfere with the material above.
The installer also needs to avoid allowing the shingle to slide while fastening. Maintaining pressure or using an appropriate hand position can help keep the material aligned during the process.
Fastening should follow the planned sequence across the shingle. This helps prevent one side from shifting while the other side is being secured.
Wind exposure can make fastening particularly important. Roof edges and other exposed areas may require additional fastening according to the roofing system’s requirements.
Alignment should be checked after fastening. If a shingle has shifted noticeably, the contractor should correct the issue according to the product requirements rather than leaving the material in an incorrect position.
Fasteners also need to penetrate an appropriate substrate. The underlying deck should have been prepared before installation so the fasteners can provide the required holding strength.
The installer should not sacrifice fastening requirements simply to maintain a visual line. Proper installation requires both accurate alignment and appropriate fastening.
When these two elements are coordinated, the shingles remain in their intended position while providing the coverage and security expected from the roofing system.
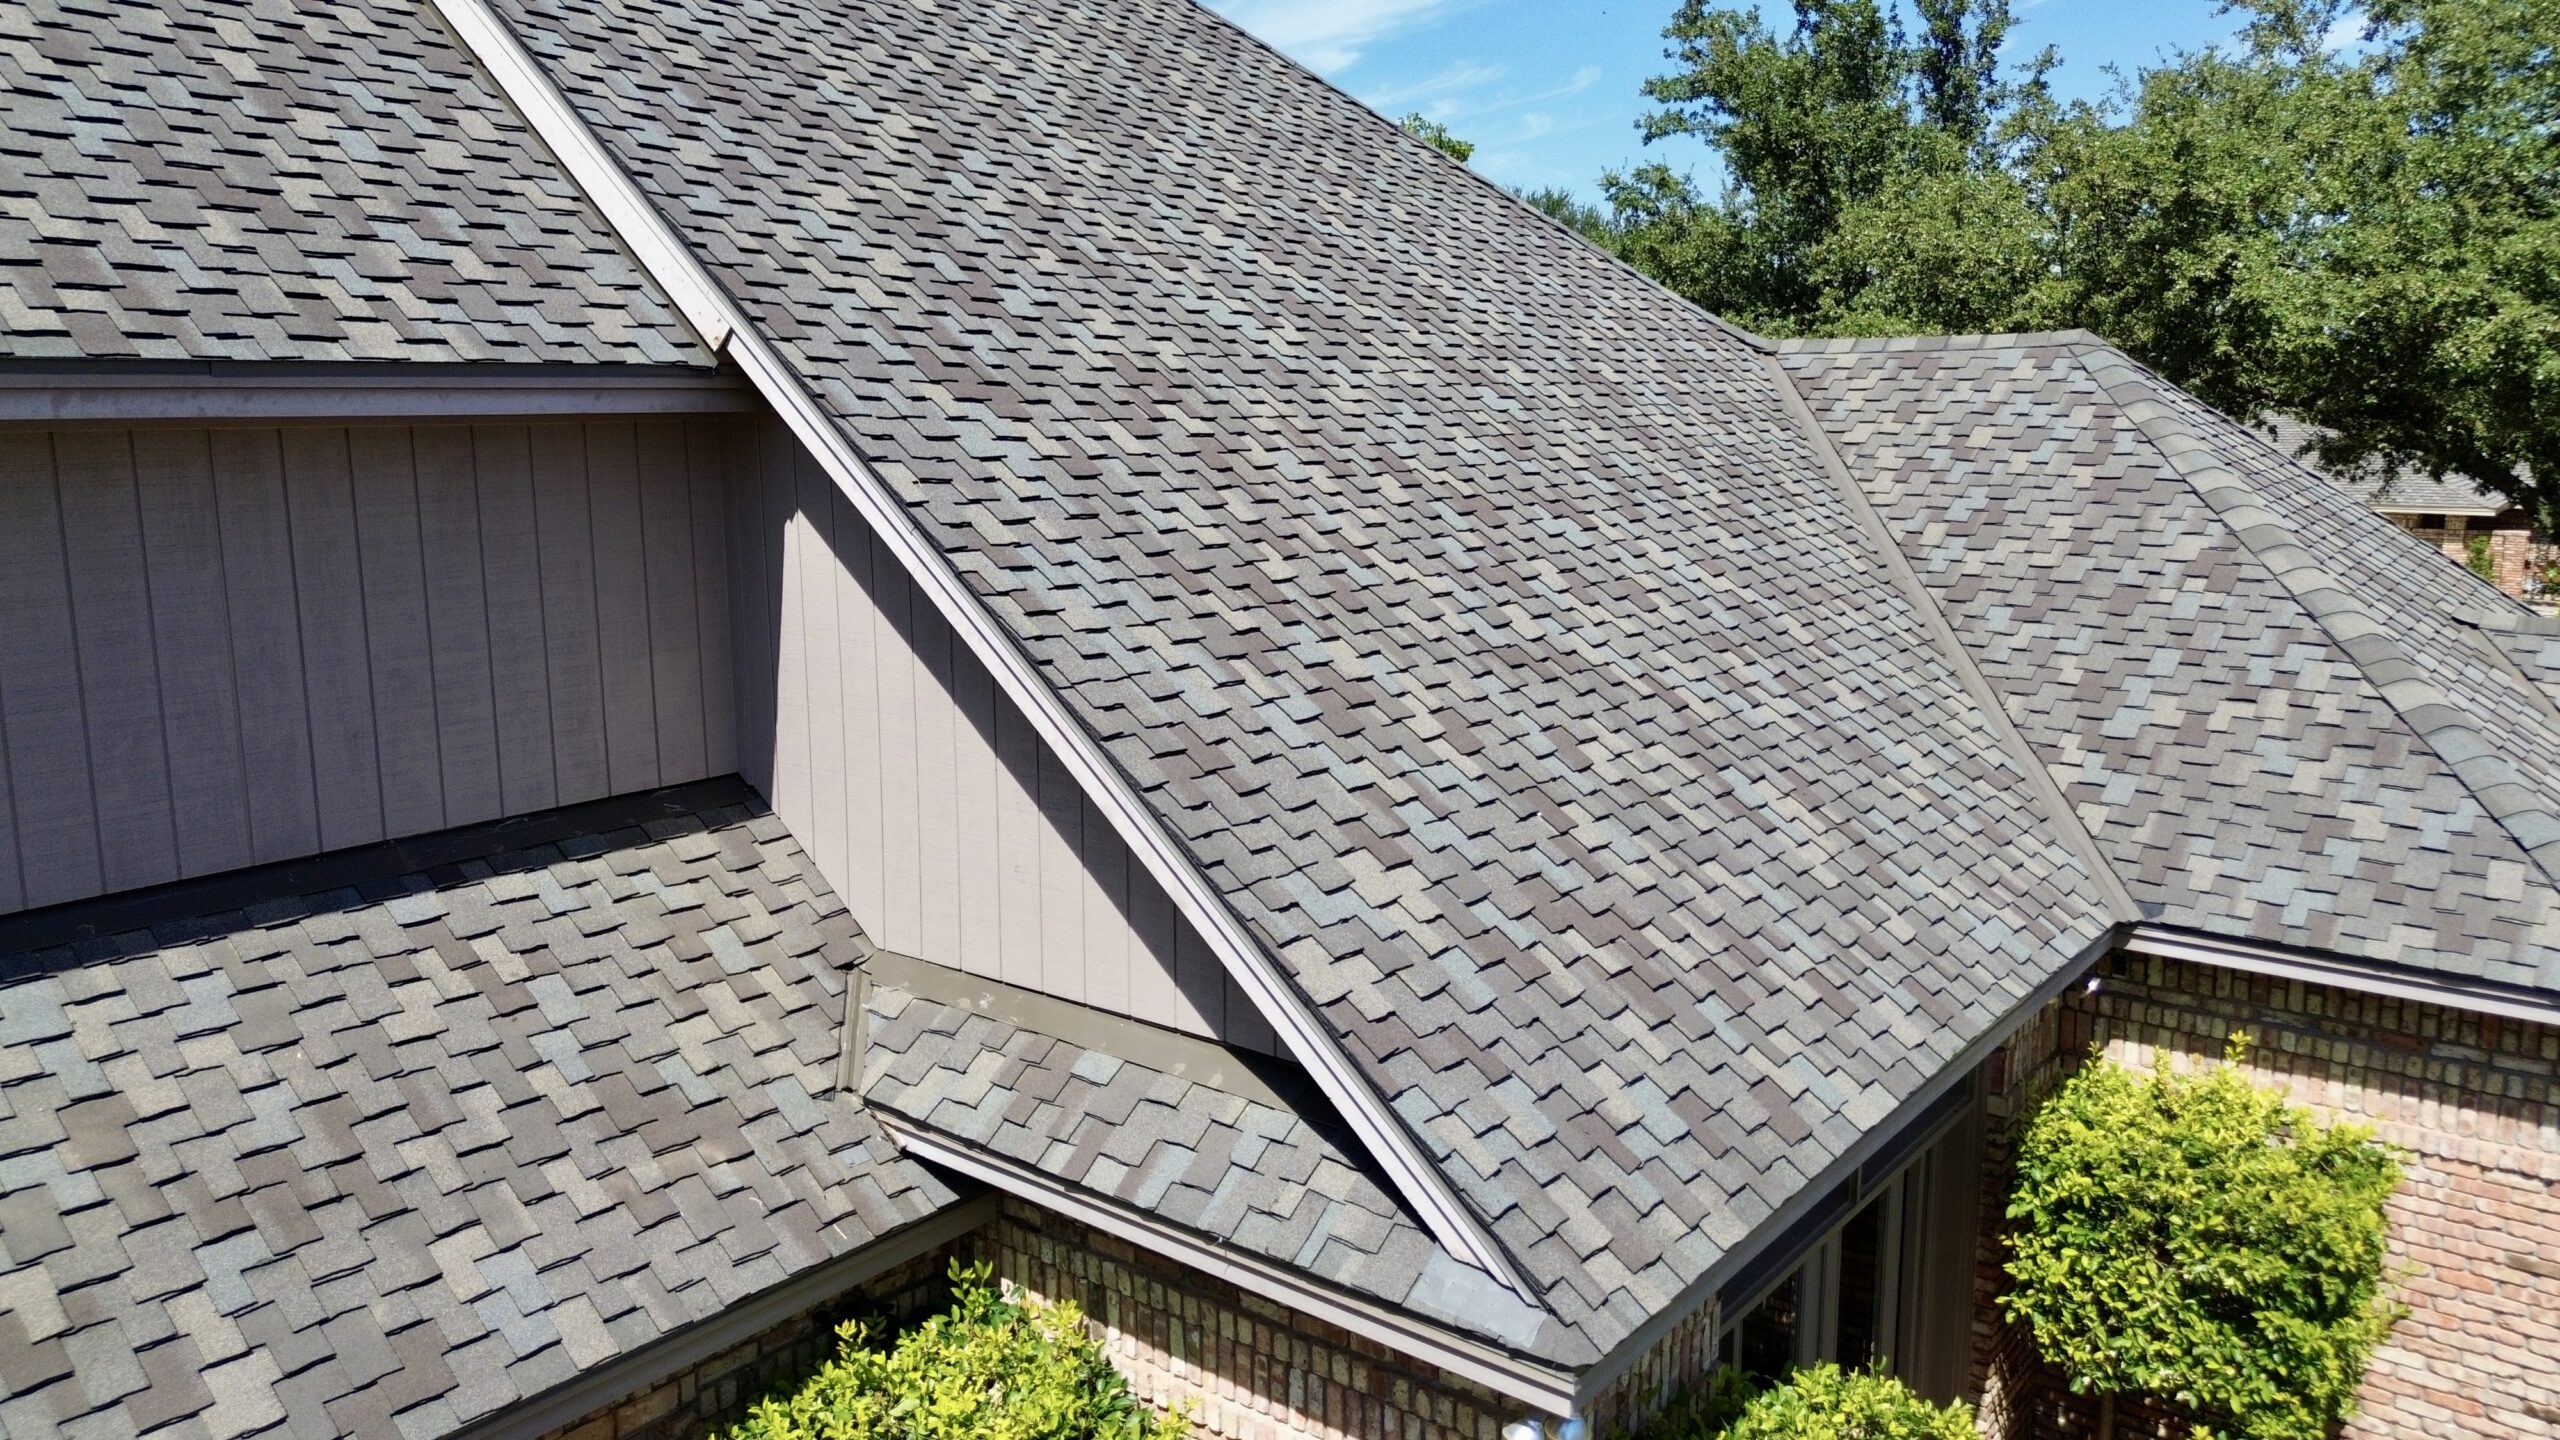
Checking Alignment as Installation Progresses
Shingle alignment should be monitored continuously throughout the installation. Contractors should not wait until the roof is nearly complete to determine whether the courses have remained straight and consistent.
After completing several courses, the installer can step back and inspect the roof plane from a suitable distance. This broader view can reveal gradual changes in the horizontal lines that may not be visible while working close to the shingles.
Measurements can also be taken at different points across the roof. Comparing the distance from a fixed reference point to the same course in multiple locations can help identify drift.
The crew may use chalk lines to establish additional references as the installation progresses. These lines can provide useful guides on large roof planes or complex layouts.
If a minor alignment issue is discovered early, it may be possible to correct it without disturbing a large section. This is one reason professional installers periodically stop and check their work.
Alignment checks should also occur after completing complex areas. Valleys, dormers, penetrations, and roof transitions can introduce changes to the normal installation pattern.
The contractor should verify that the shingles on either side of these features continue to relate properly to the established layout. A small adjustment around one feature should not create an unexplained shift in the surrounding courses.
Consistent checking creates a form of quality control throughout the installation. It allows the contractor to maintain the intended appearance and technical requirements from the starter course through the upper roof sections.
Correcting Shingle Alignment Problems During Installation
Even with careful planning, roofing contractors may discover alignment problems while installing shingles. The important factor is identifying these issues early and correcting them before the error spreads across a larger portion of the roof. A small adjustment during the early stages can prevent a much more complicated repair later.
One common issue is gradual course drift. This occurs when each row moves slightly away from the established reference line, causing the horizontal courses to become increasingly uneven as they move across or up the roof.
When a contractor notices this type of problem, the first step is to determine where the alignment began to change. The installer can compare the affected course with the established reference lines and inspect earlier rows to identify the point where the deviation started.
If only a small section is affected, the contractor may be able to correct the position before continuing. However, if several courses have been installed incorrectly, some shingles may need to be removed and repositioned rather than forcing the next course to compensate for the existing error.
Trying to hide an alignment problem by gradually changing the position of later shingles is generally not a good approach. It can create inconsistent exposure and may cause the final roof pattern to look uneven.
Incorrect shingle exposure is another problem that may require correction. If the visible portion of the shingles is larger or smaller than specified, the installer needs to determine whether the error is isolated or has affected multiple courses.
The manufacturer’s installation requirements should guide the correction. The goal is not simply to make the shingles appear straight but to restore the correct exposure, overlap, offset, and fastening arrangement.
Misaligned starter shingles can also create problems throughout the roof. Because the starter course establishes the position of the field shingles, an error at the bottom edge can influence every course installed above it.
If the starter course is significantly out of position, correcting it early is generally preferable to allowing the error to continue. Once several courses have been installed, accessing the original starting point can require additional labor and material.
Shingle joints may also become inconsistent. If the offsets do not follow the required pattern, the contractor should check whether the problem resulted from incorrect starting pieces, incorrect measurements, or inconsistent installation.
Repairs should be performed carefully because shingles can be damaged when they are removed. The installer needs to avoid creating unnecessary damage to surrounding materials or the underlying weatherproofing.
Alignment problems around penetrations can be more complicated. A shingle may need to be cut differently to fit around a vent, chimney, or skylight, but the contractor still needs to preserve the intended course and maintain proper flashing.
In these areas, weather protection takes priority over visual uniformity. The final layout should meet the roofing system’s technical requirements while maintaining the overall shingle pattern as closely as practical.
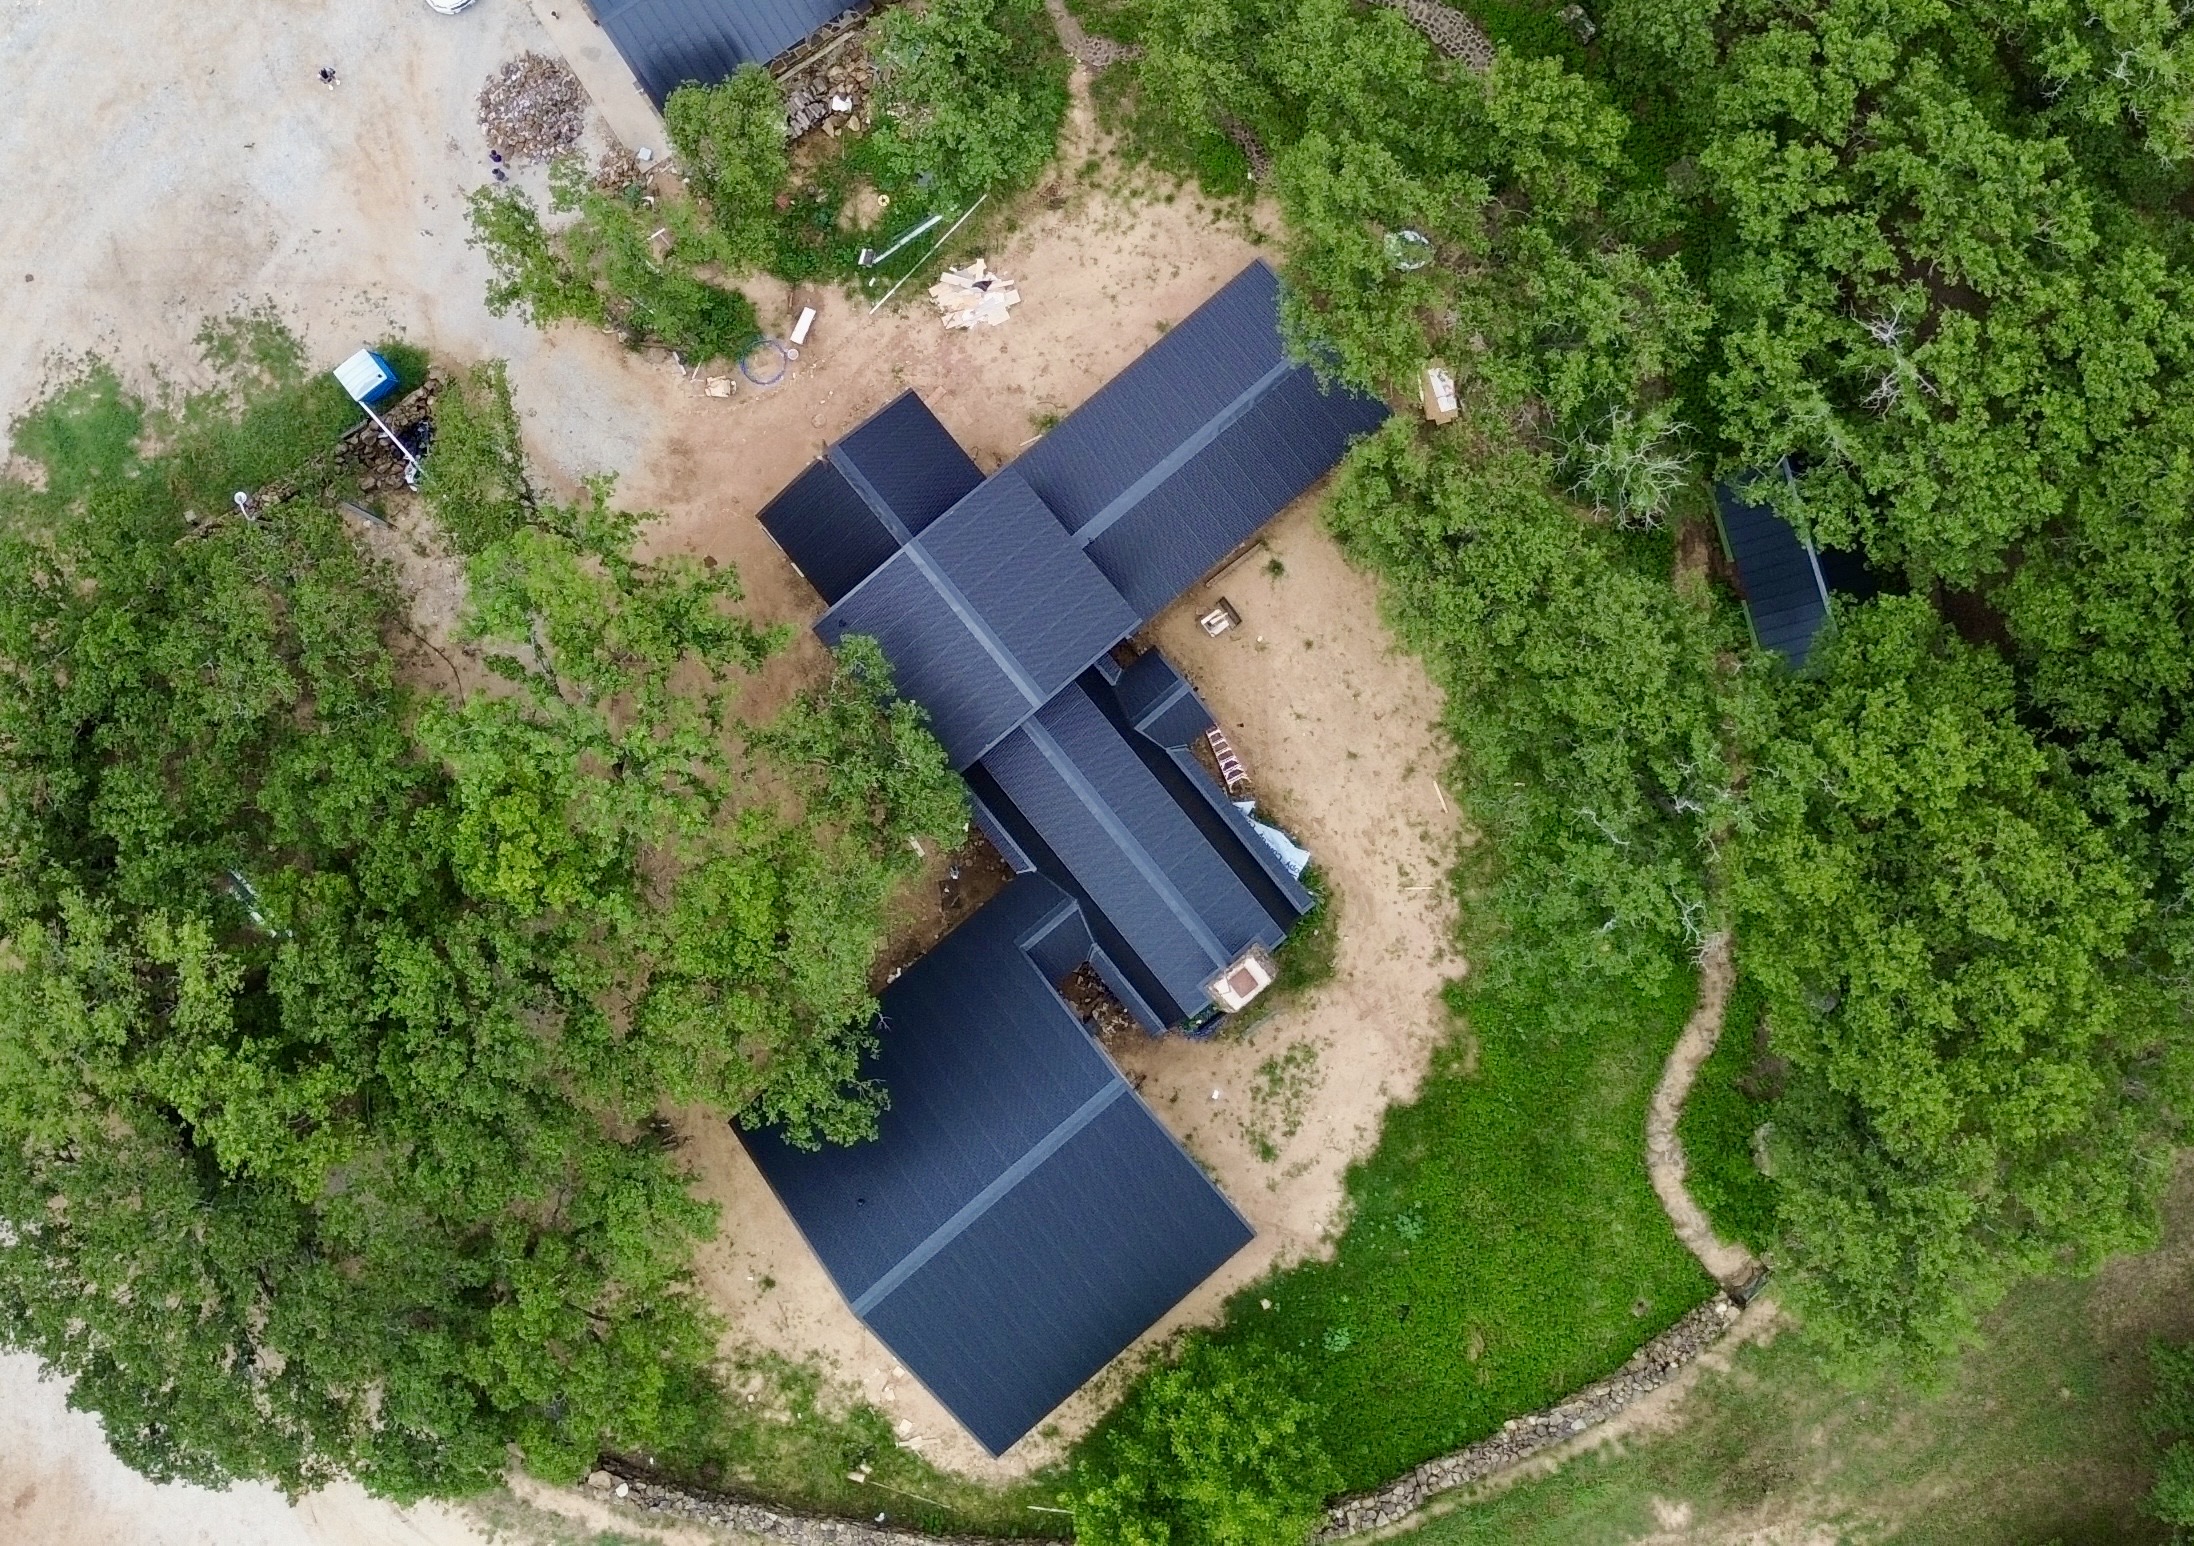
Common Shingle Alignment Mistakes to Avoid
Poor alignment can result from several different installation habits. Some problems are caused by inadequate planning, while others occur when installers rely too heavily on visual estimation instead of using measurements and reference lines.
One common mistake is starting installation without establishing a reliable reference. If the first course is positioned based only on the roof edge or visual judgment, small variations can affect the courses above.
Another mistake is failing to check exposure regularly. Contractors should not assume that a course remains correctly positioned simply because the first few shingles were installed accurately.
Using inconsistent starting pieces can also disrupt the shingle offset pattern. The installer should follow the manufacturer’s specified pattern so that joints remain appropriately separated from one course to the next.
Working too quickly can contribute to alignment problems as well. Roofing installation requires repeated measurement and checking, particularly on large or complex roof planes.
Some common alignment mistakes include:
- Starting without accurate reference lines
- Allowing the starter course to drift
- Changing shingle exposure between courses
- Ignoring incorrect offsets
- Relying entirely on visual alignment
- Failing to check long roof courses
- Cutting shingles inaccurately around penetrations
- Allowing fasteners to shift shingles from their intended position
- Continuing installation after a noticeable alignment error appears
Another mistake is attempting to correct a visible problem by making later courses increasingly uneven. This can create a roof that appears acceptable in one area but has inconsistent lines elsewhere.
Contractors should also avoid using excessive force to position shingles. Roofing materials need to be installed according to their design and temperature conditions, and forcing them into place can damage the product.
Poor material handling can create alignment problems before installation even begins. Bent, damaged, or improperly stored shingles may not sit correctly on the roof and can make consistent installation more difficult.
The best approach is to identify potential problems during planning and continue checking the roof throughout installation. This keeps small errors from becoming larger problems.
Quality Control and Final Alignment Inspection
Once the shingles have been installed, contractors should conduct a final alignment inspection across the completed roof. This inspection is not simply an examination of whether the roof looks attractive from the ground.
The contractor should review the horizontal courses, shingle exposure, offsets, roof edges, valleys, hips, ridges, and areas around penetrations. The inspection should consider both the visual appearance and the installation requirements of the roofing product.
Long roof planes should be viewed from different positions. A course that looks straight from directly below may appear different when viewed from another angle.
The contractor should also compare the completed installation with the original reference points. This can help identify gradual course movement that may not be obvious during a quick visual inspection.
The edges of the roof deserve particular attention. Shingles should be positioned consistently along eaves and rake edges, while the relationship with drip edge and other perimeter components should remain appropriate.
Valleys should be inspected for both alignment and drainage. Shingle cuts should be consistent, and the valley should remain clear enough for water to follow the intended drainage path.
Ridges and hips should also be reviewed. The field shingles should meet these areas appropriately, while ridge and hip cap materials should create a clean and secure finished transition.
Penetrations require a detailed inspection as well. Shingles around vents, chimneys, skylights, and other features should be properly cut and integrated with flashing.
Fastening should be reviewed wherever accessible. The contractor should look for exposed, misplaced, loose, or improperly driven fasteners that may affect the security of the shingles.
A final inspection can be organized around several important areas:
| Inspection Area | Alignment Check |
|---|---|
| Starter course | Consistent position along the roof edge |
| Field courses | Straight horizontal lines and consistent exposure |
| Shingle joints | Correct offset between courses |
| Roof edges | Consistent positioning and clean termination |
| Valleys | Controlled cuts and unobstructed drainage |
| Hips and ridges | Proper transition and consistent layout |
| Penetrations | Accurate cuts and integration with flashing |
| Fasteners | Correct placement without shifting shingles |
The contractor should correct significant issues before considering the roof complete. Final quality control provides the last opportunity to address alignment problems without treating them as future maintenance concerns.
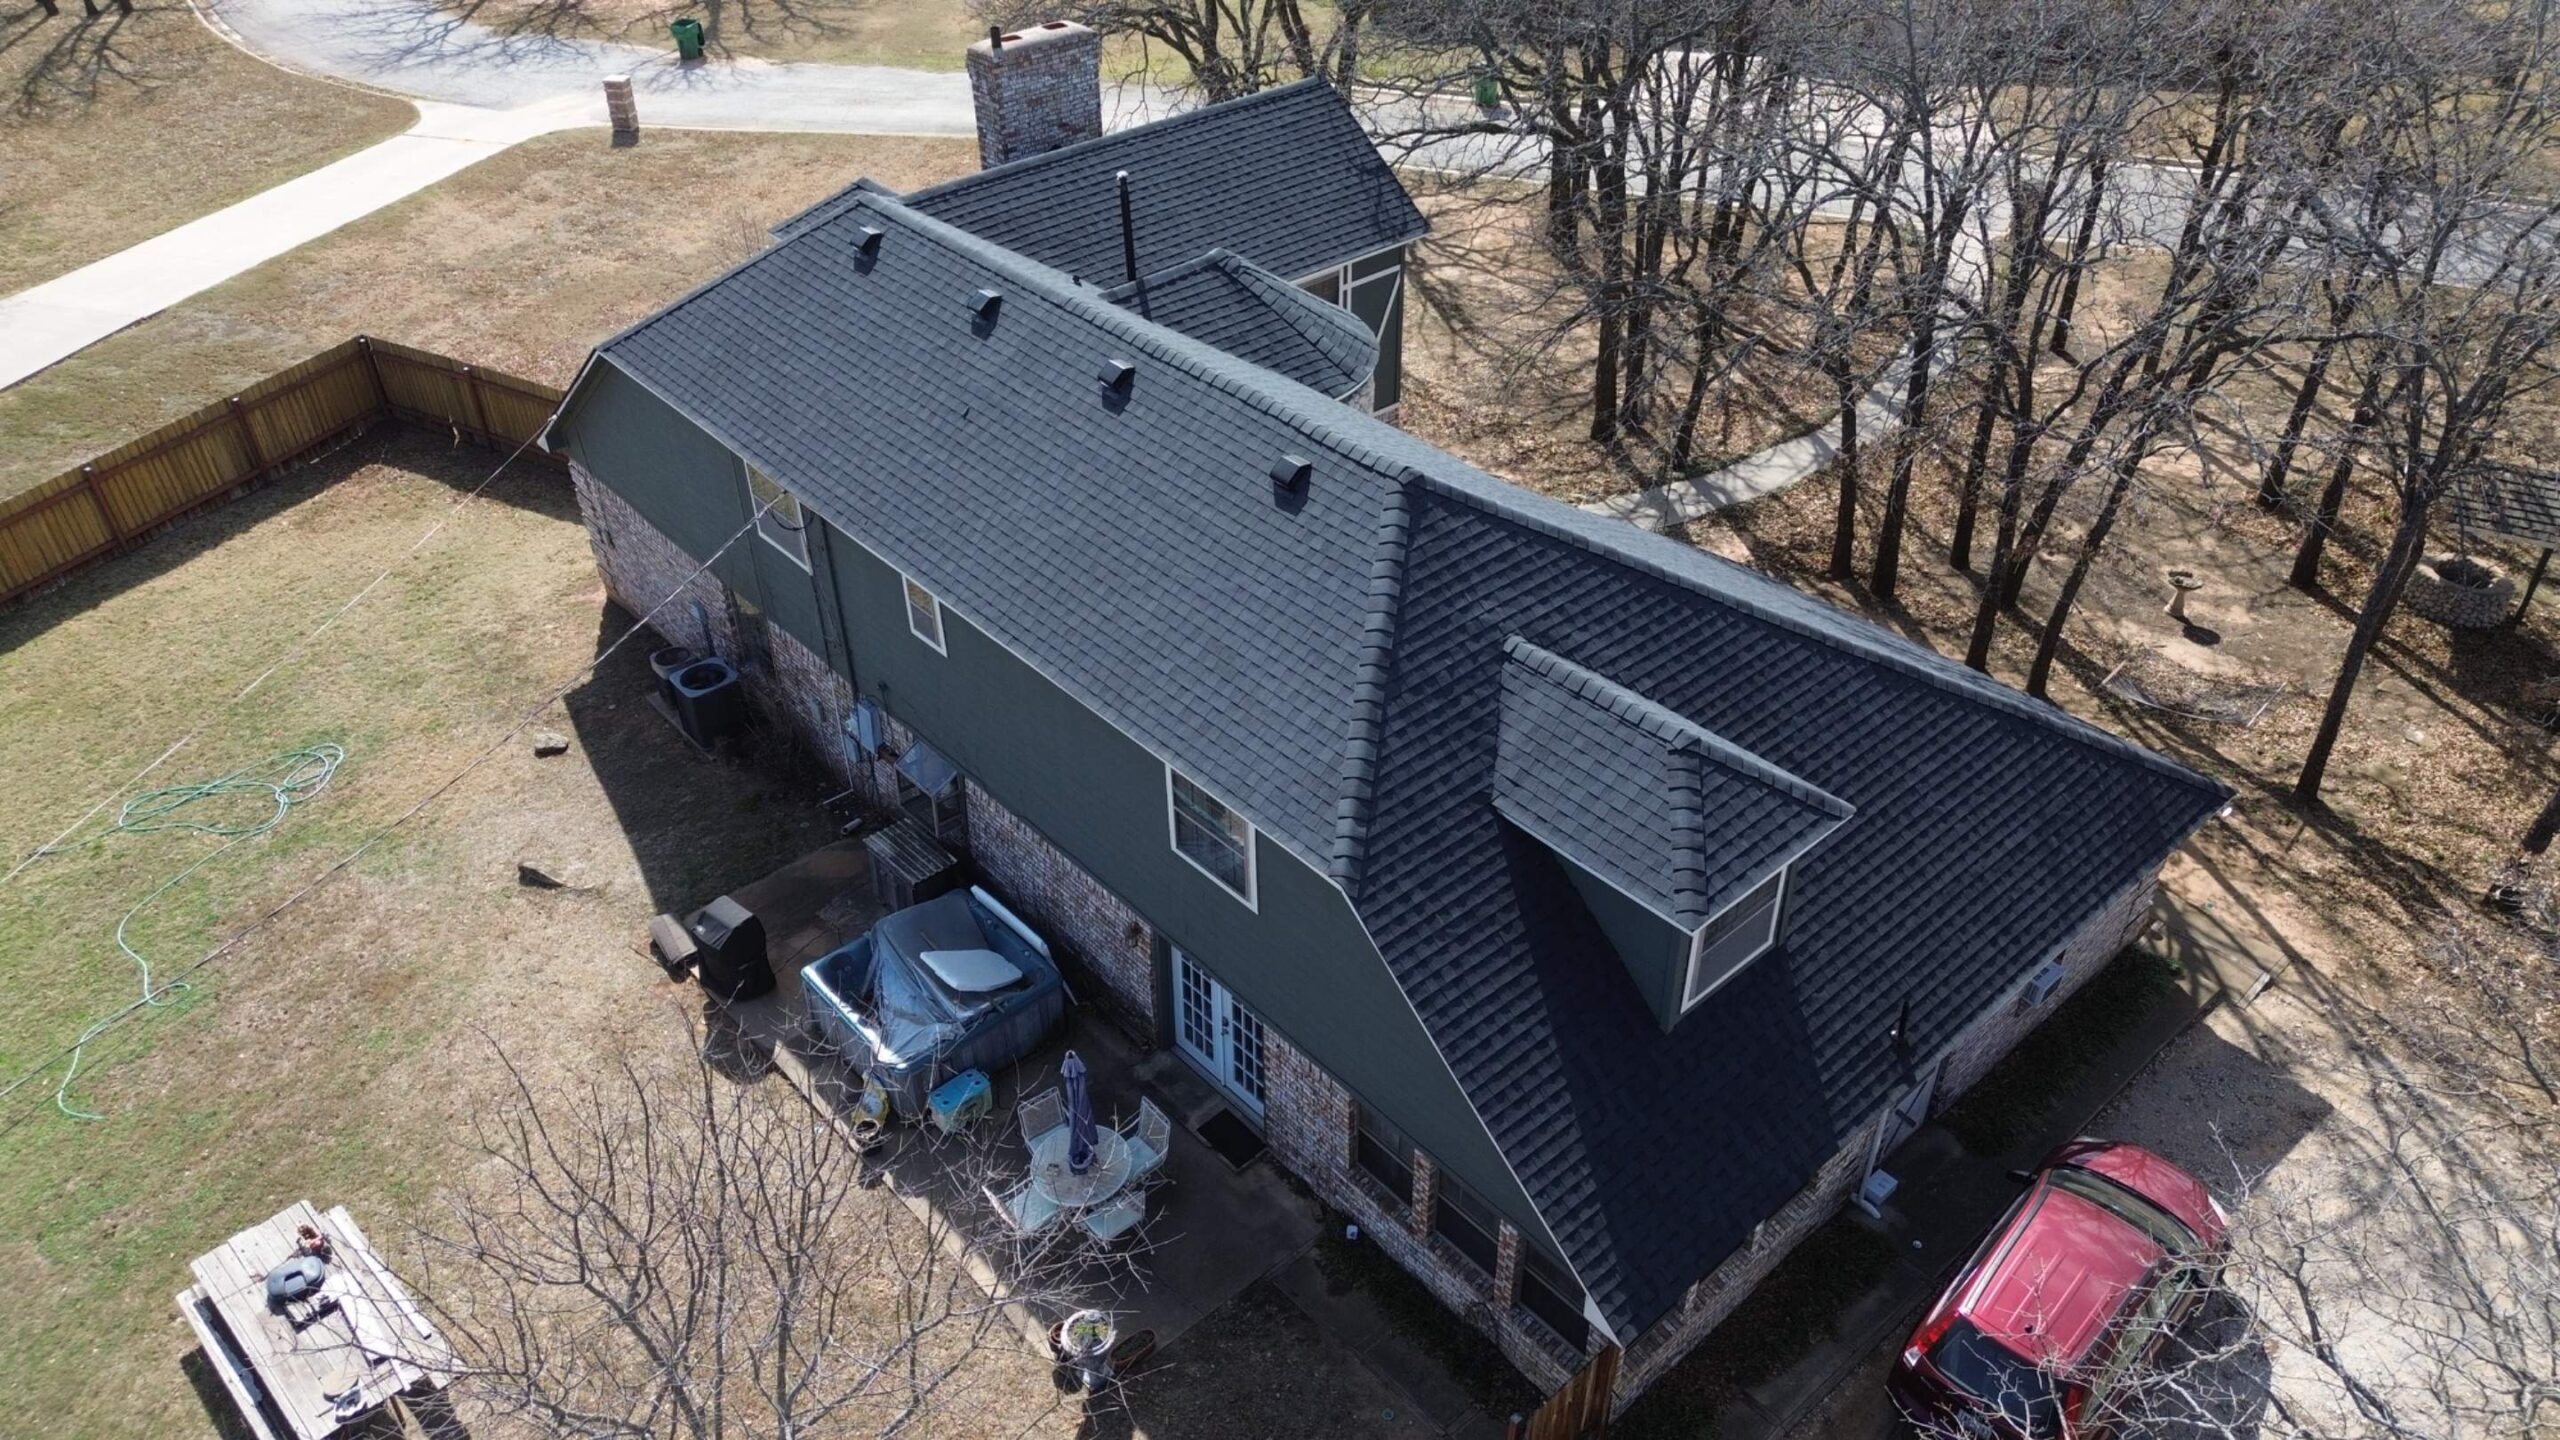
Tools and Techniques Contractors Use for Accurate Layout
Professional roofing contractors use practical tools to establish and maintain accurate shingle alignment. The exact tools can vary between crews, but the purpose is generally the same: provide reliable reference points that are more accurate than visual estimation.
A chalk line is one of the most useful layout tools. Contractors can establish horizontal reference lines across the roof to guide the position of successive shingle courses.
Measuring tapes are also essential. They allow installers to confirm roof dimensions, determine course exposure, measure offsets, and verify the position of shingles at different points.
A straightedge or similar guide can help installers check whether a row remains consistent. It can be especially useful when working on smaller sections or checking the position of individual shingles.
Levels or other suitable measuring tools may also be used when checking certain layout details. However, the appropriate technique depends on the roof’s geometry and the manufacturer’s installation requirements.
Contractors may establish several reference marks rather than relying on one point. This can be useful on large roofs where small differences can accumulate over significant distances.
Visual inspection is still valuable, but it works best when combined with measurement. Experienced installers can often notice a course beginning to drift, but reference tools provide a more reliable way to confirm whether a correction is necessary.
Material organization also contributes to accurate installation. Keeping shingles arranged and accessible reduces unnecessary movement and helps installers maintain a consistent sequence.
The crew should also review the installation instructions before work begins. Knowing the required exposure, offset, fastening pattern, and special details allows the installer to prepare the appropriate layout before shingles are placed.
These tools and techniques do not replace experience. Instead, they provide the installer with reliable references that support consistent workmanship throughout the project.
Shingle Alignment on Complex Roof Designs
Complex roof designs require additional planning because several slopes and transitions may meet within a relatively small area. Dormers, valleys, intersecting roof planes, skylights, chimneys, and multiple ridges can all interrupt the standard shingle pattern.
Contractors begin by understanding the geometry of each section. They identify the primary drainage paths and determine how the shingle courses will approach each transition.
The layout should be planned before the crew reaches a complicated section. This prevents installers from making decisions at the last moment when the shingles are already positioned around the feature.
Valleys require particular attention because the shingles must remain aligned while allowing water to drain properly. The contractor may need to use controlled cuts that follow the selected valley method.
Dormers can require the shingle pattern to transition between different roof planes. The installer needs to maintain the required exposure and offset while adapting the material to the smaller roof section.
Chimneys and skylights create similar challenges. Shingles need to be fitted around the structure without compromising the flashing or creating unnecessary openings.
Roof intersections can also affect visual symmetry. When several roof planes are visible from the same viewpoint, consistent layout can contribute significantly to the finished appearance.
However, contractors should not prioritize visual symmetry over proper installation. The roofing system’s drainage, flashing, fastening, and manufacturer’s requirements remain more important than forcing every course into an identical visual arrangement.
Careful planning allows both objectives to be addressed. The roof can maintain a clean appearance while still following the technical requirements of the roofing system.
How Proper Alignment Improves the Finished Roof
Accurate shingle alignment contributes to the overall appearance of the completed roof. Straight courses, consistent exposure, and organized offsets create a uniform surface that looks intentional and professionally installed.
Alignment also supports the functional design of the shingles. The material is designed to overlap in a particular way, and maintaining that relationship helps preserve the intended water-shedding pattern.
Consistent exposure ensures that the correct portion of each shingle remains visible. This helps maintain the designed overlap between courses and prevents large variations in coverage.
Correct offsets also help maintain the intended relationship between shingle joints. The pattern prevents random joint placement and supports the way the shingles are designed to overlap.
Proper alignment can make inspections easier as well. When the courses are consistent, damaged, displaced, or missing shingles may be easier to identify during future inspections.
A well-aligned roof can also reduce the likelihood of installation corrections. Contractors who maintain accurate layout throughout the project are less likely to discover large inconsistencies at the end.
Alignment is therefore more than an aesthetic concern. It is one part of the broader installation process that connects appearance, material placement, fastening, overlap, and weather protection.
The quality of the final roof depends on how all these elements work together. Proper alignment cannot compensate for poor flashing or damaged decking, but it contributes to a roofing system in which the visible materials have been installed according to the intended pattern.
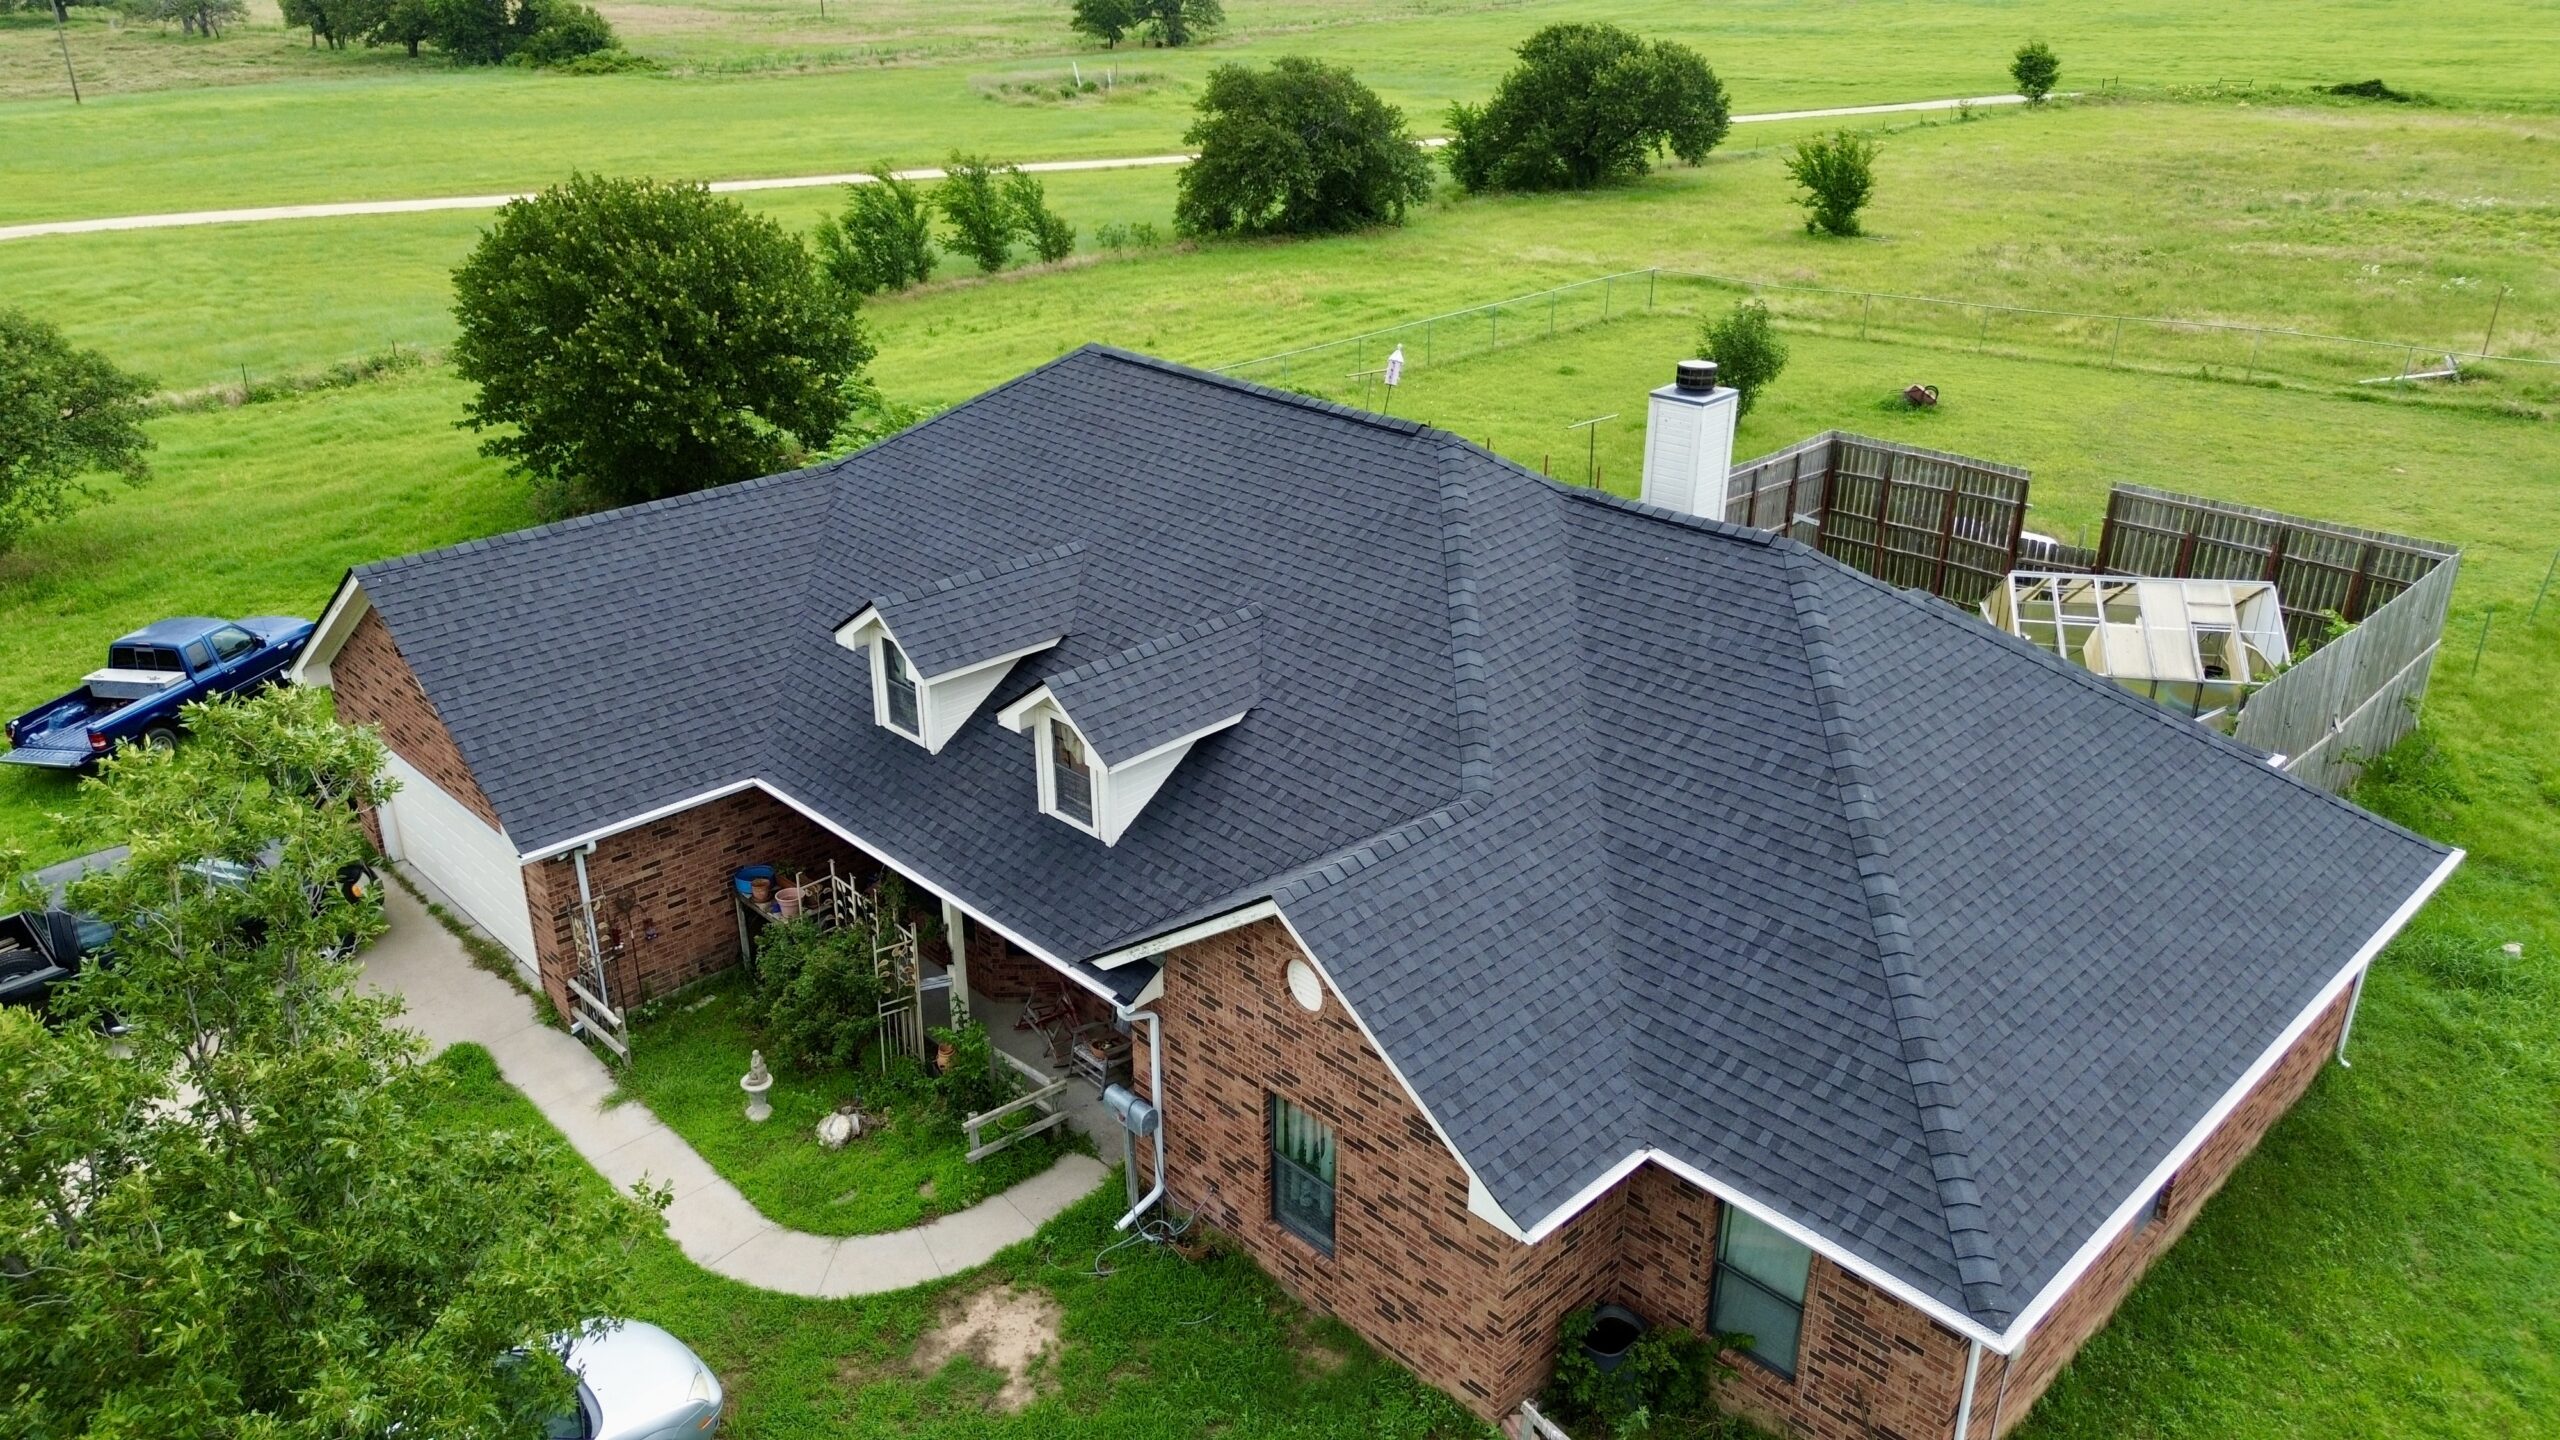
Final Shingle Alignment Checklist
Before the roofing project is considered complete, contractors can use a final checklist to review the shingle layout. This provides a practical way to confirm that the installation remains consistent from the starter course through the upper roof sections.
The final review should include:
- Check the starter course for consistent positioning.
- Verify that field courses remain straight and properly aligned.
- Confirm that shingle exposure follows the product requirements.
- Check offsets between successive courses.
- Inspect shingle joints for consistent spacing and pattern.
- Review alignment along eaves and rake edges.
- Inspect valleys and verify that drainage paths remain clear.
- Check shingles around chimneys, vents, skylights, and other penetrations.
- Inspect hips and ridges for proper transitions.
- Review visible fastening issues and displaced shingles.
- Look for damaged, cracked, or improperly positioned materials.
- Perform a final visual inspection from several viewpoints.
This checklist should be used alongside the manufacturer’s installation instructions and any applicable construction requirements. Specific roofing products may have additional requirements that are not covered by a general alignment checklist.
The inspection should also consider the roof as a complete system. Alignment is important, but the contractor should verify that the shingles remain properly integrated with flashing, underlayment, ventilation, drainage, and edge protection.
Conclusion
Shingle alignment is an important part of professional roof installation because it influences both the appearance and the intended performance of the roofing material. Straight courses, consistent exposure, correct offsets, and properly positioned shingles help create an organized roof surface while maintaining the overlap required by the roofing system.
The process begins before the first shingle is installed. Contractors prepare the roof deck, inspect the underlayment, evaluate roof edges and transitions, measure the roof, review manufacturer requirements, and establish reliable reference points for the installation.
The starter course plays a particularly important role because it establishes the foundation for the field shingles above it. Accurate positioning at this stage gives the installer a reliable starting point for maintaining consistent courses throughout the rest of the roof.
Reference lines and measurements help control shingle exposure and alignment. Rather than relying entirely on visual judgment, professional installers use practical layout techniques to maintain the intended position of each course and reduce the risk of gradual drift.
Shingle offsets are equally important. The joints between successive courses should follow the pattern specified for the roofing product, helping maintain both the intended appearance and the designed relationship between overlapping shingles.
Complex roof areas require additional planning. Valleys, hips, ridges, dormers, chimneys, skylights, vents, walls, and roof edges interrupt the normal shingle pattern, so contractors need to adapt the installation without compromising drainage, flashing, fastening, or weather protection.
Fastening must also be coordinated with alignment. Shingles need to remain in their intended position while fasteners are installed according to the manufacturer’s requirements. Improper fastening can cause a shingle to shift, become damaged, or fail to provide the expected level of security.
Continuous quality control is one of the most effective ways to maintain accurate alignment. Contractors who regularly check their work can identify small deviations before they spread across multiple courses and become more difficult to correct.
A final inspection provides another opportunity to review the completed roof. The contractor should examine the courses, exposure, offsets, edges, valleys, ridges, hips, penetrations, and visible fastening details before considering the project complete.
Ultimately, good shingle alignment is the result of careful preparation, accurate measurement, consistent installation, and ongoing inspection. It is not achieved by simply making the rows look straight from the ground.
When roofing contractors take the time to establish reliable reference lines, maintain consistent exposure, follow the correct offset pattern, work carefully around complex roof features, and inspect the finished installation, they create a more uniform and professionally finished roofing system.
A properly aligned shingle roof combines visual consistency with the technical requirements of the roofing material. When alignment is treated as an important part of the installation process rather than an afterthought, the finished roof has a stronger foundation for providing reliable weather protection and maintaining its intended appearance over time.