
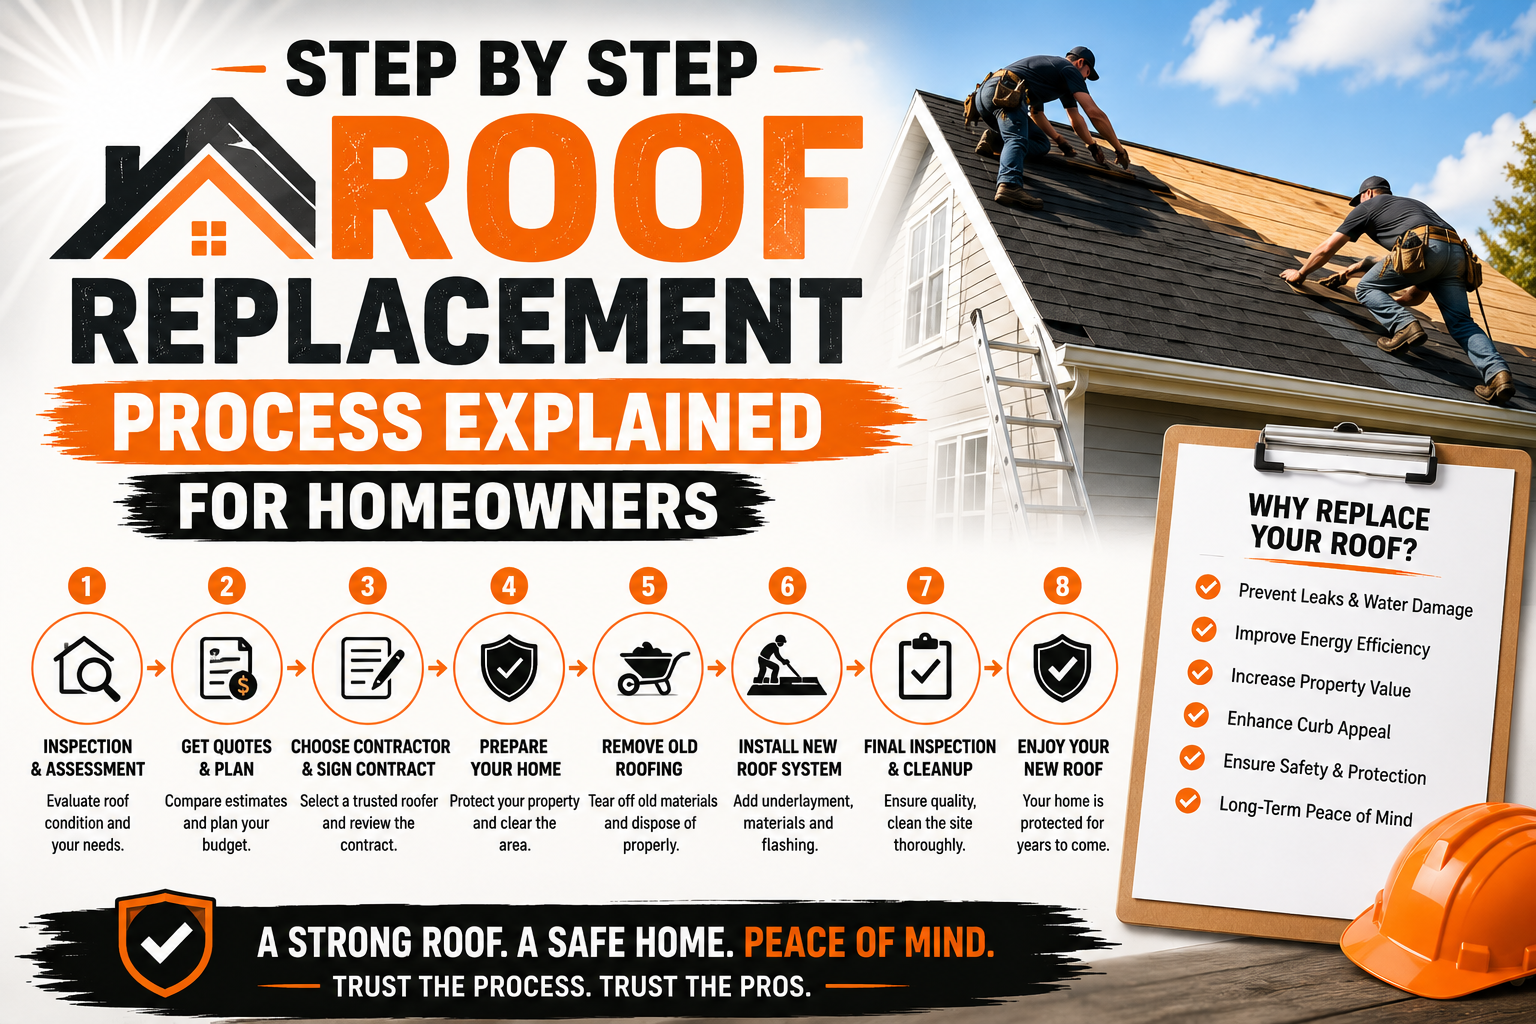
Step by Step Roof Replacement Process Explained for Homeowners
Introduction
Replacing a roof is one of the most important home improvement projects a homeowner will ever undertake. Although the process may seem overwhelming at first, understanding each stage of the project can make the experience much less stressful. Knowing what to expect helps homeowners prepare their property, communicate effectively with contractors, and make informed decisions throughout the replacement process.
A roof serves as the home’s primary defense against rain, wind, sunlight, snow, and changing weather conditions. Over time, even the highest-quality roofing materials begin to deteriorate due to constant exposure to the elements. When repairs are no longer sufficient, replacing the roof becomes the best long-term solution for protecting the home and maintaining its value.
Modern roof replacement involves much more than simply installing new shingles. The process includes detailed inspections, careful planning, removal of old roofing materials, structural evaluations, installation of waterproofing components, proper ventilation, and final quality inspections. Every stage plays an important role in ensuring the new roof performs reliably for many years.
Homeowners often worry about project timelines, costs, property protection, and potential disruptions during construction. Understanding the complete roof replacement process helps reduce uncertainty while allowing families to prepare their homes before work begins.
A professionally installed roof also offers benefits beyond weather protection. Improved energy efficiency, better attic ventilation, enhanced curb appeal, increased property value, and reduced maintenance requirements all contribute to the long-term value of a roof replacement.
This guide explains the residential roof replacement process from beginning to end. By understanding each step, homeowners can approach their roofing project with greater confidence while ensuring that the investment delivers dependable protection for decades.
Why Understanding the Roof Replacement Process Matters
Many homeowners replace a roof only once or twice during their lifetime. Because roof replacement is not a routine home maintenance task, it is natural to have questions about how the project will unfold and what responsibilities homeowners have throughout the process.
Understanding the replacement process allows homeowners to make better decisions before construction begins. Knowing the purpose of inspections, material selection, installation techniques, and final inspections helps homeowners evaluate contractor recommendations with greater confidence.
A clear understanding of the process also improves communication. When homeowners understand roofing terminology and project stages, conversations with contractors become more productive. Questions can be answered more efficiently, and expectations remain realistic throughout the project.
Preparation becomes much easier as well. Roof replacement affects both the exterior and interior of the home. Families who understand the project schedule can protect belongings, relocate vehicles, secure outdoor furniture, and prepare children or pets for temporary construction activity.
Financial planning also benefits from greater understanding. Homeowners who recognize the importance of quality materials, proper installation, and long-term durability are often better equipped to evaluate roofing estimates beyond simply comparing prices.
Safety is another important consideration. Roofing projects involve heavy materials, construction equipment, ladders, and falling debris. Understanding how contractors manage safety allows homeowners to avoid hazardous areas while protecting family members throughout construction.
Knowing the replacement process also helps homeowners recognize quality workmanship. Understanding why underlayment, flashing, ventilation, and roof decking inspections are necessary makes it easier to appreciate the value of professional installation.
Most importantly, understanding the process reduces stress. Rather than worrying about unfamiliar construction activities, homeowners can follow project progress confidently while knowing what each stage is intended to accomplish.
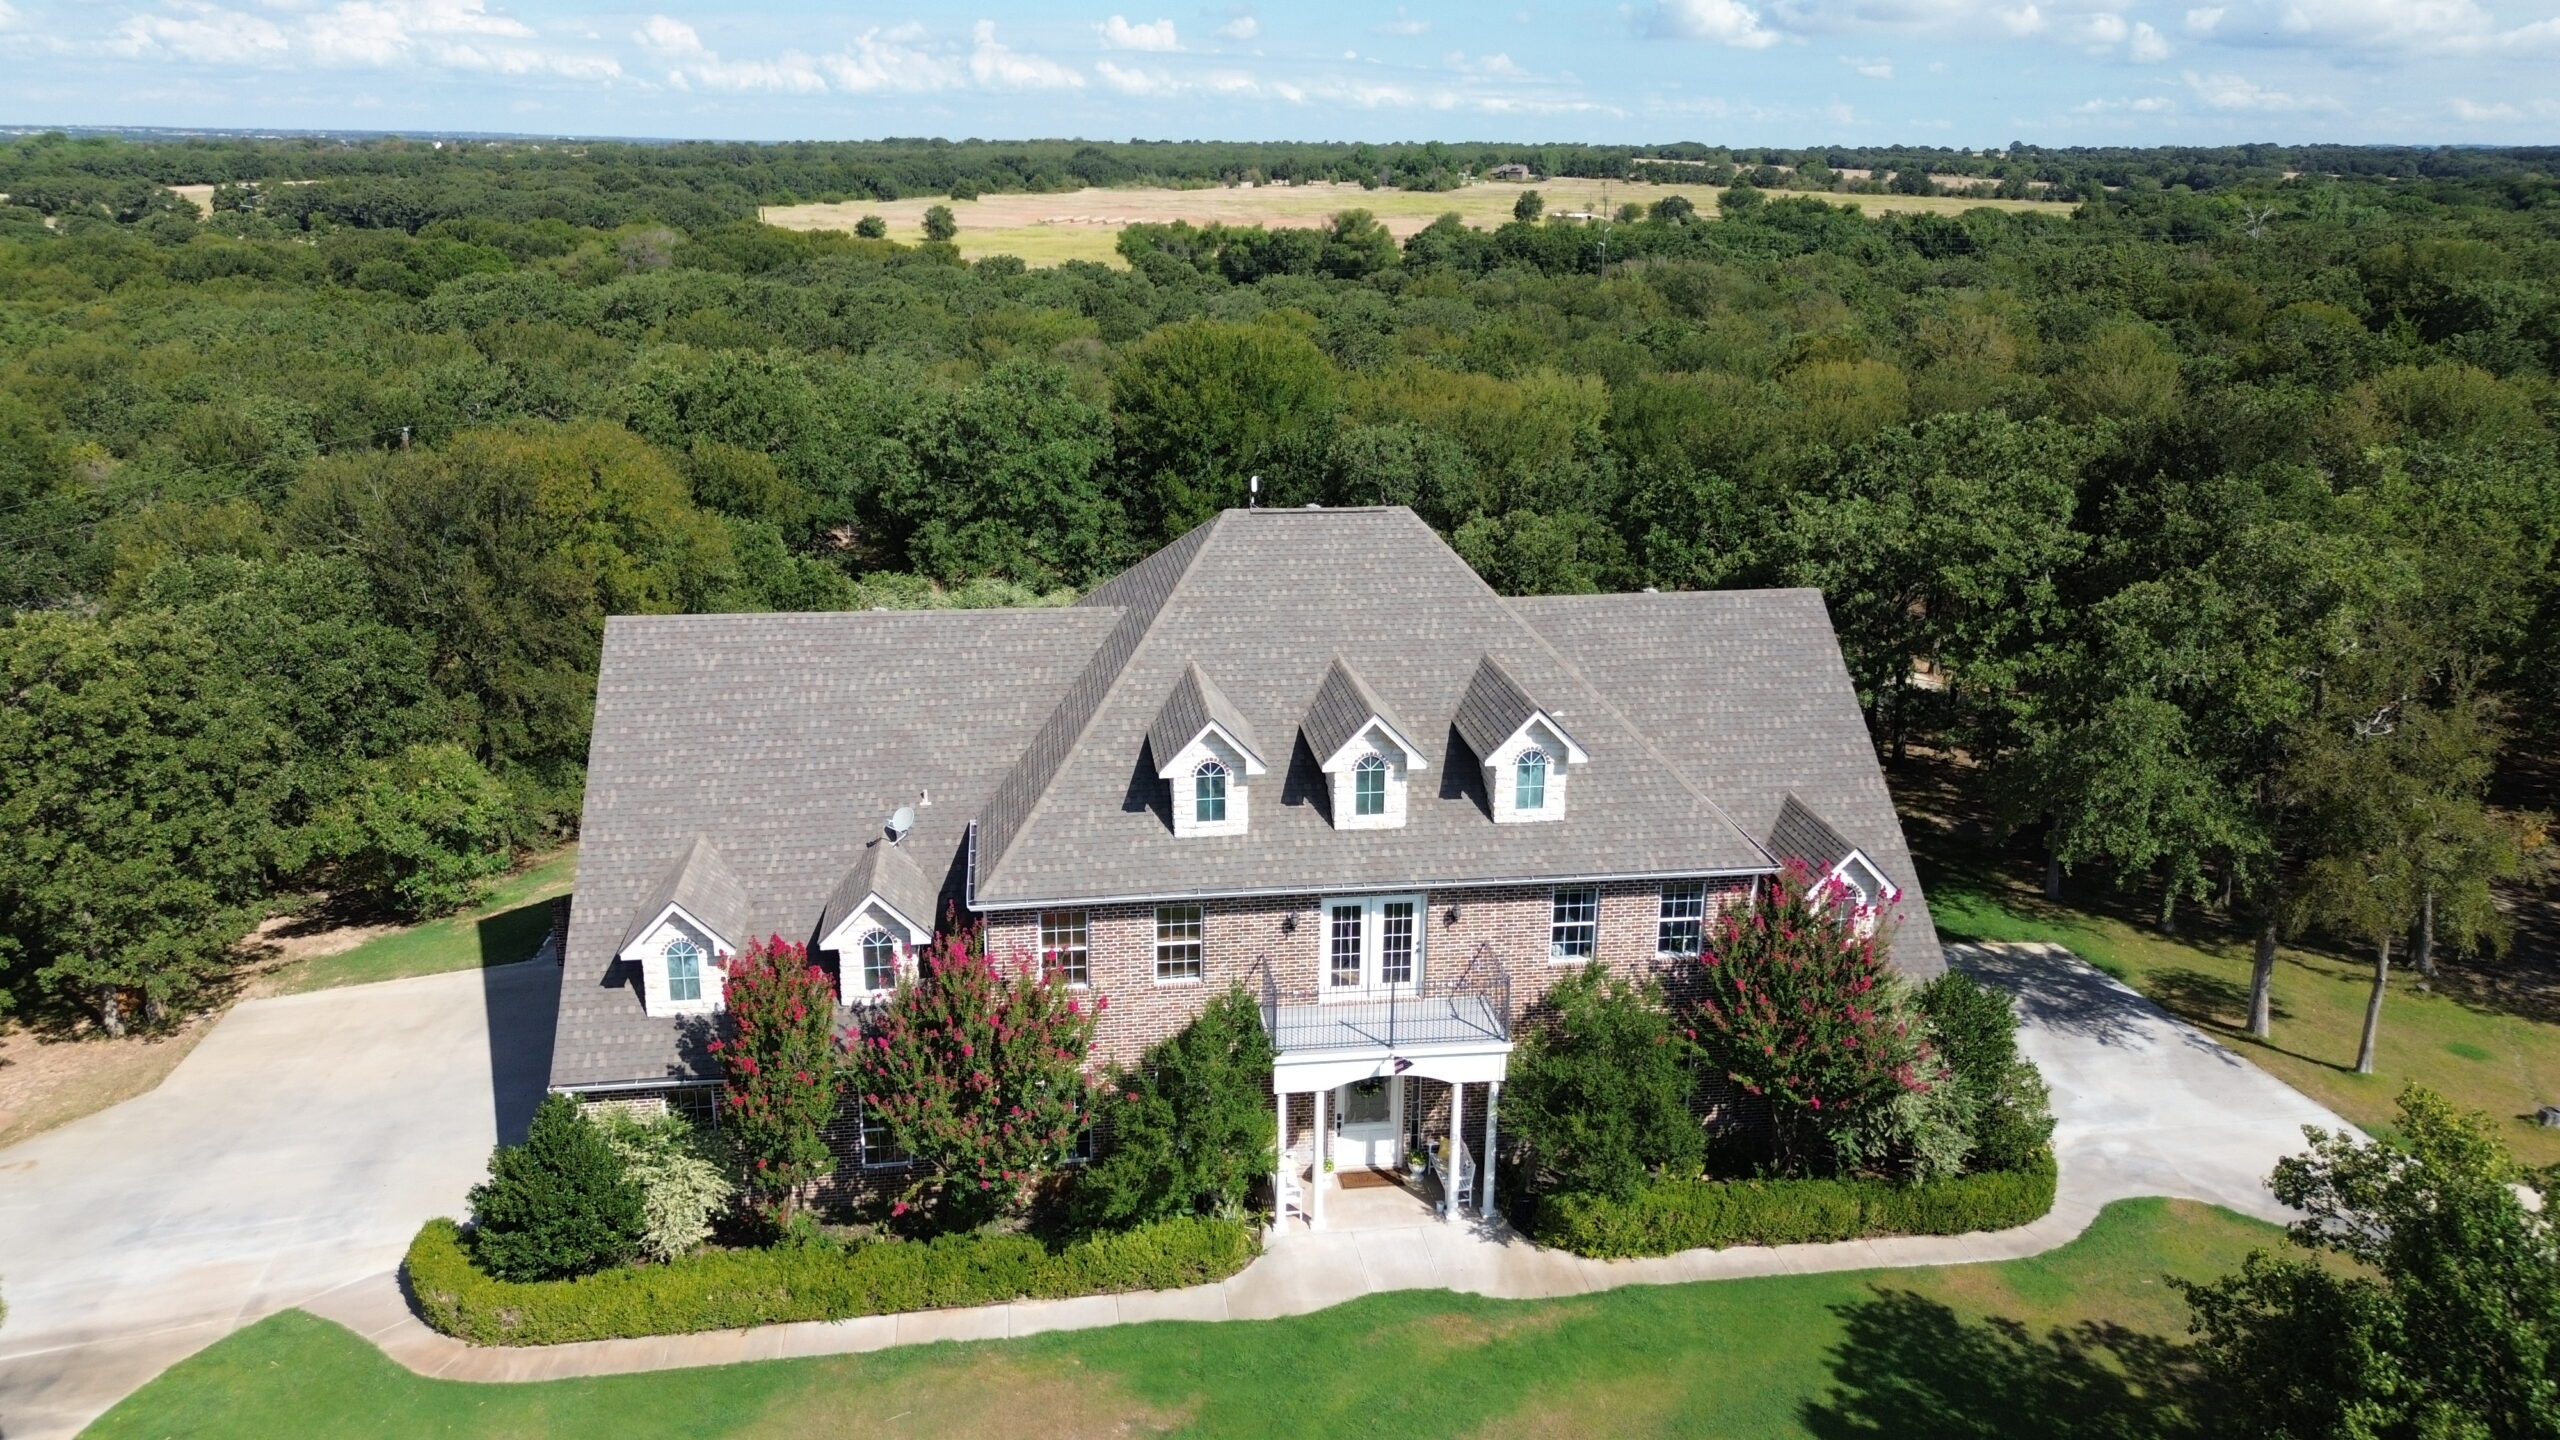
Knowing When Your Roof Needs Replacement
Before beginning the replacement process, homeowners should understand whether replacing the roof is truly necessary. While some roofing problems can be repaired successfully, others indicate that the roofing system has reached the end of its useful life.
Roof age is often the first consideration. Most residential roofing materials have expected service lives depending on their type, installation quality, local climate, and maintenance history. As roofs approach the end of their expected lifespan, replacement often becomes more practical than continued repairs.
Frequent leaks are another strong indication that replacement may be necessary. Occasional isolated leaks can often be repaired, but repeated water intrusion in multiple locations usually suggests widespread roofing deterioration.
Missing, cracked, curling, or broken shingles also indicate declining roof performance. These visible signs of aging reduce the roof’s ability to shed water while increasing the risk of future leaks.
Granule loss is common on aging asphalt shingles. As protective granules wear away, shingles become more vulnerable to sunlight, weather exposure, and accelerated deterioration. Large amounts of granules accumulating in gutters often indicate significant roof wear.
Sagging roof sections require immediate professional evaluation. Structural movement may indicate damaged roof decking, deteriorated supports, or long-term moisture damage that requires comprehensive repair during roof replacement.
Water stains inside the home should never be ignored. Ceiling discoloration, peeling paint, mold growth, or damp attic insulation often indicate roof leaks that may require replacement if widespread damage has occurred.
Storm damage also plays a major role in replacement decisions. Strong winds, hail, falling tree branches, and severe weather events can significantly reduce roof performance even when damage is not immediately obvious from the ground.
Professional roof inspections provide the most reliable assessment of roof condition. Experienced roofing contractors evaluate structural integrity, waterproofing performance, flashing condition, ventilation, and overall material deterioration before recommending repair or replacement.
Replacing the roof before severe failure occurs often prevents more expensive structural damage while providing greater flexibility during project planning.
Roof Inspection and Initial Assessment
Every successful roof replacement begins with a thorough inspection. This evaluation allows roofing professionals to understand the current condition of the roof while identifying any structural or installation issues that should be addressed during replacement.
The inspection usually begins with a visual examination of the roof surface. Contractors evaluate shingles, flashing, vents, chimneys, valleys, gutters, and other visible roofing components for signs of wear or damage.
Roof penetrations deserve special attention during the assessment. Areas surrounding plumbing vents, skylights, chimneys, satellite mounts, and exhaust systems often experience leaks because they interrupt the continuous roofing surface.
The roof deck is another important inspection area. Although much of the decking remains hidden until old roofing materials are removed, contractors often identify signs of structural concerns through sagging areas, soft spots, or interior attic inspections.
Attic evaluations provide valuable information about ventilation and insulation performance. Proper airflow helps regulate attic temperatures while reducing moisture buildup that can shorten roof lifespan.
Inspectors also examine flashing around roof intersections and vertical walls. Damaged flashing remains one of the most common causes of roof leaks, making careful evaluation essential before replacement begins.
Drainage systems should also be reviewed carefully. Gutters, downspouts, valleys, and roof slopes help direct water safely away from the home. Identifying drainage issues before replacement allows corrections to be included within the project scope.
Homeowners should ask contractors to explain inspection findings in clear language. Photographs, written reports, and detailed estimates help homeowners understand why replacement is recommended while identifying any structural repairs that may affect the project budget.
A comprehensive inspection creates the technical foundation for the entire roof replacement process while reducing unexpected surprises during construction.
Choosing Roofing Materials and a Qualified Contractor
Selecting the right roofing materials and contractor is one of the most important decisions homeowners make during the replacement process. The quality of these choices directly affects roof durability, appearance, maintenance requirements, and long-term value.
Roofing materials should be selected based on more than appearance alone. Homeowners should evaluate expected lifespan, weather resistance, energy efficiency, maintenance needs, warranty coverage, and compatibility with local climate conditions before making a decision.
Asphalt shingles remain the most common residential roofing material because they provide a balance of affordability, durability, and design flexibility. However, metal roofing, synthetic materials, wood shakes, slate, and tile roofing may also be appropriate depending on the home’s architecture and budget.
Color selection influences both appearance and energy performance. Lighter roofing colors generally reflect more sunlight, helping reduce attic temperatures during warm weather, while darker colors may better complement certain architectural styles.
Choosing an experienced roofing contractor is equally important. Homeowners should verify licensing, insurance coverage, local experience, customer reviews, and previous project references before signing a contract.
Written estimates should clearly explain project scope, roofing materials, labor, cleanup procedures, warranties, payment schedules, and estimated completion dates. Detailed proposals reduce misunderstandings while making it easier to compare contractors fairly.
Manufacturer certifications provide additional confidence that contractors have received specialized training for installing specific roofing systems according to approved standards.
Communication should also influence contractor selection. Roofing professionals who answer questions clearly, explain project details thoroughly, and maintain regular communication often provide smoother project experiences from beginning to end.
Selecting both quality materials and a reputable contractor establishes the foundation for a successful roof replacement that delivers dependable performance for many years.
Planning and Preparing Your Home Before Work Begins
Proper preparation allows roof replacement to proceed more efficiently while reducing inconvenience for homeowners. Taking a few practical steps before construction begins helps protect the home, improve safety, and support smoother project completion.
The first priority is protecting vehicles. Cars, trucks, motorcycles, and bicycles should be moved away from the house before roofing materials begin arriving. This provides space for contractor vehicles while reducing the risk of accidental damage from falling debris.
Outdoor furniture, grills, potted plants, decorations, and children’s play equipment should also be relocated away from the work area. Protecting these items prevents unnecessary damage while giving roofing crews greater freedom to move safely around the property.
Homeowners should secure items inside the house as well. Vibrations from roof removal and installation may cause pictures, wall decorations, or fragile objects to shift or fall. Removing delicate items from shelves and walls provides additional protection during construction.
Attics deserve special attention before work begins. Dust and small debris may enter unfinished attic spaces during roof replacement, so covering stored belongings with protective sheets helps keep them clean.
Families with children or pets should plan accordingly. Roofing projects create loud construction noise throughout the day, making temporary adjustments helpful for maintaining comfort and safety.
Neighbors also appreciate advance notice. Informing nearby homeowners about the upcoming roofing project helps maintain good relationships while preparing them for temporary construction activity.
Homeowners should discuss project schedules with their contractor before work begins. Understanding daily start times, expected completion dates, material delivery schedules, and cleanup procedures helps everyone prepare appropriately.
The following preparation checklist can simplify the process:
- Move vehicles away from the driveway.
- Relocate outdoor furniture and decorations.
- Protect valuable attic storage.
- Remove fragile wall decorations indoors.
- Keep children and pets away from construction areas.
- Inform nearby neighbors about the project.
- Confirm project schedule with the contractor.
Preparing the home carefully before construction begins reduces stress while helping roofing crews work safely and efficiently. In the next part, we will follow the roof replacement process step by step, including removing old roofing materials, inspecting the roof deck, installing underlayment, placing new roofing materials, completing flashing and ventilation work, and managing daily cleanup throughout the project.

Removing the Existing Roofing Materials
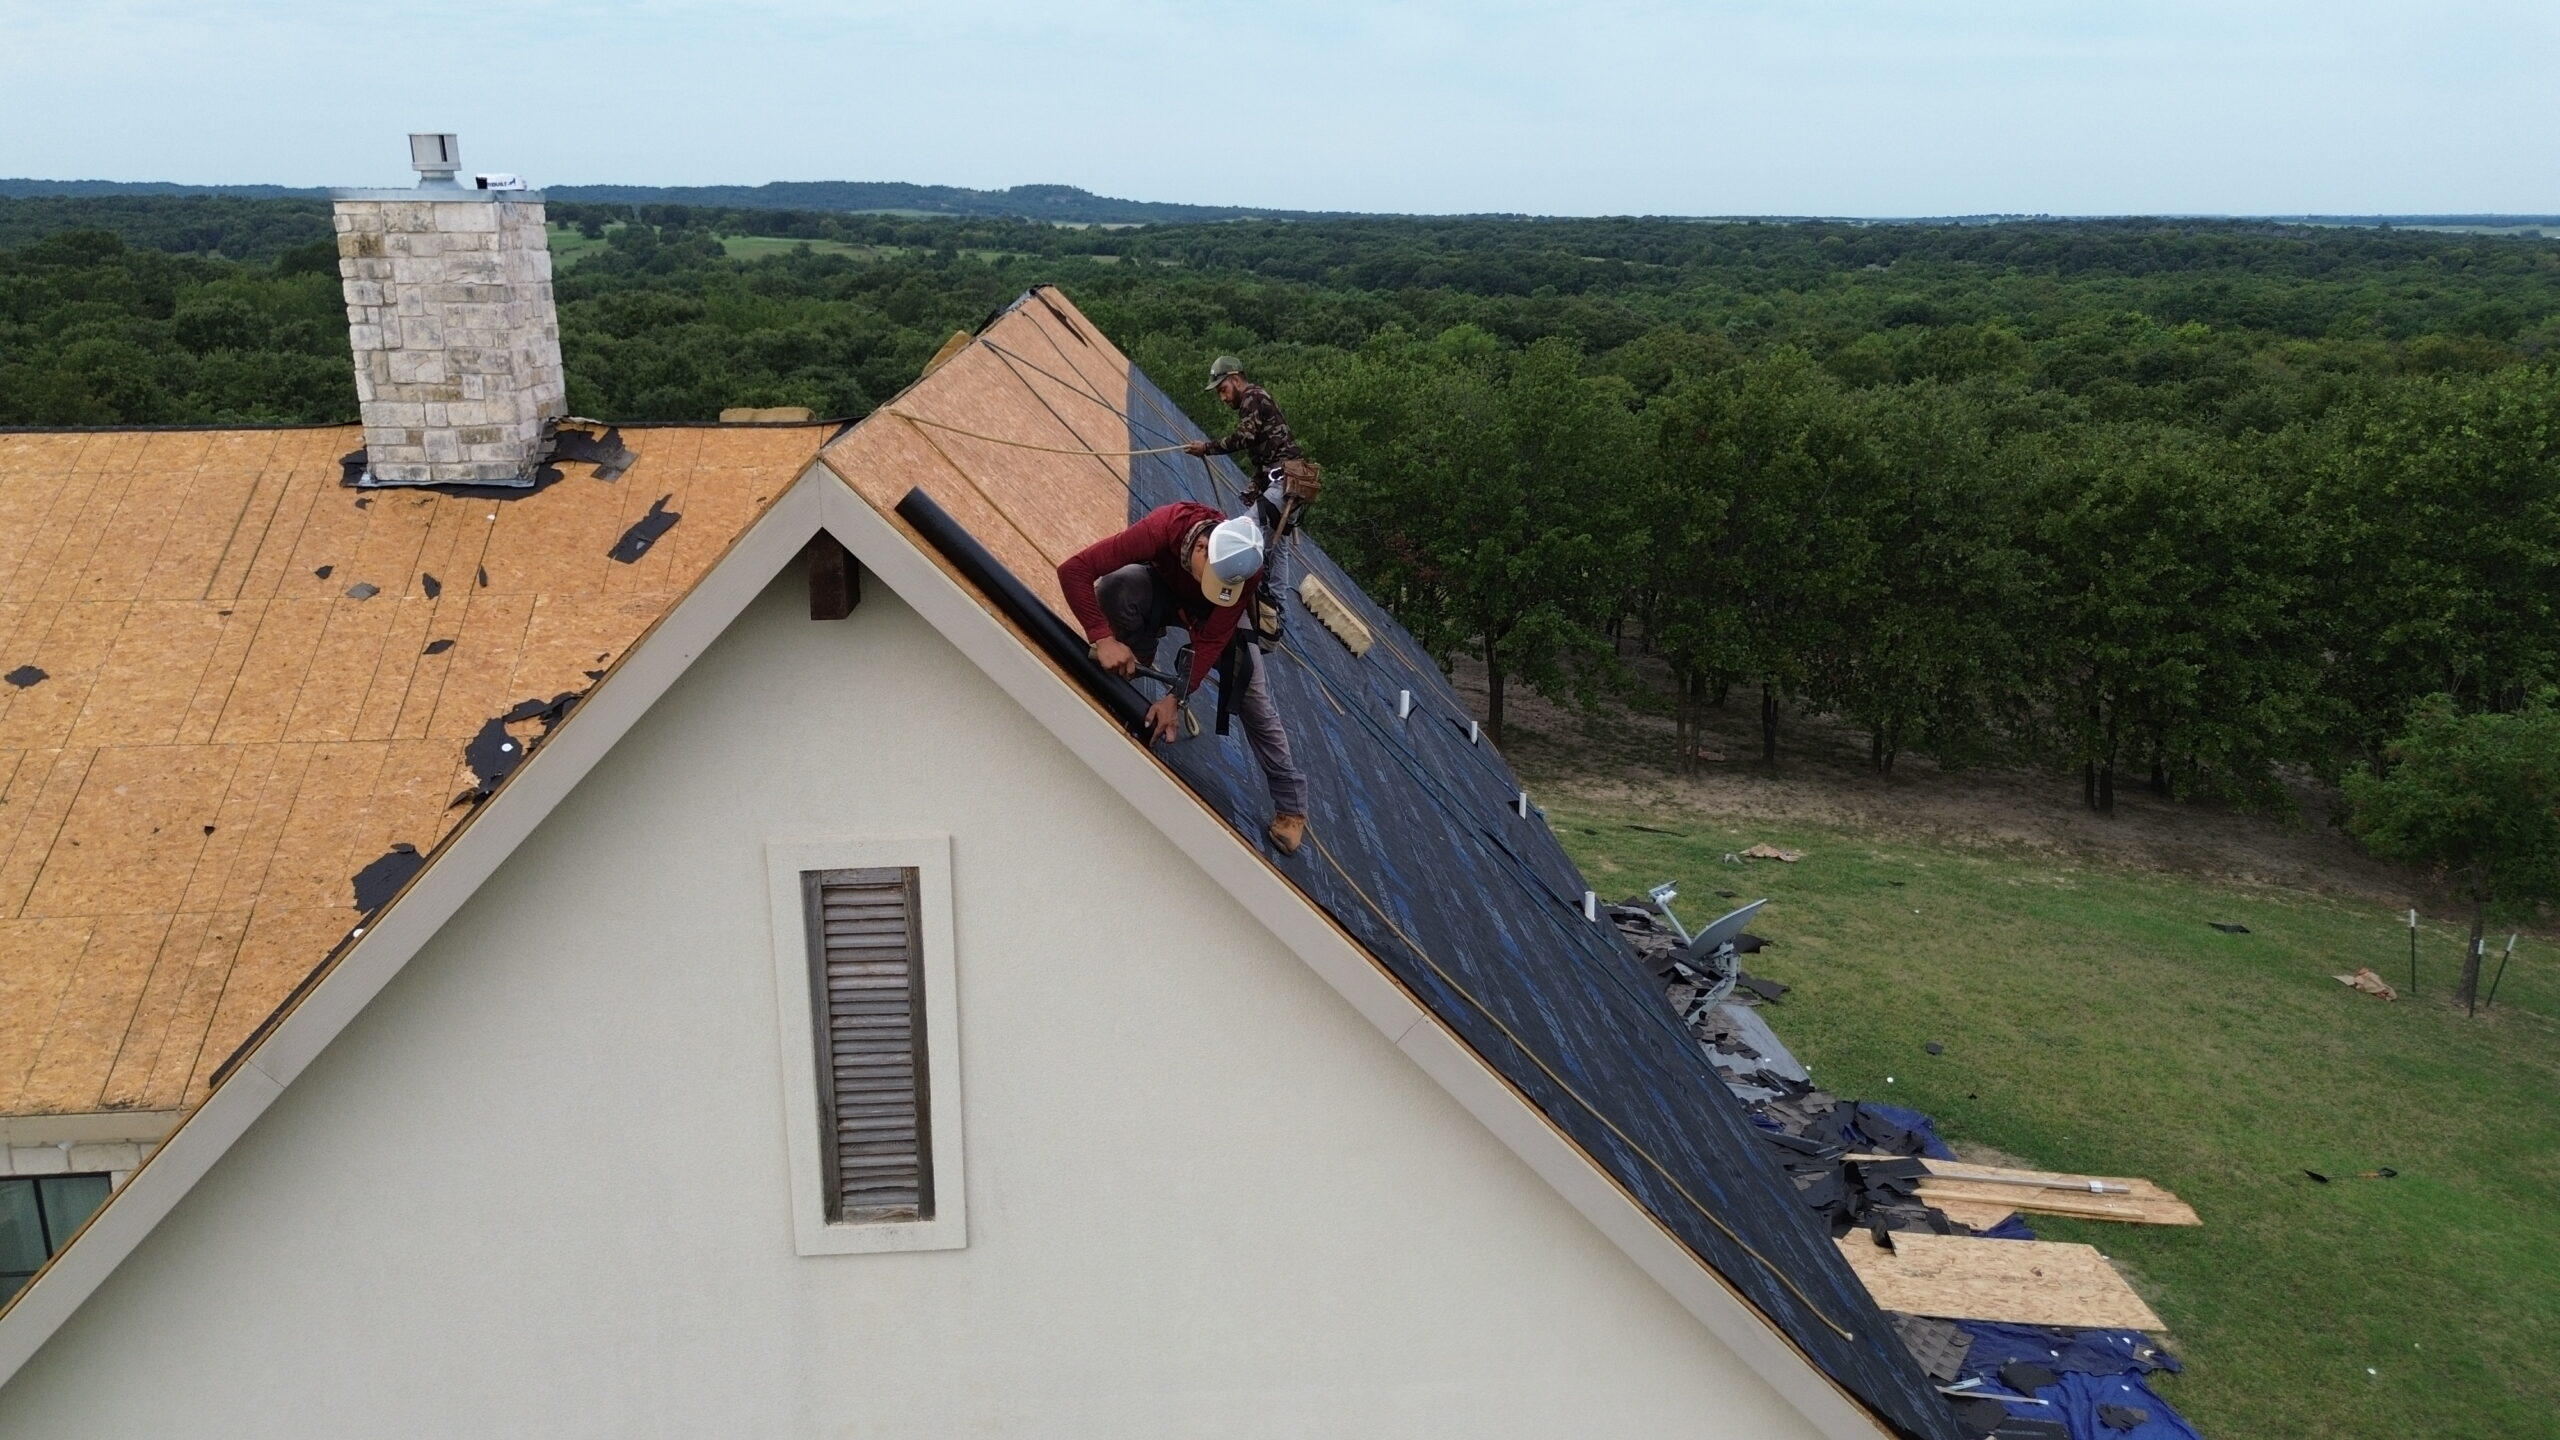
Once preparation has been completed and roofing materials have been delivered, the first major stage of the roof replacement project begins with removing the existing roofing system. Although homeowners often focus on the installation of the new roof, proper removal of the old materials is equally important because it allows contractors to inspect the structure beneath and create a solid foundation for the new roofing system.
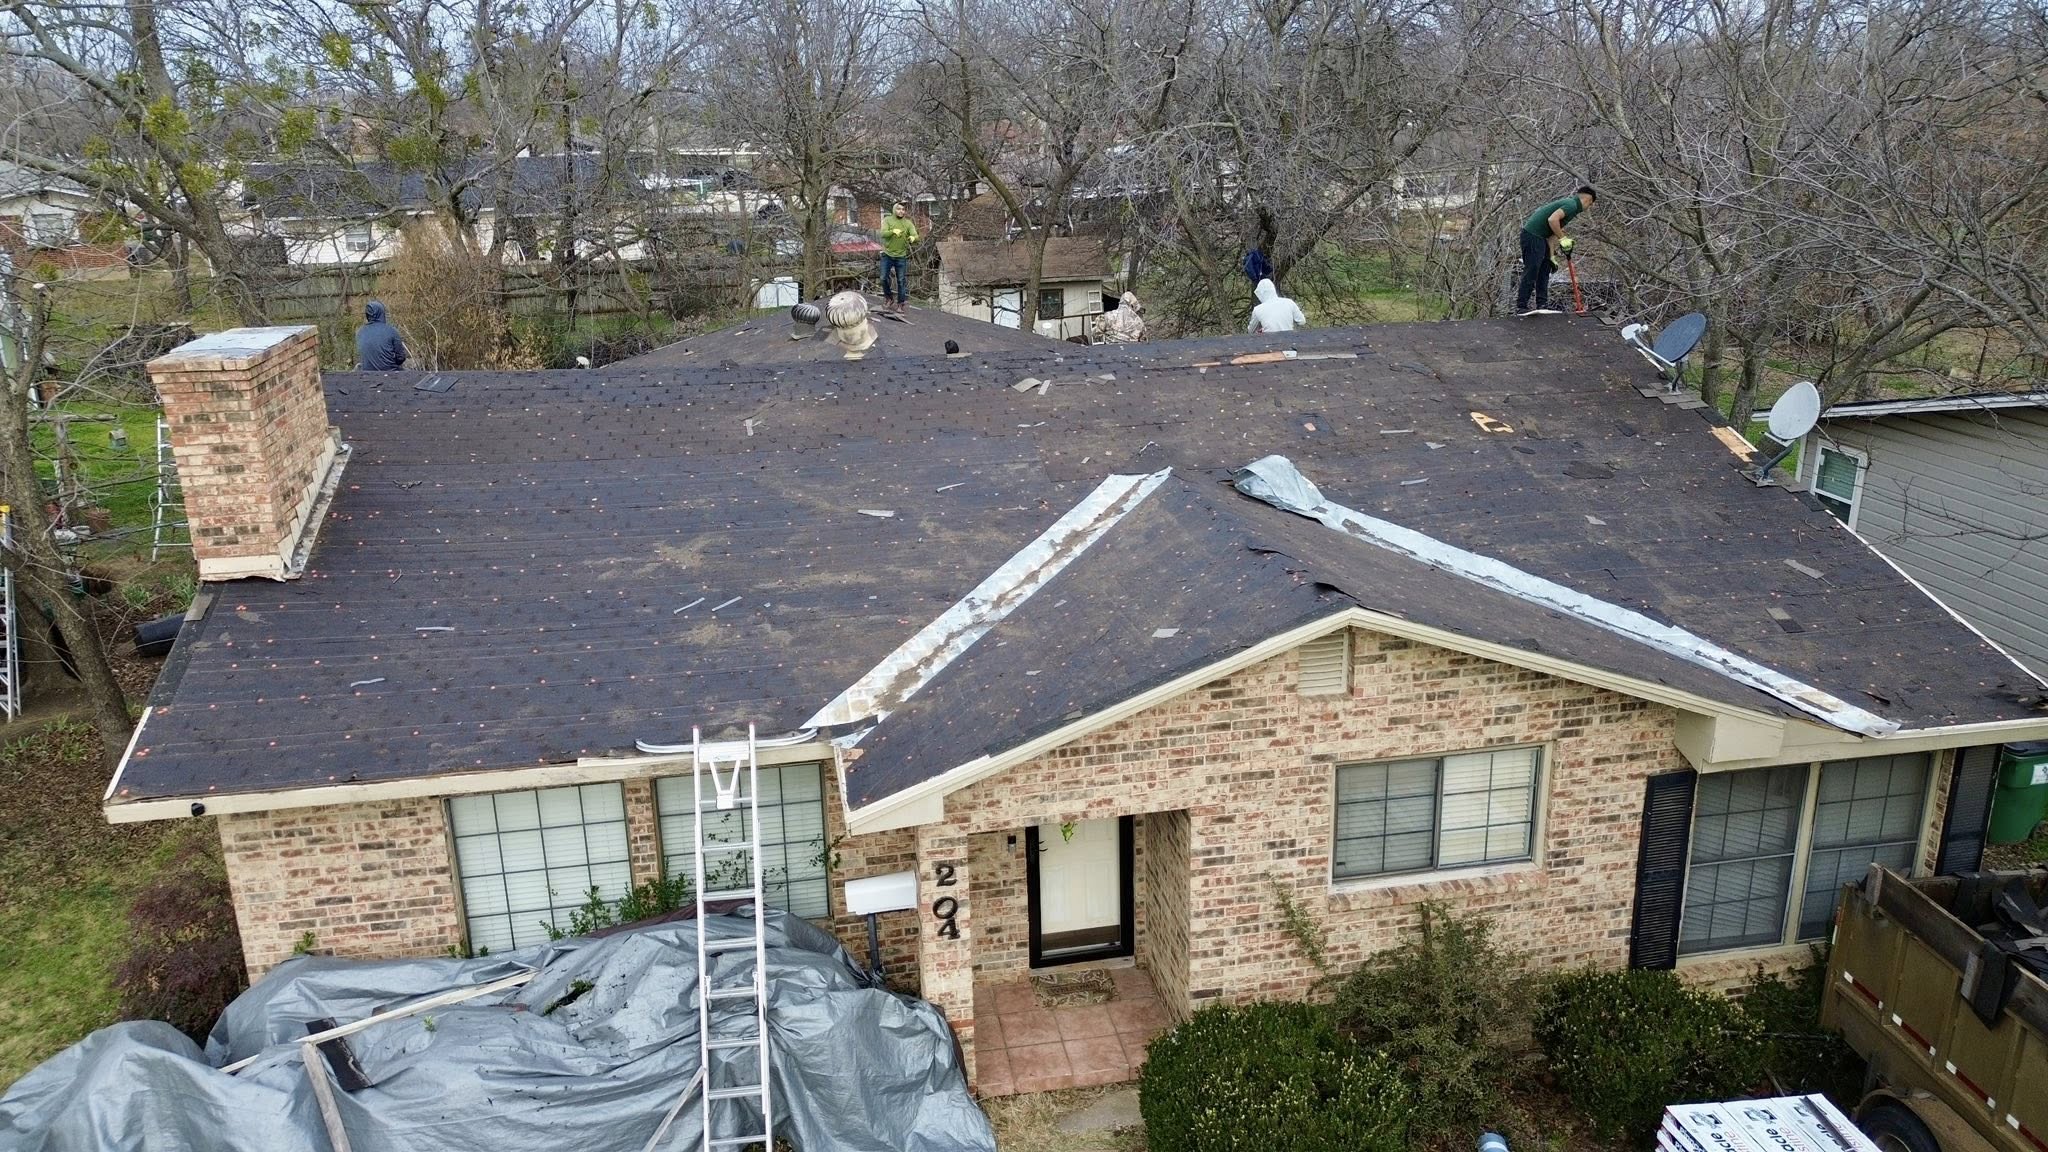
Roofing crews usually begin work early in the morning after completing a final safety inspection. Protective tarps are placed around the home to collect debris, while dumpsters or trailers are positioned nearby for efficient waste disposal. Landscaping, outdoor furniture, air conditioning units, and other vulnerable areas may also be covered to minimize the risk of damage.
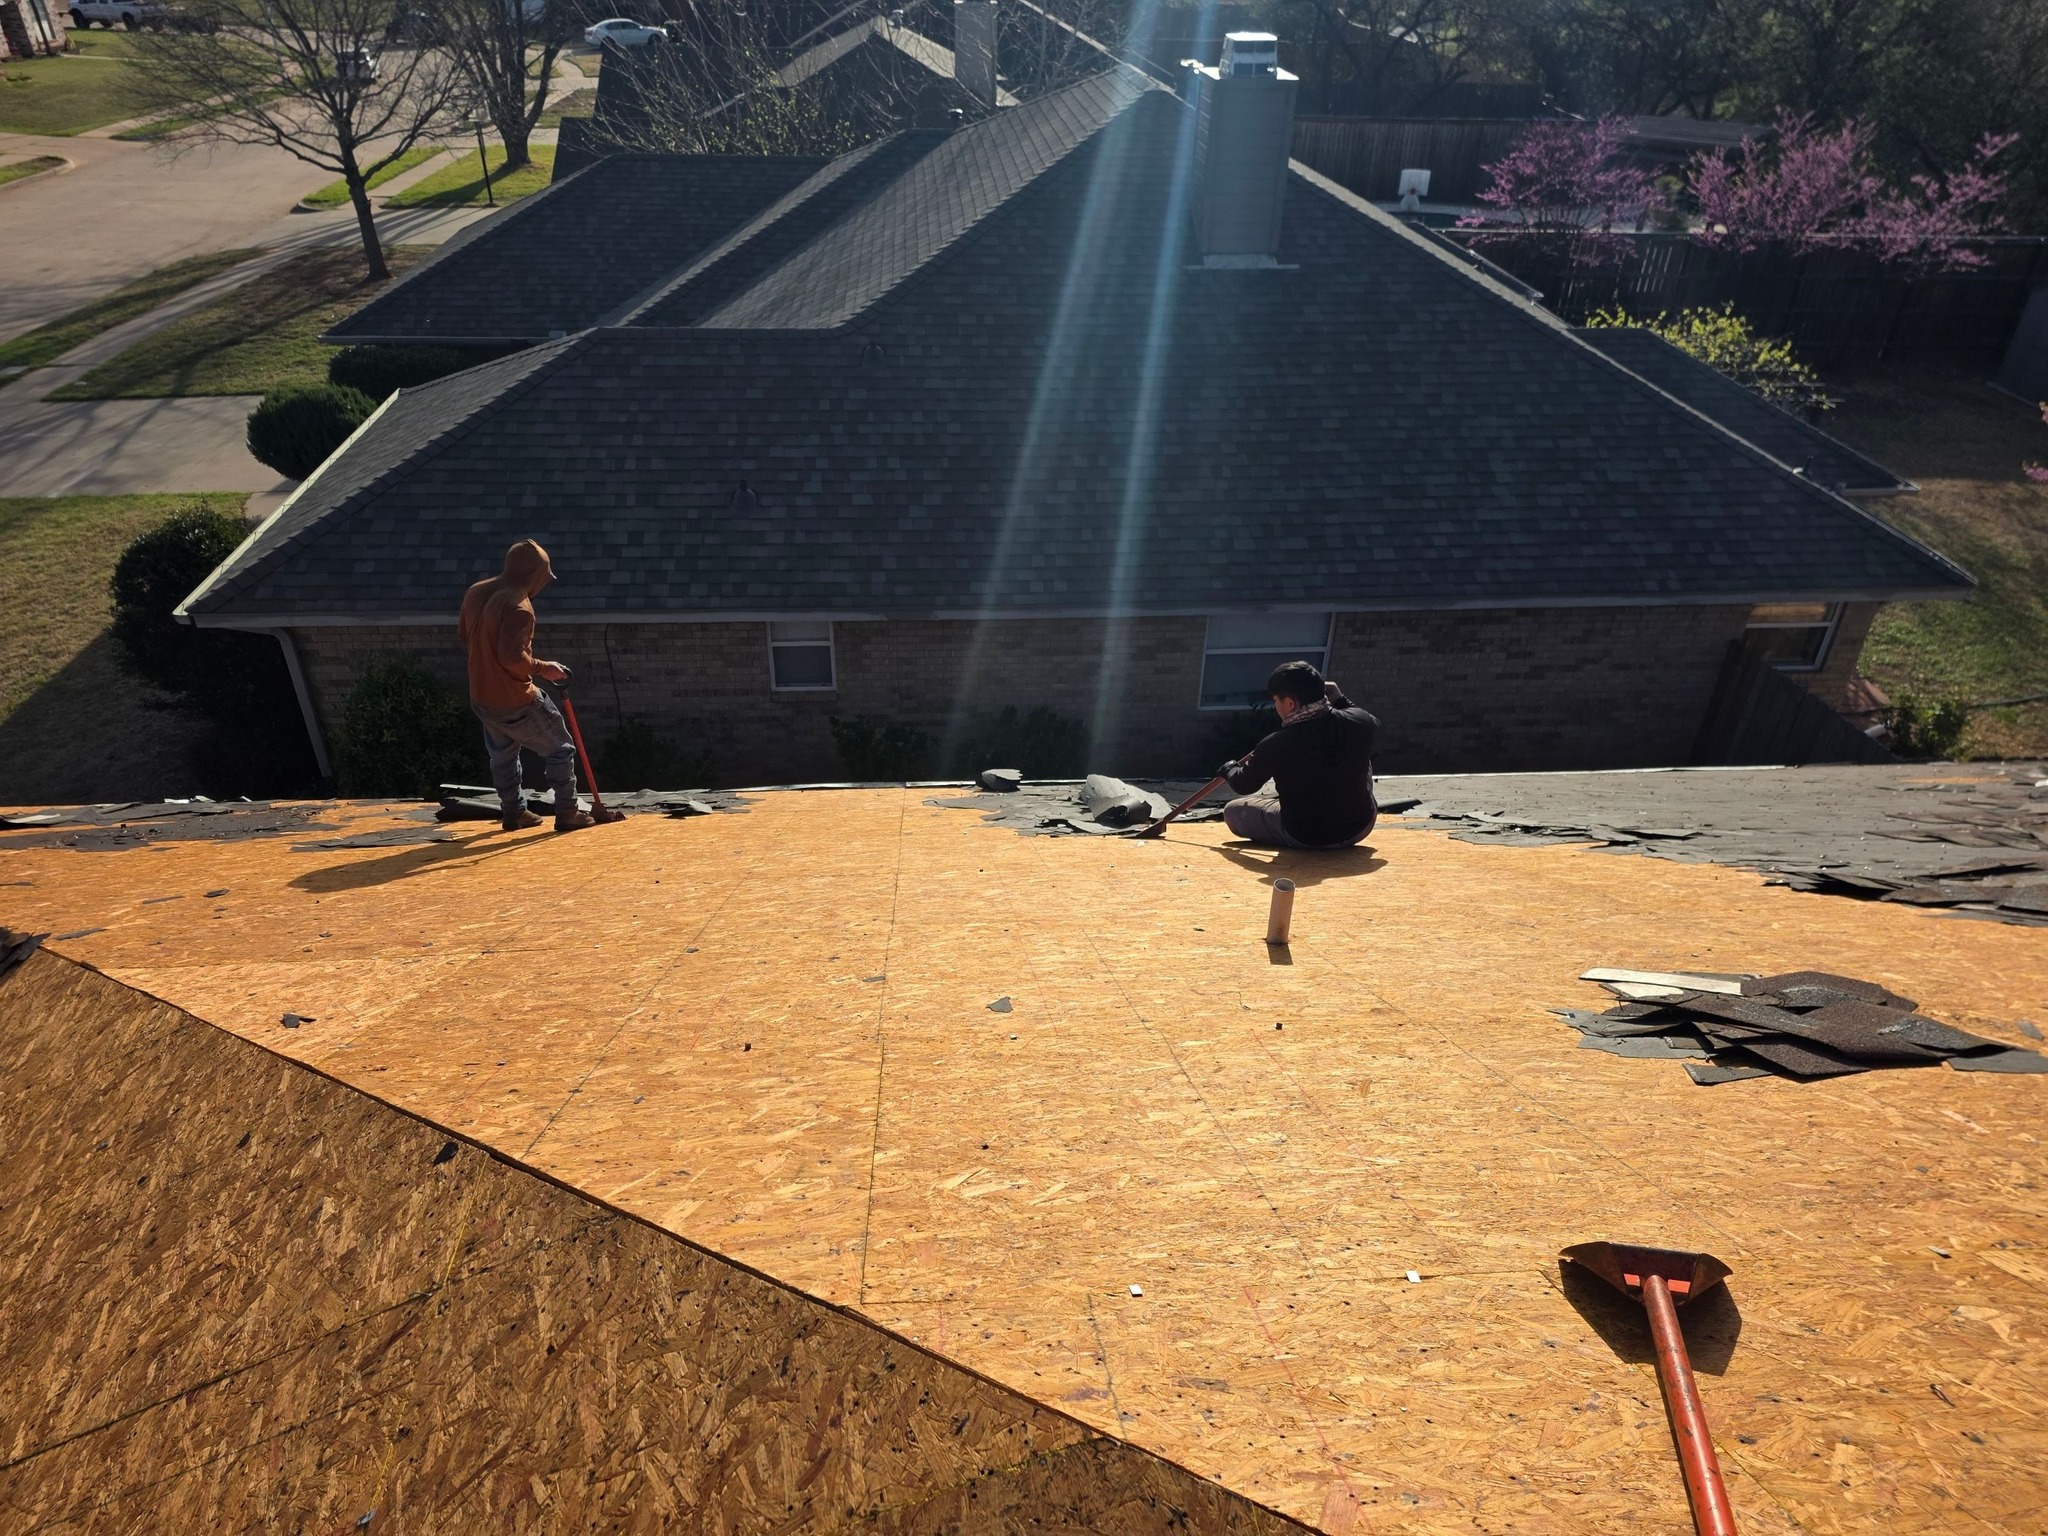
The removal process starts at the highest point of the roof and gradually works downward. Contractors use specialized roofing tools to lift shingles, nails, underlayment, flashing, and other roofing components from the roof surface. Removing materials in an organized sequence helps maintain a safe work environment while preventing unnecessary damage to the roof deck.
As the old shingles are removed, crews immediately dispose of debris rather than allowing large piles to accumulate on the roof. This improves worker safety while making it easier to inspect the exposed roof structure.
Homeowners should expect significant noise during this stage of the project. The removal of roofing materials involves scraping, hammering, lifting, and transporting heavy debris throughout the day. While this activity can be disruptive, it is a normal part of the replacement process.
Dust and small particles may also become airborne during roof removal. Professional contractors use protective coverings and perform regular cleanup throughout the project to reduce the impact on surrounding areas.
Removing every layer of worn roofing materials provides important advantages. It allows contractors to identify hidden moisture damage, evaluate the roof deck accurately, and install the new roofing system directly onto a clean, structurally sound surface.
Attempting to install new roofing materials over aging shingles may save time initially, but it often conceals existing problems while reducing the overall lifespan of the replacement roof. Complete removal provides a fresh starting point that supports better long-term performance.
Throughout this stage, experienced contractors continually monitor weather conditions. If unexpected rain becomes likely before the new roof can be installed, temporary waterproof coverings are used to protect the exposed roof structure until work resumes.
Careful removal creates the foundation for every step that follows, making it one of the most important phases of the entire roof replacement project.
Inspecting and Repairing the Roof Deck
After the old roofing materials have been removed, the roof deck becomes fully visible for the first time. This inspection is one of the most valuable parts of the roof replacement process because it reveals hidden structural conditions that could not be evaluated while the old roof remained in place.
The roof deck forms the structural base that supports every component of the roofing system. Whether constructed from plywood, oriented strand board, or another approved material, the decking must remain solid, dry, and structurally sound before new roofing materials are installed.
Contractors carefully inspect the entire roof deck for signs of deterioration. Water damage, wood rot, mold, insect damage, cracked panels, loose fasteners, and soft areas all receive close attention. Any compromised sections should be repaired before installation continues.
Moisture damage is one of the most common discoveries during roof replacement. Even small roof leaks that occurred years earlier may have weakened portions of the decking without producing obvious interior damage. Replacing these damaged sections restores structural strength while preventing future roofing problems.
Contractors also inspect roof framing where accessible. Rafters, trusses, and structural supports should remain stable and free from significant deterioration. Although major structural repairs are relatively uncommon, identifying these issues early helps ensure long-term roof reliability.
Proper fastening is another important consideration. Loose decking panels may shift over time, affecting roofing performance and increasing the likelihood of future leaks. Contractors secure any loose panels before proceeding with installation.
Roof decking repairs may slightly increase project costs if significant damage is discovered. However, completing these repairs during roof replacement is far less expensive than allowing structural problems to remain hidden beneath the new roofing system.
Homeowners should understand that replacing damaged decking is not an unnecessary extra expense. Instead, it protects the investment by ensuring that the new roof is installed on a stable and reliable foundation.
A thorough roof deck inspection also helps identify ventilation improvements that may be incorporated before installation continues. Correcting ventilation deficiencies at this stage improves attic airflow while supporting longer roof lifespan.
Once all necessary repairs have been completed, the roof surface is cleaned carefully to remove dust, nails, and remaining debris. A clean, smooth deck provides the ideal surface for installing the next layers of the roofing system.
Installing Underlayment and Protective Components
With the roof deck fully prepared, contractors begin installing the protective layers that serve as the roof’s secondary weather barrier. Although these materials remain hidden after the project is completed, they play a vital role in protecting the home from moisture infiltration and extending the lifespan of the roofing system.
The first protective component typically installed is the drip edge along the roof perimeter where required. This metal edging directs water away from the roof deck while protecting exposed edges from moisture damage. Proper installation helps preserve both the roofing system and the home’s exterior trim.
Waterproof membrane is often installed in areas most vulnerable to water infiltration. Roof valleys, eaves, and locations where ice dams commonly develop receive additional protection through specialized waterproof barriers. These membranes provide extra defense against moisture under challenging weather conditions.
Roofing underlayment is then rolled across the roof deck in overlapping sections. This material acts as a secondary moisture barrier beneath the visible roofing material. If wind-driven rain or damaged shingles allow water beneath the roof surface, the underlayment helps prevent moisture from reaching the roof deck.
Modern synthetic underlayments have become increasingly popular because they provide improved durability, tear resistance, and weather protection compared to many traditional materials. They also allow contractors to work more efficiently while maintaining reliable waterproofing performance.
Proper overlap between underlayment sections is essential. Contractors follow manufacturer recommendations carefully to ensure that water flows safely down the roof rather than reaching the decking below.
Fastening methods also affect underlayment performance. Materials should be secured firmly without creating unnecessary punctures or wrinkles that could compromise waterproofing.
Roof valleys require additional attention because they channel large volumes of rainwater during storms. Specialized valley protection helps manage water flow while reducing wear in these high-exposure areas.
Roof penetrations such as plumbing vents, skylights, chimneys, and exhaust vents are also prepared during this stage. Waterproofing materials are carefully integrated around these openings to maintain continuous protection throughout the roof.
Proper installation of these protective layers provides homeowners with additional peace of mind. Even if individual shingles become damaged during severe weather, the underlayment continues protecting the home until repairs can be completed.
Although homeowners rarely see these hidden roofing components after installation, they remain among the most important contributors to long-term roof performance.
Installing the New Roofing Material
After the roof deck and protective layers have been completed, attention turns to the most visible stage of the roof replacement process. Installing the new roofing material transforms the appearance of the home while providing the primary barrier against weather exposure.
Roofing installation generally begins along the lower edge of the roof before progressing upward toward the ridge. This sequence allows each new row of roofing material to overlap the row beneath it, encouraging rainwater to flow safely off the roof surface.
For asphalt shingle roofs, contractors carefully align each shingle according to manufacturer specifications. Consistent spacing, proper overlap, and accurate fastening all contribute to both appearance and long-term weather resistance.
Roofing nails must be placed precisely within designated fastening zones. Improper nail placement may reduce wind resistance, affect warranty coverage, or increase the likelihood of shingle movement during storms.
Contractors regularly verify alignment as installation progresses. Straight shingle courses not only improve the home’s appearance but also ensure consistent waterproofing across the roof surface.
Roof ridges, hips, valleys, and roof transitions require specialized installation techniques. These areas experience greater weather exposure and therefore receive additional attention throughout the project.
If metal roofing is being installed instead of shingles, large panels are positioned carefully while allowing for natural expansion and contraction caused by temperature changes. Fasteners and seams are installed according to manufacturer engineering requirements.
Tile, slate, and other specialty roofing materials follow their own unique installation procedures. Regardless of the material selected, precision and consistency remain essential throughout every stage of installation.
Weather conditions continue influencing construction progress during this phase. Roofing materials should only be installed under conditions recommended by the manufacturer to ensure proper adhesion and long-term performance.
Contractors also monitor completed work continuously rather than waiting until the end of the project. Early quality checks help identify any adjustments before installation proceeds across larger roof sections.
By the end of this stage, the home begins to display its finished appearance while gaining the primary protective roofing surface designed to withstand years of weather exposure.
Flashing, Ventilation, and Finishing Details
Although the main roofing material covers most of the roof surface, numerous smaller components play equally important roles in protecting the home. Flashing, ventilation systems, and finishing details ensure that the completed roof performs efficiently under all weather conditions.
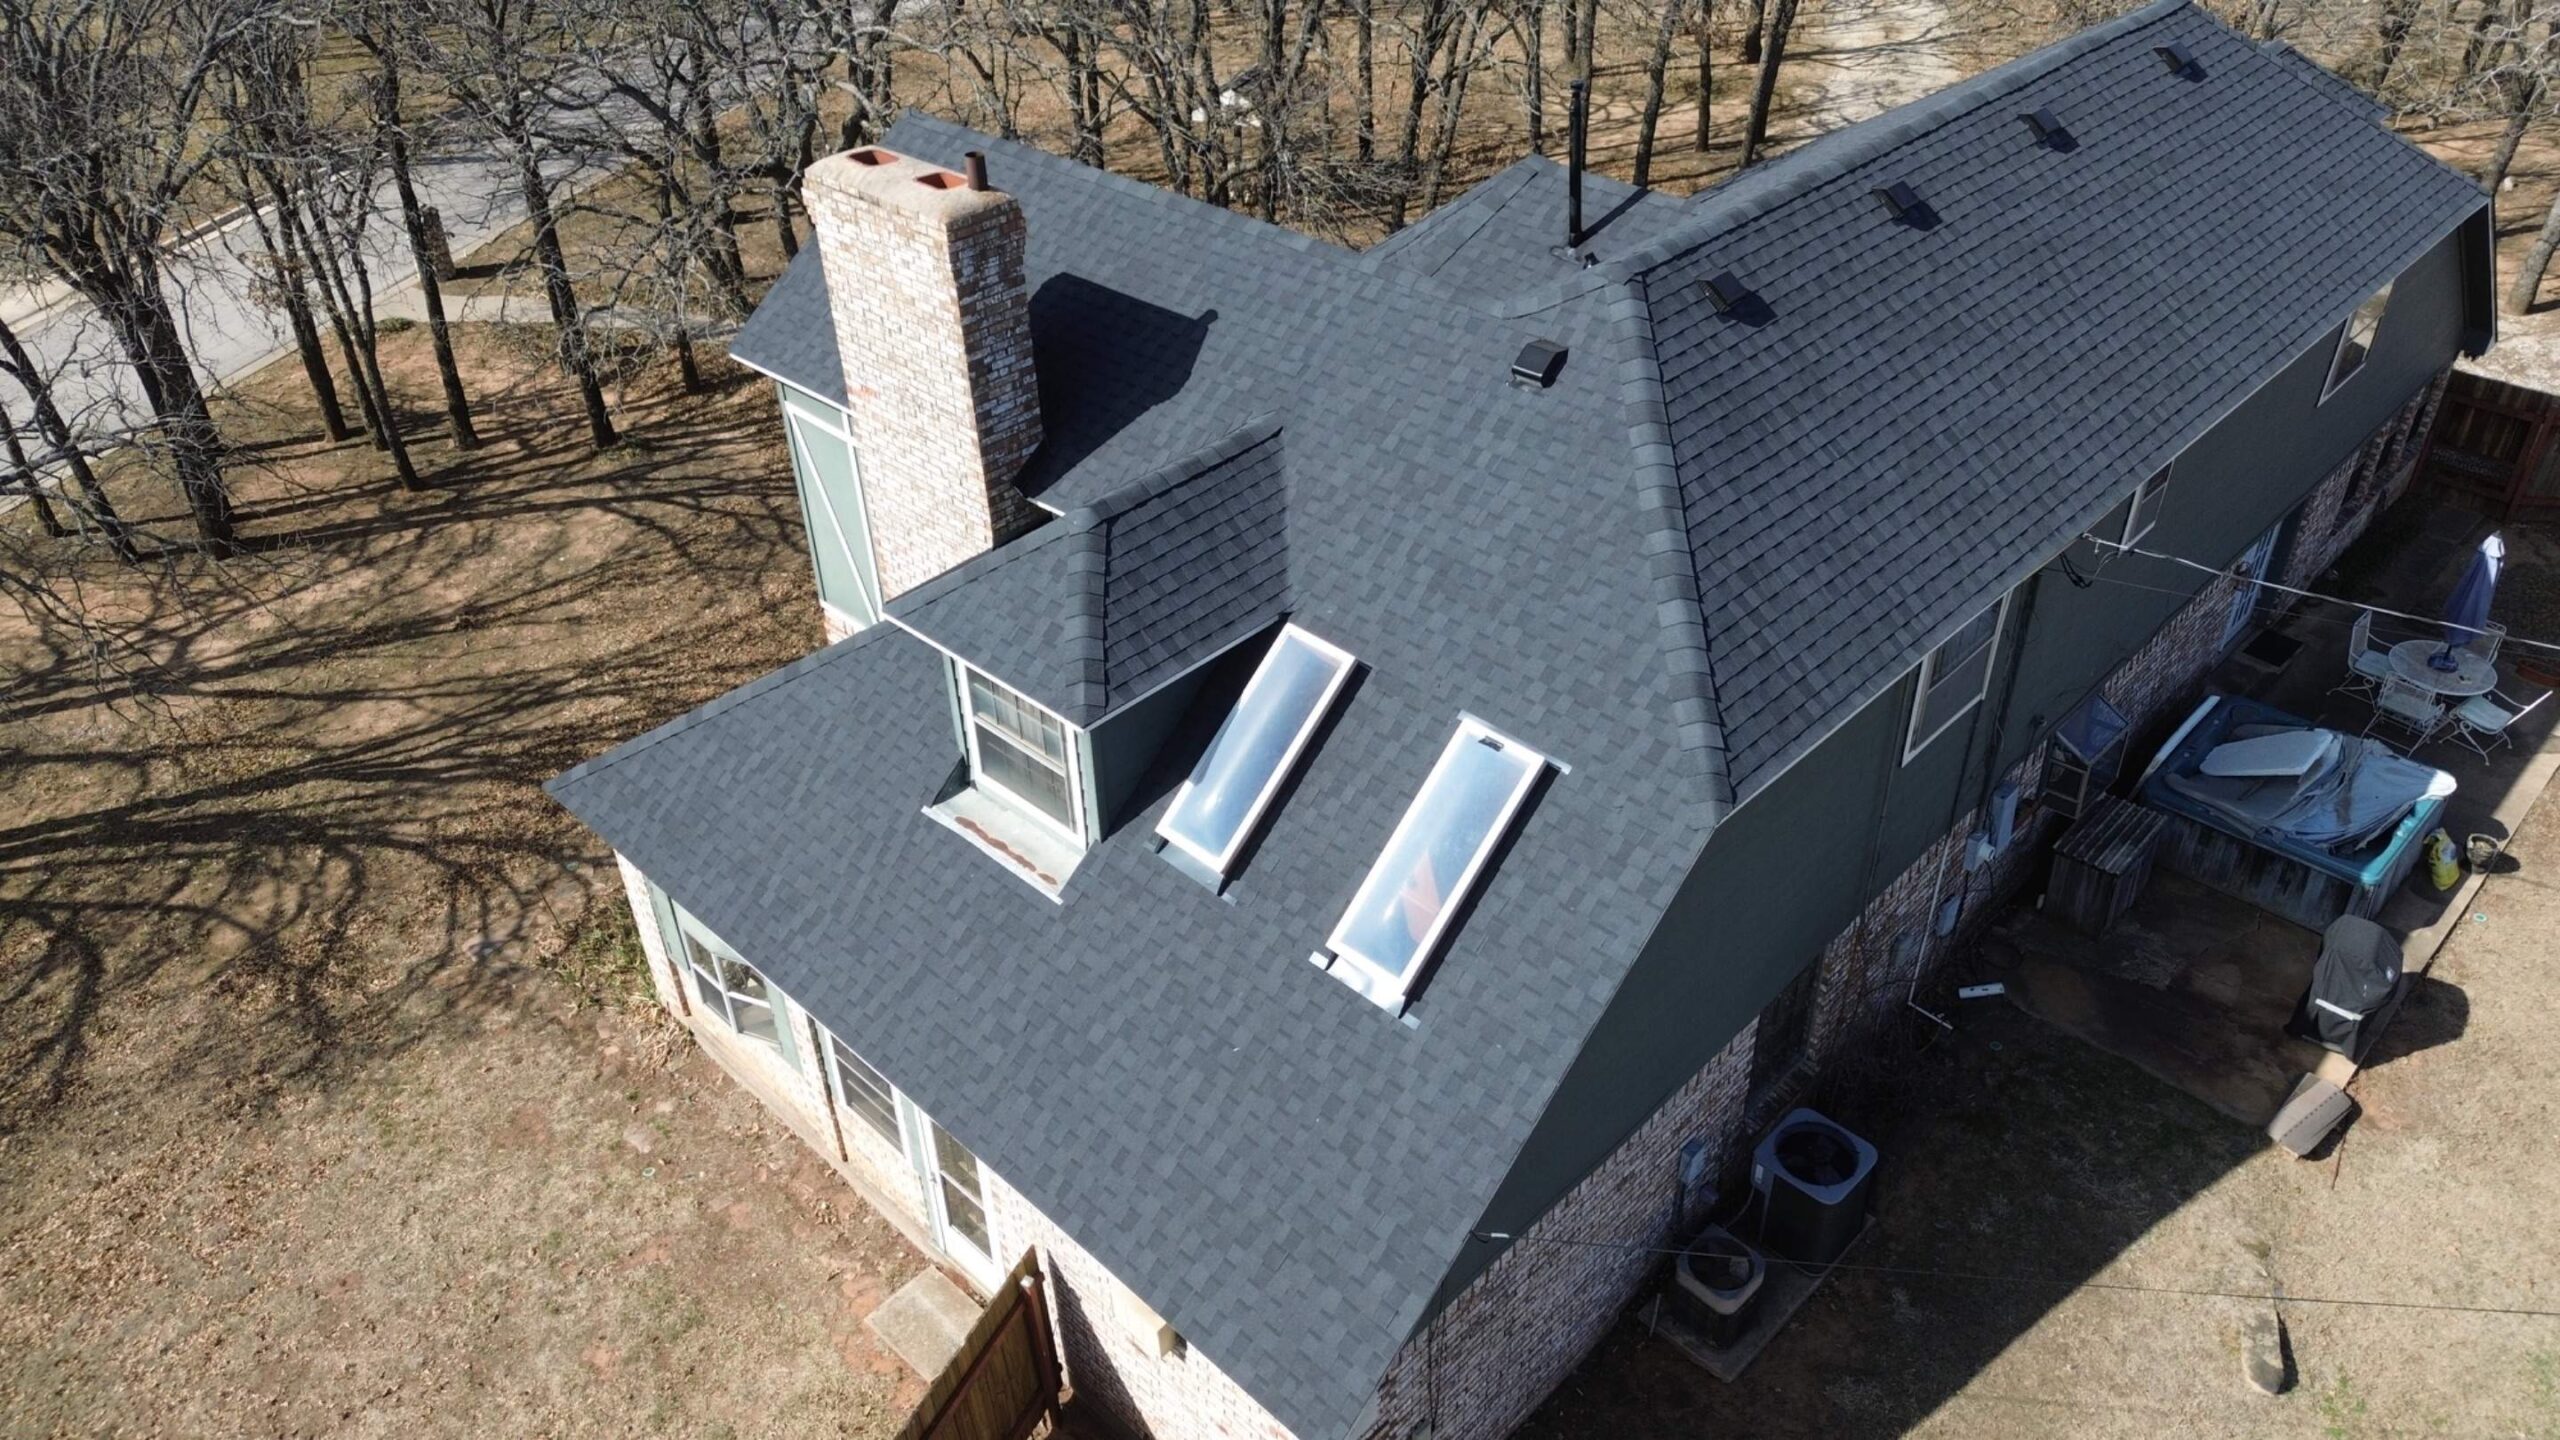
Flashing consists of specially formed metal components installed wherever the roof meets walls, chimneys, skylights, dormers, plumbing vents, or other roof penetrations. These transition areas represent some of the most common sources of roof leaks if not protected properly.
Each flashing component is carefully integrated beneath and over surrounding roofing materials to direct water safely away from vulnerable areas. Proper flashing installation requires precision because even small installation errors may eventually allow moisture intrusion.
Chimney flashing receives particular attention. Contractors install multiple flashing pieces around chimney bases while sealing transitions carefully to maintain waterproof protection throughout seasonal building movement.
Plumbing vent boots are also replaced during most roof replacement projects. These protective components surround plumbing pipes extending through the roof while preventing water from entering around the penetration.
Roof ventilation is another essential part of the replacement process. Proper attic airflow helps regulate temperature and moisture levels beneath the roof, reducing the risk of condensation, mold growth, and premature roofing deterioration.
Depending on the home’s design, contractors may install ridge vents, static vents, soffit vents, or powered ventilation systems. These components work together to encourage continuous air circulation throughout the attic space.
Improved ventilation also supports better energy efficiency by reducing excessive attic temperatures during summer while minimizing moisture accumulation during colder months.
Ridge caps provide the final roofing layer along the highest portion of the roof. These specially designed shingles protect roof ridges while completing the finished appearance of the roofing system.
Every finishing detail contributes to overall roof performance. Although these components occupy relatively small portions of the roof, they often determine how effectively the roofing system resists water intrusion throughout its service life.
Careful attention to flashing, ventilation, and finishing work distinguishes professional roof replacement from basic installation and greatly improves long-term durability.
Site Cleanup and Daily Project Progress
Roof replacement projects generate significant amounts of construction debris, making cleanup an important part of each workday. Professional contractors understand that protecting the homeowner’s property extends beyond installing the roof itself.
Throughout construction, roofing crews regularly remove discarded shingles, nails, packaging materials, and other debris from the roof and surrounding property. Maintaining an organized work area improves both safety and efficiency.
Dumpsters or trailers positioned near the home receive roofing waste continuously as materials are removed. This organized disposal process prevents excessive debris accumulation around the property.
Magnetic cleanup equipment is commonly used to collect roofing nails from lawns, driveways, sidewalks, flower beds, and landscaping. These powerful magnets greatly reduce the possibility of nails remaining hidden after construction has been completed.
Contractors also inspect outdoor areas at the end of each workday to ensure pathways remain safe for homeowners. Temporary hazards are removed while construction materials are organized securely before crews leave the site.
Progress updates are typically provided throughout the project. Homeowners may receive information regarding completed work, weather impacts, remaining tasks, and expected completion schedules. Regular communication helps maintain confidence while reducing uncertainty.
Unexpected discoveries such as damaged roof decking or structural repairs are discussed promptly before additional work proceeds. This allows homeowners to understand any necessary changes while maintaining transparency throughout the project.
By maintaining organized job sites and performing continuous cleanup, professional roofing contractors minimize disruption while protecting the homeowner’s property.
At the conclusion of each workday, the project remains organized, secure, and prepared for the next stage of construction. In the final part, we will cover the final roof inspection, warranty documentation, post-installation maintenance, common homeowner mistakes after replacement, strategies for maximizing roof lifespan, and conclude the complete guide to the residential roof replacement process.
Final Quality Inspection and Project Completion
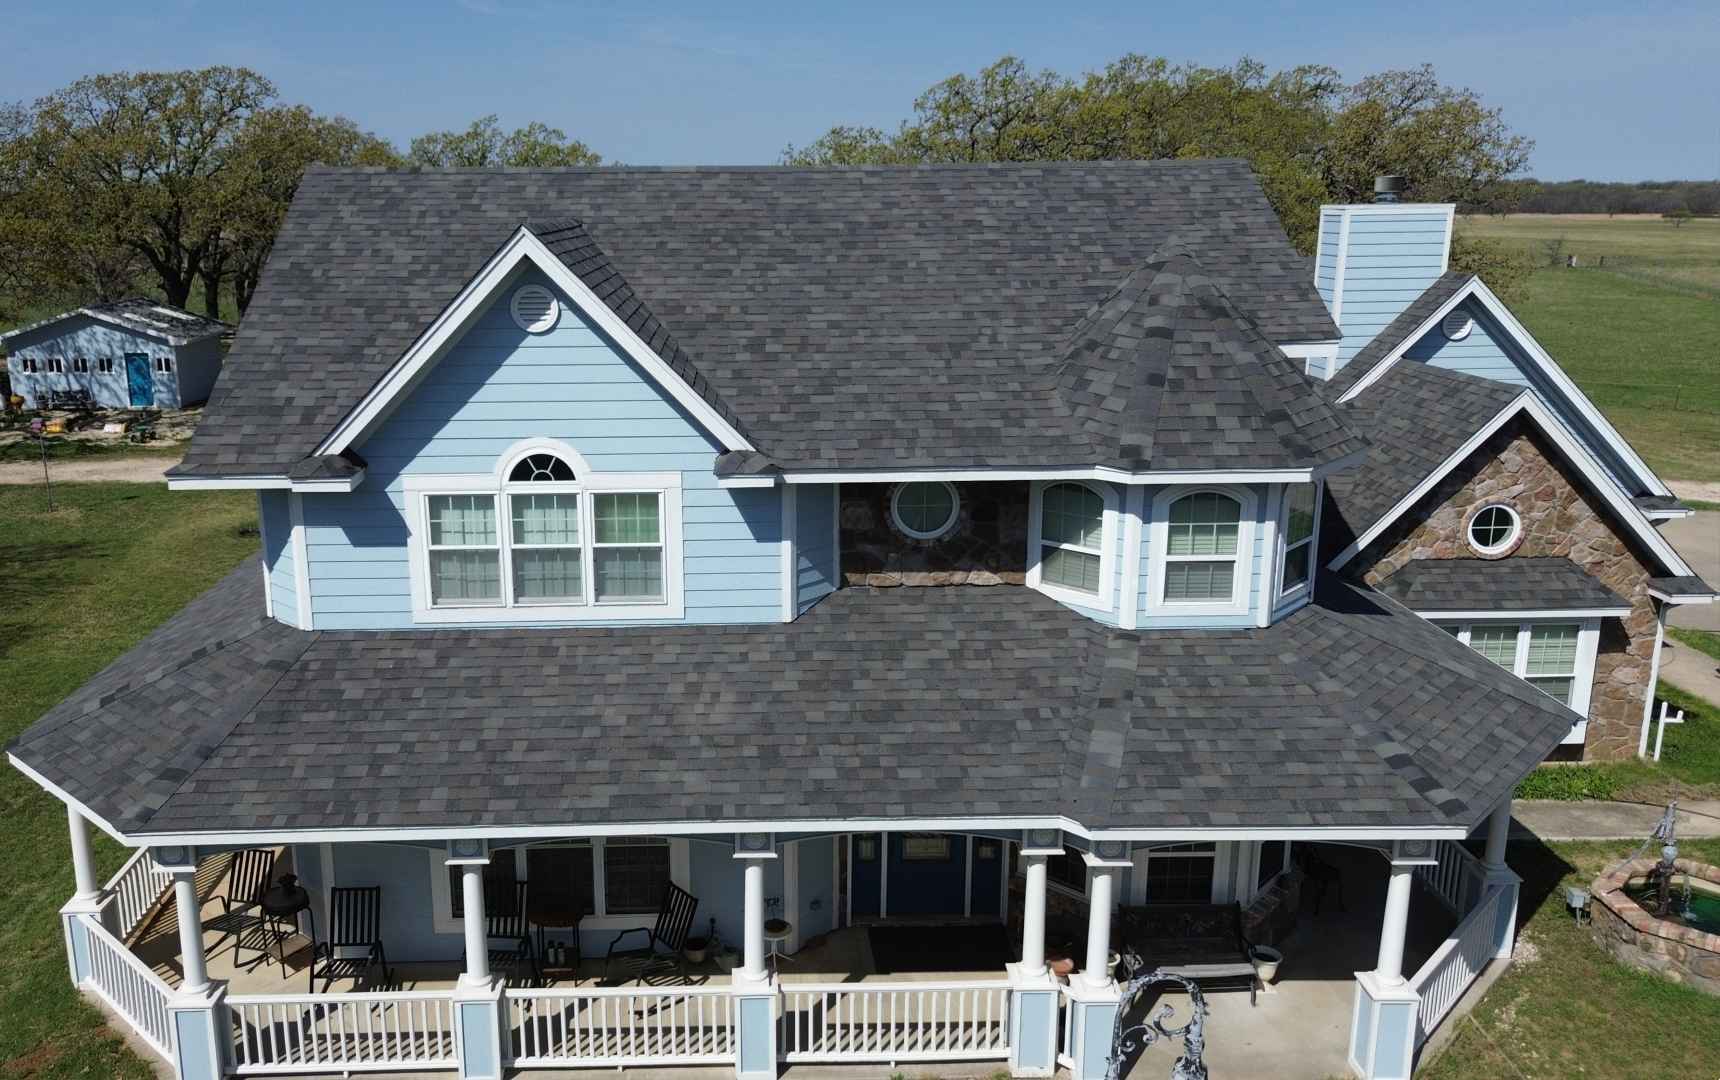
As the roof replacement project nears completion, the focus shifts from installation to quality assurance. A thorough final inspection ensures that every component of the new roofing system has been installed correctly and meets both manufacturer recommendations and industry standards. This step is essential because it confirms that the investment will provide reliable protection for many years.
The roofing contractor typically performs an internal inspection before inviting the homeowner to review the completed project. During this inspection, the crew checks shingles, flashing, ridge caps, roof vents, valleys, drip edges, gutters, and other roofing components for proper installation. Any minor adjustments identified during this review are completed before the project is considered finished.
Contractors also inspect the roof for consistent appearance. Roofing materials should be properly aligned, evenly spaced, and securely fastened across the entire roof surface. Uniform installation not only improves curb appeal but also contributes to better weather resistance.
Flashing around chimneys, skylights, plumbing vents, and wall intersections receives additional attention because these areas are particularly vulnerable to water intrusion. Proper sealing and secure attachment help ensure long-term waterproofing performance.
Roof ventilation is verified as well. Ridge vents, soffit vents, or other ventilation components should remain unobstructed while providing adequate airflow throughout the attic. Proper ventilation helps regulate temperature, reduce moisture buildup, and extend roof lifespan.
The contractor also confirms that gutters, downspouts, and drainage pathways remain clear of roofing debris. Effective drainage is necessary for protecting both the roof and the home’s foundation from water damage.
Homeowners are often invited to participate in a walkthrough after construction has been completed. During this meeting, the contractor explains the work performed, answers questions, and highlights important maintenance recommendations. This discussion gives homeowners an opportunity to inspect the completed roof while addressing any concerns before final project acceptance.
Once all inspections have been completed successfully, the roof replacement project officially reaches completion. The homeowner now has a new roofing system designed to protect the property while improving both appearance and long-term performance.
Understanding Roof Warranties and Documentation
One of the final steps in the roof replacement process involves reviewing the warranties and project documentation provided by the contractor. These documents protect the homeowner’s investment while serving as valuable references throughout the life of the roof.
Most residential roof replacement projects include two primary types of warranties. The first is the manufacturer’s warranty, which covers defects in the roofing materials themselves. If approved materials fail because of manufacturing issues within the warranty period, the manufacturer may provide replacement materials or other coverage according to the warranty terms.
The second is the contractor’s workmanship warranty. This warranty covers installation-related issues that may arise because of workmanship rather than material defects. Understanding the differences between these warranties helps homeowners know whom to contact if concerns develop in the future.
Warranty coverage often depends on proper maintenance. Manufacturers may require periodic inspections, approved repair methods, and routine maintenance to maintain warranty eligibility. Homeowners should review these requirements carefully after project completion.
Project documentation should also include information about the roofing materials installed, installation dates, contractor contact information, and maintenance recommendations. Keeping these records organized simplifies future maintenance and warranty claims.
Many contractors also provide photographs documenting the roof replacement process. These images become useful references if questions arise regarding concealed components such as underlayment, flashing, or roof decking repairs.
Permit documentation should be retained as well. Local building permits and inspection approvals demonstrate that the roof replacement complied with applicable building requirements at the time of construction. These records may be valuable during future home sales or insurance reviews.
Material specifications supplied by the manufacturer provide additional technical information about the roofing system. Homeowners can refer to these documents when planning future maintenance or discussing repairs with roofing professionals.
Keeping all roofing documentation together in a secure location ensures that important information remains available whenever future inspections, repairs, or warranty questions arise.
Post Installation Maintenance Tips
Although a new roof requires much less maintenance than an aging one, routine care remains essential for preserving its appearance, performance, and expected lifespan. A consistent maintenance program helps homeowners protect their investment while identifying minor issues before they become costly repairs.
The first maintenance recommendation is scheduling regular roof inspections. Most roofing professionals recommend inspecting residential roofs at least twice each year, typically during spring and autumn. Additional inspections following severe storms help identify weather-related damage before water intrusion develops.
Homeowners should also monitor roof drainage carefully. Gutters and downspouts should remain clean throughout the year to allow rainwater to flow freely away from the home. Blocked gutters may cause water to back up beneath roofing materials or overflow near the home’s foundation.
Tree branches hanging above the roof should be trimmed regularly. Overhanging branches may scrape roofing materials during windy conditions while increasing the accumulation of leaves and debris on the roof surface.
Debris should never be allowed to remain on the roof for extended periods. Leaves, pine needles, branches, and dirt trap moisture against roofing materials, potentially accelerating deterioration and encouraging mold or algae growth.
Homeowners should avoid walking on the roof unless absolutely necessary. Even durable roofing materials may be damaged by unnecessary foot traffic, particularly during hot weather when shingles become more flexible. Professional roof inspections are generally safer and more effective.
Interior attic inspections also provide valuable maintenance information. Homeowners should occasionally check for signs of moisture, mold, water stains, or daylight entering through the roof. Identifying these issues early allows prompt repairs before more extensive damage occurs.
Minor roof repairs should never be postponed. Replacing a damaged shingle or resealing a flashing component shortly after damage occurs usually costs far less than repairing widespread water damage later.
Routine maintenance preserves both roof performance and warranty protection while helping homeowners maximize the value of their roofing investment.
Common Mistakes Homeowners Should Avoid After Replacement
Installing a new roof represents a significant investment, but certain homeowner mistakes can reduce its lifespan or affect warranty coverage. Understanding these common issues helps protect the roof while avoiding unnecessary repair expenses.
One of the most common mistakes is assuming the new roof requires no maintenance. Although modern roofing systems are highly durable, neglecting inspections and routine care allows minor problems to develop unnoticed until more extensive repairs become necessary.
Ignoring clogged gutters is another frequent issue. Water overflowing from blocked gutters may damage fascia boards, roof edges, siding, and landscaping. Regular cleaning prevents these avoidable problems while supporting effective drainage.
Some homeowners attempt to install satellite dishes, holiday decorations, solar equipment, or other accessories without consulting roofing professionals. Improper roof penetrations may compromise waterproofing while affecting warranty coverage.
Pressure washing the roof is another mistake that should be avoided. High-pressure water can remove protective granules from shingles, loosen roofing materials, and force water beneath the roofing system. Gentle cleaning methods approved by the manufacturer should always be used instead.
Delaying repairs after storms also reduces roof lifespan. Strong winds, hail, or falling branches may damage roofing materials even when problems are not immediately visible from the ground. Prompt professional inspections following severe weather help prevent hidden damage from worsening.
Allowing moss or algae growth to remain untreated may also affect roofing performance. Although some discoloration is primarily cosmetic, excessive biological growth traps moisture against roofing materials and should be addressed using approved cleaning methods.
Ignoring attic ventilation problems is another common oversight. Blocked soffit vents or damaged ventilation systems reduce airflow, increasing attic temperatures and moisture levels that may shorten roof lifespan.
Finally, choosing unqualified contractors for future repairs can create additional problems. Even minor repairs should follow manufacturer recommendations using compatible materials to preserve both performance and warranty protection.
Avoiding these common mistakes helps homeowners protect their investment while extending the service life of the new roofing system.
Maximizing the Lifespan and Value of Your New Roof
Every homeowner wants a new roof to provide dependable protection for as many years as possible. Fortunately, several practical strategies can significantly extend roof lifespan while improving long-term value.
Preventive maintenance remains the most important factor. Routine inspections, prompt repairs, gutter cleaning, and roof surface maintenance help prevent small issues from becoming major structural problems.
Proper attic ventilation should also be maintained throughout the roof’s life. Balanced airflow reduces excessive heat during summer while controlling moisture during colder seasons. This creates better conditions for both roofing materials and attic insulation.
Roof drainage should remain a continuous priority. Gutters, downspouts, valleys, and roof edges should be inspected regularly to ensure water flows safely away from the home after rainfall.
Professional inspections every few years provide additional protection. Experienced roofing contractors often identify subtle issues long before homeowners notice visible signs of deterioration. Early intervention generally reduces long-term repair costs.
Homeowners should also keep trees properly maintained around the property. Trimming branches reduces the risk of storm damage while minimizing debris accumulation on the roof.
Energy efficiency improvements can further enhance the value of the roofing investment. Maintaining attic insulation, sealing air leaks, and ensuring proper ventilation help the roofing system contribute to lower heating and cooling expenses throughout the year.
Keeping detailed maintenance records is another valuable practice. Documenting inspections, repairs, cleaning, and warranty information simplifies future maintenance while supporting potential warranty claims or property sales.
The following maintenance practices help maximize roof lifespan:
- Schedule roof inspections twice each year.
- Clean gutters and downspouts regularly.
- Remove leaves and debris promptly.
- Trim overhanging tree branches.
- Repair storm damage immediately.
- Maintain proper attic ventilation.
- Keep all roofing documentation and warranties organized.
Following these recommendations allows homeowners to enjoy reliable roof performance while protecting one of the home’s most valuable structural investments.
Conclusion
Replacing a residential roof is a major project, but understanding each stage of the process makes the experience much more manageable. From the initial inspection to the final quality review, every step plays an important role in creating a roofing system that protects the home while improving its appearance, energy efficiency, and long-term value.
Throughout this guide, we explored the complete roof replacement process in detail. We discussed how to recognize when replacement is necessary, prepare the home before construction, remove old roofing materials, inspect and repair the roof deck, install protective underlayment, apply the new roofing material, complete flashing and ventilation work, and perform thorough final inspections.
We also examined the importance of warranties, project documentation, routine maintenance, and avoiding common homeowner mistakes after installation. These ongoing responsibilities help preserve both roof performance and manufacturer warranty protection throughout the roof’s expected lifespan.
Perhaps the most important lesson is that a successful roof replacement depends on more than quality materials alone. Careful planning, experienced contractors, proper installation techniques, regular maintenance, and informed homeowner involvement all contribute to long-term success.
A professionally installed roof provides benefits that extend well beyond weather protection. It improves energy efficiency, enhances curb appeal, increases property value, reduces maintenance concerns, and gives homeowners confidence that their home is protected against changing weather conditions for many years.
Ultimately, understanding the roof replacement process allows homeowners to approach the project with realistic expectations and greater confidence. By working with qualified roofing professionals, maintaining the roof properly after installation, and addressing small issues before they become larger problems, homeowners can maximize the lifespan and value of their new roof while protecting one of their most important investments for decades to come.