

Residential Roofing Installation Timeline Explained for Homeowners
Introduction
A residential roofing project can seem overwhelming when homeowners are unsure what happens before, during, and after installation. Although the visible work may appear straightforward, a complete roof replacement involves several stages that must be completed in the correct order. Understanding the timeline can help homeowners prepare their property, communicate effectively with the contractor, and know what to expect as the project progresses.
The exact duration of a roofing project varies from one property to another. Roof size, design, material, weather, crew availability, material delivery, and the condition of the existing roof can all influence the schedule. A simple roof with readily available materials may move quickly, while a complex roof with multiple valleys, skylights, chimneys, or structural repairs can require additional time.
A roofing installation timeline usually begins with inspection and planning rather than physical construction. The contractor first evaluates the existing roof, discusses suitable materials with the homeowner, prepares an estimate, and establishes a project schedule. Once the project is approved, materials are ordered and the property is prepared for construction.
The removal of the existing roof is often one of the first major physical stages. After old materials are removed, the exposed roof deck can be inspected for damage. Any necessary repairs need to be completed before the new roofing system is installed.
Installation then proceeds through several layers and components, including underlayment, flashing, drip edges, primary roofing materials, fasteners, ventilation, and drainage. These components must be installed carefully because each one contributes to the performance of the complete roofing system.
Weather can affect almost every stage of the timeline. Rain, strong winds, extreme temperatures, or other unfavorable conditions may require work to pause temporarily. Material availability and unexpected structural problems can also extend the schedule.
Homeowners should therefore treat the timeline as a planned sequence rather than an exact promise that every project will finish on a particular day. A good contractor should explain the expected schedule and communicate significant changes as the project develops.
Pre-Installation Roof Assessment
The first major stage of a roofing installation timeline is the assessment of the existing roof. Before materials are ordered or removal begins, the contractor needs to understand the condition and design of the roof. This evaluation helps determine the project’s scope and identifies potential complications that could affect the schedule.
The inspection normally begins with the visible roofing surface. The contractor looks for missing, cracked, curled, damaged, or deteriorated materials. Signs of previous repairs, water intrusion, poor installation, and storm damage may also provide useful information about the roof’s current condition.
The roof’s overall design is another important consideration. A simple roof may require fewer installation details than a complex structure containing multiple slopes, valleys, dormers, skylights, chimneys, and roof-to-wall transitions. More complex designs generally require additional preparation and careful flashing work.
The contractor should also examine accessible areas around the roof’s drainage system. Gutters, downspouts, valleys, drains, and roof edges can affect the installation requirements. Existing drainage problems may need to be corrected as part of the project.
Ventilation is another factor that should be considered. The contractor may need to determine whether existing intake and exhaust ventilation is adequate or whether modifications should be included. Changes to ventilation can affect the project scope and should be planned before installation begins.
The condition of the roof deck is important even though much of it may not be visible during the initial inspection. Signs of sagging, previous leaks, or moisture damage can indicate that additional inspection will be necessary after the existing roofing materials are removed.
Homeowners should also discuss the reason for replacement. If the roof is being replaced because of age, the contractor may focus on overall deterioration. If severe weather caused damage, the inspection may concentrate on affected areas and the possibility of hidden damage.
The assessment should result in a clear project scope. This should identify the proposed roofing material, expected preparation, removal requirements, installation components, cleanup responsibilities, and any known repairs.
Unexpected damage can still be discovered after the old roof is removed. For this reason, homeowners should ask how additional work will be handled. A clear process for documenting and approving unexpected repairs can prevent confusion about cost and schedule.
The initial assessment provides the foundation for the entire timeline. The more accurately the contractor understands the property before work begins, the easier it becomes to plan materials, labor, equipment, and expected project stages.
Choosing Materials and Finalizing the Project Plan
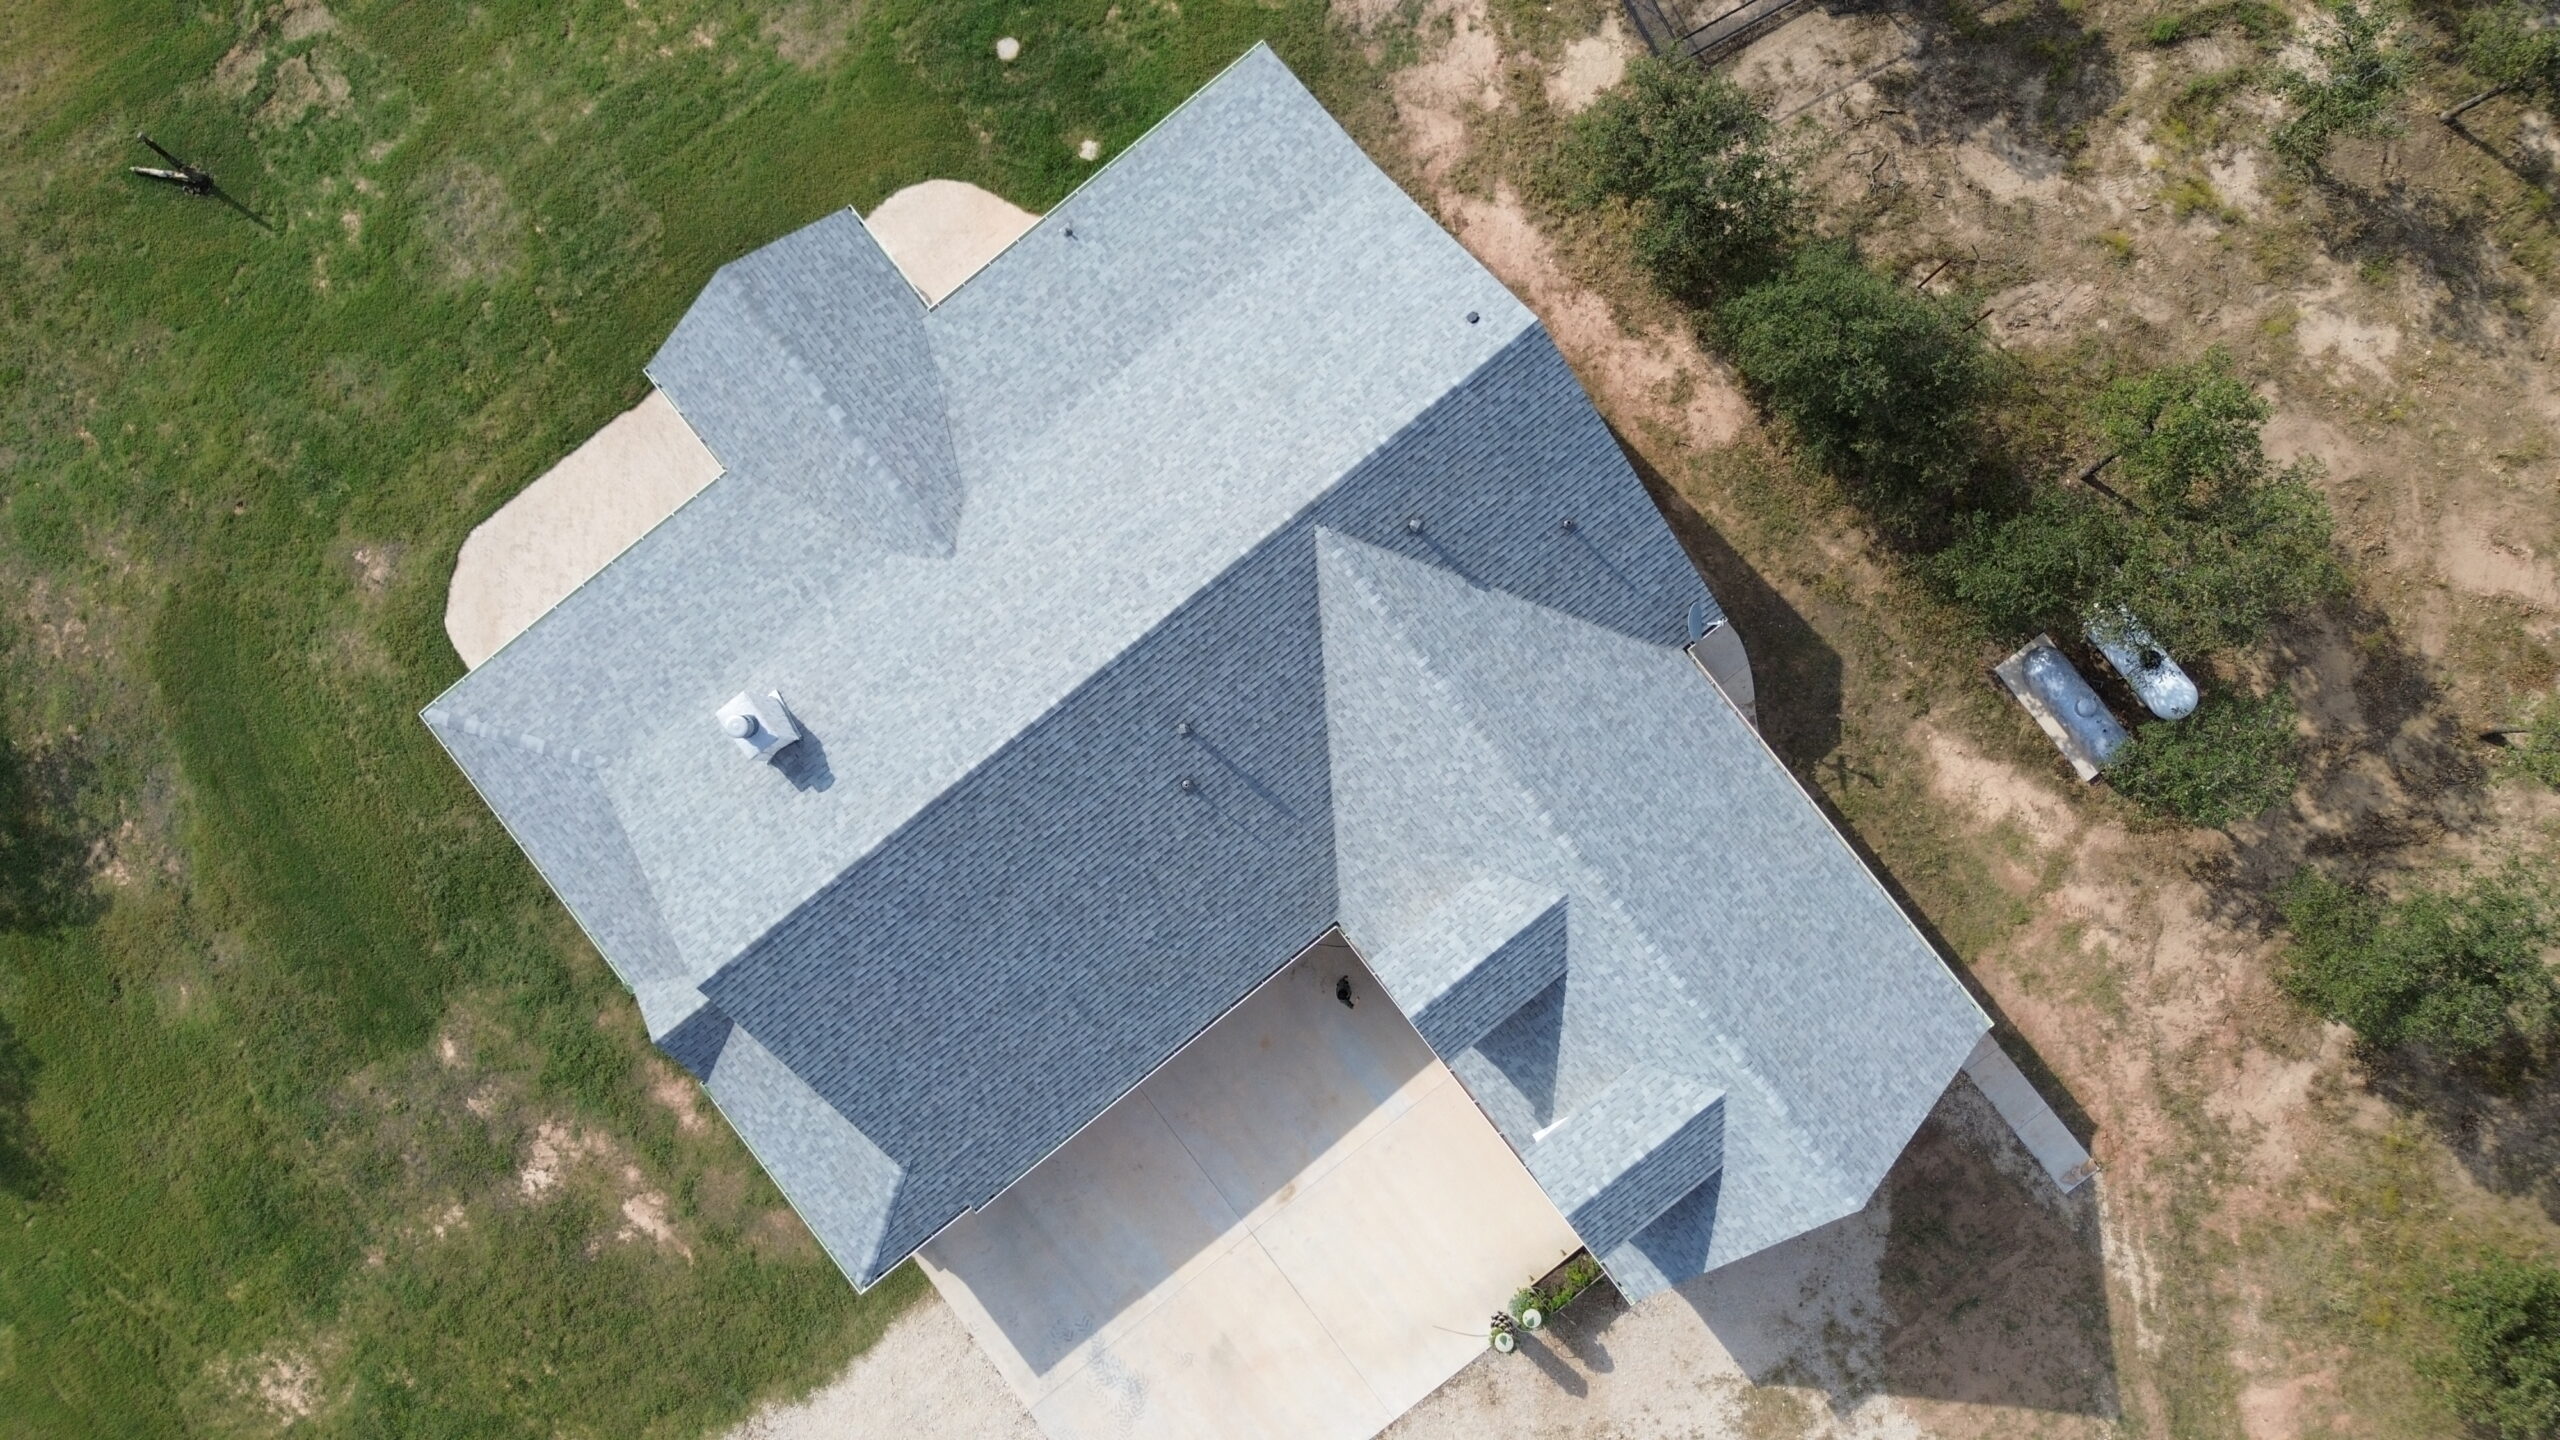
Once the roof has been assessed, the homeowner and contractor can finalize the roofing materials and project details. Material selection can have a significant effect on the installation timeline because different systems require different preparation, handling, fastening, and installation methods.
Asphalt shingles are commonly used for residential roofs and can often be installed efficiently by experienced crews. Metal roofing may require careful panel measurements, seam preparation, and specialized fastening. Tile and slate systems can require additional handling and installation expertise because individual pieces may be heavier or more fragile.
The roof’s structure and slope should be considered when selecting materials. Some roofing products have specific slope requirements, while heavier materials may require structural evaluation. Choosing a material without considering these factors can create complications later in the project.
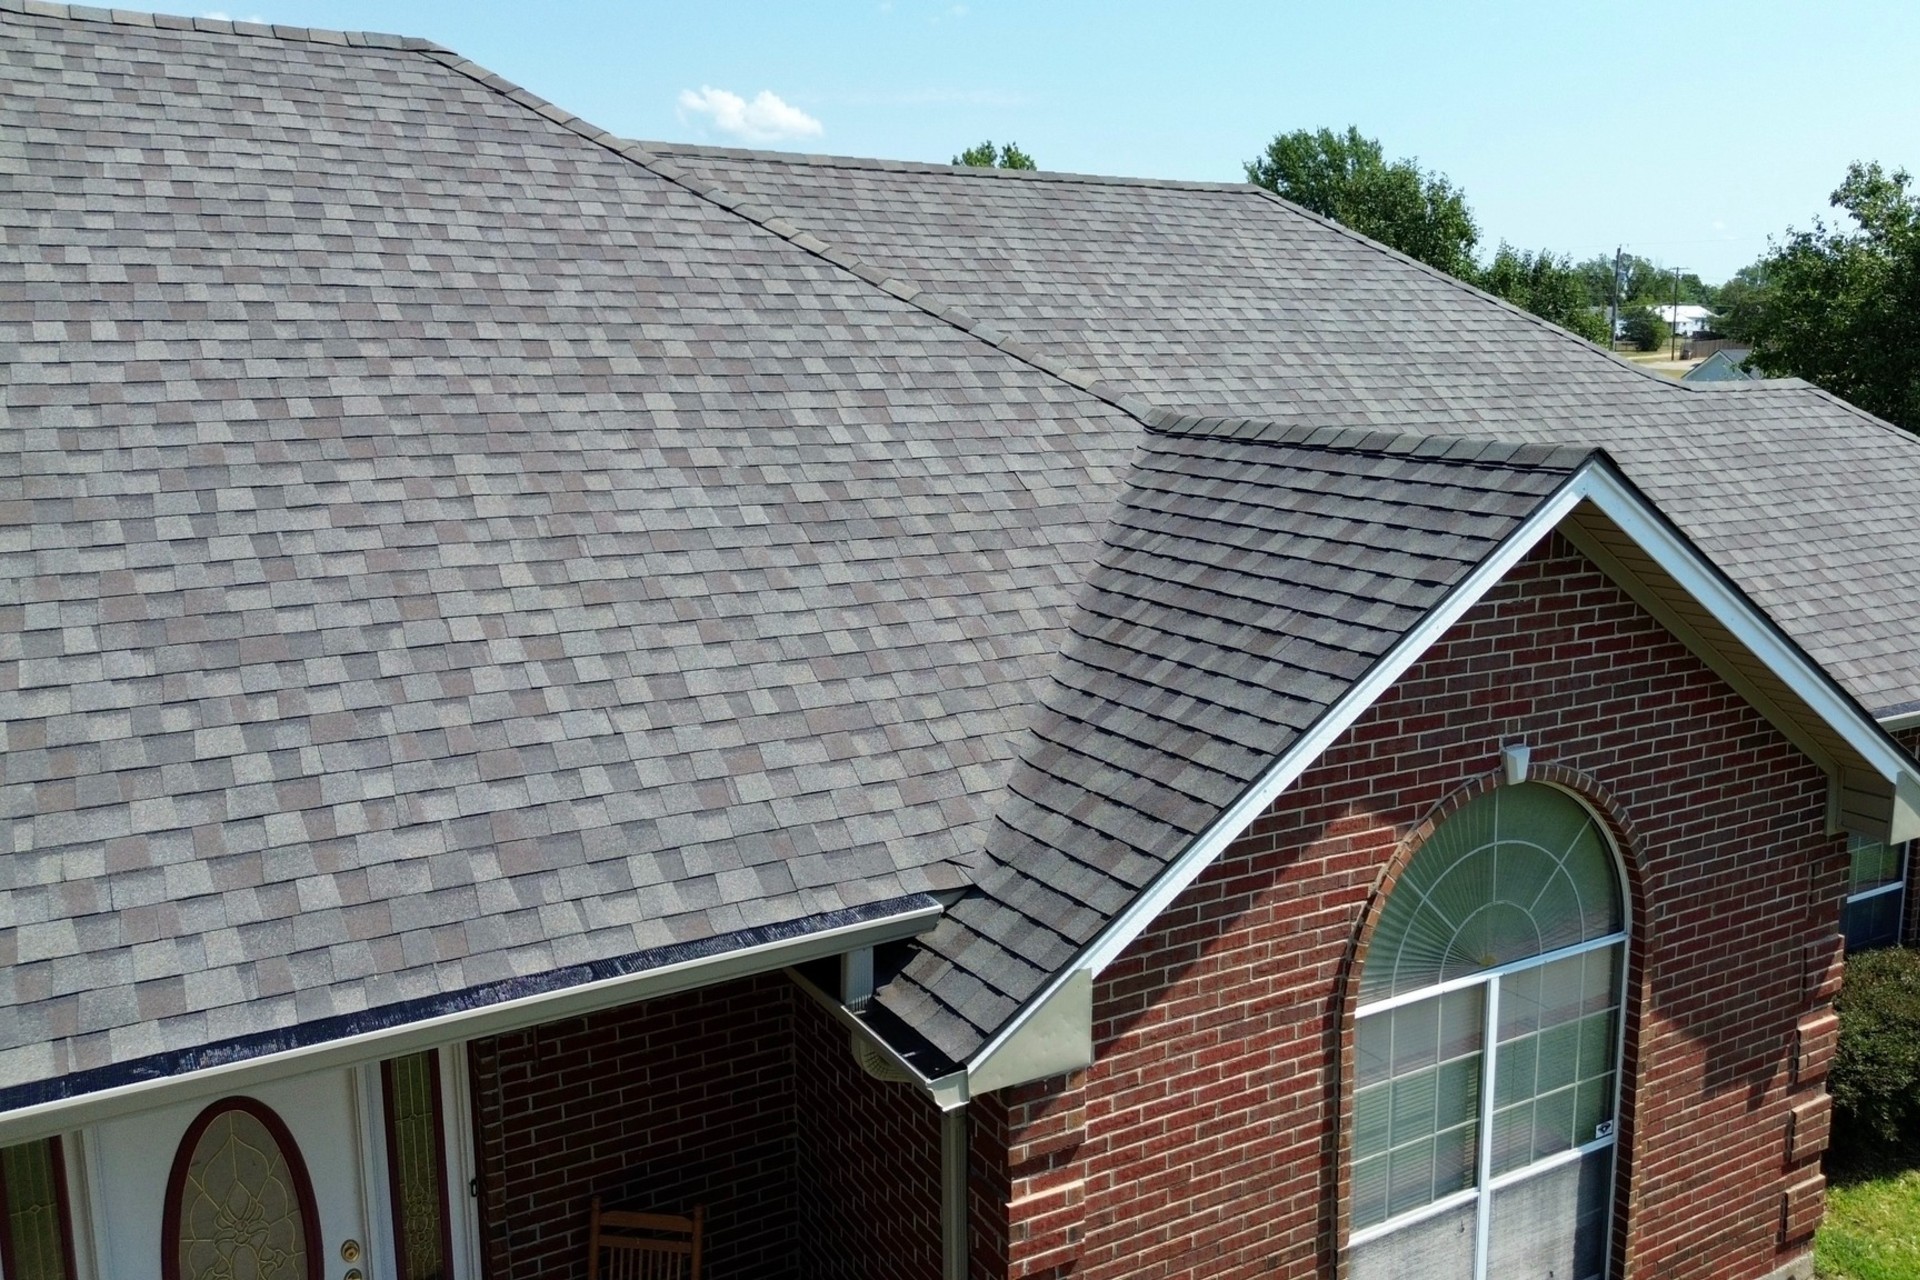
Homeowners should also confirm the color, style, profile, and other visible characteristics before materials are ordered. Changing these choices after materials arrive can create delays and potentially additional costs.
The project plan should identify the main components of the roofing system. These may include underlayment, flashing, drip edges, ventilation products, fasteners, and other materials needed for a complete installation.
The contractor should provide a written estimate or contract describing the work. Homeowners should review the scope carefully and make sure important details are clearly stated. Questions about removal, disposal, repairs, warranties, payment schedules, and cleanup should be addressed before construction begins.
Material availability can affect the timeline significantly. Some common roofing products may be readily available, while specialty colors, profiles, or materials may require additional ordering time. Homeowners should ask the contractor whether the selected materials are available and when they are expected to arrive.
Weather should also be considered when establishing the schedule. Roofing materials may have installation requirements related to temperature, moisture, or wind. Contractors may need to adjust the schedule when conditions are unsuitable for safe or effective installation.
The contractor’s crew availability can also influence the start date. A project may be fully approved but still require scheduling around other jobs. Homeowners should receive a reasonable expected start period rather than assuming work will begin immediately after signing the contract.
A clear project plan helps everyone understand what will happen and when. It also gives homeowners an opportunity to prepare for construction-related noise, access limitations, material deliveries, and temporary disruption around the property.
Preparing the Home and Property
Property preparation is an important part of the roofing timeline because installation involves materials, tools, workers, and construction debris around the home. Preparing these areas before the crew arrives can help reduce delays and protect the property during the project.
Outdoor furniture should generally be moved away from the work area. Grills, decorations, garden equipment, children’s items, and other loose objects can be affected by falling debris or construction activity. Moving them beforehand gives the crew more space to work safely.
Vehicles should also be moved from areas where roofing materials or debris may be handled. The contractor may need access to driveways or other areas for material delivery, waste containers, ladders, and equipment.
Landscaping deserves special attention. Plants, shrubs, flower beds, and other features close to the house may need temporary protection. Homeowners should discuss landscaping concerns with the contractor before work begins so appropriate protective measures can be planned.
Windows, doors, and exterior features may also need protection. Roofing materials can create dust and debris during removal and installation. Contractors should use suitable protective measures around areas that could be affected.
Homeowners should prepare household members for construction activity. Roofing work can create significant noise, particularly during removal and fastening. Children and pets may need to stay away from construction areas for safety.
Access to the property should be discussed with the contractor. Workers may need convenient access to the roof, driveway, attic, electrical sources, or other areas. Clear communication about access can prevent unnecessary delays.
Material delivery should also be coordinated. Roofing materials may arrive before installation begins and need to be placed in a location that is accessible but does not obstruct household activities. The contractor should determine the safest and most practical delivery arrangement.
The homeowner should also know how debris will be handled. Roofing projects generate old materials, packaging, damaged components, and small pieces of construction waste. The contract should clarify whether disposal containers are provided and how final cleanup will be completed.
Weather monitoring becomes especially important as the start date approaches. If rain or strong winds are expected, the contractor may need to adjust the schedule. Homeowners should remain flexible because forcing work to continue under unsafe conditions can create greater problems.
Good property preparation allows the installation crew to begin work without unnecessary obstacles. It also helps protect belongings, landscaping, and household members while making the overall construction process more organized.
Removing the Existing Roofing System
The removal of the existing roofing system is usually one of the first major construction stages. The duration can vary depending on the size and complexity of the roof, the number of existing layers, the material being removed, and the crew working on the project.
Asphalt shingles can generally be removed using specialized roofing tools, while tile, slate, metal, and other materials may require different procedures. Contractors should use methods appropriate for the existing roofing system and property.
Safety is particularly important during removal. Old roofing materials can be heavy, sharp, brittle, or unstable. Workers should use suitable protective equipment and follow safe methods for working at height and moving debris.
Construction debris should be managed continuously. Materials should not be allowed to accumulate in unsafe locations around the property. Proper debris handling helps protect landscaping, vehicles, residents, and workers.
As the old materials are removed, contractors can begin identifying hidden conditions. Areas around valleys, chimneys, skylights, vents, and previous leak locations may receive additional attention because they can contain moisture damage or deteriorated components.
Existing flashing may also be examined. Some flashing components may need replacement if they are damaged or incompatible with the new roofing system. Reusing deteriorated materials can create problems later.
The removal process may reveal roof deck damage that was not visible during the initial inspection. This is one of the most common reasons a roofing timeline can change after work begins. Damaged decking needs to be evaluated and repaired before new materials can be installed.
Homeowners should understand that unexpected findings do not necessarily indicate poor planning. Some damage is simply hidden beneath the existing roof and cannot be accurately assessed until removal. A professional contractor should document the issue and explain the required repair before proceeding.
The existing roof may also reveal previous installation problems. Incorrect fastening, poor flashing, inadequate drainage, or other deficiencies can provide useful information for planning the new system.
Once the old roofing materials and unsuitable components have been removed, the roof deck becomes accessible for detailed inspection. The property then moves into the preparation stage for the new roofing system.
Roof Deck Repairs and Installation Preparation
After the existing roofing materials are removed, the contractor can inspect the exposed roof deck in detail. This stage is important because the deck provides the foundation for the new roofing system and must be structurally suitable before installation continues.
The contractor should look for moisture damage, rot, cracks, warping, weak areas, and other defects. Areas beneath previous leaks may require particular attention because prolonged water exposure can weaken wood-based decking.
Damaged sections may need to be removed and replaced with appropriate materials. New roofing materials should not simply be installed over severely deteriorated decking because the underlying weakness can affect fastening and long-term performance.
The contractor should also check the deck around chimneys, skylights, valleys, roof edges, and other areas where water may have previously entered. These locations can reveal problems that were hidden by the old roofing materials.
The surface should be prepared for the next installation stage. Loose debris, protruding fasteners, damaged sections, and other conditions that could interfere with underlayment should be addressed.
Fastener support is another consideration. Roofing nails, screws, clips, and other attachment systems need a stable substrate. A properly repaired deck gives the new roofing materials a stronger foundation.
Homeowners should understand that this stage can affect both cost and schedule. If significant repairs are required, installation may take longer than originally expected. A professional contractor should communicate these findings and obtain appropriate approval before completing additional work.
Once the deck has been repaired and prepared, the roof is ready for the protective layers of the new system. Underlayment, drip edges, flashing, and other components can then be installed according to the planned sequence.
The preparation stage may not be visible once the project is complete, but it has a major influence on the finished roof. A stable, properly prepared deck allows the new roofing system to be installed more effectively and provides a stronger foundation for its future performance.
Installing Underlayment and Roof Edge Protection
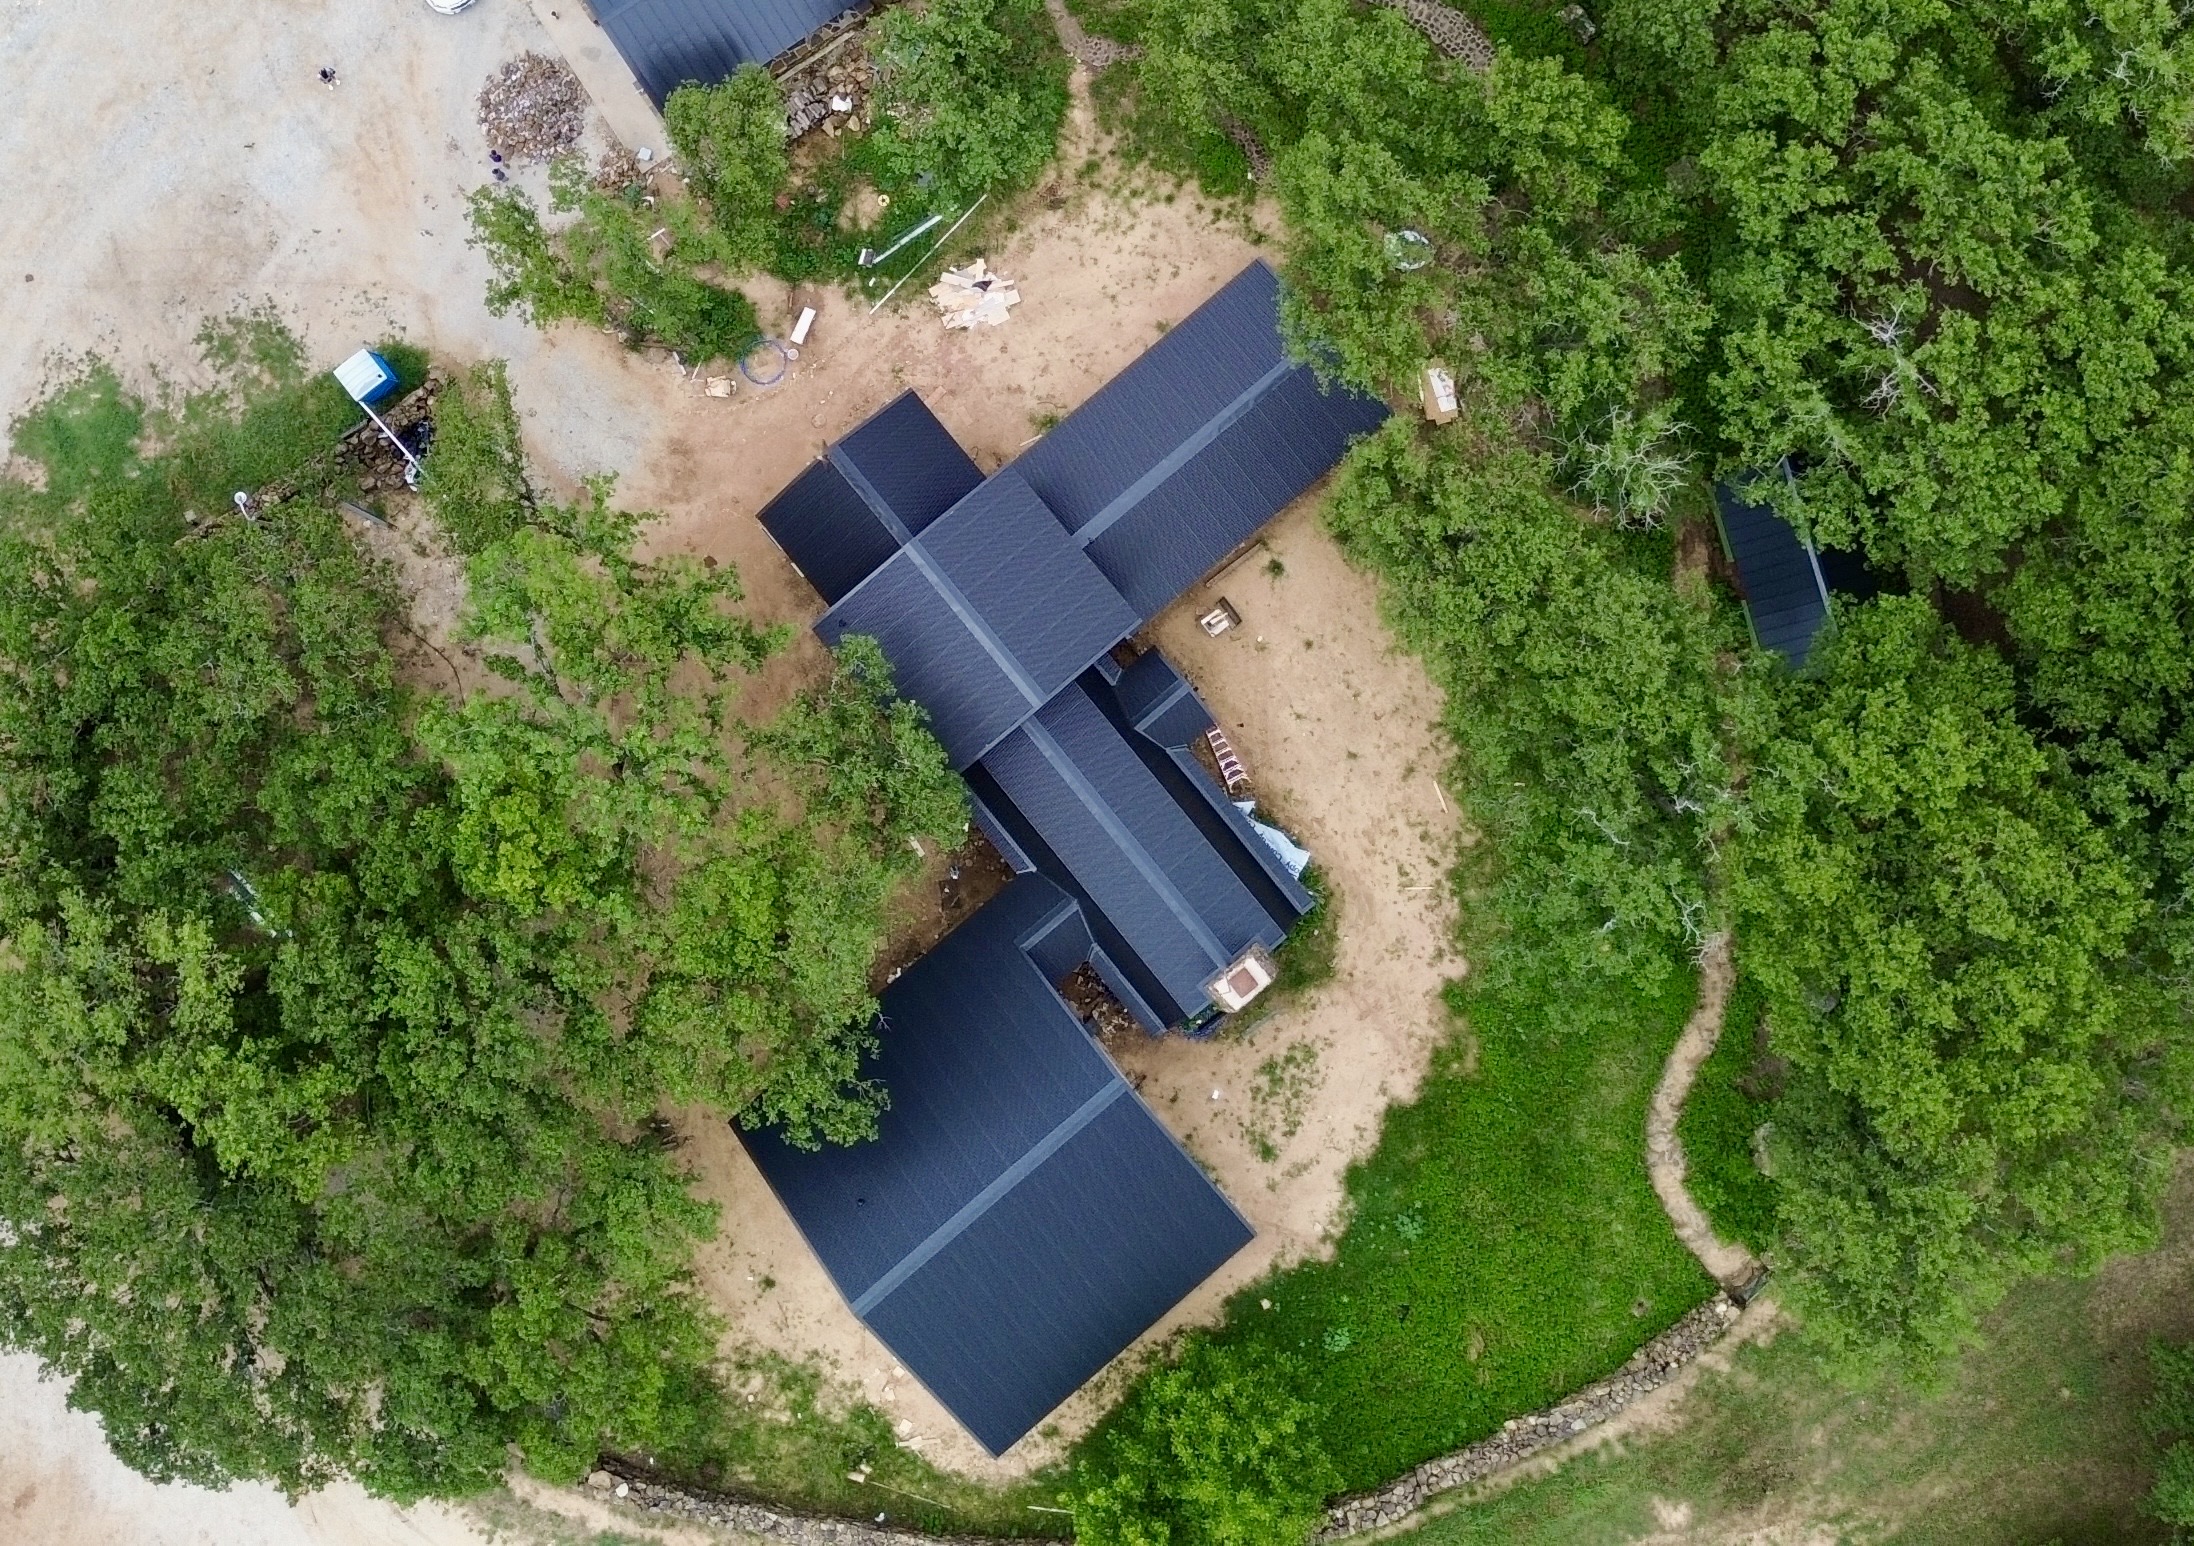
After the roof deck has been inspected and repaired, the installation moves into the stage where the new roof begins to take shape. Underlayment and roof-edge protection are installed before or alongside the primary roofing material, depending on the roofing system and manufacturer requirements. These components provide important secondary protection against moisture and help prepare the roof for the visible exterior covering.
Underlayment is installed directly over the prepared roof deck and acts as an additional barrier beneath the primary roofing material. Even though shingles, metal panels, tiles, or other materials are designed to shed water, wind-driven rain and moisture can sometimes move beneath the exterior surface. Proper underlayment provides another layer of protection before moisture can reach the roof deck.
The installation time depends on the size and design of the roof. A simple roof with a large, uninterrupted surface may allow the crew to work efficiently, while a complex roof with several valleys, dormers, and penetrations can require more detailed preparation. Contractors need to maintain proper overlaps and attachment throughout the process.
Roof edges also require careful attention during this stage. Drip edges are commonly installed along eaves and rakes to help direct water away from vulnerable portions of the roof deck. They also help create a finished transition between the roofing system and the roof edge.
The relationship between the drip edge and underlayment is important. These components should be installed in the appropriate sequence according to the roofing system so that water is directed toward the exterior rather than behind the protective layers. Incorrect sequencing can create pathways for moisture.
Valleys may require additional moisture protection because they collect runoff from multiple roof sections. The contractor should prepare these areas according to the selected roofing system and ensure that water will have a clear route toward the drainage system.
Weather can affect this stage of the timeline. Underlayment should not be left unnecessarily exposed to unsuitable weather conditions, and contractors may need to adjust their work if rain or strong winds create unsafe or inappropriate conditions. Proper temporary protection may be used when necessary.
The contractor should also check the installed underlayment for tears, punctures, loose sections, or other visible problems before covering it with the primary roofing material. Correcting issues while the layer remains accessible is much easier than repairing them after the roof is completed.
Once the underlayment and roof-edge protection are properly installed, the roofing project has established its basic moisture-defense layer. The next stage focuses on protecting the more vulnerable transitions and openings that interrupt the main roof surface.
Installing Flashing and Roof Penetrations
Flashing installation is one of the most detailed parts of a residential roofing project. Flashing protects areas where the roof meets another surface or where an opening passes through the roof. These locations include chimneys, skylights, plumbing vents, exhaust vents, walls, valleys, and other penetrations.
The timeline for this stage varies according to the number and complexity of roof features. A simple roof with few penetrations may require less time, while a home with several chimneys, skylights, dormers, and roof-to-wall transitions can require considerably more detailed work.
Chimney flashing must be properly integrated with the surrounding roofing materials and underlayment. Water needs to move around the chimney and toward the drainage system without entering the joint between the roof and masonry structure.
Skylights require similar attention. The flashing system needs to work with the skylight frame, underlayment, and primary roofing material. Contractors should follow the requirements of the skylight and roofing manufacturers to create an appropriate weather-resistant connection.
Plumbing and ventilation pipes also require specialized flashing components. These parts must fit around the penetrations and remain secure under normal weather conditions. Damaged or poorly installed pipe flashing can become a source of leaks later.
Roof-to-wall transitions need careful planning because water can collect where a sloped roof meets a vertical wall. Appropriate flashing helps direct water over the roofing layers and toward the drainage system.
Valleys receive concentrated runoff and therefore require careful installation. The contractor needs to create a durable water pathway that works with the underlayment and selected roofing material.
Flashing installation can sometimes affect the timeline because each detail needs to be completed before the surrounding roofing material is installed. Rushing this stage can create problems that are difficult to correct after the roof is finished.
Homeowners should understand that flashing is not simply decorative metal around roof features. It is a functional part of the waterproofing system. Poorly installed flashing can cause leaks even when the main roofing material is installed correctly.
Once flashing and penetrations have been properly prepared, the contractor can move forward with the primary roofing material. At this point, the installation begins to change the visible appearance of the property significantly.
Installing the Primary Roofing Material
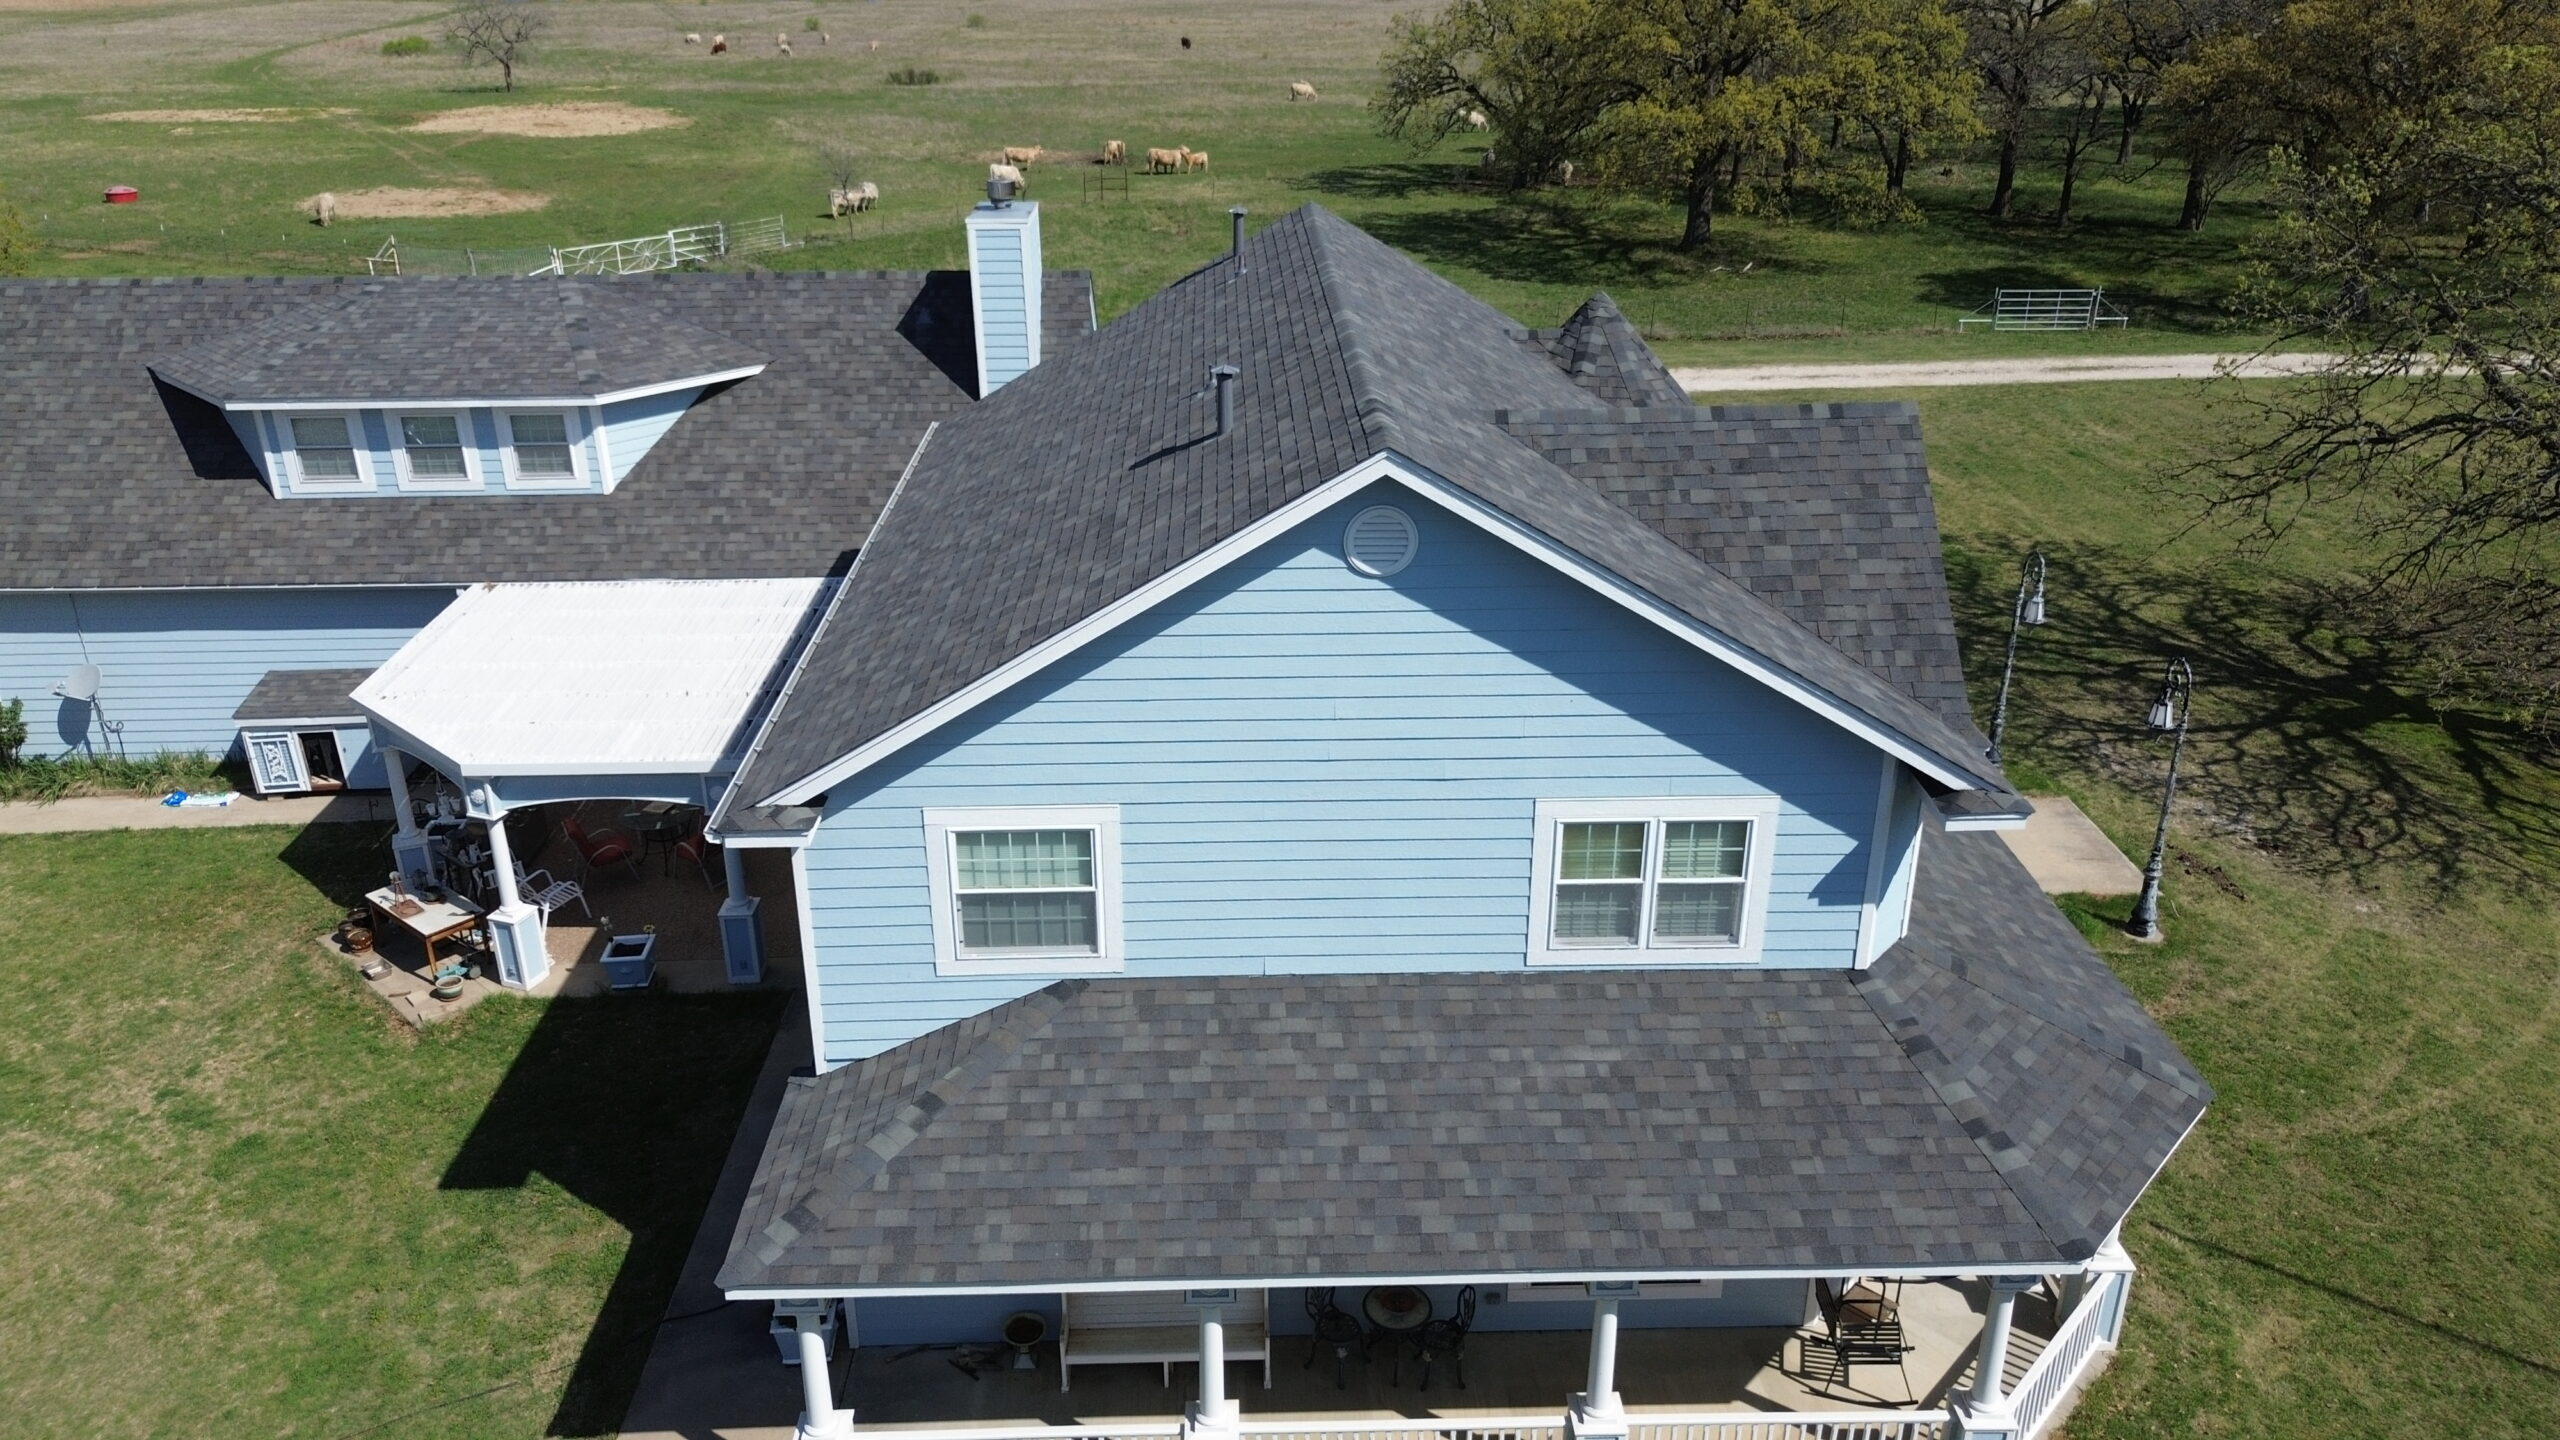
The installation of the primary roofing material is usually the most visible stage of the roofing timeline. This is when shingles, metal panels, tiles, slate, wood products, or other selected materials are placed over the prepared roof system.
The time required depends heavily on the material and roof design. Asphalt shingles can often be installed efficiently by an experienced crew, while tile, slate, and some metal systems may require more specialized handling and installation procedures.
Asphalt shingles are generally installed in overlapping courses. Contractors need to maintain proper alignment, exposure, and fastening throughout the roof. Small inconsistencies can become more noticeable as the installation progresses, so regular checks are important.
Metal roofing requires careful attention to panel placement and connections. Seams, fasteners, edges, and penetrations need to be installed according to the specific product requirements. The contractor must also account for normal movement caused by temperature changes.
Tile roofing can take longer because individual pieces need to be handled and positioned carefully. Cracked or damaged tiles should not be incorporated into the completed system. The contractor may also need to use specific attachment methods depending on the product and roof design.
Slate roofing requires specialized knowledge and careful handling. The material can be fragile, and installation techniques differ from those used for many other roofing products. A contractor without appropriate experience may create unnecessary damage or installation problems.
The installation crew should follow manufacturer instructions throughout this stage. These instructions can specify minimum slopes, fastening methods, overlap requirements, acceptable installation conditions, and other details.
Weather can have a significant impact on the schedule. Rain can interrupt work and make roof surfaces unsafe, while strong winds can interfere with material handling. Extreme temperatures may also affect certain products or installation methods.
The contractor should avoid leaving large sections of the roof inadequately protected at the end of a workday. Appropriate temporary protection may be necessary if the roof cannot be completed in one continuous period.
Homeowners may notice considerable changes in the appearance of the house during this stage. However, visual progress does not necessarily mean the installation is complete. Important components such as fastening, ventilation, ridge details, and drainage still need to be finalized.
The primary roofing material provides the main exterior weather barrier, but its performance depends on all the layers beneath and around it. Correct installation at this stage creates the visible foundation for the roof’s long-term performance.
Completing Fastening, Ventilation, and Roof Details
After the main roofing material has been installed across the roof surface, contractors need to complete fastening and other important details. These finishing stages may not take as long as the main material installation, but they are essential for creating a secure and functional roof.
Fasteners need to be checked for correct placement and depth. Nails, screws, clips, or other attachment systems should match the selected roofing material and be installed according to manufacturer requirements. Overdriven or underdriven fasteners can affect the quality of the installation.
Roof edges and corners may receive particular attention because they can experience greater wind forces. Proper attachment and edge detailing help reduce the risk of roofing materials lifting during severe weather.
Ventilation components are also completed during this stage. Ridge vents, roof vents, or other exhaust components need to remain properly connected to the ventilation system. Intake pathways should remain unobstructed so air can move through the intended areas.
Roof penetrations should receive a final check as surrounding roofing materials are completed. Pipe boots, vents, skylights, and other components need to remain properly integrated with the new roof.
Ridges and transitions may also be finished at this point. Ridge materials need to provide weather protection while maintaining the intended appearance and ventilation function where applicable.
Contractors should inspect the roof as they complete these details rather than waiting until every task is finished. Early identification of missing fasteners, damaged materials, or incomplete components makes corrections easier.
This stage can take longer on complex roofs because there are more individual details to complete. Dormers, valleys, skylights, chimneys, and multiple roof slopes all create additional transitions that require careful attention.
The timeline can also change if the contractor identifies a component that needs correction. Addressing such issues during installation is preferable to leaving them unresolved until after the crew has departed.
Once fastening, ventilation, ridge details, and other finishing components have been completed, the project moves toward final drainage work and inspection. The roof should now have its major protective layers and visible components in place.
Installing and Checking the Drainage System
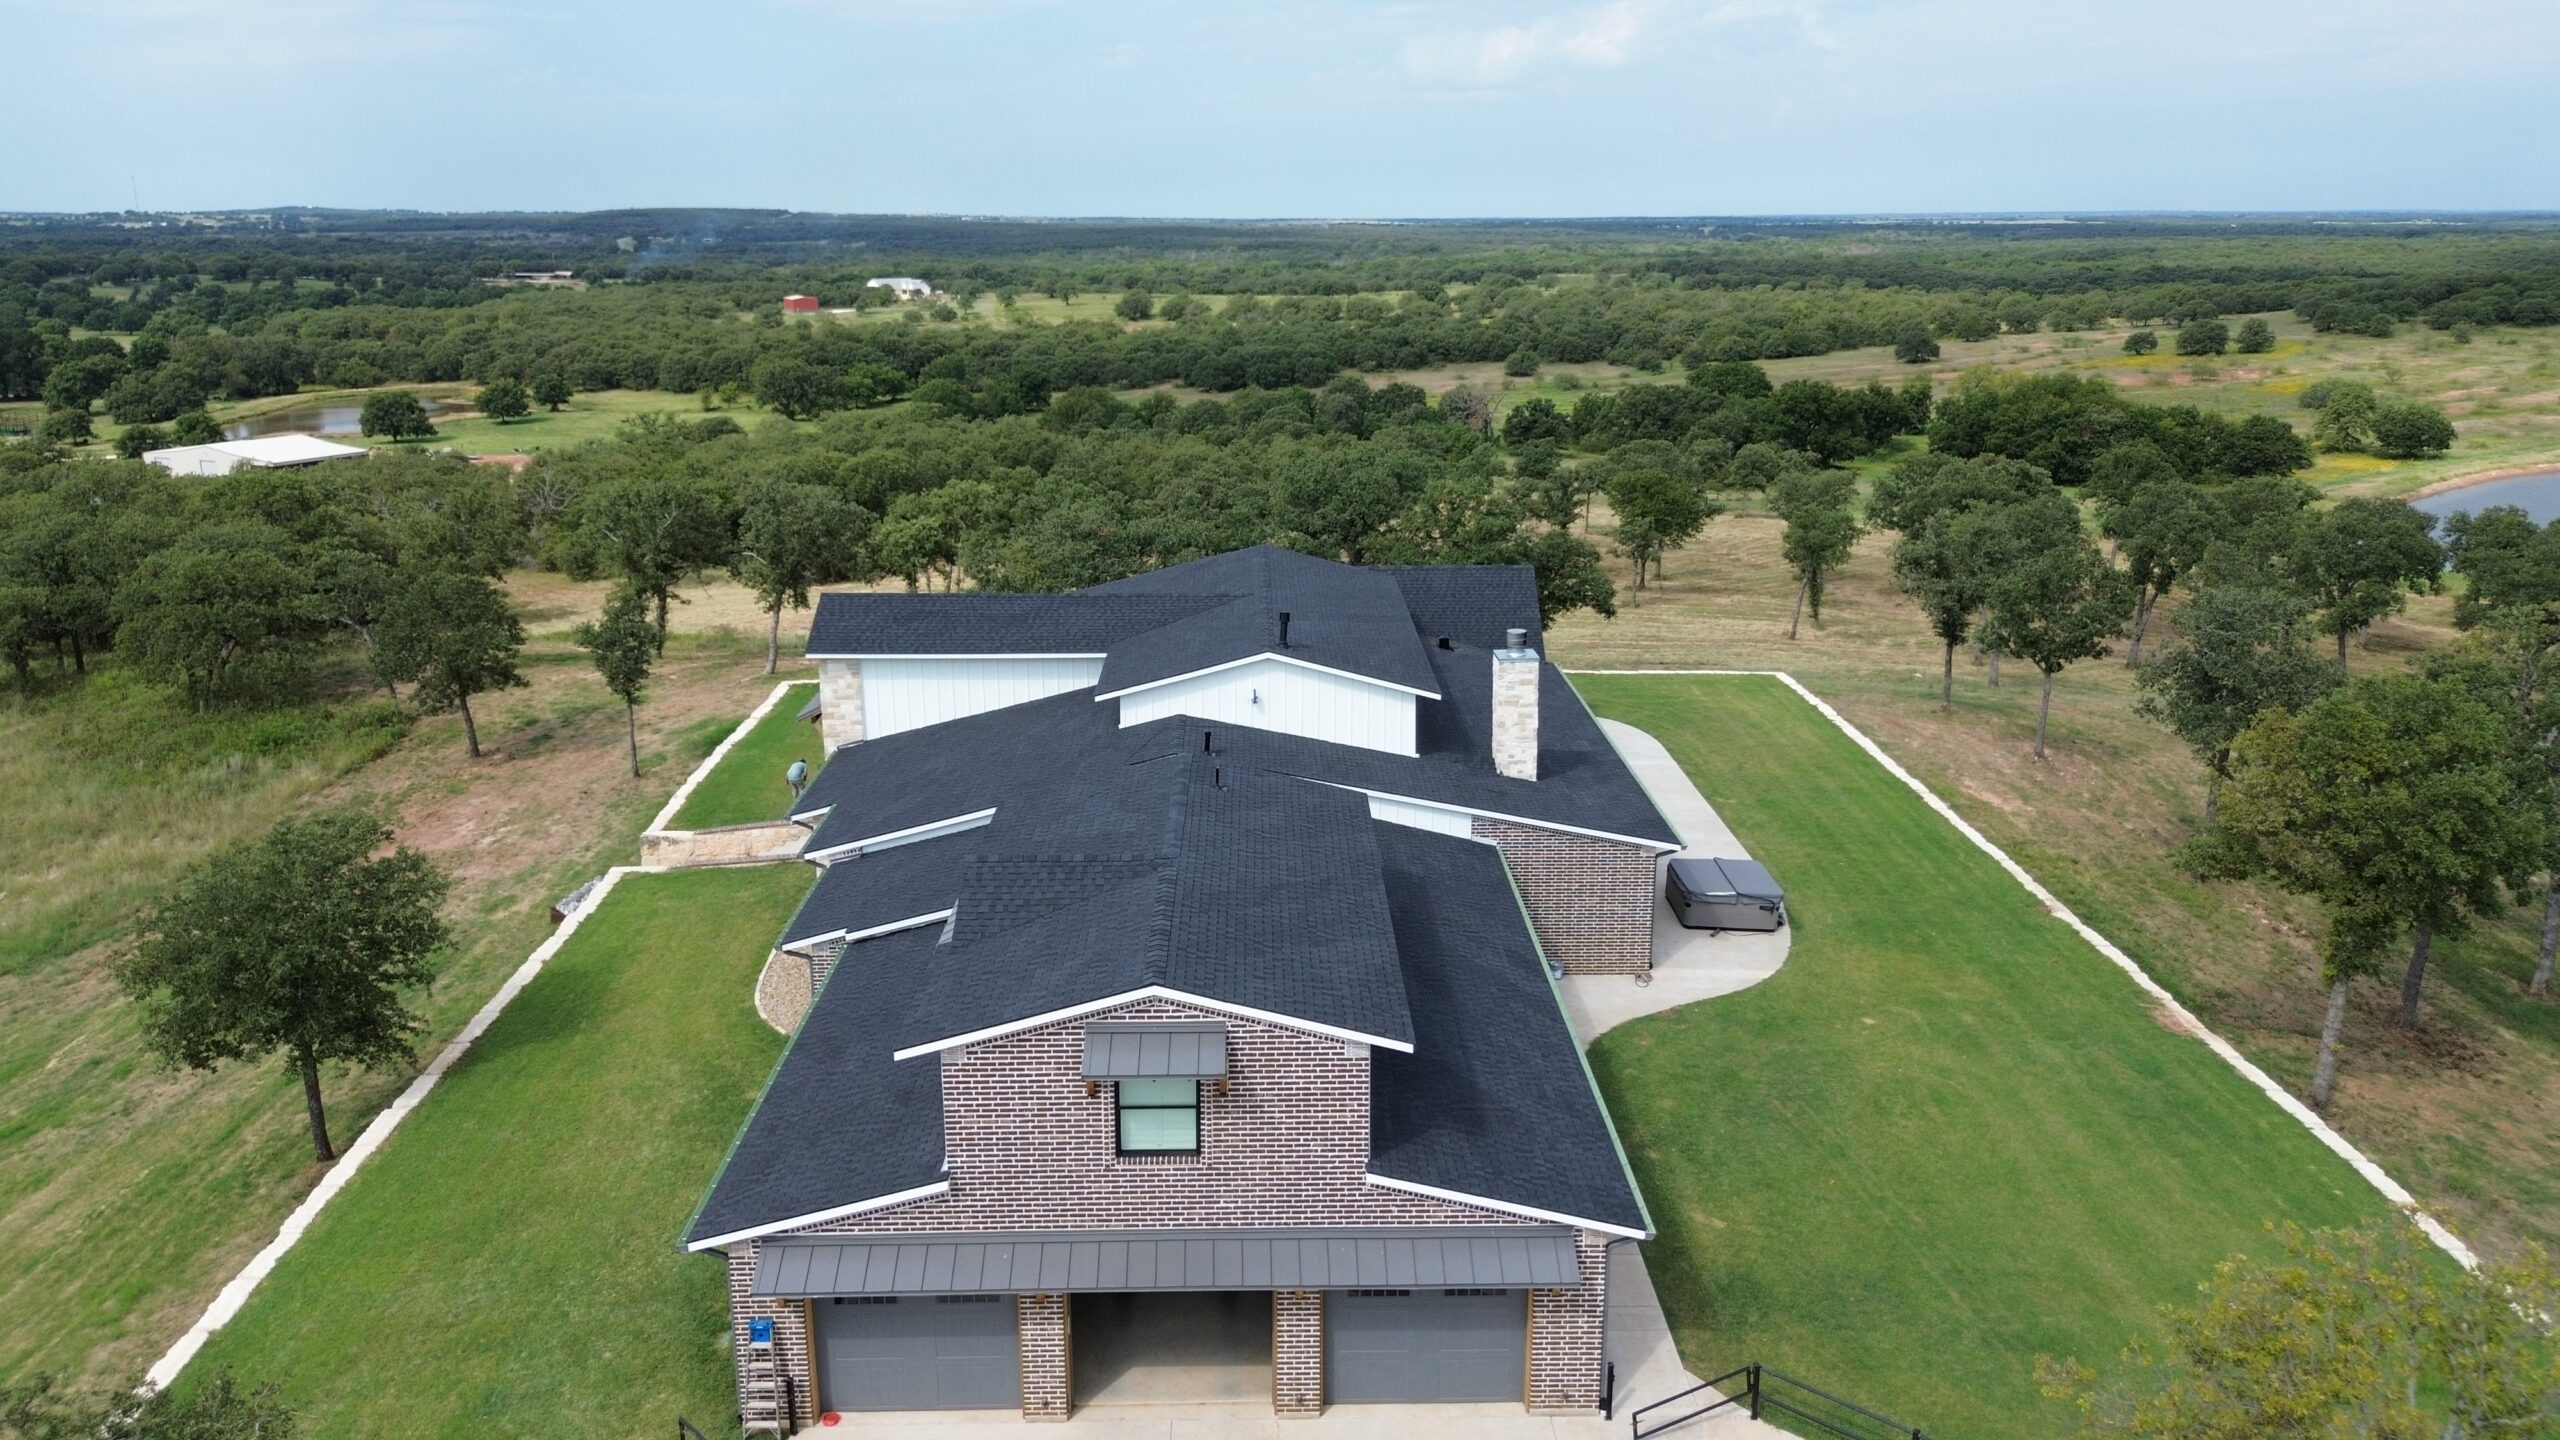
Effective drainage is essential because a roof must move rainwater away from the building rather than allowing it to collect around vulnerable areas. During the later stages of installation, contractors check gutters, downspouts, valleys, roof edges, drains, and other water-management components.
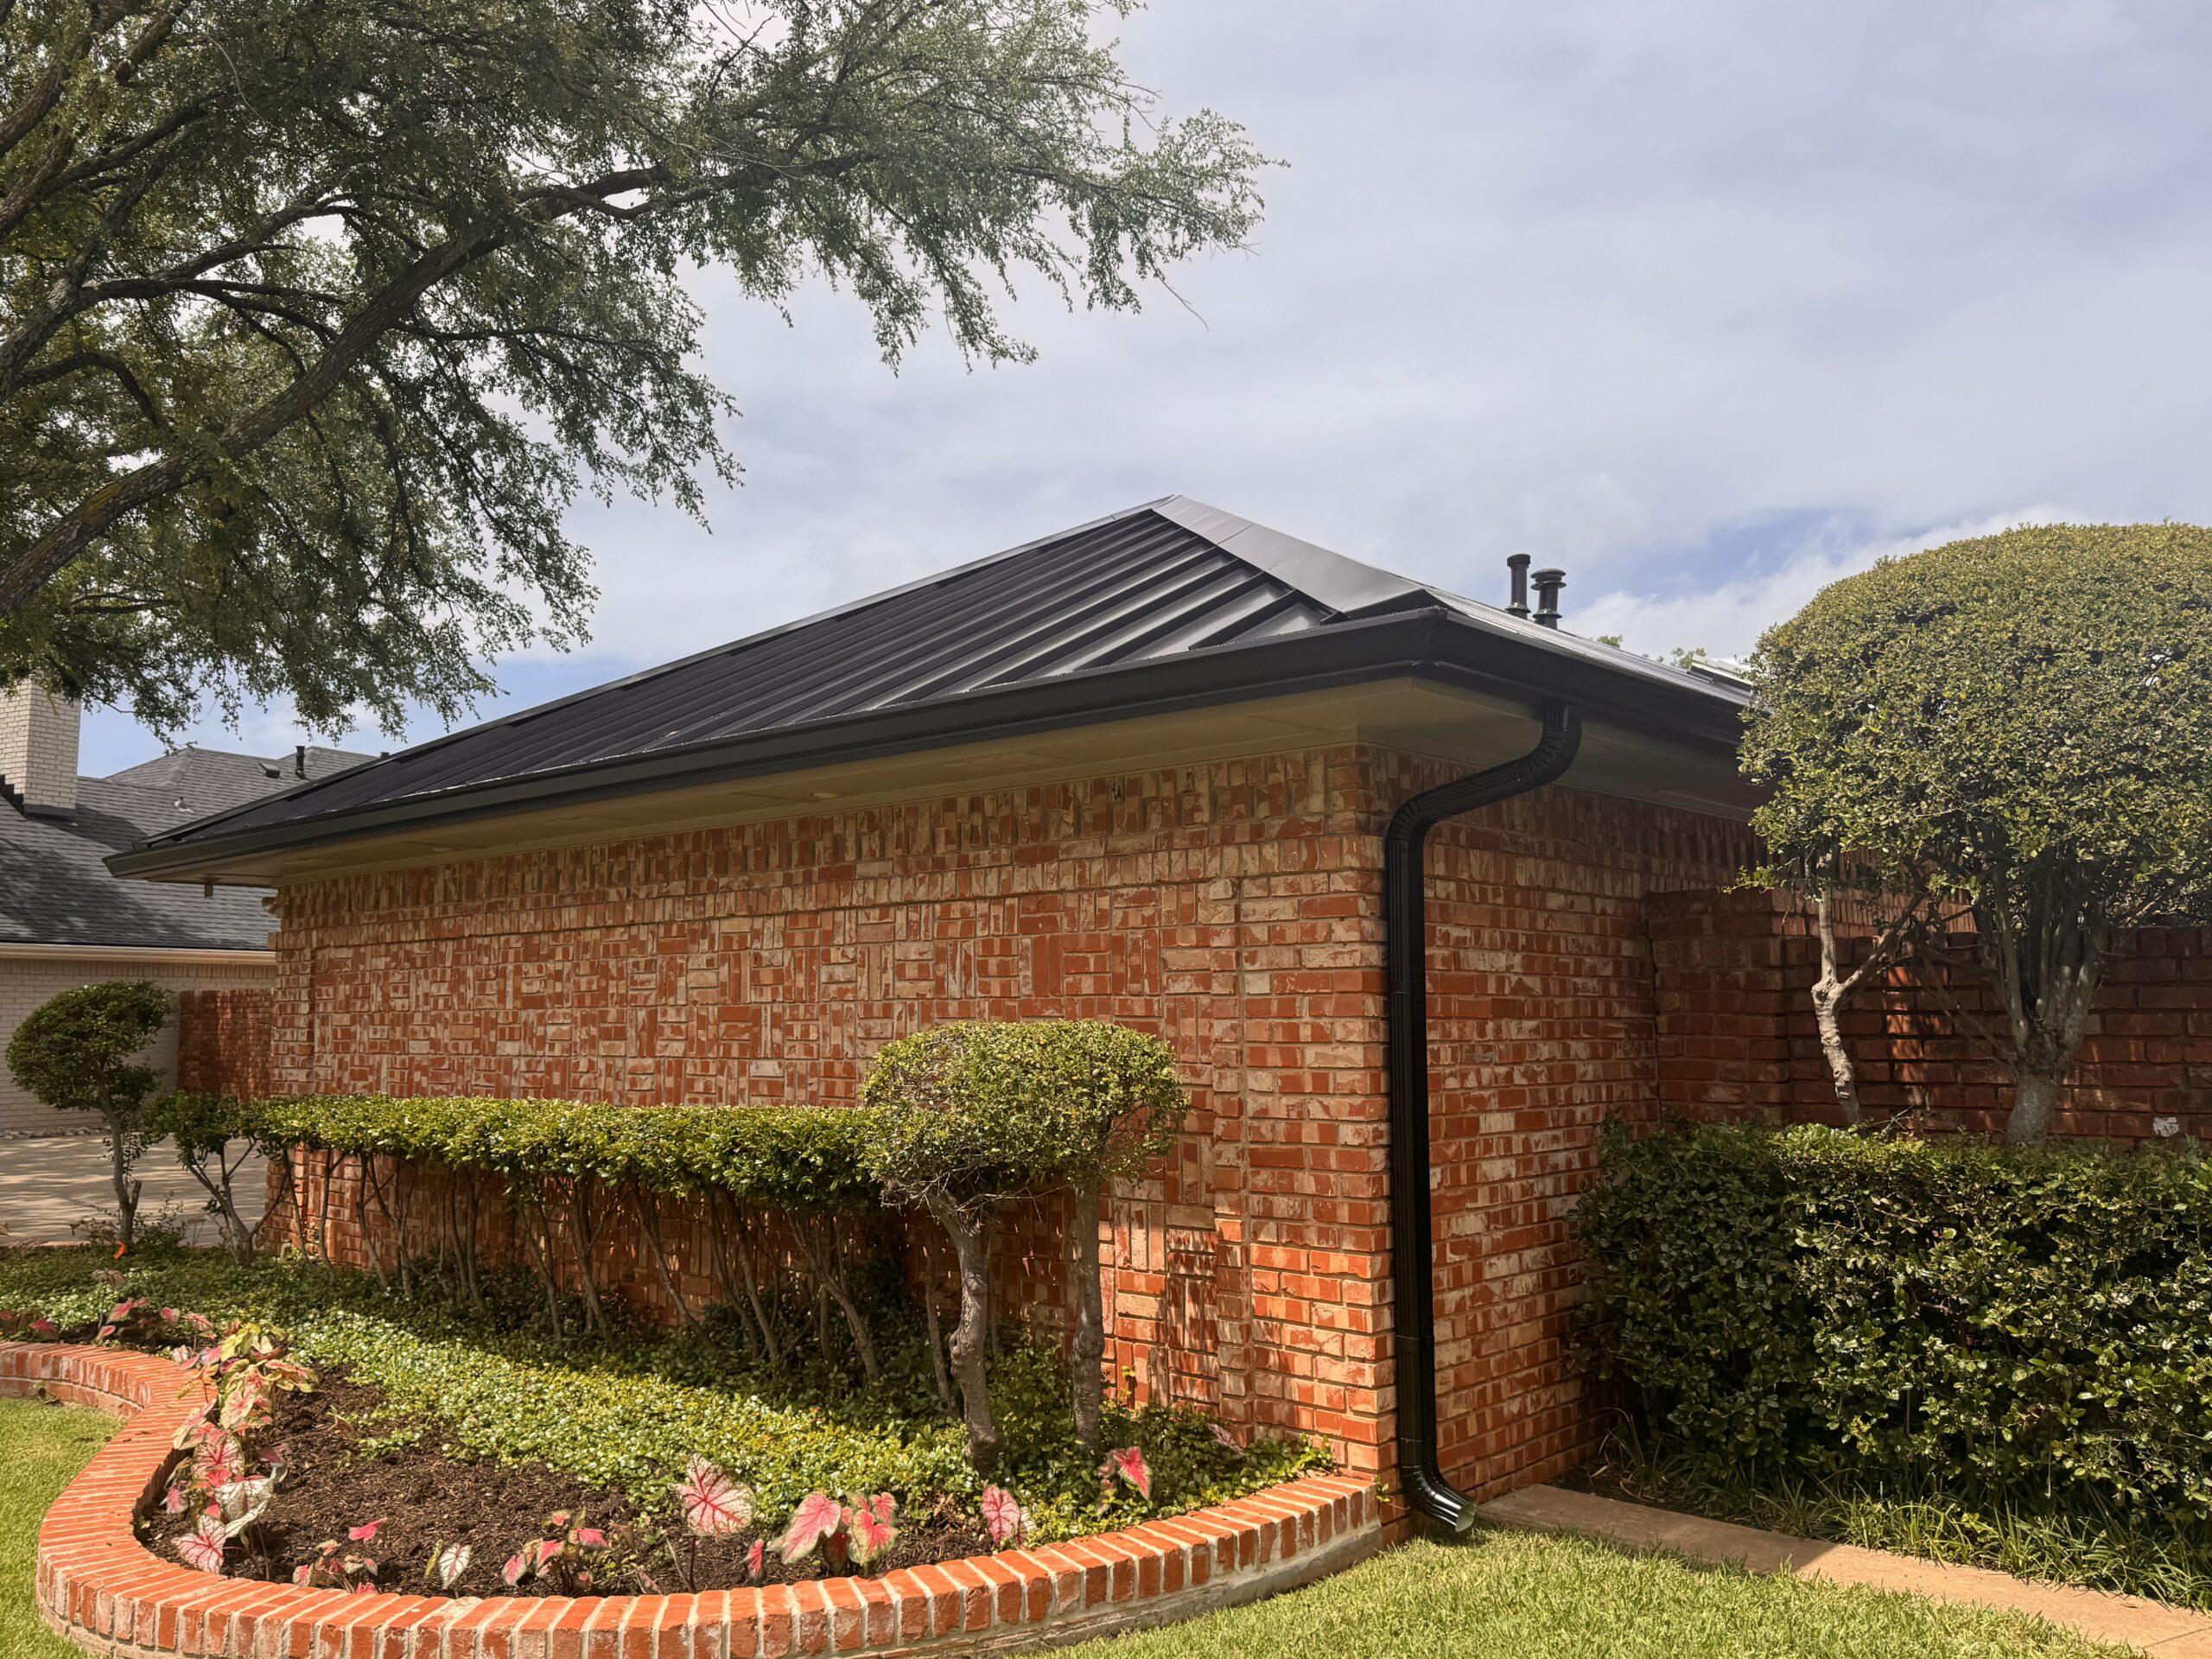
Gutters are commonly positioned along the lower edges of sloped roofs. They collect runoff and direct it toward downspouts. The gutter system should be properly aligned and securely attached so that water can enter and flow toward the intended outlet.
Downspouts then carry collected water away from the roof. Their placement should reduce the possibility of water being discharged directly against walls or foundations. Existing downspouts may need adjustment if the new roof changes water-flow patterns.
Valleys should also be inspected because they carry concentrated water during rainfall. Roofing materials should not block these pathways, and valley protection should remain properly positioned beneath or alongside the primary roofing material.
Some homes use roof drains or scuppers rather than conventional gutters, particularly where low-slope sections are present. These drainage systems need to remain unobstructed so water can leave the roof effectively.
Construction debris must be removed from drainage pathways. Small pieces of roofing material, fasteners, packaging, and other waste can accumulate during installation and interfere with water movement.
The contractor should check the relationship between the roof edge, drip edge, fascia, and gutter. These components should work together so that water enters the drainage system rather than flowing behind the gutter or onto vulnerable building materials.
Water flow should be evaluated before the project is considered complete. The contractor may visually inspect drainage paths or use appropriate testing methods to confirm that water can move toward the intended outlets.
Efficient drainage protects more than the visible roofing material. It helps reduce moisture exposure to the roof deck, fascia, exterior walls, and foundation. A properly functioning drainage system is therefore an important part of the finished installation.
Factors That Can Delay a Roofing Installation
Although contractors can create a detailed roofing schedule, several factors may change the expected timeline. Homeowners should understand these possibilities so that a delay does not automatically create unnecessary concern.
Weather is one of the most common causes of roofing delays. Rain can make roof surfaces unsafe and interfere with installation, while strong winds can make material handling dangerous. Contractors may postpone work until conditions become suitable.
Material delivery can also affect the schedule. If selected roofing products, flashing components, or specialty materials are delayed, installation may need to be rescheduled. Confirming material availability before the project begins can reduce this risk.
Hidden roof damage is another common factor. Once old materials are removed, contractors may discover deteriorated decking, moisture damage, or structural concerns that were not visible during the initial inspection. These conditions need to be addressed before the new roof can be installed properly.
Complex roof designs can naturally require more time. Multiple valleys, dormers, skylights, chimneys, roof-to-wall transitions, and different roof slopes increase the number of details that contractors must complete.
Unexpected repairs can also affect labor requirements. Replacing damaged decking or correcting drainage and flashing problems may extend the project beyond the original estimate.
Homeowners can reduce uncertainty by maintaining clear communication with the contractor. If the schedule changes, the contractor should explain the reason and provide an updated expectation when possible.
A roofing timeline should therefore be treated as a structured plan rather than an inflexible deadline. Proper preparation, realistic scheduling, appropriate weather considerations, and good communication help the project progress smoothly while still allowing contractors to address conditions that could affect the quality of the finished roof.
Final Roof Inspection and Quality Checks
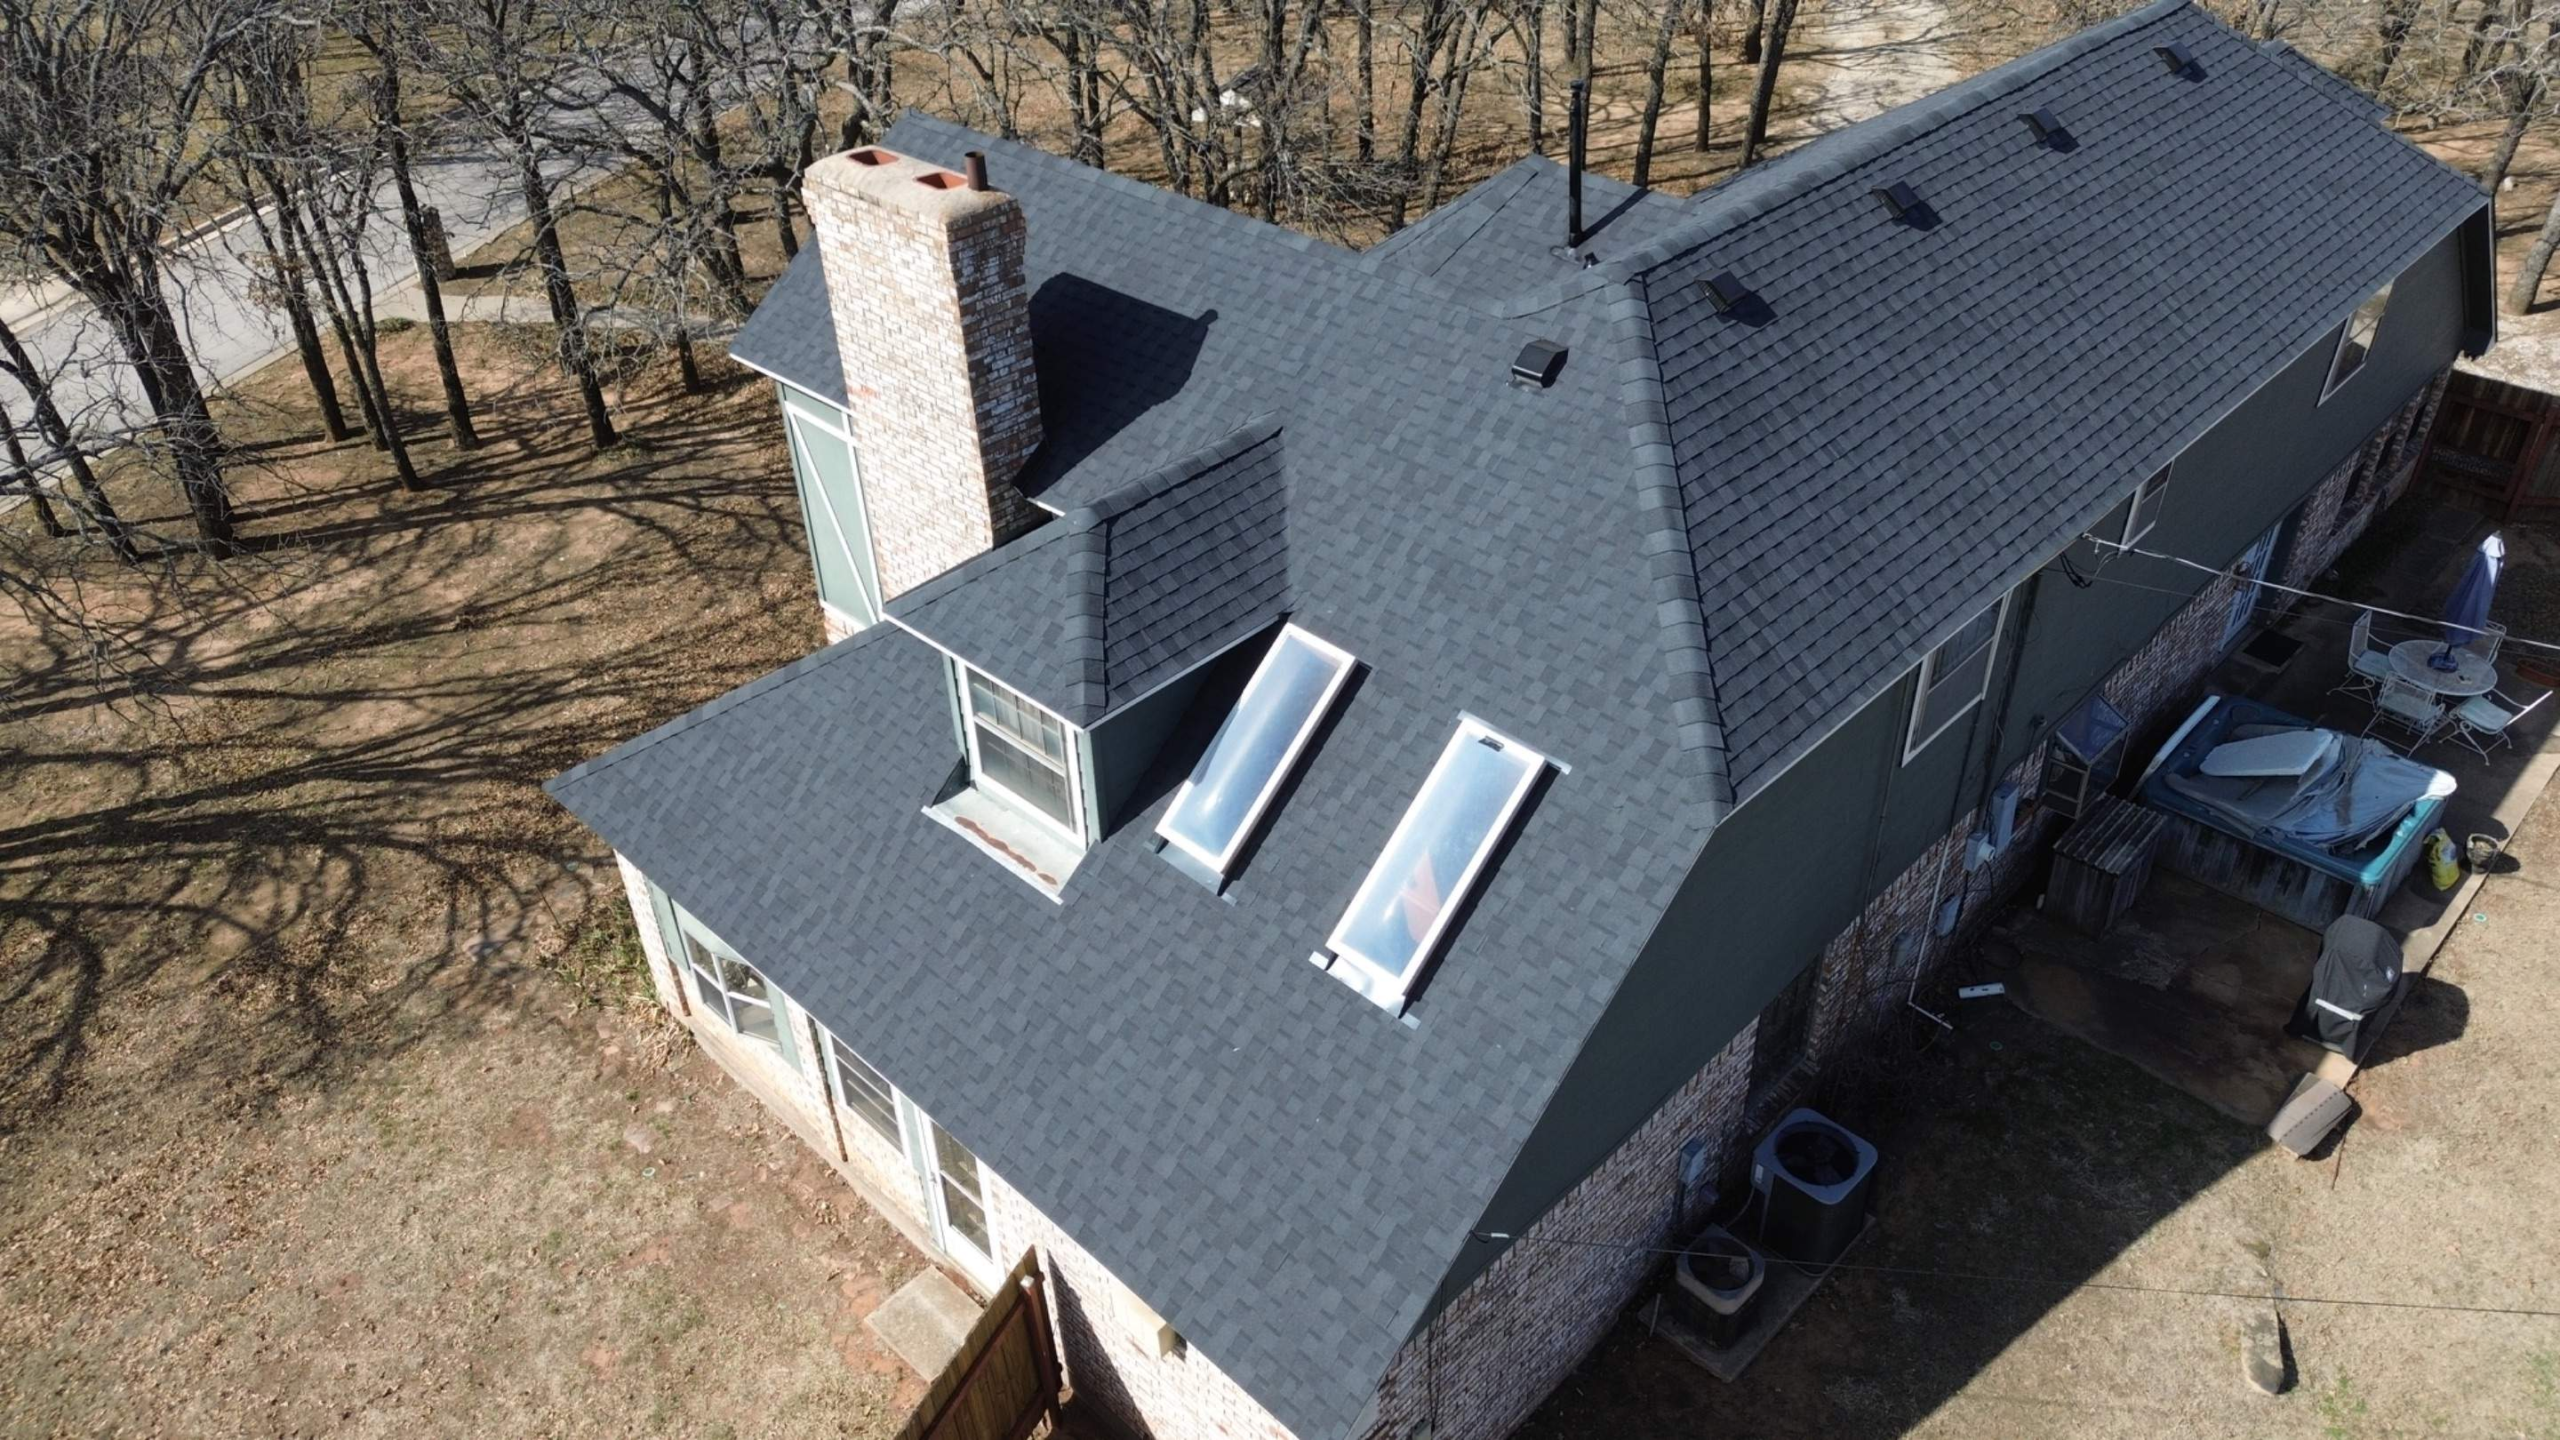
Once the primary roofing materials, flashing, ventilation, fastening, and drainage components have been installed, the project enters the final inspection stage. This is an important part of the timeline because completing the visible roof does not automatically mean that every installation detail has been properly finished. A careful final review gives the contractor an opportunity to identify and correct problems before the project is closed.
The inspection should begin with the primary roofing material. Shingles, panels, tiles, slate, or other products should be checked for proper alignment, coverage, fastening, and visible damage. Materials that were cracked, displaced, scratched, or otherwise damaged during installation should be corrected before the contractor leaves.
Flashing deserves particular attention because it protects many of the most vulnerable parts of the roof. Chimneys, skylights, plumbing vents, exhaust vents, roof-to-wall transitions, valleys, and other penetrations should be examined to ensure that their waterproofing details are complete and properly integrated with the surrounding roofing materials.
Roof edges should also be inspected. Drip edges, eaves, rakes, fascia, and gutters need to work together so that water moves toward the drainage system instead of behind the protective layers. Any loose, incomplete, or poorly positioned edge components should be addressed.
Fasteners should be reviewed for proper placement and attachment. Missing fasteners, improperly driven nails, loose screws, or other attachment problems can affect the stability of the roofing system. This is particularly important in areas where the roof needs to withstand strong winds.
Ventilation components should also be checked. Ridge vents, roof vents, soffit openings, and other components should remain functional and unobstructed. The contractor should make sure that roofing materials or construction debris have not blocked intended airflow pathways.
Drainage is another major part of the final review. Gutters and downspouts should be clear, valleys should provide unobstructed water paths, and drains or scuppers should function where applicable. Proper drainage helps protect both the roof and other parts of the building from unnecessary moisture exposure.
The contractor should also review any roof deck repairs completed during the project and ensure that all planned work has been addressed. Homeowners should be given an opportunity to ask questions and identify anything that appears different from the agreed project scope.
A final inspection should focus on both appearance and performance. A roof can look attractive while still having an incomplete flashing detail or drainage issue, so technical checks are just as important as visual quality.
Roofing Cleanup and Property Restoration
After installation and inspection, the contractor needs to clean the roof and surrounding property. Roofing projects can produce substantial amounts of debris, including old shingles, broken materials, packaging, nails, fasteners, and small pieces of construction waste. Proper cleanup is an essential part of completing the project.
The roof surface should be cleared of loose materials and debris. Valleys, roof edges, around vents, and other areas should receive particular attention because leftover materials can interfere with drainage or become hazards during future maintenance.
Gutters should also be checked and cleaned after installation. Small pieces of roofing material can fall into gutters during the project and may restrict water flow. Downspouts should also be checked to make sure they remain open.
The area around the house should be inspected for loose nails and sharp debris. Roofing materials can fall or be carried into landscaping, driveways, walkways, and other areas during construction. Thorough cleanup helps protect homeowners, children, pets, visitors, vehicles, and outdoor property.
Landscaping should be reviewed after construction as well. Protective coverings may have been placed over plants, shrubs, or other features during the project. These coverings should be removed carefully, and any obvious construction-related concerns should be discussed with the contractor.
Unused materials should be handled according to the project agreement. Some leftover roofing materials may be useful for future repairs, particularly if the exact product or color becomes difficult to find later. Homeowners can ask the contractor whether a small quantity should be retained and stored safely.
Waste disposal should also be completed according to applicable requirements. The contractor should remove old roofing materials and construction waste from the property if disposal is included in the agreement.
A final property walkthrough can be useful after cleanup. Homeowners and contractors can inspect the work area together and confirm that construction equipment, debris, protective coverings, and temporary materials have been removed.
Cleanup may seem like a minor part of the roofing timeline, but it contributes to the overall quality of the project. A properly completed roofing job should leave the roof, drainage system, and surrounding property clean, safe, and ready for normal use.
Reviewing Warranties and Project Documentation
Before the roofing project is officially closed, homeowners should collect and review important documentation. Keeping complete records provides useful information for future maintenance, repairs, warranty claims, and eventual property transactions.
The roofing contract should be retained because it describes the agreed scope of work. It may include information about materials, installation procedures, cleanup, payment terms, repairs, and other project requirements.
Product warranties should also be reviewed carefully. A manufacturer’s warranty may cover certain defects in the roofing material, but the exact coverage and conditions vary by product. Homeowners should understand what is covered and what responsibilities they have after installation.
Workmanship coverage is separate from product coverage in many projects. It relates to the contractor’s installation work and may have different terms. Homeowners should retain the contractor’s warranty information and understand how to contact the company if an installation-related concern develops.
Material information should also be recorded. The exact manufacturer, product type, color, profile, and other specifications can be useful when matching materials for future repairs.
Photographs provide another valuable record. Homeowners may want to keep photographs of the completed roof, flashing, valleys, penetrations, roof edges, and other important areas. These images can establish the condition of the roof immediately after installation.
Invoices and payment records should also be retained. They provide documentation of the project and may be useful for future financial, insurance, warranty, or property-related purposes.
The contractor should also provide maintenance recommendations. These may include information about cleaning, inspection frequency, suitable repair methods, drainage maintenance, and other care requirements.
Organized documentation becomes increasingly valuable as the roof ages. Years later, a contractor performing a repair may need to know which roofing product was installed or how a particular area was constructed. Having these details available can make future work more efficient.
Homeowners preparing to sell the property may also benefit from maintaining these records. A clear roofing history can help demonstrate that the system was professionally installed and maintained.
Completing the documentation stage gives homeowners a useful reference point for the rest of the roof’s service life. It also marks the transition from construction to long-term ownership and maintenance.
What Homeowners Should Expect After Installation
Once the contractor has completed the roof and left the property, homeowners may assume that no further attention is necessary. However, a new roof still requires observation and maintenance. The first period after installation is an opportunity to establish a good maintenance routine and become familiar with the new roofing system.
Homeowners should monitor the roof during normal weather and pay attention to any unusual signs inside the home. Water stains, damp areas, peeling finishes, or unexpected moisture may indicate a problem that needs professional evaluation.
A new roof should not normally require frequent repairs. If a significant issue appears soon after installation, homeowners should contact the contractor promptly and review the applicable workmanship or product coverage.
Gutters and downspouts should remain clear from the beginning. Construction debris may have been removed during cleanup, but leaves and other materials can begin accumulating as soon as normal use resumes.
Nearby vegetation should also be managed. Branches can damage a new roof during storms, while leaves can accumulate on the roof and interfere with drainage. Keeping trees appropriately maintained can help protect the investment.
Severe weather can affect even a newly installed roof. Strong winds, hail, heavy rain, or falling branches may cause damage, so homeowners should consider professional inspection after significant storms.
Homeowners should avoid unnecessary roof traffic. Walking across roofing materials can cause damage, particularly with certain tile, slate, or other fragile systems. Professional roofers should handle detailed inspections and repairs whenever roof access is required.
Any future modifications should be planned carefully. Solar panels, antennas, skylights, vents, and other roof-mounted equipment can affect waterproofing and structural components. Such work should be coordinated with qualified professionals.
The first few months can also be useful for confirming that drainage works as expected. During rainfall, homeowners can observe from a safe location whether gutters and downspouts appear to be handling water properly. Any unusual overflow or persistent ponding should be professionally evaluated.
A new roof provides a fresh starting point, but its future performance depends on how it is maintained. Establishing good habits immediately after installation can help protect the system throughout its expected service life.
How to Keep Future Roofing Projects on Schedule
Although a properly installed roof can last for many years, future maintenance and repairs are inevitable parts of residential property ownership. Homeowners can make future roofing work easier by maintaining the system consistently and keeping accurate records.
Routine inspections help identify developing problems before they become emergencies. Professional inspections are particularly useful as the roof ages, after severe weather, or when homeowners notice signs of moisture or material deterioration.
Preventive maintenance should focus on drainage, flashing, roof edges, ventilation, and visible roofing materials. Gutters and downspouts should remain clear, while nearby vegetation should be controlled to reduce debris and storm-related risks.
Prompt repairs can also prevent small issues from becoming major projects. A damaged shingle, loose flashing component, or blocked drainage pathway may be relatively simple to address when discovered early. Delaying the problem can expose additional roofing components to moisture and weather.
Seasonal preparation can help homeowners manage predictable weather conditions. Before periods of heavy rain, strong winds, or other demanding conditions, homeowners can ensure that gutters are clear and nearby branches are properly maintained.
Keeping roofing records is another simple way to make future projects more organized. Installation dates, material specifications, warranty information, inspection reports, repair invoices, and photographs provide useful information for contractors.
Homeowners should also maintain a relationship with reliable roofing professionals. Having a contractor or roofing company familiar with the property can make future inspections and repairs easier, particularly when the roof has specialized materials or complex architectural details.
Planning ahead is especially useful when a roof approaches the end of its service life. Instead of waiting for a major leak or emergency failure, homeowners can use inspection information to begin comparing replacement options and budgeting for future work.
The goal is not to prevent every delay because some factors, such as severe weather or hidden structural damage, cannot be predicted. Instead, good maintenance and preparation reduce avoidable complications and help homeowners respond more effectively when roofing work becomes necessary.
Conclusion
A residential roofing installation timeline consists of several connected stages, beginning with inspection and planning and continuing through preparation, material installation, final inspection, cleanup, and long-term maintenance. Understanding this sequence helps homeowners know what to expect and makes it easier to communicate with their roofing contractor.
The early stages establish the foundation for the project. Evaluating the existing roof, choosing suitable materials, finalizing the contract, preparing the property, and removing the old roofing system all contribute to a more organized installation.
Once the roof deck is prepared, the main installation can begin. Underlayment, drip edges, flashing, primary roofing materials, fasteners, ventilation, valleys, ridges, and drainage components must be completed in an appropriate sequence. Each component contributes to the performance of the complete roofing system.
The timeline can change because of weather, material availability, hidden roof damage, complex designs, or unexpected repairs. These changes do not necessarily indicate poor project management. What matters is that the contractor communicates clearly and maintains the quality of the installation rather than rushing work simply to meet an original date.
Final inspection and cleanup are also important parts of the process. The contractor should review the completed roof, correct visible issues, clear construction debris, check drainage, and leave the surrounding property in suitable condition.
Homeowners should then retain warranties, invoices, material information, photographs, and maintenance recommendations. These records provide a valuable reference throughout the roof’s service life and can make future repairs or replacement planning easier.
A roofing installation does not truly end when the crew finishes the physical work. Regular maintenance, drainage care, professional inspections, and prompt repairs help preserve the roof and reduce future problems.
Ultimately, understanding the residential roofing installation timeline allows homeowners to approach the project with realistic expectations. Proper planning, clear communication, skilled installation, careful inspection, and ongoing maintenance work together to create a roofing system that can provide dependable protection and long-term value for the home.