
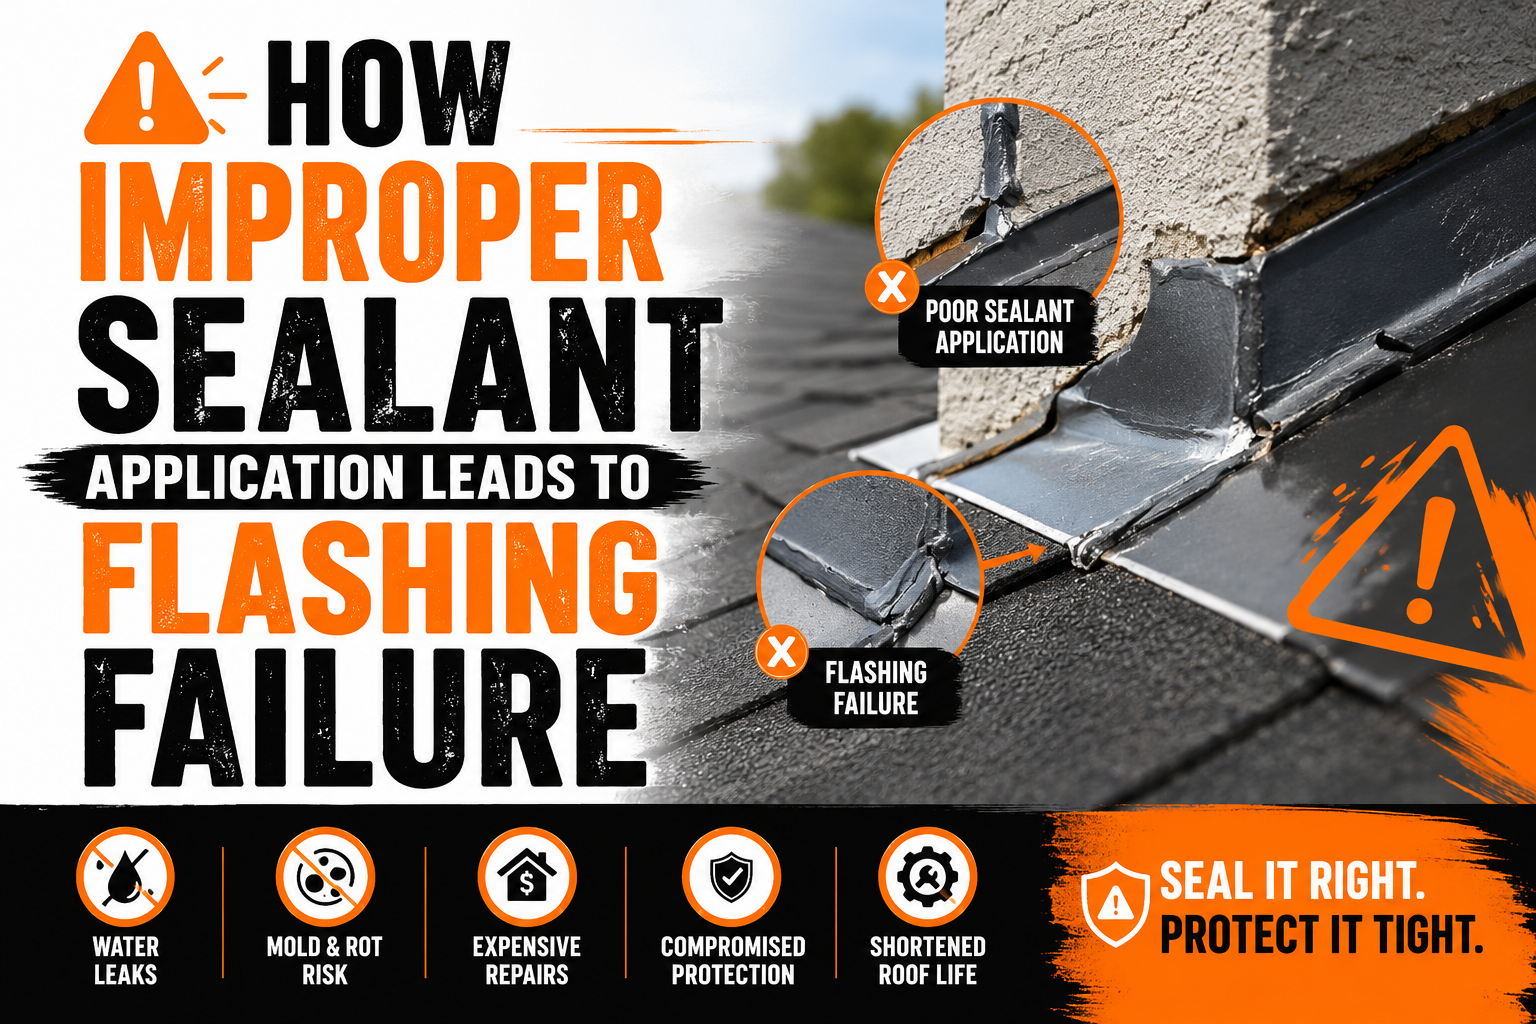
How Improper Sealant Application Leads to Flashing Failure
Introduction
A roof relies on many components working together to keep water out of a home. Shingles, underlayment, flashing, fasteners, and sealants each serve a specific purpose, creating multiple layers of protection against rain, snow, and changing weather conditions. While flashing is often recognized as one of the primary waterproofing elements, roofing sealants also play an important supporting role in maintaining a watertight roofing system.
Sealants are commonly used around flashing joints, roof penetrations, fasteners, skylights, chimneys, vents, and other areas where small gaps may allow moisture to enter. When applied correctly, they help reinforce the roofing system by sealing vulnerable transitions and supporting the performance of flashing. However, improper sealant application can create problems that eventually lead to flashing failure rather than preventing it.
Many homeowners assume that adding more sealant automatically creates better protection. In reality, excessive sealant, incorrect products, poor surface preparation, or improper application techniques often reduce the effectiveness of flashing instead of improving it. Sealant should complement a properly installed flashing system rather than replace the mechanical water shedding created by flashing and shingles.
Improper sealant application rarely causes immediate roof leaks. Instead, deterioration usually develops gradually as weather, ultraviolet radiation, temperature changes, and natural roof movement weaken the poorly applied sealant. Over time, gaps form around flashing, moisture begins entering beneath roofing materials, and hidden structural damage may develop before interior leaks become visible.
Understanding how improper sealant application leads to flashing failure helps homeowners recognize early warning signs, appreciate the importance of proper installation, and make informed maintenance decisions. This guide explains how flashing and sealants work together, common application mistakes, and why correct installation is essential for long term roof performance.
What Is Roof Flashing?
Roof flashing is a thin metal material installed at locations where different roofing components meet or where openings interrupt the roof surface. Its primary purpose is to direct water away from vulnerable joints that shingles alone cannot protect effectively.
Flashing is commonly installed around chimneys, skylights, plumbing vents, dormers, roof valleys, wall intersections, and roof edges. These areas experience changing water flow patterns that require additional waterproofing beyond standard roofing materials.
Rather than relying on adhesives alone, flashing creates a physical drainage path that allows rainwater to flow safely across the roof. Proper overlap between flashing sections and surrounding shingles uses gravity to move water away from the roof deck and toward gutters.
Most flashing systems work together with underlayment to create multiple layers of protection. If wind driven rain bypasses one layer, additional waterproofing materials continue directing moisture away from the home’s structure.
Proper flashing installation remains one of the most important factors in preventing roof leaks. Even the highest quality flashing, however, depends on appropriate sealant use in selected areas where additional protection is required.
What Are Roofing Sealants?
Roofing sealants are flexible waterproof materials designed to seal small gaps around flashing, roof penetrations, fasteners, and other vulnerable areas. Unlike flashing, which physically redirects water, sealants help prevent moisture from entering small openings that cannot be eliminated through mechanical installation alone.
Several different types of roofing sealants are available, each designed for specific roofing materials and environmental conditions. Modern roofing systems commonly use polyurethane, silicone, butyl, acrylic, and specialized roofing sealants depending on the application requirements.
Sealants are often applied around exposed fasteners, flashing joints, vent pipes, skylights, chimney flashing, and roof accessories. In these locations, they provide an additional barrier against water intrusion while allowing limited movement between roofing materials.
One of the most important characteristics of roofing sealants is flexibility. Roofs naturally expand and contract as temperatures change throughout the year. Quality sealants accommodate these movements while maintaining a continuous waterproof seal.
Although sealants play an important supporting role, they should never serve as the primary waterproofing method. Properly installed flashing and overlapping roofing materials provide the main defense against water, while sealants reinforce selected areas where additional protection is beneficial.
How Flashing and Sealants Work Together
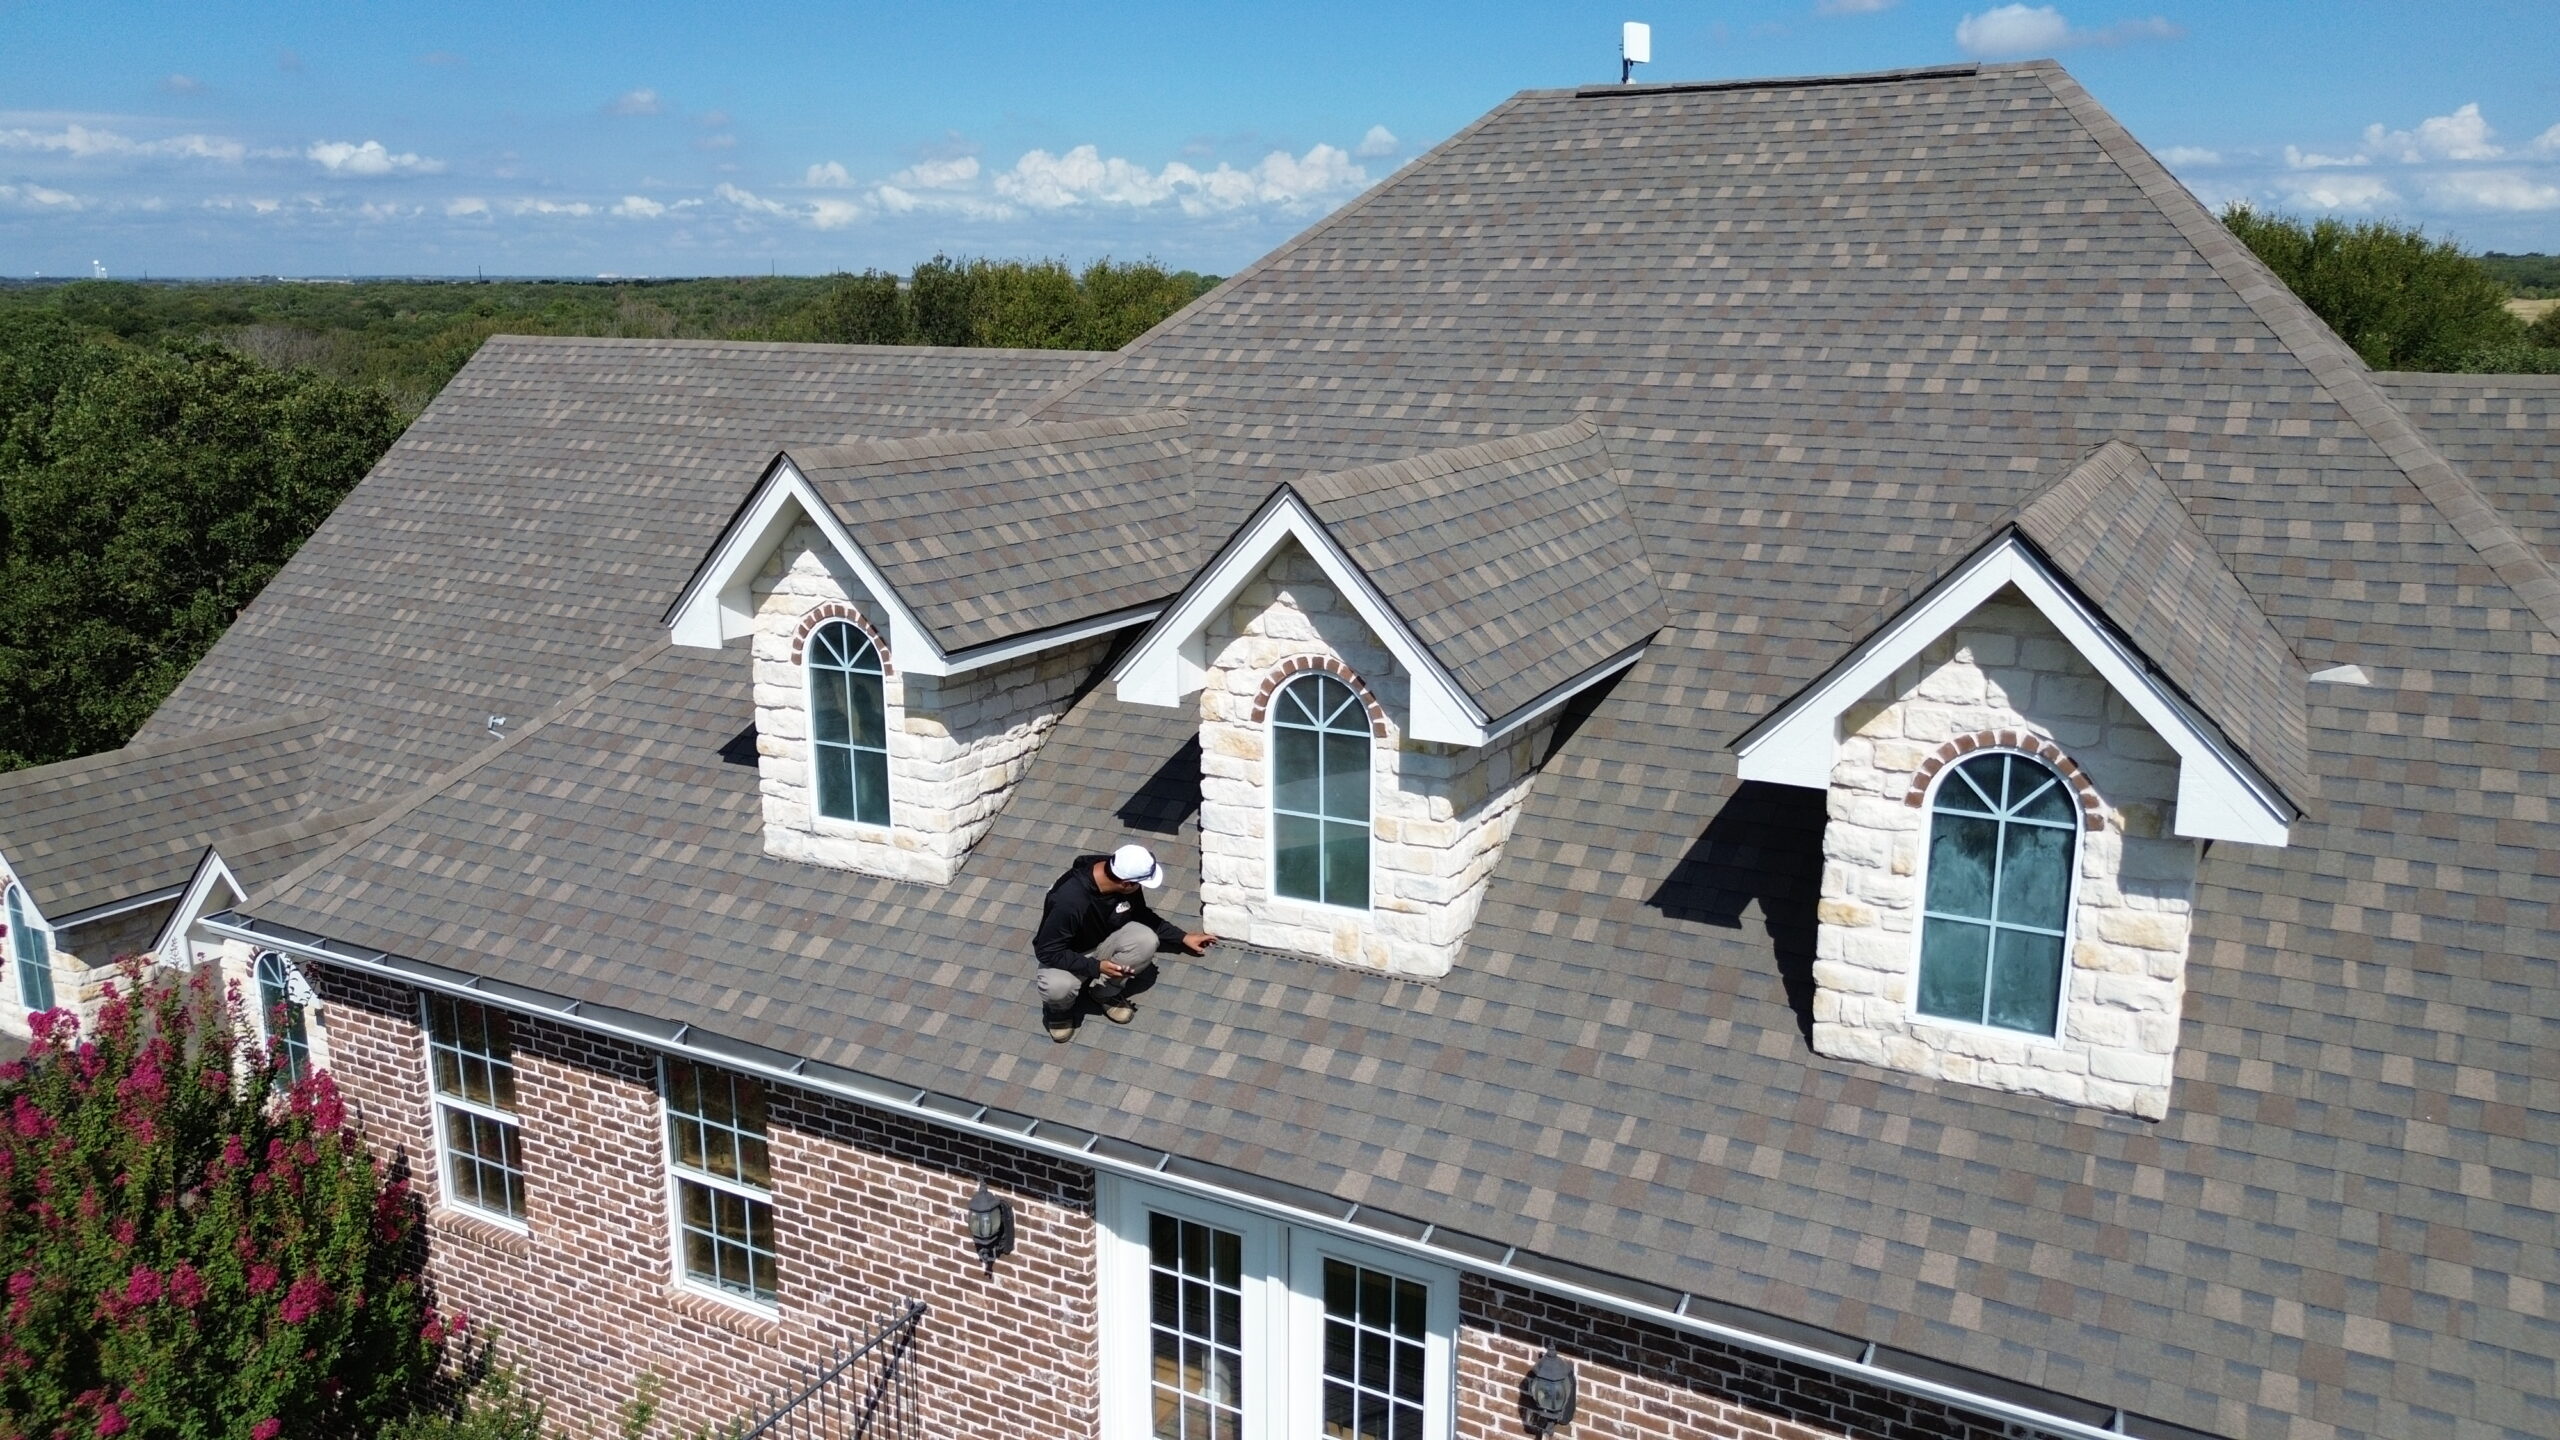
Flashing and sealants perform different but complementary functions within a roofing system. Understanding this relationship helps explain why improper sealant application often creates flashing problems rather than solving them.
Flashing provides the primary path for directing water away from vulnerable roof joints. Its overlapping metal sections rely on gravity to guide rainwater safely across the roof without allowing moisture to reach the roof deck.
Sealants support this system by closing small openings around fasteners, flashing edges, and carefully selected transition points. Rather than carrying water, sealants prevent moisture from entering locations where flashing alone cannot create a completely sealed connection.
Roof penetrations illustrate this relationship clearly. Around plumbing vents or skylights, flashing redirects water while sealants protect carefully defined joints between flashing components and roofing materials. Each product performs a different task that contributes to overall roof performance.
Problems develop when sealants are expected to replace flashing instead of supporting it. Applying excessive amounts of sealant over poorly installed flashing may temporarily reduce visible leaks, but it does not correct improper overlap, missing flashing sections, or other installation defects.
Successful roofing systems therefore depend on correct flashing installation first, followed by appropriate sealant application only where recommended by manufacturers and roofing professionals.
Common Causes of Improper Sealant Application
Many flashing failures can be traced back to mistakes made during sealant application rather than defects in the flashing itself. These errors often appear minor initially but gradually reduce the roofing system’s ability to resist water intrusion.
Applying too much sealant is one of the most common mistakes. Thick layers may trap moisture, interfere with proper drainage, or create uneven surfaces where debris accumulates. Excess sealant also tends to crack more easily as it ages.
Applying too little sealant creates different problems. Thin or incomplete coverage leaves small gaps where water can penetrate during heavy rainfall or wind driven storms. Even tiny openings may eventually allow moisture beneath the flashing.
Using the wrong type of sealant also contributes to premature failure. Different roofing materials require products with specific adhesion, flexibility, and weather resistance characteristics. Incompatible sealants may separate from metal flashing or surrounding roofing materials much sooner than expected.
Poor surface preparation presents another frequent issue. Dust, moisture, old sealant residue, rust, or loose debris prevent new sealants from bonding properly. Even high quality products cannot adhere effectively to contaminated surfaces.
Ignoring manufacturer installation recommendations also increases the likelihood of failure. Roofing systems are carefully designed with specific sealant types, application methods, and curing requirements that support long term performance.
Early Warning Signs of Sealant Failure
Sealant deterioration usually develops gradually, providing homeowners with several warning signs before significant flashing failure occurs. Recognizing these symptoms early allows maintenance to be completed before expensive structural damage develops.
Cracked sealant is among the most obvious indicators. Small surface cracks often appear first before expanding into larger openings that allow moisture to reach flashing joints during rainfall.
Shrinkage also deserves attention. As some sealants age, they gradually pull away from flashing or surrounding roofing materials, leaving narrow gaps where water can enter the roofing system.
Hardened sealant represents another common warning sign. Roofing sealants should retain flexibility throughout much of their service life. Materials that become brittle are less capable of accommodating natural roof movement during changing temperatures.
Loose flashing sometimes indicates that deteriorated sealant is no longer providing supplemental support around fasteners or flashing transitions. Although flashing should remain mechanically secured, failed sealants often reveal additional installation weaknesses.
Interior water stains, damp attic insulation, or visible gaps around flashing should also prompt immediate inspection. These symptoms frequently indicate that moisture has already begun bypassing the roofing system because the sealant no longer performs as intended.
Early identification allows homeowners to address sealant deterioration before flashing damage becomes widespread.
Why Proper Surface Preparation Is So Important
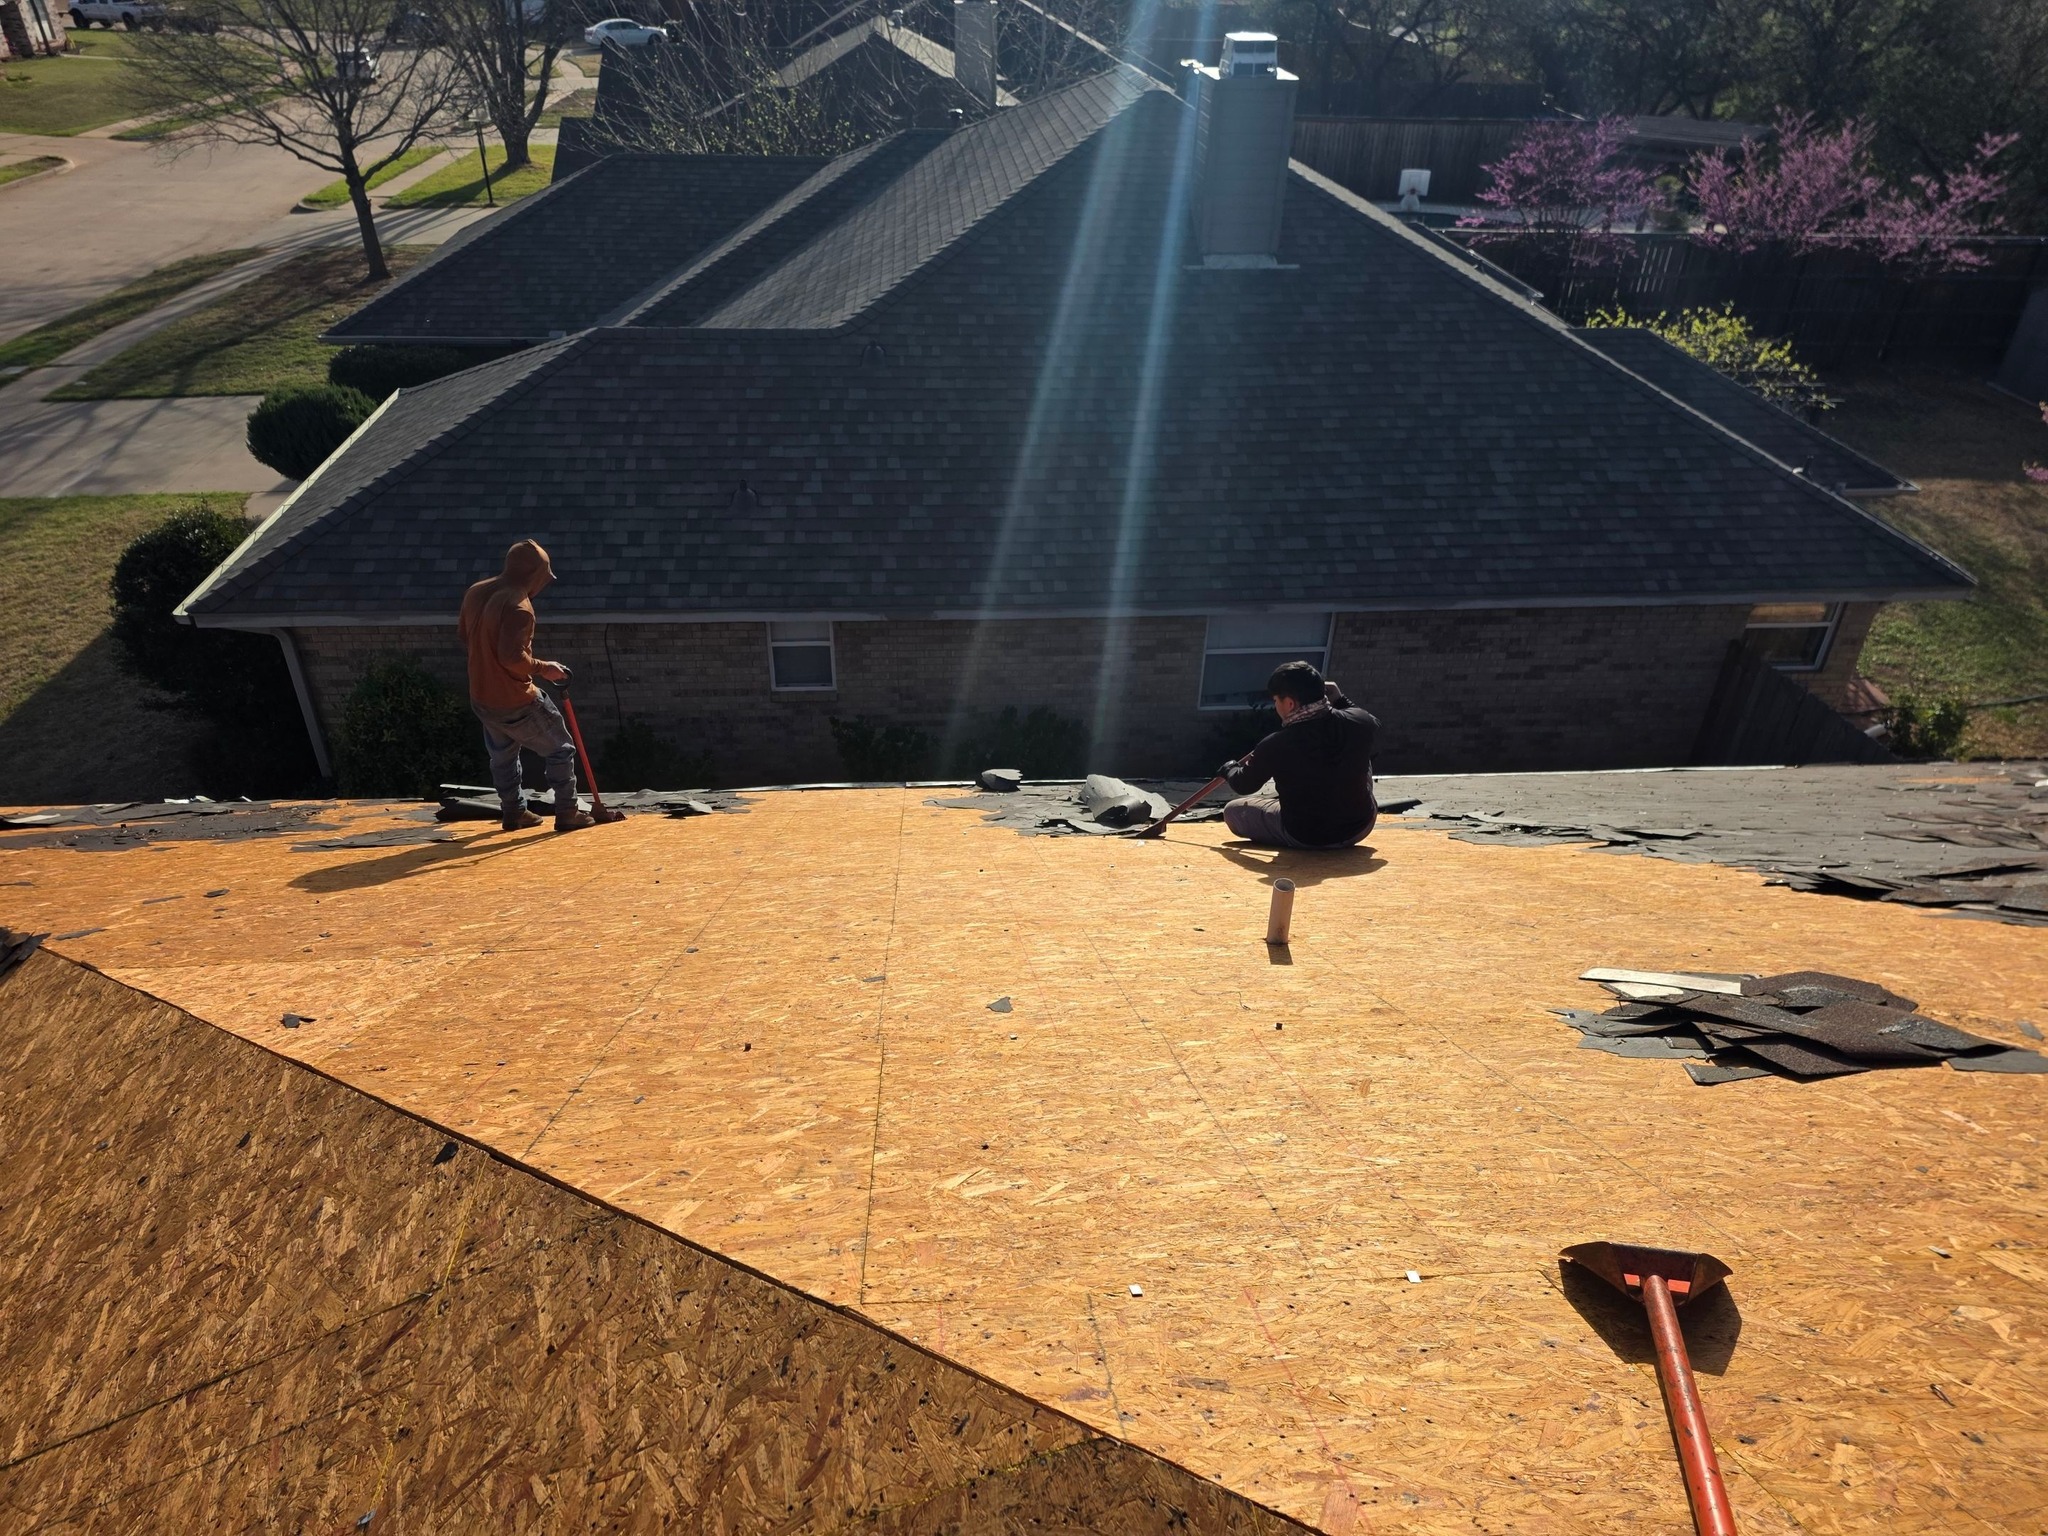
The quality of a sealant application depends not only on the product itself but also on the condition of the surface receiving the sealant. Proper preparation creates the strong bond necessary for long term weather resistance.
Before applying new sealant, old deteriorated material should be removed whenever appropriate. Applying fresh sealant over loose or cracked material often prevents proper adhesion and shortens the lifespan of the repair.
The flashing and surrounding roofing materials should also be clean and dry. Dirt, dust, algae, rust, oil, and moisture create barriers that interfere with bonding between the sealant and the roofing surface.
Temperature also influences application quality. Many roofing sealants perform best within specific temperature ranges recommended by the manufacturer. Applying sealant during extremely hot, cold, or wet conditions may reduce its ability to cure properly.
Surface compatibility deserves equal attention. Some roofing materials require primers or specialized sealants to achieve reliable adhesion. Selecting products specifically designed for the roofing system helps improve durability while reducing the likelihood of premature failure.
Careful preparation may require additional time, but it significantly increases the effectiveness of the finished sealant application while supporting the long term performance of the flashing system.
The Importance of Following Manufacturer Guidelines
Roofing manufacturers develop installation instructions through extensive testing under a wide variety of environmental conditions. These guidelines specify where sealants should be applied, which products are compatible with the roofing materials, and how flashing should interact with surrounding components.
Manufacturer recommendations often include details such as bead size, curing time, acceptable weather conditions, surface preparation requirements, and locations where sealants should or should not be used. Following these instructions helps ensure the flashing system performs as intended throughout its expected service life.
Different roofing materials also require different sealant characteristics. Metal flashing, asphalt shingles, synthetic roofing products, and specialized roof membranes may each require specific sealant formulations to maintain reliable adhesion and flexibility.
Ignoring these recommendations increases the likelihood of premature sealant failure. Even if the roof appears watertight immediately after installation, improper products or application methods may deteriorate much faster under normal weather exposure.
Manufacturer guidelines also play an important role in warranty protection. Many roofing warranties require installers to follow approved installation methods, including proper sealant selection and application. Failure to meet these requirements may affect warranty coverage if roofing problems develop later.
By treating manufacturer instructions as an essential part of the installation process rather than optional recommendations, homeowners and contractors help ensure both flashing and sealants provide dependable long term protection.
The Effects of Excessive Sealant Application
Many homeowners believe that applying extra sealant automatically creates a stronger waterproof barrier. While this may seem logical, excessive sealant often causes more problems than it solves. Roofing systems are designed to shed water through properly installed flashing, not by relying on large amounts of sealant.
Thick layers of sealant can interfere with the natural flow of water across flashing. Instead of allowing rainwater to drain freely, oversized sealant beads may create small ridges where water collects. Standing moisture increases the likelihood of deterioration while placing additional stress on both the flashing and the sealant itself.
Excess sealant also tends to cure unevenly. The outer surface may harden while the material beneath remains softer for a longer period. As temperatures change, this uneven curing can contribute to cracking, separation, or reduced flexibility.
Another concern is moisture entrapment. Large amounts of sealant may trap water beneath the material if applied over damp surfaces or deteriorated flashing. Hidden moisture accelerates corrosion while allowing structural damage to develop beneath what appears to be a sealed repair.
Excessive sealant can also make future inspections more difficult. Large patches often conceal flashing defects, delaying the identification of underlying installation problems that require proper correction rather than additional sealant.
Problems Caused by Insufficient Sealant
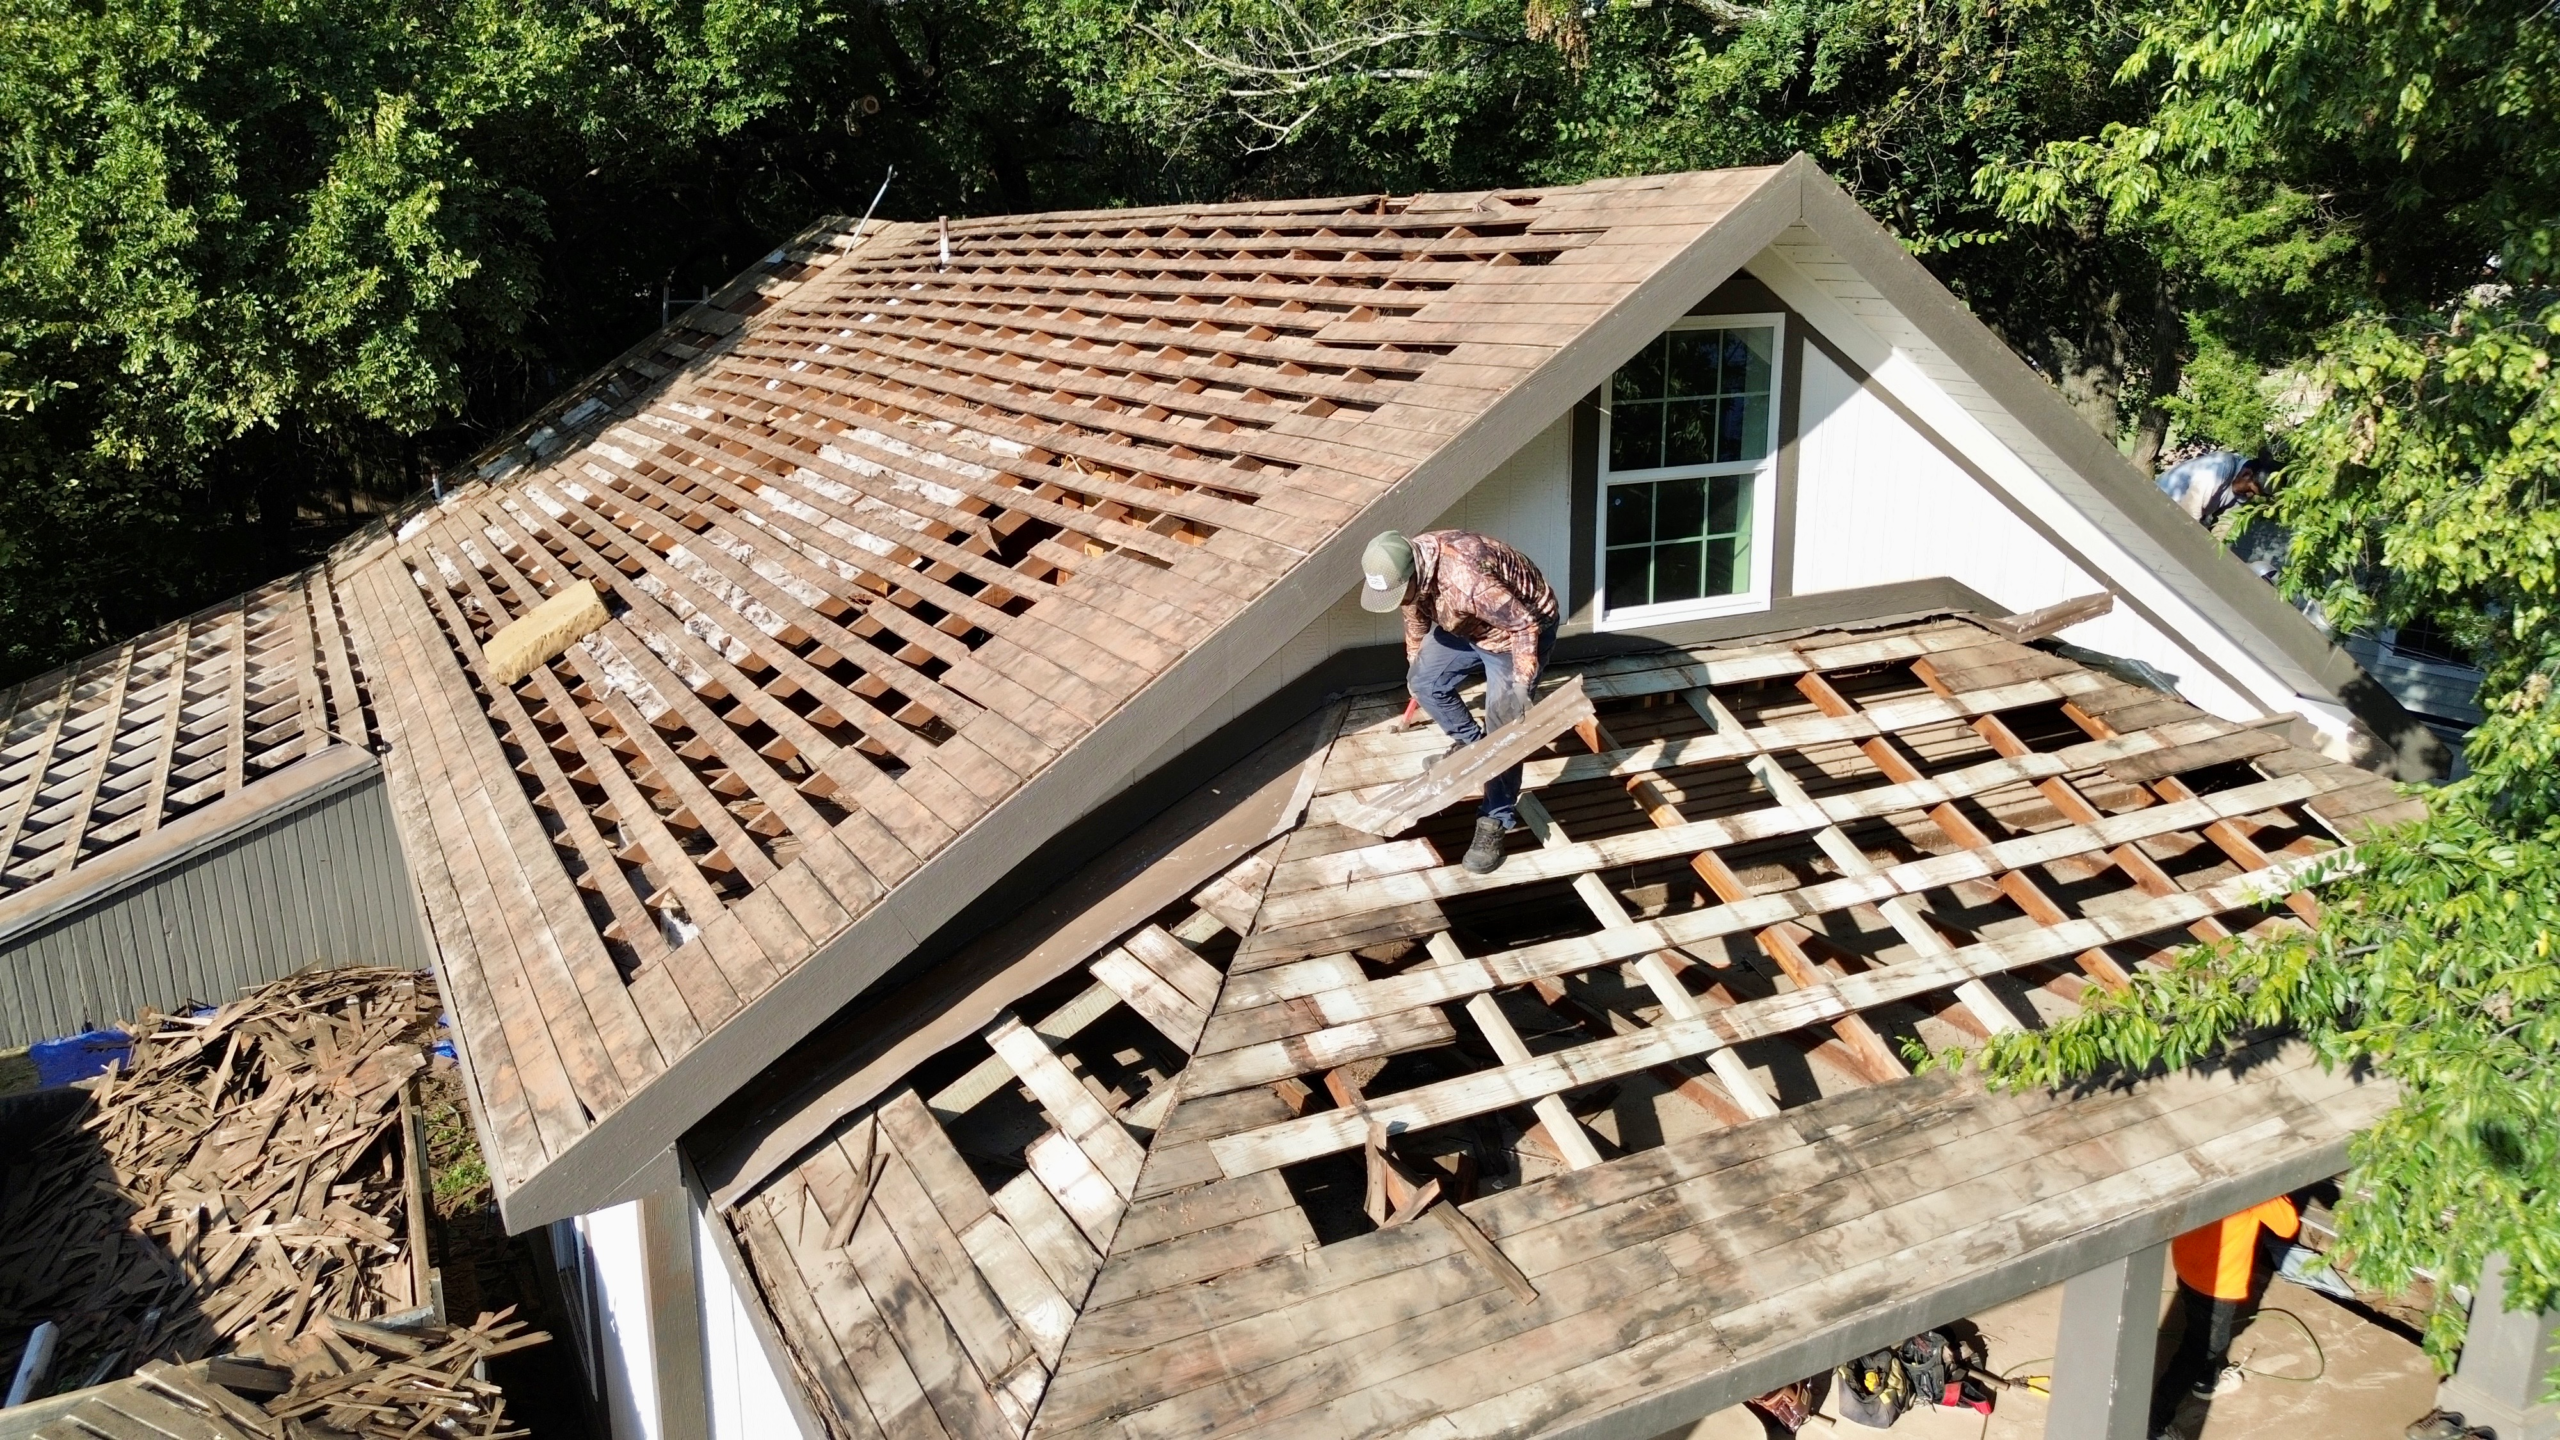
Applying too little sealant creates a different set of challenges. Thin or incomplete sealant coverage leaves vulnerable openings where water can bypass flashing during heavy rain, wind driven storms, or snowmelt.
Small gaps may appear insignificant at first, but roofing systems experience repeated exposure to moisture throughout the year. Even tiny openings allow water to enter gradually, especially when storms force moisture into flashing joints from multiple directions.
Insufficient sealant around fasteners is particularly concerning. Exposed nail heads and screws rely on proper sealing to reduce water penetration. Without adequate protection, moisture may travel along the fastener into the roof deck below.
Incomplete coverage also reduces the flashing system’s ability to accommodate normal roof movement. As roofing materials expand and contract with changing temperatures, poorly sealed joints may separate further, increasing the size of the openings over time.
These small defects rarely produce immediate roof leaks. Instead, moisture enters slowly, gradually affecting underlayment, roof decking, insulation, and interior finishes before homeowners become aware that flashing performance has declined.
Correct sealant application focuses on complete, consistent coverage in the appropriate locations rather than using either excessive or insufficient material.
Why Surface Preparation Matters
Proper surface preparation is one of the most important factors influencing sealant performance. Even premium roofing sealants cannot develop strong adhesion when applied to dirty, wet, or deteriorated surfaces.
Dust, dirt, leaves, algae, and roofing granules create physical barriers between the sealant and the flashing. These contaminants prevent full contact with the surface, reducing the strength of the bond immediately after installation.
Moisture creates another challenge. Many roofing sealants require clean, dry surfaces to cure correctly. Applying sealant to damp flashing often traps moisture beneath the material, weakening adhesion while increasing the possibility of corrosion.
Old deteriorated sealant should also be addressed carefully. Applying new sealant directly over loose, cracked, or hardened material frequently results in premature failure because the fresh product remains attached only to the deteriorating layer beneath it.
Surface corrosion deserves equal attention. Rust, oxidation, or flaking protective coatings reduce the flashing’s ability to bond effectively with sealant. Preparing these areas correctly helps establish a stronger and more durable connection.
Careful preparation may require additional effort, but it significantly improves sealant longevity while supporting the flashing system’s overall waterproofing performance.
How UV Exposure and Weather Accelerate Sealant Failure
Roofing sealants remain exposed to sunlight and weather throughout their service life. Although quality sealants are designed to withstand outdoor conditions, continuous environmental exposure gradually affects every roofing product over time.
Ultraviolet radiation slowly breaks down many sealant formulations by affecting their chemical structure. As the material ages, it may become less flexible, more brittle, and increasingly susceptible to surface cracking.
Daily temperature changes place additional stress on sealants. Warm daytime temperatures cause roofing materials to expand, while cooler nighttime conditions lead to contraction. These repeated movement cycles gradually weaken aging sealants, particularly if they were applied improperly.
Heavy rainfall repeatedly exposes flashing joints to flowing water. Properly installed sealants continue performing under these conditions, but poor adhesion or incorrect application often allows water to reach vulnerable areas beneath the flashing.
Strong winds also contribute to deterioration by lifting shingles slightly and increasing movement around flashing joints. Over many years, this repeated motion gradually enlarges small cracks and weakens deteriorating sealants.
Snow and ice create additional challenges in colder climates. Freeze and thaw cycles repeatedly expand trapped moisture within damaged sealant, accelerating the formation of larger cracks and openings.
Environmental exposure affects every roof, making proper sealant selection and application essential for long term flashing performance.
Sealant Aging and Loss of Flexibility
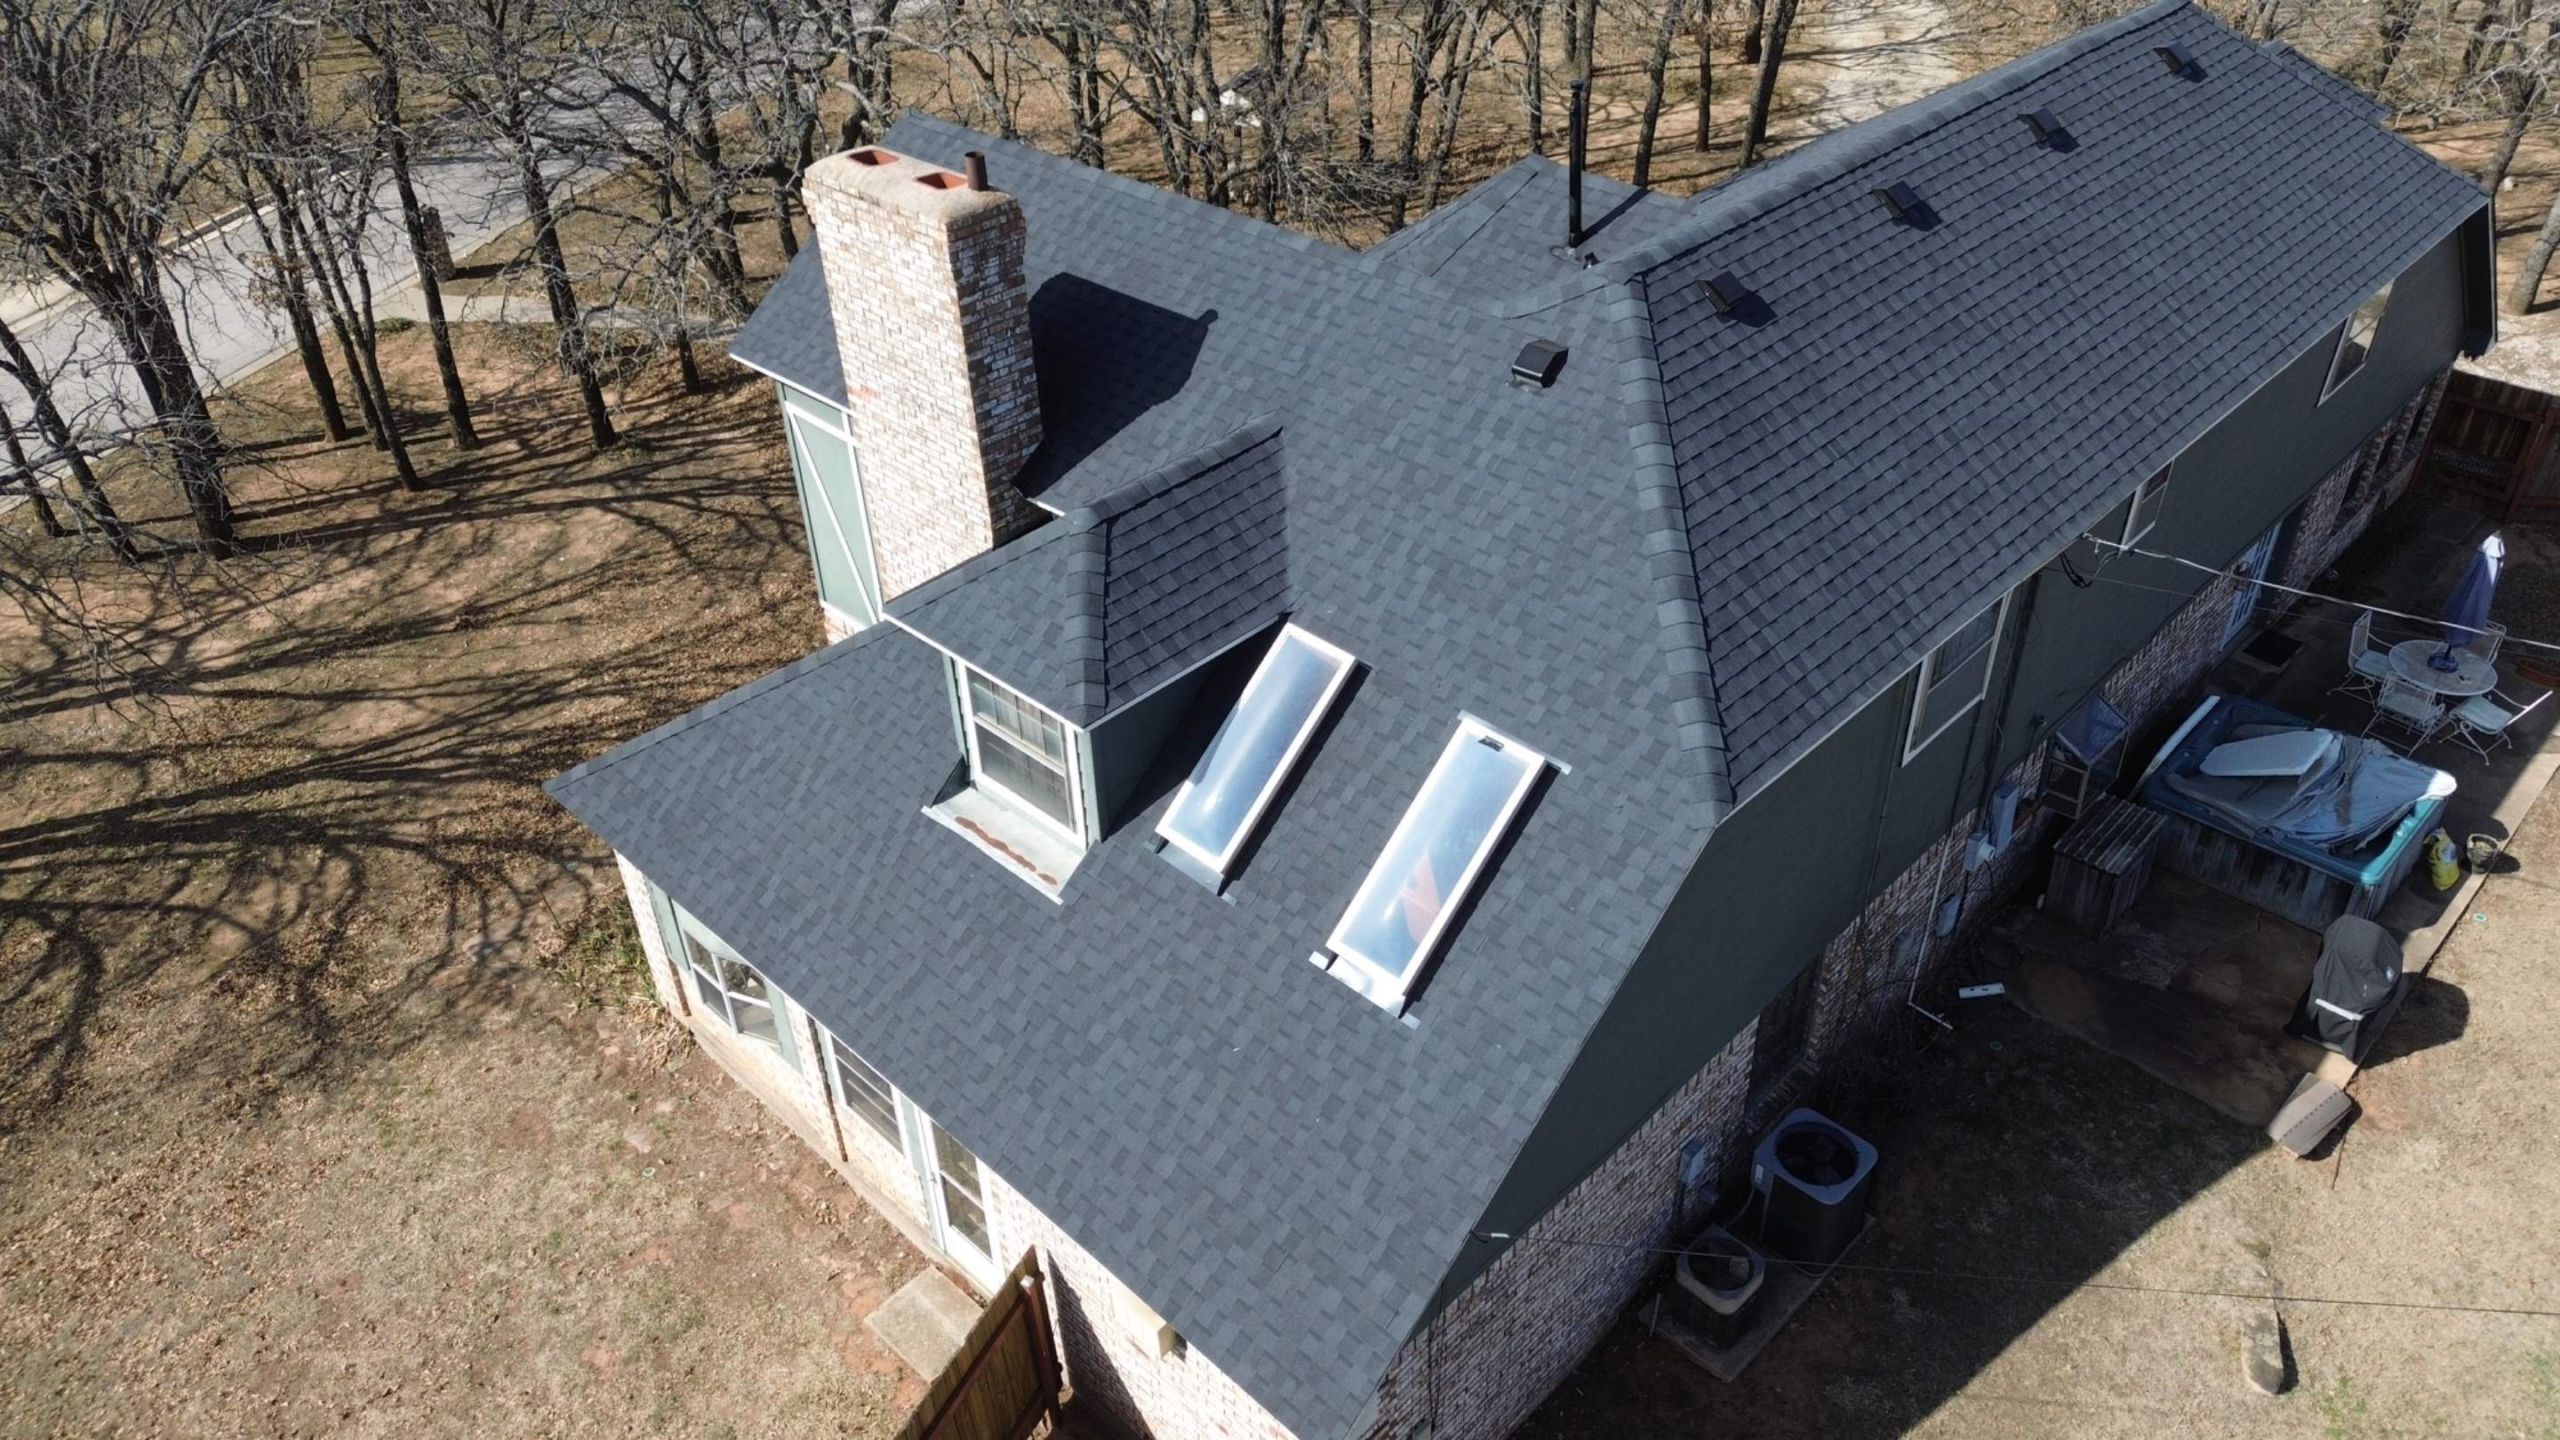
One of the defining characteristics of quality roofing sealants is their ability to remain flexible after curing. This flexibility allows them to accommodate the normal movement that occurs as roofing materials respond to seasonal temperature changes.
As sealants age, however, they gradually lose some of this elasticity. Years of sunlight, moisture, and repeated expansion and contraction slowly alter the material’s physical properties.
The first visible signs often include slight surface cracking or minor shrinkage. Although these changes may appear cosmetic initially, they frequently indicate that the sealant is becoming less capable of maintaining a watertight seal.
As flexibility continues declining, the sealant becomes increasingly brittle. Instead of stretching with roof movement, it begins separating from flashing or surrounding roofing materials, creating narrow pathways for water intrusion.
Different sealant products age at different rates depending on their chemical composition, environmental exposure, and installation quality. High quality products generally maintain flexibility much longer when applied correctly according to manufacturer recommendations.
Routine inspections allow aging sealants to be identified before complete failure occurs, reducing the likelihood of flashing leaks and more extensive roof repairs.
Comparing Common Sealant Application Problems
Different sealant issues affect flashing performance in different ways. Understanding these common problems helps homeowners recognize why correct application techniques are so important.
| Sealant Issue | Primary Cause | Visible Symptoms | Potential Damage |
|---|---|---|---|
| Cracked Sealant | UV exposure, aging, temperature changes | Surface cracks and openings | Water intrusion around flashing |
| Shrunken Sealant | Natural aging and poor application | Gaps between flashing and sealant | Moisture penetration and leaks |
| Poor Surface Adhesion | Dirty or wet installation surfaces | Peeling or separated sealant | Reduced waterproof protection |
| Excessive Sealant | Applying more than required | Thick uneven beads and trapped debris | Standing water and hidden flashing damage |
| Incorrect Sealant Type | Using incompatible roofing products | Early deterioration and separation | Premature flashing failure |
Although each issue develops differently, all reduce the sealant’s ability to support flashing and maintain a watertight roofing system.
Common Installation Mistakes That Lead to Flashing Leaks
Improper sealant application is often only one part of a larger installation problem. Several common mistakes increase the likelihood that flashing will eventually leak despite the presence of sealant.
One of the most frequent errors is using sealant as the primary waterproofing method instead of installing flashing correctly. Flashing should direct water through overlapping metal sections, while sealant simply reinforces selected joints where additional protection is needed.
Another common mistake involves applying sealant without removing deteriorated material first. New sealant cannot form a reliable bond if the underlying layer is already cracked, loose, or separating from the flashing.
Improper bead placement also contributes to future leaks. Sealant applied outside recommended locations may fail to protect vulnerable joints while interfering with normal roof drainage.
Ignoring curing requirements creates additional concerns. Many roofing sealants require specific weather conditions and curing times before they achieve full performance. Rain or excessive movement before curing is complete often weakens the finished seal.
Some installations also use household caulks or general construction sealants instead of products designed specifically for roofing applications. These materials typically lack the flexibility and weather resistance required for long term roof performance.
Avoiding these mistakes significantly improves flashing reliability while reducing future maintenance requirements.
How Flashing Failure Develops Over Time
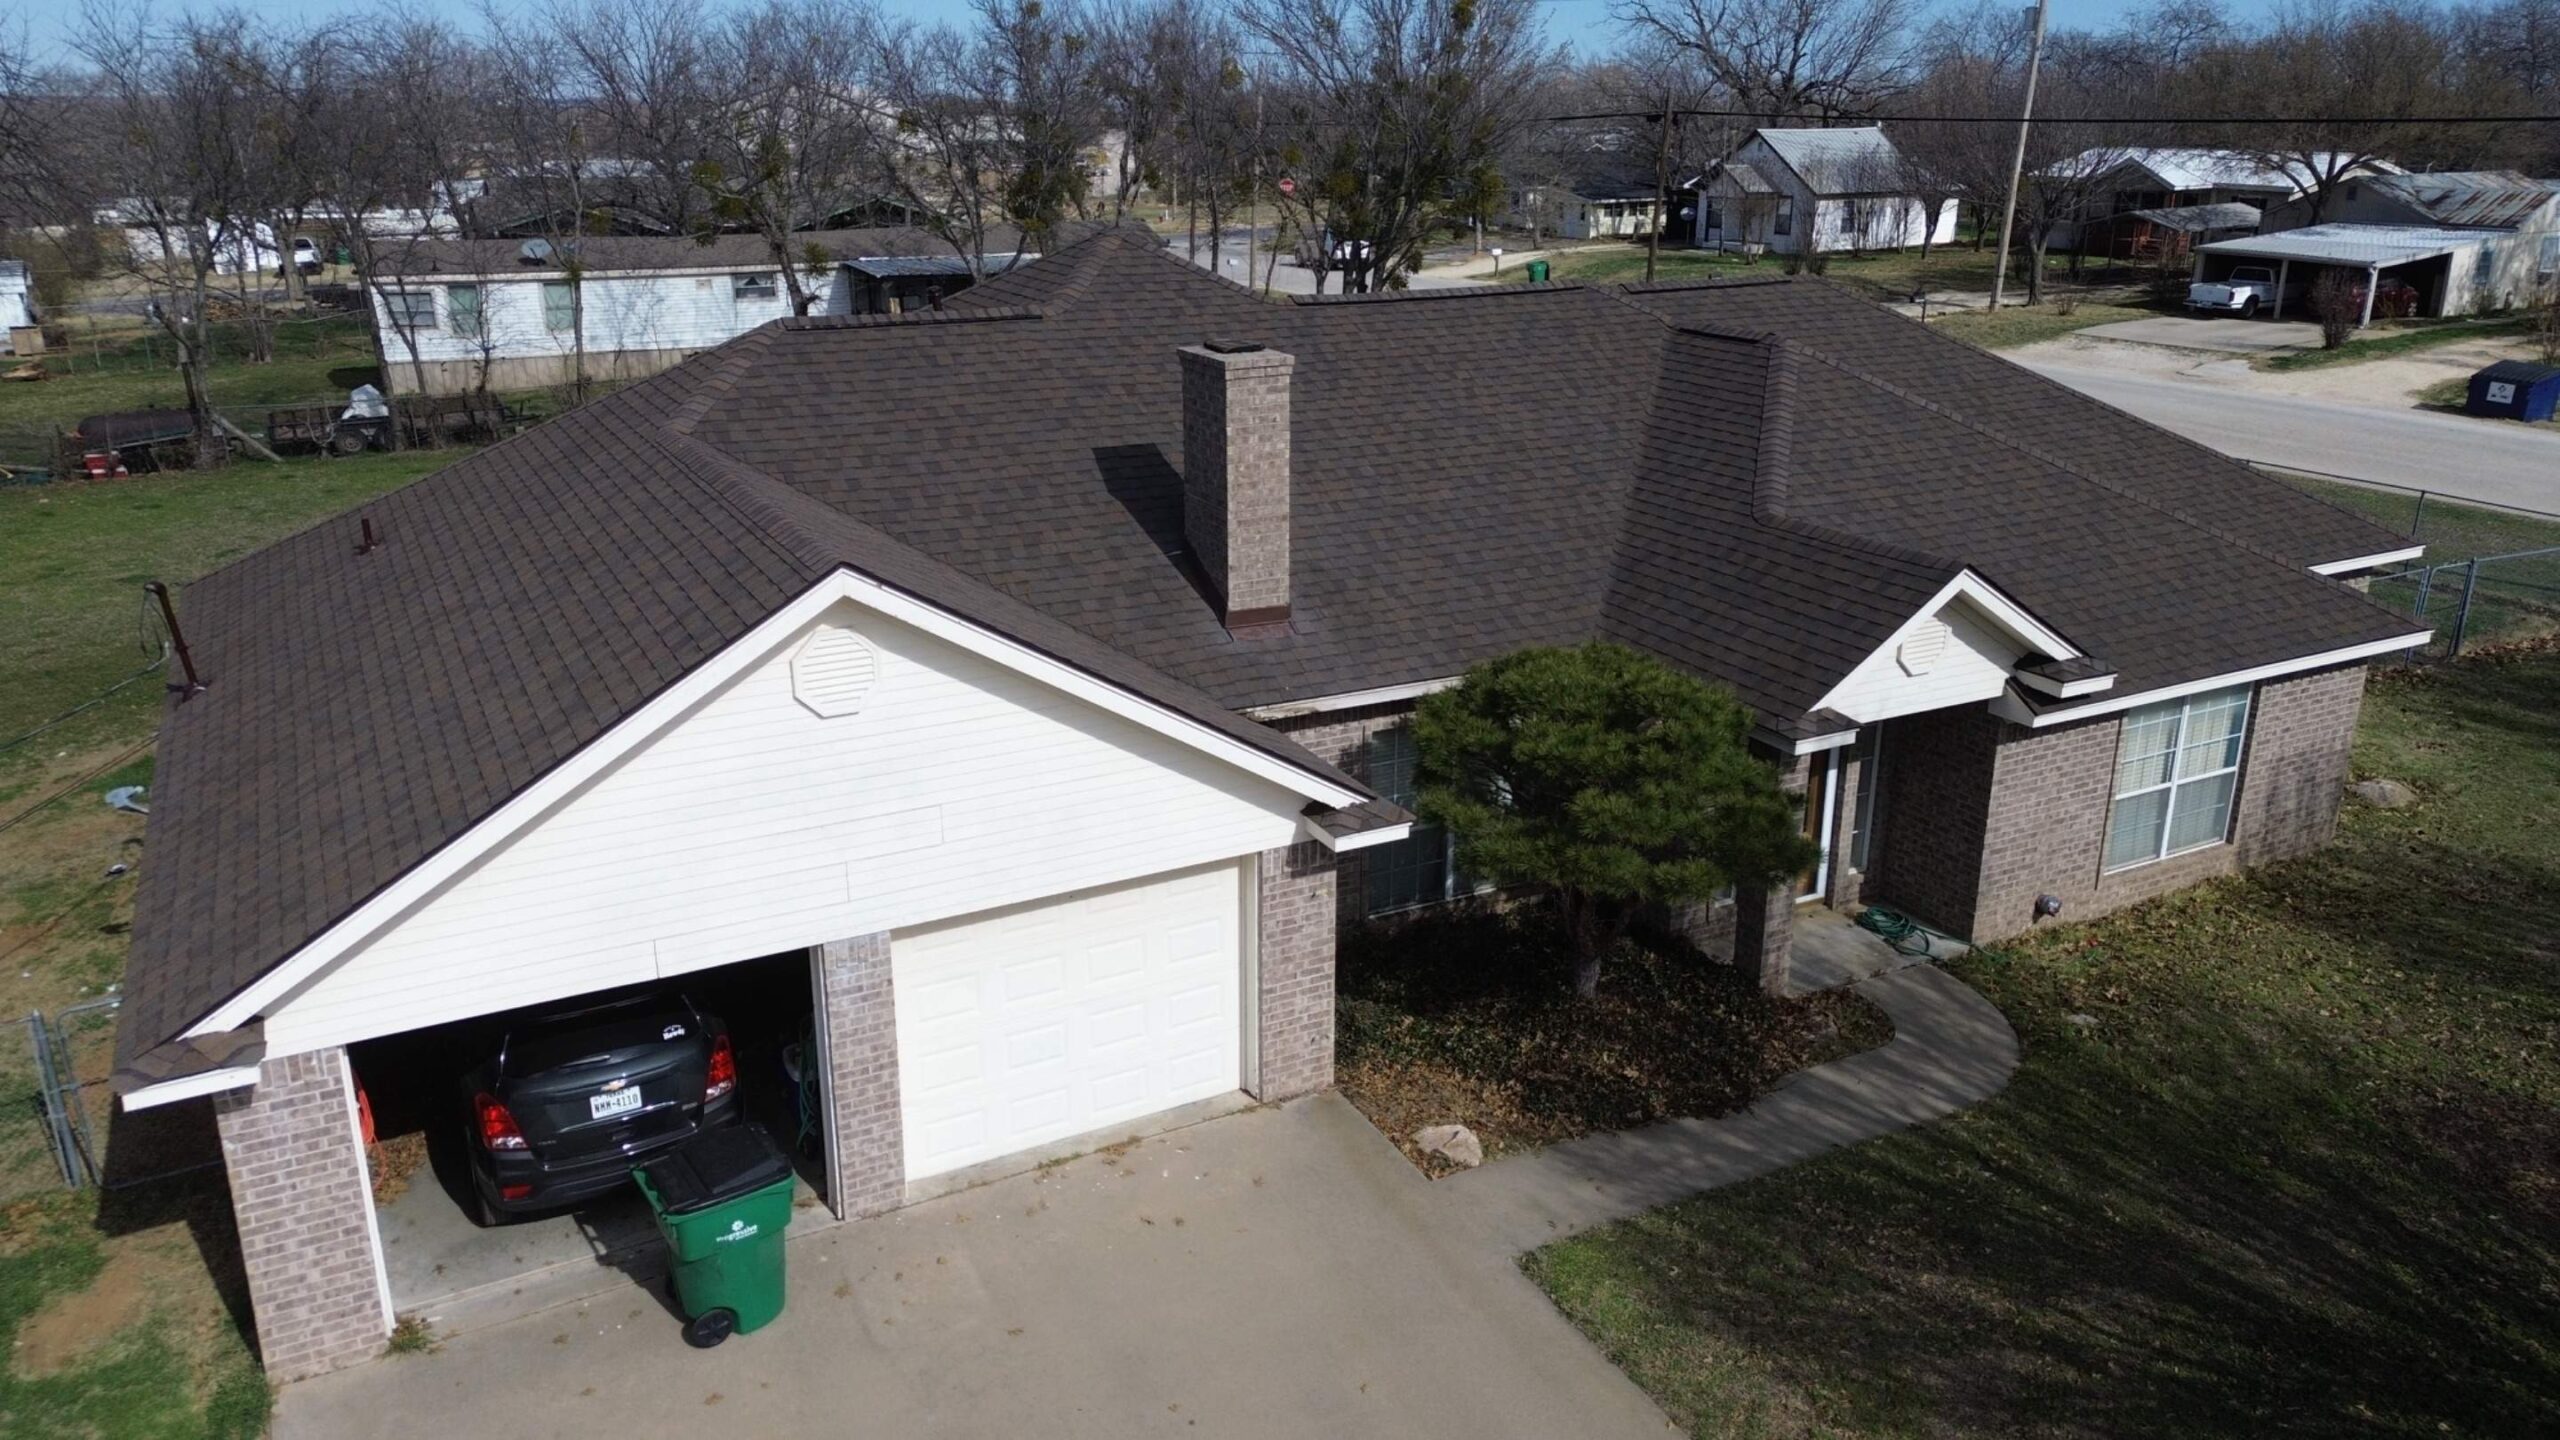
Flashing failure caused by improper sealant application rarely occurs immediately after installation. Instead, it develops gradually as weather exposure and normal roof movement reveal weaknesses created during the original application process.
Small adhesion problems often appear first. Tiny sections of sealant begin separating from the flashing or surrounding roofing materials, creating narrow gaps that may not be visible during casual inspections.
Repeated rainfall introduces moisture into these openings. Although the amount of water entering during each storm may be minimal, cumulative exposure gradually affects underlayment and roof decking beneath the flashing.
As moisture continues entering the roofing system, corrosion may begin developing on metal flashing while wood decking absorbs repeated moisture. These hidden changes weaken the roof structure long before visible interior leaks appear.
Eventually, homeowners notice warning signs such as water stains, peeling paint, damp insulation, mold growth, or loose flashing. By this stage, the original sealant problem has often expanded into a broader roofing repair involving multiple components.
Early maintenance interrupts this progression before significant structural damage develops. Inspecting sealants regularly and correcting minor deterioration promptly helps preserve flashing performance while extending the lifespan of the entire roofing system.
Why Small Sealant Defects Should Never Be Ignored
Because roofing sealants often deteriorate gradually, homeowners sometimes postpone repairs when only minor cracks or small gaps become visible. However, even limited sealant defects can eventually compromise flashing performance if left unaddressed.
Every rainfall exposes flashing joints to repeated moisture. Small openings created by deteriorated sealant allow tiny amounts of water to enter the roofing system with each storm. Although the leaks may not be immediately noticeable inside the home, the cumulative effect becomes increasingly significant over time.
Hidden moisture affects much more than the flashing itself. Wet roof decking loses structural strength, insulation becomes less efficient, and mold may begin developing in areas that remain damp for extended periods.
As the roof continues expanding and contracting through changing seasons, existing sealant defects usually become larger. Cracks widen, adhesion weakens further, and water gains easier access beneath the roofing materials.
Repair costs also increase as deterioration progresses. A relatively simple resealing project may eventually require flashing replacement, roof deck repairs, insulation replacement, and interior restoration if moisture continues entering unchecked.
Addressing small sealant problems promptly helps preserve the flashing system while preventing much larger roofing repairs in the future.
Inspecting Roof Sealants and Flashing Safely
Regular roof inspections are one of the most effective ways to identify sealant deterioration before it leads to flashing failure. Because sealants gradually age through exposure to sunlight, rain, and changing temperatures, routine inspections help detect early warning signs while repairs remain relatively simple.
The inspection should begin inside the home. Water stains on ceilings, peeling paint, damp drywall, or moisture around chimneys, skylights, and roof penetrations often indicate that sealants or flashing may no longer be performing properly. These interior symptoms frequently appear before significant exterior damage becomes visible.
Attic inspections provide additional information. Damp insulation, stained roof decking, mold growth, or water trails beneath flashing locations often reveal hidden moisture entering through deteriorated sealant joints.
Exterior roof inspections should only be performed under safe weather conditions. Dry roofing surfaces provide better footing, while wet roofs and strong winds create unnecessary safety risks. If access is unsafe, arranging a professional inspection is the best option.
When inspecting the roof, attention should be given to more than just the sealant itself. Flashing alignment, surrounding shingles, fasteners, underlayment, and roof penetrations all influence how effectively the sealant performs within the roofing system.
Photographing visible changes during inspections also helps homeowners monitor gradual deterioration over time and provides useful documentation if professional repairs become necessary.
When Resealing Is Enough Versus Flashing Replacement
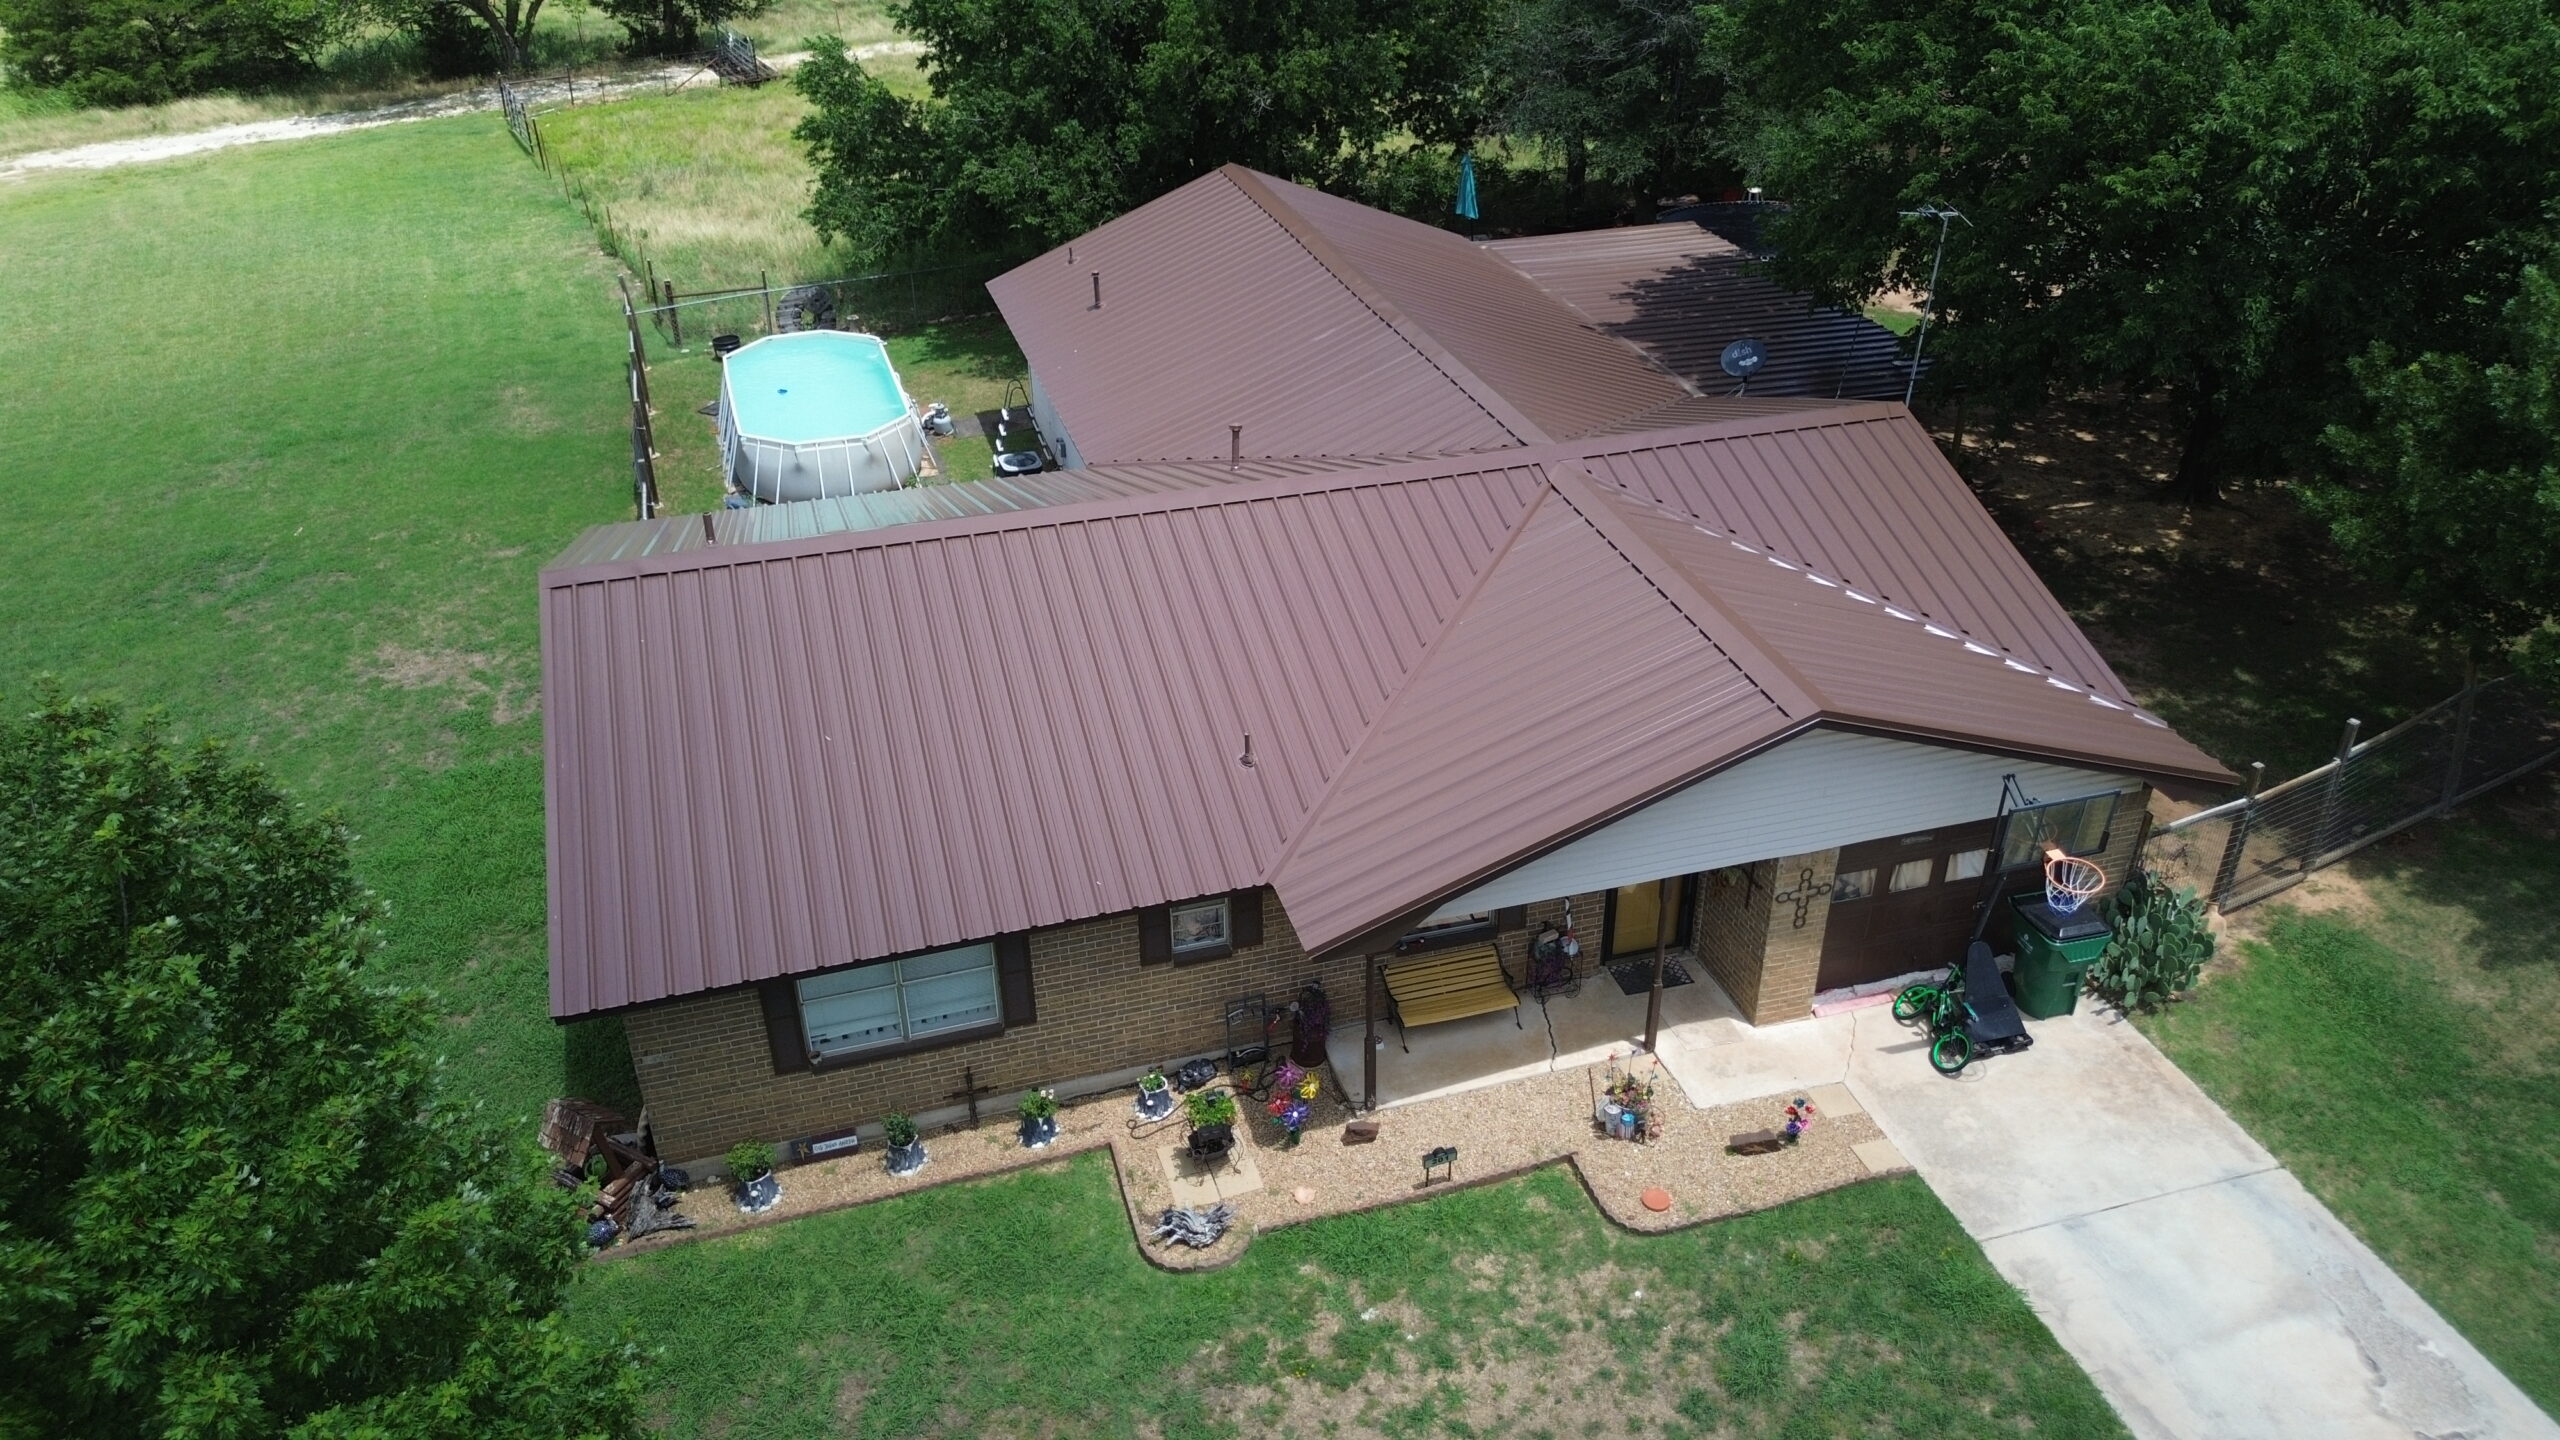
Not every flashing problem requires replacing the metal flashing itself. In many situations, resealing provides an effective solution when the flashing remains structurally sound and the deterioration is limited to the sealant.
Small cracks, minor shrinkage, or localized sealant separation often respond well to proper surface preparation followed by the application of a compatible roofing sealant. When addressed early, these repairs restore waterproofing without disturbing the existing flashing system.
More serious conditions require broader repairs. If flashing has become corroded, bent, loose, or improperly installed, replacing only the sealant will not correct the underlying problem. Water will continue finding pathways beneath the roofing materials regardless of how much sealant is applied.
Repeated leaks around previously resealed flashing often indicate that the flashing itself has failed. Multiple layers of old sealant may temporarily slow water intrusion, but they rarely provide a reliable long term solution when the flashing has deteriorated.
The condition of the surrounding roofing materials should also be evaluated. Damaged shingles, deteriorated underlayment, or weakened roof decking may require repair before resealing or flashing replacement can provide lasting protection.
A complete roof inspection helps determine whether resealing alone is appropriate or whether replacing the flashing offers the most dependable long term solution.
Roof Maintenance Checklist
Routine maintenance significantly reduces the likelihood of flashing failure caused by deteriorating sealants. Consistent inspections allow homeowners to address minor issues before they develop into larger roofing problems.
- Inspect flashing and sealants at least twice each year.
- Examine roof penetrations after severe storms or high winds.
- Replace cracked, hardened, or separated sealant promptly.
- Keep flashing areas free from leaves, dirt, and accumulated debris.
- Schedule regular professional roof inspections.
- Repair even small leaks before they affect the roof deck.
Following these maintenance practices helps preserve both flashing and sealants while extending the overall lifespan of the roofing system.
Choosing the Right Roofing Sealant
Selecting the correct roofing sealant is just as important as applying it properly. Different roofing systems require products specifically designed for the roofing materials, climate, and expected movement of the roof.
Polyurethane sealants are commonly selected because they provide strong adhesion while remaining flexible enough to accommodate seasonal roof movement. They perform well in many flashing applications where durability is important.
Silicone sealants offer excellent resistance to moisture and ultraviolet radiation. They are often used in locations exposed to prolonged sunlight and repeated weather exposure because they retain flexibility for many years.
Butyl based sealants provide strong adhesion to many metal flashing materials and are frequently used where long lasting waterproof performance is required. Their flexibility allows them to accommodate normal expansion and contraction without separating from the flashing.
Acrylic sealants may be suitable for certain roofing applications but generally perform best where manufacturer recommendations specifically approve their use. Product selection should always consider compatibility with both the flashing material and surrounding roofing components.
Choosing roofing products specifically designed for exterior roofing applications provides much better long term performance than using general purpose construction caulks or household sealants.
Professional Sealant Application Best Practices
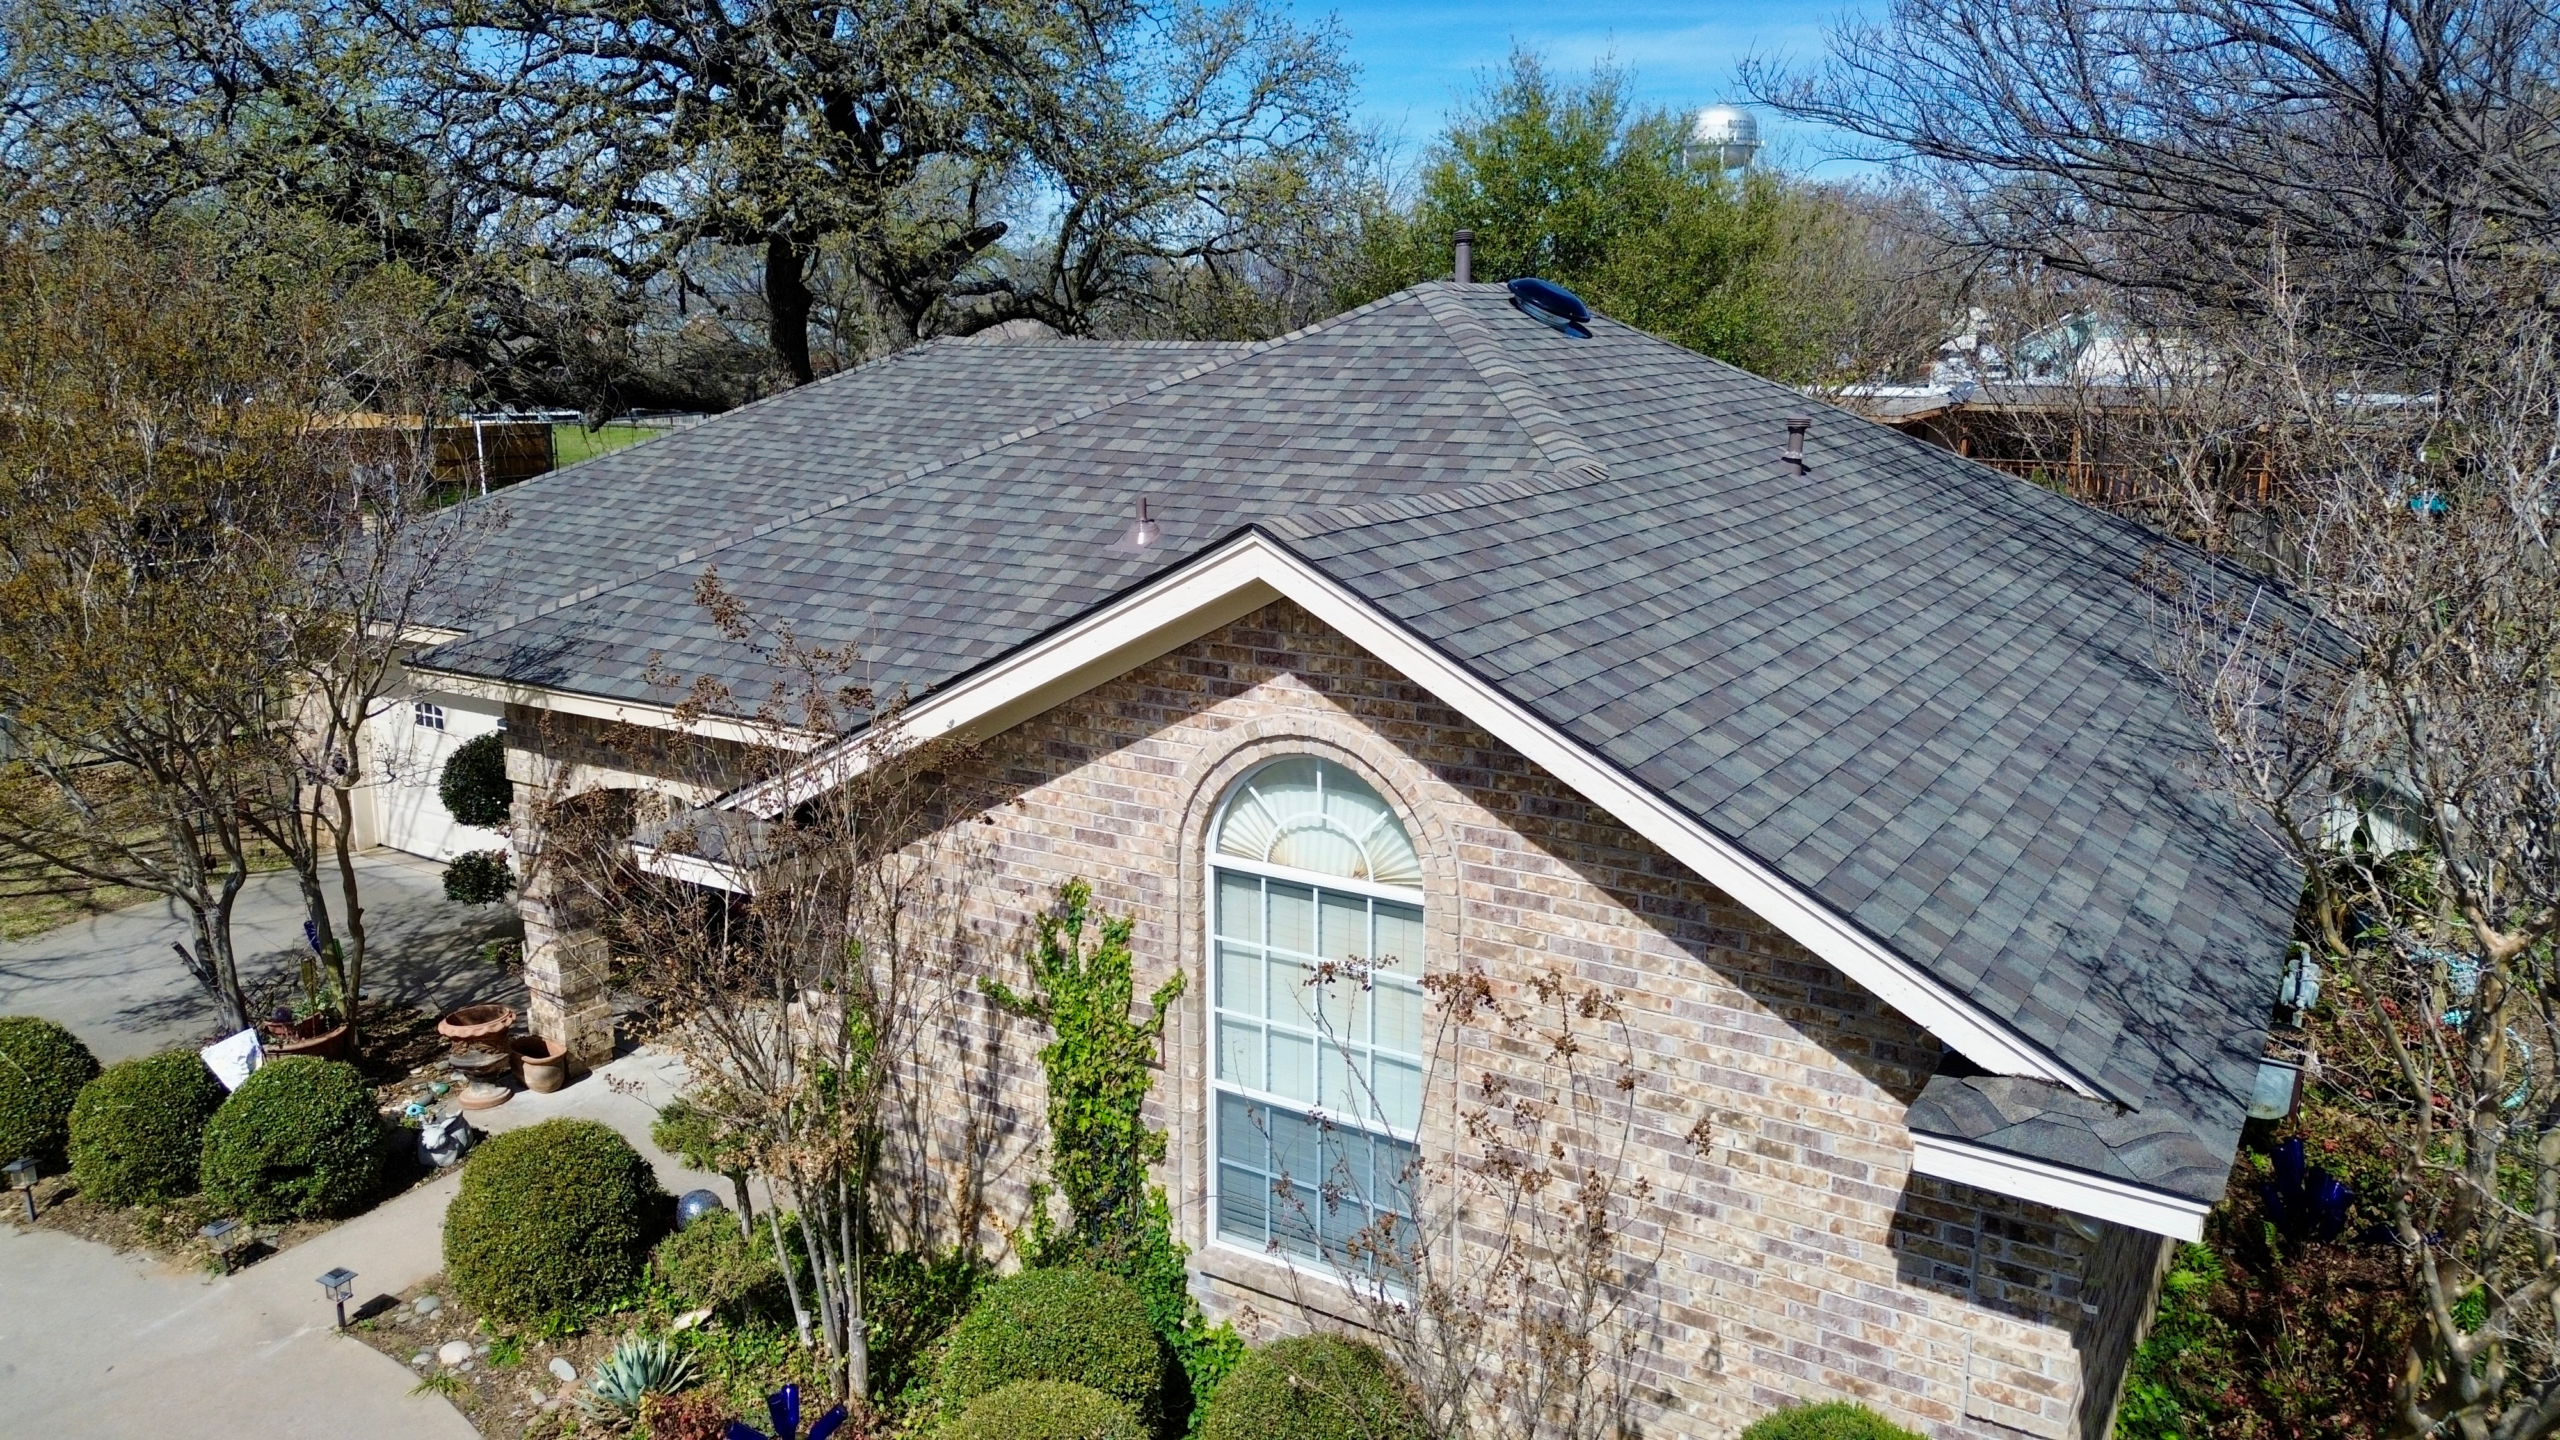
Professional roofing contractors understand that sealants should support flashing rather than replace proper flashing installation. Their application methods focus on creating durable waterproof joints without interfering with the roof’s natural drainage system.
Preparation begins with carefully removing deteriorated sealant where appropriate and cleaning the flashing thoroughly. Dirt, rust, loose debris, and moisture are eliminated to create the strongest possible bonding surface.
Sealant is then applied only where recommended by the flashing manufacturer or roofing system specifications. Proper bead size, consistent placement, and smooth application provide effective waterproofing while avoiding unnecessary material buildup.
Professionals also pay close attention to environmental conditions. Temperature, humidity, and weather forecasts influence how well sealants cure, so application is scheduled when conditions support proper performance.
Correct tooling of the sealant further improves adhesion by ensuring complete contact with both flashing and surrounding roofing materials. This process also creates a neat, consistent appearance while reducing areas where water might collect.
Before completing the project, contractors inspect every sealed joint to verify proper coverage, flashing alignment, and overall roof condition. Careful quality control helps ensure the finished repair performs reliably through years of weather exposure.
Long Term Maintenance Strategies
Properly applied roofing sealants can provide years of dependable performance, but long term maintenance remains essential because every roofing material eventually experiences natural aging.
Routine roof cleaning helps preserve sealant performance by removing dirt, leaves, branches, and debris that retain moisture around flashing joints. Cleaner roofing surfaces dry more efficiently after rainfall, reducing unnecessary stress on both flashing and sealants.
Seasonal inspections should also include evaluating sealant flexibility. Materials that appear brittle, cracked, or separated should be monitored closely because these conditions often indicate that replacement will soon be necessary.
Gutter maintenance contributes to sealant longevity as well. Proper drainage prevents standing water from accumulating near flashing locations where prolonged moisture exposure accelerates sealant deterioration.
Nearby tree branches should be trimmed to reduce debris accumulation and minimize physical damage caused by branches contacting the roof during windy conditions. Preventing unnecessary impact helps preserve both flashing and surrounding sealant.
Keeping detailed maintenance records also supports long term roof care. Documenting inspection dates, repairs, and sealant replacement schedules helps homeowners track the condition of their roofing system while planning future maintenance more effectively.
Why Professional Roof Inspections Help Prevent Flashing Failure
Although homeowners can identify many visible roofing concerns, professional inspections often reveal developing flashing and sealant problems before they produce noticeable leaks. This early detection helps reduce repair costs while extending the lifespan of the roofing system.
Experienced roofing professionals recognize subtle warning signs such as early sealant shrinkage, slight flashing movement, deteriorating fasteners, and hidden moisture infiltration that may not be visible during routine visual inspections.
Professional inspections also evaluate surrounding roofing components that influence sealant performance. Damaged shingles, improper drainage, deteriorated underlayment, and flashing installation defects frequently contribute to sealant failure if left uncorrected.
Post storm inspections are especially valuable because severe weather often stresses flashing joints through strong winds, heavy rainfall, and temperature fluctuations. Identifying small changes immediately after storms prevents gradual deterioration from becoming larger structural problems.
Routine inspections also provide valuable maintenance planning. Contractors can recommend resealing before complete sealant failure occurs, helping homeowners avoid emergency repairs while preserving flashing performance.
Investing in periodic professional evaluations helps maintain the entire roofing system rather than focusing only on isolated sealant repairs.
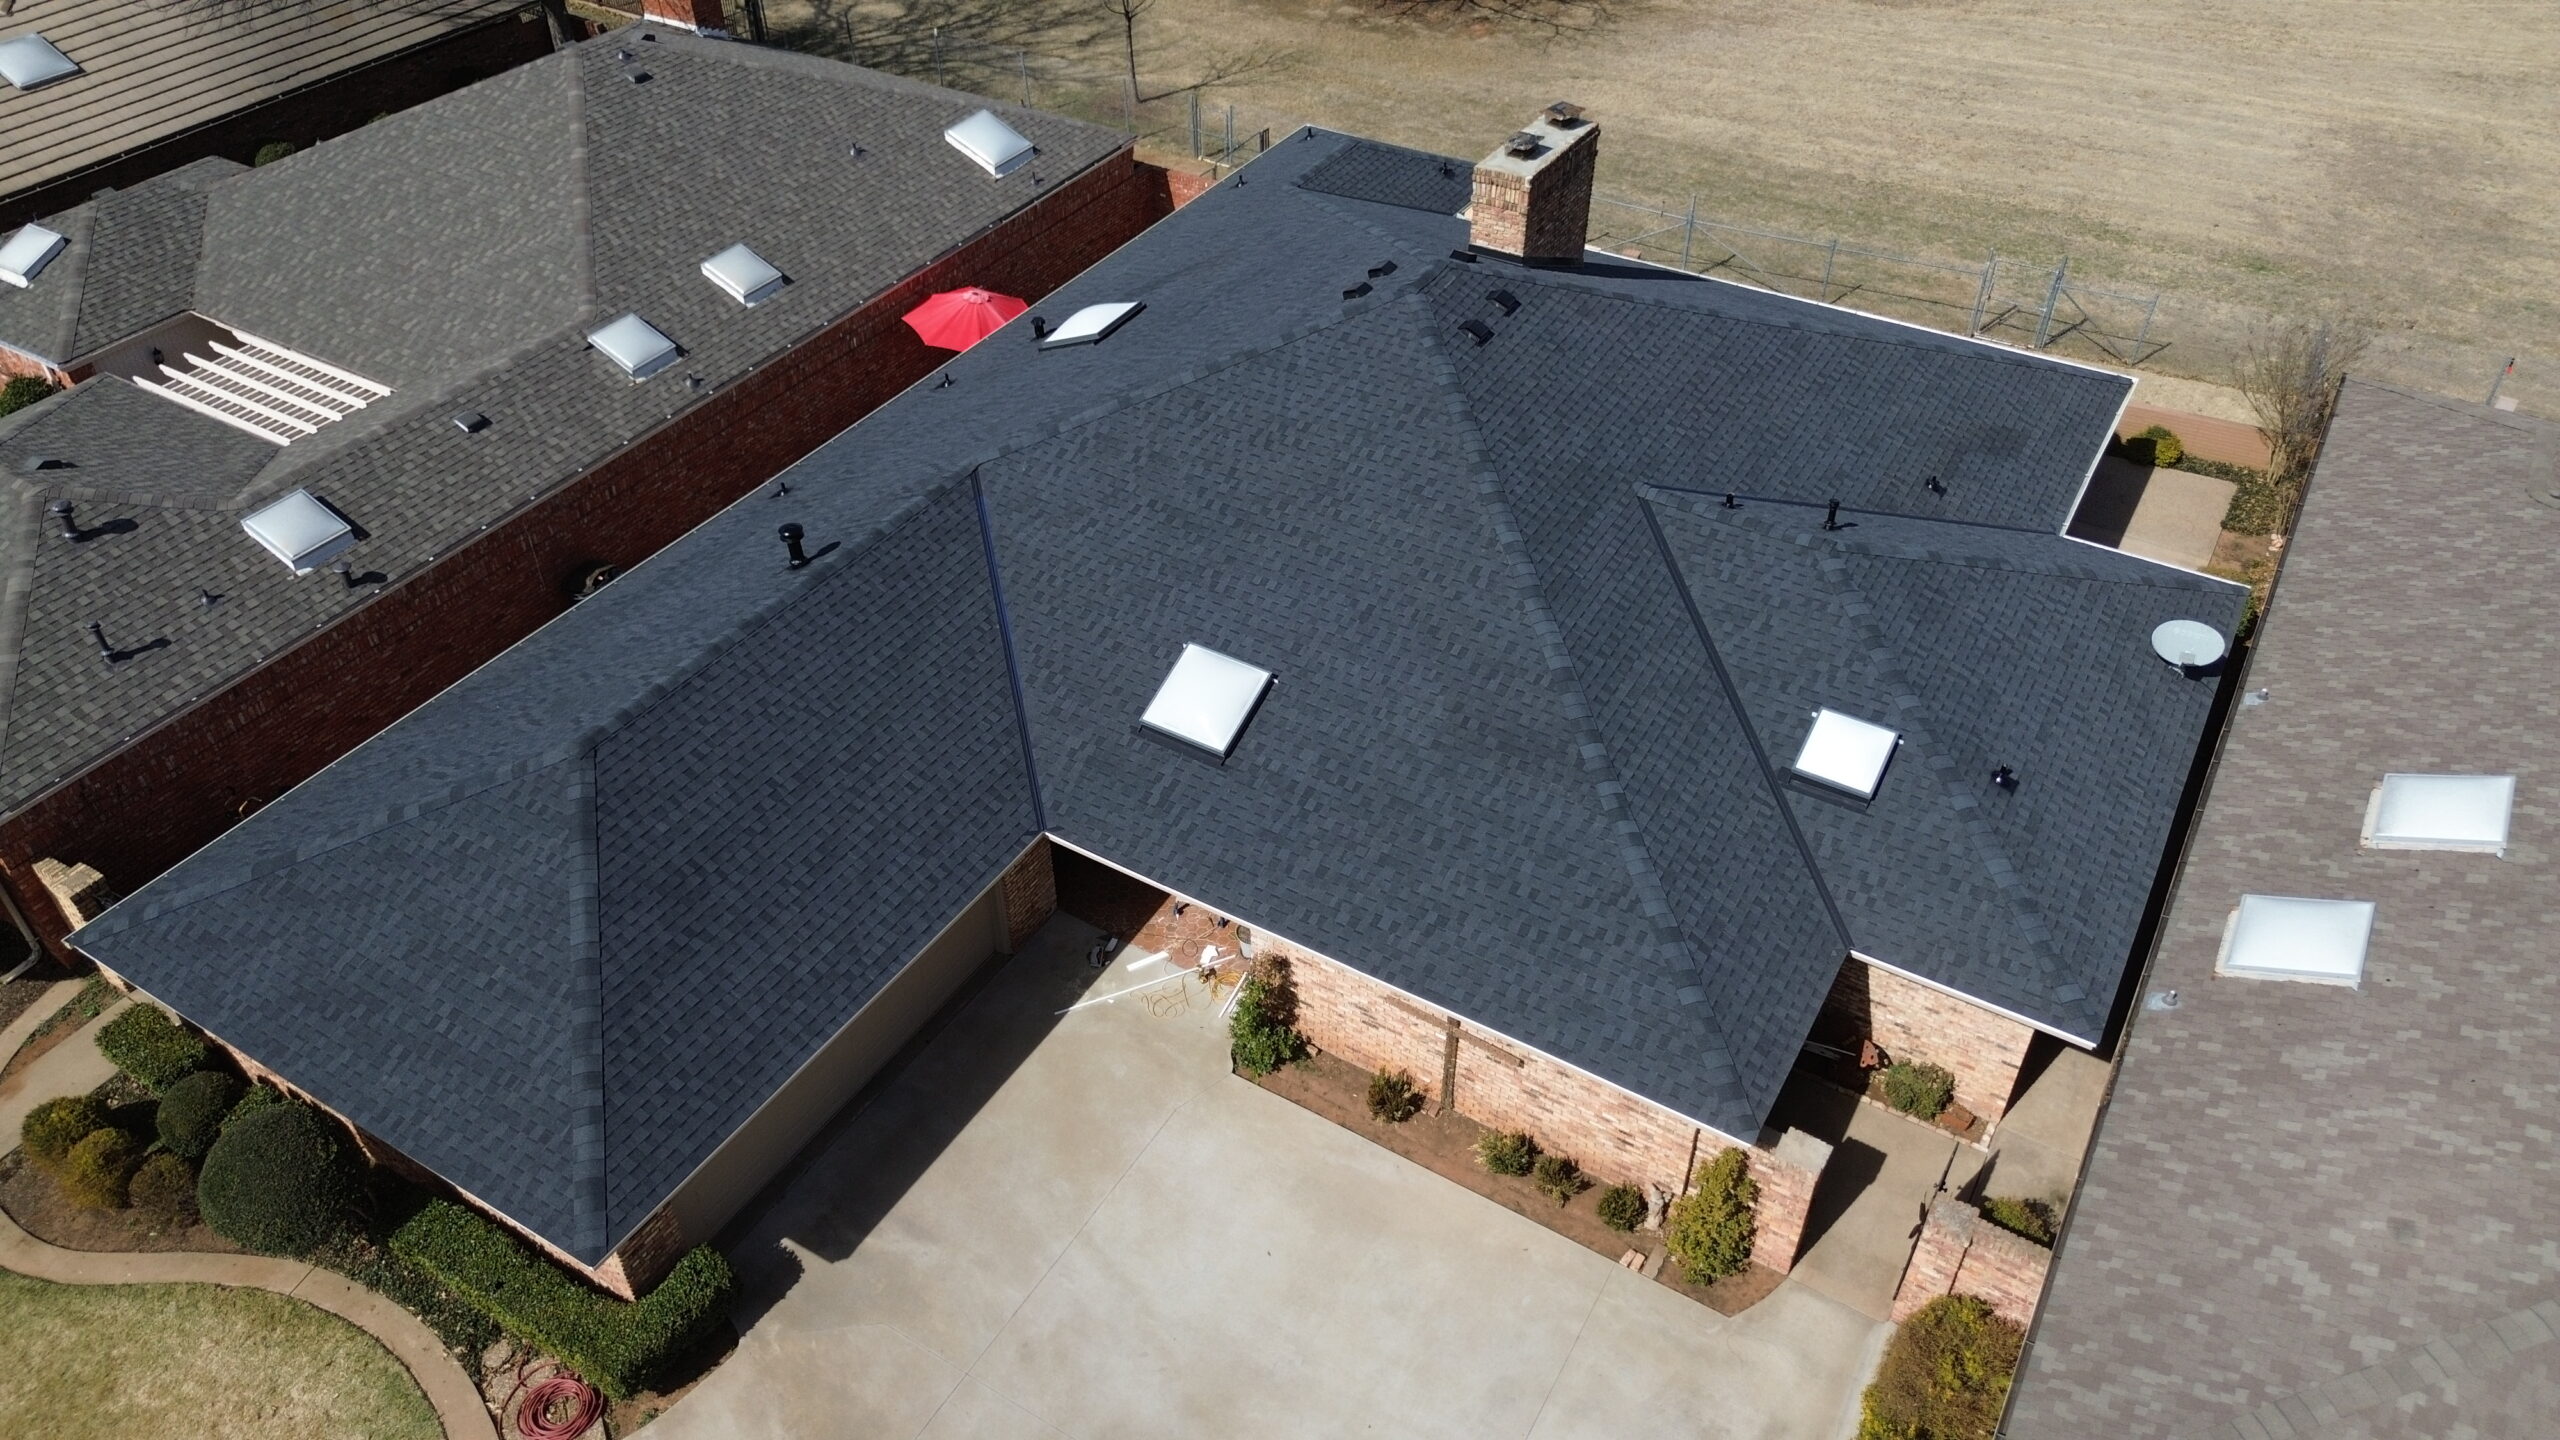
Coordinating Sealant Maintenance With Overall Roof Care
Roof sealants perform best when maintained as part of a complete roofing system. Since flashing, shingles, underlayment, ventilation, and drainage all work together, caring for every component improves long term roof performance.
Seasonal maintenance should include inspecting roof penetrations, flashing, valleys, chimneys, skylights, gutters, and roof vents while also removing debris that may trap moisture against roofing materials.
Homeowners should keep records of inspections, repairs, resealing projects, and flashing replacements. These records provide valuable information when planning future maintenance or evaluating changes in roof condition over time.
When major roofing work becomes necessary, replacing aging sealants while installing new flashing or shingles often provides the most dependable long term results. Coordinating these improvements ensures every waterproofing layer functions together according to current installation standards.
Taking a comprehensive approach to roof maintenance reduces unexpected failures while helping sealants continue supporting flashing throughout the roof’s expected service life.
Conclusion
Roofing sealants play an important supporting role in protecting flashing, but they cannot compensate for poor installation or replace the mechanical waterproofing provided by properly installed flashing. When applied correctly, sealants reinforce vulnerable joints, seal selected fasteners, and help prevent moisture from entering areas where flashing alone cannot provide a complete seal.
Improper sealant application, however, often creates the opposite result. Excessive sealant, insufficient coverage, incorrect product selection, poor surface preparation, and failure to follow manufacturer recommendations all reduce the effectiveness of the flashing system. Over time, weather exposure, ultraviolet radiation, temperature changes, and natural roof movement gradually weaken poorly applied sealants, allowing water to bypass flashing and enter the roofing structure.
Recognizing early warning signs such as cracked sealant, shrinking joints, loose flashing, water stains, damp attic insulation, and visible gaps allows homeowners to address problems before they lead to widespread structural damage. Routine inspections, proper maintenance, and timely repairs significantly reduce the risk of expensive roof restoration projects.
Selecting high quality roofing sealants designed for the specific flashing material and applying them according to manufacturer guidelines greatly improves long term performance. Combined with professional installation, careful surface preparation, and regular maintenance, properly applied sealants help flashing continue directing water safely away from vulnerable roof areas for many years.
By understanding how improper sealant application leads to flashing failure and adopting a proactive maintenance approach, homeowners can protect their roofing systems, extend the lifespan of flashing components, reduce long term repair costs, and maintain a durable, weather resistant roof that continues performing reliably through every season.