
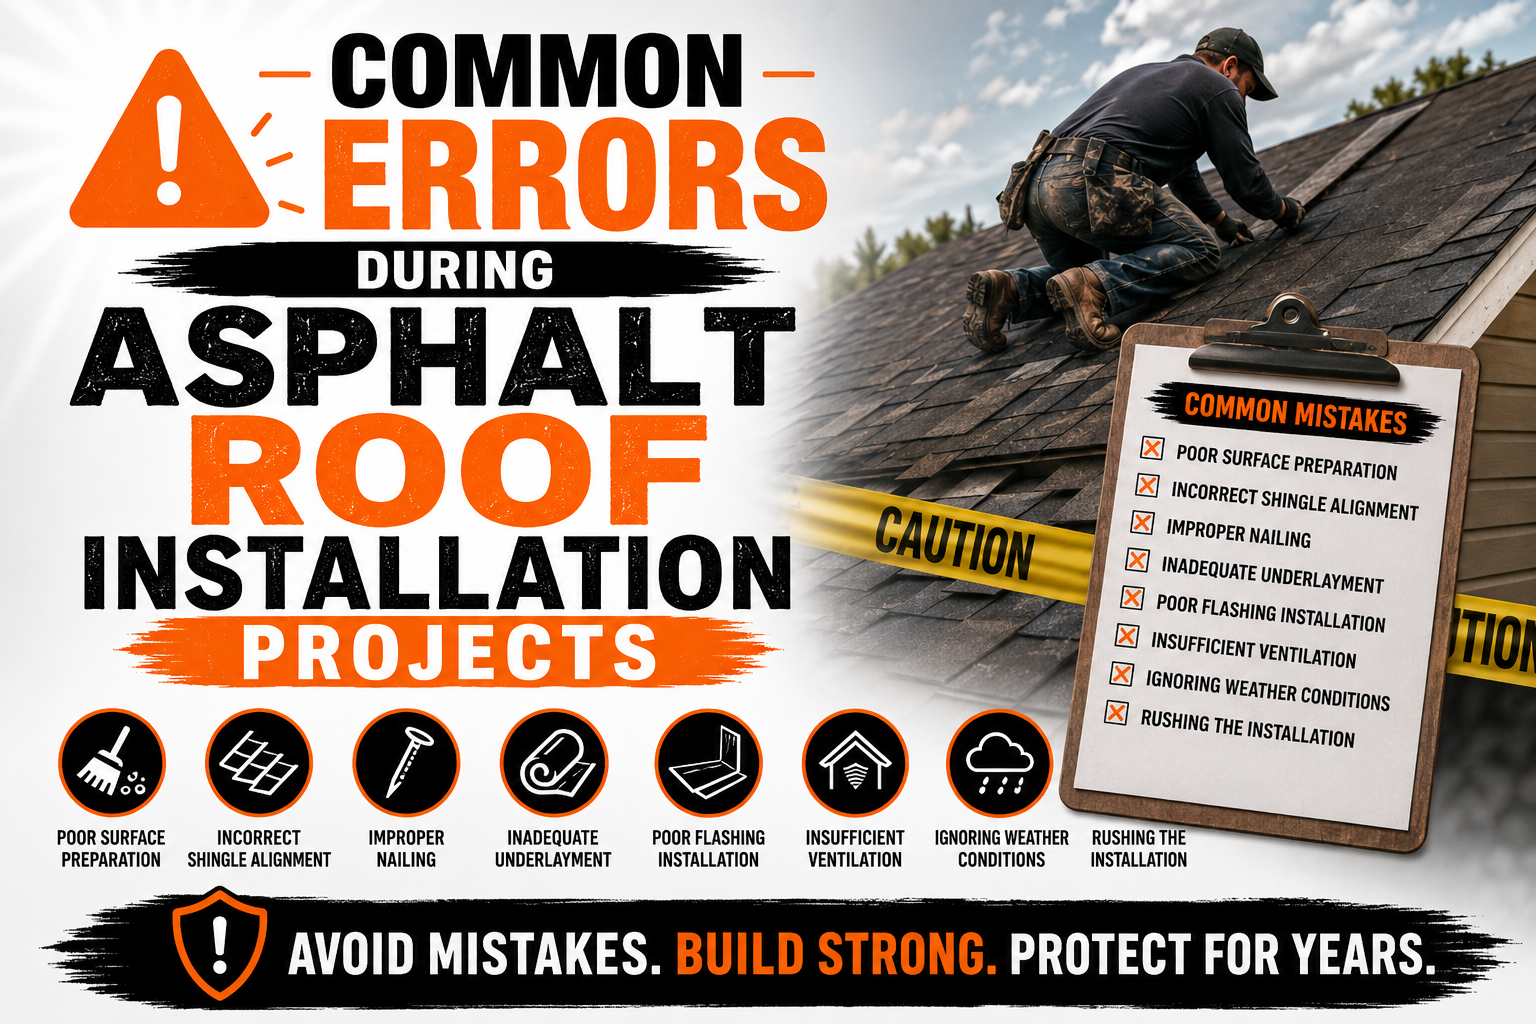
Common Errors During Asphalt Roof Installation Projects
Introduction
An asphalt roof is one of the most popular roofing systems because it offers an excellent balance of affordability, durability, and visual appeal. When installed correctly, asphalt shingles can protect a home for decades while requiring relatively simple maintenance. However, even high quality materials cannot perform as expected if the installation process contains avoidable mistakes.
Many roofing problems that appear years later actually begin on installation day. Small errors that seem insignificant at first can eventually develop into roof leaks, premature shingle failure, mold growth, structural damage, and expensive repairs. This is why every step of the installation process deserves careful attention, from preparing the roof deck to placing the final ridge cap.
Understanding the most common installation errors helps homeowners make informed decisions and allows contractors to improve workmanship. Whether the project involves a complete roof replacement or a new construction home, avoiding these mistakes can significantly increase the roof’s lifespan and overall performance.
This guide explores the most common errors that occur during asphalt roof installation projects, explains why they happen, and discusses the long term impact they can have on the roofing system. By understanding these issues, property owners can better recognize quality workmanship and reduce the likelihood of future roofing problems.
Understanding the Basics of Asphalt Roof Installation
Before discussing installation mistakes, it is important to understand how an asphalt roofing system functions. Although shingles receive the most attention, they represent only one part of a complete roofing system. Every layer works together to create protection against moisture, wind, sunlight, and changing temperatures.
A properly installed asphalt roof begins with a strong structural deck. The deck supports every roofing component and provides the foundation for the entire system. If the deck is weak or damaged, even the highest quality shingles cannot deliver reliable performance.
Above the deck sits the underlayment, which serves as a secondary moisture barrier. It provides extra protection if wind driven rain or damaged shingles allow water beneath the roofing surface. In many climates, additional waterproof membranes are installed in vulnerable areas to prevent ice and water infiltration.
The asphalt shingles form the visible outer layer that shields the home from weather conditions. Proper installation ensures each row overlaps correctly, allowing rainwater to flow safely toward the gutters instead of entering the roof structure.
Additional components such as flashing, ventilation systems, ridge caps, sealants, and fasteners all contribute to the roof’s durability. Ignoring even one of these elements can compromise the entire roofing system despite using premium materials.
Many homeowners focus primarily on the appearance of the finished roof. While aesthetics certainly matter, the quality of installation beneath the shingles determines whether the roof will last its expected service life.
Why Installation Errors Are More Common Than Many People Think
Roof installation appears straightforward from the ground, but it involves numerous technical details that require accuracy and experience. Every measurement, fastener, overlap, and material placement affects how well the finished roof performs over time.
Many installation mistakes occur because contractors work under tight deadlines. Pressure to complete projects quickly sometimes encourages shortcuts that save time but reduce long term reliability. These shortcuts often remain hidden until severe weather exposes underlying weaknesses.
Weather conditions also contribute to installation challenges. Wind, rain, excessive heat, and freezing temperatures can all interfere with proper material handling and installation. Working in unsuitable weather increases the likelihood of alignment issues, damaged shingles, and improper sealing.
Another common cause involves insufficient training. Roofing techniques continue to evolve as manufacturers introduce new materials and updated installation guidelines. Contractors who fail to follow current recommendations may unknowingly create warranty issues and reduce roof performance.
Material handling mistakes can also create problems before installation even begins. Improper storage may expose shingles to excessive heat, moisture, or physical damage, reducing their ability to perform as intended after installation.
The following factors frequently contribute to installation problems:
- Inadequate planning before work begins.
- Rushing the installation schedule.
- Ignoring manufacturer installation instructions.
- Using incompatible roofing materials.
- Working during unsuitable weather conditions.
- Hiring inexperienced roofing crews.
Most roofing failures result from several small mistakes rather than one major error. When these issues combine, they can significantly reduce the roof’s ability to resist moisture and weather damage.
Poor Roof Inspection Before Installation
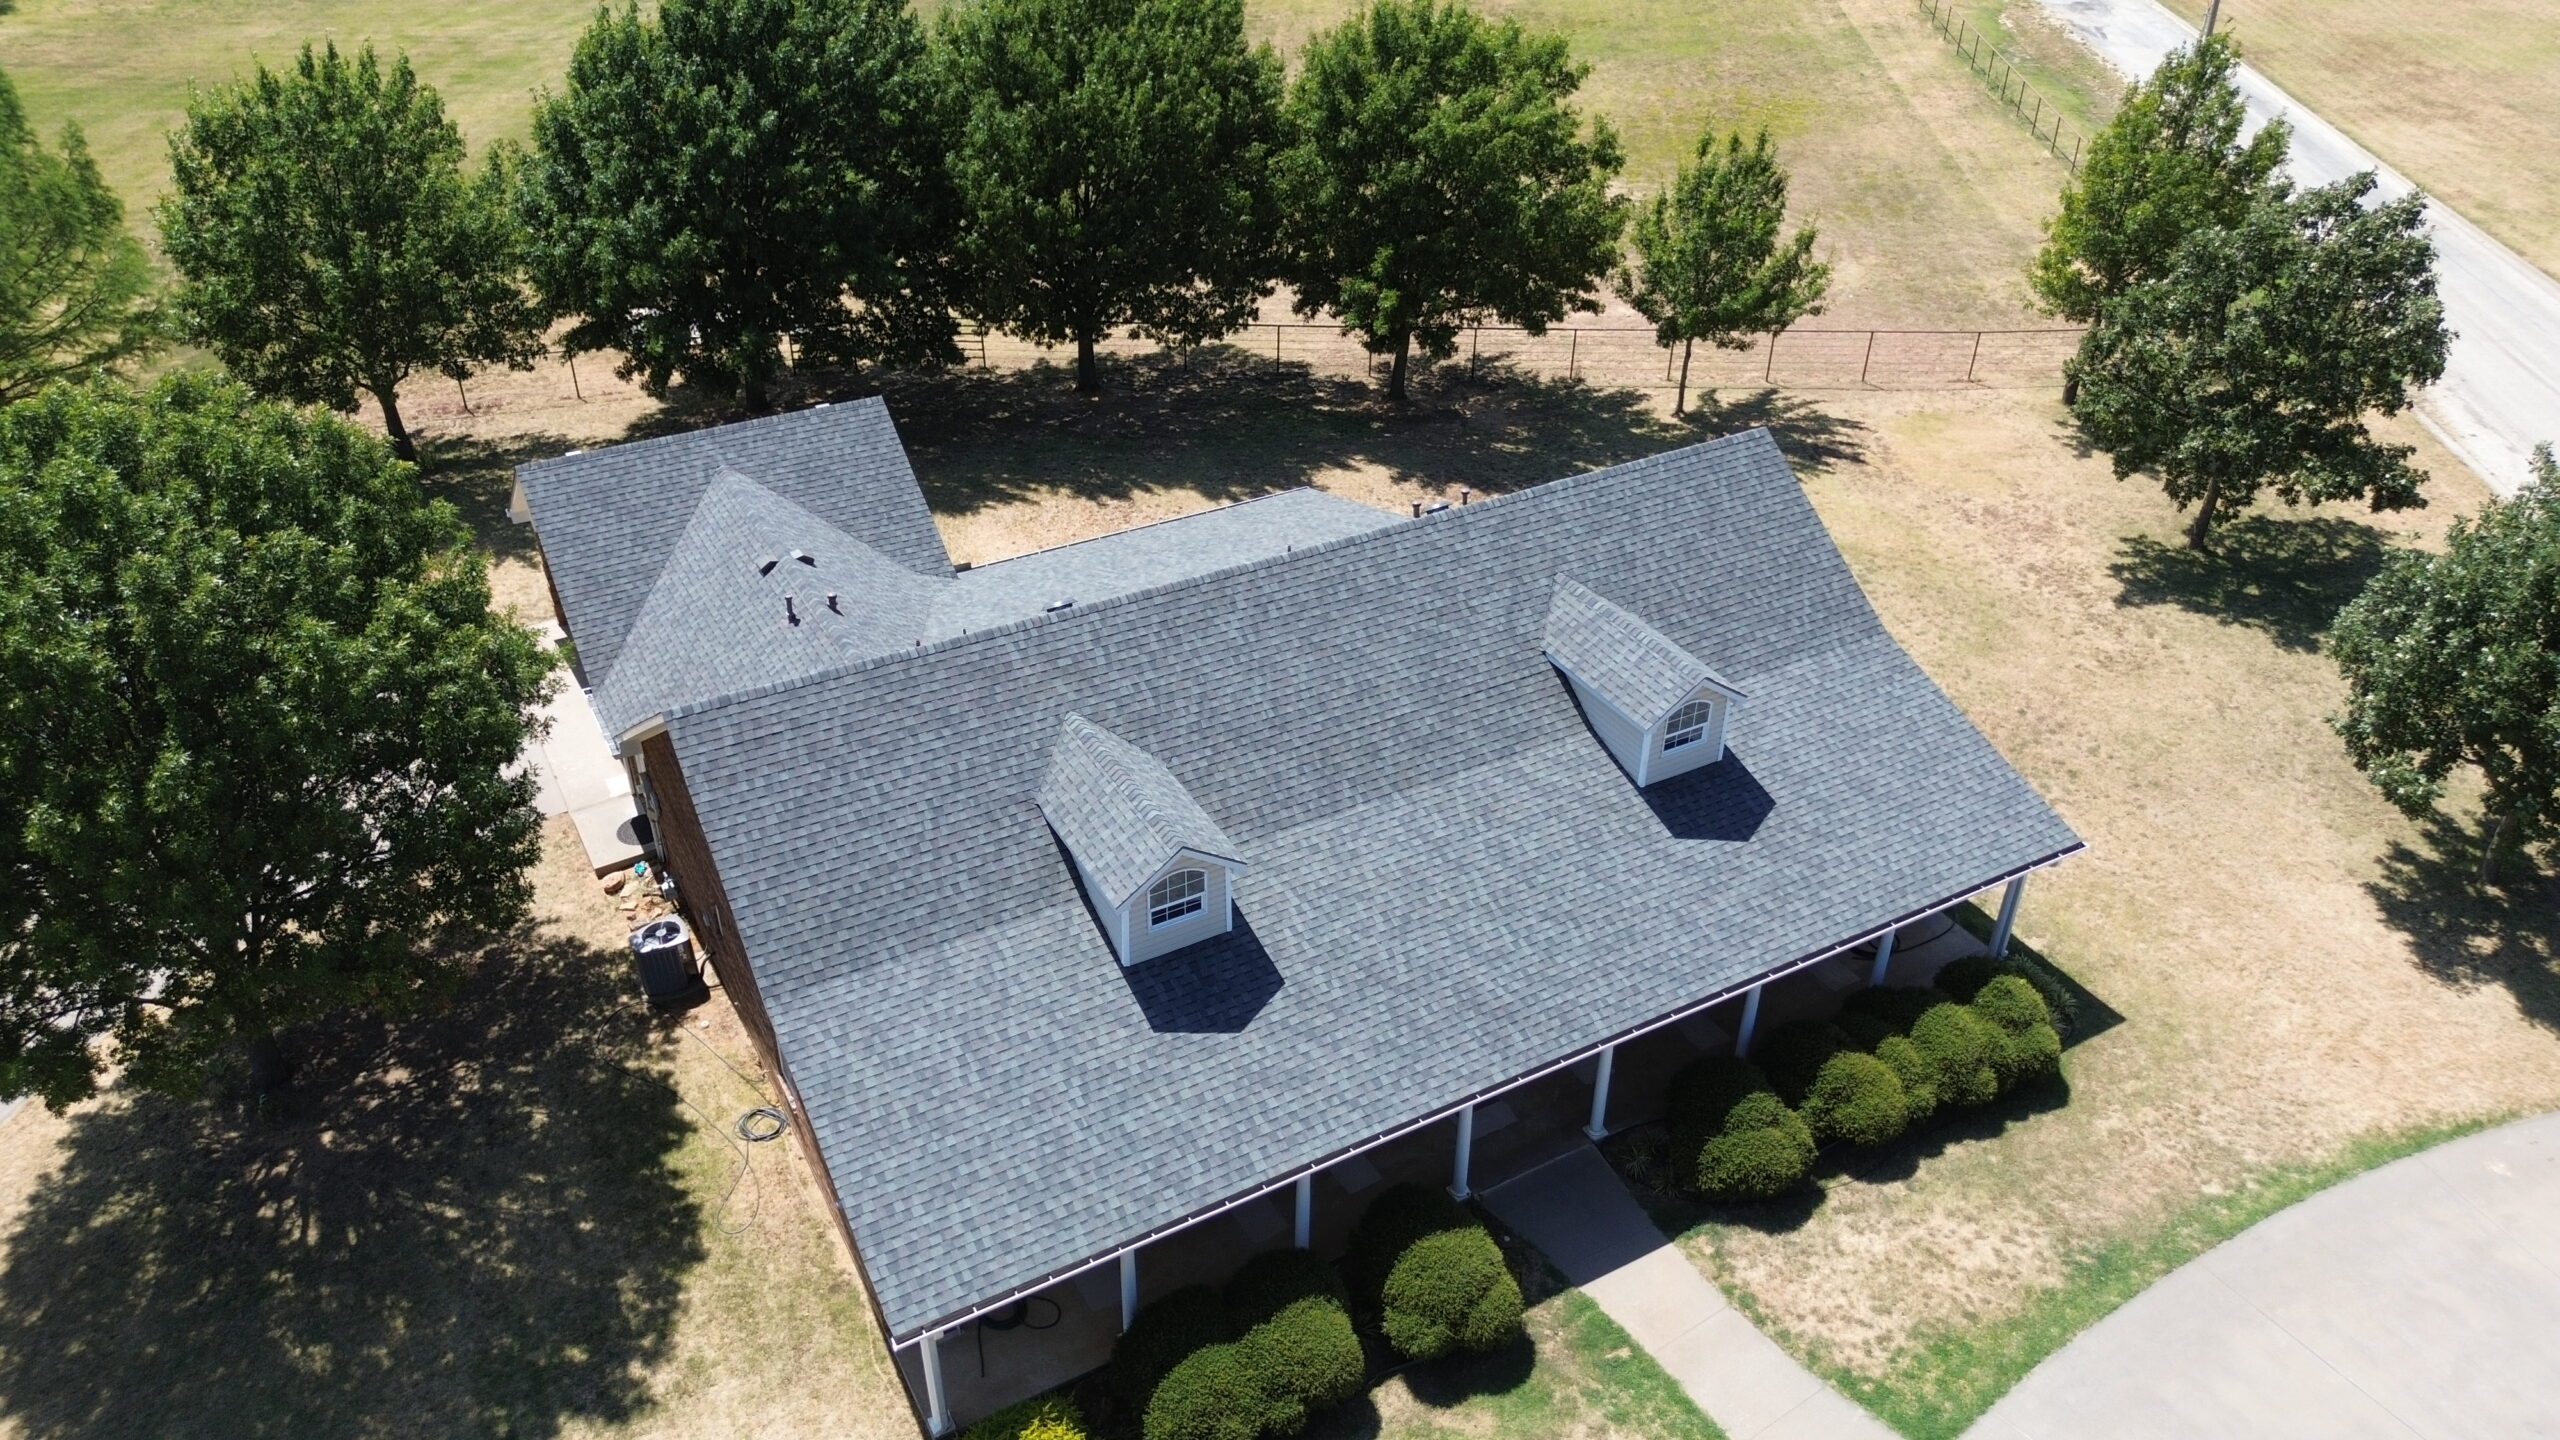
One of the earliest and most costly mistakes occurs before the first shingle is installed. Some roofing projects begin without thoroughly inspecting the existing roof structure, allowing hidden problems to remain undetected beneath the new roofing materials.
A roof inspection should evaluate much more than the visible shingles. Contractors should examine the roof deck, attic ventilation, flashing, structural supports, moisture levels, and signs of previous water damage. Skipping this assessment increases the likelihood of future failures.
Damaged roof decking is one of the most common hidden issues. Wood decking may appear stable from above while containing soft spots caused by years of moisture exposure. Installing new shingles over weakened decking simply hides the problem instead of solving it.
Moisture trapped within the roof structure creates another serious concern. Wet materials can promote mold growth, reduce insulation efficiency, and weaken structural components over time. Covering damp areas with new roofing materials often worsens the situation because trapped moisture cannot escape easily.
Old flashing around chimneys, skylights, and roof penetrations should also receive careful inspection. Even if the shingles are being replaced, deteriorated flashing may continue allowing water into the home unless it is repaired or replaced during installation.
Contractors should also inspect the attic whenever possible. Interior inspections often reveal ventilation issues, water stains, or structural concerns that remain invisible from the rooftop.
A comprehensive roof inspection provides several important benefits.
| Inspection Area | Why It Matters | Potential Risk if Ignored |
|---|---|---|
| Roof decking | Supports the roofing system | Structural weakness and sagging |
| Moisture damage | Prevents mold and rot | Hidden water damage continues |
| Flashing | Protects vulnerable areas | Roof leaks around penetrations |
| Ventilation | Controls attic temperature | Heat and moisture buildup |
| Structural framing | Maintains roof stability | Reduced load carrying capacity |
Identifying problems before installation may increase initial project costs, but it usually prevents much larger repair expenses later. Investing time in a thorough inspection improves the quality and longevity of the completed roofing project.
Choosing the Wrong Roofing Materials
Material selection plays a significant role in roof performance. Even skilled installation cannot fully compensate for roofing products that are unsuitable for the building or local climate.
Not all asphalt shingles offer the same level of durability. Basic three tab shingles may perform adequately in moderate climates, while architectural shingles often provide better resistance against strong winds and severe weather. Selecting products without considering environmental conditions can shorten the roof’s lifespan.
Underlayment selection deserves equal attention. Using low quality underlayment may reduce installation costs, but it often sacrifices moisture protection beneath the shingles. Since the underlayment acts as the secondary defense against water intrusion, choosing the appropriate material is essential.
Roofing accessories should also be compatible with one another. Mixing products from different manufacturers without confirming compatibility can affect performance and sometimes create warranty complications.
Climate is another important consideration during material selection. Homes located in areas with heavy rainfall, snow, intense sunlight, or frequent windstorms often require roofing products specifically designed for those environmental conditions.
Color selection can even influence roof performance. Dark shingles typically absorb more solar heat than lighter colors, which may affect attic temperatures in warmer climates. Although appearance remains important, energy efficiency should also influence the decision.
Quality roofing projects focus on complete system compatibility instead of individual products. Every component should work together to provide reliable weather protection throughout the roof’s expected service life.
Improper Roof Deck Preparation
Roof deck preparation is one of the most overlooked stages of asphalt roof installation. Because it remains hidden after completion, some installers devote less attention to this step than it deserves. Unfortunately, poor preparation often creates problems that cannot be corrected without removing the finished roof.
The roof deck must provide a clean, dry, smooth, and structurally sound surface before underlayment installation begins. Dirt, loose nails, debris, and damaged wood can interfere with proper material installation and reduce overall roof performance.
Uneven decking creates noticeable problems after shingles are installed. Raised sections or depressions may distort the roof’s appearance while placing unnecessary stress on shingles. These irregularities can also affect water drainage during heavy rainfall.
Loose fasteners present another concern. Nails or screws that protrude above the deck can puncture underlayment or prevent shingles from lying flat. Even small imperfections may create weak points where future leaks develop.
Roof deck moisture is especially problematic. Installing roofing materials over damp wood traps moisture inside the roofing system, increasing the risk of mold growth, wood decay, and reduced structural strength over time.
Proper preparation usually includes replacing damaged decking panels, securing loose sheathing, cleaning the entire roof surface, removing protruding fasteners, and verifying that the deck remains completely dry before additional materials are installed.
Although this preparation requires additional labor, it creates a stable foundation for every remaining installation step. Skipping these tasks often leads to premature roofing failures that could have been avoided with careful preparation.
Incorrect Underlayment Installation
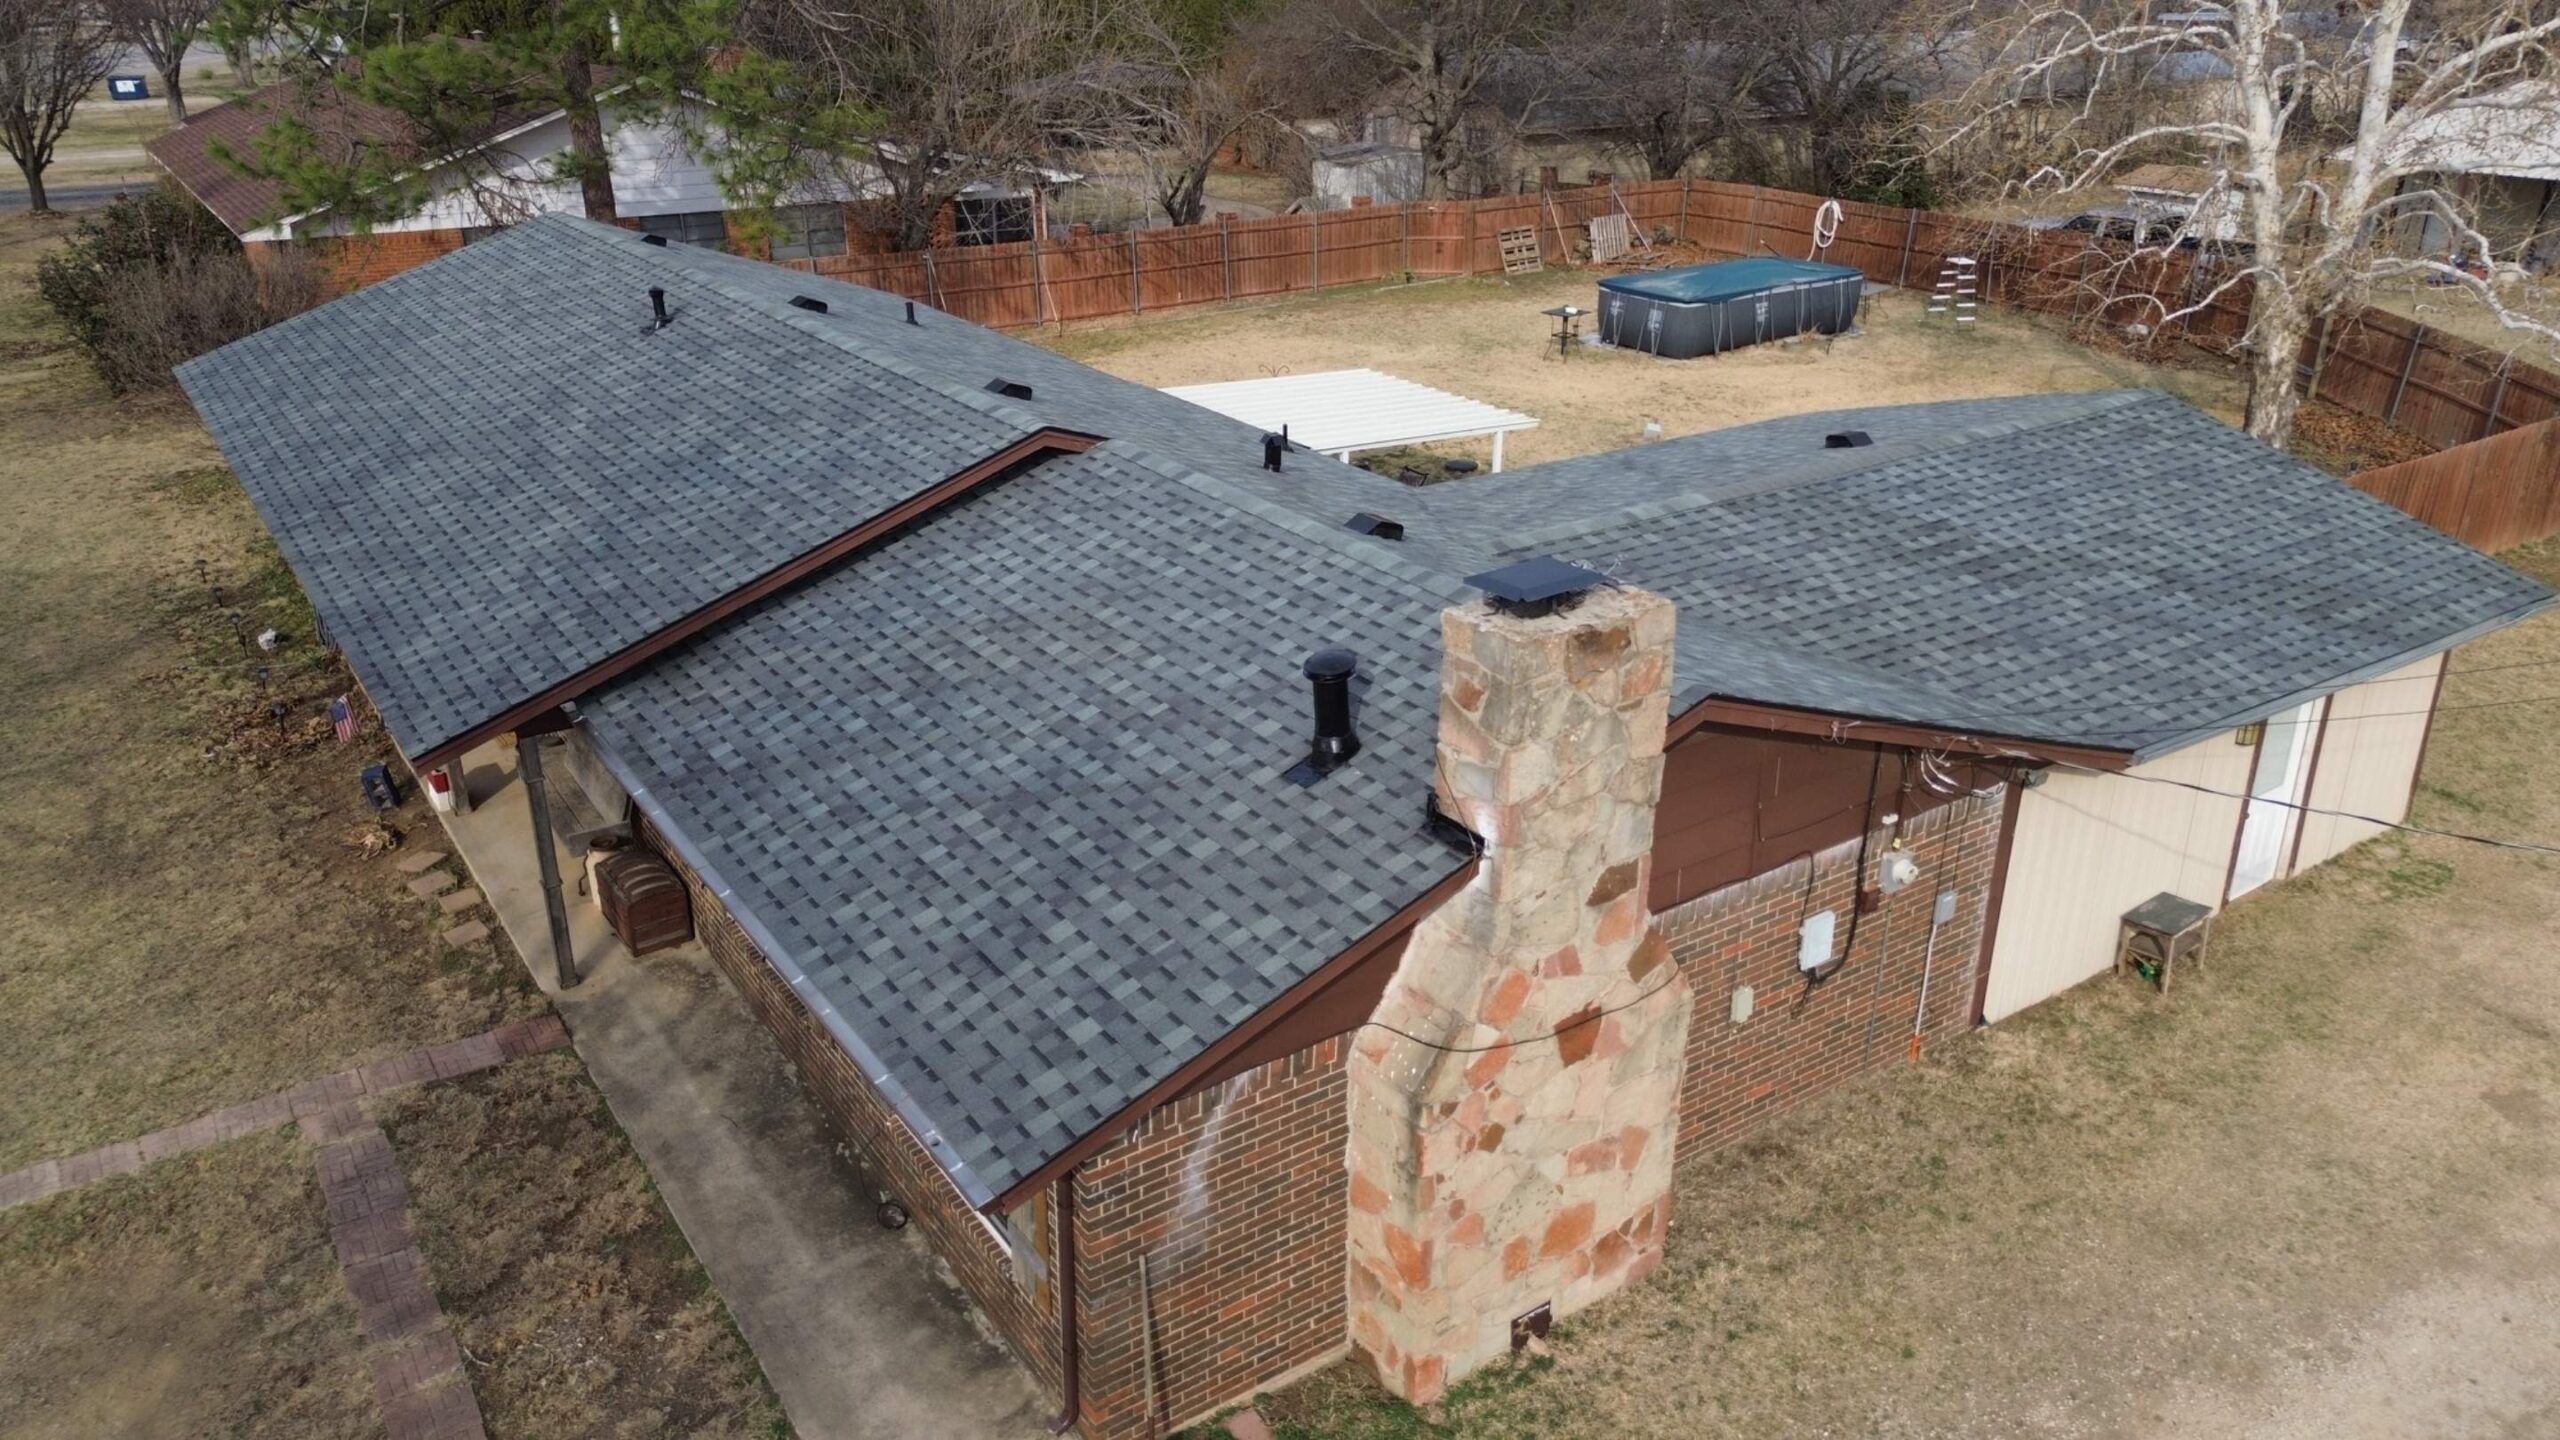
The underlayment provides one of the roofing system’s most important layers of protection. Although it remains hidden beneath the shingles, its installation directly affects the roof’s ability to resist moisture infiltration during severe weather.
One common mistake involves improper overlapping between underlayment sheets. If adjacent sections overlap too little, water can penetrate beneath the material. Excessive overlap, on the other hand, creates unnecessary material waste and uneven surfaces beneath the shingles.
Wrinkles are another frequent installation problem. Underlayment that is not stretched properly before fastening may develop folds that become visible through the finished shingles. These wrinkles can also interfere with proper water drainage beneath the roofing surface.
Fastener placement must also follow manufacturer recommendations. Too few fasteners may allow the underlayment to shift during windy conditions, while excessive fastening creates unnecessary holes that may reduce moisture resistance.
Some roofing projects also fail to install specialized waterproof membranes in vulnerable areas. Roof edges, valleys, and low slope sections often experience greater water exposure and require additional protection beyond standard underlayment.
Another mistake occurs when installers leave underlayment exposed to sunlight for extended periods before shingle installation. Many underlayment products are designed for temporary exposure only, and prolonged ultraviolet radiation can reduce their effectiveness before the roof is even completed.
Careful underlayment installation creates a dependable secondary barrier beneath the shingles. As the installation process continues, every remaining roofing component depends on this properly prepared foundation to deliver long lasting protection against moisture and weather exposure.
Incorrect Shingle Alignment
Once the roof deck and underlayment have been installed correctly, attention shifts to laying the asphalt shingles. This stage requires careful measurements and consistent placement because even slight alignment mistakes can affect both the appearance and performance of the finished roof.
Shingles should be installed in straight, evenly spaced rows that follow the manufacturer’s recommended layout. Proper alignment allows water to flow smoothly down the roof while creating a clean and professional appearance. Crooked rows or uneven spacing may seem like minor cosmetic issues, but they often create functional problems as well.
Poor alignment usually begins with an inaccurate starter row. Since every additional row follows the first course, a small error at the bottom of the roof gradually becomes more noticeable as installation progresses. By the time installers reach the ridge, the entire pattern may appear uneven.
Improper alignment can also interfere with the designed overlap between shingles. Asphalt shingles rely on overlapping layers to shed water efficiently, and inconsistent spacing may expose sections of the roof to moisture infiltration during heavy rainfall.
Wind resistance is another concern. Properly aligned shingles distribute wind forces evenly across the roof surface. Misaligned shingles create uneven edges that may catch stronger winds, increasing the likelihood of lifted or damaged shingles during storms.
Many alignment issues can be prevented by snapping chalk lines before installation begins. These guide lines help installers maintain straight rows and consistent spacing throughout the roofing project.
Even experienced roofing professionals regularly check alignment during installation rather than assuming the pattern remains accurate. Frequent inspections allow small adjustments before they become significant problems across the entire roof.
Improper Nail Placement
Nail placement is one of the most important technical aspects of asphalt roof installation. Although roofing nails appear simple, their position, depth, angle, and quantity directly influence how securely shingles remain attached throughout their service life.
Each asphalt shingle includes a designated nailing zone established by the manufacturer. This area is specifically designed to secure both the current shingle and the overlapping course above it. Driving nails outside this zone reduces holding strength and may even void manufacturer warranties.
Overdriven nails represent one of the most common installation mistakes. Excessive pressure from pneumatic nail guns forces the nail head through the shingle surface instead of holding it securely. Once the material tears around the nail, the shingle becomes vulnerable to wind uplift.
Underdriven nails create a different problem. Nails that remain partially raised prevent the next shingle from lying flat, producing uneven surfaces and reducing the effectiveness of the roofing seal. Raised nails may also puncture shingles installed above them.
Angled nails are equally problematic. Roofing nails should enter the roof deck perpendicular to the surface so that the head applies even pressure across the shingle. Angled nails grip less effectively and can damage the surrounding material during installation.
High nailing occurs when nails are placed above the recommended fastening line. Although the shingles initially appear secure, they often detach more easily because the nail fails to anchor the overlapping shingle correctly.
Using the wrong number of nails also affects roof performance. Some installers reduce the number of fasteners to save time or materials, while others assume additional nails automatically improve durability. Both approaches can create problems because manufacturers carefully determine the appropriate fastening pattern through extensive testing.
The following nail placement mistakes are among the most common during asphalt roof installation:
- Overdriven nails that cut through the shingle.
- Underdriven nails that remain raised.
- Nails installed at an angle.
- High nailing above the designated fastening zone.
- Using too few or too many nails.
- Installing nails too close to shingle edges.
Proper nail installation may seem like a small detail, but thousands of nails hold an asphalt roofing system together. A consistent fastening pattern greatly improves wind resistance, moisture protection, and long term durability.
Inadequate Roof Ventilation
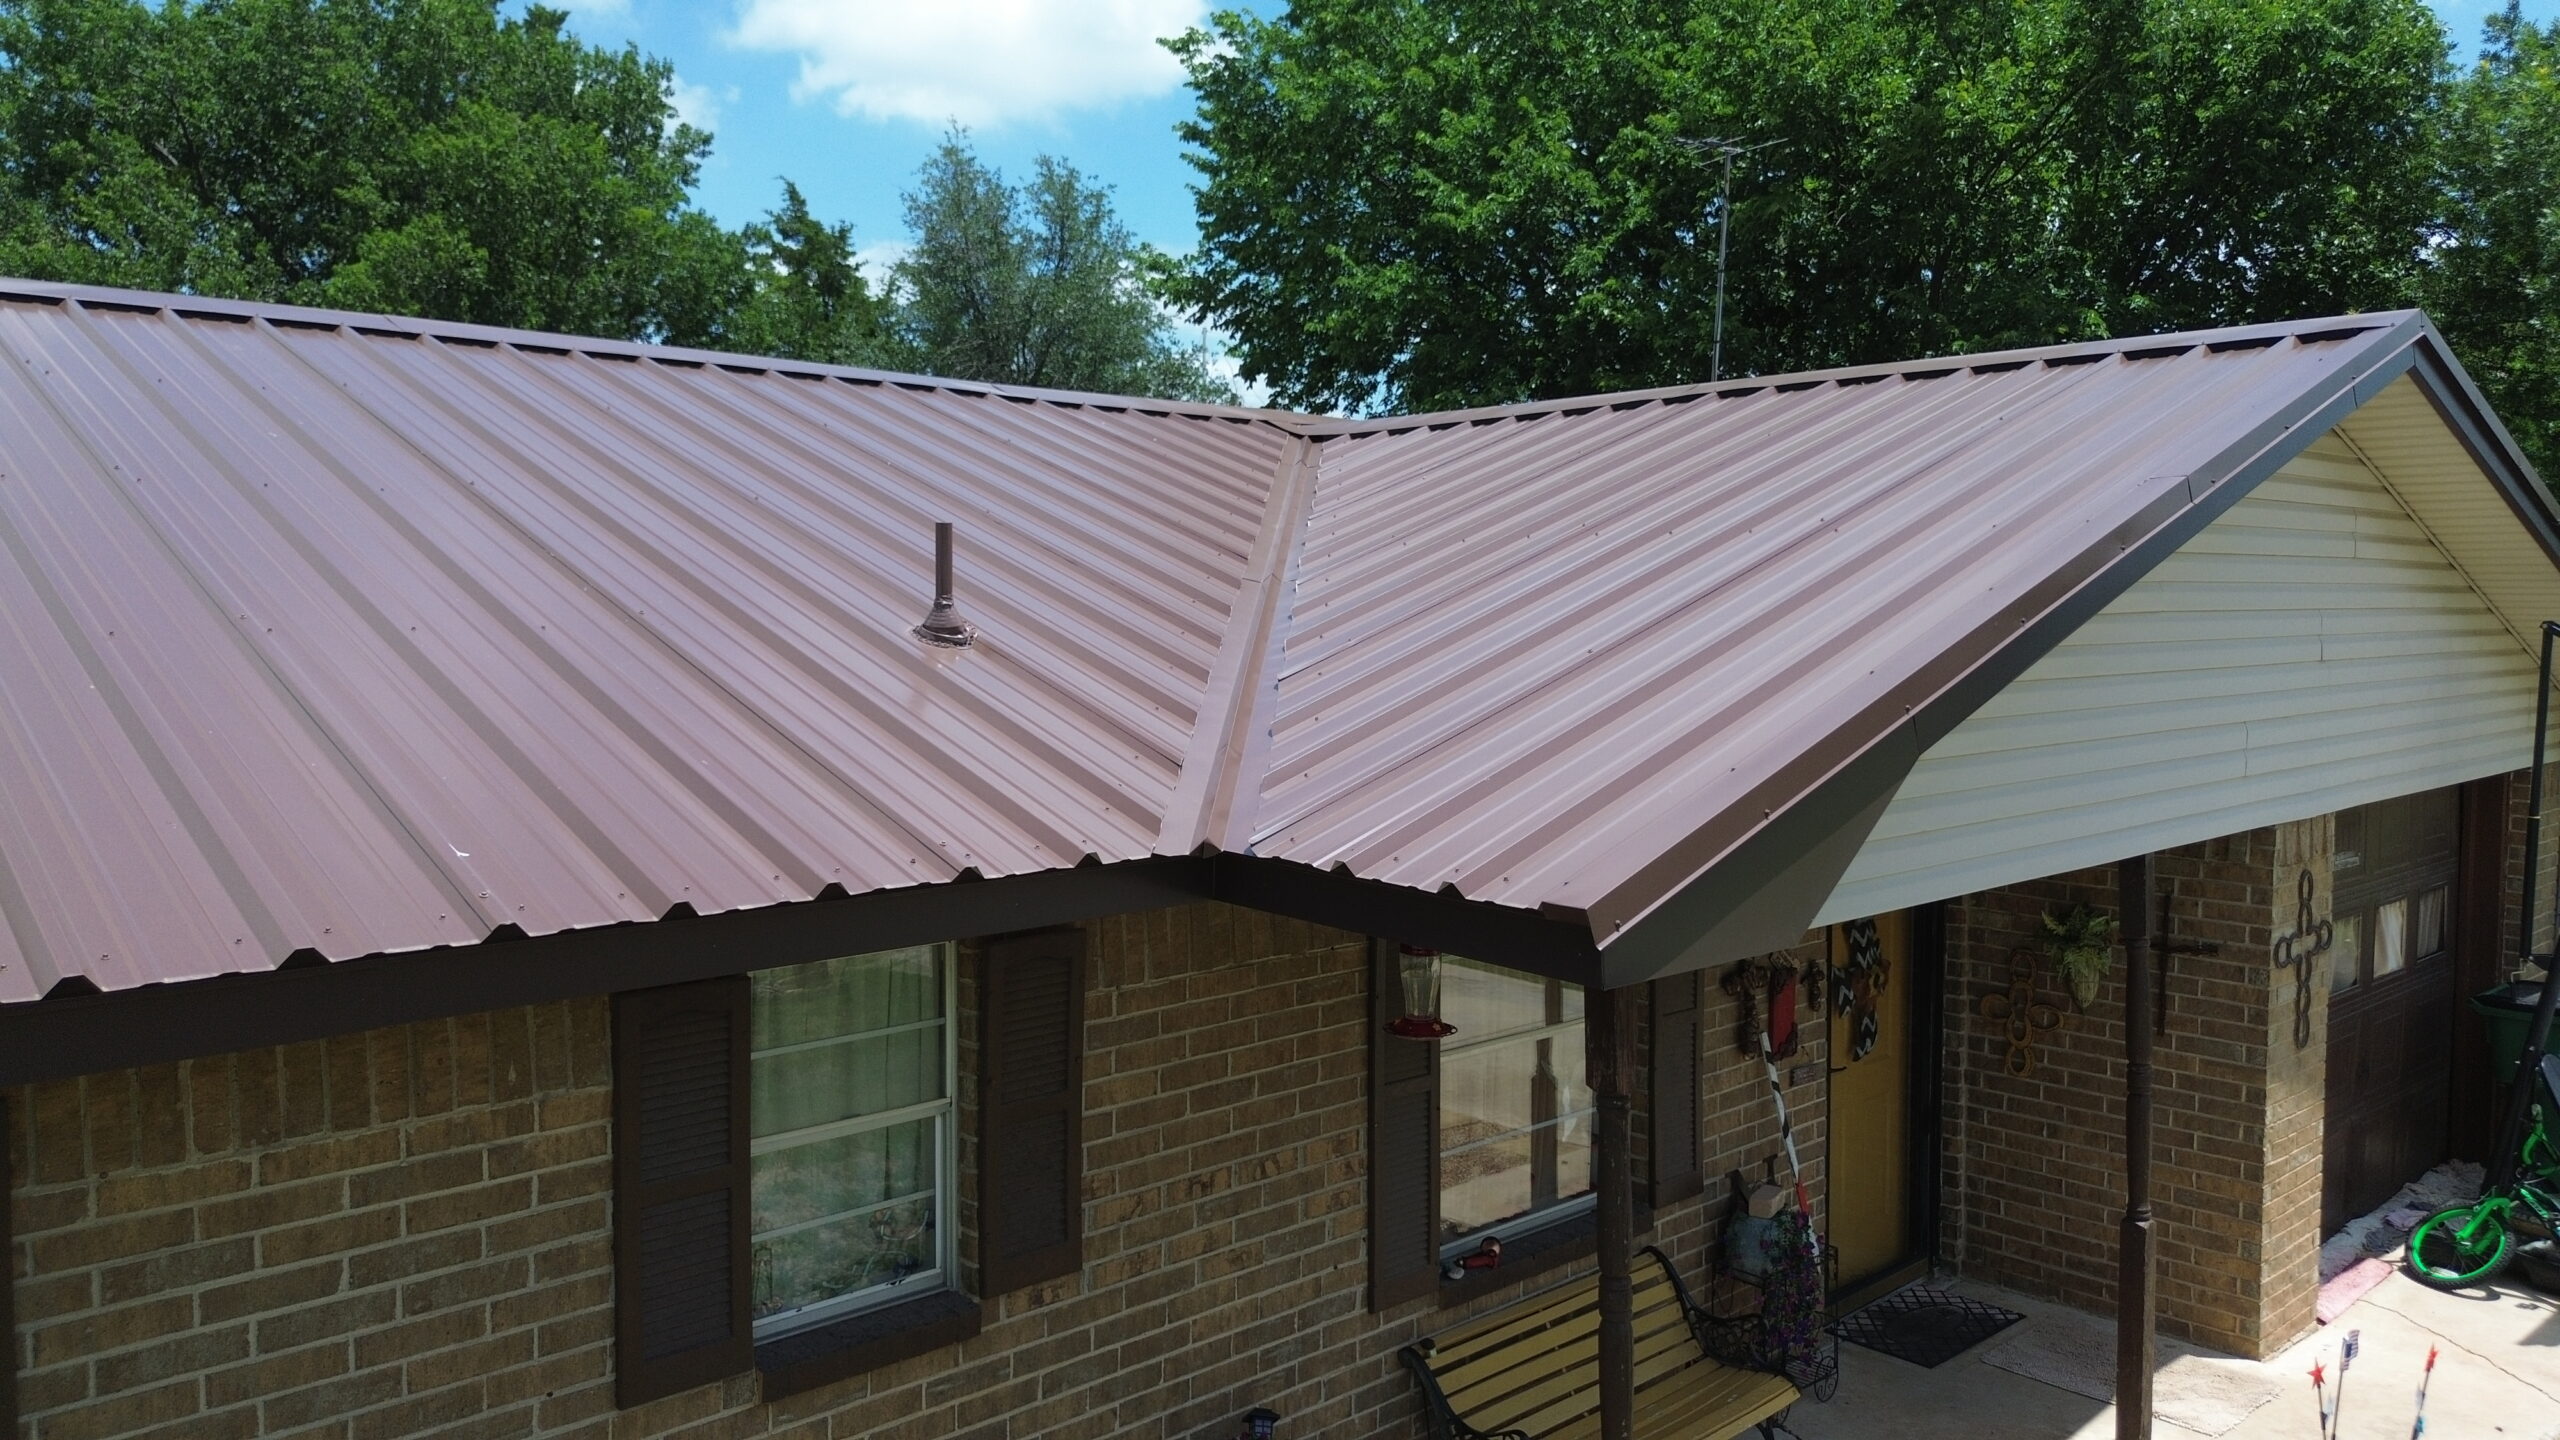
Many homeowners associate roof performance with shingles alone, but ventilation plays an equally important role. A well ventilated attic helps regulate temperature and moisture levels, protecting both the roofing materials and the structural components beneath them.
Roof ventilation works by balancing intake vents near the eaves with exhaust vents near the roof ridge. Fresh outside air enters through intake vents while warm, moist air exits through the exhaust system. This continuous airflow prevents excessive heat and humidity from accumulating inside the attic.
Poor ventilation allows heat to build beneath the roof during summer months. Elevated attic temperatures accelerate asphalt shingle aging, causing the roofing materials to deteriorate faster than expected. Excessive heat may also increase indoor cooling costs because the home absorbs additional solar energy.
Moisture creates another significant concern. Everyday household activities such as cooking, bathing, and laundry produce water vapor that naturally rises into the attic. Without adequate ventilation, this moisture condenses on cooler surfaces, encouraging mold growth and wood decay.
Winter conditions introduce additional challenges. Warm attic air can melt accumulated snow on the roof surface, allowing water to flow toward colder roof edges where it refreezes. This process contributes to ice dam formation, which can force water beneath shingles and into the roof structure.
Ventilation mistakes occur for several reasons. Some installers underestimate the required vent area, while others install additional exhaust vents without providing sufficient intake ventilation. An unbalanced system cannot circulate air efficiently regardless of the number of vents installed.
Blocked vents create another common issue. Insulation placed too closely against soffit vents restricts airflow, preventing fresh air from entering the attic. Even a properly designed ventilation system becomes ineffective if airflow pathways remain obstructed.
Proper ventilation extends the life of roofing materials while improving overall building performance. It helps maintain stable attic temperatures, reduces moisture accumulation, and supports the long term reliability of the entire asphalt roofing system.
Flashing Installation Errors
Flashing protects the most vulnerable areas of an asphalt roof. These thin pieces of metal direct water away from joints, roof penetrations, and transitions where leaks commonly develop. Because these locations experience concentrated water flow, even minor flashing mistakes can result in significant moisture intrusion.
Roof penetrations such as chimneys, plumbing vents, skylights, and exhaust fans require carefully installed flashing assemblies. These components create waterproof transitions between the roofing materials and vertical surfaces, preventing rainwater from entering the building.
One common error involves reusing old flashing during roof replacement projects. Although existing flashing may appear acceptable, years of weather exposure often weaken the material or create hidden corrosion. Installing new shingles around deteriorated flashing frequently results in leaks within a relatively short period.
Improper overlap between flashing sections creates another problem. Water naturally follows gravity, and flashing should always overlap in a way that directs water downward without allowing it to travel beneath adjacent materials. Incorrect sequencing interrupts this drainage path and increases leak potential.
Fastener placement also matters. Nails driven through exposed flashing surfaces create unnecessary penetration points where moisture may eventually enter the roof system. Whenever possible, flashing should be secured using methods recommended by the manufacturer while minimizing exposed fasteners.
Sealants should never replace properly installed flashing. Although roofing sealants provide valuable supplemental protection, they gradually deteriorate from ultraviolet exposure and weathering. Relying solely on sealant instead of correct flashing installation creates a temporary solution rather than a permanent repair.
Step flashing deserves particular attention where roof surfaces meet vertical walls. Individual flashing pieces should overlap each shingle course, allowing water to move safely down the roof while preventing moisture from entering behind exterior siding.
Valley flashing also requires precise installation because roof valleys collect large volumes of runoff during storms. Poor workmanship in these areas often produces leaks that remain hidden until significant interior damage occurs.
Careful flashing installation protects areas where most roofing leaks originate. Even the highest quality shingles cannot compensate for improperly installed flashing around critical roof details.
Valley Installation Mistakes
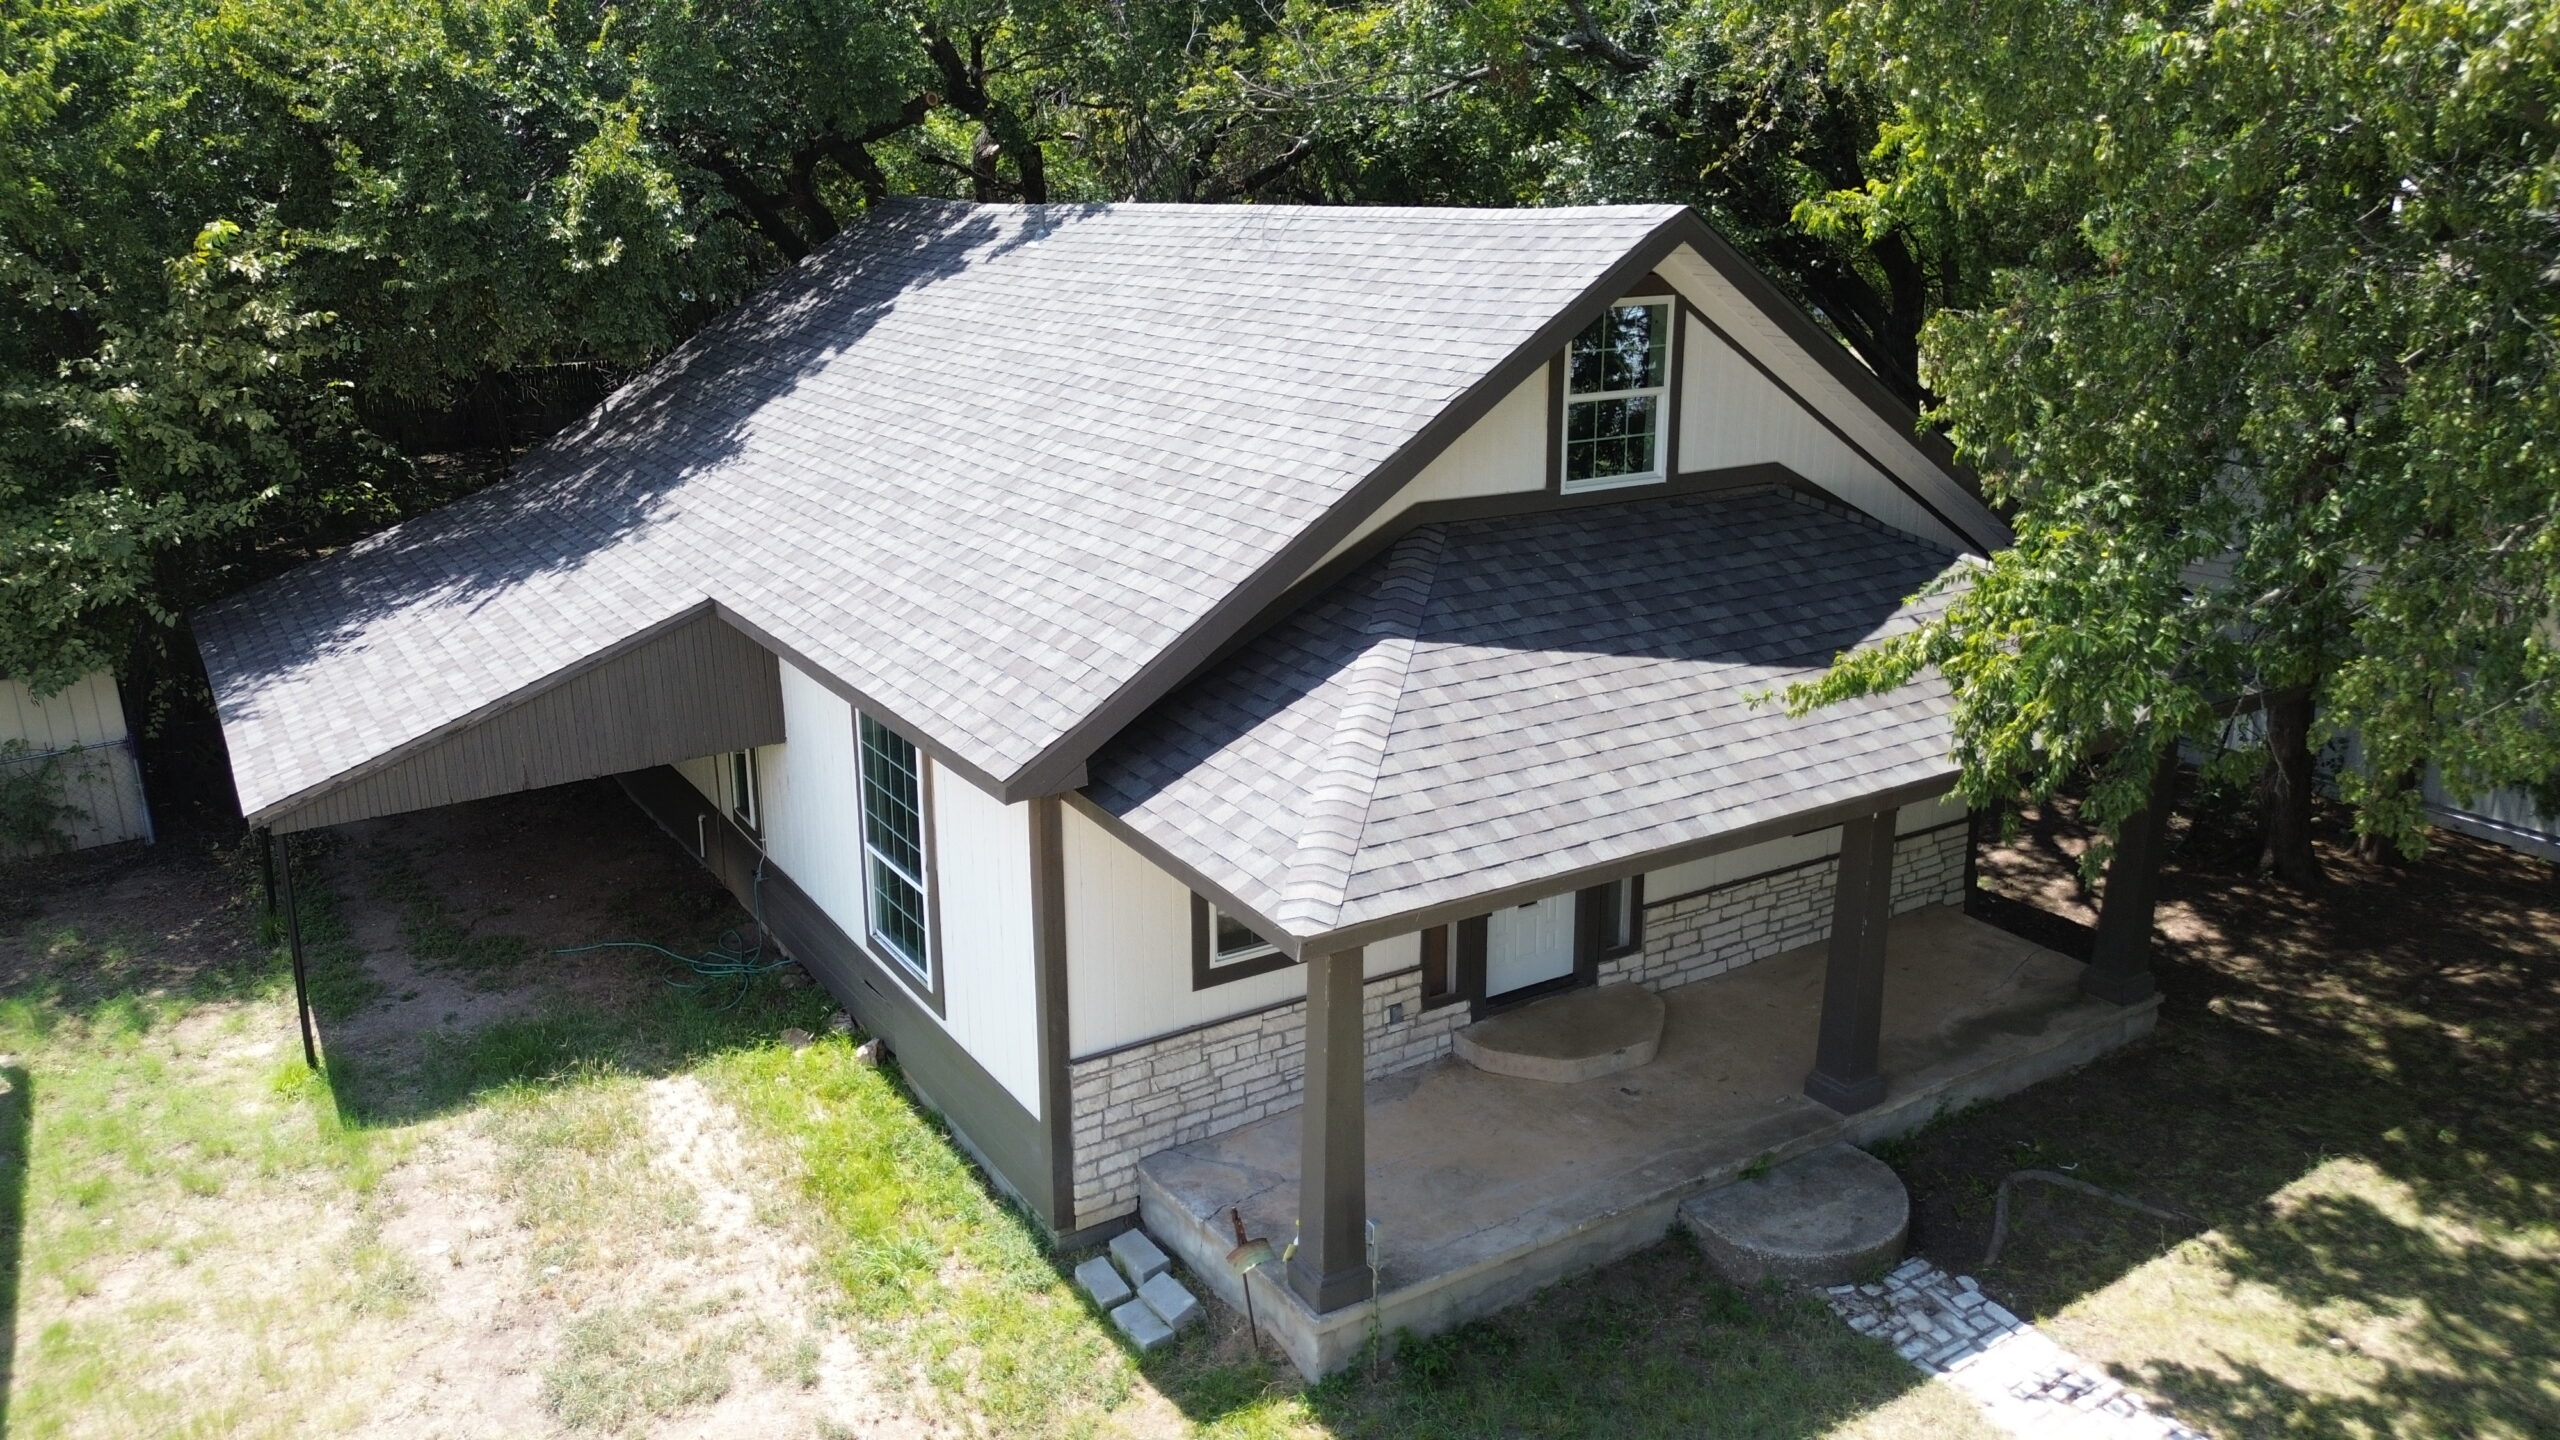
Roof valleys handle more water than almost any other section of an asphalt roof. These channels form where two roof slopes intersect, directing rainfall toward gutters. Because water naturally concentrates within valleys, installation errors here often lead to serious roofing problems.
Several valley construction methods exist, including open valleys and closed valleys. Regardless of the selected design, every valley should provide a clear drainage path while maintaining strong protection against moisture infiltration.
One common mistake involves poor alignment of valley shingles. Uneven cuts or irregular placement can interrupt water flow, causing runoff to slow or collect within the valley. Standing water increases the likelihood of leaks and accelerates material deterioration.
Another issue occurs when installers drive nails too close to the valley centerline. Since this area carries significant water flow, nail penetrations located near the center increase the risk of moisture entering the roof structure.
Some installers also fail to remove debris during construction. Small pieces of shingle material, nails, or packaging left inside valleys may obstruct drainage once rainfall begins. Even minor blockages can trap moisture and encourage premature wear.
Improper trimming of shingles along open valleys creates additional problems. Jagged edges or inconsistent cuts not only reduce visual appeal but may also allow wind driven rain to enter beneath the roofing material.
Proper valley construction requires careful measurements, smooth water channels, and accurate fastening techniques. Because valleys experience some of the highest water volumes on the roof, precision during installation is essential for long term performance.
Installing Shingles in Unsuitable Weather
Weather conditions influence every stage of asphalt roof installation. While experienced contractors can adapt to changing conditions, installing shingles during unsuitable weather significantly increases the possibility of workmanship issues and material damage.
High temperatures create several challenges. Asphalt shingles become softer under intense sunlight, making them more susceptible to scuffing, tearing, or deformation while workers move across the roof. Excessive heat also increases installer fatigue, which may contribute to mistakes.
Cold weather presents different concerns. Asphalt shingles become less flexible at lower temperatures, making them more likely to crack during handling or installation. The self sealing adhesive strips found on many shingles may also require additional time to bond properly when temperatures remain low.
Rain creates obvious safety hazards, but it also affects installation quality. Moisture trapped beneath roofing materials can become enclosed within the roofing system, increasing the risk of mold growth and wood deterioration over time.
Strong winds make accurate installation considerably more difficult. Lightweight underlayment and shingles can shift unexpectedly before fastening, resulting in poor alignment or damaged materials. Wind also increases safety risks for roofing crews working on elevated surfaces.
Manufacturers typically provide recommended installation temperature ranges for their roofing products. Following these guidelines improves adhesive performance, material flexibility, and overall installation quality.
Sometimes project schedules pressure contractors to continue working despite unfavorable weather conditions. Although completing the roof quickly may appear beneficial, rushing through installation during unsuitable weather often leads to expensive repairs later.
Careful scheduling allows roofing materials to be installed under conditions that maximize performance and reduce unnecessary risks. Weather cannot be controlled, but installation timing can often be adjusted to improve project outcomes.
Common Installation Errors and Their Consequences
The relationship between installation quality and roof performance becomes easier to understand when comparing common mistakes with their potential long term effects.
| Installation Error | Immediate Impact | Long Term Result |
|---|---|---|
| Crooked shingle alignment | Uneven roof appearance | Water infiltration and wind damage |
| Improper nail placement | Loose shingles | Shingle blow off and shortened roof lifespan |
| Poor ventilation | Excess attic heat | Mold growth, higher energy costs, premature aging |
| Incorrect flashing installation | Small roof leaks | Structural damage and interior water intrusion |
| Valley installation mistakes | Poor drainage | Persistent leaks and material deterioration |
| Installing during unsuitable weather | Weak seals and damaged materials | Reduced durability and increased maintenance |
Many roofing failures begin with small installation mistakes that initially appear harmless. As years of weather exposure accumulate, these minor defects often develop into expensive structural problems requiring significant repairs.
Recognizing these common errors allows homeowners to ask informed questions during roof replacement projects. Contractors who follow manufacturer guidelines, inspect their work carefully, and prioritize quality over speed generally produce roofing systems that perform reliably for decades.
The remaining stages of installation are equally important. Finishing details such as ridge cap installation, sealing roof penetrations, conducting final inspections, and maintaining proper cleanup determine whether the completed asphalt roof achieves its full expected lifespan.
Poor Ridge Cap Installation
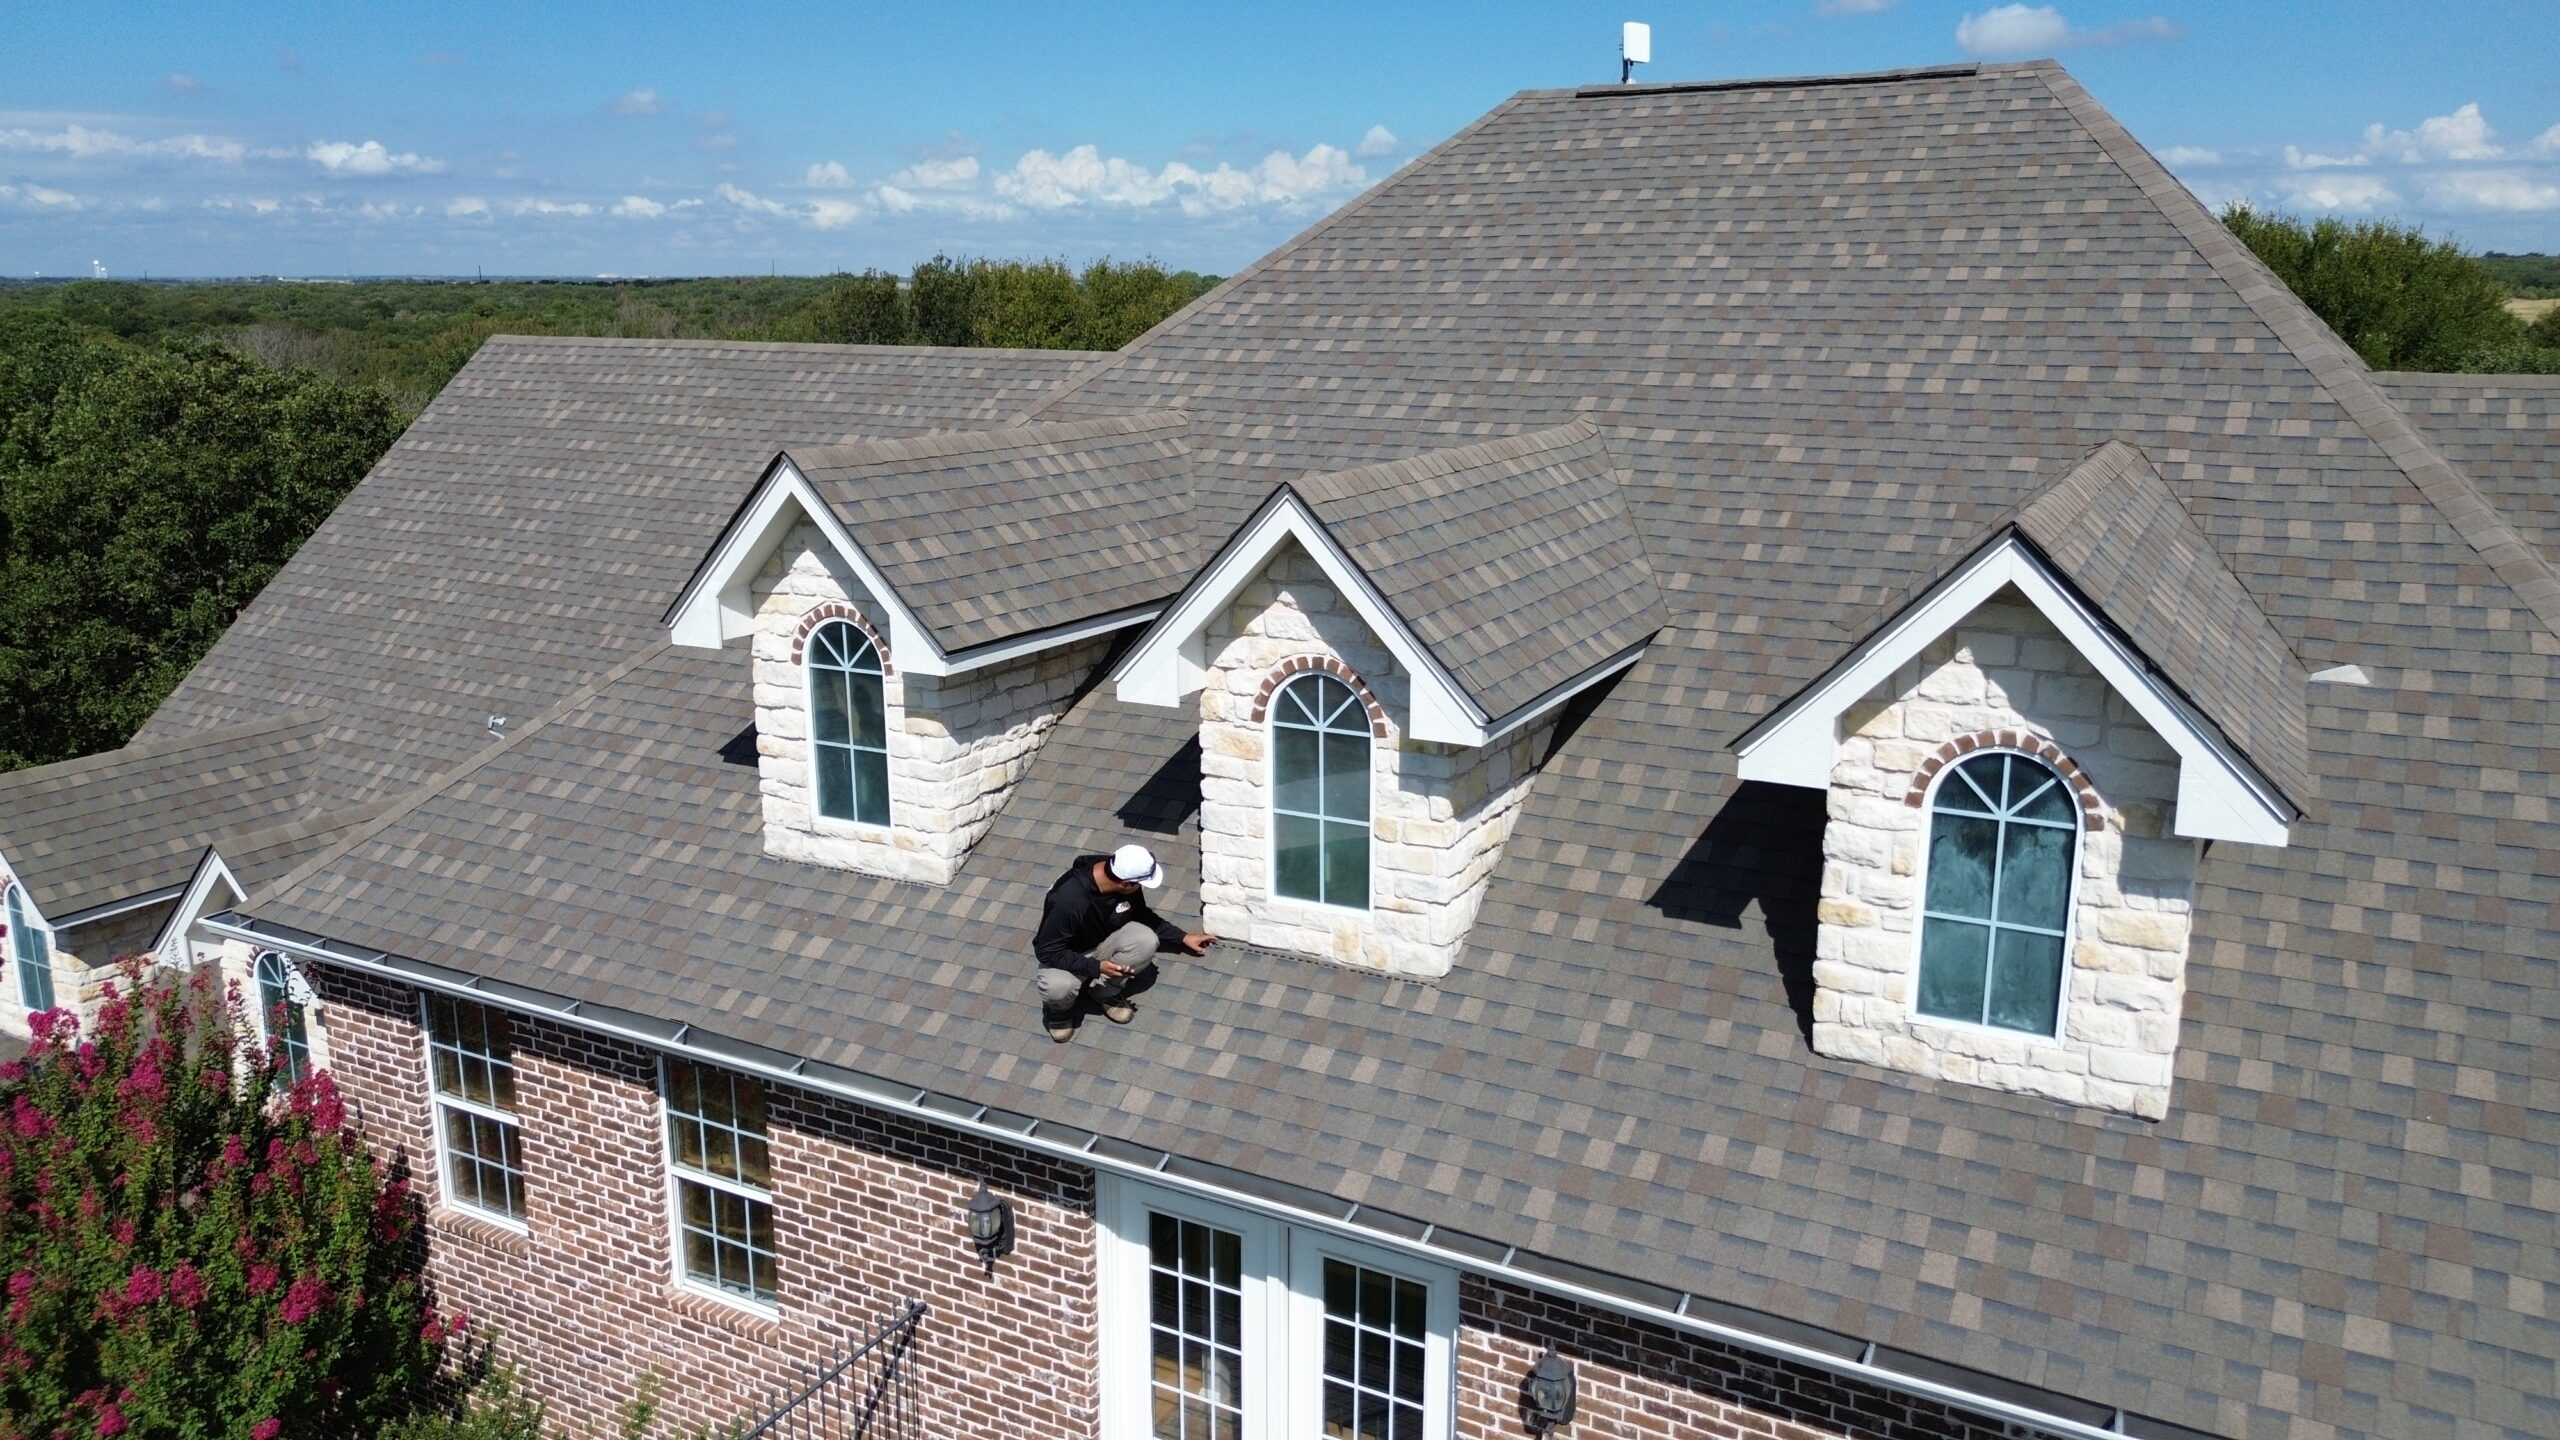
The ridge is the highest point of an asphalt roof where two roof slopes meet. Although it occupies a relatively small portion of the roofing system, it plays a major role in protecting the roof from wind driven rain while allowing proper attic ventilation when ridge vents are installed. Poor ridge cap installation is a common mistake that can reduce both the durability and appearance of the finished roof.
Ridge cap shingles are specifically designed to cover the roof peak while creating a weather resistant seal. Some installers attempt to save time by cutting standard shingles instead of using manufacturer recommended ridge cap products. While this approach may reduce material costs, it often produces inconsistent coverage and weaker protection against harsh weather.
Incorrect overlap is another frequent problem. Ridge cap shingles should overlap in the direction opposite to prevailing winds whenever practical. If the overlap is installed incorrectly, strong winds may lift the exposed edges and allow moisture to enter beneath the roofing materials.
Fastener placement is equally important. Nails that are too short may fail to secure the ridge caps properly, while exposed nails left uncovered can become entry points for water. Over time, repeated expansion and contraction caused by temperature changes may enlarge these openings and increase the risk of leaks.
Poor alignment along the ridge also affects the roof’s overall appearance. A crooked ridge line may not reduce weather protection immediately, but it often reflects rushed workmanship and can lower the property’s curb appeal.
When ridge vents are included, installers must ensure that airflow remains unobstructed. Improper placement of ridge cap shingles or excessive use of sealants can reduce ventilation efficiency, limiting the benefits of the ventilation system discussed earlier in this guide.
A properly finished ridge not only enhances the appearance of the roof but also strengthens its ability to withstand years of changing weather conditions.
Neglecting Sealants and Roof Penetrations
Every roof contains openings where plumbing vents, exhaust vents, skylights, chimneys, satellite mounts, or other equipment pass through the roofing surface. These penetrations interrupt the continuous shingle pattern, making them some of the most vulnerable areas for water intrusion.
Proper flashing provides the primary defense around these openings, but high quality sealants often serve as an additional protective layer. Problems arise when installers either neglect sealants entirely or rely on them instead of installing flashing correctly.
Pipe boots deserve special attention because they protect plumbing vent penetrations. Poor quality pipe boots or incorrectly installed flashing collars may crack, shrink, or separate from the surrounding shingles after years of weather exposure. Once gaps appear, rainwater can enter the roof system unnoticed.
Exhaust vents require similar care. Improper sealing around vent flanges often allows slow leaks to develop. Since these leaks usually occur inside the attic before becoming visible indoors, they may continue for months before homeowners recognize the problem.
Skylights present another installation challenge. Their large openings require carefully layered flashing systems combined with compatible sealants. Missing any step in this process increases the likelihood of leaks during heavy rainfall or snow accumulation.
Satellite mounts, solar panel brackets, and other roof mounted equipment introduce additional penetration points. Every fastener passing through the roofing system should be sealed according to manufacturer recommendations while maintaining proper flashing wherever required.
Using excessive sealant can also create problems. Thick layers of roofing cement may temporarily stop leaks, but they often crack as they age. Professional installations rely on correct mechanical flashing first and use sealants only where specified by product manufacturers.
Routine inspection of roof penetrations after installation helps identify minor issues before they develop into expensive structural repairs. These areas experience continuous exposure to sunlight, moisture, and temperature fluctuations, making careful workmanship especially important.
Poor Cleanup After Installation
Many homeowners consider cleanup the final step of a roofing project, but its importance extends beyond appearance. A poorly cleaned worksite may create safety hazards, damage property, and even affect the long term performance of the newly installed roof.
Roofing projects generate a considerable amount of debris. Old shingles, packaging materials, discarded fasteners, wood scraps, damaged flashing, and underlayment remnants all accumulate throughout the installation process. Allowing these materials to remain on the property creates unnecessary risks.
Roofing nails are among the most serious concerns. Hundreds or even thousands of nails may be removed during a roof replacement. If these nails are not collected properly, they can puncture vehicle tires, injure family members, or create hazards for pets walking around the property.
Magnetic cleanup tools are commonly used to collect loose nails from lawns, driveways, flower beds, and sidewalks. However, careful visual inspection remains equally important because nails may become hidden beneath landscaping materials or grass.
Debris left inside gutters creates another common problem. Small pieces of shingles, roofing granules, and construction waste can obstruct water flow, causing gutters to overflow during rainfall. This overflow may damage siding, landscaping, or the home’s foundation over time.
The roof surface itself should also be inspected after installation. Loose materials, forgotten tools, or leftover packaging may interfere with drainage or damage shingles if left in place.
Proper cleanup also includes responsible disposal of old roofing materials. Many regions have recycling programs for asphalt shingles that help reduce landfill waste while recovering useful construction materials. Choosing environmentally responsible disposal methods benefits both property owners and the surrounding community.
A professional roofing project should leave the property cleaner and safer than it appeared during construction. Thorough cleanup demonstrates attention to detail and reflects the overall quality of the contractor’s work.
Lack of Final Roof Inspection
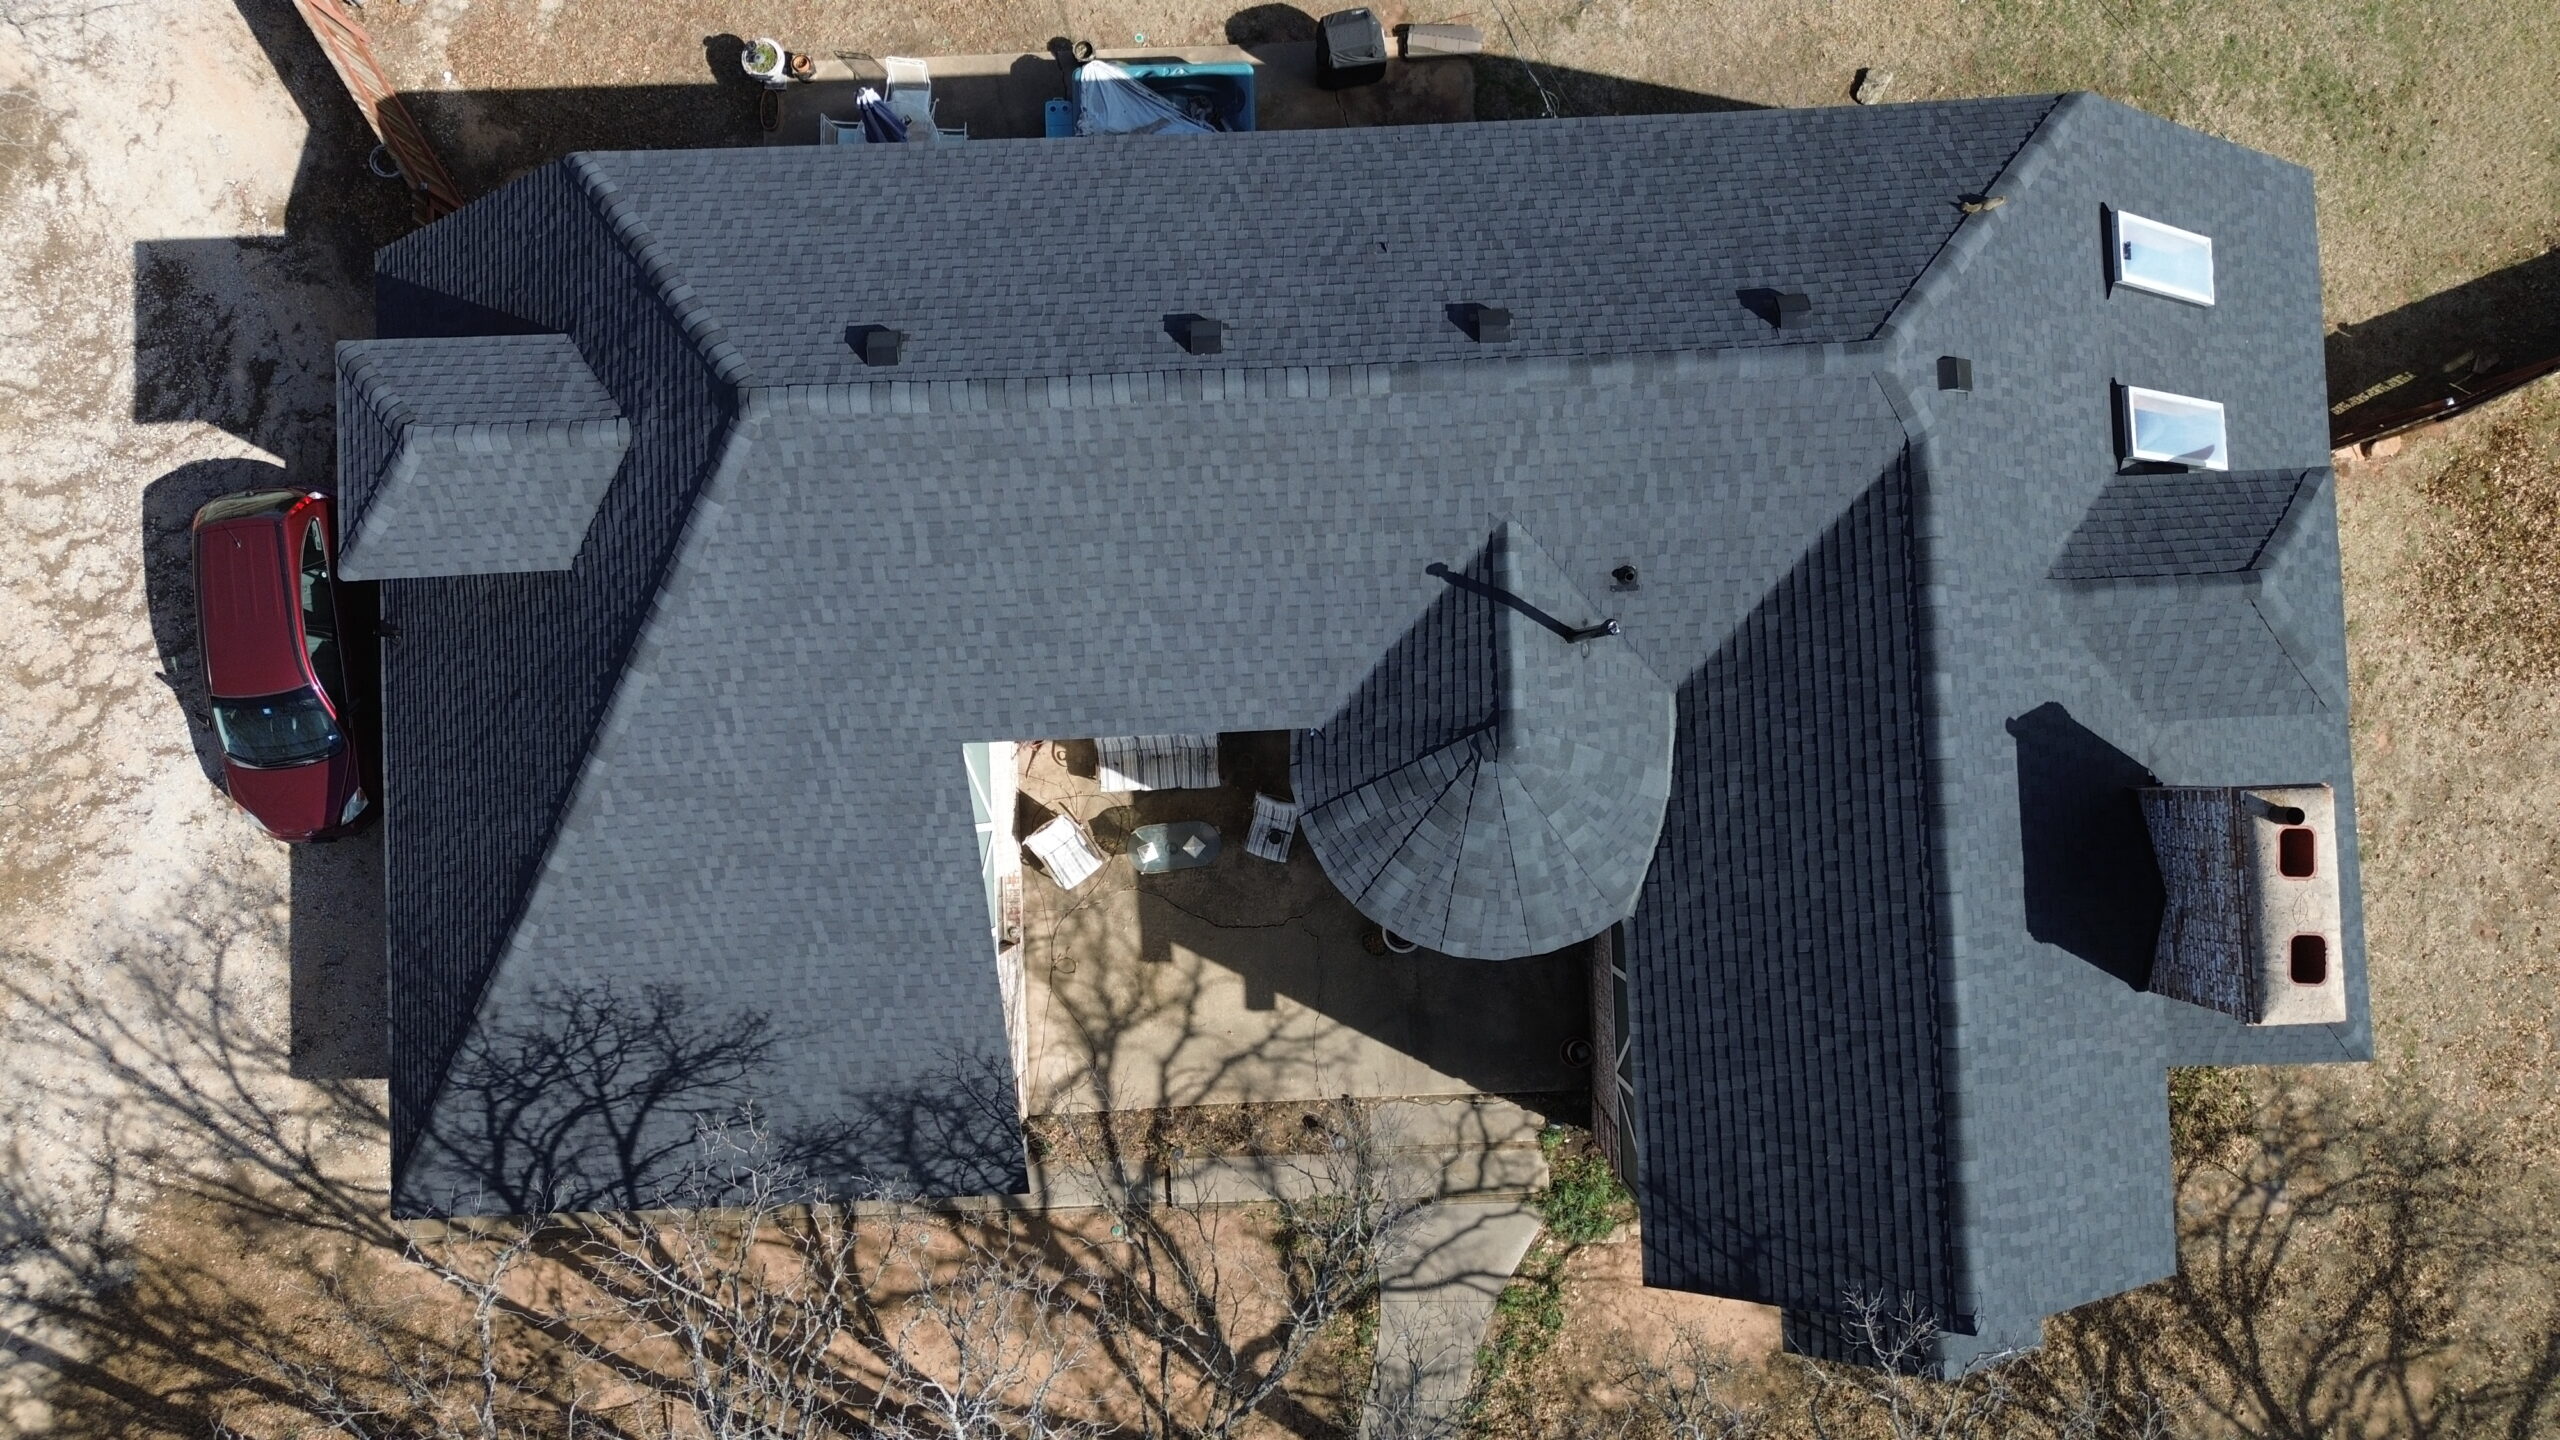
Even when every installation step appears complete, the project should not be considered finished until a thorough final inspection has been performed. This inspection serves as the last opportunity to identify overlooked issues before the roofing crew leaves the property.
Some contractors skip comprehensive final inspections because of scheduling pressures or the assumption that experienced installers rarely make mistakes. However, even highly skilled professionals benefit from reviewing completed work with fresh attention.
The inspection should begin with the overall appearance of the roof. Straight shingle courses, properly aligned ridge caps, clean valleys, and consistent flashing details indicate careful workmanship. Visible irregularities often suggest hidden installation problems that deserve further investigation.
Fasteners should also be examined. Exposed nails, missing shingles, improperly sealed penetrations, and damaged flashing can often be identified during a systematic inspection before they develop into leaks.
Attic inspection provides additional confirmation that the roofing system performs correctly. Inspectors should verify that daylight does not enter through unintended openings and that no signs of moisture are present after installation.
Ventilation performance should also be evaluated. Intake and exhaust vents must remain unobstructed so that air circulates efficiently throughout the attic. A balanced ventilation system supports the long term health of both the roofing materials and the home’s structure.
Documentation represents another valuable aspect of the final inspection. Homeowners should receive warranty information, maintenance recommendations, product documentation, and records describing the installed roofing materials. These documents become useful if warranty claims or future maintenance needs arise.
Taking time to complete a detailed inspection provides confidence that the roofing system has been installed according to manufacturer specifications and accepted industry practices.
Best Practices to Avoid Asphalt Roof Installation Errors
Avoiding installation mistakes requires planning, preparation, and consistent attention to detail throughout the roofing project. While every roof presents unique challenges, several best practices greatly reduce the likelihood of costly errors.
Following a systematic installation process helps maintain consistent quality from the beginning of the project until the final inspection. Each stage builds upon the previous one, making it important to complete every task correctly before moving forward.
The following practices significantly improve installation quality:
- Conduct a complete roof inspection before removing existing materials.
- Replace damaged roof decking instead of covering structural problems.
- Use roofing materials that match the local climate and manufacturer recommendations.
- Store shingles and underlayment properly before installation begins.
- Install roofing materials only during suitable weather conditions whenever possible.
- Follow manufacturer fastening patterns and installation instructions exactly.
- Verify flashing installation around every roof penetration and transition.
- Perform a comprehensive final inspection before considering the project complete.
These practices may require additional time during installation, but they greatly improve long term reliability. Investing extra effort during construction is almost always less expensive than correcting avoidable roofing failures later.
Contractors should also encourage ongoing training for roofing crews. New materials, improved installation techniques, and updated building codes continue to influence the roofing industry. Staying informed allows installers to deliver higher quality workmanship while reducing the likelihood of warranty issues.
Quality control should remain an ongoing process rather than a single inspection at the end of the project. Checking each completed section before moving forward allows small issues to be corrected immediately, preventing larger problems from developing.
Professional Installation vs DIY Roofing
Many homeowners consider installing asphalt shingles themselves to reduce project costs. While asphalt roofing appears relatively simple compared to some roofing systems, proper installation requires technical knowledge, specialized equipment, and strict attention to safety.
Professional roofing contractors understand manufacturer specifications, local building codes, ventilation requirements, flashing techniques, and weather related installation considerations. Their experience helps them recognize potential problems before they affect the finished roof.
DIY roofing projects often encounter difficulties that are not immediately obvious. Improper nail placement, incorrect shingle alignment, inadequate flashing, and poor ventilation may not produce visible leaks for months or even years. By the time these problems become noticeable, repairing them often requires removing significant portions of the roof.
Safety is another major consideration. Roofing work involves steep slopes, elevated surfaces, power tools, and heavy materials. Falls remain one of the leading causes of construction related injuries, making proper safety equipment and training essential.
The comparison below highlights several important differences between professional installation and do it yourself roofing projects.
| Factor | Professional Installation | DIY Installation |
|---|---|---|
| Technical knowledge | Extensive training and experience | Limited to personal research and practice |
| Warranty protection | Often includes workmanship warranties | Usually limited to product warranty only |
| Safety equipment | Professional safety systems | May have limited protective equipment |
| Installation speed | Efficient project completion | Often requires significantly more time |
| Risk of installation errors | Lower with experienced crews | Generally higher for inexperienced installers |
There are situations where homeowners can safely perform minor maintenance tasks, such as replacing a few damaged shingles or cleaning debris from the roof. However, complete roof replacement projects generally benefit from professional expertise because of their complexity and long term importance.
Selecting a qualified contractor should involve more than comparing prices. Experience, licensing, insurance coverage, customer references, and familiarity with manufacturer installation requirements all contribute to a successful roofing project.
Signs That Installation Errors May Already Exist
Not every roofing problem becomes visible immediately after installation. Some mistakes remain hidden until severe weather or years of gradual deterioration expose weaknesses within the roofing system. Recognizing these warning signs early allows homeowners to address problems before major structural damage occurs.
Uneven shingle lines often indicate alignment issues that developed during installation. Although slight variations may seem cosmetic, they sometimes reveal improper spacing or fastening beneath the surface.
Missing, curled, or lifted shingles may suggest incorrect nail placement or poor adhesive bonding. These issues become especially noticeable after strong winds because improperly secured shingles are more likely to loosen.
Water stains appearing on ceilings or walls frequently indicate flashing failures or roof penetration leaks. Since water often travels along framing members before becoming visible indoors, the actual source of the leak may be located several feet away.
Excessive roofing granules collecting inside gutters may signal premature shingle deterioration. While some granule loss is normal over time, unusually heavy accumulation shortly after installation deserves professional evaluation.
Homeowners should also watch for these common warning signs:
- Persistent attic moisture or mold growth.
- Sagging roof sections.
- Daylight visible inside the attic.
- Drafts entering through roof penetrations.
- Repeated leaks during heavy rain.
- Higher than expected heating or cooling costs caused by poor ventilation.
Regular roof inspections allow these issues to be identified before they become major repair projects. Even a well installed asphalt roof benefits from periodic evaluation, particularly after severe storms or unusually harsh weather conditions.
Conclusion
Successful asphalt roof installation depends on much more than simply attaching shingles to a roof deck. Every stage of the project, from the initial inspection to the final cleanup, contributes to the long term performance, durability, and weather resistance of the finished roofing system. Overlooking even one important detail can reduce the roof’s lifespan and increase future maintenance costs.
Many of the most common installation errors involve issues that remain hidden beneath the finished roof. Improper deck preparation, poor underlayment installation, incorrect nail placement, inadequate ventilation, and flashing mistakes may not become apparent until months or years after construction has been completed. By that point, relatively small installation defects may have developed into significant structural problems.
Careful planning, quality materials, adherence to manufacturer guidelines, and skilled workmanship remain the most effective ways to prevent these issues. Roofing professionals who follow proven installation practices while performing regular quality inspections consistently produce roofing systems that provide reliable protection for decades.
Homeowners also play an important role by selecting experienced contractors, asking informed questions, and understanding the basic principles of proper asphalt roof installation. Recognizing the warning signs of installation errors and scheduling routine inspections can help identify developing problems before they require costly repairs.
An asphalt roof represents a major investment in any property. When every installation step is completed with precision and attention to detail, that investment delivers dependable protection, improved energy efficiency, enhanced curb appeal, and lasting value for many years to come.