
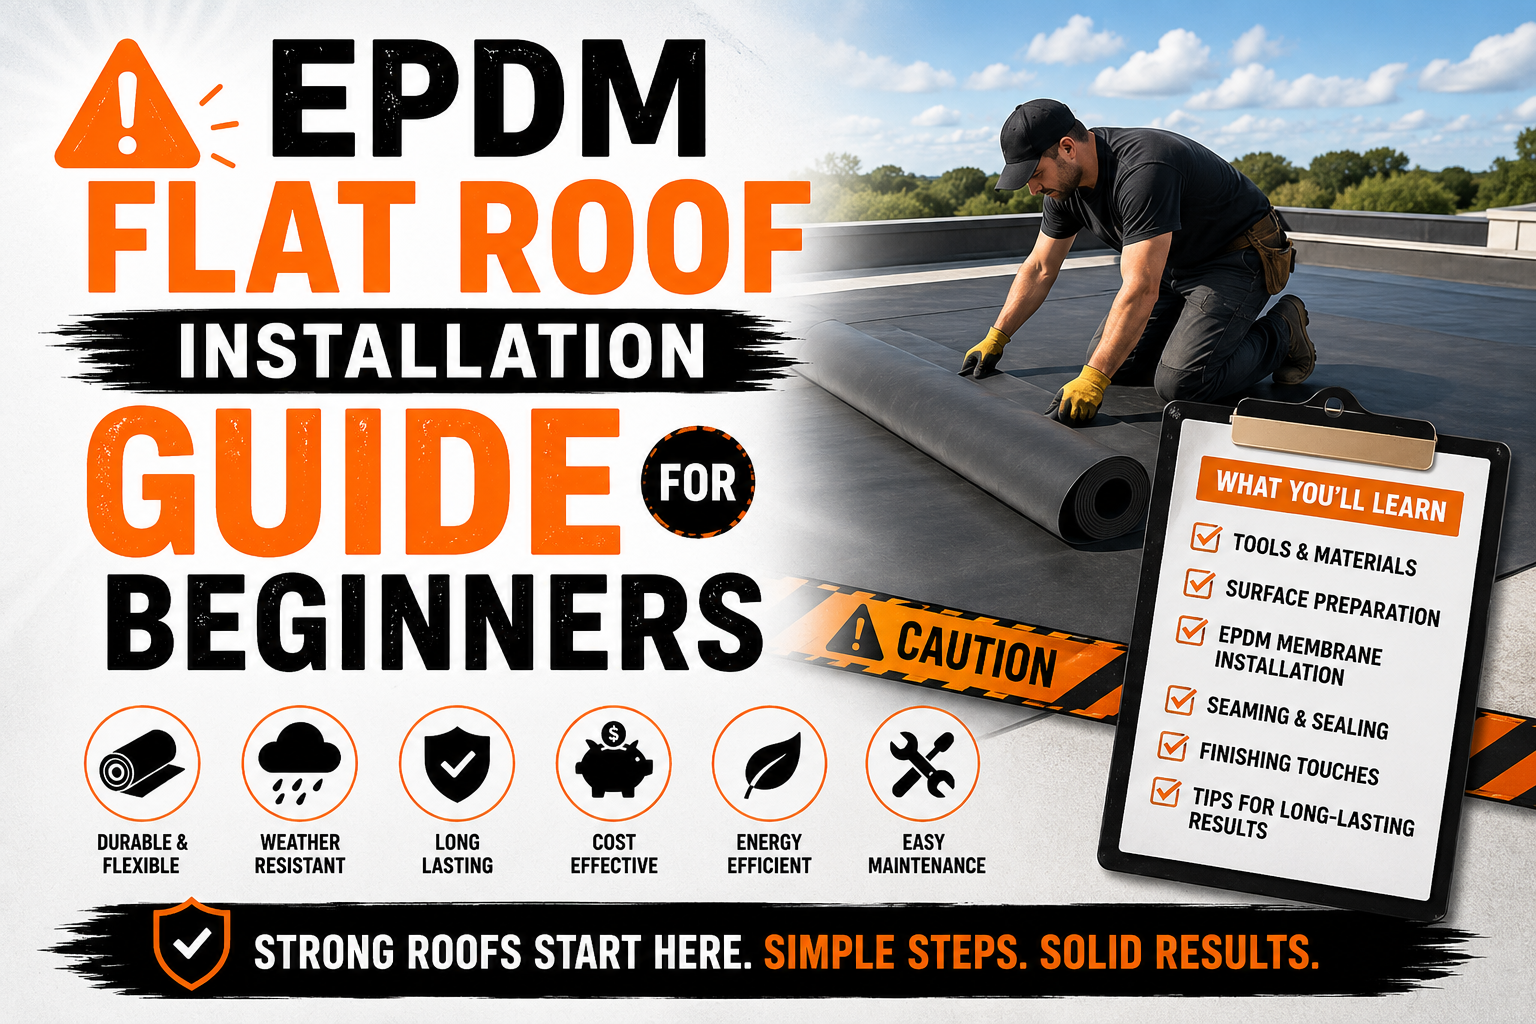
EPDM Flat Roof Installation Guide for Beginners
Introduction
EPDM roofing has become one of the most popular choices for residential flat roofs because it combines durability, flexibility, and affordability in a single roofing system. Homeowners appreciate its ability to withstand changing weather conditions while requiring relatively little maintenance over its lifespan. Whether used on a new home, an extension, or a garage, EPDM offers dependable protection when installed correctly.
For beginners, the installation process may appear complicated at first. However, understanding the purpose of each roofing layer and following the proper sequence of installation makes the entire process much easier to understand. Learning the basics also helps homeowners communicate more effectively with roofing contractors and make informed decisions about materials and workmanship.
Unlike older flat roofing systems that relied on multiple layers of asphalt and felt, EPDM uses a single synthetic rubber membrane designed to create a continuous waterproof barrier. This modern approach simplifies installation while reducing the number of seams where leaks could potentially develop. The material also remains flexible in different temperatures, allowing it to expand and contract without cracking.
Although many homeowners hire professionals for installation, understanding how EPDM roofing works is valuable for anyone planning a roofing project. Knowing the materials, preparation methods, and installation principles helps ensure better decisions throughout the project. It also makes routine inspections and maintenance easier after the roof has been completed.
This guide explains the essential concepts every beginner should know before installing an EPDM flat roof. It covers the characteristics of EPDM roofing, the components of the roofing system, the tools and materials required, preparation techniques, and the common mistakes that should be avoided before installation begins. These fundamentals provide the knowledge needed to understand the installation process explained in the next part of this guide.
What Is EPDM Roofing?
EPDM stands for Ethylene Propylene Diene Monomer, a synthetic rubber material specifically developed for waterproof roofing applications. It has been widely used for flat and low-slope roofs for several decades because of its outstanding durability and weather resistance. The material performs well in both hot and cold climates, making it suitable for residential buildings in many different regions.
Unlike traditional roofing materials that consist of several built-up layers, EPDM is manufactured as large flexible sheets. These sheets are rolled across the roof surface to create a continuous waterproof membrane with fewer joints. Since seams are one of the most vulnerable areas on any flat roof, reducing the number of seams improves overall leak resistance.
EPDM membranes are typically available in black, although white versions are also produced for applications requiring greater heat reflectivity. Black EPDM absorbs heat during colder months, while lighter-colored membranes reflect more sunlight in warmer climates. The choice often depends on local weather conditions and energy efficiency goals.
The membrane is manufactured in different thicknesses, with 45 mil, 60 mil, and 90 mil being among the most common options. Thicker membranes generally provide greater puncture resistance and a longer expected service life. However, they may also require slightly higher installation costs due to increased material weight.
One of the biggest advantages of EPDM is its flexibility. Unlike some roofing materials that become brittle with age or extreme temperatures, EPDM remains elastic for many years. This flexibility allows it to accommodate natural building movement without developing cracks or tears.
EPDM roofing is commonly installed on residential homes, garages, porches, home extensions, workshops, and commercial buildings. It is especially suitable for flat or low-slope roofs where dependable waterproof protection is essential. Because of its long history of successful performance, it remains one of the most trusted flat roofing materials available today.
Why Homeowners Choose EPDM Roofing
Homeowners often select EPDM roofing because it provides an excellent balance between cost, durability, and long-term performance. While there are several flat roofing materials available, EPDM continues to stand out as a practical solution for many residential applications.
One of its greatest strengths is durability. A properly installed EPDM roof can last several decades with routine maintenance and occasional inspections. The material is designed to resist cracking, splitting, and weather-related deterioration, making it a dependable investment for homeowners seeking long-lasting protection.
Weather resistance is another major advantage. EPDM performs well during heavy rainfall, snow, strong winds, and changing seasonal temperatures. Its flexibility allows the membrane to expand and contract naturally without losing its waterproof properties.
Ultraviolet resistance also contributes to its popularity. Continuous sunlight gradually damages many roofing materials, but EPDM has been engineered to withstand prolonged UV exposure. This resistance helps preserve the membrane while reducing maintenance requirements over time.
Many homeowners also appreciate the material’s flexibility during installation. Since the membrane is supplied in large rolls, installers can cover significant roof areas with fewer seams. This not only simplifies installation but also reduces the number of locations where leaks might eventually develop.
Cost effectiveness is another important consideration. Although initial installation costs vary depending on roof size and complexity, EPDM generally provides excellent value over its lifespan. Lower maintenance needs and reliable performance often offset the original investment.
Maintenance is relatively straightforward compared to many older roofing systems. Regular inspections, basic cleaning, and prompt repair of minor damage usually keep the roofing system performing efficiently for many years. This simplicity appeals to homeowners who prefer roofing materials with minimal upkeep requirements.
EPDM also works well with modern energy-efficient roofing systems. When combined with quality insulation, it helps maintain comfortable indoor temperatures while reducing heating and cooling costs. Improved energy performance benefits both homeowners and the environment.
Main Components of an EPDM Roofing System
An EPDM roofing system consists of several carefully designed layers that work together to protect the building from moisture, weather, and temperature changes. Understanding these components helps beginners appreciate why every installation step is important.
The structural roof deck forms the foundation of the entire roofing system. Depending on the building, the deck may be constructed from plywood, oriented strand board, concrete, or steel. The deck must remain clean, dry, and structurally sound before any roofing materials are installed.
Above the deck, many installations include a vapor barrier. This layer reduces moisture movement from inside the building into the insulation and roofing system. Preventing internal condensation helps maintain insulation performance while reducing the risk of mold or structural deterioration.
Roof insulation is installed above the vapor barrier to improve thermal efficiency. High-quality insulation minimizes heat transfer through the roof, helping maintain comfortable indoor temperatures throughout the year. It also provides a smooth, stable surface for the EPDM membrane.
The EPDM membrane itself forms the primary waterproof barrier. Large membrane sheets reduce seam locations while creating continuous protection against rain, snow, and environmental moisture. Proper positioning and secure attachment ensure reliable long-term performance.
Adhesives play a critical role in securing the membrane to the roof surface. Different adhesives are used depending on the installation method and the specific area being bonded. Water-based adhesives are commonly applied across large field areas, while contact adhesives are often used around roof edges and vertical surfaces.
Seam tape joins adjacent EPDM sheets together wherever seams are required. Modern seam tapes create strong waterproof connections that remain flexible as the roof naturally expands and contracts with changing temperatures.
Flashing materials provide additional protection around roof penetrations, edges, chimneys, skylights, plumbing vents, and mechanical equipment. These vulnerable areas require specialized detailing to maintain continuous waterproof performance.
Edge trims complete the roofing system by securing membrane edges while protecting them from wind uplift and weather exposure. Properly installed edge trims also create a neat finished appearance while helping direct water toward the drainage system.
Every component contributes to the overall effectiveness of the roofing system. Skipping or improperly installing even one layer can reduce the roof’s performance and increase the likelihood of future repairs.
Tools and Materials Needed
Before beginning an EPDM installation project, all necessary tools and materials should be organized in advance. Proper preparation allows installation to proceed efficiently while minimizing interruptions during construction.
A measuring tape is essential for determining roof dimensions and ensuring the membrane is cut accurately. Careful measurements reduce material waste while ensuring complete roof coverage.
A utility knife with sharp replacement blades is commonly used to trim EPDM membranes and insulation boards. Clean, accurate cuts produce better fitting joints and simplify installation around roof penetrations.
Heavy-duty rollers are used to press the membrane firmly into adhesives while eliminating trapped air beneath the surface. Rollers also help secure seam tape by applying consistent pressure across bonded joints.
Brushes and paint rollers distribute adhesives evenly across the roof surface. Following manufacturer recommendations for adhesive coverage ensures proper bonding between the membrane and substrate.
Caulking guns are used when applying specialized sealants around flashing details and roof penetrations. Proper sealing protects areas where different roofing components meet.
Safety equipment is equally important throughout the installation process. Gloves protect hands while handling roofing materials, while safety glasses reduce the risk of eye injuries during cutting and trimming. Slip-resistant footwear provides better traction when working on roofing surfaces.
Depending on roof height, fall protection equipment may also be required. Safety harnesses, guardrails, or other approved fall protection systems help reduce workplace accidents while complying with local safety regulations.
The primary roofing materials include the EPDM membrane, insulation boards, vapor barriers where required, adhesives, seam tape, flashing materials, edge trims, fasteners, primers, and compatible sealants. Purchasing all products from the same manufacturer whenever possible helps ensure compatibility throughout the roofing system.
Keeping materials organized before installation begins allows contractors or homeowners to complete each stage without unnecessary delays. Proper planning also reduces the possibility of using incorrect products during construction.
Preparing Before Installation
Preparation is one of the most important stages of any EPDM roofing project. The quality of the finished installation depends heavily on the condition of the roof before the membrane is ever placed into position. Taking sufficient time during preparation often prevents problems that might otherwise appear years later.
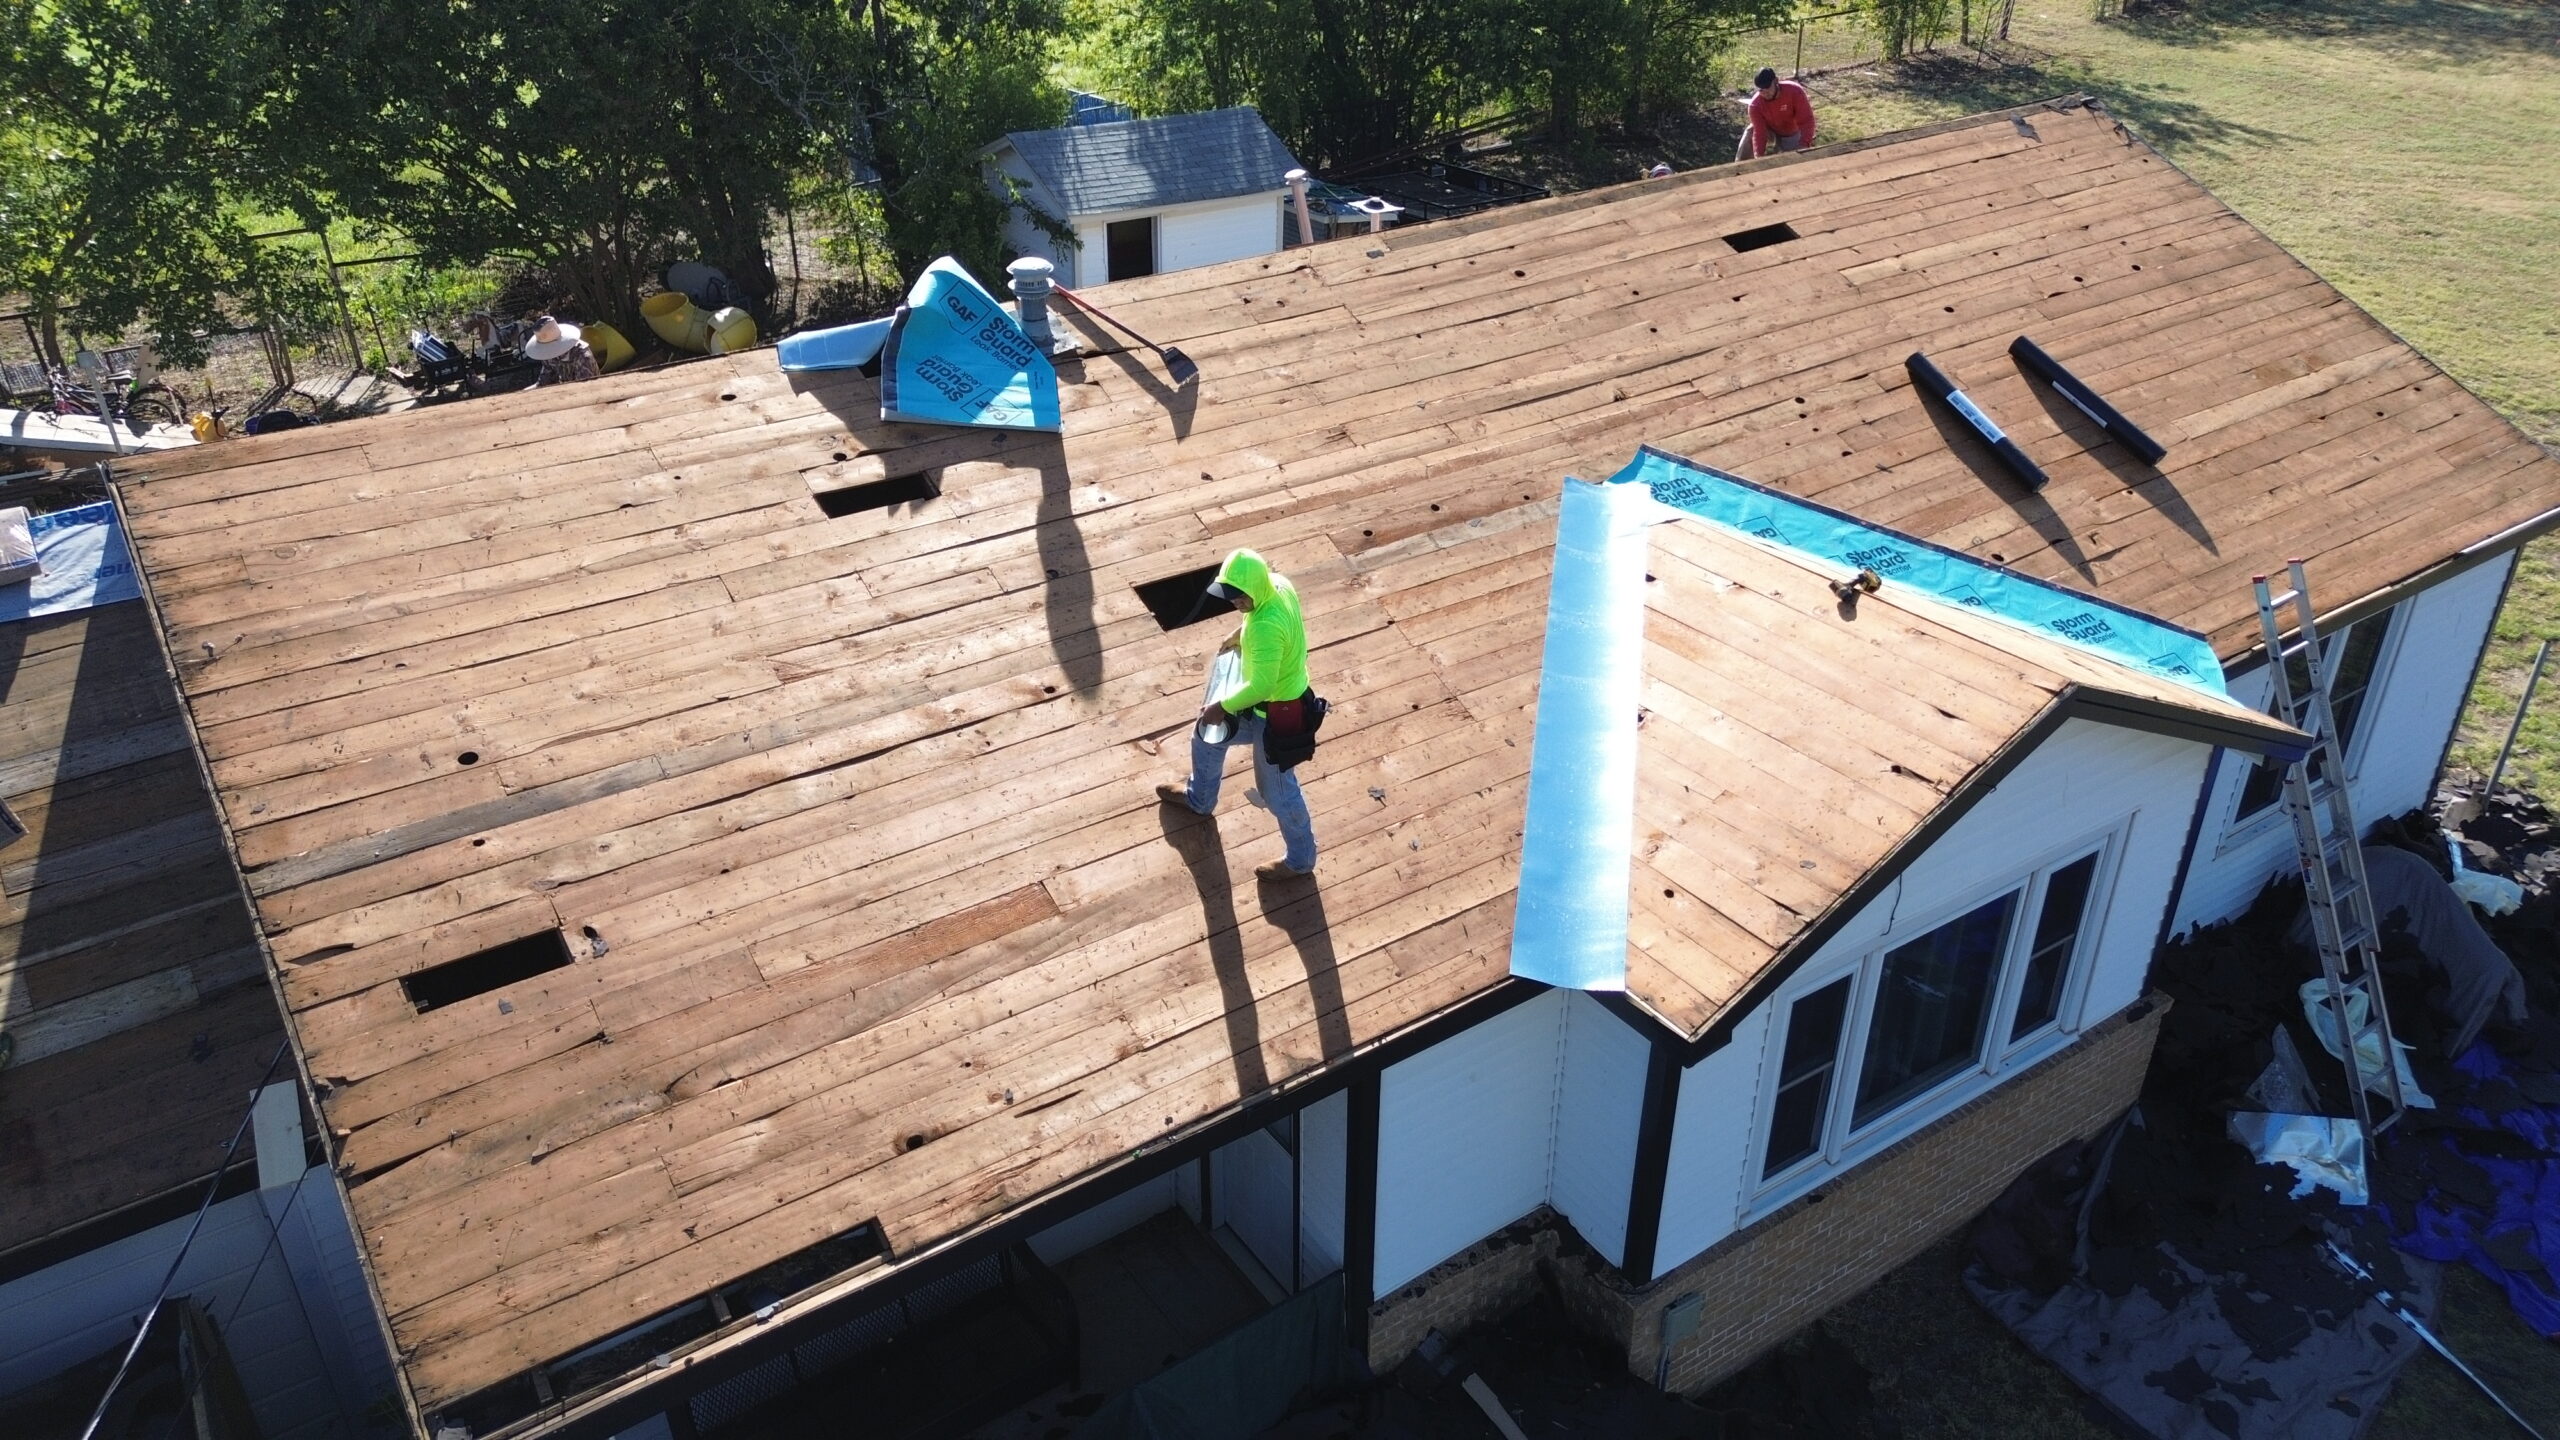
The first task is inspecting the roof structure carefully. Contractors examine the roof deck for signs of rot, moisture damage, loose fasteners, mold, cracks, or structural weakness. Damaged areas should always be repaired before additional roofing materials are installed.
If an older roofing system is present, installers determine whether complete removal is necessary. In many cases, removing old roofing materials provides the best foundation for a new EPDM membrane while allowing hidden structural problems to be identified.
Cleaning the roof surface follows structural repairs. Dirt, dust, grease, loose debris, nails, and old adhesive residues must all be removed before installation begins. A clean surface allows adhesives to bond properly while producing a smoother finished roof.
The roof should also be completely dry before adhesive application. Moisture trapped beneath the membrane can interfere with bonding and may eventually cause bubbles or premature failure. Weather forecasts should be reviewed carefully to ensure suitable installation conditions.
Accurate roof measurements are another critical part of preparation. Installers calculate membrane dimensions while allowing extra material for roof edges, penetrations, and flashing details. Proper measurements reduce unnecessary seams while minimizing material waste.
Roof penetrations including vents, skylights, chimneys, and HVAC equipment require careful inspection before installation begins. Any damaged components should be repaired or replaced to simplify flashing installation later in the project.
Finally, all materials should be positioned safely near the work area before installation starts. Having adhesives, seam tape, flashing components, insulation boards, and tools readily available improves workflow while reducing unnecessary movement across the roof surface.
Common Beginner Mistakes Before Installation
Many installation problems can be traced back to mistakes made before the membrane is even unrolled. Beginners often focus on the visible roofing material while overlooking the preparation steps that determine long-term performance.
One common mistake is taking inaccurate roof measurements. Ordering insufficient membrane material may require unnecessary seams that increase installation complexity. Measuring carefully before purchasing materials helps avoid this problem.
Poor surface preparation is another frequent error. Dirt, dust, moisture, or loose debris beneath the membrane prevents adhesives from bonding correctly. Even high-quality roofing materials cannot perform properly if installed on an unsuitable surface.
Some beginners purchase incompatible products from different manufacturers without verifying compatibility. Adhesives, primers, seam tapes, flashing materials, and membranes are designed to function together as complete roofing systems. Using approved product combinations improves both performance and warranty protection.
Ignoring weather conditions during installation can also create long-term problems. Rain, excessive humidity, or unsuitable temperatures may interfere with adhesive curing and membrane bonding. Planning installation during favorable weather greatly improves installation quality.
Another mistake involves overlooking roof drainage before installation begins. Although EPDM membranes provide excellent waterproof protection, water should never remain on the roof longer than necessary. Proper drainage planning reduces long-term stress on the roofing system.
Some beginners also underestimate the importance of reading manufacturer installation instructions. Every EPDM product has specific recommendations regarding adhesive application, seam preparation, curing times, and flashing installation. Following these instructions helps ensure reliable performance and protects warranty coverage.
Planning the Installation
A successful EPDM roof installation begins long before the membrane is placed on the roof. Careful planning helps prevent mistakes, improves efficiency, and ensures every stage of the project follows the correct sequence. Beginners who spend time preparing the installation process often achieve much better results than those who rush into the work.
One of the first considerations is the weather forecast. EPDM roofing should ideally be installed during dry weather with moderate temperatures. Rain, heavy wind, or excessive humidity can interfere with adhesive performance and make handling large membrane sheets much more difficult.
The roof should also be completely dry before work begins. Moisture trapped beneath the membrane may weaken adhesive bonds and eventually cause bubbles or separation. Waiting for favorable weather conditions is often better than trying to speed up the project.
Material organization is another important planning step. The membrane, insulation boards, adhesives, seam tape, flashing components, rollers, cutting tools, and safety equipment should all be placed where they can be accessed easily. This reduces unnecessary movement across the roof and allows the installation to progress smoothly.
Safety planning is equally important. Working on any roof presents fall hazards, even on low-slope surfaces. Before installation begins, ladders should be secured, walkways kept clear, and appropriate fall protection used whenever required by local safety regulations.
Beginners should also read the manufacturer’s installation instructions carefully before opening any materials. Different EPDM systems may have slight variations in adhesive application, seam preparation, or curing times. Understanding these instructions beforehand reduces confusion during installation.
Planning also includes identifying roof penetrations, drainage outlets, and roof edges that require special attention later in the installation. Knowing where these details are located allows installers to prepare flashing materials before reaching those stages of the project.
Good planning creates a more organized installation process while reducing delays and unnecessary mistakes. Every hour invested in preparation usually saves considerably more time during the actual installation.
Installing the Insulation Layer
Once the roof deck has been inspected and prepared, the insulation layer is installed. Although beginners often focus primarily on the EPDM membrane, insulation plays an equally important role in the long-term performance of the roofing system.
Roof insulation improves thermal efficiency by reducing heat transfer through the roof. During summer, it limits heat entering the building, while during winter it helps retain indoor warmth. This contributes to lower energy costs and improved comfort throughout the year.
Polyisocyanurate insulation is among the most commonly used products beneath EPDM roofing because it offers excellent thermal performance with relatively low weight. Other insulation options, including expanded polystyrene and extruded polystyrene, may also be used depending on project requirements.
Before placing insulation boards, installers verify that the roof deck is smooth, clean, and completely dry. Uneven surfaces may prevent insulation boards from sitting flat, affecting both drainage and membrane installation later in the project.
Insulation boards are positioned tightly together to eliminate gaps. Even small spaces between boards allow heat to escape through thermal bridges, reducing overall energy efficiency. Tight-fitting insulation also creates a smoother surface for the membrane.
Depending on the roofing system, insulation may be attached using mechanical fasteners or approved adhesives. Mechanical fastening provides secure attachment on many roof structures, while adhesive installation creates a cleaner surface by eliminating exposed fastener heads.
Some projects also incorporate tapered insulation. Instead of maintaining uniform thickness across the roof, tapered boards gradually change thickness to create subtle slopes toward drains. This approach improves water drainage without altering the structural roof deck.
As each insulation board is installed, installers confirm that the surface remains level and securely attached. Any loose or uneven boards are corrected immediately because they may create visible imperfections beneath the finished EPDM membrane.
Proper insulation installation establishes a solid foundation for every remaining stage of the roofing project. Taking extra time during this step improves both energy performance and membrane appearance.
Laying the EPDM Membrane
With insulation securely installed, attention shifts to the most recognizable component of the roofing system: the EPDM membrane itself. Handling the membrane carefully during this stage helps prevent wrinkles, unnecessary stretching, and installation errors.
The membrane is first carried onto the roof and positioned approximately where it will remain after installation. Because EPDM sheets can be large and relatively heavy, multiple workers are often needed to move the material safely without causing damage.
Rather than immediately applying adhesive, installers first unroll the membrane completely across the roof. This allows them to verify proper alignment while ensuring adequate material extends beyond roof edges and penetrations for trimming later.
One important step that beginners sometimes overlook is allowing the membrane to relax. After remaining tightly rolled during transportation and storage, EPDM naturally retains slight tension. Leaving the membrane undisturbed for approximately thirty minutes enables it to flatten naturally before permanent attachment.
As the membrane relaxes, installers carefully inspect the surface for wrinkles or folds. Minor adjustments can usually eliminate these imperfections before adhesive application begins. Correcting alignment at this stage is much easier than attempting adjustments after bonding has occurred.
Proper positioning also reduces unnecessary stress on seams and flashing details. The membrane should lie smoothly across the insulation without stretching or pulling excessively in any direction. A relaxed membrane accommodates future thermal movement more effectively throughout changing seasons.
Large roofs sometimes require multiple membrane sheets. When this occurs, installers carefully plan seam locations to minimize water exposure while reducing the overall number of joints. Fewer seams generally improve long-term waterproof performance.
Before adhesive application begins, a final inspection confirms that the membrane remains correctly positioned across the entire roof surface. Once adhesive is applied, repositioning becomes significantly more difficult.
Applying Adhesives
Adhesive application permanently secures the EPDM membrane to the prepared roof surface. This stage requires patience because proper bonding depends on even adhesive coverage, correct drying times, and careful placement of the membrane.
Water-based adhesives are commonly used across large horizontal roof areas. These products provide strong bonding while producing lower odor levels than some solvent-based alternatives. They are generally applied using paint rollers that distribute adhesive evenly across both the insulation surface and, when required, the membrane.
Contact adhesives are typically reserved for roof edges, parapet walls, vertical flashing surfaces, and other areas requiring immediate high-strength bonding. Unlike water-based adhesives, contact adhesives are usually applied to both surfaces before they are pressed together.
Adhesive should never be poured directly onto the roof without control. Instead, installers apply thin, uniform coats according to manufacturer recommendations. Excessive adhesive may create uneven bonding, while insufficient coverage reduces overall attachment strength.
After adhesive application, the material is allowed to reach the recommended tackiness before bonding occurs. Waiting too little or too long may weaken the finished bond. Manufacturer instructions provide guidance regarding appropriate waiting times under different weather conditions.
Once the adhesive reaches the proper condition, the membrane is gradually lowered onto the roof surface. Installers work carefully from one end toward the other, minimizing trapped air while maintaining smooth alignment.
Heavy rollers are then used to press the membrane firmly into the adhesive. Rolling applies even pressure across the surface, improving adhesive contact while removing any remaining air pockets beneath the membrane.
Corners and roof edges receive additional attention because these locations experience greater wind forces and weather exposure. Proper bonding in these areas significantly improves long-term roof durability.
Throughout adhesive application, cleanliness remains important. Dirt, dust, or moisture introduced onto adhesive surfaces may interfere with proper bonding. Maintaining a clean work area contributes directly to better installation quality.
Installing and Sealing Seams
Although EPDM membranes are manufactured in large sheets, many roofs require one or more seams where separate membrane sections meet. Proper seam installation is one of the most important parts of the entire roofing project because poorly sealed seams are among the leading causes of roof leaks.
Before seam tape is applied, overlapping membrane surfaces are cleaned thoroughly using manufacturer-approved cleaning products. Dust, moisture, or contaminants reduce adhesion and compromise seam performance over time.
A seam primer is then applied to prepare both membrane surfaces. The primer improves the bond between the EPDM membrane and the seam tape while ensuring consistent adhesion throughout the seam.
Once the primer has dried according to manufacturer instructions, seam tape is carefully positioned between the overlapping membrane sections. Installers align the tape accurately because repositioning becomes difficult once pressure is applied.
Protective backing is removed gradually while the upper membrane is lowered carefully into position. This controlled approach helps eliminate wrinkles while maintaining consistent overlap across the seam.
Heavy hand rollers are then used to apply firm pressure along the entire seam length. Rolling activates the adhesive while removing trapped air and ensuring complete contact between all bonding surfaces.
Corners require additional detailing because they experience greater movement than flat roof areas. Prefabricated corner patches or specialized flashing materials reinforce these locations while improving long-term waterproof protection.
Every completed seam receives careful visual inspection before installation continues. Correcting even small defects immediately is much easier than performing repairs after the roofing project has been completed.
Flashing Around Roof Penetrations
Roof penetrations interrupt the smooth membrane surface and therefore require specialized waterproof detailing. Proper flashing protects these vulnerable areas while maintaining continuous waterproof performance throughout the roofing system.
Plumbing vents are among the most common roof penetrations found on residential buildings. Flexible pipe boots or prefabricated flashing components are installed around each vent before being securely bonded to the surrounding membrane.
Skylights require careful flashing because water naturally flows around their raised frames. Flashing materials are positioned to direct water away from the opening while maintaining continuous waterproof protection.
Chimneys create several changes in roof direction where flashing must transition between horizontal and vertical surfaces. Base flashing, counter flashing, and compatible sealants work together to prevent moisture infiltration.
Heating and cooling equipment often sits on raised curbs above the roof surface. Flashing surrounding these curbs must accommodate equipment vibration while remaining securely bonded to the roofing membrane.
Roof edges also require specialized flashing and termination bars that secure the membrane while protecting it from wind uplift. Proper edge detailing improves both appearance and long-term durability.
Every flashing detail should be completed according to manufacturer recommendations. Even premium roofing materials cannot compensate for poorly installed flashing around roof penetrations.
Final Inspection and Quality Checks
Once the membrane, seams, flashing, and edge details have been completed, the roofing system undergoes a thorough inspection. Quality control ensures that every installation step has been performed correctly before the project is considered finished.
The membrane surface is inspected for wrinkles, trapped air, punctures, or visible damage. Small imperfections identified during this stage are corrected before they develop into future maintenance issues.
Every seam is examined carefully to confirm complete adhesion and proper overlap. Rollers may be used again where necessary to reinforce bonding and eliminate any remaining imperfections.
Flashing around roof penetrations receives special attention during inspection. Installers verify that sealants, flashing components, and membrane transitions remain securely attached without visible gaps.
Drainage systems are also tested by confirming that water flows naturally toward drains or gutters. Proper drainage reduces standing water while helping maximize the service life of the roofing system.
Finally, excess materials, packaging, and construction debris are removed from the roof. A clean work area allows homeowners to inspect the completed installation more easily while reducing the possibility of future drainage blockages.
Installation Process Summary
Following the correct installation sequence helps beginners understand how every roofing component contributes to the finished system.
- Inspect and prepare the roof structure.
- Install insulation boards securely.
- Position and relax the EPDM membrane.
- Apply adhesives evenly.
- Install and seal membrane seams.
- Complete flashing around penetrations and edges.
- Perform a detailed final inspection.
EPDM Adhesive Comparison
| Adhesive Type | Best Use | Drying Time | Advantages |
|---|---|---|---|
| Water-Based Adhesive | Large horizontal roof areas | Moderate | Easy application, low odor, strong bond |
| Contact Adhesive | Roof edges, walls, flashing | Fast | Immediate high-strength bonding on vertical surfaces |
| Seam Primer | Preparing seams before seam tape | Short | Improves seam tape adhesion and long-term waterproofing |
With the EPDM membrane securely installed, seams sealed, flashing completed, and final inspections finished, the roofing system is now prepared to provide dependable weather protection. However, installation is only part of achieving long-term success.
Common EPDM Installation Mistakes
Even though EPDM roofing is considered one of the easiest flat roofing systems to install, mistakes during installation can significantly reduce its lifespan. Many of these problems are avoidable when beginners understand the proper techniques and follow manufacturer recommendations. Paying attention to small details often makes the difference between a roof that lasts decades and one that develops problems within a few years.
One of the most common mistakes is failing to allow the membrane to relax before securing it. EPDM sheets are tightly rolled during packaging and transportation, causing them to retain tension. If the membrane is bonded immediately after unrolling, it may shrink slightly later and place unnecessary stress on seams and flashing.
Poor seam sealing is another frequent issue. The seams are among the most important parts of any EPDM roof because they connect separate membrane sheets into one waterproof surface. Dirt, moisture, or improper primer application can weaken seam tape adhesion, eventually allowing water to penetrate beneath the membrane.
Wrinkles in the membrane are also common when installers rush the positioning process. While small wrinkles may appear harmless, they can trap water and increase stress on the roofing material over time. Taking time to smooth the membrane before adhesive application creates a cleaner and more durable installation.
Using too much or too little adhesive can create bonding problems. Excess adhesive may produce uneven surfaces or longer curing times, while insufficient adhesive reduces the strength of the bond. Applying adhesives exactly as recommended by the manufacturer helps ensure reliable long-term performance.
Improper flashing installation around vents, skylights, chimneys, and roof edges is another common mistake. These areas experience constant exposure to rain and changing temperatures. Even a small gap in the flashing can eventually allow moisture to enter the roofing system.
Some beginners also ignore drainage during installation. Although EPDM provides excellent waterproof protection, standing water should never remain on the roof for extended periods. Proper roof slope and functioning drainage systems work together to protect the membrane from unnecessary stress.
Walking carelessly on the newly installed membrane before adhesives have fully cured is another avoidable mistake. Premature foot traffic can shift the membrane, create wrinkles, or weaken adhesive bonds. Following recommended curing times protects the quality of the finished installation.
Finally, failing to inspect completed work before considering the project finished often allows small issues to remain unnoticed. A careful final inspection provides the opportunity to correct minor defects before they become larger maintenance concerns.
Maintaining an EPDM Roof
Once an EPDM roof has been installed successfully, regular maintenance becomes the key to preserving its condition. Fortunately, EPDM requires less maintenance than many traditional roofing materials, making it an excellent choice for homeowners seeking long-term reliability with relatively little effort.
Routine inspections should be performed at least twice each year. Spring and autumn are ideal times because seasonal weather changes often reveal developing roofing issues. Additional inspections following severe storms or unusually strong winds provide extra protection against unexpected damage.
Keeping the roof surface clean is one of the simplest maintenance tasks. Leaves, branches, dirt, and other debris should be removed before they accumulate around drains or roof edges. Allowing debris to remain on the roof for extended periods can trap moisture and interfere with proper drainage.
Cleaning the EPDM membrane should always be done carefully. Mild soap and clean water are generally sufficient for removing dirt without damaging the roofing material. Harsh chemicals, petroleum-based cleaners, and abrasive tools should be avoided because they may weaken the membrane surface.
Drainage systems deserve regular attention throughout the year. Gutters, internal drains, and scuppers should remain free from leaves, dirt, and other obstructions that restrict water flow. Effective drainage reduces ponding and helps maximize membrane lifespan.
Roof penetrations also require periodic inspection. Flashing around vents, skylights, chimneys, and HVAC equipment should remain securely attached without signs of cracking or separation. Replacing aging sealants early helps prevent water intrusion before leaks develop.
Tree branches hanging above the roof should be trimmed regularly. Falling branches may puncture the membrane, while leaves increase cleaning requirements. Proper landscaping contributes to a cleaner and safer roofing environment.
When maintenance workers or service technicians access rooftop equipment, they should avoid dragging heavy tools across the membrane. Using designated walk pads helps minimize wear in frequently traveled areas while protecting the roofing surface from accidental damage.
Professional roof inspections every few years provide additional reassurance. Experienced roofing contractors can identify subtle changes that homeowners may overlook and recommend preventive maintenance before significant repairs become necessary.
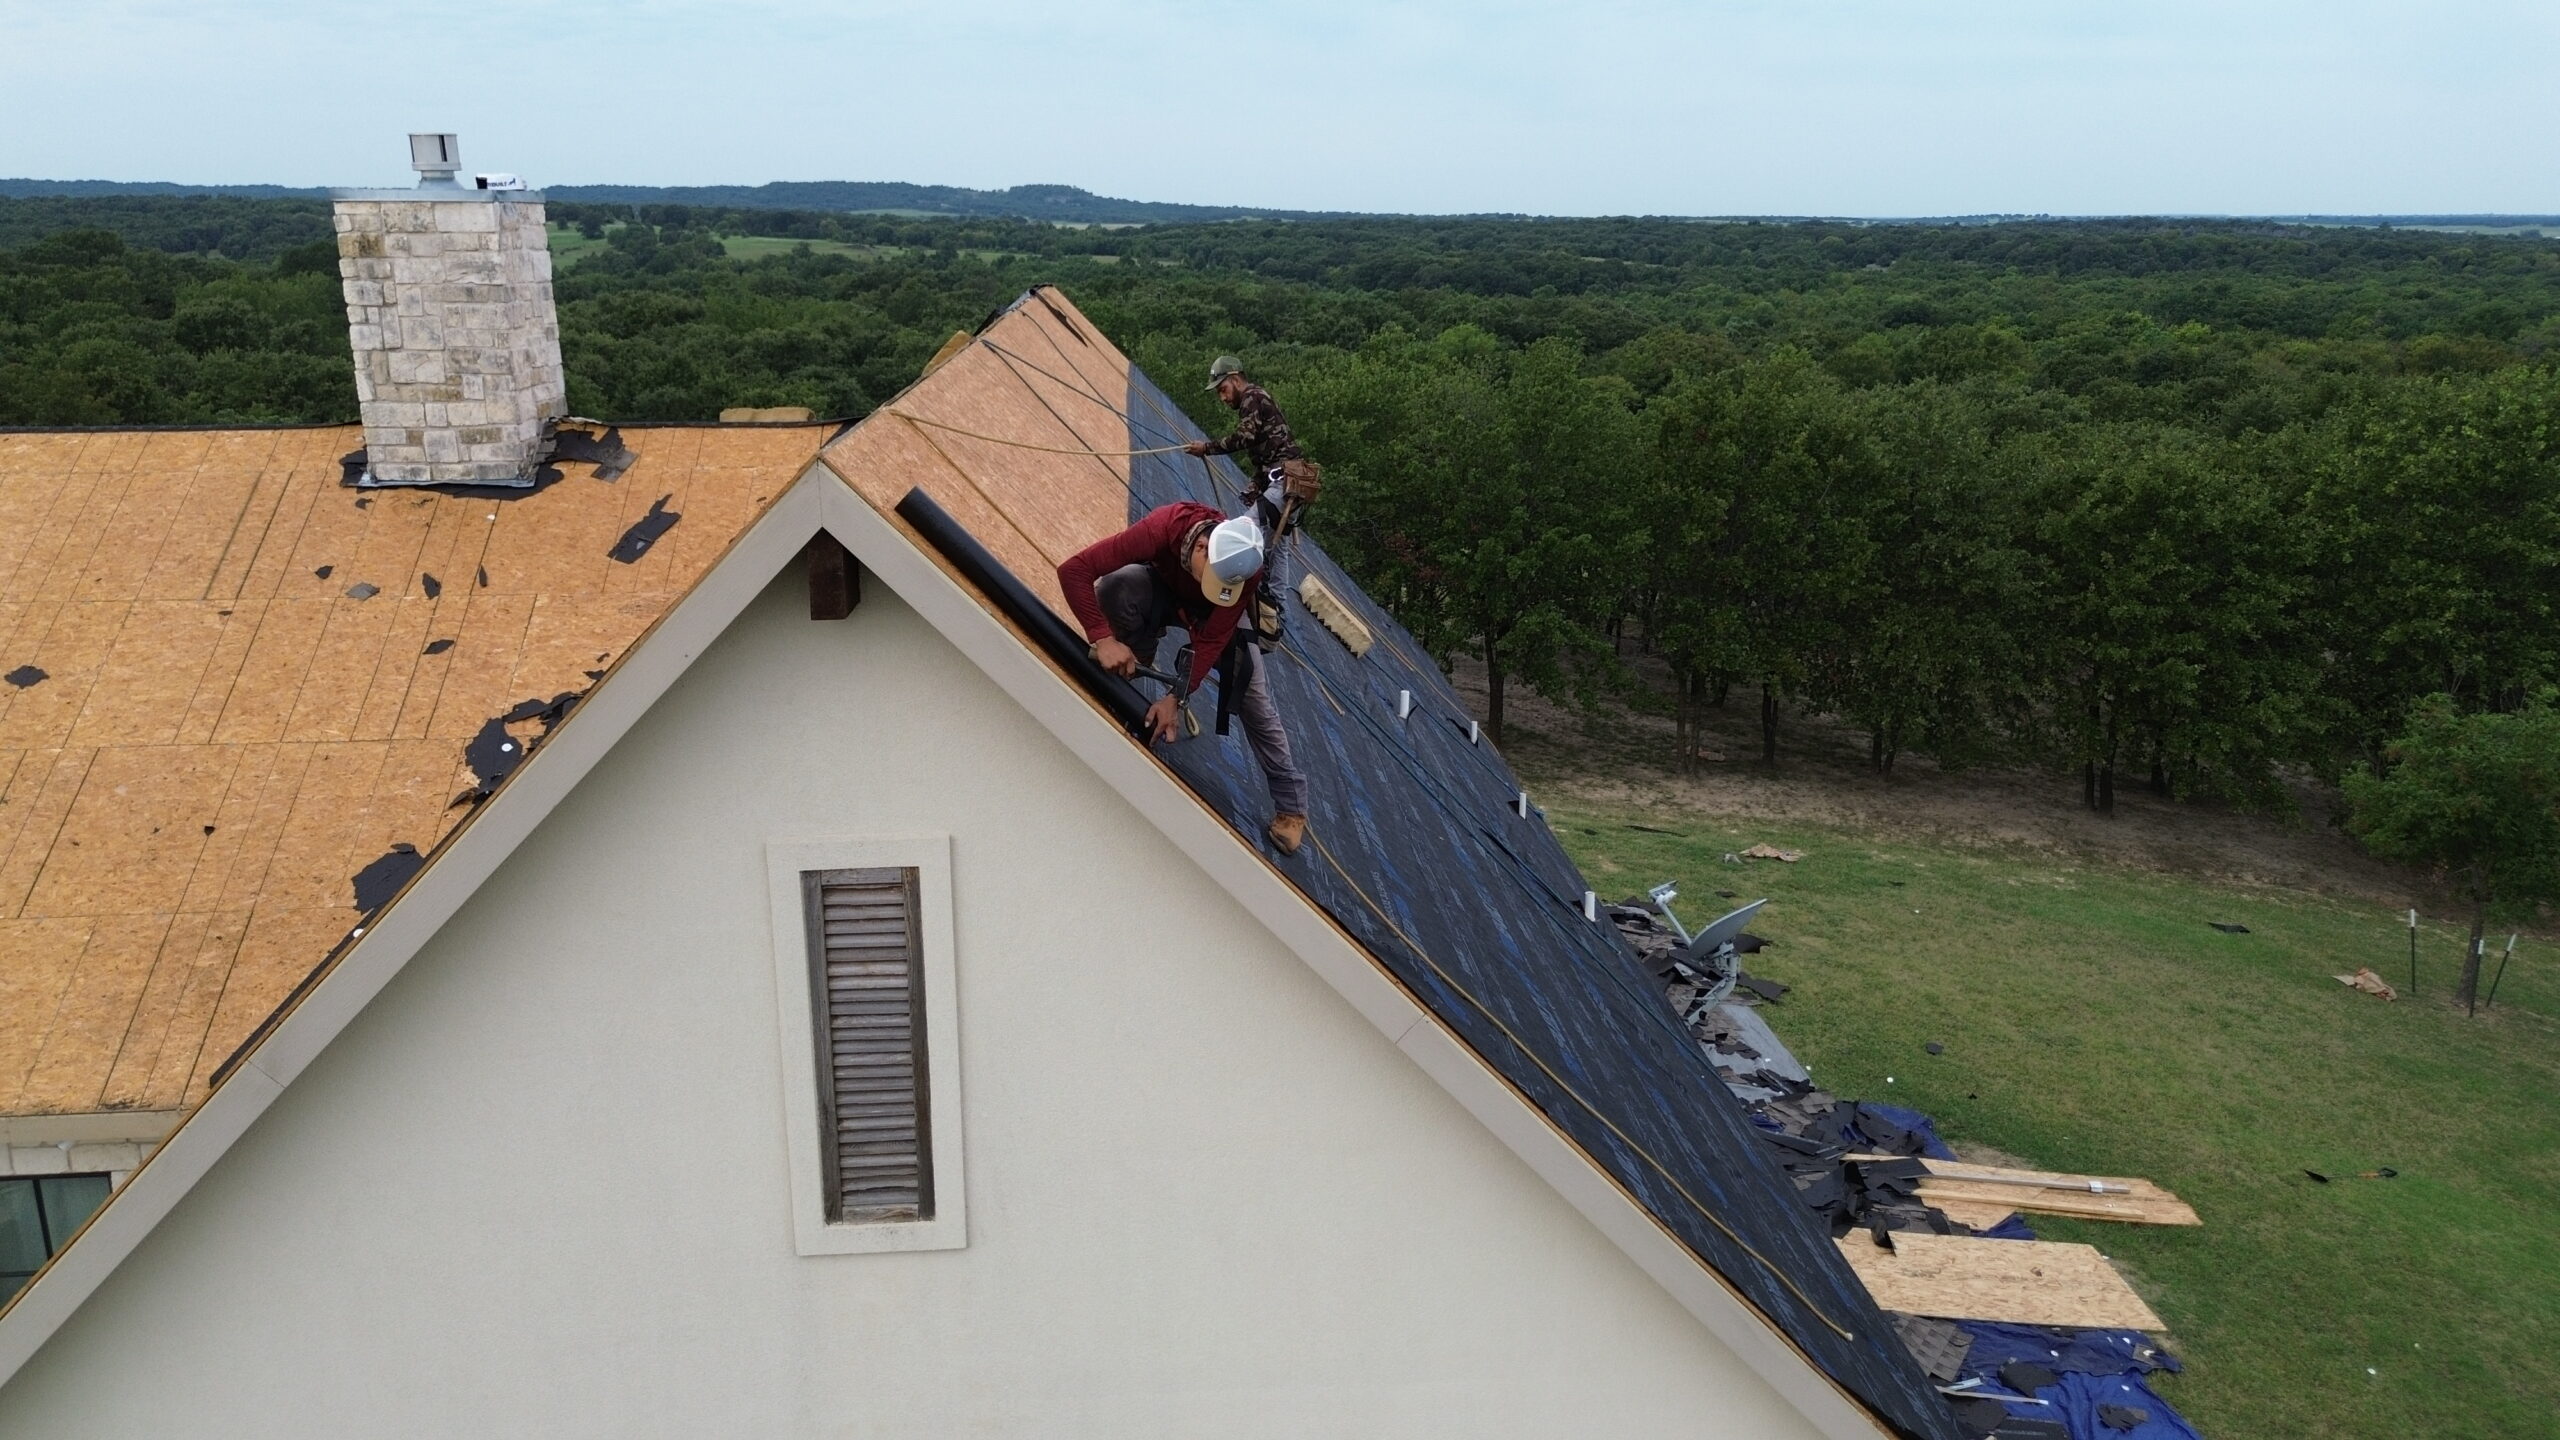
Signs Your EPDM Roof Needs Repair
Even the most durable roofing systems eventually experience normal wear. Recognizing the early warning signs allows homeowners to arrange repairs before moisture reaches the underlying roof structure.
Many roofing problems begin as small defects that are relatively inexpensive to repair. Ignoring these warning signs often allows damage to spread into insulation, decking, and interior building components, increasing repair costs considerably.
Watch for the following signs that indicate professional evaluation may be needed:
- Punctures or tears in the EPDM membrane.
- Loose or separating seams.
- Damaged or lifting flashing around roof penetrations.
- Standing water remaining on the roof for more than 48 hours after rainfall.
- Visible cracks or deterioration in sealants.
- Interior ceiling stains or unexplained water leaks.
- Shrinking membrane exposing roof edges or flashing.
- Blisters or bubbles forming beneath the membrane.
- Mold or persistent dampness inside the attic.
- Sudden increases in heating or cooling costs caused by moisture affecting insulation.
These signs do not necessarily indicate complete roof failure, but they should never be ignored. Prompt professional inspection often allows localized repairs that extend the roof’s service life without requiring full replacement.
How to Extend the Life of an EPDM Roof
An EPDM roof represents a significant investment, and most homeowners naturally want it to last as long as possible. Fortunately, several practical maintenance habits can greatly increase the lifespan of the roofing system while reducing long-term repair costs.
Preventive maintenance remains the most effective strategy. Small repairs completed soon after they are discovered prevent moisture from spreading into insulation and structural components. Addressing problems early is almost always less expensive than delaying repairs.
Routine inspections provide valuable opportunities to monitor the condition of the roof throughout changing seasons. Identifying loose flashing, aging sealants, or minor membrane damage allows repairs to be scheduled before larger issues develop.
Keeping drainage systems clear also contributes significantly to roof longevity. Water should flow freely toward drains, gutters, or scuppers after every rainfall. Eliminating standing water reduces unnecessary stress on adhesives, seams, and flashing.
Limiting unnecessary foot traffic helps preserve the membrane surface. Although EPDM is durable, repeated walking in the same areas gradually increases wear. Installing protective walk pads near rooftop equipment provides additional protection for frequently accessed locations.
Promptly repairing punctures is equally important. Small cuts caused by falling branches, maintenance tools, or accidental damage can usually be repaired quickly using manufacturer-approved patch systems. Waiting too long allows moisture to enter beneath the membrane.
Maintaining nearby trees also protects the roof from unnecessary hazards. Trimming overhanging branches reduces the risk of punctures during storms while minimizing leaf accumulation across the roof surface.
Using compatible repair materials is another important consideration. Adhesives, primers, flashing products, and repair patches should match the existing roofing system whenever possible. Compatible products improve repair quality while preserving warranty coverage.
Homeowners should also maintain records of inspections, repairs, warranties, and maintenance activities. Organized documentation simplifies future servicing and provides useful information if warranty claims become necessary.

Frequently Asked Questions
How long does an EPDM roof usually last?
A professionally installed EPDM roof commonly lasts between 25 and 30 years, although many systems continue performing well beyond that with regular maintenance. Material quality, installation standards, local climate, and maintenance practices all influence actual lifespan.
Can beginners install EPDM roofing themselves?
Some small residential projects may be suitable for experienced DIY enthusiasts who carefully follow manufacturer instructions. However, larger roofs or projects involving complex flashing, multiple seams, or structural repairs are generally better handled by qualified roofing professionals.
Is EPDM suitable for every climate?
Yes. One of the greatest strengths of EPDM is its ability to perform well in a wide range of climates. It remains flexible in cold weather, resists ultraviolet exposure in sunny regions, and provides dependable waterproof protection during heavy rainfall.
Can damaged EPDM roofing be repaired?
Yes. Many types of EPDM damage, including small punctures, loose seams, and localized flashing issues, can often be repaired without replacing the entire roof. Early repairs usually restore waterproof performance while extending roof lifespan.
How often should an EPDM roof be inspected?
Most professionals recommend inspecting the roof at least twice each year and after severe weather events. Regular inspections allow developing issues to be identified before they require expensive repairs.
Conclusion
EPDM roofing has earned its reputation as one of the most reliable and beginner-friendly flat roofing systems available today. Its combination of durability, flexibility, weather resistance, and relatively simple installation process makes it an excellent choice for residential buildings, garages, home extensions, and other low-slope structures. When installed correctly, it provides dependable waterproof protection that can last for decades.
Successful installation begins with careful preparation rather than the membrane itself. A clean and structurally sound roof deck, properly installed insulation, accurate measurements, and favorable weather conditions all contribute to the quality of the finished roofing system. Taking time during these early stages reduces installation errors and creates a stronger foundation for long-term performance.
Following the correct installation sequence is equally important. Allowing the membrane to relax, applying adhesives properly, sealing seams carefully, and installing flashing around every roof penetration all work together to create a continuous waterproof barrier. Attention to detail during each stage greatly improves the roof’s durability and resistance to weather.
Regular maintenance after installation helps protect the investment. Routine inspections, cleaning debris from the roof, maintaining drainage systems, repairing minor damage promptly, and arranging professional evaluations when necessary all contribute to extending the service life of the membrane. Preventive care is far more economical than waiting until major repairs become necessary.
For beginners, understanding the complete EPDM roofing process builds confidence and supports better decision-making throughout a roofing project. Whether hiring experienced contractors or learning the fundamentals for personal knowledge, understanding how each component works together helps ensure a successful outcome. With quality materials, proper installation techniques, and consistent maintenance, an EPDM flat roof can provide reliable protection, improved energy efficiency, and long-lasting value for many years.