

How New Residential Roofing Systems Are Installed Properly
Introduction
Installing a new residential roofing system is a detailed construction process that involves much more than placing shingles, metal panels, tiles, or other roofing materials over a house. A properly installed roof is made up of several layers and components that work together to protect the home from rain, wind, heat, moisture, and other environmental conditions. Each stage of installation affects the performance and service life of the completed roofing system.
For homeowners, understanding how a new roof is installed can make the entire project easier to follow. It helps explain why contractors spend time preparing the property, inspecting the roof deck, installing underlayment, placing flashing, and checking ventilation before the visible roofing material is completed. These steps may not always be noticeable once the project is finished, but they are essential to the roof’s long-term performance.
The installation process begins with planning and preparation. Contractors need to understand the home’s roof design, select suitable materials, arrange delivery, prepare the work area, and establish procedures for handling unexpected conditions. Once preparation is complete, the existing roof may be removed or the new roof deck may be prepared if the project involves new construction.
The condition of the roof deck is especially important because it provides the foundation for the roofing layers. If damaged or deteriorated areas are discovered, they should be corrected before the new roofing system is installed. Installing new materials over an unsuitable surface can create problems that remain hidden after the project is completed.
Water protection is another major consideration. Underlayment and flashing help prevent moisture from reaching the roof structure, while valleys, roof edges, gutters, and other drainage features guide water away from vulnerable areas.
Proper installation also requires attention to manufacturer requirements. Different roofing systems have specific requirements for fastening, spacing, overlap, ventilation, underlayment, and weather protection. Following these instructions helps ensure that the selected materials perform as intended.
A successful roofing project therefore depends on a complete system rather than one material. Careful preparation, proper installation techniques, quality control, and attention to small details all contribute to creating a roof that can protect the home effectively.
Preparing the Home and Roofing Project
Before installation begins, contractors need to prepare both the project and the property. Good preparation helps reduce delays, protect the home and surrounding areas, and ensure that the crew has everything required to complete the work properly.
The contractor should first confirm the scope of work with the homeowner. The agreement should explain the roofing materials, removal procedures if applicable, underlayment, flashing, ventilation, edge components, cleanup, and other services included in the project.
The roof design should also be evaluated before materials are ordered. Measurements, roof slopes, valleys, ridges, hips, penetrations, and other features affect the quantity and type of materials required. A complex roof may require additional components and more detailed installation than a simple roof.
Material selection should be confirmed before work begins. Homeowners should know the manufacturer, product type, color or finish, and applicable warranty information. Contractors should make sure that supporting materials such as underlayment, flashing, fasteners, and ventilation components are compatible with the selected roofing system.
Material delivery needs to be planned carefully. Roofing materials are often heavy and can require considerable storage space. They should be delivered in a way that does not unnecessarily damage landscaping, driveways, walkways, or other parts of the property.
The work area should also be prepared for safety. Roofing crews may use ladders, scaffolding, tools, equipment, and material-handling systems. A controlled work area can reduce the risk of accidents involving workers, residents, pets, and visitors.
Homeowners may need to move outdoor furniture, vehicles, decorations, or other items away from the construction area. Fragile objects should be protected because roof removal and installation can create vibration, dust, and falling debris.
Landscaping should receive attention as well. Contractors may use protective coverings around selected areas to reduce exposure to roofing debris. However, homeowners should discuss particularly sensitive plants or exterior features with the contractor before work begins.
Weather conditions should be considered when scheduling installation. Rain, strong winds, extreme weather, or other unsuitable conditions can interfere with safe and effective roofing work. A professional contractor should have a plan for protecting exposed portions of the roof if weather interrupts the project.
Communication should remain clear throughout preparation and installation. Homeowners should know who is supervising the project and how they will be informed about unexpected conditions, schedule changes, or additional work.
Proper preparation may not be visible in the finished roof, but it establishes the conditions needed for quality installation. When materials, workers, safety measures, and project expectations are organized in advance, the installation can proceed more efficiently and with fewer avoidable problems.
Inspecting and Preparing the Roof Deck
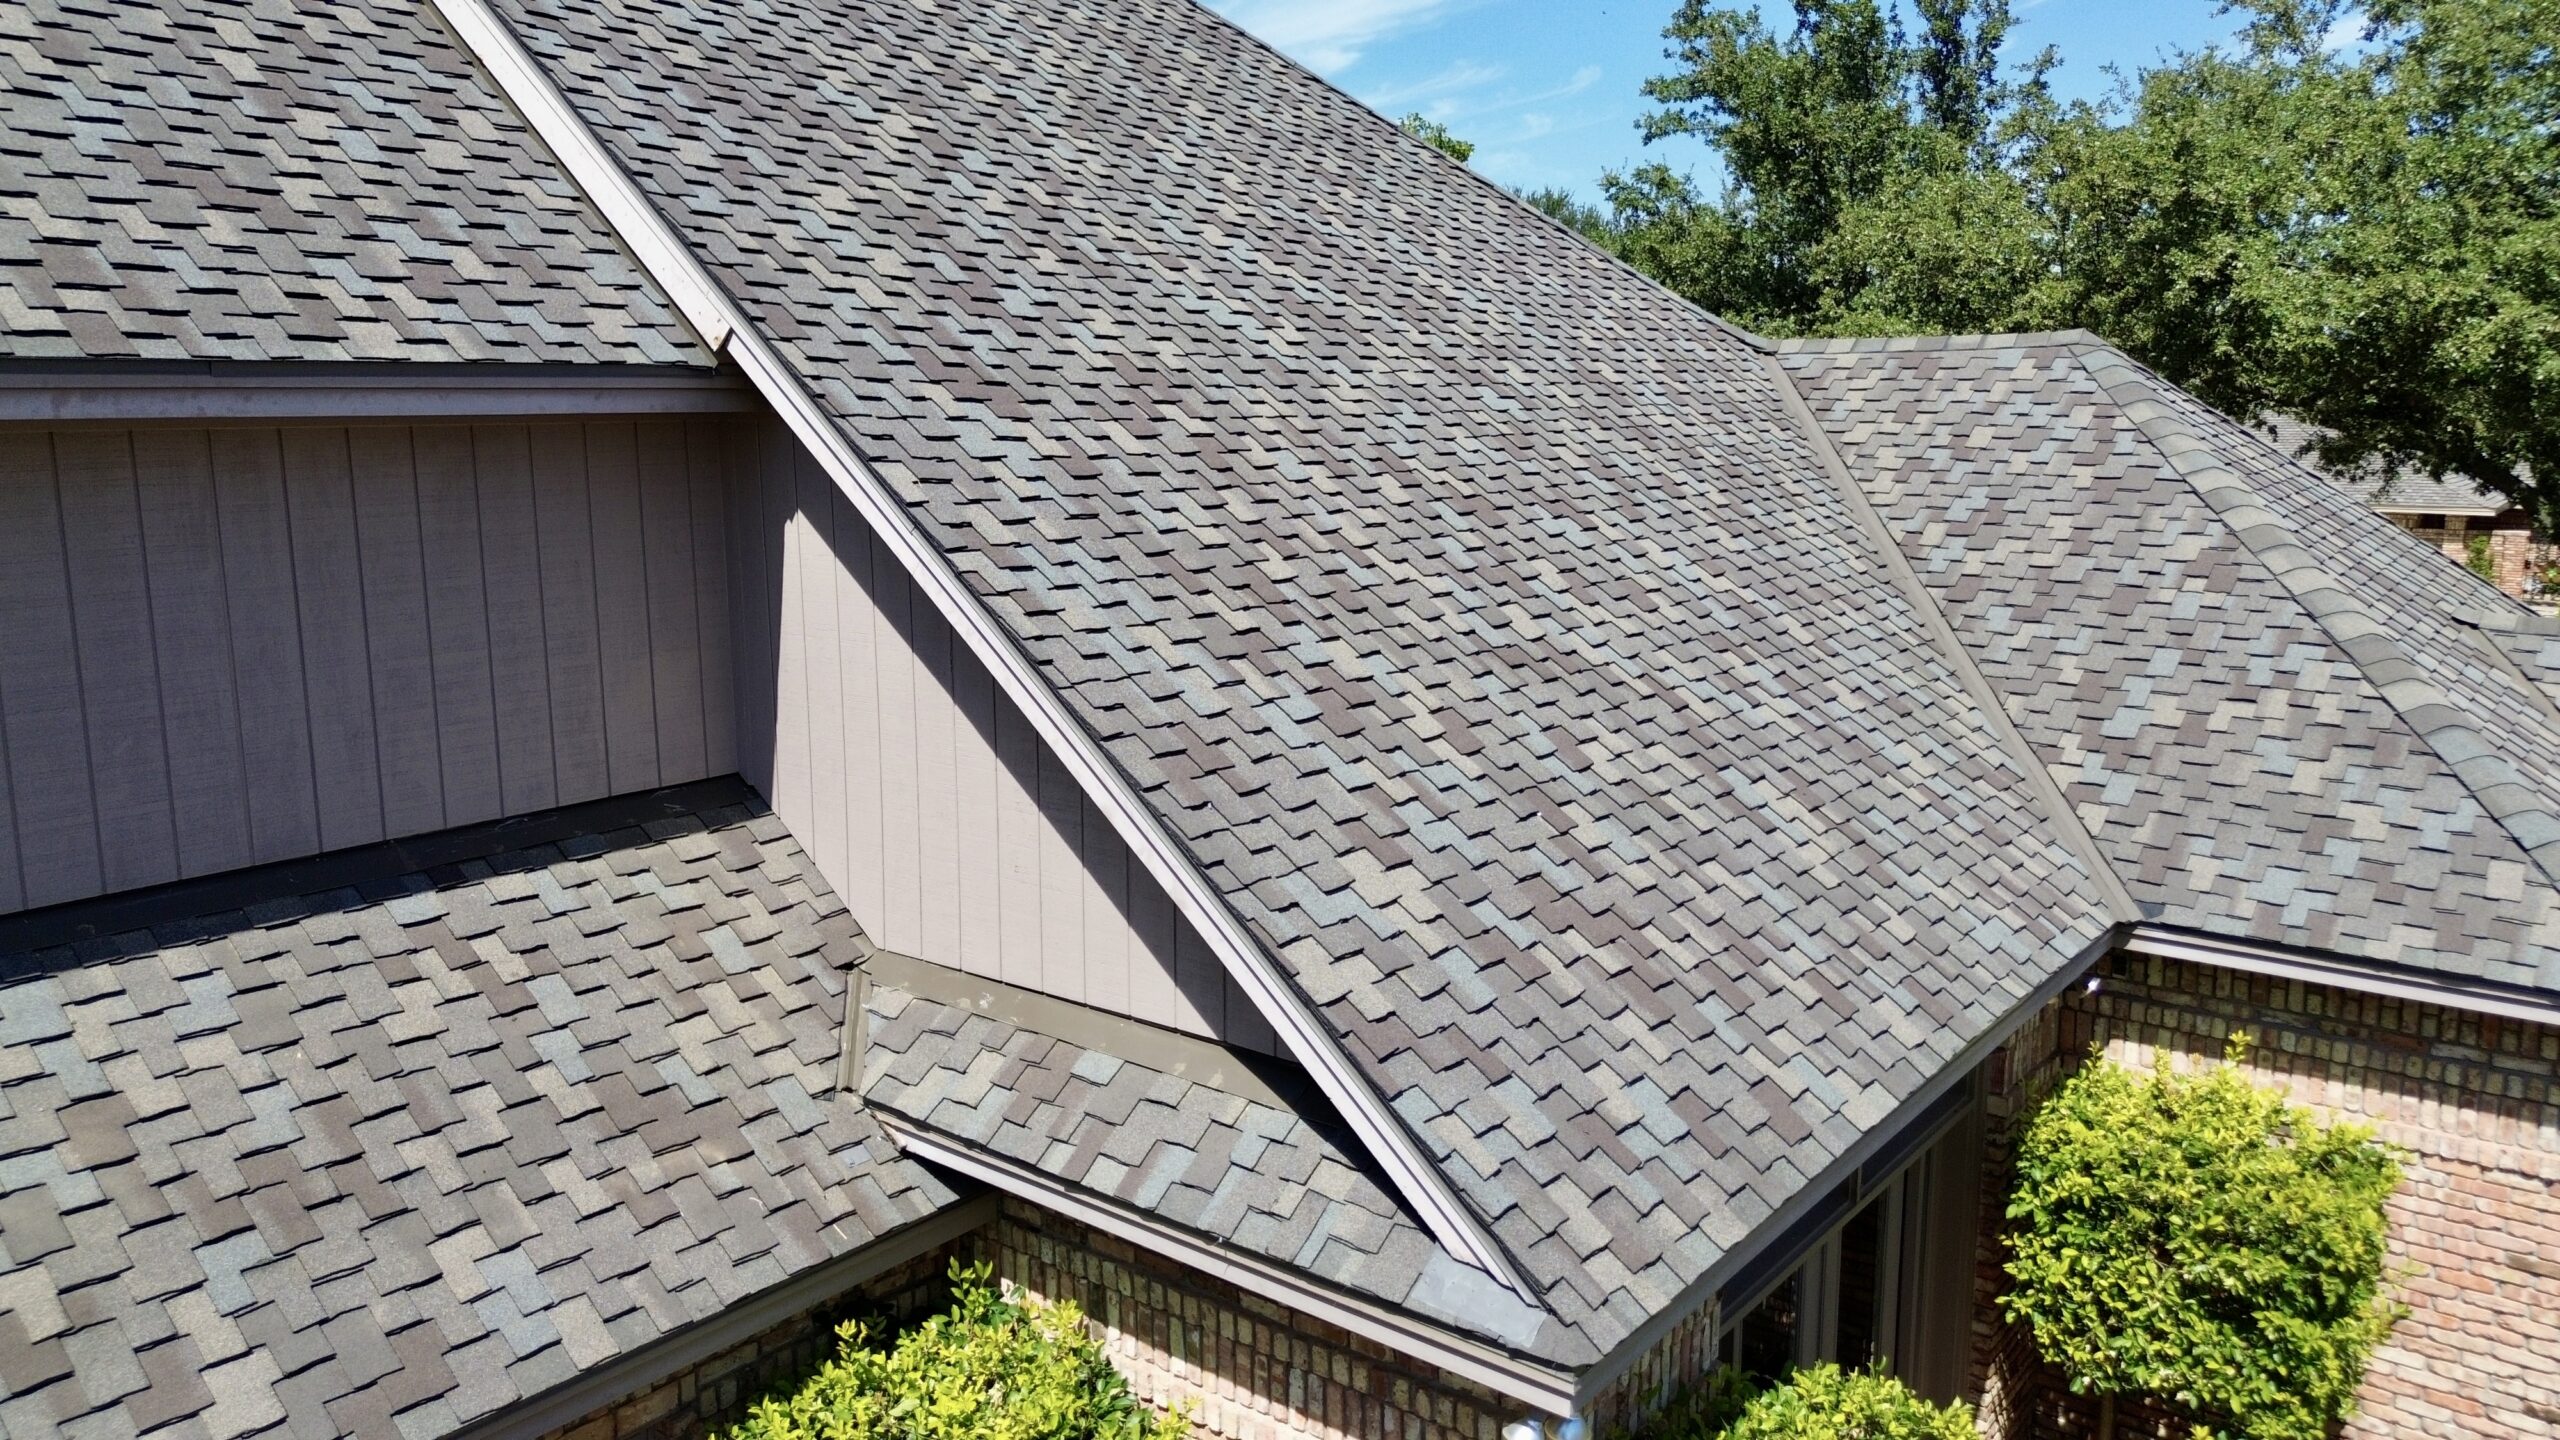
The roof deck is one of the most important structural surfaces in a roofing system. It provides the foundation beneath the underlayment and primary roofing material, so its condition must be suitable before the new roof is installed.
For a roof replacement, the existing roofing material is typically removed before the deck can be fully inspected. Once the old shingles, panels, tiles, or other materials have been removed, contractors can examine the exposed surface for signs of deterioration.
Moisture damage is one of the most common concerns. Long-term leaks can cause wood decking to become weakened, discolored, soft, or deteriorated. Damaged areas may not have been visible while the old roofing material was still covering them.
Previous repairs can also become apparent during this stage. Contractors may find patched areas, multiple layers of old roofing, improperly placed fasteners, or other conditions that need to be addressed before installation continues.
The roof deck should provide a stable surface for the new roofing system. If sections are significantly damaged, they may need to be repaired or replaced. The exact repair method depends on the type of decking, extent of damage, and construction of the home.
Homeowners should understand that hidden deck repairs can sometimes change the project cost. A responsible contractor should explain before the project begins that concealed damage may not be discovered until the existing roof is removed.
After necessary repairs are completed, the deck should be properly prepared. Loose debris, unnecessary fasteners, and other materials should be removed so that the next roofing layers can be installed smoothly.
The deck should also be checked for areas that may affect alignment or drainage. A roofing system needs an appropriate foundation to support the materials above it and direct water according to the roof design.
Structural concerns require particular care. If the contractor identifies significant sagging, movement, or deterioration, additional professional evaluation may be necessary before continuing with the roofing installation.
The condition of the roof deck also affects fastening. Roofing fasteners need a suitable surface to provide appropriate holding strength. If the supporting material is severely deteriorated, simply adding new roofing materials will not correct the underlying weakness.
This stage is one reason professional roof replacement differs from simply covering an old roof. Removing the existing materials provides an opportunity to identify hidden conditions and correct them before they become trapped beneath the new system.
A properly prepared roof deck provides a stronger foundation for underlayment, flashing, ventilation components, and the primary roofing material. It is therefore an essential part of a successful new roofing installation.
Installing Underlayment and Water Protection
After the roof deck has been prepared, contractors install protective layers that help manage moisture beneath the primary roofing material. Underlayment is an important component because it provides an additional barrier between the exterior roofing surface and the roof deck.
The exact type of underlayment depends on the roofing material, roof design, project requirements, and applicable installation specifications. Contractors should use products that are appropriate for the selected roofing system.
Installation must be performed carefully to maintain continuous protection. Pieces should be positioned with appropriate overlaps and secured according to product requirements. Gaps, improper placement, or damaged sections can reduce the effectiveness of the protective layer.
Some roof areas may require additional water protection. Eaves, valleys, roof edges, and other vulnerable locations can experience significant moisture exposure, so specialized protective materials may be installed according to the roofing system and local requirements.
The lower portions of the roof can be particularly important because water may accumulate or move toward these areas during rainfall. Properly installed protective layers help reduce the possibility of moisture reaching the roof deck.
Valleys also require careful preparation because they collect water from multiple roof slopes. The protective system should be designed so that water remains on the exterior side of the roofing assembly and moves toward the appropriate drainage path.
Underlayment should work together with the primary roofing material rather than being treated as a replacement for it. The outer roofing surface provides the main weather barrier, while the underlayment provides additional protection beneath it.
Proper material handling is important during installation. Underlayment can be damaged by excessive foot traffic, tools, weather exposure, or improper storage. Contractors should protect installed sections as the project progresses.
Weather protection is especially important when installation cannot be completed in one day. Exposed areas should be managed appropriately so that unexpected rain does not reach the roof deck.
Homeowners may never see the underlayment after the roof is completed, but its role remains important. It forms part of the layered defense that helps keep moisture away from the home’s structure.
The installation of water-protection layers should also be coordinated with flashing. Flashing and underlayment need to work together around penetrations, walls, valleys, and other transitions so that water is directed safely toward the exterior.
A well-installed protective layer can provide valuable additional defense when wind-driven rain or moisture moves beneath the outer roofing material. This makes careful underlayment installation an essential part of a properly installed residential roof.
Installing Flashing Around Vulnerable Areas
Flashing is one of the most important components of a residential roofing system because it protects areas where the roof intersects with other structures or contains openings. These locations can become vulnerable to water intrusion when the installation is incomplete or improperly detailed.
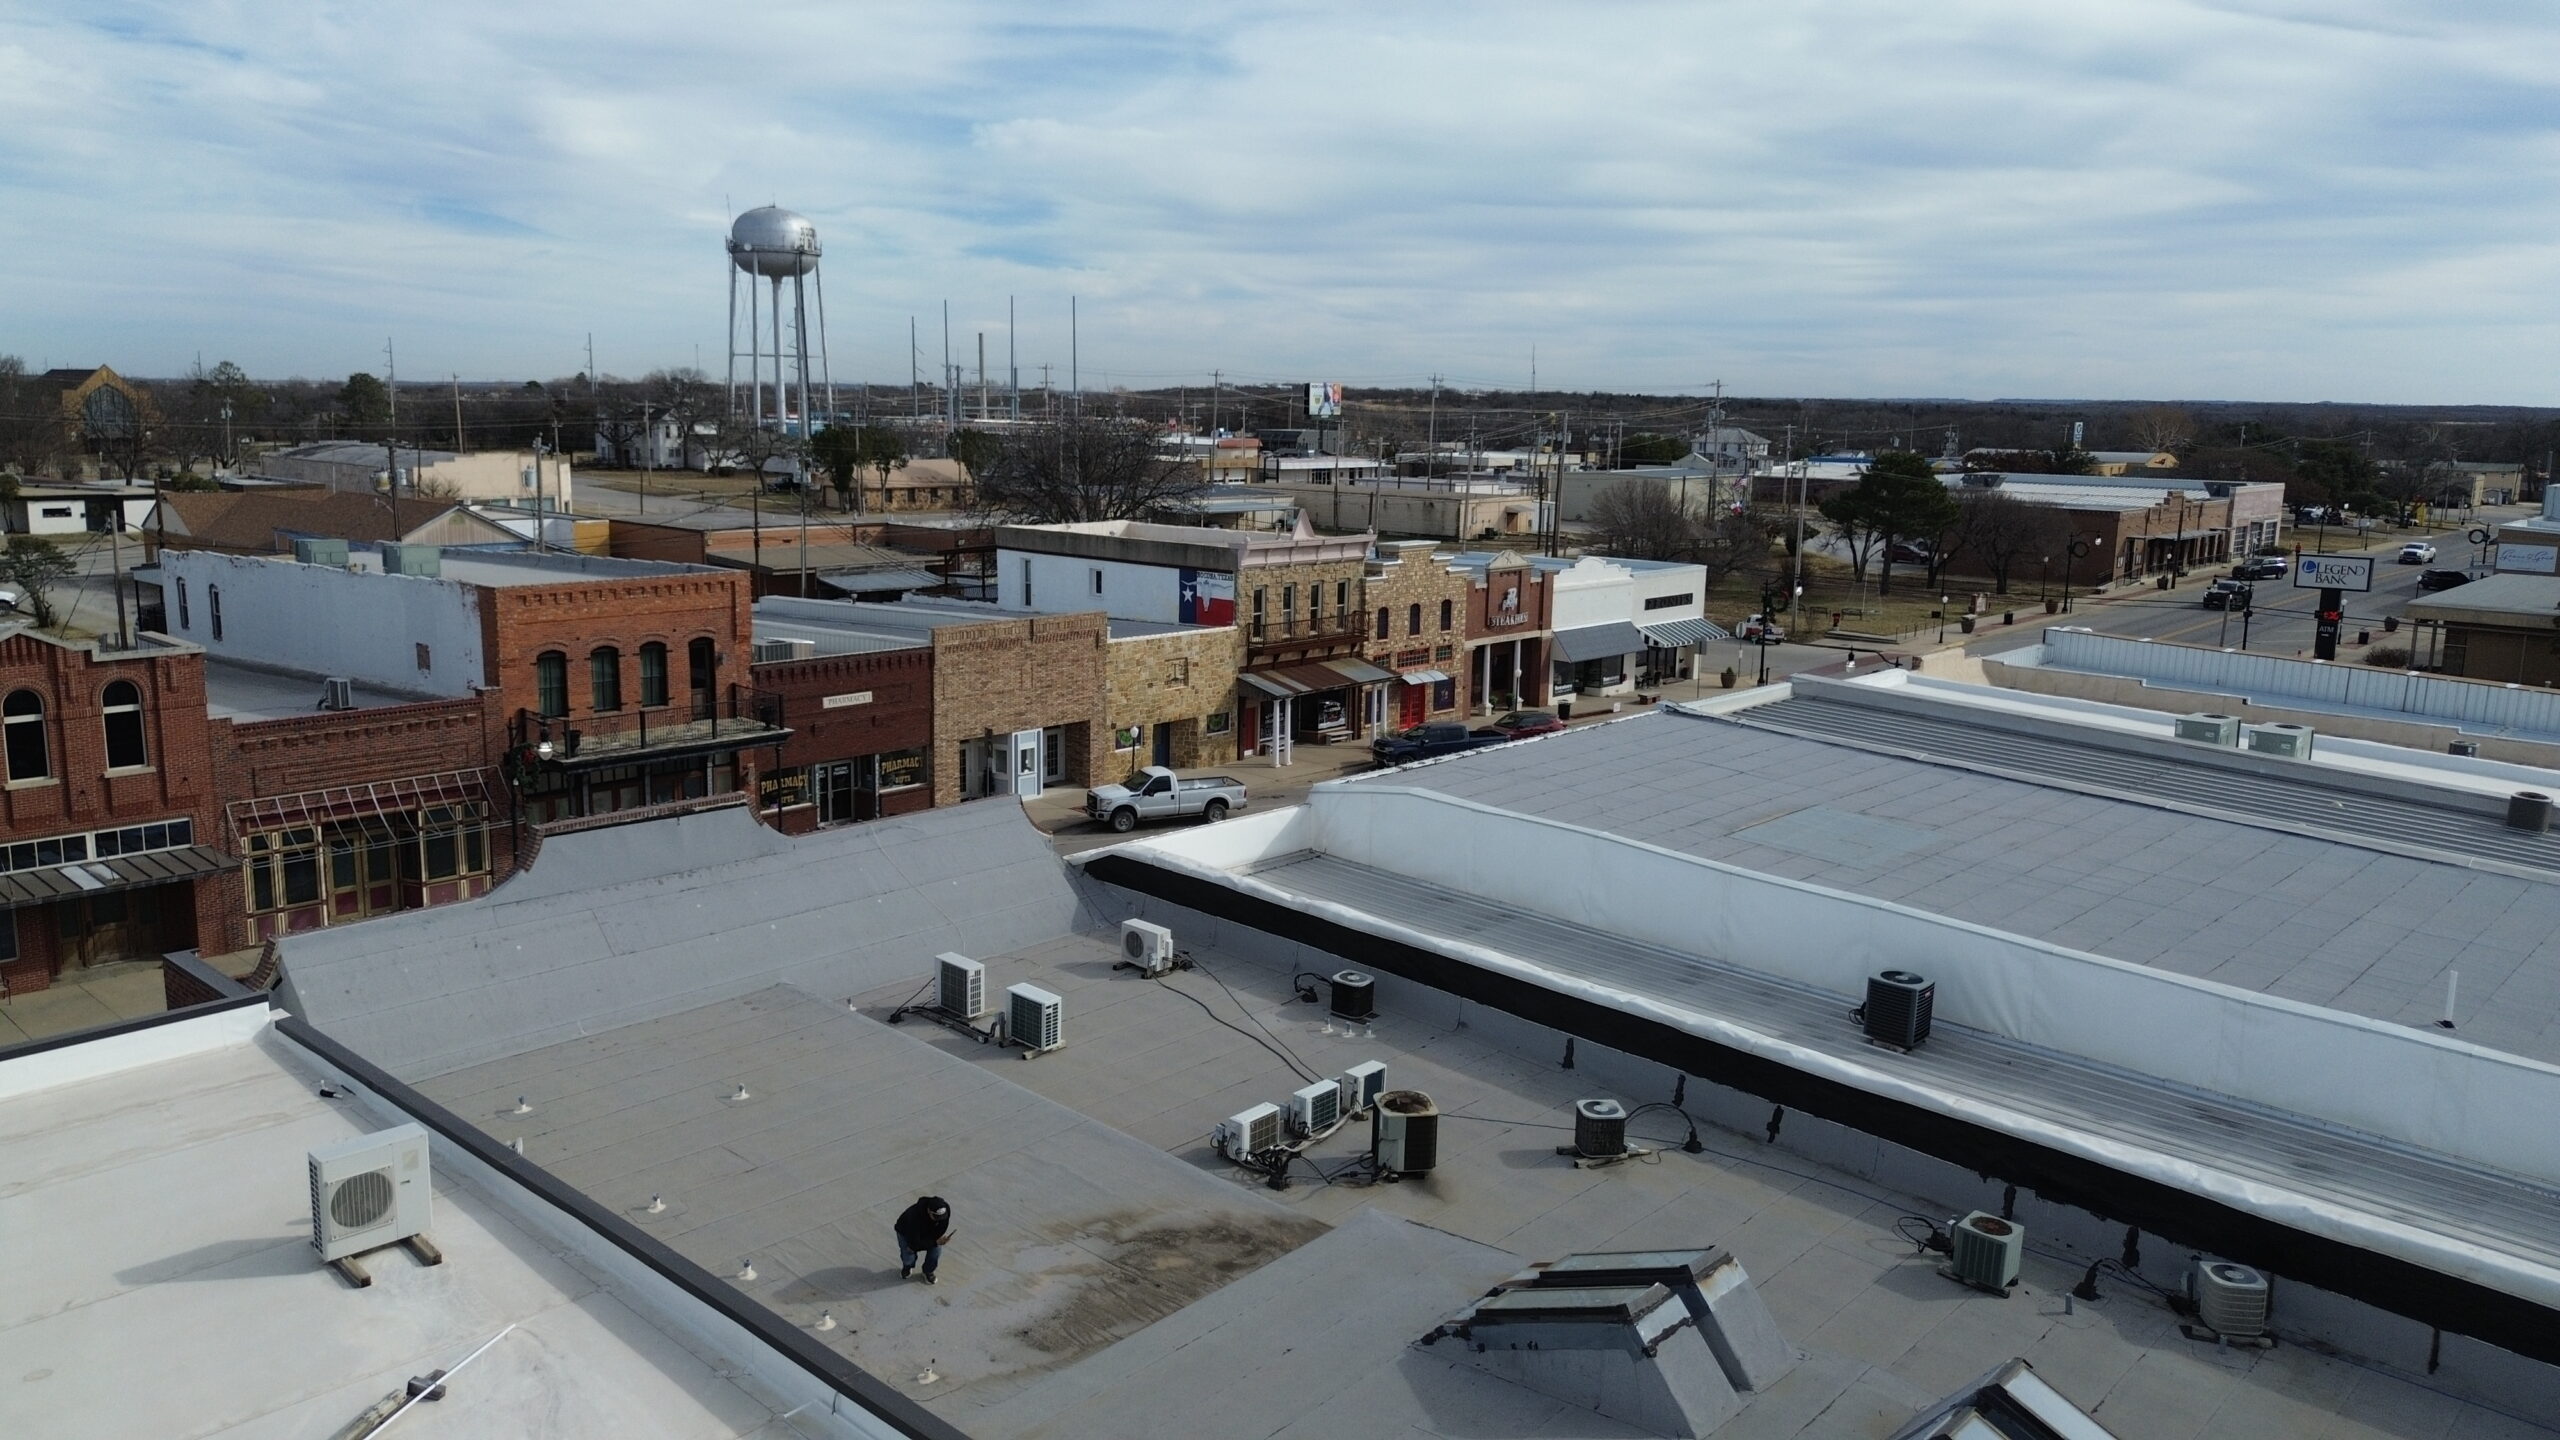
Common flashing locations include chimneys, skylights, plumbing vents, roof vents, walls, valleys, roof edges, and other penetrations. Each location may require a specific flashing method based on its shape and relationship to the surrounding roofing materials.
Chimney flashing must create a reliable transition between the chimney and the sloped roof. Water should be directed away from the joint instead of being allowed to move behind the roofing materials.
Skylights require similar attention. The flashing system around the skylight must integrate with the surrounding underlayment and roofing material so that water can flow around the opening without entering the structure.
Plumbing vents and roof vents also need suitable flashing components. These areas penetrate the roof surface and therefore require protection around the opening. The flashing must be securely installed and integrated with the surrounding layers.
Roof-to-wall transitions are another important area. When a sloped roof meets a vertical wall, water needs a controlled path toward the exterior. Proper flashing helps prevent moisture from becoming trapped behind the roofing material.
Valley flashing and protection deserve careful attention because valleys receive water from multiple roof sections. The contractor must install the appropriate materials and maintain clear water pathways.
Roof edges also need proper detailing. Edge components help protect vulnerable perimeter areas and can contribute to effective water movement toward gutters.
Sealants may be used in selected locations, but they should not replace proper flashing design. A roofing system should primarily rely on correctly installed water-shedding components rather than excessive surface sealant.
Flashing should also be compatible with the roofing material and surrounding building components. Improper combinations can create installation problems or premature deterioration.
During installation, contractors should inspect flashing details before covering them with additional roofing materials. This provides an opportunity to correct alignment, fastening, or integration problems while the relevant areas remain accessible.
Proper flashing is essential because many roofing leaks begin at transitions and penetrations rather than in the middle of an otherwise intact roofing surface. Careful installation at these vulnerable locations helps protect the roof deck and interior structure from water intrusion.
Preparing for the Main Roofing Material
Once the roof deck, underlayment, and major weather-protection components have been prepared, the project reaches the stage where the primary roofing material can be installed. Before placing the visible roofing surface, contractors should confirm that the underlying work is ready.
The roof should be checked for loose materials, exposed areas, incomplete flashing, or other conditions that could interfere with installation. The contractor should also confirm that ventilation pathways and drainage features have been incorporated correctly.
Material placement should follow the manufacturer’s installation requirements. Roofing products should be positioned according to the correct starting points, courses, overlaps, seams, or attachment patterns for the specific system.
For asphalt shingles, the installation sequence generally follows the roof slope from the lower edge upward. Proper alignment and overlap help direct water over the surface rather than beneath the shingles.
Metal roofing requires careful panel alignment and fastening. Seams, fasteners, edges, and penetrations need to be installed according to the product’s requirements.
Tile and other specialized materials may require different techniques and supporting components. Contractors should follow the instructions for the selected product rather than using a universal installation method.
Fasteners should be appropriate for the material and installed in the required locations. Incorrect fastening can reduce the roofing system’s resistance to movement and may contribute to premature problems.
Material handling also matters. Roofing products should be stored and transported carefully to prevent bending, cracking, breakage, or other damage before installation.
The contractor should also establish a logical installation sequence. Working systematically across the roof helps maintain consistent alignment and allows the crew to inspect completed sections as they progress.
Quality control should begin before the primary material covers the protective layers. Once the visible roof is completed, many underlying components become difficult to access without removing materials.
A properly prepared roof provides the foundation for the next stage, where the main roofing material is installed and secured. The quality of this transition is important because every visible roofing component ultimately depends on the preparation completed beneath it.
Installing the Primary Roofing Material
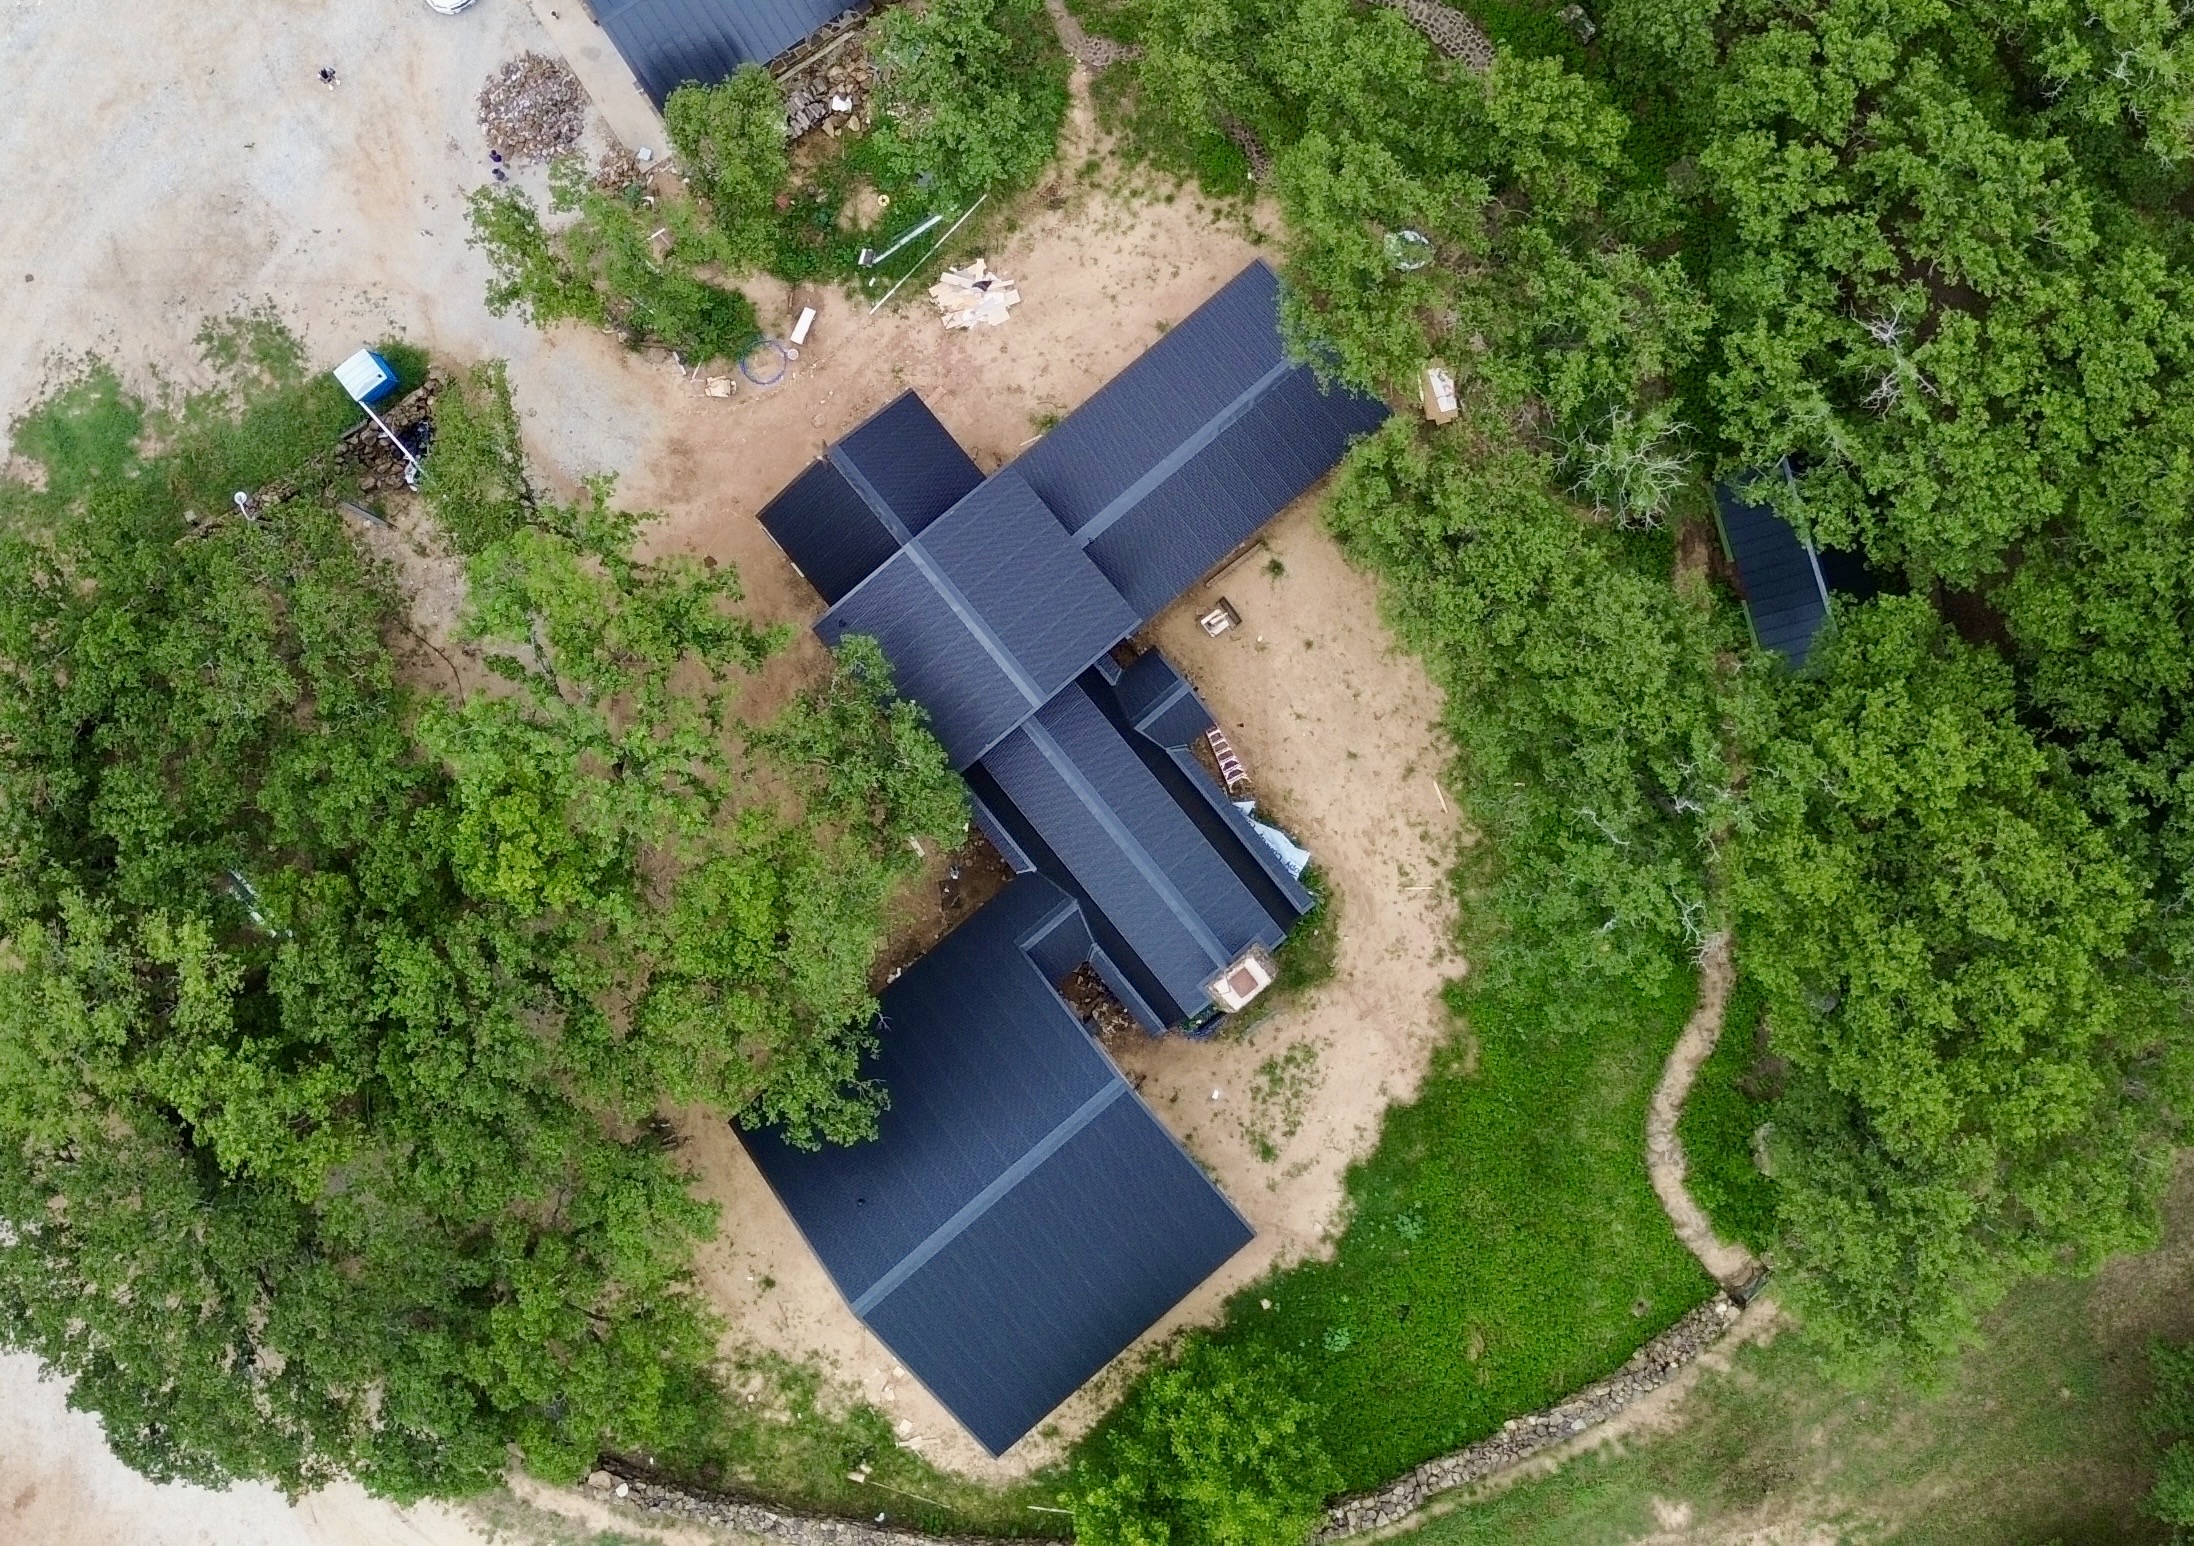
Once the roof deck, underlayment, flashing, and other protective components have been prepared, the primary roofing material can be installed. This is the stage that creates the visible exterior surface of the new roof, but its performance depends heavily on the preparation completed underneath it.
The installation method varies according to the selected roofing material. Asphalt shingles, metal panels, clay or concrete tiles, slate, and other roofing products each have specific requirements for positioning, fastening, overlap, and weather protection.
For asphalt shingles, installation commonly begins at the lower portion of the roof and progresses upward. Each course needs to be properly aligned so that the shingles create consistent coverage and allow water to flow over the surface rather than underneath it.
Starter materials are typically installed along the roof’s lower edge before the main shingle courses. This area is important because it receives water runoff and can experience wind exposure. Proper starter installation helps create a continuous protective edge.
As the contractor moves upward, shingles are arranged according to the manufacturer’s required pattern. Correct alignment helps maintain the appearance of the roof while also ensuring that the designed water-shedding areas overlap appropriately.
Metal roofing follows a different installation process. Panels need to be positioned accurately, seams need to be properly connected, and fasteners need to be installed according to the product specifications. Small errors around seams or penetrations can create opportunities for water intrusion.
Tile roofing requires careful handling because individual tiles can crack or break if handled improperly. Contractors need to install the supporting components and arrange the tiles according to the roof’s design and the manufacturer’s requirements.
The roofing material should also be compatible with the underlying components. Underlayment, flashing, ventilation, fasteners, and edge materials need to work together rather than being selected independently.
Weather conditions should be monitored throughout installation. Rain or strong winds can interfere with the safe handling of materials and may affect exposed sections of the roof. Contractors should protect unfinished areas when necessary.
The work should progress systematically so that completed sections can be checked before the crew moves forward. This helps identify alignment, fastening, or material issues while they can still be corrected easily.
A properly installed primary roofing layer provides the home’s main exterior weather barrier. However, it is only one part of the complete roofing system and must be integrated with ventilation, drainage, flashing, and other components.
Proper Fastening and Material Alignment
Correct fastening is essential because roofing materials need to remain securely attached throughout their service life. Fasteners that are misplaced, insufficient, unsuitable, or improperly driven can affect the roof’s ability to withstand normal weather conditions.
Every roofing product has its own fastening requirements. The manufacturer may specify the type, size, number, location, and placement of fasteners. Contractors should follow these instructions rather than relying on a general approach.
For shingle roofing, fasteners need to be positioned in the designated areas of each shingle. Placing them too high, too low, or outside the required fastening zone can affect the security of the material and may interfere with the intended overlap.
Overdriven fasteners can also create problems. If a fastener is driven too deeply, it may damage the roofing material instead of securing it correctly. Underdriven fasteners can remain exposed or fail to hold the material properly.
Metal roofing requires similar attention. Fasteners need to be installed according to the panel design and manufacturer’s specifications. Improper fastening can affect panel movement, weather resistance, and the integrity of seams.
Alignment is equally important. Roofing materials should follow the intended lines of the roof so that courses, panels, or tiles remain consistent. Poor alignment can create uneven coverage and may affect both appearance and performance.
The roof’s edges require particular attention because wind forces can affect perimeter materials. Contractors should follow the required fastening and edge-detailing methods for the selected roofing system.
Material overlap also needs to be correct. Roofing systems are designed so that water moves from one layer to the next in a controlled direction. Incorrect overlap can create pathways where water can move beneath the protective surface.
Fastening should also account for the underlying structure. The fasteners need suitable supporting material to achieve the required holding strength. This is one reason roof deck preparation is so important.
During installation, contractors should periodically check alignment and fastening rather than waiting until the entire roof is completed. Early quality checks allow mistakes to be corrected without disturbing large sections of finished roofing.
A properly fastened and aligned roof is better prepared to handle wind, rain, and normal environmental movement. It also provides a more consistent appearance and supports the expected performance of the roofing material.
Installing Roof Ventilation Components
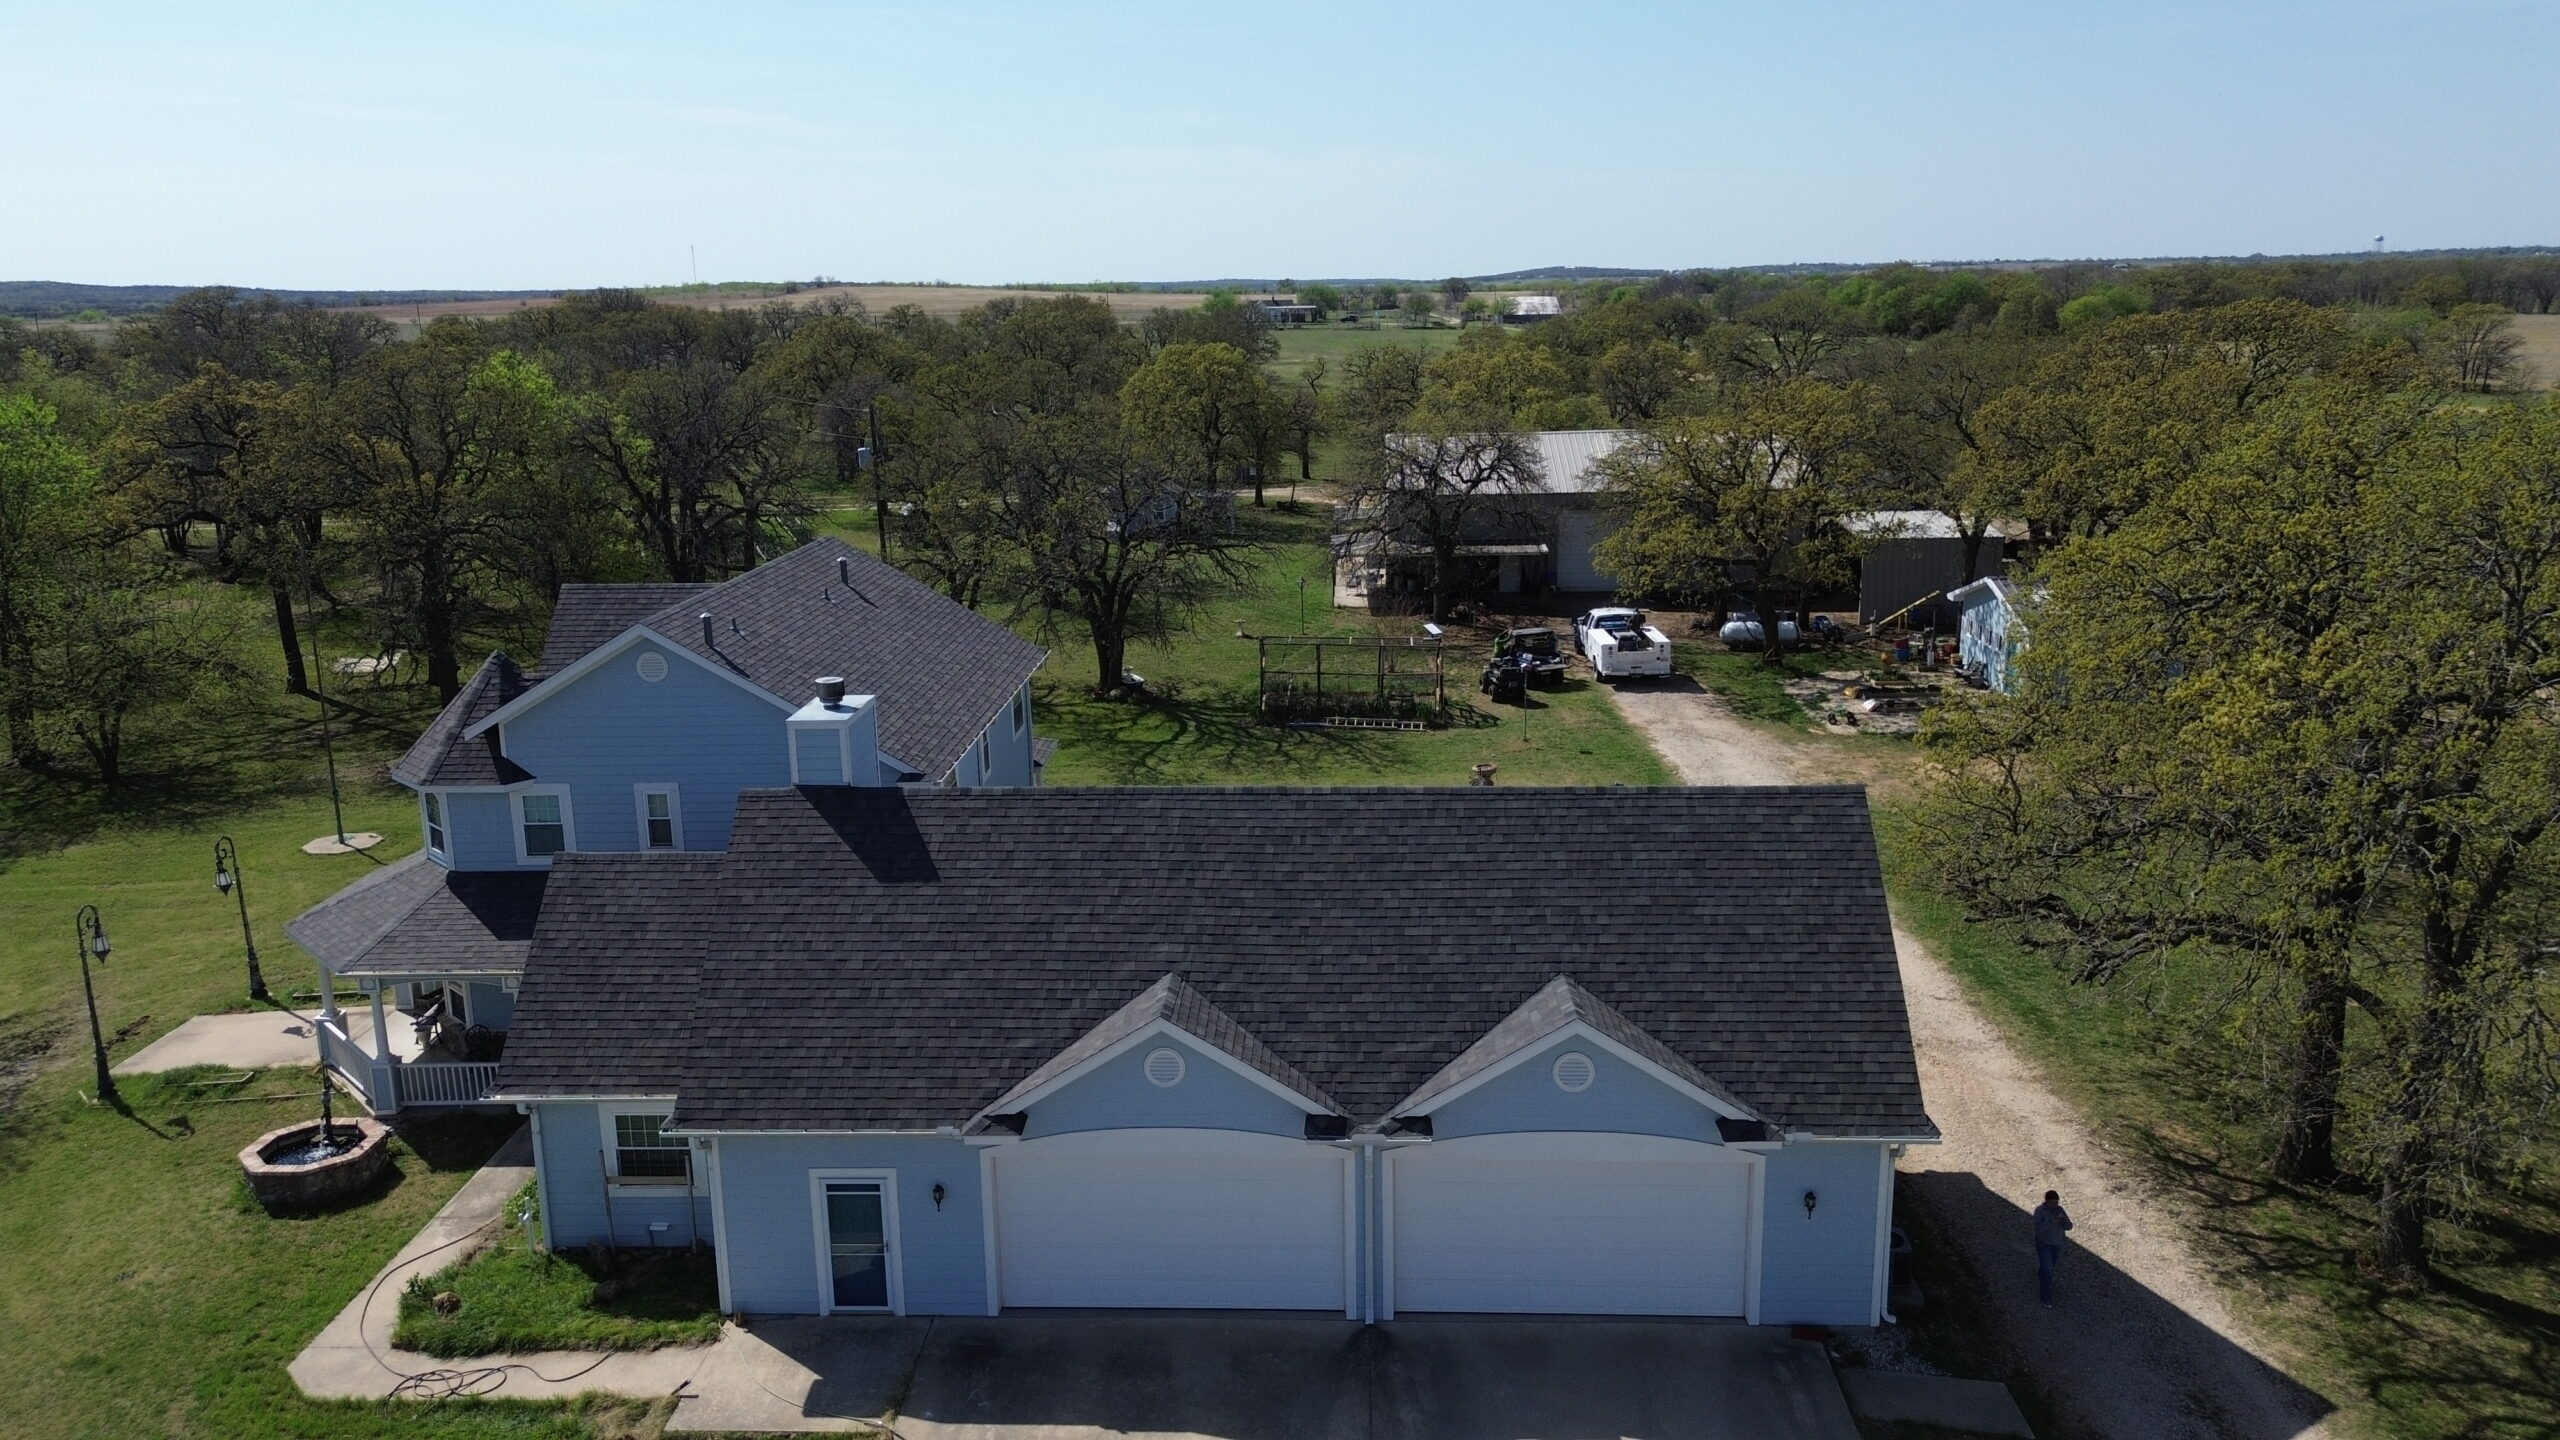
Roof ventilation is an important part of a properly installed residential roofing system because it helps manage heat and moisture in the attic. A new roof should not be installed without considering how air will move through the roof space.
A typical ventilation system includes intake and exhaust components. Intake vents allow outside air to enter the attic, while exhaust vents provide a pathway for warm or moisture-laden air to leave.
Soffit vents are commonly used for intake ventilation. They are positioned near the lower roof edges and work with higher exhaust points to encourage airflow through the attic.
Ridge vents are one common form of exhaust ventilation. They are installed along the roof ridge and can provide a continuous pathway for warm air to leave when combined with appropriate intake ventilation.
Other homes may use different exhaust systems depending on the roof design. Gable vents, roof vents, or other ventilation components may be appropriate in certain structures.
The important point is that ventilation should be designed as a complete system. Adding exhaust vents without sufficient intake airflow may not produce the intended results. Similarly, intake openings need suitable exhaust pathways.
During installation, contractors should make sure that insulation does not block ventilation channels. If the roof has soffit intake openings, appropriate airflow paths should remain open from those locations into the attic.
Roof ventilation also needs to be coordinated with moisture control. Household humidity can enter the attic through air leaks, while bathrooms and kitchens can generate substantial moisture. Exhaust fans should direct humid air outside rather than into the attic.
Poor attic ventilation can contribute to condensation, excessive heat, and moisture-related deterioration. These conditions may affect insulation, decking, fasteners, and structural components over time.
Homeowners should ask contractors how ventilation will be handled during a new roof installation. A contractor should be able to explain which intake and exhaust components are being used and how they work with the existing roof structure.
Ventilation components should also be installed without creating unnecessary openings for water intrusion. The areas around roof vents require appropriate flashing and integration with the surrounding roofing materials.
A new roof provides an opportunity to correct ventilation weaknesses that may have existed in the previous system. However, improvements should be based on the home’s design rather than simply adding as many vents as possible.
When ventilation is properly planned and installed, it becomes an important part of the roofing system’s long-term performance. It works beneath the visible roof surface to help manage the conditions that affect the materials and structure.
Managing Roof Valleys and Drainage
Roof drainage is essential because every rainfall event places water on the roofing surface. A properly installed system needs to guide that water toward designated drainage paths and away from vulnerable areas.
Roof valleys are particularly important because they collect water from two or more roof slopes. During heavy rain, these areas may handle substantial amounts of runoff.
Valleys must be installed according to the requirements of the roofing system. Depending on the design, they may use specialized metal components, protective membranes, or other materials to manage water flow.
The underlayment and valley protection need to work together. Water should remain on the exterior side of the roofing system rather than reaching the roof deck.
Roofing materials around valleys also need careful placement. Shingles, panels, or tiles should be arranged so that they direct water into the valley without blocking the intended drainage path.
Debris should not be allowed to accumulate heavily in valleys after installation. Leaves, branches, and other materials can interfere with water movement and retain moisture against roofing components.
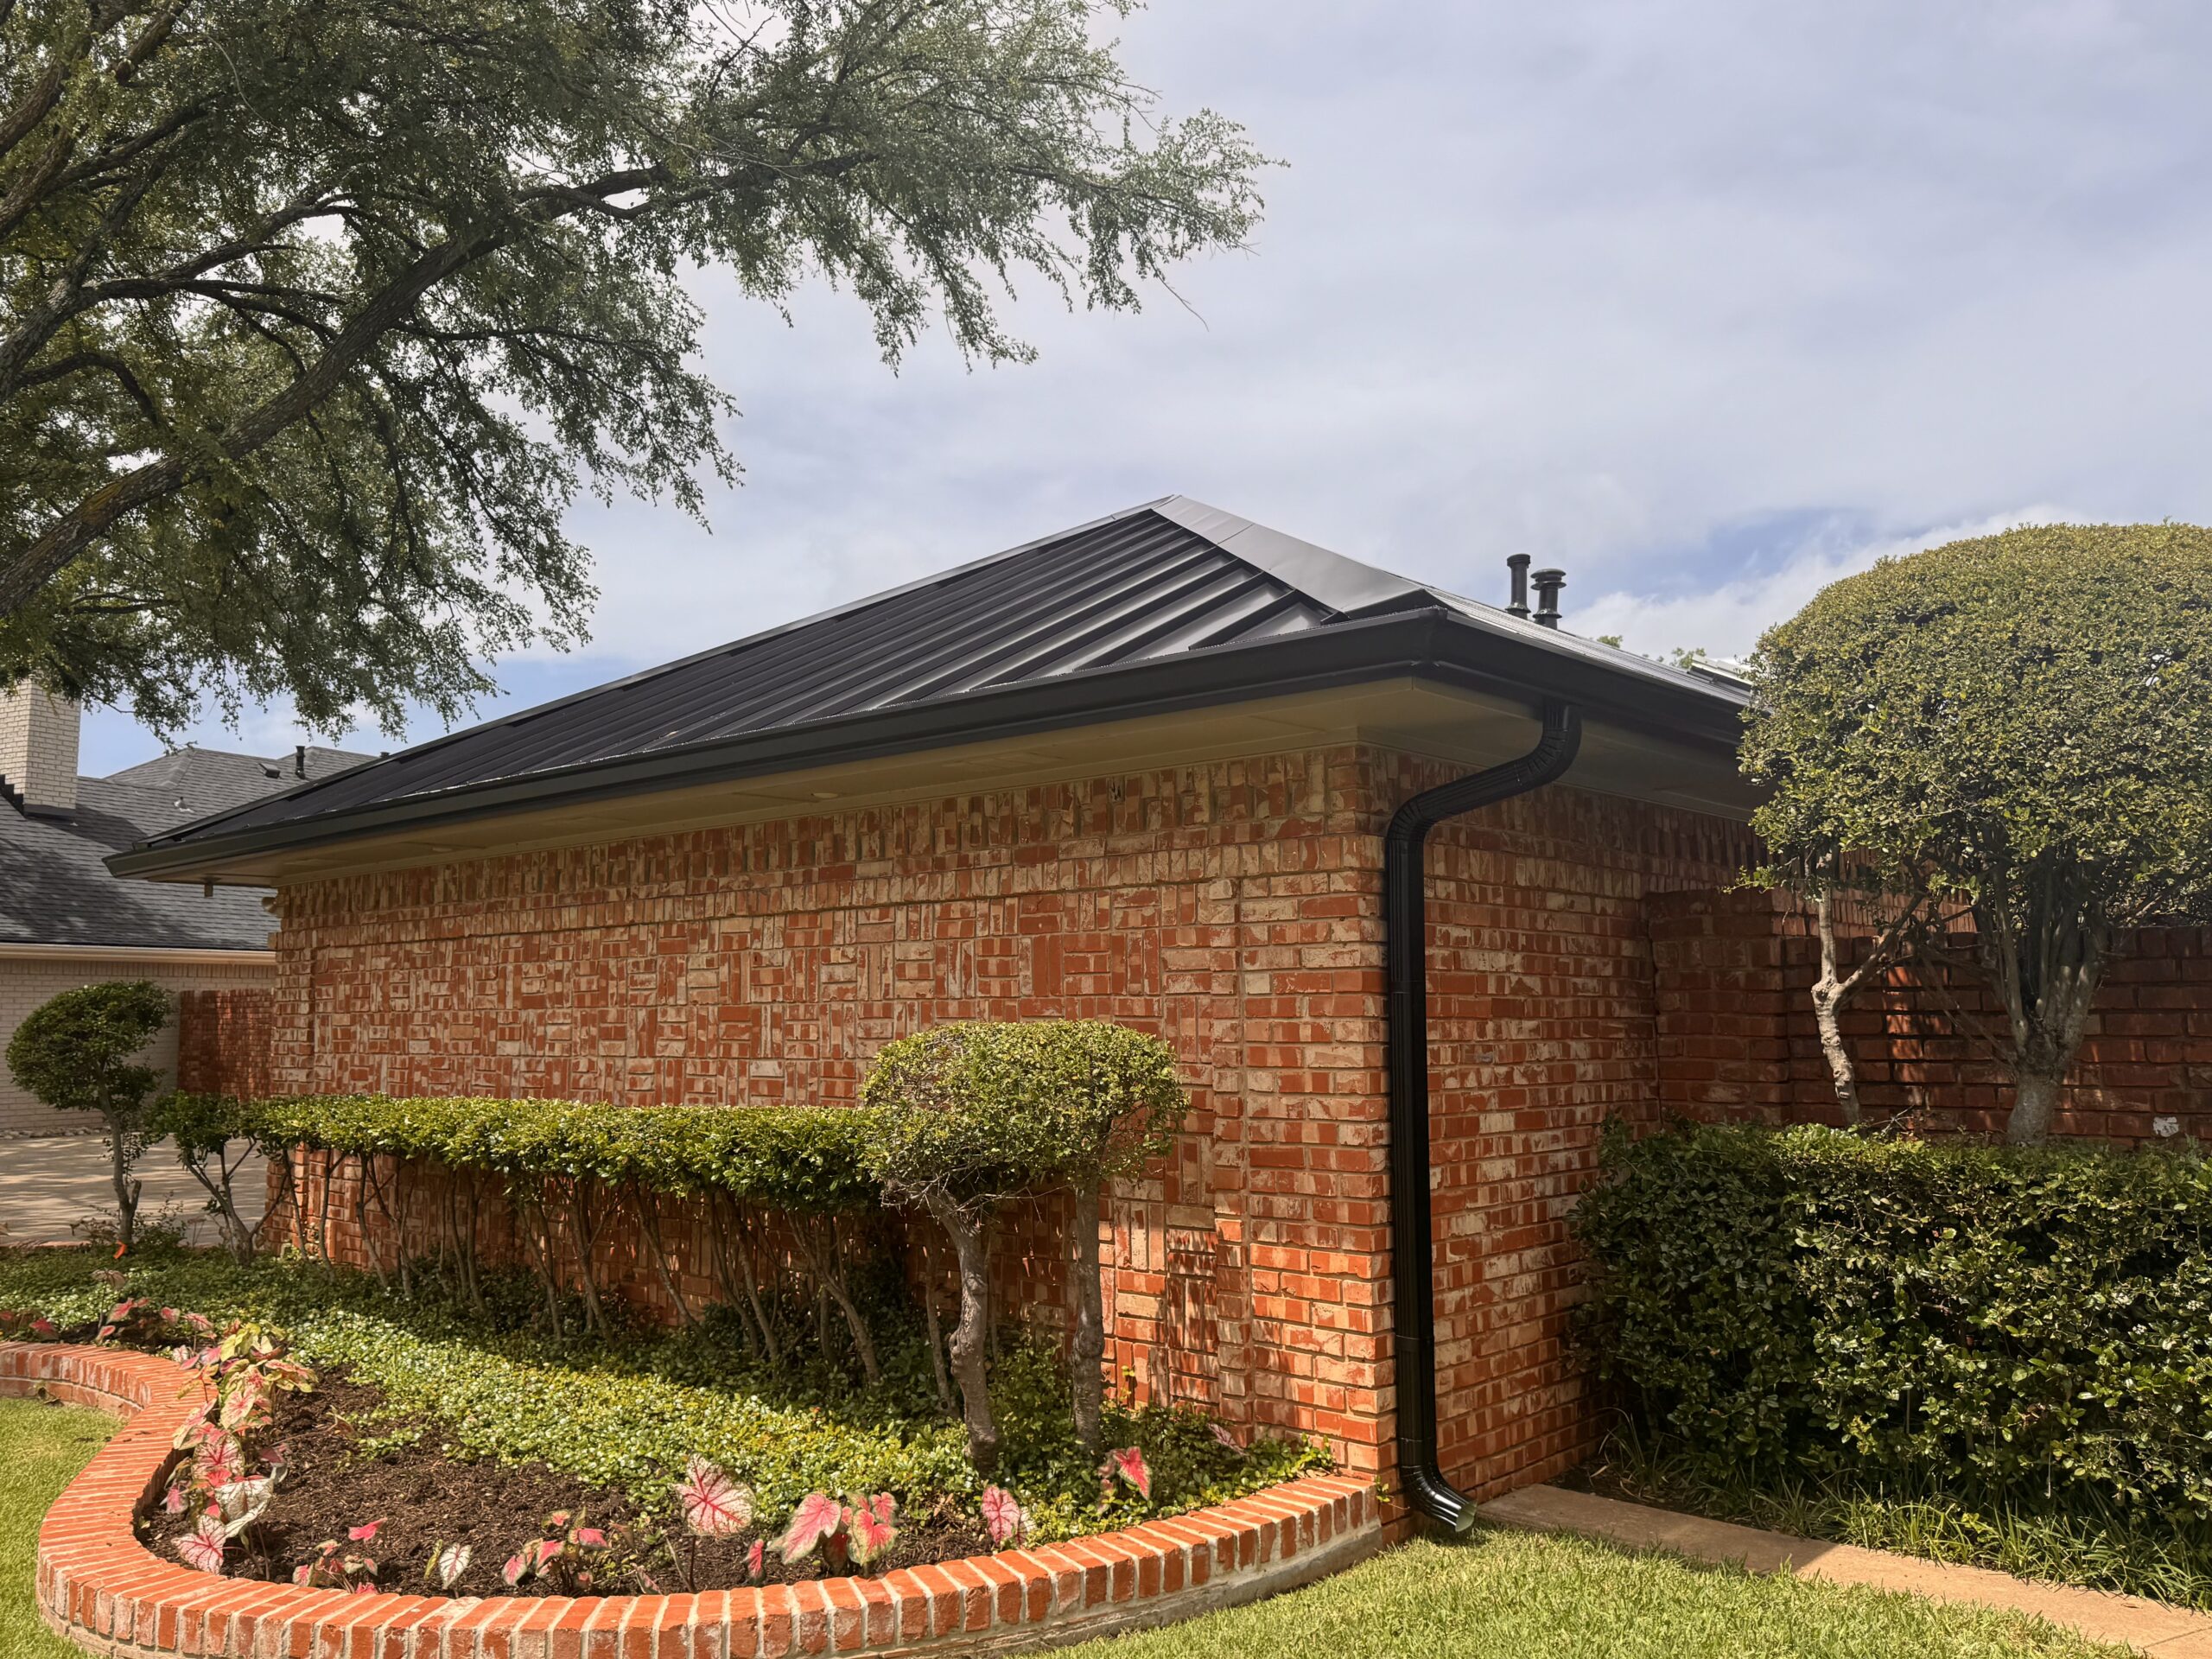
The lower roof edges also require proper drainage planning. Gutters are commonly installed to collect water and direct it toward downspouts.
Gutters should be positioned appropriately so that water leaving the roof enters the drainage system rather than flowing behind or over the gutter. Incorrect placement can contribute to water damage along the roof edge.
Downspouts should provide a clear route for collected water to leave the gutter system. Their discharge should be arranged so that large quantities of water do not repeatedly accumulate directly beside the foundation.
Roof penetrations and transitions should also be considered when managing drainage. Water needs to move around these areas without becoming trapped or directed toward vulnerable joints.
During installation, contractors should check drainage pathways before completing the project. This can include examining valleys, roof edges, gutters, downspouts, and other water-management components.
Good drainage protects more than the roofing material. It also helps protect fascia, siding, exterior walls, landscaping, and foundation areas from unnecessary water exposure.
A new roofing system should therefore be designed as a complete water-management system. The primary roofing material sheds water, valleys guide it, flashing protects transitions, and gutters and downspouts move it away from the building.
Completing Roof Edges, Hips, and Ridges
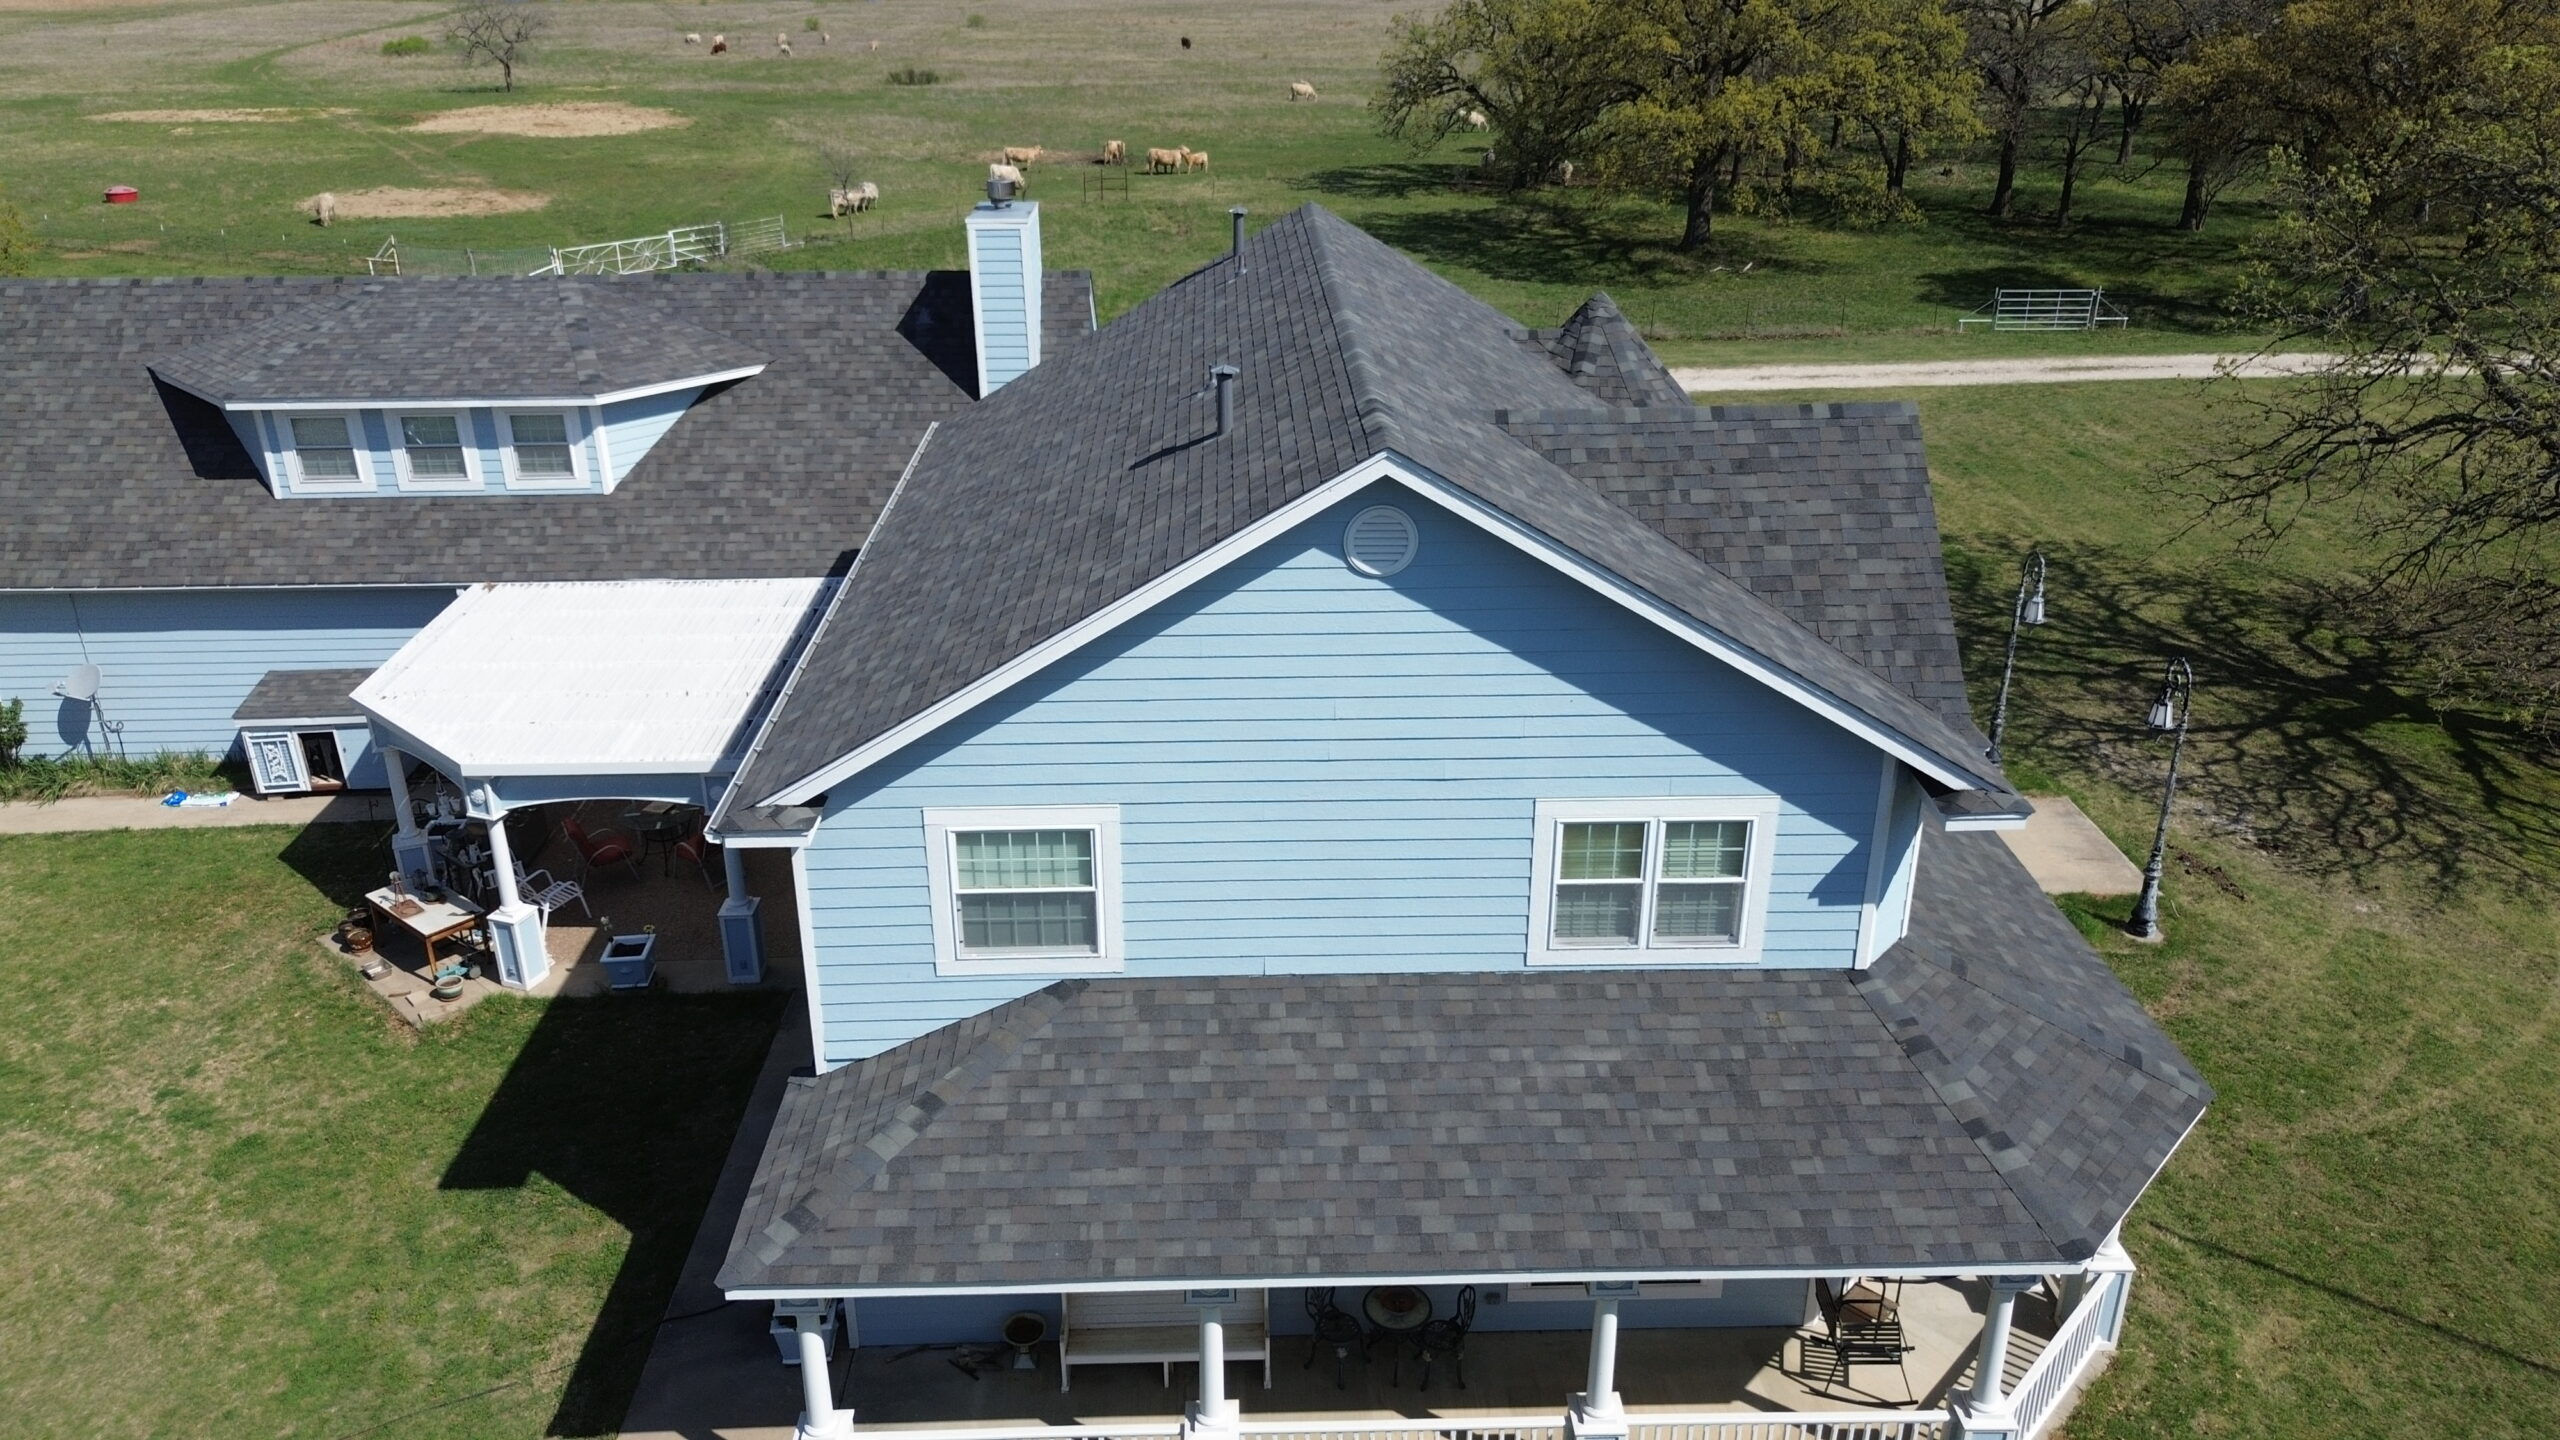
Roof edges, hips, and ridges are important finishing areas that require careful installation. These locations are exposed to weather and often involve transitions between different sections of the roofing system.
The lower roof edges need appropriate edge detailing to protect the perimeter of the roof. Depending on the roofing material and design, contractors may install specific edge components that help manage water and support the roofing material.
Hips are the external angles where two sloping roof sections meet. The materials used along these lines need to be installed so that they provide continuous weather protection while maintaining the intended appearance of the roof.
Ridges are the highest horizontal lines of a sloped roof. They often contain ventilation components, particularly when a ridge ventilation system is being used.
Ridge caps are installed to protect the top of the roofing system. They need to overlap appropriately and be securely fastened according to the roofing manufacturer’s instructions.
When ridge ventilation is used, the contractor needs to maintain the designed ventilation opening beneath the ridge components. The system should allow warm air to exit without creating opportunities for rain to enter.
Hip and ridge materials should also match or complement the main roofing material. Proper installation helps create a finished appearance and maintains continuity across the roof.
Roof edges may experience higher wind exposure than interior areas of the roof. Appropriate fastening and edge detailing are therefore important for overall weather resistance.
These finishing components should not be treated as purely decorative. They form part of the roofing system’s protective envelope and help close areas where different surfaces meet.
Before the project is considered complete, contractors should inspect the edges, hips, and ridges for loose materials, exposed fasteners, gaps, or other installation concerns.
Careful finishing helps ensure that the roof functions as one continuous system. It also provides homeowners with a completed exterior that looks consistent and professionally installed.
Quality Control During Installation
Quality control should take place throughout the roofing project rather than only after the final material has been installed. Regular checks help contractors identify problems while each stage is still accessible.
The first quality check should involve the roof deck. Damaged or unsuitable sections need to be addressed before protective layers are installed.
Underlayment should then be checked for proper coverage, overlaps, attachment, and damage. Any visible problems should be corrected before they become covered by the primary roofing material.
Flashing details require careful review because these areas are common points of water intrusion. Contractors should check chimneys, skylights, vents, walls, valleys, and other transitions.
The primary roofing material should be inspected for consistent alignment and proper fastening. Uneven courses, exposed fasteners, damaged materials, or incorrect overlaps should be corrected during installation.
Ventilation components should also be reviewed. Intake and exhaust pathways need to remain functional, while the areas around vents should be properly integrated with the waterproofing system.
Drainage should be checked before the project is finished. Valleys should remain clear, gutters should be correctly positioned, and downspouts should provide appropriate water discharge.
Quality control should also include a review of material condition. Damaged or broken roofing materials should not simply be installed because they are already on site.
A final cleanup of visible debris is another part of professional workmanship, although detailed cleanup and final inspection occur after the main installation work is finished.
Homeowners should feel comfortable asking the contractor what quality checks are performed during the project. A professional roofing company should have established procedures for reviewing completed work.
The installation process is successful when all the individual components work together as a single protective system. Proper materials alone are not enough if flashing, fastening, ventilation, drainage, or finishing details are neglected.
Final Roof Inspection and Corrections
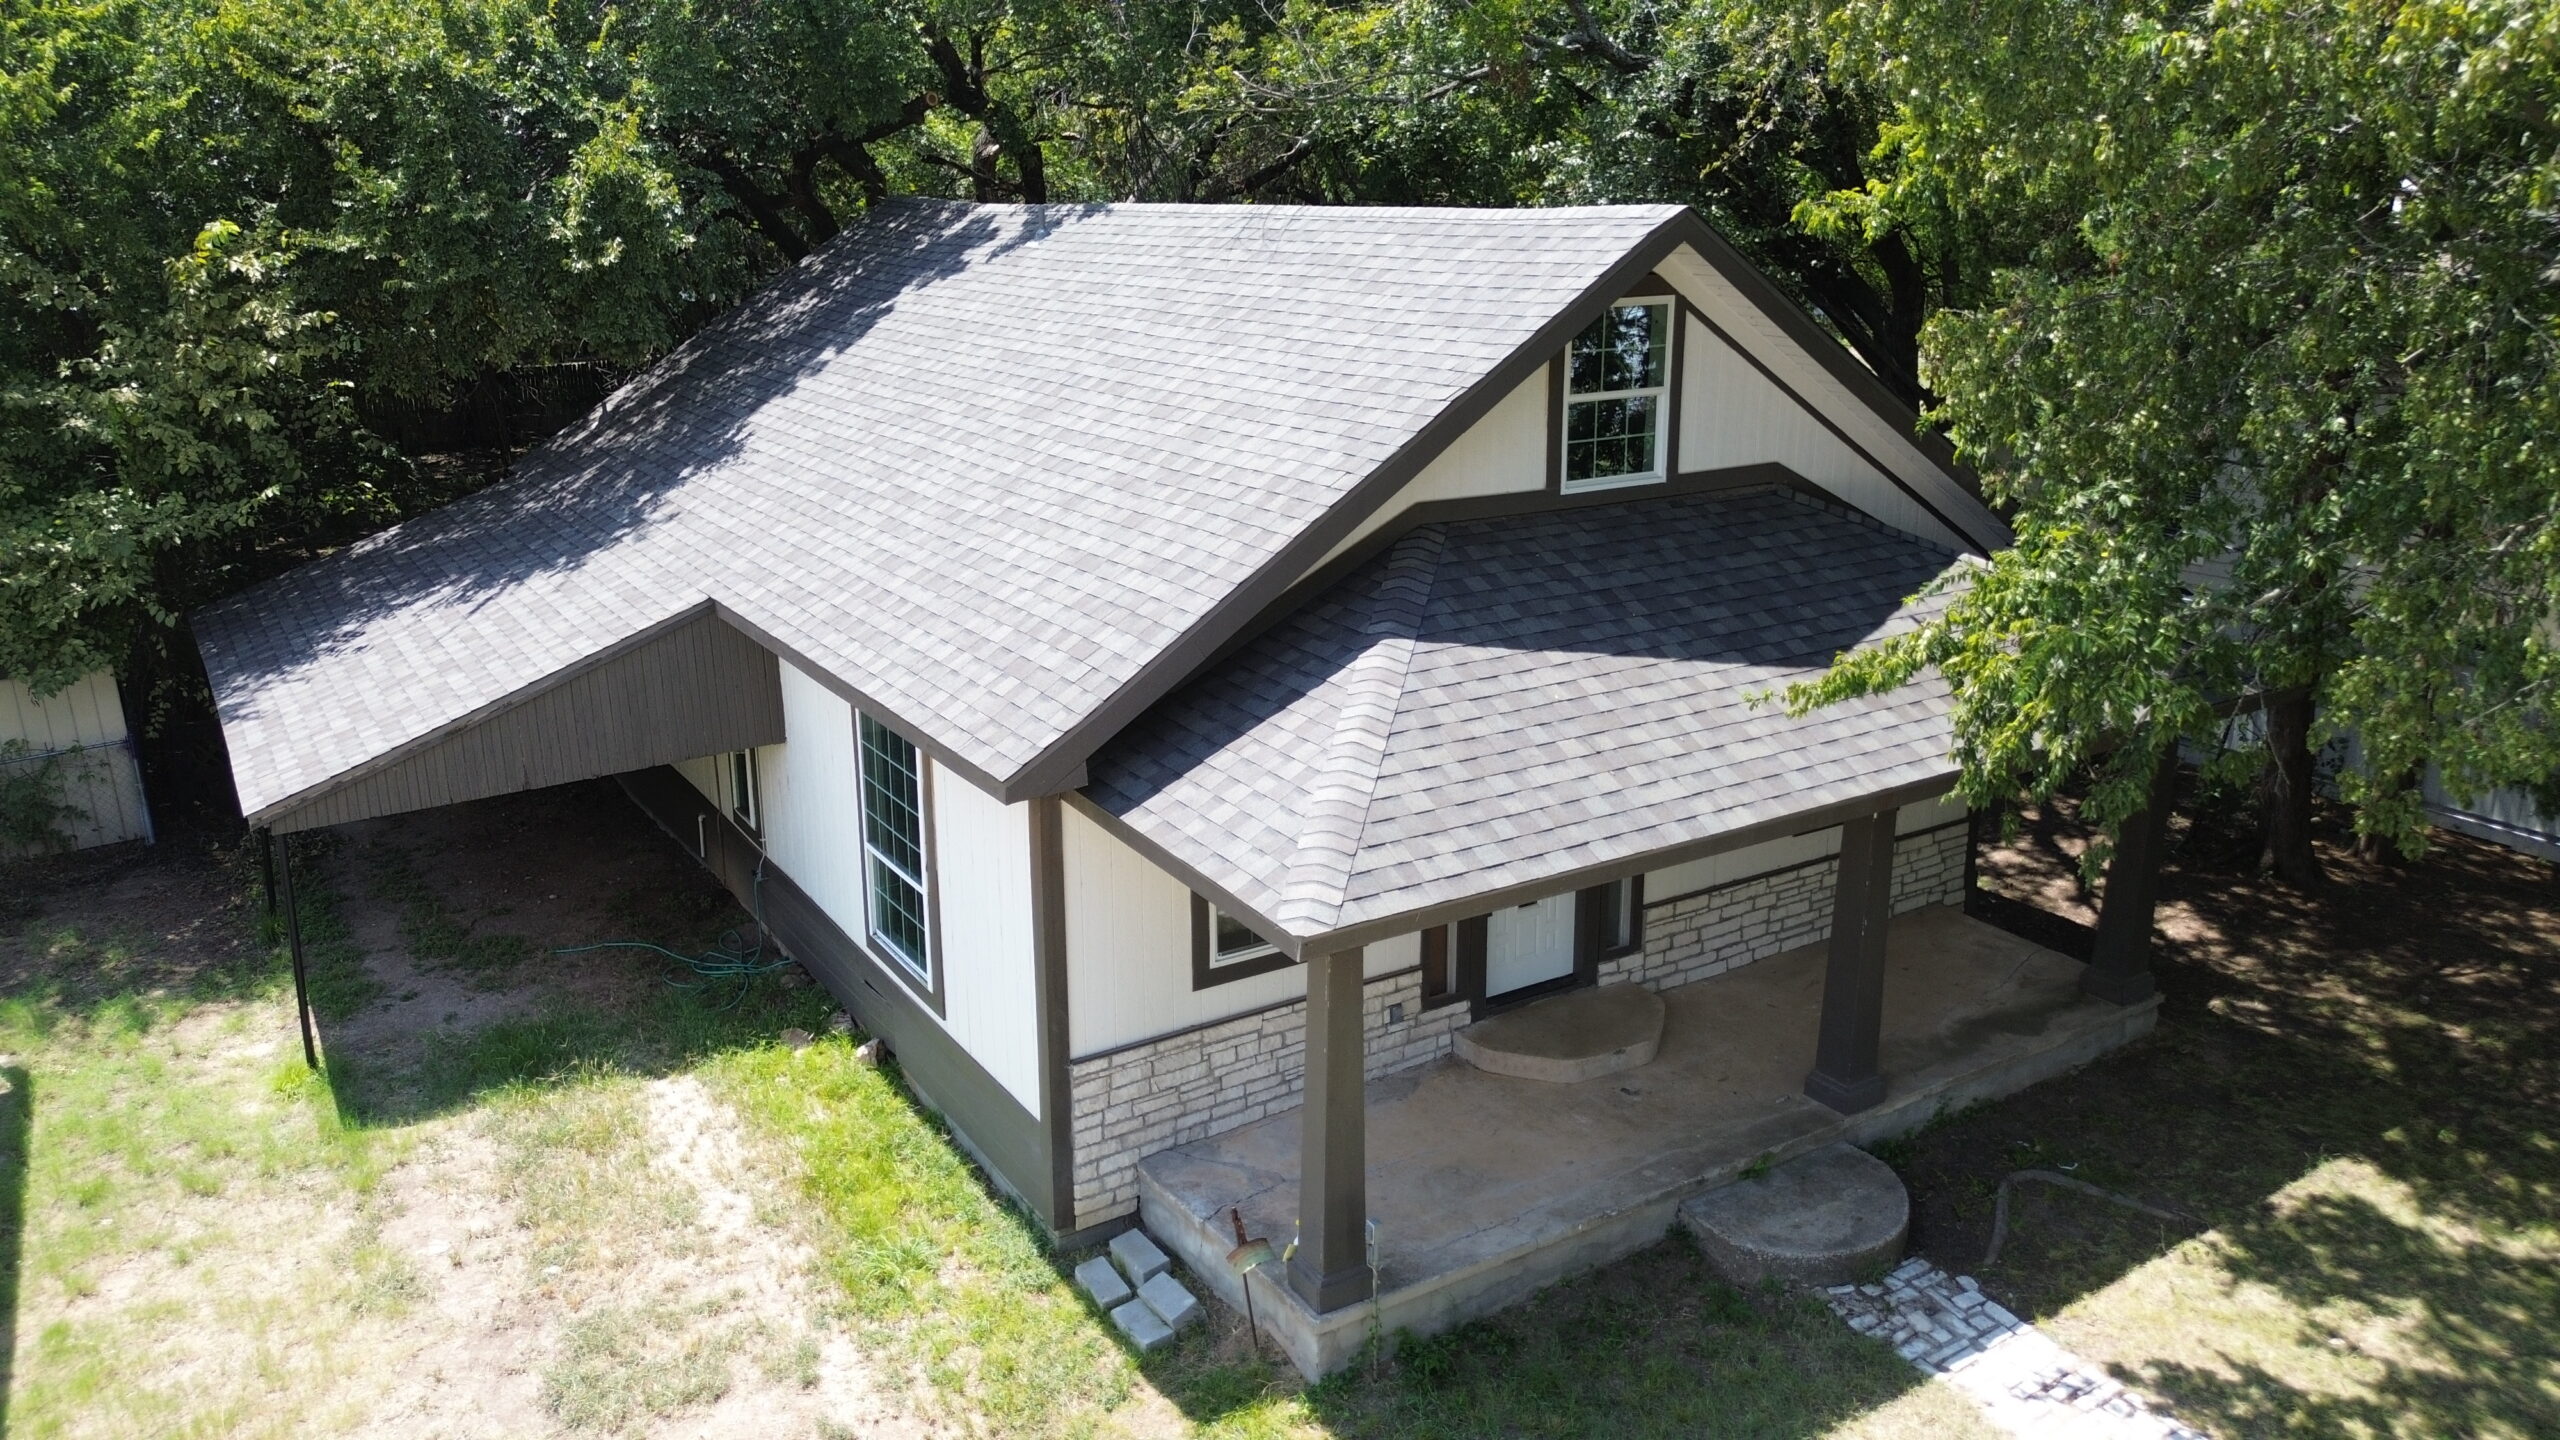
Once the main roofing installation is complete, the contractor should carry out a detailed final inspection. This step is important because even a carefully installed roof can have small issues that need correction before the crew leaves the property. The inspection should consider the roofing surface as well as flashing, ventilation, drainage, edges, ridges, and other visible components.
The contractor should look for loose, damaged, or improperly positioned roofing materials. Shingles, panels, tiles, or other products should be aligned correctly and securely attached according to the manufacturer’s requirements. Any visible gaps, exposed fasteners, lifted materials, or damaged sections should be corrected before the project is considered complete.
Flashing around chimneys, skylights, vents, walls, and other penetrations should receive particular attention. These areas are common locations for water intrusion, so the contractor should verify that flashing is properly integrated with the surrounding roofing layers.
Drainage components should also be checked. Valleys should remain clear, gutters should be properly positioned, and downspouts should be securely connected. The completed roof should provide a clear path for rainwater to move away from the structure.
Ventilation should be reviewed as well. Intake and exhaust openings should remain unobstructed, and any ridge or roof vents should be properly integrated with the roofing material. This helps ensure that the attic can manage heat and moisture appropriately.
If the contractor discovers an issue during the final inspection, it should be corrected rather than overlooked. A professional final review gives the homeowner greater confidence that the completed roof has been installed according to the project requirements.
Cleaning the Property After Installation
Roof replacement and new roof construction can produce a significant amount of debris. Shingles, packaging, small fasteners, scraps of underlayment, and other construction materials may fall around the property during installation. Proper cleanup is therefore an important part of completing the roofing project.
A professional roofing crew should remove construction debris from accessible areas around the home. Walkways, driveways, patios, landscaping areas, and other work zones should be checked for materials left behind during installation.
Special attention should be given to small fasteners and metal pieces. These materials can become safety hazards if they remain in areas where homeowners, children, pets, or vehicles may encounter them. Contractors should use appropriate cleanup methods to collect loose debris.
Landscaping should also be reviewed after the work is finished. Protective coverings may have been used during installation, but plants, garden areas, and exterior features should be checked for damage or remaining debris.
The roof itself should be free from unnecessary construction materials. Contractors should remove loose packaging, unused scraps, and other items that could interfere with drainage or create future problems.
Homeowners should perform a final walk-around with the contractor when possible. This provides an opportunity to identify areas that may require additional cleanup or clarification before the crew leaves.
A clean worksite is more than a matter of appearance. Proper cleanup reduces safety risks and demonstrates that the contractor has completed the project responsibly.
Understanding Warranties and Installation Records
After the installation is finished, homeowners should receive important documentation related to the new roofing system. Keeping these records organized can make future maintenance, repairs, and warranty claims easier.
Material warranties are commonly provided by roofing manufacturers, although the exact terms vary by product. Homeowners should receive information about the installed material and understand what the manufacturer’s warranty covers.
Workmanship warranties are generally provided by the roofing contractor. These warranties may cover certain installation-related problems for a specified period, but coverage and conditions vary between contractors.
Homeowners should carefully review warranty requirements. Some warranties may include specific maintenance expectations or conditions that must be followed to maintain coverage. Understanding these requirements before problems occur can prevent confusion later.
Important documents should be stored in a safe location. Homeowners should keep the roofing contract, final invoice, material information, warranty documents, inspection records, and details about any approved changes to the original project.
Photographs of the completed roof can also be useful. They provide a record of the roof’s condition immediately after installation and may help homeowners compare its condition during future inspections.
The installation date should also be recorded. Knowing the exact age of the roof helps homeowners plan future maintenance and understand when the roofing system may eventually require major attention.
Good documentation also benefits future homeowners if the property is sold. A complete roofing history can demonstrate that the roof was professionally installed and maintained.
Post-Installation Maintenance
A newly installed roof still requires maintenance even though it should provide reliable protection from the beginning. Regular care helps preserve the condition of the roofing system and allows homeowners to identify problems before they become more serious.
Homeowners should monitor the roof safely from the ground for obvious changes. Missing or damaged materials, excessive debris, damaged gutters, fallen branches, and unusual roof movement should be investigated.
Gutters and downspouts should remain clear so rainwater can move away from the home. Leaves and branches can accumulate over time, particularly on properties surrounded by trees. Blocked drainage can expose roof edges and exterior walls to unnecessary moisture.
Nearby vegetation should also be managed. Branches that touch the roof can scrape roofing materials and deposit debris. Larger branches may fall during storms and damage the roof.
Attic conditions should be monitored when the space is safely accessible. Condensation, damp insulation, staining, or unusual odors may indicate moisture or ventilation problems that require professional evaluation.
Homeowners should also arrange professional inspections when necessary. A new roof may not need frequent inspections under normal conditions, but severe weather, visible damage, or unexplained moisture should prompt an evaluation.
Routine maintenance should not involve unnecessary roof access. Roofing materials can be damaged by foot traffic, and climbing onto a roof can create serious safety risks. Professional roofers should handle tasks that require working at height.
Proper maintenance helps protect the investment made in the new roofing system. It can also help preserve manufacturer and workmanship warranty requirements when maintenance is part of the applicable conditions.
Common Installation Mistakes to Avoid
Proper installation depends heavily on attention to detail. Certain mistakes can reduce the performance of a new roofing system and may lead to leaks, premature deterioration, or unnecessary repairs.
One common problem is installing new roofing materials over damaged roof decking. If the supporting surface is deteriorated, the new roofing system may not have the stable foundation it needs. Damaged sections should be addressed before installation continues.
Incorrect fastening is another concern. Fasteners need to be placed according to the roofing material’s requirements. Incorrect positioning, insufficient fastening, or overdriven fasteners can affect the stability and weather resistance of the roofing system.
Poor flashing installation can also create serious problems. Flashing around chimneys, skylights, vents, walls, and valleys must be integrated correctly with the roofing layers. Improperly installed flashing can allow water to reach the roof deck.
Inadequate ventilation is another mistake that can affect long-term performance. Intake and exhaust pathways need to work together, and insulation should not block intended airflow.
Improper drainage can create additional risks. Valleys, gutters, and downspouts need to provide clear pathways for rainwater. Water should not be allowed to accumulate unnecessarily on or around the roof.
Using incompatible materials can also create problems. Roofing products, underlayment, flashing, fasteners, and ventilation components should be suitable for the selected system and installed according to applicable specifications.
Skipping final quality checks is another avoidable mistake. Contractors should inspect completed areas before considering the project finished. Small errors are easier to correct when they are discovered immediately.
Homeowners can reduce these risks by selecting an experienced contractor, asking questions about the installation process, reviewing the written scope of work, and ensuring that important documentation is provided after completion.
Conclusion
A new residential roofing system is properly installed through a series of connected steps rather than simply placing new materials over the top of a house. Preparation, roof deck inspection, underlayment, flashing, primary roofing materials, fastening, ventilation, drainage, and quality control all contribute to the finished system.
The condition of the roof deck provides the foundation for the installation. Damaged or deteriorated sections should be addressed before the new materials are installed, while underlayment and flashing provide additional protection against water intrusion.
The primary roofing material then creates the main exterior weather barrier. Correct alignment, fastening, overlap, and material handling are essential for achieving the performance expected from the selected roofing system.
Ventilation and drainage also play important roles after installation. Ventilation helps manage heat and moisture in the attic, while valleys, gutters, and downspouts help move rainwater away from the roof and the home’s structure.
A final inspection gives the contractor an opportunity to identify and correct installation problems before the project is closed. Proper cleanup and complete documentation then help homeowners begin long-term ownership with a clear understanding of the new roof.
Once installation is complete, homeowners should continue with routine maintenance and professional inspections when necessary. Keeping drainage clear, managing nearby vegetation, monitoring attic conditions, and addressing visible damage promptly can help preserve the roofing system.
Most importantly, homeowners should understand that installation quality has a direct effect on long-term roof performance. Choosing suitable materials and an experienced contractor, following proper installation requirements, and paying attention to every layer of the system can help create a roof that provides dependable protection for many years.