
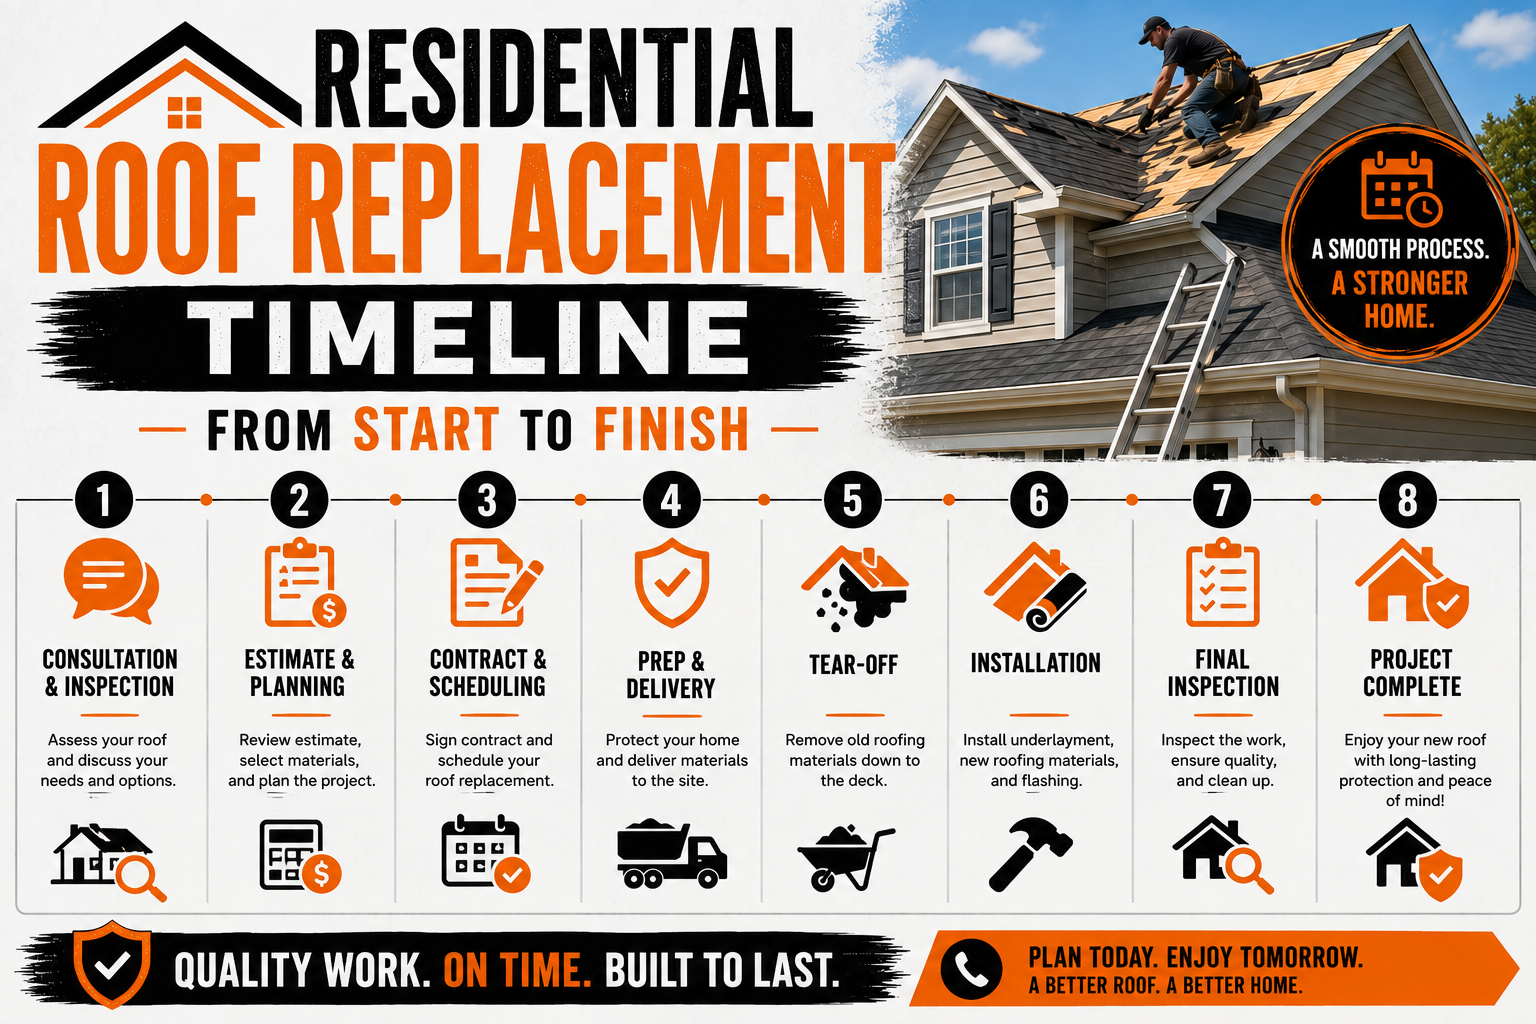
Residential Roof Replacement Timeline From Start to Finish
Introduction
A residential roof replacement is one of the most important home improvement projects a homeowner will complete. A new roof protects the home from weather, improves energy efficiency, enhances curb appeal, and helps maintain long term property value. While many homeowners focus on choosing roofing materials or comparing contractor estimates, understanding the complete project timeline is equally important for planning a smooth and successful replacement.
Every roof replacement follows a series of carefully planned stages. The process begins long before construction starts and continues even after the final shingle or roofing panel has been installed. Professional inspections, contractor selection, material ordering, scheduling, home preparation, installation, quality inspections, and ongoing maintenance all contribute to the success of the project.
Many homeowners are surprised that the actual installation often represents only a small portion of the complete timeline. Several important planning activities occur beforehand to ensure the project progresses safely and efficiently. Taking time to prepare properly reduces delays, prevents misunderstandings, and allows roofing crews to complete the work with minimal disruption.
Understanding the overall timeline also helps homeowners manage their expectations. Knowing when materials will arrive, how long each stage typically takes, and what responsibilities homeowners have before construction begins makes the entire experience less stressful. Proper planning allows families to prepare their schedules while protecting their property during installation.
This guide explains every stage of a residential roof replacement from the first inspection through project completion. In this first part, we will focus on the planning phase, including inspections, contractor selection, scheduling, material choices, and preparing the home before installation begins.
Understanding the Complete Residential Roof Replacement Timeline
A residential roof replacement involves far more than removing old roofing materials and installing new ones. Every successful project follows a structured sequence that allows contractors to identify potential issues, organize resources, and complete the work efficiently while maintaining high quality standards.
The timeline generally begins with a professional roof inspection. Contractors evaluate the roof’s condition, identify structural concerns, measure the roof, and determine whether complete replacement is necessary. This evaluation provides the information needed to prepare accurate estimates and recommend suitable roofing materials.
Once inspections are complete, homeowners compare contractor proposals, review warranties, select roofing materials, and finalize project details. Material availability, weather conditions, and contractor scheduling all influence when construction can begin. These planning activities may take several days or even weeks depending on the complexity of the project.
Before installation starts, contractors order materials, obtain permits if required, coordinate deliveries, and prepare the worksite. Homeowners also complete preparation tasks such as moving vehicles, protecting outdoor furniture, and securing fragile items inside the house.
Construction itself usually progresses through several organized stages, including roof removal, structural inspection, repairs, waterproofing, installation of new roofing materials, finishing details, and final quality inspections. Cleanup and project documentation complete the final phase before the roofing contractor officially closes the project.
Viewing roof replacement as a complete process rather than a single construction event helps homeowners appreciate the importance of every stage while setting realistic expectations for the overall timeline.
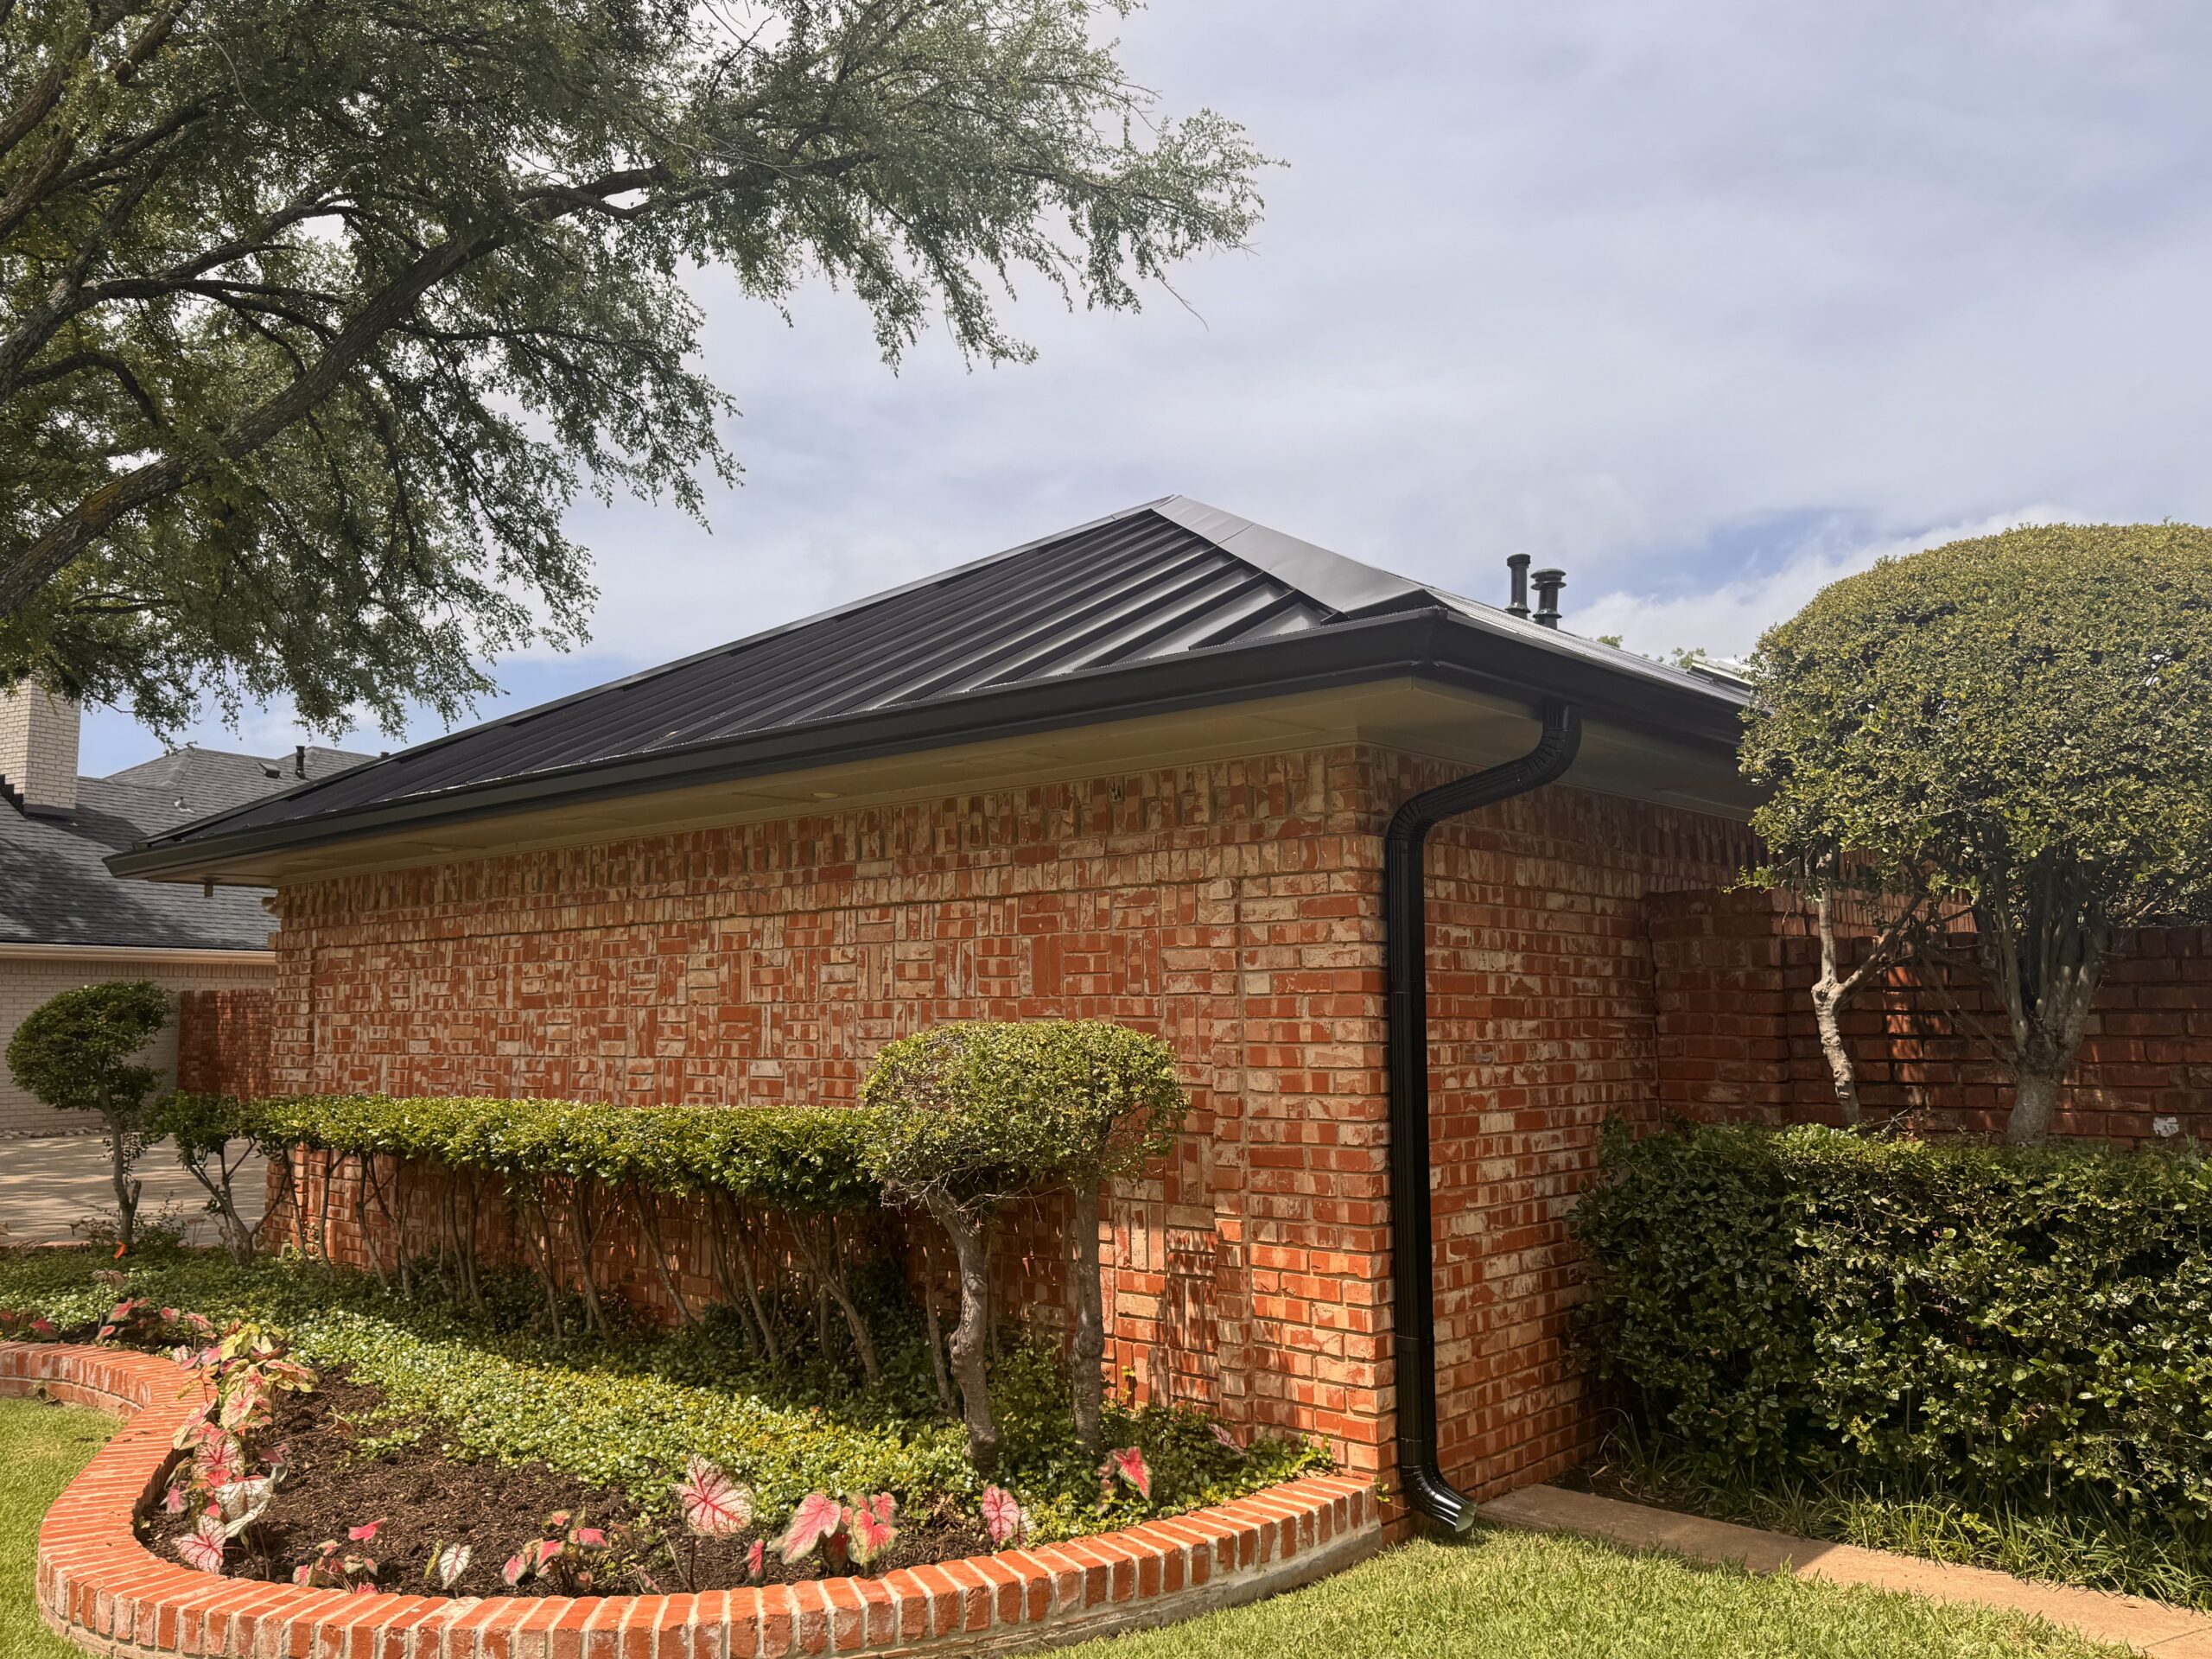
Initial Roof Inspection and Damage Assessment
Every roof replacement begins with a detailed inspection because understanding the existing roof condition is essential before any work can be planned. Professional evaluations help determine whether repairs remain practical or whether complete replacement provides the better long term solution.
Contractors typically begin by inspecting the roof surface for missing shingles, cracked flashing, damaged vents, deteriorated sealants, and visible signs of weather related wear. They also examine roof valleys, chimneys, skylights, gutters, and drainage systems because these areas often experience the greatest exposure to moisture.
Interior inspections provide additional information about hidden roofing problems. Contractors may inspect attic spaces for water stains, mold, damaged insulation, ventilation concerns, or structural movement that cannot be identified from the roof surface alone. Combining interior and exterior observations creates a more complete assessment.
Roof measurements are also collected during the inspection. Accurate dimensions allow contractors to calculate material quantities, labor requirements, and project costs more precisely. Modern measuring equipment improves estimate accuracy while reducing unnecessary material waste.
If necessary, contractors may recommend additional moisture detection or structural evaluations before replacement begins. These specialized inspections identify hidden damage beneath roofing materials that could affect installation planning. Discovering these issues early helps reduce unexpected delays later in the project.
A thorough inspection establishes the foundation for every decision that follows. Accurate information allows homeowners to compare proposals confidently while preparing realistic budgets and timelines.
Receiving Estimates and Choosing a Roofing Contractor
After inspections have been completed, homeowners begin collecting estimates from qualified roofing contractors. This stage is one of the most important parts of the entire timeline because the quality of both planning and installation depends heavily on the contractor selected.
Professional roofing estimates typically include material recommendations, labor costs, project timelines, warranty information, cleanup procedures, and payment schedules. Reviewing these details carefully helps homeowners compare proposals based on overall value rather than simply choosing the lowest price.
Contractor experience should also be evaluated during this stage. Companies with strong reputations, appropriate licensing, insurance coverage, and positive customer references generally provide greater confidence throughout the roofing project. Experience often translates into better project management and more reliable workmanship.
Communication is another valuable factor when selecting a contractor. Reliable roofing professionals explain the replacement process clearly, answer questions thoroughly, and provide realistic expectations regarding scheduling and project duration. Strong communication reduces misunderstandings before construction begins.
Homeowners should also review warranty information carefully before signing a contract. Understanding both manufacturer warranties and workmanship guarantees provides additional confidence that the completed roof will remain protected after installation.
Choosing the right contractor may take several days or weeks, but investing sufficient time during this stage often leads to smoother construction and better long term roof performance.
Selecting Roofing Materials and Finalizing the Project Plan
Once a contractor has been selected, attention turns toward choosing roofing materials and confirming the final project scope. Material selection affects not only the appearance of the home but also installation scheduling, project cost, maintenance expectations, and roof lifespan.
Homeowners typically review several roofing options before making a final decision. Asphalt shingles remain the most common residential roofing material because they provide dependable performance at a competitive cost. Metal roofing, tile, and synthetic products offer additional choices depending on climate, architectural style, and long term ownership goals.
Color selection also deserves careful consideration. Roofing colors influence curb appeal while affecting heat absorption and overall energy efficiency. Neutral colors often complement a wide range of architectural styles, although homeowners may choose designs that match their personal preferences and neighborhood appearance.
Accessory components should also be confirmed during project planning. Underlayment, flashing, ridge vents, drip edges, gutters, ventilation systems, and waterproofing materials all contribute to the performance of the completed roof. Selecting compatible products helps maximize long term durability.
Once material choices have been finalized, contractors prepare detailed project schedules that include ordering materials, confirming delivery dates, arranging permits, and establishing installation timelines. Final planning helps ensure construction proceeds without unnecessary interruptions.
Completing these decisions before work begins allows both homeowners and contractors to move confidently into the construction phase.
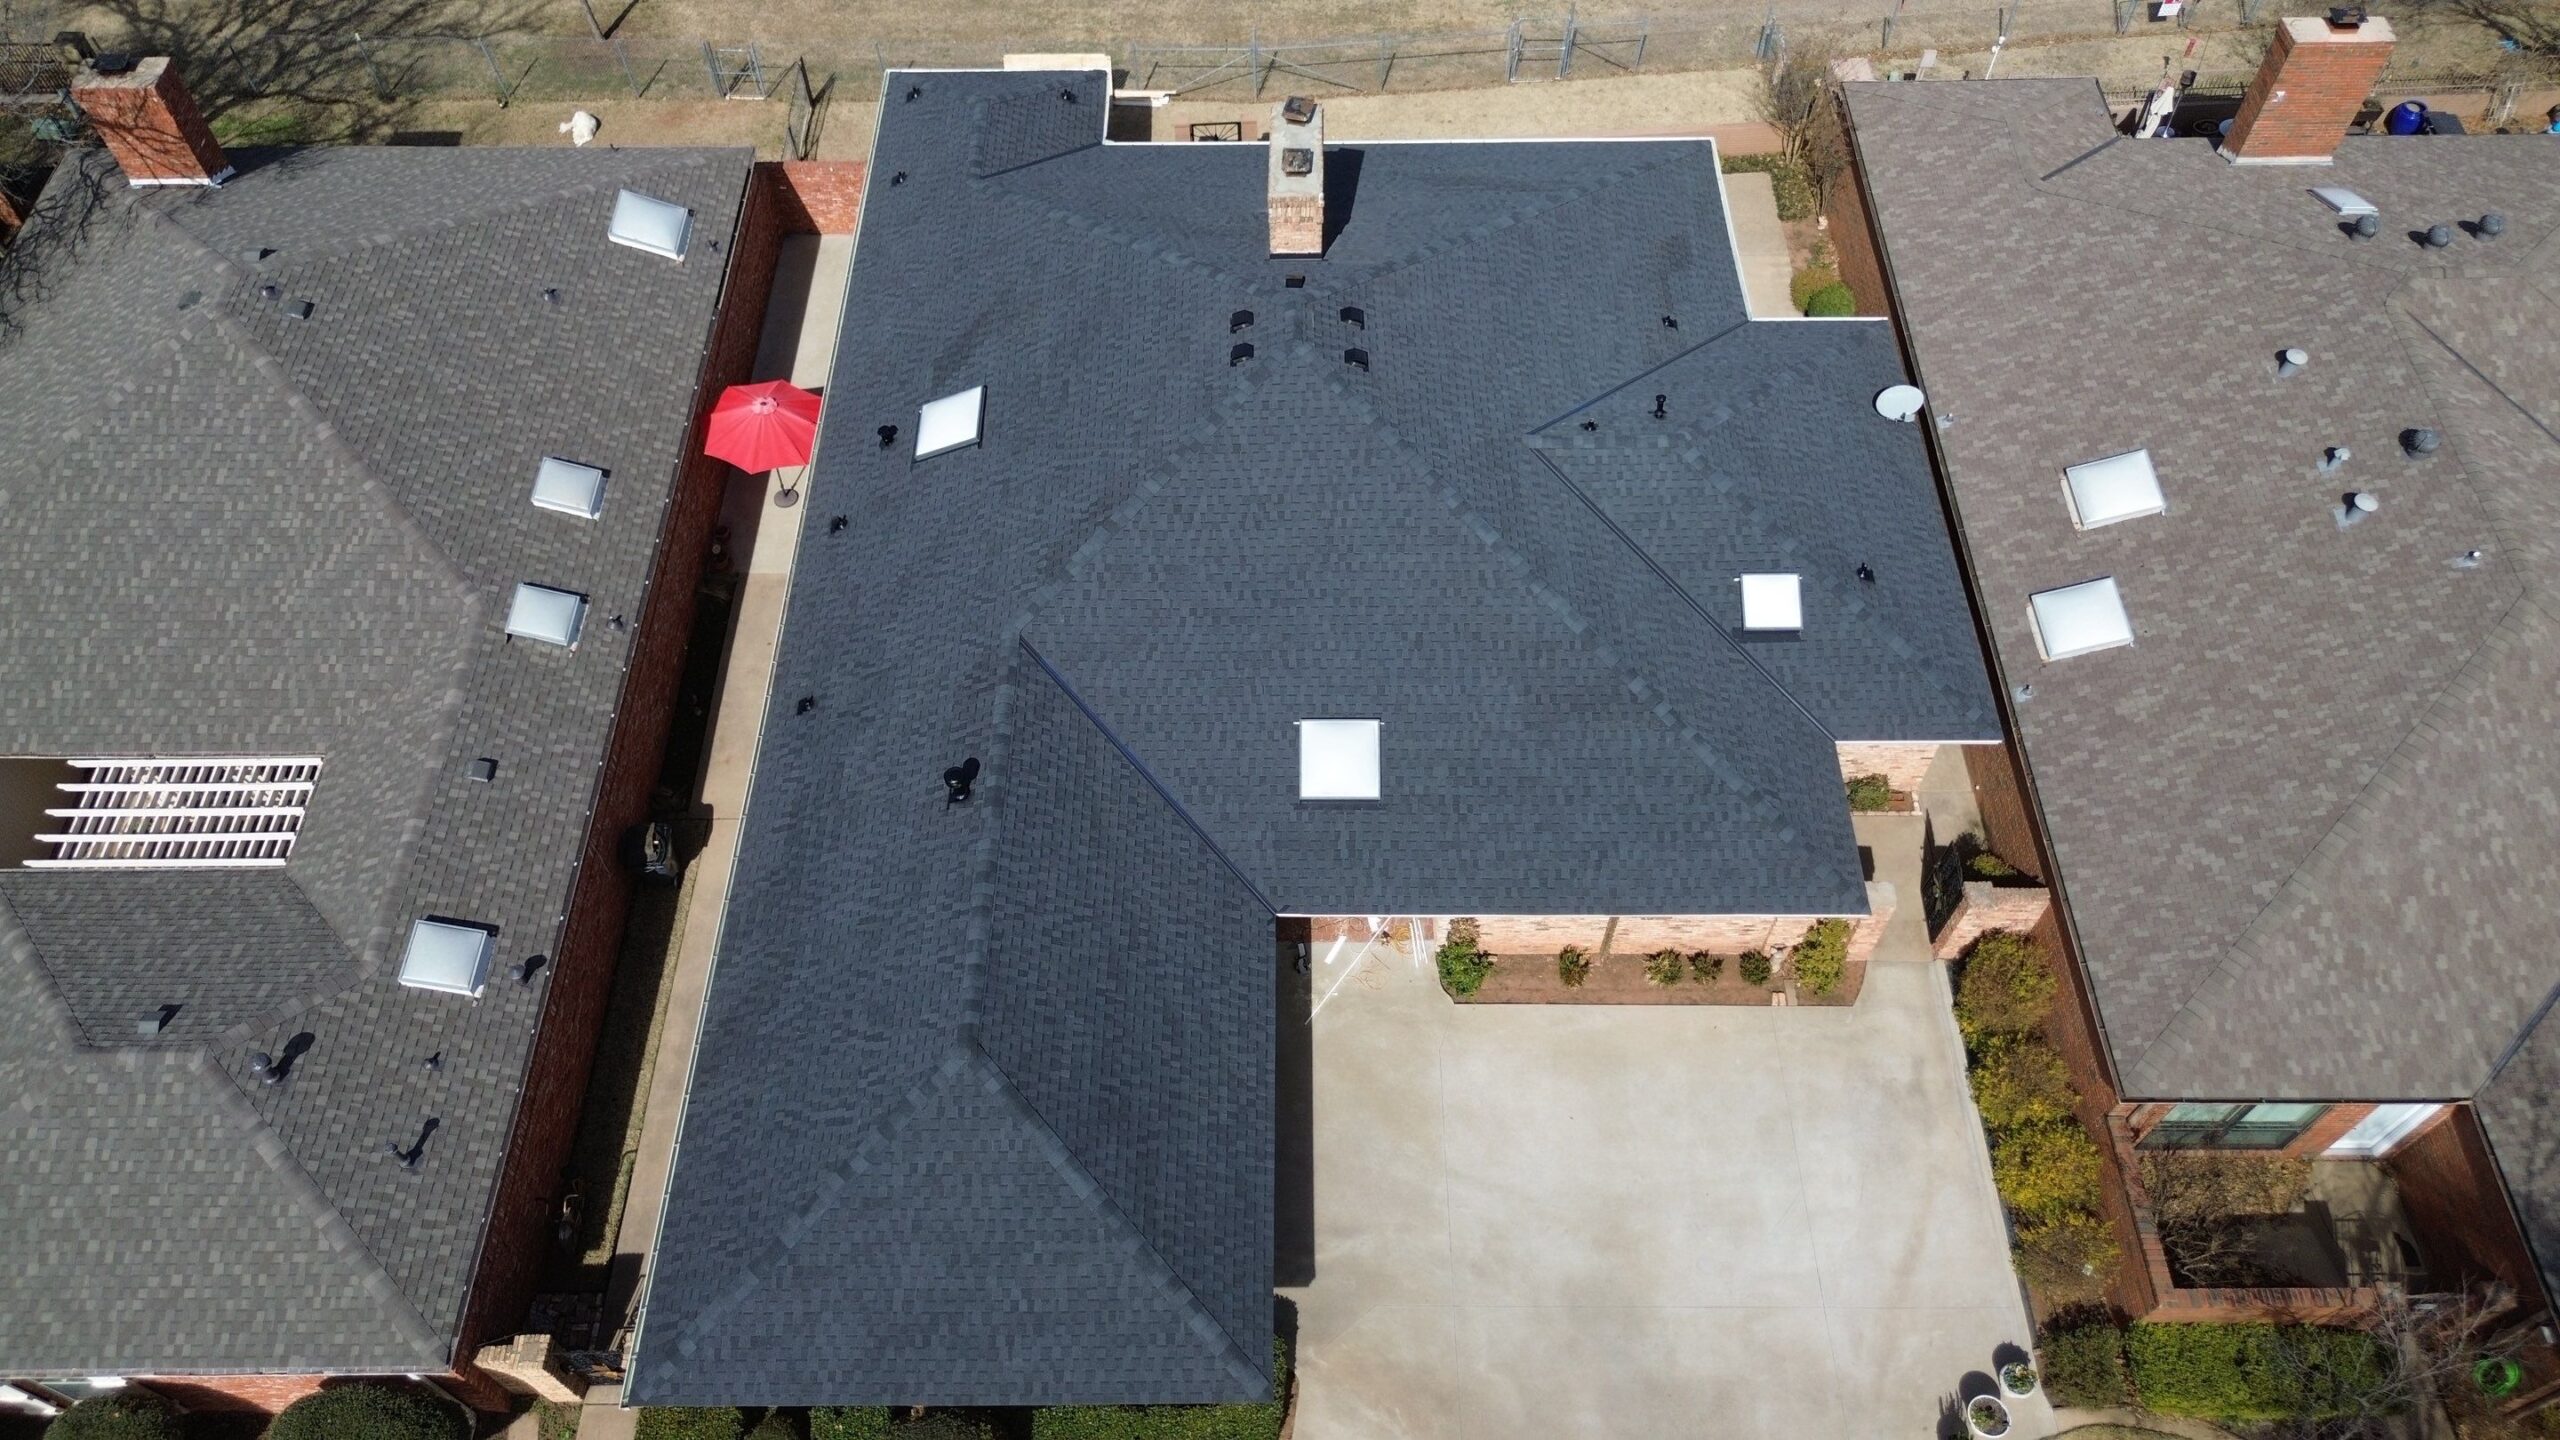
Scheduling the Roof Replacement Project
Scheduling a roof replacement requires balancing contractor availability, material delivery timelines, weather forecasts, and homeowner preferences. Careful coordination during this stage helps prevent delays while improving overall project efficiency.
Many homeowners prefer scheduling roof replacement during seasons known for relatively stable weather. Spring and autumn often provide moderate temperatures and favorable working conditions, although experienced contractors complete successful projects throughout much of the year.
Contractor availability also influences scheduling. Highly experienced roofing companies frequently book projects several weeks or months in advance, particularly during busy construction seasons. Contacting contractors early provides greater flexibility when selecting installation dates.
Permit approvals may also affect the timeline depending on local building requirements. Some municipalities require inspections or documentation before work begins, making early planning especially important for avoiding administrative delays.
Material availability should also be considered. Specialty roofing products, custom colors, or premium materials may require longer delivery times than standard roofing supplies. Confirming availability before scheduling construction helps maintain the planned timeline.
Weather remains the one factor that cannot be controlled completely. Professional roofing contractors monitor forecasts carefully and adjust schedules when necessary to protect the home and maintain installation quality. Flexibility allows the project to proceed safely without compromising workmanship.
Preparing Your Home Before Construction Begins
After the installation date has been confirmed, homeowners begin preparing the property for construction. Proper preparation helps protect personal belongings while allowing roofing crews to work safely and efficiently from the first day of the project.
Vehicles should be moved away from the driveway before material deliveries begin. Roofing crews require space for dumpsters, trailers, equipment, and roofing supplies, making clear access essential throughout construction.
Outdoor furniture, grills, decorative items, potted plants, and children’s play equipment should also be relocated away from the home’s perimeter. Although contractors use protective coverings, removing these items reduces the possibility of accidental damage.
Inside the home, homeowners should secure fragile decorations, mirrors, pictures, and valuable items displayed on shelves. Roof replacement creates normal structural vibration that may affect loosely mounted or delicate objects during installation.
Attic spaces should also be prepared by covering stored belongings with protective sheets. Small amounts of dust may enter through attic ventilation openings while old roofing materials are removed, making simple protective measures worthwhile.
Completing these preparation tasks before the roofing crew arrives helps construction begin smoothly while reducing unnecessary interruptions throughout the project.
Typical Timeline Before Installation Starts
| Project Stage | Typical Time Required | Main Activities |
|---|---|---|
| Roof Inspection | 1 day | Roof evaluation, measurements, damage assessment |
| Estimate Review | Several days | Comparing proposals and reviewing project details |
| Contractor Selection | Several days | Contract signing and project confirmation |
| Material Selection | 1 to 5 days | Choosing roofing materials and accessories |
| Scheduling and Permits | Several days to a few weeks | Final scheduling and permit approvals if required |
| Home Preparation | 1 to 2 days | Preparing indoor and outdoor areas before construction |
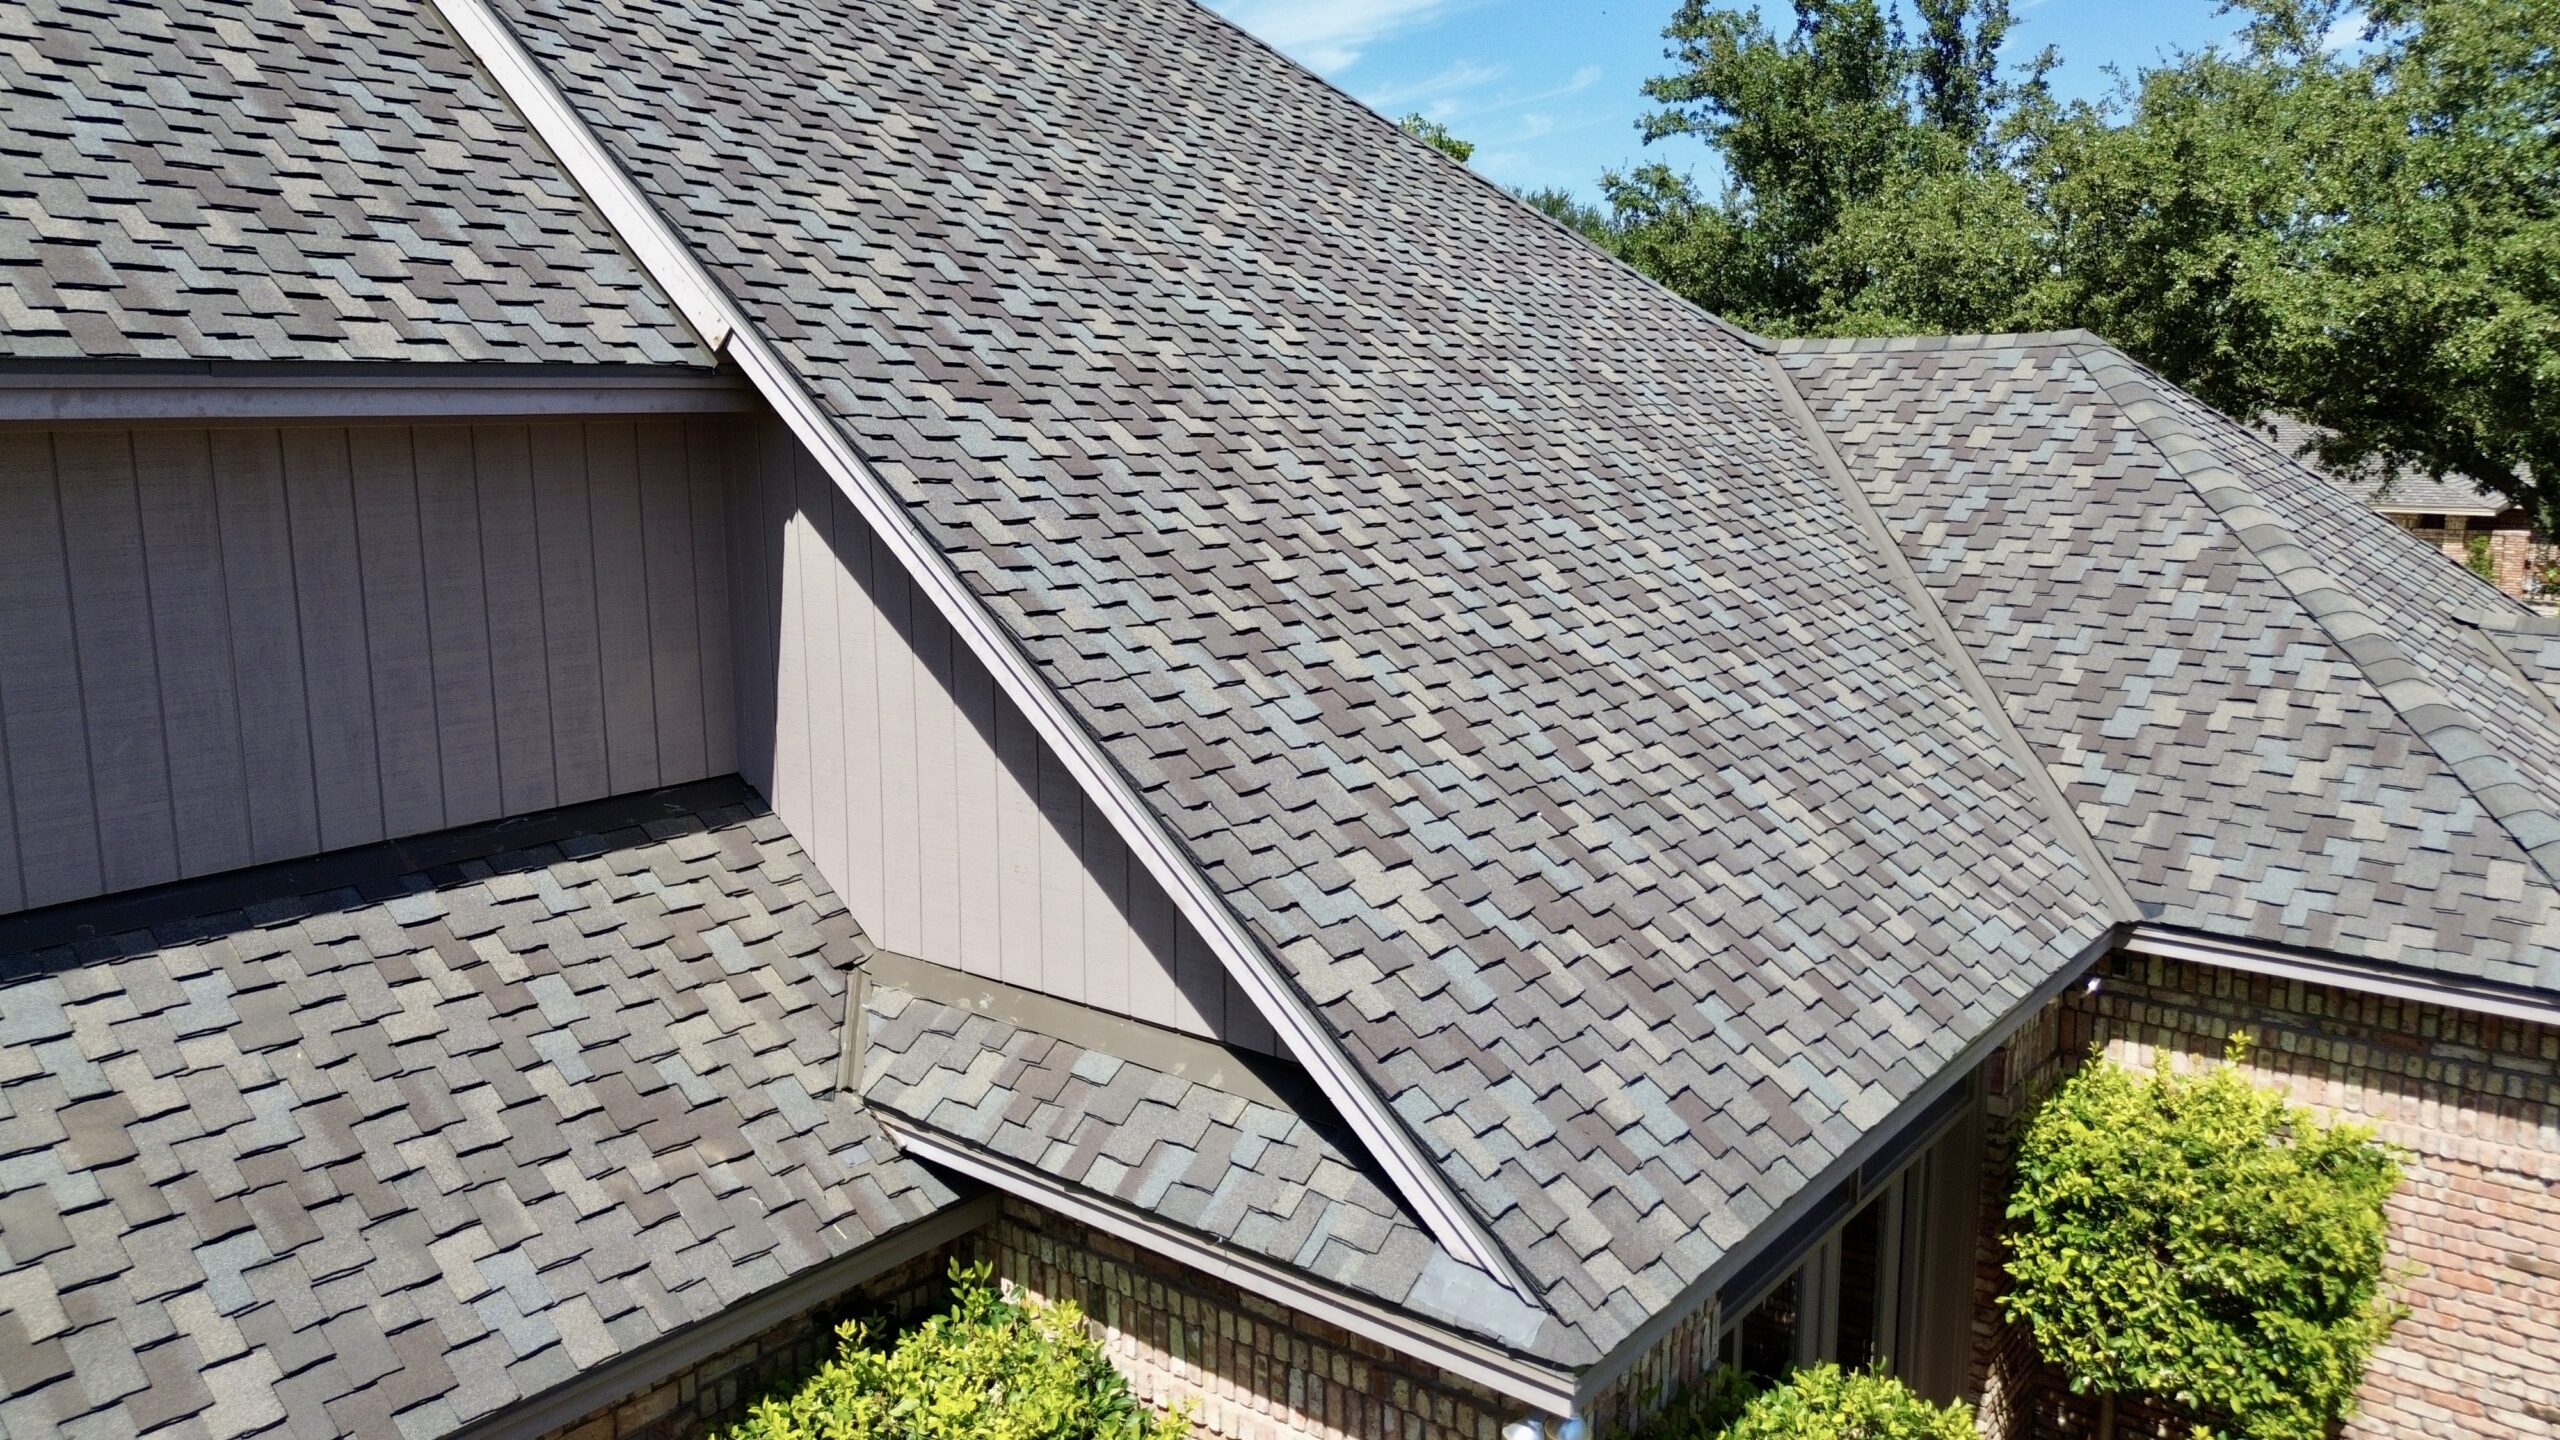
Weather and Seasonal Factors That Affect Scheduling
Weather plays a major role in residential roof replacement because roofing materials must be installed under appropriate conditions to achieve optimal performance. Although experienced contractors monitor forecasts carefully, changing weather occasionally requires adjustments to project schedules.
Rain is one of the most common causes of roofing delays. Exposed roof decking should remain dry before waterproofing and roofing materials are installed, making heavy rainfall unsuitable for many stages of construction. Contractors often postpone installation rather than risk compromising roof quality.
Strong winds may also affect scheduling. High winds create safety concerns for workers while making it difficult to handle large roofing materials safely. Windy conditions may temporarily delay specific installation activities until safer weather returns.
Temperature also influences roofing performance. Extremely hot weather may soften certain roofing materials, while freezing temperatures can affect installation methods for specific products. Professional contractors adjust work schedules to match manufacturer recommendations whenever possible.
Seasonal demand further affects project timing. Spring and autumn typically experience higher roofing activity because weather conditions are generally favorable. Homeowners planning replacements during these seasons should schedule projects well in advance to secure preferred installation dates.
Understanding the influence of weather helps homeowners remain flexible while appreciating the contractor’s commitment to delivering quality workmanship under suitable conditions.
What Homeowners Should Expect Before the First Workday
The days immediately before roof replacement often involve final preparations rather than visible construction. Roofing materials may arrive, dumpsters may be delivered, and contractors may perform one last inspection to verify project readiness before installation begins.
Homeowners should expect communication from the contractor confirming the project schedule, crew arrival time, and any final instructions regarding vehicle parking or property access. Maintaining clear communication during this stage ensures everyone is prepared when construction starts.
Neighbors may also notice increased activity around the property before installation begins. Informing nearby residents about the project demonstrates courtesy while helping them prepare for temporary construction noise over the coming days.
Homeowners should perform one final walkthrough of the property before the crew arrives. Confirming that outdoor furniture has been moved, vehicles have been relocated, pets are secure, and fragile indoor items are protected provides confidence that preparation is complete.
The planning phase may seem lengthy compared with the actual installation, but every step contributes to a successful roofing project. Careful inspections, contractor selection, scheduling, material planning, and home preparation establish the foundation for efficient construction. In the next part of this guide, we will follow the project through the active installation phase, including material delivery, roof removal, structural repairs, waterproofing, new roof installation, and the daily progress homeowners can expect from start to finish.
Material Delivery and Site Preparation
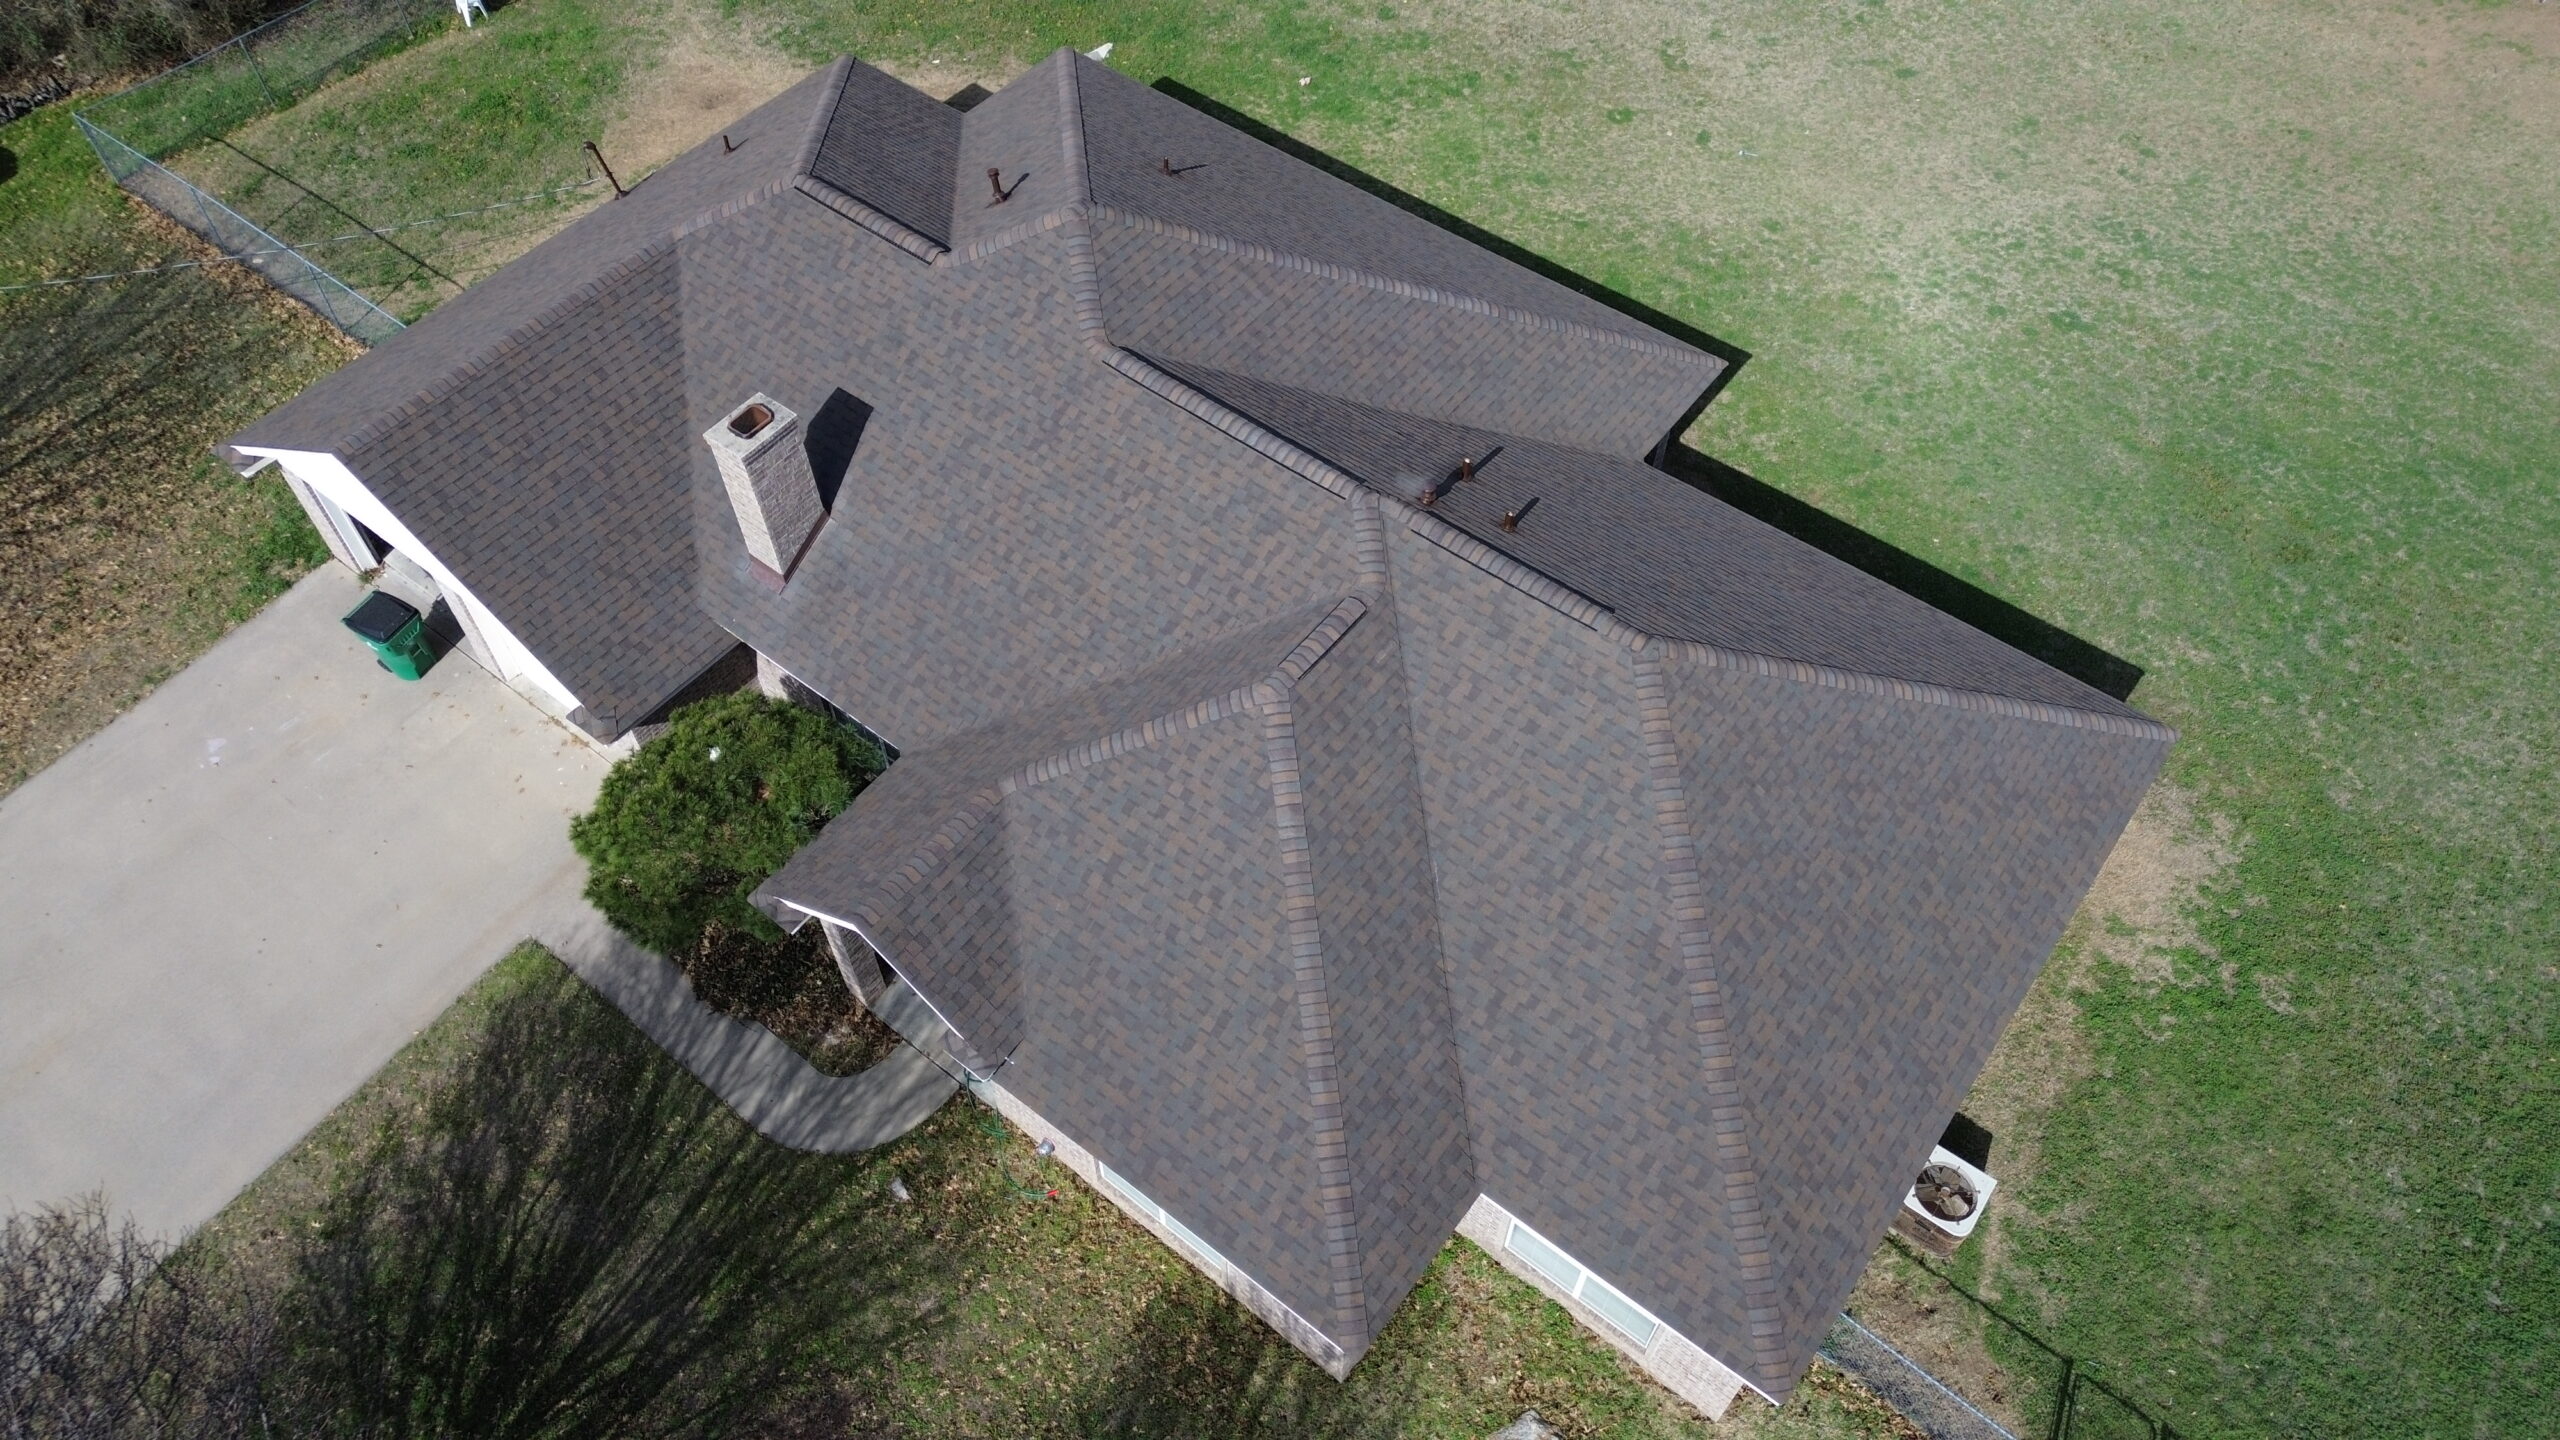
The construction phase officially begins with material delivery and worksite preparation. Although roofing crews may not immediately start removing the old roof, careful organization during this stage helps ensure that the installation proceeds safely and efficiently. Preparing the work area properly also reduces unnecessary delays once construction is underway.
Roofing materials are usually delivered one or two days before installation begins or early on the first workday. Shingles, metal panels, underlayment, flashing, ventilation components, fasteners, and other supplies are placed in designated areas that allow workers easy access throughout the project. Contractors carefully position materials to avoid damaging driveways, landscaping, or outdoor living spaces.
Dumpsters or waste containers are also delivered before demolition starts. Having disposal equipment on site allows old roofing materials to be removed quickly without creating unnecessary clutter around the property. Efficient debris management keeps the worksite safer while improving overall productivity.
Contractors also install protective coverings around vulnerable areas before construction begins. Tarps may be placed over landscaping, shrubs, patios, and outdoor equipment to shield them from falling debris during roof removal. These protective measures help preserve the appearance of the property while roofing work continues above.
Before climbing onto the roof, the project supervisor often conducts a final safety review with the crew. Equipment is inspected, safety procedures are confirmed, and responsibilities are assigned so every worker understands the installation plan. Proper preparation creates a smooth transition into the active construction phase.
Removing the Existing Roofing System
Removing the old roofing system is one of the most noticeable stages of the replacement process. This phase exposes the roof deck beneath while allowing contractors to inspect structural components that cannot be evaluated while roofing materials remain in place.
Roofing crews generally remove shingles, flashing, ridge caps, vents, underlayment, and related materials in sections rather than stripping the entire roof at once. This approach minimizes the amount of exposed roof while reducing the risk of weather related damage if conditions change unexpectedly.
The demolition process naturally creates noise and vibration throughout the home. Homeowners should expect hammering, scraping, material movement, and debris removal during this stage. Although the activity may seem intense, experienced roofing crews follow organized procedures that allow demolition to progress safely and efficiently.
As materials are removed, workers transfer debris directly into dumpsters whenever possible. Keeping the worksite clean throughout demolition reduces safety hazards while making it easier to begin installation once the roof deck has been exposed.
Contractors also monitor the condition of the roof structure continuously during demolition. If hidden moisture damage, deteriorated decking, or unexpected structural concerns become visible, these issues are documented and discussed with the homeowner before repairs begin.
Removing the old roofing system typically represents one of the fastest phases of the project, but it also provides valuable information that influences every remaining stage of installation.
Roof Deck Inspection and Necessary Repairs
With the existing roofing materials removed, contractors gain full access to the roof deck. This stage is critical because every new roofing system depends on a strong and stable structural foundation. Installing new materials over damaged decking reduces roof performance and may shorten its expected lifespan.
The roof deck is carefully inspected for signs of moisture damage, wood rot, loose fasteners, mold, cracking, or structural movement. Any damaged sections are repaired or replaced before installation continues. Correcting these problems now prevents larger structural issues from developing after the new roof has been completed.
Roof framing and support structures may also be evaluated if conditions suggest additional inspection is necessary. Contractors verify that the roof remains properly aligned while ensuring that the structure can continue supporting the selected roofing material without difficulty.
Ventilation openings receive attention during this stage as well. Ridge vents, soffit vents, and attic airflow systems should function together to regulate heat and moisture beneath the roof. Improving ventilation before installing new roofing materials helps maximize long term performance.
Although structural repairs may slightly extend the project timeline, they provide significant long term value. Addressing hidden damage during replacement protects the investment while ensuring that the new roof performs according to its expected design life.
Once repairs are complete and the roof deck has been approved, installation of the protective roofing layers can begin.
Installing Underlayment and Waterproofing Layers
The next stage focuses on building the protective foundation that sits beneath the visible roofing material. These hidden components play an essential role in preventing moisture intrusion and supporting the overall durability of the roofing system.
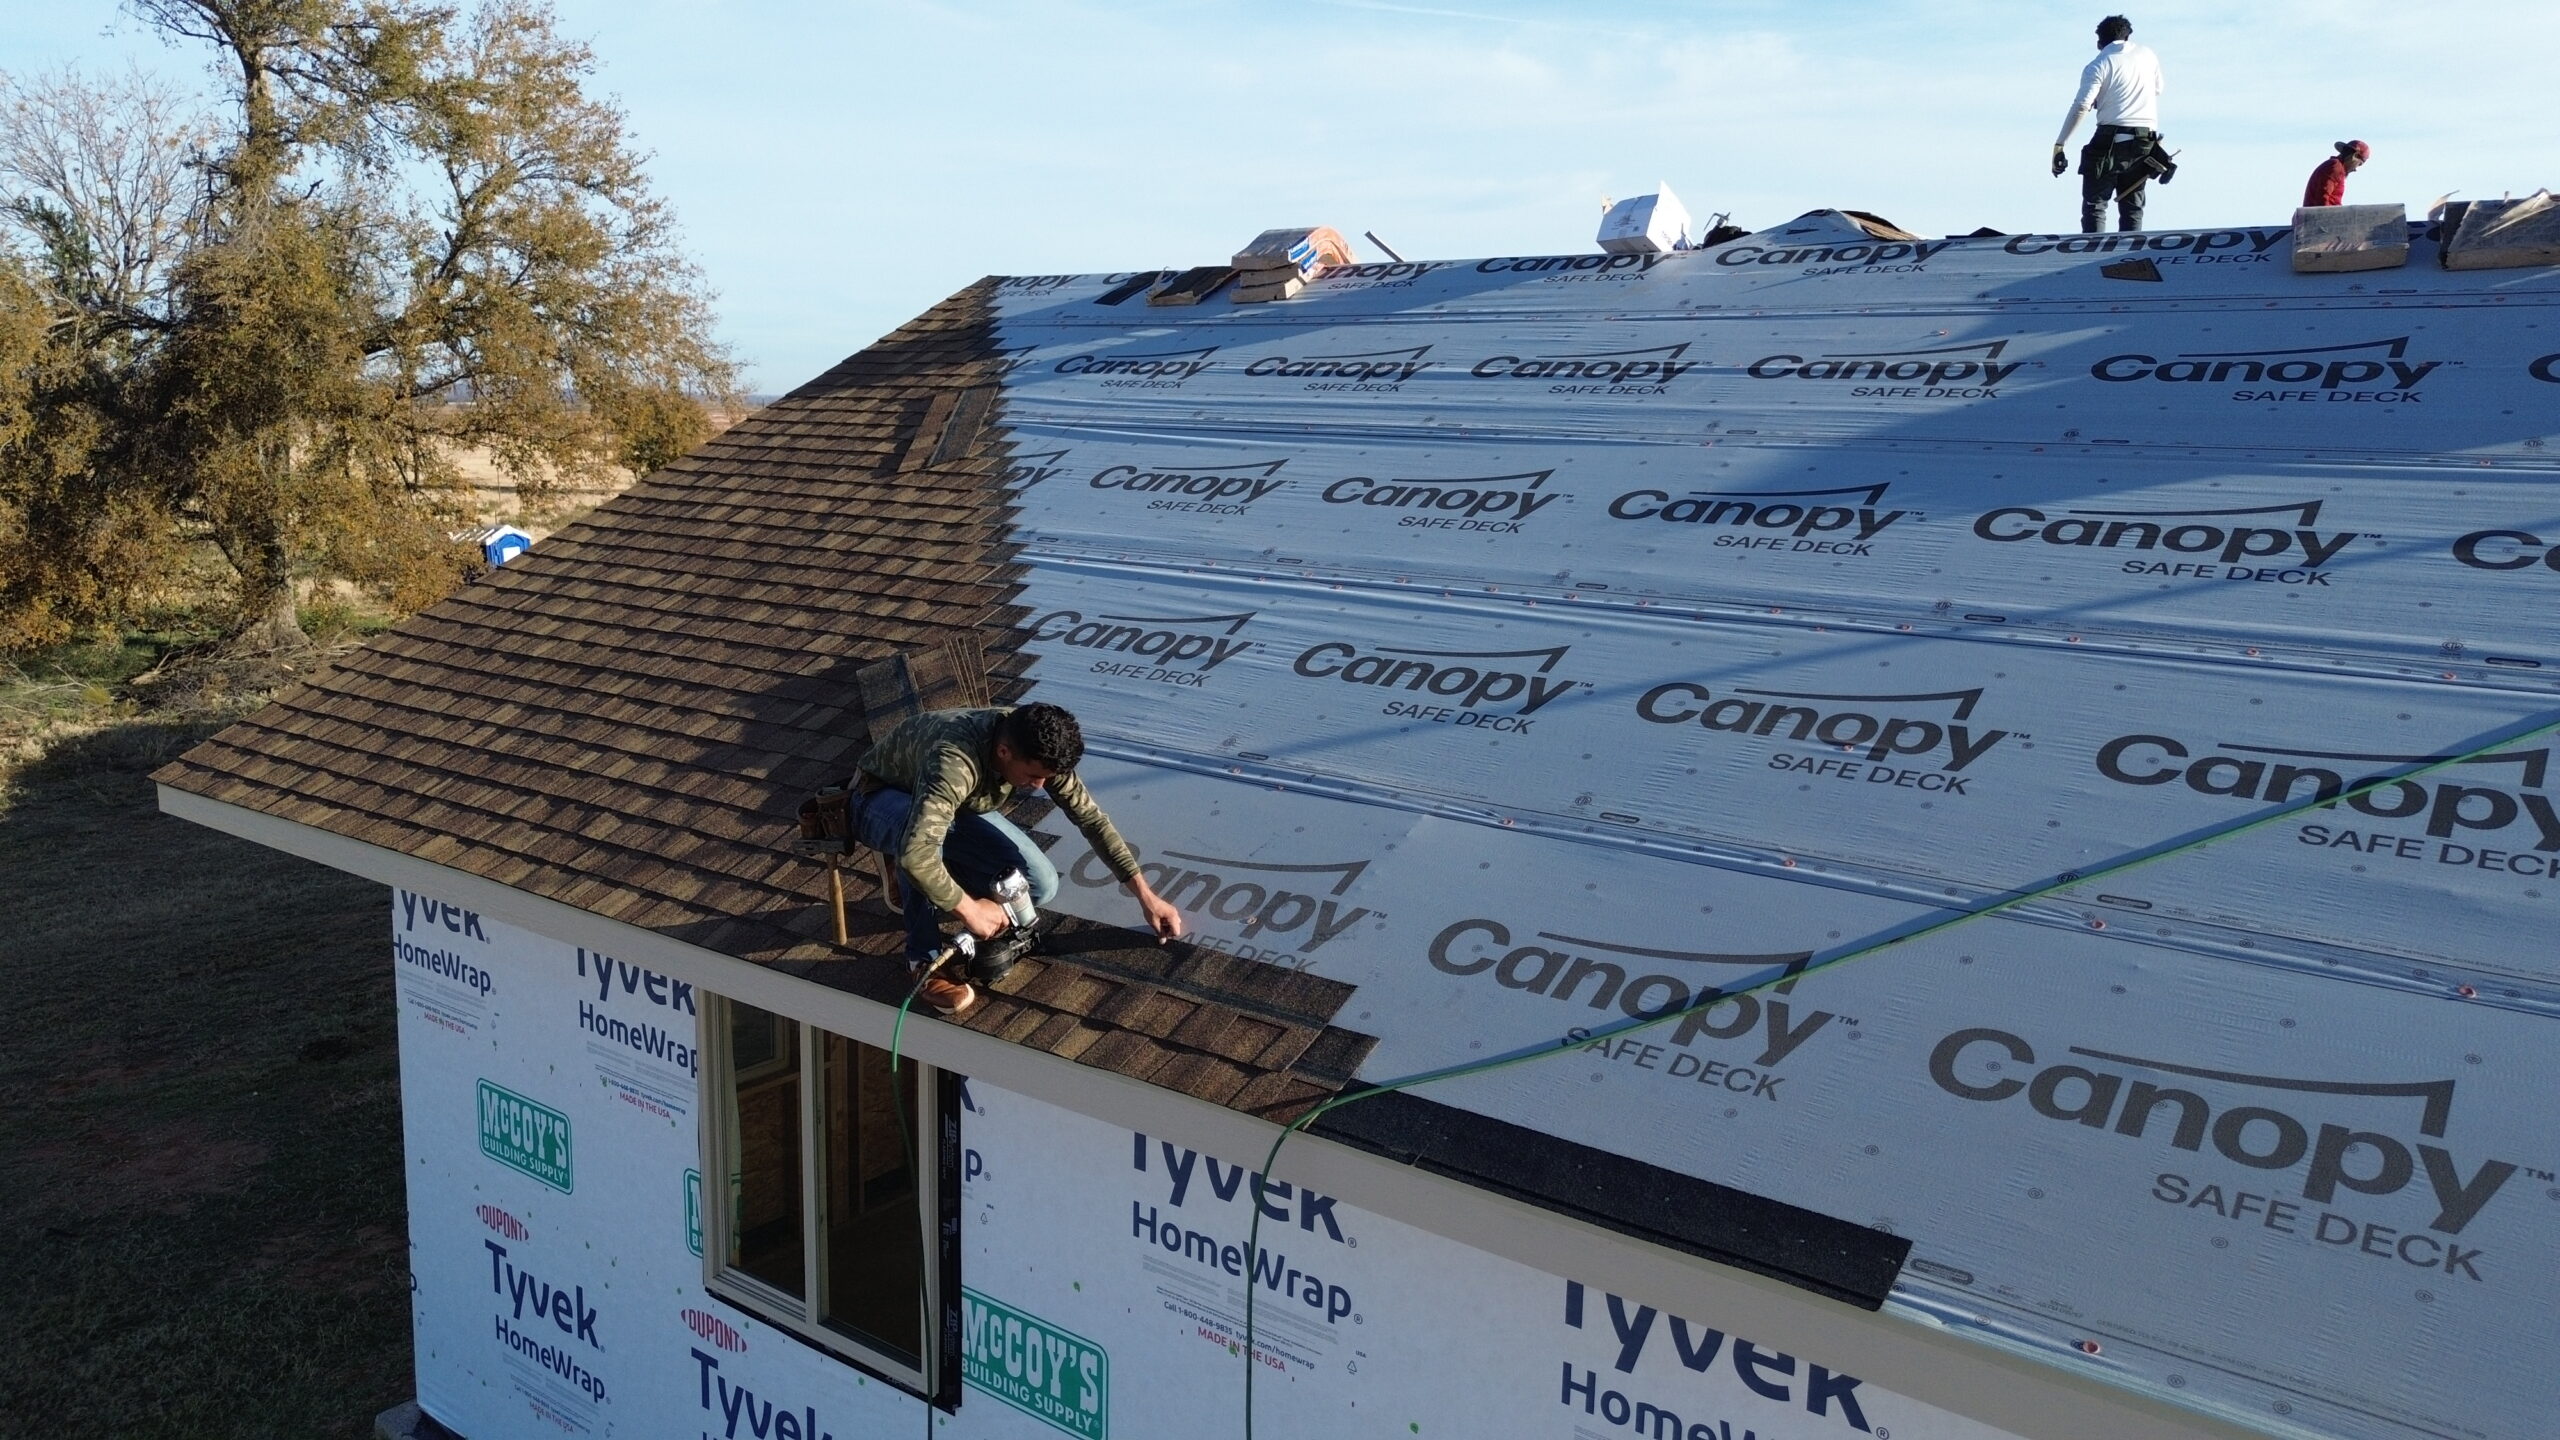
Roof underlayment is installed directly over the roof deck to create a secondary moisture barrier. If water ever passes beneath the finished roofing material, the underlayment helps prevent it from reaching the structural decking below. This additional layer provides valuable protection during severe weather.
Special waterproof membranes are often added in areas that experience greater water exposure. Roof valleys, eaves, chimneys, skylights, and other transition points receive additional waterproofing because they are naturally more vulnerable to leaks than open roof surfaces.
Flashing installation also begins during this stage. Metal flashing directs water away from roof joints while protecting areas where the roof meets walls, chimneys, vents, or other structural features. Correct flashing installation is one of the most important aspects of long term roof performance.
Drip edges are installed along roof perimeters to guide rainwater into gutters while protecting roof edges from moisture damage. Proper edge protection helps preserve both roofing materials and underlying structural components.
These protective layers remain hidden after installation, but they continue working throughout the entire life of the roof. Their quality and proper installation contribute directly to the reliability of the completed roofing system.
Installing the New Roofing Material
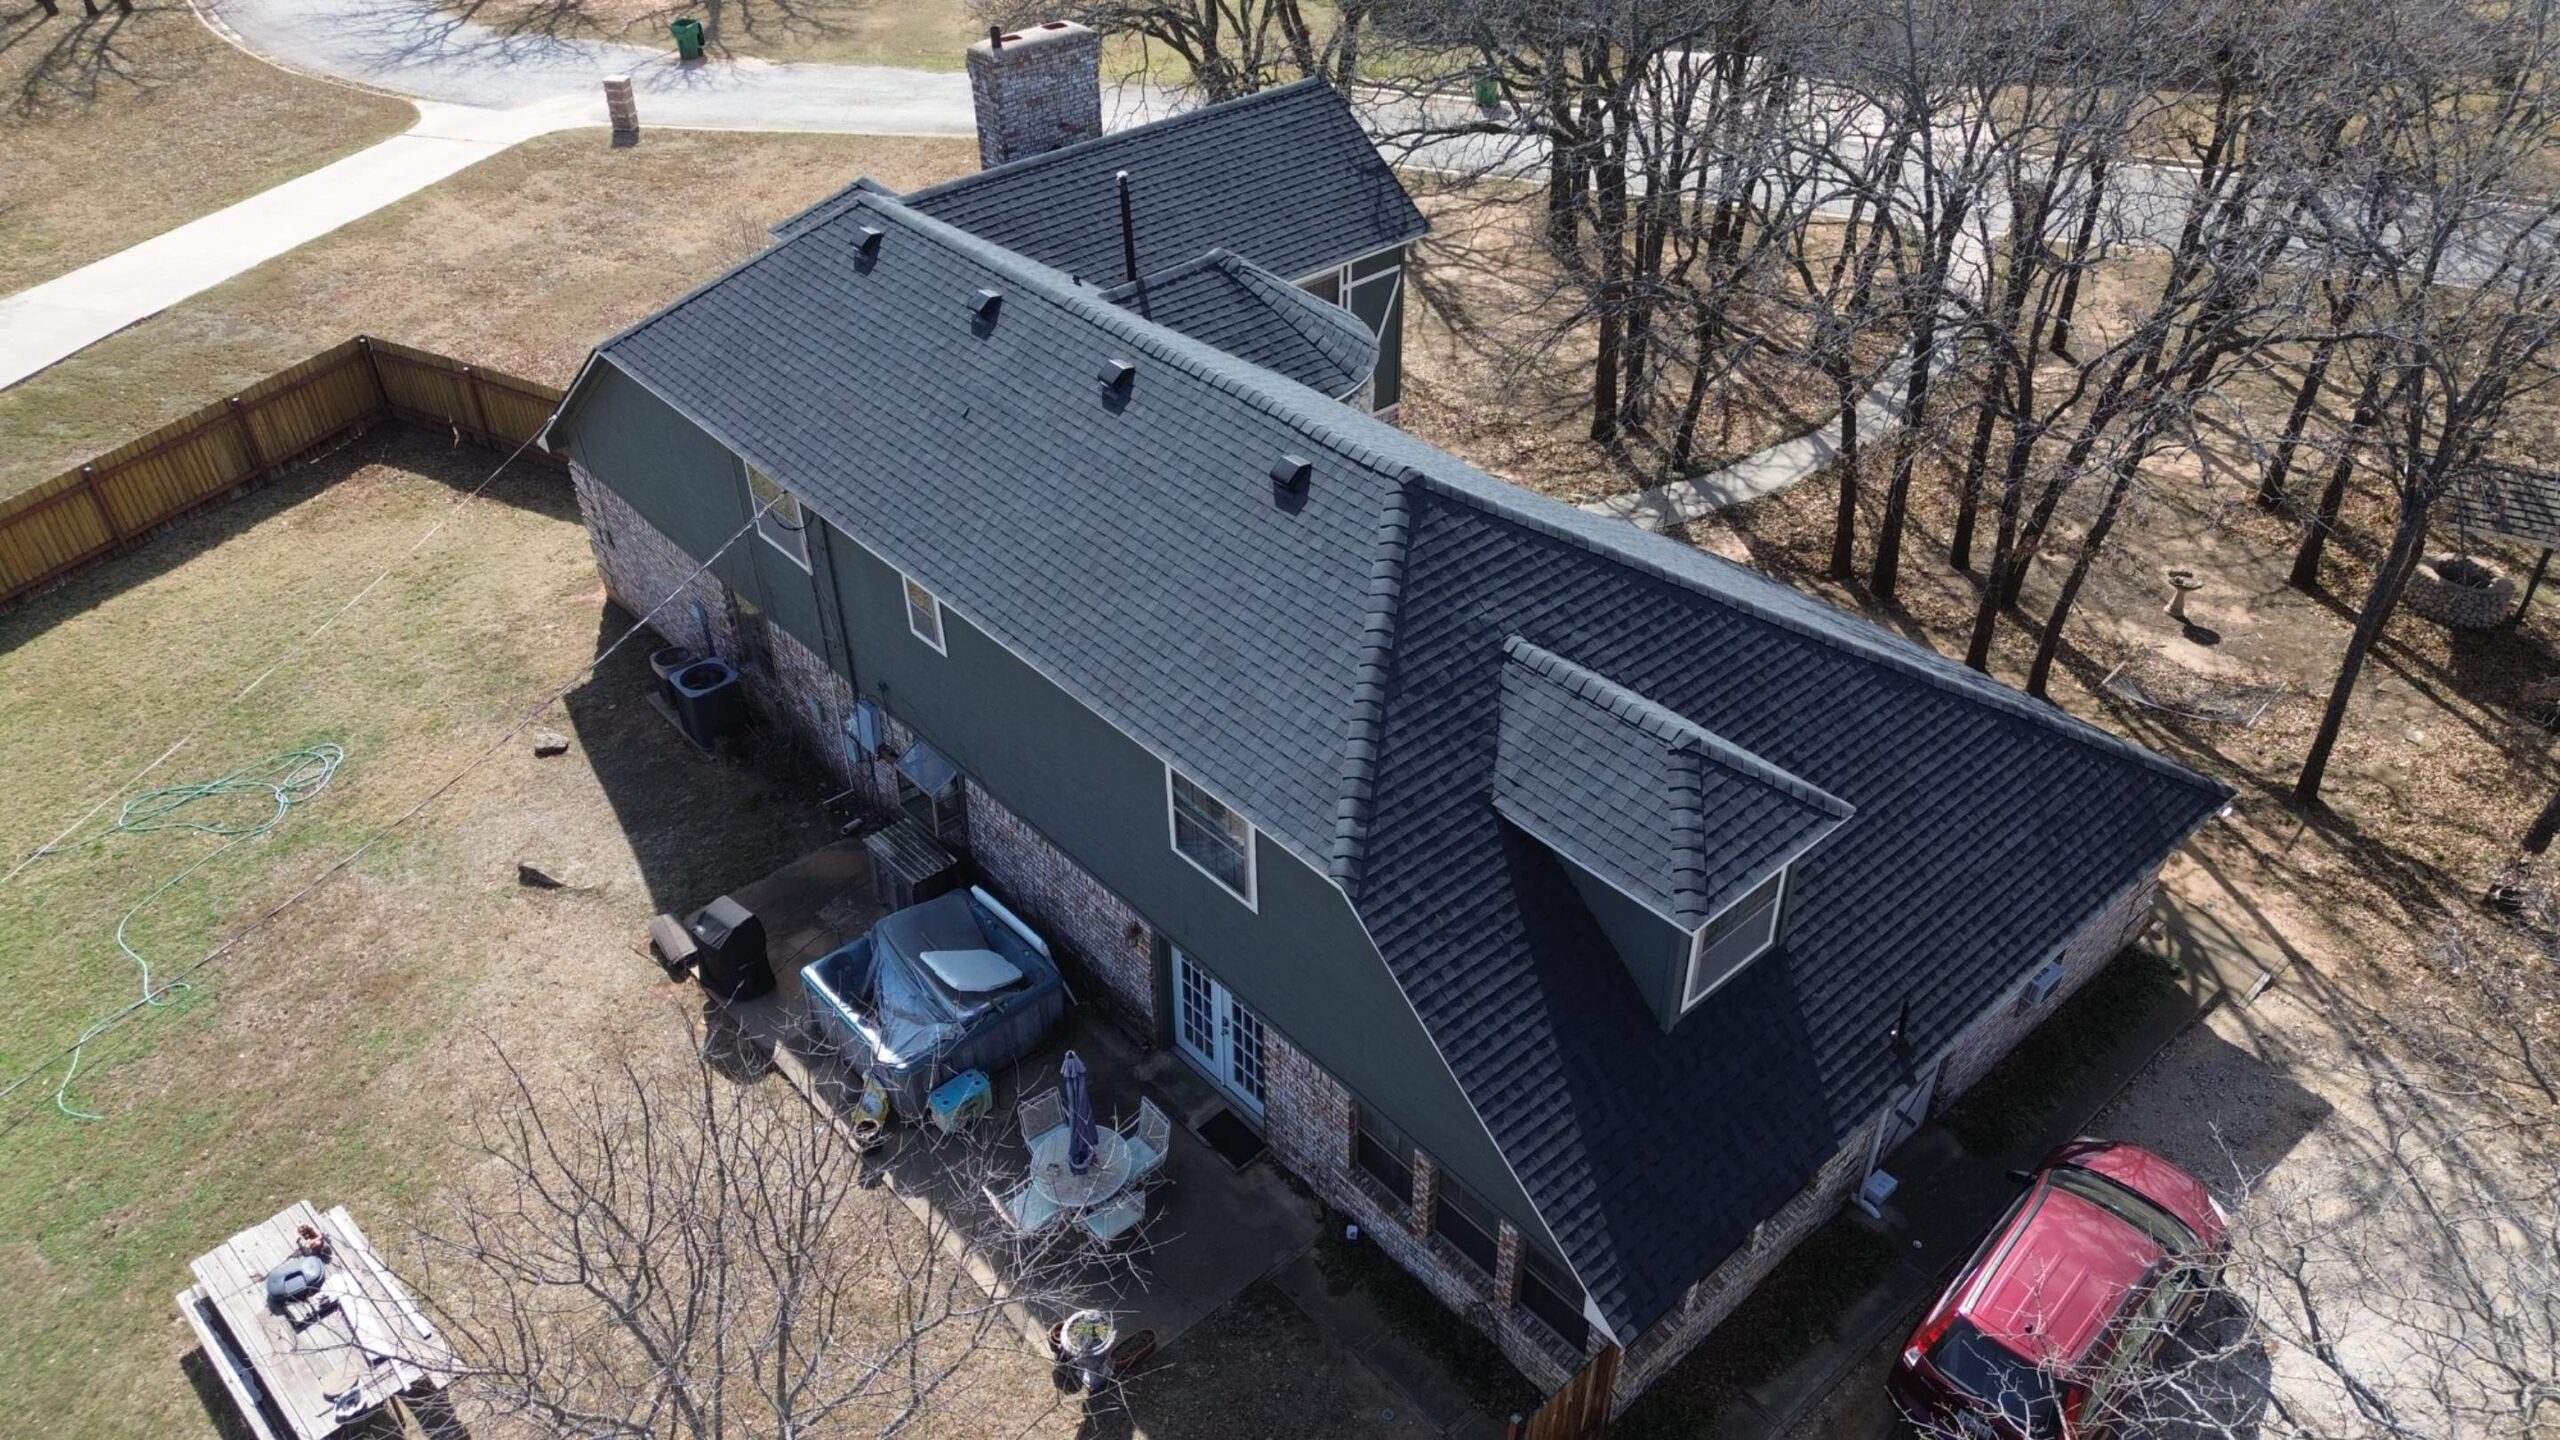
With the roof deck repaired and waterproofing completed, the installation of the finished roofing material begins. This stage transforms the appearance of the home while providing the weather protection homeowners expect from a new roofing system.
Installation methods vary depending on the roofing material selected. Asphalt shingles, metal panels, tile roofing, and synthetic products each follow manufacturer specific installation procedures that ensure long term durability and warranty compliance.
Roofing materials are generally installed from the lower roof edge upward toward the ridge. This overlapping pattern allows rainwater to flow naturally across the roof without entering beneath the roofing surface. Consistent alignment also contributes to the roof’s finished appearance.
Contractors pay particular attention to roof valleys, dormers, skylights, chimneys, and other complex areas. These locations require careful installation because they experience greater water flow than open roof sections. Precision workmanship helps maintain continuous waterproof protection.
Throughout installation, supervisors inspect workmanship regularly. Material placement, fastening methods, alignment, and weatherproofing details are checked continuously to verify that installation meets both manufacturer recommendations and company quality standards.
As installation progresses, homeowners begin to see the finished appearance of the new roof taking shape. This stage often represents the most visually rewarding part of the entire replacement project.
Flashing, Ventilation, and Finishing Details
Once the primary roofing material has been installed, contractors complete the final details that ensure the roofing system performs reliably over the long term. Although these finishing components occupy relatively small portions of the roof, they play an essential role in preventing leaks and maintaining structural protection.
Flashing around chimneys, skylights, plumbing vents, and roof penetrations is carefully completed using compatible materials designed to accommodate normal expansion and contraction. Proper flashing helps direct water safely away from vulnerable roof transitions.
Ventilation systems are finalized during this stage as well. Ridge vents, soffit vents, and exhaust vents work together to regulate attic temperature and moisture. Balanced airflow protects roofing materials while improving energy efficiency throughout the home.
Ridge caps are installed along the highest point of the roof to provide weather protection while completing the roof’s finished appearance. These components also contribute to proper ventilation when ridge vent systems are used.
Contractors also inspect gutters, downspouts, and drainage paths to verify that water will move efficiently away from the roof once installation is complete. Effective drainage supports both roof longevity and foundation protection.
Although these finishing tasks require careful attention to detail, they greatly influence the long term reliability of the completed roofing system.
Common Delays During Roof Replacement
Even well planned roofing projects occasionally experience delays. Most interruptions are temporary and occur because contractors prioritize installation quality and safety over speed.
Some of the most common causes of delays include:
- Heavy rain or severe weather conditions.
- High winds that create unsafe working conditions.
- Hidden structural damage discovered after roof removal.
- Additional roof deck repairs not visible during the initial inspection.
- Material delivery delays from suppliers.
- Permit inspections or local code related requirements.
Experienced roofing contractors prepare for many of these situations through careful scheduling and ongoing communication with homeowners. Flexibility allows the project to continue safely while maintaining installation quality.
Daily Progress From Start to Finish
Understanding what typically happens each day helps homeowners follow the project more comfortably while maintaining realistic expectations throughout construction.
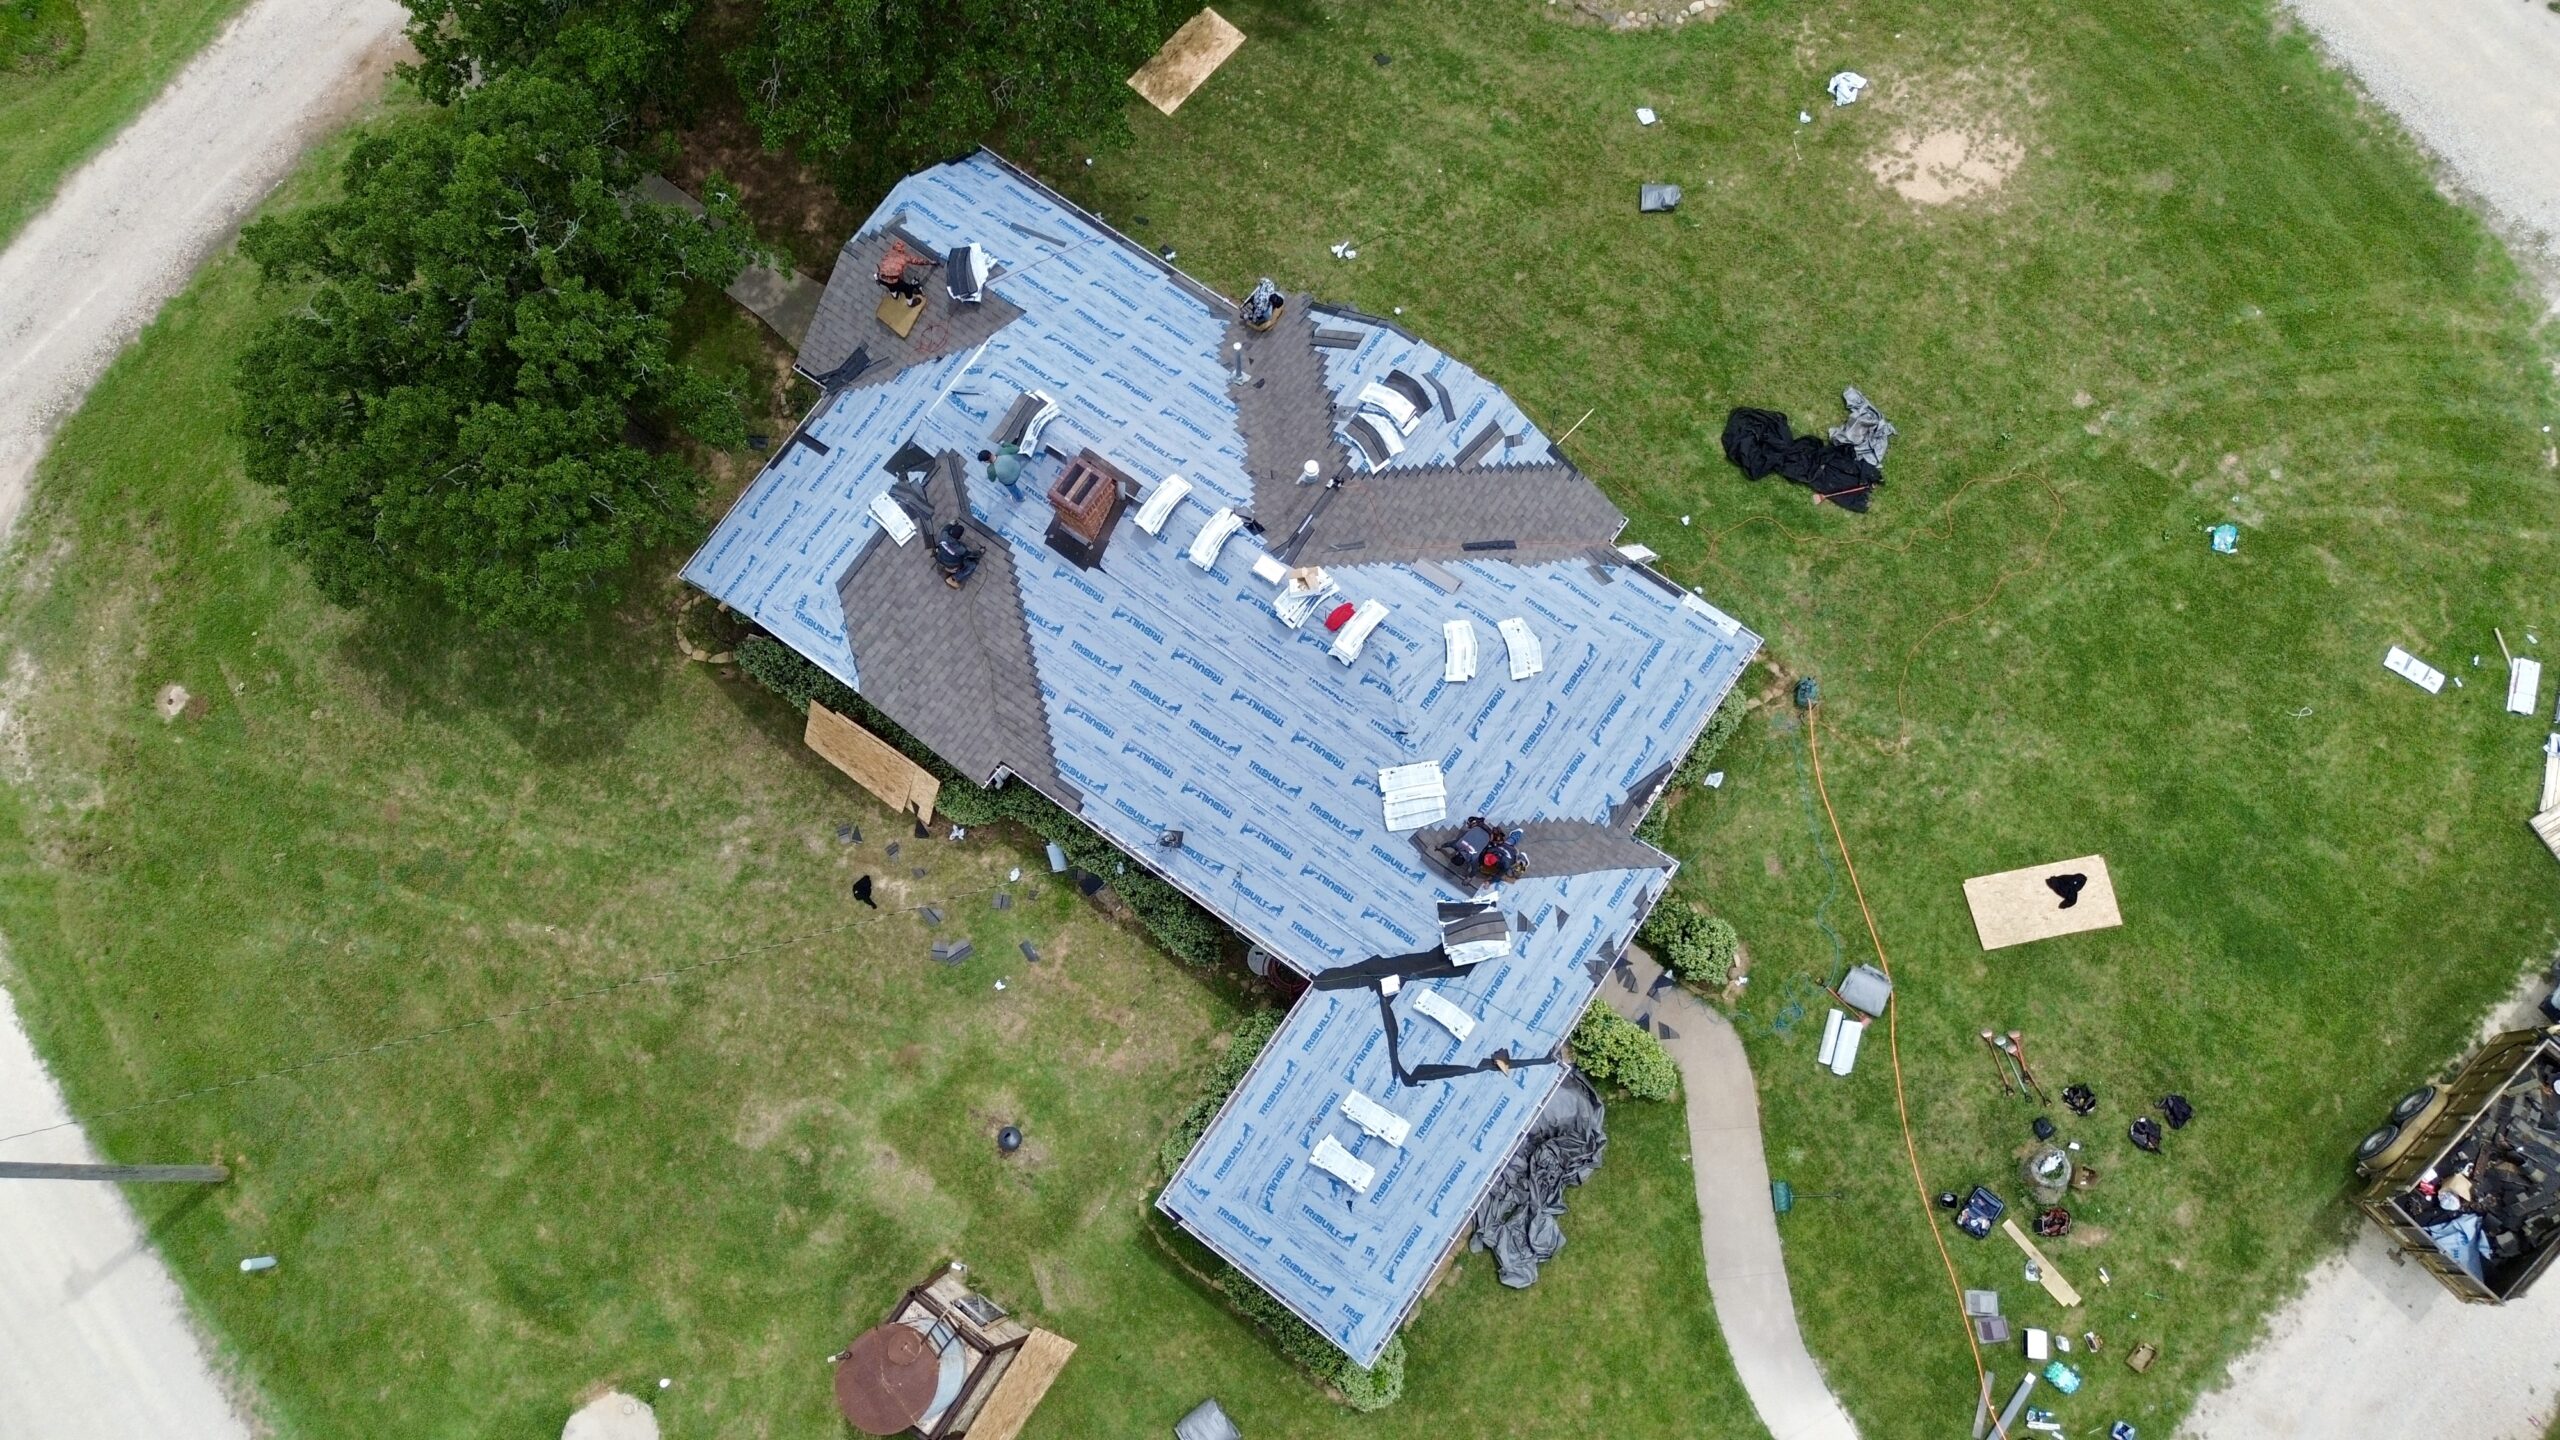
The first day generally focuses on site preparation, roof removal, and initial structural inspection. Depending on roof size and weather conditions, contractors may also begin repairs or install underlayment before the end of the day.
The second day often includes completion of structural repairs, installation of waterproofing materials, and significant progress on the new roofing system. Larger homes may require additional time if complex roof designs or extensive repairs are involved.
Subsequent days are dedicated to completing roofing material installation, finishing flashing details, finalizing ventilation systems, and performing continuous quality inspections. Cleanup occurs throughout the project rather than only at the end, helping maintain an organized worksite.
The final construction day typically includes detailed inspections, complete property cleanup, magnetic nail collection, debris removal, and a walkthrough with the homeowner. Contractors review the completed work while answering any remaining questions before officially concluding the installation phase.
Although timelines vary depending on roof size, weather, and project complexity, understanding the daily progression helps homeowners appreciate how each stage contributes to a durable and professionally installed roofing system. In the final part of this guide, we will examine the completion phase, including final inspections, cleanup, warranties, post installation expectations, long term maintenance, and the best practices for protecting a new residential roof for decades to come.
Final Roof Inspection and Quality Checks
As the installation phase comes to an end, the roofing project enters its final quality assurance stage. This step ensures that every roofing component has been installed correctly and that the completed system meets both manufacturer specifications and local building requirements. A thorough inspection provides confidence that the new roof is ready to deliver long term protection.
Contractors begin by examining the entire roof surface for proper alignment, secure fastening, and consistent installation. Shingles or roofing panels, ridge caps, flashing, vents, valleys, and roof edges are all reviewed carefully to verify that each component has been installed according to the project plan.
Special attention is given to roof penetrations because these areas are naturally more vulnerable to water intrusion. Flashing around chimneys, skylights, plumbing vents, and exhaust systems is inspected to confirm that waterproof seals have been completed correctly. Proper finishing at these locations greatly reduces the risk of future leaks.
Drainage systems are also evaluated during the final inspection. Gutters, downspouts, roof valleys, and drip edges should guide rainwater efficiently away from the roof without creating standing water or overflow. Good drainage helps protect both the roofing system and the home’s foundation.
If local building regulations require inspections, these may occur before the project is officially completed. Municipal inspectors verify compliance with applicable building codes while confirming that required permits have been properly addressed. Once all inspections have been completed successfully, the project moves into the cleanup phase.
Property Cleanup and Debris Removal
Cleaning the property is much more than a final housekeeping task. Professional cleanup protects the homeowner’s property while demonstrating the contractor’s commitment to quality workmanship from beginning to end.
Throughout construction, roofing crews collect old shingles, underlayment, flashing, nails, and other debris rather than allowing waste to accumulate around the home. Maintaining an organized worksite improves safety while making the final cleanup process more efficient.
Once installation is complete, all remaining construction materials are removed from the property. Dumpsters, equipment, unused roofing supplies, and temporary protective coverings are collected before the contractor performs a detailed inspection of the surrounding area.
One of the most important cleanup activities involves using magnetic sweepers to locate roofing nails that may have fallen around the property. Driveways, sidewalks, lawns, flower beds, and outdoor living spaces are carefully checked to reduce the possibility of injuries or tire damage after construction.
Protective coverings placed over landscaping, patios, and outdoor furniture are removed only after cleanup has been completed. Contractors also inspect plants, shrubs, and surrounding areas to ensure the property has been restored as closely as possible to its original condition.
A clean worksite allows homeowners to immediately begin enjoying their new roof while returning normal use to the property without unnecessary concerns about leftover construction debris.
Understanding Warranties and Project Documentation
Project completion also marks the beginning of the warranty period for the new roofing system. Understanding available warranty protection helps homeowners protect their investment while knowing what documentation should be retained for future reference.
Most residential roof replacements include both manufacturer warranties and contractor workmanship warranties. Manufacturer warranties generally cover defects related to roofing materials, while workmanship warranties address issues resulting from installation. Reviewing both documents carefully helps homeowners understand the coverage provided.
Contractors usually provide documentation describing the roofing materials installed, project completion date, warranty periods, maintenance recommendations, and contact information for future service requests. Keeping these records organized simplifies future maintenance and warranty claims if they ever become necessary.
Homeowners should also retain copies of permits, inspection approvals, invoices, contracts, and payment records. These documents may prove valuable during future home sales because they demonstrate that the roof replacement was completed professionally and in accordance with local requirements.
Photographs taken before, during, and after installation can also become useful long term records. They provide visual documentation of the completed roofing system while helping contractors evaluate future maintenance questions if repairs are ever required.
Organized project documentation protects the homeowner’s investment while supporting responsible roof ownership throughout the life of the roofing system.
What Happens During the First Few Weeks After Installation
Although the roof replacement project officially concludes once construction is complete, the first few weeks after installation remain important. During this period, homeowners become familiar with the new roofing system while observing its performance under normal weather conditions.
It is normal for homeowners to notice subtle differences in the appearance of a new roof compared with the previous one. Modern roofing materials often provide cleaner lines, more consistent color, and improved overall appearance that becomes even more noticeable after the property has been fully cleaned.
Following the first significant rainfall, homeowners may choose to perform a simple visual inspection from ground level. Checking gutters, downspouts, roof edges, and attic spaces for any unusual signs of moisture helps confirm that drainage is functioning properly. Any concerns should be reported promptly to the roofing contractor.
Homeowners should also become familiar with the maintenance recommendations provided at project completion. Understanding inspection schedules, gutter cleaning requirements, and warranty conditions helps establish good maintenance habits from the beginning.
If questions arise after installation, homeowners should contact the contractor rather than attempting adjustments independently. Professional guidance helps preserve warranty coverage while ensuring that any concerns are addressed using appropriate repair methods.
The first few weeks provide an opportunity to confirm that the new roof is performing as expected while establishing confidence in the completed installation.
Long Term Maintenance Timeline
Maintaining a residential roof is an ongoing responsibility that extends throughout its service life. Following a regular maintenance schedule helps preserve roof performance while maximizing the return on the replacement investment.
Within the first year, many homeowners schedule a professional inspection to verify that the roofing system continues performing properly after seasonal weather exposure. Early inspections identify minor concerns before they develop into larger maintenance issues.
After the first year, regular inspections should continue at least once or twice annually depending on local climate conditions. Spring and autumn inspections are particularly valuable because they allow homeowners to evaluate the roof before and after periods of severe weather.
Routine gutter cleaning should also become part of regular home maintenance. Keeping drainage systems clear prevents water accumulation while protecting roofing materials from unnecessary moisture exposure. Homes surrounded by mature trees may require more frequent cleaning.
Storm inspections are another important part of the maintenance timeline. High winds, hail, heavy rainfall, or falling tree branches may create damage that is not immediately visible from the ground. Prompt professional evaluations after severe weather help preserve roof performance and warranty coverage.
Following a consistent maintenance schedule allows homeowners to protect the roofing investment while extending the useful life of the completed roofing system.
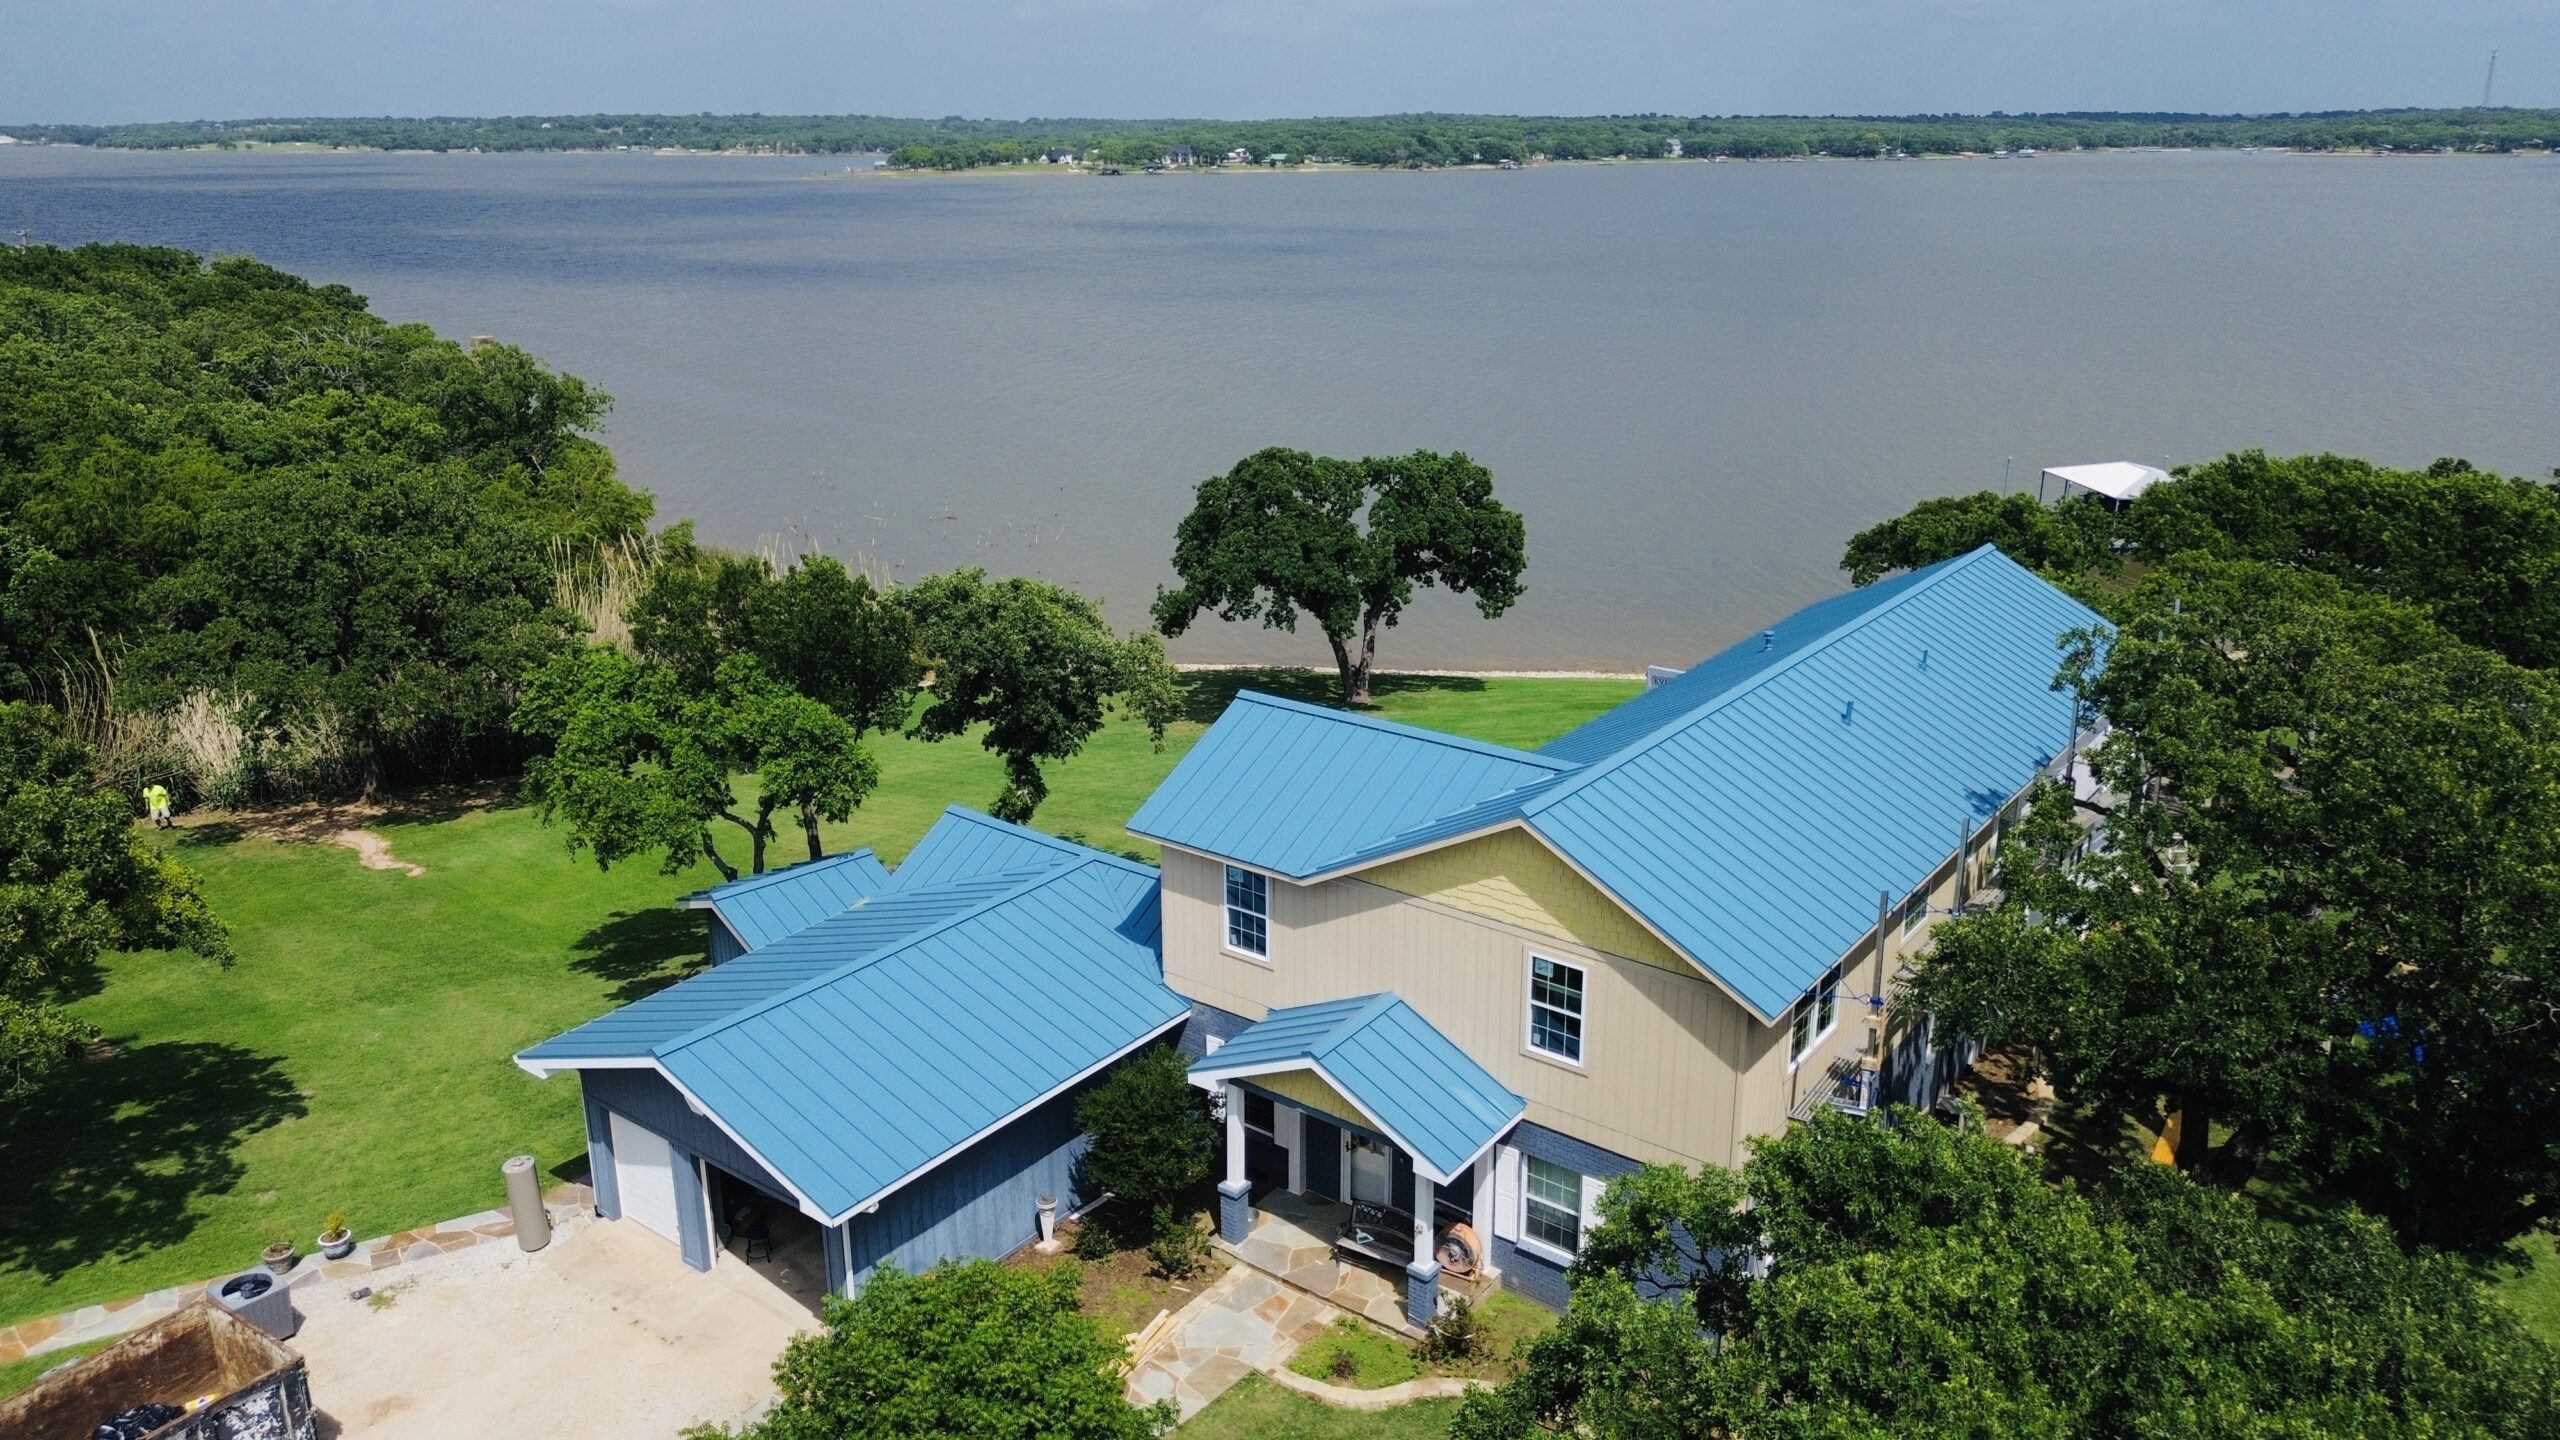
Best Practices After Roof Replacement
Once the new roof has been installed, following proven maintenance practices helps preserve its appearance and performance for many years.
- Schedule professional roof inspections at least once or twice each year.
- Clean gutters and downspouts regularly to maintain efficient drainage.
- Inspect the roof after severe storms for visible signs of damage.
- Trim overhanging tree branches to reduce debris accumulation and physical damage.
- Arrange professional repairs promptly whenever roofing concerns are identified.
- Keep warranty documents, inspection reports, and maintenance records organized.
- Limit unnecessary foot traffic on the roof whenever possible.
- Consult qualified roofing professionals before installing new rooftop equipment.
These practices require relatively little effort but contribute significantly to roof longevity. Preventive maintenance consistently provides better long term value than waiting until significant repairs become necessary.
Frequently Asked Questions
| Question | Answer |
|---|---|
| How long does a typical residential roof replacement take from start to finish? | Planning may take several weeks, while the actual installation is often completed within one to several days depending on roof size, weather, and project complexity. |
| Should I inspect my roof immediately after installation? | A simple ground level observation is appropriate, but detailed roof inspections should be performed by qualified roofing professionals when needed. |
| When should I schedule the first professional maintenance inspection? | Many homeowners schedule their first inspection within the first year after installation and continue with regular annual or semiannual inspections afterward. |
| Is it normal to find a few roofing granules after installation? | Small amounts of loose granules can be normal with some roofing materials during the initial period and usually decrease over time. |
| How important is keeping project documentation? | Project records, warranties, inspection reports, and maintenance history help protect your investment and may also benefit future property sales. |
Conclusion
A residential roof replacement is much more than a construction project completed over a few days. It is a carefully planned process that begins with professional inspections, continues through contractor selection, scheduling, material preparation, installation, and quality control, and extends into years of regular maintenance. Understanding each stage of this timeline allows homeowners to prepare effectively while maintaining realistic expectations throughout the project.
Every phase contributes to the long term success of the roofing system. Thorough inspections identify existing conditions, careful planning reduces delays, professional installation ensures reliable weather protection, and detailed final inspections confirm that the completed roof meets quality standards. Proper cleanup, organized documentation, and warranty guidance complete the transition from construction to long term ownership.
The timeline does not end when the roofing crew leaves the property. Ongoing inspections, routine maintenance, prompt repairs, and responsible roof care continue protecting the investment while extending the roof’s useful life. These simple maintenance practices help preserve structural integrity, energy efficiency, and curb appeal for many years.
By understanding the complete residential roof replacement timeline from the initial inspection to long term maintenance, homeowners can approach the project with greater confidence, make informed decisions at every stage, and enjoy the lasting benefits of a professionally installed roof that provides dependable protection, improved home value, and peace of mind for decades to come.