
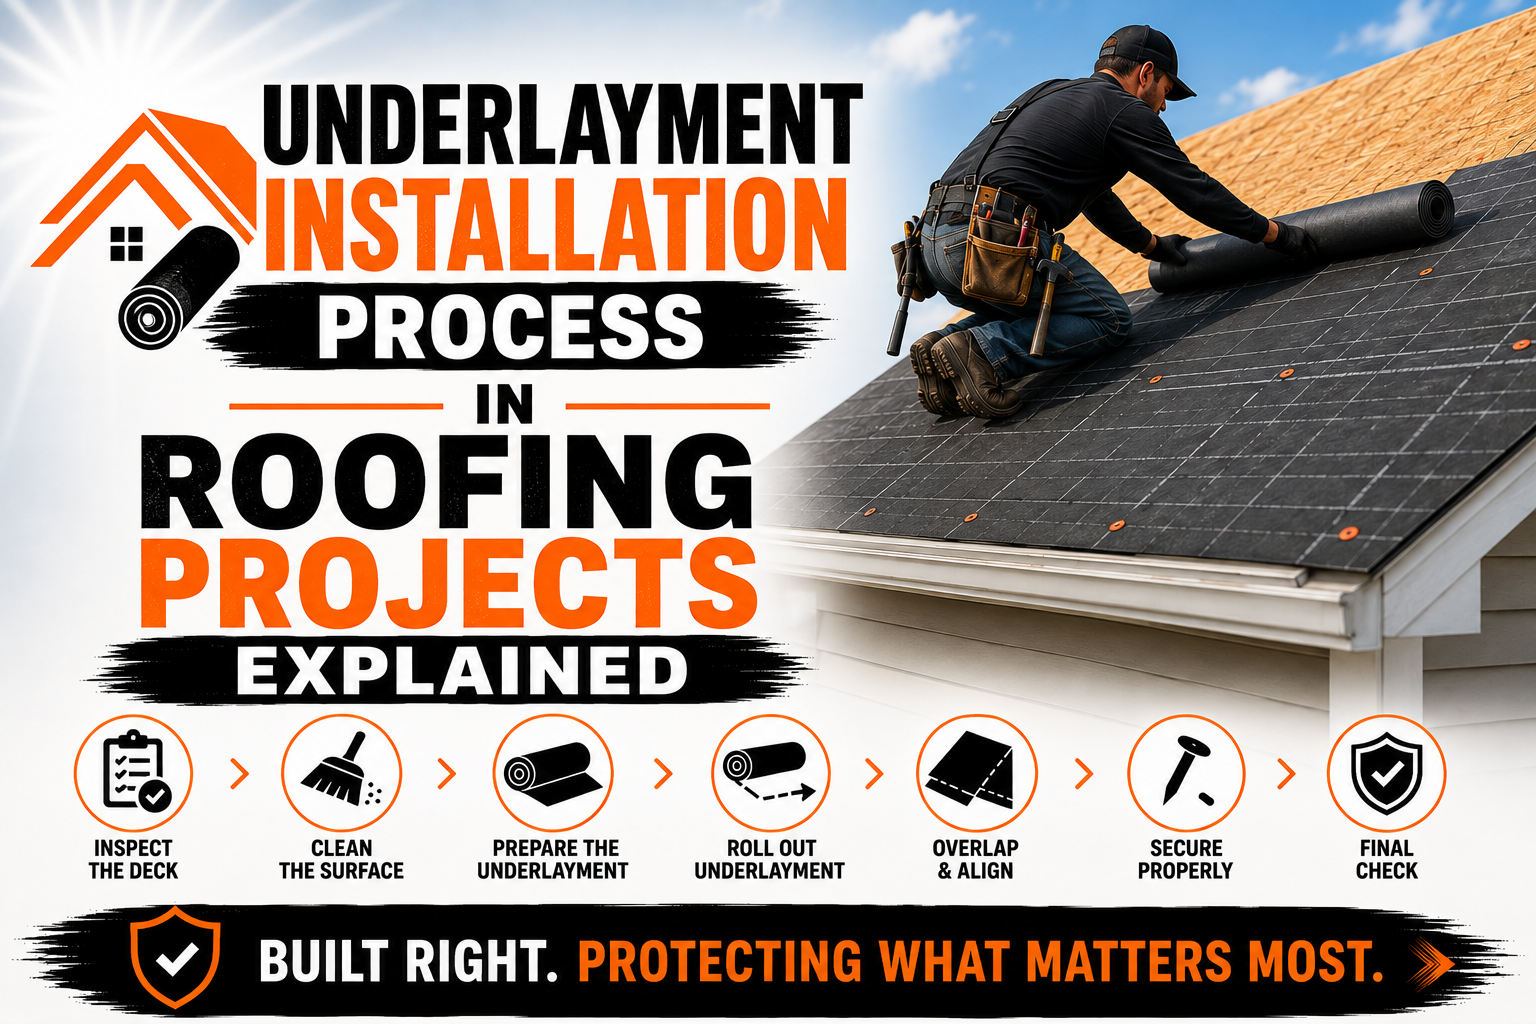
Underlayment Installation Process in Roofing Projects Explained
Introduction
Roofing underlayment is an important protective layer installed between the roof deck and the primary roofing material. Although it is usually hidden after shingles, metal panels, tiles, or other roofing materials are installed, it plays an important role in protecting the structure from moisture that may move beneath the outer roof covering. Proper underlayment installation is therefore an essential part of building a complete and dependable roofing system.
The outer roofing material is designed to shed most rainfall, but no roofing surface should be treated as the only line of defense against water. Wind-driven rain, melting snow, damaged shingles, minor gaps, and water moving around roof penetrations can expose the layers beneath the primary covering. A properly installed underlayment provides additional protection between these conditions and the roof deck.
The installation process involves more than simply rolling material across the roof. Contractors must select a suitable product, inspect and prepare the roof deck, determine the correct installation sequence, establish appropriate overlaps, secure the material, and carefully integrate it around valleys, edges, penetrations, and flashing locations. Each detail contributes to the ability of the underlayment to perform its intended function.
Different roofing projects may require different types of underlayment and installation methods. Asphalt shingle roofs, metal roofing, tile systems, and other roofing assemblies can have specific requirements, so contractors need to follow the instructions for the selected product and roofing system rather than using the same approach on every project.
Understanding the underlayment installation process helps property owners see why this layer deserves careful attention during roof construction or replacement. A properly installed underlayment creates an important protective foundation before the primary roofing material is placed above it.
Understanding Roofing Underlayment and Its Purpose
Roofing underlayment is a protective material installed over the roof deck and beneath the primary roofing material. Its purpose varies somewhat depending on the product and roofing system, but its main role is to provide an additional layer of moisture protection and help protect the underlying roof structure.
Underlayment can be especially useful when water reaches areas beneath the outer roofing material. For example, wind-driven rain may move under shingles or around certain roof details, while damaged or displaced roofing materials can create temporary openings. The underlayment provides another barrier that can help reduce the chance of moisture reaching the deck.
The roof deck itself is an important structural component, but it should not be exposed unnecessarily to moisture. Repeated water exposure can contribute to deterioration, swelling, rot, or other damage depending on the decking material and environmental conditions. Keeping the deck protected helps preserve the foundation of the roofing system.
Underlayment can also help create a more consistent surface between the deck and the primary roofing material. The exact benefits depend on the product, but properly installed material can provide an additional layer within the overall roof assembly.
There are several types of roofing underlayment available for different applications. Common categories include synthetic underlayment, asphalt-saturated felt, and specialized self-adhering or waterproofing membranes.
Synthetic underlayment is widely used in many modern roofing applications. These products are generally lightweight and designed to provide moisture resistance while being relatively easy to handle and install.
Asphalt-saturated felt has been used in roofing systems for many years. It remains suitable for certain applications when installed according to the requirements of the roofing system and applicable standards.
Specialized membranes can provide enhanced protection in selected areas. They may be used around eaves, valleys, penetrations, or other vulnerable locations where additional resistance to water intrusion is appropriate.
The appropriate product depends on several factors, including the roofing material, roof design, local conditions, manufacturer’s requirements, and applicable building regulations. Contractors should not select underlayment based only on price or appearance because compatibility and installation requirements are equally important.
Underlayment should also be considered part of a complete roofing system rather than an independent waterproofing solution. It works together with the roof deck, flashing, ventilation, edge protection, and primary roofing material.
Choosing the Right Underlayment for the Roofing System
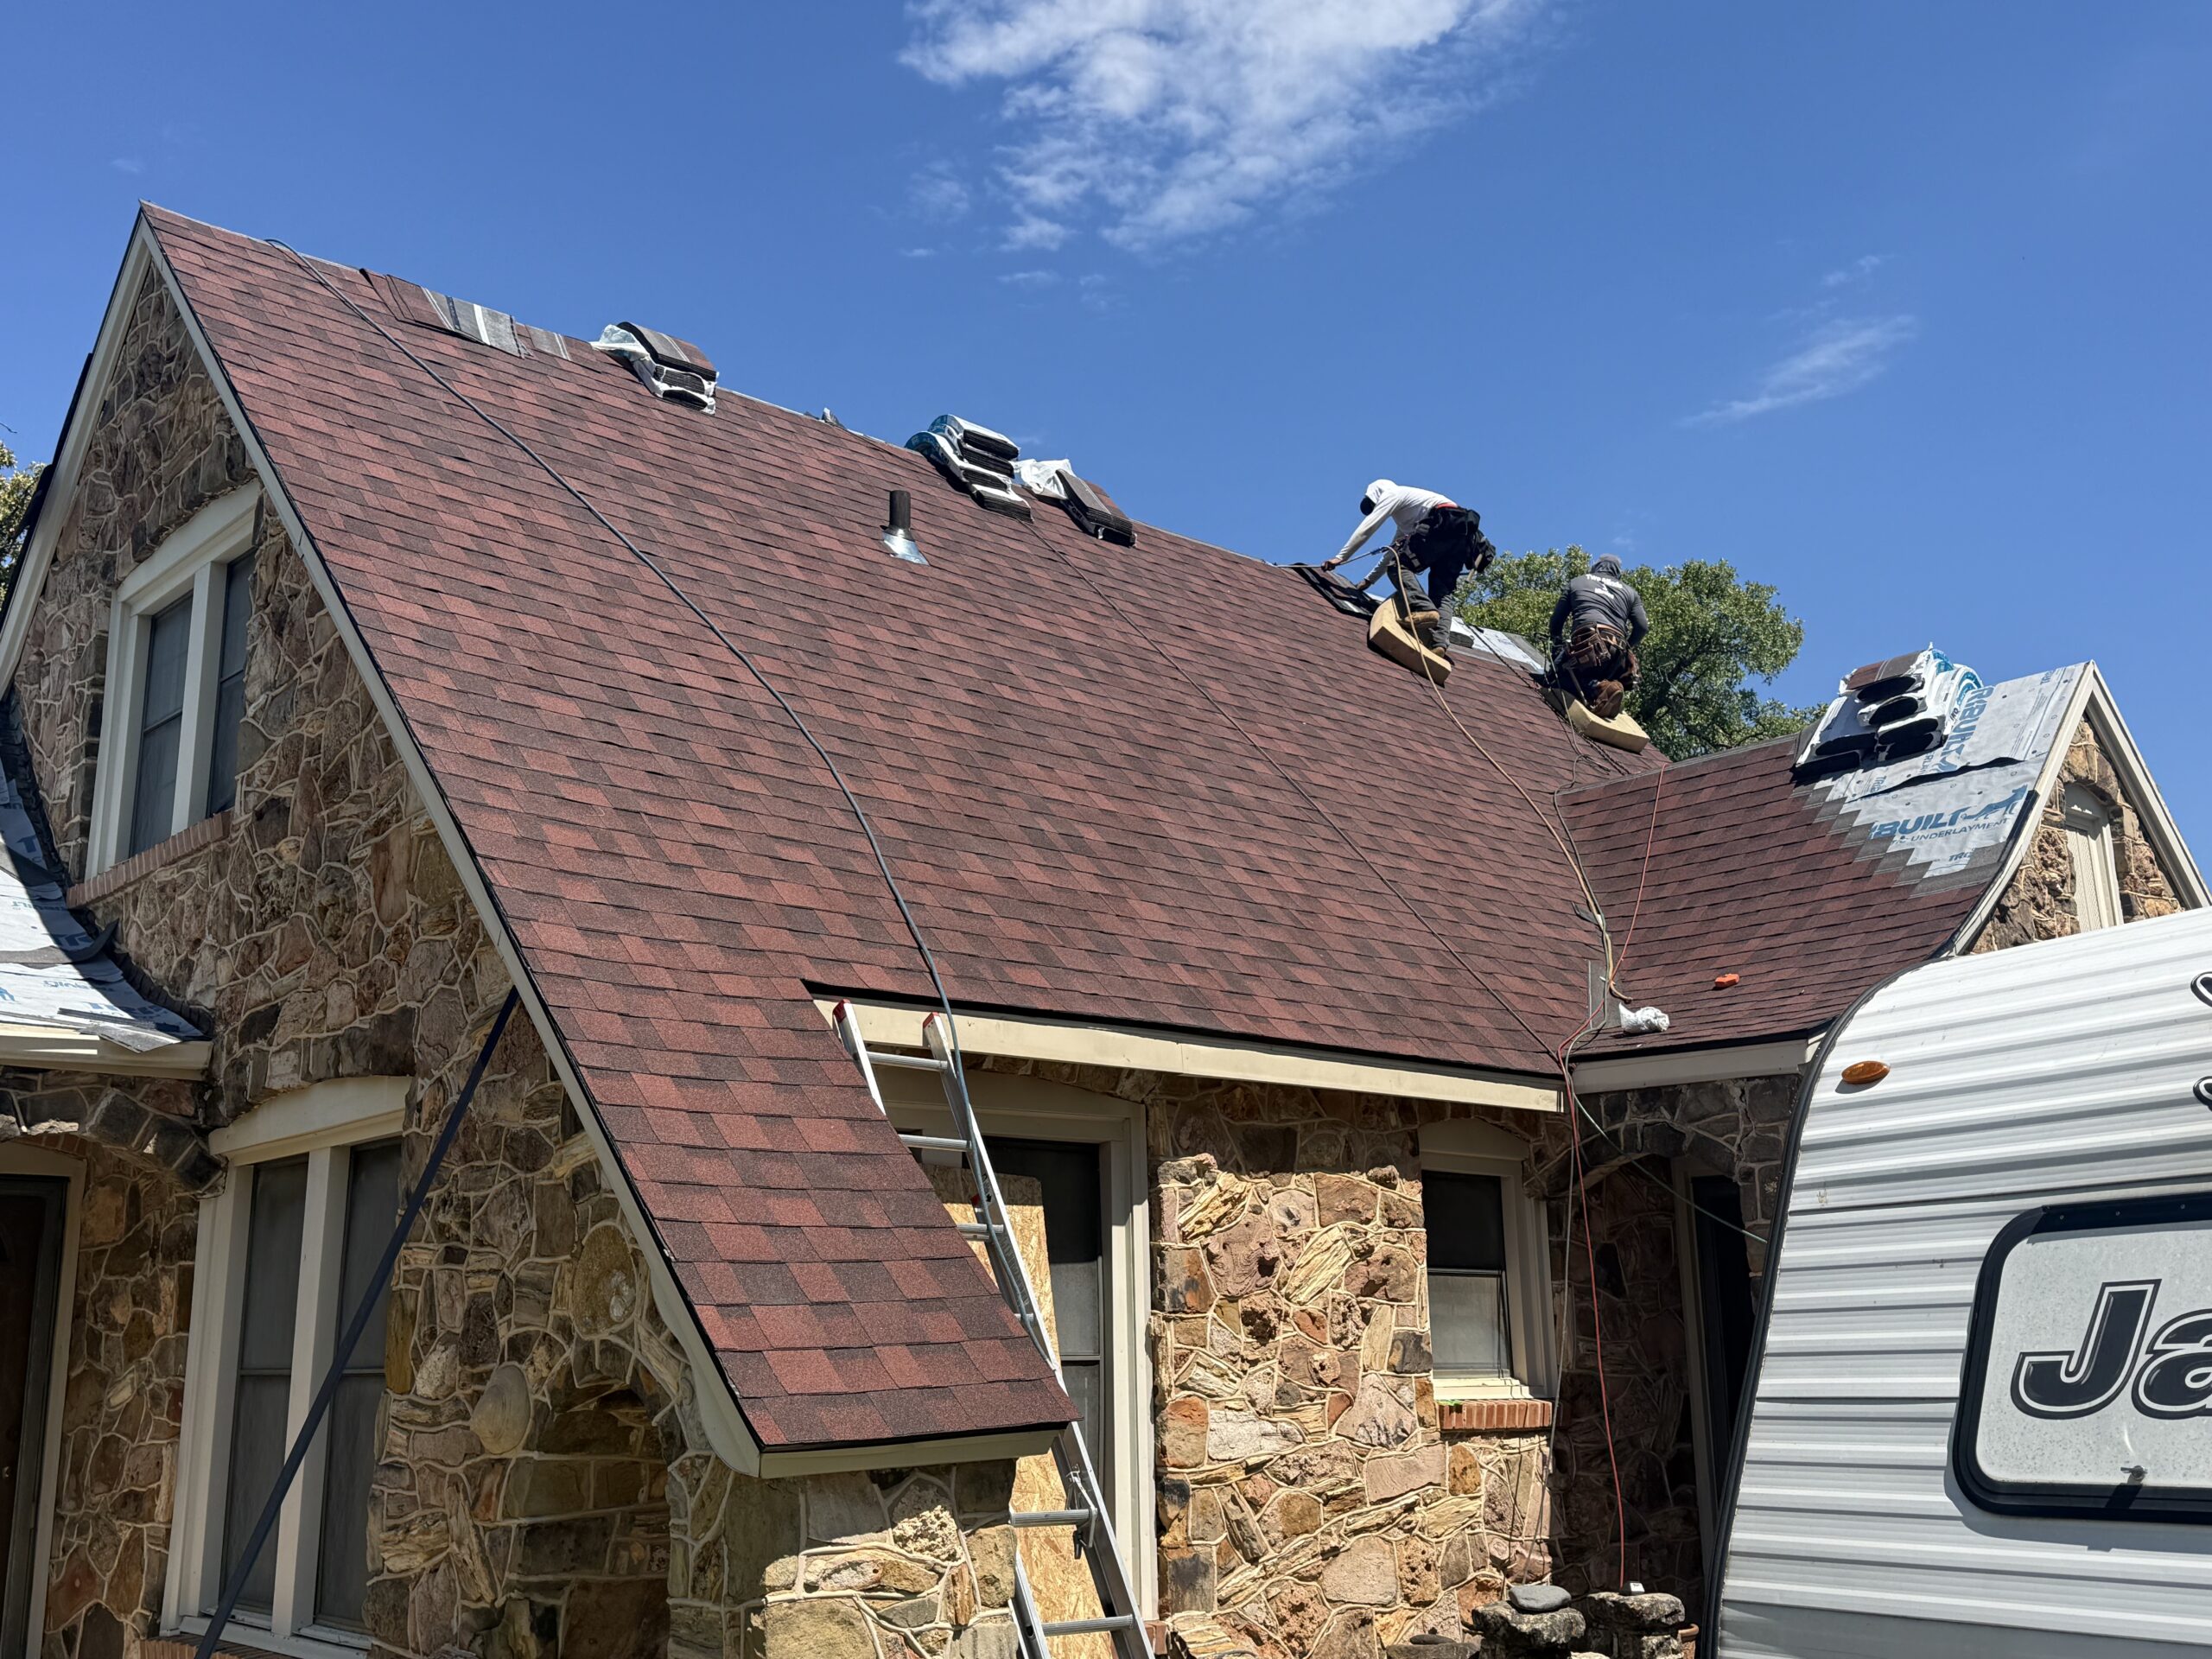
Selecting the correct underlayment begins with identifying the roofing material that will be installed above it. Different roofing systems can have different requirements for the type of underlayment, fastening method, exposure, and installation sequence.
For asphalt shingles, contractors may use synthetic underlayment or other approved products depending on the project. The selected product needs to be compatible with the shingles and suitable for the roof’s design and environmental conditions.
Metal roofing can require additional consideration because the underside of metal panels can interact differently with the materials below them. Contractors need to use an underlayment that is approved for the specific metal roofing application.
Tile and slate roofing systems can also have specialized requirements. These materials may create different loading, drainage, and installation conditions, so the supporting layers need to be selected accordingly.
The roof slope is another factor. Low-slope areas may require additional moisture protection because water can remain on the surface for longer periods compared with steeper roof planes. The appropriate approach should be based on the roofing system and applicable requirements.
Climate can influence material selection as well. Roofs exposed to heavy rainfall, strong winds, freezing temperatures, or other environmental conditions may require products designed for those conditions.
The product’s installation requirements should be reviewed before work begins. Contractors need to understand how the material should be positioned, how much it should overlap, which fasteners are approved, and whether specific areas require additional waterproofing.
Material compatibility is especially important around flashing and roof penetrations. The underlayment needs to work with the surrounding components rather than creating gaps or conflicting layers.
The selected product should also be stored properly before installation. Rolls or packages should be protected from unnecessary exposure and handled according to the manufacturer’s recommendations.
A roofing contractor may use more than one type of underlayment on the same roof. A general underlayment can cover the main roof surface while specialized membranes provide additional protection in areas such as valleys and eaves.
This approach allows contractors to address different levels of exposure within the same roofing system. However, each material needs to be installed according to its intended application.
Choosing the right underlayment is therefore not simply a matter of selecting a material and spreading it across the deck. It requires consideration of the complete roof assembly and how each layer will interact with the others.
Preparing the Roof Deck Before Underlayment Installation
A properly prepared roof deck is the foundation for successful underlayment installation. Contractors should not install underlayment over a deck that contains significant damage, loose material, protruding fasteners, or excessive debris.
Before installation begins, the deck should be inspected across the entire roof surface. Contractors look for soft areas, cracks, holes, rot, moisture damage, warped sections, and other conditions that may affect the roofing system.
Damaged decking should be repaired or replaced before the underlayment covers it. Once the protective material is installed, the deck becomes less accessible, so correcting underlying problems beforehand can prevent more complicated repairs later.
Loose boards or panels should also be secured. The deck needs to provide a stable substrate for both the underlayment and the fasteners used to secure the primary roofing material.
The surface should then be cleaned. Nails, old roofing fragments, wood pieces, dirt, and other debris can create raised areas beneath the underlayment or interfere with proper installation.
Protruding fasteners deserve particular attention. Sharp objects can damage underlayment as workers move across the roof, while exposed fasteners can create irregularities beneath the roofing material.
The deck should also be reasonably dry before underlayment installation begins. If the roof has been exposed to rain during tear-off or preparation, contractors may need to allow the surface to dry before continuing.
Weather conditions are especially important because underlayment may be temporarily exposed before the primary roofing material is installed. Contractors plan the work to reduce unnecessary exposure and protect the surface if installation is interrupted.
The roof’s edges and drainage areas should also be prepared. Damaged decking around eaves or rake edges can affect the relationship between the underlayment and drip edge.
Valleys require careful preparation because they carry concentrated water flow. The deck beneath these areas should be inspected and repaired before specialized waterproofing materials are installed.
Roof penetrations should also be checked. Openings for plumbing vents, skylights, chimneys, and other features need to have stable surrounding decking before underlayment is fitted around them.
Preparing the deck properly creates a clean and stable surface for the underlayment. It also gives contractors a better opportunity to establish continuous moisture protection without having to work around unresolved structural problems.
Preparing Roof Edges and Vulnerable Areas
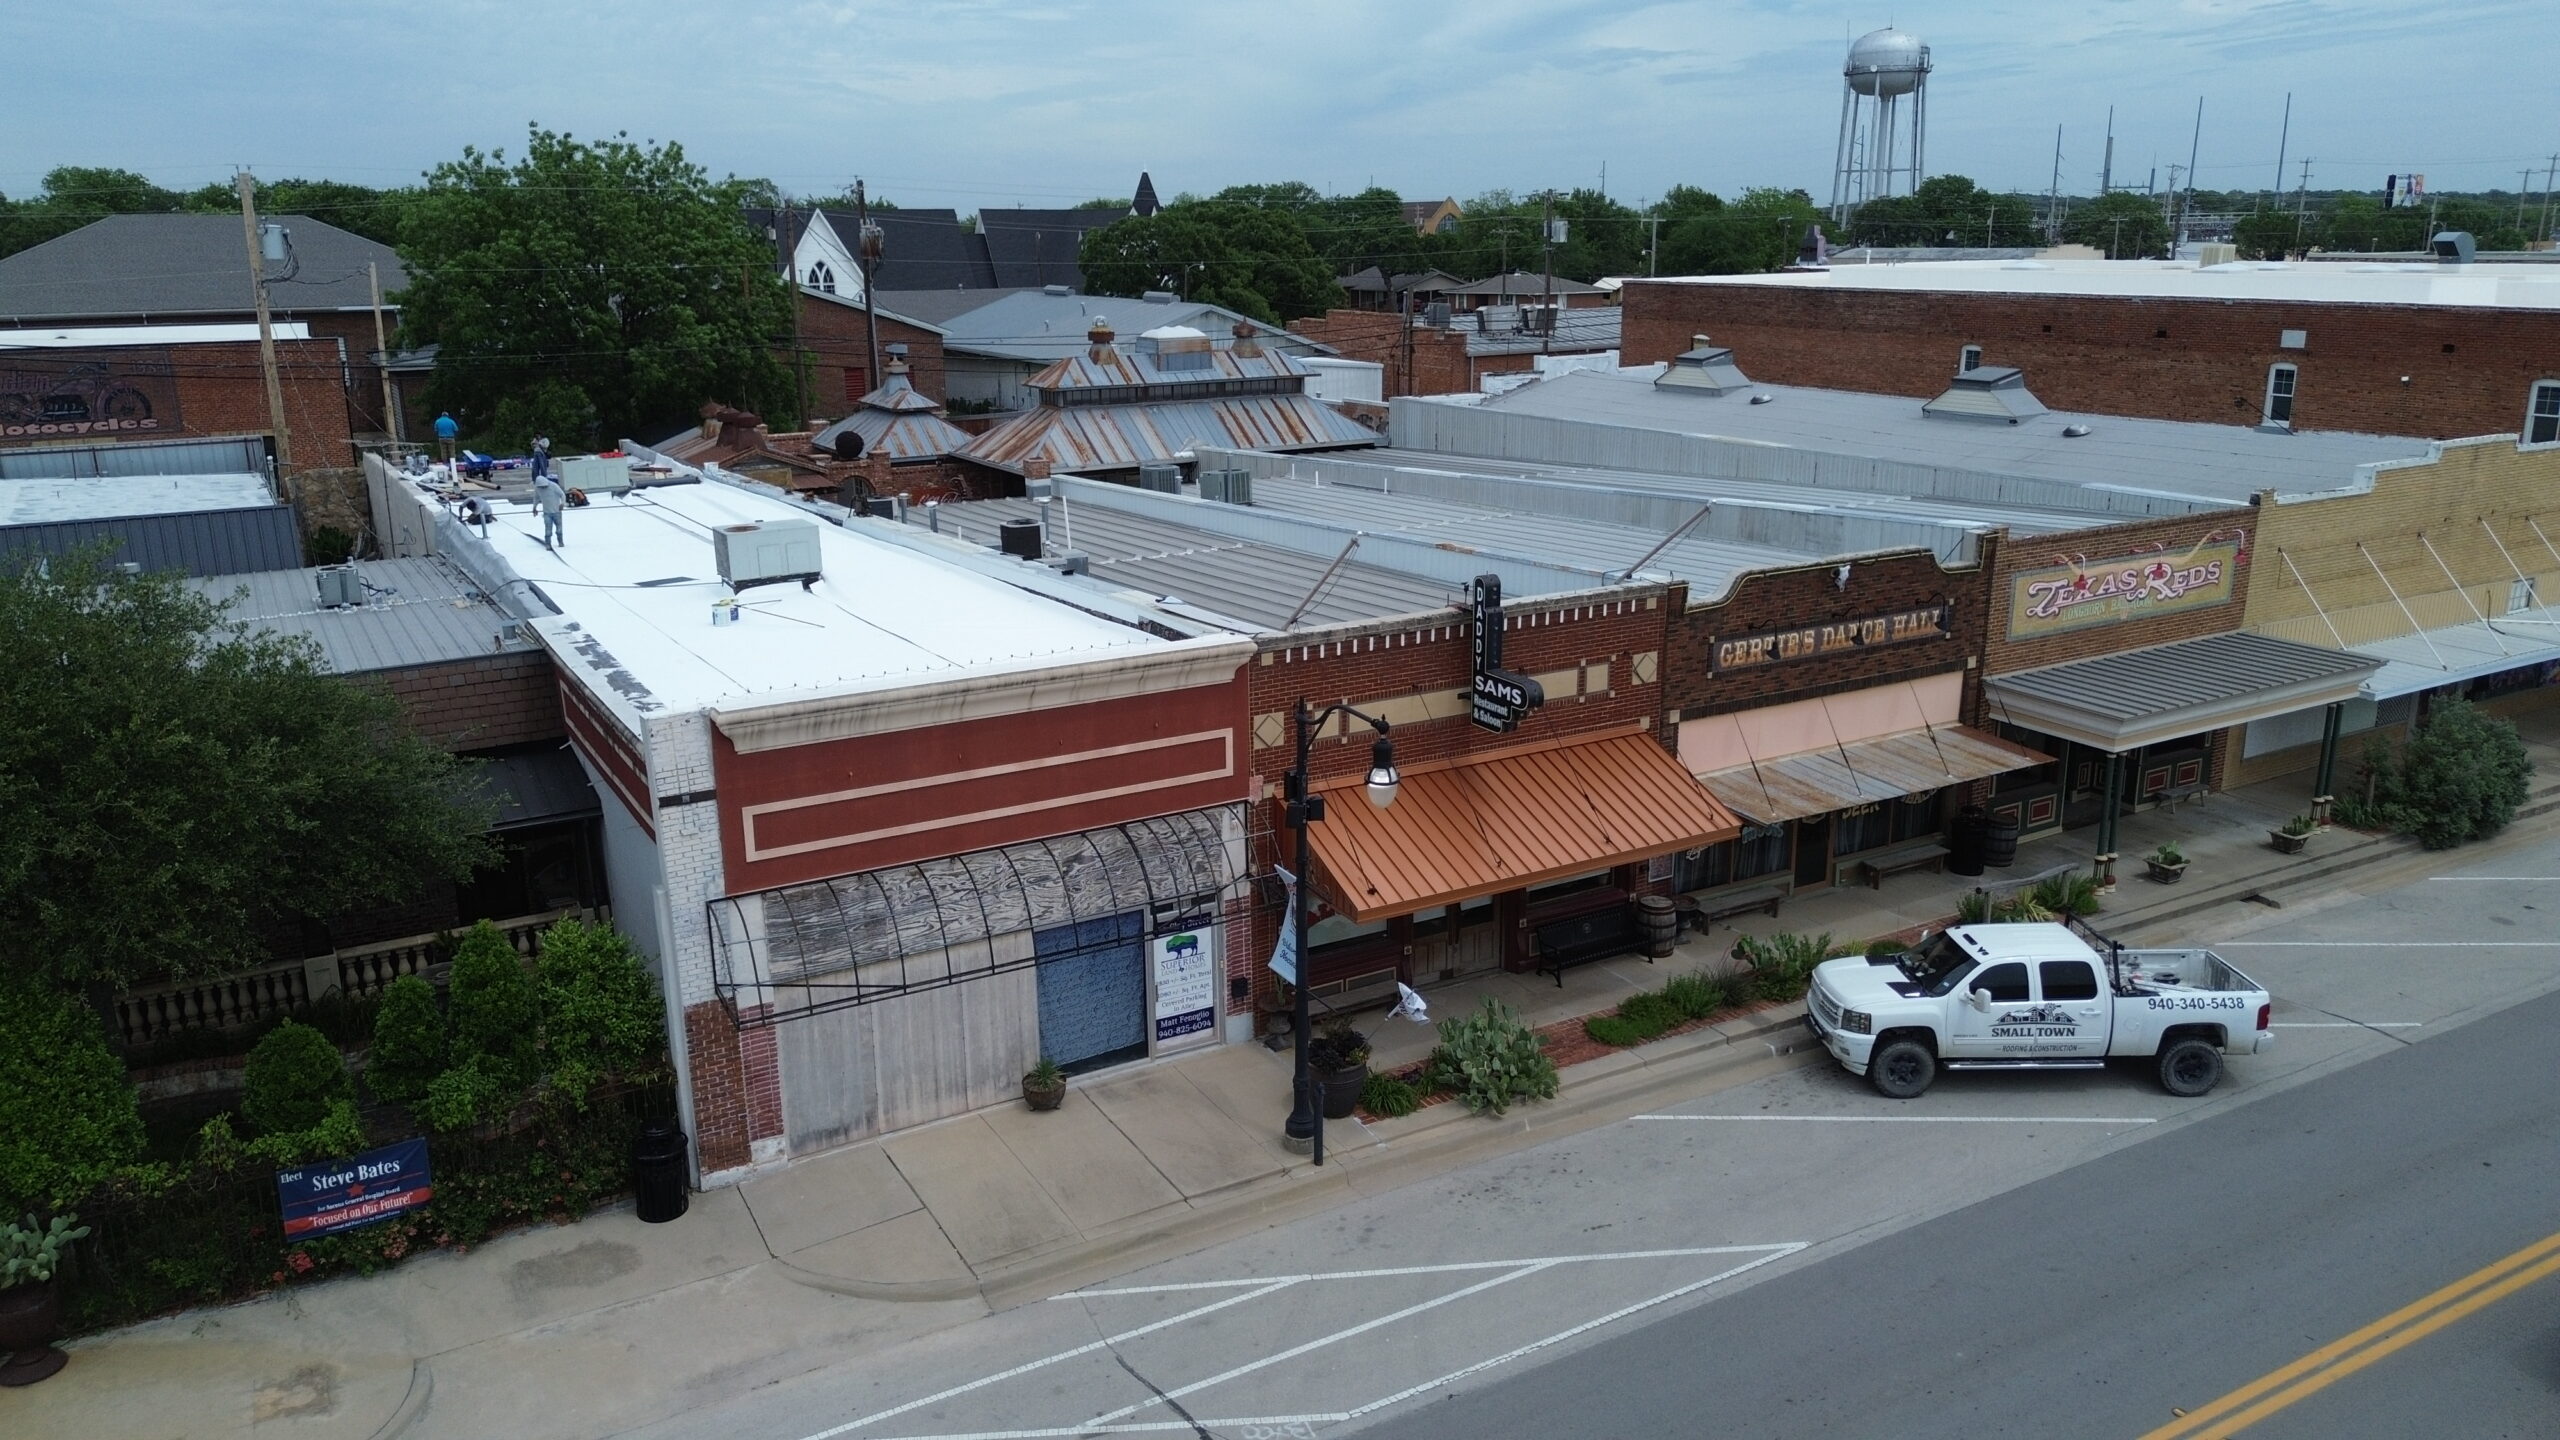
Before the main underlayment is installed, contractors prepare the portions of the roof that require additional attention. These areas can include eaves, valleys, roof edges, wall intersections, penetrations, chimneys, skylights, and other locations where water exposure may be greater.
Roof edges are important because runoff moves toward them during rainfall. The underlayment and drip edge need to be coordinated so water is directed toward the exterior rather than toward the exposed edge of the roof deck.
The installation sequence around the eaves depends on the roofing system and product requirements. Contractors follow the appropriate method to ensure that the edge protection and underlayment overlap correctly.
Valleys often receive specialized waterproofing protection. A self-adhering membrane or another approved product may be installed in these areas before the general underlayment covers the remaining roof surface.
The purpose of additional valley protection is to provide greater resistance in a location that handles water from multiple roof slopes. Proper installation also helps establish a clear drainage path for runoff.
Areas around roof penetrations need careful preparation as well. Contractors identify where the underlayment will meet flashing components and determine how the materials should overlap.
Wall intersections require similar coordination. The underlayment should integrate with the flashing system so water is directed away from the roof-to-wall transition.
Chimneys and skylights can involve several layers of flashing and weatherproofing. Contractors need to understand the sequence before installing the underlayment because the wrong order can interfere with proper water drainage.
The goal is to create a layered system in which each component supports the next. Underlayment should not be treated as a separate sheet placed wherever convenient because its relationship with flashing and edge protection affects how water moves through the roof assembly.
Preparation of vulnerable areas also reduces the need for excessive patching later. Careful measurements and controlled cuts can help maintain a more continuous protective layer.
Installing the Initial Underlayment Layers
Once the roof deck and vulnerable areas are prepared, contractors begin installing the underlayment. The installation generally follows a planned direction across the roof so that overlapping layers encourage water to move downward toward the roof edge.
The first sections require careful positioning because they establish the relationship between the underlayment and the edge protection. Contractors follow the product requirements to determine the appropriate placement and fastening.
The material should be laid smoothly across the deck without unnecessary folds or wrinkles. Uneven areas can affect the installation of the roofing material above and may create unnecessary stress or gaps.
Underlayment sections are overlapped according to the manufacturer’s requirements. The overlap provides continuity between adjacent sheets and helps prevent water from passing between them.
Fastening methods depend on the product. Some underlayments are secured with approved nails or staples, while self-adhering membranes use an adhesive backing and may have additional fastening requirements.
Fasteners need to be placed appropriately so the material remains secure without creating unnecessary damage. Improperly positioned or overdriven fasteners can reduce the effectiveness of the protective layer.
Contractors continue across the roof in an organized sequence. Each new section is positioned relative to the previous one so that the overall coverage remains consistent.
Edges and transitions are checked as the material is installed. If a section becomes damaged during installation, it should be repaired or replaced according to the product requirements rather than simply covered by the next layer.
Installing Underlayment Across the Main Roof Surface
After the initial underlayment sections have been positioned along the appropriate starting area, contractors continue installing the material across the main roof surface. The work generally progresses in an organized pattern so each new section overlaps the previous one and maintains continuous coverage over the roof deck. This sequence helps create a layered surface in which water is encouraged to move downward toward the roof edge instead of entering between the underlayment sections.
The installation direction can vary depending on the roofing system, roof design, product requirements, and local conditions. Contractors should follow the manufacturer’s instructions for the specific underlayment rather than assuming that every product can be installed using the same sequence. Correct orientation and placement are important because underlayment is designed to work as part of a particular roofing assembly.
As the material is rolled or placed across the deck, workers keep it reasonably flat and aligned with the roof surface. Excessive wrinkles, folds, or loose sections can interfere with the installation of the roofing material above and may create unnecessary weak points. Contractors therefore take time to position each section carefully before securing it.
The underlayment should provide the required coverage across the roof deck without leaving unnecessary exposed areas. Measurements and reference points can help contractors maintain consistent placement as they work toward the opposite side of the roof.
Overlapping is one of the most important parts of this process. Adjacent sections need to overlap according to the requirements of the product so that water moving down the roof encounters a continuous protective layer rather than an open seam.
The amount of overlap can vary between products and applications. Contractors should therefore use the manufacturer’s specified dimensions instead of relying on a general measurement that may not apply to the selected material.
As installation progresses, the crew periodically checks the surface for displacement. Wind can move loose underlayment, particularly on an exposed roof, so the material needs to remain appropriately secured during the installation process.
Roofing crews also work carefully around the areas that have already received specialized protection. The general underlayment should integrate with waterproofing membranes, drip edges, and other components without creating unnecessary gaps or conflicting layers.
The material should not be stretched excessively to force it into position. Overstretching can affect how the product sits on the deck and may create tension that makes later installation more difficult.
When the roof contains multiple planes, contractors may need to adjust their installation sequence as they reach hips, valleys, dormers, or other transitions. These areas require more precise fitting than large, open roof sections.
The goal is to maintain continuity throughout the entire roof assembly. Even though the primary roofing material will eventually cover the underlayment, the protective layer should be installed as though every section matters because inaccessible defects can be difficult to correct later.
Once a large section has been installed, contractors can perform a quick visual check before continuing. This allows them to identify wrinkles, displaced sections, damaged material, or incorrect overlaps while the area remains accessible.
Managing Overlaps, Fasteners, and Alignment
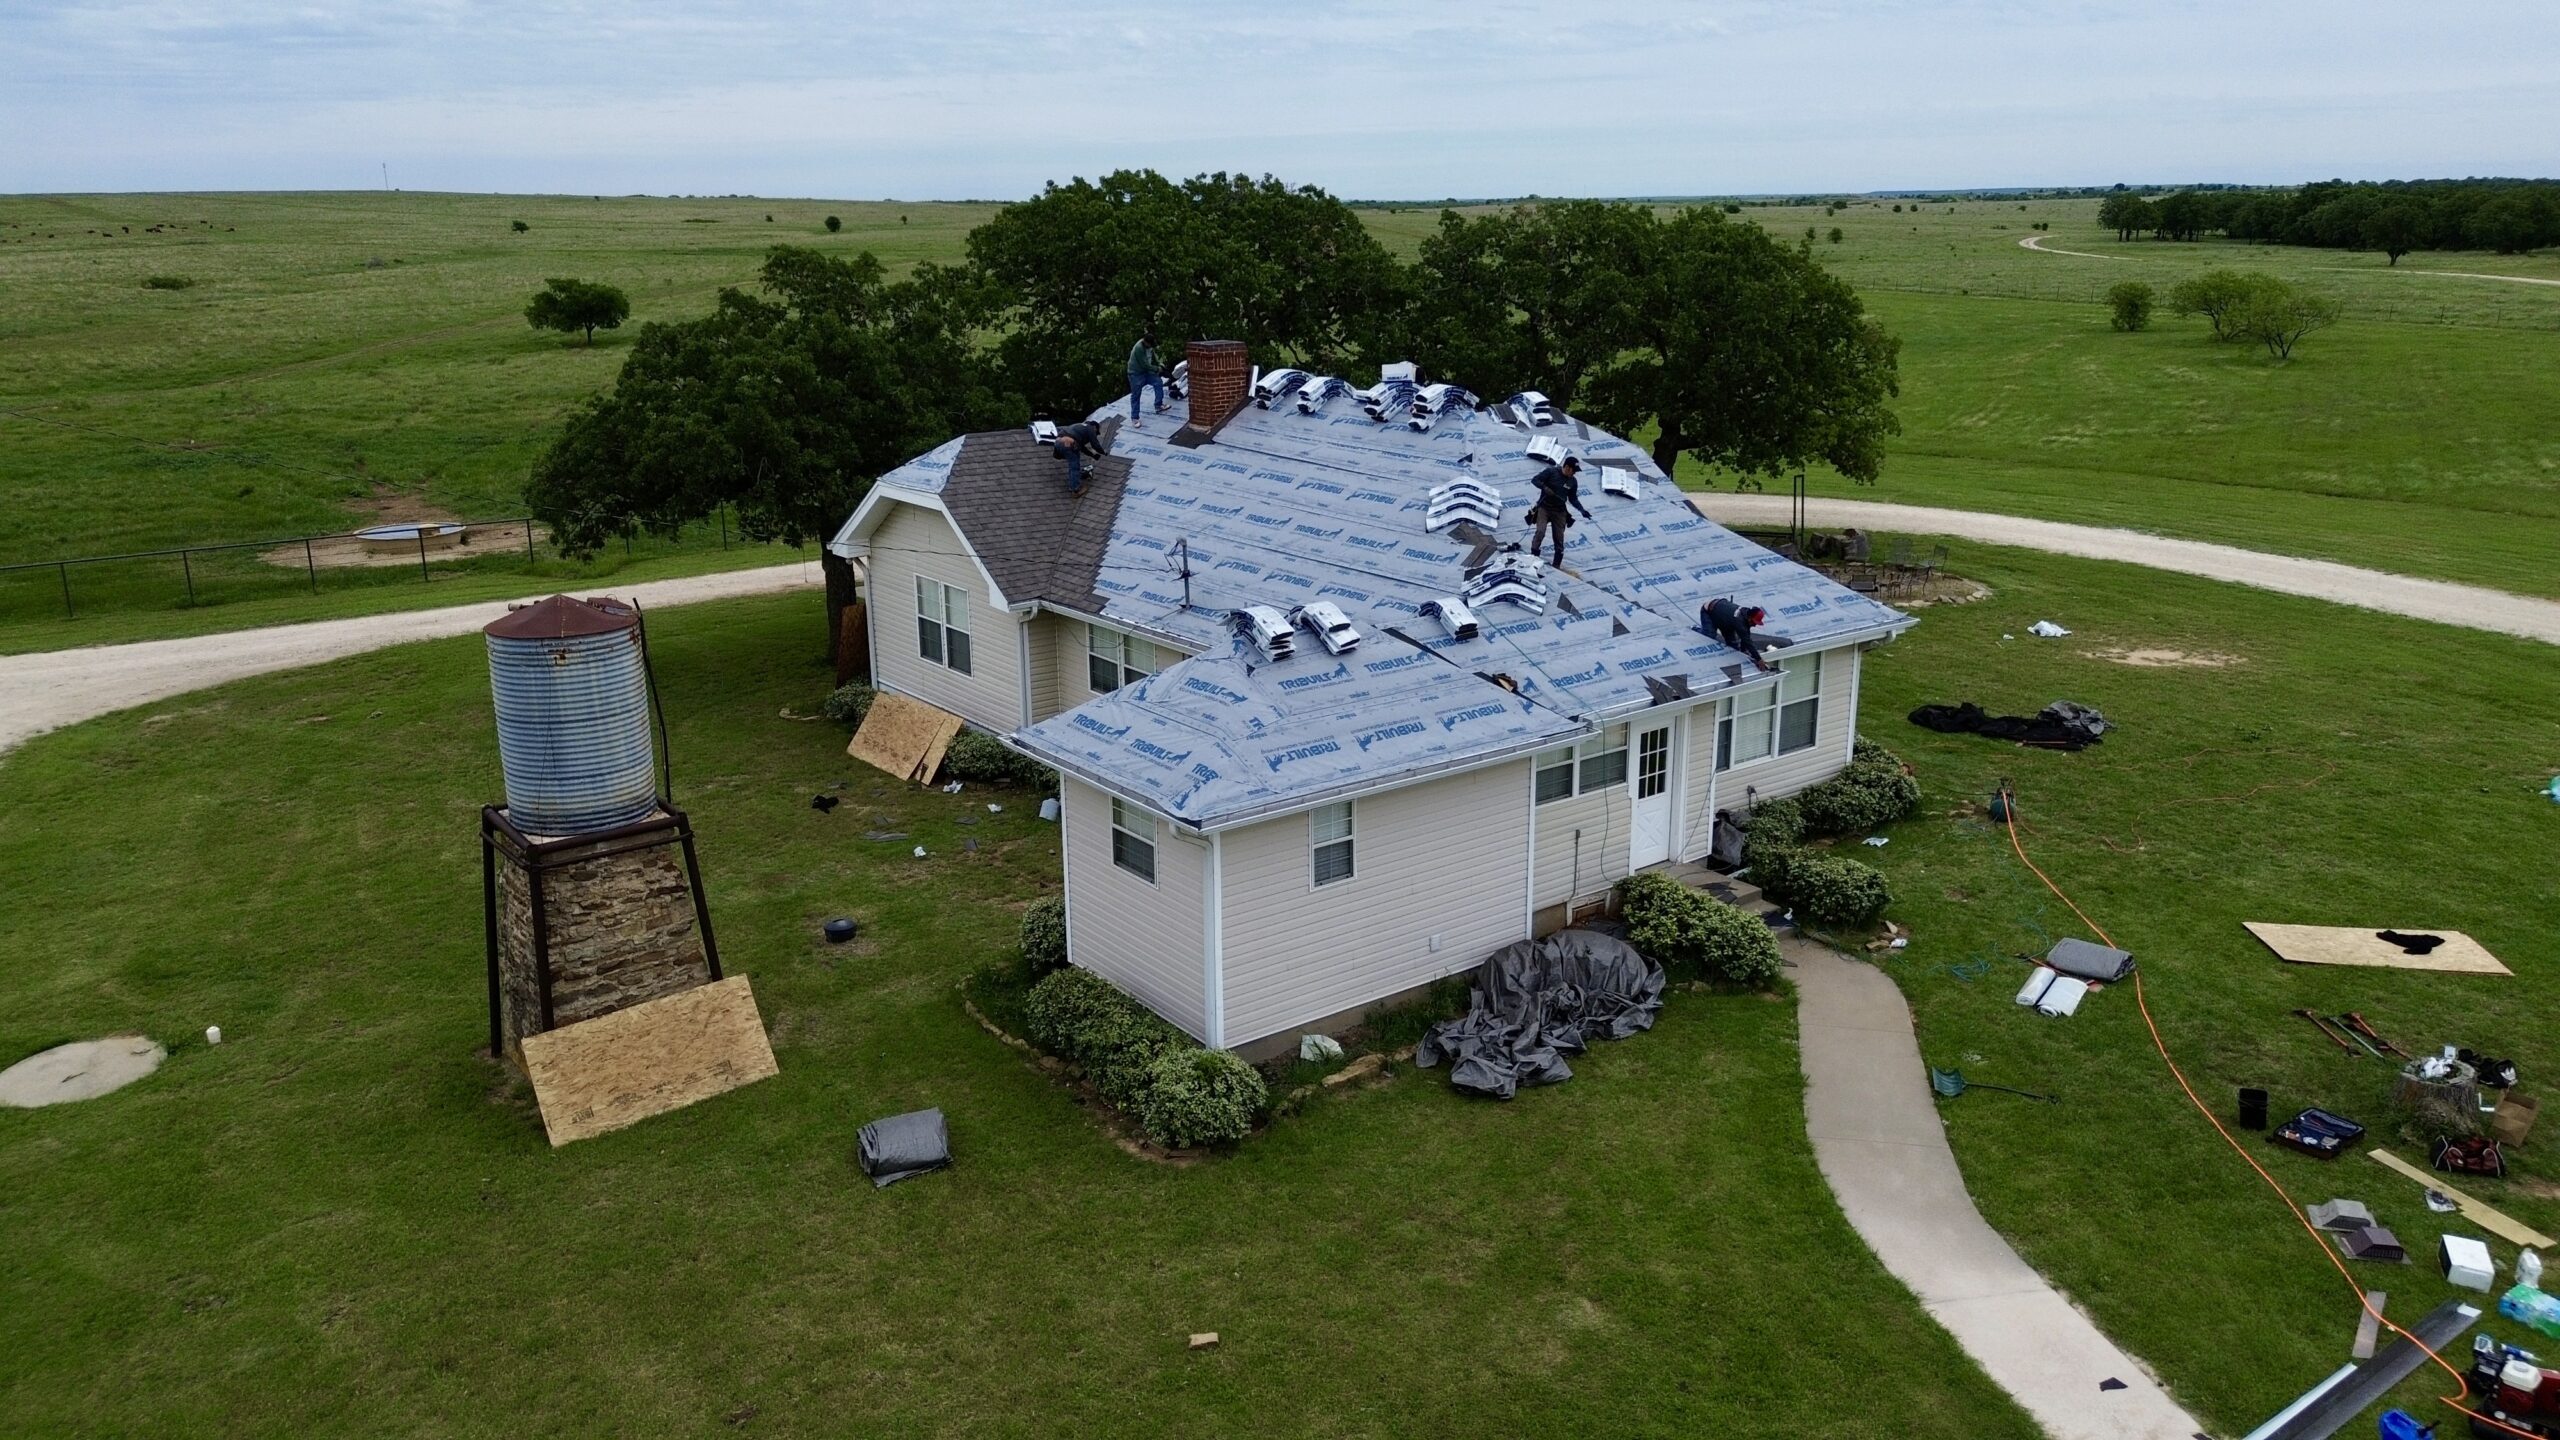
Proper overlaps help the underlayment function as a continuous moisture-resistant layer. When two pieces meet, the upper section should be positioned according to the required installation sequence so that water naturally moves over the joint rather than underneath it.
The overlap pattern is especially important on sloped roofs because gravity causes water to travel downward. If the layers are arranged against the intended drainage direction, water could potentially move beneath the material and reach the roof deck.
Contractors therefore establish a consistent pattern as they install each course. The exact overlap dimensions depend on the product and roofing application, and these requirements should be confirmed before installation begins.
Fastening is another important consideration. Different underlayment products can require different fasteners and fastening patterns, so contractors should use only approved methods for the material being installed.
For mechanically fastened underlayment, fasteners are positioned according to the manufacturer’s requirements. The goal is to hold the material securely without creating unnecessary damage or reducing its ability to protect the deck.
Fasteners should be driven correctly. Overdriving can damage the underlayment around the fastener, while underdriving can leave the fastener exposed or prevent the material from sitting properly against the deck.
Fastener placement also needs to account for the roofing material that will be installed above the underlayment. The contractor should avoid unnecessary fastening practices that could interfere with later installation.
Self-adhering membranes have different installation considerations. Their adhesive surfaces need suitable contact with the substrate, and the roof deck may need to meet specific cleanliness and temperature requirements for the product to bond properly.
Contractors should also avoid installing self-adhering products over surfaces that contain dust, loose debris, moisture, or other contaminants when the manufacturer’s instructions require a clean and suitable substrate.
Alignment should be maintained throughout the installation. If the material gradually shifts across the roof, required coverage or overlap may be reduced in some areas.
Reference marks can help installers maintain a consistent position. The importance of these marks becomes greater on larger roofs where small deviations can accumulate across multiple sections.
The material should also remain aligned with roof edges and other established boundaries. Poor positioning near an edge can interfere with drip edge installation or leave parts of the deck insufficiently protected.
Around penetrations, alignment becomes more complex because the material needs to be cut and fitted around the opening. Contractors should make controlled cuts rather than creating large unnecessary openings.
Underlayment should also remain intact wherever possible. If a section becomes torn or damaged during installation, the contractor should follow the product requirements for repairing or replacing it.
A properly installed underlayment should have secure seams, appropriate overlaps, consistent coverage, and no unnecessary wrinkles or exposed deck areas. These details may not be visible after the roofing material is installed, but they contribute to the quality of the underlying system.
Installing Underlayment Around Valleys and Roof Penetrations
Valleys require special attention because they receive water from multiple roof planes. During heavy rainfall, these areas can experience concentrated runoff, making proper waterproofing especially important.
Before the general underlayment is installed across the valley, contractors may install a specialized waterproofing membrane depending on the roofing system. This additional layer provides enhanced protection in an area where water exposure can be greater.
The valley membrane should be positioned according to the product requirements and should provide appropriate coverage. It should remain secure and properly integrated with the surrounding roof deck and underlayment.
The general underlayment is then installed in relation to the valley protection. Contractors need to maintain the intended drainage direction and avoid creating seams that could allow water to move beneath the protective layers.
The exact valley installation method can vary significantly depending on the roofing material. Shingle roofs may use one approach, while metal, tile, or other systems may require different valley configurations.
Contractors should therefore avoid treating valley installation as a universal procedure. The manufacturer’s requirements and the complete roofing design determine which method is appropriate.
Roof penetrations also require careful underlayment installation. Plumbing vents, exhaust outlets, skylights, chimneys, and other structures interrupt the roof surface and create areas where water protection must transition around an opening.
The underlayment should be cut carefully around these features. Cuts should be large enough to accommodate the penetration and associated flashing components but should not create unnecessary openings.
Around plumbing vents, for example, the underlayment needs to integrate with the flashing or vent boot. The final roofing material will later be installed around the same component, so the layers need to work together.
Skylights often have manufacturer-specific flashing systems. Contractors should follow the required sequence so that the underlayment and flashing create a layered transition that directs water away from the skylight.
Chimneys require even more detailed coordination because they can have multiple sides and different flashing components. Underlayment placement should complement the flashing arrangement rather than interfere with it.
Wall intersections also require attention. Where a roof meets a vertical wall, the underlayment should be integrated with the flashing and wall weatherproofing system.
These locations should not rely solely on the outer roofing material to prevent water intrusion. The purpose of the underlayment is to provide another protective layer beneath the visible roof covering.
Corners and transitions can require controlled cuts and additional material. Contractors should avoid excessive cutting that leaves large openings around complex features.
The finished installation around a penetration should remain secure and properly integrated. Loose edges or poorly positioned material can become vulnerable during the installation of the primary roofing material.
After completing these details, the contractor should inspect the area before moving on. Since many penetration details become difficult to access after roofing materials are installed, correcting problems immediately is preferable to discovering them later.
Integrating Underlayment With Flashing and Ventilation
Underlayment does not function independently from the other components of a roofing system. It must work with flashing, drip edges, ventilation components, and the primary roofing material to create a coordinated weather-resistant assembly.
Flashing is particularly important around roof transitions and penetrations. Contractors need to understand which component should be installed first and how the underlayment should overlap or connect with the flashing.
The installation sequence is designed to encourage water to move toward the exterior. When properly arranged, the layers guide water over the protective components rather than allowing it to travel behind them.
At roof edges, the underlayment must be coordinated with the drip edge. The exact sequence depends on the roofing system and product requirements, so contractors should follow the specified installation method.
Roof-to-wall transitions also require careful integration. Underlayment should work with step flashing or other approved flashing components so that water moving down the roof is directed away from the wall intersection.
Chimney flashing creates another important transition. The underlayment needs to support the flashing system while maintaining coverage around the chimney’s edges.
Skylights and vents similarly require coordination between the underlayment and their flashing systems. Contractors should avoid placing materials in a way that blocks drainage channels or prevents flashing from sitting correctly.
Ventilation is another component that needs to be considered before the underlayment installation is completed. Ridge vents, intake systems, and other ventilation components may require specific preparation in the roof deck and underlayment.
Where ridge ventilation is used, contractors need to maintain the required opening and install the surrounding underlayment according to the roofing system’s requirements. Covering an opening that is intended to provide ventilation can reduce the effectiveness of the system.
At intake locations, the underlayment should be positioned so that it protects the roof deck without blocking the designed airflow pathway. The exact arrangement depends on the ventilation product and roof design.
Ventilation components also need protection from moisture. Openings created for airflow must be integrated into the roofing system so that they do not become unintended pathways for rain.
Contractors should therefore consider ventilation and underlayment together rather than installing each component independently. The objective is to preserve both functions without allowing one layer to compromise another.
Inspecting Underlayment During Installation
Quality control should occur throughout the underlayment installation rather than only after the entire roof has been covered. Regular checks allow contractors to identify problems while the material is still accessible.
One of the first checks involves coverage. The crew confirms that the underlayment extends across the required areas and that no unnecessary sections of roof deck remain exposed.
Overlaps should also be reviewed. Contractors check that adjacent sections have been positioned according to the specified overlap and that the seams follow the intended water-shedding direction.
Fasteners are checked for appropriate placement and installation. Any visibly loose, overdriven, or incorrectly positioned fastener should be addressed before the next roofing layer is installed.
The surface should remain reasonably smooth. Wrinkles or folds that could interfere with the primary roofing material should be corrected as installation progresses.
Damage is another concern. Underlayment can be punctured or torn while workers move materials across the roof, so the surface should be checked regularly.
Edges and transitions should receive additional attention. Areas around valleys, eaves, penetrations, walls, and flashing can be more difficult to install correctly than large open sections.
The contractor should also check that temporary protection remains effective if the primary roofing material cannot be installed immediately. Underlayment may provide moisture protection, but it should not automatically be treated as a permanent exposed roof covering.
Weather conditions can affect installed underlayment. Strong wind may lift loose material, while rain can expose weaknesses or complicate installation.
If a problem is discovered, the appropriate correction should be made before continuing. Covering a defective section with the next roofing layer can make the problem harder to access and may allow a small issue to become a hidden defect.
By inspecting the work continuously, contractors can maintain better control over the quality of the installation. This approach also reduces the possibility of reaching the end of the project and discovering multiple problems that require extensive correction.
Protecting the Installed Underlayment Before Roofing Begins
Once a portion of the roof has been covered with underlayment, the material needs to be protected from unnecessary damage. Workers may still need to move across the surface to install flashing, ventilation components, and the primary roofing material.
Foot traffic should be managed carefully, especially around seams, edges, and specialized membranes. Heavy equipment or sharp objects can damage the underlayment if they are placed or moved carelessly.
Roofing materials should also be handled in a way that minimizes unnecessary contact with the protective layer. Bundles, tools, and other equipment should be positioned according to safe work practices and the requirements of the roofing system.
If installation is interrupted, temporary weather protection may be necessary. The longer underlayment remains exposed, the more important it becomes to monitor its condition and protect it from wind, rain, and other environmental exposure.
The roof should not be considered ready for the primary roofing material simply because the underlayment has been placed. Flashing, ventilation, edges, valleys, and other details may still require completion or inspection.
The final transition to the outer roofing material should occur only after the underlayment and related components have been checked. This creates a controlled progression from the roof deck to the protective layers and finally to the visible roofing surface.
Proper underlayment installation therefore depends on consistency from beginning to end. The material needs to be selected correctly, installed over a sound deck, overlapped appropriately, secured properly, protected during construction, and integrated with every major roof transition.
Inspecting the Completed Underlayment Installation
Once the underlayment has been installed across the roof and integrated with the major flashing, edge, valley, and penetration details, contractors perform a thorough inspection before the primary roofing material is installed. This inspection is important because the underlayment will soon be covered, making many of its details difficult to access. Correcting problems at this stage is generally easier than removing finished roofing materials later.
The contractor begins by reviewing the overall coverage of the roof deck. The underlayment should cover the required areas without unnecessary gaps, exposed sections, or improperly positioned material. Particular attention is given to roof edges, valleys, transitions, and other locations where the standard installation pattern changes.
Overlaps are then checked across the roof. Adjacent sections should overlap according to the manufacturer’s requirements, with the layers arranged to support the intended direction of water movement. Incorrect overlaps can create pathways where moisture may move beneath the protective material.
Fastening is also reviewed where mechanical fasteners have been used. Contractors look for loose fasteners, improperly positioned fasteners, damaged material around fasteners, and other conditions that could affect the security of the underlayment.
The surface should remain reasonably smooth and secure. Large wrinkles, folds, displaced sections, or loose edges should be corrected before the next roofing layer is installed.
The contractor also examines areas where the underlayment meets flashing. These transitions should be arranged so that water is directed toward the exterior rather than behind the flashing or beneath the protective layers.
Valleys require a separate review because they experience concentrated water flow. The contractor checks that specialized valley protection, if required, remains properly positioned and that the general underlayment integrates with it correctly.
Roof penetrations are also inspected individually. Plumbing vents, skylights, chimneys, exhaust outlets, and other openings should have appropriate underlayment coverage around them without unnecessary gaps.
Roof edges are checked for proper integration with drip edge or other perimeter components. The underlayment should support the intended drainage path and should not interfere with the edge protection.
Ventilation areas need attention as well. Where the roof includes ridge or intake ventilation, the underlayment should not block openings or interfere with the components required to maintain airflow.
The inspection should also consider the condition of the underlayment itself. Tears, punctures, cuts, or damaged areas can occur during installation or while workers move materials across the roof. Any damage should be addressed according to the product requirements.
A final review of the underlayment provides an important quality-control checkpoint. Once the contractor is satisfied that the protective layer has been properly installed and all necessary corrections have been completed, the project can move toward installation of the primary roofing material.
Common Underlayment Installation Problems to Avoid
One of the most common problems is installing underlayment over a poorly prepared roof deck. If the deck contains rot, significant moisture damage, loose sections, protruding fasteners, or debris, the underlayment may not provide the intended foundation for the roofing system.
Another problem is incorrect overlap. Underlayment needs to be arranged so that water moving down the roof travels over the overlapping layers rather than underneath them. Failing to maintain the required overlap can reduce the continuity of moisture protection.
Improper fastening can create another weakness. Fasteners that are missing, incorrectly positioned, excessively driven, or insufficiently secured can affect the stability of the material.
Wrinkled or folded underlayment should also be avoided. Uneven material can interfere with the roofing surface above and may create unnecessary stress at seams or fastening points.
Leaving gaps around penetrations is another significant concern. Roof vents, skylights, chimneys, and other openings need carefully fitted underlayment that integrates with their flashing systems.
Poor valley preparation can have serious consequences because valleys handle large amounts of runoff. Contractors should use the appropriate protection and maintain a clear drainage path according to the roofing system’s requirements.
Underlayment can also be damaged after installation if workers move tools, materials, or equipment carelessly across the roof. Regular inspection helps identify these problems before they become hidden.
Some common mistakes can be summarized as follows:
- Installing over damaged or wet decking
- Using an incompatible underlayment product
- Incorrectly overlapping adjacent sections
- Using unsuitable fasteners
- Leaving wrinkles or loose edges
- Creating oversized cuts around penetrations
- Blocking ventilation openings
- Failing to protect installed underlayment
- Ignoring damaged sections before covering them
- Treating underlayment as a substitute for proper flashing
Avoiding these problems requires attention to both the material and the complete roofing assembly. Underlayment should always be installed according to the product requirements and coordinated with the other layers of the roof.
Weather and Safety Considerations
Weather conditions can significantly influence underlayment installation because the roof deck may be exposed during the process. Rain can make the deck wet, while strong winds can lift or move unsecured material.
Contractors should plan installation around suitable weather whenever possible. If weather conditions change unexpectedly, temporary protection may be necessary to prevent the exposed roof assembly from receiving excessive moisture.
Wind is particularly important when working with large rolls or sheets. Loose underlayment can become difficult to control on an exposed roof, creating both material and worker safety concerns.
Rain can also affect self-adhering membranes and other products that require specific substrate conditions. The manufacturer’s instructions should be followed regarding moisture, temperature, and surface preparation.
If the roof deck becomes wet, contractors may need to allow it to dry before continuing. Installing protective materials over unsuitable conditions can create complications that remain hidden after the roof is completed.
Safety remains important throughout the process. Workers must operate on elevated surfaces while handling rolls, tools, fasteners, and other equipment.
Appropriate fall protection and safe access systems should be used according to the project requirements. Workers should also maintain clear walking paths and avoid leaving tools or loose materials where they can create hazards.
Underlayment installation can require considerable movement across the roof. Workers should take care when walking over seams, edges, and partially installed sections to avoid damaging the material or losing their footing.
Material storage should also be controlled. Rolls and other products need to be positioned so they remain stable and do not create unnecessary hazards on the roof.
Safety and workmanship are closely connected. An organized roof allows workers to handle materials more efficiently and reduces the likelihood of accidental damage to newly installed underlayment.
How Proper Underlayment Installation Supports Roof Performance
Properly installed underlayment contributes to the overall weather resistance of a roofing system. While the primary roofing material provides the main exterior barrier, underlayment provides another protective layer beneath it.
This secondary layer can be particularly valuable when wind-driven rain reaches beneath the outer roofing material. It can also provide protection if a roofing component becomes damaged or temporarily displaced.
The underlayment also helps protect the roof deck. By providing a layer between the deck and the primary roofing material, it can reduce direct exposure to moisture that moves beneath the outer covering.
The effectiveness of underlayment depends heavily on installation quality. A high-quality product cannot compensate for inadequate coverage, incorrect overlaps, damaged sections, or poor integration with flashing.
The roof deck and underlayment therefore need to be considered together. A stable, clean, properly prepared deck provides a better substrate for the protective layer, while correctly installed underlayment helps protect that foundation.
Flashing is equally important. Water protection around chimneys, skylights, vents, walls, and valleys depends on the interaction between flashing and underlayment rather than on either component alone.
Roof edges also require coordination. The underlayment, drip edge, and primary roofing material need to work together so water is directed toward the exterior.
Ventilation can influence the overall roofing assembly as well. Properly planned ventilation should remain functional without compromising the moisture protection provided by the underlayment.
Long-term roof performance depends on many factors, including material quality, installation workmanship, weather exposure, roof design, ventilation, drainage, and maintenance. Underlayment is one important component within that larger system.
A properly installed underlayment can provide valuable secondary protection, but it should never be viewed as a replacement for correct installation of the primary roofing material. The entire roof needs to function as an integrated assembly.
Final Underlayment Installation Checklist
Before the primary roofing material is installed, contractors can use a final checklist to confirm that the underlayment and related components are ready. The checklist provides a structured way to review the roof before the protective layer becomes hidden.
The final review can include the following:
- Confirm that the roof deck is properly repaired and clean.
- Verify that the selected underlayment is suitable for the roofing system.
- Check that the required roof areas are fully covered.
- Confirm that overlaps follow the product requirements.
- Inspect mechanical fasteners or adhesive connections.
- Look for wrinkles, tears, punctures, or loose sections.
- Review valleys and specialized waterproofing membranes.
- Inspect roof edges and drip edge integration.
- Check underlayment around chimneys, skylights, vents, and other penetrations.
- Verify that flashing and underlayment are properly integrated.
- Confirm that ventilation openings remain unobstructed.
- Make sure the installed material is protected from unnecessary damage.
This review should be performed before the primary roofing material begins covering the underlayment. Any identified defect should be evaluated and corrected according to the product and roofing system requirements.
The checklist is not intended to replace manufacturer instructions or applicable construction requirements. Instead, it provides a practical quality-control framework that can help the contractor confirm that the major installation details have been addressed.
Preparing for the Primary Roofing Material
After the underlayment passes inspection, the project can transition toward installation of the primary roofing material. At this point, the roof deck should be protected by the completed underlayment system, while flashing, edges, valleys, and other important areas are ready for the next stage.
The roofing material should be available and properly organized before installation begins. This reduces unnecessary movement across the prepared surface and allows the crew to maintain a consistent installation sequence.
The contractor reviews the roof layout and identifies areas that require special attention. Valleys, dormers, skylights, chimneys, vents, walls, ridges, and hips may require different installation details from the main roof planes.
For asphalt shingles, the next stage may involve starter materials and the first course of shingles. Other roofing systems may begin with different components, but the same basic principle applies: the primary material must be installed over a properly prepared and protected substrate.
The underlayment should remain protected during this transition. Workers should avoid unnecessary punctures, tears, or displacement while moving roofing materials and equipment into position.
Weather conditions should continue to be monitored. If the primary roofing material cannot be installed immediately, the contractor should take appropriate steps to protect the underlayment from prolonged exposure.
The transition should be orderly rather than rushed. A complete underlayment inspection provides a natural checkpoint before the visible roofing material begins covering the roof.
Once the primary roofing material is installed, many of the underlayment details will no longer be accessible. This makes the preparation and inspection performed before that stage especially valuable.
Homeowner Considerations During Underlayment Installation
Property owners may not see most of the underlayment installation because it occurs between the roof deck and the final roofing material. Even so, understanding the process can help homeowners ask useful questions about the work being performed.
A homeowner may want to know which type of underlayment is being used and why it is suitable for the selected roofing system. The contractor should be able to explain the product and how it fits into the overall roof assembly.
It can also be useful to understand whether specialized waterproofing materials are being used in valleys, eaves, or other vulnerable areas. These details can vary depending on the roof design and installation requirements.
If damaged decking is discovered during preparation, the contractor should explain the condition before covering it. Replacing deteriorated decking may be necessary to provide a suitable substrate for the underlayment and roofing material.
Homeowners should also understand that underlayment is not intended to replace the primary roofing material. It is an additional protective layer that works together with shingles, metal panels, tiles, or another exterior covering.
Clear communication during this stage can help ensure that the homeowner understands the work being performed beneath the visible roof. It can also make it easier to identify whether the completed project matches the planned scope of work.
Conclusion
The underlayment installation process is an important stage of professional roof construction because it creates an additional layer of protection between the roof deck and the primary roofing material. Although this layer is usually hidden after installation, it contributes to the overall ability of the roofing system to manage moisture and protect the underlying structure.
Successful underlayment installation begins with selecting a product that is appropriate for the roofing system. Contractors must consider the roofing material, roof slope, building design, environmental conditions, manufacturer requirements, and applicable construction standards before choosing and installing the product.
Preparation is equally important. The roof deck should be inspected, repaired, secured, cleaned, and made suitable for the underlayment before the material is placed. Installing underlayment over damaged decking, debris, moisture, or protruding fasteners can undermine the quality of the roofing assembly.
The installation itself requires attention to coverage, alignment, overlaps, fastening, and surface condition. Contractors need to maintain a consistent pattern across the roof while ensuring that water will be directed over the protective layers rather than beneath them.
Special attention is required around valleys, roof edges, chimneys, skylights, vents, walls, and other penetrations. These areas can experience concentrated water exposure or interrupt the normal roof surface, making careful integration between underlayment and flashing especially important.
Weather and safety conditions also influence the installation process. Workers must protect the material from unnecessary exposure and damage while maintaining safe practices on the elevated roof surface.
Before the primary roofing material is installed, a final inspection provides an important opportunity to identify defects. Tears, wrinkles, incorrect overlaps, damaged areas, exposed deck sections, blocked ventilation openings, and poorly integrated flashing should be addressed while the underlayment remains accessible.
A properly installed underlayment does not work alone. It forms part of a larger roofing system that includes the roof deck, flashing, drainage components, ventilation, fasteners, and primary roofing material. Each layer needs to work with the others to provide the intended level of protection.
For homeowners and property owners, understanding this process makes it easier to recognize why professional roofing installation involves careful work beneath the visible surface. The finished roof may be what people notice first, but its performance depends on the quality of the layers supporting it.
When contractors select appropriate materials, prepare the roof deck correctly, install underlayment according to product requirements, carefully manage overlaps and fasteners, protect vulnerable areas, and complete a detailed final inspection, they create a stronger foundation for the roofing system above.
Ultimately, proper underlayment installation is about creating continuity and protection throughout the roof assembly. When this hidden layer is installed correctly and integrated with the other roofing components, it can provide valuable secondary moisture protection and contribute to the dependable performance of the completed roof.