
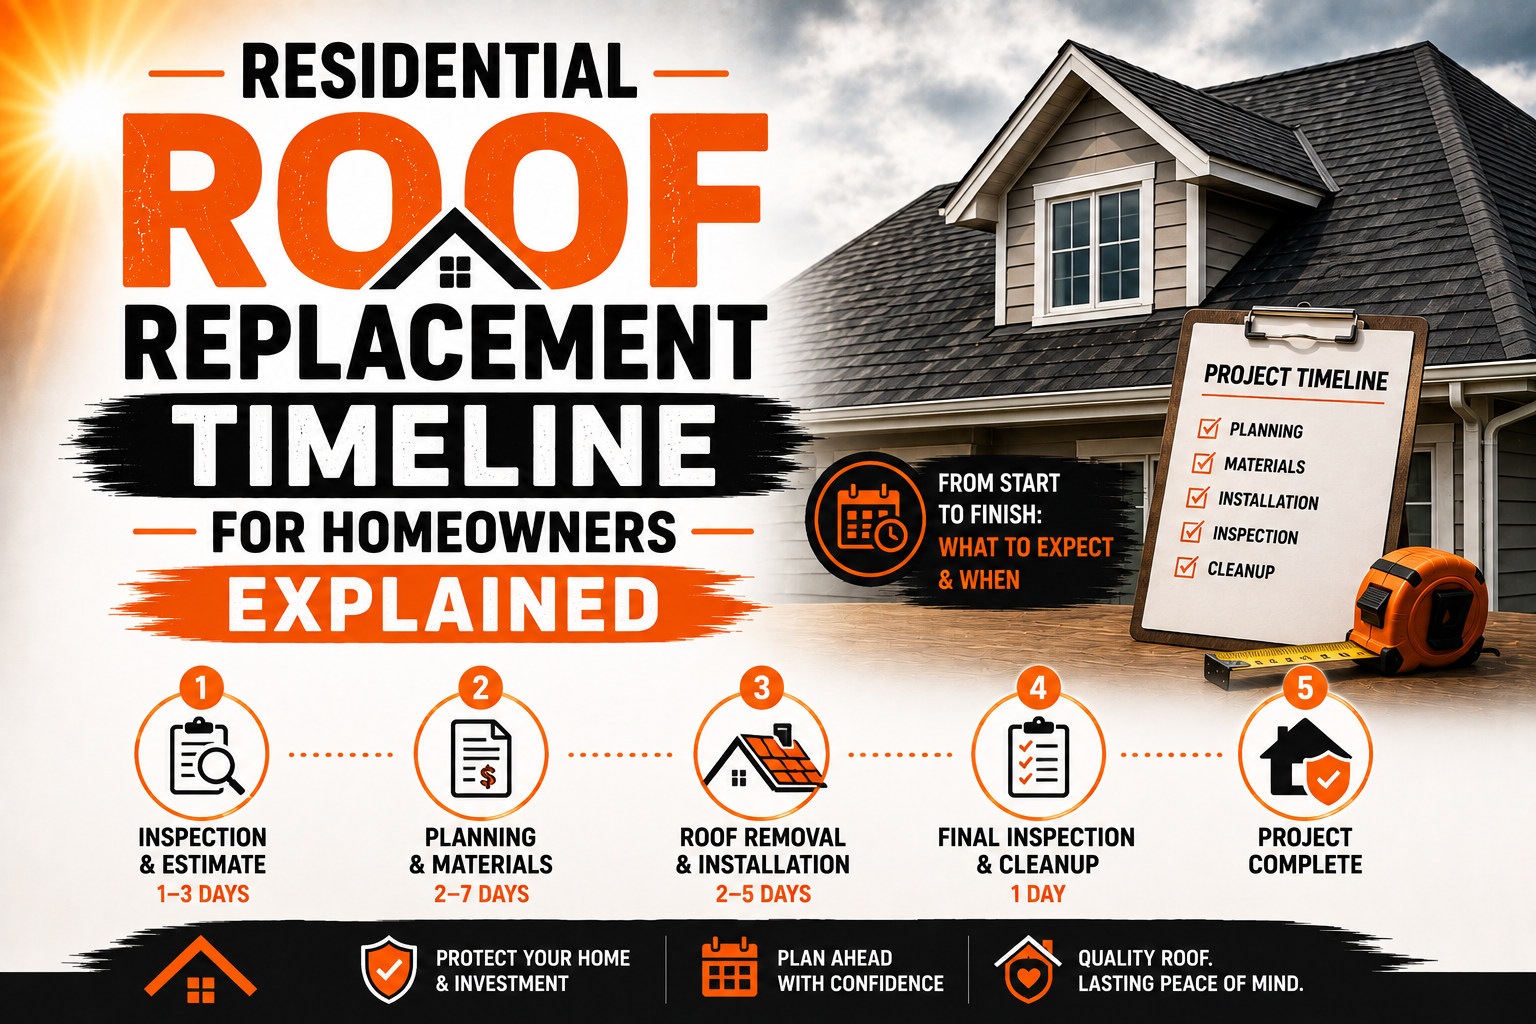
Residential Roof Replacement Timeline for Homeowners Explained
Introduction
A residential roof replacement is a major home improvement project, and understanding the timeline can help homeowners prepare for each stage without unnecessary stress. Although the actual installation may take only a few days for some homes, the complete process begins much earlier with inspections, estimates, material selection, contractor scheduling, permits, and property preparation.
The timeline for a roof replacement is not identical for every home. A small, simple roof may be completed relatively quickly, while a large or complex roof can require considerably more time. Roof pitch, number of stories, material type, accessibility, weather conditions, structural repairs, and local requirements can all influence how long the project takes.
Homeowners should also understand the difference between planning time and construction time. Choosing a contractor, ordering materials, and obtaining required approvals can take days or weeks before the first roofing material is removed. Once construction begins, the physical replacement may move quickly if weather remains favorable and no hidden problems are discovered.
A well-organized timeline gives homeowners a clearer idea of what should happen before, during, and after installation. It also makes it easier to identify delays that are reasonable and distinguish them from problems caused by poor preparation or communication.
The most important principle is to avoid rushing a roofing project simply to meet an arbitrary completion date. A properly installed roof requires careful preparation and attention to details that protect the home from water, wind, and long-term deterioration. Allowing reasonable flexibility in the schedule can help ensure that quality remains the priority.
Initial Roof Inspection and Replacement Decision
The residential roof replacement timeline usually begins with an inspection of the existing roofing system. Before homeowners schedule construction, they need to understand whether the roof actually requires complete replacement and what conditions may affect the project. An inspection can identify visible deterioration as well as problems that may not be obvious from ground level.
A roofing professional may examine shingles, metal panels, tiles, flashing, valleys, vents, roof edges, chimneys, skylights, and other exterior components. Accessible attic areas may also be inspected for signs of moisture, damaged decking, inadequate ventilation, staining, or structural deterioration. This assessment helps establish whether the roof is suitable for repair or whether replacement is the more practical option.
The age of the existing roof can influence the decision as well. A relatively young roof with limited damage may be repairable, while an older roof with widespread deterioration may be approaching the end of its useful service life. However, age should not be considered by itself because severe storm or structural damage can make replacement necessary even on a newer system.
Homeowners should ask the contractor to explain the condition of the entire roofing system rather than focusing only on visible shingles. Important components such as underlayment, decking, flashing, ventilation, and drainage can affect the performance of the new roof. Understanding these elements early helps homeowners anticipate the likely scope of the project.
The inspection should also identify potential complications. A steep roof, multiple roof levels, limited property access, numerous penetrations, or signs of hidden moisture can affect both cost and scheduling. Knowing about these factors before signing a contract gives homeowners more time to make informed decisions.
Once the inspection is complete, homeowners can decide whether full replacement is appropriate. If replacement is recommended, the contractor can prepare a more detailed scope of work and begin the next stage of planning.
Getting Estimates and Choosing a Roofing Contractor
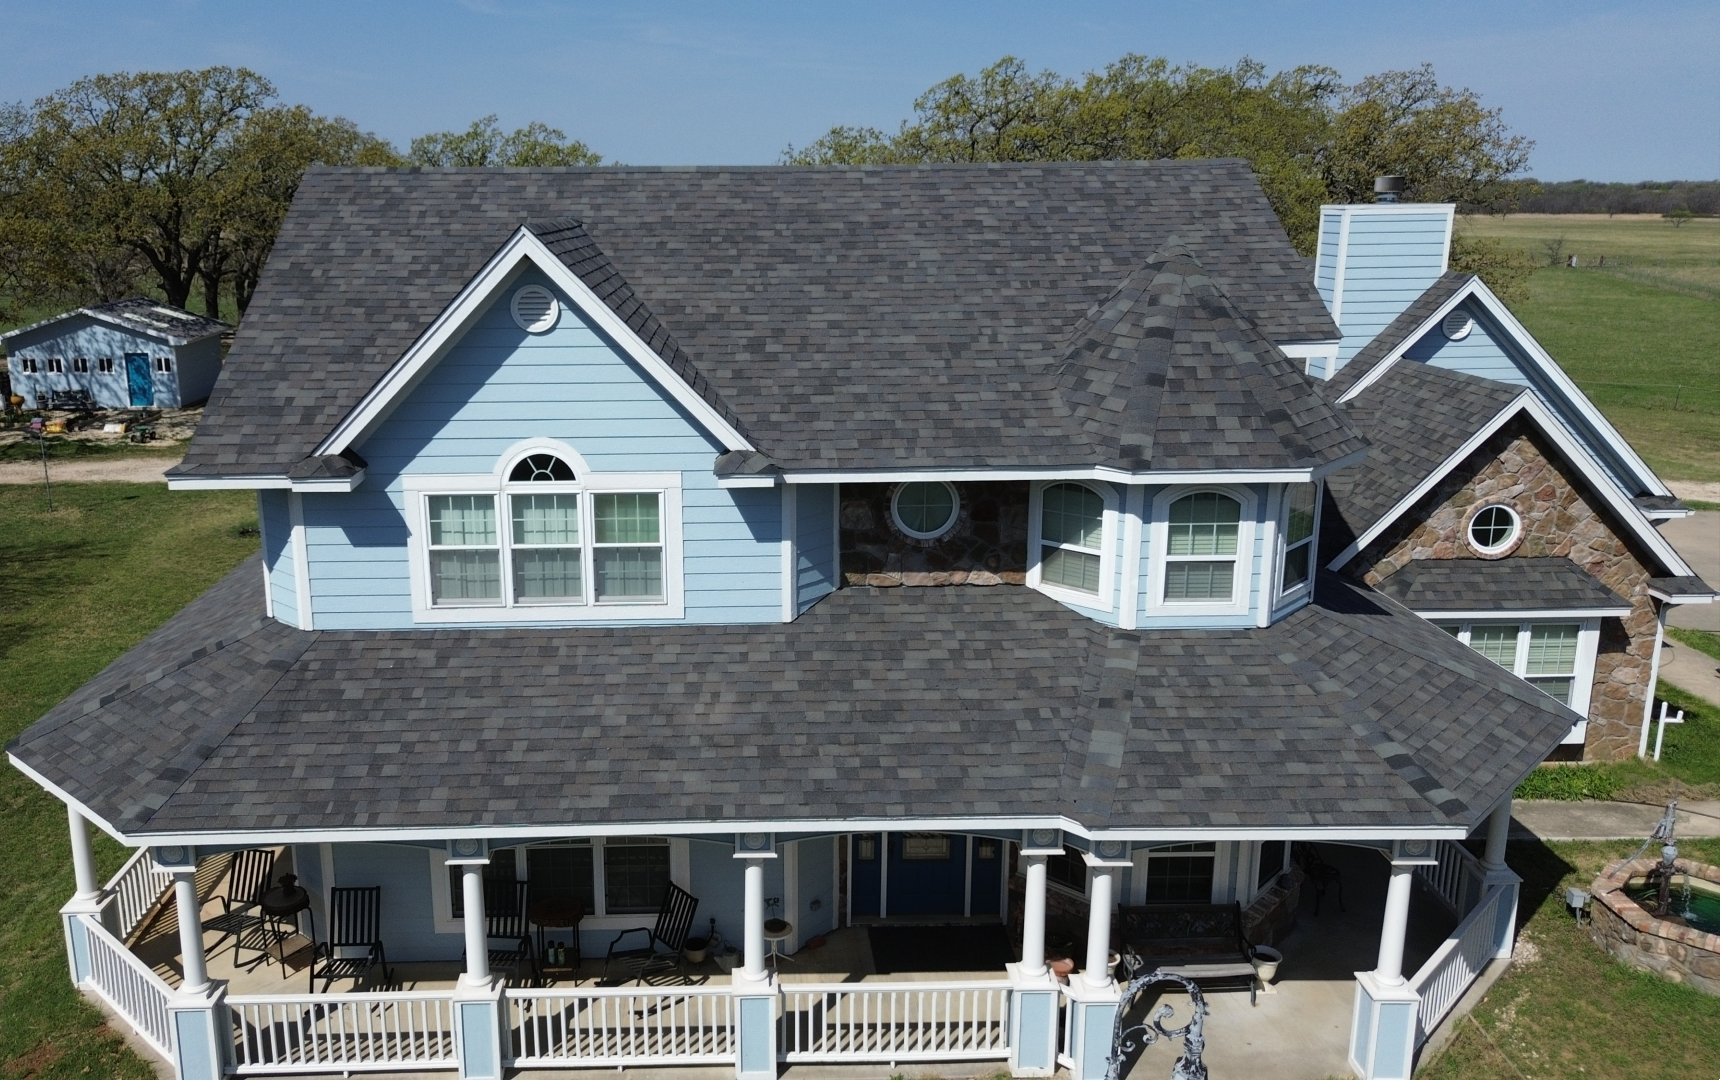
After determining that replacement is necessary, homeowners generally begin collecting estimates and evaluating roofing contractors. This stage can take longer than expected, especially when homeowners want to compare several qualified companies. Taking sufficient time at this point can prevent problems later because contractor selection has a major influence on the project’s quality and schedule.
Homeowners should request detailed written estimates rather than relying on verbal prices. A useful estimate should explain the roofing material, removal of the existing roof, installation, underlayment, flashing, ventilation, disposal, cleanup, warranties, and procedures for handling unexpected repairs. The more clearly the work is defined, the easier it becomes to compare different proposals.
Contractor qualifications should also be reviewed. Homeowners can consider relevant experience, required licensing or registration, insurance coverage, references, customer reviews, and previous residential roofing projects. A contractor who regularly handles roof replacements similar to the homeowner’s property may be better prepared for the specific challenges involved.
Communication during this stage is especially important. Homeowners should ask how the contractor handles weather delays, hidden decking damage, material shortages, permit requirements, and changes to the project scope. Clear answers can provide useful insight into how organized the contractor is likely to be once construction begins.
The estimated start date should be discussed carefully. A contractor may provide a general scheduling window rather than an exact date because weather and material availability can change. Homeowners should understand whether the project can be delayed if materials are unavailable or conditions become unsafe.
The contract should be reviewed before work is scheduled. It should identify the agreed price or pricing method, payment schedule, project scope, material specifications, warranties, cleanup responsibilities, and procedures for approving additional work. Any important questions should be resolved before the homeowner commits to the project.
Once the contractor is selected and the agreement is signed, the project can move into the material ordering and pre-construction stage. This is where many of the practical scheduling details are finalized.
Material Selection and Ordering
Selecting roofing materials is an important part of the timeline because the chosen products must be available before installation can proceed efficiently. Homeowners may choose from asphalt shingles, metal roofing, tile, slate, or other materials depending on the property’s structure, local conditions, appearance preferences, and budget.
The selection process should be completed before the contractor orders materials. Homeowners should confirm the exact product, style, color, profile, and other specifications included in the agreement. Making major material changes after ordering can create delays, additional costs, or problems with availability.
Material availability varies by product and location. Common roofing materials may be available relatively quickly, while specialty colors, premium products, or less common systems may require additional ordering time. The contractor should confirm expected delivery dates instead of assuming that every selected material is immediately available.
The quantity of material required also needs to be calculated accurately. Contractors typically account for the total roof area as well as waste created by cutting materials around valleys, edges, dormers, penetrations, and other complex sections. Ordering the correct amount helps prevent interruptions caused by material shortages.
Delivery logistics should be planned alongside the installation schedule. Roofing materials are heavy and may require a specific location for delivery and staging. The contractor should determine where materials, equipment, dumpsters, or trailers can be placed without unnecessarily damaging the driveway, landscaping, or other property features.
Homeowners should also understand that material delivery does not always mean installation will begin immediately. Contractors may coordinate several activities before the crew starts, including permits, weather conditions, equipment availability, and preparation of the work area. Materials may need to arrive shortly before construction or be staged safely until the scheduled start.
Keeping product documentation is useful as well. Homeowners should retain information about the manufacturer, product name, color, warranty, and installation requirements. These records can be valuable for future maintenance, repairs, warranty claims, or property documentation.
Once materials have been selected and ordered, the project can progress toward permits, approvals, and final pre-construction planning.
Permits, Approvals, and Pre-Construction Planning
Before roofing work begins, homeowners and contractors should determine whether permits or inspections are required. Local requirements can differ depending on the location, property type, scope of replacement, and applicable building regulations. Identifying these requirements early can prevent administrative delays after the project has already been scheduled.
Homeowners should ask the contractor who is responsible for obtaining any required permits. In many projects, the contractor manages the process, but this should never be assumed. The contract should clearly identify responsibility for applications, fees, inspections, and other administrative requirements.
Building requirements may affect the roofing system itself. Local rules can address structural safety, ventilation, weather protection, materials, flashing, and installation practices. If the replacement involves changes to the roof structure or other significant work, additional requirements may apply.
The contractor should also finalize the construction schedule during this stage. This may include confirming the expected start date, estimated duration, material delivery, crew availability, equipment, dumpster placement, and access to the property. Homeowners should understand that the schedule is an estimate rather than an absolute guarantee.
Weather should be reviewed before the project begins. Roofing crews need suitable conditions to work safely and install materials correctly. Rain, strong winds, storms, or other unfavorable conditions may require the start date to move or work to pause temporarily.
A pre-construction discussion can help eliminate confusion. Homeowners should review where workers will enter the property, where vehicles and equipment will be placed, which areas should remain accessible, how debris will be handled, and whom to contact if an issue develops.
This is also the right time to confirm payment arrangements and emergency communication procedures. Having these details settled before construction begins allows the homeowner and contractor to focus on the actual roofing work once the crew arrives.
Preparing the Home and Property
The final stage before construction begins is preparing the property and household for the activity that comes with roof replacement. Roofing work can involve considerable noise, vibration, material movement, ladders, equipment, falling debris, and temporary restrictions around the house. Proper preparation can make the construction period safer and more manageable.
Outdoor furniture, toys, decorations, gardening tools, planters, and other movable items should be relocated away from the work area. Vehicles may also need to be moved because roofing crews require access for material delivery, equipment, and waste containers. The contractor can identify which areas should remain clear throughout the project.
Homeowners should also consider items stored in the attic. Roof replacement can create vibrations that disturb dust or small debris, particularly during tear-off. Fragile belongings should be removed or protected, while unnecessary items can be relocated to make attic access easier if inspection becomes necessary.
Windows, doors, landscaping, and other exterior features may need temporary protection. Professional roofing crews commonly use appropriate protective measures during removal and installation. Homeowners should discuss these arrangements with the contractor so they understand what will be protected and what preparation they need to complete themselves.
Children and pets should be kept away from active work areas. Roofing projects involve heavy materials, sharp tools, ladders, nails, and falling debris, making construction zones unsafe for unsupervised access. Families may need to establish a temporary safe area or adjust daily routines during working hours.
Noise should also be considered. Tear-off and installation can be disruptive, especially for people working, studying, or resting at home during the day. Planning alternative work locations or adjusting schedules can make the construction period more comfortable.
Finally, homeowners should keep the project documents accessible before the crew arrives. The signed contract, material specifications, estimate, permit information, warranty details, and contractor contact information should be organized in one place.
Arrival of the Roofing Crew and Site Setup
Once planning, material ordering, permits, and property preparation are complete, the roof replacement moves into the construction phase. The first day usually begins with the roofing crew arriving at the property, reviewing the work area, and setting up equipment and materials. The exact activities can vary depending on the size and complexity of the home, but proper site preparation helps the project move safely and efficiently.
The crew may establish designated areas for ladders, tools, roofing materials, vehicles, and waste containers. Materials need to be positioned where workers can access them without creating unnecessary obstacles around the property. The contractor may also confirm that landscaping, windows, doors, walkways, and other vulnerable areas have been adequately protected.
Safety preparation is an important part of the setup process. Roofing work involves working at heights, handling heavy materials, and using various tools and equipment. Workers may install fall protection, establish safe access points, and organize the work area before beginning the removal of the existing roof.
Homeowners should understand that the first day may look different from the following days. Depending on the project, the crew may spend time organizing equipment and protecting the property before substantial roofing work begins. This preparation is part of the replacement process rather than wasted time.
Material staging also affects efficiency. Roofing materials may be delivered by truck and placed in a location that allows the crew to move them efficiently to the roof. The contractor should use appropriate methods to avoid unnecessary damage to driveways, landscaping, walls, or other property features.
Communication should remain open during this stage. Homeowners may want to confirm the expected daily schedule, access restrictions, and the best way to communicate with the project supervisor. If a concern appears before work starts, addressing it immediately is generally easier than waiting until the installation is underway.
The site setup stage may take only part of a day for a straightforward project, while larger or more complicated homes may require additional preparation. Once the crew is ready, the existing roofing system can be removed so that the underlying structure can be examined.
Removing the Existing Roofing Materials
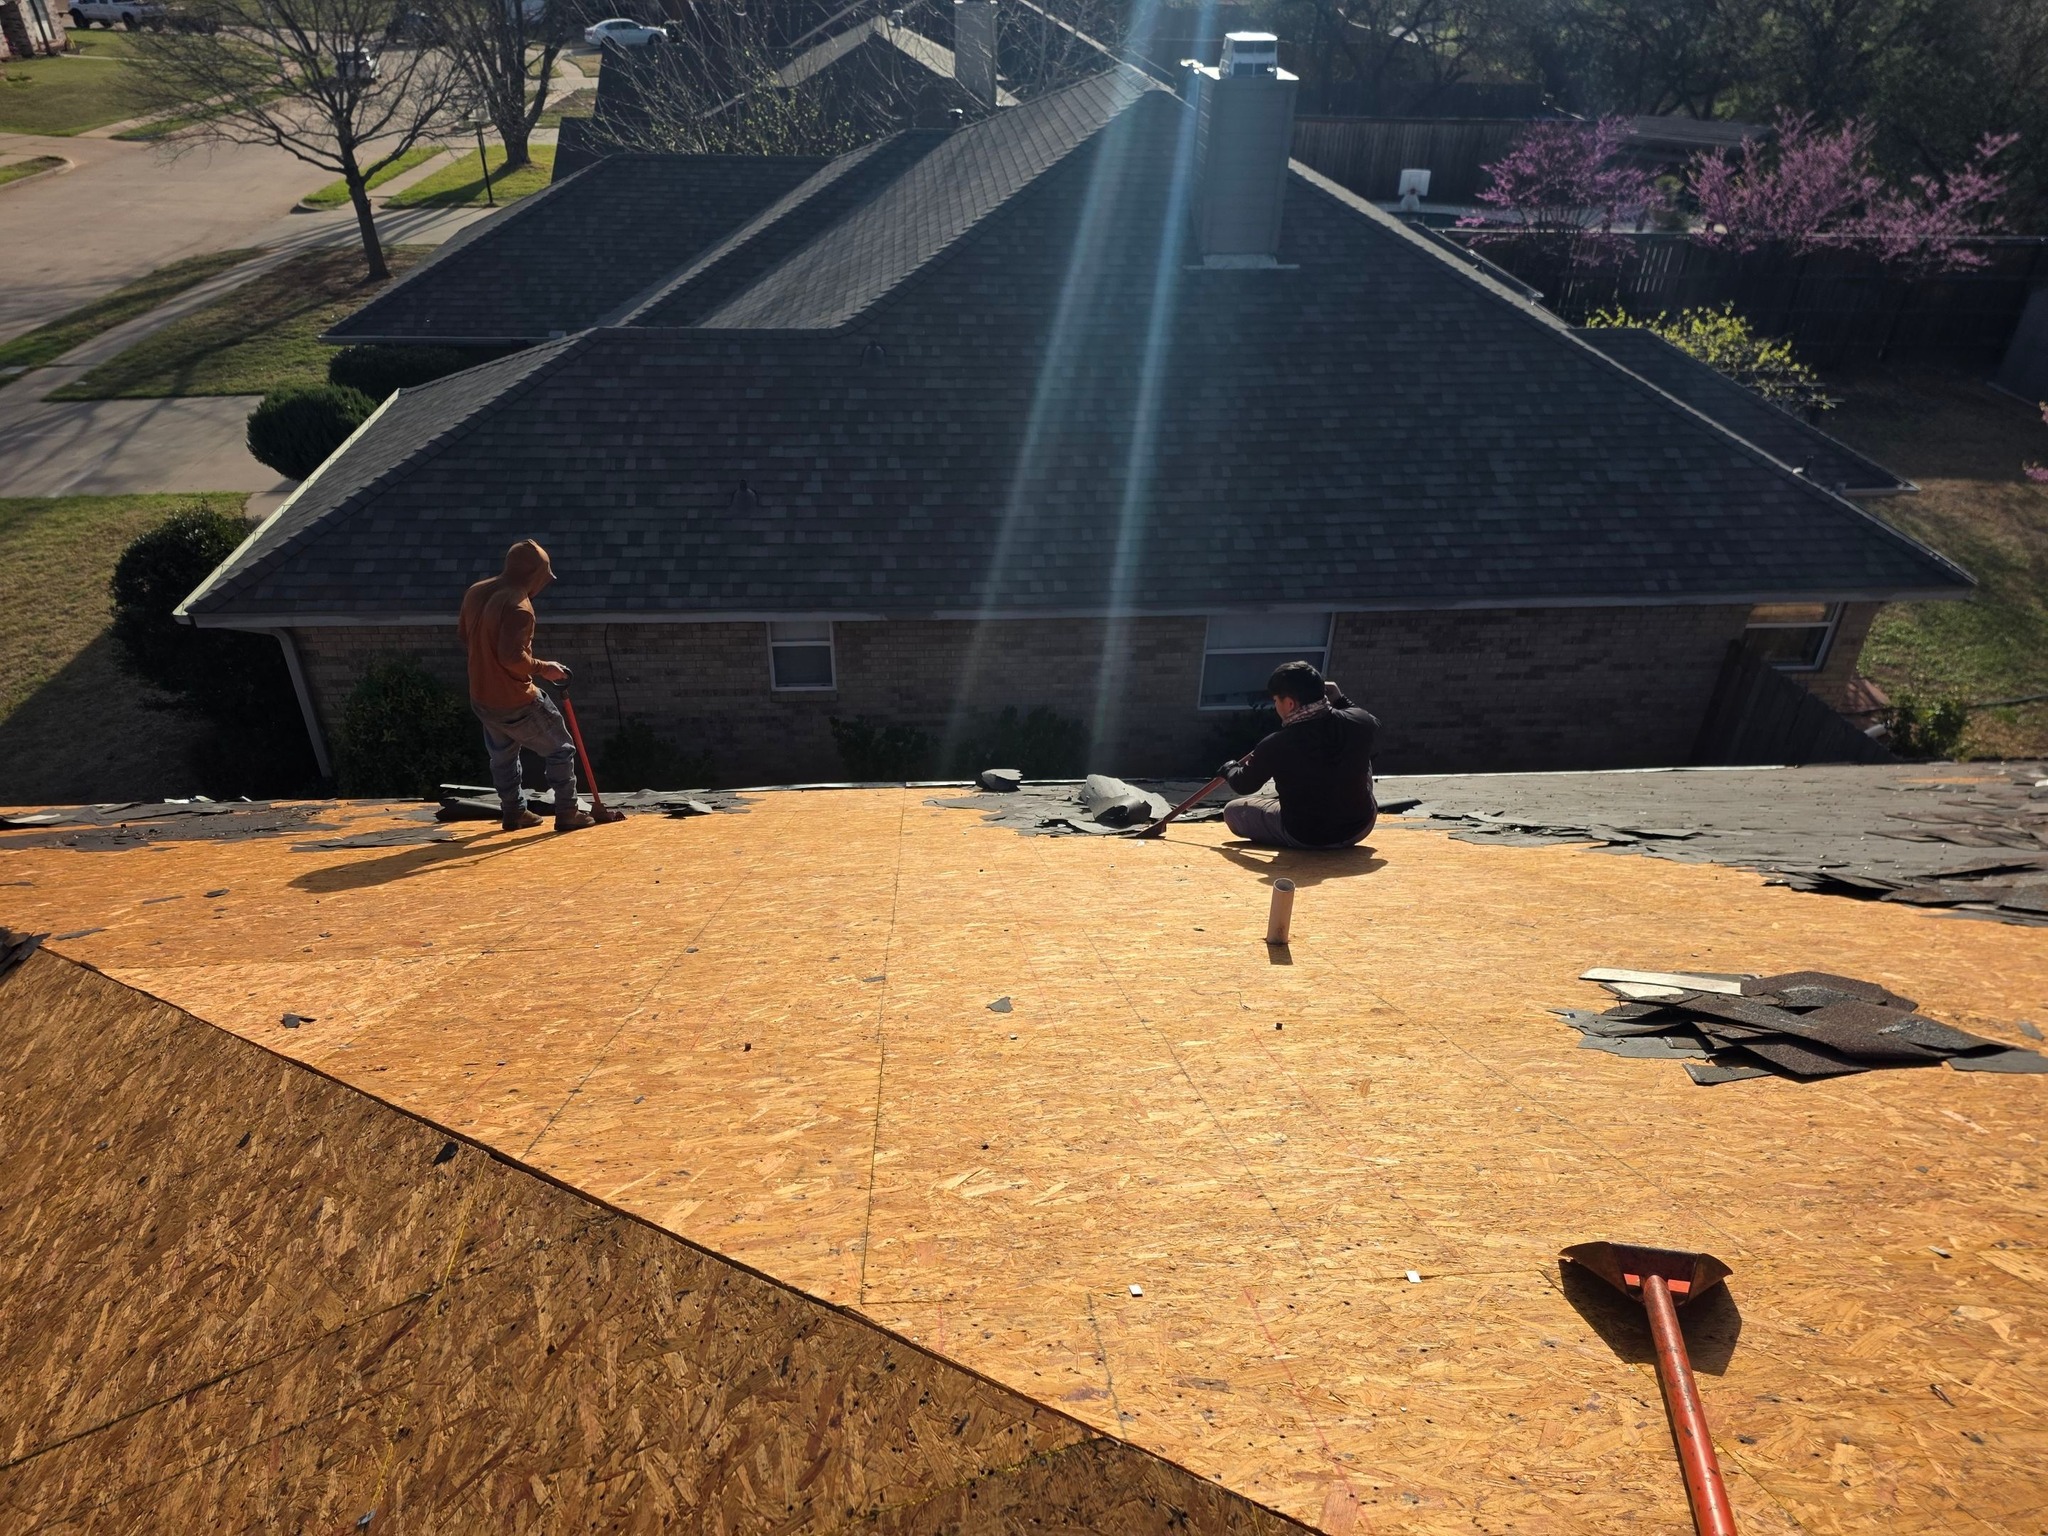
Roof tear-off is usually one of the most active and disruptive stages of a residential roof replacement. During this phase, workers remove the existing shingles, panels, tiles, underlayment, flashing, and other materials that are scheduled for replacement. The amount of time required depends on the roof’s size, material, number of layers, accessibility, and overall condition.
A roof with one layer of asphalt shingles may be removed more quickly than a roof with multiple layers or heavier materials. Older roofing systems can sometimes contain several layers installed during previous projects. Removing those layers requires additional labor and produces more debris, which can affect both the workday and disposal schedule.
During tear-off, the crew must manage falling materials carefully. Protective coverings may be placed around landscaping, windows, doors, and other areas near the building. Debris is collected and transferred to the designated disposal container or vehicle rather than being allowed to accumulate around the property.
Homeowners should expect considerable noise during this stage. Workers may use tools to remove fasteners and roofing materials, and materials can create vibration as they are removed from the structure. People working from home may need to plan for a temporary change in their routine.
The tear-off process also reveals the actual condition of the roof deck. Problems that were hidden beneath the old roofing materials may become visible for the first time. The contractor can then determine whether the exposed decking is suitable for the new roofing system or whether certain sections require replacement.
Moisture damage is one of the most common discoveries during tear-off. Water may have entered around damaged shingles, flashing, valleys, vents, chimneys, or other vulnerable areas. If the affected wood has deteriorated significantly, it may need to be removed and replaced before installation continues.
The timeline can change at this point if unexpected damage is extensive. Homeowners should have already discussed how additional work will be handled, including how the contractor will document the problem and obtain approval for additional repairs. This preparation helps prevent confusion when the roof’s actual condition differs from what was visible before removal.
Once the old roofing materials have been removed and the roof deck has been evaluated, the project can move into preparation and repair of the underlying components.
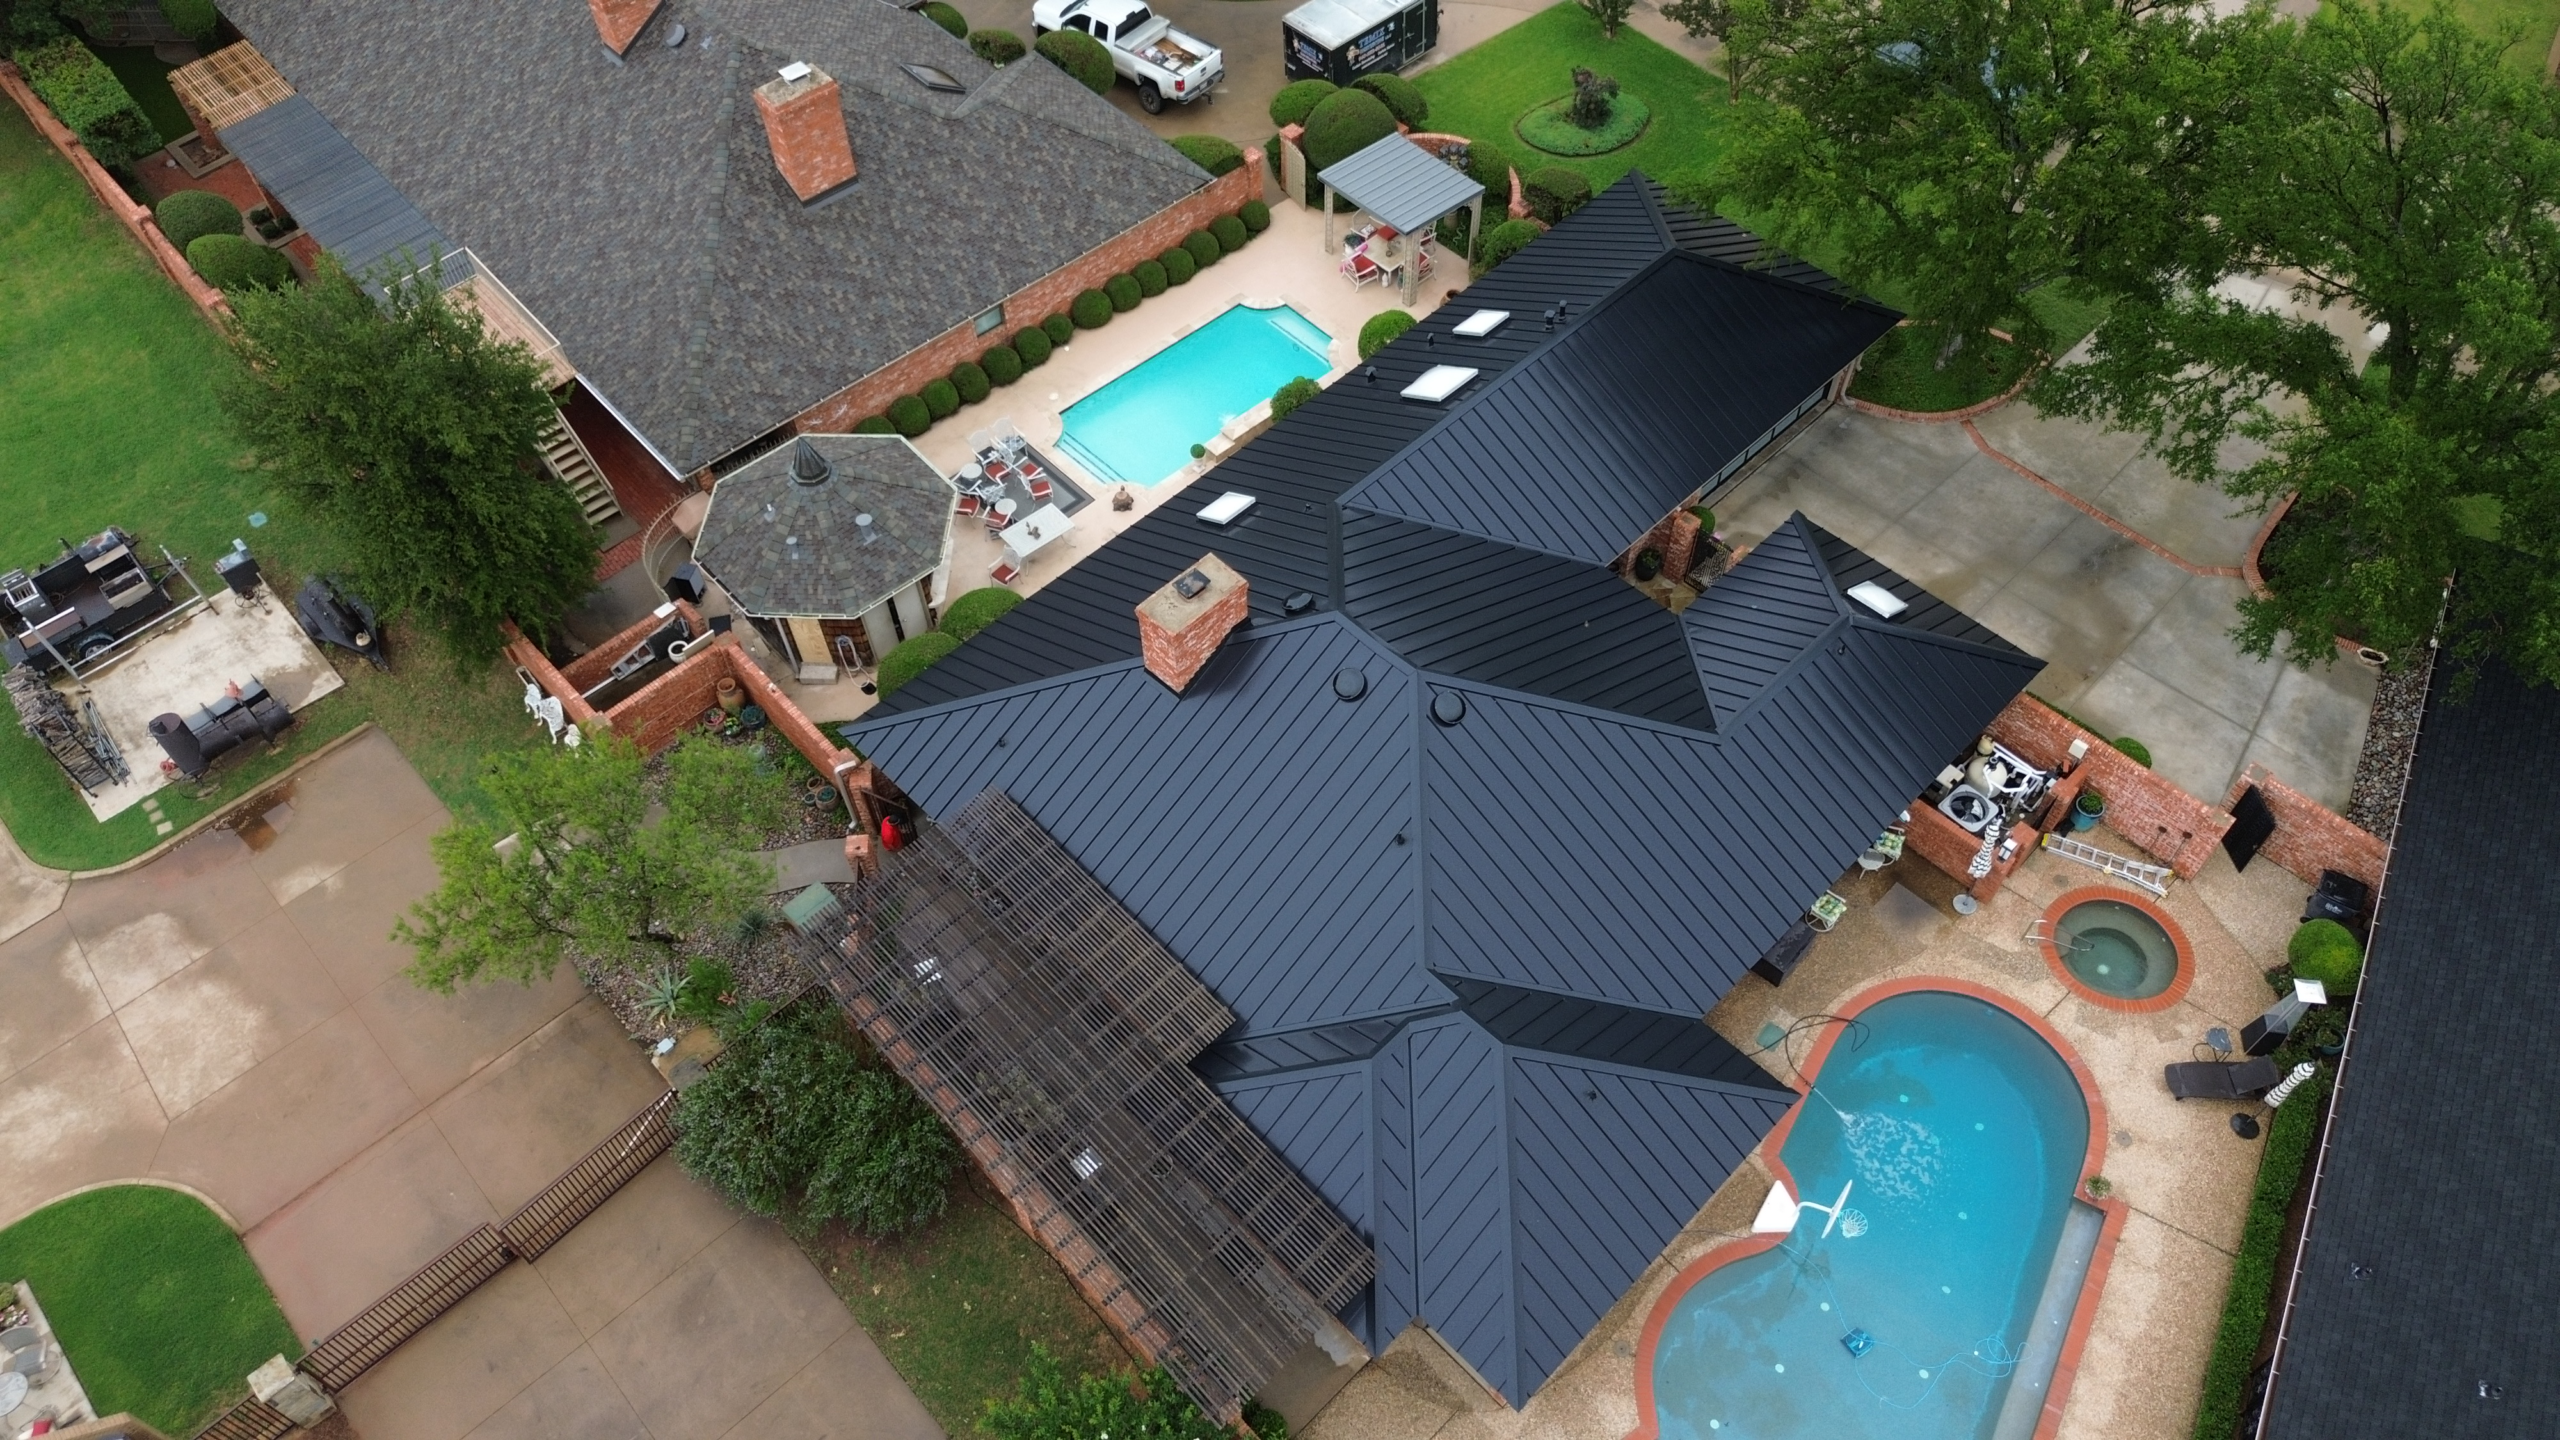
Repairing the Roof Deck and Underlying Components
After tear-off, the contractor can inspect the roof deck much more thoroughly. This stage is important because the new roofing system needs a stable and suitable surface. Installing new roofing materials over damaged or weakened decking can create problems that affect the performance and durability of the replacement.
The contractor may identify sections of decking that are soft, cracked, warped, stained, or deteriorated. These areas may have been affected by long-term moisture exposure, previous leaks, poor ventilation, or other conditions. The damaged sections are typically removed and replaced according to the project’s scope and applicable requirements.
Not every roof requires extensive decking repairs. Some projects may reveal only a few isolated damaged areas, while others may require substantial replacement. The amount of work depends on the history and condition of the existing roof.
Structural concerns may also become apparent after removal. If rafters, trusses, or other supporting components show signs of significant deterioration, they may require additional evaluation. Structural work can extend the project timeline because it may require specialized labor or professional assessment beyond standard roofing installation.
Once necessary repairs are completed, the contractor can prepare the surface for the new roofing system. This may involve installing underlayment, water-resistant protection, drip edges, and other components according to the selected roofing system and project requirements.
Underlayment provides an additional layer of protection beneath the primary roofing material. Its installation is an important part of the replacement because the roof is designed as a complete system rather than simply an exterior layer. The contractor should install the appropriate product according to manufacturer instructions and applicable requirements.
The preparation stage may also involve correcting ventilation problems. If the existing attic ventilation is inadequate or damaged, the contractor may install or modify ventilation components as part of the project. Proper planning at this stage can help support the long-term performance of the new roofing system.
Homeowners should understand that the project may temporarily appear to move slowly during this phase. Careful preparation of the roof deck and underlying components can take time, but rushing these steps can create problems later. Once the surface has been properly prepared, the installation of flashing and other roofing accessories can begin.
Installing Flashing, Ventilation, and Roof Accessories
Before the primary roofing material is fully installed, contractors must address several details that protect vulnerable areas of the roof. Flashing, vents, pipe boots, drip edges, and other accessories play important roles in controlling water and maintaining the performance of the roofing system.
Flashing is particularly important around chimneys, walls, skylights, valleys, and other locations where different surfaces meet. These areas can become potential leak points if they are not properly integrated with the new roofing material. Depending on the project’s scope, existing flashing may be replaced, repaired, or supplemented with new components.
Roof valleys also require careful installation because they collect and direct significant amounts of rainwater. The contractor needs to ensure that the valley system is properly integrated with the surrounding roofing materials. The exact method depends on the roofing material, roof design, and applicable installation requirements.
Plumbing vent boots are installed around pipes that pass through the roof. These components help seal the opening and prevent water from entering around the penetration. Older boots may be replaced during the project if they are cracked, deteriorated, or no longer suitable for the new roofing system.
Drip edges and related edge components help manage water around the perimeter of the roof. They can also protect vulnerable roof edges from moisture exposure. These components may be installed at different stages depending on the roofing system and contractor’s installation method.
Ventilation components may include ridge vents, soffit-related airflow pathways, or other approved ventilation systems. The objective is to support appropriate movement of air through the attic while helping manage heat and moisture. The correct arrangement depends on the home’s design and existing ventilation configuration.
The timing of this work can vary because some components are installed before the primary roofing material, while others are integrated during installation. A complex roof with numerous penetrations or architectural features may require more time than a simple roof with few details.
Homeowners should avoid walking onto the roof to check these components themselves. Instead, they can ask the project supervisor for updates or photographs of areas that are not safely accessible. Once these details are properly addressed, the crew can proceed with installing the main roofing material.
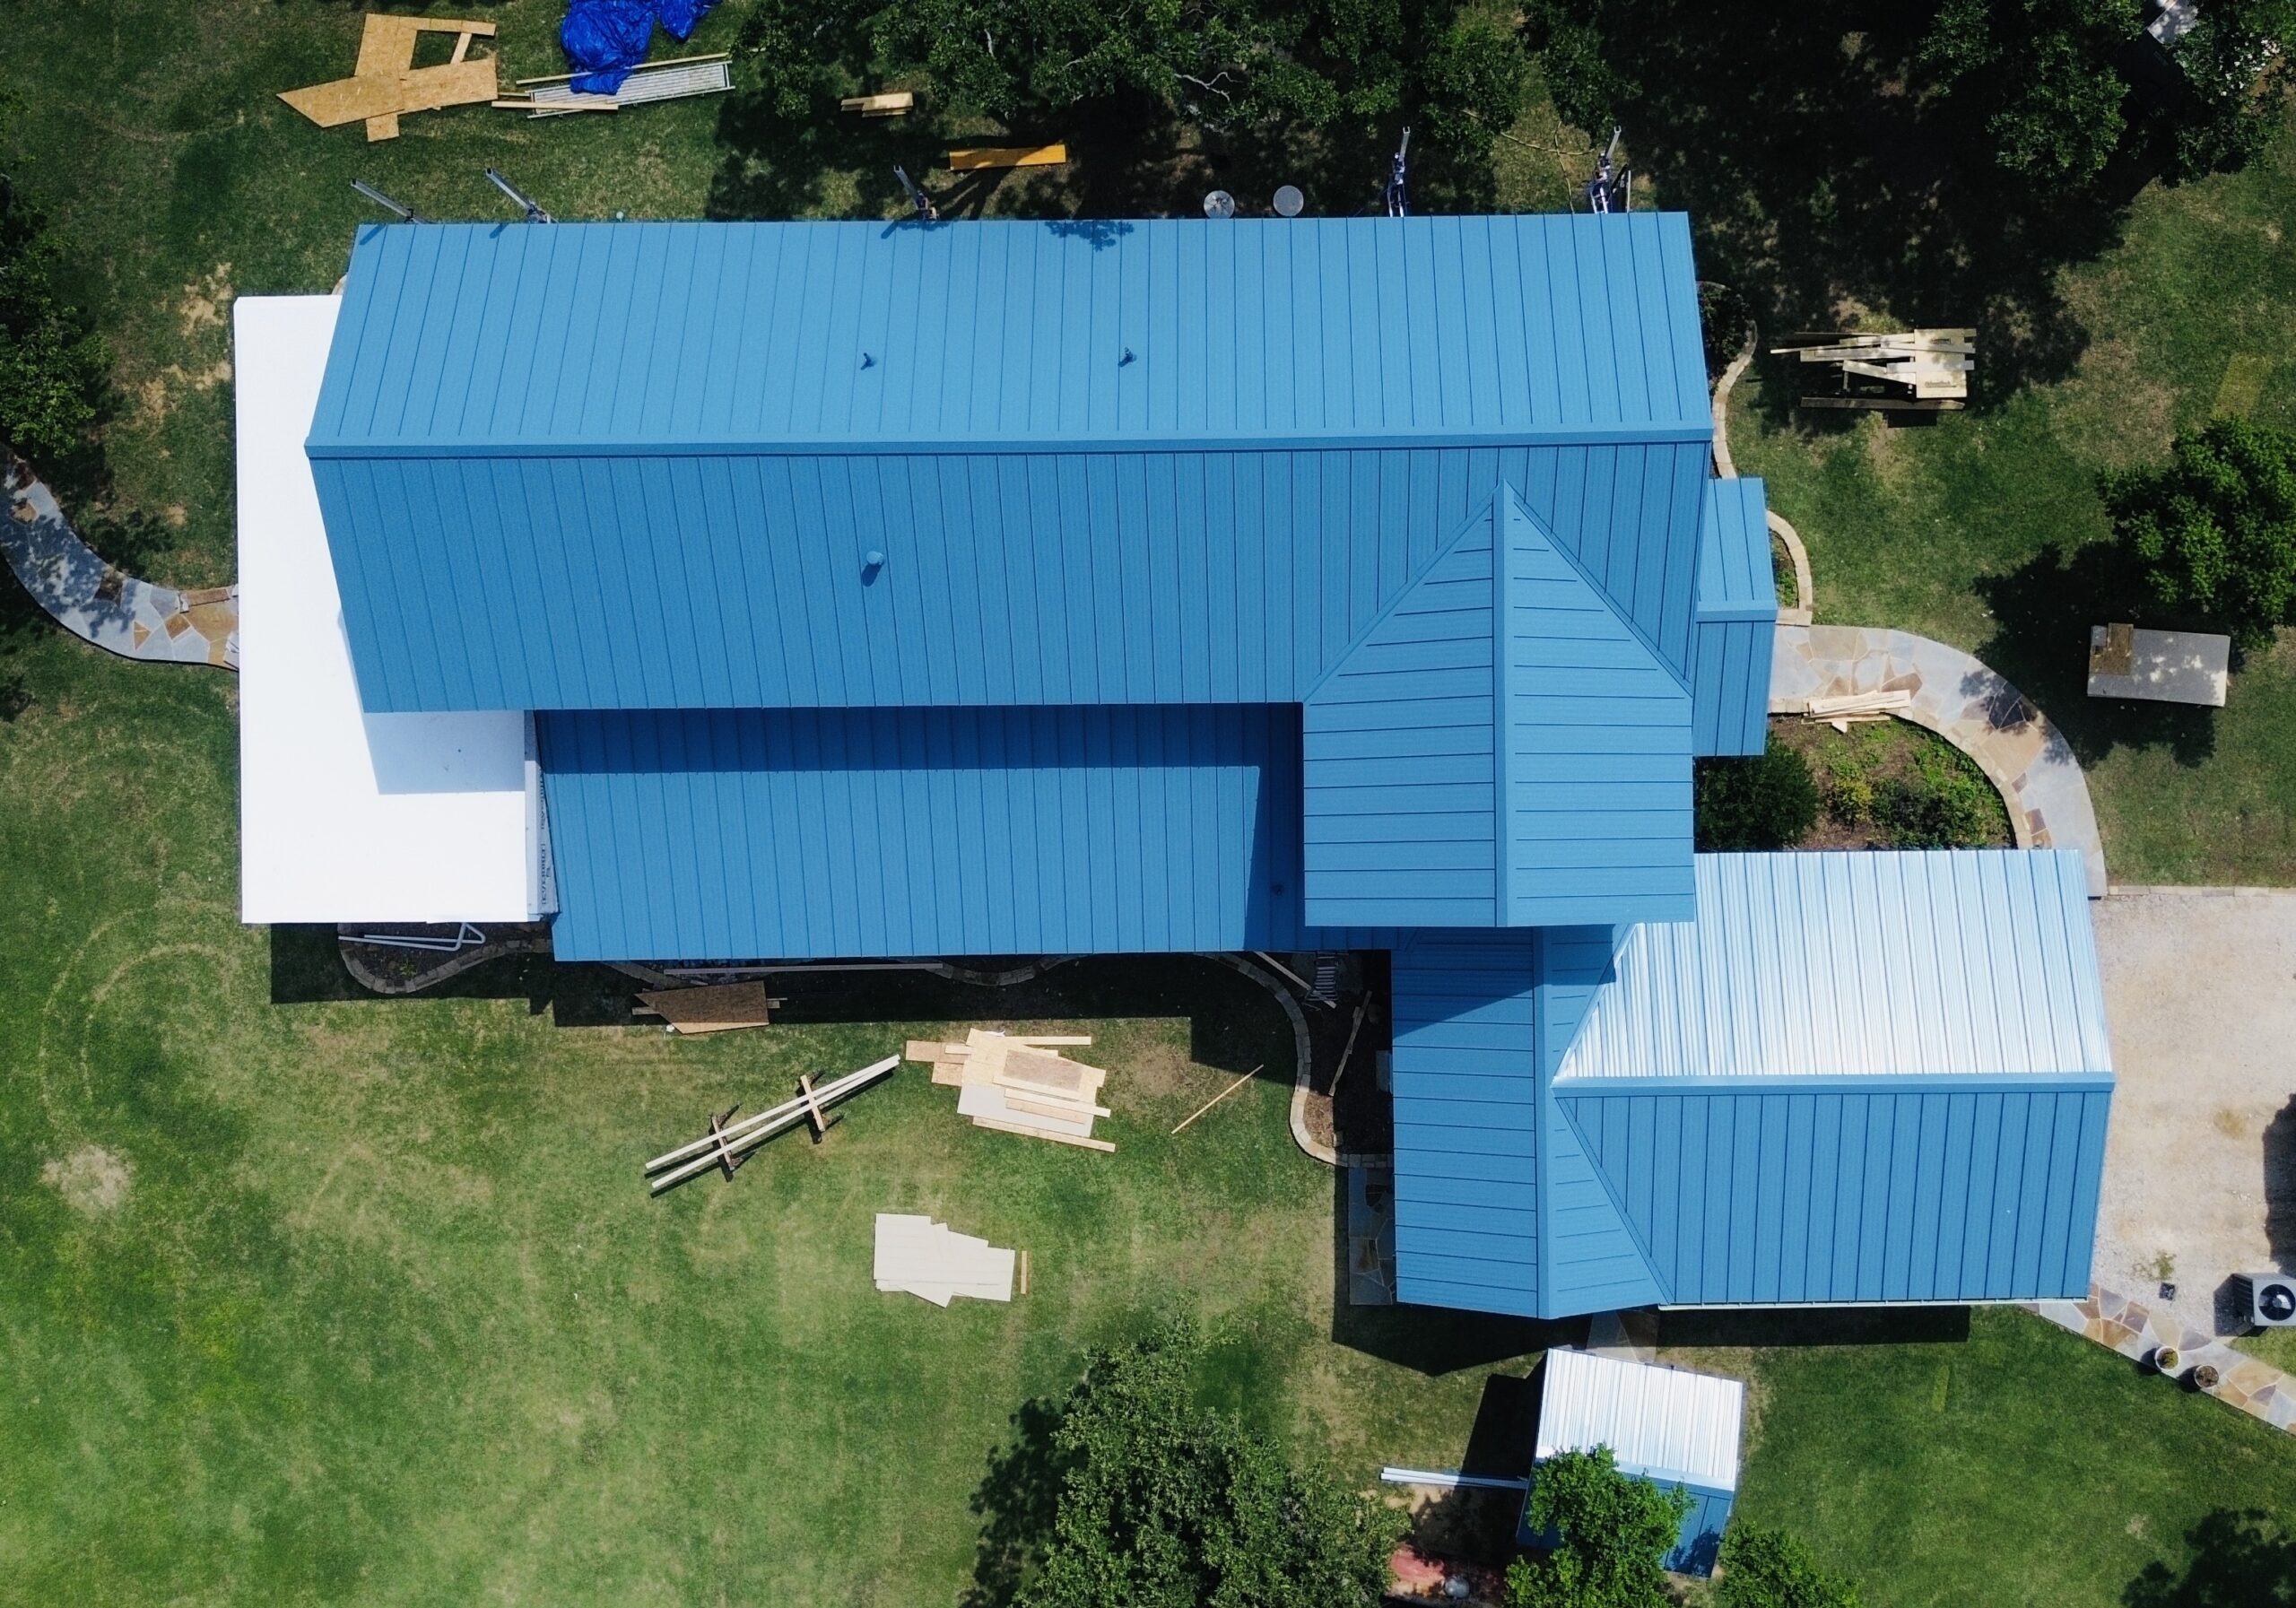
Installing the New Roofing Material
The installation of the new roofing material is the stage most homeowners associate with roof replacement. Depending on the selected system, this may involve asphalt shingles, metal panels, tiles, slate, or another approved roofing material. Installation time varies according to roof size, material, design complexity, crew size, and weather.
Asphalt shingle installation on a straightforward residential roof can often progress quickly once the surface is prepared. Workers generally install materials in carefully planned courses or sections, maintaining appropriate alignment, fastening, overlap, and exposure. Complex roof features require additional cutting and detailing.
Metal roofing can involve different installation procedures depending on the type of panels and fastening system. Panels must be measured, aligned, secured, and integrated with flashing and penetrations. Tile and slate systems can require additional handling and specialized installation techniques.
The crew typically works across sections of the roof rather than completing every detail at once. This allows materials and workers to be organized efficiently while maintaining appropriate protection for exposed areas. Weather conditions can influence how much work can safely be completed on a particular day.
Roof edges, ridges, hips, valleys, and penetrations require careful finishing. These areas may take additional time because they involve specialized components and precise installation. A project should not be considered delayed simply because workers are spending additional time on important detail areas.
The homeowner should also expect the project schedule to change if weather conditions become unsuitable. Rain or strong winds can interfere with installation and create safety concerns. A responsible crew may stop work or protect unfinished sections rather than continuing under unsafe conditions.
Communication during installation remains important. Homeowners should receive updates when major stages are completed and when unexpected issues affect the schedule. If a material change or additional repair becomes necessary, it should be discussed before the work proceeds whenever practical.
Managing Delays and Daily Project Communication
Even a carefully planned roof replacement can experience delays. Weather, hidden structural damage, material problems, equipment issues, permit requirements, or unexpected site conditions can all affect the original schedule. Homeowners should therefore treat the projected timeline as a working plan rather than an unchangeable deadline.
Weather is one of the most common causes of delays. Roofing materials often require appropriate conditions for installation, and workers need safe surfaces and visibility. A short weather delay can protect both the crew and the quality of the finished roofing system.
Hidden damage can also extend the project. If extensive decking or structural deterioration is discovered, the contractor may need additional materials and labor. The homeowner should receive an explanation of the issue and understand how the additional work affects the expected completion date.
Material shortages or damaged deliveries can create another type of delay. If the correct product is unavailable, installing an unapproved substitute may create warranty or appearance problems. It is generally better to wait for the correct material than to make an unplanned substitution without the homeowner’s approval.
Daily cleanup should continue throughout the project rather than being postponed until the final day. Removing loose debris from active work areas helps maintain safer conditions and gives the crew better access to the property. Larger debris containers may be emptied or removed when necessary depending on the project’s size.
Homeowners should maintain communication with the project supervisor instead of attempting to direct individual workers. A single point of contact makes it easier to discuss schedule changes, material questions, unexpected repairs, and concerns about the work.
A simple daily update can provide useful information about what was completed, what is planned next, and whether anything has changed. Homeowners do not need constant updates, but important changes should be communicated promptly.
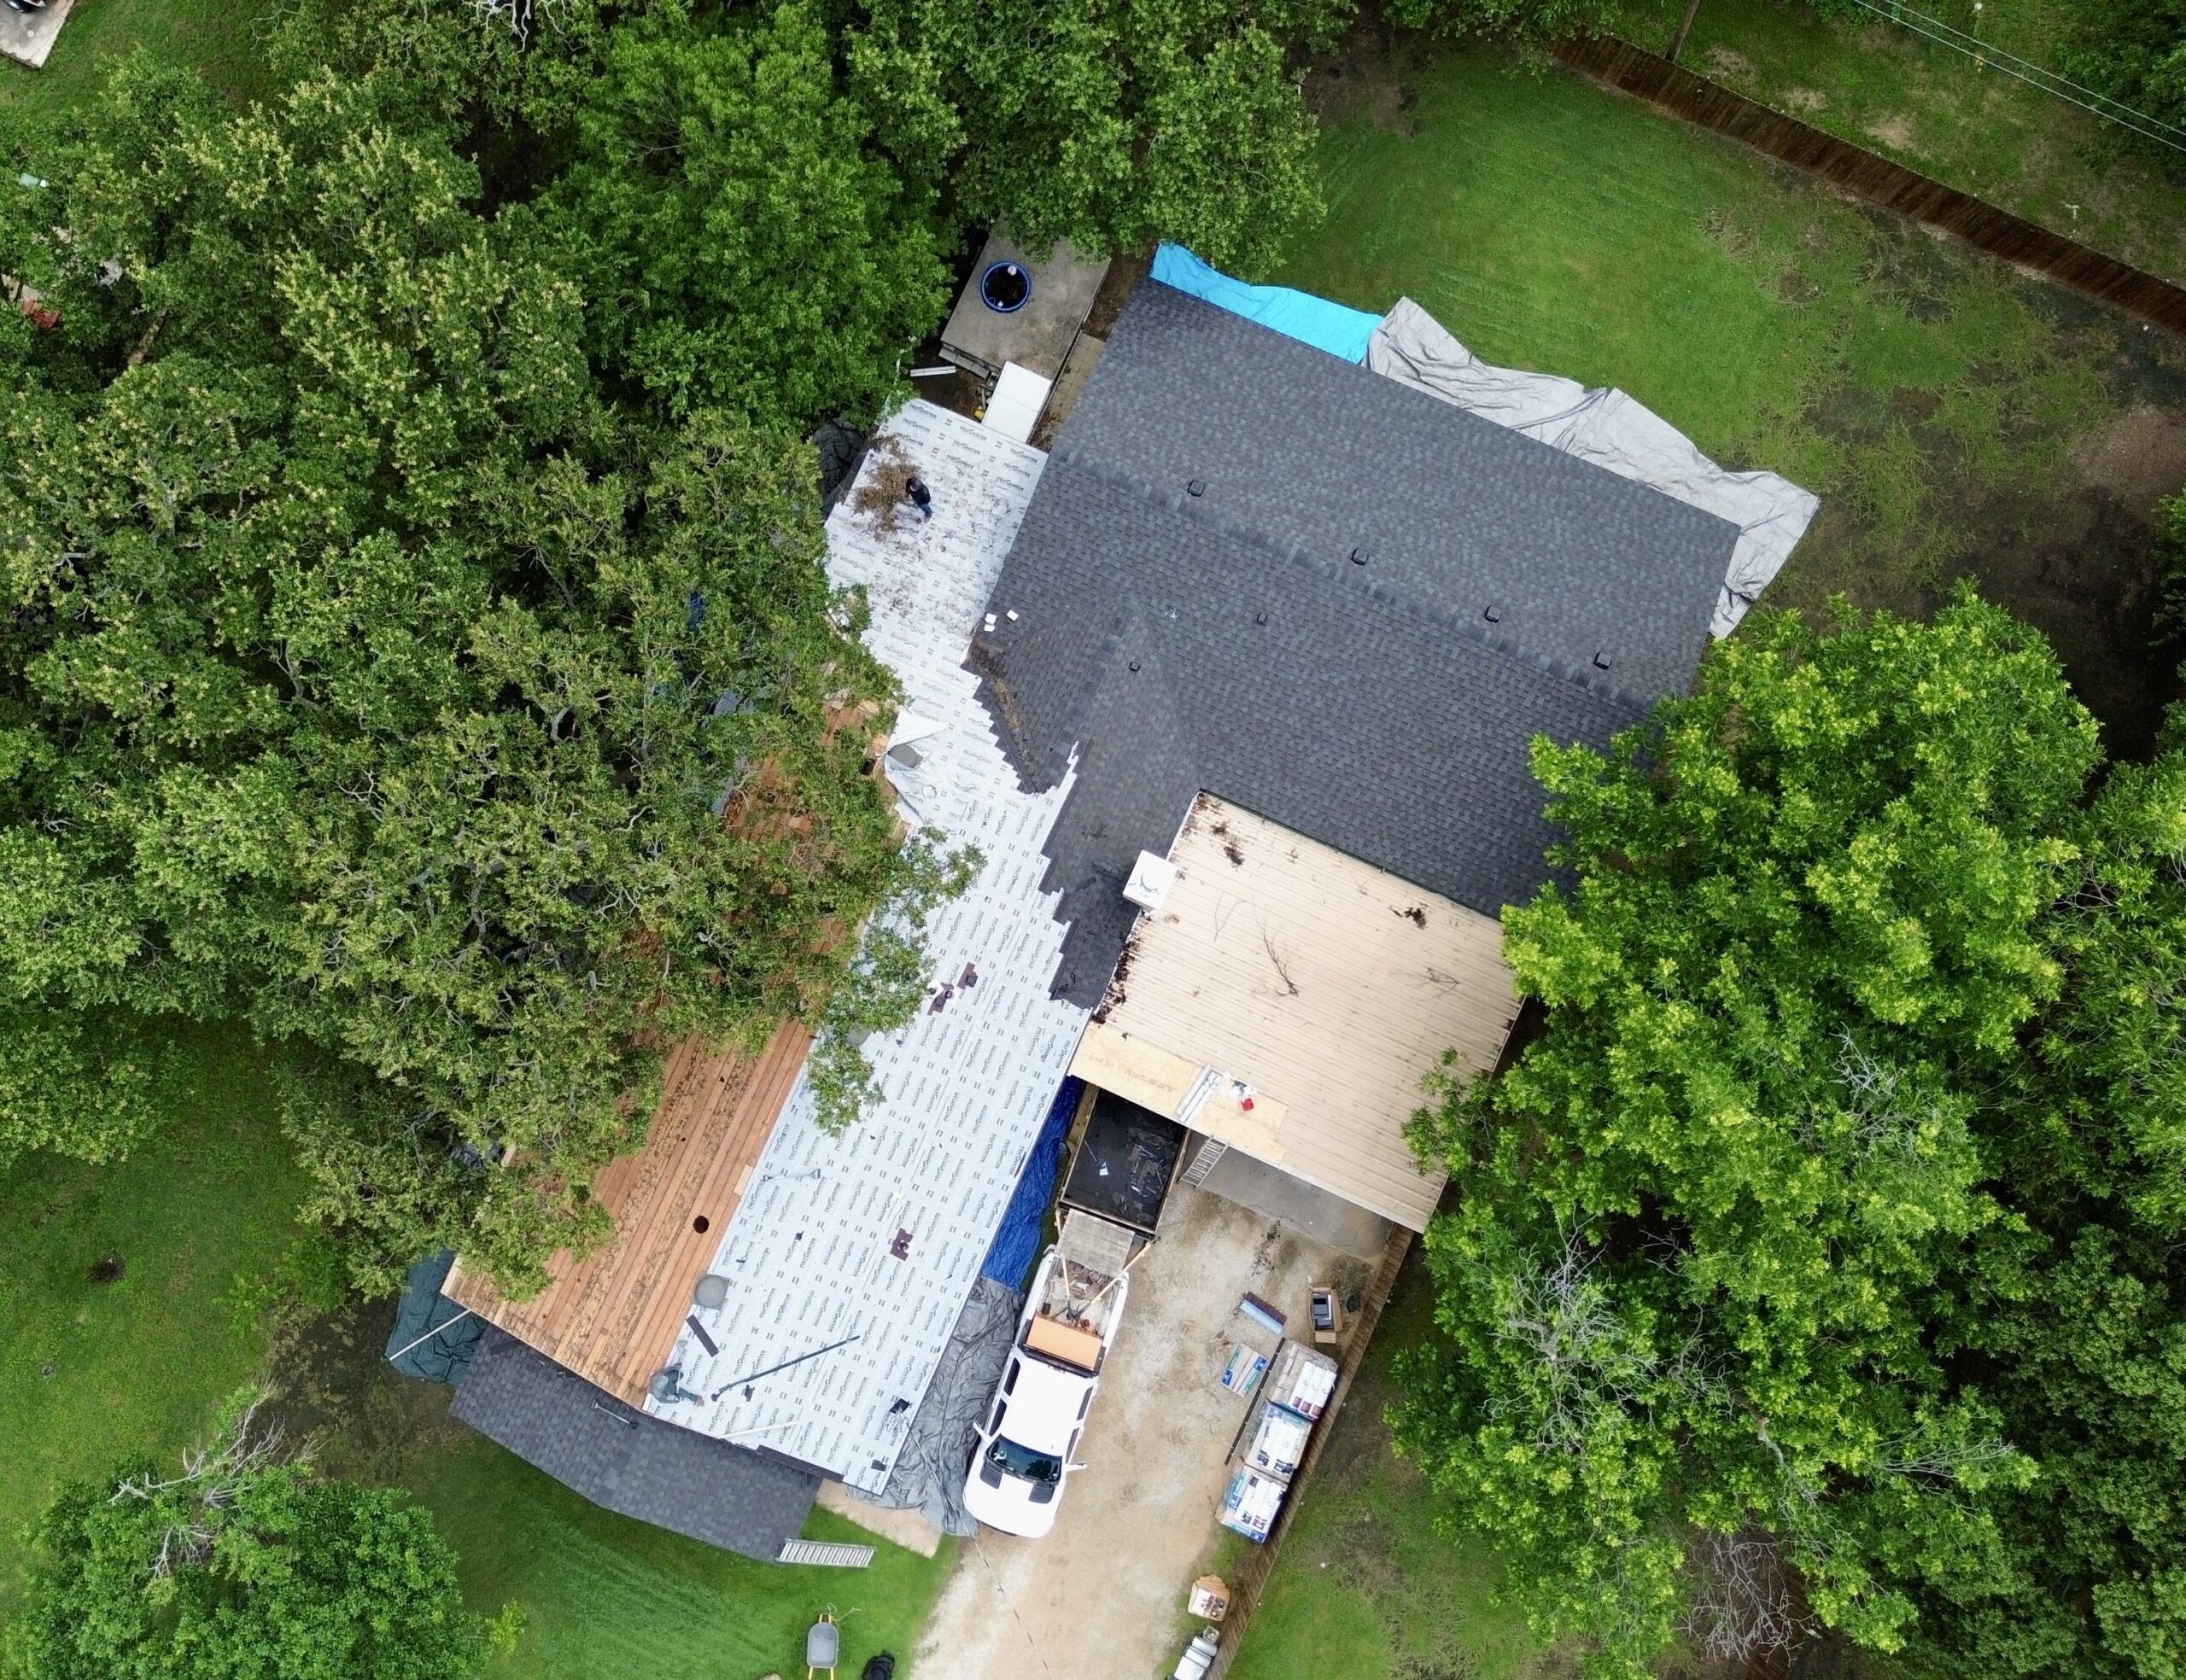
Final Roofing Installation and Detail Work
As the roof replacement moves toward completion, the crew focuses on finishing the remaining roofing sections and completing the details that protect vulnerable areas. At this stage, most of the main roofing material may already be installed, but the project is not finished until ridges, hips, valleys, edges, penetrations, and other components have been properly completed.
The final installation work depends on the roofing material selected for the home. Asphalt shingles may require ridge caps and carefully finished edges, while metal roofing may require specific trims and closures. Tile, slate, and other specialized materials can involve additional detailing and installation procedures that may extend the final stage.
Ridges and hips deserve careful attention because they are exposed areas where multiple roof surfaces meet. These locations need appropriate materials and fastening methods to provide a continuous weather-resistant system. The contractor should also verify that the finished materials are aligned and securely installed.
Valleys require similar attention because they collect and direct rainwater from different roof sections. The final installation should ensure that water can move efficiently toward the drainage system without encountering exposed gaps or poorly integrated materials. Proper valley work is especially important for reducing the possibility of future leaks.
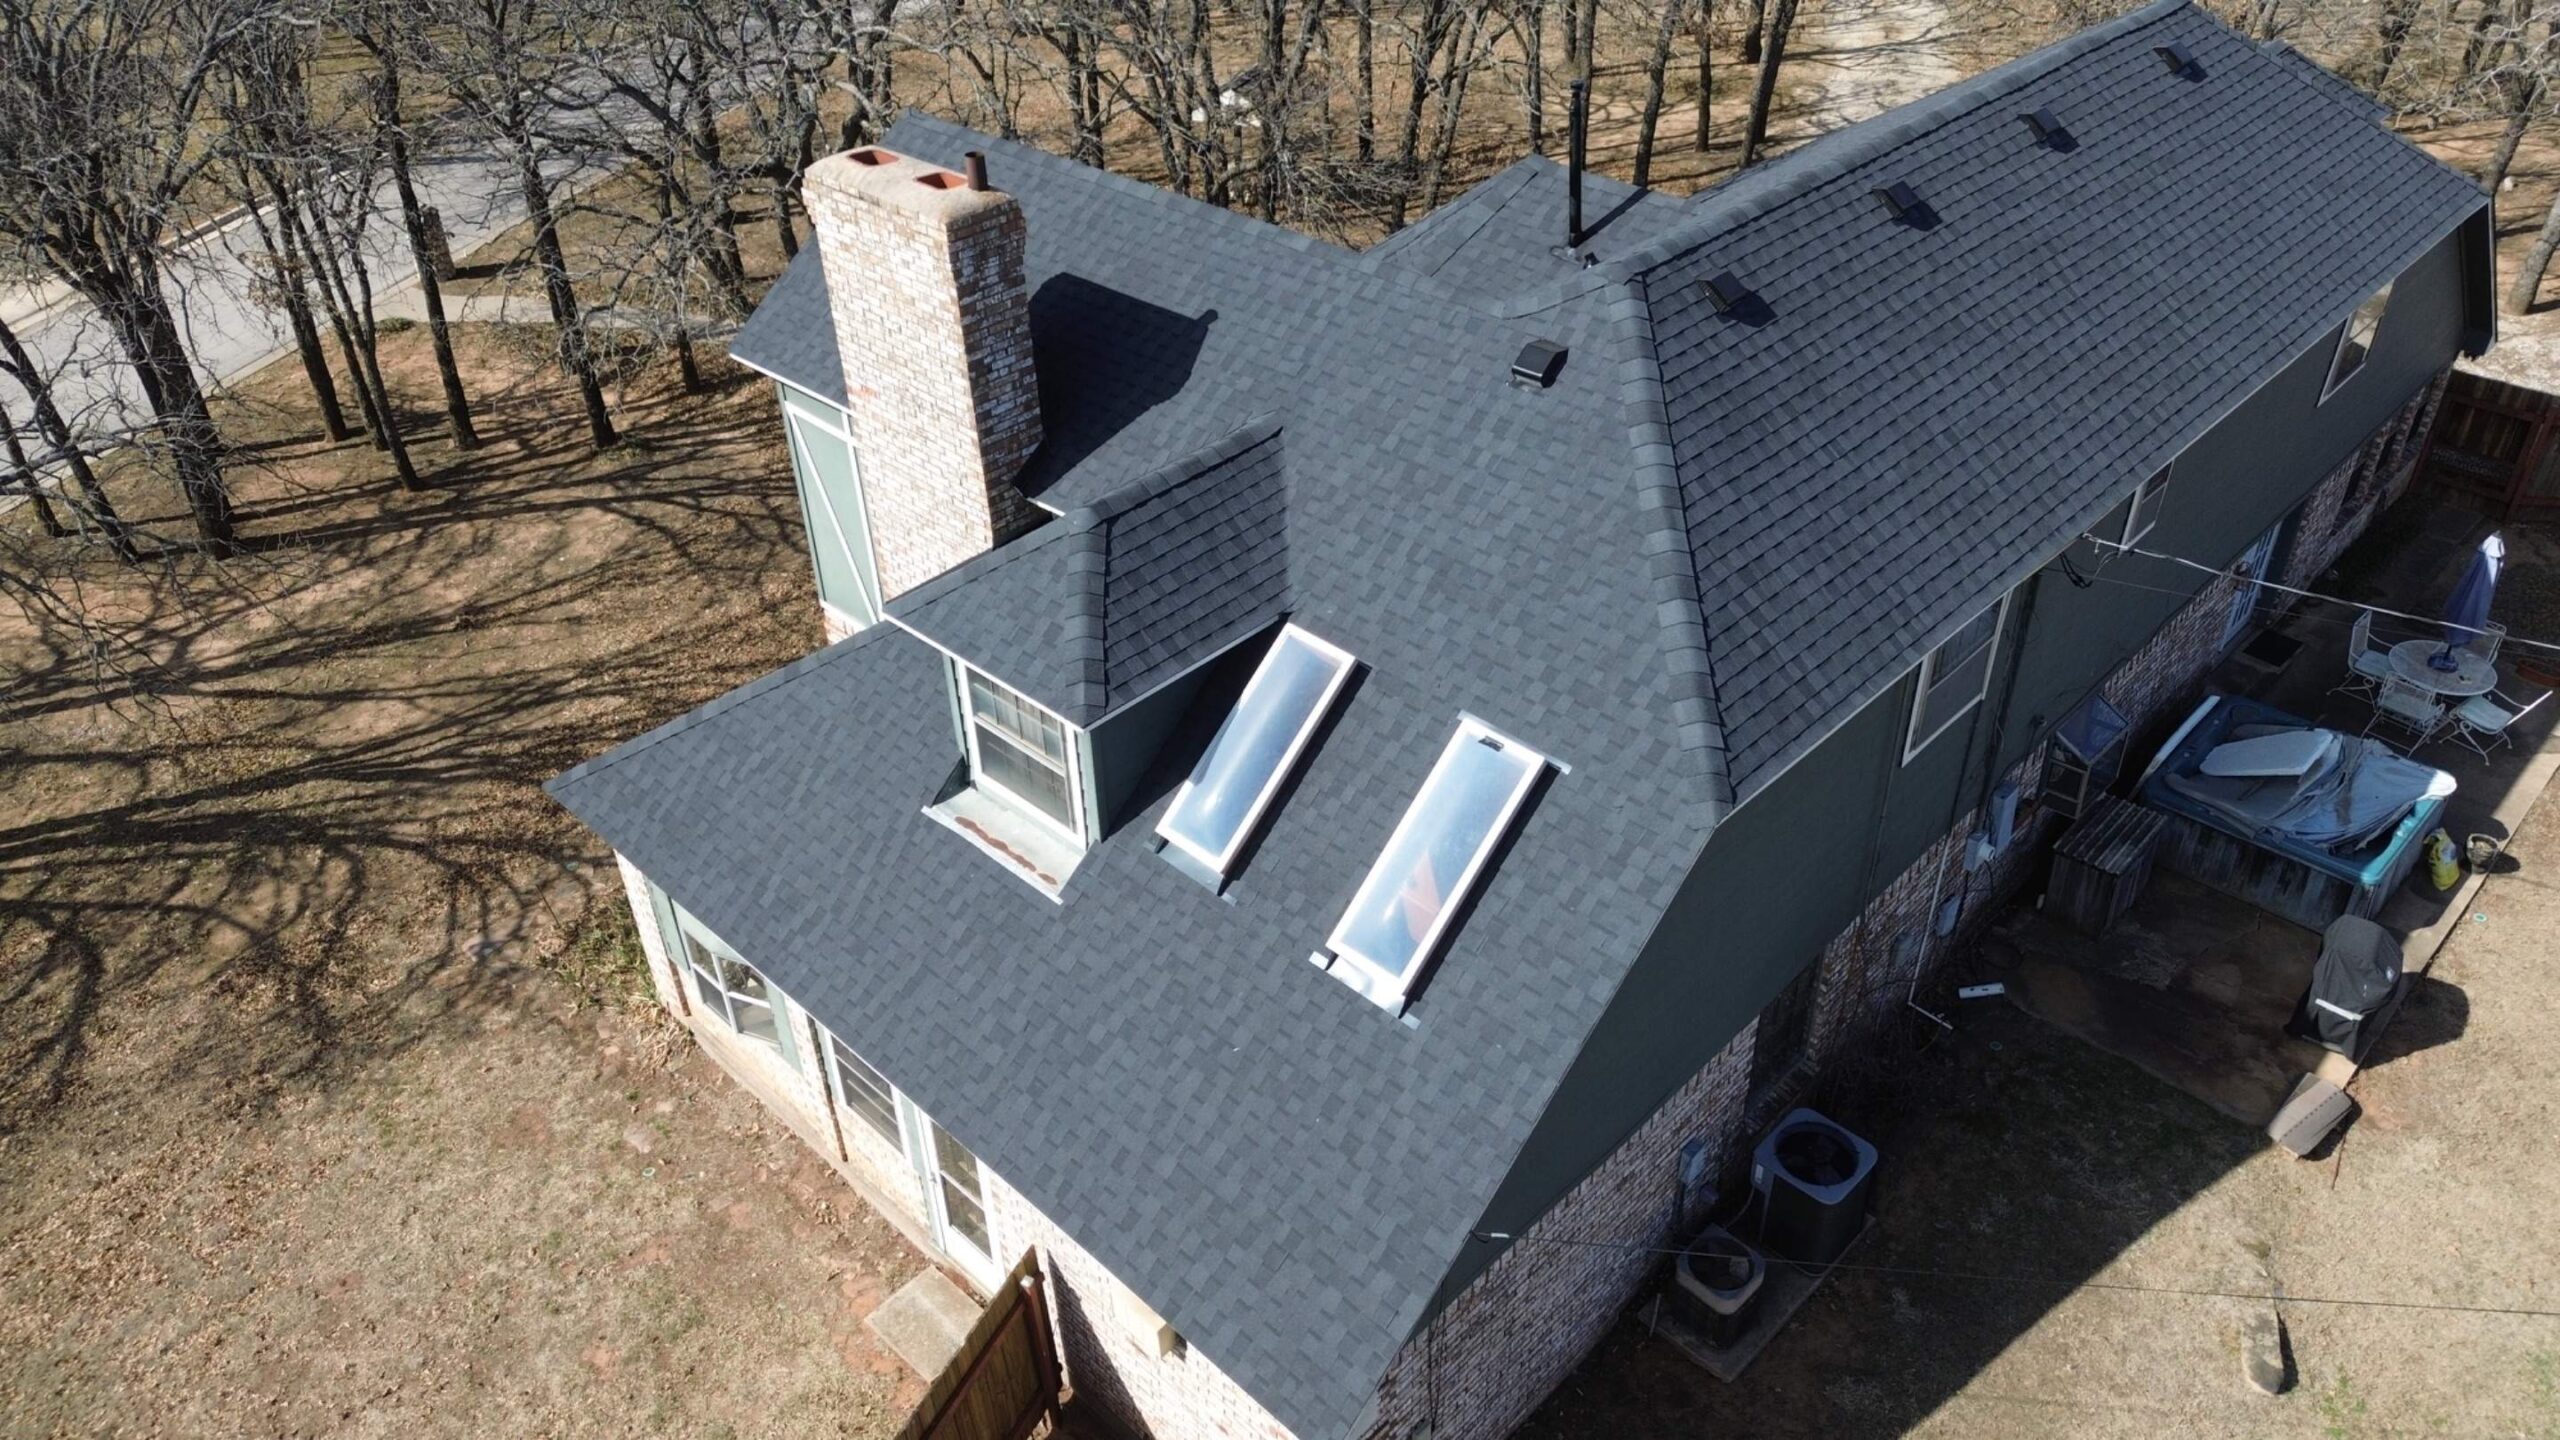
Roof penetrations should also receive a final review. Chimneys, skylights, plumbing vents, exhaust vents, and other openings must be properly integrated with the new roofing system. Flashing and seals around these areas should be installed according to the roofing system’s requirements.
The final stage may take longer than homeowners expect because detail work is often slower than covering large open sections of the roof. A crew may have completed most of the visible surface while still needing considerable time to finish edges, penetrations, ventilation components, and other important areas.
Homeowners should avoid judging project progress solely by how much of the roof is visibly covered. A roofing system needs proper finishing throughout its entire surface to perform reliably. Taking additional time to complete these details can be a positive sign when the work is being performed carefully.
Final Inspection and Quality Review
After the roofing material and detail work have been completed, the contractor should conduct a final inspection of the roofing system. This inspection helps identify visible installation concerns, unfinished areas, damaged materials, or other issues that should be corrected before the crew leaves the property.
The contractor should review the major roofing surfaces as well as important details around edges, valleys, ridges, hips, chimneys, skylights, vents, and other penetrations. Fastening, alignment, flashing, and material placement should be checked according to the requirements of the selected roofing system.
A final inspection may also confirm that the roof has appropriate drainage and that construction debris has not blocked gutters, downspouts, or other water pathways. Good drainage is an essential part of roof performance because even a properly installed roof can experience problems when water cannot move away from the structure effectively.
Homeowners should receive an opportunity to participate in a final walkthrough. They should not attempt to climb onto the roof themselves, but they can inspect the property from safe locations and ask the contractor to explain areas that cannot be viewed from the ground.
Photographs can be particularly helpful during the walkthrough. Contractors may provide images of flashing, decking repairs, ventilation components, or other areas that are difficult for homeowners to access safely. These photographs can also become part of the homeowner’s long-term roofing records.
If the homeowner notices an obvious concern, it should be raised before the project is formally closed. Small corrections are generally easier to address while the crew and equipment are still on site. Homeowners should communicate concerns clearly and allow the contractor to explain whether the issue represents an actual installation problem.
The final inspection should also compare the completed work with the original agreement. Material specifications, colors, included repairs, ventilation components, flashing, cleanup, and other agreed details should be reviewed. If approved changes were made during construction, those changes should also be documented.
A quality review is not intended to create unnecessary delays or distrust. Its purpose is to confirm that the agreed project has been completed and that the homeowner understands the condition of the new roofing system before the contractor’s work is officially concluded.
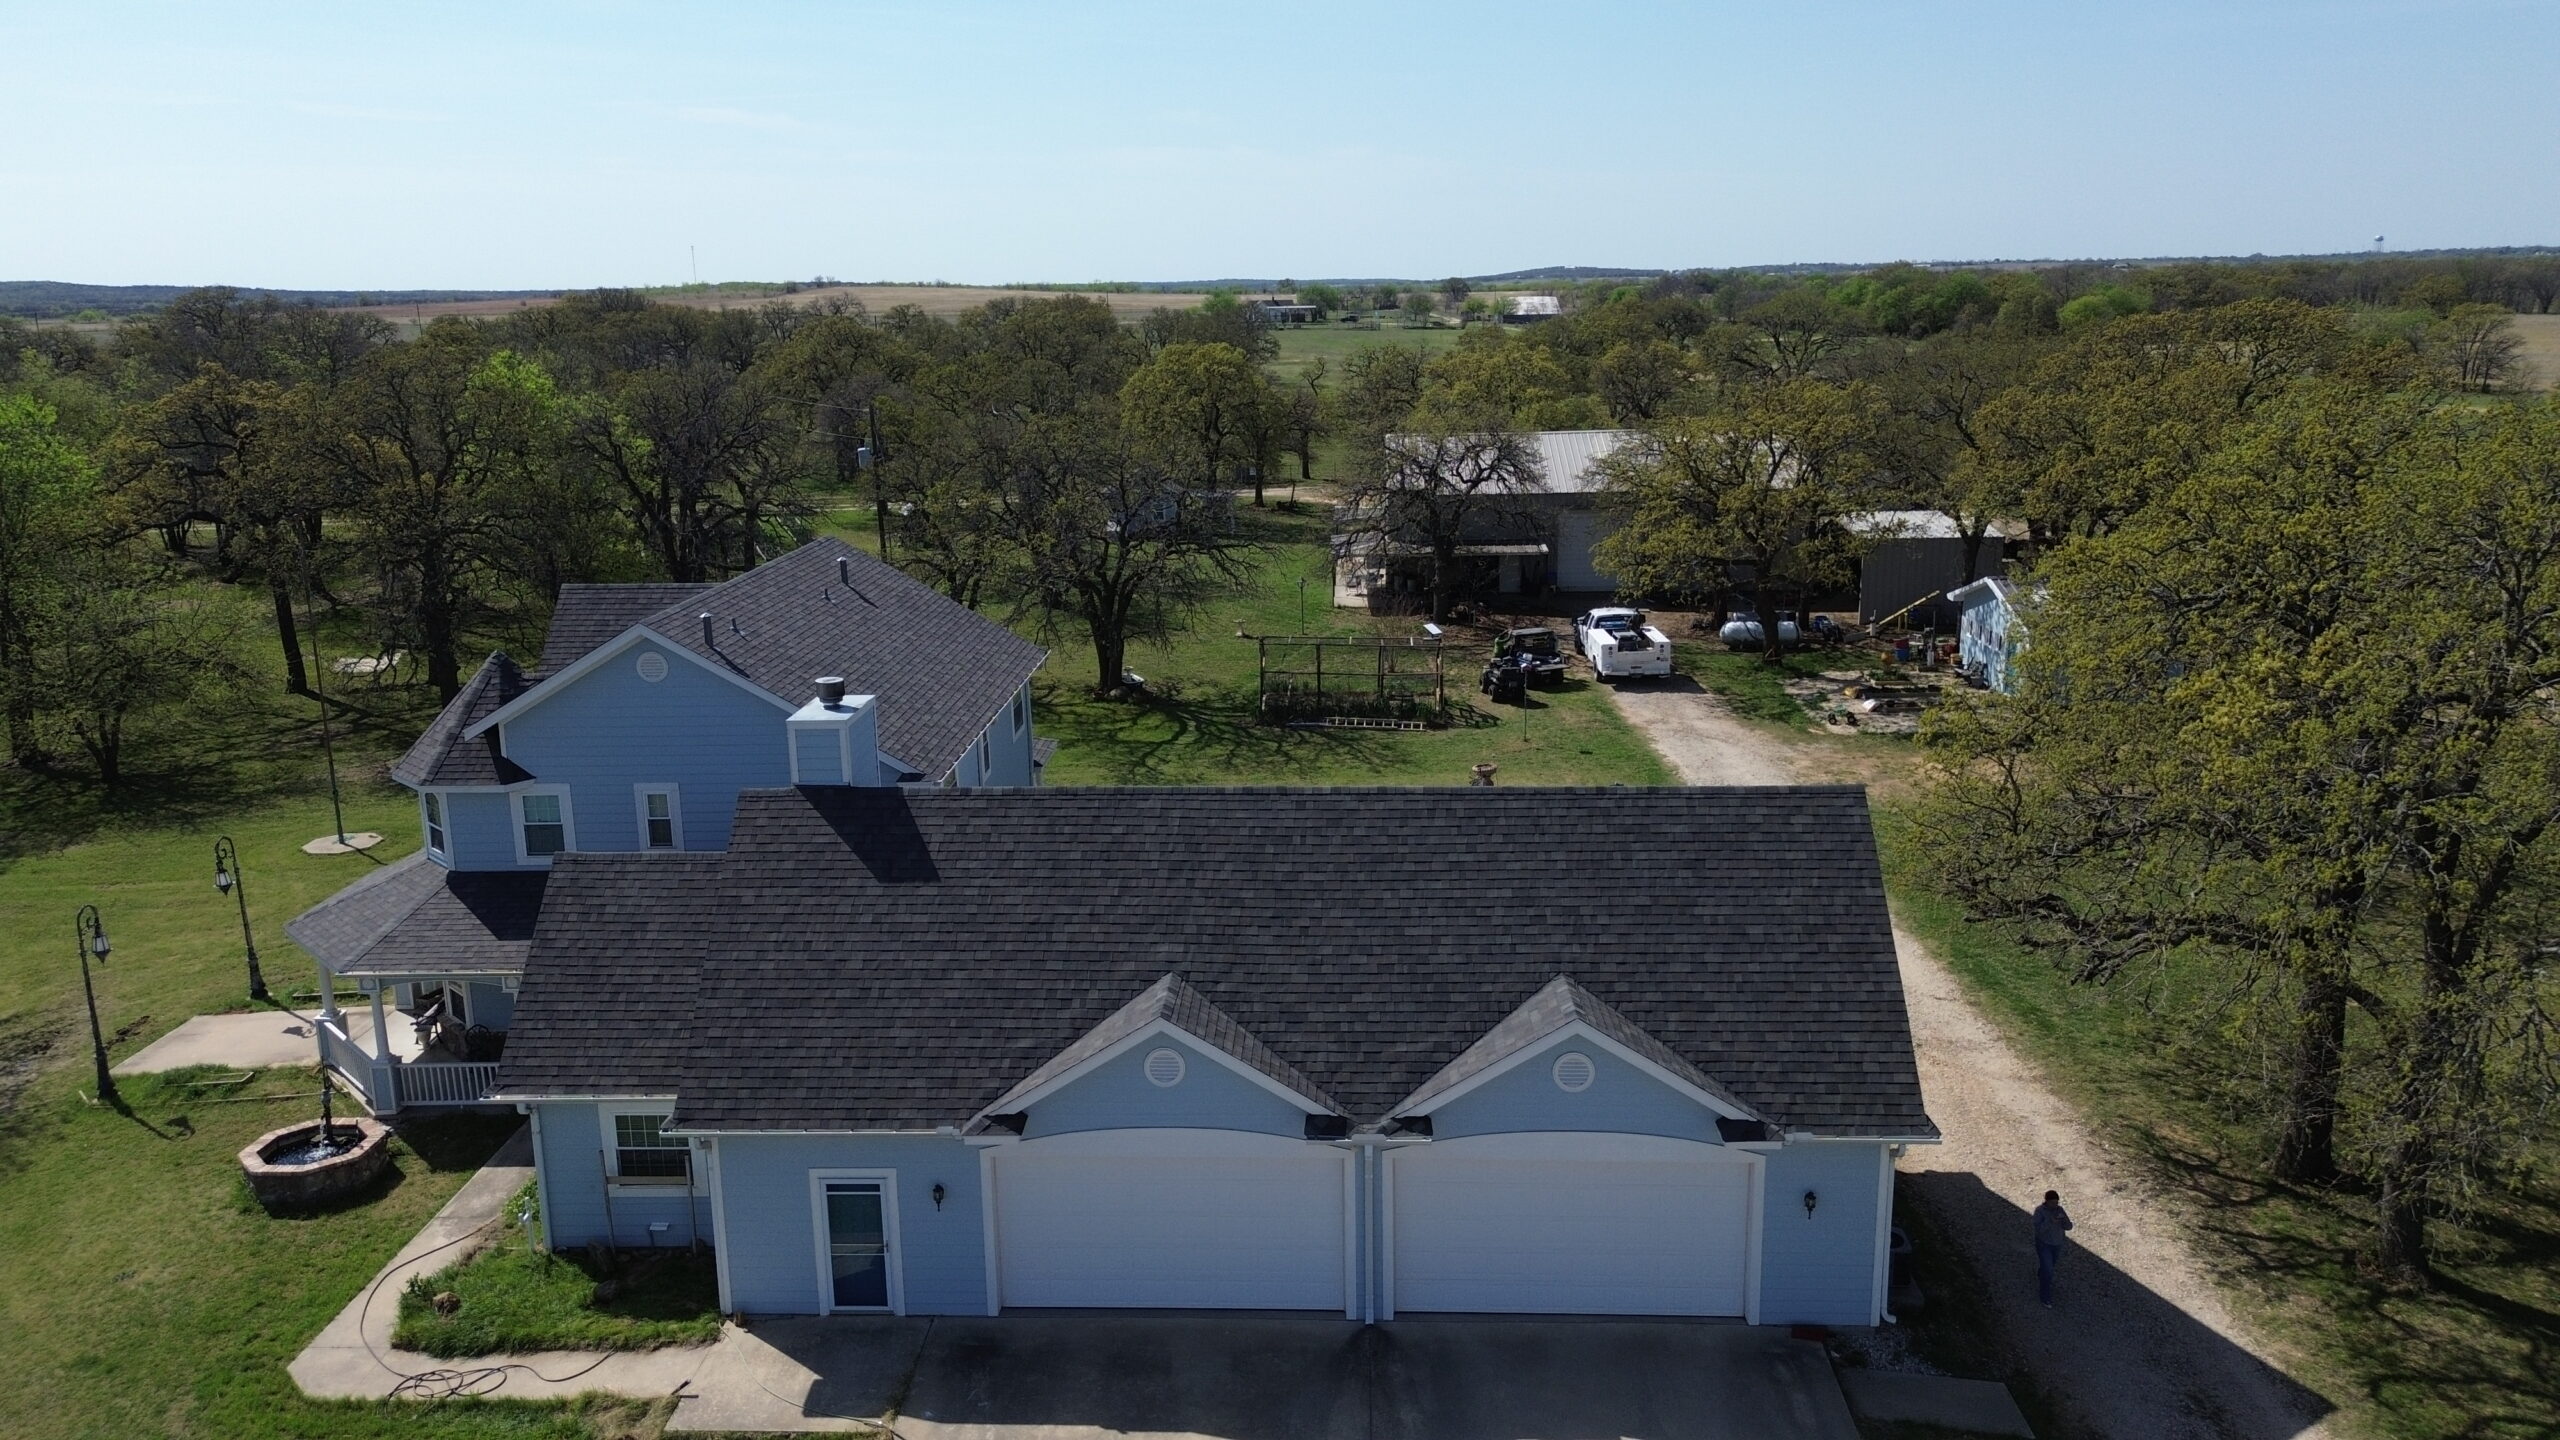
Cleanup and Property Restoration
Roof replacement generates a significant amount of debris, especially during tear-off. Once the roofing installation is complete, the contractor should remove remaining materials, waste, equipment, and temporary protective coverings according to the project agreement. Proper cleanup is an important part of completing the replacement rather than an optional final touch.
The area immediately surrounding the house should be checked for loose roofing materials, packaging, damaged components, and other construction debris. Workers may use collection equipment and specialized tools to gather smaller materials, but a final visual inspection of the property is still useful.
Nails and small metal pieces deserve special attention because they can create hazards for children, pets, vehicles, and people walking around the property. Driveways, walkways, patios, and other accessible surfaces should be checked carefully after the work is finished.
Gutters can also collect debris during the replacement process. The contractor should remove excessive roofing material from gutters and ensure that downspouts remain open. Proper drainage is especially important after installation because the new roof needs an unobstructed path for rainwater.
Landscaping should be reviewed as well. Protective coverings may have been placed over plants, shrubs, or other exterior features during tear-off. Once construction is complete, these coverings should be removed, and the surrounding area should be left in a reasonably clean condition.
Equipment and temporary structures should also be removed according to the agreed schedule. This may include dumpsters, material supports, ladders, protective barriers, and other construction equipment. The property should be returned to normal household use once the contractor confirms that the work zone is safe.
Homeowners should understand that some minor traces of construction may remain temporarily, particularly after a large replacement project. However, significant debris or property damage should be discussed with the contractor promptly.
Final cleanup can often be completed during the last construction day or shortly afterward. Its timing depends on the size of the project, the amount of debris generated, and whether additional work remains. Once cleanup is finished, homeowners can begin using the property normally while retaining the project documentation for future reference.
Permits, Documentation, and Warranty Completion
The final stage of a roof replacement can include administrative work as well as physical construction. If the project required permits or official inspections, homeowners should confirm that the required procedures have been completed. Local requirements vary, so the contractor should explain what documentation applies to the specific project.
Permit records should be retained with the roof replacement documents. These records may become useful if the homeowner sells the property, refinances it, completes future renovations, or needs to demonstrate that the work was performed according to applicable requirements.
The contractor should also provide relevant project documentation. This may include the final invoice, contract, material information, photographs, inspection records, and warranty documents. Homeowners should organize these materials rather than storing them separately where they may be difficult to locate later.
Manufacturer warranties should be reviewed carefully. A product warranty may cover specific defects or performance issues under stated conditions, but coverage varies by product. Homeowners should understand the warranty period, exclusions, maintenance requirements, and procedures for making a claim.
Workmanship warranties should also be discussed. These warranties generally relate to the contractor’s installation work rather than the roofing product itself. Homeowners should know how long workmanship coverage lasts and how to contact the contractor if an installation-related problem appears.
The final payment should be handled according to the signed agreement. Homeowners should confirm that the agreed work has been completed and that any approved additional work has been documented. If there are unresolved issues, they should be discussed with the contractor before considering the project fully closed.
It is also useful to create a simple roofing record that includes the installation date, contractor information, material type, color, warranty details, major repairs, and photographs of the completed roof. This information can make future maintenance easier and can help professionals understand the history of the roofing system.
The administrative completion of the project may occur at the same time as physical cleanup or may take place afterward. Homeowners should not assume that receiving a final invoice means every document has already been provided. Asking for missing records before closing the project can save considerable effort later.
Post-Replacement Monitoring and Maintenance
The roof replacement timeline does not truly end when the crew leaves the property. A new roofing system should be monitored during its early service period and maintained throughout its useful life. Early attention to unusual signs can help homeowners address concerns before they become larger problems.
After the first significant rainfall, homeowners can observe the property from safe locations. They can look for obvious signs of water entering the home, unusual gutter overflow, or drainage problems. They should never climb onto the roof during rain or attempt to inspect unsafe areas themselves.
The attic can also provide useful information when it is safely accessible. Homeowners may occasionally look for signs of moisture, staining, damp insulation, or unexpected changes. If a problem is discovered, the contractor should be contacted promptly, particularly if the issue appears soon after installation.
Severe weather is another reason to monitor the roof. Strong winds, hail, falling branches, and other events can damage even relatively new roofing materials. A professional inspection after significant damage can determine whether repairs are necessary.
Routine maintenance should include keeping gutters and downspouts clear and managing debris that accumulates around the roofing system. Branches that regularly contact the roof can create wear, while accumulated debris can retain moisture in certain areas. Addressing these conditions can support the long-term performance of the roof.
Homeowners should also keep their roofing records updated. Inspection dates, repairs, weather events, warranty communications, and other relevant information can create a useful maintenance history. This record becomes particularly valuable as the roofing system ages.
The appropriate inspection frequency depends on the roofing material, property conditions, local weather, and manufacturer’s recommendations. A professional can help homeowners establish a reasonable maintenance schedule. Regular inspections do not mean the roof has problems; they are a way of identifying potential issues early.
A new roof should provide reliable protection, but it should not be treated as completely maintenance-free. Proper drainage, ventilation, periodic inspection, and prompt repairs can help protect the original investment and extend the useful life of the roofing system.
Conclusion
Understanding the residential roof replacement timeline helps homeowners prepare for the project from the first inspection through final maintenance. Although the physical installation may take only a few days for some properties, the complete process can involve several stages, including contractor selection, material ordering, permits, property preparation, tear-off, repairs, installation, inspection, cleanup, and documentation.
The construction timeline is influenced by many factors, so homeowners should avoid expecting every project to follow an identical schedule. Roof size, pitch, material type, architectural complexity, accessibility, weather, material availability, and hidden structural damage can all affect the amount of time required.
Preparation before construction can make the project considerably easier. Confirming the scope of work, selecting materials early, arranging permits, preparing the property, and establishing communication with the contractor can reduce avoidable delays. It also gives homeowners a better understanding of what will happen when the roofing crew arrives.
During construction, the most important priority should be quality rather than simply finishing as quickly as possible. Proper tear-off, deck preparation, flashing, ventilation, fastening, drainage, and detail work all contribute to the long-term performance of the new roofing system. A weather-related pause or additional repair may extend the schedule, but these delays can sometimes be necessary to achieve a dependable result.
The final inspection and cleanup should receive the same attention as the installation itself. Homeowners should confirm that the completed roof matches the agreed scope, that vulnerable details have been properly finished, and that debris has been removed from the property. Keeping warranties, permits, invoices, photographs, and material information provides useful documentation for future maintenance.
After replacement, homeowners should continue monitoring the roof and maintaining related drainage and ventilation components. Promptly addressing unusual moisture, storm damage, or installation concerns can help protect the new system and prevent small problems from becoming expensive repairs.
Ultimately, a residential roof replacement timeline should be treated as a flexible plan rather than a rigid countdown. When homeowners understand each stage, communicate clearly with their contractor, prepare for reasonable delays, and prioritize proper workmanship, the replacement process becomes easier to manage and more predictable. The result is not simply a new roof, but a complete roofing system designed to provide reliable protection for the home for years to come.