
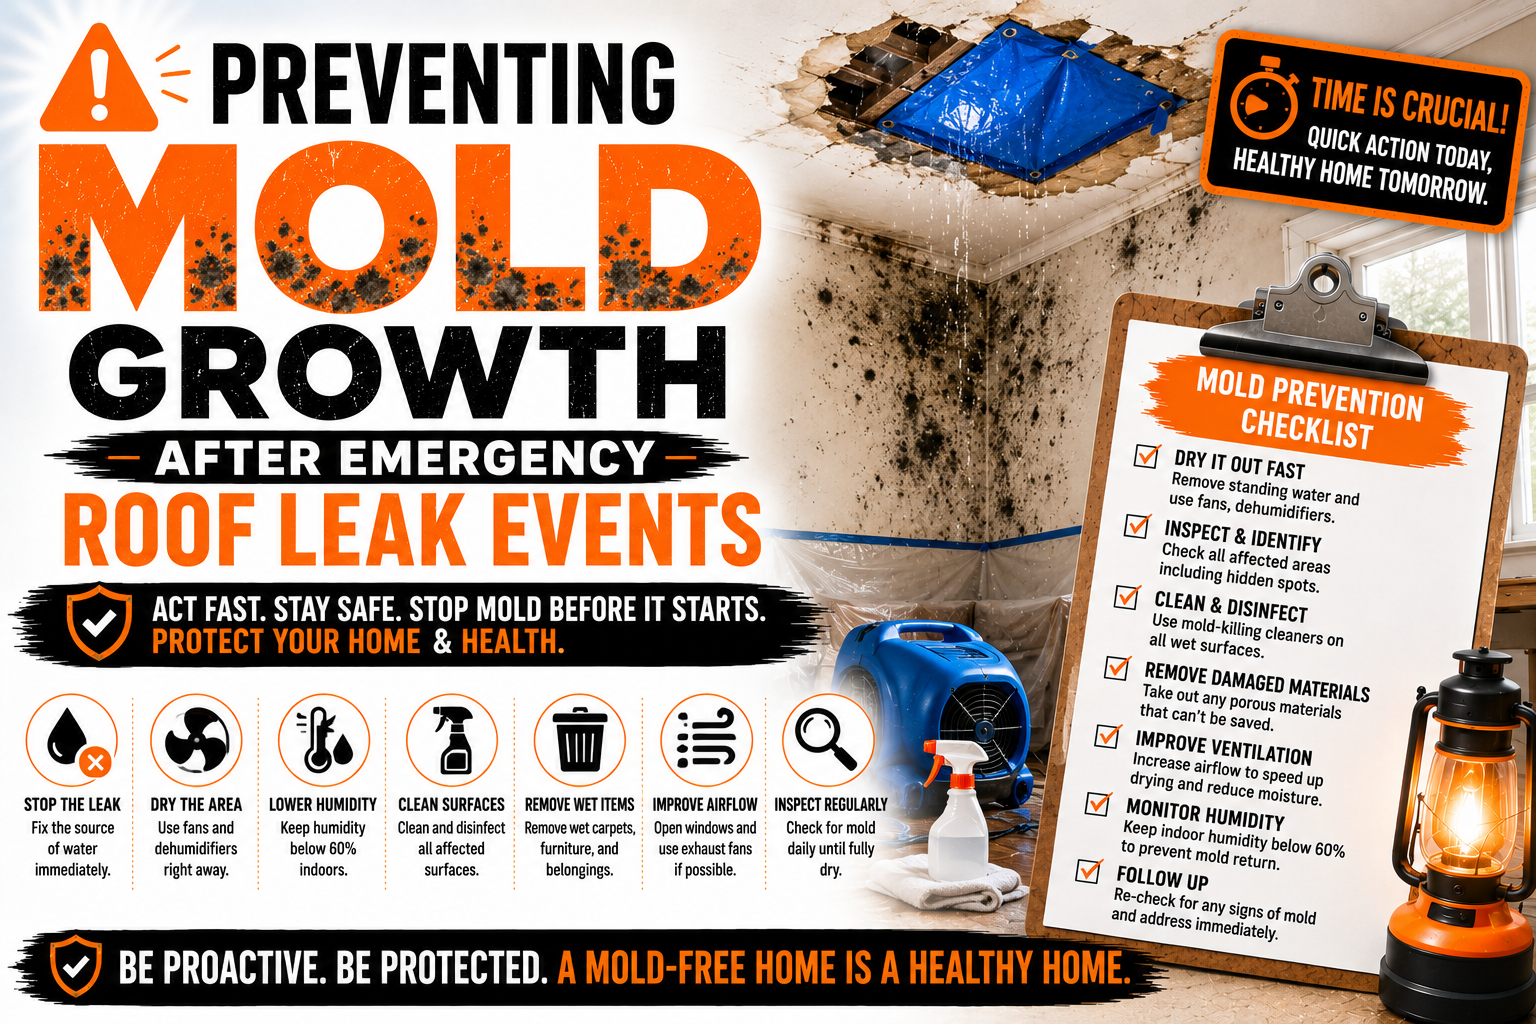
Preventing Mold Growth After Emergency Roof Leak Events
Introduction
An emergency roof leak is one of the most stressful situations a homeowner can experience. Water entering through a damaged roof can spread rapidly into ceilings, walls, insulation, flooring, and personal belongings before the full extent of the damage becomes visible. While stopping the leak is the first priority, preventing mold growth should begin just as quickly because moisture creates the ideal environment for mold to thrive.
Many homeowners assume mold only becomes a concern after weeks of standing water. In reality, mold spores are naturally present both indoors and outdoors, waiting for the right combination of moisture, warmth, and organic material to begin growing. Once a roof leak introduces water into building materials, the countdown starts, making immediate action essential.
Preventing mold is not simply about maintaining the appearance of your home. Mold can weaken structural materials, damage valuable possessions, create unpleasant odors, reduce indoor air quality, and lead to costly restoration work. Acting early protects both your property and the health of everyone living inside.
This guide explains how emergency roof leaks create conditions for mold, why time matters, and what homeowners should do immediately after discovering water intrusion. Understanding these early response steps can significantly reduce long term damage while making restoration faster and more affordable.
Why Emergency Roof Leaks Create Ideal Conditions for Mold
Mold requires only a few basic conditions to begin growing. It needs moisture, a suitable temperature, oxygen, and an organic surface such as wood, drywall, paper, insulation, or carpet backing. Unfortunately, most homes naturally contain all of these materials, making roof leaks particularly dangerous.
When rainwater enters through damaged shingles, flashing failures, storm damage, or fallen tree impacts, it rarely stays in one place. Water travels through framing, insulation, electrical openings, and wall cavities before eventually appearing as stains or drips inside the home. By the time visible signs appear, moisture may already have affected several hidden areas.
Building materials often absorb water quickly without showing immediate damage. Drywall, ceiling tiles, plywood, insulation, and wooden framing can remain damp long after the visible water has disappeared. These hidden pockets of moisture provide ideal conditions for mold colonies to develop unnoticed.
Humidity also increases after a roof leak. As trapped moisture slowly evaporates into indoor air, the relative humidity rises throughout the home. Elevated humidity encourages mold growth even in nearby areas that never came into direct contact with leaking water.
Another challenge is that emergency roof leaks rarely occur during ideal weather. Heavy storms, prolonged rainfall, and humid conditions often slow natural drying, allowing moisture to remain trapped inside structural materials for extended periods.
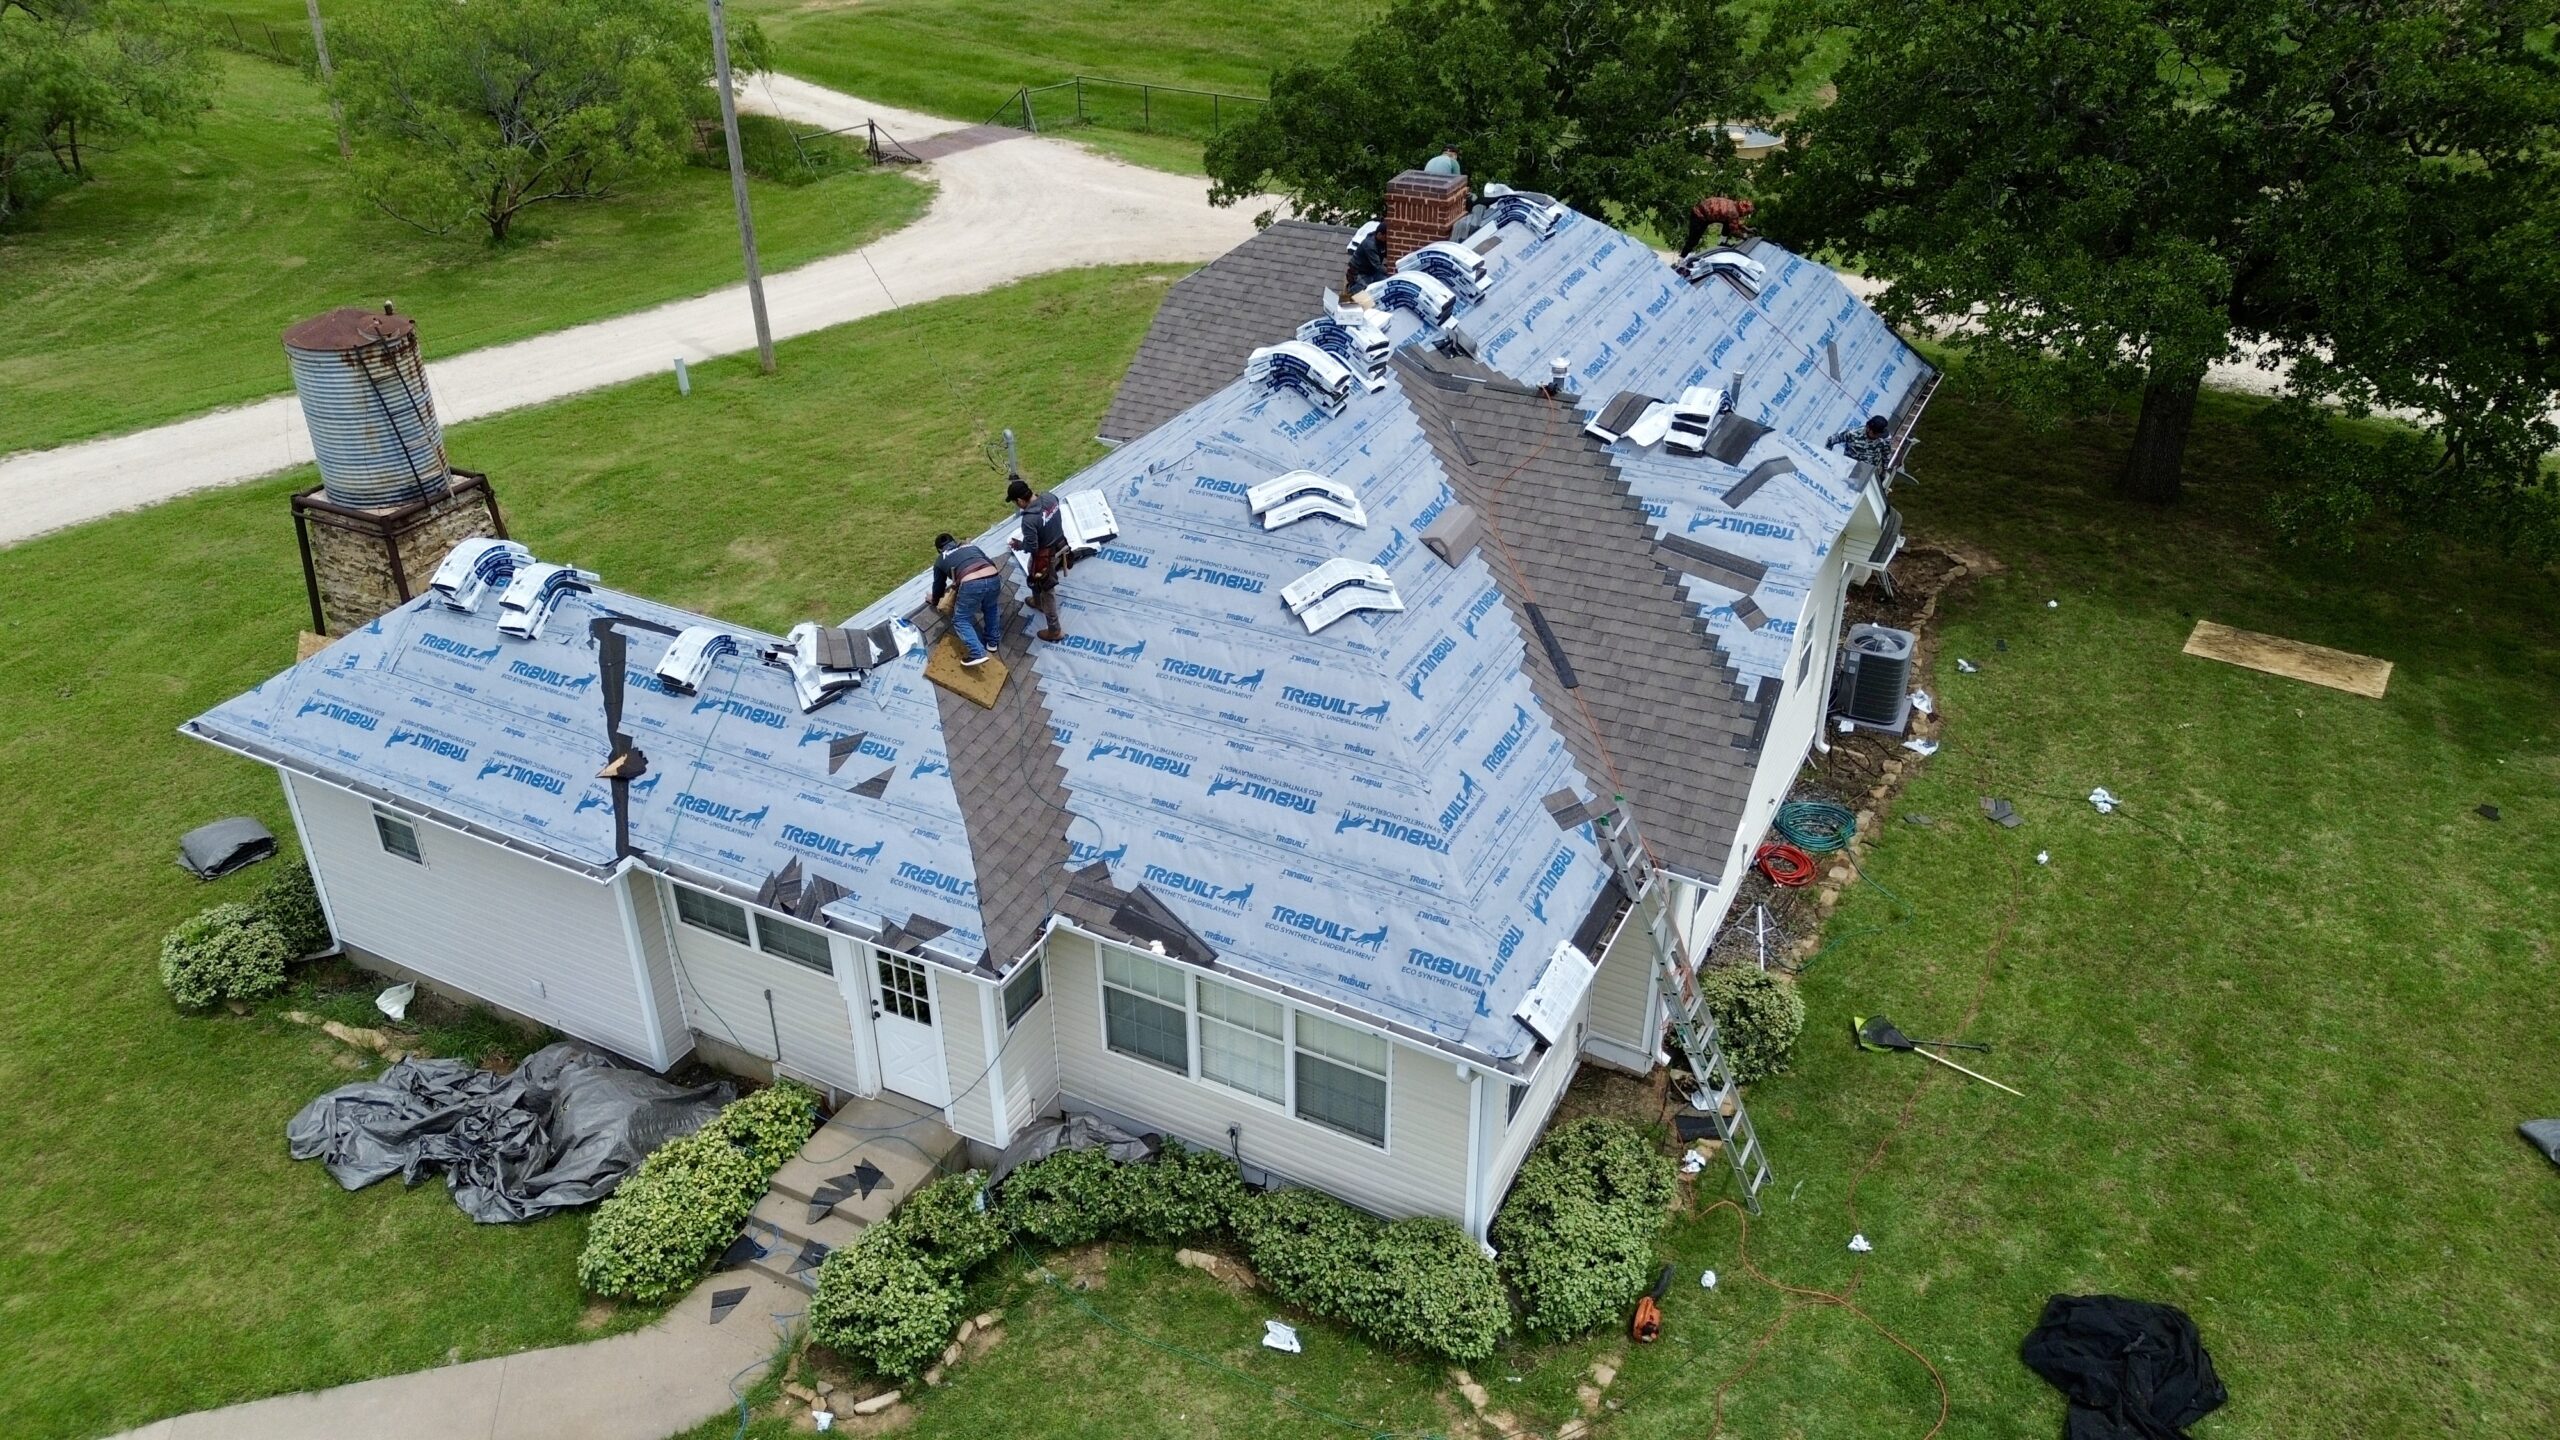
How Quickly Mold Can Begin Growing After Water Intrusion
One of the biggest misconceptions about mold is that it takes weeks or months to appear. Under favorable conditions, mold can begin developing much sooner than many homeowners realize.
While visible mold colonies may take several days to become noticeable, microscopic growth can begin within approximately 24 to 48 hours after materials become wet. This early stage is often invisible but continues spreading if moisture remains present.
Several factors influence how quickly mold develops, including:
- Indoor temperature
- Relative humidity
- Type of building material
- Amount of water absorbed
- Air circulation
- Speed of drying efforts
Warm temperatures combined with high humidity accelerate mold development. Materials like drywall paper, cardboard, ceiling tiles, untreated wood, and carpet padding provide excellent food sources for mold spores once they become damp.
Hidden moisture is often more problematic than standing water. Water trapped inside walls or ceilings may remain undetected for days, allowing mold colonies to expand before homeowners even realize additional damage exists.
Because of this rapid timeline, every hour counts following an emergency roof leak. Immediate drying and moisture control dramatically reduce the likelihood of widespread contamination.
Common Causes of Emergency Roof Leak Events
Emergency roof leaks occur for many different reasons. Understanding these causes helps homeowners recognize vulnerable areas and respond more effectively after severe weather or unexpected structural damage.
Storm damage remains one of the leading causes of sudden roof leaks. High winds can lift shingles, break flashing, loosen ridge caps, or send tree branches crashing onto roofing materials. Even small openings may allow significant amounts of rainwater to enter during continued storms.
Hail can create less obvious damage that becomes apparent only during later rainfall. Impacted shingles may crack or lose protective granules, allowing water to penetrate beneath the roofing system over time.
Aging roofs also become increasingly susceptible to emergency leaks. Roofing materials naturally deteriorate due to years of sunlight, temperature changes, rain, and wind exposure. Small defects eventually become major entry points during severe weather.
Improper installation contributes to many emergency situations as well. Incorrect flashing installation, poorly sealed roof penetrations, inadequate ventilation, and improperly fastened shingles may perform adequately during normal weather but fail during heavy storms.
Other common causes include:
- Damaged flashing around chimneys and vents
- Ice dams in colder climates
- Clogged gutters causing water backup
- Cracked roof vents
- Fallen tree limbs
- Animal damage
- Loose roofing fasteners
- Skylight seal failures
In some situations, multiple minor problems combine to create one major leak. Routine inspections help identify these weaknesses before they result in emergency water intrusion.
Areas of the Home Most Vulnerable to Mold After a Roof Leak
Water rarely affects only the location directly beneath a roof leak. Gravity allows moisture to travel through framing members, insulation, wiring pathways, and wall cavities before eventually becoming visible indoors.
Attics are among the first areas exposed after roof damage. Wet insulation loses much of its thermal performance while creating an ideal environment for hidden mold growth. Wooden roof framing also absorbs moisture, especially if drying is delayed.
Ceilings often show the earliest visible signs through stains, bubbling paint, or sagging drywall. However, by the time these symptoms appear, moisture may have already spread into surrounding structural components.
Interior walls can become saturated as water follows framing members downward. Paint may initially appear unaffected even though drywall behind the surface remains wet for days.
Flooring is another vulnerable area. Water dripping from ceilings can soak carpeting, hardwood flooring, laminate planks, or subfloor materials. Depending on the flooring type, moisture may remain trapped underneath where mold develops unnoticed.
HVAC systems deserve special attention as well. Water intrusion near air ducts or ventilation equipment can distribute moisture throughout different parts of the home. If mold develops within ductwork, spores may circulate every time the heating or cooling system operates.
Stored belongings also face significant risks. Cardboard boxes, clothing, books, furniture, and upholstered items absorb moisture quickly and become difficult to restore if left wet for extended periods.
Immediate Steps to Take Within the First 24 to 48 Hours
The first two days following an emergency roof leak often determine whether the situation remains manageable or develops into a much larger restoration project. Acting methodically can significantly reduce mold growth while limiting structural damage.
Safety should always come first. If water is entering near electrical fixtures, outlets, or service panels, avoid the affected area until electricity has been safely disconnected if necessary. Structural instability, ceiling sagging, or severe storm damage should also be evaluated before entering damaged spaces.
After ensuring the area is safe, stopping additional water intrusion becomes the next priority. Temporary roof coverings, emergency tarping, or other protective measures help prevent further moisture from entering until permanent repairs can be completed.
Water removal should begin immediately afterward. Standing water should never be allowed to remain indoors because every additional hour increases moisture absorption into surrounding materials. Wet vacuums, pumps, absorbent towels, and mops all help remove excess water quickly.
Increasing airflow accelerates evaporation throughout affected rooms. Opening windows during suitable weather, using fans, and operating dehumidifiers together creates conditions that discourage mold growth while helping structural materials dry more efficiently.
Furniture and personal belongings should also be moved away from wet areas whenever possible. Elevating valuable items prevents additional damage while allowing air to circulate beneath furniture and stored possessions.
Throughout the drying process, homeowners should continue monitoring humidity levels, moisture accumulation, and any new signs of hidden water migration. Small changes often indicate that additional inspection or professional assistance may be needed.
What to Remove, Dry, and Protect First
Prioritizing the right materials immediately after a roof leak makes restoration more efficient. Some items can be dried successfully, while others deteriorate rapidly if left wet.
Personal belongings should generally receive early attention, especially irreplaceable photographs, important documents, family keepsakes, electronics, and valuable furniture. Moving these items away from the leak reduces the likelihood of permanent damage.
Soft materials require prompt drying because they retain moisture longer than hard surfaces. Rugs, carpets, curtains, bedding, upholstered furniture, and clothing should be dried as quickly as possible to reduce mold risk.
Hard surfaces are usually easier to restore if cleaned and dried promptly. Wood furniture, metal fixtures, tile flooring, glass, and many plastic materials often recover well when moisture is removed quickly.
Building materials deserve equal attention. Wet insulation, soaked drywall, ceiling tiles, and wooden framing should be inspected carefully because hidden moisture frequently remains long after surface drying appears complete.
Homeowners should also remember that moisture can spread beneath flooring, behind baseboards, and inside cabinets without becoming immediately visible. Thorough inspections help identify these hidden pockets before mold gains an opportunity to grow.
Materials That Can Be Saved Versus Materials That Should Be Replaced
Not every material affected by a roof leak requires replacement. The decision depends on how much water was absorbed, how long the material remained wet, and whether mold growth has already begun.
Many hard, non porous materials respond well to proper drying and cleaning. Metal, glass, ceramic tile, stone, and many solid wood surfaces can often be restored if addressed quickly before secondary damage develops.
Semi porous materials require closer evaluation. Hardwood flooring, plywood, and some engineered wood products may recover depending on the extent of water exposure and the effectiveness of the drying process.
Highly porous materials present greater challenges because moisture penetrates deep below the surface. Ceiling tiles, insulation, carpet padding, paper faced drywall, and cardboard often retain water long enough to support mold development.
Materials that remain damp for extended periods or show visible mold growth may require removal to prevent contamination from spreading throughout the home. Professional moisture testing often provides the most reliable way to determine whether hidden structural materials have dried completely.
Replacing damaged materials may seem expensive initially, but it is often far less costly than dealing with widespread mold remediation after contamination has expanded into surrounding areas.
Early Warning Signs That Mold May Already Be Developing
Visible mold is not always the first indication that moisture problems remain unresolved. Many warning signs appear before colonies become obvious, allowing homeowners to respond earlier.
A persistent musty odor is among the earliest indicators of hidden mold growth. Even if walls and ceilings appear dry, lingering earthy smells often suggest moisture remains trapped somewhere within the structure.
Discoloration may also develop gradually. Yellow stains, brown water marks, dark spotting, peeling paint, bubbling finishes, or warped drywall all indicate that moisture may still be present behind finished surfaces.
Indoor humidity that remains unusually high after cleanup deserves attention as well. Condensation forming on windows, damp indoor air, or slow drying surfaces often signal hidden moisture that continues feeding mold growth.
Occupants may also notice worsening indoor air quality. Increased dust, persistent odors, or unexplained irritation shortly after a roof leak should encourage a more detailed inspection of affected areas.
Ignoring these early warning signs allows mold colonies to expand into larger sections of the building. Early investigation typically results in smaller repairs, faster restoration, and lower overall costs.
The Hidden Cost of Delayed Water Damage Response
Many homeowners focus primarily on repairing the roof while overlooking the moisture already trapped inside the home. Although restoring the roof is essential, failing to address interior water damage often leads to far more expensive problems later.
Hidden moisture continues affecting structural materials long after the leak has stopped. Wooden framing may weaken, insulation loses effectiveness, drywall deteriorates, paint begins peeling, and flooring can warp as trapped water slowly damages surrounding materials.
Mold remediation also becomes significantly more expensive once contamination spreads beyond the original leak area. What could have been resolved with rapid drying may eventually require demolition, material replacement, air filtration, and extensive cleaning procedures.
Insurance claims may become more complicated if preventable secondary damage develops after the initial emergency. Prompt mitigation demonstrates that reasonable efforts were made to minimize losses following the roof leak.
The most effective mold prevention strategy is responding immediately with proper drying, moisture removal, and careful inspection. These early actions create the foundation for successful restoration, which will continue in the next section by examining professional drying techniques, moisture detection methods, and long term contamination prevention.
Why Complete Structural Drying Matters
Stopping a roof leak is only the first step in protecting a home from mold. The larger challenge is removing every source of moisture that remains hidden inside the structure. Even when ceilings and floors appear dry, water may still be trapped inside insulation, framing, subfloors, and wall cavities.
Surface drying alone rarely prevents mold growth because moisture migrates deep into porous building materials. Drywall paper, wooden studs, plywood, and insulation absorb water at different rates, making some materials appear dry while their internal moisture content remains high.
This is why professional restoration companies emphasize structural drying rather than simply removing visible water. Structural drying focuses on restoring every affected building component to an acceptable moisture level before reconstruction begins.
Incomplete drying often leads to recurring problems months after the roof repair is finished. Homeowners may believe the emergency has been resolved only to discover mold behind walls, peeling paint, warped flooring, or persistent odors later.
Patience plays an important role during this stage. Drying a structure properly takes time, and rushing reconstruction before materials reach safe moisture levels can trap water inside the building envelope where mold continues developing unnoticed.
Professional Drying Equipment and Moisture Detection Methods
Modern restoration professionals rely on specialized equipment designed to remove moisture far more efficiently than household fans alone. Each piece of equipment serves a different purpose during the drying process, allowing technicians to target both visible and hidden moisture.
High velocity air movers create continuous airflow across wet surfaces, increasing evaporation rates throughout the affected area. Rather than simply cooling a room, these machines accelerate moisture removal from flooring, walls, and structural components.
Commercial dehumidifiers remove water vapor from indoor air before it can condense back onto building materials. As moisture evaporates from wet surfaces, the dehumidifier continuously extracts that humidity, creating conditions that promote faster drying.
Moisture meters provide another critical advantage during restoration. These handheld devices measure moisture content inside wood, drywall, concrete, and other materials without relying solely on visual inspection. This allows technicians to identify hidden moisture long after surfaces appear dry.
Infrared thermal imaging cameras also assist during inspections. Although thermal cameras do not directly detect water, they reveal temperature differences that often indicate damp materials hidden behind finished surfaces. These images help restoration teams focus drying efforts where moisture remains trapped.
Professional drying typically follows a structured process:
- Inspect and document all affected areas.
- Remove standing water and excess moisture.
- Position drying equipment strategically throughout the structure.
- Monitor moisture readings daily.
- Adjust equipment placement as drying progresses.
- Verify acceptable moisture levels before repairs begin.
Following this systematic approach reduces the risk of hidden moisture remaining inside structural materials after restoration.
Safe Cleaning and Disinfection After a Roof Leak
Cleaning after a roof leak involves much more than wiping away visible dirt or water stains. Surfaces exposed to prolonged moisture may contain contaminants carried in by rainwater while also providing favorable conditions for mold spores.
The cleaning process begins by removing dirt, debris, and damaged materials that cannot be salvaged. Eliminating these materials reduces available food sources that mold could use to continue growing.
Hard, non porous surfaces generally respond well to thorough cleaning followed by appropriate disinfection. Tile, metal, sealed wood, glass, and many plastic surfaces can often be restored successfully when cleaned soon after water exposure.
Porous materials require greater attention because contaminants penetrate below the surface. Depending on the amount of water absorbed and the length of exposure, certain materials may require replacement instead of cleaning.
Drying should always accompany cleaning efforts. Applying disinfectants to wet materials without first removing moisture does little to prevent future mold growth because mold thrives on damp surfaces regardless of surface treatment.
Ventilation also contributes to safer cleaning conditions. Fresh air circulation helps reduce indoor humidity while allowing cleaning products to dry properly, supporting a healthier indoor environment throughout the restoration process.
Preventing Mold Inside Insulation, Drywall, and Ceiling Cavities
Hidden spaces inside walls and ceilings represent some of the greatest challenges following emergency roof leaks. These enclosed areas receive little airflow, allowing moisture to remain trapped long after visible surfaces appear completely dry.
Fiberglass insulation loses much of its insulating performance when saturated with water. Wet insulation also restricts airflow inside wall cavities, slowing evaporation and increasing the likelihood of mold development on nearby framing members.
Drywall presents another concern because its paper facing provides an excellent food source for mold. Even when painted surfaces appear normal, moisture trapped behind drywall can support mold colonies that remain invisible until significant damage has occurred.
Ceiling cavities deserve equal attention following roof leaks. Water entering through damaged roofing materials often collects above finished ceilings before eventually soaking insulation and framing members. Sagging ceilings or expanding water stains frequently indicate moisture accumulation inside these concealed spaces.
Professionals often create controlled access openings when necessary to improve airflow within enclosed cavities. This approach allows drying equipment to remove trapped moisture without requiring unnecessary demolition of unaffected areas.
Moisture verification remains essential before closing walls or installing replacement materials. Confirming that framing, insulation, and surrounding structural components have reached appropriate moisture levels greatly reduces future mold risks.
How Ventilation and Humidity Control Stop Mold Growth
Drying building materials is only one part of mold prevention. Controlling indoor humidity throughout the restoration process helps prevent remaining moisture from supporting new mold growth.
Relative humidity significantly influences how quickly wet materials dry. When indoor humidity remains high, evaporation slows because the surrounding air already contains large amounts of moisture. Lower humidity allows building materials to release trapped water more efficiently.
Proper ventilation encourages continuous air exchange between indoor and outdoor environments whenever weather conditions allow. Fresh air helps remove humid indoor air while improving overall drying performance.
Mechanical ventilation systems can also assist during restoration. Exhaust fans located in bathrooms, kitchens, and laundry areas help remove moisture produced during everyday household activities that might otherwise slow drying efforts.
Air circulation should reach every affected area rather than focusing only on visibly damaged rooms. Closed closets, storage areas, attic spaces, and utility rooms may all retain elevated humidity if airflow remains limited.
Maintaining balanced indoor conditions after repairs are completed is equally important. Excess humidity from cooking, bathing, poor ventilation, or plumbing issues can continue feeding mold even after roof leak repairs have been finished.
Mistakes Homeowners Should Avoid During Cleanup
Many homeowners respond quickly after discovering a roof leak, but good intentions sometimes lead to mistakes that increase the likelihood of mold growth. Understanding these common errors helps ensure cleanup efforts remain effective.
One frequent mistake is assuming that visible dryness means the structure has completely dried. Moisture hidden inside walls, insulation, and flooring often remains long after surfaces feel dry to the touch.
Another mistake involves delaying cleanup until permanent roof repairs are scheduled. Waiting several days before beginning drying efforts allows moisture to penetrate deeper into structural materials, making restoration more difficult.
Some homeowners rely only on household fans without reducing indoor humidity. While airflow supports evaporation, moisture removed from wet materials remains inside the home unless dehumidification or ventilation removes it.
Painting over water stains before identifying the source of moisture creates another problem. Fresh paint may temporarily hide cosmetic damage while moisture and mold continue spreading behind finished surfaces.
Discarding inspection records is another overlooked issue. Taking photographs, documenting affected areas, and recording drying progress helps support insurance claims while providing valuable information if additional repairs become necessary.
Finally, ignoring small water stains because they appear insignificant often leads to larger structural repairs. Even a minor leak can introduce enough moisture to support mold growth if left unresolved.
Comparing Salvageable and Non Salvageable Building Materials
The condition of water damaged materials depends on the amount of water absorbed, the duration of exposure, and how quickly drying begins. While many materials can be restored, others become too compromised to safely remain in the home.
| Building Material | Usually Salvageable | Often Requires Replacement |
|---|---|---|
| Ceramic tile | Yes after cleaning and drying | Rarely unless cracked |
| Metal surfaces | Yes | Only if severely corroded |
| Solid wood furniture | Usually with proper drying | If structurally damaged or heavily molded |
| Hardwood flooring | Sometimes depending on moisture levels | If extensive warping or mold develops |
| Drywall | Limited if minimally affected | Commonly when saturated or moldy |
| Ceiling tiles | Rarely | Usually replaced |
| Fiberglass insulation | Sometimes if lightly damp and quickly dried | Often when saturated |
| Carpet padding | Rarely | Frequently replaced after prolonged soaking |
| Cardboard boxes | No | Usually discarded |
| Books and paper products | Occasionally if dried immediately | Often replaced when heavily soaked |
Each situation should be evaluated individually because the extent of water exposure varies between roof leak events. Professional moisture testing often provides the clearest indication of whether restoration or replacement offers the better long term solution.
When Temporary Repairs Are Not Enough
Emergency roof tarps, temporary patches, and sealants play an important role in limiting additional water intrusion during severe weather. However, these measures are designed to stabilize the situation rather than permanently solve the problem.
Temporary repairs may withstand light rain for a limited period, but they gradually deteriorate when exposed to sunlight, wind, and changing weather conditions. Depending solely on temporary protection leaves the home vulnerable to repeated water intrusion.
Repeated leaks dramatically increase mold risk because building materials experience multiple wetting cycles before fully drying. Each new rain event introduces additional moisture while reversing previous drying progress.
Hidden roof damage also remains a concern after emergency stabilization. Damaged flashing, compromised underlayment, cracked decking, or structural impacts may continue allowing moisture to enter even if surface leaks appear temporarily controlled.
Scheduling permanent roof repairs as soon as conditions safely allow minimizes long term water damage while protecting previous restoration efforts. Completing structural repairs promptly helps ensure that drying and mold prevention measures remain effective.
Knowing When to Call Water Damage and Roofing Professionals
Some roof leaks are small enough for homeowners to manage safely, especially when water intrusion is minimal and drying begins immediately. Larger emergencies, however, often require specialized equipment and professional expertise to prevent lasting damage.
Professional assistance becomes especially important when water has entered multiple rooms or spread through ceilings, insulation, and wall cavities. Hidden moisture in these areas is difficult to locate without specialized inspection equipment.
Homes that have experienced prolonged leaks also benefit from professional evaluation. Water that remains trapped for several days significantly increases the likelihood of mold growth, making thorough moisture detection essential before repairs proceed.
Structural concerns should never be ignored after severe storms. Sagging ceilings, damaged roof framing, large tree impacts, or signs of structural movement require immediate assessment to ensure the building remains safe for occupants.
Professionals also help coordinate the restoration process by identifying moisture sources, documenting damage, monitoring drying progress, and recommending appropriate repairs. Their experience often prevents overlooked problems that could develop into expensive mold remediation projects later.
With the structure now properly dried and stabilized, the next stage focuses on keeping the home mold free for years to come. The final part will explore long term prevention strategies, seasonal roof maintenance, emergency preparedness, essential mold prevention supplies, frequently asked questions, and the concluding recommendations that tie the entire restoration process together.
Inspecting the Home After Emergency Roof Repairs
Completing roof repairs does not necessarily mean every moisture related problem has been resolved. A thorough inspection after the repairs ensures that hidden water damage has not been overlooked and that the home is no longer vulnerable to mold growth.
Begin by examining every area that was affected by the leak, even if the damage initially appeared minor. Ceilings, walls, flooring, attic spaces, insulation, and storage areas should all be checked for lingering moisture, discoloration, or unusual odors that may indicate hidden mold.
Pay close attention to repaired roof sections after the next rainfall. Even a properly completed repair should be monitored to confirm that no new water intrusion occurs. Early detection of any remaining leaks prevents another cycle of moisture damage before it becomes severe.
Attics deserve special attention because they are often the first area exposed to roof leaks and the last place homeowners inspect afterward. Look for damp insulation, water stains on roof decking, rusted fasteners, or signs of condensation that could suggest ventilation problems.
Windows and doors near the repaired section should also be inspected. Moisture occasionally travels farther than expected, especially after heavy storms, affecting trim, framing, or nearby wall cavities.
Maintaining a record of inspection dates, photographs, and any observations creates a useful maintenance history. This documentation can help identify recurring issues while supporting future insurance claims if another weather event affects the property.
Long Term Strategies to Prevent Future Mold Problems
Preventing mold is much easier than removing it after colonies become established. Once the immediate emergency has been resolved, homeowners should focus on reducing future moisture risks throughout the property.
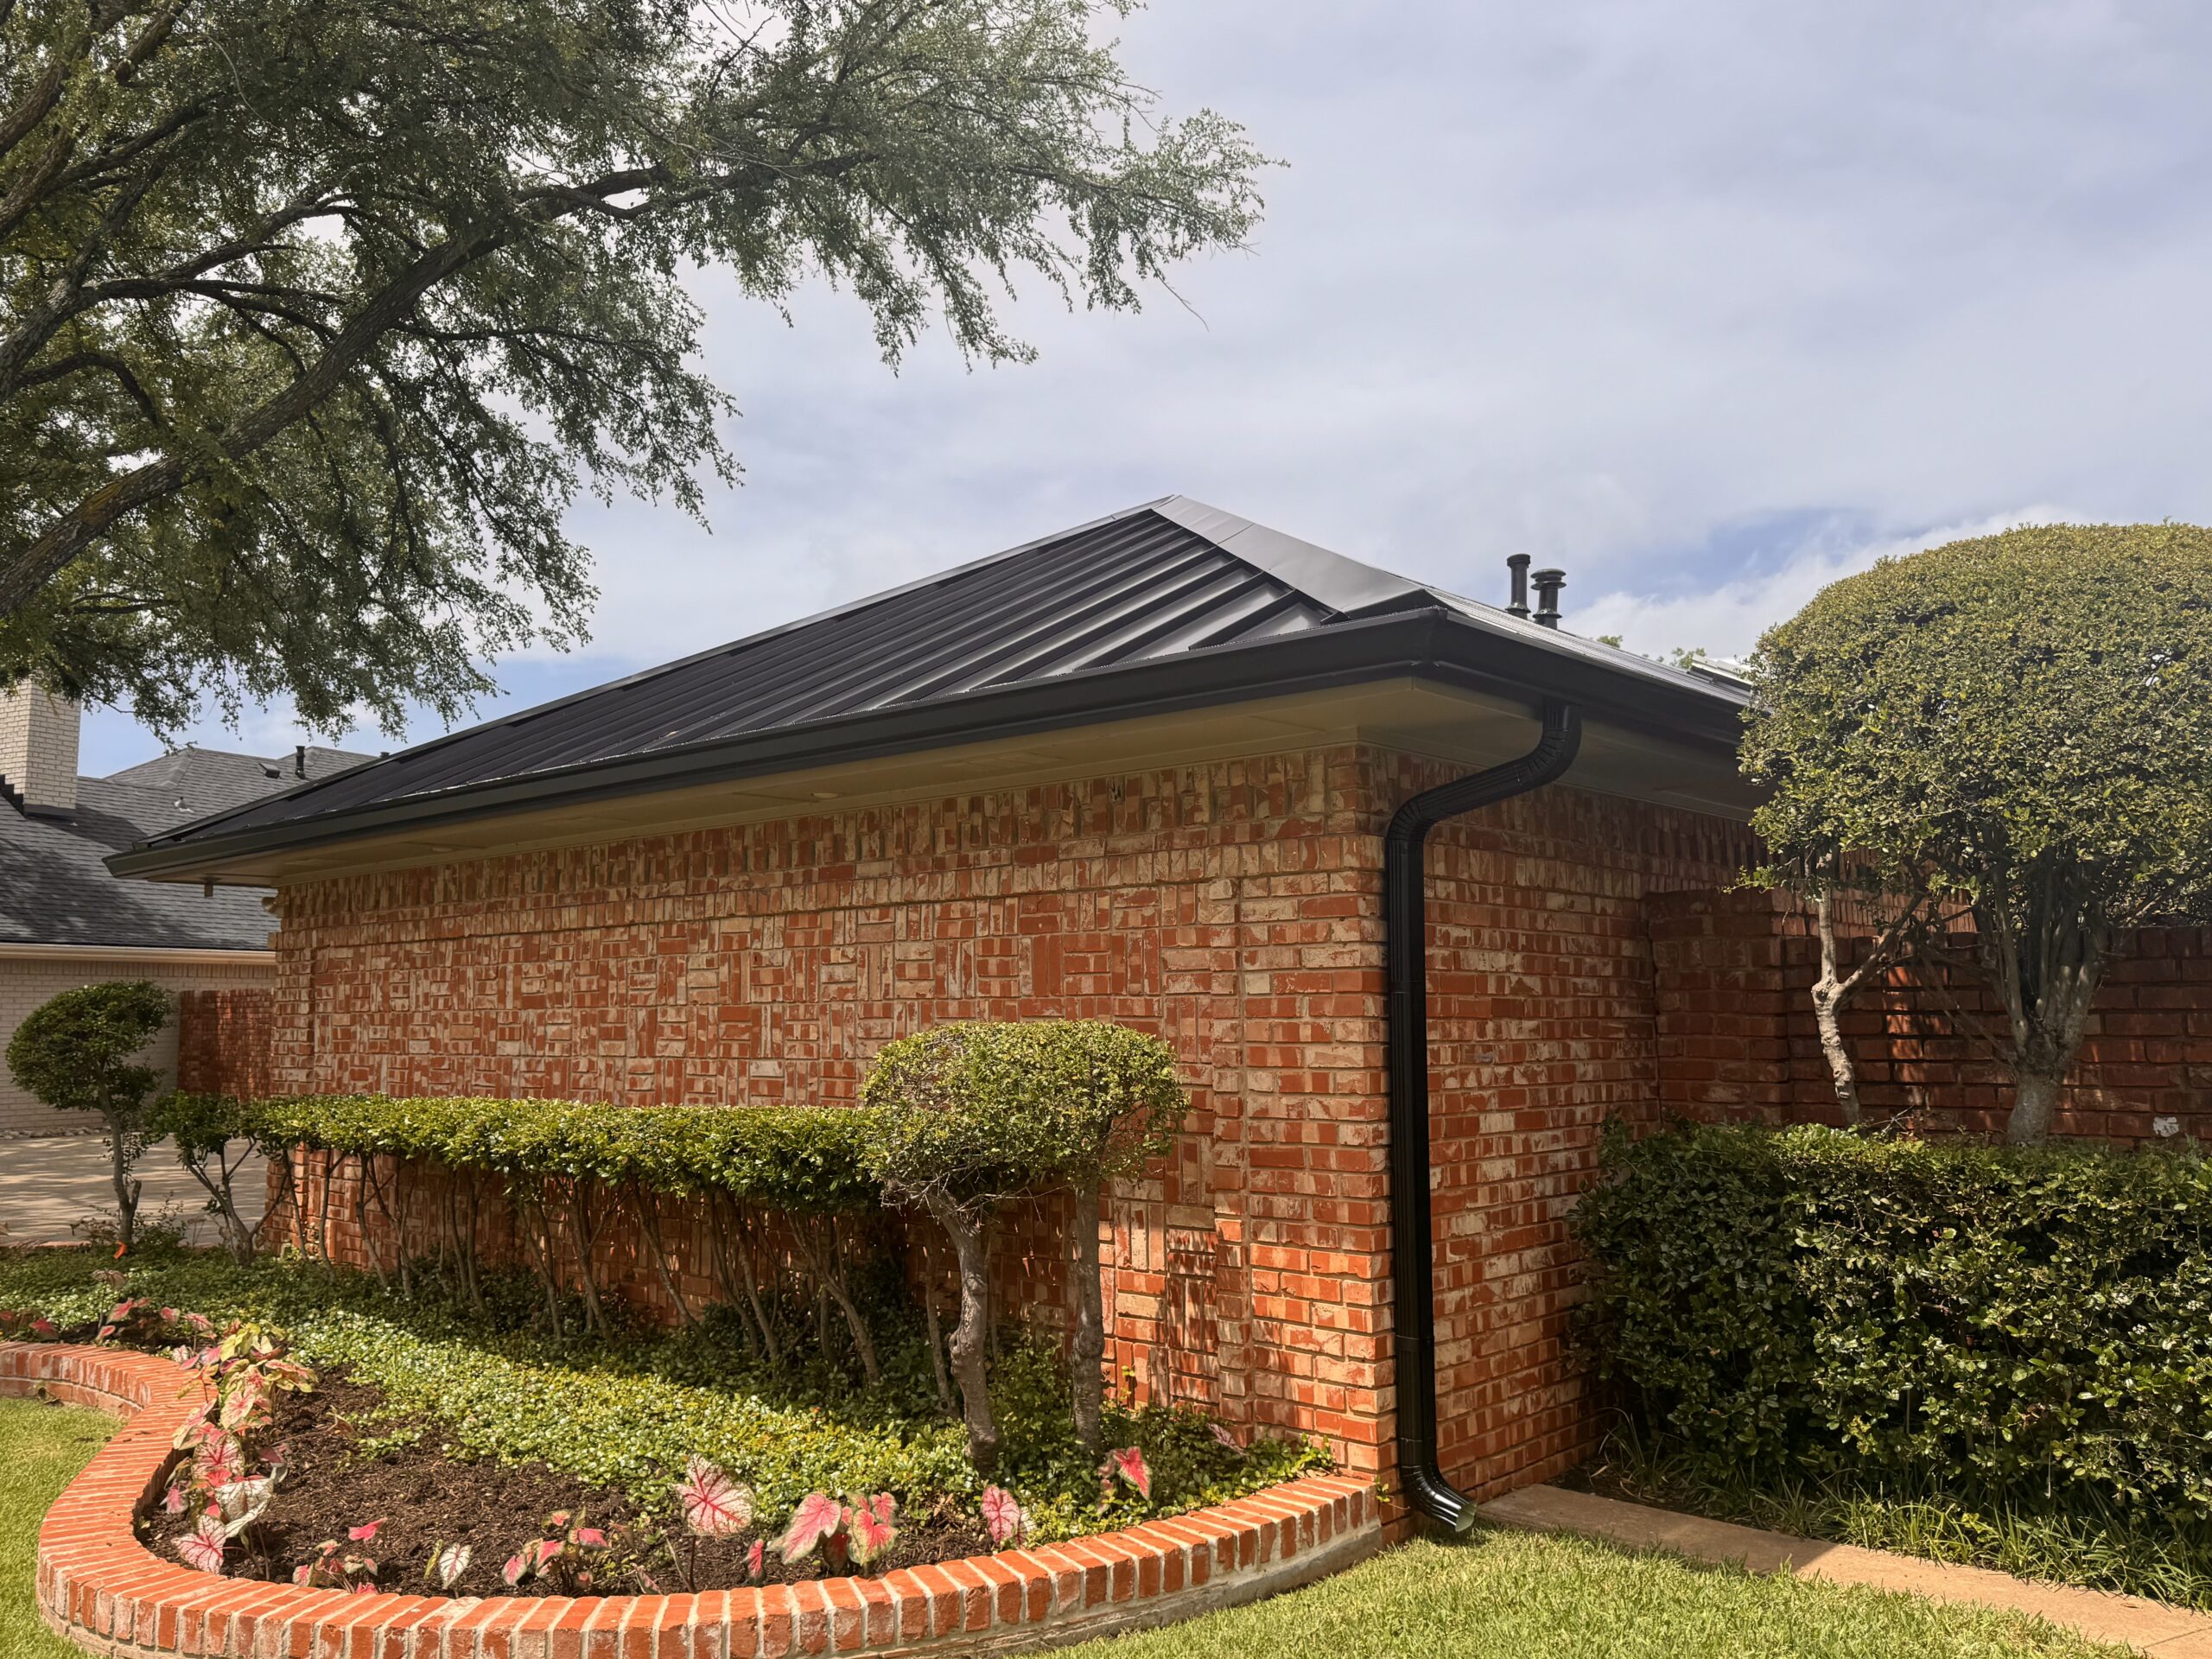
Routine roof inspections remain one of the most effective preventive measures. Small roofing defects rarely stay small for long, and identifying loose shingles, deteriorating flashing, or damaged sealants early helps prevent emergency leaks during severe weather.
Maintaining gutters and downspouts is equally important. Clogged gutters cause rainwater to overflow and back up beneath roofing materials, increasing the likelihood of water entering the home. Regular cleaning ensures water flows safely away from the roof and foundation.
Indoor humidity should also remain under control throughout the year. Homes with consistently high humidity provide favorable conditions for mold even without a roof leak. Proper ventilation, dehumidifiers when needed, and prompt attention to plumbing leaks all contribute to a healthier indoor environment.
Addressing minor maintenance issues immediately prevents larger structural problems later. Small ceiling stains, loose flashing, cracked caulking, or missing shingles should never be ignored simply because they appear insignificant.
Homeowners should also inspect attic ventilation periodically. Balanced ventilation helps regulate temperature and moisture, reducing condensation that could contribute to mold growth independently of roof leaks.
Seasonal Roof Maintenance That Reduces Leak Risks
Every season places different demands on a roofing system. Consistent maintenance throughout the year reduces emergency repair needs while extending the life of roofing materials.
Spring inspections help identify damage caused by winter weather. Wind, heavy rain, temperature fluctuations, and debris may have loosened shingles or damaged flashing without creating immediate leaks.
Summer provides an excellent opportunity for preventive maintenance because dry weather allows roofing professionals to perform repairs more safely. It is also a good time to trim overhanging branches that could damage the roof during future storms.
Autumn maintenance focuses on preparing for increased rainfall and falling leaves. Gutters should be cleaned thoroughly, roof valleys cleared of debris, and drainage systems checked to ensure unrestricted water flow.
Winter inspections become especially important in regions that experience snow or freezing temperatures. Ice buildup, repeated freezing and thawing, and heavy snow loads may create conditions that increase the risk of water intrusion.
Consistent maintenance often identifies small concerns before they become emergencies. Investing in preventive care generally costs far less than repairing extensive water damage and mold contamination after a major roof failure.
Creating a Household Emergency Response Plan
Preparing for emergencies before they happen allows homeowners to respond quickly and reduce water damage when unexpected roof leaks occur. Every household benefits from having a simple response plan that everyone understands.
An effective emergency plan should include the following steps:
- Ensure everyone’s safety and avoid areas with electrical hazards or structural instability.
- Stop additional water intrusion whenever it is safe to do so using temporary protective measures.
- Move furniture, electronics, important documents, and valuable belongings away from affected areas.
- Begin removing standing water and start drying the structure immediately.
- Document all damage with photographs and written notes for insurance purposes.
- Arrange professional roof repairs and moisture inspections if the damage exceeds safe homeowner repairs.
- Continue monitoring repaired areas until all building materials have reached normal moisture levels.
Having these procedures established in advance reduces confusion during stressful situations. Quick decisions often make the difference between a straightforward repair and a lengthy restoration project.
Essential Mold Prevention Supplies Every Homeowner Should Keep
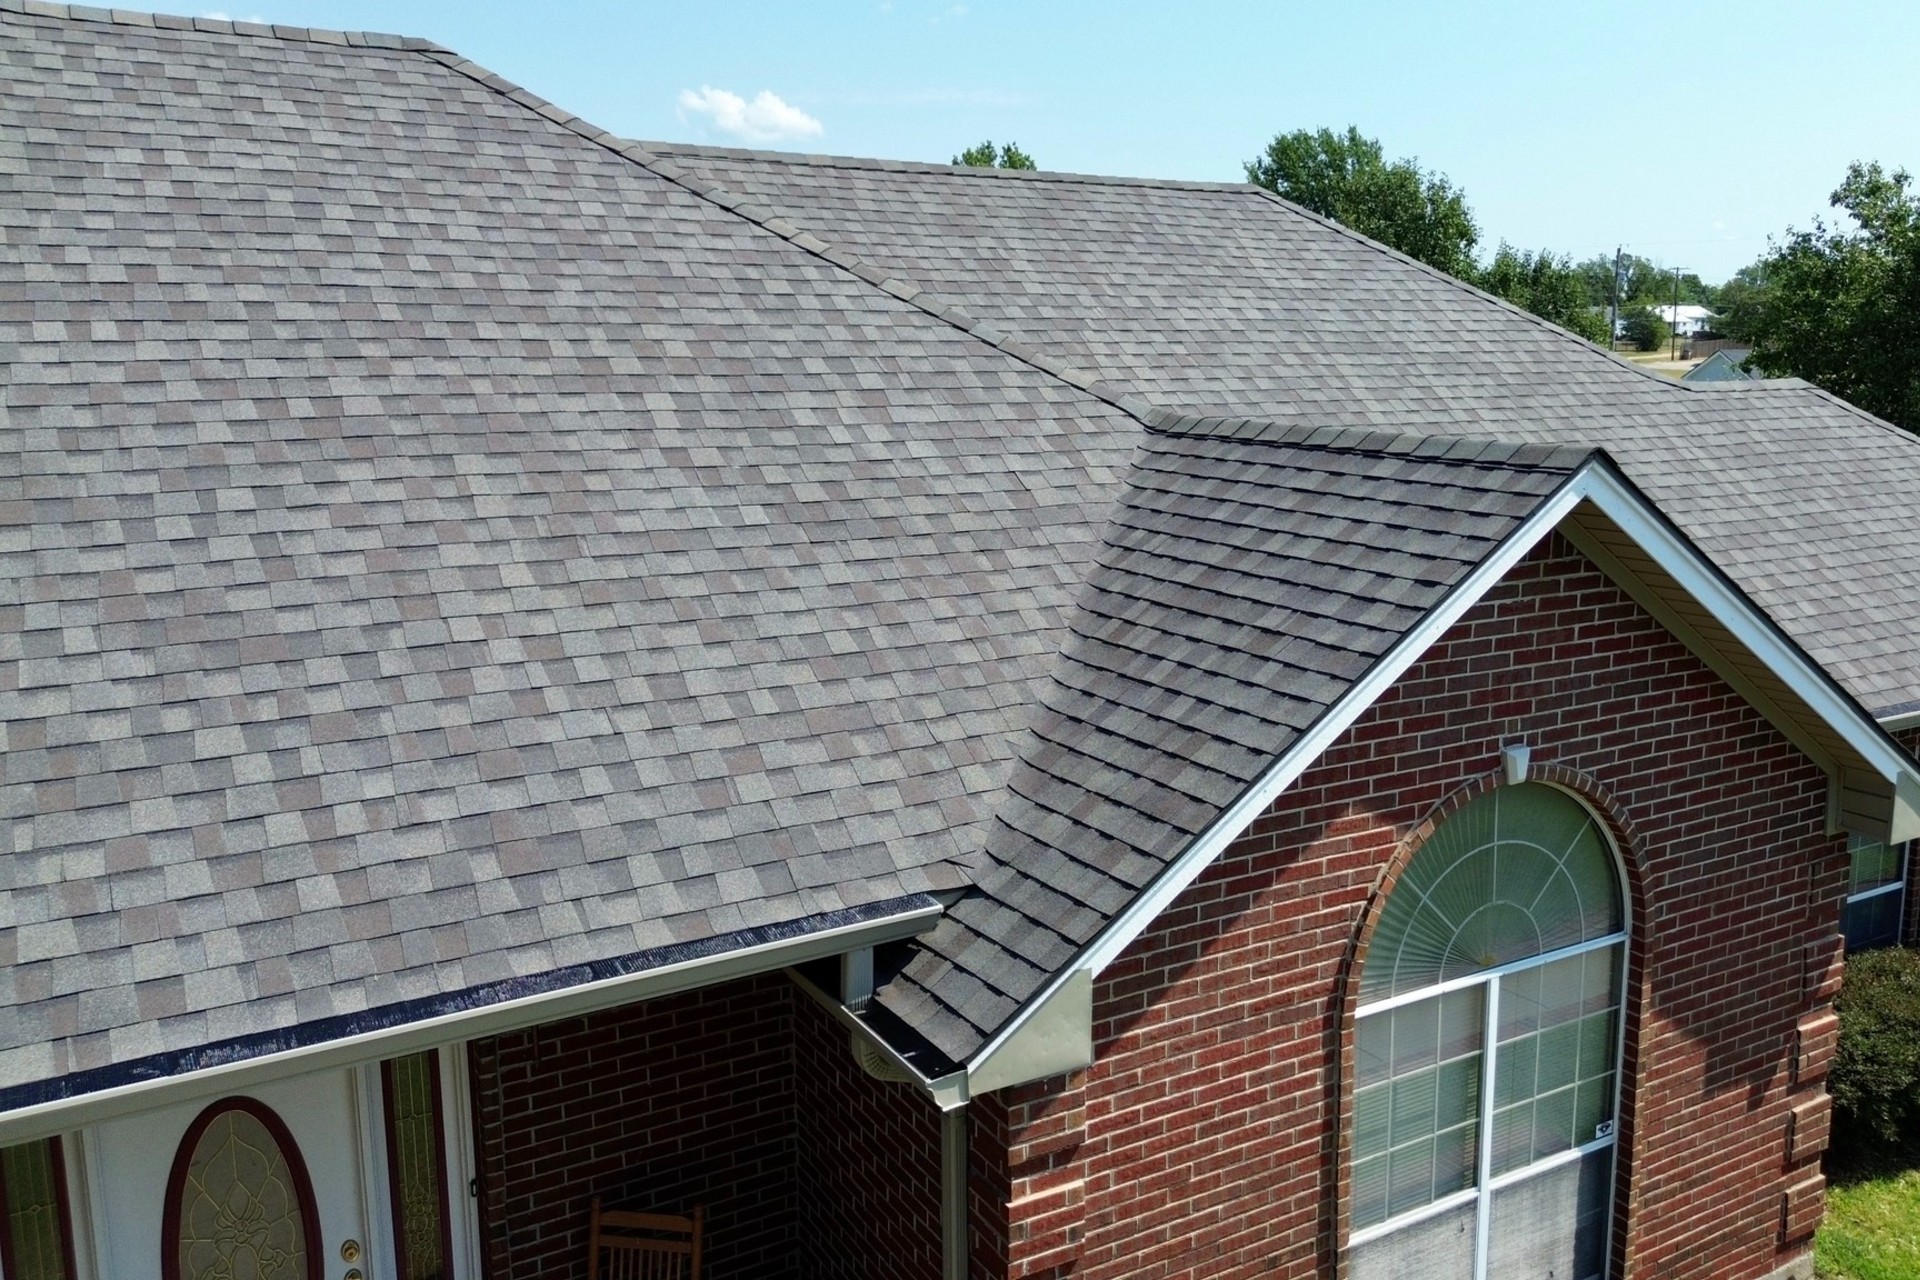
Keeping a few emergency supplies readily available allows homeowners to respond more effectively while waiting for professional assistance after a roof leak.
A practical emergency mold prevention kit may include:
- Heavy duty plastic tarps
- Waterproof tape
- Buckets and absorbent towels
- Wet and dry vacuum if available
- Portable fans
- Portable dehumidifier
- Flashlights with extra batteries
- Moisture resistant storage containers for important documents
- Work gloves and protective footwear
- Basic hand tools for emergency access
These supplies cannot replace professional restoration equipment, but they help minimize water damage during the critical first hours following a roof leak. Being prepared reduces delays and allows moisture removal to begin immediately.
Frequently Asked Questions
Can mold still grow if the roof leak has already been repaired?
Yes. Repairing the roof stops additional water from entering, but mold can still develop if moisture remains trapped inside walls, ceilings, insulation, or flooring. Drying the structure completely is just as important as fixing the roof itself.
Is every water stained ceiling affected by mold?
Not necessarily. Some stains result from short term moisture exposure without mold development. However, every water stain should be investigated because hidden moisture may still exist behind the finished surface.
How long should drying continue after a roof leak?
The drying period varies depending on the amount of water, building materials, humidity, and ventilation. Drying should continue until moisture measurements confirm that affected materials have returned to acceptable levels.
Can household fans completely dry a water damaged home?
Household fans improve airflow but usually cannot provide the drying performance needed after significant roof leaks. Combining air movement with humidity control and moisture monitoring produces much better results.
Should insulation always be replaced after getting wet?
Not always. The decision depends on the insulation type, the amount of water absorbed, and how quickly drying begins. Heavily saturated insulation often requires replacement because it retains moisture and loses insulating performance.
Why does a room still smell musty after everything appears dry?
Persistent musty odors often indicate hidden moisture or early mold growth inside structural cavities. Additional inspection may be necessary to locate damp materials that were not completely dried.
Does homeowner insurance usually cover mold after a roof leak?
Coverage depends on the policy and the cause of the leak. Many policies cover sudden accidental water damage but may limit mold coverage if delayed maintenance or preventable neglect contributed to the problem.
Conclusion
Emergency roof leaks introduce far more than unwanted water into a home. They create conditions where mold can begin developing within a remarkably short period, affecting structural materials, indoor air quality, personal belongings, and long term property value. Understanding this connection allows homeowners to respond with greater confidence and reduce the likelihood of extensive contamination.
The most effective mold prevention strategy combines immediate water removal, complete structural drying, careful moisture monitoring, and timely roof repairs. Focusing on only one part of the restoration process leaves hidden moisture behind, allowing mold to continue growing even after the visible leak has been repaired.
Preventive maintenance also plays a vital role in protecting a home throughout the year. Regular roof inspections, clean gutters, proper attic ventilation, balanced indoor humidity, and prompt attention to small repairs all reduce the chances of future emergency leaks that could trigger mold growth.
Preparedness is equally valuable because emergencies rarely happen at convenient times. Having an emergency response plan, basic water mitigation supplies, and a clear understanding of the first steps to take allows homeowners to act quickly when every hour matters.
While some minor roof leaks can be managed successfully with prompt action, widespread water intrusion or hidden structural moisture often requires professional evaluation. Combining homeowner vigilance with expert restoration practices provides the best opportunity to restore the property safely while preventing mold from becoming a long term problem.
Protecting a home after an emergency roof leak is not simply about repairing damaged roofing materials. It is about restoring a dry, healthy, and stable living environment where mold no longer has the conditions it needs to grow. With the right response and ongoing maintenance, homeowners can greatly reduce future risks and preserve both the safety and value of their property for years to come.