
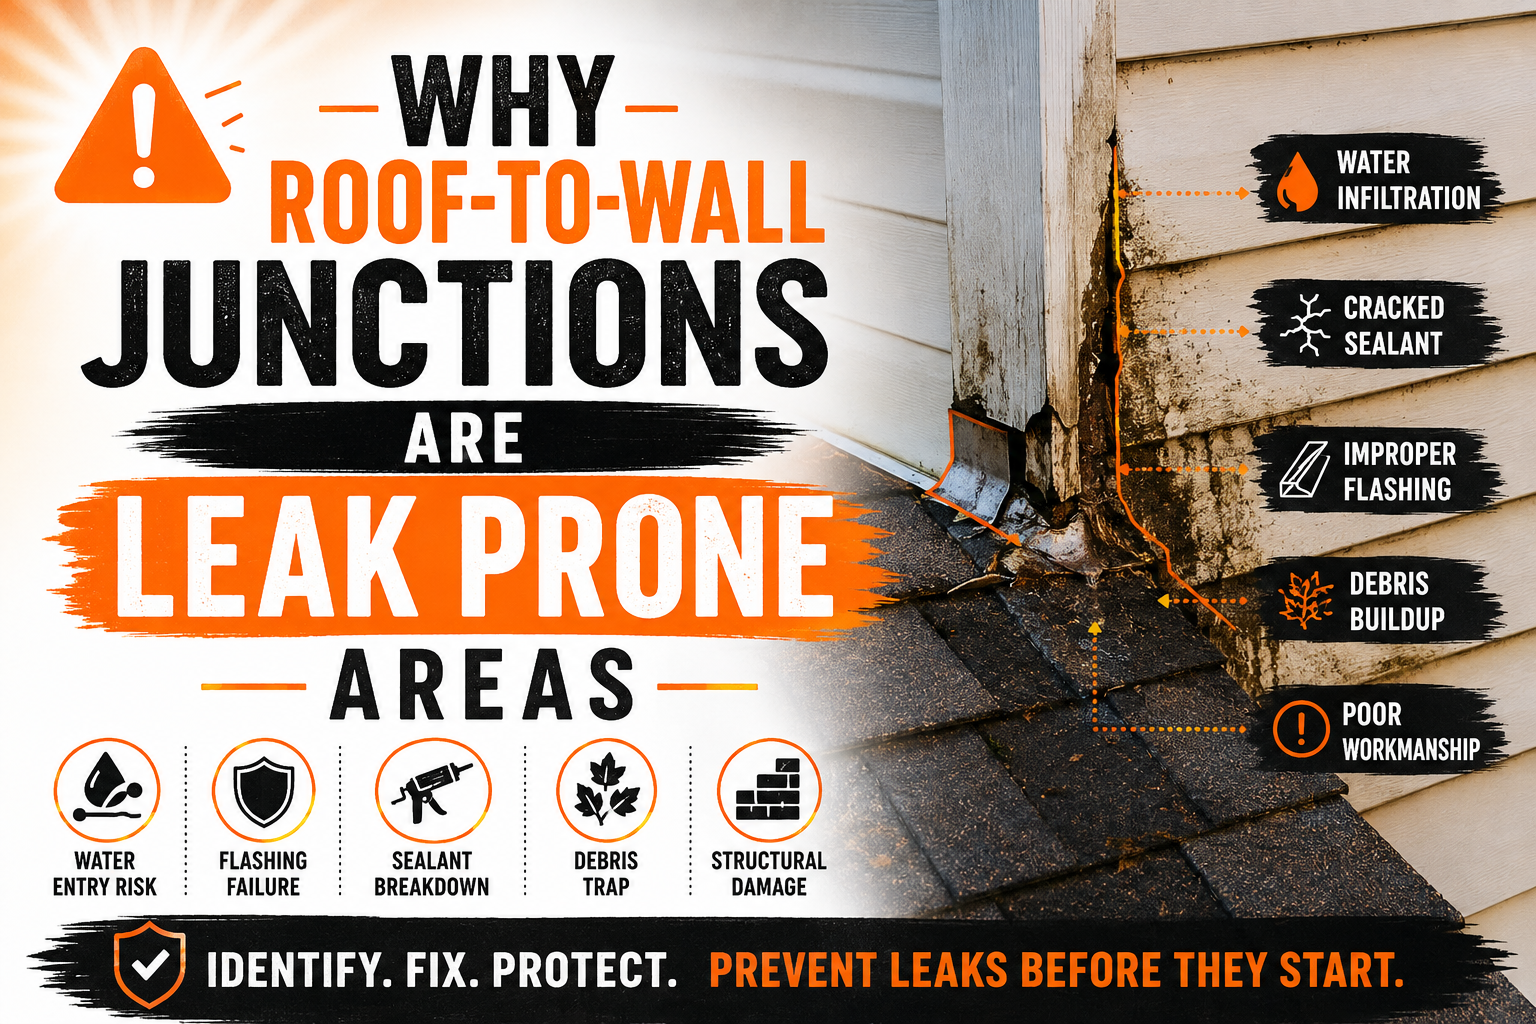
Why Roof-to-Wall Junctions Are Leak Prone Areas
Introduction
Every roof is designed to move rainwater safely away from a building, but certain areas require more protection than others. One of the most vulnerable locations is where the roof meets a vertical wall. These intersections, commonly known as roof-to-wall junctions, experience continuous exposure to rain, wind, temperature changes, and structural movement, making them one of the most common sources of roof leaks.
Unlike large open roof surfaces that allow water to flow freely, roof-to-wall junctions combine multiple construction materials into a relatively small area. Roofing materials, flashing, siding, underlayment, and wall coverings must all work together to create a watertight barrier. If even one component is installed incorrectly or begins to deteriorate, water can quickly find its way into the building envelope.
Many roof leaks that appear inside a home do not originate from damaged shingles or roofing panels. Instead, they often begin at roof-to-wall intersections where flashing has shifted, sealants have failed, or water has been allowed to collect over time. Because these leaks may remain hidden behind walls or beneath roofing materials, they frequently cause significant damage before becoming visible indoors.
Understanding why roof-to-wall junctions are naturally prone to leaks helps homeowners recognize warning signs earlier and maintain these critical areas more effectively. Proper inspections, timely maintenance, and correct installation techniques can dramatically reduce the risk of water intrusion while extending the life of the entire roofing system.
This guide explores the construction of roof-to-wall junctions, explains why they are particularly vulnerable to leaks, examines the components that protect these intersections, and discusses the common problems that lead to water damage. Later sections will cover repair methods, maintenance strategies, and practical steps for preventing future leaks.
Understanding Roof-to-Wall Junctions
A roof-to-wall junction is the point where a sloped or flat roof connects directly to a vertical wall. These intersections appear in many residential and commercial buildings, especially where additions meet the original structure, where garages connect to homes, or where dormers project from the main roof.
At first glance, these junctions may seem simple, but they require careful engineering to manage water effectively. Rain naturally flows down the roof toward the wall, and unless properly redirected, it can seep into gaps between roofing materials and the building’s exterior.
Roof-to-wall junctions rely on several waterproofing components working together rather than depending on a single material. Roofing products shed water from above, flashing redirects moisture away from vulnerable joints, and weather resistant barriers provide additional protection beneath the finished surfaces.
These junctions must also accommodate natural movement. Roofing materials expand during warm weather and contract when temperatures drop, while walls respond differently depending on their construction. Proper installation allows these materials to move independently without creating openings where water can enter.
Although roof-to-wall junctions are built to resist moisture, they remain among the most heavily stressed parts of the roofing system. Constant exposure to water and weather means they require regular inspection throughout the life of the roof.
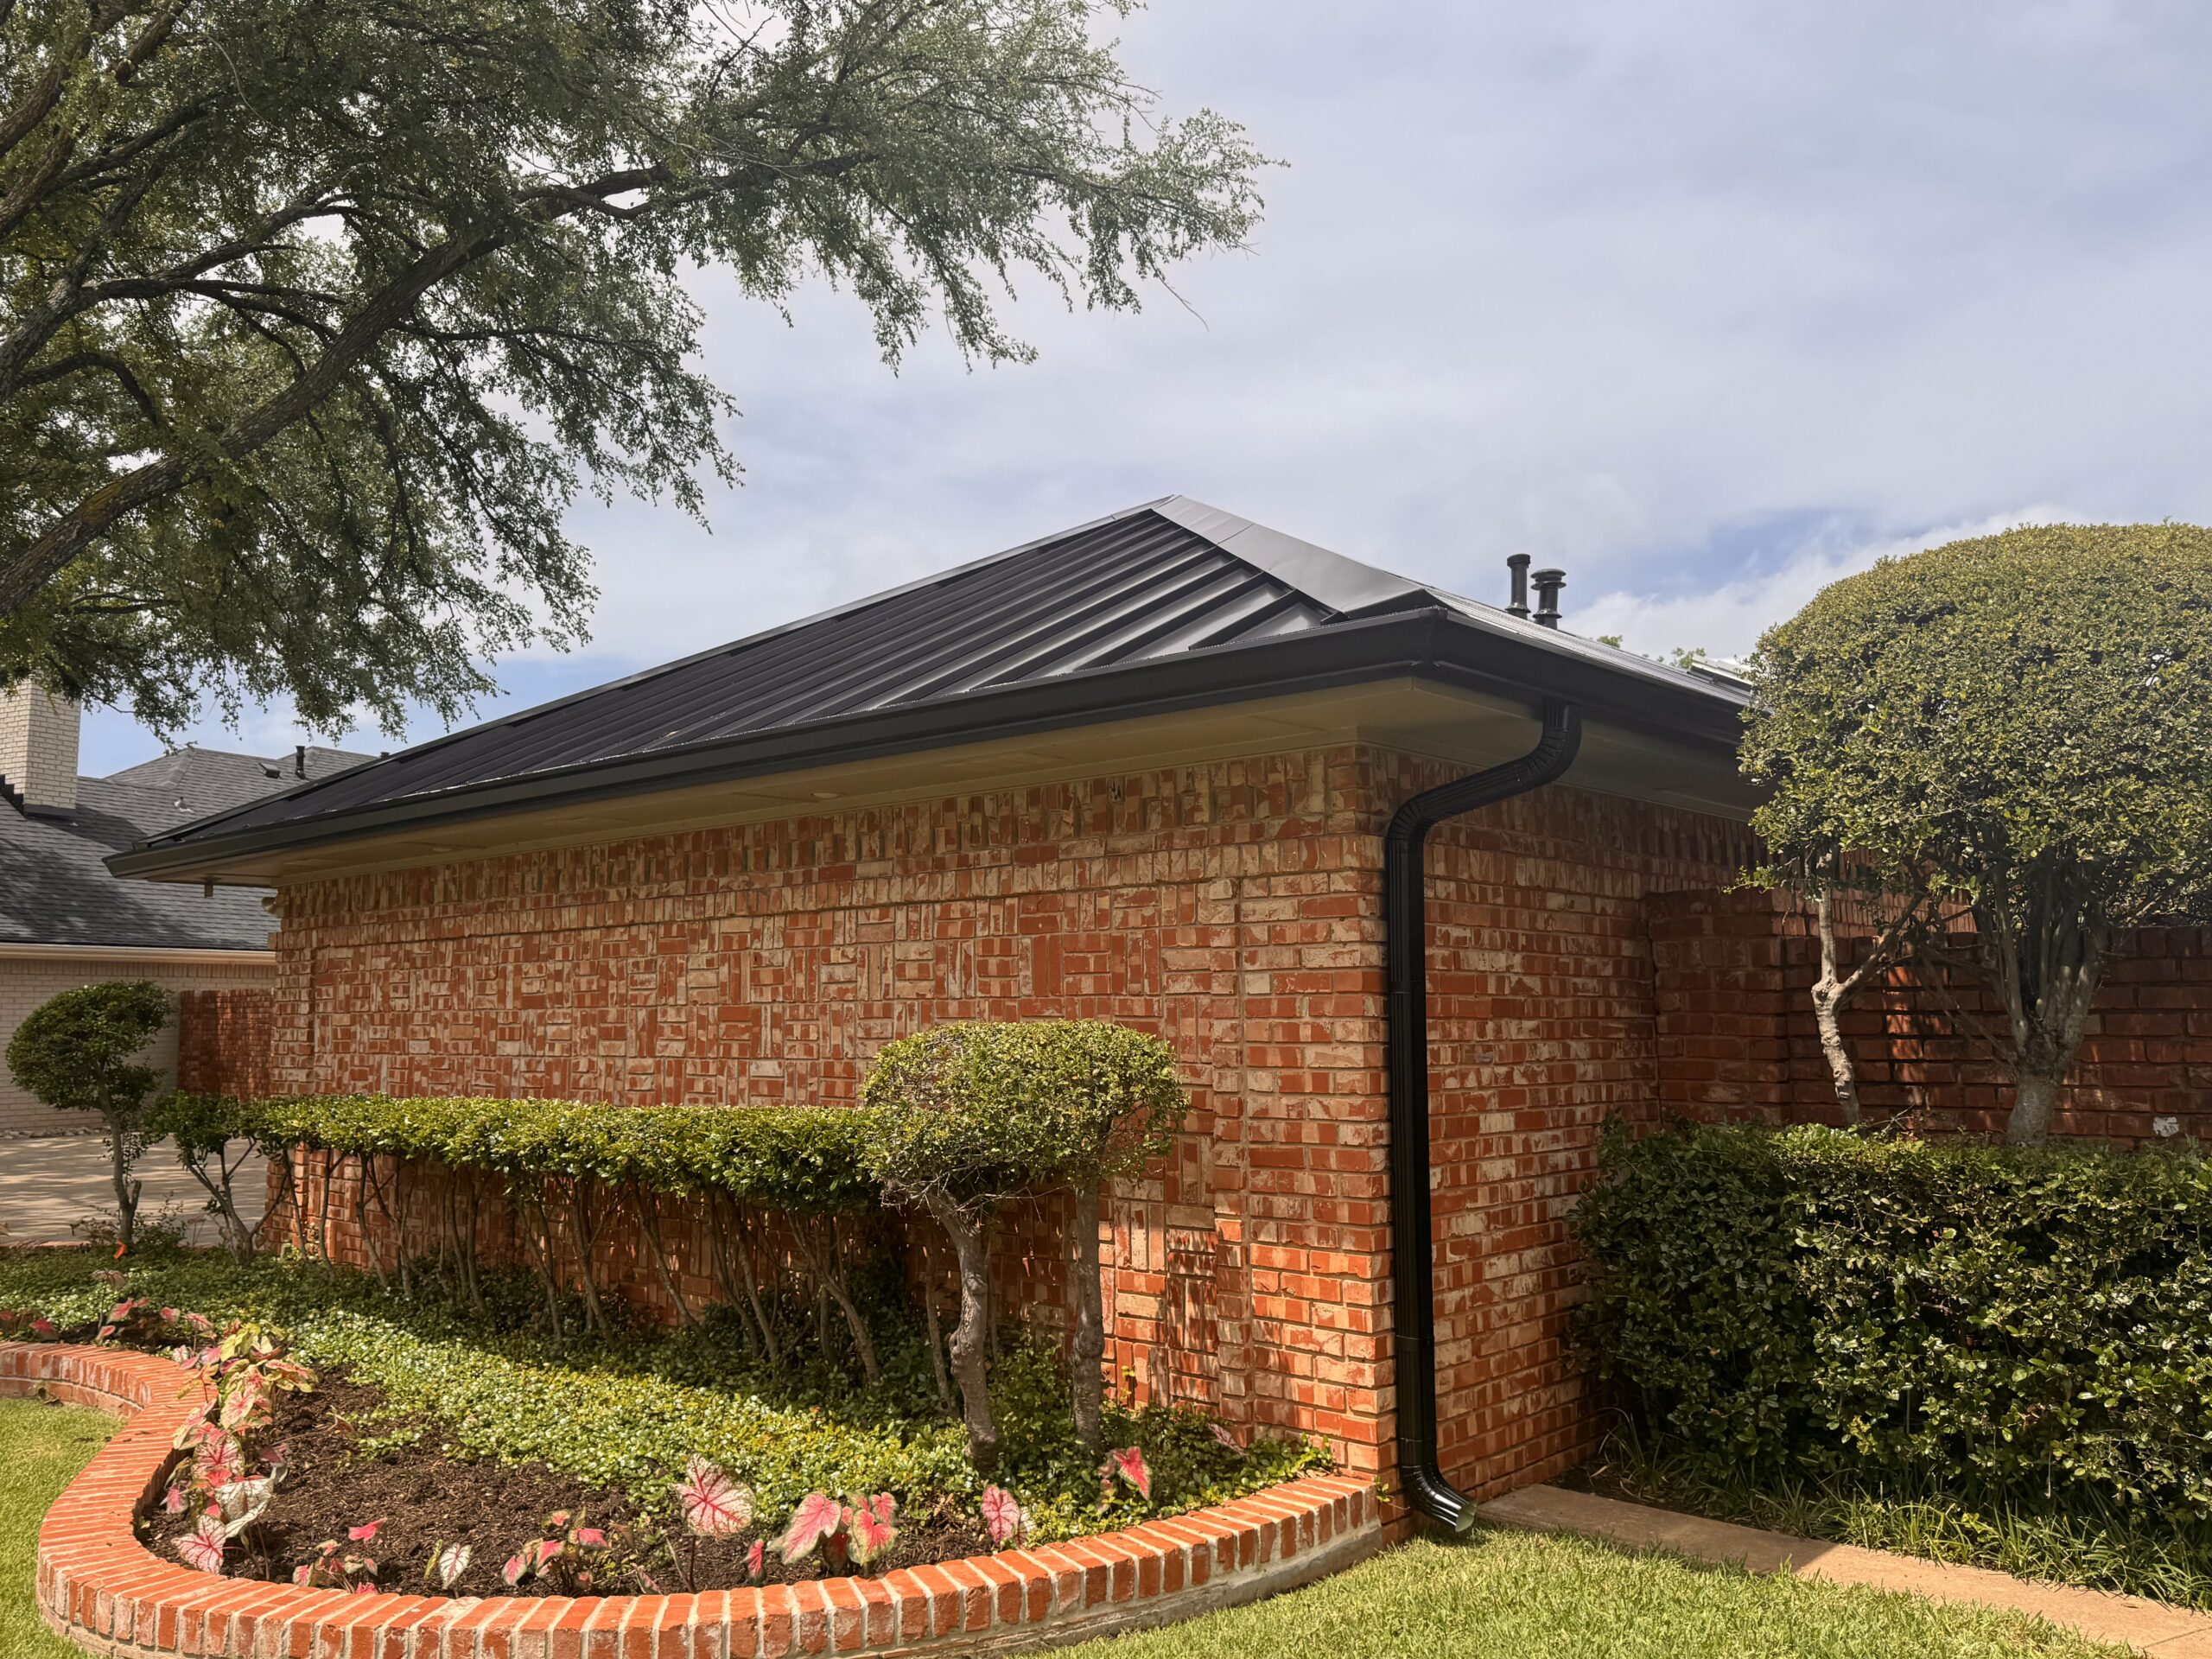
Types of Roof-to-Wall Connections
Roof-to-wall junctions vary depending on building design and roof configuration. Different connection types require different flashing systems and waterproofing techniques to ensure reliable performance.
Sidewall junctions occur where the sloping edge of a roof runs alongside a vertical wall. These are among the most common roof-to-wall intersections and typically rely on step flashing installed beneath each course of shingles.
Headwall junctions appear where the upper end of a roof terminates directly against a vertical wall. Since rainwater naturally flows toward this connection, properly installed flashing becomes especially important for preventing water from entering behind the wall covering.
Dormer walls create multiple roof-to-wall intersections within a relatively small area. Their complex geometry often requires several flashing transitions, making careful installation essential for long term leak prevention.
Flat roof transitions where low slope roofing meets parapet walls use different waterproofing methods than steep roofs. Continuous flashing and waterproof membranes help protect these areas because water drains more slowly across flat surfaces.
Regardless of the connection type, every roof-to-wall junction shares the same objective. Water must be redirected safely away from the building without allowing moisture to penetrate beneath roofing or siding materials.
How Water Flows at Roof-to-Wall Intersections
Understanding water movement helps explain why these junctions experience frequent leaks. Gravity naturally pulls rainwater down the roof surface, directing large volumes of water toward wall intersections during storms.
As water reaches a roof-to-wall junction, flashing guides it back onto the roof surface or toward the gutter system. Without flashing, water would easily enter the narrow gaps between roofing materials and vertical walls.
Wind significantly changes normal drainage patterns. Strong gusts can force rain upward beneath shingles or drive moisture behind siding, placing additional stress on flashing and sealants. This is one reason roof-to-wall junctions often leak during severe storms even when the rest of the roof appears undamaged.
Snow and ice also influence water flow. Melting snow may refreeze near roof edges or wall intersections, creating temporary dams that prevent normal drainage. Water trapped behind ice can penetrate beneath flashing if protective barriers are compromised.
Debris accumulation further complicates water movement. Leaves, branches, and dirt restrict drainage while trapping moisture against flashing for extended periods. This prolonged exposure accelerates corrosion and increases the likelihood of leaks developing over time.
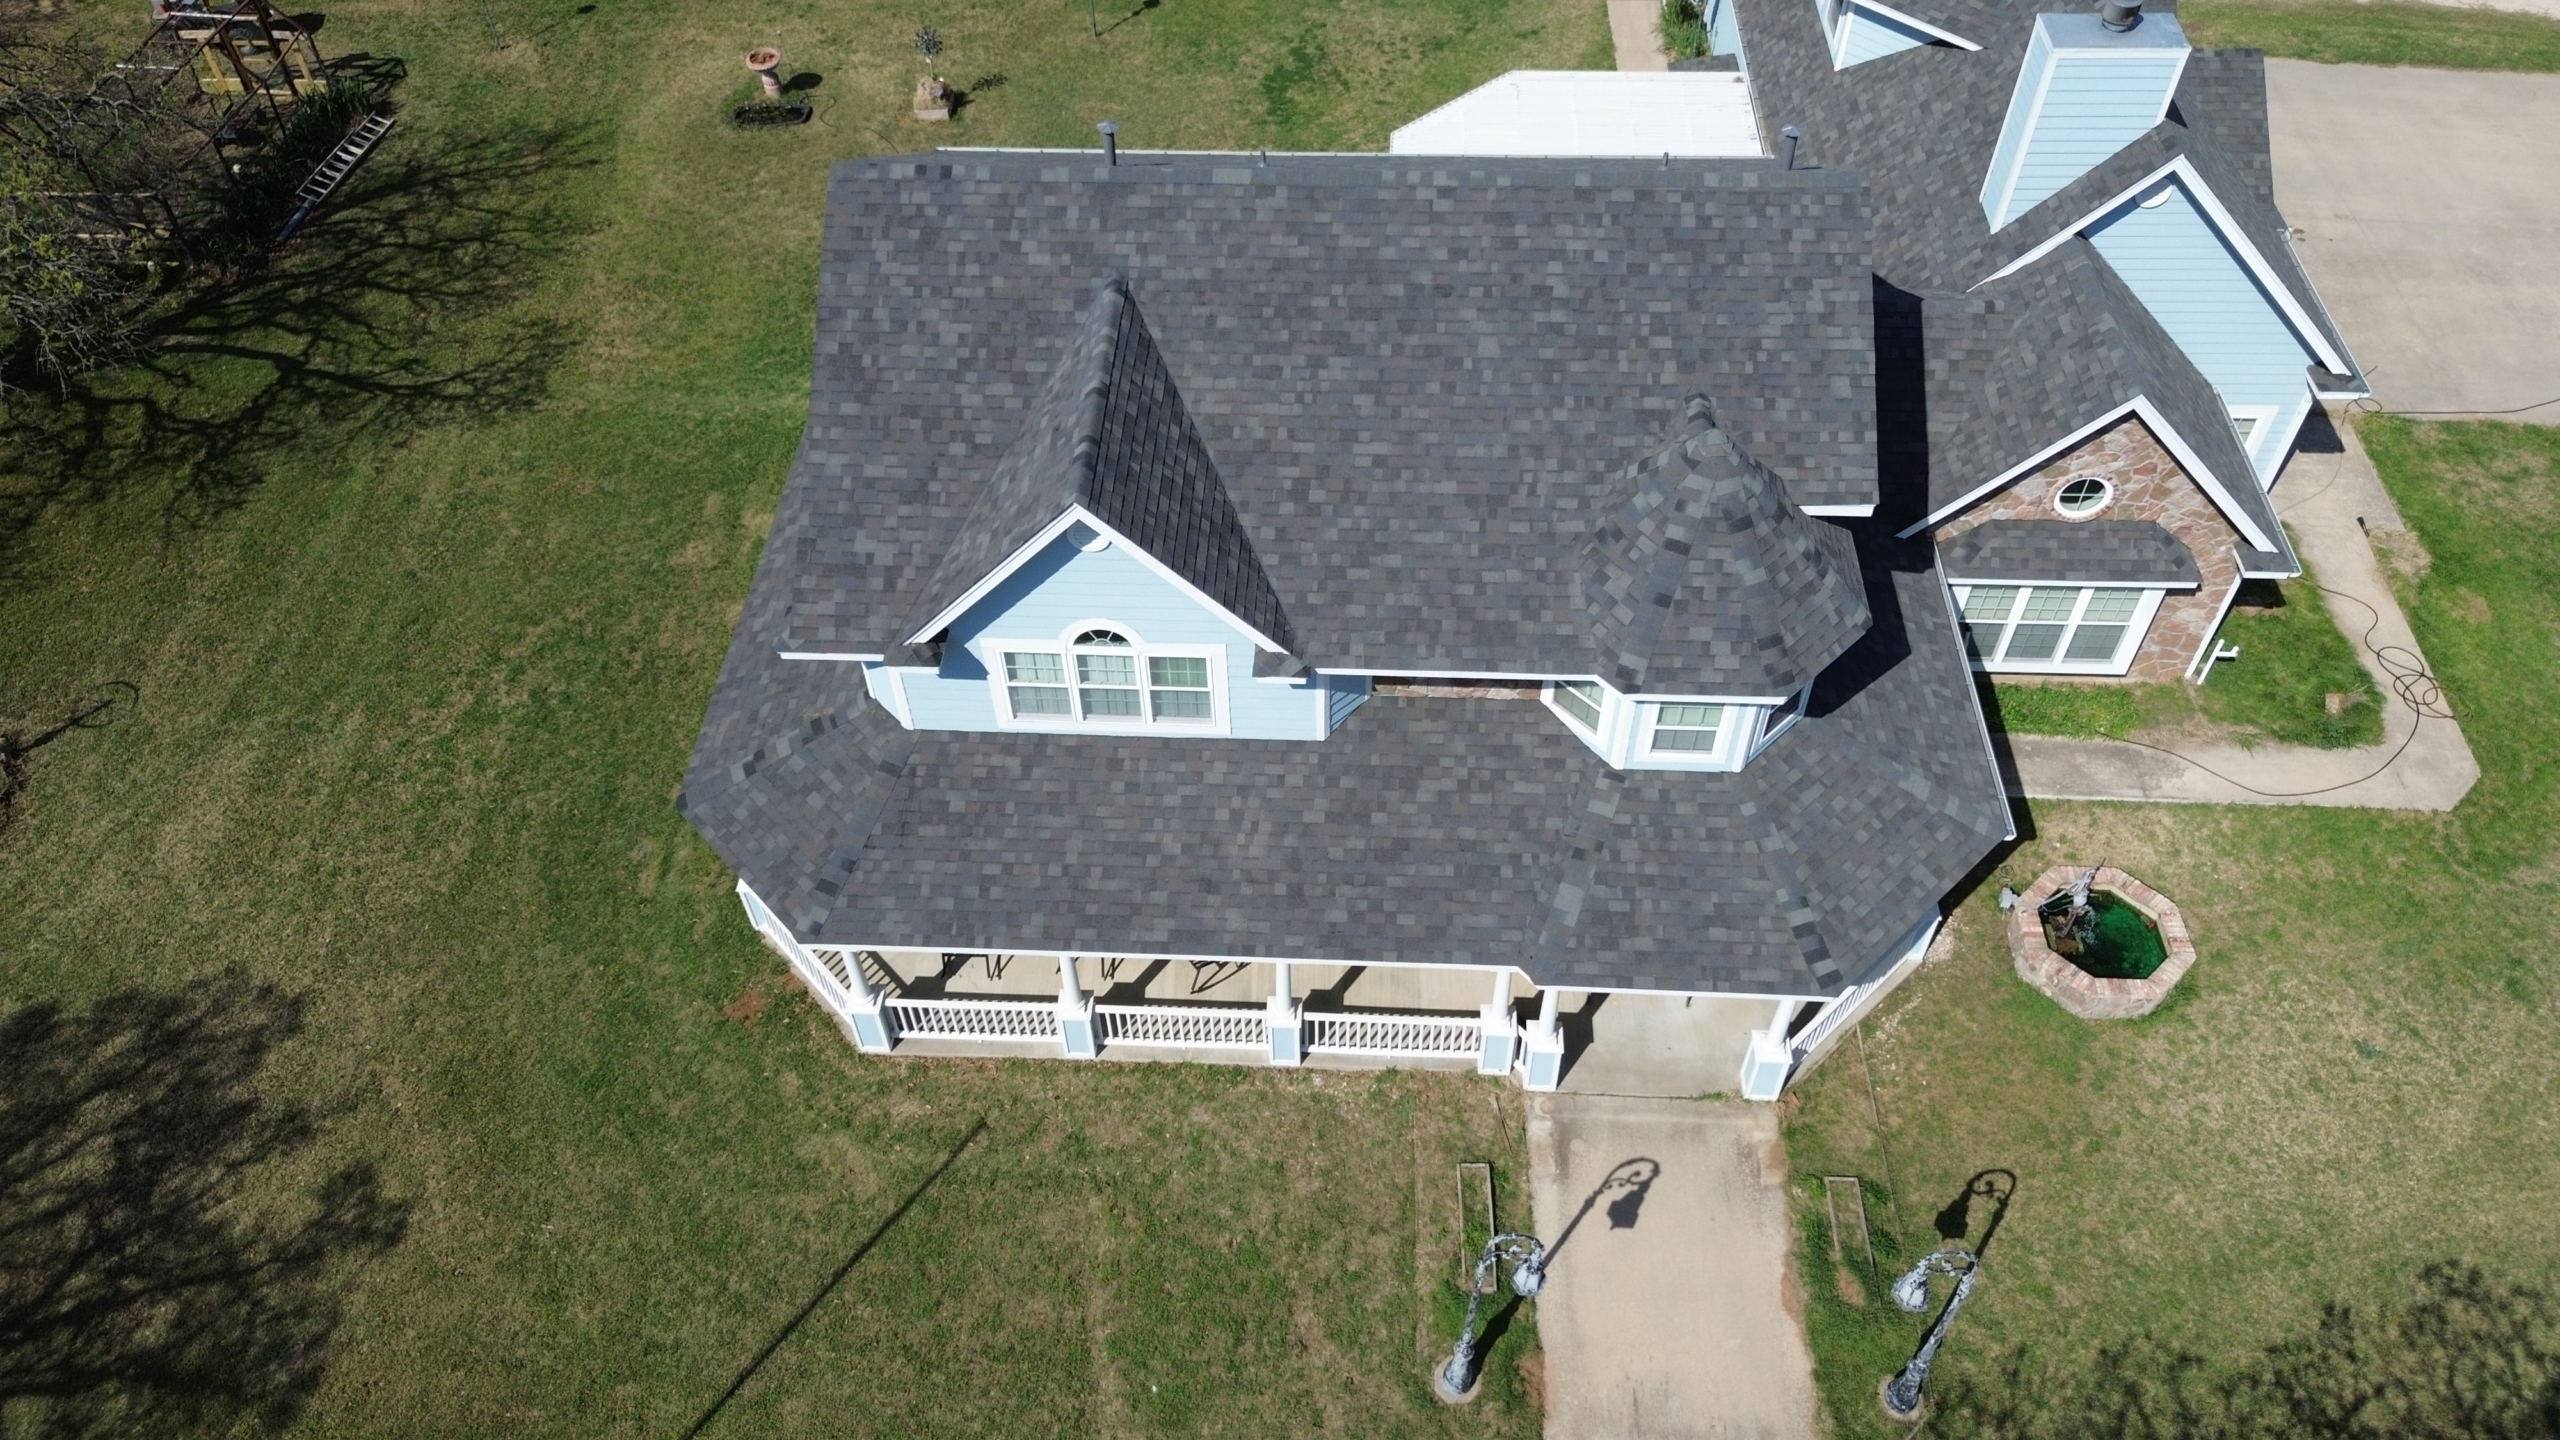
Components That Protect Roof-to-Wall Junctions
Several materials work together to keep roof-to-wall junctions watertight. Each component performs a specific function, and failure of any one part can reduce the effectiveness of the entire system.
Step flashing forms the primary waterproof barrier along sloped roof-to-wall intersections. Individual metal pieces overlap one another while integrating with each course of shingles, creating a layered path that directs water safely down the roof.
Counter flashing provides additional protection by covering the upper edge of step flashing. This prevents water from entering behind the flashing while shielding it from direct weather exposure.
Roof underlayment acts as a secondary defense beneath the roofing material. If water bypasses the outer roofing surface, the underlayment helps prevent it from reaching the roof deck.
Weather resistant barriers installed behind siding provide another layer of moisture protection. These barriers allow trapped moisture to escape while preventing water from entering the wall assembly.
Sealants fill small gaps around flashing and other components. Although they improve waterproof performance, sealants should supplement proper flashing rather than replace it.
Fasteners also contribute to the overall system by holding flashing securely in place. Using corrosion resistant fasteners compatible with the flashing material helps maintain structural integrity while reducing the risk of premature deterioration.
Each component contributes to a complete moisture management system rather than functioning independently. Proper coordination between these materials creates reliable long term protection against leaks.
Why Roof-to-Wall Junctions Are Naturally Vulnerable
Roof-to-wall junctions face conditions that few other parts of the roof experience simultaneously. Their design requires multiple materials to intersect while continuously handling water, making them naturally more vulnerable than uninterrupted roof surfaces.
One major challenge is water concentration. Rain flowing across the roof naturally converges at these intersections before continuing toward gutters. Larger volumes of water increase pressure on flashing and make any installation defects more noticeable.
Material transitions also create complexity. Roofing, metal flashing, wood framing, siding, masonry, and underlayment all respond differently to temperature changes and moisture exposure. Maintaining a watertight seal between these materials requires precise installation.
Wind driven rain introduces another challenge by forcing moisture beneath roofing materials or behind siding. Even small openings that remain dry during light rainfall may leak significantly when strong winds accompany storms.
Thermal expansion and contraction gradually affect flashing joints as temperatures fluctuate throughout the year. Repeated movement may loosen fasteners, separate sealants, or shift flashing slightly from its original position.
Structural settlement also contributes to vulnerability. Buildings naturally move over time as foundations settle and framing adjusts to seasonal moisture changes. These gradual shifts can alter flashing alignment enough to create small openings where water begins entering.
Because roof-to-wall junctions experience several of these conditions simultaneously, even minor defects deserve prompt attention before they develop into larger roofing problems.
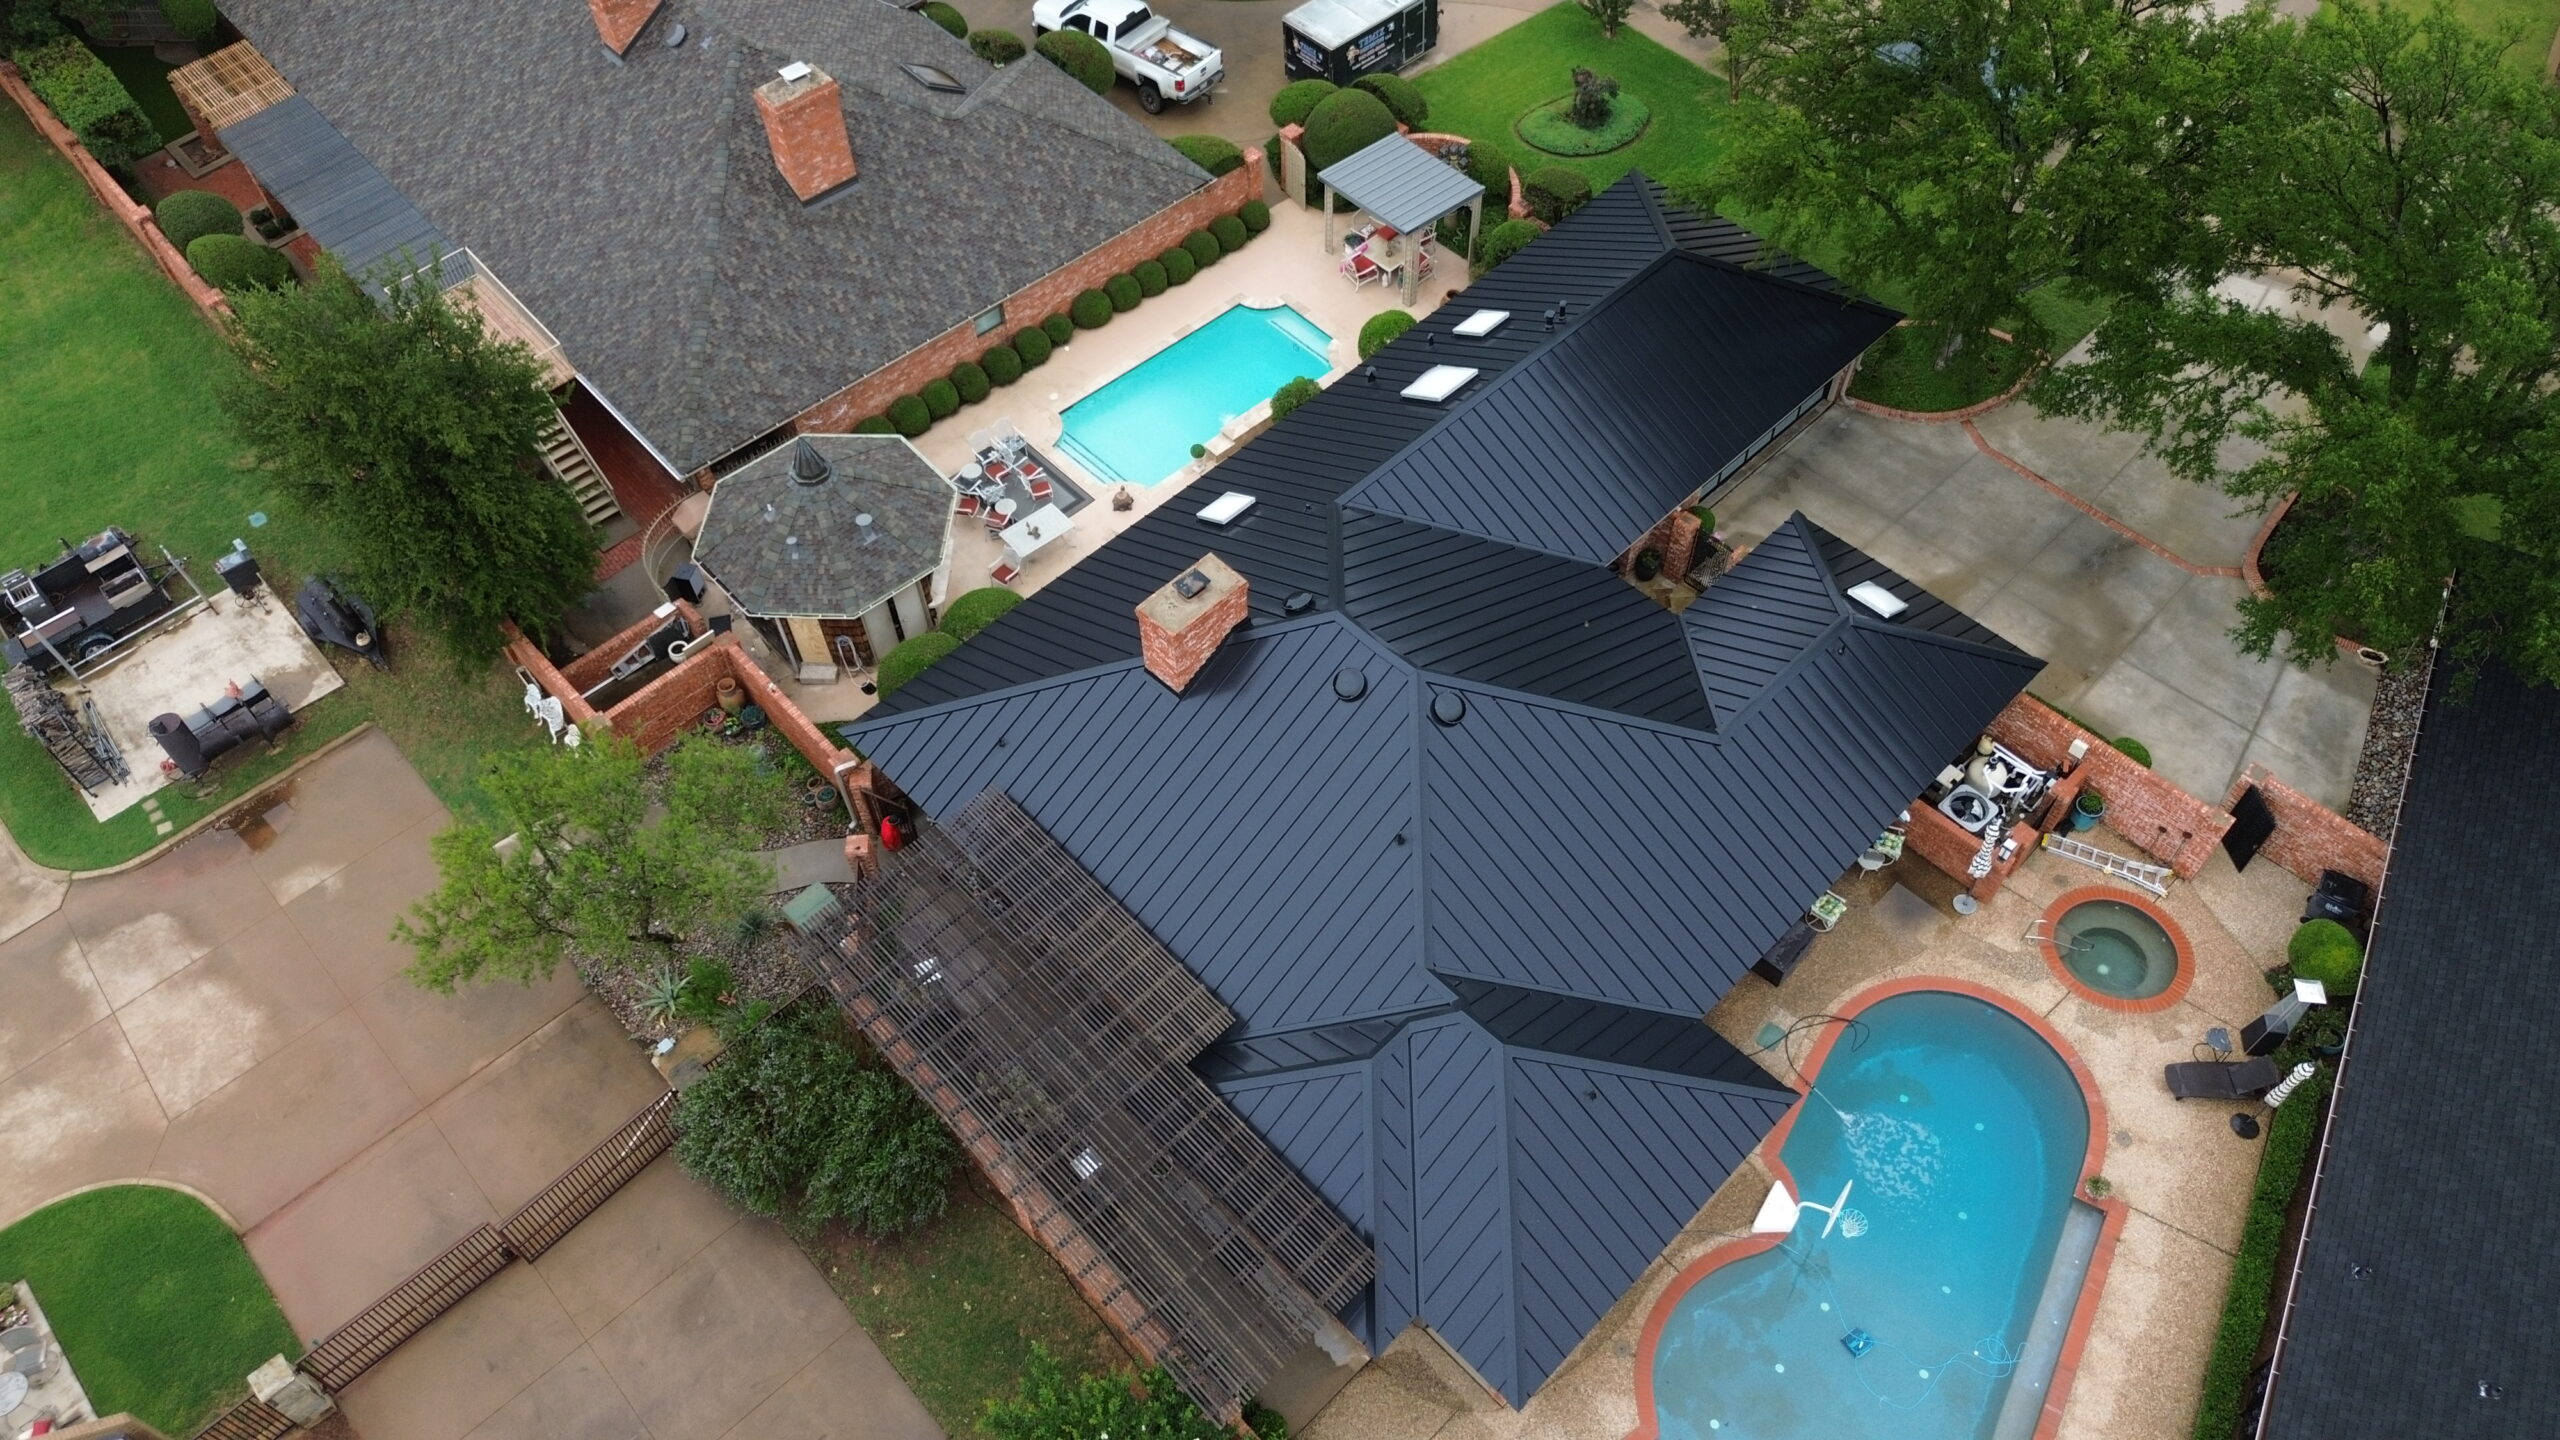
Common Causes of Roof-to-Wall Leaks
Most roof-to-wall leaks result from a combination of aging materials, weather exposure, and installation issues rather than a single isolated problem. Understanding these causes helps homeowners recognize why regular inspections are so important.
Improper flashing installation remains one of the leading causes of leaks. Flashing that is installed in the wrong sequence, overlapped incorrectly, or secured improperly cannot direct water as intended. Small installation errors may remain unnoticed until heavy rainfall exposes the weakness.
Missing flashing pieces also create vulnerable openings. Whether caused by poor workmanship, storm damage, or previous repairs, incomplete flashing systems allow water to bypass protective layers and enter the roof assembly.
Sealants naturally deteriorate with age. Continuous exposure to sunlight, moisture, and temperature changes eventually causes sealants to shrink, crack, or separate from surrounding materials. Once these gaps appear, water can begin penetrating beneath flashing.
Metal flashing itself may corrode after years of exposure to moisture or incompatible materials. Corrosion weakens the flashing while creating holes and rough surfaces that interfere with proper water drainage.
Poor siding installation frequently contributes to roof-to-wall leaks as well. Siding installed too tightly against the roof or incorrectly positioned over flashing may block normal drainage and trap water where it should flow freely.
Roofing materials surrounding the junction also age over time. Broken shingles, cracked tiles, or deteriorated membranes may direct water toward flashing in ways the original design never anticipated, increasing the likelihood of leaks.
Early Warning Signs of Roof-to-Wall Leaks
Roof-to-wall leaks often begin gradually, producing subtle warning signs long before major structural damage develops. Recognizing these indicators early allows repairs to be completed while problems remain relatively minor.
Interior ceiling stains are among the most common signs of water intrusion. Brown or yellow discoloration near exterior walls frequently indicates that moisture is entering through a nearby roof-to-wall junction.
Walls beneath affected roof intersections may also develop peeling paint, bubbling finishes, or damp drywall. These symptoms often appear before active dripping becomes noticeable, providing an early opportunity for investigation.
Mold and mildew growth near upper walls or attic spaces should never be ignored. Persistent moisture trapped within building materials creates favorable conditions for biological growth while reducing indoor air quality.
Exterior inspections may reveal staining beneath siding, loose trim, or flashing that has shifted away from the wall. These visible changes often indicate that water has already begun affecting the waterproofing system.
Homeowners should pay attention to several warning signs during routine inspections.
- Water stains on ceilings near exterior walls.
- Peeling paint or bubbling drywall.
- Damp insulation in the attic.
- Loose or separated flashing.
- Mold or mildew near roof intersections.
- Visible gaps between siding and flashing.
Addressing these symptoms promptly helps prevent moisture from spreading into structural framing, insulation, and interior finishes. Early intervention often results in simpler repairs while reducing the risk of widespread water damage.
Understanding how roof-to-wall junctions function, why they are especially vulnerable, and how leaks begin provides the foundation for proper maintenance. The next part of this guide explains how to inspect these critical areas safely, explores repair techniques, compares different flashing systems, and outlines practical strategies for preventing future leaks.
Inspecting Roof-to-Wall Junctions Safely
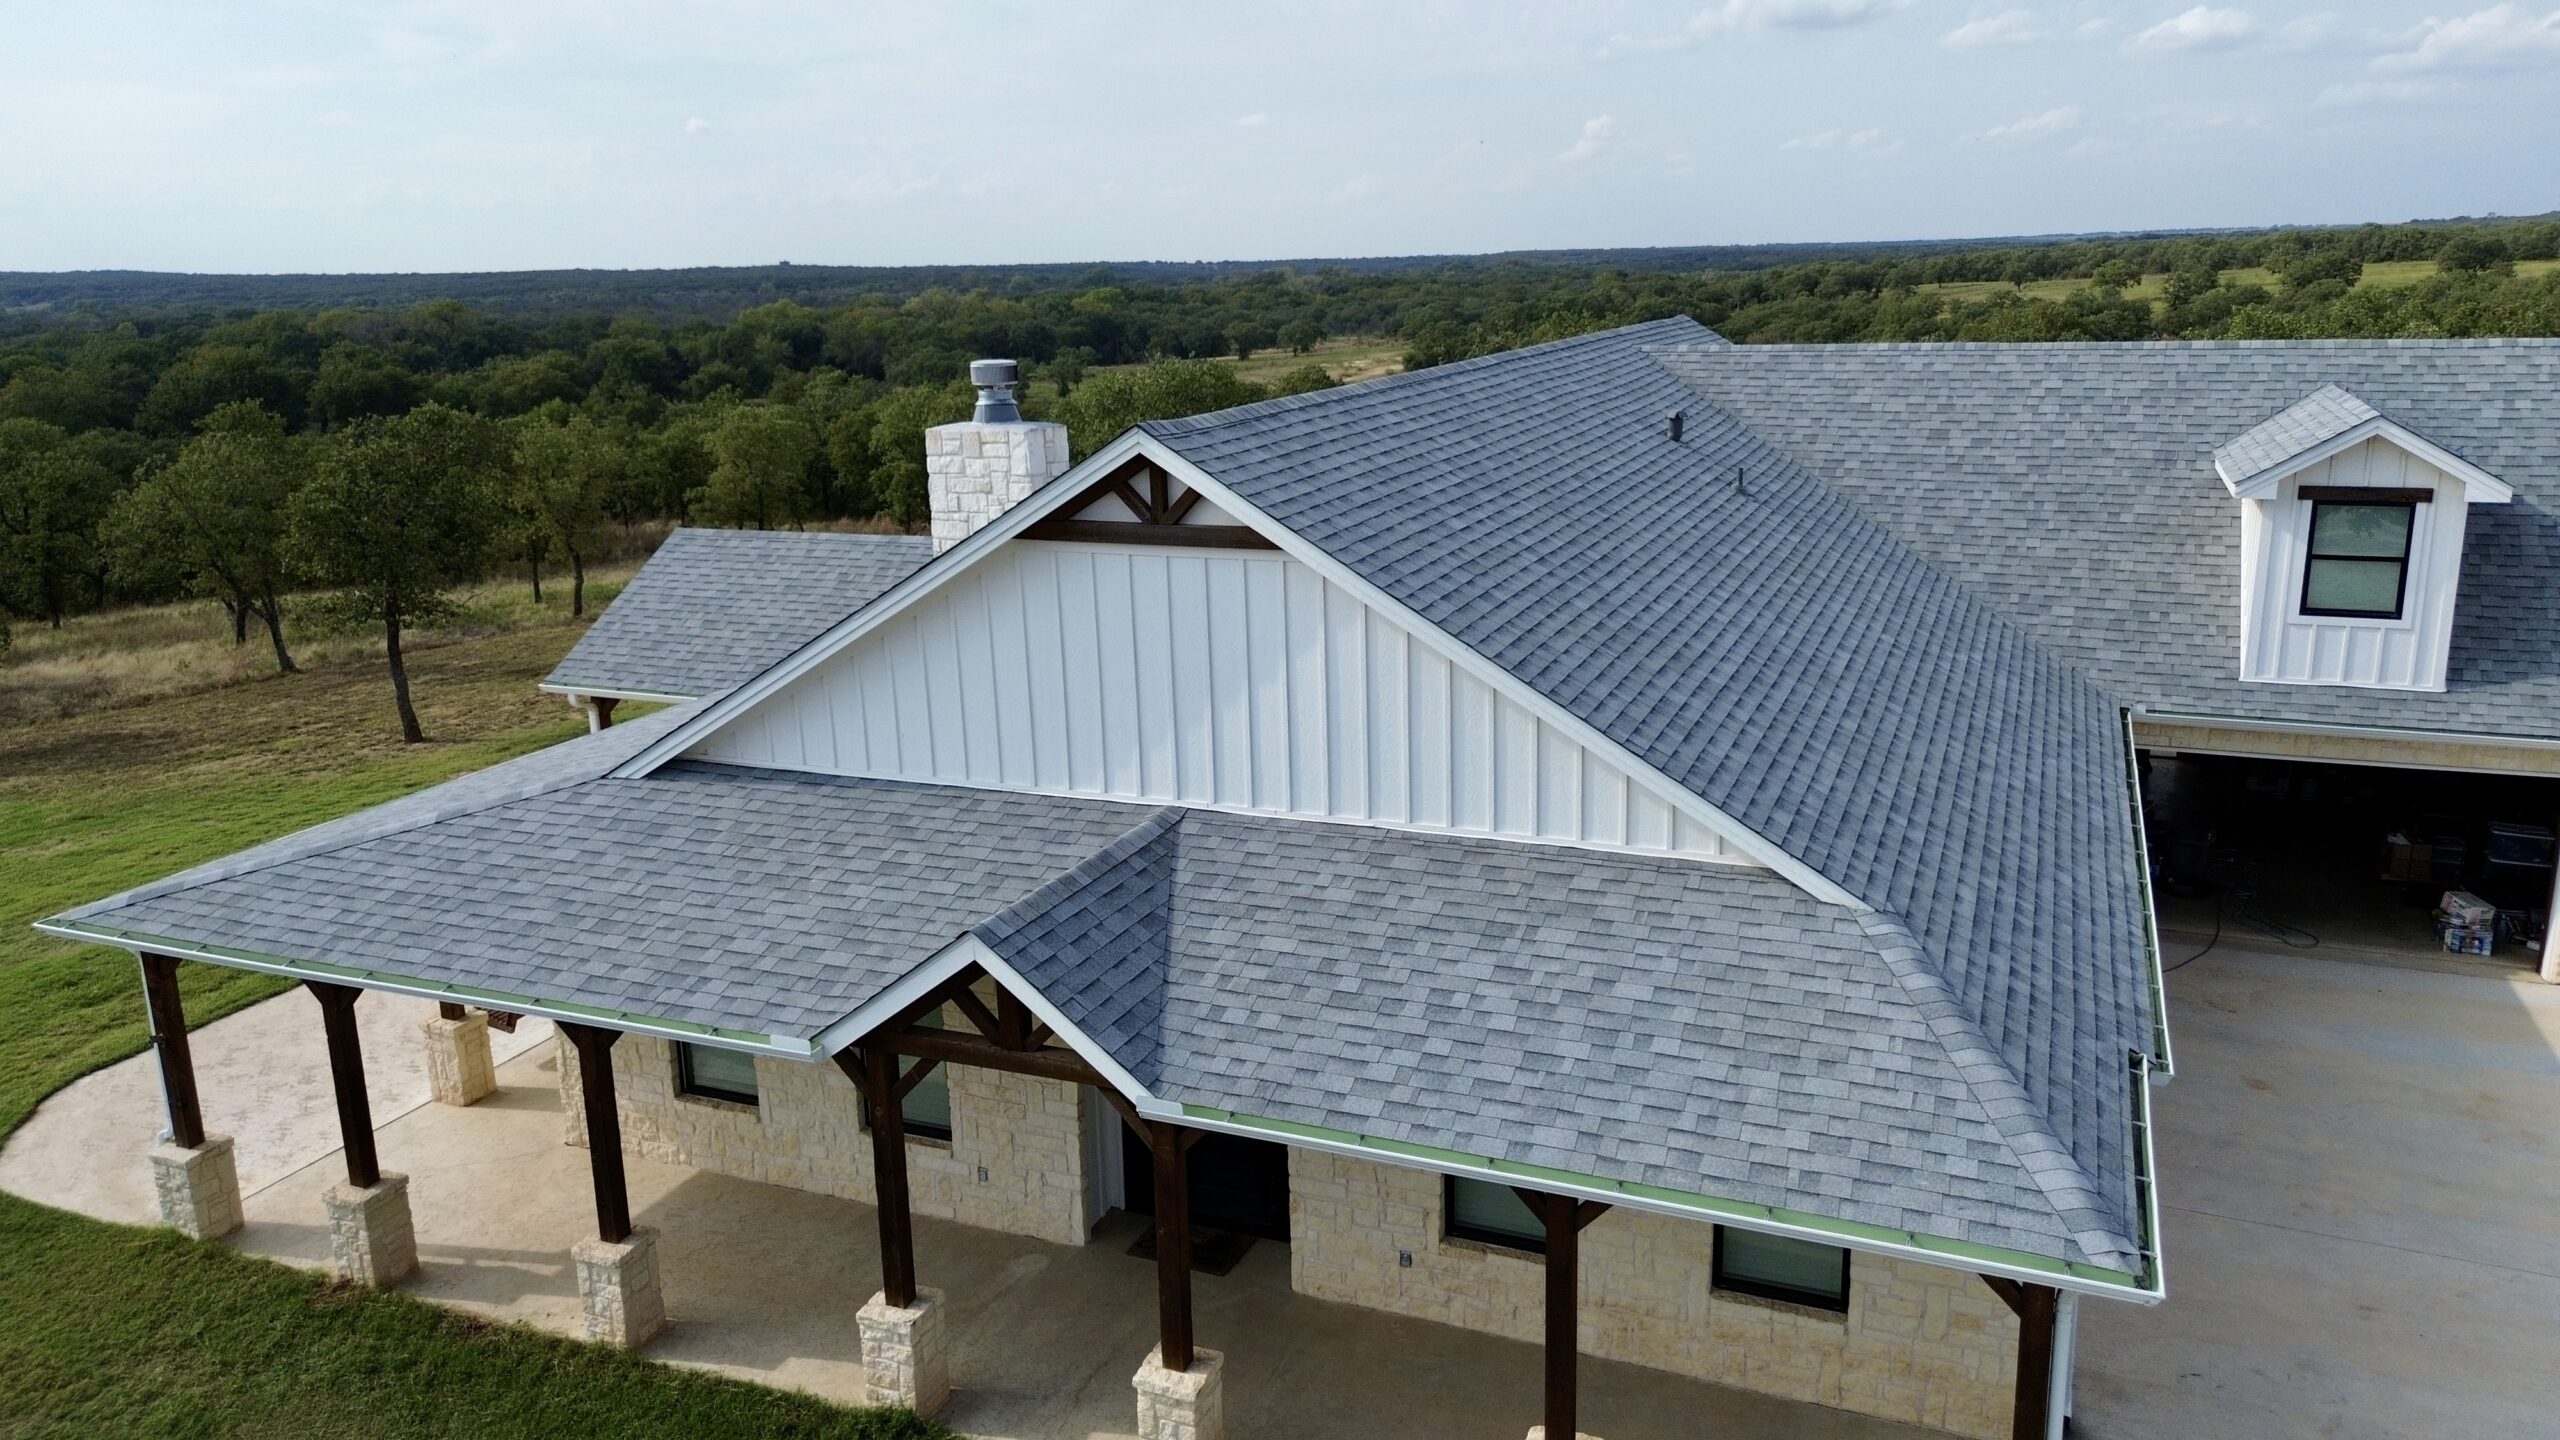
Roof-to-wall junctions should be inspected regularly because small problems often remain hidden until water damage becomes noticeable indoors. These intersections are frequently concealed beneath siding, trim, or flashing, making careful inspection essential for identifying issues before they become expensive repairs. A systematic approach helps reveal defects that may otherwise go unnoticed.
The safest inspections begin from the ground using binoculars or a camera with zoom capabilities. This allows homeowners to look for loose flashing, damaged siding, missing shingles, or visible gaps without climbing onto the roof. If a closer inspection becomes necessary, it should only be performed under dry weather conditions using proper safety equipment.
Inspectors typically begin by examining the point where the roof meets the wall. They check whether flashing remains tightly secured, whether siding overlaps flashing correctly, and whether roofing materials still direct water toward the drainage system. Any irregularities in these areas deserve closer evaluation.
Interior inspections are equally valuable because leaks often reveal themselves inside the home before exterior damage becomes obvious. Water stains near ceilings, damp insulation, peeling paint, or mold growth close to exterior walls frequently indicate moisture entering through a roof-to-wall junction.
Professional inspectors also evaluate surrounding roof components because problems rarely occur in isolation. A damaged gutter, deteriorated shingles, or blocked valley may contribute to leaks even when the flashing itself appears intact. Looking at the entire roofing system provides a more accurate understanding of the source of water intrusion.
Common Problem Areas During an Inspection
Certain sections of roof-to-wall junctions experience greater stress than others and therefore deserve additional attention during inspections. Water naturally follows predictable paths across the roof, concentrating moisture in specific locations where failures become more likely.
The lower end of roof-to-wall intersections is especially vulnerable because runoff accumulates before entering gutters. If drainage becomes restricted, water may back up beneath flashing or siding and penetrate the roof assembly.
Corners where two walls meet the roof also require careful examination. These areas often contain multiple flashing pieces, overlapping materials, and complex transitions that increase the chance of installation defects or sealant failure.
Roof penetrations located near wall intersections deserve close attention as well. Vents, skylights, and chimneys create additional pathways for water if flashing components begin to separate or deteriorate.
Areas beneath overhanging trees should also be inspected more frequently. Leaves and branches collect moisture while trapping debris against flashing, increasing the likelihood of corrosion and water infiltration.
Inspectors often focus on the following warning signs.
- Loose or lifted flashing sections.
- Cracked or separated sealant.
- Missing or damaged shingles.
- Corroded flashing components.
- Gaps between siding and flashing.
- Debris accumulation restricting water flow.
Finding one of these conditions does not always indicate an active leak, but each deserves prompt attention before additional deterioration develops.
Identifying Hidden Moisture Problems
Not every roof-to-wall leak produces immediate visible damage. Water often travels behind walls or beneath roofing materials before becoming noticeable inside the home. Detecting hidden moisture early reduces repair costs and limits structural damage.
Discoloration on interior drywall frequently indicates moisture migrating from a roof leak. Yellow or brown stains may appear several feet away from the actual entry point because water follows framing members before dripping into living spaces.
Soft or swollen wall surfaces also suggest prolonged moisture exposure. Drywall that feels damp, bulges outward, or loses its structural strength often indicates water entering behind the finished wall.
Attics provide another valuable inspection area because roof-to-wall leaks commonly appear there first. Damp insulation, stained roof decking, mold growth, or dark streaks along framing members frequently point toward flashing problems at nearby wall intersections.
Professionals sometimes use moisture meters to identify elevated moisture levels hidden behind finished surfaces. These tools help locate developing leaks before visible damage becomes widespread, allowing repairs to begin much earlier.
Infrared thermal imaging may also reveal temperature differences caused by trapped moisture. Although not necessary for every inspection, this technology provides valuable information when leaks prove difficult to locate through visual examination alone.
How Different Roofing Materials Affect Junction Performance
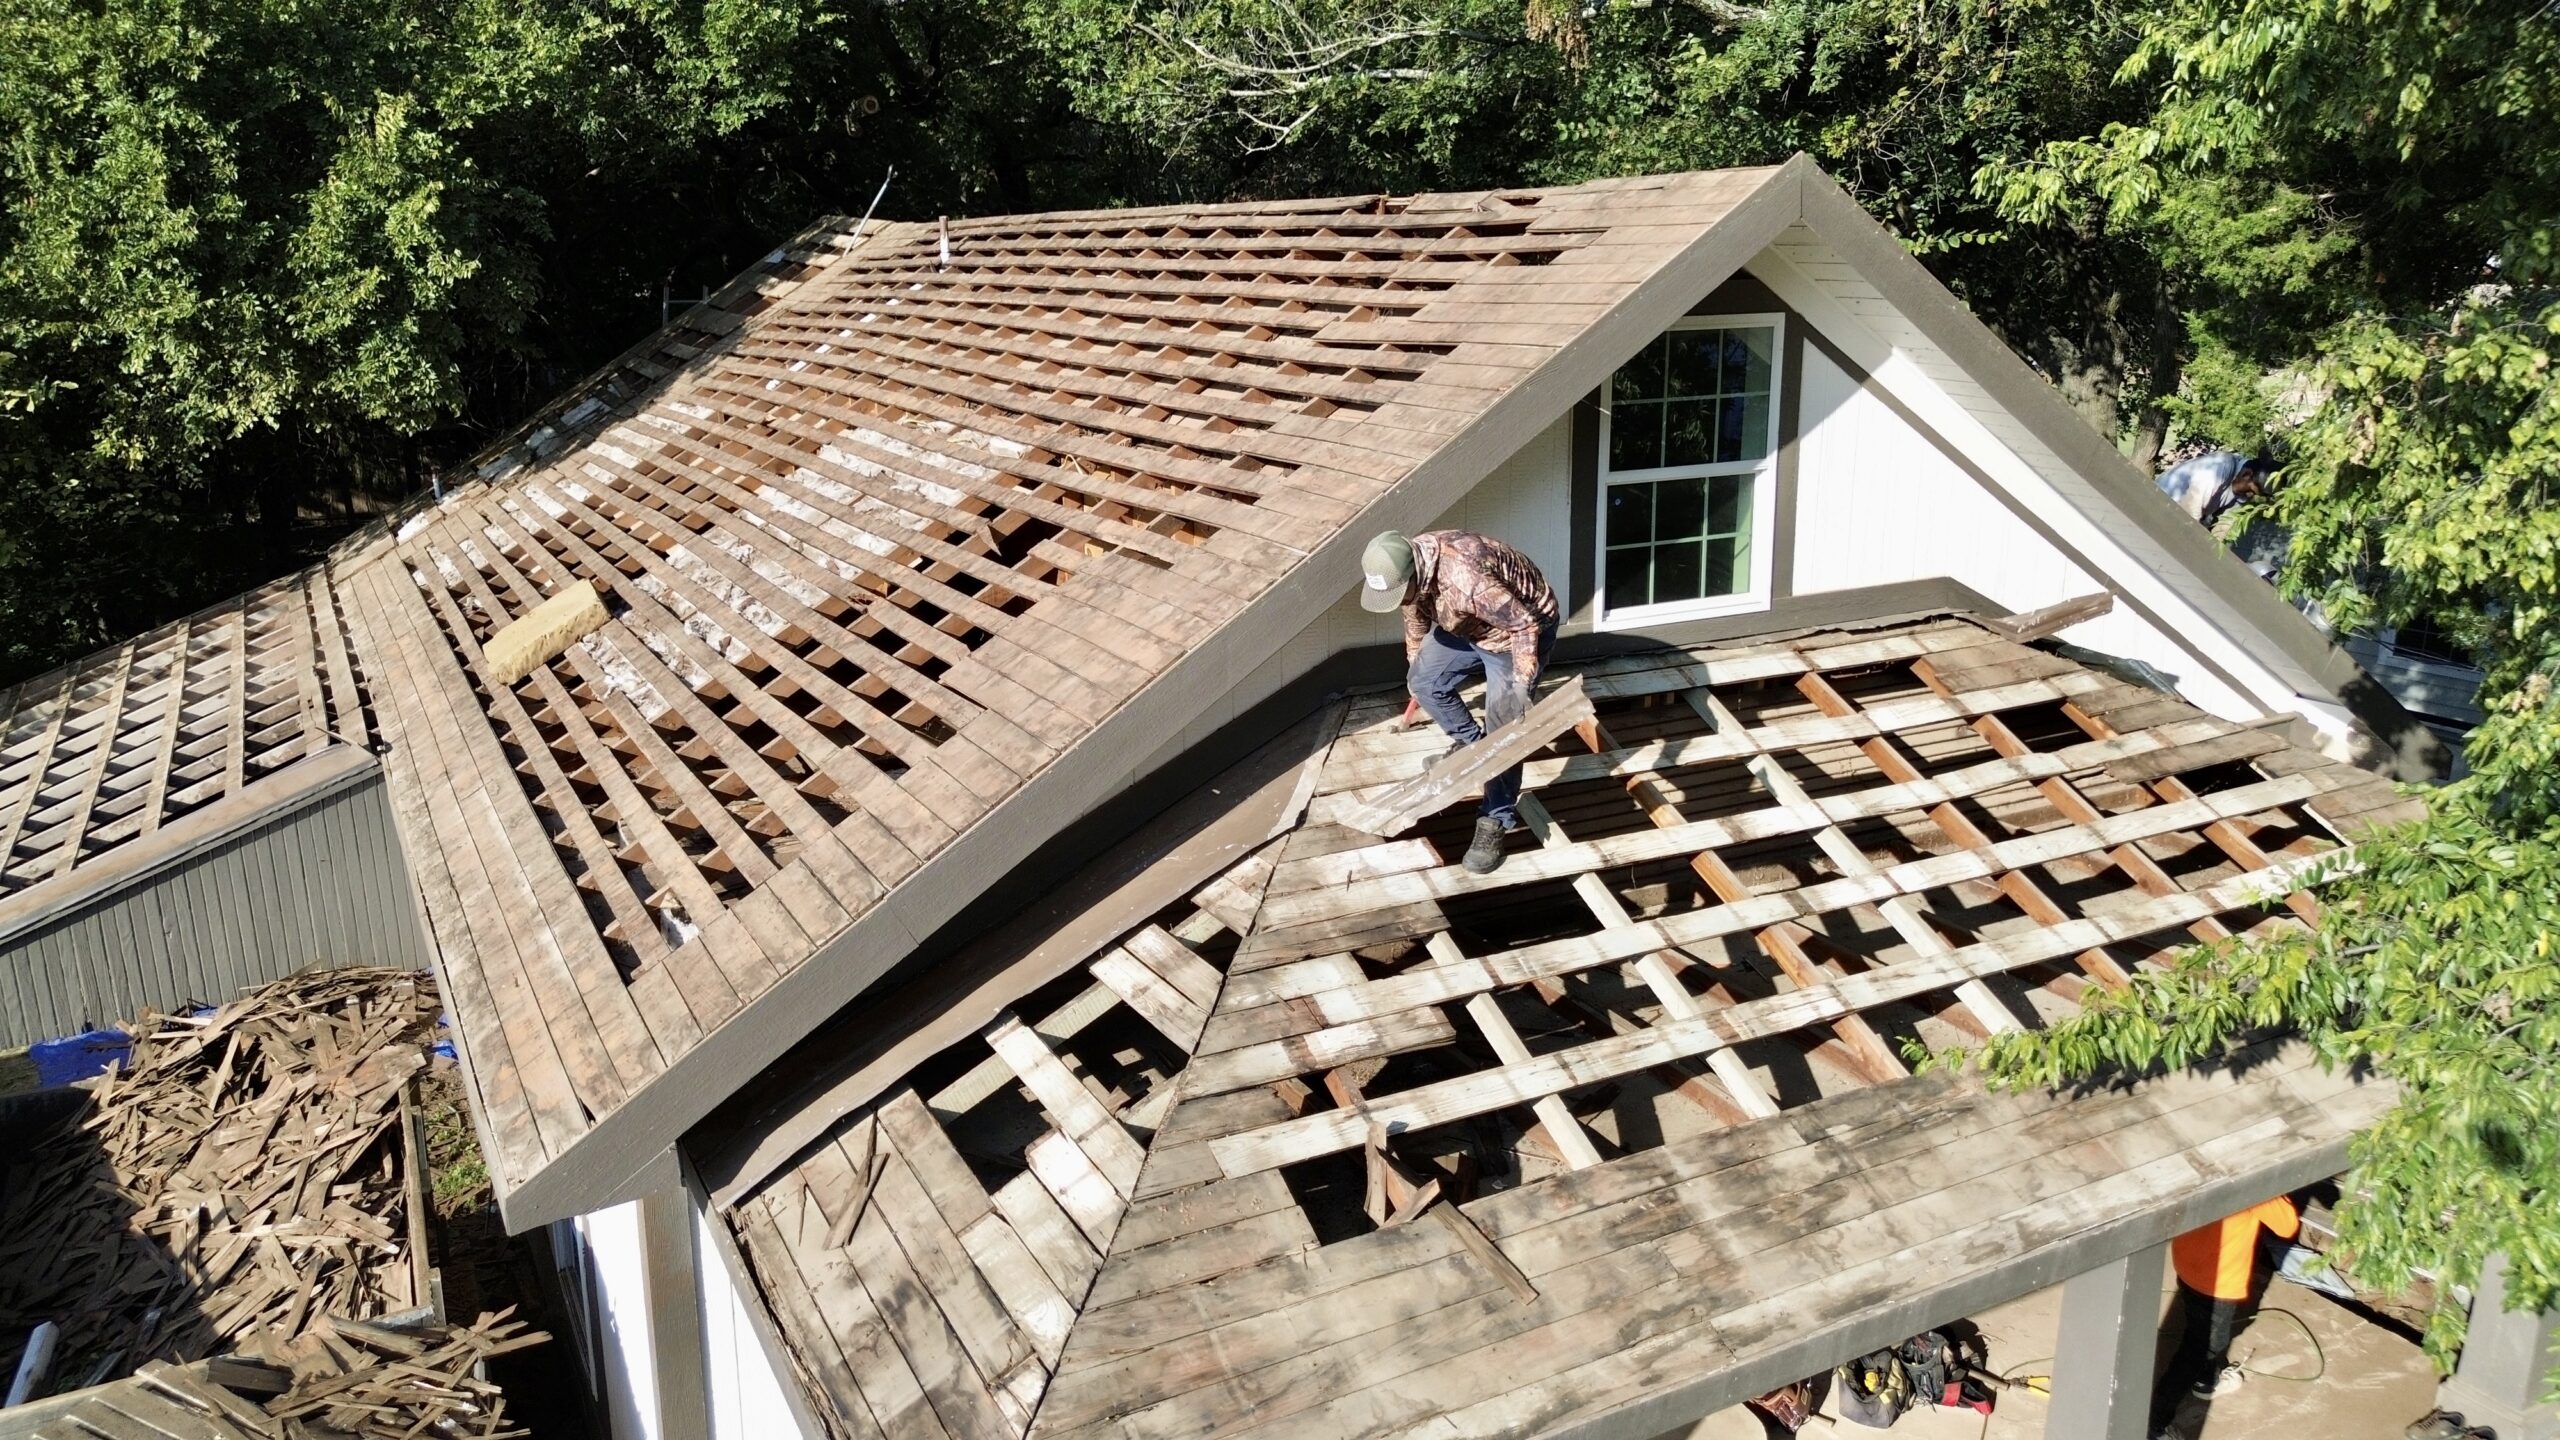
Every roofing material manages water somewhat differently, influencing how roof-to-wall junctions should be designed and maintained. Understanding these differences helps explain why flashing systems vary between roofing types.
Asphalt shingles remain the most common residential roofing material and typically rely on step flashing installed between each course of shingles. This layered design directs water safely down the roof while allowing individual flashing pieces to expand and contract naturally.
Metal roofing systems require carefully formed flashing that accommodates thermal movement. Since metal expands and contracts more noticeably than shingles, flashing details must allow controlled movement without creating gaps where water can enter.
Tile roofs present additional challenges because of their uneven surface profile. Specialized flashing designs help bridge gaps beneath curved or shaped tiles while maintaining continuous water protection at wall intersections.
Flat roofing systems use completely different flashing methods because water drains more slowly across low slope surfaces. Continuous flashing combined with waterproof membranes helps prevent standing water from entering beneath roofing materials.
Slate roofs require durable flashing capable of matching the exceptionally long lifespan of the roofing material. Copper or high quality aluminum flashing is commonly selected because it provides reliable performance for many decades when properly maintained.
Regardless of roofing type, proper integration between roofing materials and flashing remains far more important than the roofing material itself. Even premium roofing products cannot compensate for poorly installed flashing.
Repair Techniques for Roof-to-Wall Leaks
Repairing roof-to-wall leaks begins with identifying the true source of water intrusion rather than simply sealing visible gaps. Effective repairs address both the immediate leak and the underlying condition that allowed water to penetrate the roofing system.
Damaged flashing should be removed carefully to avoid disturbing surrounding roofing materials unnecessarily. Replacement flashing must extend beneath the roofing while overlapping correctly with adjacent components to restore proper water flow.
If flashing remains structurally sound but sealant has failed, removing deteriorated sealant before applying new material generally produces better results than simply covering the old layer. Fresh sealant bonds more effectively to clean surfaces and maintains flexibility for a longer period.
Underlayment damaged by previous leaks should also be replaced whenever practical. Installing new flashing over deteriorated underlayment may leave hidden moisture pathways that continue allowing water intrusion beneath the roof covering.
Siding sometimes requires partial removal to provide proper access for flashing repairs. Although this adds time to the project, correctly integrating flashing behind the siding creates a much more dependable waterproof barrier than attempting repairs from the exterior alone.
Drainage improvements may also be necessary if water consistently collects near the repaired junction. Redirecting runoff away from vulnerable areas reduces future stress on flashing while improving overall roof performance.
Repairing Damaged Step Flashing
Step flashing forms one of the most important protective elements at roof-to-wall junctions on sloped roofs. Each individual flashing piece overlaps the one below it while integrating with a separate course of shingles. This layered arrangement allows water to flow naturally down the roof without reaching the wall assembly.
Repairs usually begin by removing the affected shingles carefully to expose damaged flashing pieces. Flashing that has become bent, corroded, or punctured should be replaced with new components of matching size and material. Reusing severely damaged flashing often leads to recurring leaks.
Each replacement flashing piece should overlap properly while remaining securely positioned beneath the adjacent shingle course. Proper alignment ensures that water continues flowing over the flashing rather than beneath it.
Once flashing replacement is complete, shingles are reinstalled carefully to maintain the original drainage pattern. Every component should work together to create a continuous waterproof barrier that directs water safely toward the roof edge.
Correcting Drainage Problems Around Junctions
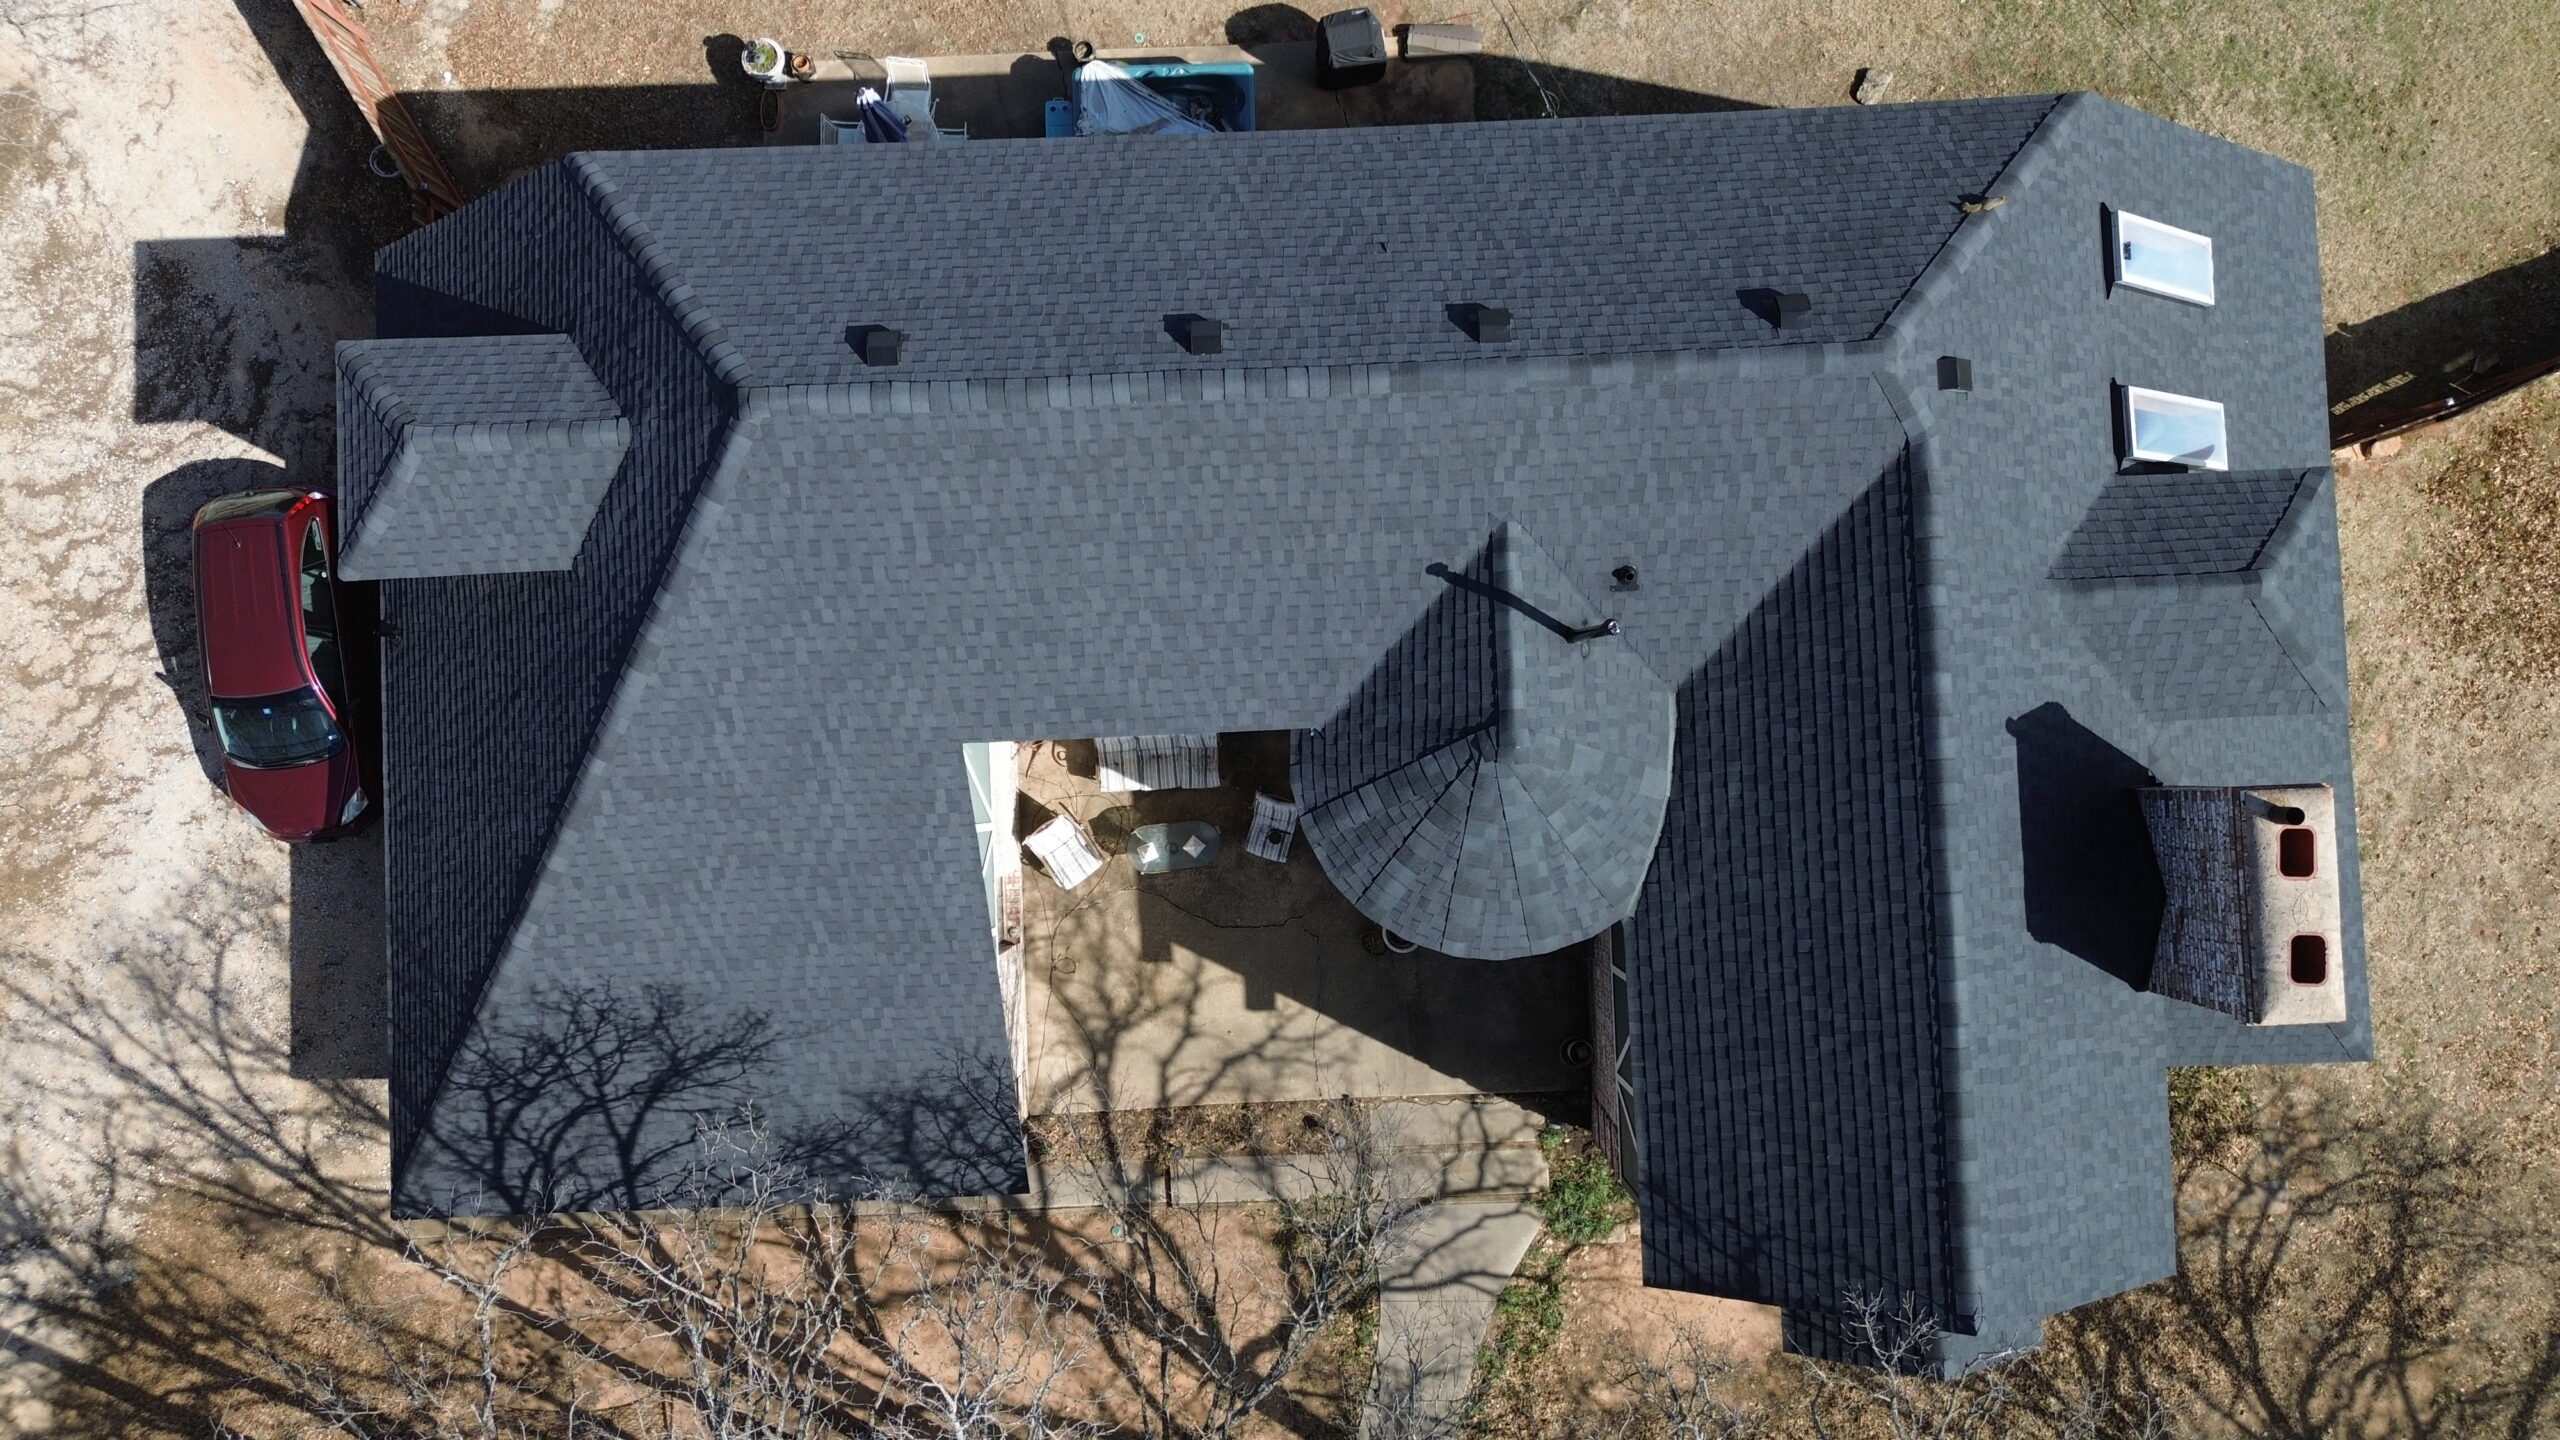
Some roof-to-wall leaks occur because excessive water repeatedly collects at a particular location rather than because flashing itself has failed. Improving drainage often eliminates the conditions that accelerate deterioration.
Blocked gutters commonly contribute to water backup along roof edges and wall intersections. Cleaning gutters allows runoff to leave the roof efficiently while reducing prolonged moisture exposure around flashing.
Roof valleys directing large amounts of water toward a wall junction should also remain free from leaves and debris. Even partial blockages may force water beneath flashing during heavy rainfall.
Improper roof slope or settlement can create low spots where water remains after storms. Although correcting structural issues may require more extensive repairs, eliminating standing water significantly improves flashing longevity.
Downspouts should discharge water well away from the building foundation to prevent moisture from returning toward exterior walls. Proper drainage throughout the entire roofing system helps reduce stress on every flashing component.
Common Installation Mistakes That Lead to Leaks
Many roof-to-wall leaks originate during installation rather than developing solely from age or weather exposure. Small construction errors often remain hidden for years before eventually allowing water to enter the home.
One of the most common mistakes involves incorrect flashing overlap. Flashing pieces that do not overlap sufficiently create gaps where wind driven rain can bypass the intended drainage path. Even minor overlap deficiencies become significant during severe weather.
Improper fastener placement also causes long term problems. Nails or screws installed through exposed flashing surfaces create unnecessary penetration points that may leak as sealants age. Proper fastening locations preserve the flashing’s waterproof design.
Some installations rely too heavily on roof sealants instead of proper flashing techniques. While sealants provide valuable secondary protection, they should never replace correctly installed flashing because all sealants eventually deteriorate with age.
Another frequent mistake involves trapping flashing behind improperly installed siding. Water must be able to flow freely over flashing and away from the wall. Incorrect siding placement may block this drainage path, allowing moisture to collect behind exterior finishes.
Ignoring kickout flashing at the lower end of roof-to-wall intersections is another common oversight. Without this important component, water may run directly behind siding instead of being directed into the gutter system.
Comparing Roof-to-Wall Flashing Systems
Different flashing systems are designed for different roofing configurations and wall materials. Selecting the appropriate system improves water management while reducing future maintenance requirements.
| Flashing Type | Best Application | Durability | Maintenance Needs |
|---|---|---|---|
| Step flashing | Asphalt shingle roofs | High | Low |
| Continuous flashing | Straight wall intersections | Moderate | Moderate |
| Counter flashing | Masonry walls and chimneys | High | Low |
| Kickout flashing | Roof edge to wall transitions | High | Low |
| Custom fabricated metal flashing | Complex roof designs | High | Moderate |
Each flashing system performs best when installed according to manufacturer recommendations and integrated correctly with surrounding roofing materials. Matching the flashing design to the roof configuration greatly improves long term performance.
Preventing Future Leaks
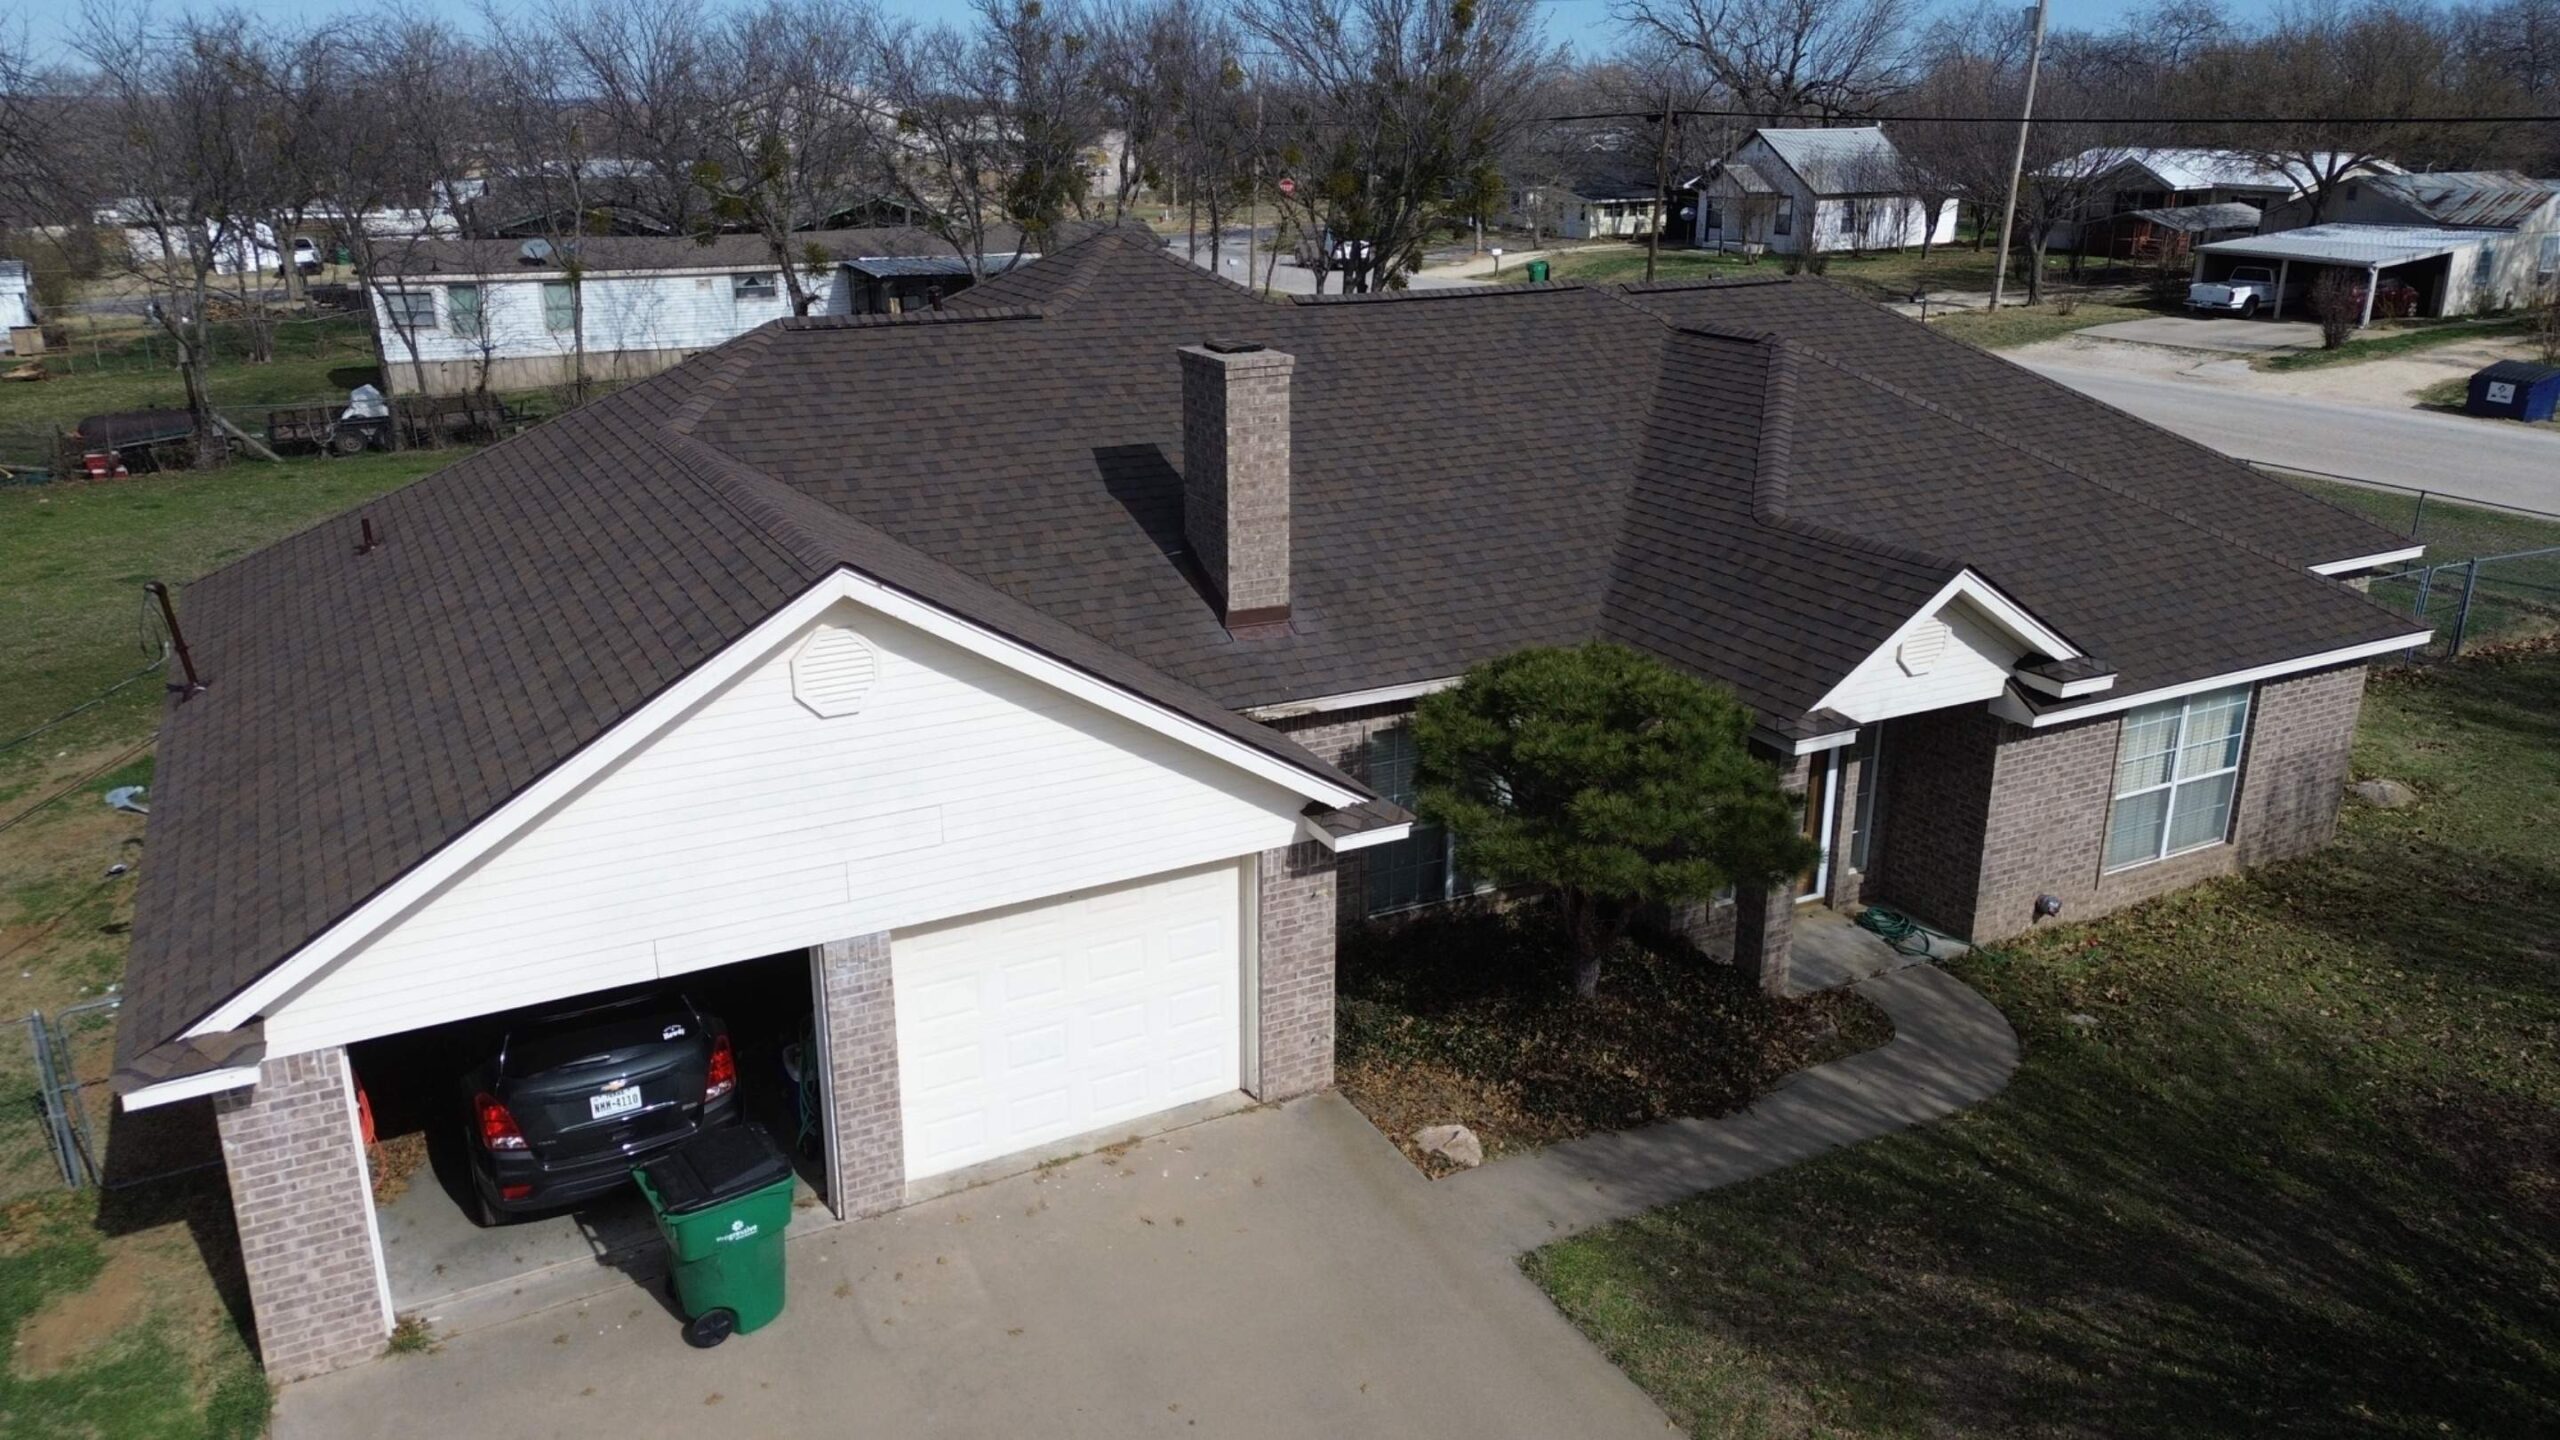
Preventive maintenance remains the most effective way to reduce roof-to-wall leaks. Small inspections performed regularly often identify developing issues long before they require expensive structural repairs.
Homeowners should inspect roof-to-wall junctions after severe storms because strong winds and heavy rainfall frequently loosen flashing or displace roofing materials. Prompt repairs prevent minor storm damage from becoming ongoing water intrusion.
Keeping roof valleys, gutters, and wall intersections free of debris also helps maintain efficient drainage. Water that leaves the roof quickly has fewer opportunities to penetrate vulnerable junctions or remain trapped against flashing.
Sealants should be monitored throughout their service life rather than waiting for visible failure. Replacing aging sealants before cracks appear helps preserve waterproof performance while protecting the flashing beneath.
Professional roof inspections every few years provide additional assurance that hidden problems are detected early. Experienced roofing specialists can evaluate flashing, roofing materials, siding, and drainage together to identify conditions that may eventually lead to leaks.
Understanding proper inspection methods, repair techniques, flashing systems, and preventive maintenance creates a strong foundation for protecting roof-to-wall junctions. The final part of this guide explores how weather conditions affect these vulnerable areas, outlines long term maintenance strategies, answers frequently asked questions, and concludes with practical recommendations for keeping roof-to-wall junctions watertight for years to come.
Weather Conditions That Increase Leak Risks
Roof-to-wall junctions remain exposed to changing weather throughout the year, making them one of the first areas to experience moisture related problems. Even a properly installed flashing system faces continuous stress from rain, wind, sunlight, and seasonal temperature changes. Understanding how weather affects these junctions helps homeowners recognize why regular maintenance is so important.
Heavy rainfall places significant pressure on roof-to-wall intersections because large volumes of water flow toward these areas in a short period. If flashing has even a small gap or loose section, water may penetrate behind the roofing materials before it can drain away properly.
Wind driven rain creates an even greater challenge by forcing water upward and sideways. Unlike normal rainfall that follows gravity, strong winds can push moisture beneath shingles, behind siding, or into tiny openings that remain dry during calm weather.
Snow and ice increase the risk of leaks in colder climates. Melting snow may refreeze near roof edges or wall intersections, creating ice dams that block normal drainage. Water trapped behind these ice formations often finds its way beneath flashing and underlayment.
Rapid temperature changes also contribute to long term deterioration. Roofing materials, flashing, siding, and framing expand and contract at different rates, gradually placing stress on joints, fasteners, and sealants. Repeated movement over many seasons can eventually create small openings that allow water intrusion.
Coastal environments introduce another layer of difficulty because salt carried by sea air accelerates corrosion of metal flashing and fasteners. Even corrosion resistant materials require more frequent inspection in these locations to maintain reliable performance.
How Seasonal Changes Affect Roof-to-Wall Junctions
Each season exposes roof-to-wall junctions to unique environmental conditions. Understanding these seasonal challenges helps homeowners plan maintenance at the most appropriate times of the year.
Spring often reveals damage caused during winter. Melting snow, frequent rainfall, and fluctuating temperatures may expose flashing that shifted during freezing conditions or sealants that cracked after repeated freeze and thaw cycles.
Summer brings intense sunlight and prolonged ultraviolet exposure. Continuous heating causes roofing materials and flashing to expand, while high temperatures gradually dry out sealants, making them more likely to crack over time.
Autumn introduces large amounts of falling leaves, twigs, and organic debris. These materials frequently collect where roofs meet walls, trapping moisture and slowing drainage after rainfall. Regular cleaning during this season helps reduce corrosion and water buildup.
Winter creates some of the most demanding conditions for roof-to-wall junctions. Snow accumulation, freezing temperatures, and ice formation place continuous stress on flashing while increasing the likelihood of moisture becoming trapped beneath roofing materials.
Adapting maintenance routines to seasonal conditions helps identify developing problems before they become serious leaks. Preventive care throughout the year is generally far less expensive than repairing water damage after it has spread inside the home.
Long Term Maintenance Strategies
Maintaining roof-to-wall junctions requires more than responding to leaks after they appear. A proactive maintenance plan helps preserve waterproof performance while extending the service life of flashing, roofing materials, and exterior walls.
Annual roof inspections provide one of the most effective methods for identifying early signs of deterioration. Professional inspections often reveal loose flashing, worn sealants, or minor corrosion before these issues begin allowing water into the structure.
Cleaning roof valleys, gutters, and wall intersections on a regular basis also supports long term performance. Removing accumulated debris allows water to drain freely while reducing prolonged moisture exposure around flashing.
Sealants should be evaluated periodically rather than waiting until obvious cracking occurs. Replacing aging sealants before they fail completely helps maintain a continuous moisture barrier while protecting the flashing beneath.
Roofing materials surrounding wall intersections should also remain in good condition. Broken shingles, damaged metal panels, or cracked tiles may redirect water toward flashing in ways that increase leak risk over time.
Maintaining siding is equally important because damaged or loose exterior cladding may expose flashing to greater weather exposure or interfere with proper drainage. Roofing and siding systems function together to protect the building envelope, making coordinated maintenance essential.
Coordinating Roof and Wall Maintenance
Roof-to-wall junctions perform best when both roofing and wall systems receive consistent attention. Focusing on only one part of the structure may allow hidden weaknesses to develop in the adjacent materials.
Whenever roofing work is performed, flashing should be inspected for proper alignment and overall condition. Reusing damaged flashing beneath new roofing materials often shortens the lifespan of the entire repair.
Similarly, siding replacement projects should include careful evaluation of flashing rather than covering existing components without inspection. Correct integration between siding and flashing helps maintain proper water flow while preventing hidden moisture problems.
Painting or refinishing exterior walls also provides an opportunity to inspect nearby flashing for corrosion, movement, or deteriorated sealants. Combining maintenance tasks often reduces labor while ensuring vulnerable areas receive regular attention.
Homeowners should keep maintenance records whenever repairs or inspections are completed. Documentation makes it easier to monitor recurring issues and helps roofing professionals evaluate long term performance during future inspections.
Best Practices for Durable Roof-to-Wall Junctions
Long lasting roof-to-wall junctions result from careful installation, quality materials, and consistent maintenance. Following proven best practices helps reduce leak risks while improving the overall durability of the roofing system.
Flashing should always be installed according to manufacturer recommendations and local building requirements. Proper overlap, secure fastening, and correct integration with roofing materials create reliable drainage paths that remain effective for many years.
Using compatible materials is equally important. Flashing, fasteners, sealants, and roofing products should work together without creating chemical reactions or premature corrosion. Material compatibility contributes directly to the lifespan of the waterproofing system.
Drainage should remain a priority throughout the roof design. Water must move quickly away from roof-to-wall intersections without becoming trapped by debris, poorly positioned gutters, or improper roof slopes.
Prompt repairs help prevent small defects from becoming larger structural problems. Addressing loose flashing or deteriorated sealants soon after they are discovered often eliminates the need for extensive restoration work later.
Professional inspections after severe storms provide additional protection because wind and heavy rainfall may shift flashing or damage roofing materials without producing immediately visible leaks. Early detection allows repairs before moisture spreads inside the building.
Frequently Asked Questions
Why do roof-to-wall junctions leak more often than other roof areas?
These intersections combine multiple construction materials while directing large amounts of water toward a relatively small area. The combination of flashing, siding, roofing materials, and structural movement makes them naturally more vulnerable to leaks than uninterrupted roof surfaces.
Can roof-to-wall leaks be repaired without replacing the entire roof?
Yes. Many roof-to-wall leaks result from damaged flashing, deteriorated sealants, or localized roofing problems that can often be repaired independently. A thorough inspection determines whether the surrounding roofing materials remain in good condition.
How long does roof flashing usually last?
Flashing lifespan depends on the material, installation quality, environmental conditions, and maintenance. Properly installed flashing made from durable materials can often last several decades when inspected and maintained regularly.
How often should roof-to-wall junctions be inspected?
Most roofing professionals recommend inspecting these areas at least once each year and after severe storms. Homes located in regions with heavy rainfall, coastal weather, or frequent snow may benefit from more frequent evaluations.
Are roof-to-wall leaks covered by homeowners insurance?
Coverage depends on the cause of the leak and the specific insurance policy. Sudden storm related damage may be covered, while deterioration caused by normal wear, poor maintenance, or aging materials is often considered the homeowner’s responsibility.
Conclusion
Roof-to-wall junctions are among the most important yet vulnerable parts of any roofing system. These intersections must safely manage large volumes of water while connecting roofing materials, flashing, siding, and structural components that all respond differently to weather and temperature changes. Because of their complexity, they remain one of the most common locations for roof leaks.
Many leaks begin with relatively small problems such as deteriorated sealants, loose flashing, clogged drainage paths, or minor installation defects. Left unaddressed, these issues allow moisture to penetrate beneath roofing materials, leading to damaged insulation, stained ceilings, weakened framing, mold growth, and expensive structural repairs.
Regular inspections, proper flashing installation, routine cleaning, and timely repairs provide the best defense against roof-to-wall leaks. Paying attention to early warning signs and maintaining both the roofing system and exterior walls helps preserve the effectiveness of these critical waterproofing components.
Weather conditions such as heavy rainfall, wind driven storms, snow accumulation, and seasonal temperature changes place continuous stress on roof-to-wall junctions. Adapting maintenance practices throughout the year ensures these areas remain prepared for changing environmental conditions while reducing the likelihood of unexpected leaks.
By understanding how roof-to-wall junctions function, recognizing why they are naturally prone to water intrusion, and following proven inspection and maintenance practices, homeowners can significantly extend the lifespan of their roofing systems. Consistent preventive care not only protects the roof but also safeguards the entire building from costly moisture damage, ensuring reliable performance for many years to come.