

Understanding Roofing System Layers During Installation Projects
Introduction
A roof is much more than the shingles or metal panels visible from the street. Every residential roofing system is built from multiple layers that work together to protect a home from rain, wind, heat, cold, and everyday wear. Each layer has a specific purpose, and removing or improperly installing even one component can reduce the roof’s overall performance and lifespan.
Many homeowners focus only on the finished appearance of a new roof, but the hidden layers beneath the surface are equally important. These components create a complete weather resistant system that manages moisture, supports structural strength, and helps maintain indoor comfort throughout the year. Understanding how these layers fit together makes it easier to appreciate the value of professional roof installation.
During a roofing project, contractors install the system in a carefully planned sequence. Every stage builds upon the previous one, ensuring that each material performs as intended once the roof is complete. Skipping steps or installing components out of order can create weak points that may lead to leaks, poor ventilation, or premature roof failure.
This guide explains the complete roofing system layer by layer, beginning with the structural base and moving upward through the protective components. By understanding the role of each element, homeowners can make informed decisions, communicate more effectively with roofing contractors, and recognize the importance of quality workmanship during installation.
Why Roofing System Layers Matter
Every roofing layer contributes to the strength and durability of the finished roof. While the outer covering provides the most visible protection, the underlying materials help control moisture, distribute loads, and support the roofing surface. Together, these layers form a system that performs far better than any single material could on its own.
A properly layered roofing system also improves long term reliability. Heavy rain, strong winds, changing temperatures, and daily exposure to sunlight place constant stress on a roof. When each component is installed correctly, these environmental challenges are managed across several protective barriers rather than relying on a single layer.
Another important advantage is improved energy efficiency. Several roofing layers help regulate heat transfer while supporting proper attic ventilation. This balanced design reduces moisture buildup, helps insulation perform effectively, and contributes to a more comfortable indoor environment throughout every season.
Professional roof installation follows manufacturer specifications because each product is designed to work alongside compatible materials. Even premium roofing products may fail prematurely if supporting layers are missing or installed incorrectly. Understanding this relationship highlights why experienced installation is just as important as choosing quality materials.
How Modern Roofing Systems Work as One Complete Assembly
Modern roofs are engineered as complete systems rather than collections of individual products. Every layer contributes to the roof’s ability to resist water intrusion, handle structural loads, and withstand years of changing weather conditions. Each component complements the others to create multiple levels of protection.
Water management provides one of the best examples of this layered approach. If rain passes beneath the visible roofing material during severe weather, the underlayment provides another barrier. Flashing directs water away from vulnerable areas, while drip edges help guide runoff into the gutters instead of behind the fascia.
Ventilation also depends on several components working together. Intake vents near the roof’s lower edge allow fresh air to enter, while ridge vents or other exhaust systems remove warm, moist air from the attic. This continuous airflow helps preserve roofing materials and reduces moisture related problems within the structure.
The installation sequence reflects this system based design. Contractors begin with structural components before adding moisture barriers, edge protection, ventilation elements, and finally the finished roofing material. Following the proper order ensures that every layer performs its intended function without interfering with the next stage of construction.
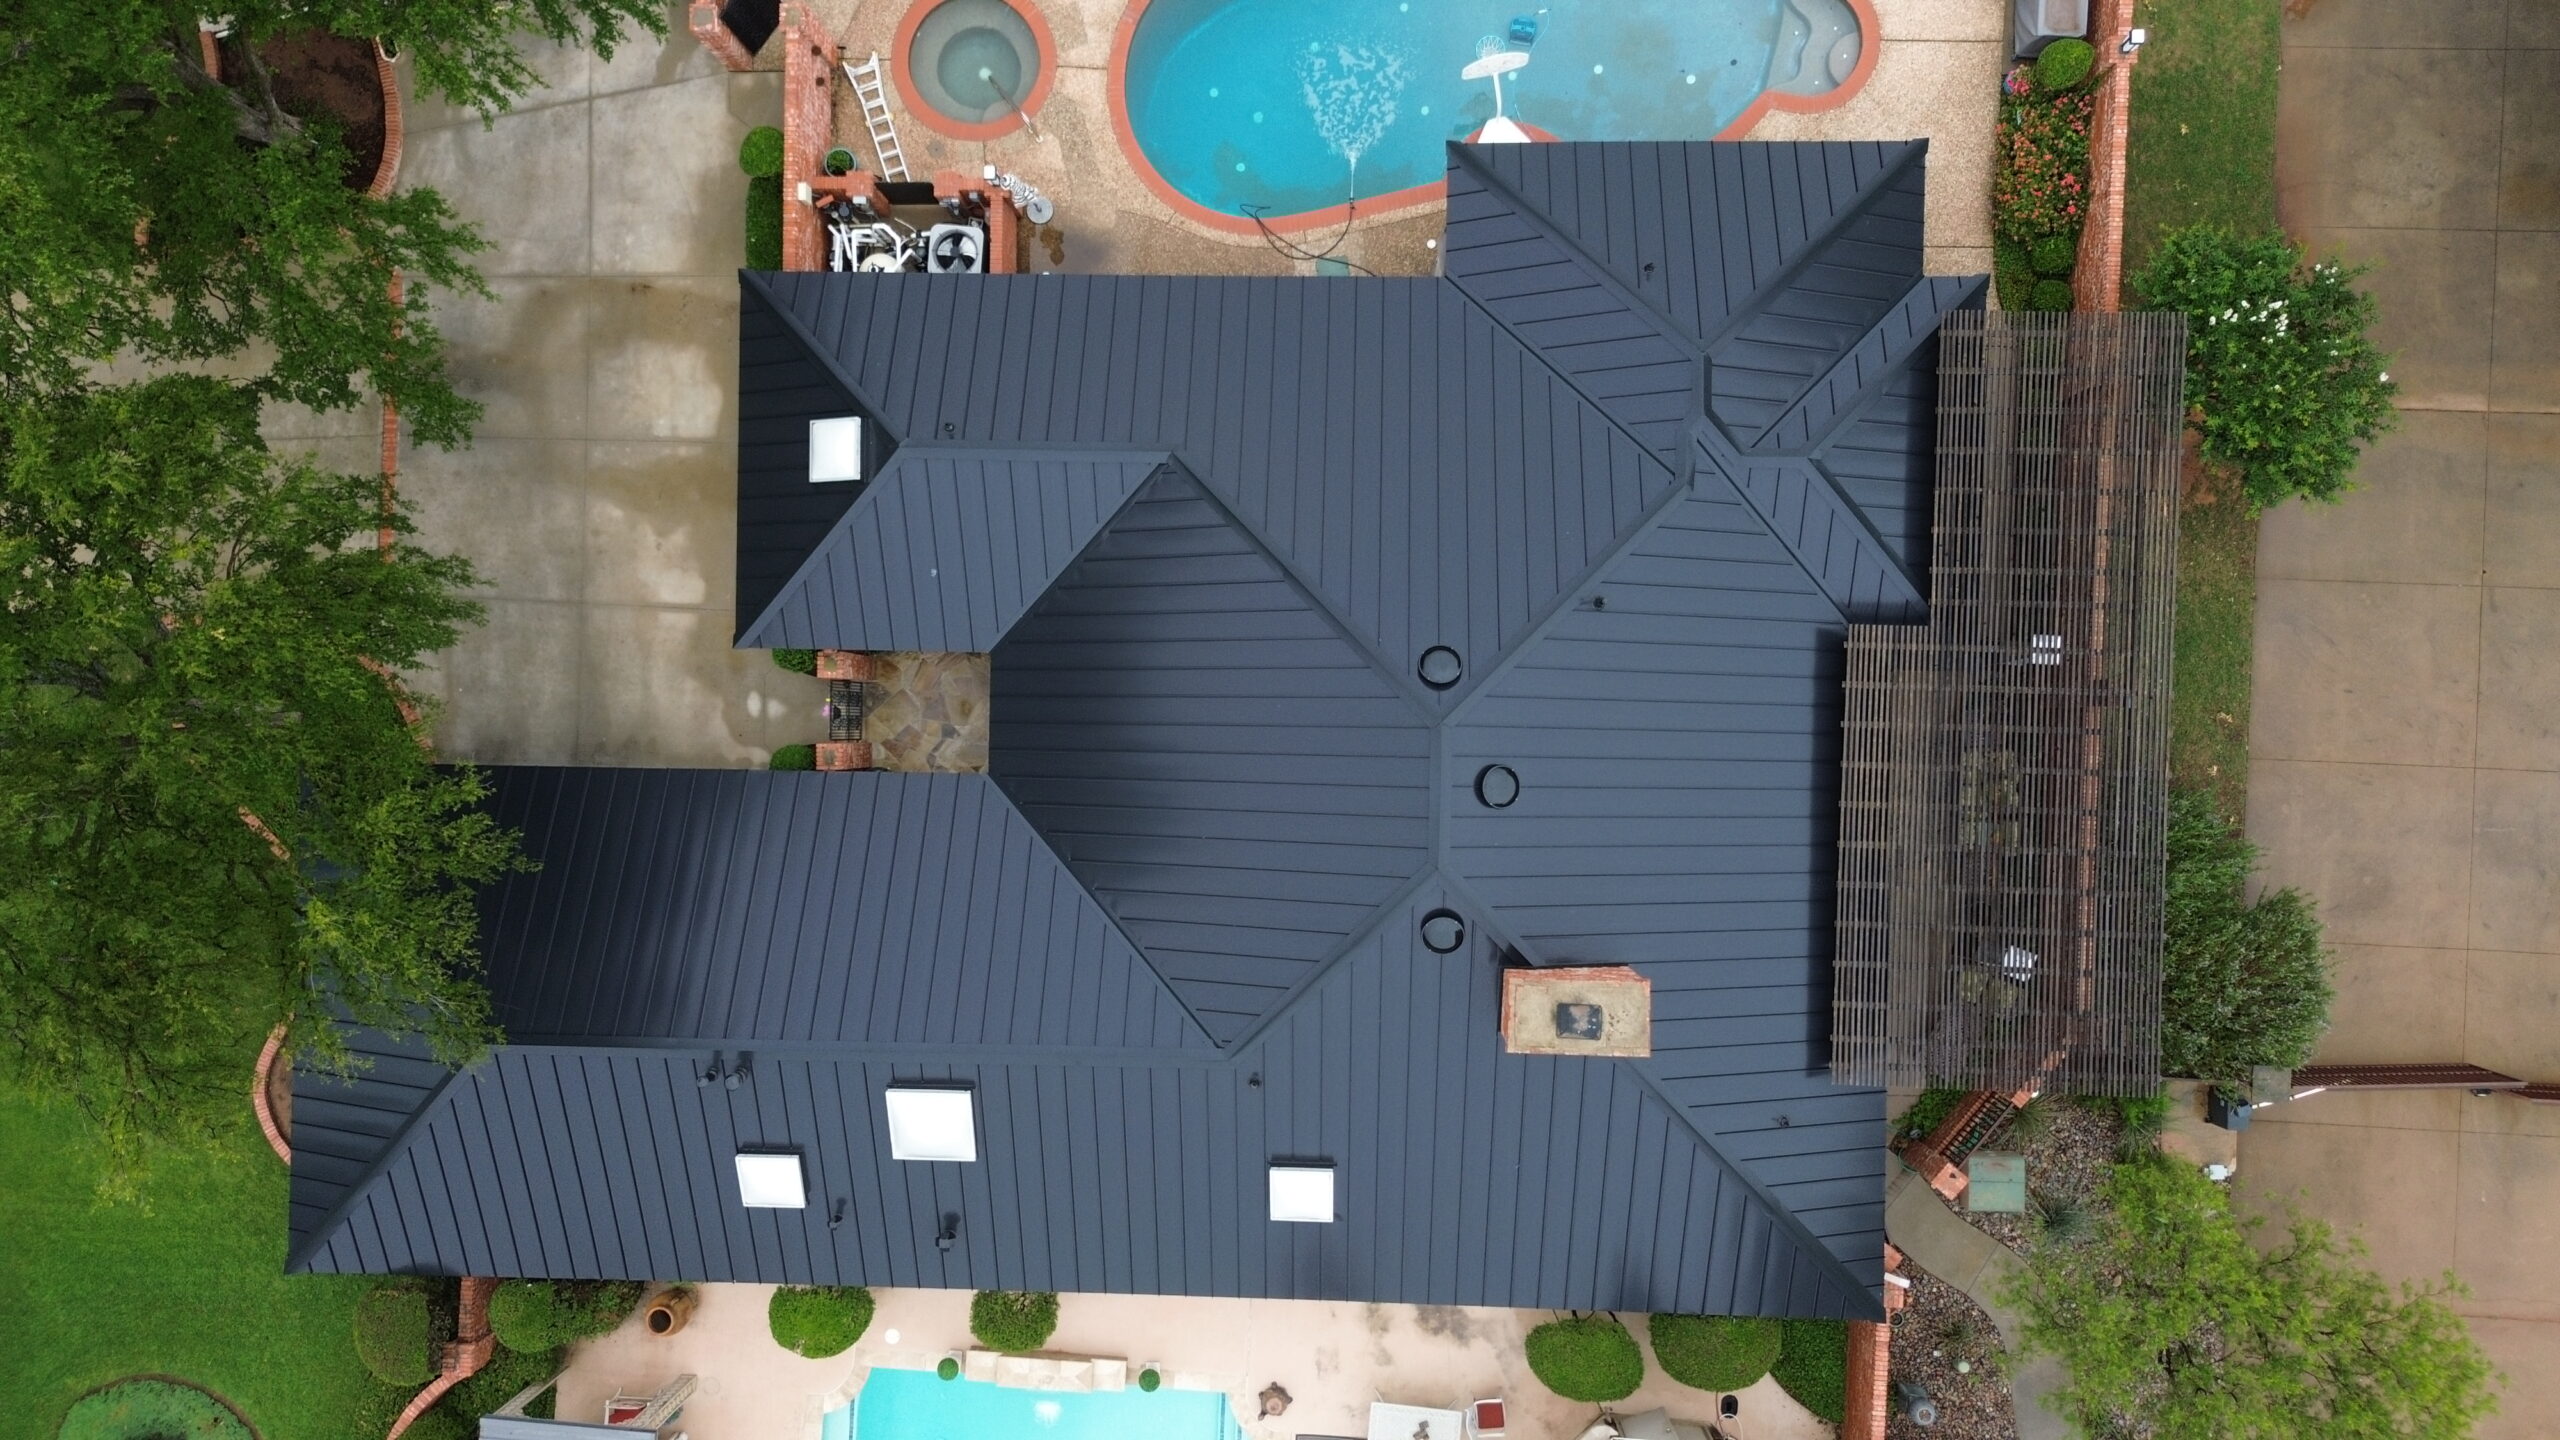
Overview of Every Roofing Layer from Deck to Shingles
Although roofing materials vary between homes, most residential roofing systems include the same essential layers. Each one plays a distinct role in creating a durable and weather resistant roof that can perform reliably for decades.
The basic roofing system generally includes:
- Roof deck
- Underlayment
- Ice and water shield where needed
- Drip edge
- Starter strips
- Flashing around roof penetrations and transitions
- Main roofing material
- Ridge caps and ventilation components
These materials are installed in a logical order because every layer depends on the foundation created by the previous one. A properly assembled roof is not simply a stack of materials but a coordinated system designed to resist weather while protecting the structure beneath.
Throughout this guide, each layer will be explored individually so you can understand its purpose, installation process, and contribution to the overall roofing system.
Roof Deck: The Structural Base of the System
The roof deck forms the structural foundation of the entire roofing system. It attaches directly to the roof framing and provides the solid surface that supports every other roofing component. Without a stable deck, no roofing material can perform as intended.
Most modern residential homes use plywood or oriented strand board, commonly called OSB, as roof decking. These engineered wood panels provide excellent strength while maintaining a relatively lightweight structure. The thickness of the decking is selected according to local building codes, roof design, and expected structural loads.
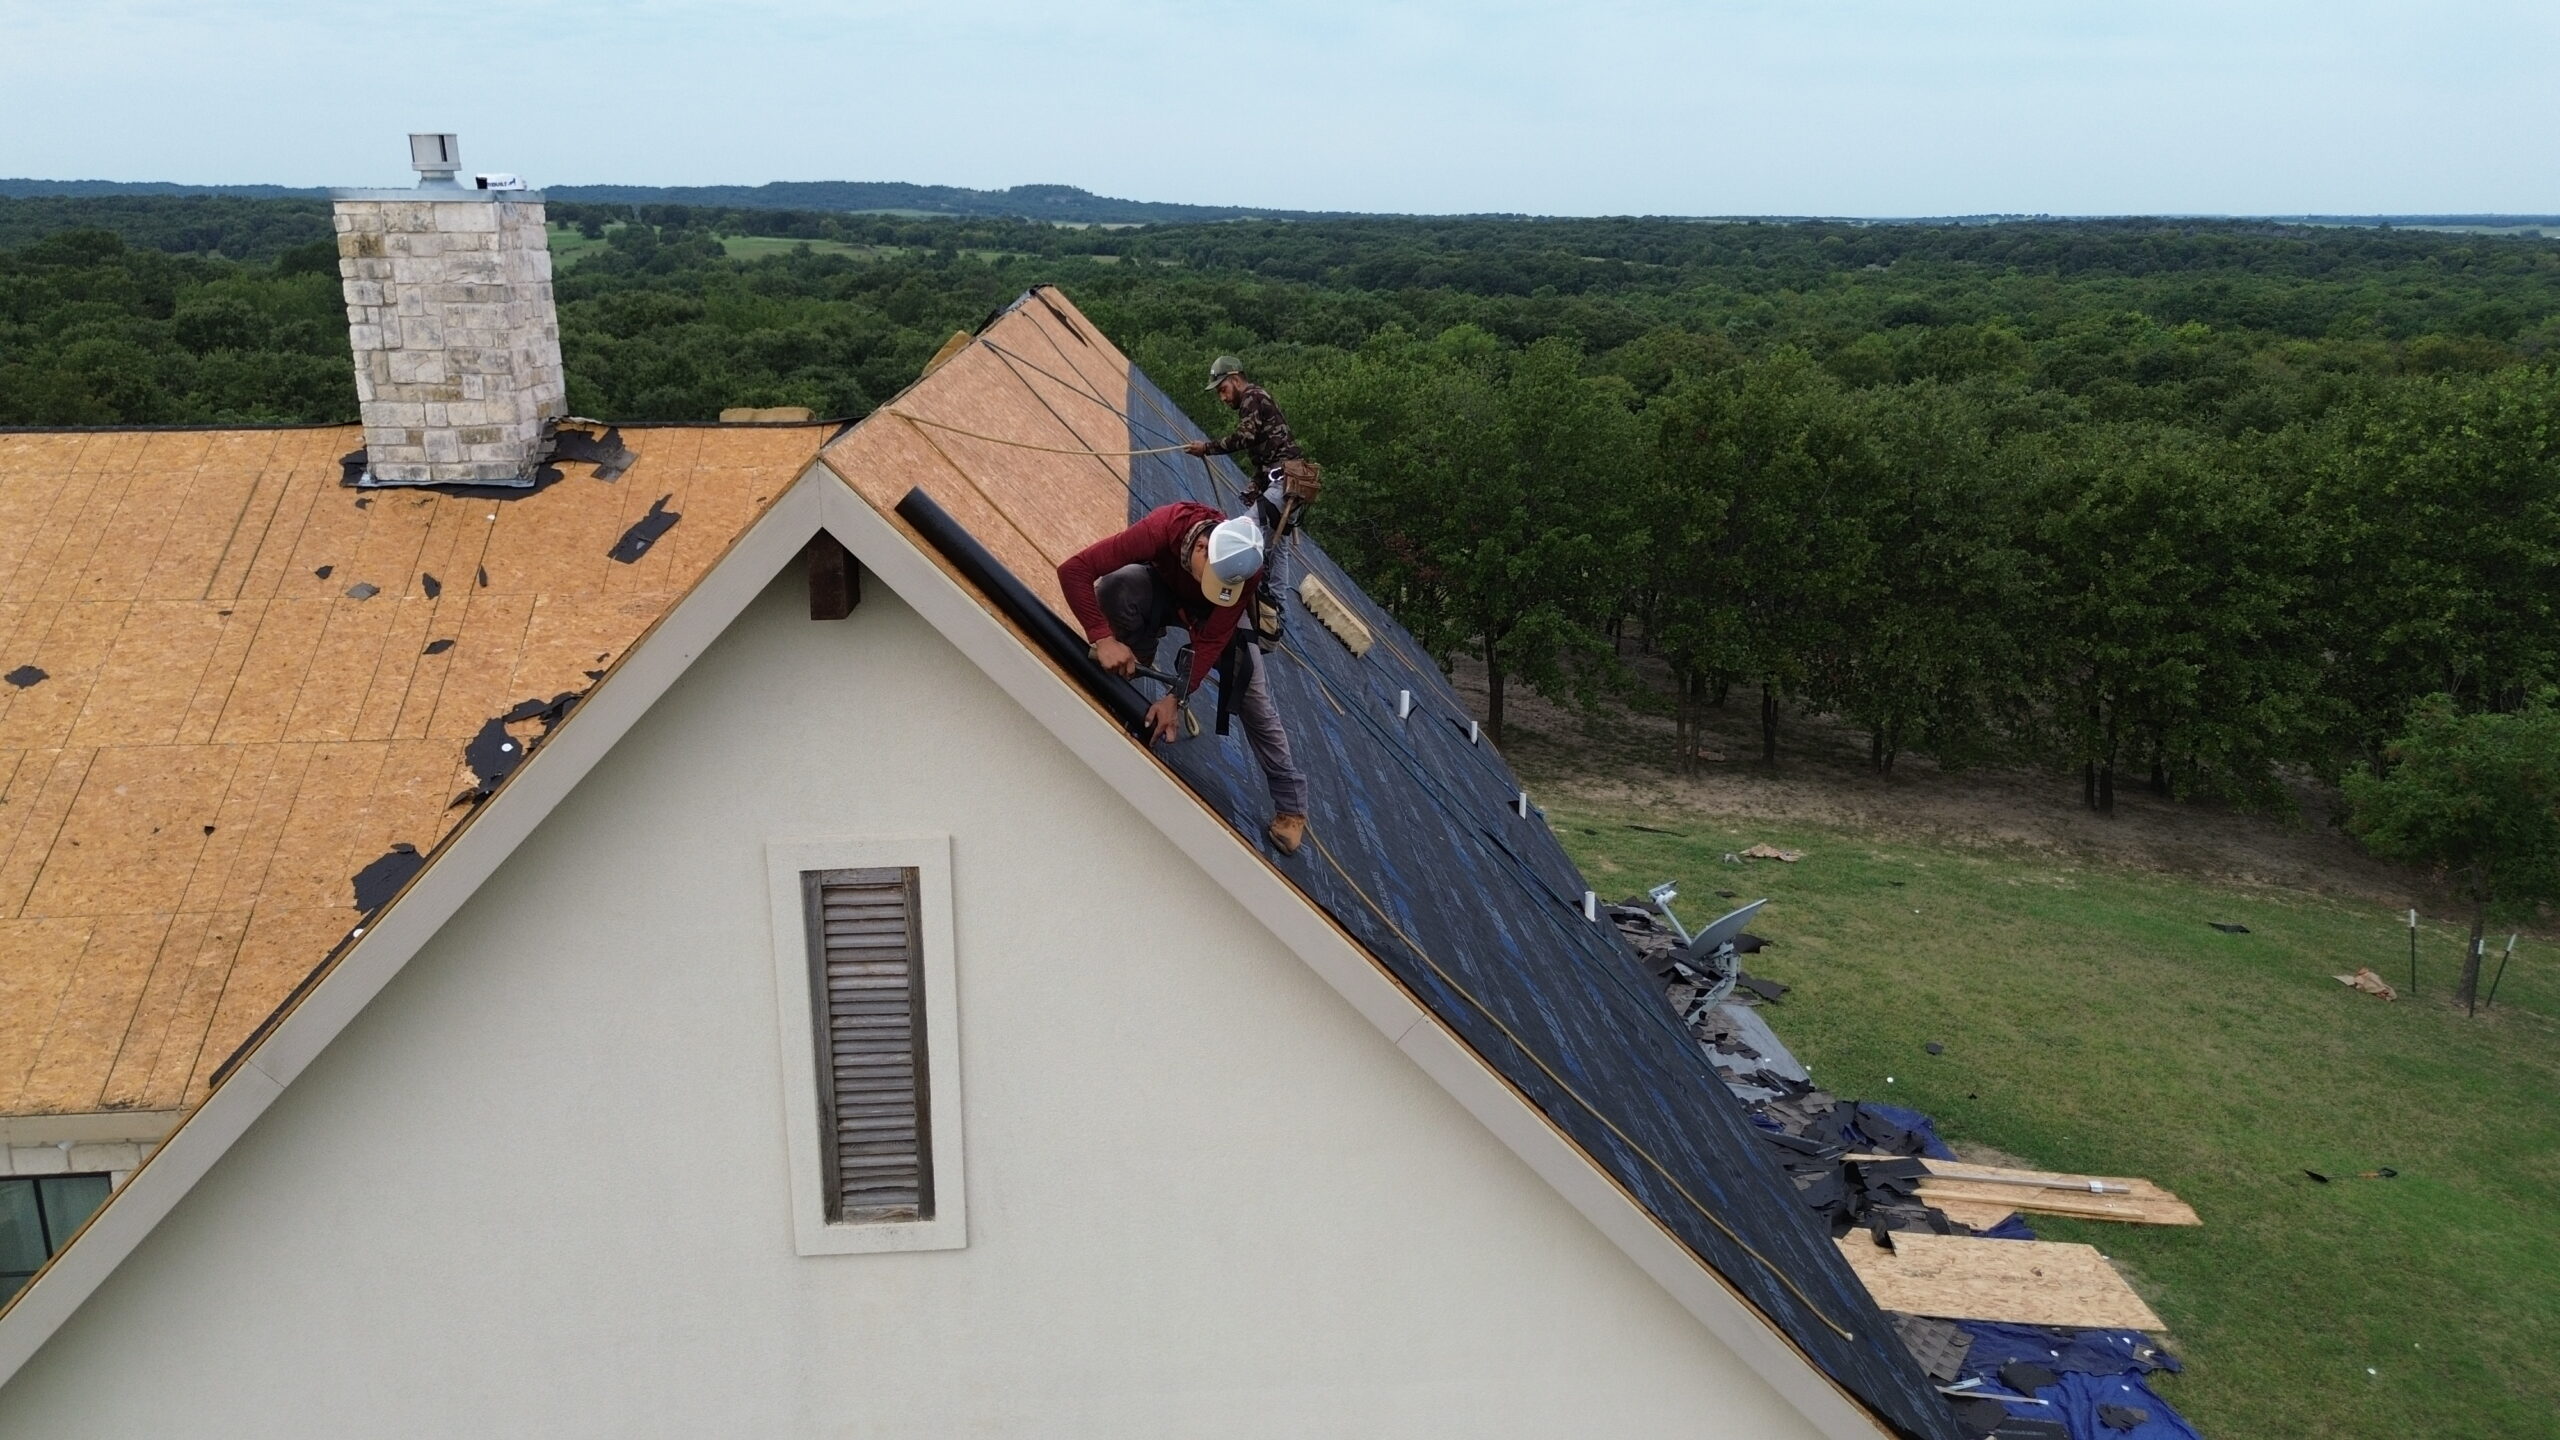
Before any new roofing materials are installed, contractors carefully inspect the roof deck for signs of damage. Rotten wood, soft spots, water staining, loose fasteners, and structural weaknesses must be repaired or replaced before installation continues. Covering damaged decking would only hide problems that could worsen over time.
A solid roof deck creates a smooth and secure foundation for underlayment and roofing materials. It also helps distribute wind loads evenly across the roof while supporting workers during installation. Maintaining the integrity of this structural layer is one of the most important steps in any roofing project.
Common Roof Deck Materials
Different construction methods use different decking materials depending on the building’s age, location, and structural requirements. While modern homes commonly use engineered wood panels, older homes may contain other decking styles that require careful evaluation before roof replacement.
The most common roof deck materials include:
| Roof Deck Material | Common Applications | Advantages | Considerations |
|---|---|---|---|
| Plywood | Residential homes | Strong, durable, reliable | Slightly higher cost |
| OSB | Modern residential construction | Cost effective and consistent | Must remain protected from prolonged moisture |
| Wood Planks | Older homes | Solid structural support | May require repairs or replacement before new roofing |
| Tongue and Groove Boards | Specialty construction | Strong interlocking design | Less common in newer homes |
The condition of the roof deck often determines how smoothly a roofing installation proceeds. Even high quality roofing materials cannot compensate for structural problems beneath the surface, making thorough inspection an essential part of every professional project.
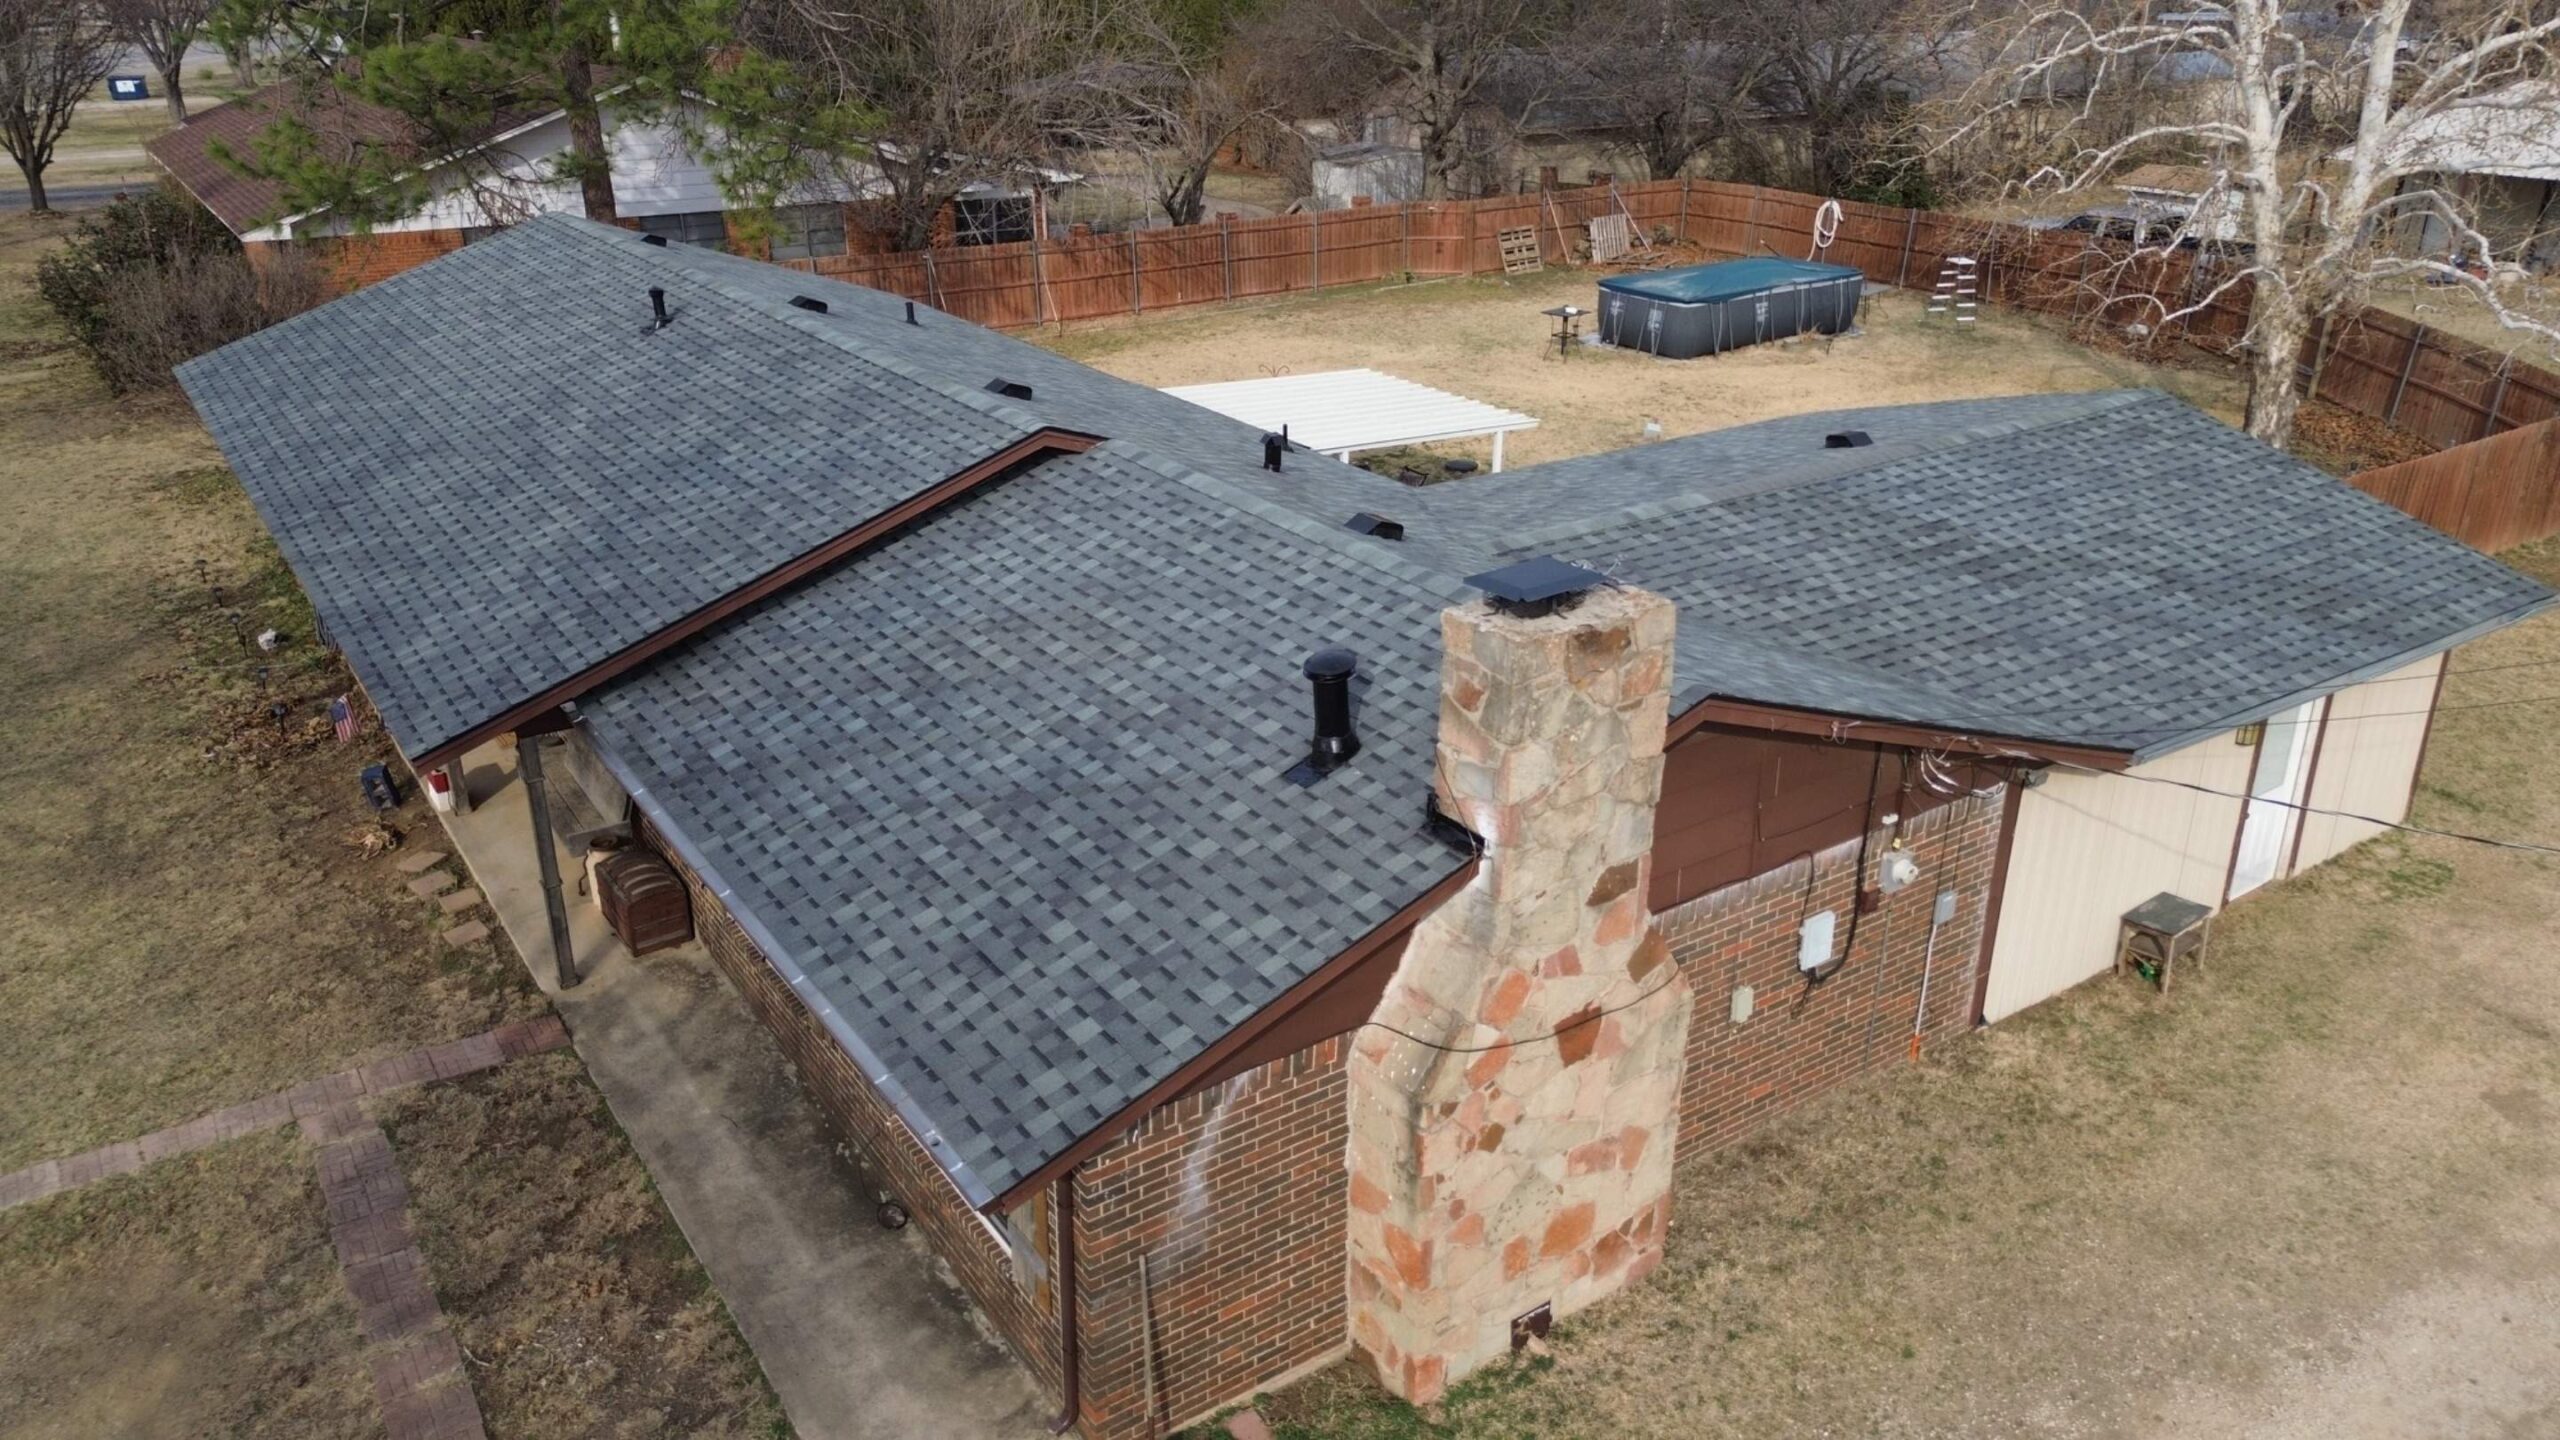
Underlayment: The Primary Moisture Barrier
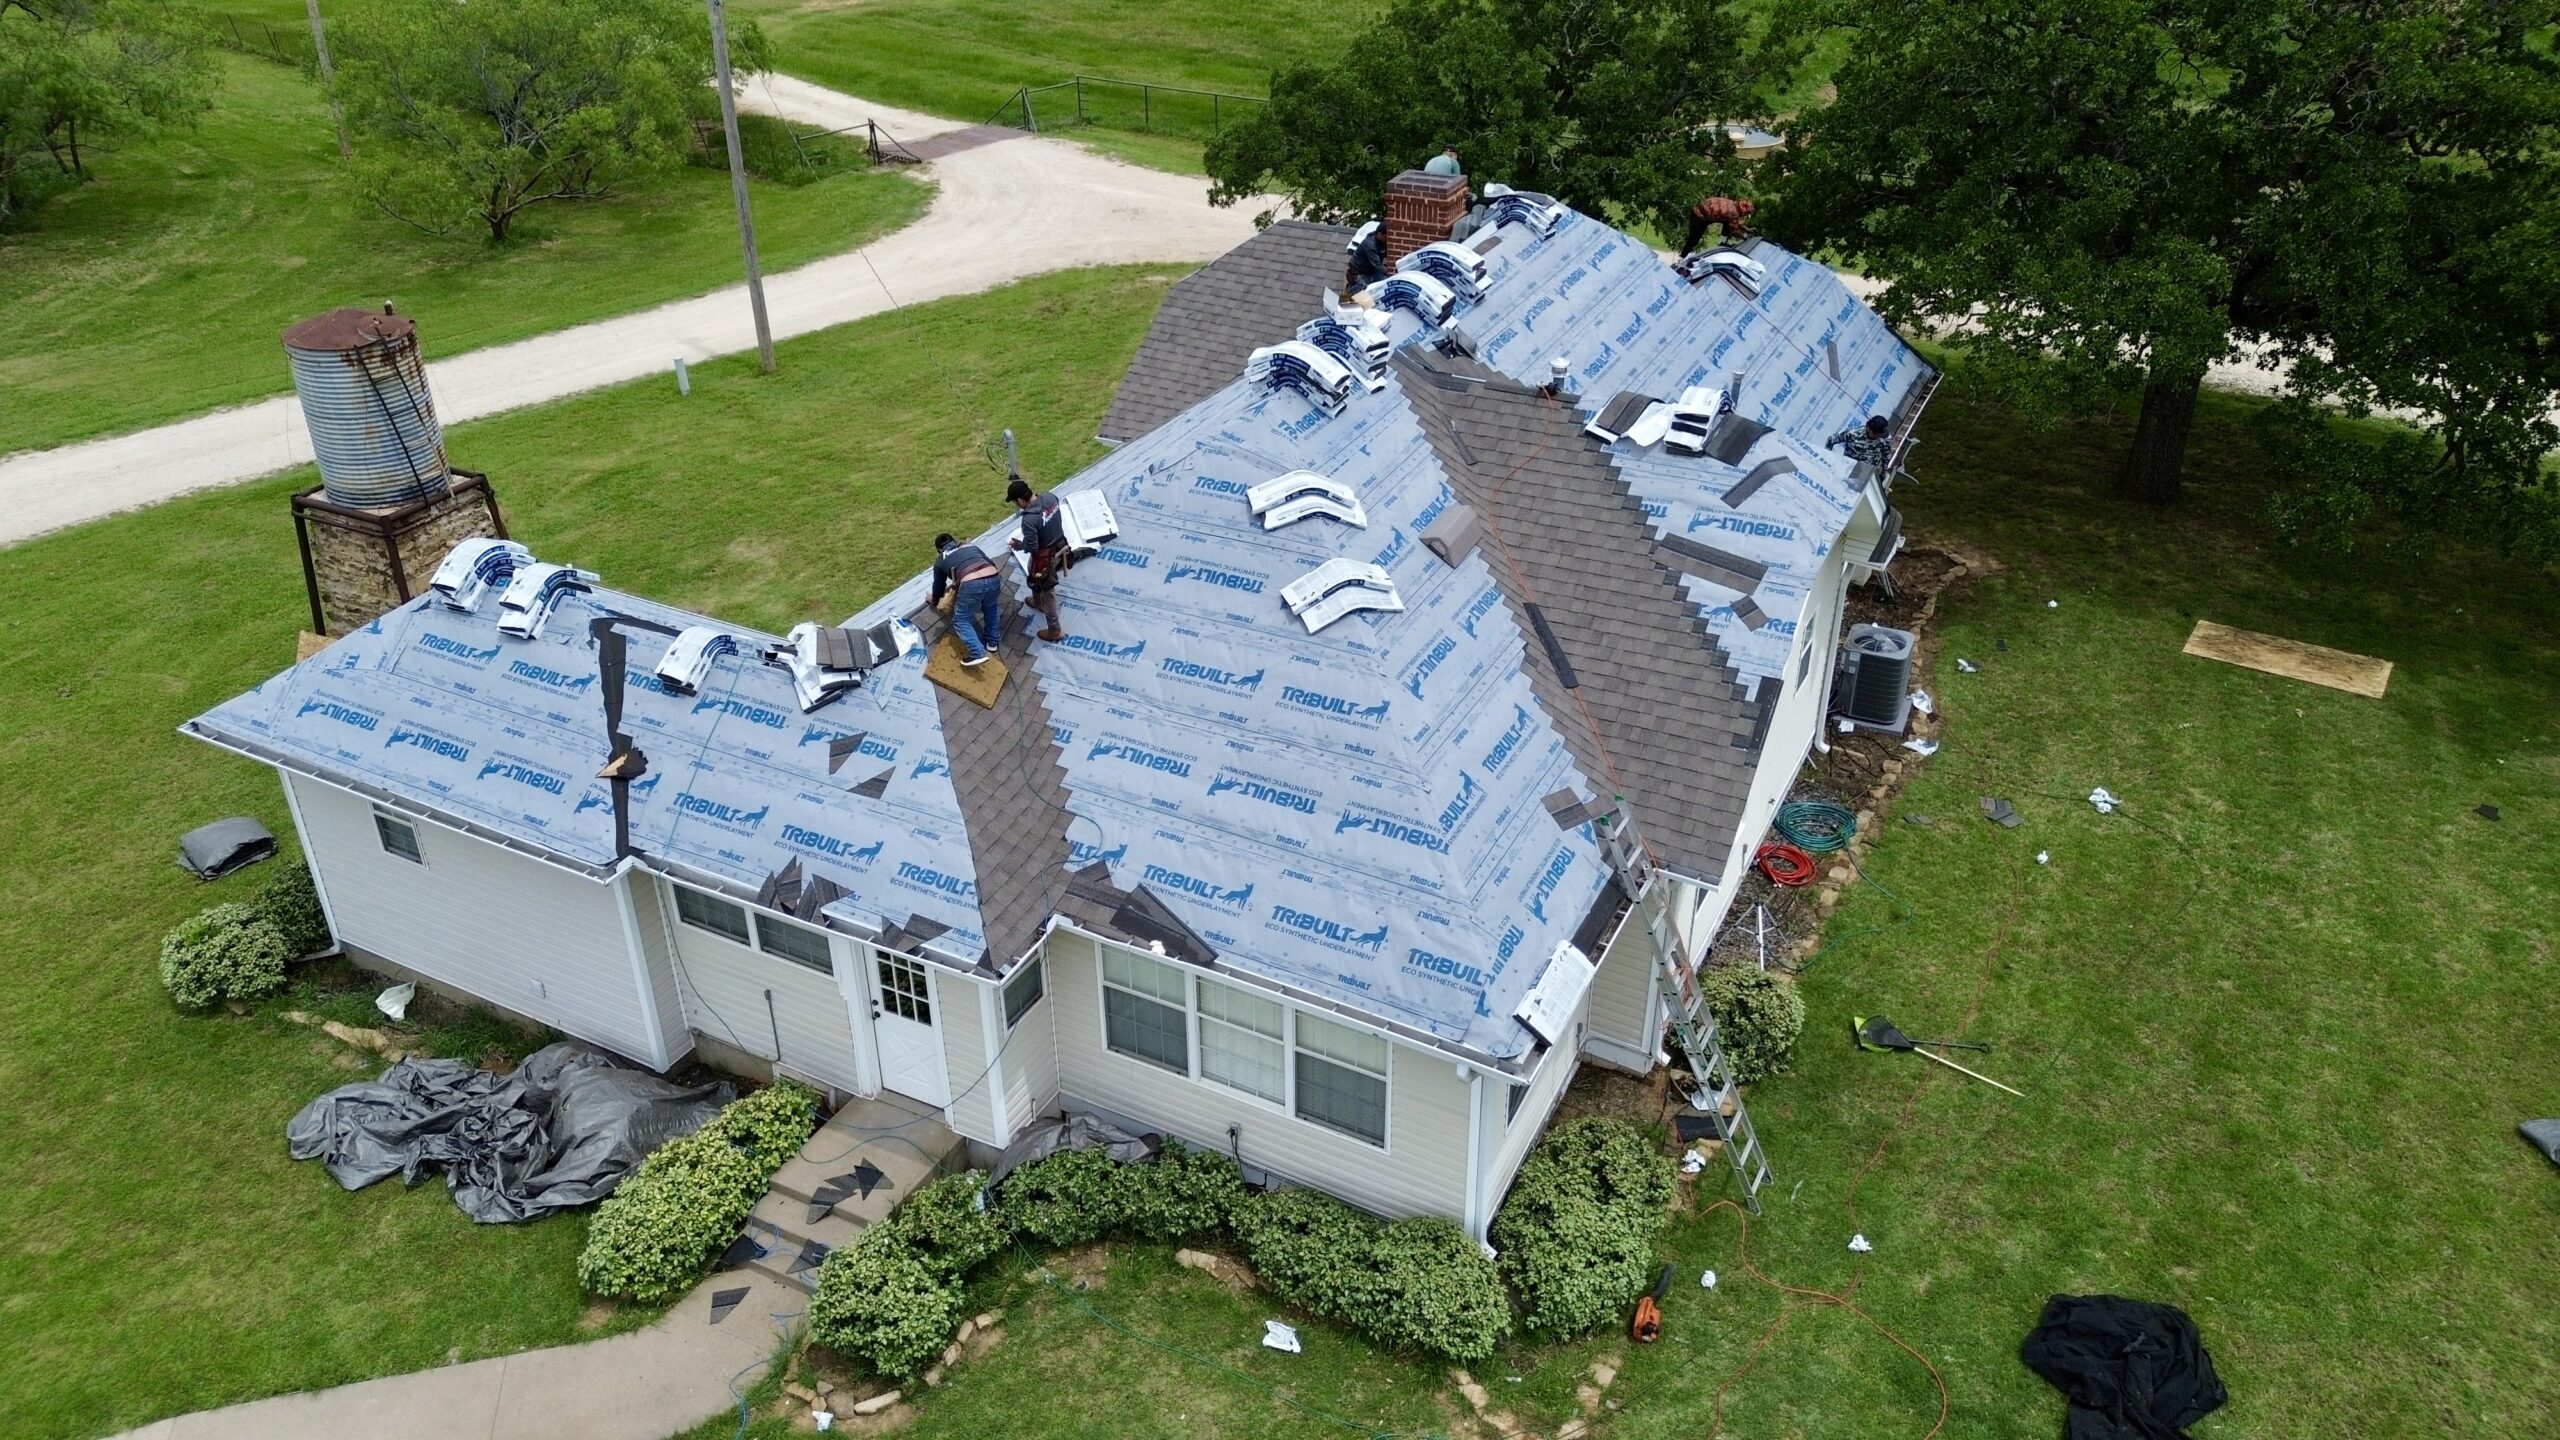
Once the roof deck has been inspected and prepared, contractors install the underlayment across the entire roof surface. This layer creates an additional barrier that helps protect the structure if water passes beneath the finished roofing material. Although it remains hidden after installation, it plays a critical role throughout the roof’s lifespan.
Roofing materials naturally expand and contract with changing temperatures. During severe weather, wind driven rain may occasionally reach beneath shingles or other roofing products. The underlayment serves as a secondary line of defense by preventing moisture from reaching the wooden roof deck.
Several types of underlayment are available for residential roofing systems. Traditional asphalt saturated felt remains in use for some projects, while synthetic underlayment has become increasingly popular because of its durability, lighter weight, and improved resistance to tearing during installation.
Proper installation requires careful overlapping of each course so water naturally flows downward without entering gaps. Contractors also secure the material according to manufacturer recommendations, preventing movement before the finished roofing material is installed.
Benefits of Quality Underlayment
Many homeowners never see the underlayment once construction is complete, yet it contributes significantly to roof performance. Its hidden location should never be mistaken for a lack of importance, as this layer continues protecting the home throughout changing weather conditions.
A properly installed underlayment provides several valuable benefits:
- Creates an additional moisture barrier beneath roofing materials.
- Protects the roof deck during temporary weather exposure while installation is underway.
- Helps reduce water infiltration caused by wind driven rain.
- Supports longer roofing system performance when installed correctly.
- Provides added protection around fasteners and roof penetrations.
Selecting a high quality underlayment and installing it correctly helps strengthen the entire roofing system. It supports the visible roofing material while protecting the structural components hidden underneath.
Ice and Water Shield: Extra Protection for Vulnerable Areas
Some sections of a roof experience greater exposure to water than others. Valleys, roof edges, chimneys, skylights, and other transition points often collect larger amounts of rainwater or melting snow. These locations require additional protection beyond standard underlayment.
Ice and water shield is a self adhering waterproof membrane designed specifically for these vulnerable areas. Unlike traditional underlayment, this material seals tightly around roofing fasteners, creating an additional barrier that helps prevent water infiltration where leaks are most likely to occur.
Homes in colder climates often require ice and water shield along roof eaves to protect against ice dams. However, many contractors also install it in warmer climates because valleys and roof penetrations remain common leak locations regardless of seasonal temperatures.
Correct placement is essential because the membrane works together with flashing and surrounding roofing materials. When properly installed, it forms another protective layer within the overall roofing system rather than acting as a standalone solution.
Where Ice and Water Shield Is Commonly Installed
The exact placement depends on roof design, climate, and local building requirements. Roofing professionals evaluate the home’s layout before determining where additional waterproof protection will provide the greatest benefit.
The most common installation areas include:
- Roof valleys where two roof slopes meet.
- Along eaves where water tends to collect.
- Around chimneys and skylights.
- Around plumbing vents and roof penetrations.
- Around low slope transition areas where water drains more slowly.
Using this additional waterproof membrane in critical locations greatly reduces the risk of moisture entering the roofing system during severe weather. It complements the underlayment while strengthening the roof’s most vulnerable sections.
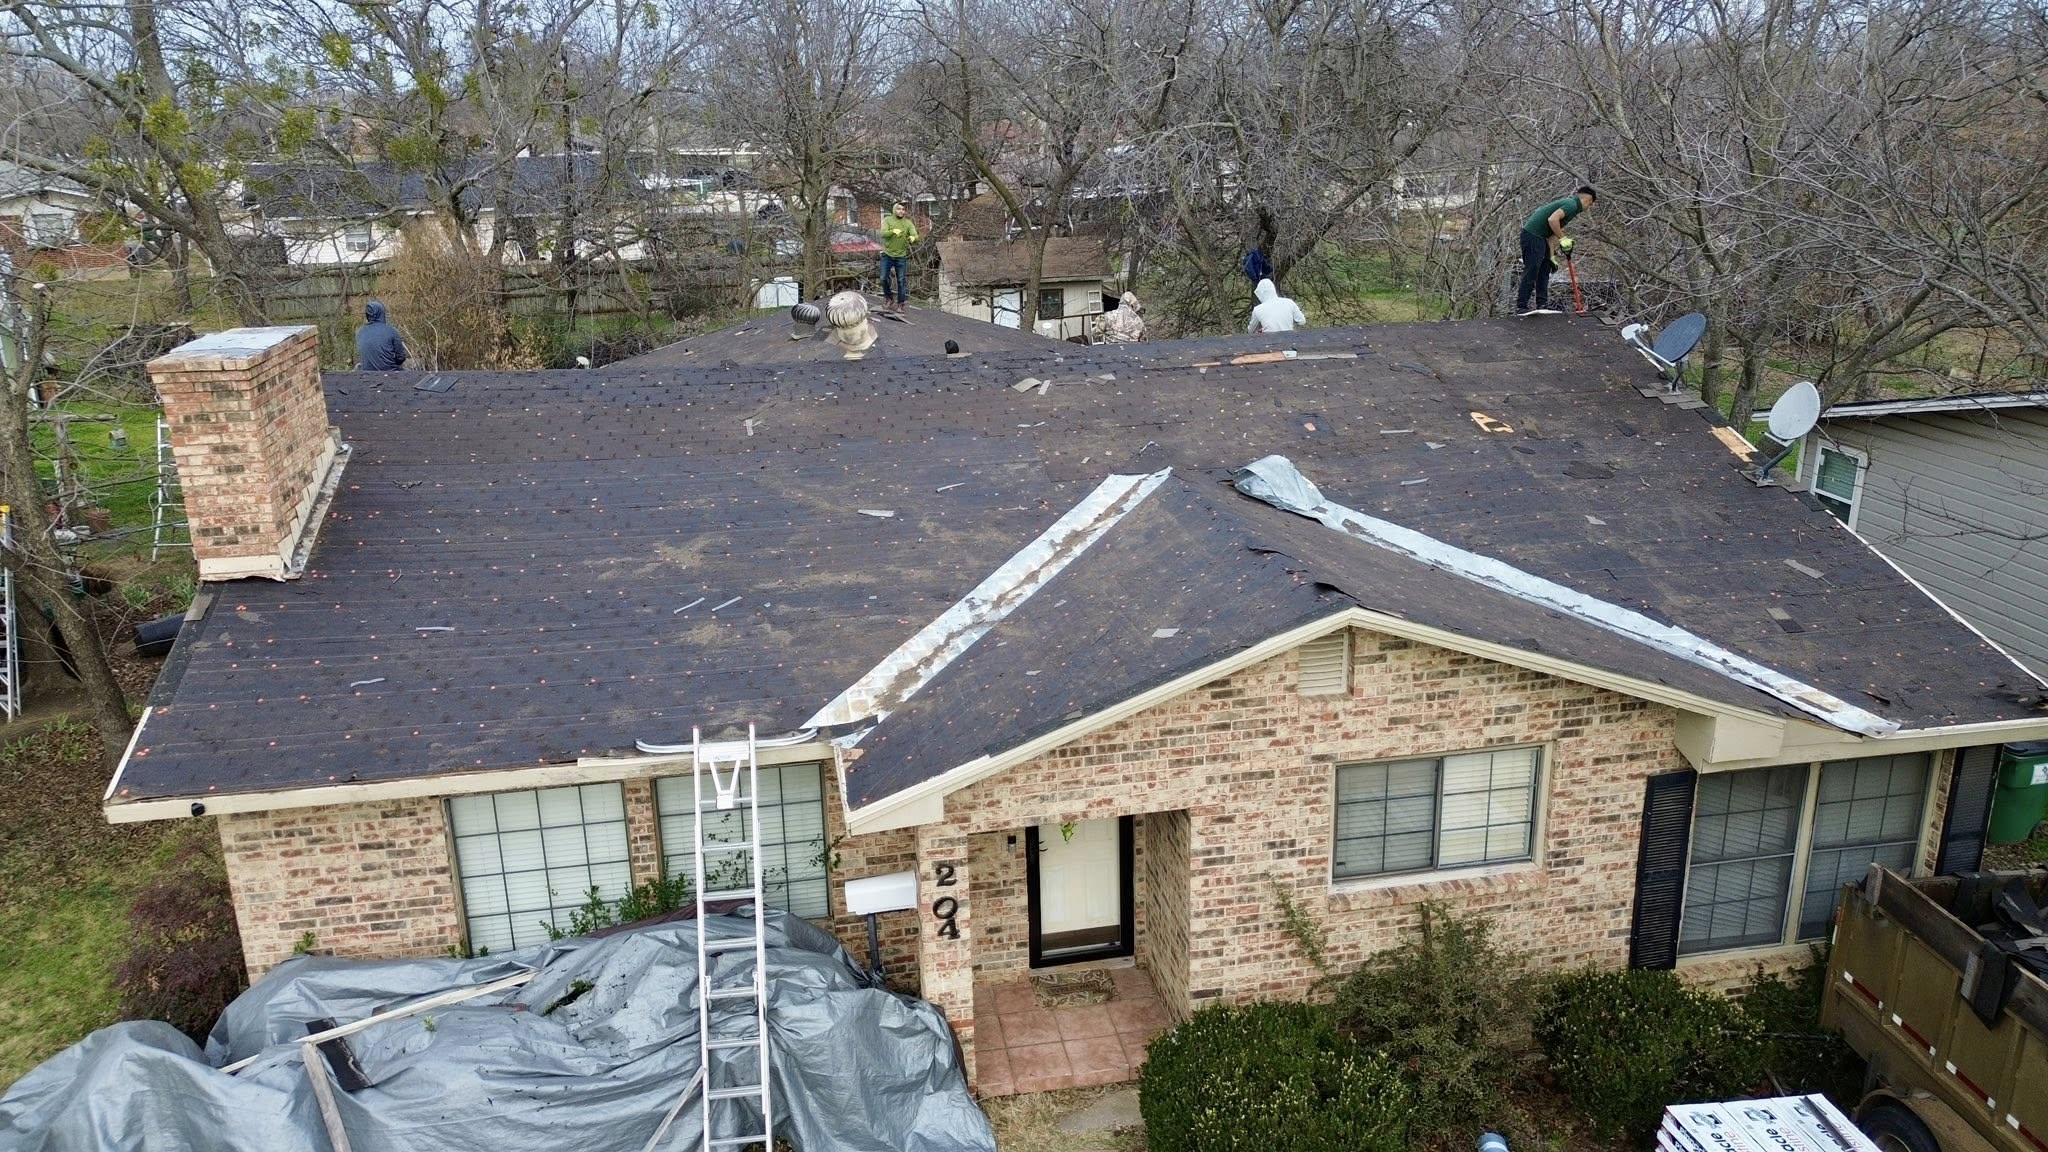
Roofing Material Installation: The Visible Protective Layer
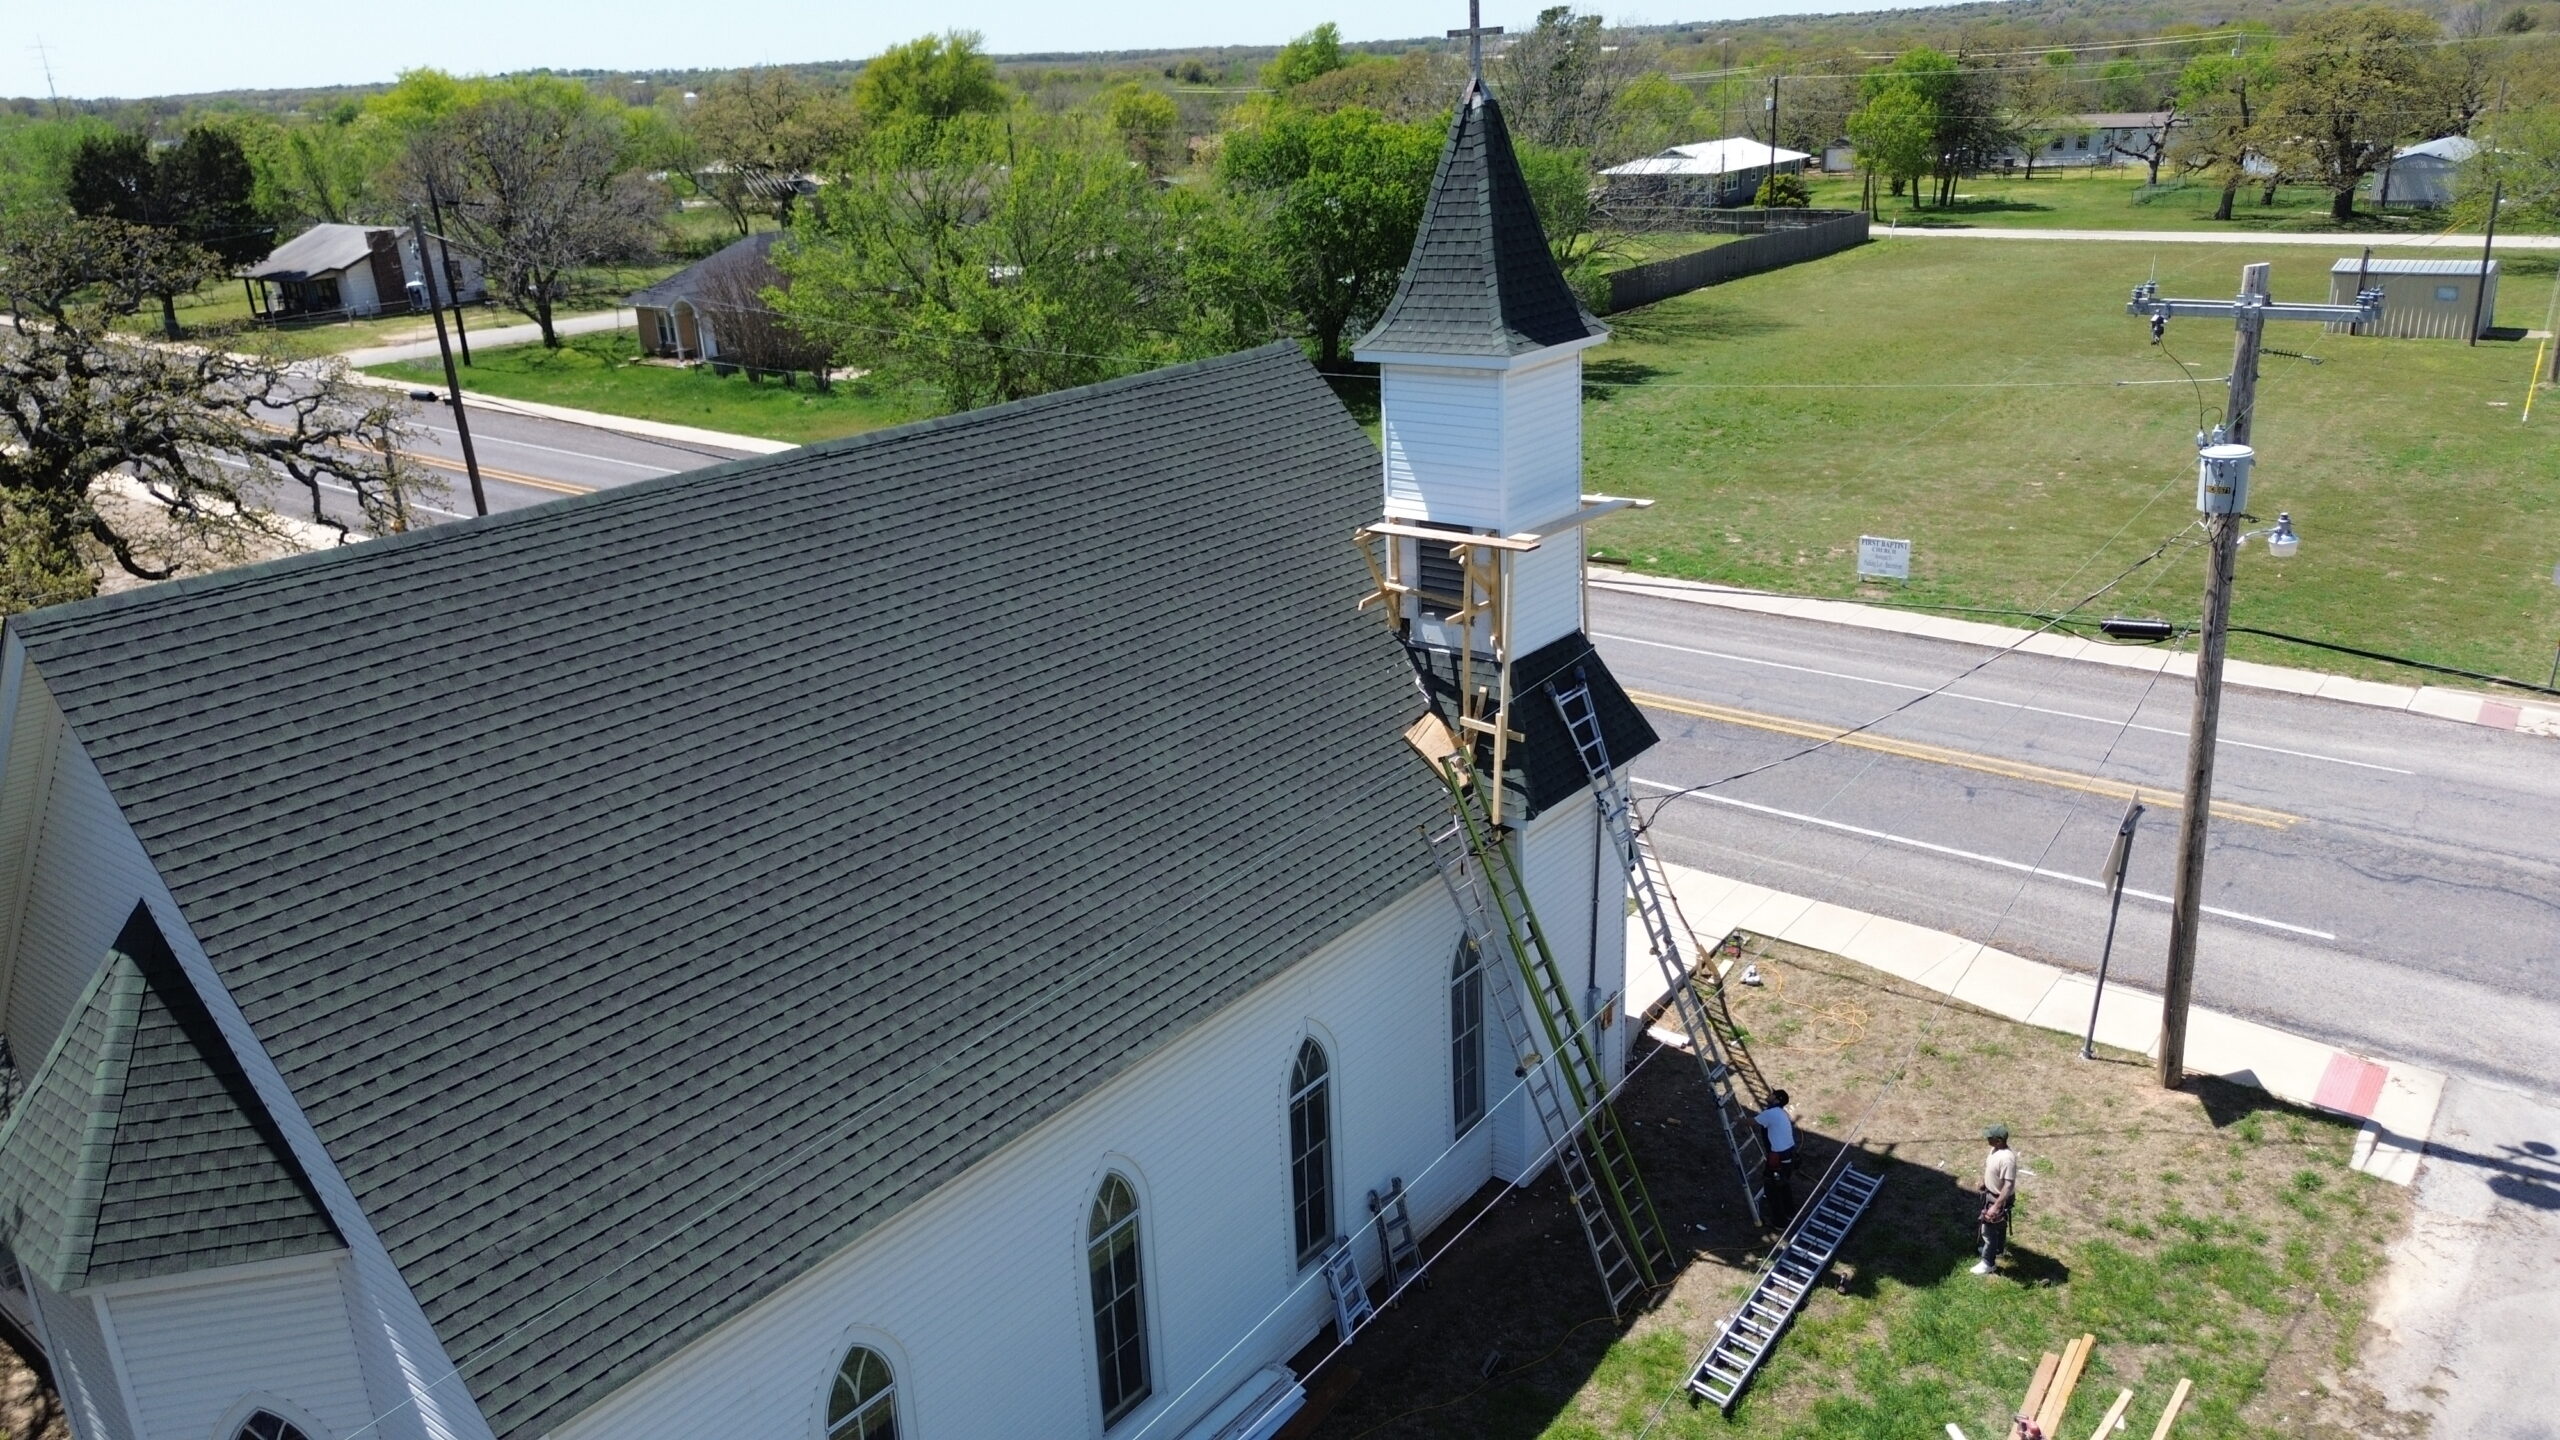
Once the roof deck, underlayment, ice and water shield, and edge protection have been installed, the roofing material itself can be added. This is the layer most homeowners recognize because it defines the roof’s appearance while serving as the first barrier against weather. Although it is the most visible component, it performs best only when every supporting layer beneath it has been installed correctly.
Roofing materials come in a variety of styles, each offering unique advantages. Asphalt shingles remain the most popular residential option because they balance affordability, durability, and ease of installation. Metal roofing continues to grow in popularity due to its long lifespan and energy efficiency, while clay tiles, concrete tiles, slate, and synthetic roofing products provide distinctive appearances for homes with different architectural styles.
Each roofing material follows its own installation requirements. Manufacturers specify fastener placement, overlap measurements, exposure distances, and acceptable roof slopes to ensure proper performance. Professional contractors carefully follow these guidelines because even small installation errors can reduce wind resistance and shorten the life of the roof.
Installation begins at the lowest edge of the roof and progresses upward toward the ridge. This overlapping pattern allows water to flow naturally down the roof instead of entering beneath the roofing material. Every row builds upon the previous one, creating continuous protection across the entire surface.
Proper alignment is equally important throughout the installation process. Uneven spacing or incorrect positioning can affect both the appearance and weather resistance of the finished roof. Experienced installers regularly check measurements to maintain straight lines and consistent exposure across every section.
Weather conditions also influence roofing installation. Excessive heat, heavy rain, or strong winds may delay work because certain materials become more difficult to handle safely. Contractors monitor forecasts carefully to ensure installation takes place under suitable conditions that allow materials to perform as intended.
Choosing the Right Roofing Material
No single roofing product is ideal for every home. The best choice depends on local climate, architectural style, maintenance expectations, budget, and desired lifespan. Understanding these factors helps homeowners select materials that match both practical needs and aesthetic preferences.
Asphalt shingles remain a common solution because they are available in many colors and profiles while providing dependable protection. Architectural shingles offer greater thickness and improved visual appeal compared to traditional three tab shingles. Their layered construction also increases resistance to wind and weather.
Metal roofing systems provide excellent durability and can last significantly longer than many conventional roofing products. They reflect solar heat effectively, making them attractive in regions with high summer temperatures. Modern metal roofs are available in panels or shingles that complement a wide variety of home designs.
Clay tiles and concrete tiles are valued for their distinctive appearance and exceptional longevity. These materials perform particularly well in warm climates but require adequate structural support because of their weight. Proper installation ensures both durability and long term weather resistance.
Synthetic roofing materials have become increasingly popular as manufacturers develop products that resemble slate, cedar shake, or tile while reducing overall weight. These options provide homeowners with attractive designs while simplifying installation and maintenance requirements.
Flashing Around Roof Features and Penetrations
Every roof contains areas where different surfaces meet or where objects pass through the roofing system. Chimneys, skylights, plumbing vents, dormers, and wall intersections create openings that require special attention during installation. Flashing protects these vulnerable locations by directing water safely away before it can enter the structure.
Flashing is commonly manufactured from aluminum, galvanized steel, copper, or other corrosion resistant metals. These materials remain durable while withstanding years of exposure to changing weather conditions. Selecting compatible flashing materials also helps prevent corrosion where different metals come into contact.
Each type of roof penetration requires its own flashing design. Step flashing is commonly installed where roof slopes meet vertical walls, while continuous flashing may protect long wall intersections. Pipe boots create watertight seals around plumbing vents, and specially formed flashing surrounds chimneys and skylights.
Proper integration with surrounding roofing materials is essential. Flashing should overlap underlayment in certain areas while extending beneath roofing materials in others. This layered arrangement encourages water to flow naturally away from vulnerable openings rather than allowing moisture to become trapped.
Improper flashing installation remains one of the leading causes of roof leaks. Even premium roofing materials cannot compensate for incorrectly installed flashing because water naturally seeks out weak points during heavy rainfall. Careful workmanship during this stage greatly improves the overall reliability of the roofing system.
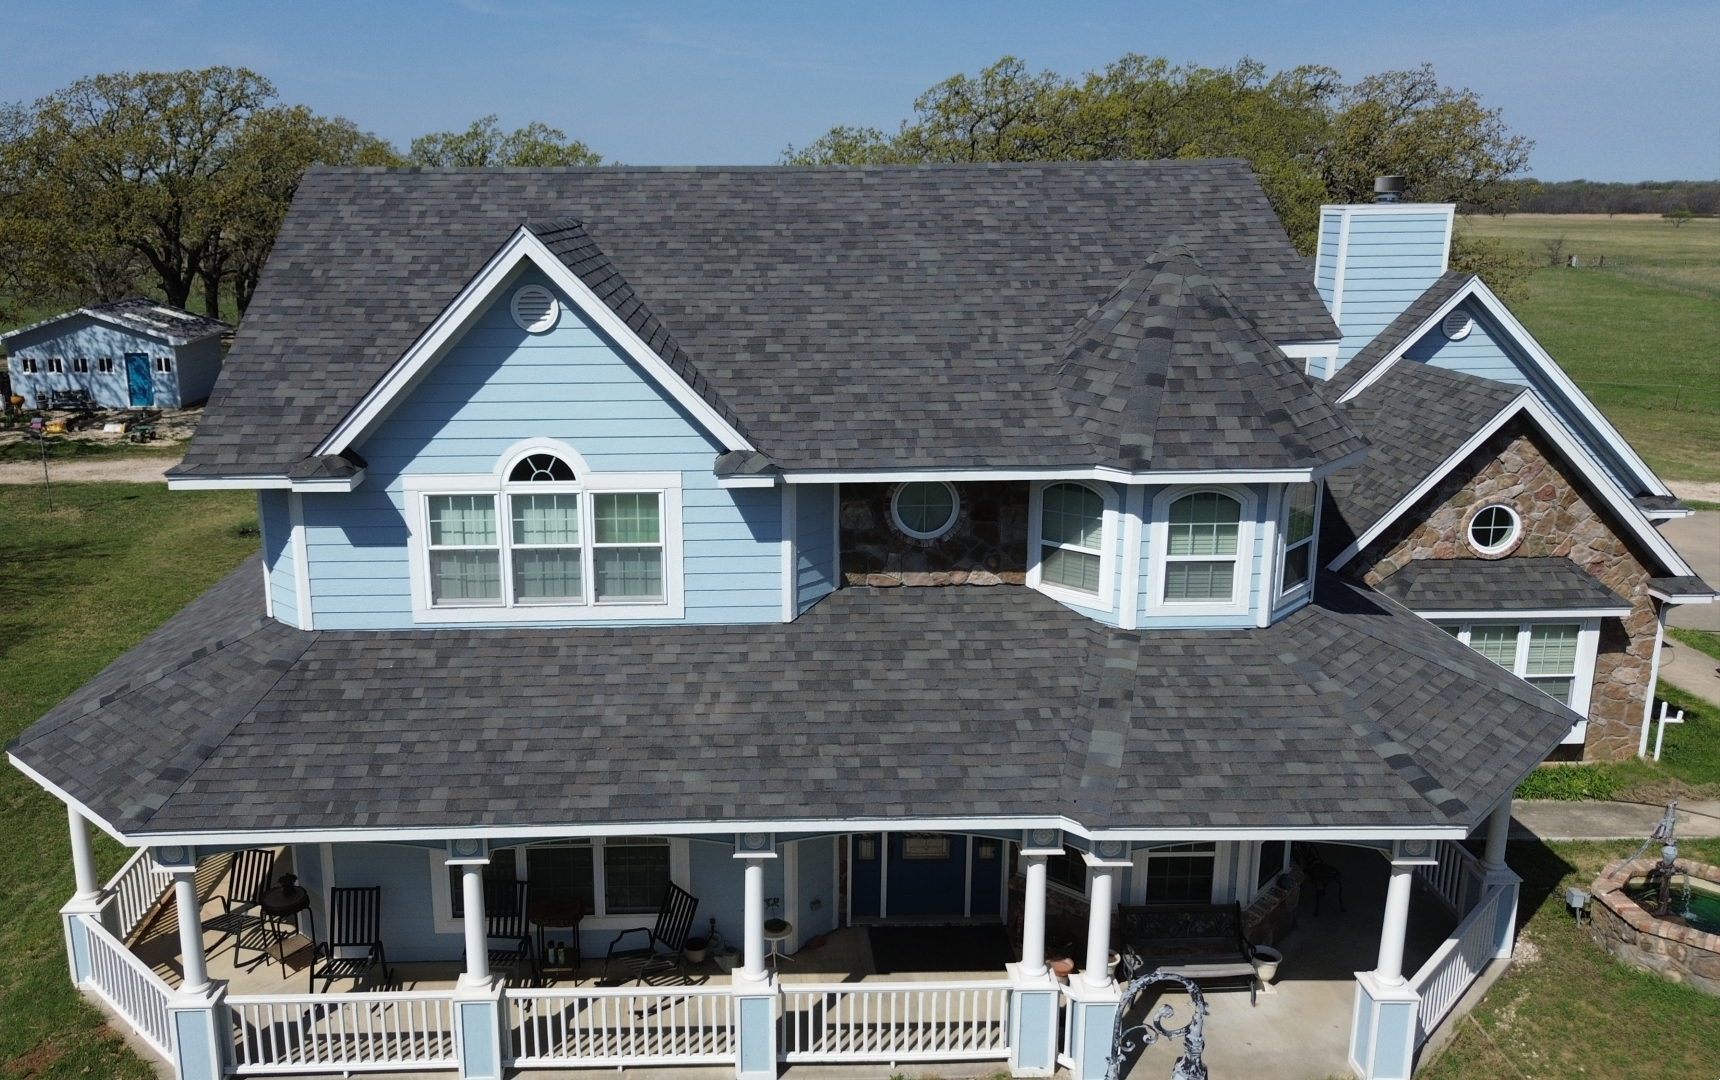
Ridge Caps and Hip Caps
After the main roofing material has been installed across the roof surface, contractors finish the highest points with ridge caps and hip caps. These specially designed pieces cover the joints where roof sections meet while completing the finished appearance of the roof.
Unlike standard shingles, ridge caps are manufactured or cut specifically to bend over roof peaks. Their shape allows them to cover exposed joints while maintaining consistent protection against rain and wind. Hip caps perform a similar function along angled roof intersections known as hips.
Installation usually begins at the end opposite prevailing winds. This placement helps minimize the possibility of wind driven rain entering beneath overlapping sections. Each cap overlaps the previous piece according to manufacturer specifications, maintaining continuous protection along the roof’s highest points.
Besides improving weather resistance, ridge caps contribute significantly to the roof’s finished appearance. Straight alignment and consistent spacing create clean roof lines that enhance curb appeal while protecting one of the roof’s most exposed areas.
Roof Ventilation Components
Ventilation is an essential but often overlooked part of a complete roofing system. Without proper airflow, excessive heat and moisture can accumulate inside the attic, affecting roofing materials, insulation, and structural components over time. Modern roofing systems are designed to maintain continuous air circulation beneath the roof.
Ventilation works by allowing cooler outside air to enter through intake vents near the roof’s lower edge. As this air warms inside the attic, it naturally rises and exits through exhaust vents positioned near the roof peak. This continuous movement removes excess heat and moisture before they create long term problems.
Several ventilation products are commonly used depending on roof design. Ridge vents provide continuous airflow along the roof peak, while box vents, turbine vents, powered vents, and gable vents may also be incorporated when appropriate. Contractors select combinations that match the home’s size and ventilation requirements.
Balanced ventilation supports the performance of the entire roofing system. It reduces moisture accumulation that could damage wooden framing while helping roofing materials maintain more stable temperatures throughout changing seasons.
Attic Airflow and Moisture Control
Many homeowners associate roof performance only with exterior materials, but attic conditions strongly influence long term durability. Proper airflow reduces condensation that can develop when warm indoor air meets cooler roof surfaces. Left unchecked, this moisture may contribute to mold growth, wood deterioration, and insulation damage.
Ventilation also helps control attic temperatures during warmer months. Excessive heat beneath the roof can accelerate aging of certain roofing materials while increasing cooling demands inside the home. Allowing hot air to escape supports both roof performance and household energy efficiency.
During colder seasons, ventilation remains equally important. Moisture generated from daily household activities naturally rises into the attic. Removing this humid air reduces condensation that might otherwise accumulate beneath the roof deck.
A complete roofing system therefore protects the home from both outside weather and interior moisture. Proper ventilation ensures hidden roofing layers remain dry so they can continue performing effectively for many years.
Fasteners, Adhesives, and Installation Techniques
Although roofing materials receive most of the attention, the fasteners and installation methods holding everything together are equally important. Every nail, screw, and adhesive contributes to the structural integrity of the finished roof. Small installation details often determine how well the roofing system withstands severe weather.
Manufacturers specify the exact type, length, and placement of roofing fasteners for each product. Nails driven too deeply may damage shingles, while nails left too high may prevent proper sealing. Incorrect placement can reduce wind resistance and create opportunities for water intrusion.
Roofing contractors use specialized pneumatic nailers or hand nailing techniques depending on project requirements. Consistent fastener placement helps distribute loads evenly while securing every roofing component according to manufacturer standards.
Some roofing systems also incorporate adhesives that improve wind resistance by strengthening bonds between overlapping materials. These products must be applied under suitable weather conditions to achieve proper performance. Following installation instructions ensures adhesives cure correctly before exposure to severe weather.
Attention to these seemingly minor details distinguishes professional roof installation from shortcuts that may cause problems years later. Quality workmanship at every stage contributes to a stronger and more dependable roofing system.
Common Layer Installation Mistakes and Their Long Term Effects
Even premium roofing products cannot compensate for poor installation practices. Many roofing failures develop because one or more layers were installed incorrectly rather than because the materials themselves were defective. Understanding these common mistakes highlights why proper installation remains essential.
Incorrect overlap between underlayment sections may allow water to penetrate beneath protective layers during wind driven rain. Poorly installed flashing around chimneys or skylights often becomes the starting point for roof leaks that spread gradually into surrounding materials.
Improper fastener placement can weaken wind resistance while allowing roofing materials to shift over time. Inadequate ventilation may trap moisture inside the attic, encouraging mold growth and reducing insulation effectiveness. Skipping recommended waterproof membranes in vulnerable areas also increases the likelihood of future water damage.
Some roofing projects experience premature failure because damaged roof decking was covered instead of repaired before installation. Although the new roofing material may initially appear attractive, hidden structural weaknesses continue to worsen beneath the surface.
Professional contractors reduce these risks by carefully inspecting every completed stage before moving forward. Addressing small concerns immediately prevents larger problems after the roofing system has been completed.
Roofing Layer Comparison
The following table summarizes the primary purpose of each roofing layer discussed so far and illustrates how every component contributes to the complete roofing system.
| Roofing Layer | Primary Function | Typical Materials |
|---|---|---|
| Roof Deck | Structural foundation | Plywood, OSB, wood planks |
| Underlayment | Secondary moisture barrier | Synthetic underlayment, asphalt felt |
| Ice and Water Shield | Waterproof protection in vulnerable areas | Self adhering waterproof membrane |
| Drip Edge | Directs water into gutters | Aluminum, galvanized steel |
| Starter Strips | Secure first course of roofing | Specialized starter shingles |
| Flashing | Protects joints and penetrations | Aluminum, copper, galvanized steel |
| Main Roofing Material | Primary weather protection | Asphalt shingles, metal, tile, slate |
| Ridge and Hip Caps | Protect roof peaks and intersections | Matching roofing materials |
| Ventilation Components | Maintain attic airflow | Ridge vents, soffit vents, box vents |
Each layer depends on the others to create a complete roofing assembly. Removing or incorrectly installing even one component can reduce the effectiveness of the entire system, emphasizing why professional installation follows a carefully planned sequence.
How Professional Contractors Verify Each Layer Before Moving Forward
Professional roofing contractors do not simply install one material after another without evaluation. Instead, each completed stage is inspected before the next layer is added. This systematic approach helps identify small issues while they are still easy to correct.
Contractors begin by confirming that the roof deck is structurally sound and securely fastened. They then verify that underlayment overlaps are correct, waterproof membranes fully cover vulnerable areas, and drip edges are positioned according to manufacturer recommendations. Any deficiencies are corrected before visible roofing materials conceal the underlying layers.
As roofing materials are installed, alignment, fastener placement, flashing integration, and ventilation components are continuously checked. Regular quality inspections ensure the roof performs as a complete system rather than as separate materials assembled without coordination.
By following this methodical installation process, roofing professionals create a durable assembly where every layer supports the next. This careful attention to detail prepares the roofing system for the final stages of installation, where long term performance, maintenance considerations, and complete project inspection become equally important in ensuring decades of reliable protection.
How Climate Influences Roofing Layer Selection
Every roofing system must be designed with the local climate in mind. While the basic layers remain similar across most residential roofs, the materials and installation methods often change depending on regional weather conditions. A roof that performs exceptionally well in one environment may require additional protection or different materials in another.
Homes located in areas with frequent rainfall require roofing systems that emphasize water management. Contractors may install premium synthetic underlayment, larger flashing sections, and enhanced waterproof membranes around valleys and roof penetrations. These additional measures help prevent moisture from reaching the roof deck during prolonged storms.
In regions that experience heavy snowfall, roofs must support greater structural loads while managing melting snow and ice. Ice and water shield becomes especially important along eaves and valleys because these locations are vulnerable to ice dams. Proper ventilation also plays a critical role by maintaining consistent roof temperatures and reducing uneven snow melting.
Hot and sunny climates create different challenges. Continuous exposure to ultraviolet radiation and high temperatures accelerates the aging process of many roofing materials. Reflective roofing products, effective attic ventilation, and heat resistant underlayment help reduce heat buildup while improving energy efficiency inside the home.
Areas exposed to hurricanes or strong seasonal winds demand roofing systems with enhanced wind resistance. Contractors often use additional fasteners, reinforced starter strips, and carefully positioned ridge caps to strengthen the roof against uplift forces. Following manufacturer specifications becomes even more important in these demanding environments.
Understanding local weather patterns allows contractors to select roofing layers that work together under the conditions they will experience throughout their service life. This thoughtful planning improves both durability and long term value.
Importance of Following Manufacturer Installation Requirements
Every roofing product is developed and tested as part of a complete system. Manufacturers invest significant resources in determining how their materials should be installed to achieve the best possible performance. These instructions cover everything from fastener placement to ventilation requirements and material compatibility.
Ignoring manufacturer recommendations can reduce the effectiveness of even the highest quality roofing products. A premium shingle installed with incorrect nail placement or insufficient overlap may fail much earlier than expected. Likewise, underlayment and flashing that are installed differently than specified may allow moisture to penetrate the roofing system.
Warranty protection often depends on following approved installation procedures. Many manufacturers require certified installation methods before honoring warranty claims. Failure to meet these requirements could leave homeowners responsible for repair costs that might otherwise have been covered.
Professional roofing contractors remain familiar with current installation guidelines because product specifications occasionally change as new technologies become available. They also understand which accessories have been tested together to provide complete system compatibility.
Choosing experienced installers therefore protects more than the appearance of the finished roof. It helps preserve product warranties, improves long term performance, and ensures every roofing layer functions exactly as intended.
Inspection Process During and After Installation
Roof installation does not end when the last shingle or metal panel is secured. Thorough inspection remains one of the final and most important phases of the project. These evaluations confirm that every roofing layer has been installed correctly before the project is considered complete.
During installation, contractors routinely inspect each completed stage before moving forward. The roof deck is checked for structural integrity, underlayment overlaps are verified, flashing locations are confirmed, and ventilation components are reviewed. Correcting small issues immediately prevents them from becoming larger problems later.
After the visible roofing material has been installed, contractors perform a comprehensive inspection of the completed roof. They examine ridge caps, flashing details, roof penetrations, valleys, and edges to ensure proper alignment and secure attachment. Attention is also given to fastener placement and overall workmanship.
Many professional roofing companies conduct a final cleanup before performing the last inspection. Loose materials, leftover fasteners, and construction debris are removed from the roof and surrounding property. Magnetic tools are commonly used to collect roofing nails that may have fallen around the home.
Homeowners are often encouraged to participate in a final walkthrough with the contractor. This provides an opportunity to ask questions, understand maintenance recommendations, and review completed work before the project officially concludes.
A careful inspection verifies that the roofing system functions as a complete assembly rather than simply confirming that the roof looks attractive from the ground.
Long Term Performance of Each Roofing Layer
Every roofing layer contributes differently to the overall lifespan of the roofing system. Some materials remain exposed to weather every day, while others stay hidden beneath the surface yet continue performing essential protective functions. Together they create multiple levels of defense against environmental conditions.
The roofing material absorbs the majority of direct exposure to sunlight, rain, hail, and wind. Its condition largely determines the roof’s appearance and first line of protection. However, if water bypasses this layer during severe weather, the underlayment immediately begins performing its protective role.
The roof deck continues supporting structural loads throughout the life of the roof. As long as moisture is prevented from reaching the wood, the deck remains strong and stable for many years. Proper ventilation further protects this structural layer by limiting moisture accumulation within the attic.
Flashing quietly performs one of the most demanding jobs on the roof. Every rainfall sends water toward valleys, chimneys, skylights, and roof penetrations where flashing safely redirects it away. Properly installed flashing often prevents leaks for decades with minimal maintenance.
Ventilation components continue working every day regardless of weather conditions. By maintaining steady airflow, they help reduce excessive attic temperatures during summer while limiting moisture buildup throughout the year. Their contribution extends beyond the roof itself by supporting insulation performance and indoor comfort.
The longevity of the roofing system depends on every layer continuing to perform its intended function. Weakness in one component eventually places additional stress on the others, demonstrating why complete system integrity remains so important.
Maintenance Practices That Protect the Entire Roofing System
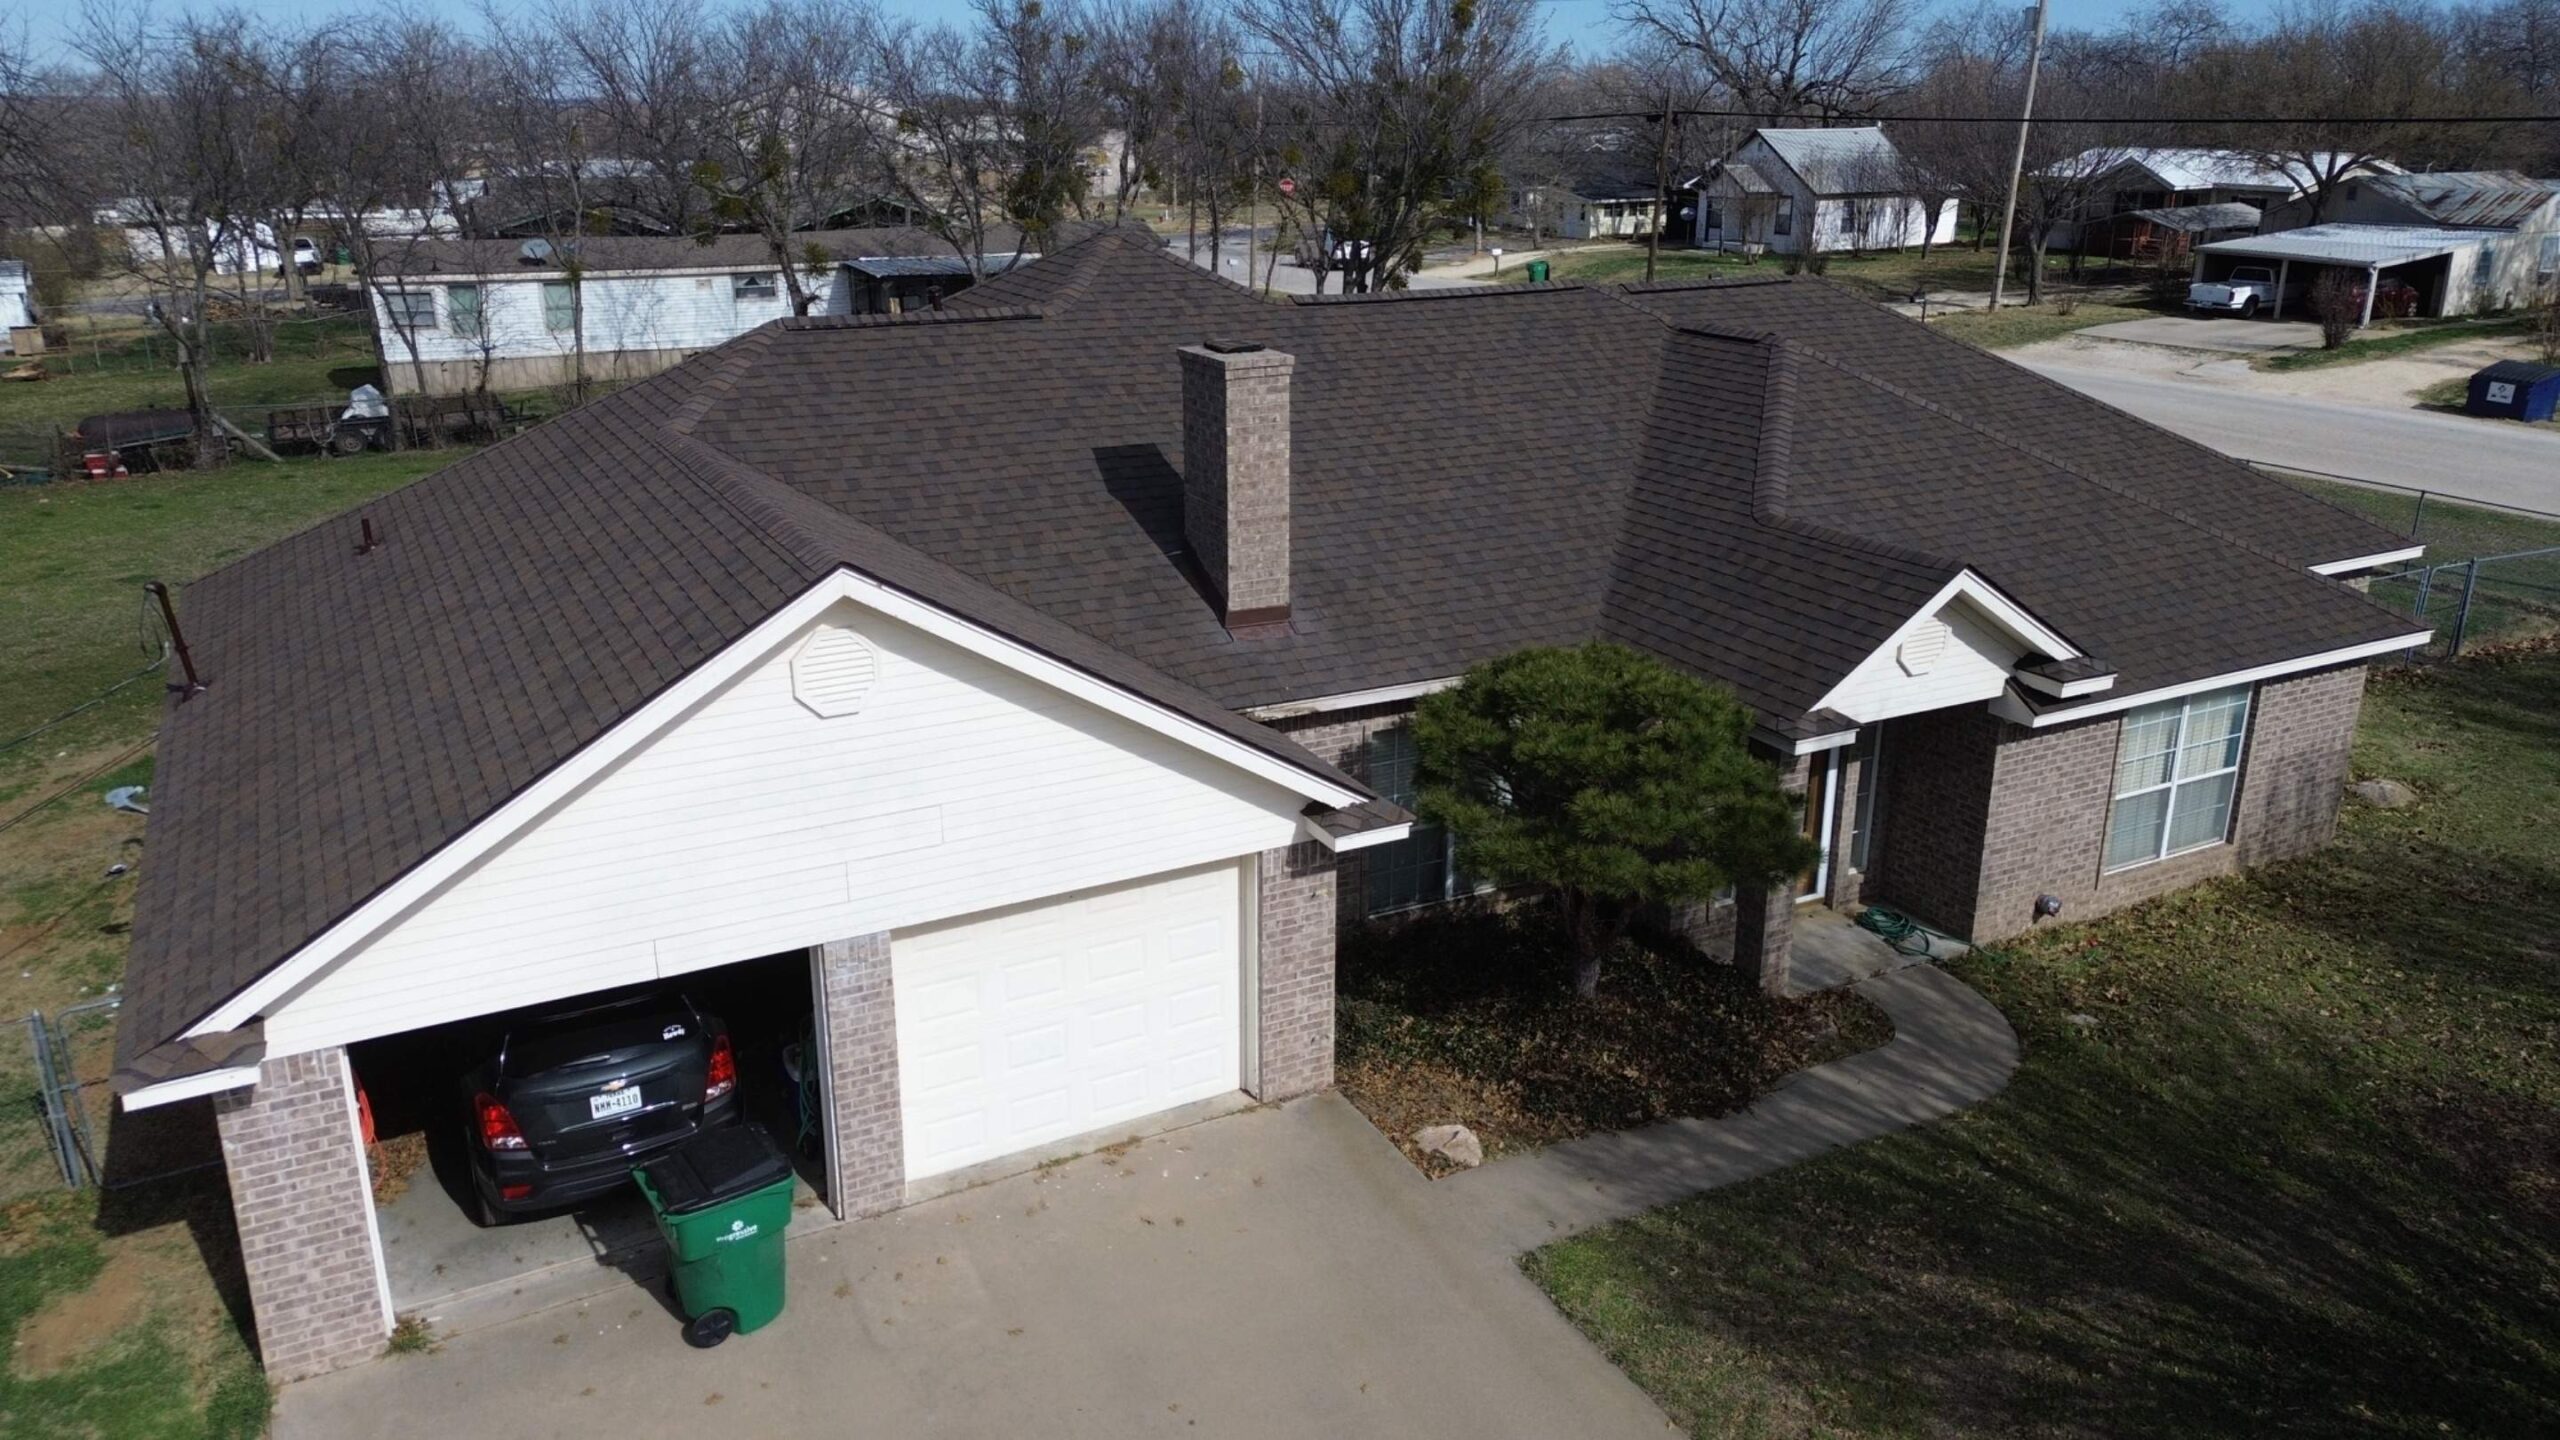
Even a professionally installed roofing system requires periodic maintenance to remain in excellent condition. Regular inspections help identify small concerns before they develop into expensive repairs. Preventive care also allows every roofing layer to continue performing as designed.
Homeowners should visually inspect their roofs after major storms whenever it is safe to do so. Missing shingles, displaced flashing, damaged gutters, or fallen tree branches may indicate areas requiring professional attention. Early detection reduces the likelihood of moisture reaching underlying roofing layers.
Keeping gutters clean is another important maintenance task. Blocked gutters prevent water from draining efficiently, increasing the risk of overflow near roof edges and fascia boards. Proper drainage protects both visible roofing materials and hidden waterproof components.
Tree branches that extend over the roof should be trimmed regularly. Overhanging limbs can scrape roofing materials during windy conditions while dropping leaves that trap moisture on the roof surface. Reducing this contact helps preserve the condition of the roofing material.
Professional roof inspections every few years provide additional peace of mind. Experienced contractors can identify developing issues that homeowners may not notice from ground level. Addressing these concerns promptly often extends the service life of the entire roofing system.
Simple maintenance practices protect every layer beneath the surface by reducing unnecessary exposure to moisture, debris, and physical damage.
Signs That One or More Roofing Layers May Be Failing
Roofing systems rarely fail without warning. In many cases, subtle signs appear long before significant damage develops. Recognizing these indicators allows homeowners to seek professional evaluation before repairs become more extensive.
Water stains on interior ceilings frequently suggest moisture has passed through one or more roofing layers. Although the visible stain appears indoors, the actual source may be located much higher on the roof. Professional inspection helps identify the true origin of the leak.
Missing, cracked, or curling shingles may indicate that the outer protective layer has reached the end of its service life. Damaged roofing material increases the likelihood that underlayment will be exposed to repeated weather conditions beyond its intended purpose.
Persistent attic moisture, mold growth, or musty odors often suggest ventilation problems. Poor airflow allows condensation to accumulate beneath the roof deck, gradually affecting structural materials and insulation.
Rusted flashing, loose ridge caps, deteriorated sealants, or recurring leaks around chimneys and skylights may also indicate that protective roofing layers require repair or replacement. Ignoring these warning signs usually allows damage to spread into surrounding materials.
Prompt professional assessment helps determine whether repairs are sufficient or whether larger sections of the roofing system require attention.
Key Questions Homeowners Should Ask Before Roof Installation
Understanding the roofing system allows homeowners to communicate more effectively with contractors before work begins. Asking thoughtful questions encourages transparency while helping ensure that quality materials and installation practices will be used throughout the project.
Important questions include:
- Which type of underlayment will be installed beneath the roofing material?
- Will damaged roof decking be replaced if problems are discovered?
- Where will ice and water shield be installed on the roof?
- How will flashing be integrated around chimneys, skylights, and vents?
- What type of ventilation system is recommended for the attic?
- Which manufacturer warranties apply to both materials and workmanship?
- How will the completed roofing system be inspected before the project is finished?
These discussions help homeowners understand exactly what is included in the installation. Clear communication also reduces misunderstandings while ensuring expectations remain realistic throughout the project.
Practical Roofing System Installation Checklist
A successful roofing installation follows a logical sequence that ensures every layer supports the next. The following checklist summarizes the complete process discussed throughout this guide.
- Inspect the existing roof and evaluate structural conditions.
- Remove old roofing materials when necessary.
- Repair or replace damaged roof decking.
- Install drip edge and underlayment according to specifications.
- Apply ice and water shield in vulnerable locations.
- Install starter strips and the primary roofing material.
- Add flashing around all roof penetrations and transitions.
- Complete ridge caps, ventilation components, and final finishing details.
- Perform a comprehensive inspection and site cleanup.
Following this sequence allows every roofing layer to function as part of a coordinated system. Each completed stage provides the foundation for the next, resulting in a stronger and more dependable finished roof.
Conclusion
A residential roof is far more than its visible surface. Beneath the shingles, metal panels, or tiles lies a carefully engineered system of structural and protective layers that work together to defend a home against weather, moisture, temperature changes, and everyday environmental stress. Every component, from the roof deck and underlayment to flashing, ventilation, and ridge caps, contributes to the roof’s overall performance and longevity.
Understanding these roofing system layers allows homeowners to appreciate why professional installation is so important. Quality materials alone cannot deliver lasting protection if they are installed incorrectly or if critical supporting layers are omitted. Every stage of the installation process builds upon the previous one, creating a complete assembly that is stronger than any individual component.
Regular maintenance and timely inspections help preserve the integrity of every roofing layer long after installation is complete. Addressing small concerns early prevents hidden damage from spreading and supports the long term performance of the entire roofing system. A well maintained roof not only protects the structure beneath it but also contributes to energy efficiency, indoor comfort, and overall property value.
Whether planning a new construction project or replacing an existing roof, understanding how roofing system layers work together helps homeowners make informed decisions with confidence. By choosing experienced professionals, following manufacturer recommendations, and recognizing the importance of every hidden component, homeowners can invest in a roofing system designed to provide dependable protection for many years to come.