
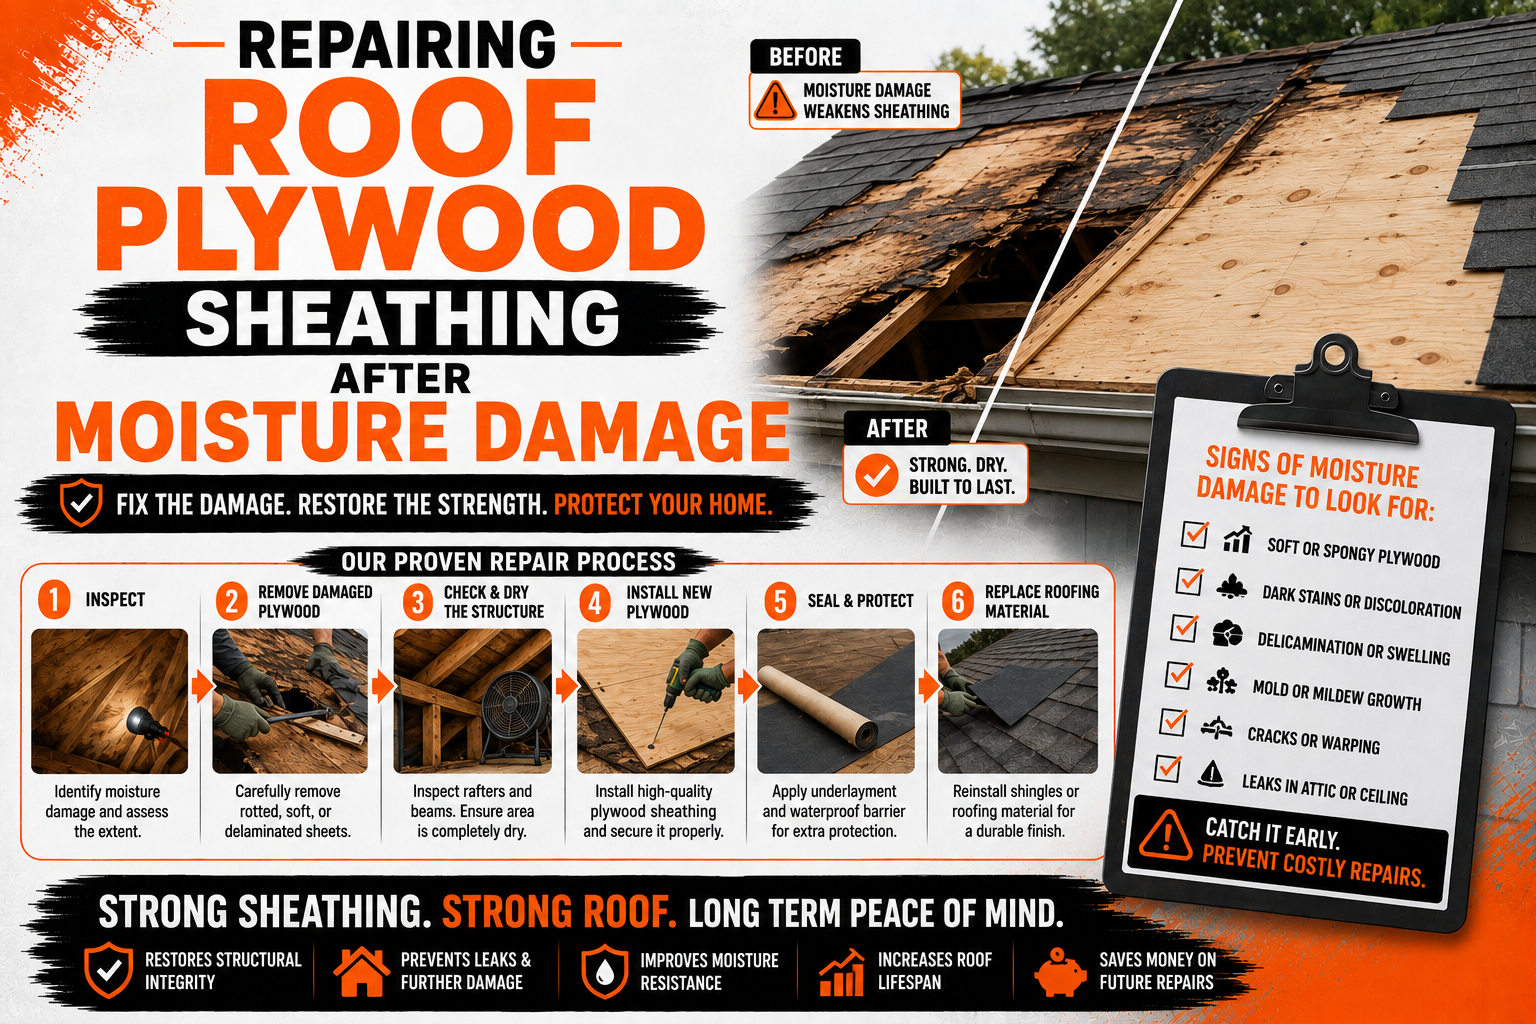
Repairing Roof Plywood Sheathing After Moisture Damage
Introduction
Roof plywood sheathing is one of the most important structural components of any roofing system. While shingles, tiles, or metal panels provide the visible layer of protection, the plywood underneath serves as the solid foundation that supports the entire roof. When this layer becomes weakened by moisture, the integrity of the roof can quickly decline, leading to leaks, structural issues, mold growth, and expensive repairs.
Moisture damage rarely happens overnight. In most cases, it develops gradually as water repeatedly finds its way beneath roofing materials through damaged shingles, failed flashing, clogged gutters, ice dams, poor ventilation, or condensation inside the attic. By the time stains appear on ceilings or roof decking begins to sag, the plywood sheathing may already have experienced significant deterioration.
Understanding how roof plywood sheathing becomes damaged is the first step toward making informed repair decisions. Some moisture-related problems can be corrected with targeted repairs, while others require full panel replacement to restore the roof’s structural strength. Knowing the difference can help homeowners avoid unnecessary expenses while preventing small issues from becoming major structural failures.
This guide explores everything homeowners should know about moisture-damaged roof plywood sheathing. In this first part, we will examine the role of roof sheathing, the causes of moisture intrusion, the warning signs of damage, methods for evaluating its condition, and the situations where repairs may be appropriate before replacement becomes necessary.
What Roof Plywood Sheathing Does in a Roofing System
Roof plywood sheathing is the structural layer installed directly over rafters or roof trusses. It creates a continuous surface that supports underlayment, shingles, metal roofing, or other exterior roofing materials while distributing loads evenly across the framing system.
Without properly installed sheathing, roofing materials would lack adequate support. Strong winds, heavy rainfall, snow loads, and foot traffic during maintenance could all place excessive stress on individual framing members instead of being distributed throughout the roof.
Modern residential roofs commonly use plywood or oriented strand board (OSB) as sheathing materials. While both products perform similar structural functions, plywood generally offers better resistance to repeated moisture exposure because its layered veneer construction helps it retain strength even after occasional wetting.
Roof sheathing also contributes to the overall rigidity of a home’s structure. By tying framing members together, it improves resistance to movement caused by wind uplift, seismic activity, and changing weather conditions. This structural role means moisture damage should never be viewed as merely a cosmetic concern.
In addition to supporting roofing materials, plywood sheathing provides a secure base for fasteners. Nails driven through shingles or roofing panels penetrate the sheathing to create reliable attachment points. If the plywood softens or deteriorates due to moisture, those fasteners may lose their holding power, making the roof more vulnerable during storms.
Because roof sheathing performs so many critical functions simultaneously, maintaining its condition is essential for preserving both the roof and the home’s overall structural stability.
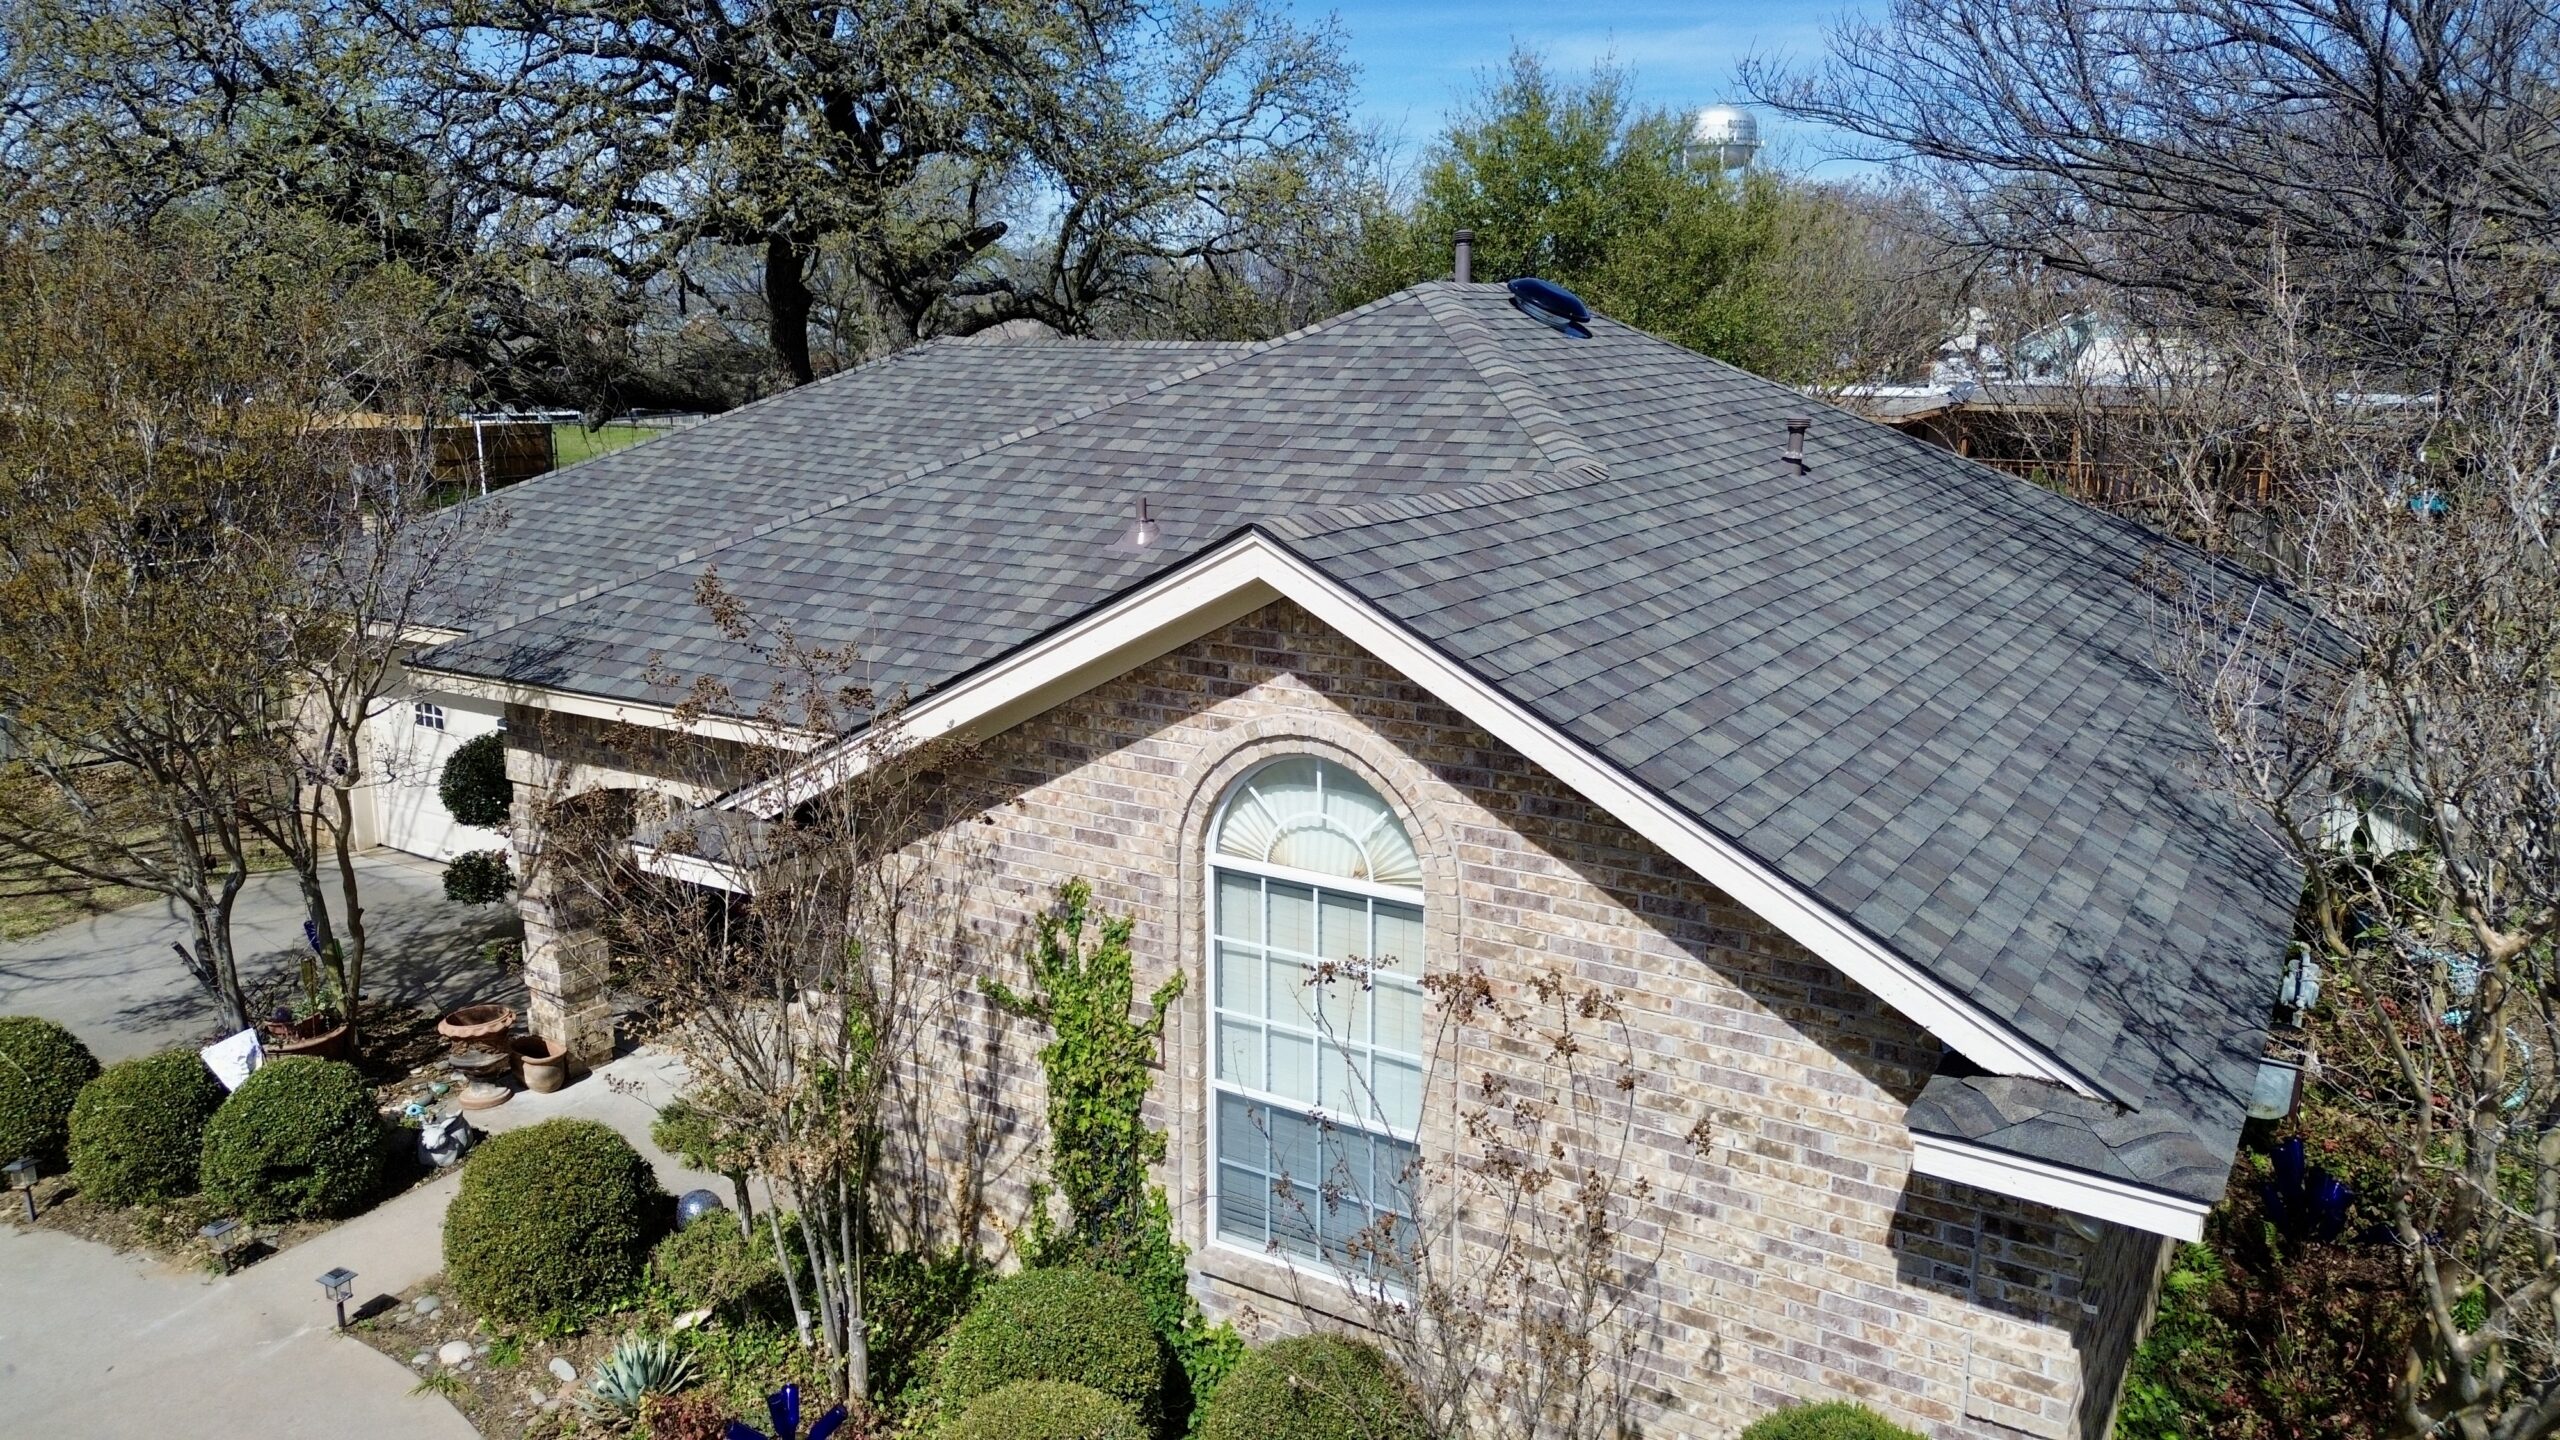
How Moisture Reaches Roof Sheathing
Many homeowners assume roof leaks are the only source of moisture damage, but water can reach roof sheathing in several different ways. Some forms of moisture intrusion are obvious, while others remain hidden for months or even years before causing noticeable problems.
Roof covering failures are among the most common causes. Missing shingles, cracked tiles, damaged flashing, and deteriorated sealants allow rainwater to bypass the exterior roofing materials and soak into the plywood below. Even small openings can admit enough water over time to create widespread damage.
Attic condensation is another frequent source of moisture. Warm indoor air naturally contains water vapor, especially during cooking, bathing, and laundry. If this humid air escapes into an inadequately ventilated attic, it can condense on the underside of cold roof sheathing during cooler weather.
Poor roof ventilation often makes condensation problems worse. Without sufficient intake and exhaust airflow, trapped humidity accumulates inside the attic instead of being carried outside. Over time, repeated cycles of condensation keep plywood damp for extended periods.
Ice dams present another seasonal threat in colder climates. When heat escapes into the attic, snow on the roof melts and flows toward colder eaves where it refreezes. The resulting ice barrier prevents proper drainage, allowing water to back up beneath shingles and penetrate the roof deck.
Clogged gutters can also contribute to moisture intrusion. Water that cannot flow freely away from the roof may pool along the edges, increasing the likelihood of seepage beneath roofing materials during heavy rainfall.
Wind-driven rain creates another challenge. Strong storms can force water beneath shingles or around flashing details that normally protect the roof during ordinary rainfall. Repeated exposure to these conditions gradually increases moisture levels within the sheathing.
Roof penetrations deserve careful attention as well. Chimneys, skylights, plumbing vents, HVAC penetrations, and satellite mounts all interrupt the roof surface. If flashing around these features deteriorates, moisture often enters the roof system without immediately becoming visible inside the home.
Understanding these various moisture sources helps homeowners identify underlying problems rather than simply repairing visible damage. Addressing the root cause is essential for ensuring repairs remain effective over the long term.
Common Causes of Roof Plywood Moisture Damage
Although moisture damage develops through many pathways, several conditions account for the majority of roof sheathing deterioration seen during inspections.
An aging roof naturally becomes more vulnerable as roofing materials wear out. Asphalt shingles gradually lose protective granules, curl at the edges, or develop cracks that allow moisture to penetrate beneath the roof covering. Older flashing materials may also separate from adjoining surfaces, creating pathways for water entry.
Storm damage frequently accelerates this process. High winds can loosen shingles, hail may fracture roofing materials, and falling tree branches can puncture the roof surface. Even seemingly minor storm damage may expose the plywood underneath to repeated moisture infiltration.
Improper roof installation is another major contributor. Incorrect nail placement, inadequate flashing details, poorly sealed penetrations, and improperly overlapped underlayment can all create hidden vulnerabilities that allow water to enter the roof assembly.
Ventilation deficiencies often receive less attention than exterior roof damage, yet they contribute significantly to long-term moisture problems. Attics lacking balanced airflow tend to accumulate humidity, especially during winter months when indoor-outdoor temperature differences are greatest.
Plumbing leaks can also affect roof sheathing. Vent pipes extending through the roof may develop leaks around flashing, while condensation on plumbing components inside the attic can drip onto nearby plywood over extended periods.
Roof-mounted mechanical equipment sometimes creates unexpected moisture issues. Air conditioning systems, attic ventilation fans, solar panel attachments, and satellite installations all introduce penetrations that require careful waterproofing throughout their service life.
Animal activity represents another overlooked source of damage. Birds, squirrels, raccoons, and rodents occasionally create openings that admit rainwater while also damaging insulation and ventilation pathways. Their presence may indirectly increase attic humidity and accelerate moisture accumulation.
Construction errors made during previous repairs can create ongoing problems as well. Reusing damaged flashing, installing incompatible roofing materials, or covering existing moisture damage without addressing its cause often leads to recurring deterioration beneath the new roof surface.
Many moisture problems result from several contributing factors rather than a single failure. A roof with aging shingles, inadequate ventilation, and clogged gutters may experience moisture accumulation much faster than a roof affected by only one of those issues.
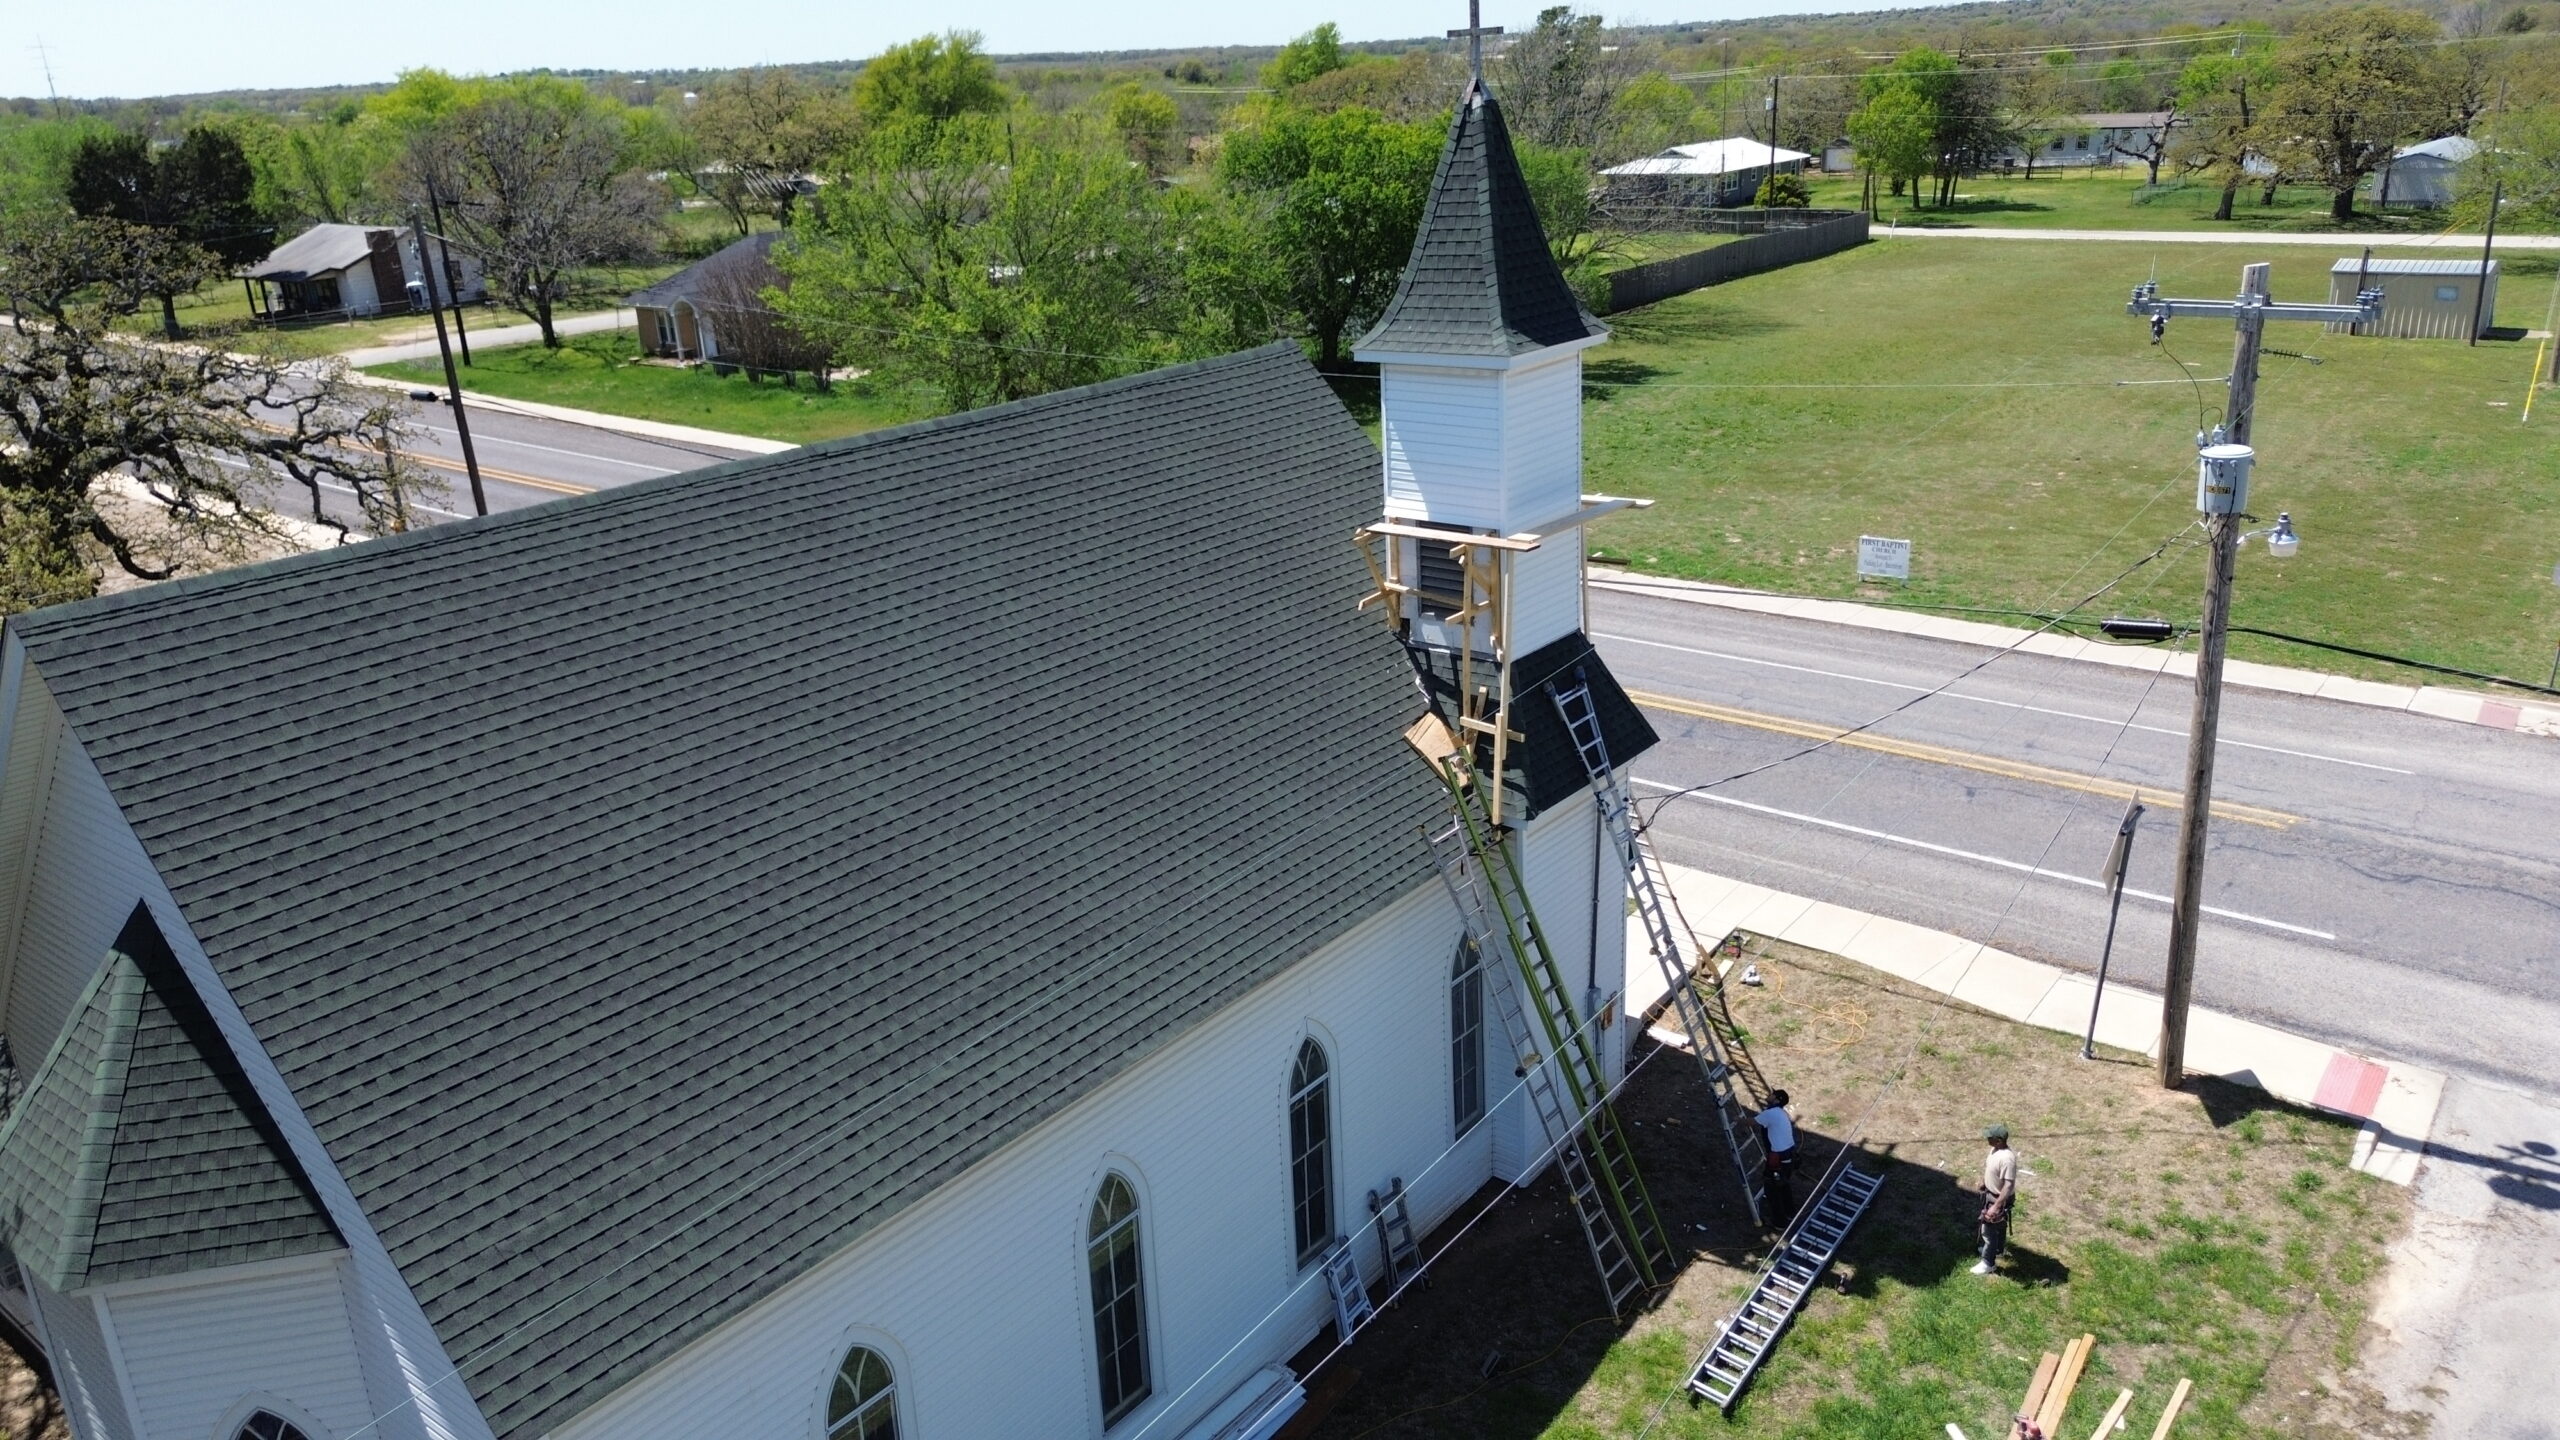
Early Warning Signs Homeowners Should Never Ignore
Moisture damage usually provides warning signs before structural failure occurs. Recognizing these indicators early allows repairs to be completed before extensive replacement becomes necessary.
Water stains on ceilings remain one of the most recognizable symptoms of roof leakage. However, the visible stain often appears some distance from the actual leak because water travels along framing members before dripping into finished living spaces.
Discoloration on attic plywood provides another important clue. Dark staining, water marks, or uneven coloration often indicate repeated moisture exposure, even if the plywood still appears structurally sound.
A musty odor inside the attic may suggest prolonged moisture accumulation. Damp wood, mold growth, and insufficient ventilation frequently create persistent odors that should never be ignored.
Homeowners performing attic inspections should also look for soft or spongy areas in the sheathing. Wood that compresses easily under gentle pressure has likely experienced significant moisture damage and requires closer evaluation.
Visible mold growth is another warning sign that deserves immediate attention. Mold develops when moisture remains present long enough to support fungal activity, indicating that water intrusion or excessive humidity has persisted for an extended period.
Sagging roof sections often signal more advanced deterioration. As plywood loses structural strength, it may begin to deflect between rafters or trusses, creating uneven roof surfaces that become visible from outside the home.
Roofing nails protruding from the underside of the sheathing can also provide useful clues. Rust forming around nail tips or dark staining surrounding fasteners often indicates elevated moisture levels within the plywood.
Increased energy bills sometimes accompany moisture-related roof problems. Wet insulation loses much of its thermal performance, forcing heating and cooling systems to work harder while allowing attic humidity to remain elevated.
Exterior warning signs should not be overlooked either. Curled shingles, deteriorated flashing, algae growth, and persistent debris accumulation may all increase the likelihood of moisture reaching the sheathing beneath.
Routine inspections following major storms provide valuable opportunities to identify these warning signs before they evolve into more extensive structural damage.
How to Assess the Severity of Moisture Damage Safely
Determining whether roof sheathing requires repair or replacement begins with a careful assessment of its condition. Safety should always remain the highest priority during any inspection because roofs and attics present several hazards.
Whenever possible, inspections should begin inside the attic rather than on the roof. This approach allows homeowners to observe the underside of the sheathing while minimizing fall risks associated with climbing onto the roof.
Good lighting is essential during inspections. A bright flashlight helps reveal stains, discoloration, mold, and subtle changes in the wood surface that might otherwise go unnoticed.
Visual examination should focus on identifying darkened areas, swelling, delamination, mold growth, and signs of structural distortion. Particular attention should be given to locations around chimneys, valleys, skylights, plumbing vents, and roof edges where moisture intrusion commonly occurs.
Moisture meters provide more accurate information than visual inspection alone. These handheld devices measure moisture content within the wood, helping determine whether dampness is still present or if previous leaks have already dried.
Physical testing should be performed cautiously. Gently pressing suspect areas with a screwdriver or similar tool can reveal soft spots, but excessive force should be avoided because weakened sheathing may fracture unexpectedly.
Attic insulation should also be inspected carefully. Wet, compressed, or moldy insulation often indicates that moisture has penetrated beyond the roof covering and affected surrounding building materials.
Weather conditions provide additional context during inspections. Recently completed storms, prolonged rainfall, or melting snow may explain elevated moisture readings, while dry weather can help distinguish active leaks from older damage that has already stabilized.
It is equally important to identify the moisture source during the assessment. Repairing damaged plywood without correcting the underlying leak or ventilation problem will almost certainly lead to recurring deterioration.
If widespread sagging, extensive mold growth, or structural movement is observed, homeowners should avoid walking on the affected roof until a qualified roofing professional evaluates its condition. Compromised sheathing may no longer support normal loads safely.
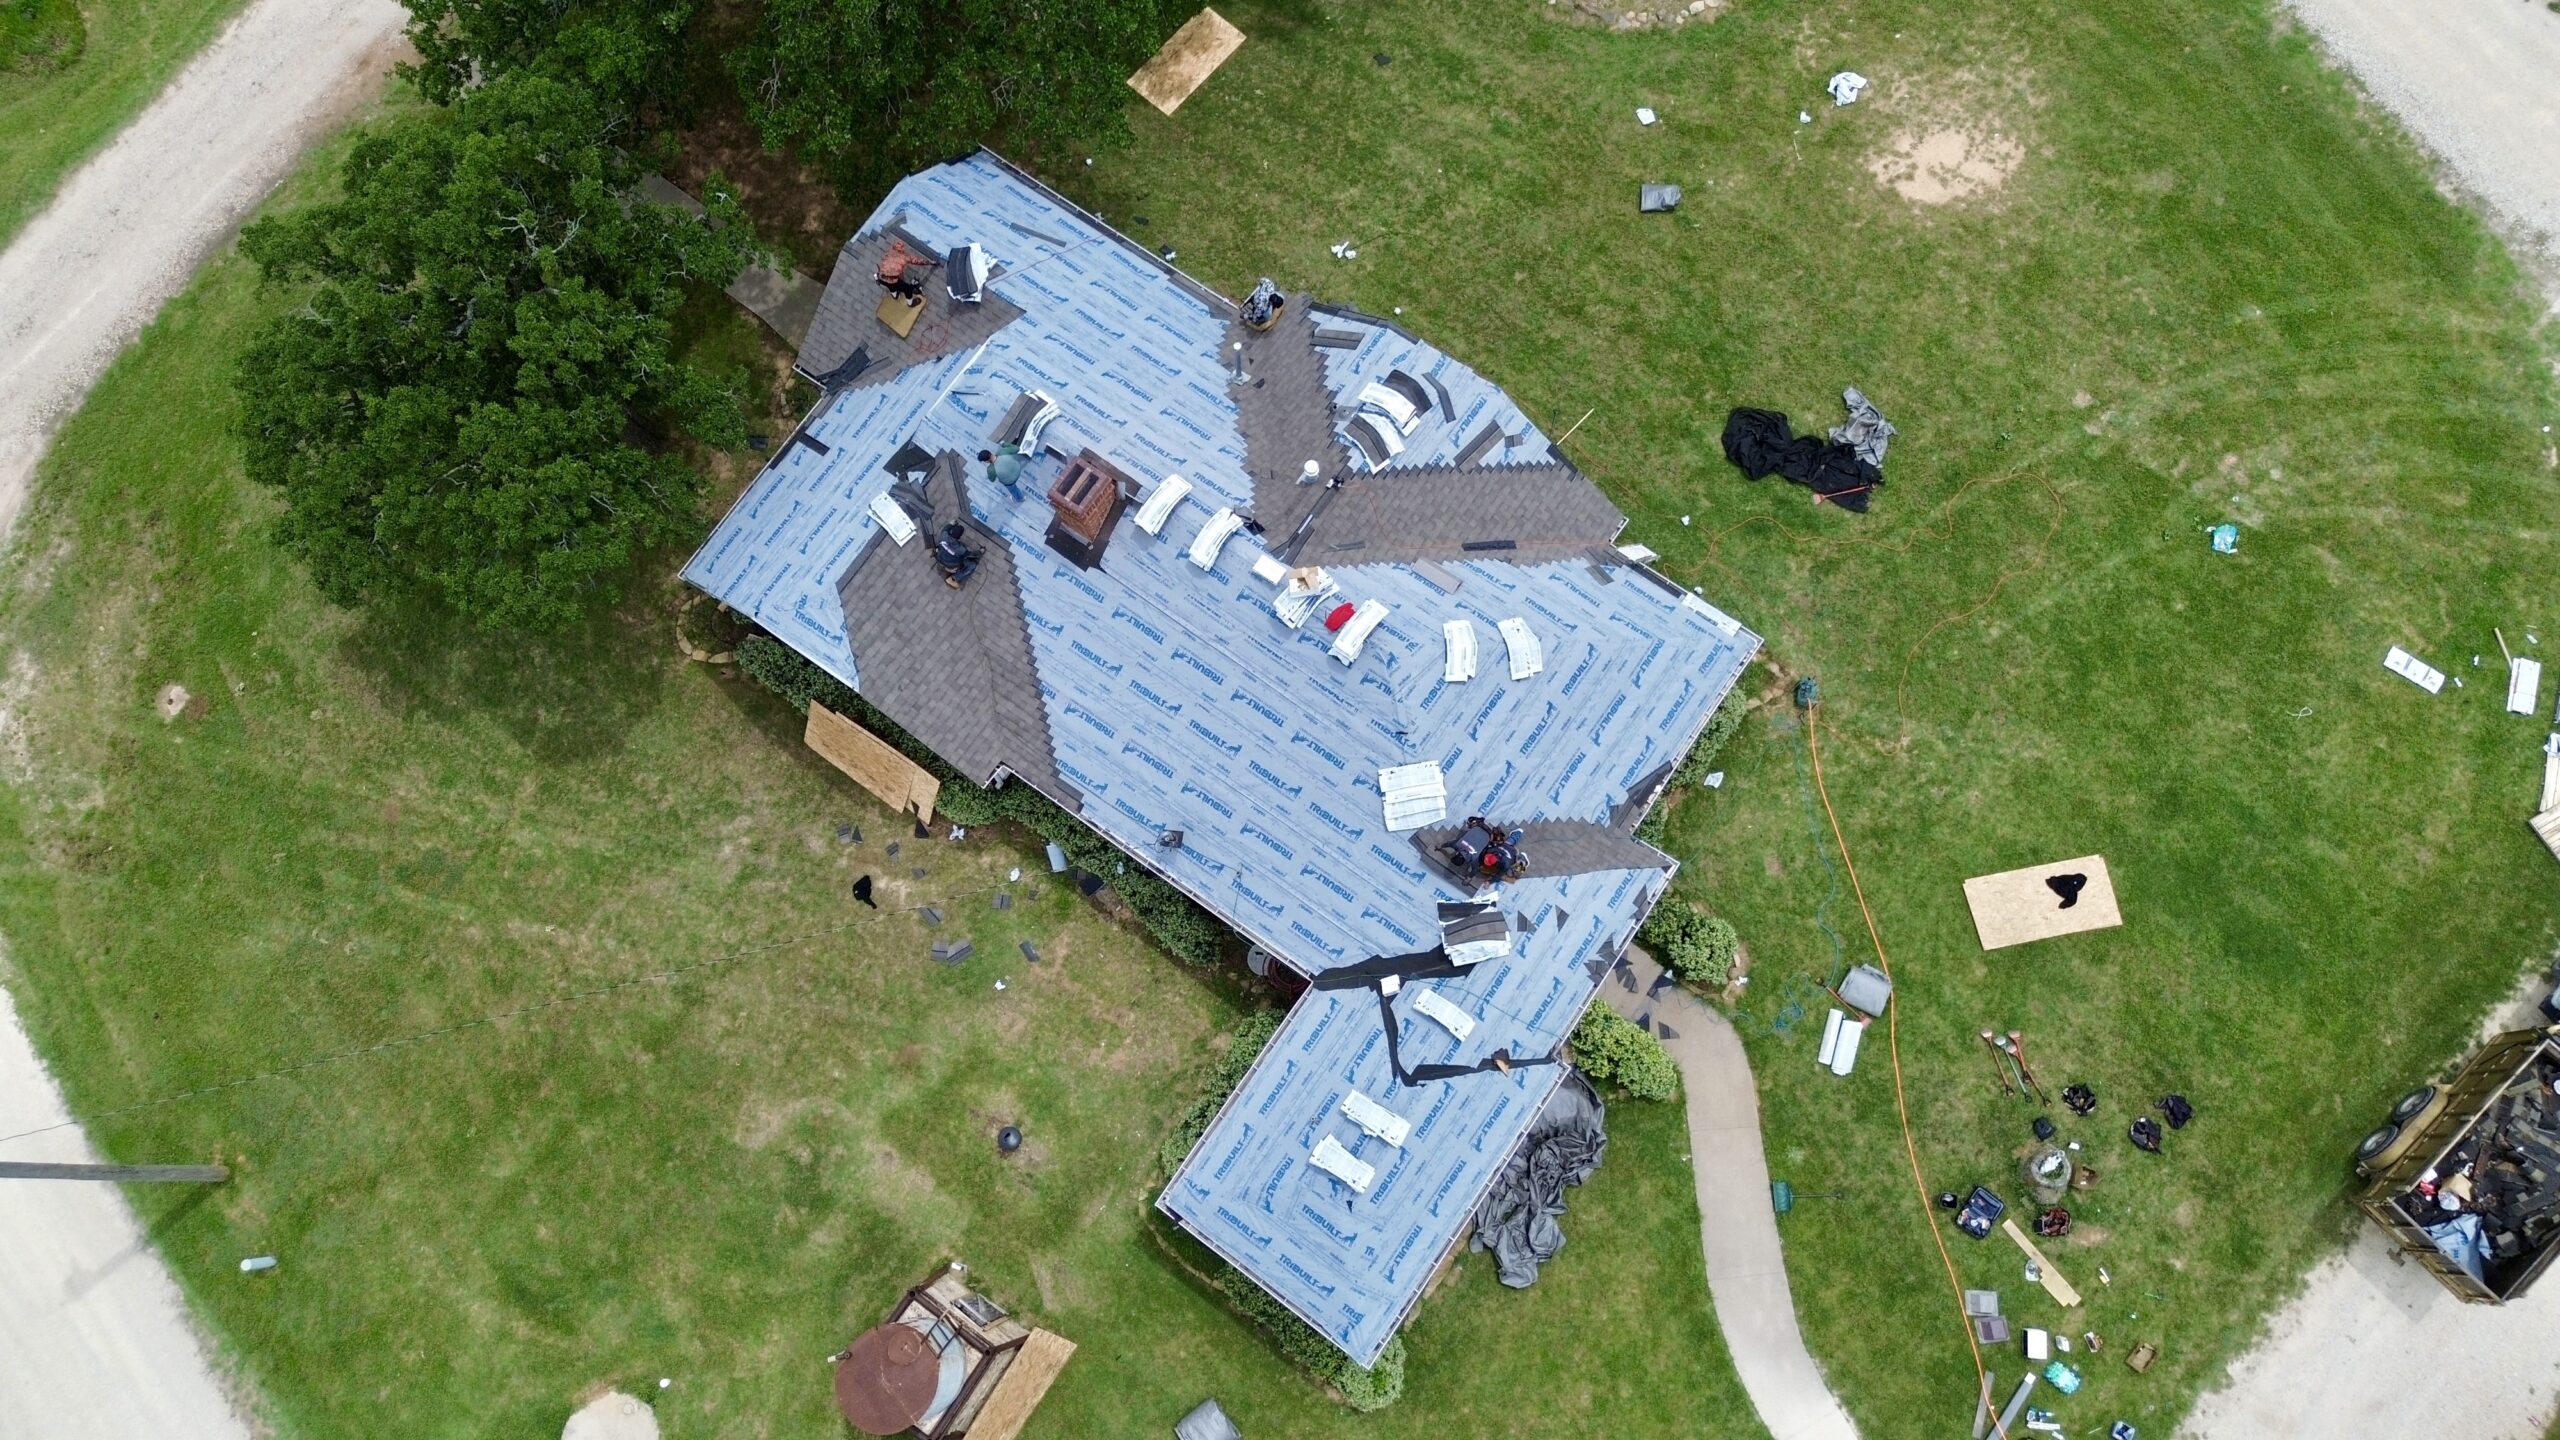
When Moisture Damage Can Be Repaired Instead of Replaced
Not every instance of moisture exposure requires complete replacement of roof plywood sheathing. In many situations, early intervention allows localized repairs that preserve much of the existing structure while restoring the roof’s performance.
Minor surface staining alone does not necessarily indicate structural failure. If the plywood remains dry, firm, and structurally sound after the source of moisture has been eliminated, replacement may not be required.
Localized moisture affecting a small section of a plywood panel can sometimes be repaired without replacing the entire roof deck. Careful inspection helps determine whether the damage is isolated or has spread into surrounding framing members.
Temporary wetting from a one-time roof leak may leave cosmetic discoloration without significantly reducing structural strength. Once thoroughly dried, these areas can often remain in service if no delamination, softening, or fungal decay has occurred.
Small areas of mold can sometimes be remediated successfully after moisture sources are corrected. However, the underlying wood must still retain its structural integrity before repair becomes a practical option.
The age of the roof also influences repair decisions. Newer roofing systems with isolated moisture damage often justify targeted repairs, while older roofs nearing the end of their service life may benefit from broader replacement during reroofing projects.
Professional evaluations frequently include measurements of wood strength, moisture content, and the extent of deterioration. These findings help determine whether repairs will provide long-term reliability or whether replacement offers the safer and more economical solution.
Making the correct decision requires balancing immediate repair costs with long-term roof performance. Addressing moisture damage early often preserves more of the existing structure while avoiding the larger expenses associated with extensive structural repairs later.
Why Prompt Repairs Prevent Larger Roofing Problems
Moisture damage rarely remains confined to a single sheet of plywood. Once water enters the roof assembly, it often spreads into insulation, framing, fasteners, and interior finishes, increasing repair costs as time passes.
Wet plywood gradually loses strength through repeated expansion and contraction. As this cycle continues, roofing nails loosen, shingles become more vulnerable to wind uplift, and additional water gains easier access beneath the roof covering.
Persistent moisture also creates ideal conditions for fungal decay and mold growth. Besides weakening wood fibers, mold can affect indoor air quality and require specialized remediation if allowed to spread throughout the attic.
Ignoring early warning signs often results in much larger structural repairs. Damaged rafters, weakened trusses, deteriorated fascia boards, and compromised insulation frequently develop after untreated moisture problems remain active for extended periods.
Timely repairs also protect the investment homeowners have already made in their roofing system. Correcting leaks while damage is still localized helps extend the service life of roofing materials and reduces the likelihood of premature roof replacement.
Understanding how moisture affects roof plywood sheathing provides the foundation for making informed repair decisions. In the next part, we will examine the complete repair process, including preparation, material selection, panel replacement techniques, proper installation methods, and the common mistakes that should be avoided to ensure long-lasting results.
Preparing for a Safe Roof Repair
Repairing roof plywood sheathing begins long before any damaged wood is removed. Proper planning improves safety, reduces the likelihood of mistakes, and ensures the repair addresses both the damaged sheathing and the source of moisture. Skipping preparation often leads to recurring leaks that compromise the newly repaired roof.
The first step is identifying and correcting the moisture source. Replacing damaged plywood without fixing leaking flashing, missing shingles, clogged gutters, or attic ventilation issues only postpones the problem. Water will eventually reach the new sheathing, creating another cycle of deterioration.
Weather conditions also play an important role. Roof repairs should ideally be completed during dry weather with little wind, allowing exposed framing and replacement materials to remain dry throughout the project. Unexpected rain can soak exposed roof components before repairs are completed, reducing the effectiveness of the work.
Safety should never be treated as an afterthought. Stable ladders, fall protection equipment, proper footwear, and protective clothing significantly reduce the risks associated with roof work. Homeowners should also avoid walking on visibly weakened roof sections because moisture-damaged sheathing may not support body weight safely.
If extensive structural damage is suspected, temporary tarping may be necessary before permanent repairs begin. This prevents additional water intrusion while allowing enough time for a thorough inspection and repair plan.
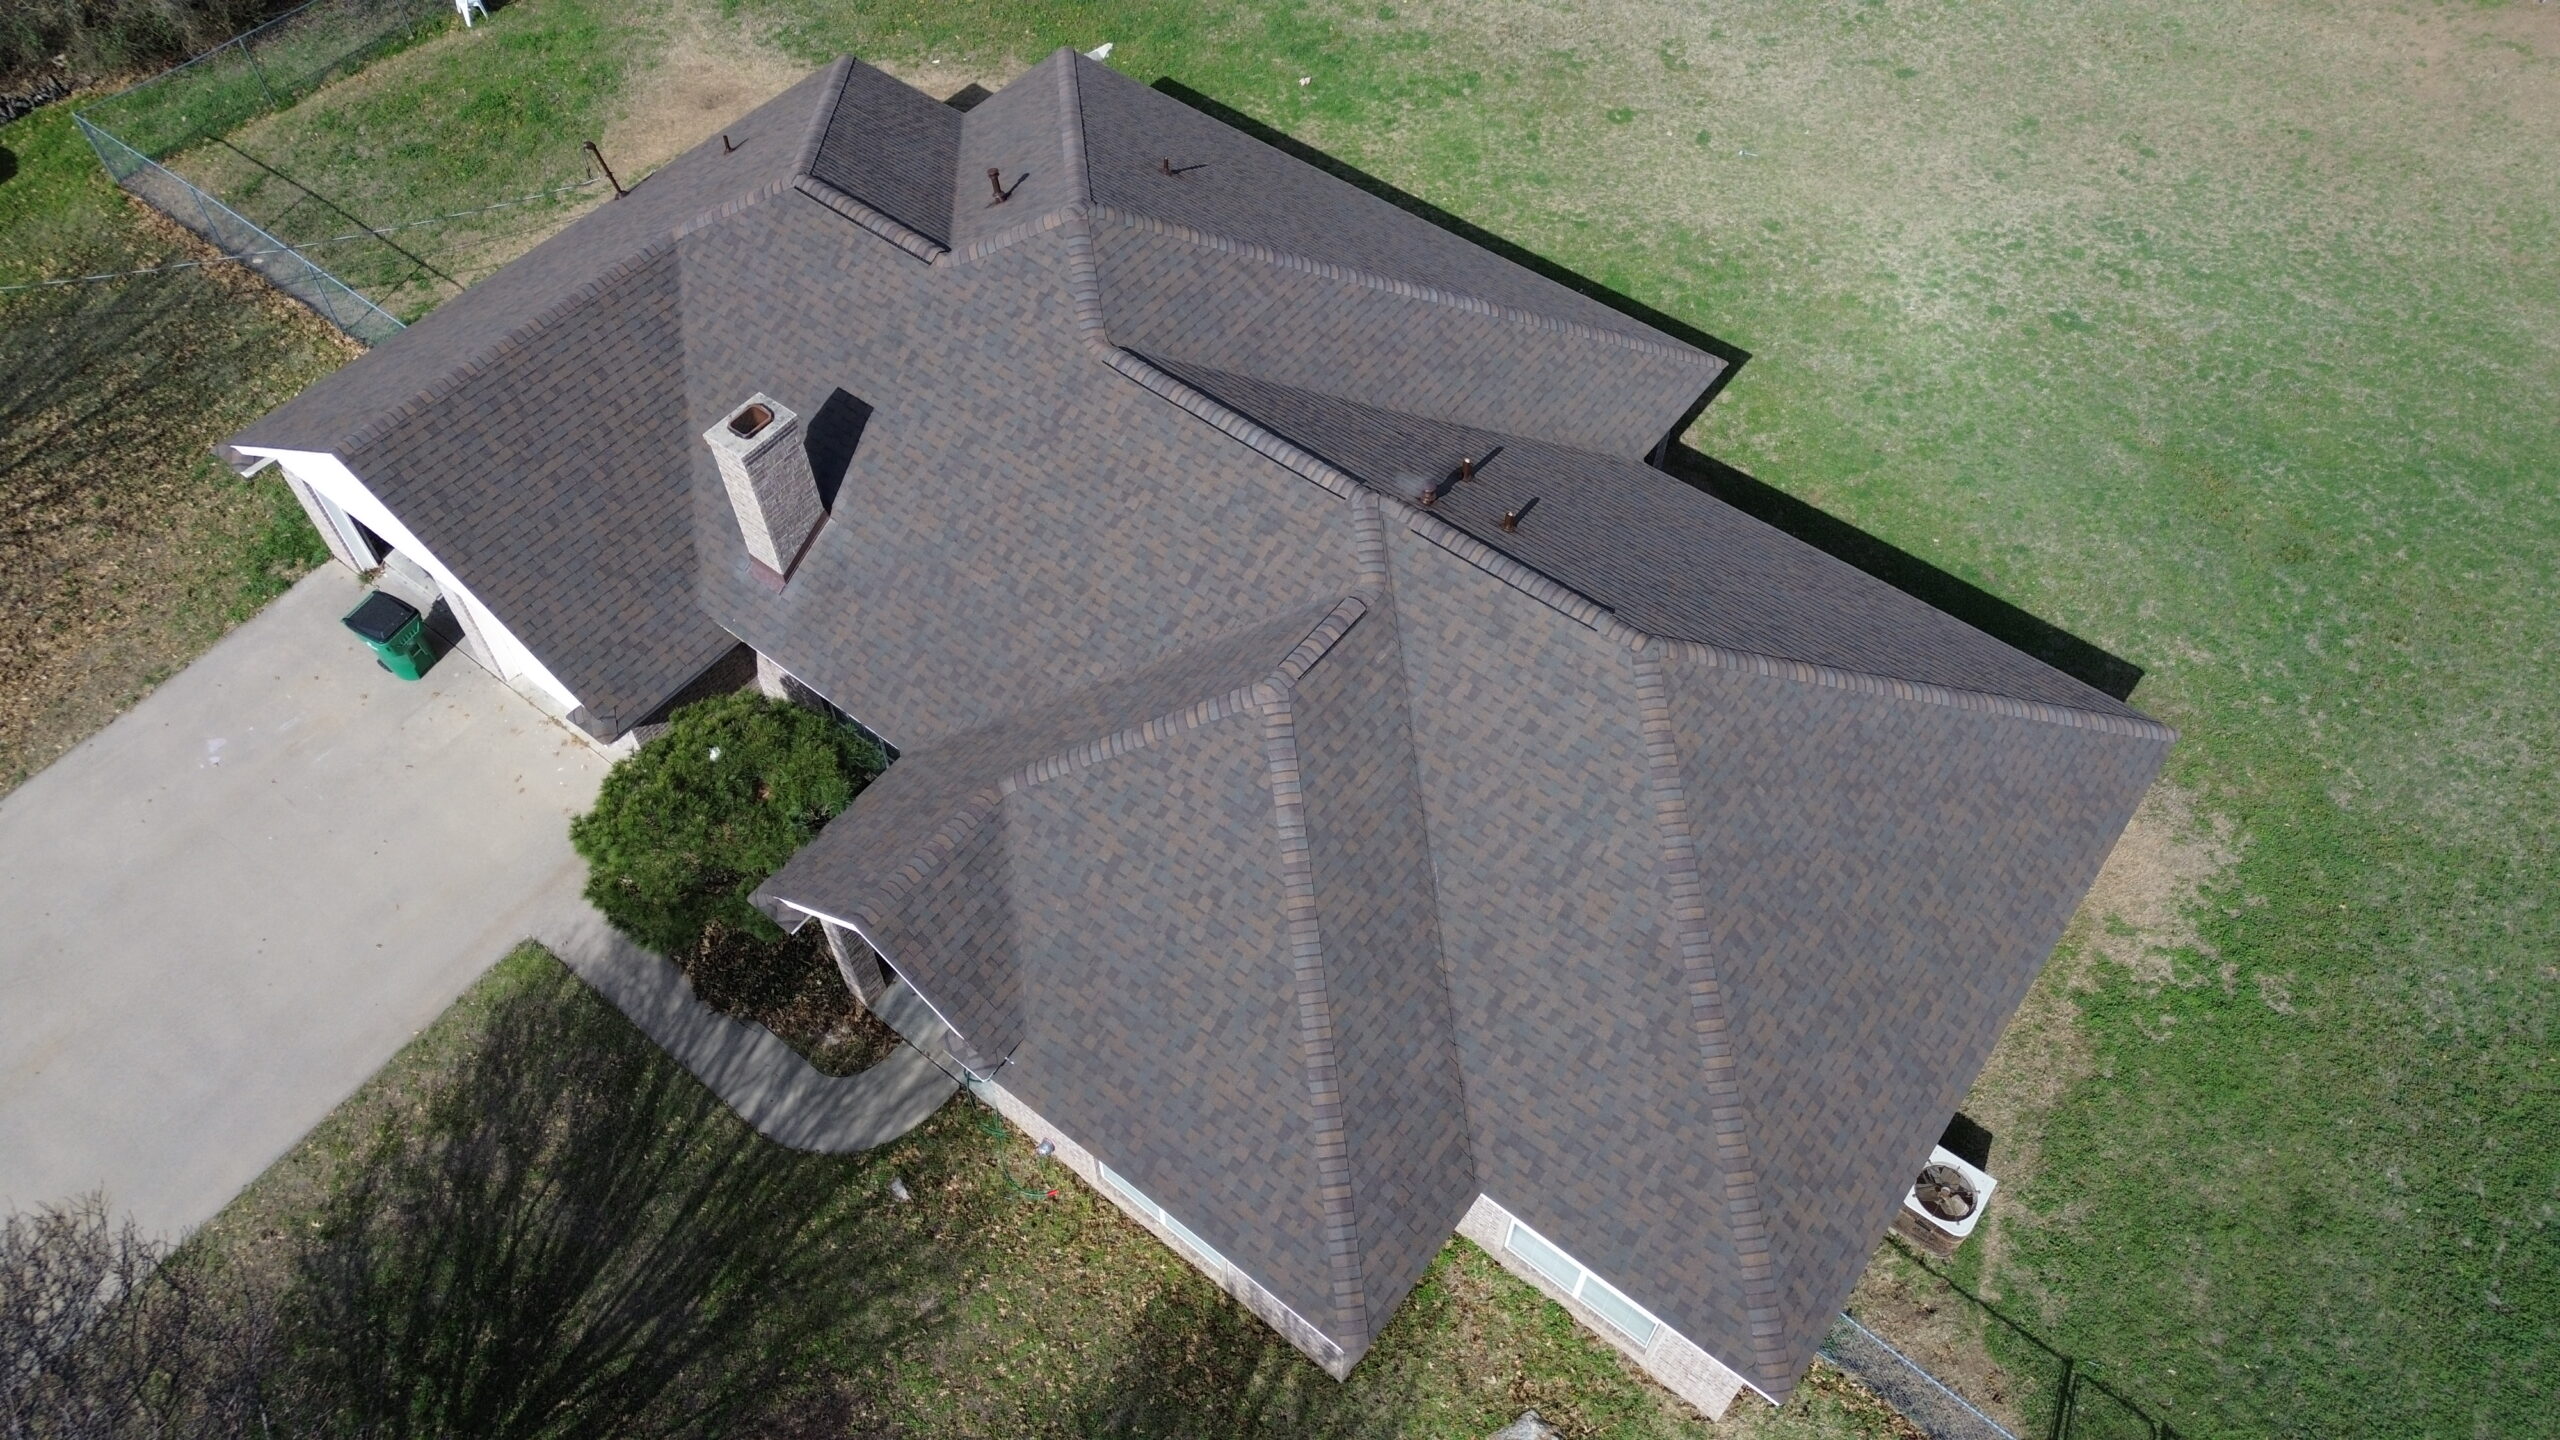
Tools and Materials Required
Using the proper tools helps ensure repairs are completed efficiently while reducing unnecessary damage to surrounding roofing materials. Having everything ready before opening the roof minimizes the amount of time the structure remains exposed to weather.
Some of the most commonly used tools include:
- Roofing hammer or nail puller
- Circular saw with adjustable cutting depth
- Pry bar
- Utility knife
- Measuring tape
- Carpenter’s square
- Drill or impact driver
- Moisture meter
- Flashlight
- Safety harness and protective equipment
Replacement materials should closely match the existing roof system whenever possible. Using plywood with the correct thickness and structural rating helps maintain the roof’s strength and ensures compatibility with surrounding panels.
Typical materials may include replacement plywood, roofing underlayment, roofing nails, construction adhesive where appropriate, replacement shingles or roofing panels, flashing components, sealants approved for roofing applications, and ventilation products if airflow improvements are part of the repair.
Before beginning work, it is also wise to cover landscaping and outdoor equipment beneath the repair area. Falling nails, shingles, and plywood pieces can damage plants, vehicles, or outdoor furniture if precautions are not taken.
Removing Roofing Materials Without Creating Additional Damage
Accessing damaged sheathing requires careful removal of the roofing materials installed above it. This stage demands patience because unnecessary damage to reusable materials can increase repair costs.
Roof shingles should be lifted gently using a flat pry bar to release nails without tearing surrounding courses. Working from the top downward generally allows damaged shingles to be removed while preserving adjacent materials that remain in good condition.
Metal roofing panels require a different approach. Fasteners must be removed carefully to prevent bending or warping the panels, especially if they will be reused after the sheathing repair. Manufacturer installation instructions should always be followed to avoid damaging protective coatings.
Tile roofing often requires even greater care because individual tiles can crack during removal if handled improperly. Setting removed tiles aside in an organized manner makes reinstallation much easier after repairs are complete.
Underlayment should also be inspected once exposed. If it shows signs of moisture deterioration, tearing, or brittleness, replacing it along with the damaged plywood provides a more reliable repair than attempting to reuse compromised materials.
Throughout this process, exposed roof openings should be protected whenever work pauses. Even a brief rain shower can introduce additional moisture into freshly opened roof sections, making repairs more difficult.
Inspecting Rafters, Trusses, and Adjacent Structural Components
Removing damaged sheathing provides an opportunity to inspect the roof’s structural framework. Moisture rarely affects plywood alone, and overlooking damage to supporting members may reduce the long-term effectiveness of the repair.
Rafters should be examined for signs of rot, discoloration, cracking, or insect activity. Sound structural lumber remains firm when probed gently, while decayed wood often feels soft or crumbles under light pressure.
Roof trusses deserve equal attention because their engineered design depends on every component functioning as intended. Moisture damage affecting gusset plates, joints, or structural members should be evaluated carefully before replacement sheathing is installed.
Metal fasteners may also reveal important clues about moisture history. Rusted nails, corroded connectors, or deteriorated brackets indicate prolonged exposure to elevated moisture levels and may require replacement during the repair.
Attic insulation surrounding the repair area should not be ignored. Wet insulation loses much of its insulating value and can trap moisture against wood framing long after roof leaks have been corrected. Replacing saturated insulation improves both energy efficiency and moisture control.
This inspection stage is also the ideal time to evaluate ventilation pathways. Blocked soffit vents, obstructed ridge vents, or damaged baffles may have contributed to excessive attic humidity, making future moisture problems more likely if left uncorrected.
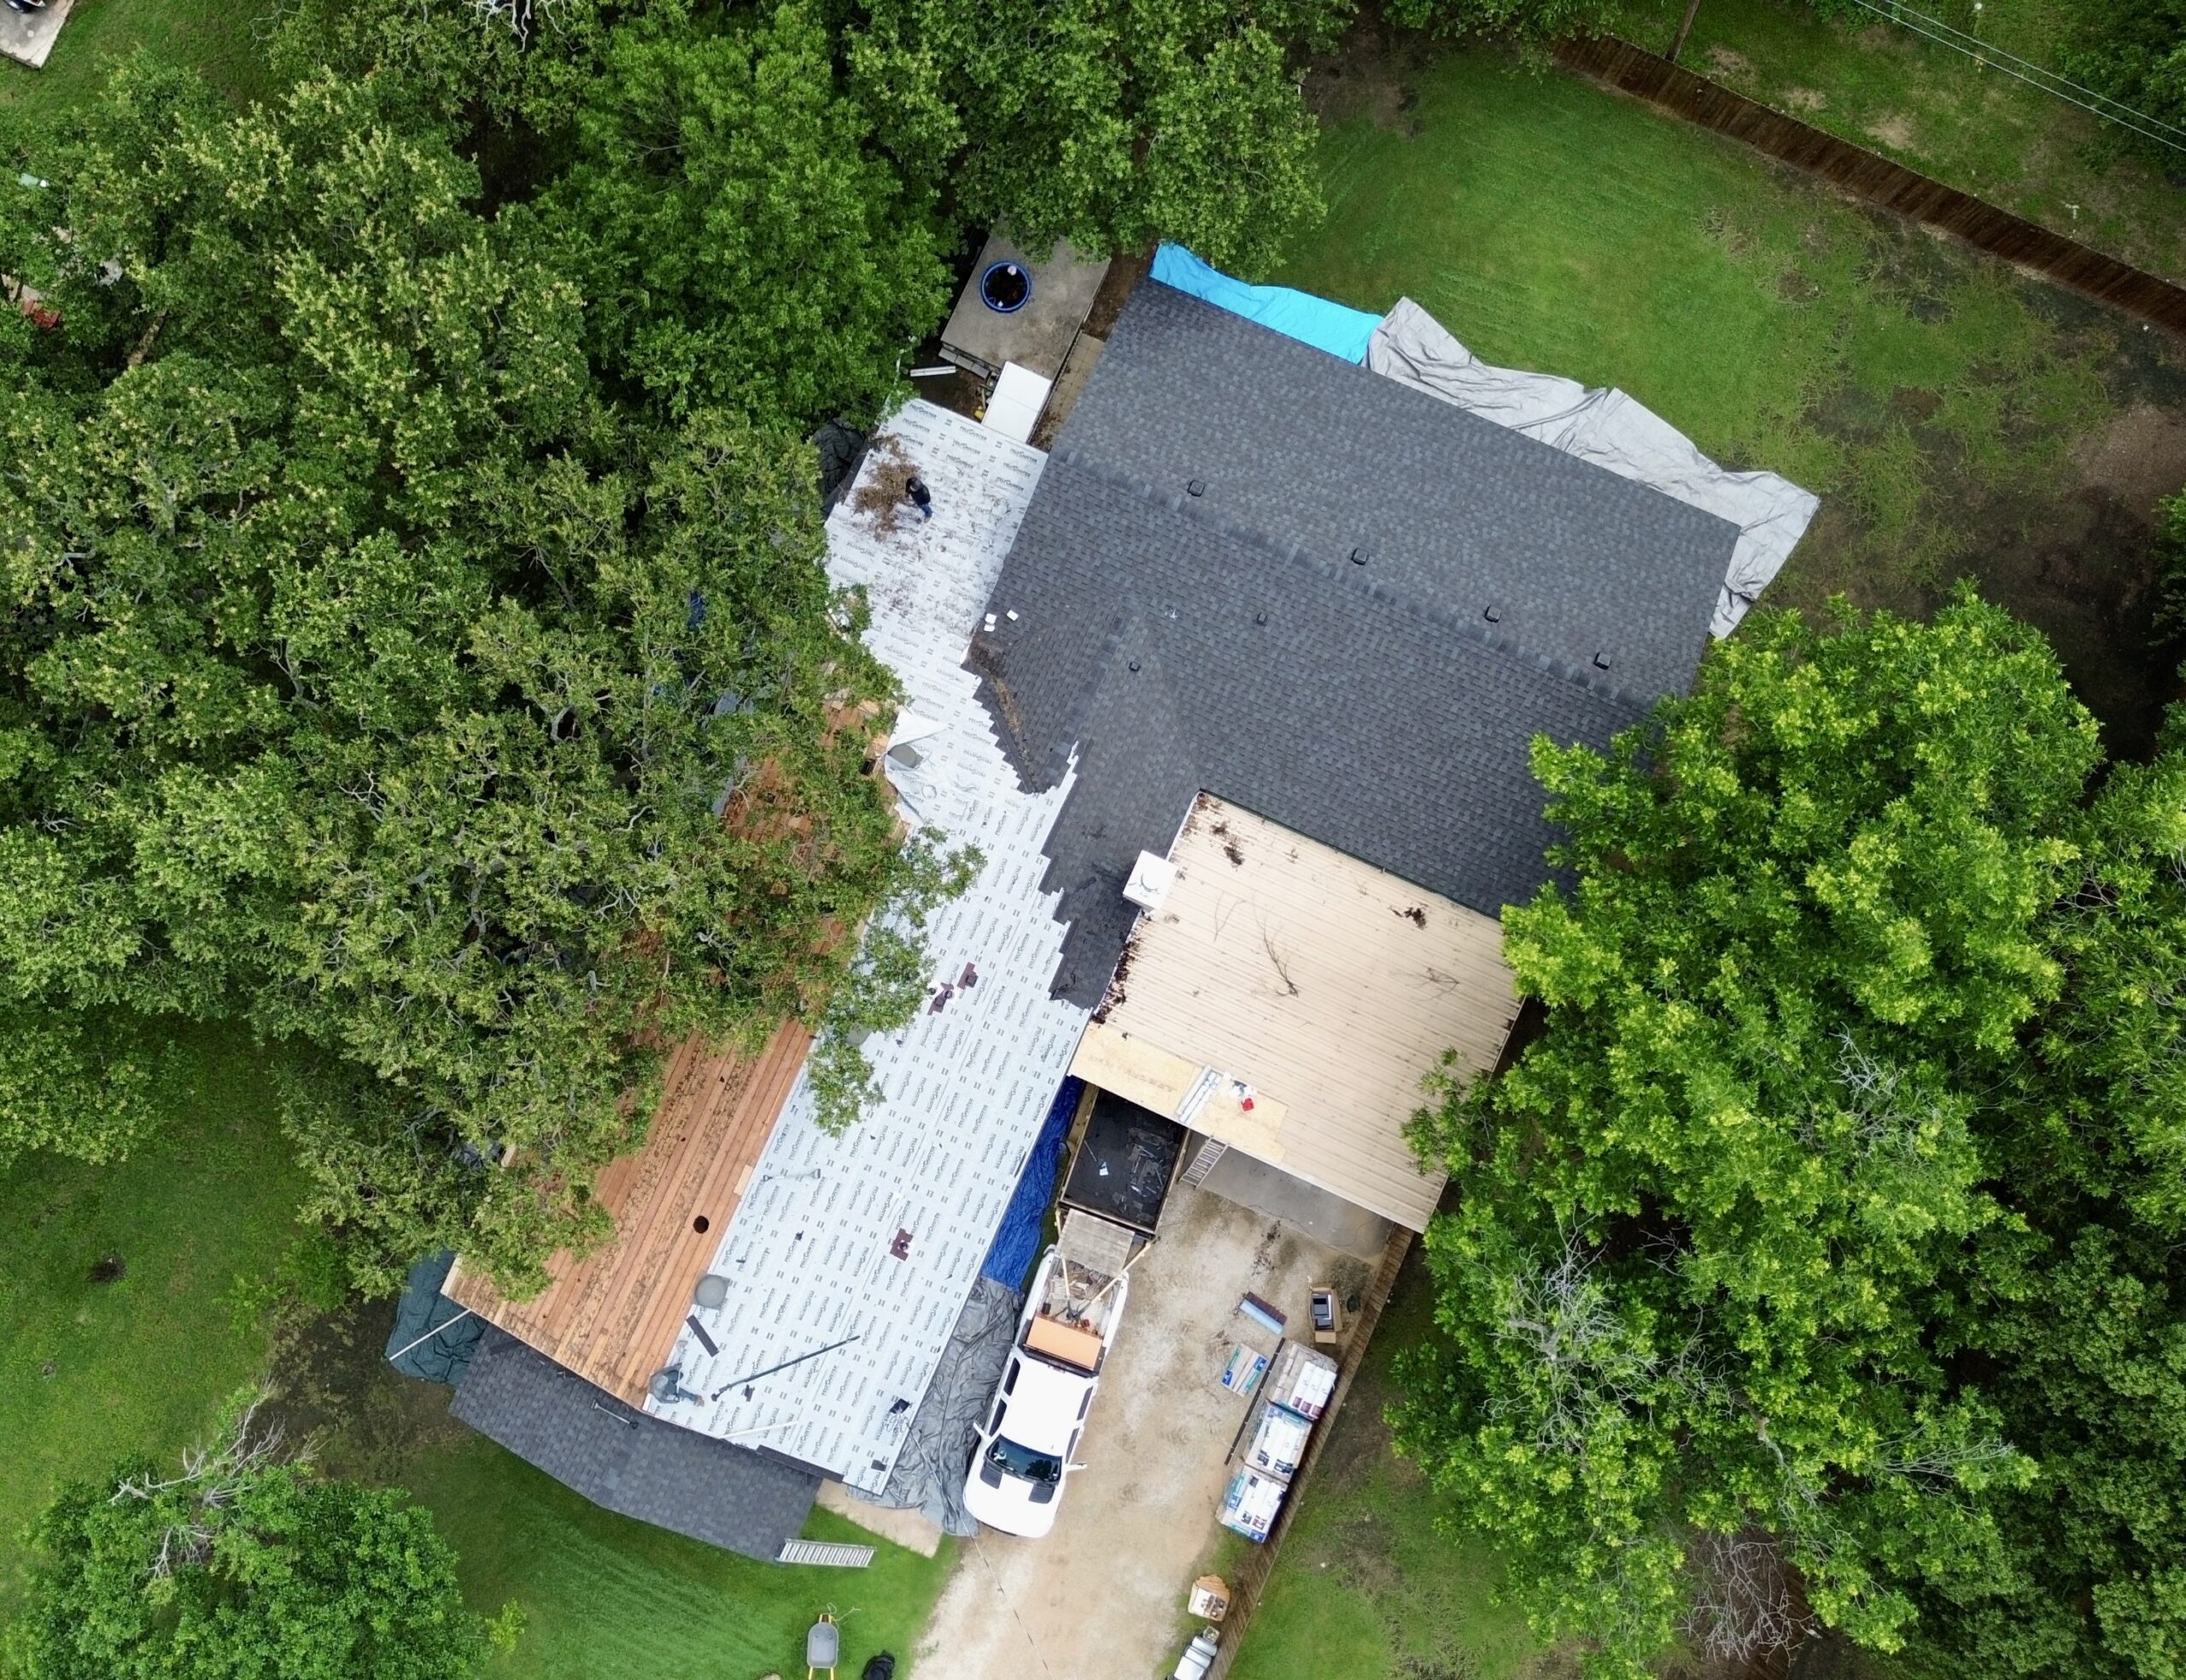
Repairing Minor Moisture Damage
Not every moisture-related issue requires replacing an entire plywood panel. When damage is limited and structural integrity remains intact, targeted repairs may restore the sheathing successfully while reducing material costs.
The affected area should first be allowed to dry completely. Trapped moisture inside the wood can continue causing deterioration even after visible leaks have been repaired, so moisture readings should return to acceptable levels before restoration begins.
Surface contamination such as mold or mildew should be removed using methods appropriate for structural wood. Cleaning should eliminate biological growth while avoiding excessive saturation that could introduce additional moisture into the plywood.
Minor edge deterioration around fastener holes or localized surface defects can sometimes be stabilized using approved structural repair techniques. However, repairs should never attempt to disguise wood that has already lost significant strength.
Any repaired area should remain flat, rigid, and capable of securely holding roofing fasteners. If there is any doubt about the plywood’s structural performance, replacement remains the safer long-term solution.
Repair decisions should always prioritize structural reliability rather than minimizing immediate costs. Saving a damaged panel that later fails often results in far more extensive repairs than replacing it during the initial project.
Replacing Severely Damaged Roof Sheathing Panels
When plywood has become soft, delaminated, heavily rotted, or structurally weakened, replacement is usually the only dependable solution. Installing new sheathing restores the roof’s load-carrying capacity while providing a secure foundation for the roofing materials above.
The damaged panel should be cut carefully along the centerline of supporting rafters or trusses whenever possible. This allows the replacement panel to share solid structural support with adjacent sections while providing secure fastening surfaces.
A circular saw adjusted to the thickness of the existing plywood helps prevent accidental damage to framing members or concealed wiring beneath the sheathing. Corners and tight areas can then be completed using hand tools where necessary.
Once the damaged panel has been removed, the exposed framing should be cleaned and inspected again. Any remaining debris, loose fasteners, or moisture should be addressed before the replacement plywood is installed.
Replacement plywood should match the original thickness unless structural upgrades are specifically required by local building codes or engineering recommendations. Using thinner panels can reduce roof strength, while thicker panels may create uneven transitions that complicate roofing installation.
Proper panel orientation is equally important. Structural plywood is designed to carry loads most effectively when installed with its face grain perpendicular to the supporting framing members.
Expansion gaps should be maintained between adjacent panels to allow for natural seasonal movement caused by changing temperature and humidity. Panels installed too tightly may buckle as moisture conditions change.
Installing New Plywood Correctly
Accurate installation practices ensure the replacement sheathing performs as intended throughout the roof’s service life. Even high-quality materials cannot compensate for poor installation techniques.
Before fastening begins, each replacement panel should be dry-fitted to verify proper alignment. Edges should rest fully on supporting framing members without excessive force or large gaps that reduce structural support.
Fasteners should penetrate framing members at the proper depth while remaining flush with the plywood surface. Overdriven fasteners reduce holding strength, whereas underdriven fasteners may interfere with roofing materials installed above.
Construction adhesive may be applied where permitted to reduce movement between framing members and sheathing. While adhesive should not replace mechanical fasteners, it can improve overall stiffness and reduce squeaking in some roof assemblies.
Once the panel is secured, installers should verify that its surface aligns evenly with surrounding sheathing. Uneven transitions can telegraph through shingles or metal roofing, affecting both appearance and long-term weather resistance.
Before replacing underlayment, the entire repair area should receive one final inspection. Confirming proper fastening, panel spacing, and framing support at this stage helps prevent problems that become difficult to correct once roofing materials are reinstalled.
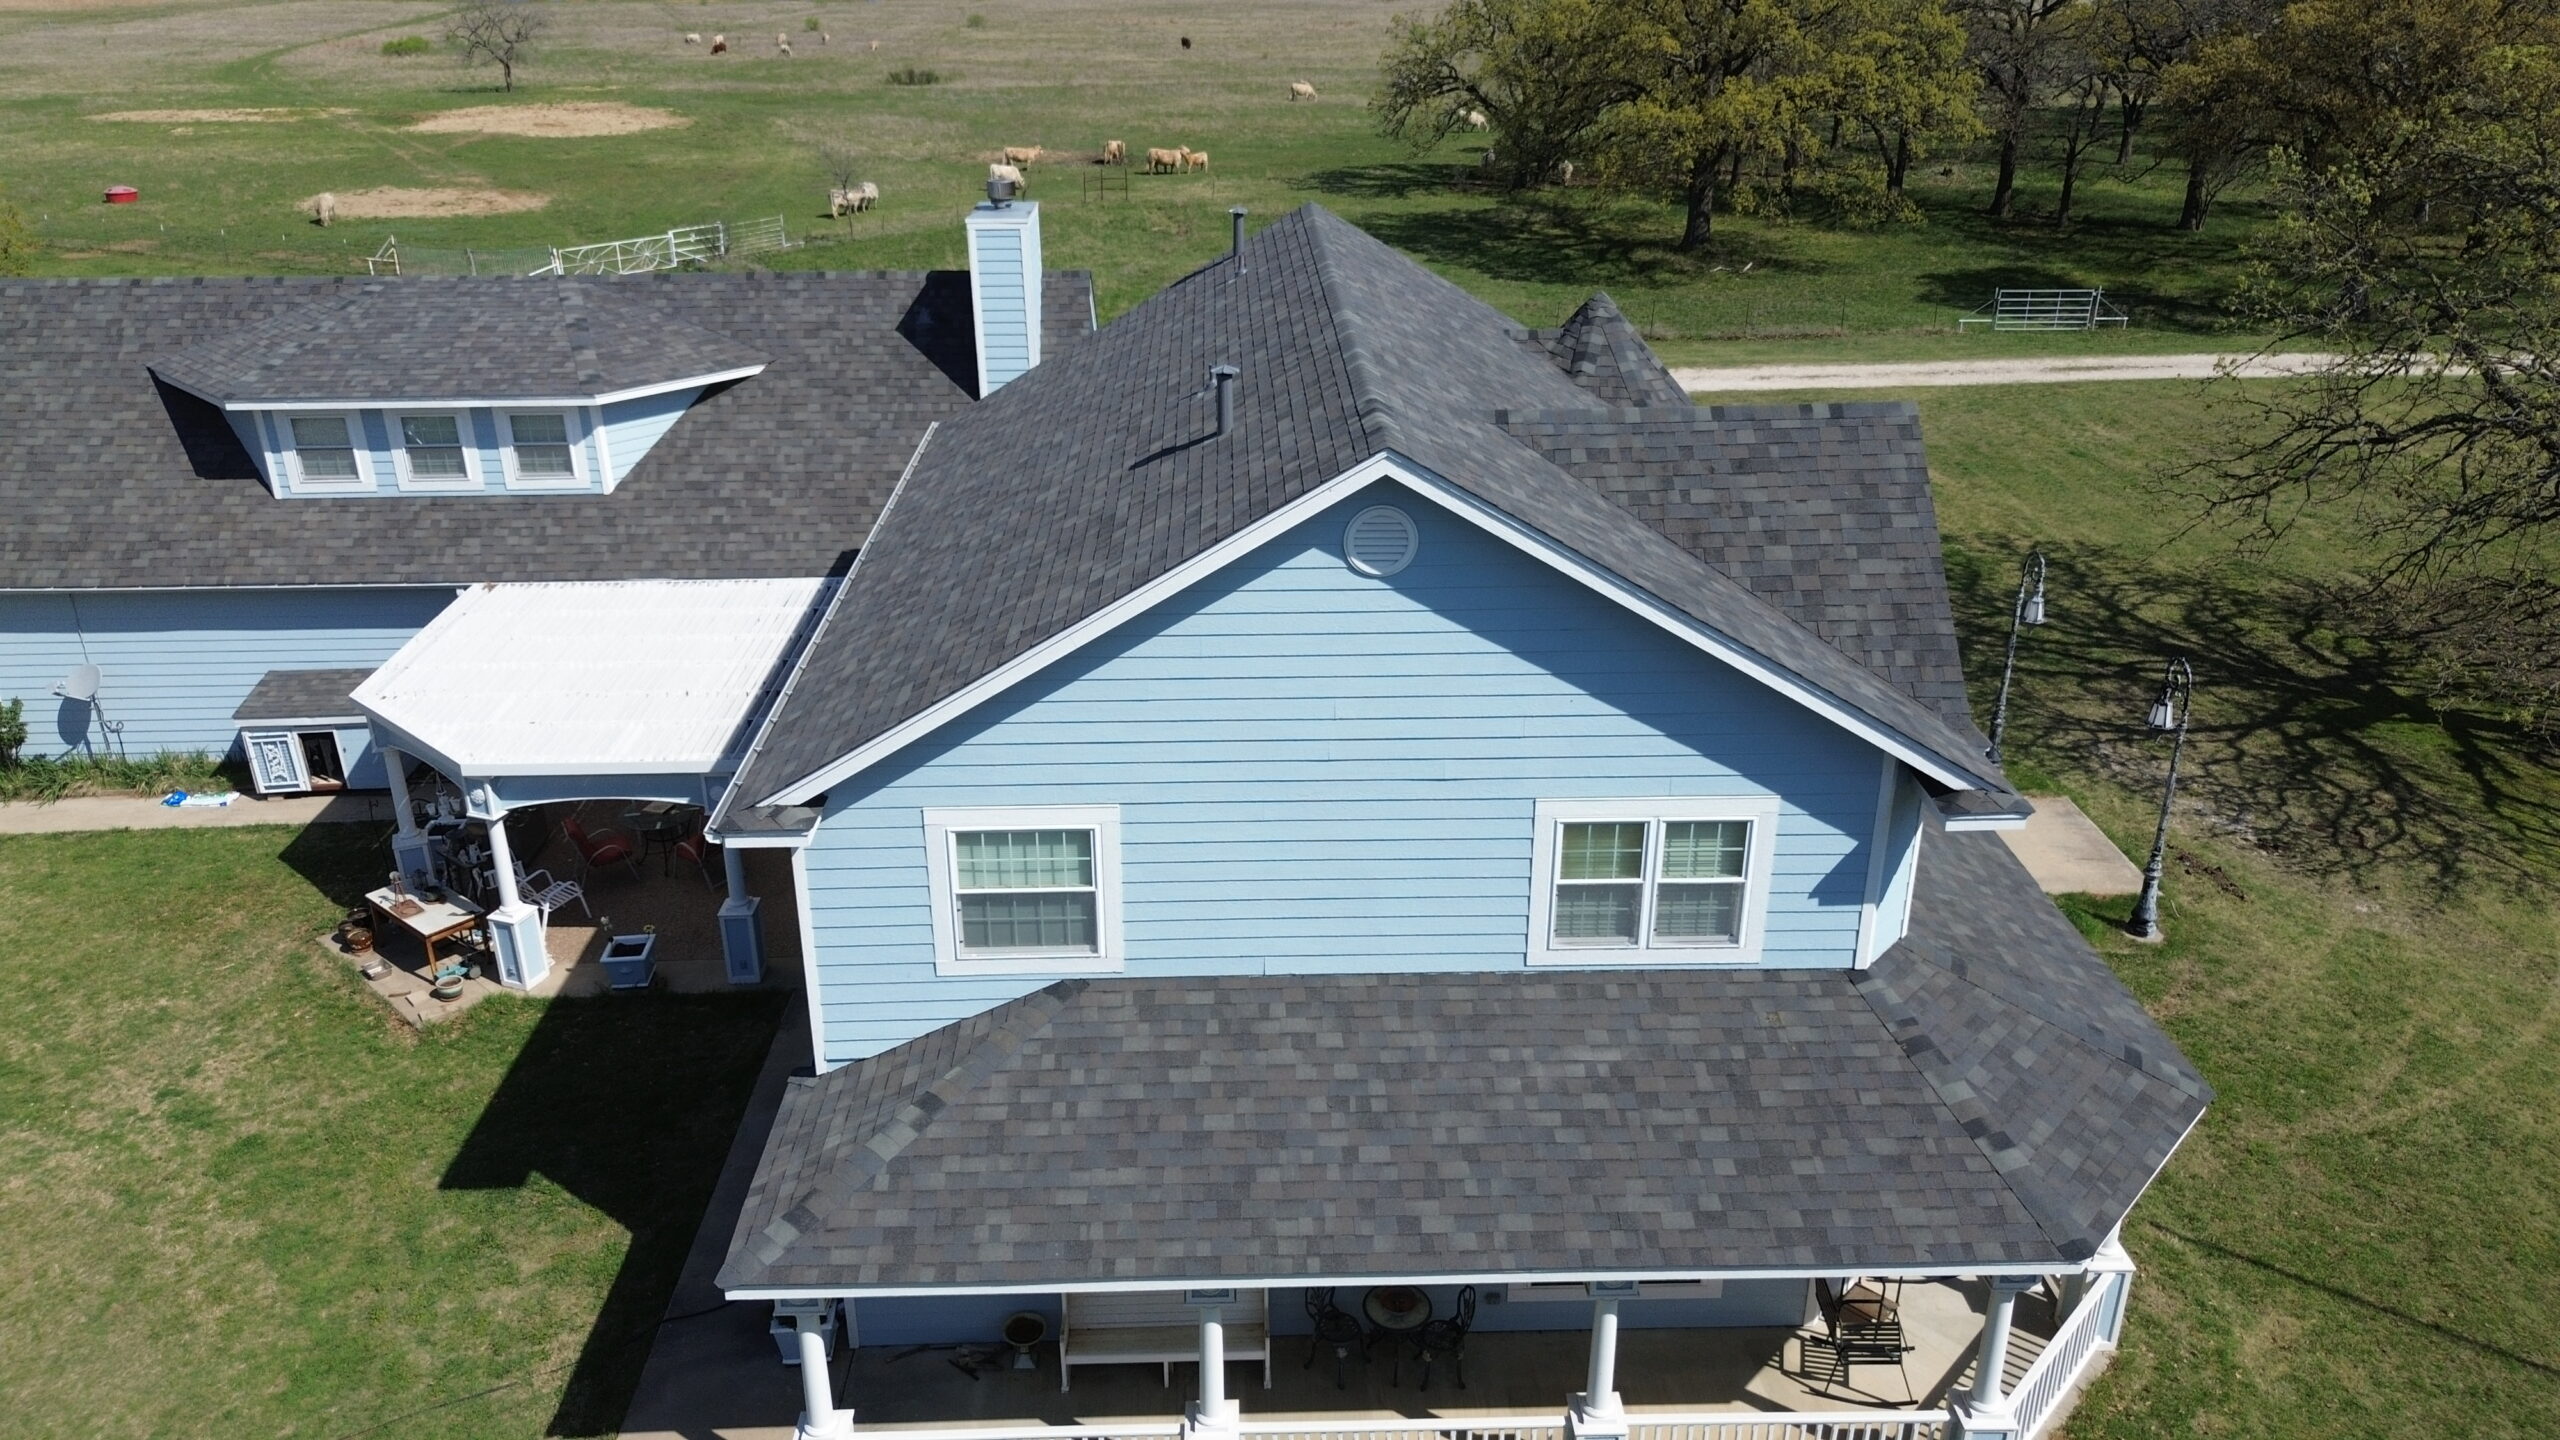
Fastening Methods and Building Code Considerations
Proper fastening is one of the most critical aspects of roof sheathing replacement. Fastener type, spacing, and installation methods all influence the roof’s ability to resist wind uplift and structural loading.
Building codes vary by region, particularly in areas exposed to hurricanes, earthquakes, or heavy snow loads. Local requirements may specify minimum plywood thickness, approved fastener types, nail spacing, and additional structural reinforcement.
Manufacturers also publish installation recommendations that should be followed alongside local regulations. Combining approved materials with code-compliant installation practices improves long-term durability and may also help preserve warranty coverage.
The following table provides a general comparison of repair approaches. Actual requirements should always follow local building codes and manufacturer specifications.
| Condition | Typical Repair Approach | Structural Reliability | Long-Term Expectation |
|---|---|---|---|
| Light surface staining | Dry, inspect, monitor | High if wood remains sound | Excellent after moisture source is corrected |
| Minor localized damage | Limited structural repair | Good when properly evaluated | Good with continued maintenance |
| Soft or delaminated plywood | Replace affected panel | High after correct installation | Excellent when leak is eliminated |
| Extensive widespread deterioration | Replace multiple panels or reroof as needed | Very high with comprehensive repair | Best long-term solution |
Regardless of the repair method selected, documentation is valuable. Taking photographs before, during, and after repairs creates a useful record for future maintenance, insurance claims, or home resale documentation.
Common Mistakes to Avoid During Roof Sheathing Repairs
Many roof repairs fail not because of poor materials but because important details are overlooked during installation. Avoiding these common mistakes greatly improves the durability of the finished repair.
One of the most frequent errors is replacing damaged plywood while ignoring the original source of moisture. A new panel installed beneath a continuing roof leak will eventually deteriorate just like the previous one, making the repair only temporary.
Another common mistake involves installing replacement plywood over damp framing. Even if the new panel is perfectly installed, trapped moisture can continue migrating through the roof assembly, encouraging mold growth and reducing the lifespan of surrounding materials.
Using the wrong plywood thickness is another issue that can compromise roof performance. Mismatched panels may flex differently under load, creating uneven roof surfaces and placing additional stress on roofing materials.
Some repairs also fail because installers reuse deteriorated underlayment or damaged flashing. Although these components may appear serviceable, they often represent the original pathway that allowed moisture to reach the sheathing in the first place.
Poor fastening practices create another avoidable problem. Nails driven at improper angles, inconsistent spacing, or incorrect fastener lengths reduce the roof’s ability to withstand wind and weather over time.
Ventilation problems are sometimes overlooked during repairs because the focus remains on visible wood damage. However, inadequate attic airflow frequently contributes to condensation, meaning repairs should include evaluating the ventilation system whenever moisture damage is discovered.
Finally, rushing the repair process often results in avoidable mistakes. Careful inspection, proper drying, accurate measurements, and attention to installation details produce repairs that remain reliable for many years instead of requiring repeated maintenance.
With the damaged sheathing repaired or replaced and the roof’s structural integrity restored, the next step is ensuring the problem does not return. In the final part of this guide, we will examine how to restore the roofing system completely, improve ventilation, prevent future moisture damage, perform ongoing maintenance, understand when professional assistance is necessary, answer common homeowner questions, and conclude with the key lessons for protecting roof plywood sheathing over the long term.
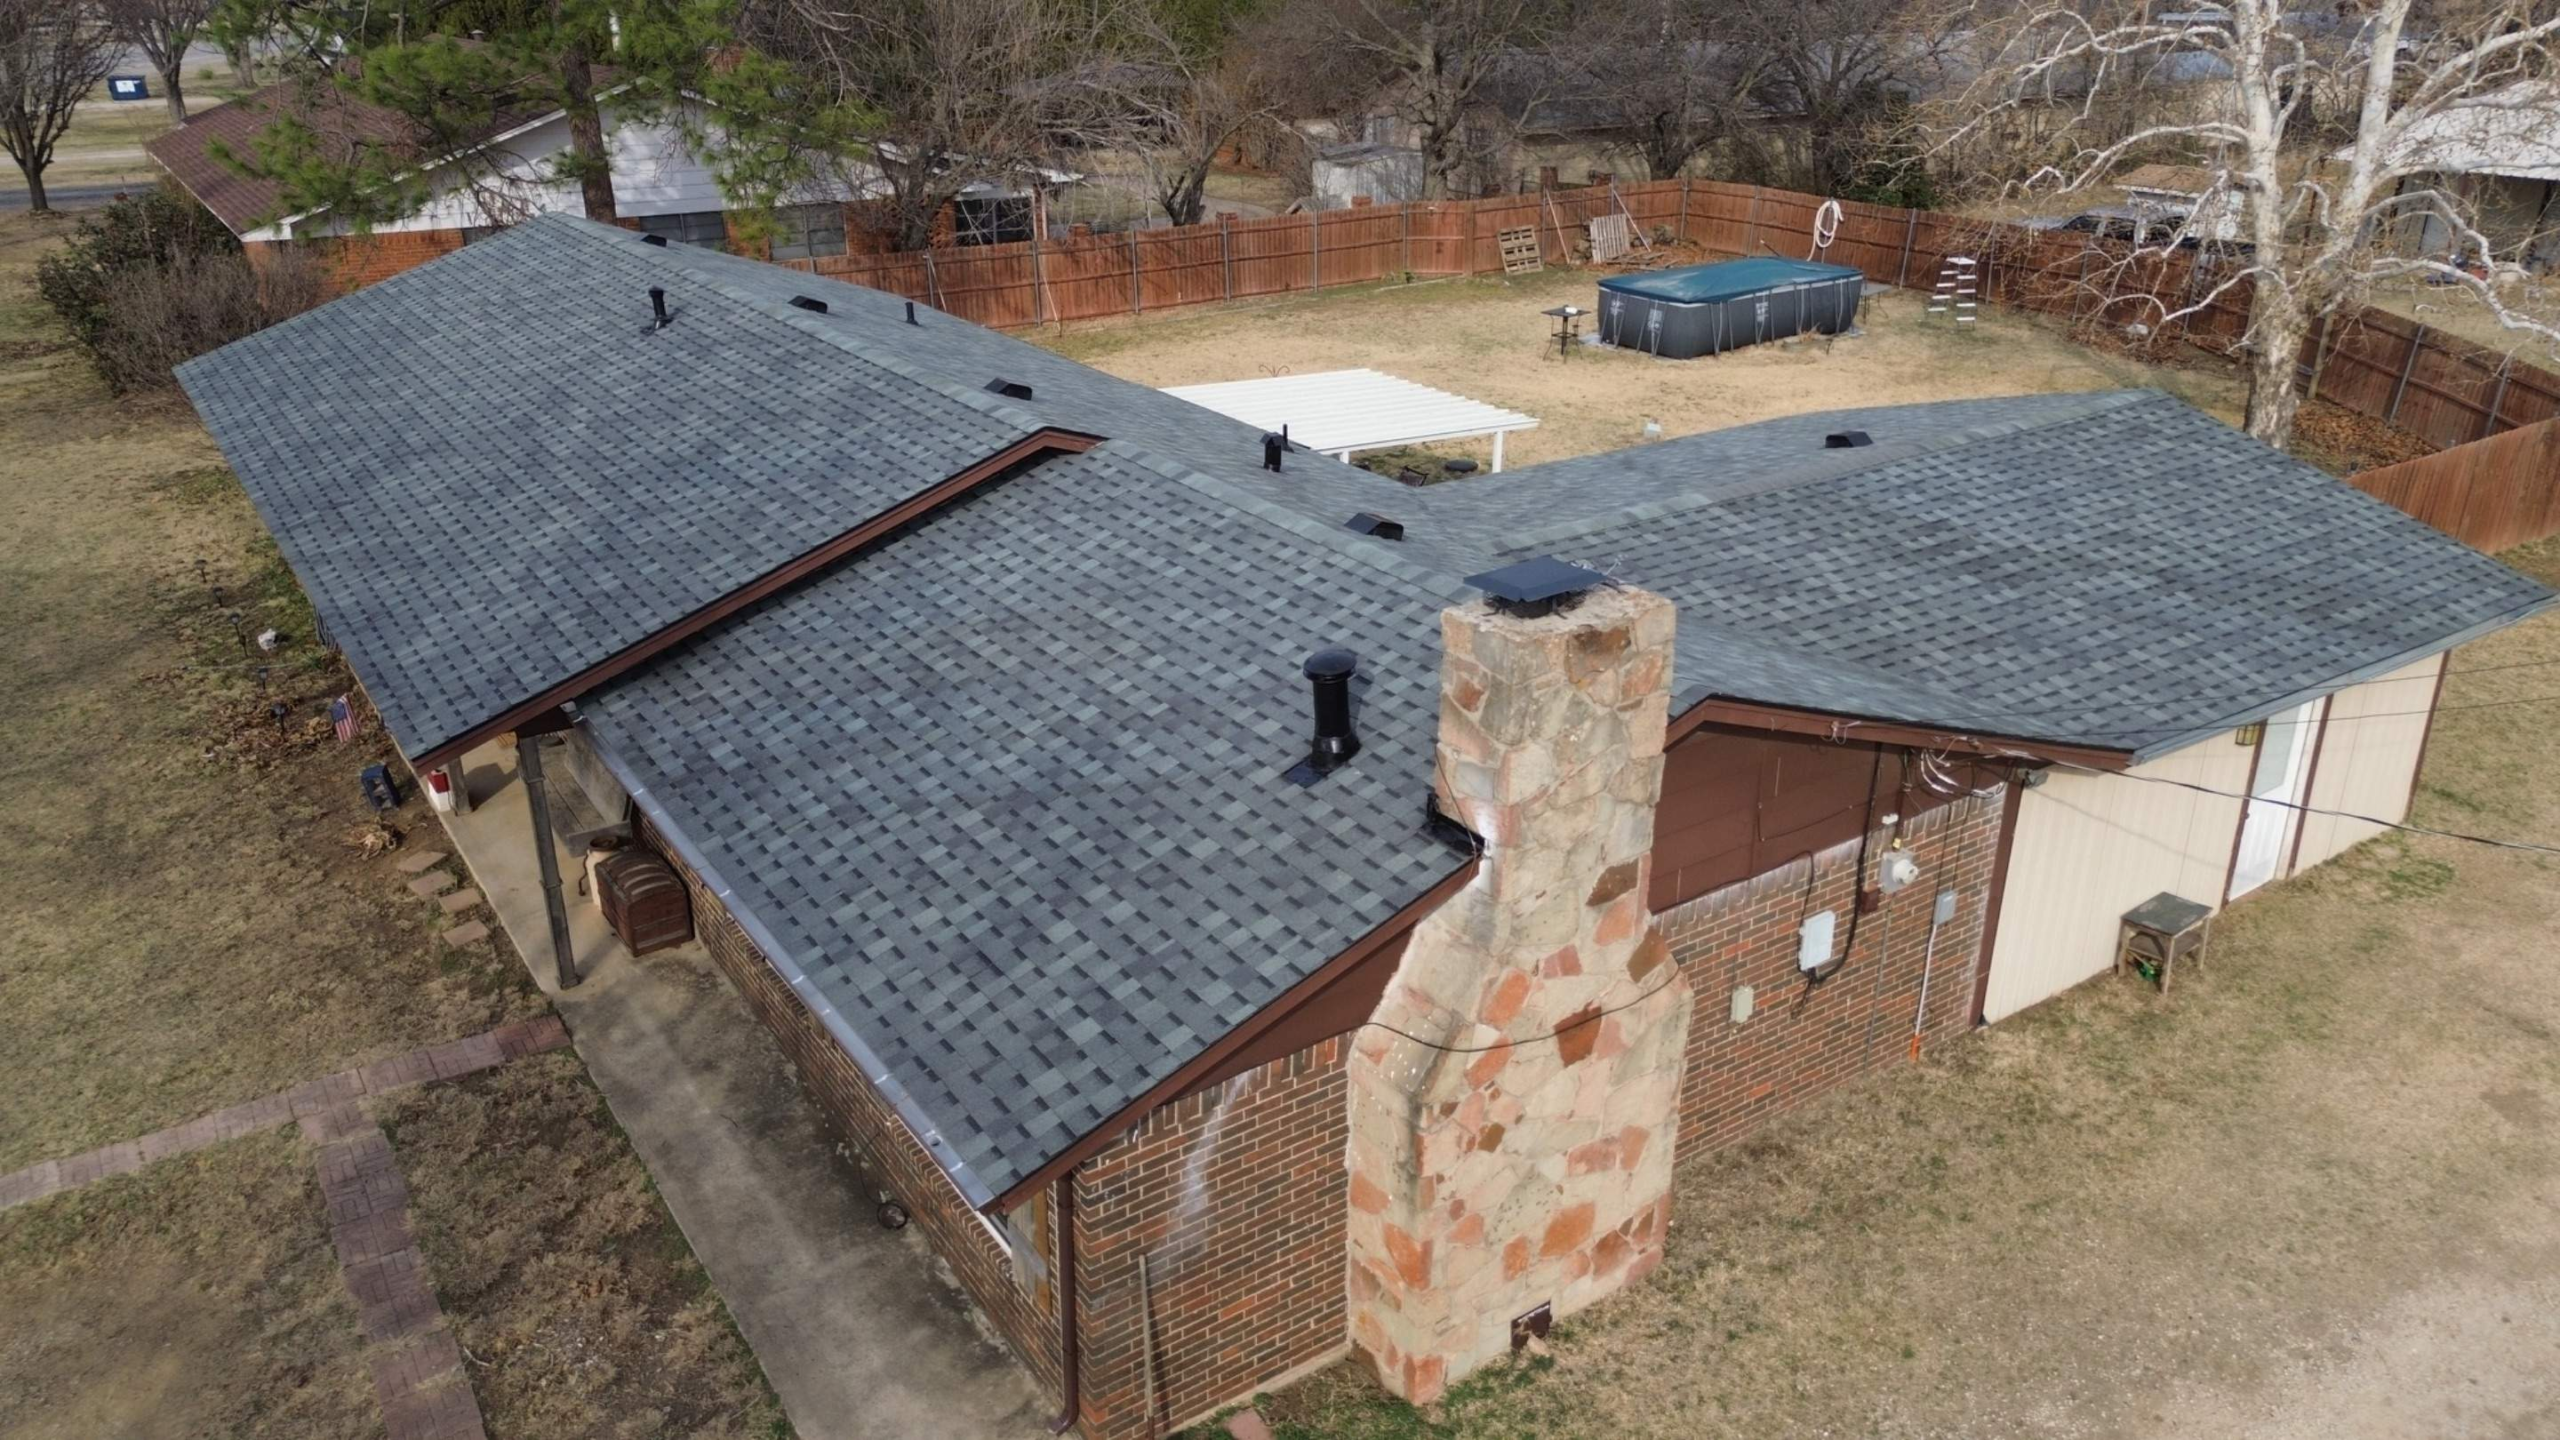
Restoring the Roofing System After Sheathing Repairs
Once the damaged plywood sheathing has been repaired or replaced, the remaining roofing components must be restored correctly. A properly repaired roof depends on every layer working together to prevent water intrusion and protect the structural decking beneath.
The first layer installed over the plywood is the roofing underlayment. This moisture-resistant barrier provides secondary protection if rainwater passes beneath shingles or other roofing materials. Installing fresh underlayment over repaired sections helps ensure the roof maintains a continuous protective layer without weak points.
Flashing should receive special attention during reassembly. Flashing around chimneys, skylights, roof valleys, plumbing vents, and wall intersections directs water away from vulnerable areas. Even high-quality plywood will eventually become damaged again if flashing is improperly installed or left deteriorated.
Roofing materials should then be reinstalled according to the manufacturer’s specifications. Whether the roof uses asphalt shingles, metal panels, clay tiles, or another roofing system, correct fastener placement and overlapping patterns are essential for maintaining weather resistance.
Matching replacement roofing materials with the existing roof also improves appearance and performance. Differences in thickness, color, or profile may not only affect curb appeal but can also influence how water flows across the roof surface.
After installation is complete, the repaired area should be inspected carefully from both the roof exterior and the attic. This final inspection confirms that fasteners are secure, flashing is sealed properly, and no visible gaps remain where moisture could enter.
Allowing sufficient time for sealants to cure before exposing the roof to heavy foot traffic or maintenance activities further improves the long-term reliability of the repair.
Improving Roof Ventilation to Control Moisture
One of the most effective ways to prevent future plywood damage is maintaining proper attic ventilation. Good ventilation removes excess heat and moisture before condensation can develop on the underside of the roof sheathing.
Balanced ventilation relies on both intake and exhaust airflow. Cool air enters through soffit vents near the roof’s lower edge, while warmer, moisture-laden air exits through ridge vents, roof vents, or other approved exhaust systems. This continuous airflow helps regulate attic temperature and humidity throughout the year.
Without adequate ventilation, moisture produced inside the home naturally migrates upward into the attic. Activities such as cooking, showering, drying clothes, and even normal breathing generate water vapor that can condense on cooler roof surfaces during colder seasons.
Improving insulation also supports ventilation performance. Well-installed insulation reduces heat transfer from living spaces into the attic, decreasing the temperature differences that encourage condensation on roof sheathing.
Homeowners should periodically check that soffit vents remain free from insulation blockage. During attic renovations or insulation upgrades, it is surprisingly common for ventilation openings to become covered, reducing airflow without anyone noticing.
Powered attic fans may be appropriate in certain situations, but they should complement rather than replace a balanced passive ventilation system. Improperly installed powered fans can sometimes create negative pressure that draws conditioned indoor air into the attic, increasing energy costs while contributing to moisture issues.
Routine inspection of ventilation components helps ensure airflow remains consistent as the roof ages. Leaves, nests, dust, and debris can gradually reduce ventilation efficiency if left unaddressed.
Preventing Future Roof Leaks
Preventing roof leaks is far less expensive than repairing moisture-damaged sheathing. Regular maintenance allows homeowners to identify small defects before they become significant structural problems.
Roof inspections should be performed at least twice each year, preferably during spring and autumn. Additional inspections following severe storms can identify damage caused by wind, hail, falling branches, or heavy rainfall before water enters the roof system.
Gutters and downspouts should be cleaned regularly to maintain proper drainage. Overflowing gutters increase the likelihood of water backing beneath shingles, especially along roof edges where plywood is particularly vulnerable to moisture.
Tree branches hanging over the roof should be trimmed when appropriate. Branches rubbing against shingles can gradually wear away protective surfaces, while falling limbs during storms may puncture roofing materials entirely.
Flashing should be examined periodically for loose sections, corrosion, cracked sealants, or separation from adjoining surfaces. Since flashing protects many of the roof’s most vulnerable areas, maintaining its condition significantly reduces the risk of water intrusion.
Roof penetrations should also be inspected carefully. Plumbing vents, satellite mounts, solar panel brackets, and other installations can develop leaks as sealants age or hardware loosens over time.
Inside the attic, homeowners should occasionally check for signs of moisture after heavy rainfall. Early detection often allows repairs to remain small, localized, and much less expensive than widespread structural restoration.
Professional roof inspections every few years can provide additional peace of mind. Experienced roofing contractors often recognize developing problems that remain difficult for homeowners to identify during routine visual checks.
Seasonal Roof Maintenance Checklist
A consistent maintenance routine greatly reduces the likelihood of future moisture damage. Small preventive tasks completed throughout the year often prevent expensive structural repairs later.
The following checklist provides a practical maintenance schedule:
- Inspect shingles, flashing, and roof penetrations every spring and fall.
- Clean gutters and downspouts to maintain proper drainage.
- Remove leaves, branches, and debris from the roof surface.
- Check the attic for water stains, mold, or unusual odors after major storms.
- Verify that soffit and ridge vents remain unobstructed.
- Trim nearby tree branches that could damage roofing materials.
- Replace damaged shingles or flashing promptly before leaks develop.
- Schedule periodic professional inspections, especially for older roofs.
Completing these simple maintenance tasks consistently helps extend the service life of both the roofing materials and the plywood sheathing beneath them. Preventive care almost always costs less than repairing extensive moisture damage after problems become severe.
Steps Every Homeowner Should Follow After Heavy Rain or Storms
Storms place significant stress on roofing systems, even when no obvious damage is immediately visible. Following a structured inspection process helps identify hidden issues before they lead to moisture-related deterioration.
- Walk around the property and visually inspect the roof from ground level for missing shingles, fallen branches, or damaged flashing.
- Check gutters and downspouts for excessive debris or roofing granules that may indicate material deterioration.
- Inspect ceilings and attic spaces for new water stains, damp insulation, or musty odors.
- Look for standing water, clogged drainage areas, or overflowing gutters that may increase moisture exposure.
- Arrange a professional roof inspection if significant storm damage or persistent leaks are suspected.
These simple steps require relatively little time but can prevent thousands of dollars in future repair costs. Detecting problems early allows homeowners to address moisture intrusion before it weakens the roof sheathing or spreads into other structural components.
When to Call a Professional Roofing Contractor
Many homeowners can identify obvious warning signs of moisture damage, but certain situations require professional evaluation. Knowing when to seek expert assistance helps protect both personal safety and the structural integrity of the home.
Large areas of soft or sagging roof decking should always be assessed by a qualified roofing contractor. Walking on structurally weakened sheathing presents a serious fall hazard, and hidden damage may extend farther than is immediately visible.
Persistent leaks that continue after previous repairs also warrant professional investigation. Repeated moisture intrusion often indicates a more complex underlying issue involving flashing, ventilation, roof design, or concealed structural defects.
Widespread mold growth inside the attic may require specialized remediation in addition to roof repairs. Professional assessment helps determine whether moisture has affected insulation, framing members, or indoor air quality.
Older roofs nearing the end of their expected lifespan often benefit from a comprehensive inspection rather than isolated repairs. In some cases, replacing the roofing system may provide better long-term value than repeatedly repairing aging materials.
Professional contractors also understand local building codes, structural requirements, and manufacturer installation standards. Their experience helps ensure repairs comply with regulations while maximizing the lifespan of replacement materials.
When selecting a contractor, homeowners should verify licensing where applicable, insurance coverage, references, and experience with similar roofing systems. Choosing a reputable professional improves confidence that repairs will address both visible damage and the underlying causes of moisture intrusion.
Frequently Asked Questions
Can wet roof plywood dry out without being replaced?
Yes, plywood that has experienced limited moisture exposure can often dry successfully if the leak is corrected quickly and the wood has not lost structural strength. The plywood should remain firm, free from significant delamination, and within acceptable moisture levels before being considered suitable for continued use.
How can I tell whether plywood needs replacement?
Soft areas, severe swelling, delamination, extensive rot, mold associated with structural deterioration, or sagging roof sections generally indicate replacement is the safer option. A professional inspection can determine whether the remaining structural strength is adequate.
Is plywood better than OSB for resisting moisture?
Both materials perform well when installed and maintained properly. However, plywood generally tolerates repeated moisture exposure better because its layered veneer construction tends to maintain structural integrity longer than OSB under wet conditions.
Can I replace only one section of roof sheathing?
Yes, localized replacement is common when damage is confined to a limited area. The replacement panel should be properly supported, securely fastened, and integrated with surrounding roofing materials to maintain structural continuity.
How long does repaired roof sheathing last?
Properly repaired or replaced roof plywood can last for decades if the roof remains watertight and well ventilated. Regular inspections and routine maintenance play a significant role in maximizing its service life.
Will homeowners insurance cover moisture-damaged roof sheathing?
Coverage depends on the cause of the damage and the specific insurance policy. Sudden storm-related damage is often covered, while deterioration resulting from long-term neglect or deferred maintenance may not qualify for reimbursement.
Conclusion
Roof plywood sheathing serves as the structural foundation of the entire roofing system, making its condition critical to the safety, durability, and performance of the home. Although moisture damage often begins with a relatively small leak or ventilation problem, it can gradually weaken the roof structure if left unaddressed. Understanding how moisture reaches the sheathing, recognizing early warning signs, and responding quickly are essential steps in preventing costly structural deterioration.
Successful repairs involve much more than replacing damaged wood. The underlying source of moisture must be identified and corrected, surrounding framing should be inspected carefully, and replacement panels must be installed according to proper structural and roofing practices. Attention to details such as underlayment, flashing, ventilation, and fastening methods ensures the repaired roof performs reliably for many years.
Long-term protection depends on consistent maintenance rather than emergency repairs alone. Regular roof inspections, clean gutters, adequate attic ventilation, prompt replacement of damaged roofing materials, and periodic professional evaluations all contribute to extending the life of the plywood sheathing and the roofing system above it.
By combining early detection with proper repair techniques and ongoing preventive maintenance, homeowners can protect their investment, improve the longevity of their roof, and reduce the likelihood of expensive moisture-related structural damage in the future. A well-maintained roof not only keeps water out but also preserves the strength, safety, and value of the entire home for years to come.