
Final Roof Installation Inspection Checklist Explained Clearly
Introduction
A final roof installation inspection is an important step in determining whether a newly installed roofing system is ready for completion and handover. Although a roof may look finished from the ground, a closer inspection can reveal problems involving alignment, fastening, flashing, drainage, ventilation, or unfinished details. A systematic final inspection helps identify these issues before they develop into leaks, premature deterioration, or expensive repairs.
A professional inspection should examine the roof as a complete system rather than focusing only on the visible roofing material. Every component, from the roof edges and underlayment to the flashing and ventilation system, contributes to overall performance. Checking these components carefully provides a better indication of whether the installation has been completed according to project requirements and accepted workmanship standards.
The final inspection also provides an opportunity to verify that installation work has been completed consistently across the entire roof. Areas that are difficult to see from the ground, such as valleys, roof-to-wall transitions, penetrations, and ridge details, require particular attention. These locations can be more vulnerable to water intrusion and should not be overlooked simply because the main roof surface appears clean and uniform.
A clear inspection checklist makes this process easier to manage. Instead of relying on memory or performing a quick visual review, inspectors can move through the roof systematically and record important observations. This approach improves consistency and helps ensure that defects are identified and corrected before the project is officially completed.
Why the Final Roof Installation Inspection Matters
The final inspection serves as a quality control checkpoint after the major installation work has been completed. It provides an opportunity to verify that the roofing system has been installed correctly and that visible problems have been addressed. Without a proper final inspection, small defects can remain unnoticed until weather exposure reveals them.
Roofing problems are not always immediately obvious. A misplaced fastener, poorly sealed penetration, damaged shingle, or incomplete flashing detail may not cause an immediate visible leak. However, continued exposure to rain, wind, temperature changes, and moisture can turn a small installation defect into a much larger problem.
A detailed final inspection can help protect both the property owner and the roofing contractor. Property owners gain greater confidence that the roof has been completed properly, while contractors have an opportunity to correct workmanship concerns before closing the project. Proper inspection records can also provide useful documentation of the condition of the roof at completion.
The inspection should therefore be treated as part of the installation process rather than as an optional final formality. It should be performed carefully enough to identify defects that could affect durability, weather resistance, appearance, or long-term performance.
Reviewing the Roof Surface
The main roof surface is one of the first areas to examine during a final inspection. The inspector should look across the entire roof for visible damage, inconsistent installation, missing materials, loose components, or other conditions that do not match the expected finished appearance. The inspection should be performed from suitable viewing positions so that different areas of the roof can be evaluated properly.
For shingle roofs, individual shingles should be checked for cracking, curling, displacement, excessive damage, or improper placement. Shingles should generally form consistent courses without obvious gaps or unusual patterns caused by installation errors. Any damaged material identified during the inspection should be evaluated and replaced or corrected as appropriate.
Alignment and exposure should also be reviewed. Uneven courses can affect the appearance of the roof and may indicate that the installation was not completed according to the required layout. Consistent alignment helps create a professional finished surface while supporting the intended overlap and weather protection of the roofing materials.
The inspector should also look for visible areas where roofing materials have been disturbed during later installation activities. Workers may need to walk across completed sections while installing vents, flashing, or other components, which can sometimes cause damage. Any affected areas should be identified and corrected before the final approval.
Checking Roofing Material Fastening
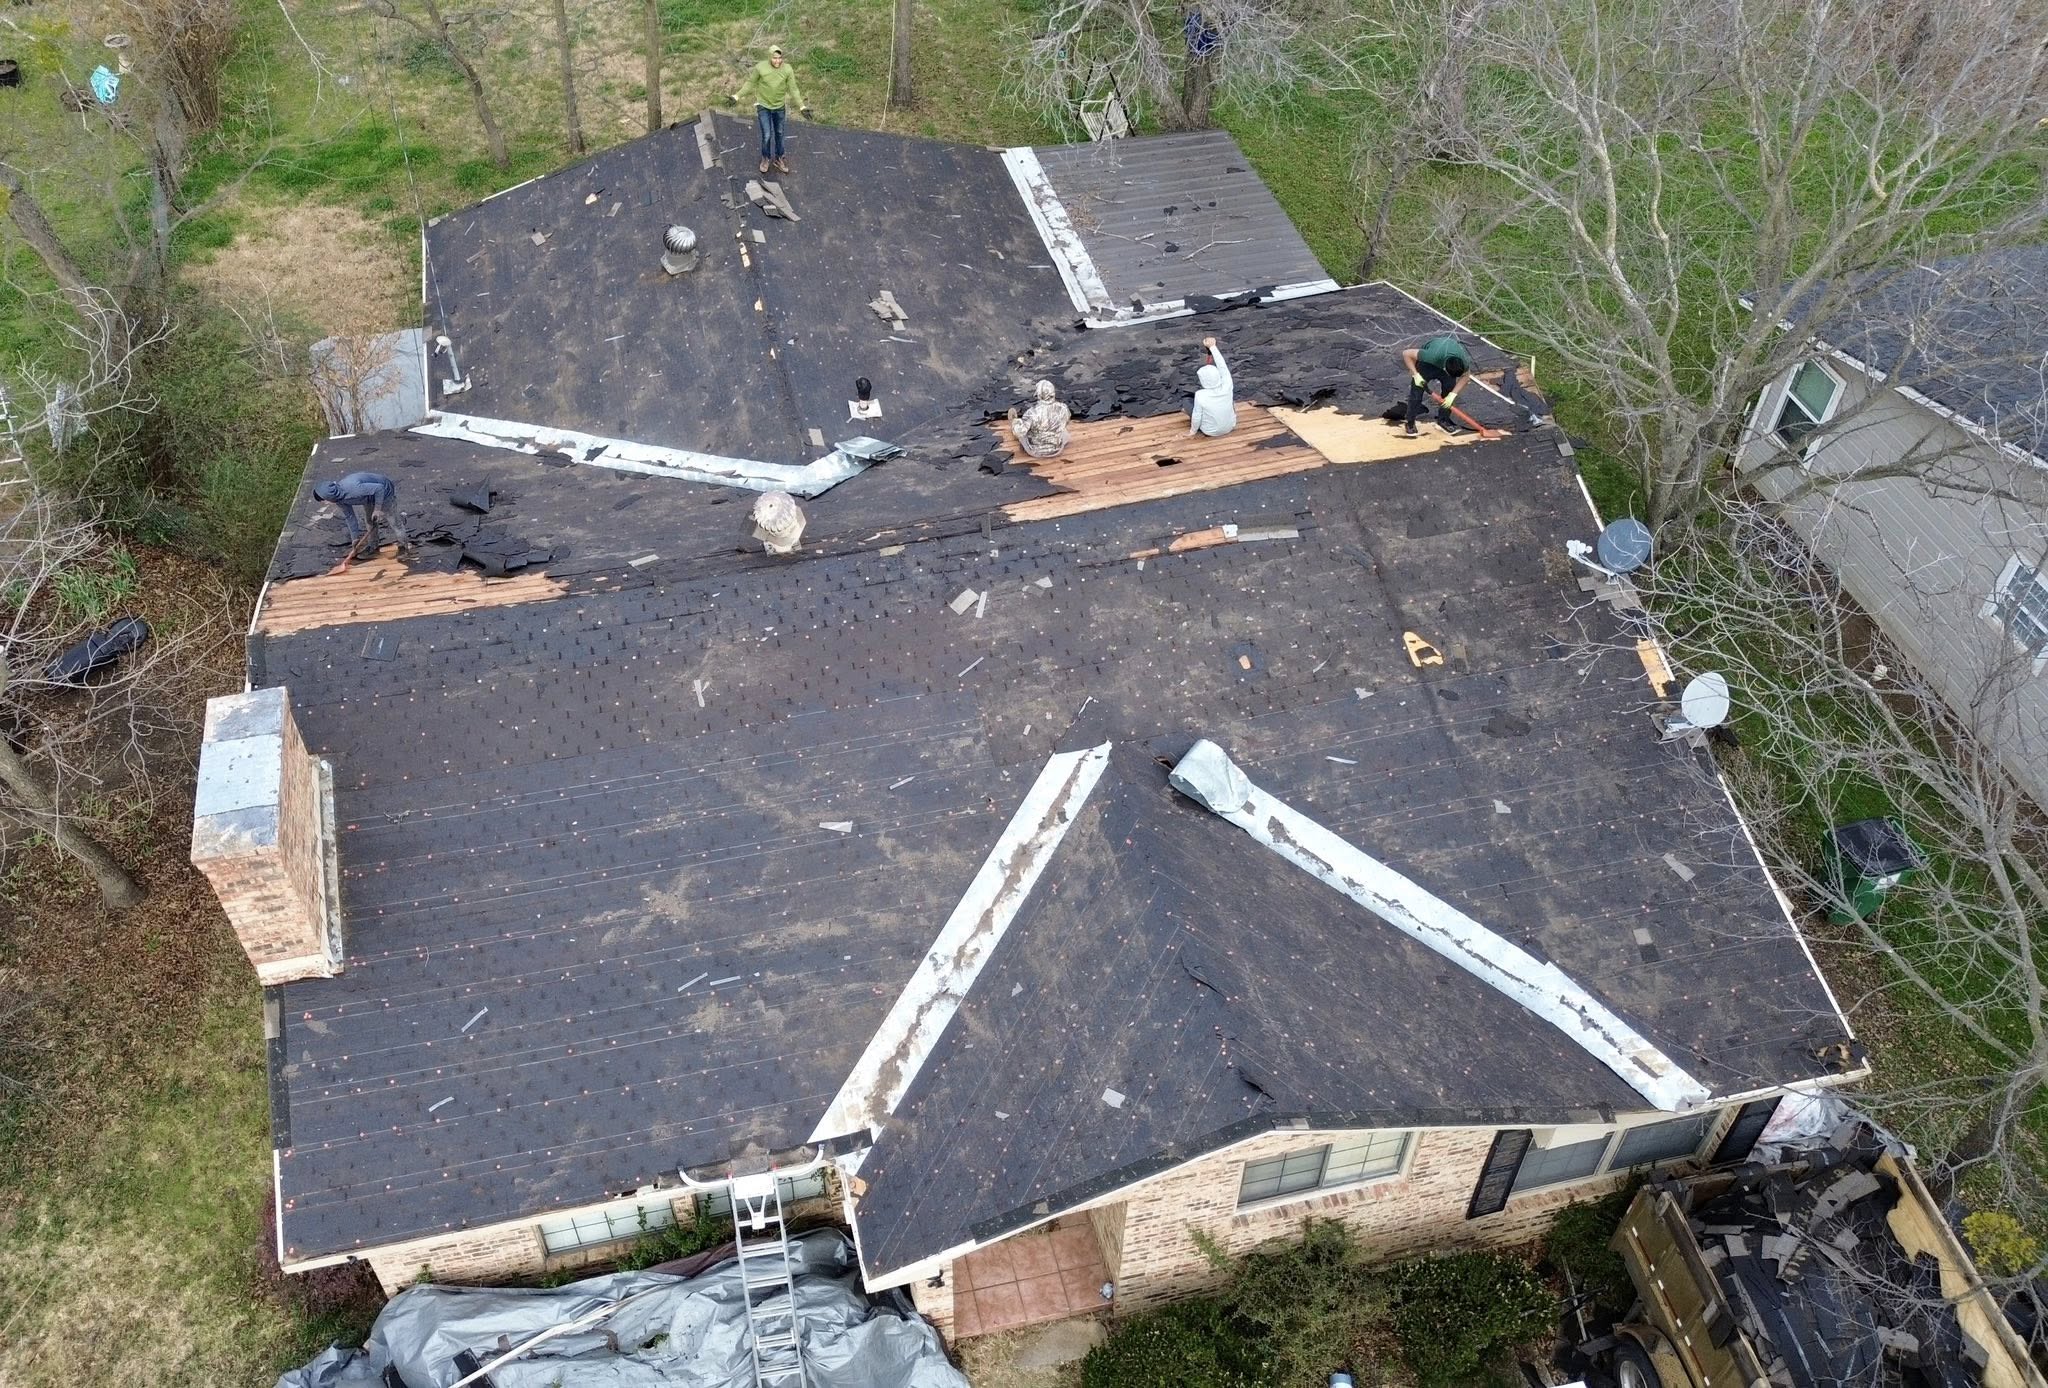
Fastening is a critical part of the final inspection because roofing materials depend on secure attachment to resist movement from wind and other forces. The inspector should look for missing, improperly positioned, exposed, or visibly loose fasteners where they can be evaluated. The fastening method should be consistent with the requirements of the installed roofing system.
Overdriven fasteners can damage roofing materials, while underdriven fasteners may prevent proper attachment. Fasteners installed in incorrect locations can also reduce the intended holding performance of the roofing material. Where defects are identified, the affected area should be corrected according to the appropriate installation requirements.
The final inspection should also pay attention to visible nails or fasteners that should have been covered or properly integrated into the roofing system. Exposed fasteners can create potential moisture entry points when they are not part of an intentionally designed exposed-fastener system. Their condition should therefore be reviewed as part of the overall roof inspection.
Inspecting Roof Edges and Drip Edge
Roof edges require careful inspection because they help control how water leaves the roof and protect vulnerable edge areas. The drip edge should be checked for proper alignment, secure attachment, and appropriate integration with the roofing layers. Uneven or loose sections should be corrected before the project is considered complete.
The eaves and rake edges should have clean and consistent finishes. The inspector should look for gaps, loose materials, exposed areas, or sections that appear incomplete. These details contribute to both water management and the overall appearance of the finished roofing system.
The relationship between the drip edge and surrounding components should also be reviewed. Underlayment and roofing materials need to be positioned appropriately in relation to the edge protection. Poor sequencing can interfere with water drainage and may allow moisture to reach areas that should remain protected.
Inspecting Valleys
Roof valleys deserve special attention because they collect and direct water from multiple roof surfaces. A properly completed valley should provide a clear drainage path without unnecessary obstructions, gaps, or damaged materials. The inspector should examine the valley from its upper section toward the lower drainage area.
Valley materials should be checked for proper installation and integration with the surrounding roof covering. The roofing materials should not interfere with the intended flow of water, and cuts or transitions should appear properly finished. Any visible opening or irregularity should be investigated rather than ignored.
Debris is another concern in valley areas. Small pieces of packaging, shingle fragments, fasteners, or other construction waste can restrict drainage if left behind. The valley should be cleaned carefully during final preparation so that water can move freely.
Checking Flashing Around Roof Features
Flashing is one of the most important areas of the final inspection because it protects locations where the roof meets another surface or contains an opening. The inspector should review flashing around chimneys, walls, vents, skylights, dormers, and other roof penetrations. These areas should have complete and properly integrated protection without obvious gaps or unfinished transitions.
Step flashing should be checked where sloped roof surfaces meet vertical walls. Individual pieces should be appropriately integrated with the roofing courses and surrounding wall protection. The inspection should look for missing pieces, improper overlaps, loose components, or visible pathways through which water could potentially enter.
Chimney areas may require several flashing components working together. The inspector should review the base flashing, side areas, corners, and counterflashing where applicable. Any deterioration, separation, or incomplete transition should be addressed before the roof is approved.
Plumbing vents and similar penetrations should also be examined carefully. The surrounding flashing should fit properly around the penetration, while the roofing material should be installed cleanly around the component. Damaged boots, loose flashing, or poorly finished transitions should not be left unresolved.
Inspecting Ridge and Hip Areas
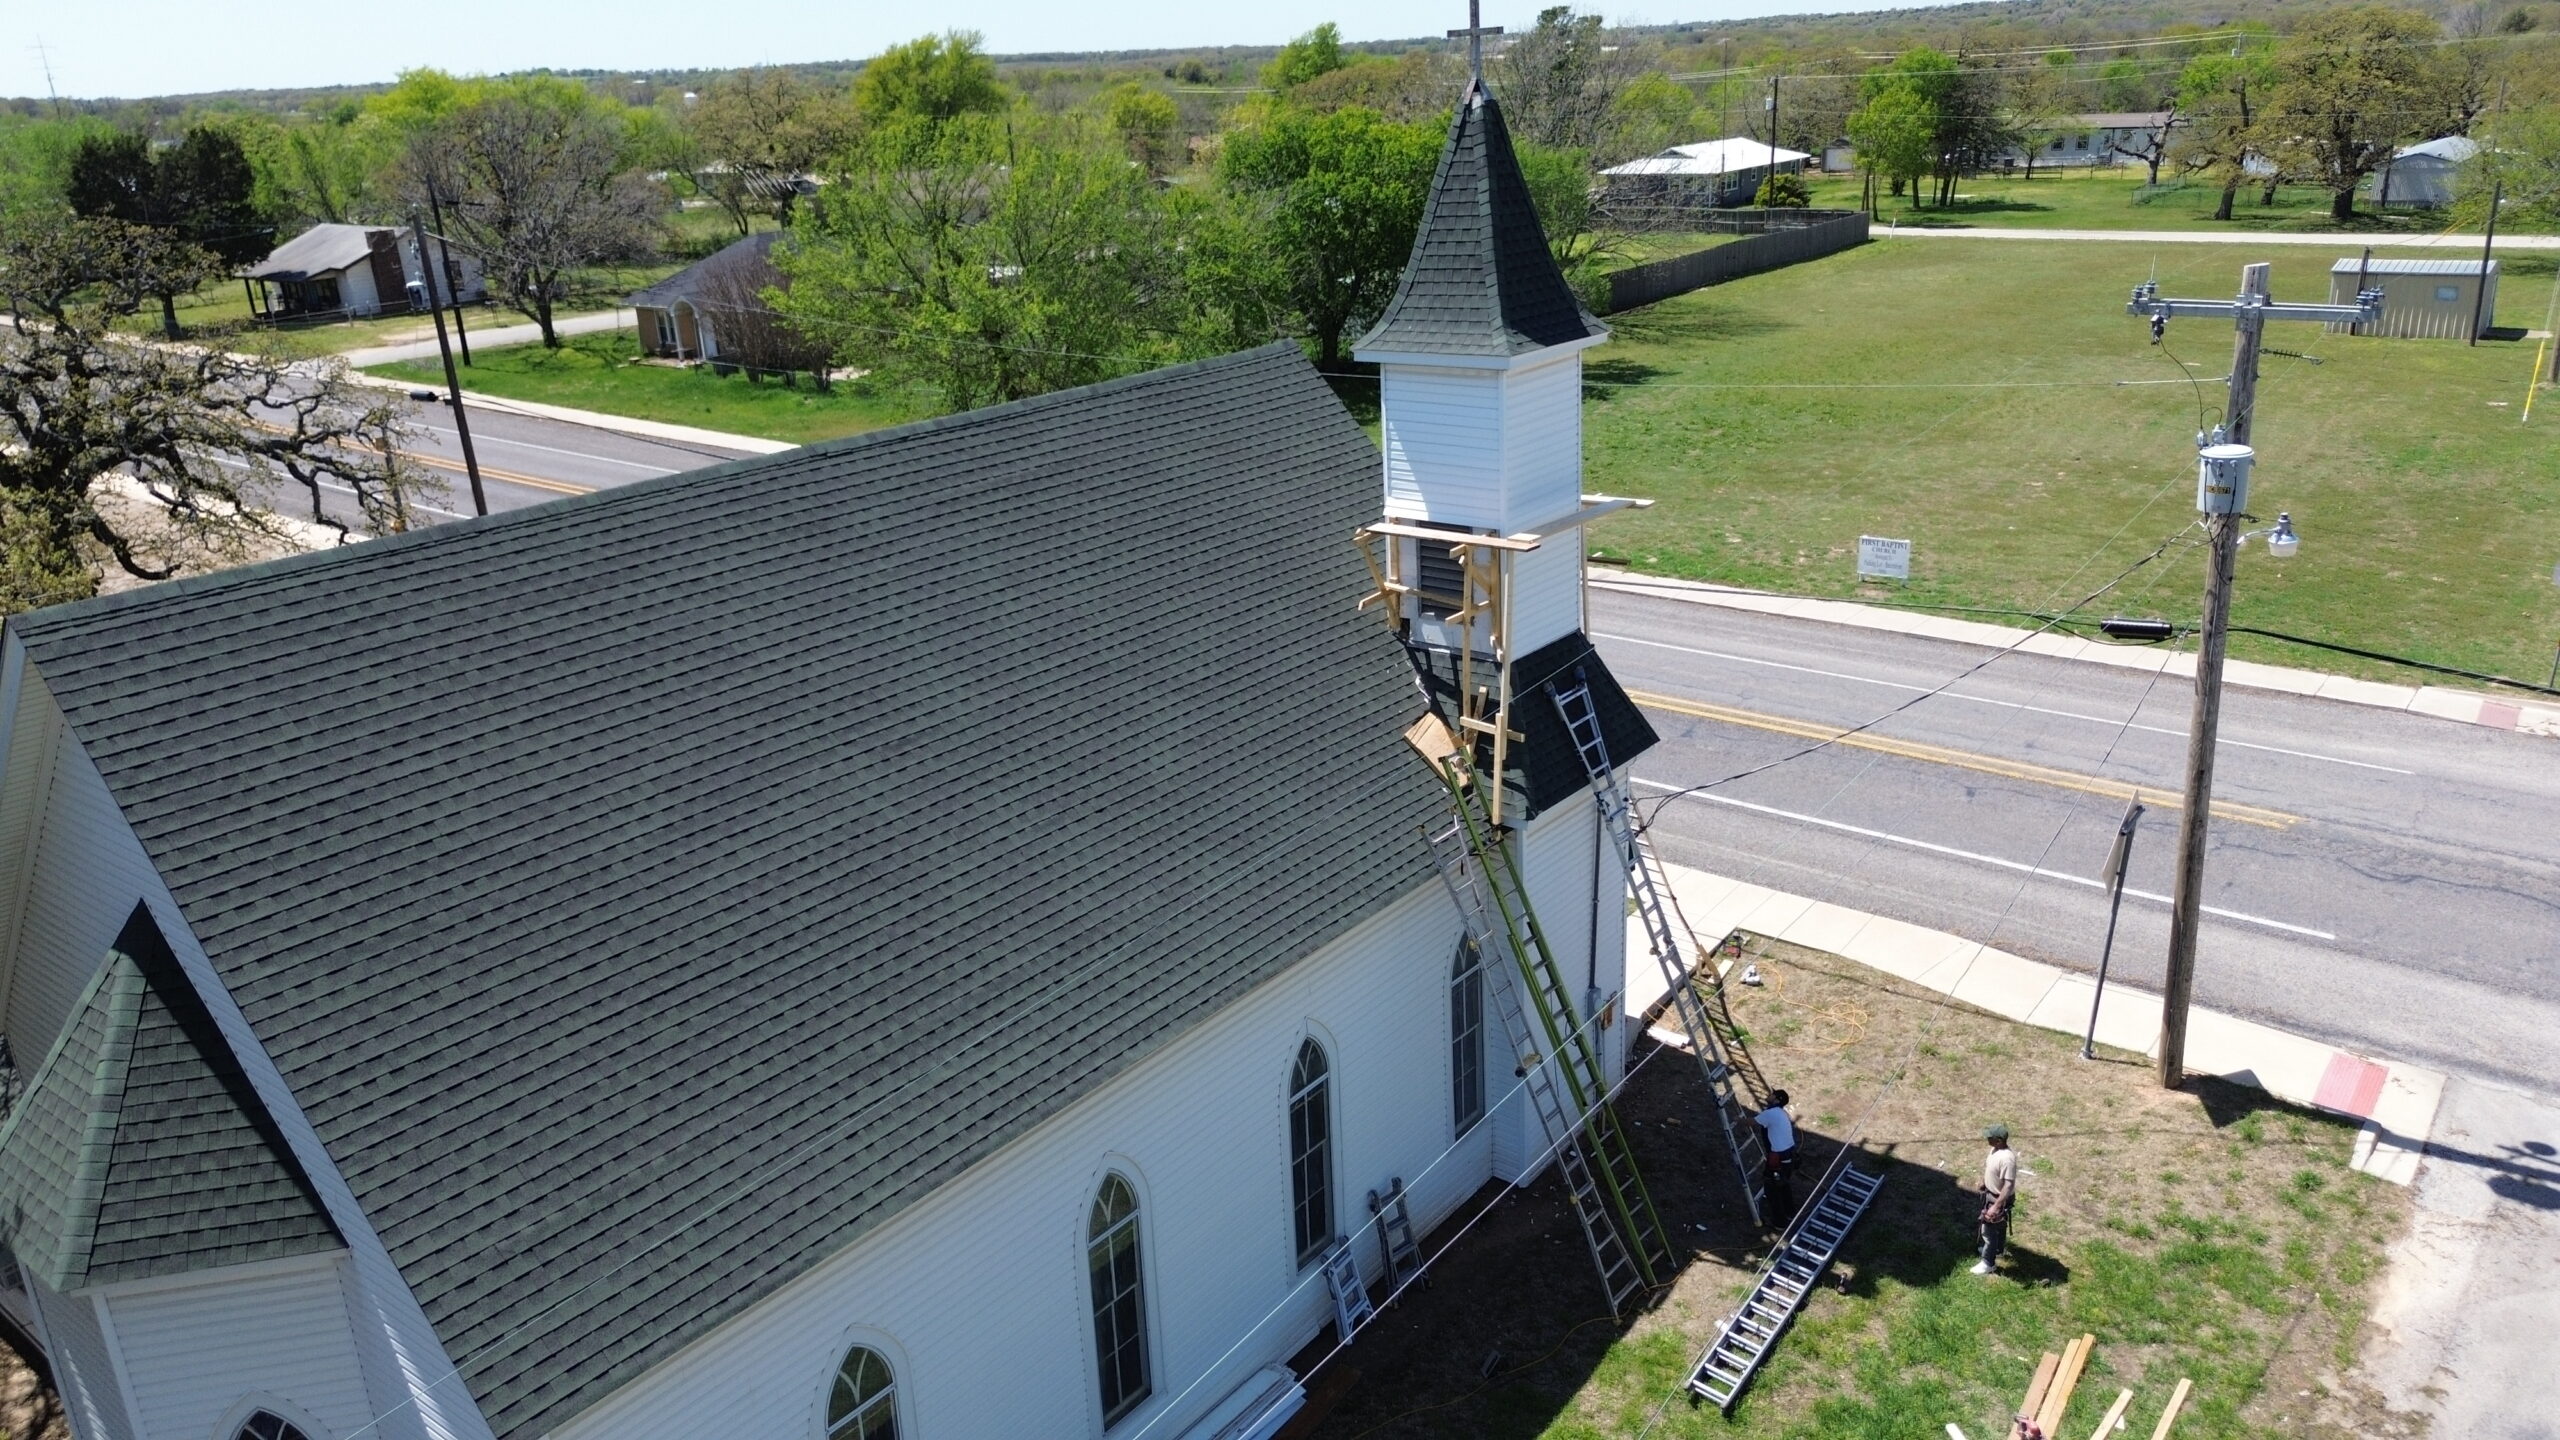
Ridge and hip areas are important finishing sections of many sloped roofing systems. The final inspection should verify that these areas are properly covered, securely attached, and consistent with the rest of the roof. The materials should follow the intended layout without visible gaps or loose sections.
Where ridge ventilation is part of the roofing system, the inspector should also verify that the ventilation component has not been blocked or improperly covered. The ridge area needs to provide both weather protection and the intended ventilation function. Roofing materials should be integrated with the vent system according to the applicable installation requirements.
The finished ridge and hip lines should also be visually consistent. Uneven sections, exposed areas, or poorly aligned components can indicate incomplete workmanship. These details may be especially noticeable from the ground, making them important to both functional and appearance-based quality control.
Reviewing Roof Penetrations
Every penetration through the roof creates a potential vulnerability, so each one should be included in the final inspection. This includes plumbing vents, exhaust vents, skylights, HVAC-related components, antennas, and other installed features where applicable. The inspector should confirm that the roofing system has been properly integrated around each penetration.
The surrounding roofing materials should not be cracked, damaged, or left with unnecessary gaps. Flashing and sealing components should appear complete and properly positioned. Where multiple penetrations are located close together, the inspector should also check that they do not interfere with drainage or other roofing components.
A penetration inspection should not be limited to the component itself. The surrounding roof area should also be reviewed because water can travel away from the visible entry point before reaching the interior of the building. Proper integration of the entire surrounding area is therefore essential for reliable moisture protection.
Checking Roof Ventilation
Ventilation should be included in the final inspection because it is part of the overall roofing system. The inspector should verify that intended intake and exhaust openings remain clear and that installed ventilation components have not been accidentally blocked. Proper airflow pathways should be maintained according to the design and applicable installation requirements.
Ridge vents, soffit vents, gable vents, and other ventilation components should be examined for visible installation problems. The surrounding roofing materials should be properly integrated without covering or restricting ventilation openings. Any obstruction should be corrected before final approval.
The inspection should also consider whether ventilation components appear complete and securely installed. Loose sections, missing covers, or poorly finished transitions may reduce performance and create additional maintenance concerns. A complete ventilation review helps ensure that this important part of the roofing system has not been overlooked.
Checking Gutters and Drainage Components
The final roof inspection should extend beyond the roofing surface to include important drainage components. Gutters, downspouts, outlets, and drainage paths should be checked for construction debris, blockages, or visible installation concerns. These components work with the roof to move water safely away from the building.
Gutters should be free from roofing debris and other waste left behind during installation. Downspouts should also be checked to ensure that they are connected and not obstructed. Any installation-related blockage should be removed before the property is handed back to the owner.
The inspector should also consider how roof water reaches the drainage system. Areas where water may flow toward walls, roof edges, or other vulnerable surfaces deserve additional attention. Effective drainage is an important part of protecting the completed roofing system and the building beneath it.
Inspecting Underlayment and Concealed Roofing Components
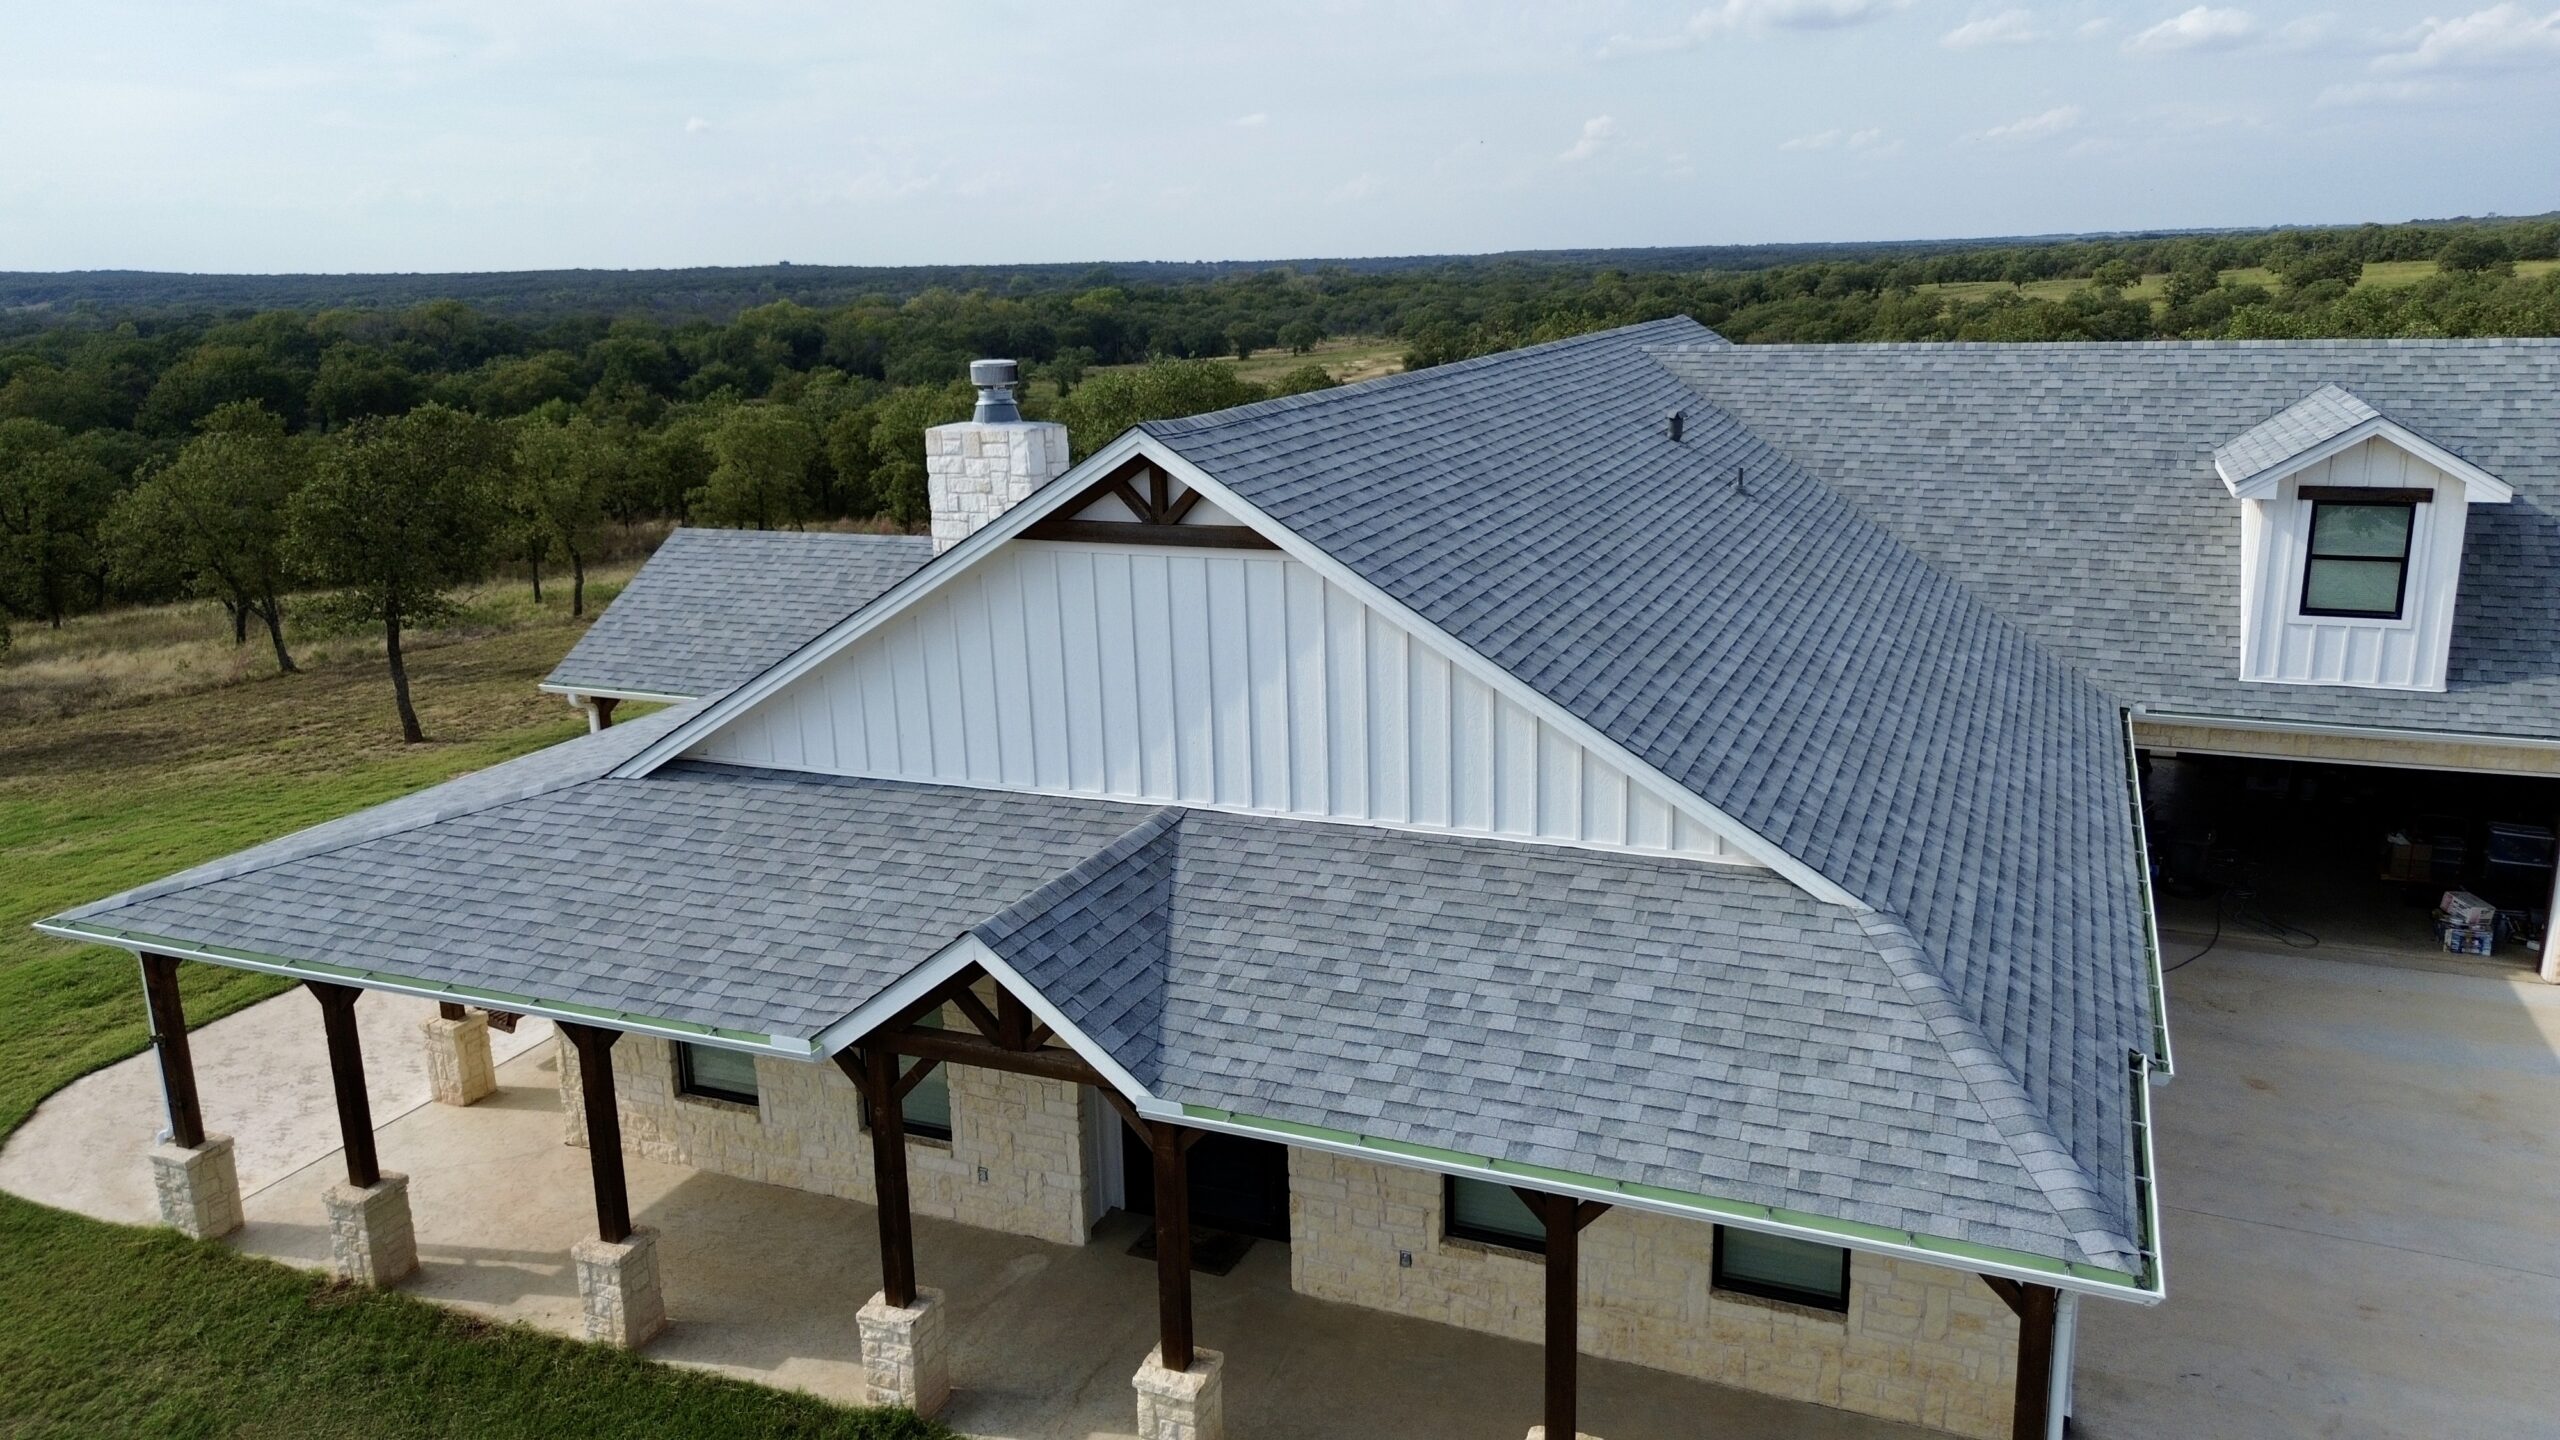
Although most underlayment is hidden after the roofing installation is complete, its condition remains an important part of the final quality review. A final inspection should confirm that there are no visible areas where the underlayment has been unnecessarily exposed, torn, or left improperly integrated with other roofing components. Where installation-stage photographs or inspection records are available, they can also be reviewed to verify concealed work.
Underlayment should have been installed with appropriate coverage, overlaps, and fastening before the primary roofing material was applied. If concerns were identified during earlier inspections, the final review should confirm that those corrective actions were completed. Proper documentation can be especially useful when a concealed component can no longer be examined directly.
The inspection should also consider areas around roof penetrations, valleys, eaves, and other vulnerable locations. These areas often require specialized underlayment details because they receive greater exposure to water movement. Any accessible evidence of incomplete or damaged protection should be addressed before final approval.
Checking Flashing and Roof-to-Wall Transitions
Roof-to-wall transitions require careful inspection because they combine two different building surfaces and can create potential pathways for water intrusion. The final review should examine sidewalls, headwalls, dormers, chimneys, and other locations where the roof meets a vertical surface. Flashing should appear complete, properly integrated, and free from obvious gaps or loose sections.
The inspector should look at the sequencing of flashing and roofing materials rather than focusing only on individual pieces. Water should be directed over the appropriate layers and toward the drainage path without being able to move behind the flashing. Poorly integrated components may look acceptable at first glance but can still create long-term moisture concerns.
Sealants should also be reviewed where they are part of the approved roofing detail. Excessive reliance on sealant should not be used to compensate for missing or improperly installed flashing. Sealants can deteriorate with exposure, so the primary weatherproofing details should be correctly constructed before sealant is considered as part of the system.
Examining Roof Valleys and Drainage Paths
The final inspection should revisit all valleys after the surrounding roofing materials have been installed. Valleys should remain open and functional, allowing water to move toward the intended drainage area without obstruction. Roofing materials should not extend into the drainage path in a way that interferes with normal water movement.
The inspector should look for loose materials, exposed gaps, damaged valley components, and inconsistent cuts around the valley. Particular attention should be given to the lower sections where water from larger roof areas may be concentrated. Any defect in these locations should be corrected before the roof is handed over.
Where the roofing system uses specialized valley construction, the final inspection should be compared with the applicable installation requirements. Different roofing products can require different valley details, so the inspector should avoid assuming that one installation method applies to every project. Manufacturer requirements and approved project specifications should remain the primary references.
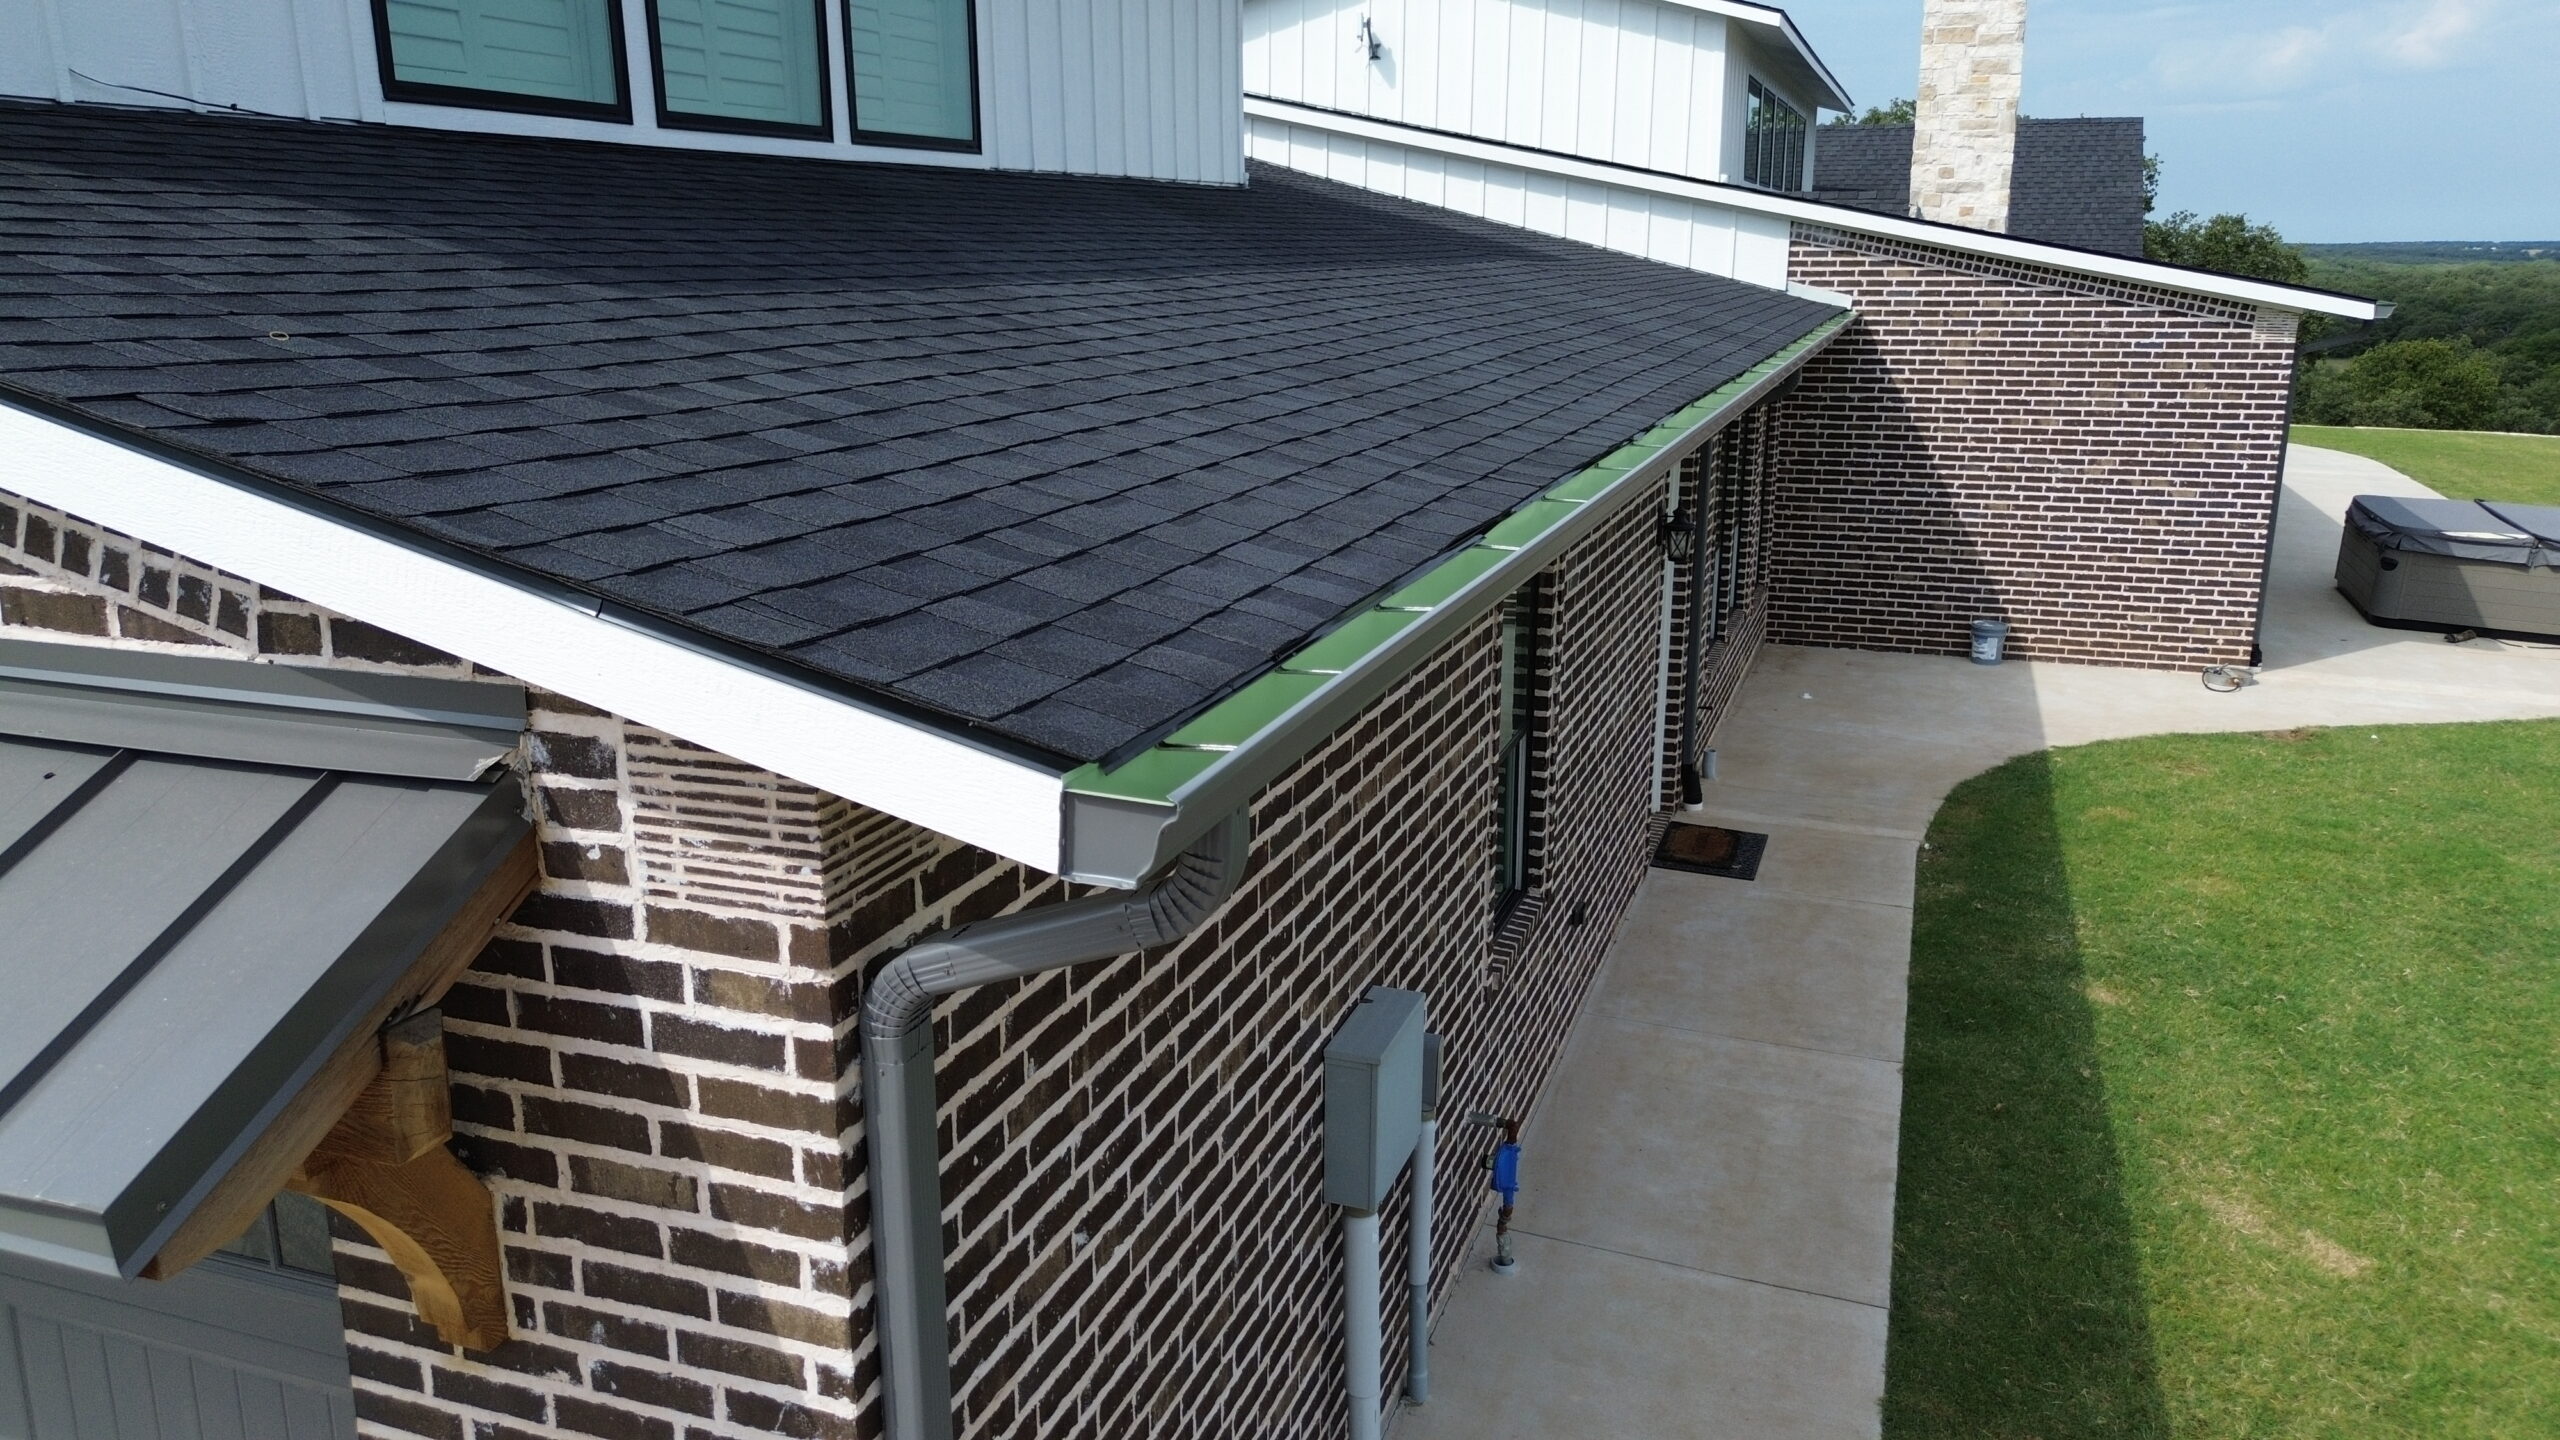
Reviewing Shingle Alignment and Roof Appearance
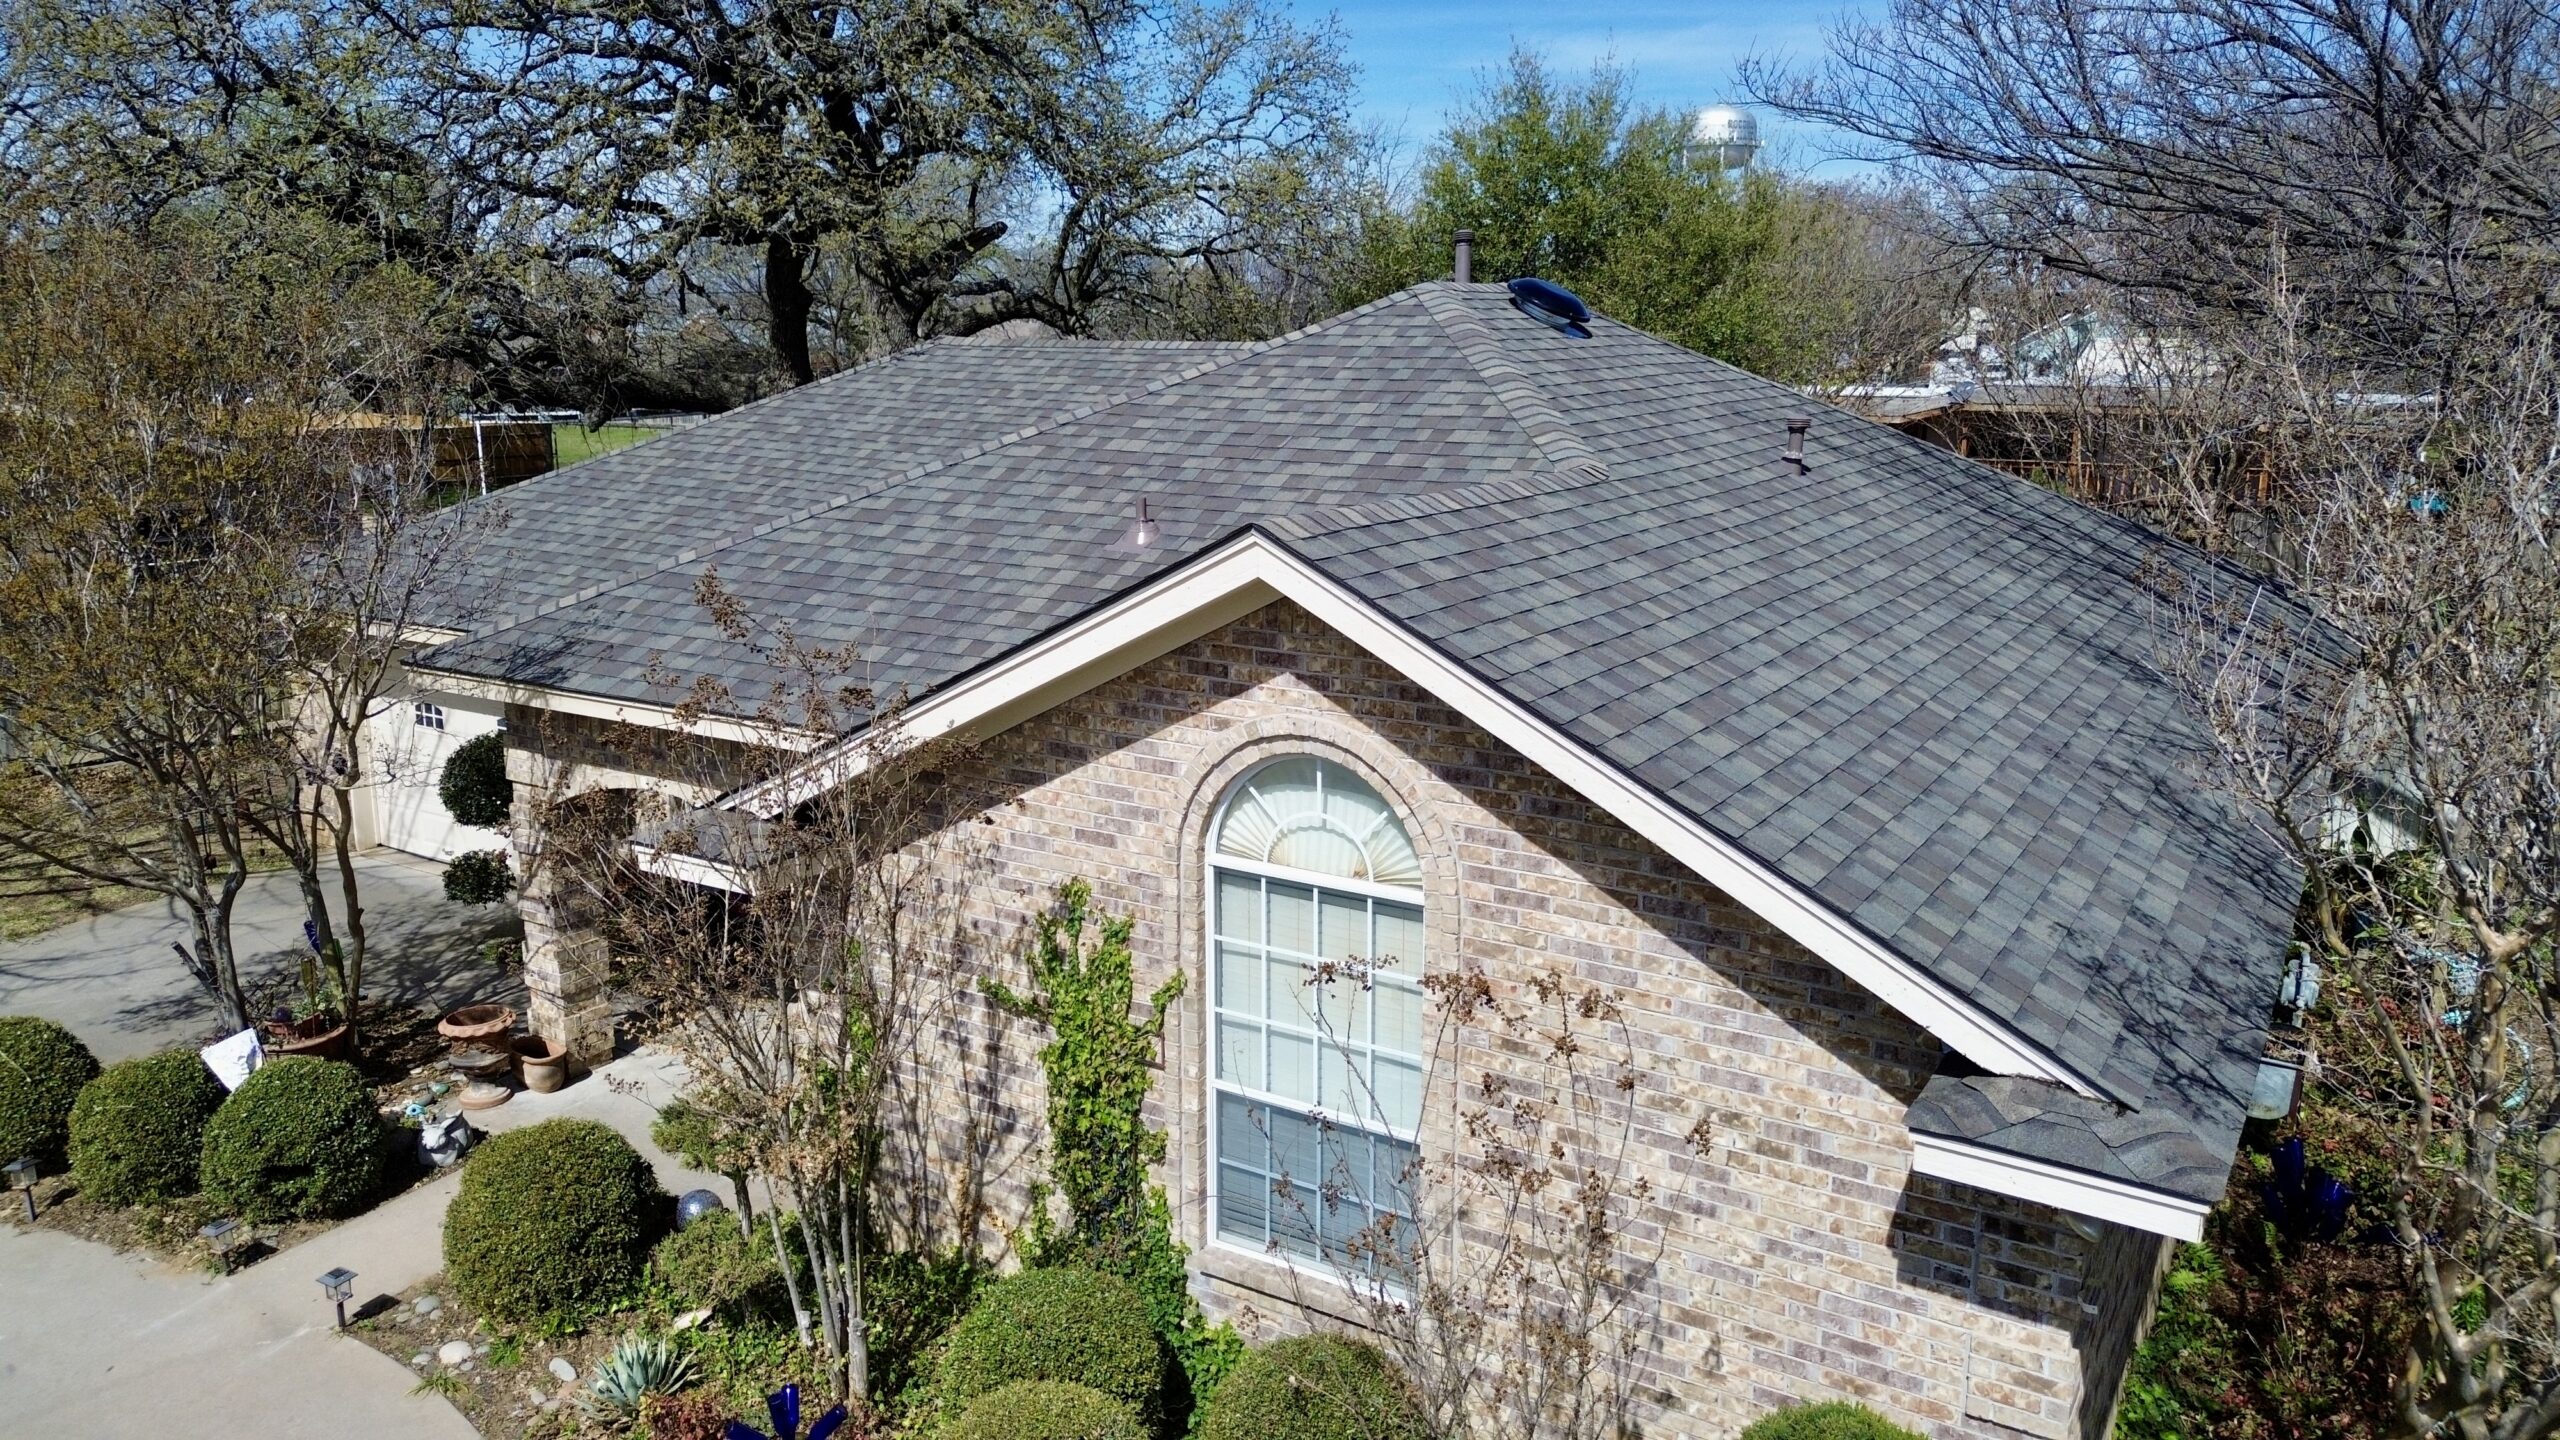
A professional final inspection should evaluate the appearance of the completed roof from multiple viewpoints. Shingles or other roofing materials should generally display consistent alignment, spacing, exposure, and pattern across the visible roof surface. Significant irregularities should be investigated because they may indicate installation errors rather than being treated only as cosmetic concerns.
The inspector should review straight lines along the courses and check whether the roofing material maintains a consistent layout around roof features. Uneven courses can become especially noticeable on large roof planes. Correcting visible alignment issues before completion can improve both the appearance and overall impression of workmanship.
Roofing materials should also be checked for visible color or product inconsistencies where applicable. Some variation may be expected depending on the product and installation conditions, but unexpected differences should be reviewed against the materials approved for the project. The goal is to ensure that the finished roof reflects the intended design and installation specifications.
Inspecting Roof Fasteners and Exposed Hardware
Fasteners should be checked wherever they are visible or accessible during the final inspection. The inspector should look for missing fasteners, loose components, exposed nails, improperly secured accessories, and other attachment concerns. The exact fastening requirements depend on the roofing system, so the inspection should be based on the appropriate product and project specifications.
Exposed hardware should be evaluated carefully because unnecessary openings can create potential moisture entry points. Fasteners intentionally designed to remain exposed should be installed and sealed according to the applicable system requirements. Fasteners that should have been concealed or covered should not be left visible without proper correction.
Roof accessories such as vents, brackets, flashing components, and other attachments should also be checked for secure installation. Movement, gaps, or incomplete attachment can indicate a quality problem. Correcting these issues during the final inspection is preferable to allowing them to become maintenance problems later.
Checking Roof Ventilation Components
A final inspection should confirm that ventilation components remain unobstructed after all roofing materials and accessories have been installed. Ridge vents should have adequate openings where required, while soffit and intake areas should remain clear of materials that could restrict airflow. The completed system should correspond with the intended ventilation design.
Inspectors should look for roofing materials, underlayment, insulation, sealant, or debris that may have accidentally blocked ventilation pathways. These problems can sometimes occur during the final stages of installation when several components are being completed at the same time. Identifying them before handover gives the contractor an opportunity to restore the intended airflow.
Ventilation components should also be checked for proper finishing. Covers, caps, and surrounding roofing materials should be secure and weather resistant. The final result should protect the ventilation opening from weather while allowing the designed airflow to continue.
Inspecting Roof Edges, Eaves, and Rakes
The roof perimeter should receive a detailed inspection because edge areas are exposed to weather and contribute to overall water management. Eaves and rake edges should be checked for consistent lines, secure materials, and complete finishing. The inspector should look for loose sections, exposed gaps, damaged components, or unfinished areas.
Drip edge installation should be reviewed along the appropriate roof boundaries. The component should be properly aligned and integrated with the underlayment and roofing material according to the applicable installation method. Poorly finished edge details can affect drainage and may become more vulnerable to wind or moisture exposure.
The visible edge of the roof should also be checked from ground level. A ground-level review can reveal uneven lines, loose materials, exposed fasteners, or finishing issues that may not be obvious when standing directly on the roof. Combining close inspection with a broader visual review provides a more complete assessment.
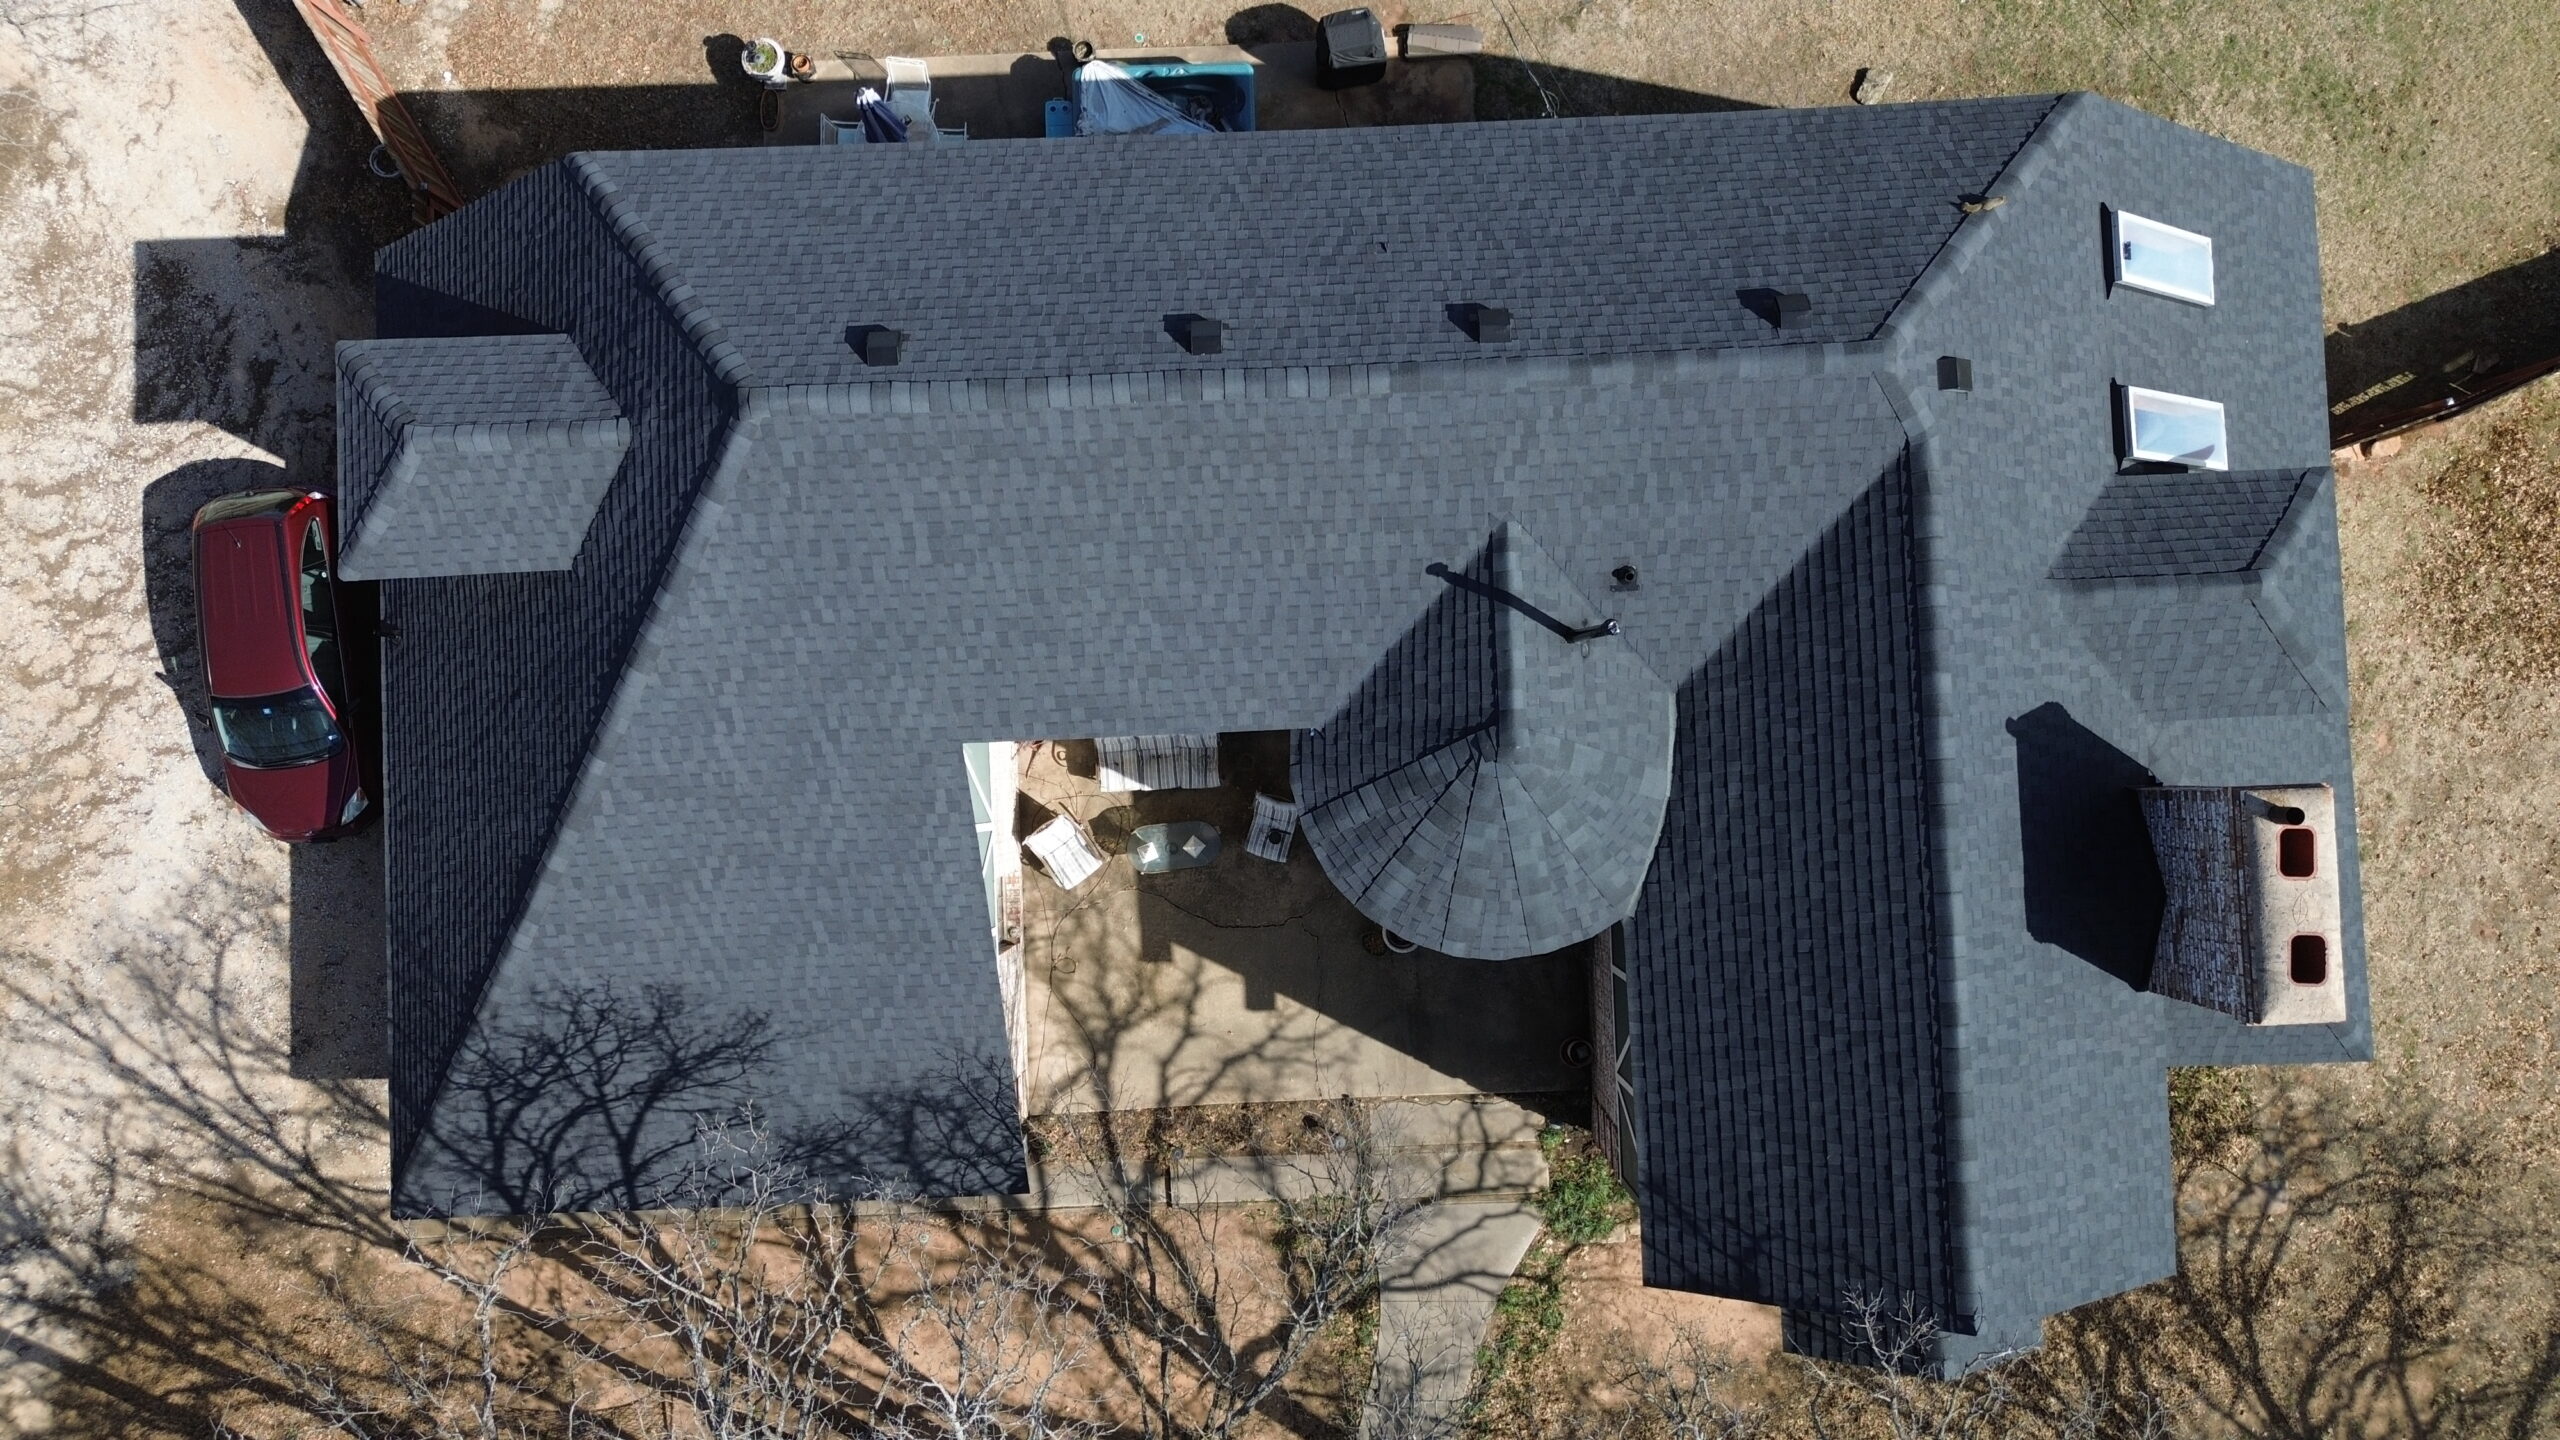
Checking for Installation Damage
Roof installation involves significant movement of workers, tools, equipment, and materials across the work area. Even when major installation tasks are complete, the final inspection should look for damage that may have occurred during construction. Cracked shingles, torn membranes, bent flashing, damaged vents, and other defects should be identified before the project is closed.
The inspector should examine areas where workers have performed additional work after the primary roof covering was installed. Equipment installation, flashing work, ventilation work, and final adjustments can disturb nearby roofing materials. Any damaged area should be repaired using the appropriate method rather than being left because the defect appears minor.
The surrounding property should also be checked for installation-related damage. Gutters, siding, exterior walls, landscaping, windows, driveways, and other accessible areas may be affected by roofing activities. A professional final inspection should identify obvious construction-related concerns and ensure that the property is left in suitable condition.
Cleaning and Debris Removal
A roof should be clean before the final inspection is considered complete. Roofing debris, packaging, loose fasteners, cut material, and other waste should be removed from the roof surface, valleys, gutters, and surrounding work areas. Debris left behind can obstruct drainage, create hazards, or give the appearance of incomplete workmanship.
Gutters deserve particular attention because small roofing fragments can accumulate during installation. These materials should be removed so that water can flow through the drainage system without unnecessary obstruction. Downspouts and drainage outlets should also be checked for construction debris where accessible.
The property should receive a final cleanup after roofing work is finished. Tools and unused materials should be removed, while accessible areas around the building should be checked for loose nails or sharp objects. A clean handover demonstrates that the contractor has considered the entire project rather than focusing only on the roof surface.
Reviewing Manufacturer and Project Requirements
A final inspection should be compared with the requirements established for the specific roofing system. Manufacturer installation instructions may contain important requirements for fastening, flashing, ventilation, material placement, and finishing. Project specifications may also include details that go beyond general roofing practices.
The inspector should verify that completed work is consistent with the approved materials and installation approach. If a substitution was made during construction, it should be confirmed that the replacement material was acceptable for the project. Unapproved changes should be reviewed before final completion.
This comparison is particularly important for maintaining warranty-related requirements. Roofing manufacturers may specify installation conditions that must be followed for applicable product warranties. Keeping installation records and confirming compliance can help provide a clearer project history for future reference.
Documenting the Final Inspection
A professional inspection should be documented rather than relying entirely on verbal confirmation. The inspection record can identify the areas reviewed, defects discovered, corrective actions required, and final status of the project. Photographs can provide additional evidence of completed work and are particularly useful for important roof details.
Documentation should be clear enough that another person can understand what was inspected and what actions were taken. If a defect was identified, the record should indicate whether it was corrected, where the correction occurred, and whether a follow-up inspection was completed. This creates accountability and helps prevent unresolved issues from being overlooked.
Final records may include material information, inspection checklists, photographs, corrective action notes, manufacturer documents, and relevant project approvals. Keeping these records organized can benefit both contractors and property owners. They may also become useful later when maintenance, repairs, warranty questions, or future roofing work is required.
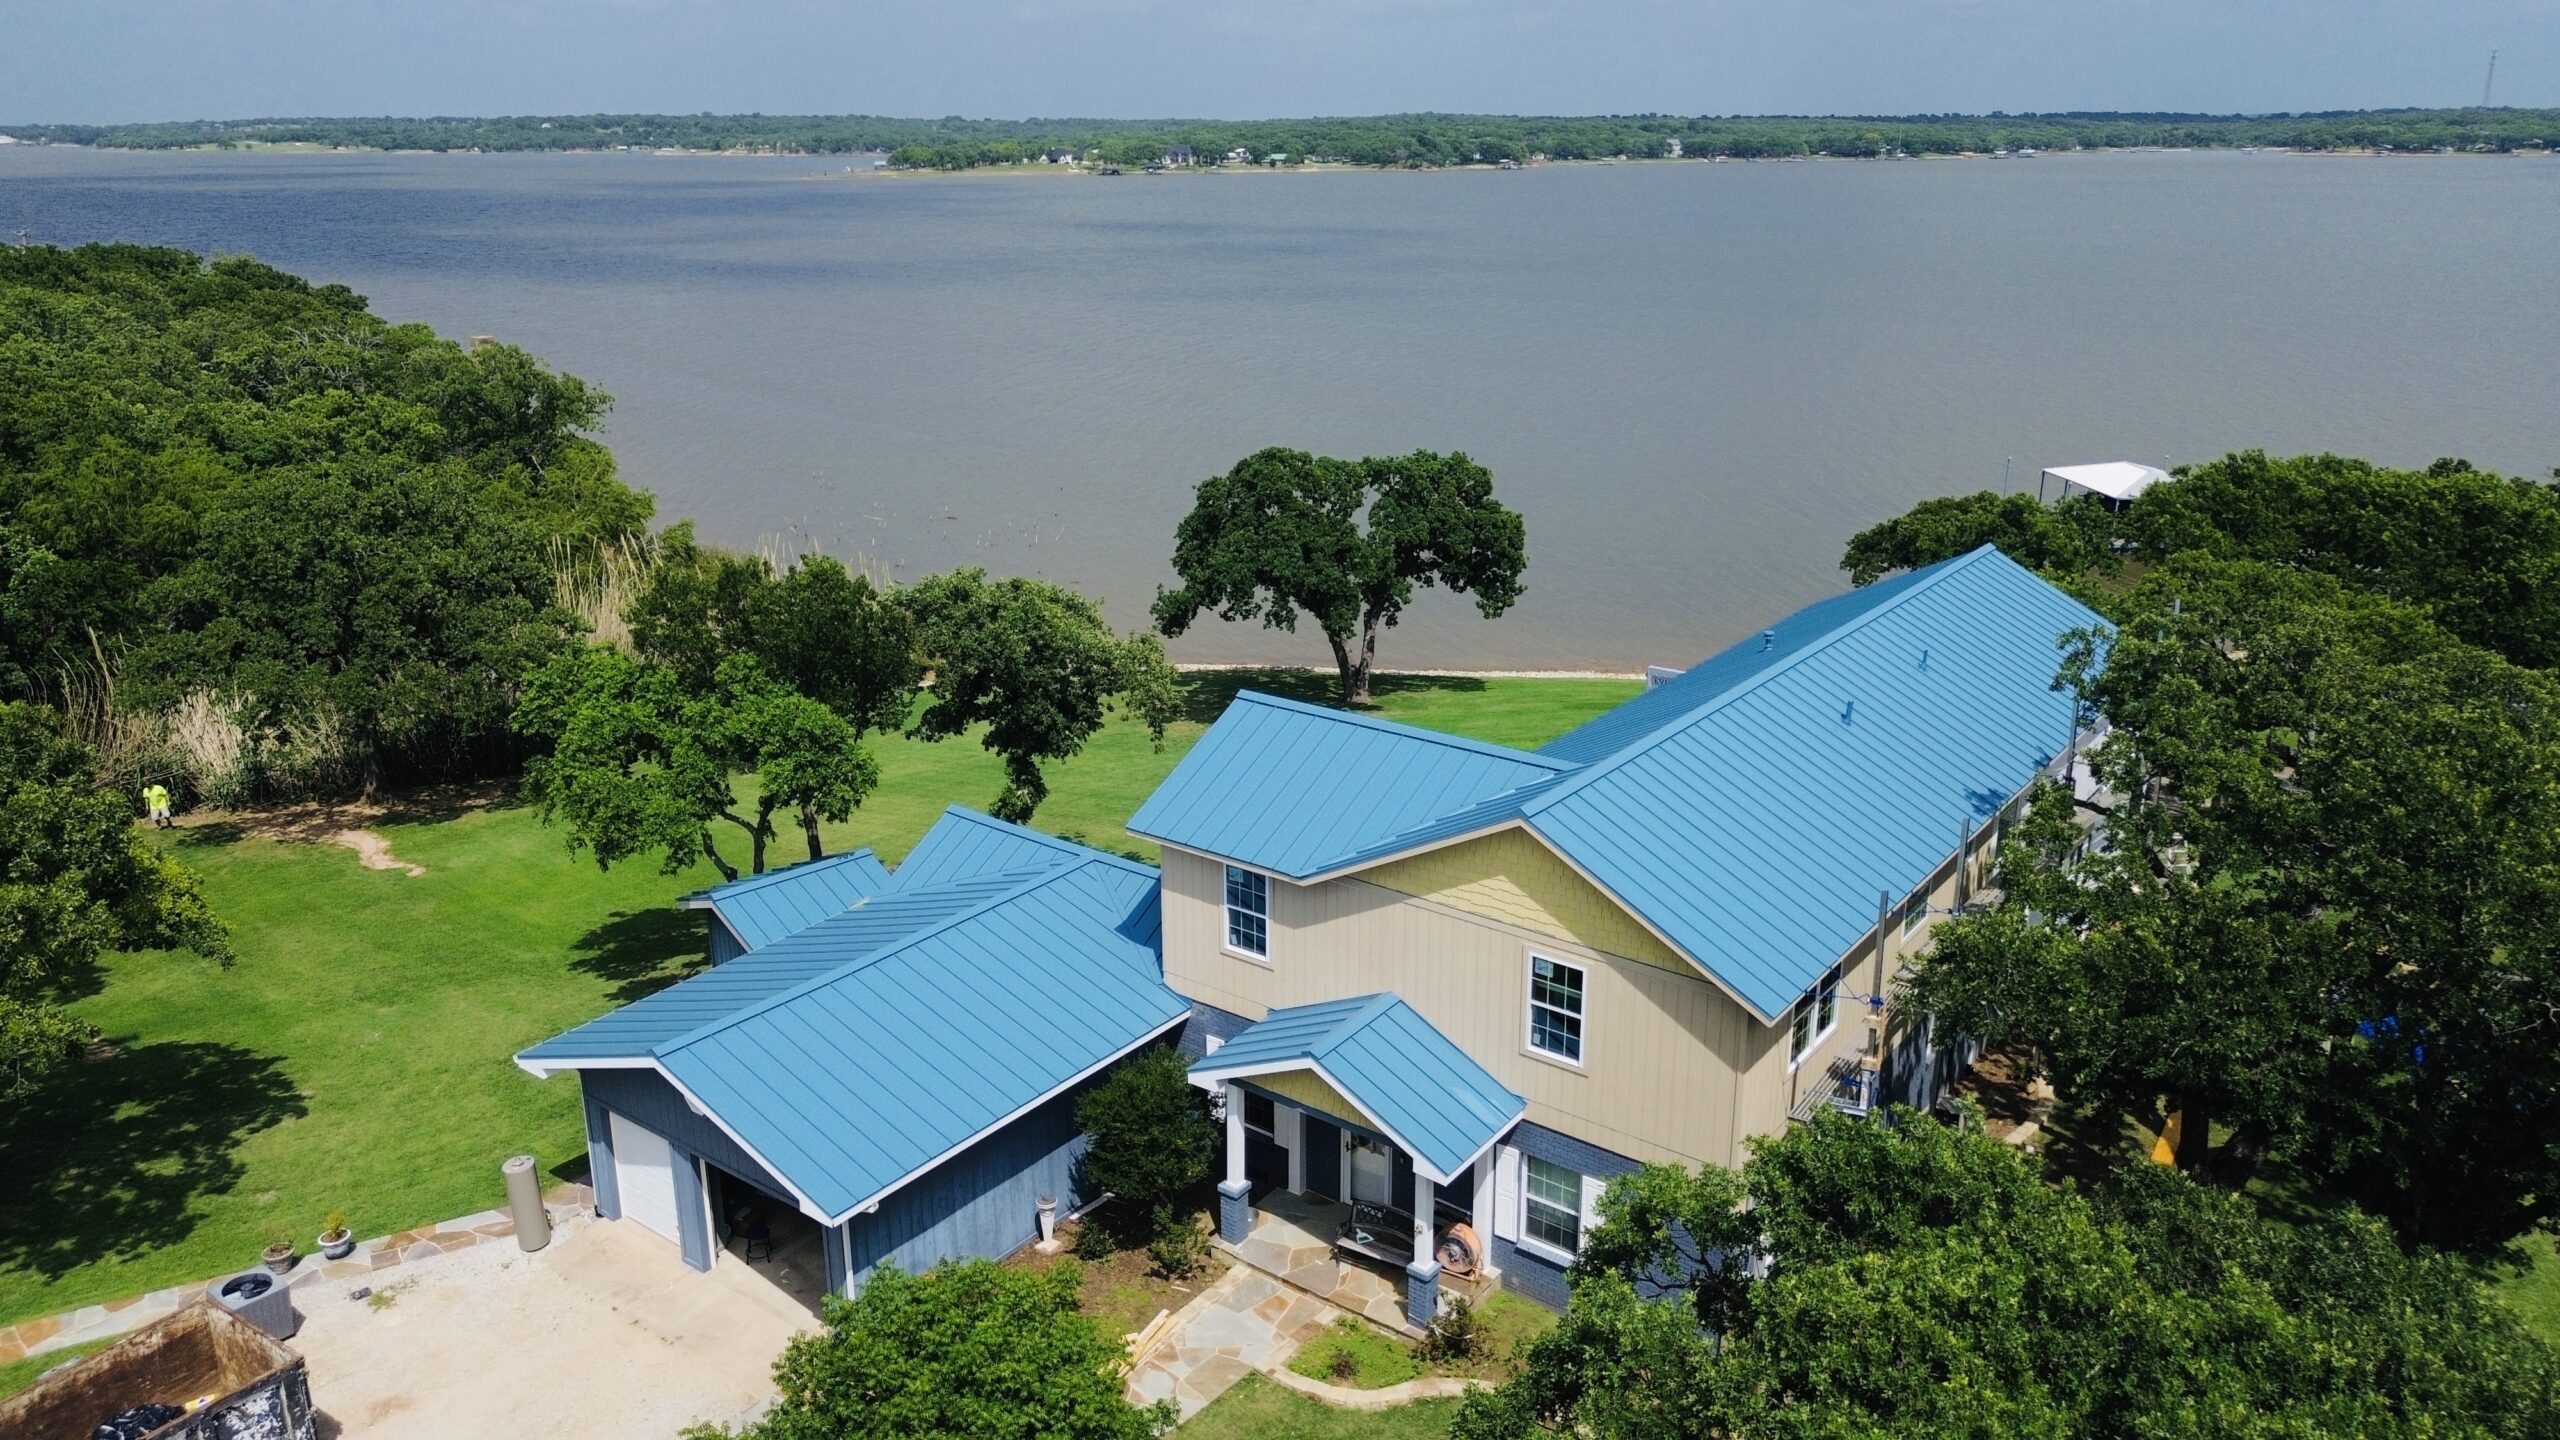
Final Quality Control Checklist
A systematic final checklist helps ensure that important areas are not forgotten during the inspection. The exact checklist should be adjusted according to the roofing system, project requirements, building design, and applicable standards, but the inspection should cover both visible workmanship and important functional details.
The final review should confirm that:
- Roofing materials are complete, secure, and free from obvious damage.
- Shingles or other roof coverings have consistent alignment and finishing.
- Flashing is complete around walls, chimneys, valleys, vents, and penetrations.
- Roof edges and drip edges are properly finished and secured.
- Ventilation openings and components remain clear and functional.
- Valleys and drainage paths are free from unnecessary obstructions.
- Gutters and downspouts are clear of roofing debris.
- Visible fasteners and accessories are properly installed.
- The roof and surrounding property have been cleaned.
- Documented defects have been corrected before final handover.
Using a checklist does not replace professional judgment or manufacturer requirements. Instead, it provides a structured method for making sure that common inspection points are reviewed consistently. This becomes particularly valuable on larger projects where several installers, supervisors, and roof sections are involved.
Correcting Defects Before Handover
Finding a defect is only one part of the final inspection process. The identified issue should be clearly communicated to the responsible installation team, corrected using an appropriate method, and reviewed again before the project is approved. This prevents the final inspection from becoming merely a record of problems without confirming their resolution.
Minor defects should not automatically be ignored simply because they do not appear urgent. Small gaps, loose materials, damaged components, or incomplete finishing can become more significant when exposed to repeated weather conditions. Addressing these concerns before handover is generally more efficient than waiting for a future service call.
Final Roof Surface and Workmanship Review
The last stage of a roof inspection should bring together all observations from the earlier checks and evaluate the completed roofing system as a whole. The inspector should review the roof from close range where safe and from ground level to identify details that may not be obvious from one position. This final review helps confirm that the roof is complete, consistent, clean, and ready for handover.
Workmanship should be consistent across all visible roof sections. Shingles, tiles, membranes, metal panels, or other roofing materials should be properly aligned and securely installed according to the requirements of the selected system. Areas that appear uneven, incomplete, damaged, or noticeably different from surrounding sections should be investigated before approval.
The inspection should also consider the overall appearance of the roof. Straight courses, clean edges, properly finished ridges, and neat transitions contribute to a professional result. While appearance alone does not determine roofing performance, noticeable workmanship problems can sometimes indicate installation issues that deserve closer examination.
Checking Roof Accessories and Equipment
Roof accessories should be inspected along with the primary roofing material because they form part of the completed system. Vents, pipe boots, skylights, antennas, brackets, satellite equipment, and other roof-mounted components should be securely installed and properly integrated with the roofing surface. Their installation should not create unnecessary gaps or interfere with water drainage.
Any equipment installed after the main roofing material should be checked for accidental damage around the surrounding roof area. Workers may need to move materials or tools around these components, which can sometimes result in scratches, cracks, displaced shingles, or damaged flashing. Such issues should be corrected before the final inspection is closed.
The inspector should also verify that accessories do not obstruct ventilation, valleys, drainage routes, or other important roof functions. A component may be securely attached but still create a problem if it interferes with the way the roofing system is designed to operate. The final inspection should therefore consider both attachment and integration.
Confirming Weather Protection
One of the primary purposes of a roof is to protect the building from weather exposure. The final inspection should therefore focus on whether the completed system provides continuous protection across the roof surface and around vulnerable details. Areas that could allow rain or moisture to enter should be identified and corrected.
Special attention should be given to transitions, valleys, roof edges, penetrations, and roof-to-wall connections because these areas require multiple components to work together. The inspector should look for visible openings, loose materials, incomplete flashing, or other conditions that could weaken weather resistance. Where additional verification is required, the inspection should follow the appropriate project procedures rather than relying on assumptions.
The roof should also be checked for signs that water may not be moving correctly. Unusual drainage patterns, blocked outlets, or areas where debris has accumulated can affect long-term performance. Keeping water moving toward the intended drainage system is an important part of completing the inspection.
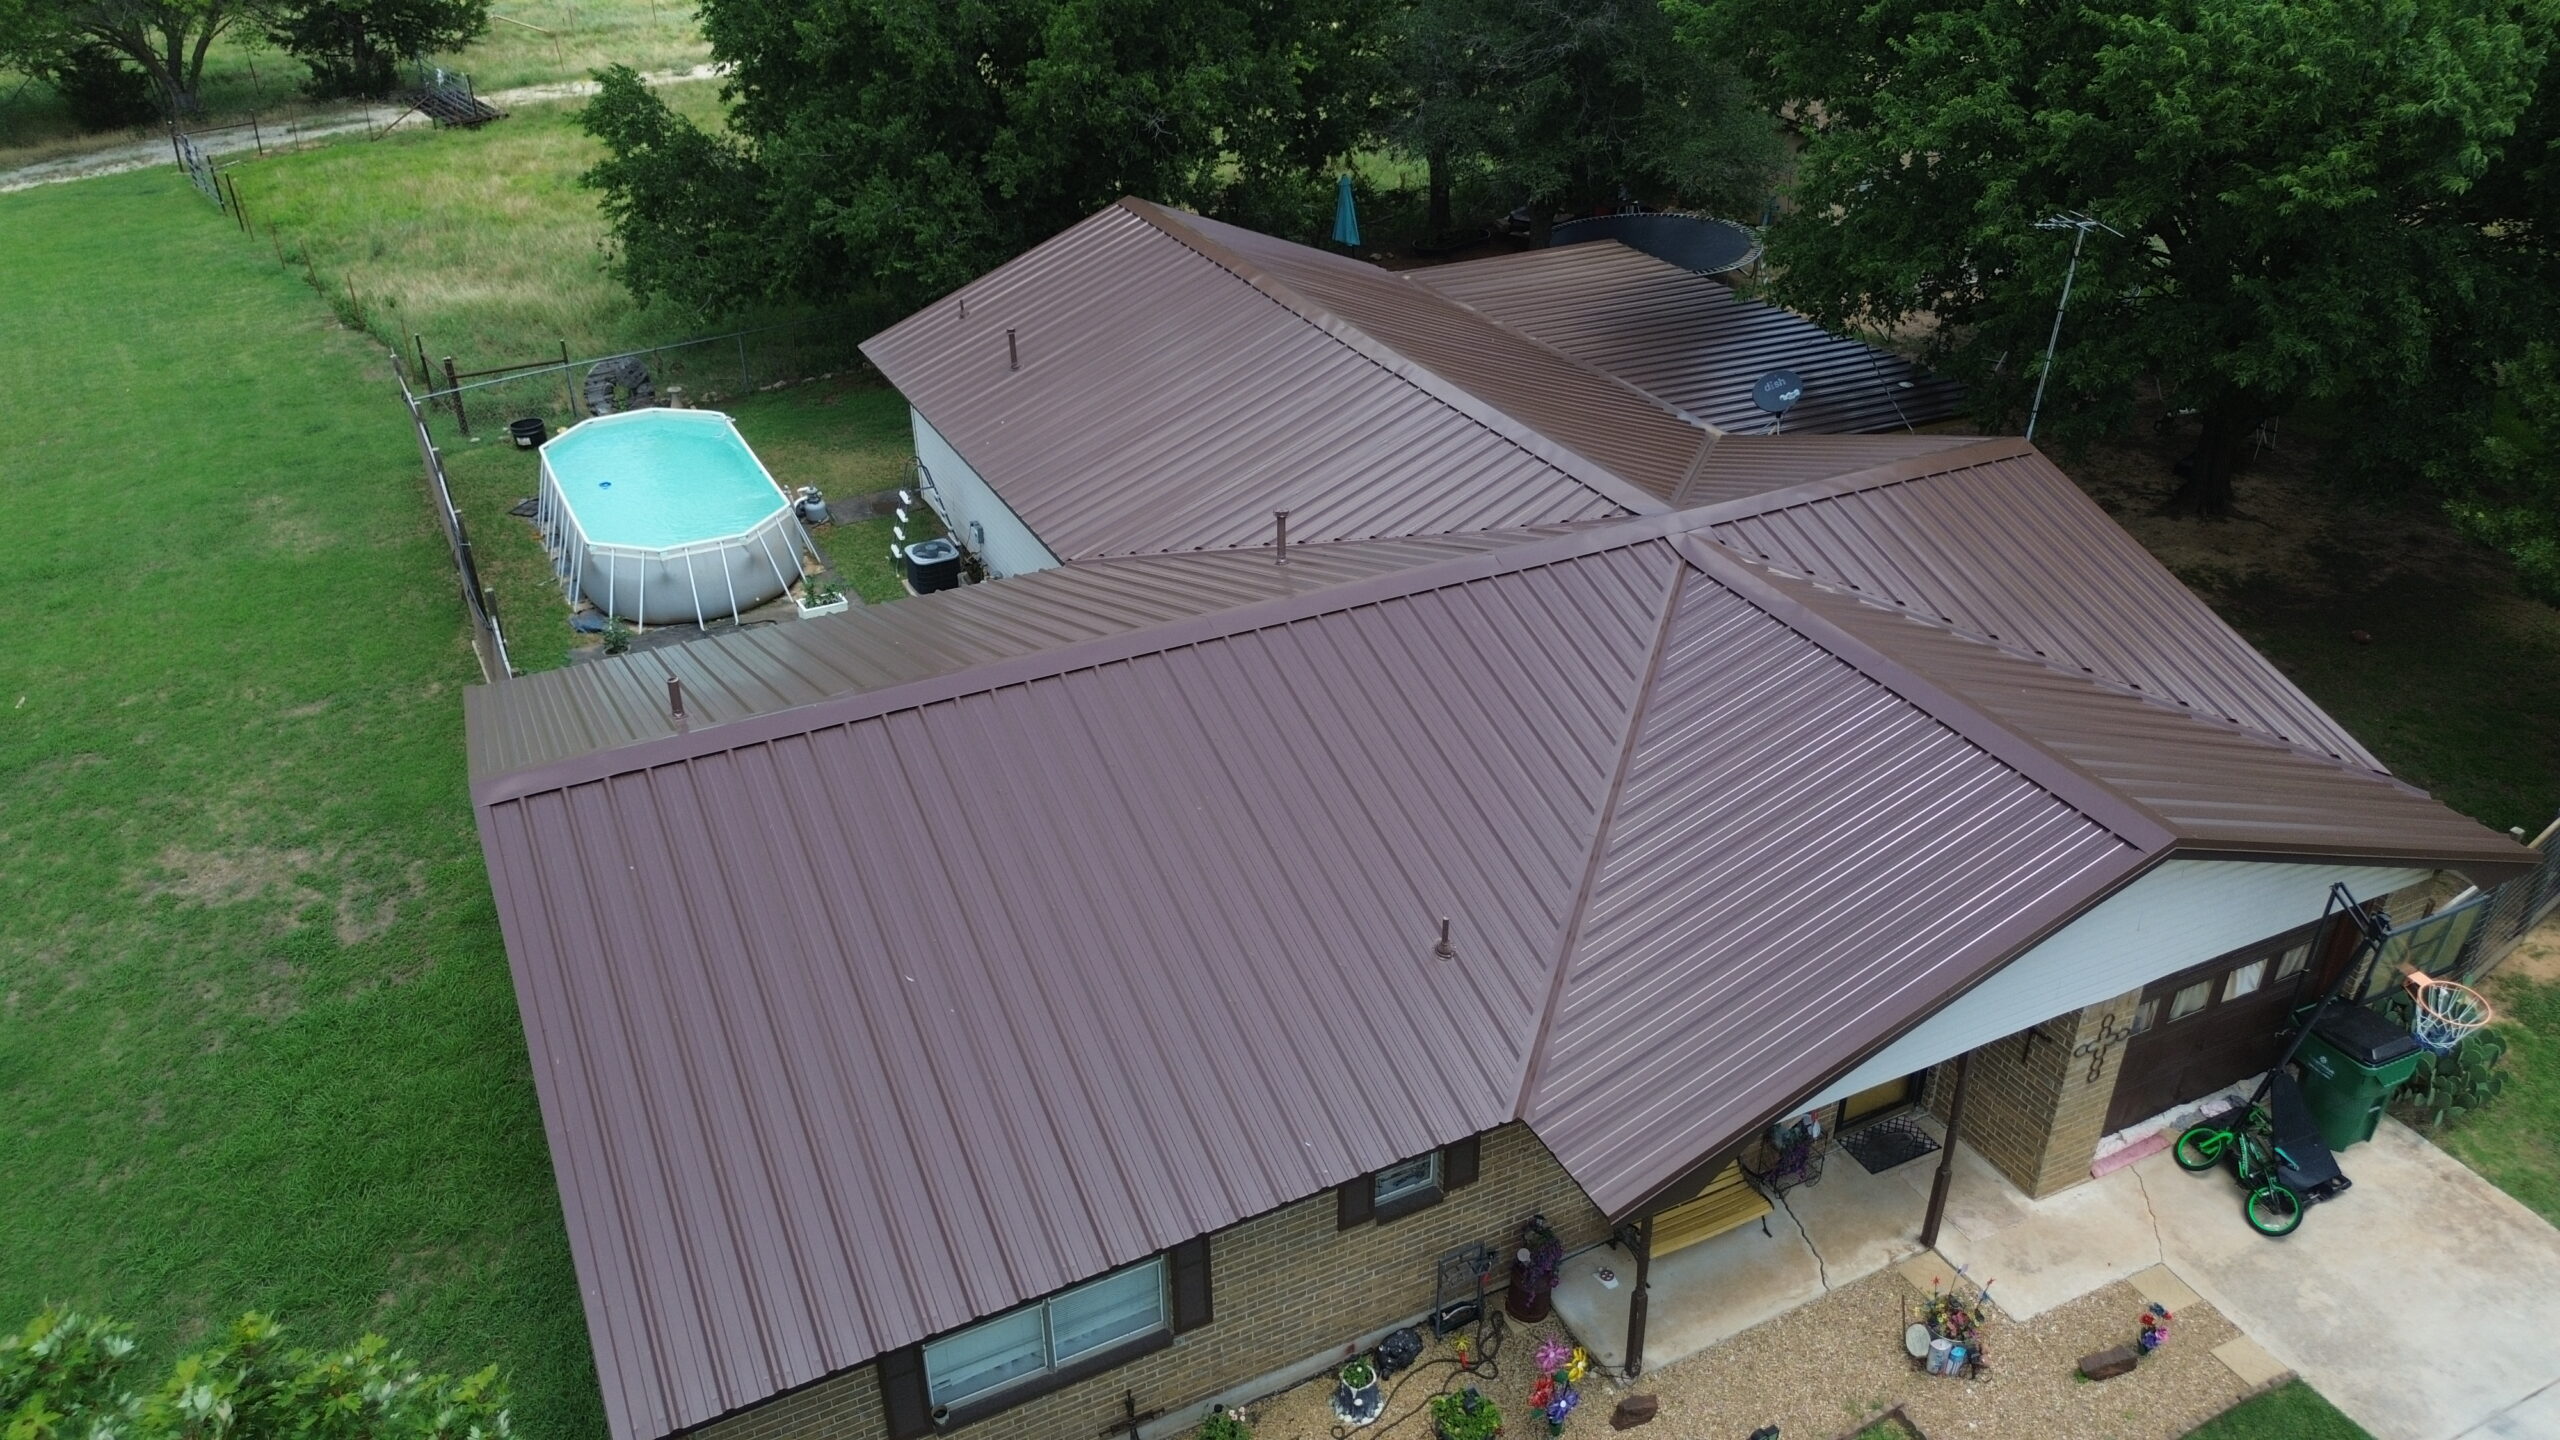
Reviewing Corrective Work
If problems were identified during earlier inspections, the final review should confirm that every required correction has actually been completed. It is not enough for a contractor to state that a problem was repaired because the completed correction should be visually verified and documented where appropriate. This creates a clear connection between the original inspection and the final approval.
Corrective work should also be evaluated for quality. A temporary-looking repair or poorly integrated replacement component may resolve one visible issue while creating another concern. Repairs should be consistent with the roofing system and completed using appropriate materials and installation methods.
A final review of corrective actions helps prevent unresolved items from being carried into the completed project. It also provides a clear point at which the contractor and property owner can confirm that the agreed installation requirements have been addressed.
Final Handover Documentation
Once the inspection is complete, the project documentation should be organized for handover. Depending on the project, this may include inspection records, photographs, product information, warranty documents, maintenance recommendations, and records of completed corrective work. Clear documentation gives the property owner useful information about the completed roofing system.
The final inspection record should indicate whether the roof passed the required quality review or whether additional work remains outstanding. If work is still required, the remaining items should be clearly identified rather than treating the project as fully complete. This makes the handover process more transparent and reduces confusion about unfinished work.
Property owners should also receive information about routine roof care where applicable. Understanding how to maintain drainage components, monitor visible roof conditions, and arrange future inspections can help preserve the condition of the roofing system. A professional handover therefore extends beyond simply declaring that installation is finished.
Final Roof Inspection Checklist
A concise final review can be organized around the following key areas:
| Inspection area | What to verify |
|---|---|
| Roof surface | Complete coverage, alignment, and visible condition |
| Fasteners | Proper attachment and no unnecessary exposed fasteners |
| Flashing | Complete protection around transitions and penetrations |
| Valleys | Clear drainage path and properly finished materials |
| Roof edges | Secure drip edge and clean finishing |
| Ventilation | Clear intake and exhaust pathways |
| Drainage | Clear gutters, outlets, and downspouts |
| Accessories | Secure installation without roof damage |
| Cleanup | Removal of roofing waste and loose materials |
| Documentation | Completed inspection records and corrective actions |
This checklist should be used as a quality control aid rather than a replacement for project specifications or manufacturer requirements. Roofing systems differ in their materials and installation details, so the inspection should always be adapted to the actual roof being evaluated.
Common Reasons a Roof May Fail Final Inspection
A roof may fail its final inspection for several reasons, including incomplete workmanship, damaged materials, improper flashing, drainage problems, or unresolved installation defects. Some problems are immediately visible, while others may be discovered when specific components are examined more closely. Identifying these issues before handover provides an opportunity for correction without delaying future maintenance.
Common concerns can include inconsistent shingle alignment, missing fasteners, loose flashing, blocked ventilation, damaged roof coverings, incomplete edge details, and construction debris. These issues may appear minor individually, but leaving several unresolved can reduce confidence in the quality of the completed installation.
Another common problem is incomplete documentation. Even when the physical installation appears satisfactory, missing inspection records or unresolved corrective actions can make it difficult to confirm that the project was properly reviewed. Good documentation should therefore be treated as part of the final quality control process.
When a Follow-Up Inspection Is Needed
A follow-up inspection may be necessary when defects are discovered during the final review or when corrective work requires additional verification. The follow-up should focus on the areas that were previously identified and confirm that the required corrections have been completed. It should not automatically be treated as a full replacement for the original inspection unless the project requirements call for another complete review.
Follow-up inspections can also be useful when weather conditions prevented certain checks from being completed safely. Roofing work should never be rushed simply to complete an inspection under unsuitable conditions. Once appropriate conditions return, the remaining areas can be reviewed and documented.
Conclusion
A final roof installation inspection is an essential quality control step that confirms whether a completed roofing system is ready for handover. The process should cover the roof surface, fastening, flashing, valleys, roof edges, ventilation, drainage, accessories, workmanship, cleanup, and documentation. Looking at these areas systematically makes it easier to identify defects that could otherwise become expensive maintenance problems.
A reliable inspection should not focus only on what can be seen from the ground. Vulnerable areas such as roof-to-wall transitions, penetrations, valleys, ridges, and drainage components require careful attention because they play an important role in protecting the building from moisture. Earlier inspection records and photographs can also help verify concealed work that cannot be examined directly after completion.
Corrective action is equally important. When an issue is discovered, it should be addressed using an appropriate repair or installation method and reviewed again before final approval. This ensures that the inspection process leads to actual quality improvement rather than simply documenting defects.
A clear final inspection checklist gives roofing contractors a consistent way to review completed work and gives property owners greater confidence in the finished project. When final inspection, corrective action, documentation, and professional workmanship are combined, the completed roofing system is better positioned to provide dependable protection and long-term performance.