
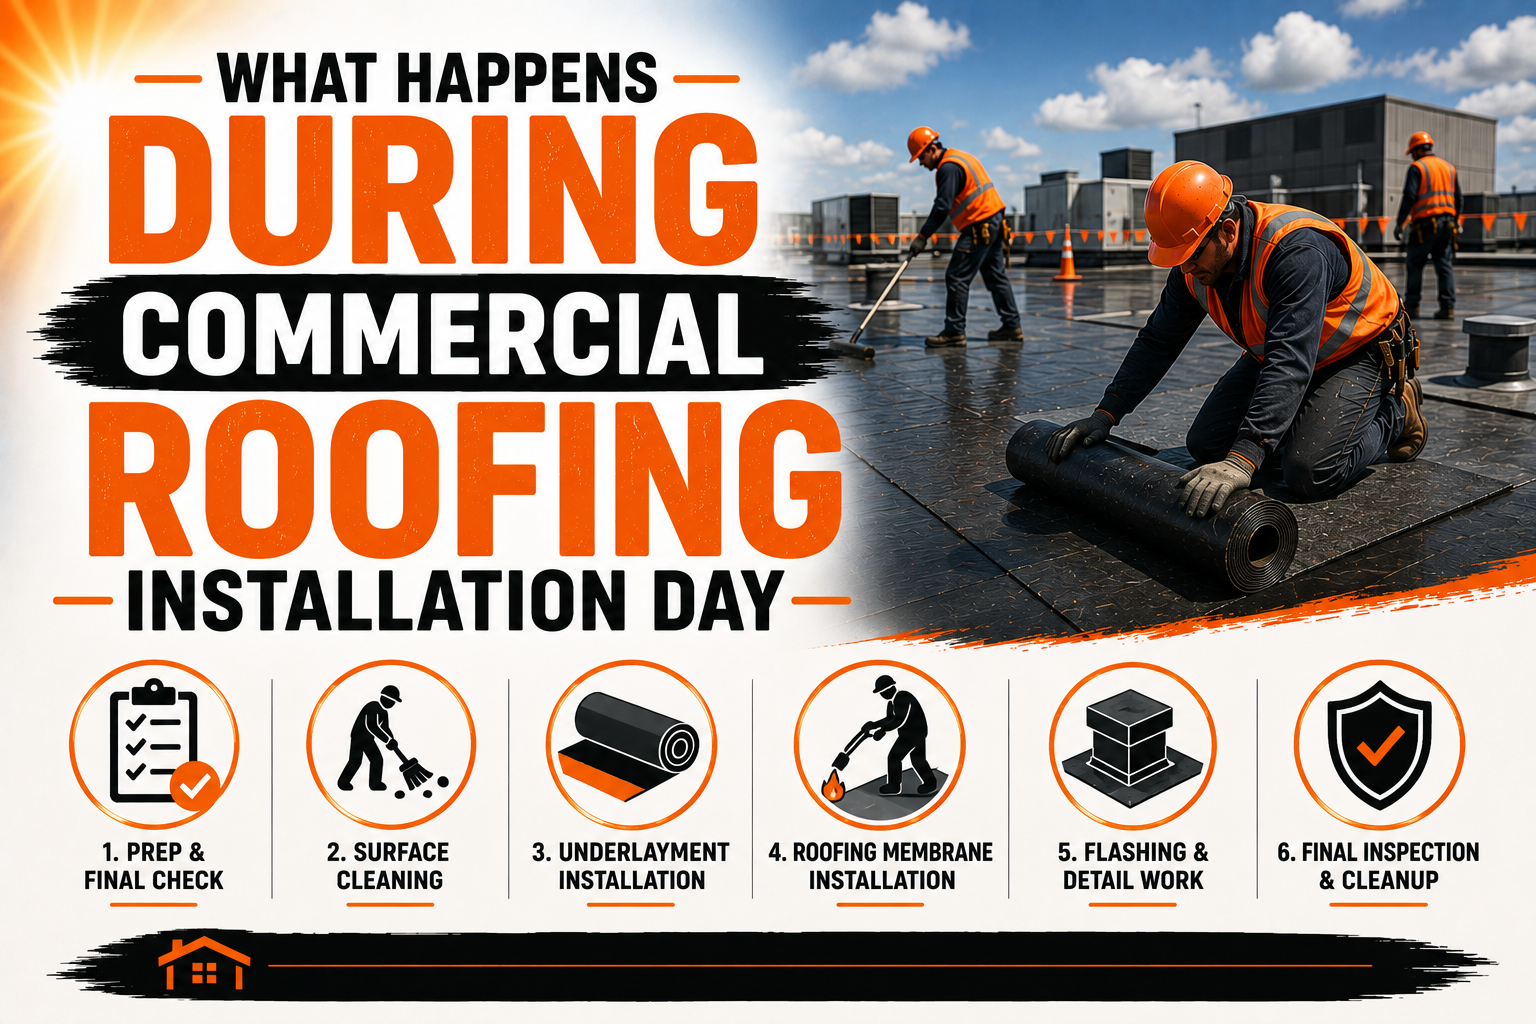
What Happens During Commercial Roofing Installation Day
Introduction
Commercial roofing installation day is the point when planning, preparation, materials, equipment, and labor come together on the building site. Although the visible work may appear straightforward, a professional roofing crew follows an organized process to keep the project safe, efficient, and consistent with the approved roofing system. The exact activities vary depending on whether the project involves a new roof, a complete replacement, or installation over an approved existing assembly.
A commercial roofing installation can involve many people and moving parts at the same time. Roofing installers may be working on the roof while equipment operators move materials, supervisors monitor progress, and building personnel manage normal operations below. Proper coordination is important because mistakes during one stage can affect every stage that follows.
The workday usually begins before the first roofing material is permanently installed. Crews inspect the site, review safety procedures, organize equipment, confirm weather conditions, and prepare access routes. These early activities may not be highly visible to building occupants, but they are essential for establishing a controlled work environment.
The installation process also depends on the condition of the roof when the crew arrives. If the deck or existing roofing system is not ready, the crew may need to complete additional preparation before installing the new materials. This is why professional commercial roofing installation is best understood as a sequence of coordinated activities rather than a single task.
What Happens Before the Roofing Crew Starts Work
Before installation activities begin, the roofing contractor typically reviews the day’s work plan. The supervisor may confirm which areas will be worked on, which materials are needed, where workers will operate, and what equipment will be used. The plan should also account for weather conditions and any building activities that could affect the work.
Weather is particularly important on installation day because commercial roofing is performed outdoors. Rain, strong winds, extreme temperatures, or other unfavorable conditions may affect whether certain roofing activities can proceed. The crew should compare current conditions with the requirements of the roofing materials and manufacturer instructions.
The supervisor may also review safety procedures with the crew. Commercial roofing involves elevated surfaces, heavy materials, tools, lifting equipment, and potentially hazardous conditions. Workers need to understand access routes, restricted areas, material handling procedures, emergency arrangements, and the precautions required for the day’s activities.
Building management may also receive an update before work begins. This can be particularly important when the property remains occupied during construction. The building owner or facility manager should know which areas may experience noise, restricted access, deliveries, or other temporary disruptions.
The crew then checks that required materials and equipment are available. Missing fasteners, adhesives, insulation boards, membranes, flashing components, or specialized tools can interrupt the installation sequence. Confirming these items early helps prevent avoidable downtime later in the day.
Arriving at the Commercial Property and Setting Up
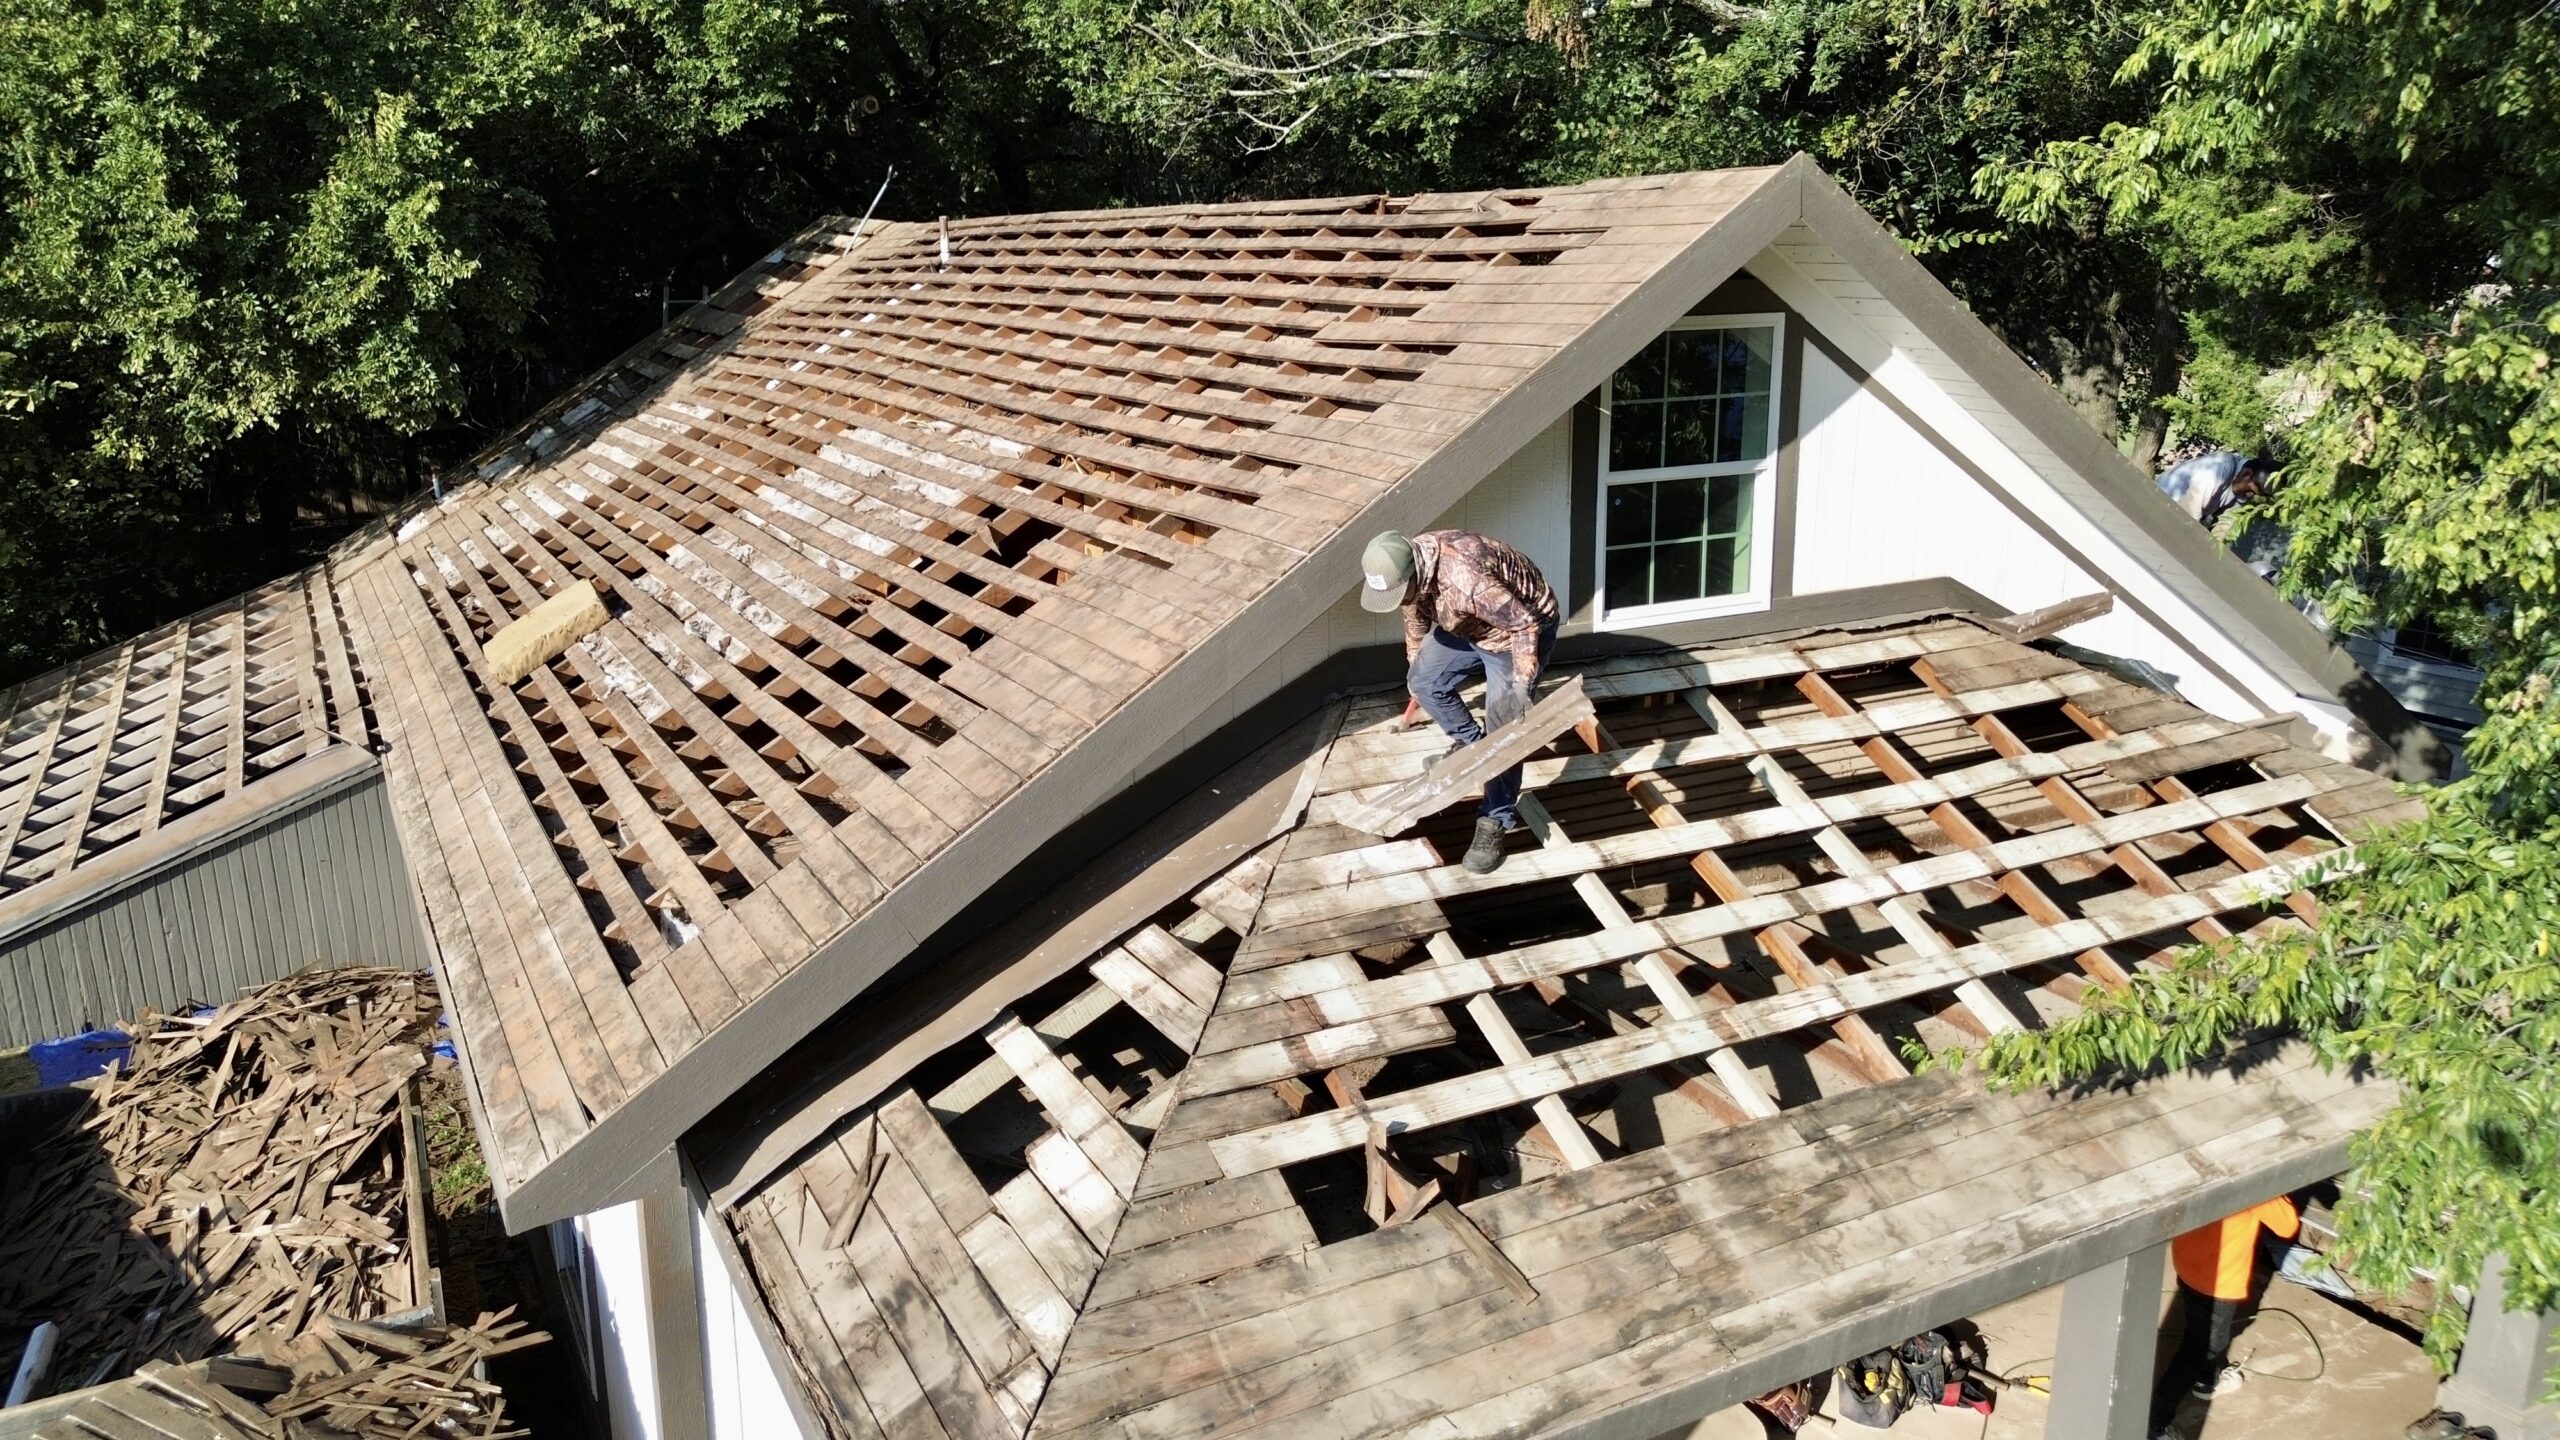
When the roofing crew arrives, the first visible activity may be the establishment of the construction area. Vehicles, equipment, materials, and workers need to be positioned without creating unnecessary interference with building operations. The setup process can be more complicated on busy commercial properties with limited parking or loading space.
Material delivery areas are usually selected in advance. Roofing materials may arrive on trucks and need to be moved to the roof using cranes, hoists, lifts, or other equipment. The crew must coordinate these activities carefully, particularly when materials are being lifted above occupied areas.
The ground-level work zone may be separated from pedestrians and vehicles. Warning signs, barriers, controlled access points, or other measures may be used to keep people away from active construction areas. This is especially important when materials or equipment are being moved overhead.
Once the site is organized, workers prepare their tools and equipment. Depending on the roofing system, this may include membrane welding equipment, fastening tools, adhesive application equipment, cutting tools, ladders, safety equipment, and inspection instruments.
Materials should be staged in locations that support efficient installation without creating excessive loads or unsafe conditions. The crew should avoid placing materials randomly across the roof because poorly organized staging can create trip hazards and interfere with drainage or access.
The setup stage establishes the foundation for the day’s work. A well-organized site allows workers to move efficiently while reducing unnecessary risks and interruptions.
Inspecting the Roof Before Installation Begins
Before permanent installation starts, the roofing crew should inspect the area where work will take place. Even when the roof was inspected during the planning stage, conditions may have changed between the initial assessment and installation day. The final pre-installation check helps confirm that the surface remains suitable.
If the project involves removing an existing roof, the crew may inspect the exposed deck after demolition. The deck should be checked for damage, moisture, corrosion, deterioration, debris, and other conditions that could affect the new roofing assembly.
The substrate should be reasonably clean and suitable for the next installation stage. Loose materials, standing water, dirt, and construction debris can interfere with insulation placement or membrane installation. Any unsuitable conditions should be corrected before they become concealed.
The crew may also inspect roof penetrations and existing equipment. HVAC units, pipes, vents, drains, skylights, and other components need to match the installation plan. These areas require proper detailing later, so identifying problems early can prevent interruptions.
Drainage points should be checked as well. Drains and scuppers must remain clear throughout the installation process. A blocked drain can become a serious issue if rain arrives while portions of the roof are unfinished.
The inspection may reveal conditions that require additional work. For example, a damaged section of decking may need repair before insulation can be installed. Addressing these findings immediately is usually better than continuing installation and covering a problem that could later affect the roof’s performance.
Preparing the Work Area and Safety Zones
Once the roof is confirmed to be ready, the crew establishes organized work areas. Roofing installation requires clear movement paths for workers and materials, particularly on large commercial roofs where multiple crews may operate simultaneously.
Areas near roof edges, openings, skylights, and other potential hazards require appropriate controls. Workers need to understand where they can move and where additional precautions are required. The exact safety measures depend on the site, roofing activities, and applicable requirements.
Materials should also be positioned so they do not obstruct emergency routes or drainage points. Insulation boards, membrane rolls, tools, and equipment can quickly make a roof crowded if staging is not planned carefully.
The work zone below the roof may also remain controlled throughout the day. Falling debris is a concern during demolition and some installation activities, so people should not be allowed to enter areas where they could be exposed to construction hazards.
Noise and vibration should also be considered. Activities such as removing old roofing, fastening materials, cutting components, and operating equipment can be noticeable inside the building. When possible, building management can coordinate sensitive activities around normal operations.
Good organization makes the installation process easier to manage. Workers know where materials belong, supervisors can monitor progress, and building occupants are less likely to encounter unexpected construction hazards.
Delivering and Moving Roofing Materials
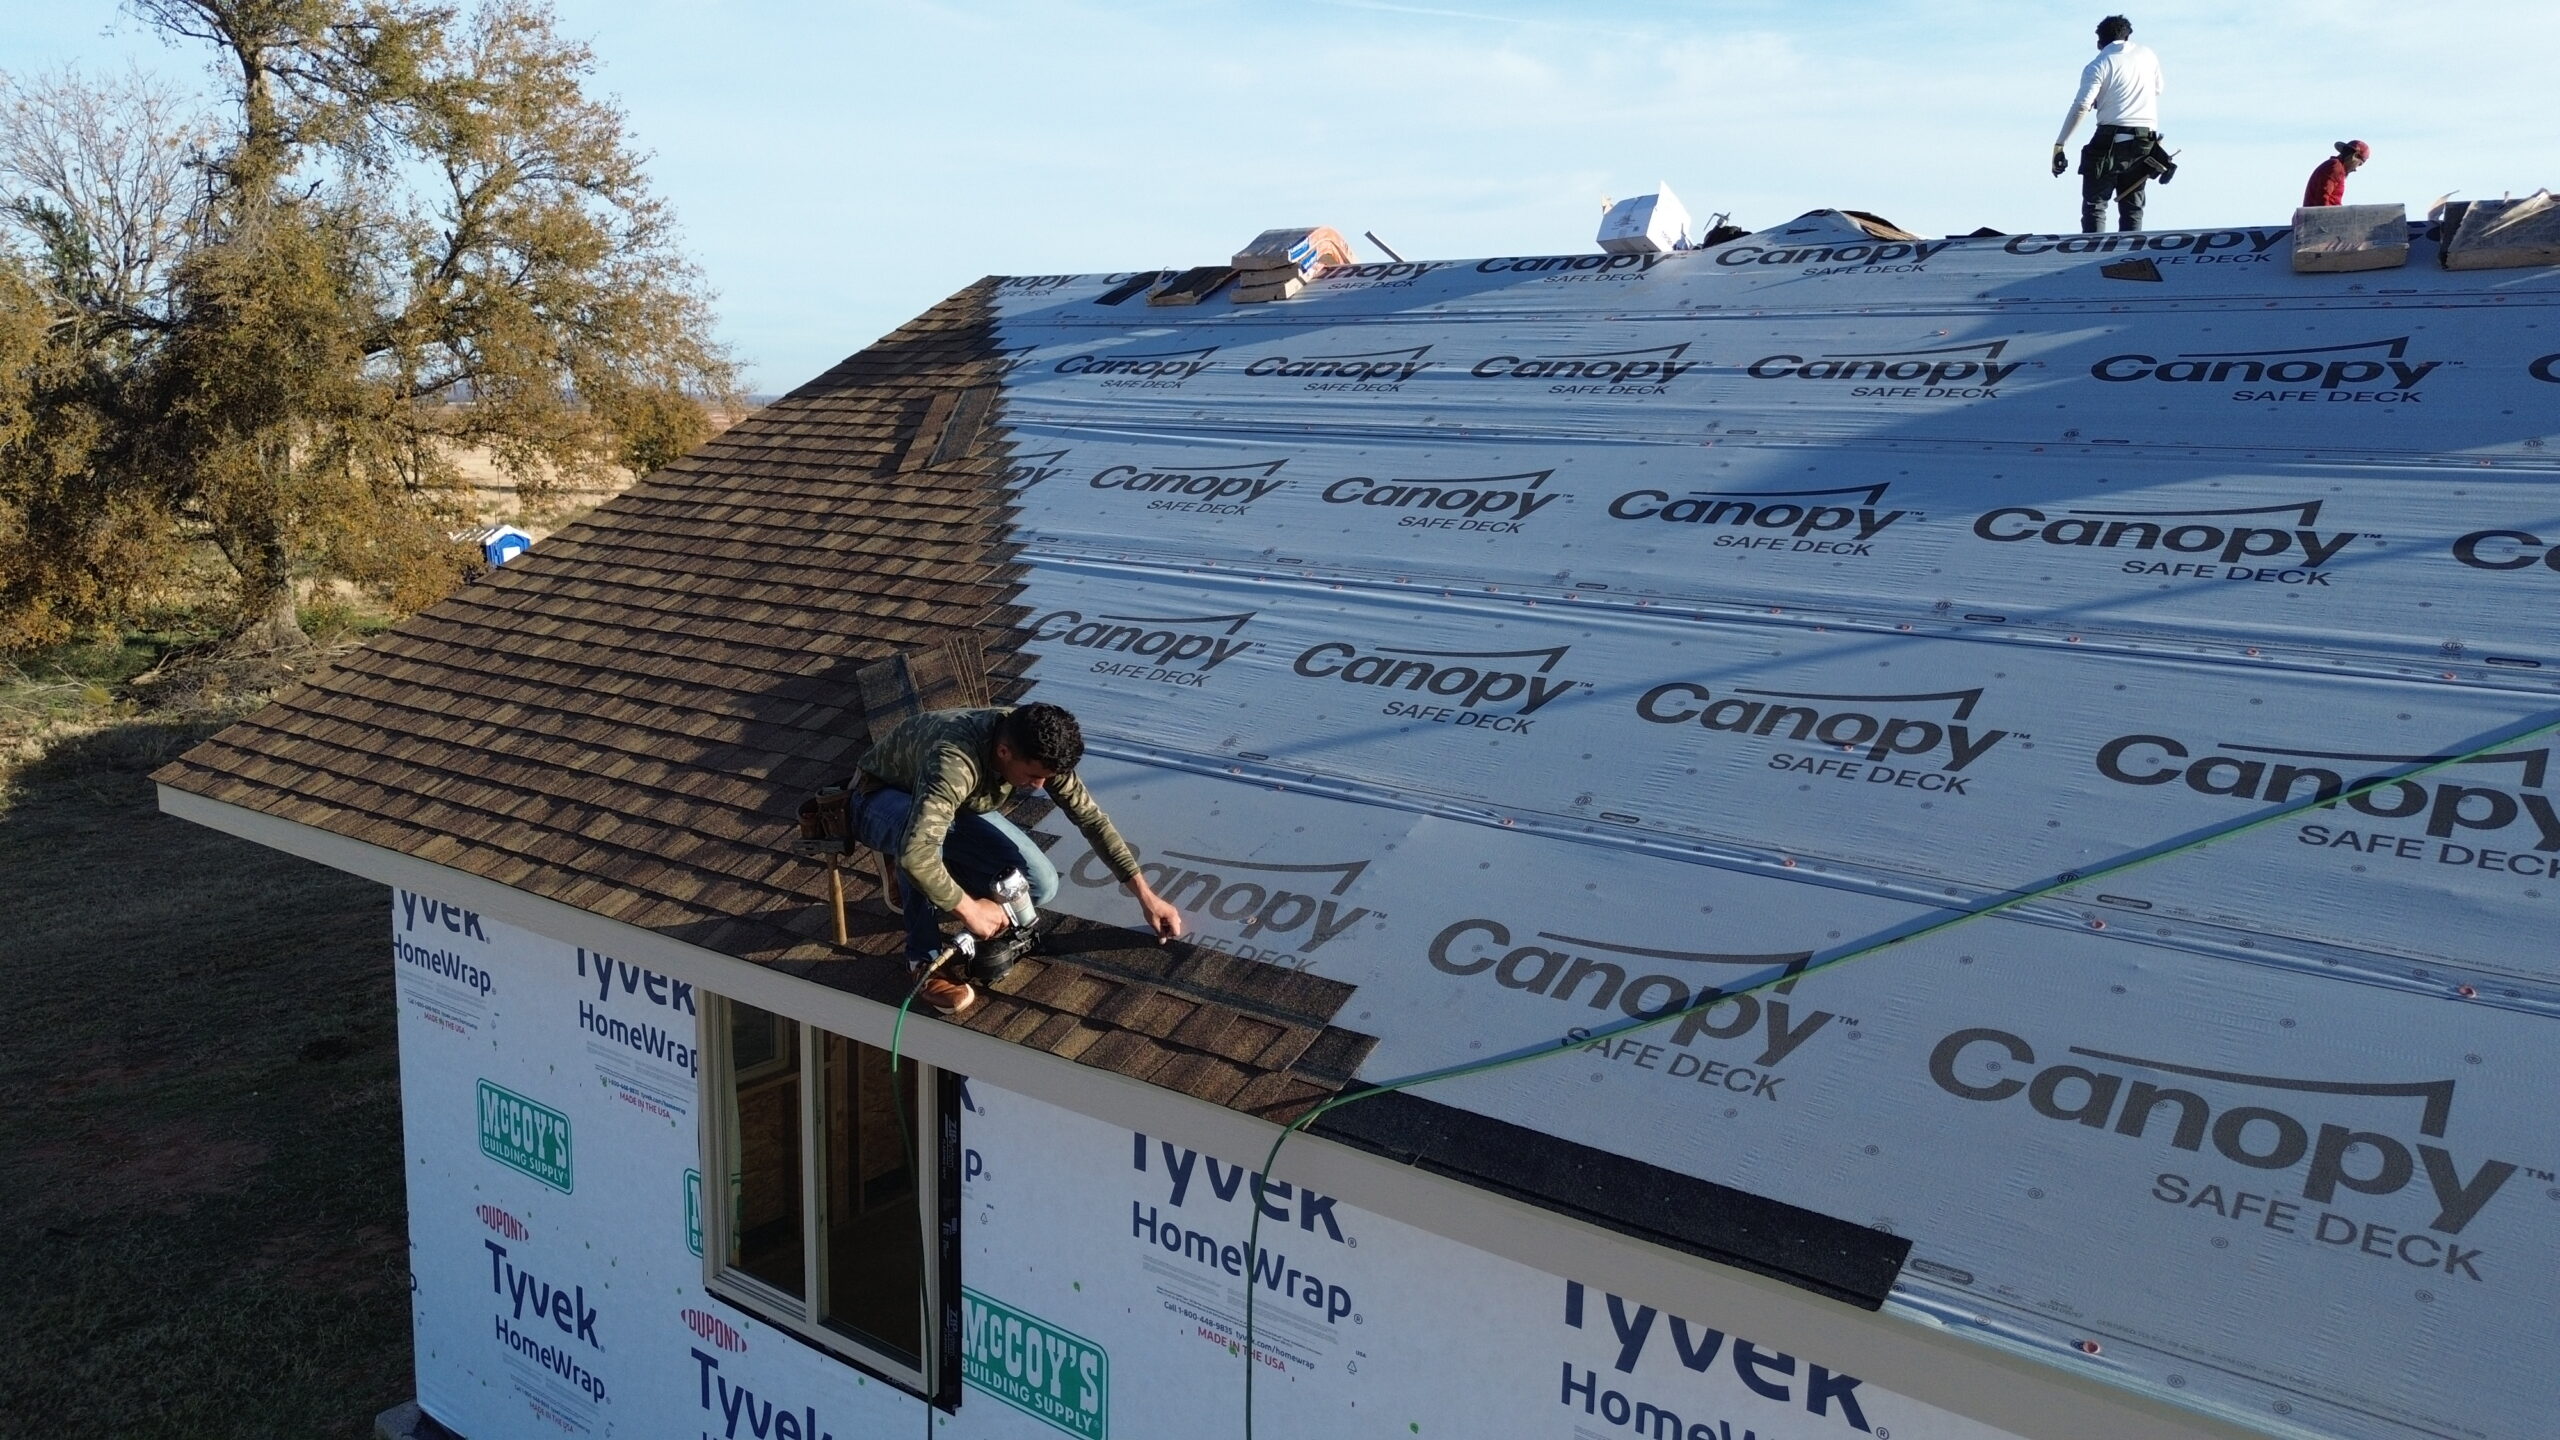
Commercial roofing materials can be large, heavy, and difficult to move manually. Installation day may therefore involve significant material-handling operations before the actual roofing work begins. The method depends on the building height, roof access, material quantities, and available equipment.
Cranes may be used to lift pallets, insulation boards, membrane rolls, or other products to the roof. Hoists and material lifts can also be used on suitable buildings. These operations require careful coordination because materials may be suspended above ground-level areas.
Once materials reach the roof, workers organize them according to the installation sequence. Insulation may be staged near the areas where it will be installed, while membrane rolls and accessories can be placed in locations that allow crews to work efficiently.
Material placement must account for the roof structure. Heavy materials should not be concentrated in locations where temporary loading could create concerns. The contractor should follow the project requirements for material distribution and staging.
Weather can also influence material handling. Wind can make large membrane sheets difficult to control, while rain can damage materials that require dry storage. The crew should secure materials appropriately and adjust handling procedures when conditions change.
The objective is to move materials efficiently without creating unnecessary risks. Good material logistics can save significant time during a large commercial roofing project while also helping protect the products before they are installed.
Removing or Preparing the Existing Roofing System
If the project is a roof replacement, installation day may begin with removal of the existing roofing system. The scope can involve removing the old membrane, insulation, flashing, edge materials, fasteners, or other components before the new roof is installed.
Demolition is generally performed in controlled sections rather than exposing the entire building at once. This approach helps limit the amount of roof that is vulnerable to weather and allows the crew to prepare and complete areas systematically.
During removal, workers may discover conditions that were not visible during the original inspection. Wet insulation, deteriorated decking, multiple roofing layers, abandoned equipment, or previous repairs may be uncovered. These findings need to be evaluated before the new roofing system is installed over the area.
Debris must be moved away from the active work zone regularly. Leaving large quantities of old roofing materials on the roof can create trip hazards, obstruct access, and add unnecessary temporary loading. Organized debris removal keeps the work area safer and more efficient.
Temporary weather protection is particularly important during demolition. Once the old waterproofing layer has been removed, the building may be vulnerable to rain. The crew needs to be prepared to protect exposed areas if weather conditions change.
For projects where the existing roof is approved to remain, the preparation process may involve cleaning, repairing, drying, or otherwise preparing the existing surface. The exact procedure depends on the new roofing system and its approved installation method.
Preparing the Roof Deck for New Materials
After existing roofing materials are removed or the approved substrate is prepared, the roof deck becomes the focus of the installation process. The deck provides the foundation for insulation and the rest of the roofing assembly, so it must be suitable before permanent materials are installed.
Workers may remove remaining debris and inspect the deck for visible problems. Damaged areas should be addressed before they are covered. The contractor may also verify that fasteners, attachment points, or other components can be installed correctly.
Moisture is another major consideration. If rain has occurred or wet materials were discovered during removal, the affected area may need additional evaluation and drying. Installing insulation or membranes over unsuitable moisture conditions can create problems within the completed roof assembly.
The deck preparation process also provides an opportunity to confirm drainage and roof slopes. Any planned tapered insulation or other drainage components should align with the roof’s intended water flow. This coordination is important because drainage performance depends on the entire roof assembly.
Once the deck is clean, stable, and ready, the crew can move toward installing insulation, cover boards, membranes, flashing, and other components. These activities represent the next major phase of installation day and require careful sequencing to ensure each layer is properly integrated.
The preparation work completed during the first part of installation day creates the foundation for everything that follows. Once the site is organized, the roof is inspected, materials are staged, and the substrate is ready, the crew can begin installing the actual roofing assembly while maintaining quality and safety throughout the process.
Installing Insulation and Cover Boards
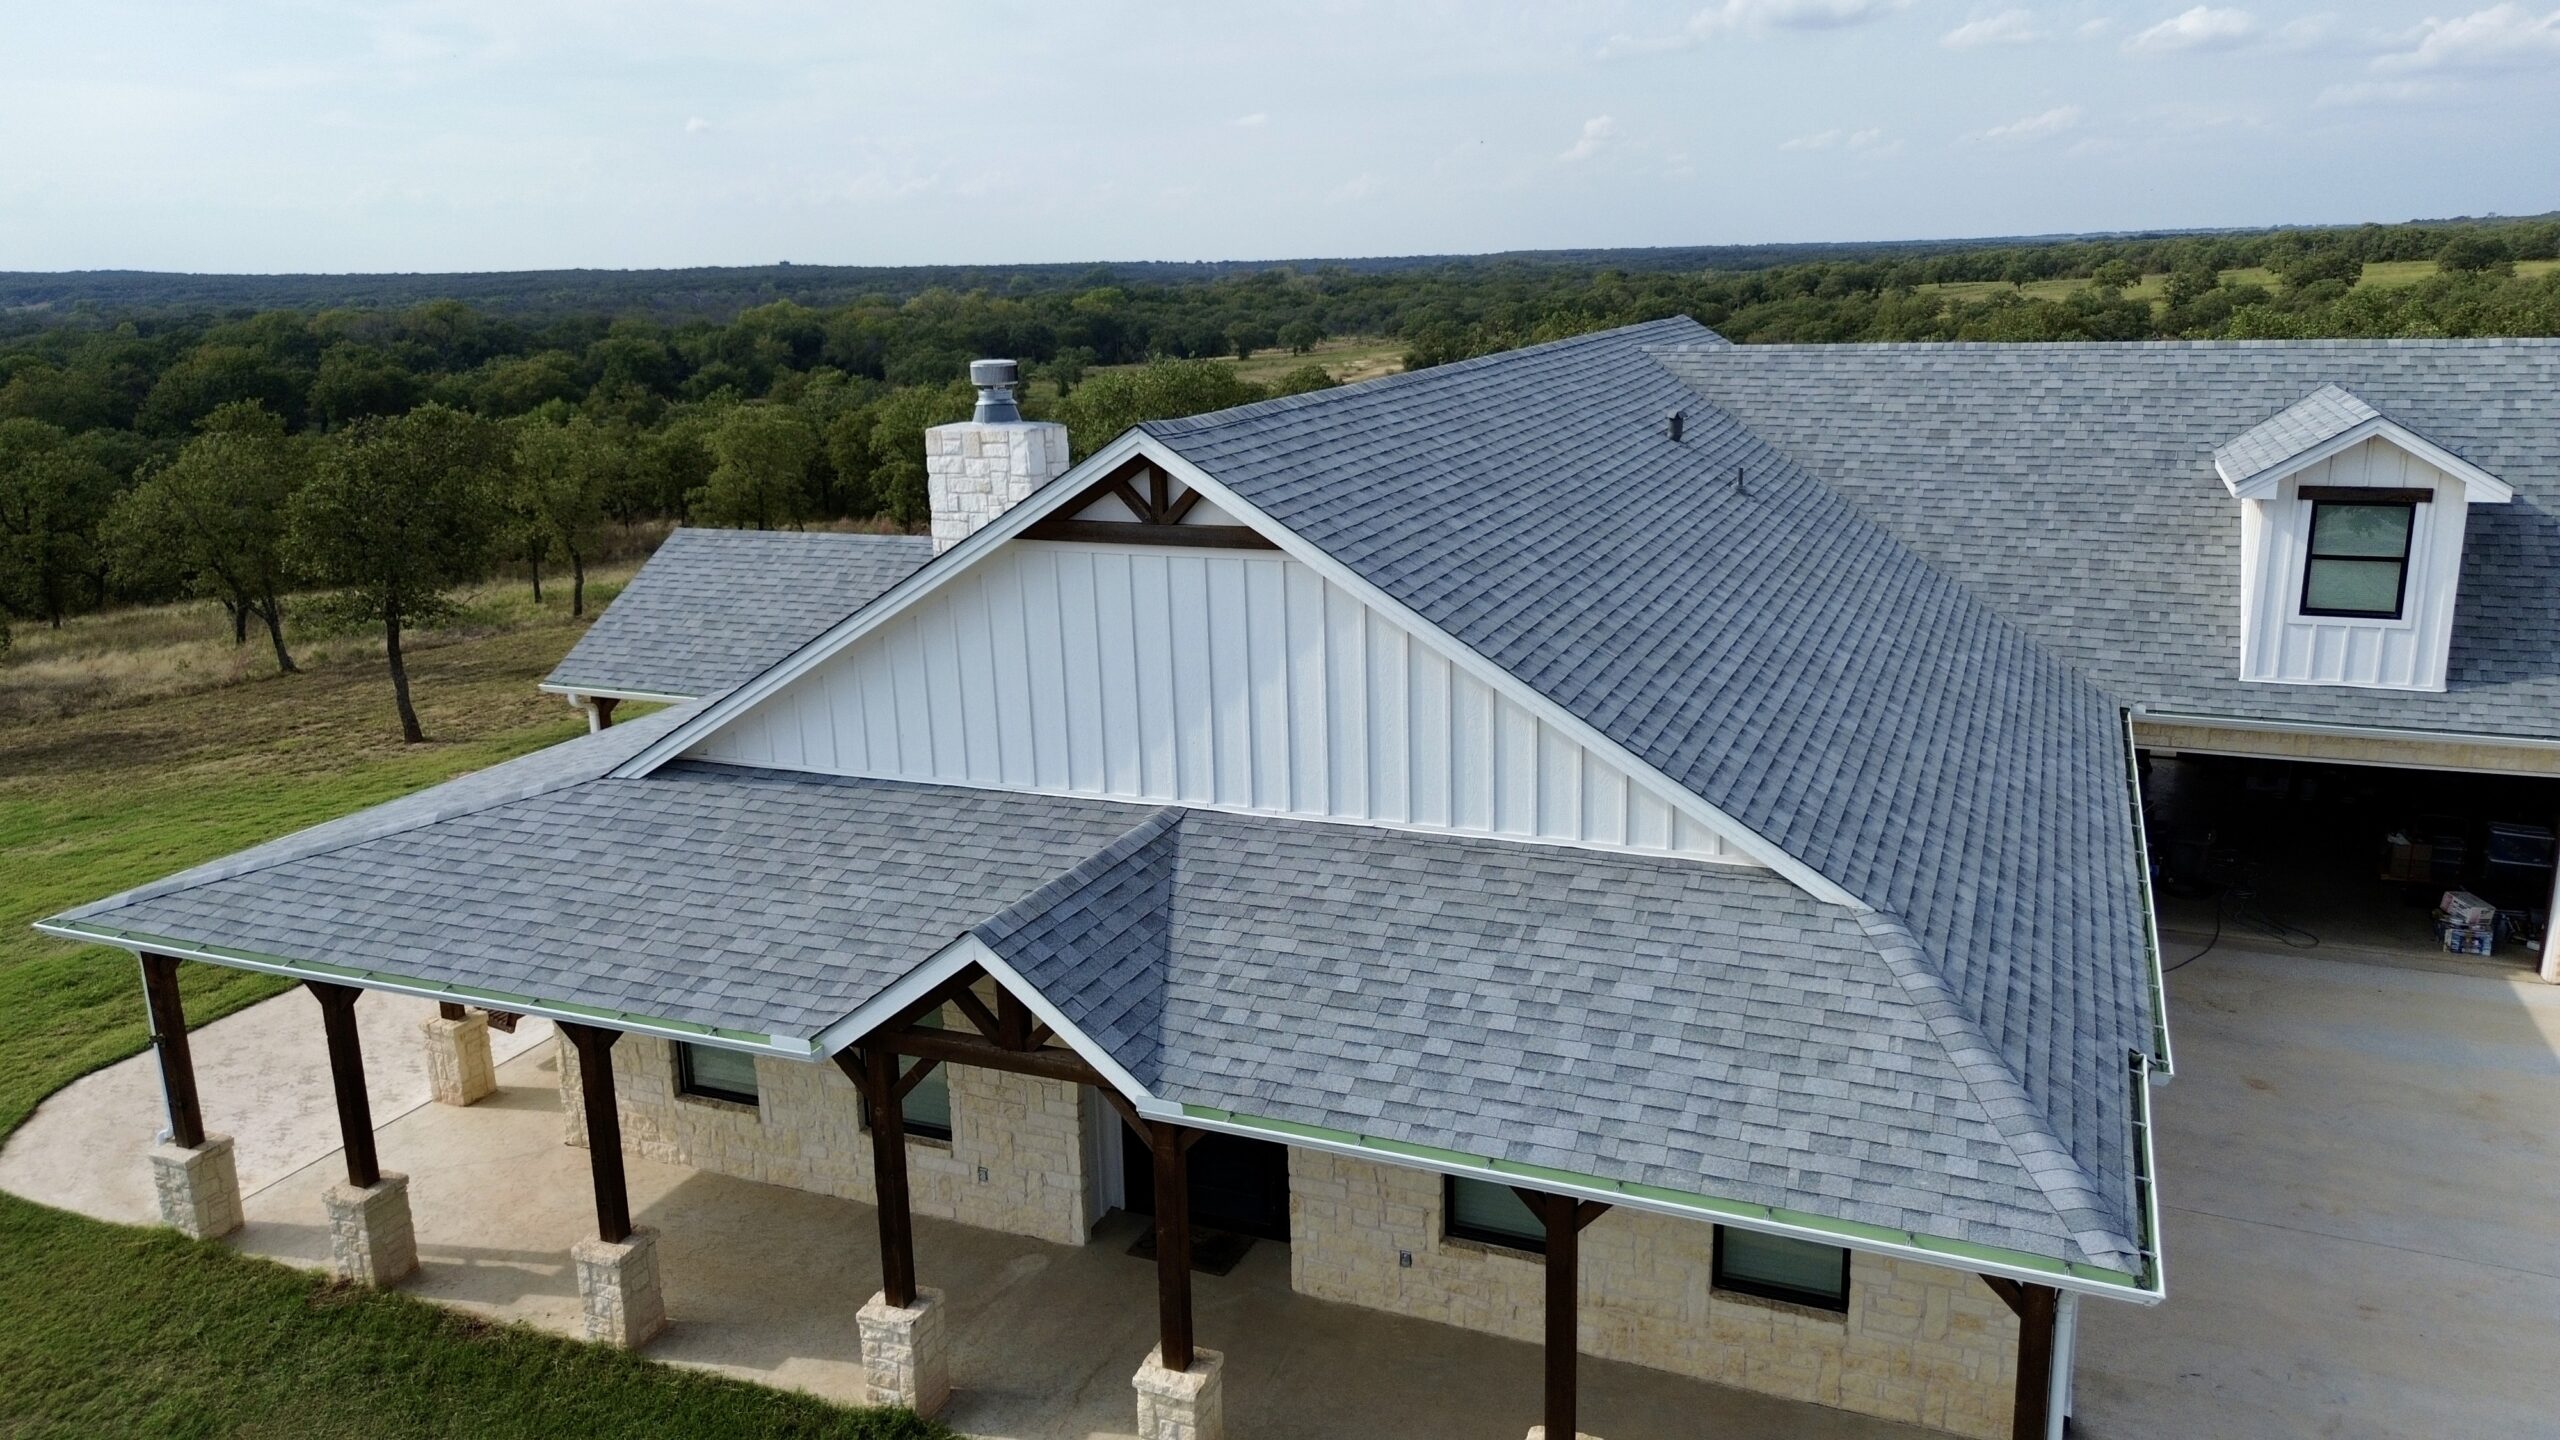
After the roof deck or approved substrate has been prepared, the installation crew can begin placing insulation and other components that form the foundation of the new roofing assembly. Insulation is an important part of a commercial roof because it contributes to thermal performance while also helping create the proper surface for the roofing membrane.
The type and thickness of insulation depend on the approved roofing design, building requirements, climate, and project specifications. Workers place the insulation according to the planned layout, paying attention to joints, edges, penetrations, and transitions. The installation should create a stable and consistent surface for the next roofing layer.
Some commercial roofing systems also include cover boards. These boards can provide additional protection and create a suitable surface for membrane installation. They must be positioned and secured according to the requirements of the selected system.
Workers need to keep the insulation and cover boards clean and dry during installation. Rain, wind, and construction debris can affect materials before they are covered. If weather conditions change, unfinished sections may need temporary protection.
Attachment is another important part of this stage. Depending on the roofing system, insulation and cover boards may be mechanically fastened, adhered, or installed using another approved method. Fastener placement and attachment patterns should follow the roofing system requirements rather than being determined only by appearance.
The crew may inspect completed sections before continuing. This provides an opportunity to identify gaps, movement, damaged boards, or other issues while the materials are still accessible. Proper preparation at this stage creates a stronger foundation for the membrane that follows.
Installing the Primary Commercial Roofing Membrane
Once the substrate and insulation layers are ready, the crew begins installing the primary waterproofing membrane. This is one of the most visible stages of commercial roofing installation because large membrane sheets begin covering the roof surface.
The installation method depends on the selected roofing system. Some membranes are mechanically attached, while others are fully adhered or installed using another approved technique. The contractor follows the manufacturer’s requirements for positioning, attachment, overlap, seams, and transitions.
Membrane rolls or sheets are placed according to the planned layout. Installers work carefully to keep the material properly aligned and positioned around roof edges, drains, equipment, and penetrations. Poor positioning can create unnecessary tension or make later detailing more difficult.
Weather conditions remain important during this stage. Strong winds can make large membrane sheets difficult to control, while rain can interfere with adhesives or contaminate prepared surfaces. The crew may need to pause certain activities if conditions are no longer suitable.
The membrane must also be protected from unnecessary damage during installation. Tools, equipment, fasteners, and foot traffic can create punctures or cuts if workers are careless. Crews should organize movement across the roof and avoid dragging sharp objects across completed sections.
Installation generally progresses in manageable sections. Completing and securing an area before moving farther across the roof helps reduce exposure to weather and makes quality control easier. It also allows supervisors to inspect the work as the project progresses.
Securing and Joining Roofing Materials
The membrane does not become a complete waterproofing surface simply because it has been placed over the roof. Individual sheets must be properly connected, secured, and integrated with the rest of the roofing assembly. The exact joining method depends on the material and installation system.
For thermoplastic membranes such as TPO or PVC, seams may be heat welded using specialized equipment. Installers carefully control the welding process to create a continuous connection between sheets. The quality of the seam depends on appropriate equipment settings, preparation, technique, and environmental conditions.
EPDM and other systems may use adhesives, tapes, or approved mechanical methods for connecting membrane sections. These methods require proper surface preparation and application procedures. Contamination, moisture, incorrect adhesive coverage, or unsuitable temperatures can affect the finished connection.
Mechanical attachment systems use fasteners and plates or other approved components to secure roofing materials to the underlying assembly. The fasteners must be installed according to the specified pattern and substrate requirements. Incorrect placement can reduce attachment performance or damage the roofing system.
Installers also need to manage membrane tension and wrinkles. Some systems require the material to be positioned and relaxed before final attachment. The crew should follow the manufacturer’s instructions instead of trying to force the membrane into position.
Quality checks should occur during installation rather than only at the end. Supervisors can inspect seams, fasteners, membrane placement, and other connections while they remain accessible. Early correction is generally easier than repairing a defect after multiple layers have been completed.
Installing Flashing Around Roof Penetrations
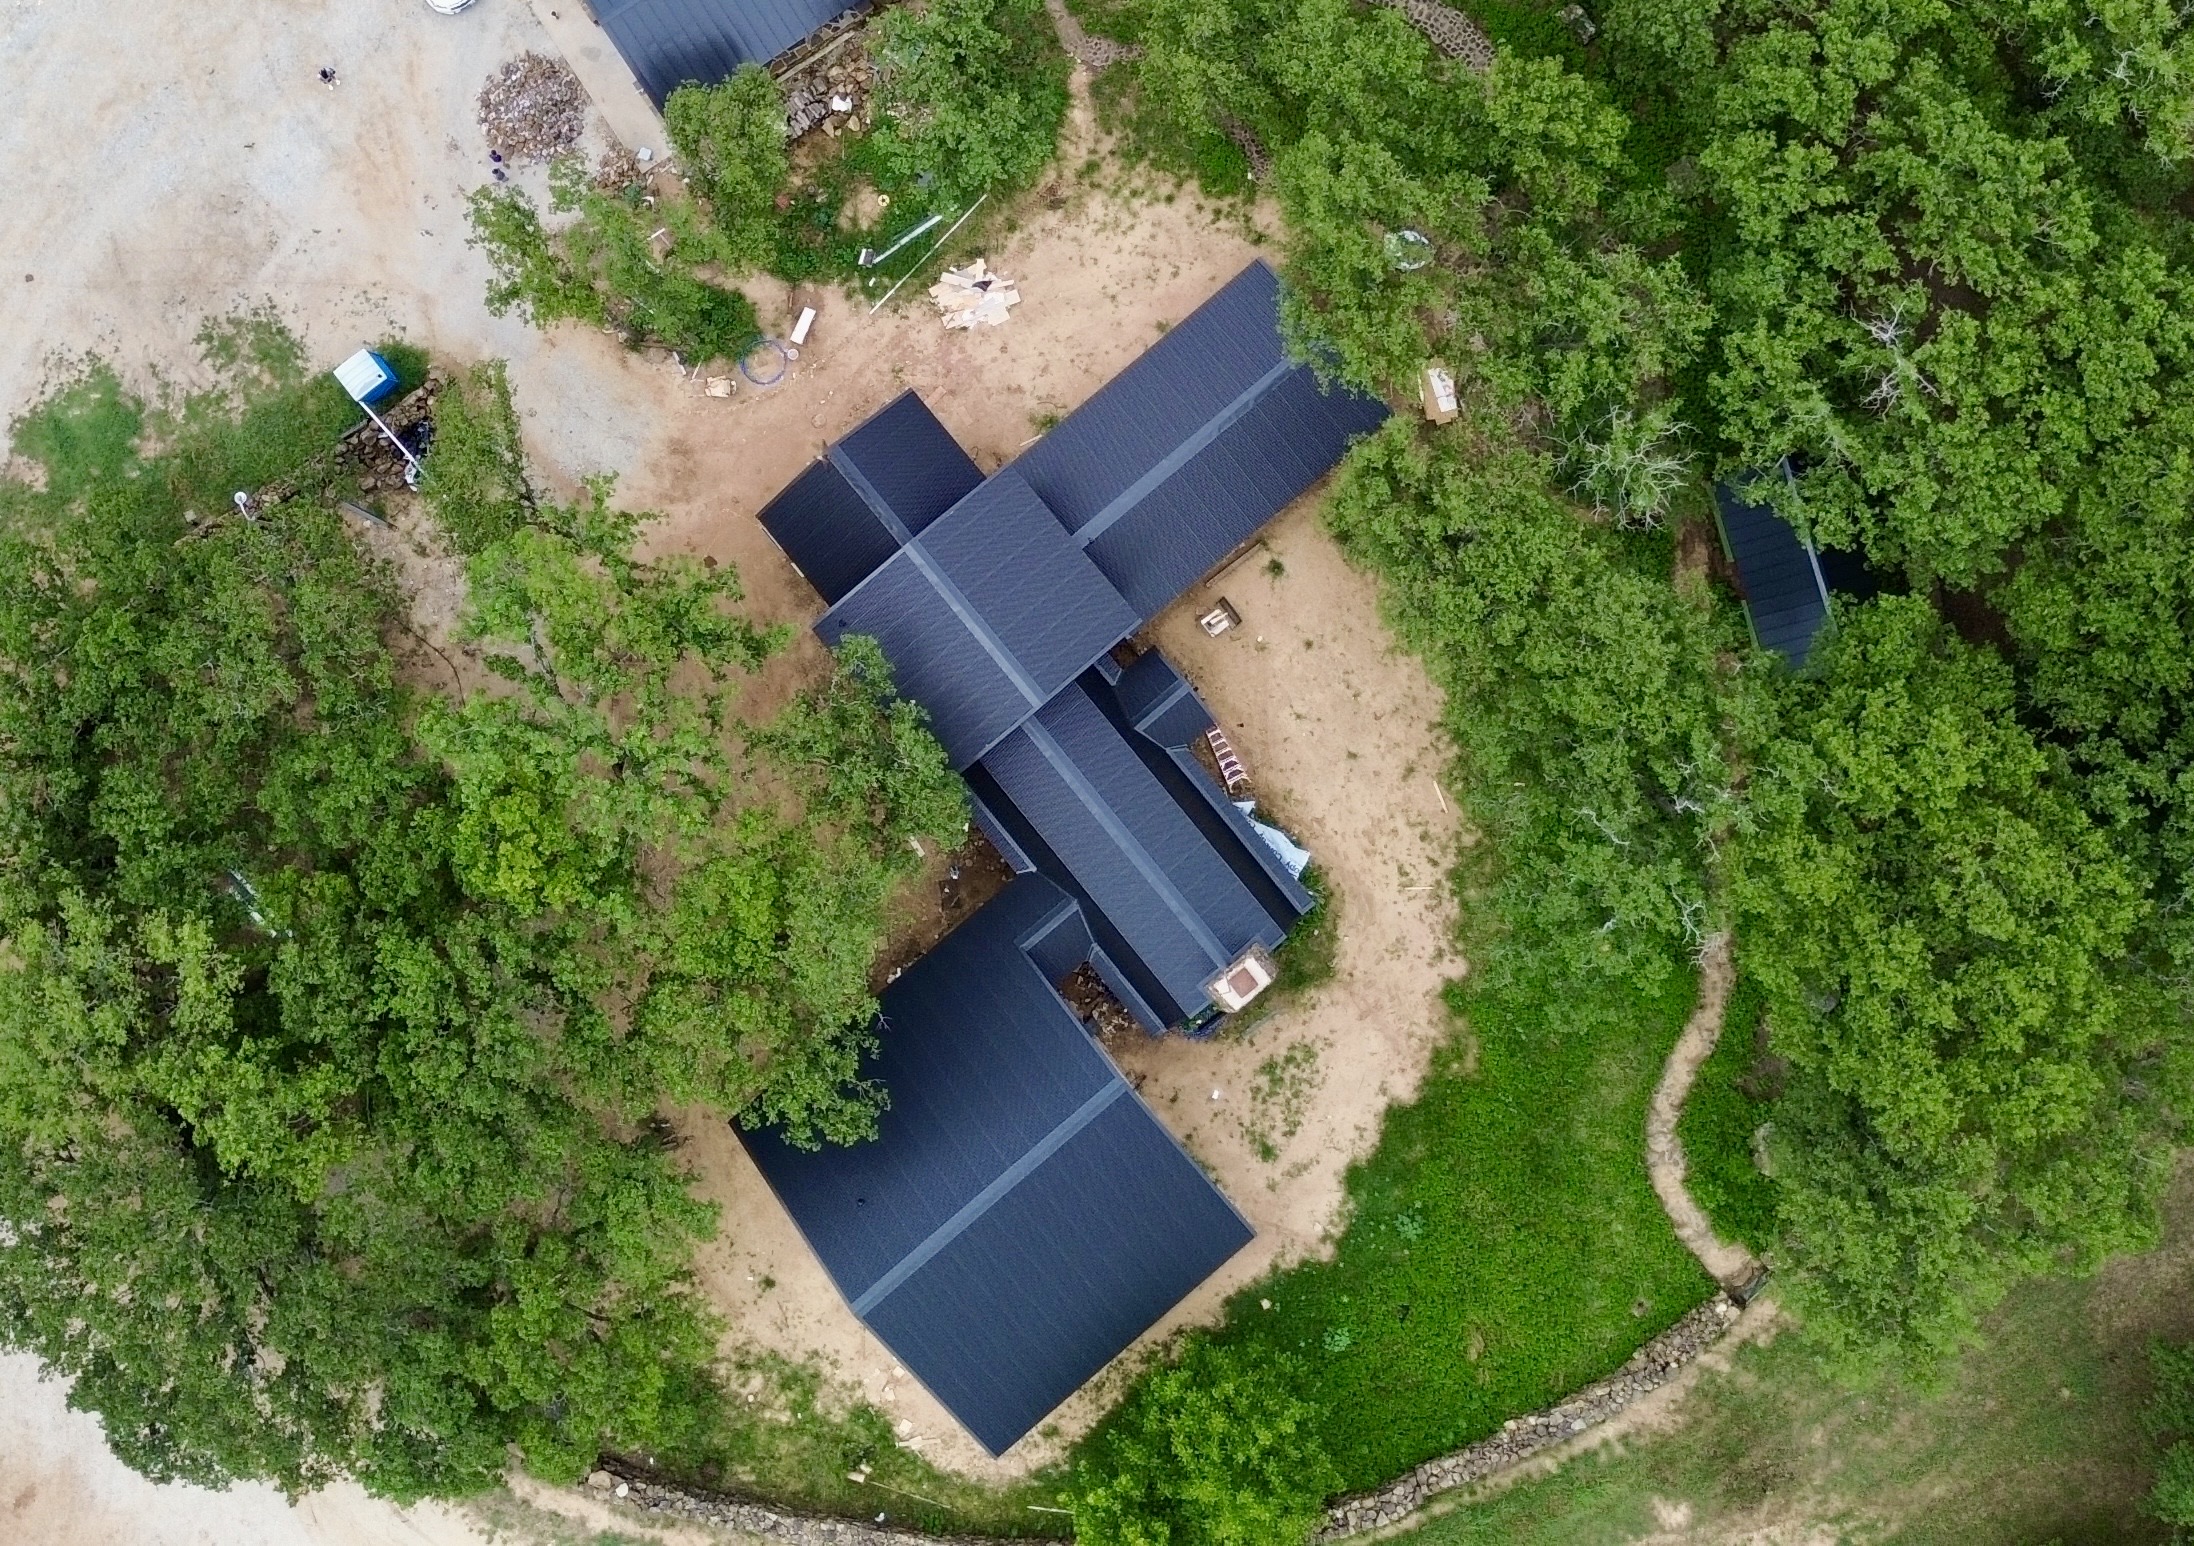
Commercial roofs contain many areas where the waterproofing membrane must transition around another component. These include pipes, vents, HVAC equipment, curbs, skylights, drains, electrical conduits, and structural features. Flashing creates the transition between the main roofing surface and these penetrations.
Each penetration should be detailed according to the roofing system’s approved procedures. The contractor may use compatible membrane accessories, metal flashing, prefabricated components, or other products. The selected materials should be compatible with the primary roof system.
Flashing work requires careful measurements and preparation. Openings and transitions need to be sized correctly so the membrane can be properly secured and sealed. Poorly fitted flashing can create gaps or weak points where water may eventually enter.
HVAC curbs often require particular attention because they are larger than simple pipe penetrations. The membrane must transition securely around the curb while allowing appropriate access for future equipment maintenance. The roofing contractor may need to coordinate with mechanical contractors when equipment is being modified or replaced.
Drains are another critical detail. The membrane should connect properly to the drain assembly so water can move from the roof surface into the drainage system. The connection must remain secure while allowing the drain to perform its intended function.
Penetrations should be inspected as they are completed. This helps ensure that each detail is properly integrated before surrounding roofing work makes access more difficult.
Completing Roof Edges and Perimeter Details
The roof perimeter is an important part of the installation because edges can experience significant environmental forces. The membrane must transition securely at walls, parapets, corners, and roof edges according to the approved system.
Edge components may include metal edge systems, termination bars, fasteners, clips, flashing, or other accessories. Their design and installation should match the roofing system and project requirements. These components help create a secure transition between the roof surface and the building perimeter.
Corners require particular attention because wind forces can be significant in these locations. The contractor should follow the specified attachment and detailing procedures rather than treating corners as ordinary roof areas.
Parapet walls also require proper flashing. The roofing membrane must transition from the horizontal roof surface to the vertical wall while maintaining reliable waterproofing. Counterflashing or other compatible components may be incorporated depending on the building and system.
The edge installation should be coordinated with drainage and exterior building elements. Gutters, scuppers, downspouts, walls, and other components need to work together to direct water away from the roof.
Because perimeter details can be critical to roof performance, supervisors should inspect them carefully during installation. A strong main membrane surface cannot compensate for poorly completed edges or transitions.
Managing Drainage During Installation
Drainage management continues throughout installation day. Roofing crews must keep drains, scuppers, and other water paths clear while materials and equipment are being moved across the roof. This becomes especially important when weather forecasts indicate possible rainfall.
Temporary protection may be placed over drains to prevent debris from entering while still allowing appropriate water management. These protections should be monitored so they do not unintentionally create blockages.
The crew should also avoid allowing insulation scraps, membrane pieces, packaging, or other construction waste to accumulate near drainage points. Regular cleanup helps prevent water from becoming trapped on the roof.
As tapered insulation or other drainage components are installed, workers should confirm that the intended slopes are maintained. Water should have a clear path toward drains or other collection points. Areas that repeatedly hold water during construction may need to be evaluated before the roofing assembly is completed.
Drainage components should also be checked after major installation stages. A drain that was clear earlier in the day can become blocked as work continues. Regular inspection reduces the possibility of unexpected water accumulation.
Proper drainage management protects both the unfinished roof and the completed building. It is therefore part of the installation process rather than something that should be checked only after the entire roof is finished.
Monitoring Work Quality Throughout the Day
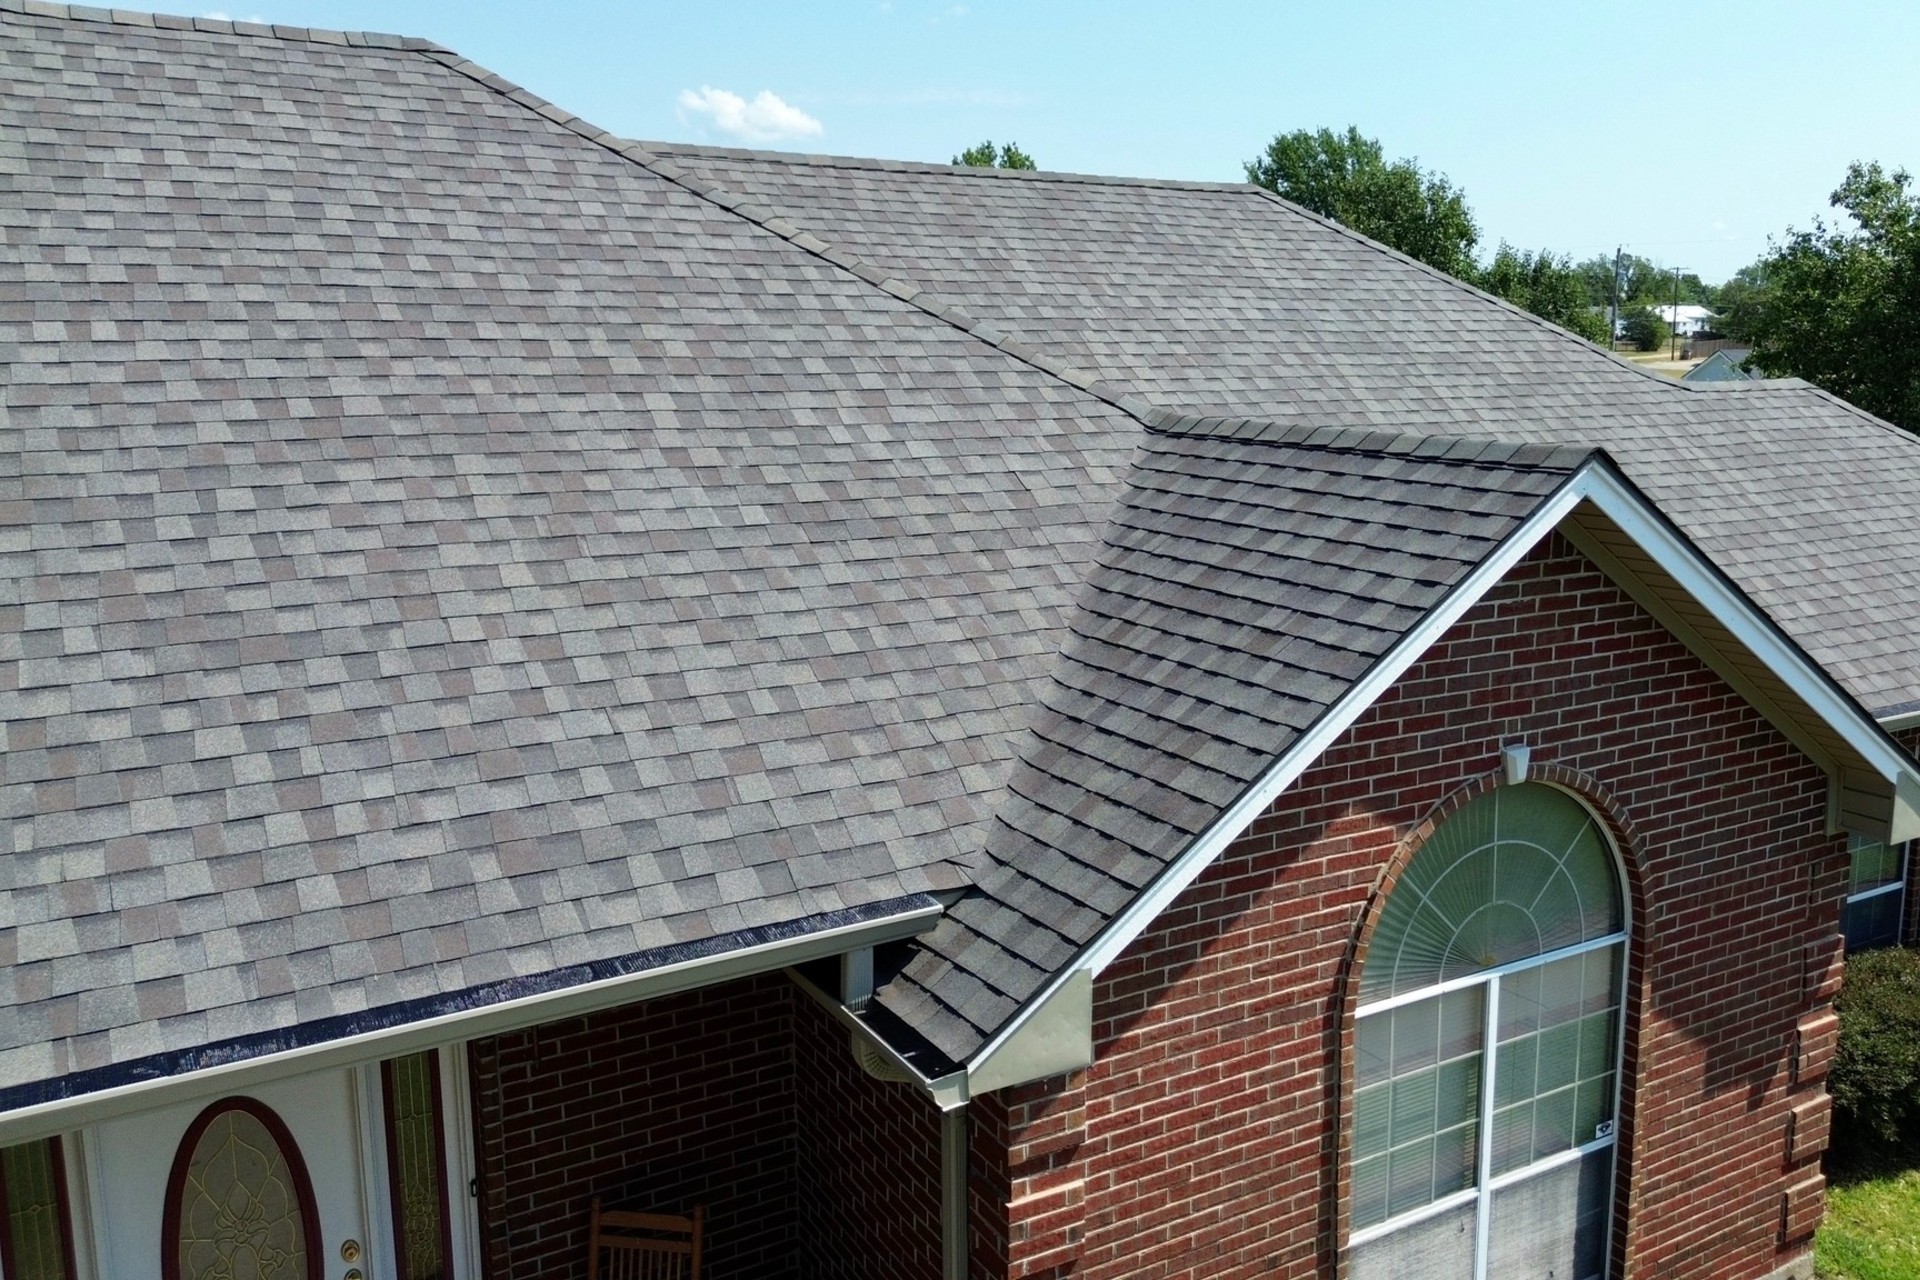
Quality control should continue from the beginning of installation until the crew leaves the site. Supervisors need to monitor whether workers are following the approved installation procedures and whether materials are being used correctly.
One useful approach is to inspect each completed section before the crew moves too far ahead. This can include checking membrane alignment, seam quality, attachment patterns, flashing, insulation placement, and edge details. Any problem can then be corrected before it becomes difficult to reach.
Material handling should also be monitored. Roofing products can be damaged during installation if they are dragged, dropped, cut incorrectly, or exposed unnecessarily to weather. Workers should protect completed sections while moving equipment and materials.
The supervisor may also monitor weather throughout the day. A project can begin under ideal conditions and later encounter increasing winds or rainfall. The crew needs to be prepared to secure unfinished areas and adjust the work sequence when conditions change.
Documentation can support the quality-control process. Photographs, inspection notes, material records, and daily progress reports can provide evidence of what was completed and identify areas that require additional attention.
At the end of a major work period, the supervisor should review the day’s progress and identify unfinished or weather-sensitive areas. This helps determine what needs to be protected overnight and what activities should begin the following day.
Commercial roofing installation is therefore a continuous process of installation, inspection, adjustment, and protection. The membrane and major components may receive most of the attention, but successful results depend equally on careful detailing, drainage, quality control, and coordination throughout the workday.
Handling Weather Changes During Installation
Weather can change the schedule and work conditions during a commercial roofing installation day. Even when the morning forecast appears favorable, rain, strong winds, extreme heat, or other conditions can develop later. A professional roofing crew monitors conditions throughout the day rather than assuming that the morning assessment will remain accurate.
Rain can be particularly disruptive when sections of the roof are unfinished. Water may interfere with adhesives, contaminate prepared surfaces, and create slippery working conditions. If rain begins, the crew may need to stop certain activities, cover exposed areas, protect materials, and maintain clear drainage paths until installation can safely continue.
Wind can create different challenges. Large membrane sheets, insulation boards, metal components, and packaging can be difficult to control during strong gusts. Materials should be secured appropriately, and activities involving large lightweight components may need to be paused when conditions become unsafe.
Extreme temperatures can also influence installation. Very hot roof surfaces may affect workers and certain roofing products, while cold conditions can influence adhesives, sealants, and other materials. The crew should follow the roofing manufacturer’s requirements for acceptable installation conditions.
A weather delay does not necessarily mean the entire project stops. Crews may shift to protected tasks, perform preparation work, organize materials, or complete other activities that can safely continue. This flexibility can help maintain progress without sacrificing installation quality.
Before leaving the roof at the end of a weather-related interruption, unfinished areas should be secured. Temporary coverings, properly secured materials, and clear drainage routes help protect the building until work resumes.
Managing Rooftop Equipment and Building Operations
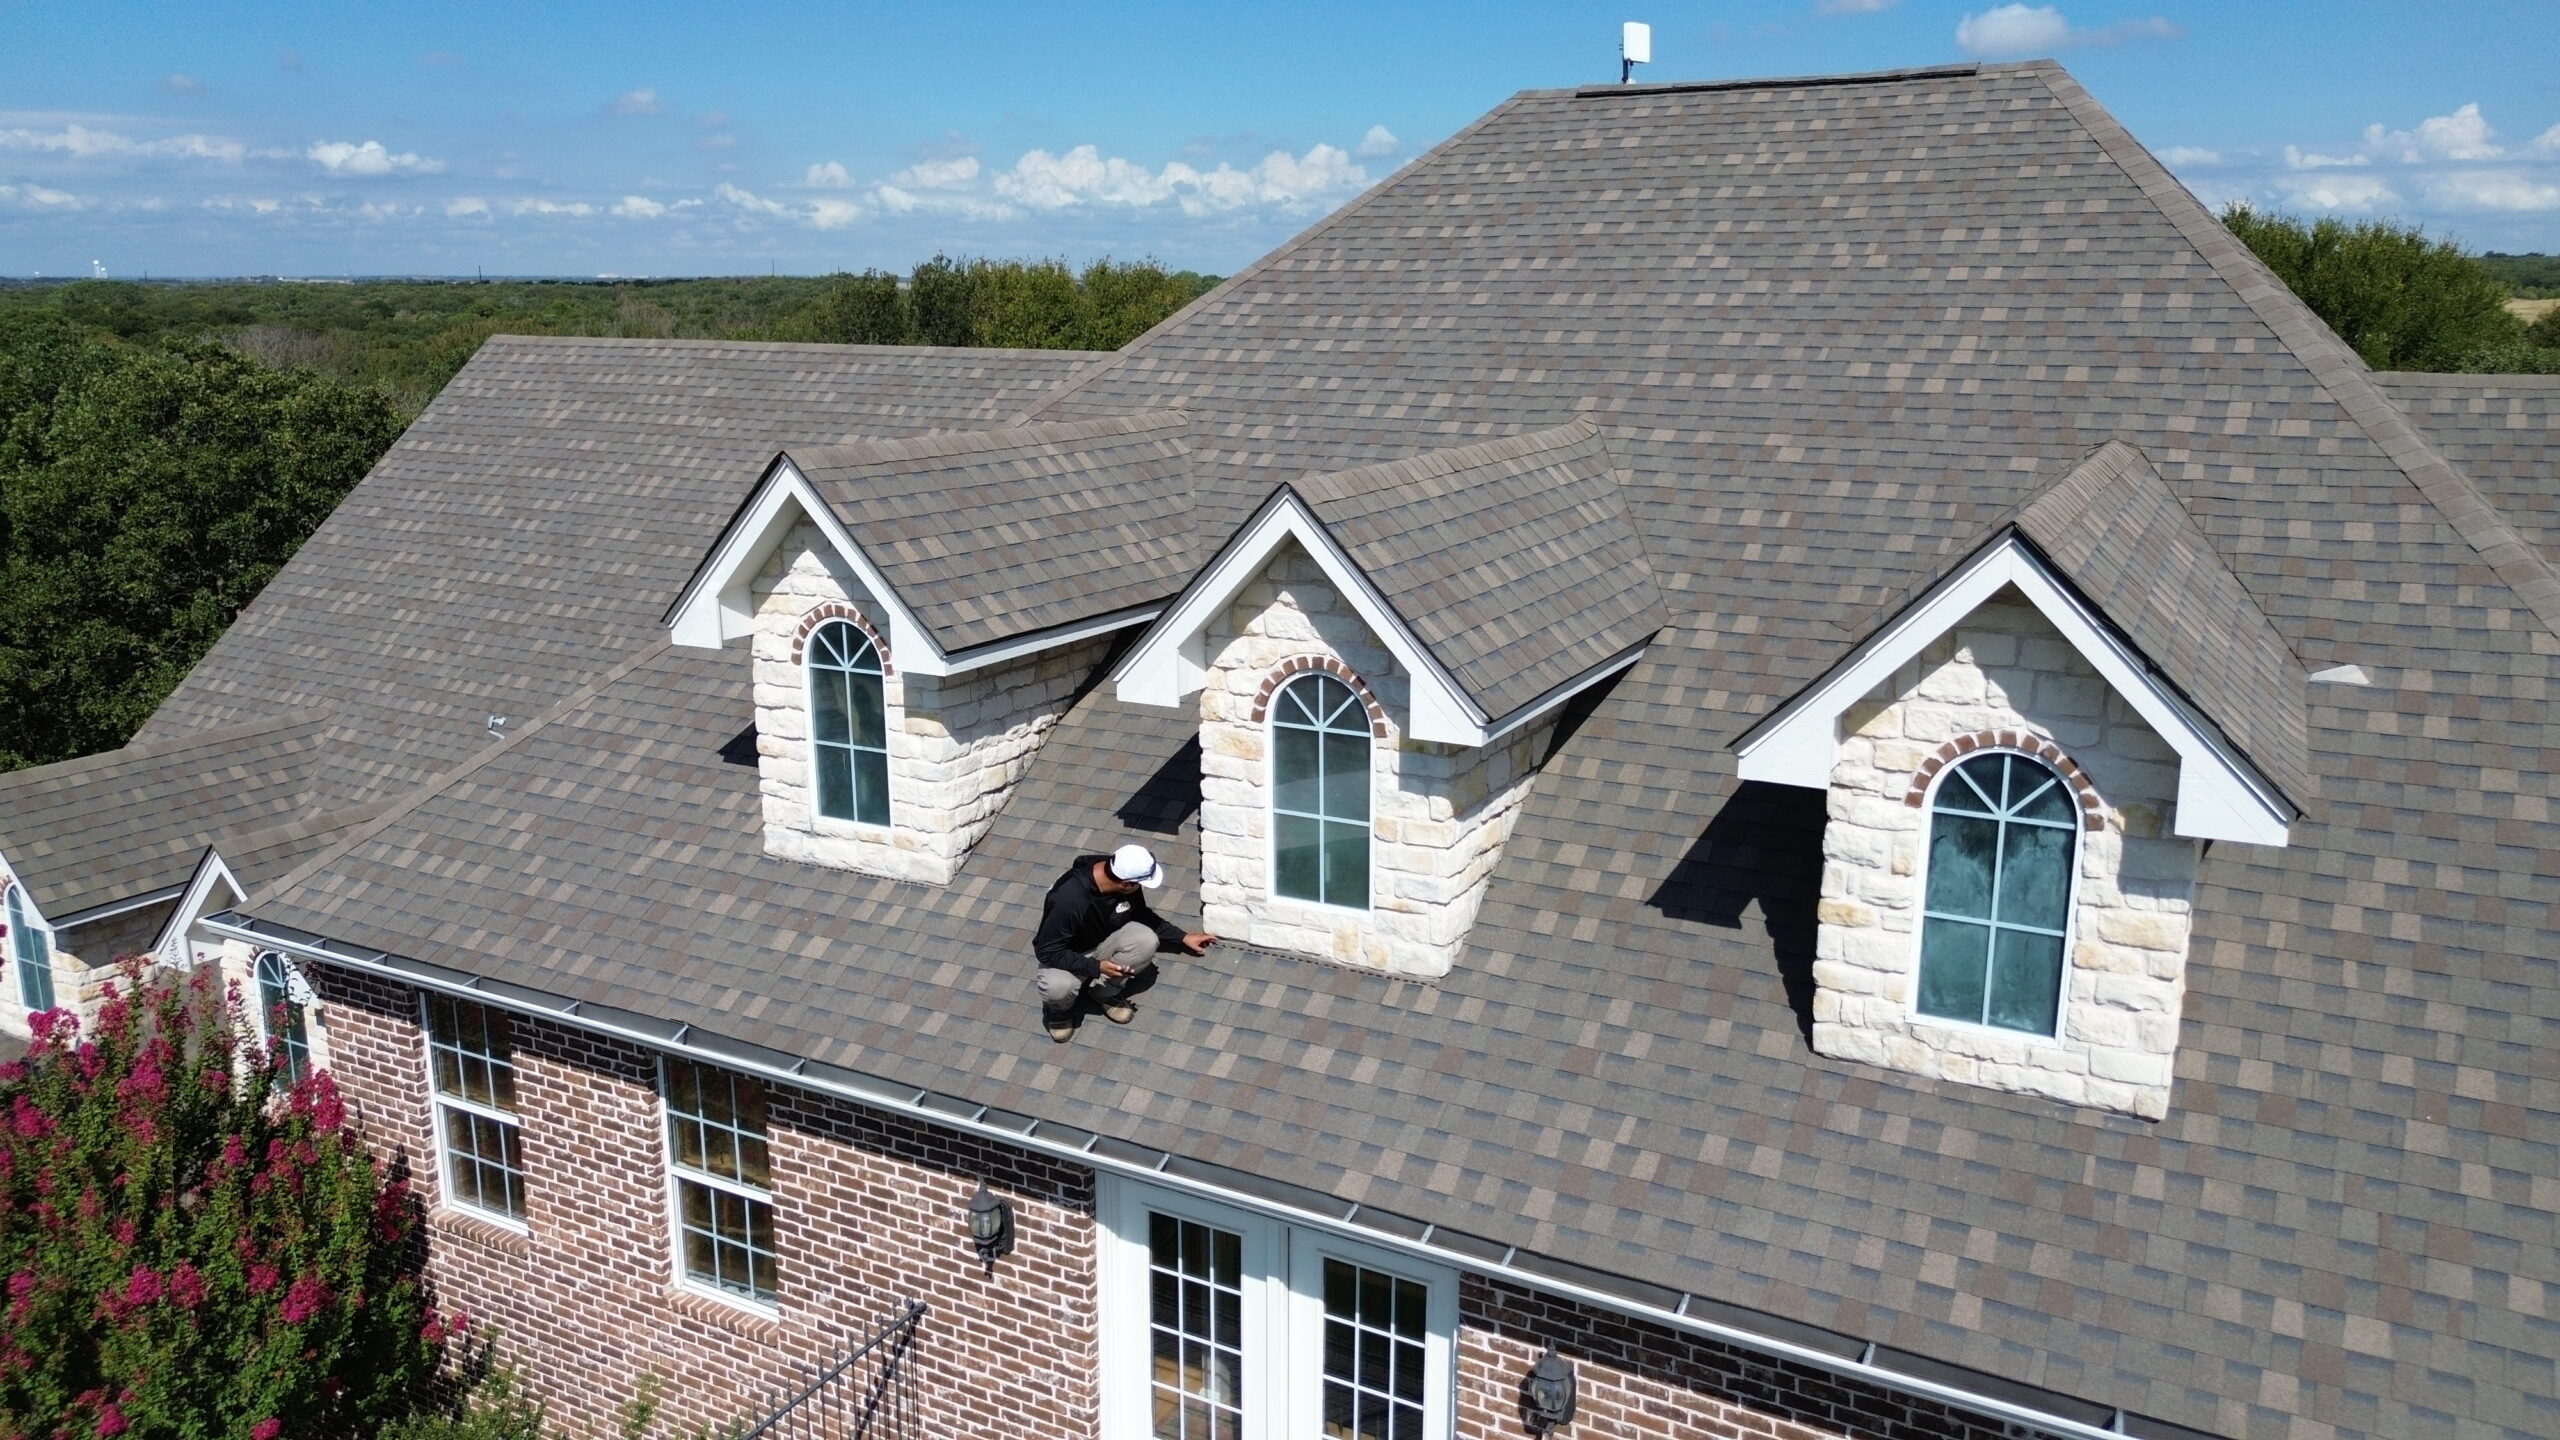
Commercial roofing installation often takes place around equipment that must continue operating. HVAC units, vents, electrical systems, communication equipment, solar components, and other rooftop systems can affect how the crew moves and installs materials. These components should be managed according to the project plan.
HVAC equipment may remain operational during roofing work, but the area around the equipment can require special coordination. Workers need enough space to install membrane and flashing while avoiding unnecessary damage to mechanical components. If technicians need access to equipment, roofing activities may need to be coordinated around their work.
Electrical and communication equipment also requires caution. Workers should know where cables, conduits, and electrical components are located before moving materials or performing demolition. Careful planning reduces the chance of accidentally damaging building systems.
Building operations below the roof may continue throughout installation day. Employees, customers, tenants, deliveries, and visitors can be affected by construction noise, restricted access, or material movement. The contractor and building manager should communicate throughout the day when activities may affect normal operations.
Noise can be especially noticeable during fastening, demolition, cutting, and equipment operation. If sensitive activities take place inside the building, the roofing schedule may be adjusted when practical. Advance communication allows occupants to prepare for temporary disruptions.
The goal is not simply to finish the roof as quickly as possible. A successful installation day protects the building’s operations while allowing the roofing crew to work safely and efficiently.
Inspecting Completed Roofing Sections
As installation progresses, completed sections should be inspected before the crew moves too far ahead. Regular inspection helps identify defects while the affected areas are still accessible. Waiting until the entire roof is finished can make certain problems more difficult and expensive to correct.
The inspection may include checking membrane placement, seams, fasteners, flashing, insulation, edge details, and transitions around penetrations. The exact inspection process depends on the roofing system and project specifications.
Membrane seams deserve particular attention because they connect separate sections of the waterproofing layer. The crew should verify that seams have been completed using the appropriate technique and that visible defects are addressed promptly.
Flashing details should also be examined around drains, pipes, curbs, walls, and other penetrations. These locations require careful integration with the main membrane. A small detail that appears insignificant can become a leakage point if it is not completed correctly.
The roof surface should also be reviewed for visible damage. Tools, equipment, fasteners, or other construction activities can occasionally cause punctures or cuts. Identifying these problems during installation allows them to be repaired before they are covered or forgotten.
Inspection does not mean that every part of the roof must be visually checked in exactly the same way. The contractor should use appropriate quality-control procedures for the selected system and project requirements.
Cleaning and Securing the Job Site
As installation work progresses, the crew should maintain a reasonably clean work area. Roofing materials generate scraps, packaging, cut pieces, fasteners, and other waste that can create hazards if allowed to accumulate. Regular cleanup keeps workers moving safely and helps prevent debris from entering drainage systems.
Roof drains should be checked frequently. Small pieces of insulation, membrane, packaging, and other materials can collect around drains during installation. Keeping these areas clear is particularly important when rain is possible.
Materials that are not yet installed should be secured properly. Wind can move lightweight products and create hazards around the building. Membrane rolls, insulation boards, packaging, and tools should not be left unsecured when the crew is preparing to leave.
Ground-level areas should also be cleaned and inspected. Debris from demolition or installation should be collected and moved to the designated waste area. Equipment and delivery vehicles should be positioned so that building access can continue safely.
At the end of the day, the roof should be left in a condition that can withstand expected overnight conditions. Unfinished sections may require temporary protection, while completed sections should be protected from unnecessary traffic or equipment movement.
A clean and secure site makes the next work period easier to organize. It also demonstrates that the contractor is managing the project as a complete construction operation rather than focusing only on the visible roof surface.
What Happens Before the Crew Leaves
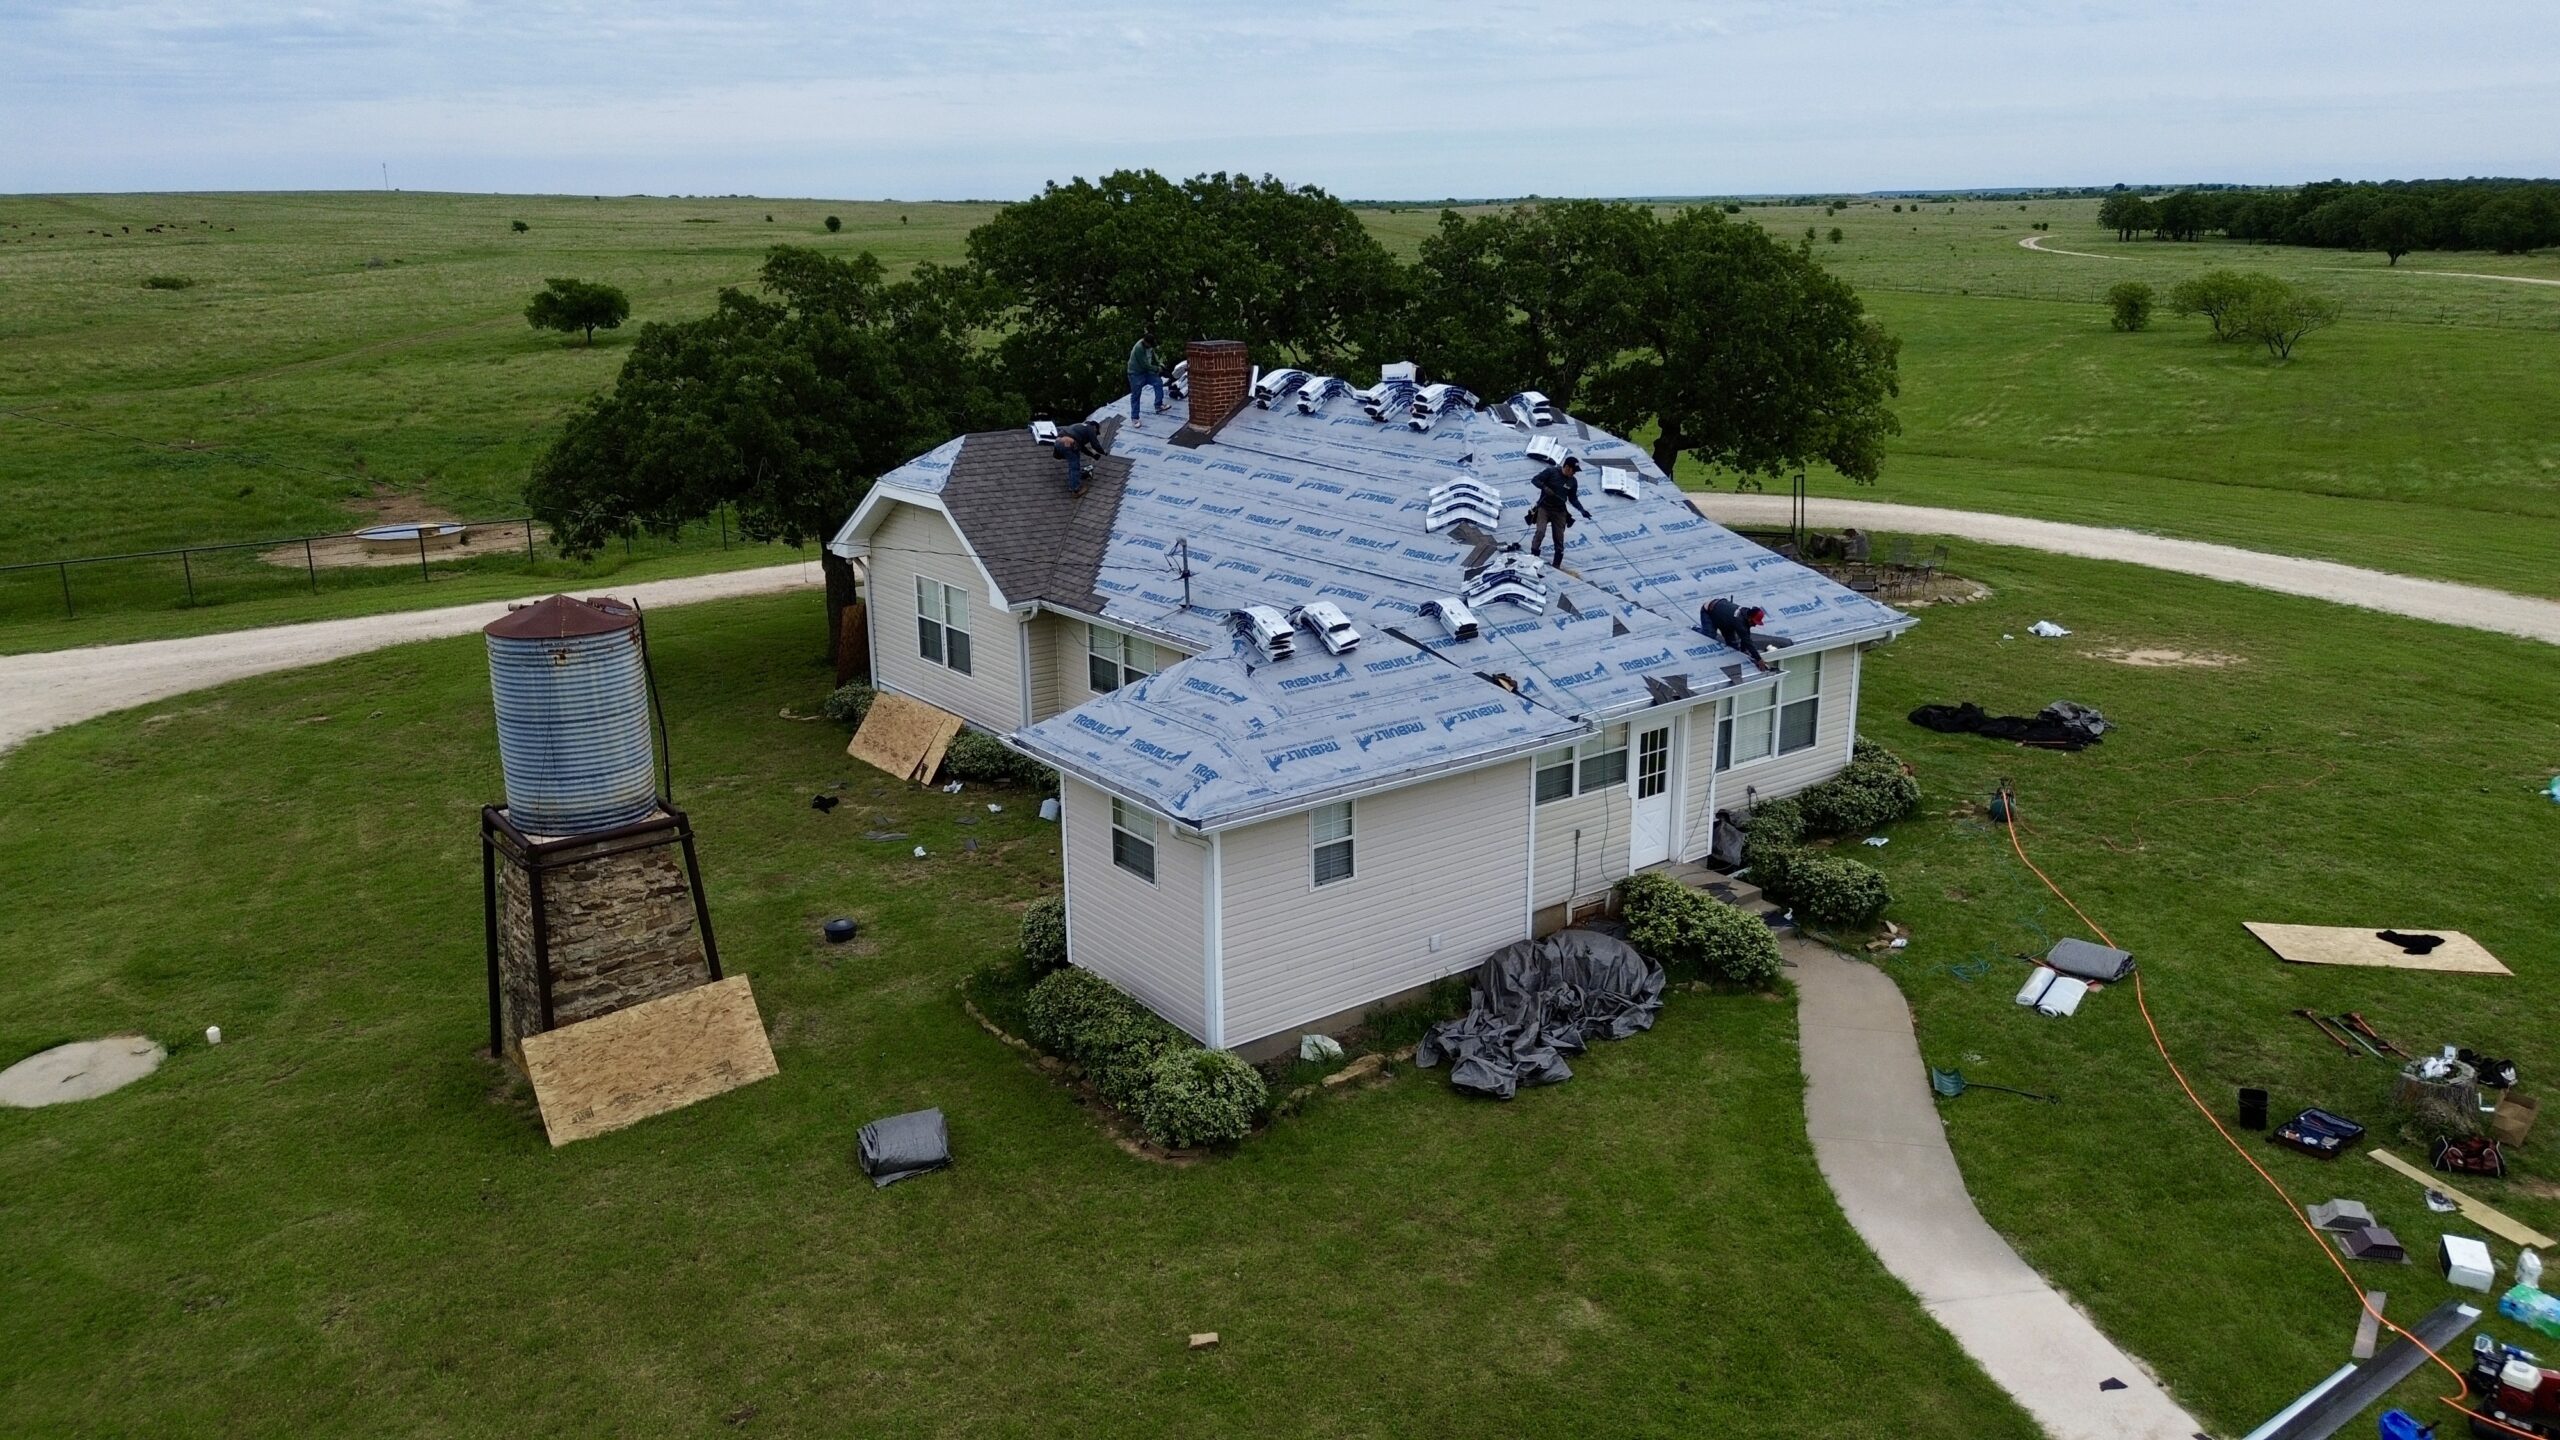
Before leaving the property, the roofing supervisor should review the day’s work and confirm that active areas have been properly secured. The final check is especially important when portions of the roof remain unfinished.
The crew may inspect temporary coverings, membrane edges, materials, tools, equipment, drains, and access points. Anything that could be moved by wind or damaged by weather should be secured appropriately.
If the roof has exposed areas, temporary waterproofing should be checked carefully. The objective is to prevent water from entering the building or reaching sensitive parts of the roofing assembly while installation is paused.
The supervisor may also review completed work with the building representative. This can include discussing which areas were completed, what remains unfinished, whether any unexpected conditions were discovered, and what activities are planned next.
Waste containers and material staging areas may be reorganized before the crew leaves. This helps maintain safe access around the property and makes the next day’s setup more efficient.
Daily documentation may also be completed. Progress photographs, notes about weather, material information, inspection observations, and records of unexpected conditions can provide useful information for the project team.
The end-of-day process is therefore more than simply packing up tools. It is the final quality, safety, and protection check before the building is left until the next work period.
Addressing Issues Found During the Installation
Commercial roofing installation can reveal conditions that were not visible during initial inspections. The crew may uncover deteriorated decking, unexpected moisture, additional roofing layers, damaged insulation, unusual penetrations, or other conditions requiring attention.
When an unexpected condition is discovered, the contractor should evaluate it before continuing over the affected area. Covering a problem with new roofing materials may make the issue harder to correct later and could compromise the performance of the completed roof.
Some issues can be corrected immediately by the roofing crew. Others may require approval from the building owner, roofing consultant, architect, engineer, or another qualified professional. The appropriate response depends on the nature and seriousness of the condition.
Documentation can help the project team understand the issue. Photographs and written descriptions can show what was discovered and what corrective action was taken. This information can also be useful for maintaining accurate project records.
Unexpected conditions may affect the schedule or cost. The building owner should receive clear information before significant additional work is performed. Good communication helps avoid confusion and allows decisions to be made based on the actual site conditions.
Handling problems carefully is an important part of professional installation. A roofing crew’s ability to respond appropriately to unexpected conditions can be just as important as its ability to install the planned materials.
What the Property Owner Should Expect After Installation Day
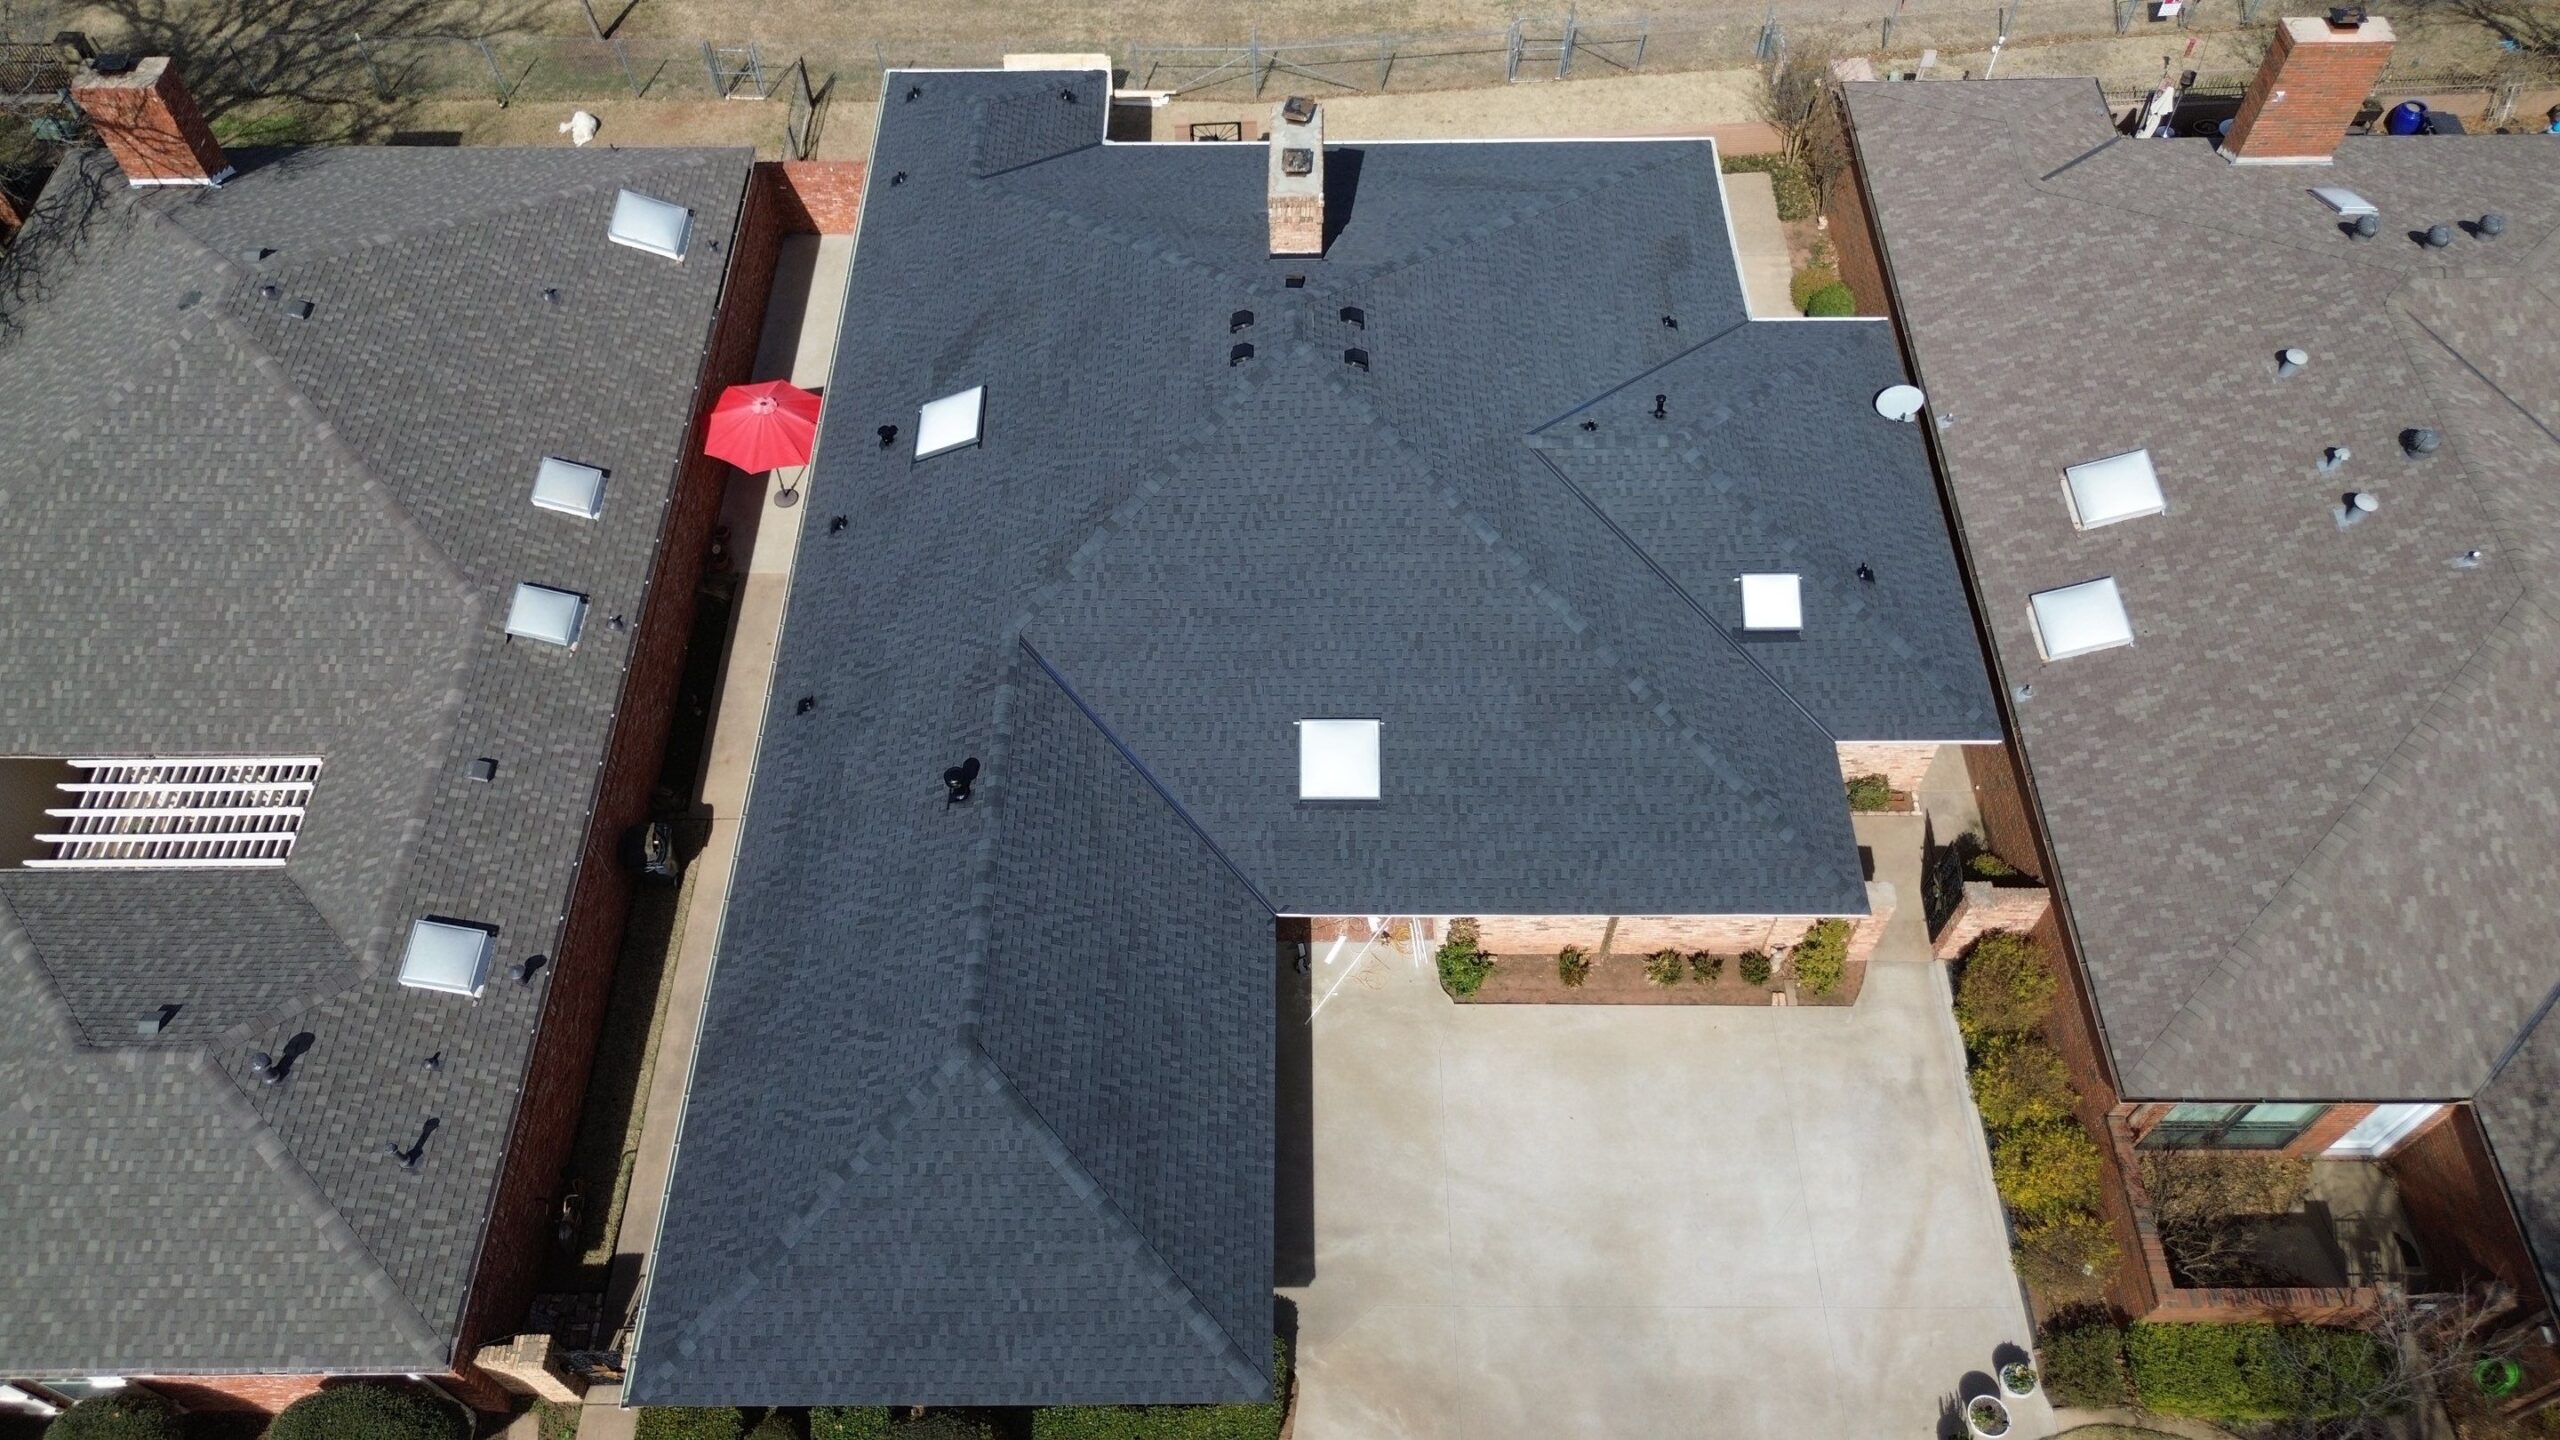
After a commercial roofing installation day, the roof may not be completely finished. Large projects are normally divided into stages, with different sections completed over multiple workdays. Property owners should therefore expect the site to remain active until all planned installation, inspection, cleanup, and final detailing have been completed.
The owner may receive a daily progress update from the contractor. This can explain what was completed, whether weather affected the schedule, and what work is planned next. Regular updates help building management coordinate its own operations around construction activities.
Some temporary materials or equipment may remain on the property between work periods. These should be properly secured and positioned so they do not create unnecessary hazards. The contractor should also maintain appropriate protection for unfinished roof sections.
Building occupants may notice changes as different areas of the project progress. Noise levels, access restrictions, material deliveries, and rooftop activity can vary from one day to another. Good communication helps occupants understand these temporary changes.
The property owner should also avoid unnecessary rooftop access while installation is underway. Walking across newly installed roofing materials can create damage or interfere with curing, bonding, or other installation processes depending on the system.
Once major installation work is complete, the project moves toward final inspection, cleanup, documentation, and handover. These final stages confirm that the roofing system has been completed according to the approved requirements.
Conclusion
Commercial roofing installation day is a carefully coordinated process that involves much more than placing new roofing material on a building. The day can include site setup, material handling, roof preparation, insulation installation, membrane installation, flashing, edge work, drainage management, inspections, cleanup, and weather protection. Each stage contributes to the performance and reliability of the completed roof.
The most successful installation days are based on preparation and communication. Roofing crews need suitable materials, organized work areas, safe access, appropriate equipment, and clear installation procedures. Building owners and facility managers also need regular information about construction activities that could affect employees, customers, tenants, deliveries, or normal operations.
Quality control should continue throughout the entire workday. Inspecting seams, flashing, membrane placement, attachment points, drainage details, and completed sections allows problems to be corrected before they become concealed. Proper cleanup and end-of-day protection also help safeguard the building when installation is temporarily paused.
Weather and unexpected site conditions can change the day’s plan, but professional crews should be prepared to respond without compromising safety or workmanship. Temporary protection, material securing, controlled access, and clear communication allow the project to adapt when conditions change.
Ultimately, commercial roofing installation is a structured construction process where preparation, skilled workmanship, inspection, and protection work together. Understanding what happens during installation day gives property owners a clearer picture of why each stage matters and why professional coordination is essential for achieving a durable, properly installed commercial roofing system.