

Residential Roof Installation Guide for First Time Homeowners
Introduction
Buying or building a home is one of the biggest investments most people will ever make. While homeowners often focus on interior finishes, flooring, kitchens, and landscaping, the roof deserves just as much attention because it protects everything beneath it. A properly installed residential roof keeps the home safe from rain, wind, sunlight, and changing weather while contributing to energy efficiency and long term property value.
For first time homeowners, roof installation can seem like a complicated process filled with unfamiliar terms and construction techniques. From selecting roofing materials to understanding underlayment, flashing, ventilation, and inspections, there are many decisions involved before the project is complete. Learning the basics before work begins helps homeowners communicate confidently with roofing contractors and make informed choices throughout the project.
A residential roof is much more than the shingles or metal panels visible from the street. It is a complete system made up of multiple layers that work together to prevent water intrusion, support structural strength, and regulate attic airflow. Every component has a specific purpose, and proper installation ensures the roof performs reliably for many years.
Whether you are building a new home or installing the roof on a recently completed structure, understanding the installation process provides valuable peace of mind. This guide explains everything first time homeowners should know before, during, and after a residential roof installation project, helping you understand what to expect from beginning to end.
What Residential Roof Installation Means
Residential roof installation is the process of constructing a complete roofing system on a home that does not yet have a finished roof. This service is most commonly performed during new home construction, home additions, detached garages, and other residential structures built from the ground up. Contractors install every roofing component in sequence, beginning with the roof deck and ending with the finished roofing material.
Unlike roof replacement, roof installation does not require removing existing roofing materials because the structure has not previously been covered. Contractors begin with newly constructed framing and gradually build a complete weather resistant roofing system using modern construction methods and materials.
A complete residential roof installation includes several essential components working together. These include the roof deck, underlayment, waterproof barriers, flashing, ventilation systems, drip edges, starter strips, roofing materials, and ridge caps. Each layer supports the next while contributing to the overall performance of the roof.
The goal of roof installation extends beyond simply covering the building. Contractors create a durable system capable of protecting the home from moisture, temperature changes, strong winds, and everyday environmental conditions while meeting local building codes and manufacturer requirements.
When performed correctly, a professionally installed residential roof provides dependable protection for decades while enhancing both the appearance and value of the property.
Why First Time Homeowners Should Understand the Roofing Process
Many first time homeowners assume roofing contractors handle every technical detail, making it unnecessary to understand the installation process. While professional expertise is certainly important, homeowners benefit greatly from understanding the basic stages of construction. This knowledge allows them to ask informed questions and recognize quality workmanship throughout the project.
Understanding the roofing process also reduces unnecessary stress. Construction projects naturally involve noise, temporary disruption, and multiple stages that may appear unfinished before completion. Homeowners familiar with the installation sequence are less likely to become concerned when the roof looks incomplete during intermediate phases.
Another benefit involves making better financial decisions. Roofing estimates often include different materials, warranties, and installation methods. Homeowners who understand these components can compare proposals more effectively while recognizing the value of quality workmanship instead of focusing only on price.
Knowledge also improves communication with contractors. Rather than relying entirely on technical explanations, homeowners can discuss roofing materials, ventilation systems, waterproof barriers, and structural concerns with greater confidence.
Perhaps most importantly, understanding the installation process helps homeowners appreciate the hidden components beneath the finished roofing material. Although these layers remain out of sight, they play a major role in protecting the home for many years.
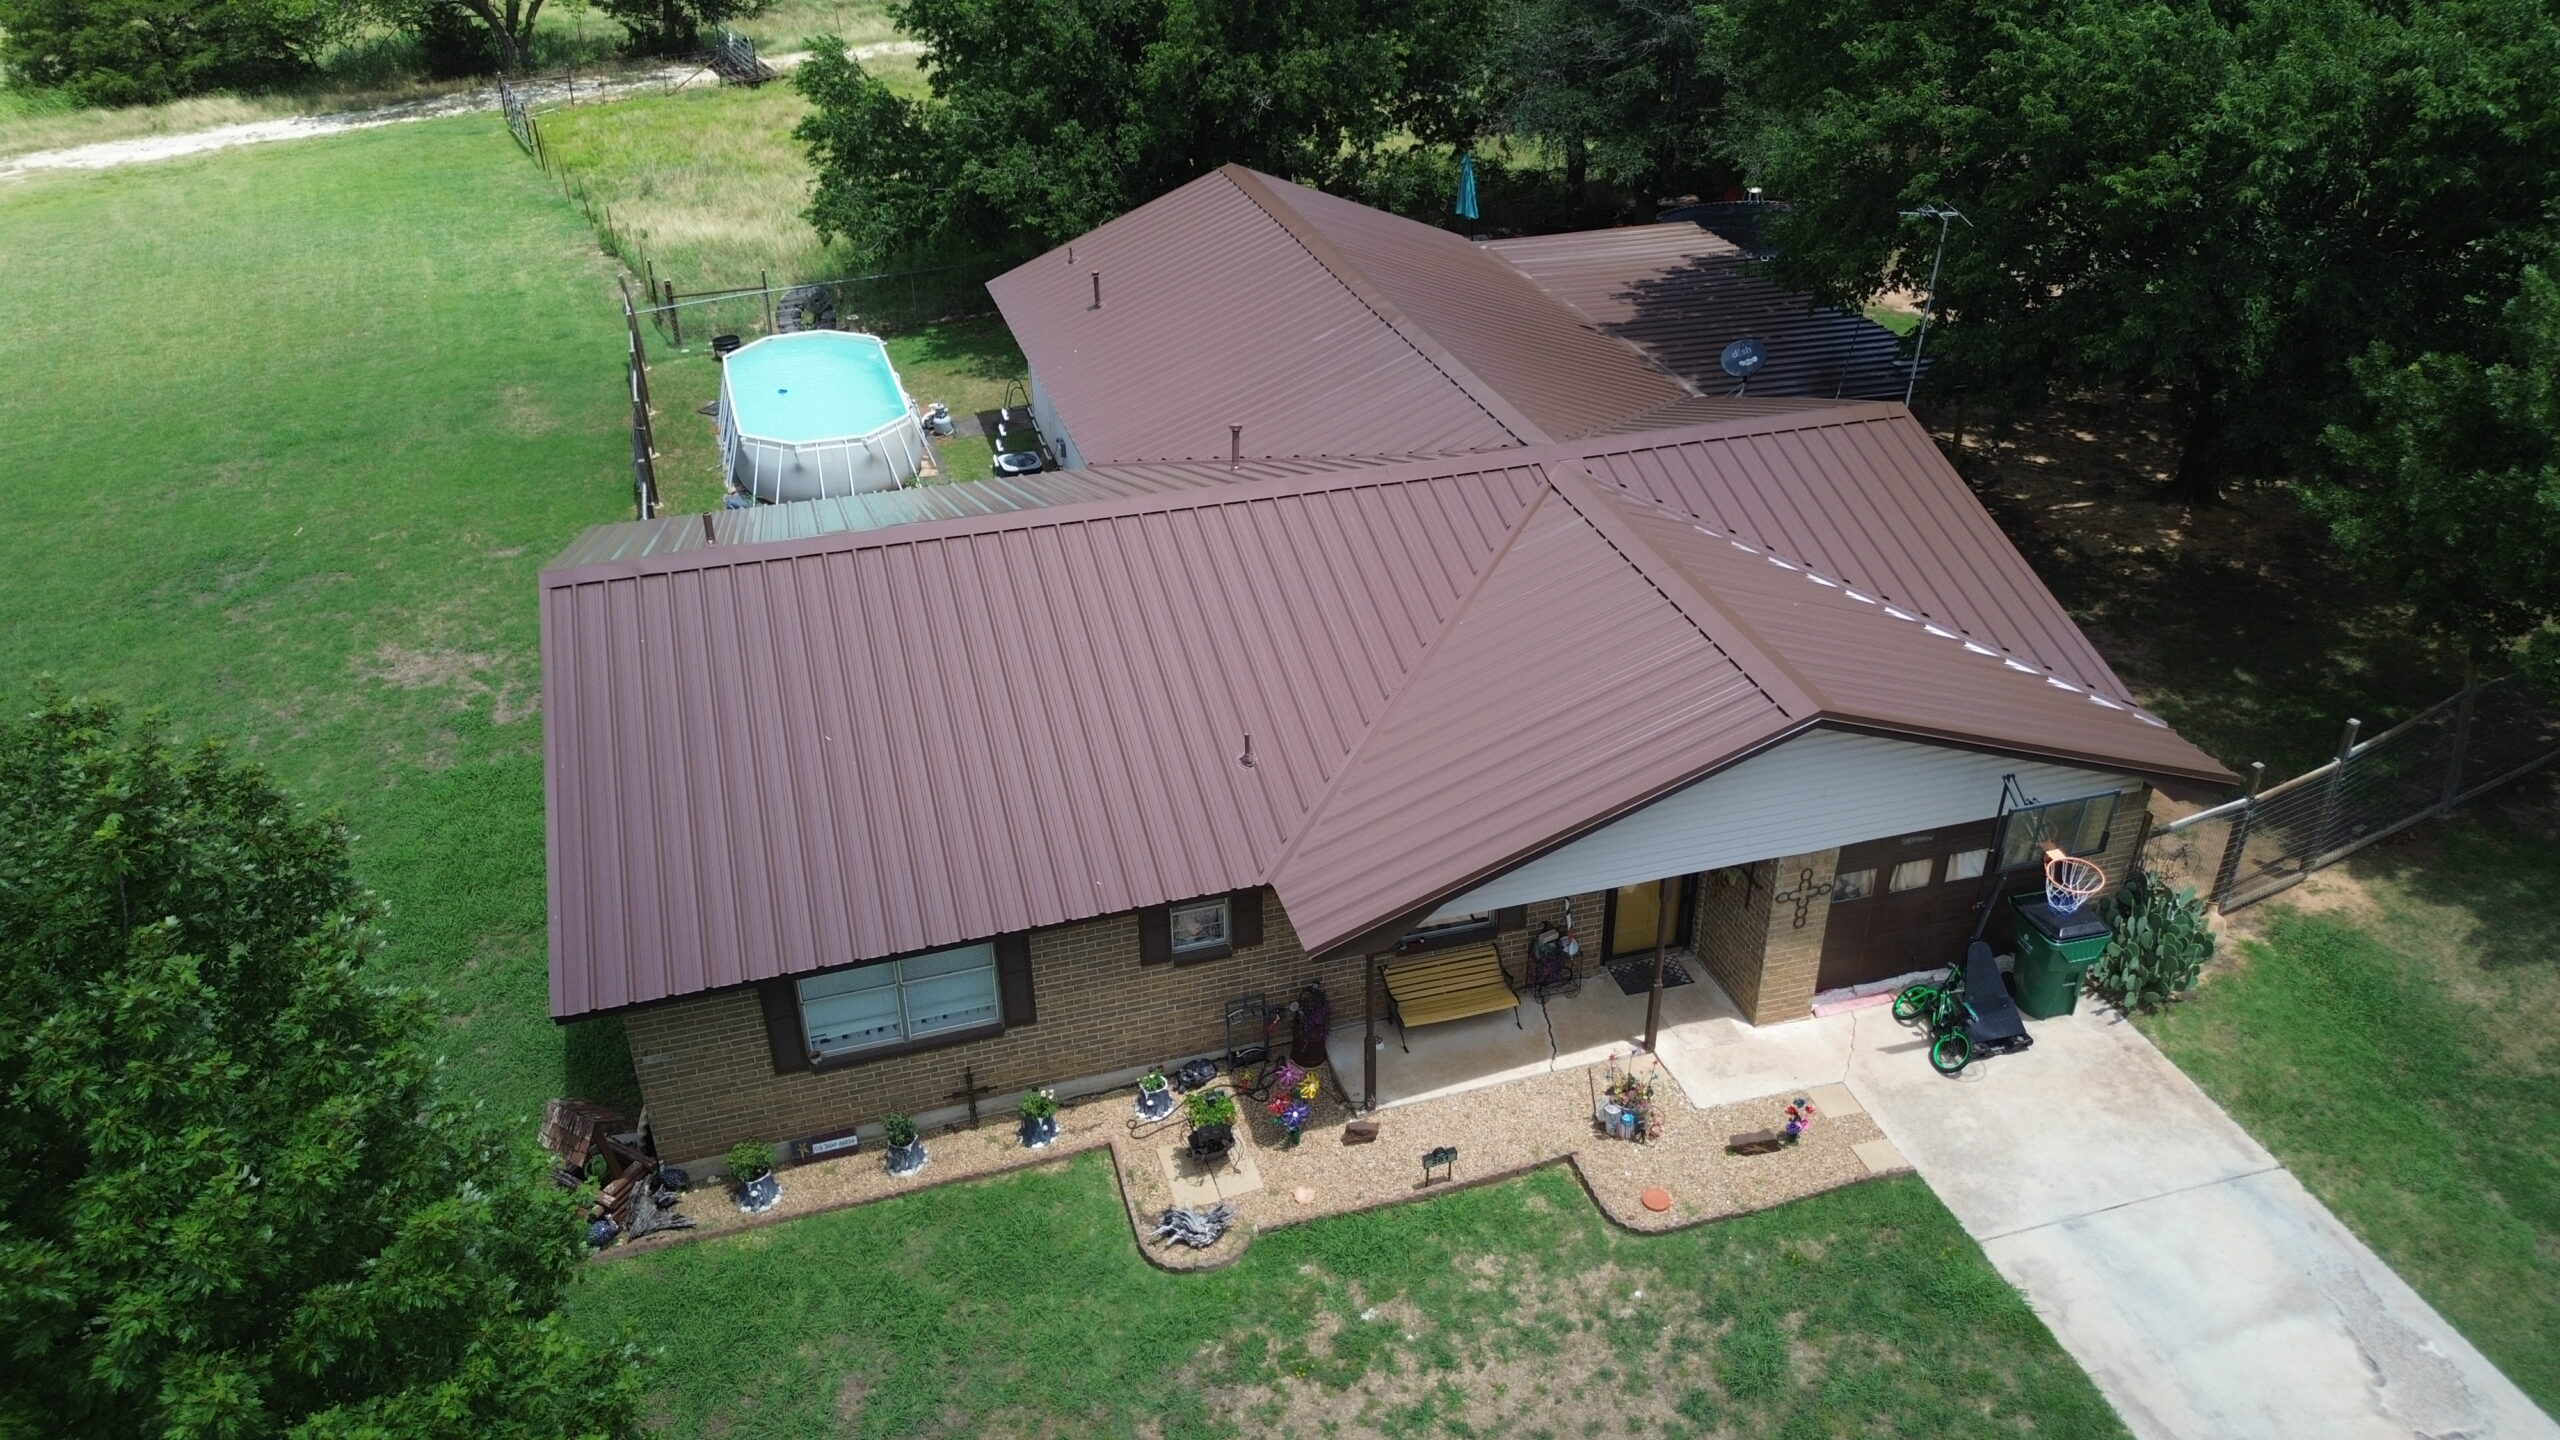
Signs That a New Home Needs Roof Installation
Roof installation is generally associated with new construction, but understanding when it is required helps homeowners recognize the situations where this service applies. Since no previous roofing system exists, contractors begin building the roof from the structural framework upward.
Common situations requiring residential roof installation include:
- Newly constructed single family homes.
- Custom built residential properties.
- Detached garages and workshops.
- Guest houses and backyard living spaces.
- Major home additions with newly framed roof sections.
These projects differ from roof replacement because contractors are not working over an older roofing system. Instead, every roofing component is installed for the first time according to current construction standards.
Planning roof installation early in the construction process also allows homeowners to coordinate roofing materials with other exterior finishes. Color choices, roof style, drainage systems, and ventilation layouts can all be selected before construction reaches the roofing stage.
Builders and roofing contractors typically coordinate schedules so installation begins shortly after framing and roof decking have been completed. This timing helps protect the structure from weather while allowing interior construction to continue safely.
Understanding the Main Components of a Residential Roofing System
One of the most important things first time homeowners should understand is that a roof functions as a complete system rather than a single layer of shingles or metal panels. Each component performs a specific task while supporting the performance of surrounding materials.
The roof deck forms the structural base that supports every other roofing layer. Contractors attach plywood or oriented strand board panels to the roof framing before installing waterproof materials.
Underlayment creates a secondary moisture barrier beneath the visible roofing material. This hidden layer helps prevent water from reaching the roof deck if wind driven rain passes beneath the shingles or metal panels.
Flashing protects vulnerable areas where different roof surfaces meet or where chimneys, skylights, and plumbing vents penetrate the roof. Proper flashing directs water away from these openings before it can enter the structure.
Roofing materials such as asphalt shingles, metal panels, clay tiles, or synthetic products provide the primary weather barrier while contributing to the home’s appearance. Ridge caps and ventilation systems complete the roof by protecting roof peaks and maintaining healthy attic airflow.
Together these components create multiple layers of protection that work as one complete roofing system. Understanding this layered design helps homeowners recognize why every installation stage is important.
Choosing the Right Roofing Material
Selecting roofing materials is one of the most exciting parts of a new roof installation because it influences both appearance and long term performance. However, homeowners should avoid making decisions based solely on color or style. Climate, maintenance requirements, expected lifespan, and budget all deserve careful consideration.
Asphalt shingles remain the most popular residential roofing material because they provide dependable performance at a relatively affordable cost. They are available in numerous colors and styles, allowing homeowners to match a wide variety of architectural designs.
Metal roofing has become increasingly popular for residential construction because of its durability and energy efficiency. It reflects heat effectively, requires relatively little maintenance, and often lasts considerably longer than traditional asphalt shingles.
Clay tiles and concrete tiles create distinctive architectural appearances while offering exceptional longevity. Because these materials are heavier, contractors must verify that the home’s structural design can support the additional weight before installation.
Synthetic roofing products continue gaining popularity as manufacturers develop materials that resemble slate, wood shake, or tile while remaining lighter and easier to install. These products often combine attractive appearance with improved durability.
Before making a final decision, homeowners should discuss the advantages of each roofing material with their contractor. Choosing products suited to the local climate and long term maintenance expectations helps maximize the value of the roofing investment.
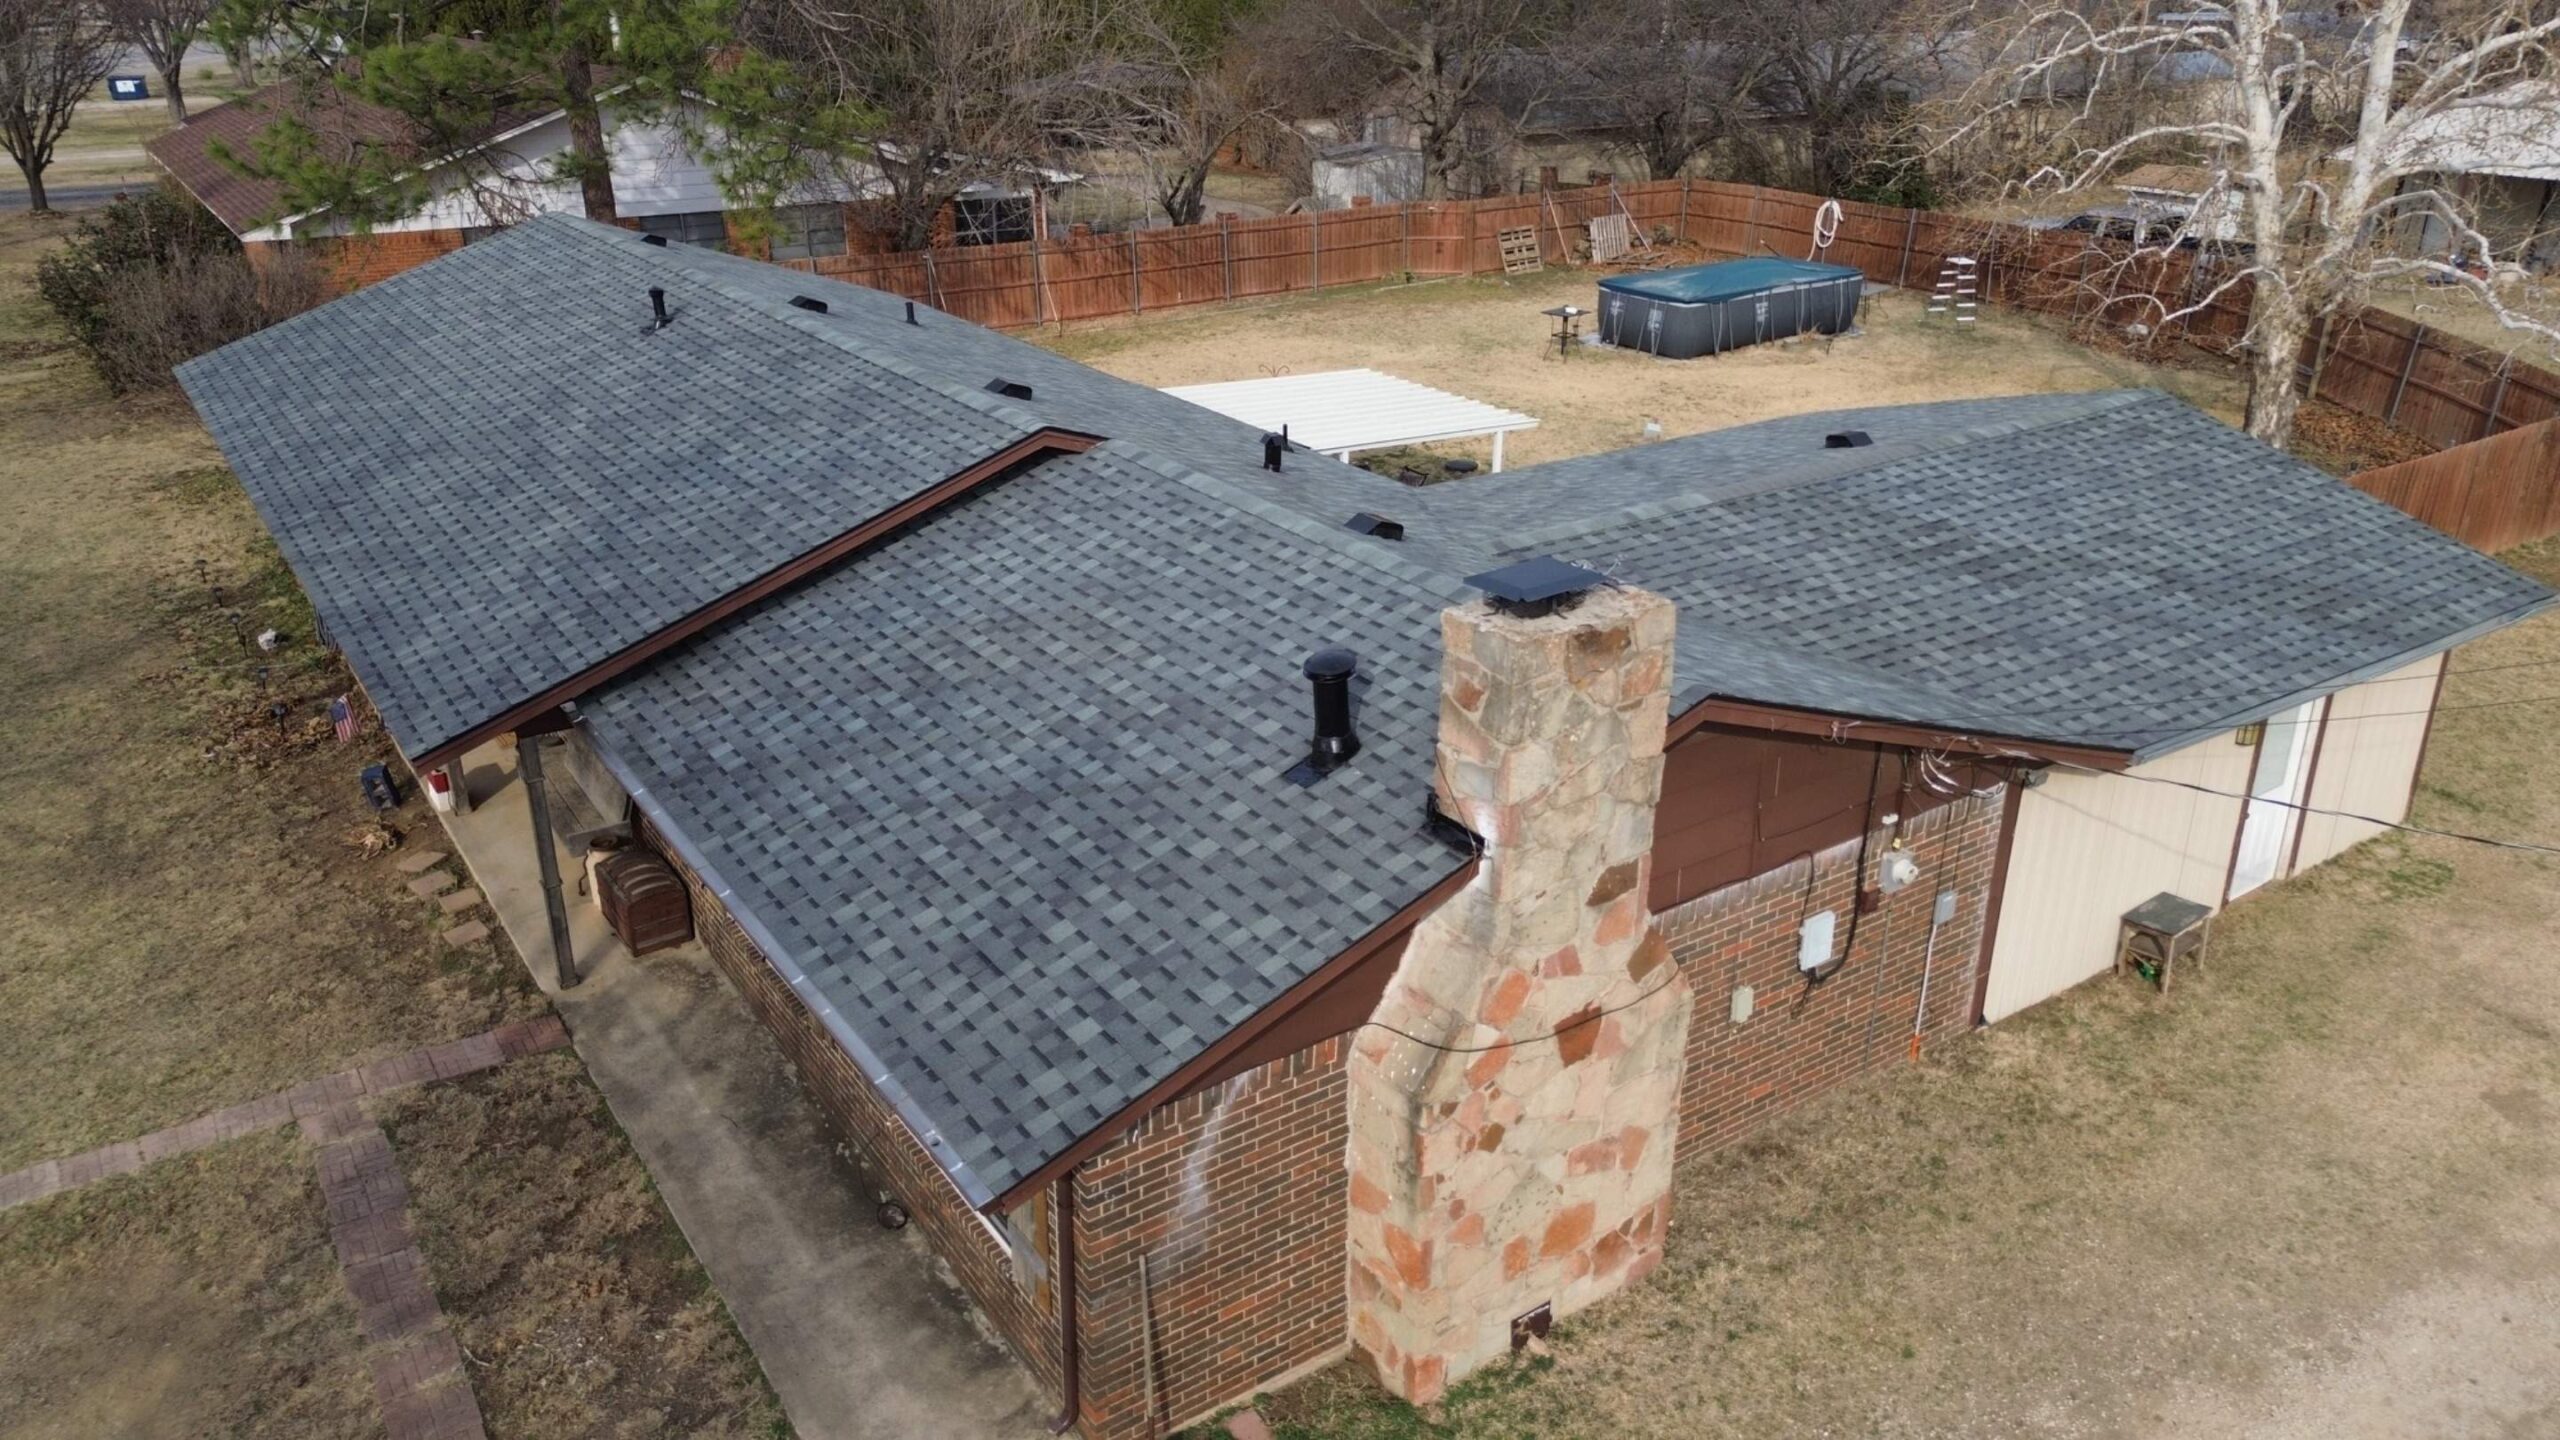
Planning Your Roof Installation Project
Successful roofing projects begin long before the first roofing material arrives at the job site. Careful planning helps homeowners avoid unnecessary delays while ensuring materials, contractors, and construction schedules remain properly coordinated.
One of the first planning steps involves establishing a realistic budget. Roofing estimates should include not only materials and labor but also permits, inspections, cleanup, and any optional upgrades such as premium underlayment or improved ventilation systems.
Scheduling also deserves careful attention. Roofing work depends heavily on weather conditions, making flexibility important throughout the construction process. Contractors monitor forecasts closely to avoid installing roofing materials during heavy rain, high winds, or other unfavorable conditions.
Homeowners should also review warranty information before work begins. Material warranties and workmanship warranties protect different aspects of the project, making it important to understand exactly what each warranty covers.
Good planning also includes discussing communication expectations with the contractor. Knowing who will supervise the project, how updates will be provided, and how unexpected issues will be handled creates a smoother working relationship from beginning to end.
Preparing Your Home Before Installation Begins
Although contractors perform the roofing work, homeowners can help the project proceed smoothly by preparing the property before construction begins. A little preparation reduces inconvenience while creating a safer work environment for everyone involved.
Vehicles should be parked away from the work area to allow delivery trucks, dumpsters, and roofing equipment easy access. Outdoor furniture, grills, decorative items, and potted plants should also be moved away from the house whenever possible.
Items stored in the attic deserve attention as well. Roofing work creates vibrations that may disturb stored belongings or fragile decorations. Covering valuable items with protective sheets helps reduce dust accumulation during construction.
Informing neighbors about the upcoming project is another thoughtful step. Roofing work naturally generates noise throughout the day, and providing advance notice helps minimize inconvenience while maintaining positive relationships.
Homeowners should also keep children and pets away from active construction areas. Roofing projects involve ladders, tools, falling debris, and construction materials that create safety hazards for anyone not directly involved in the work.
Proper preparation benefits both homeowners and contractors by creating an organized job site where installation can proceed safely and efficiently.
What to Expect Once Installation Begins
Many first time homeowners feel uncertain once roofing crews arrive because the construction process moves quickly. Understanding what typically happens during the first stages of installation helps reduce anxiety while allowing homeowners to follow the project’s progress with confidence.
Contractors usually begin by reviewing safety procedures and organizing materials around the property. Roof decking is inspected to confirm it is ready for installation before waterproof barriers and other protective layers are added. Every stage builds upon the previous one, creating a complete roofing system rather than simply covering the home with shingles or metal panels.
Throughout construction, homeowners may notice periods where the roof appears unfinished. This is a normal part of the installation process because each roofing layer must be completed before the next can be installed. Experienced contractors follow this systematic approach to ensure every component performs as intended.
By understanding these early stages of roof installation, first time homeowners can approach the project with realistic expectations and greater confidence. The next part of this guide explores the installation process in detail, explaining how contractors build each roofing layer and highlighting the common mistakes homeowners should understand before their new roof is completed.
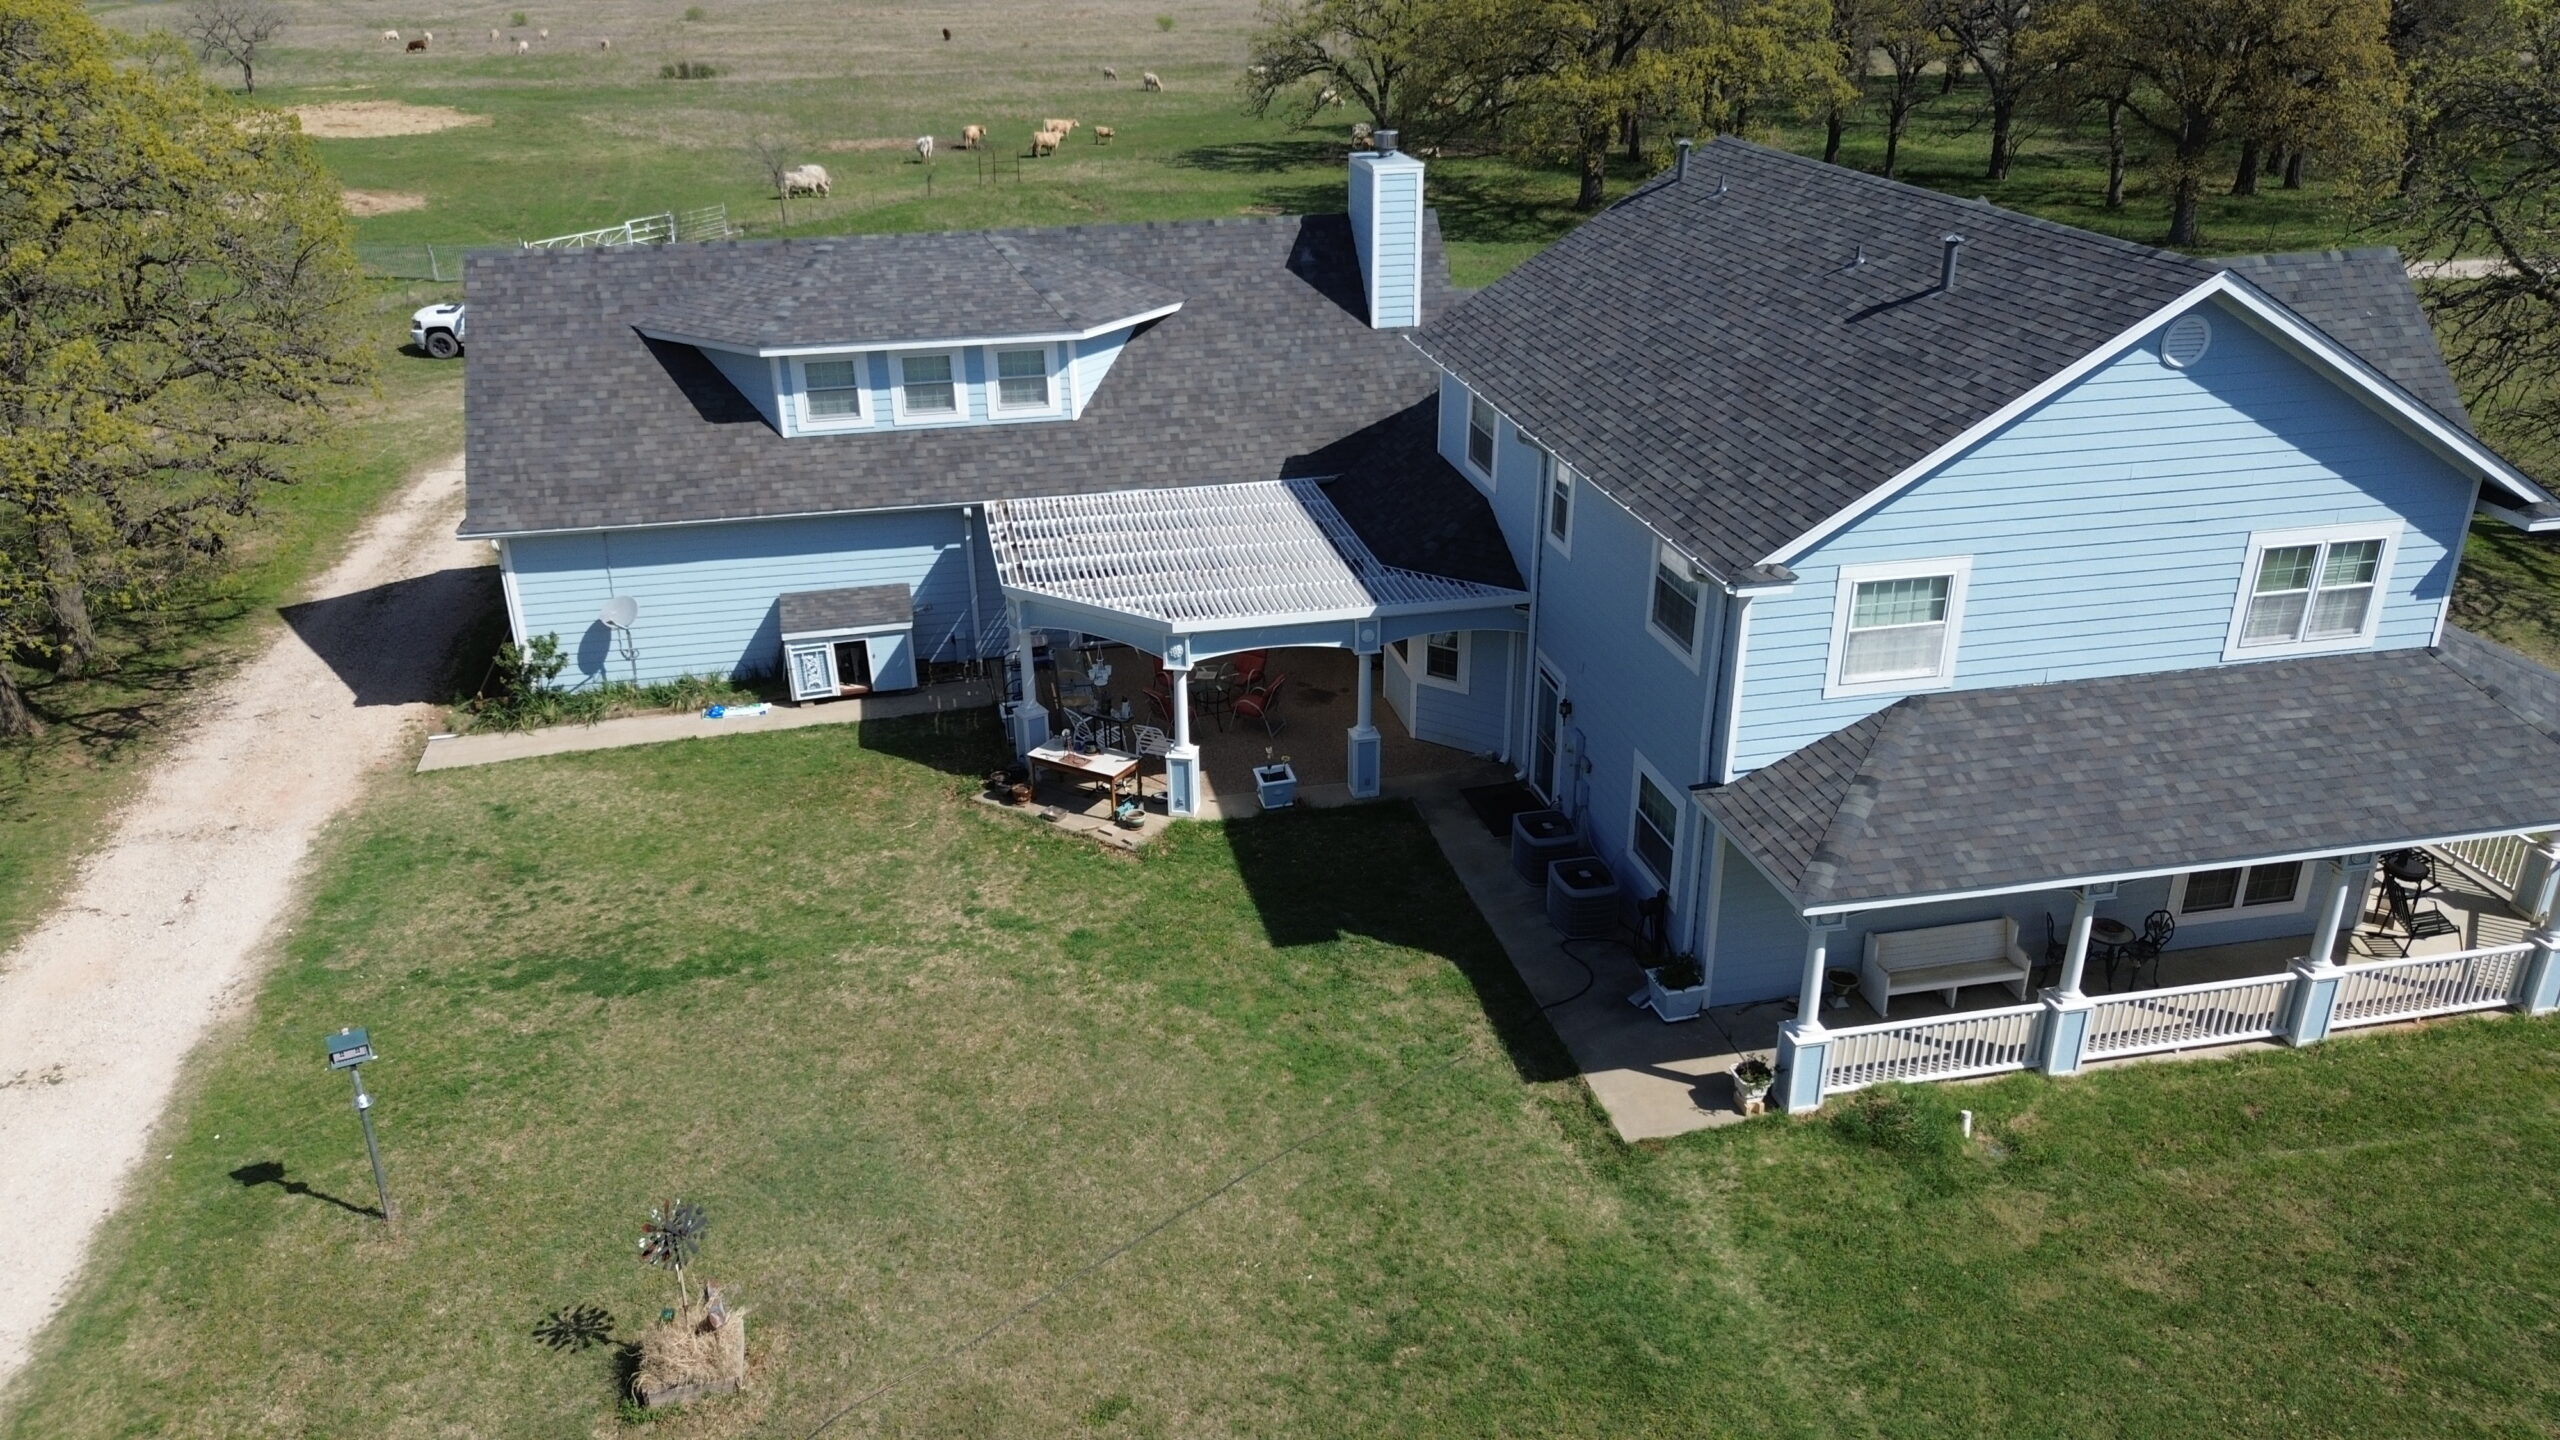
Roof Inspection and Structural Evaluation
Before any roofing materials are installed, contractors perform a detailed inspection of the roof structure. Even though the home is newly constructed, every structural component must be evaluated to ensure it meets design specifications and building code requirements. A strong foundation allows the roofing system to perform properly throughout its lifespan.
The inspection begins with the roof framing. Contractors verify that rafters or trusses are properly aligned, securely fastened, and capable of supporting the selected roofing material. Small framing issues identified at this stage can be corrected before they affect the installation process.
Once the framing has been approved, the roof deck is carefully examined. Contractors look for loose fasteners, uneven panels, damaged wood, or gaps that could interfere with the installation of waterproof layers. Although new construction usually presents fewer structural problems than roof replacement projects, quality checks remain essential.
Measurements are also confirmed before roofing materials are installed. Roof slopes, valleys, ridges, and overhangs must match the construction plans so flashing, ventilation systems, and roofing materials fit correctly. Careful preparation during this stage reduces installation errors later in the project.
Professional contractors never rush structural inspections because every roofing layer depends on the strength and accuracy of the foundation beneath it. Taking time to verify these details creates a stable base for the complete roofing system.
Roof Deck Preparation
The roof deck forms the structural platform that supports every roofing component installed afterward. Most residential homes use plywood or oriented strand board, commonly known as OSB, because these materials provide excellent strength while remaining lightweight.
After the deck has been attached to the roof framing, contractors inspect every section for proper fastening and alignment. Panels should sit securely against one another while maintaining the spacing recommended for natural expansion and contraction. Correct installation prevents movement that could affect roofing materials later.
Any damaged or warped panels are replaced before work continues. Even minor imperfections may create uneven roofing surfaces or reduce structural strength over time. Repairing these issues now is far easier than correcting them after roofing materials have been installed.
Contractors also remove dust, loose wood fragments, and construction debris before installing underlayment. A clean working surface allows waterproof materials to lie flat while improving adhesion where self sealing membranes are used.
Although homeowners rarely see the roof deck after construction is complete, its condition directly affects the long term performance of the roofing system. Investing time in proper preparation ensures every roofing layer installed above it has a stable foundation.
Installing Underlayment and Waterproof Barriers
Once the roof deck has been prepared, contractors begin installing underlayment across the entire roof surface. This hidden layer acts as a secondary moisture barrier that protects the roof deck if water passes beneath the finished roofing material during severe weather.
Modern residential construction commonly uses synthetic underlayment because it is lightweight, durable, and highly resistant to tearing. Traditional asphalt felt is still used in certain situations, but many contractors prefer synthetic products because they provide improved performance during installation and throughout the roof’s lifespan.
Underlayment is installed from the bottom of the roof upward. Each section overlaps the previous one so water naturally flows downward rather than entering beneath the material. Proper overlap is essential because even small gaps may allow moisture to reach the roof deck.
Contractors also install waterproof membranes known as ice and water shield in vulnerable areas. Valleys, roof edges, chimneys, skylights, and plumbing vents often receive this additional protection because these locations experience greater exposure to moisture.
Careful installation of these hidden layers strengthens the roofing system significantly. Although they remain invisible after construction, they continue protecting the home every day regardless of weather conditions.
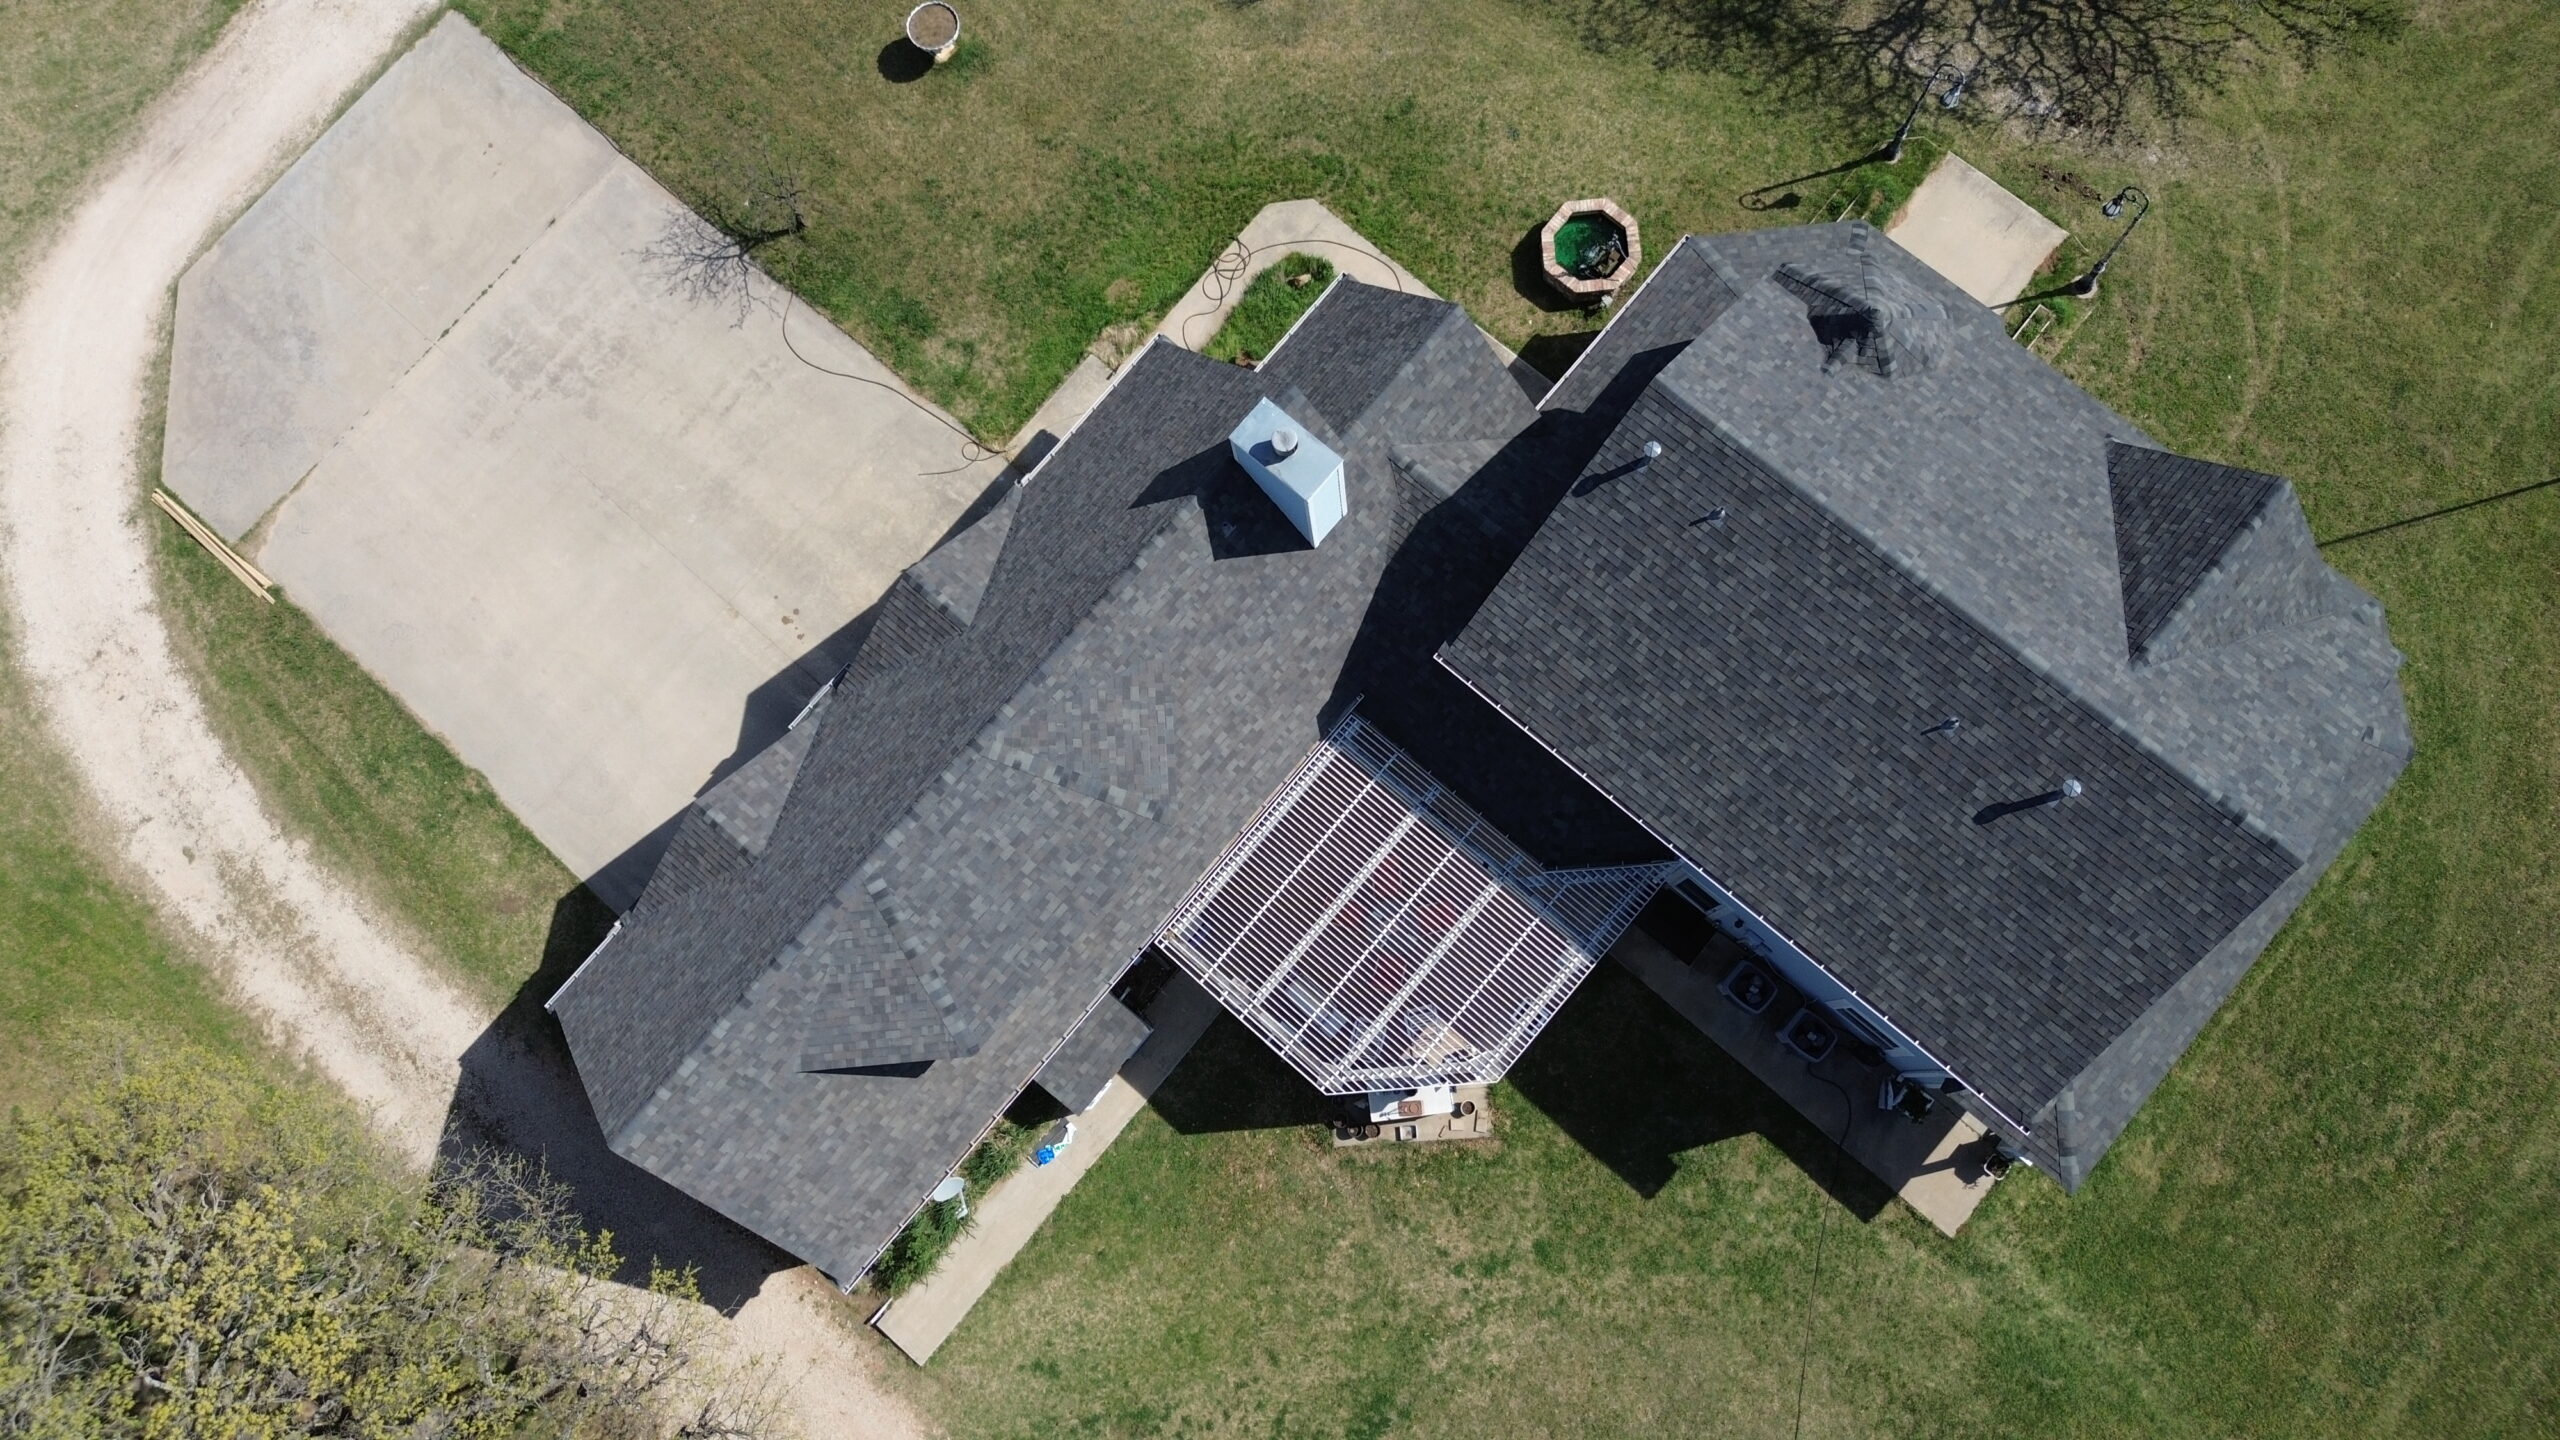
Drip Edge and Flashing Installation
Water management is one of the primary responsibilities of a roofing system, making drip edge and flashing essential components during installation. These materials guide rainwater safely away from vulnerable areas while preventing moisture from reaching structural components beneath the roof.
Drip edge is installed along roof edges before the finished roofing material is applied. This metal component directs rainwater into the gutters while protecting fascia boards and roof decking from prolonged moisture exposure. Proper installation also improves wind resistance around roof edges.
Flashing protects roof penetrations and intersections where water naturally collects. Chimneys, skylights, plumbing vents, dormers, and roof valleys all require carefully installed flashing to prevent leaks. These metal components overlap surrounding materials in a way that encourages water to flow away from openings.
Different types of flashing are used depending on the location. Step flashing protects roof to wall intersections, while specialized flashing surrounds chimneys and vent pipes. Every flashing component must integrate smoothly with underlayment and roofing materials.
Professional contractors devote significant attention to flashing because many roof leaks originate around penetrations rather than across open roof surfaces. Correct installation greatly improves the long term reliability of the roofing system.
Roofing Material Installation
After all hidden protective layers have been completed, contractors begin installing the visible roofing material. This stage transforms the appearance of the home while providing the first line of defense against weather.
Installation generally begins at the lower edge of the roof and progresses upward toward the ridge. This overlapping arrangement allows rainwater to flow naturally over the roofing material instead of beneath it. Every course builds upon the previous one, creating continuous protection across the roof.
Accurate alignment is extremely important throughout installation. Contractors regularly check spacing and layout to maintain straight rows and consistent exposure. Proper alignment improves both appearance and weather resistance while reducing unnecessary stress on roofing materials.
Fastener placement also receives careful attention. Manufacturers specify the exact location, number, and type of fasteners required for each roofing product. Following these recommendations ensures the roofing material performs properly under normal weather conditions and during strong winds.
Whether installing asphalt shingles, metal panels, tile, or another roofing material, experienced contractors follow manufacturer guidelines at every stage. This systematic approach creates a durable roofing surface designed to protect the home for many years.
Roof Ventilation and Ridge Cap Installation
Many homeowners focus only on visible roofing materials, but ventilation is equally important for long term roof performance. Without proper airflow, heat and moisture can accumulate inside the attic, reducing the lifespan of roofing materials while affecting insulation and structural components.
Residential roofing systems use intake and exhaust ventilation to create continuous airflow. Fresh air enters through soffit vents near the lower roof edge, while warm air exits through ridge vents or other exhaust systems positioned near the roof peak. This balanced airflow helps regulate attic temperature throughout the year.
Once ventilation components have been installed, contractors complete the roof with ridge caps. These specially designed roofing pieces cover the highest points where roof slopes meet while protecting exposed joints from rain and wind.
Ridge caps also improve the finished appearance of the roof by creating clean, uniform roof lines. Their installation follows the direction recommended by the manufacturer so overlapping sections resist prevailing winds and encourage proper water runoff.
Together, ventilation systems and ridge caps complete the roofing assembly. They ensure the roof functions as a complete weather resistant system rather than simply providing an attractive exterior covering.
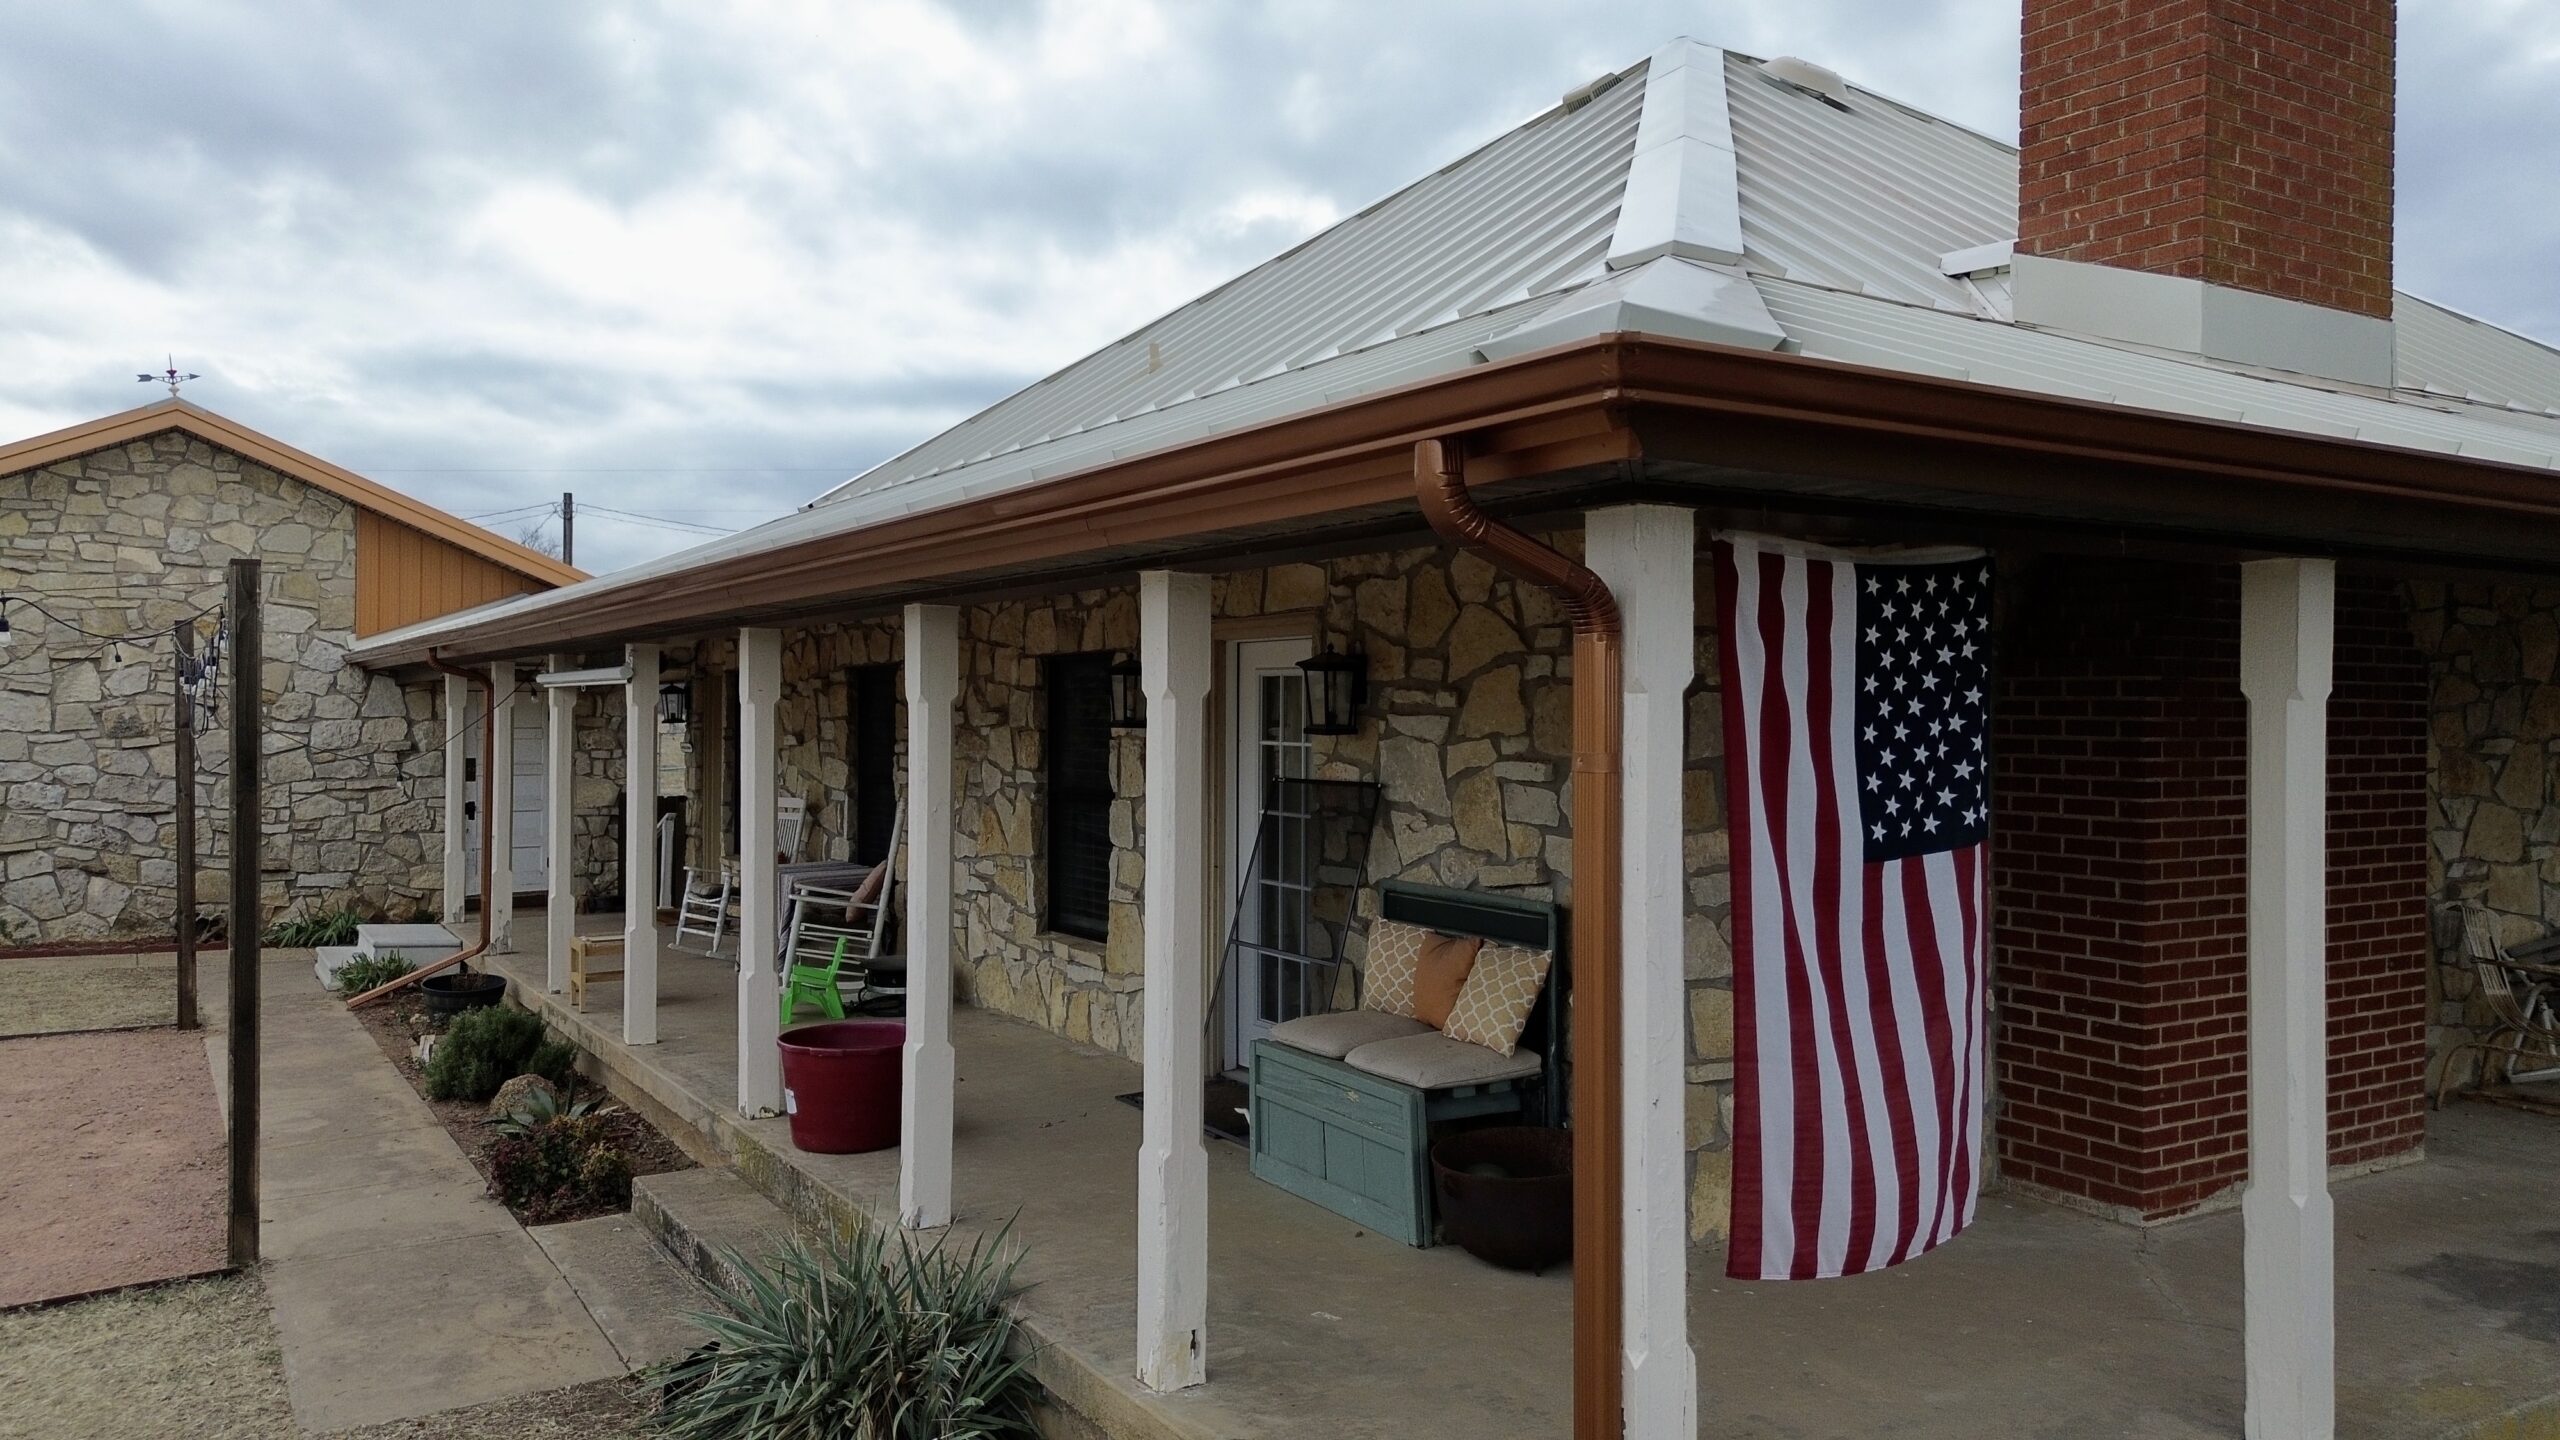
Comparing Popular Residential Roofing Materials
Selecting the right roofing material is one of the biggest decisions first time homeowners make. Each option offers different advantages in terms of durability, maintenance, appearance, and expected lifespan.
| Roofing Material | Advantages | Considerations | Typical Lifespan |
|---|---|---|---|
| Asphalt Shingles | Affordable, widely available, many styles | Moderate lifespan | 20 to 30 years |
| Metal Roofing | Durable, energy efficient, low maintenance | Higher initial investment | 40 to 70 years |
| Clay Tile | Excellent durability, distinctive appearance | Heavy material requiring structural support | 50 years or more |
| Concrete Tile | Strong and weather resistant | Greater weight than shingles | 40 to 60 years |
| Synthetic Roofing | Lightweight with attractive appearance | Product quality varies by manufacturer | 30 to 50 years |
Each material performs differently depending on climate, budget, and architectural style. Consulting an experienced roofing contractor helps homeowners choose the option best suited to their property.
Common Installation Mistakes First Time Homeowners Should Know
Understanding common roofing mistakes helps homeowners recognize the importance of quality workmanship throughout the installation process. Many roofing problems that develop years later actually begin during construction because hidden components were installed incorrectly.
One common mistake involves improper underlayment installation. Incorrect overlap or poor fastening reduces moisture protection beneath the roofing material. Although the problem may remain hidden for years, severe weather can eventually expose these weaknesses.
Flashing errors are another frequent concern. Poorly installed flashing around chimneys, skylights, or plumbing vents often becomes the starting point for roof leaks. These areas require careful attention because water naturally collects around roof penetrations.
Incorrect nail placement also affects roof performance. Nails driven too deeply may damage roofing materials, while nails left too high may prevent proper sealing. Manufacturers provide precise fastening instructions that professional contractors follow carefully.
Some roofing projects also suffer from inadequate ventilation. Poor attic airflow increases heat and moisture buildup, accelerating material aging while creating conditions favorable for mold growth and wood deterioration.
Choosing experienced roofing professionals greatly reduces the likelihood of these installation mistakes. Careful attention to detail throughout construction improves both durability and long term roof performance.
Why Quality Control Matters Throughout Installation
Professional roofing contractors inspect every completed stage before moving to the next. Rather than waiting until the roof is finished, they verify that each layer has been installed correctly while corrections remain simple and inexpensive.
Quality control begins with structural inspections and continues through underlayment installation, flashing placement, roofing material alignment, ventilation systems, and final finishing details. Every inspection helps ensure the completed roofing system performs as intended.
This systematic approach also protects manufacturer warranties. Roofing products are designed to function together as complete systems, and following approved installation methods helps preserve warranty coverage while maximizing long term durability.
For first time homeowners, understanding the importance of quality control provides reassurance throughout the construction process. It demonstrates that professional roofing involves much more than installing shingles or metal panels. Every hidden layer contributes to the strength, weather resistance, and longevity of the finished roof.
With the installation process complete, attention shifts to final inspections, cleanup, warranties, and long term maintenance. The final part of this guide explains how homeowners can protect their new roofing investment while ensuring it continues performing reliably for decades after construction has been completed.
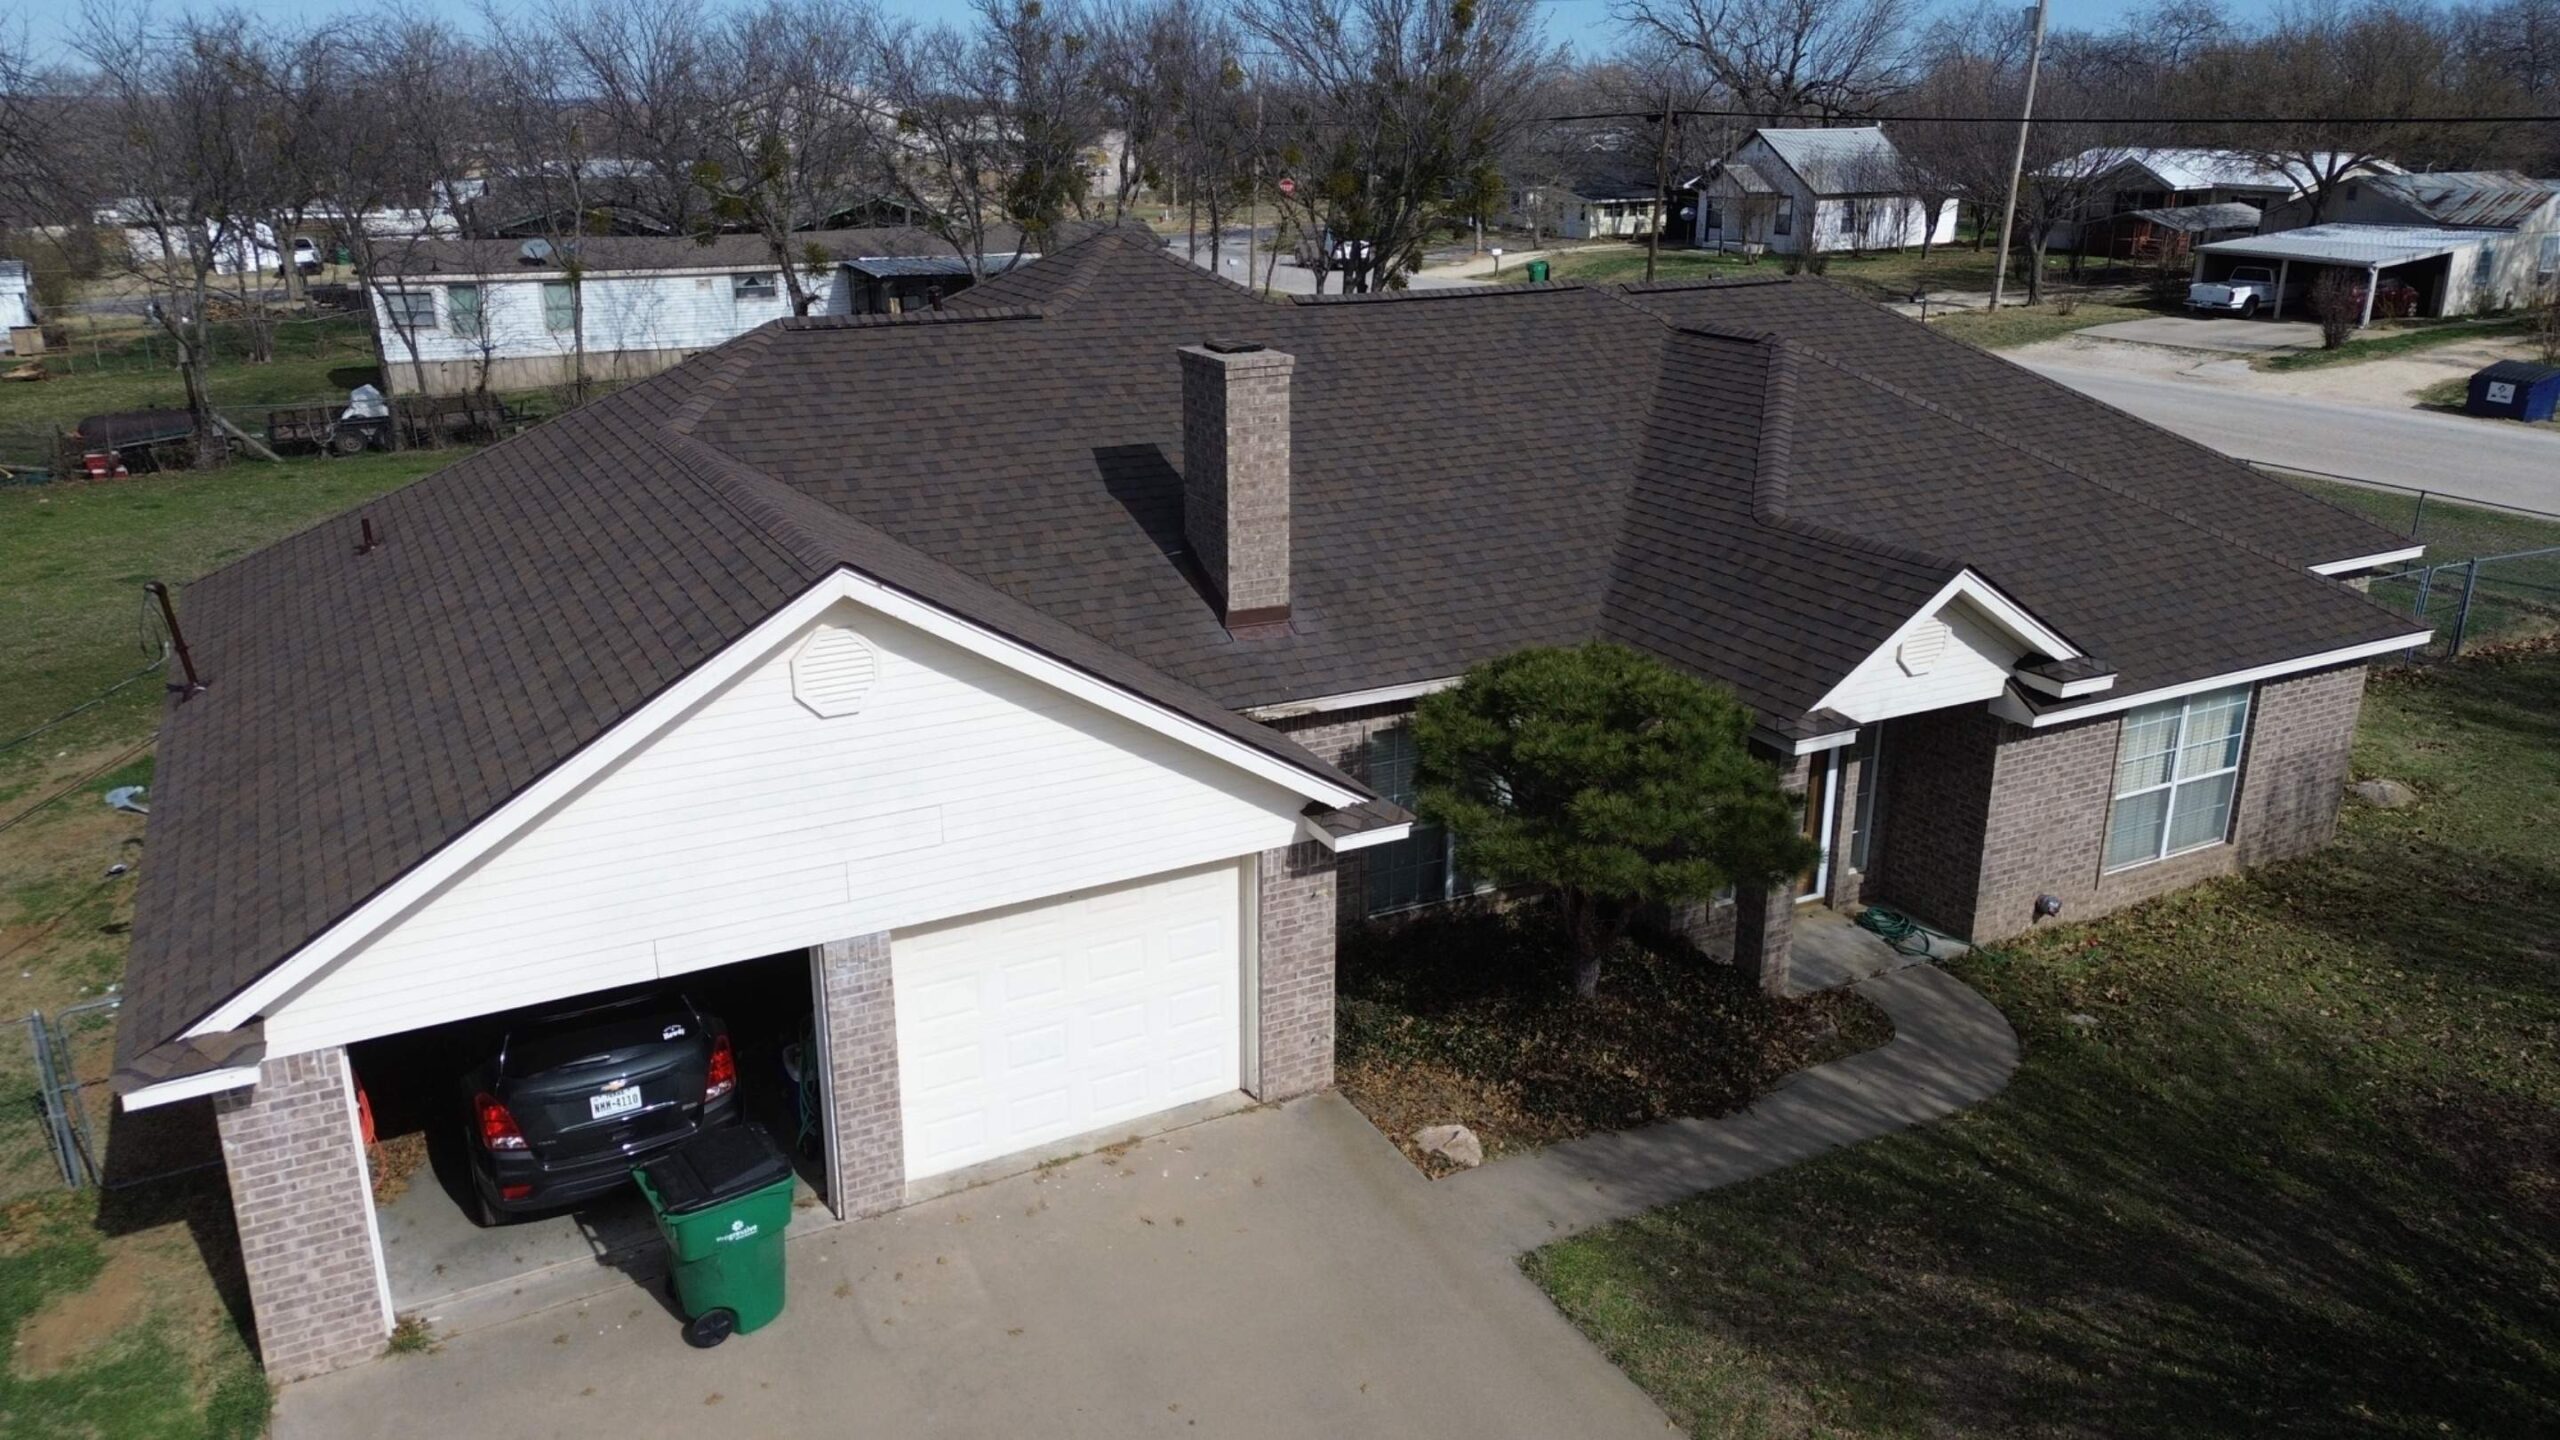
Final Roof Inspection and Quality Checks
As the installation process comes to an end, the final inspection becomes one of the most important stages of the entire roofing project. Although the roof may appear complete from the ground, professional contractors carefully evaluate every component before considering the work finished. This inspection ensures the roofing system has been installed according to manufacturer specifications, local building codes, and professional workmanship standards.
The inspection begins with a detailed review of the roof’s exterior. Contractors examine shingles, metal panels, or other roofing materials to verify proper alignment, secure fastening, and consistent installation across the entire roof surface. Ridge caps, flashing, valleys, and roof edges receive special attention because these areas experience greater exposure to weather throughout the roof’s lifespan.
Ventilation systems are also inspected during this stage. Contractors confirm that intake and exhaust vents remain unobstructed and are positioned correctly to support continuous attic airflow. Proper ventilation protects both the roofing materials and the structural components beneath them by reducing heat buildup and moisture accumulation.
Roof penetrations such as chimneys, skylights, plumbing vents, and satellite mounting locations are checked carefully. Flashing should fit tightly around each penetration while maintaining the proper overlap with surrounding roofing materials. Any small adjustment needed at this stage is completed before the project is finalized.
Many roofing contractors also inspect the attic after installation. Looking from inside the home helps verify that no daylight enters through unintended gaps and confirms that the roof deck remains dry. This additional inspection provides another layer of quality assurance before the project is officially completed.
Homeowners should participate in the final walkthrough whenever possible. Walking around the property with the contractor allows questions to be answered while providing an opportunity to understand the completed roofing system and discuss future maintenance recommendations.
A thorough final inspection confirms that every roofing layer is functioning together as one complete system. Rather than focusing only on appearance, this evaluation ensures the roof is prepared to provide dependable protection for many years.
Cleaning Up After Roof Installation
Cleanup is often the last visible stage of a roofing project, but it is much more than simply removing leftover materials. Professional cleanup reflects the contractor’s attention to detail and helps restore the property to its original condition after construction.
Roof installation produces packaging materials, wood scraps, fasteners, underlayment pieces, and other construction debris. These materials should be collected throughout the project instead of being allowed to accumulate around the work area. Maintaining an organized job site improves both efficiency and safety.
Roofing nails require particular attention during cleanup. Even a few nails left in driveways, lawns, or walkways can create hazards for family members, visitors, pets, and vehicle tires. Professional contractors typically use magnetic sweepers to locate and remove loose metal fasteners before leaving the property.
Gutters should also be checked after installation has been completed. Small roofing granules, wood fragments, and construction debris sometimes collect inside the gutter system during roofing work. Cleaning the gutters ensures rainwater flows freely when the next storm arrives.
Landscaping around the home deserves a final inspection as well. Contractors should remove protective coverings while confirming that plants, walkways, patios, and outdoor furniture remain in good condition. Any temporary equipment or material storage areas should also be restored to their original appearance.
Homeowners should never hesitate to perform their own visual inspection after cleanup has been completed. Confirming that the property is clean and free from debris provides confidence that the project has been finished professionally.
A clean worksite demonstrates respect for the homeowner while marking the successful completion of the roofing installation project.
Understanding Roofing Warranties
Many first time homeowners are surprised to learn that a new roof often includes more than one warranty. Understanding the different types of warranty coverage helps homeowners know what protection they have if problems develop after installation.
Material warranties are provided by the roofing manufacturer. These warranties generally cover defects in the roofing products themselves, including shingles, metal panels, waterproof membranes, or other approved components. Coverage periods vary depending on the product selected and the manufacturer’s warranty program.
Workmanship warranties are provided by the roofing contractor rather than the manufacturer. These warranties cover installation related issues that result from improper workmanship. The length of workmanship coverage varies between contractors, making it an important topic to discuss before signing a contract.
Some manufacturers also offer enhanced warranty programs when certified contractors install complete roofing systems using approved accessories. These expanded warranties may provide additional protection because every roofing component has been tested to work together.
Homeowners should carefully review warranty documents before the project begins. Understanding what is covered, what maintenance responsibilities remain, and what circumstances could affect warranty protection helps prevent misunderstandings later.
Keeping copies of contracts, warranty certificates, material information, and final inspection reports in a safe location also makes future warranty claims easier if they ever become necessary.
A warranty should never replace proper maintenance, but it provides valuable protection that supports the long term value of the roofing investment.
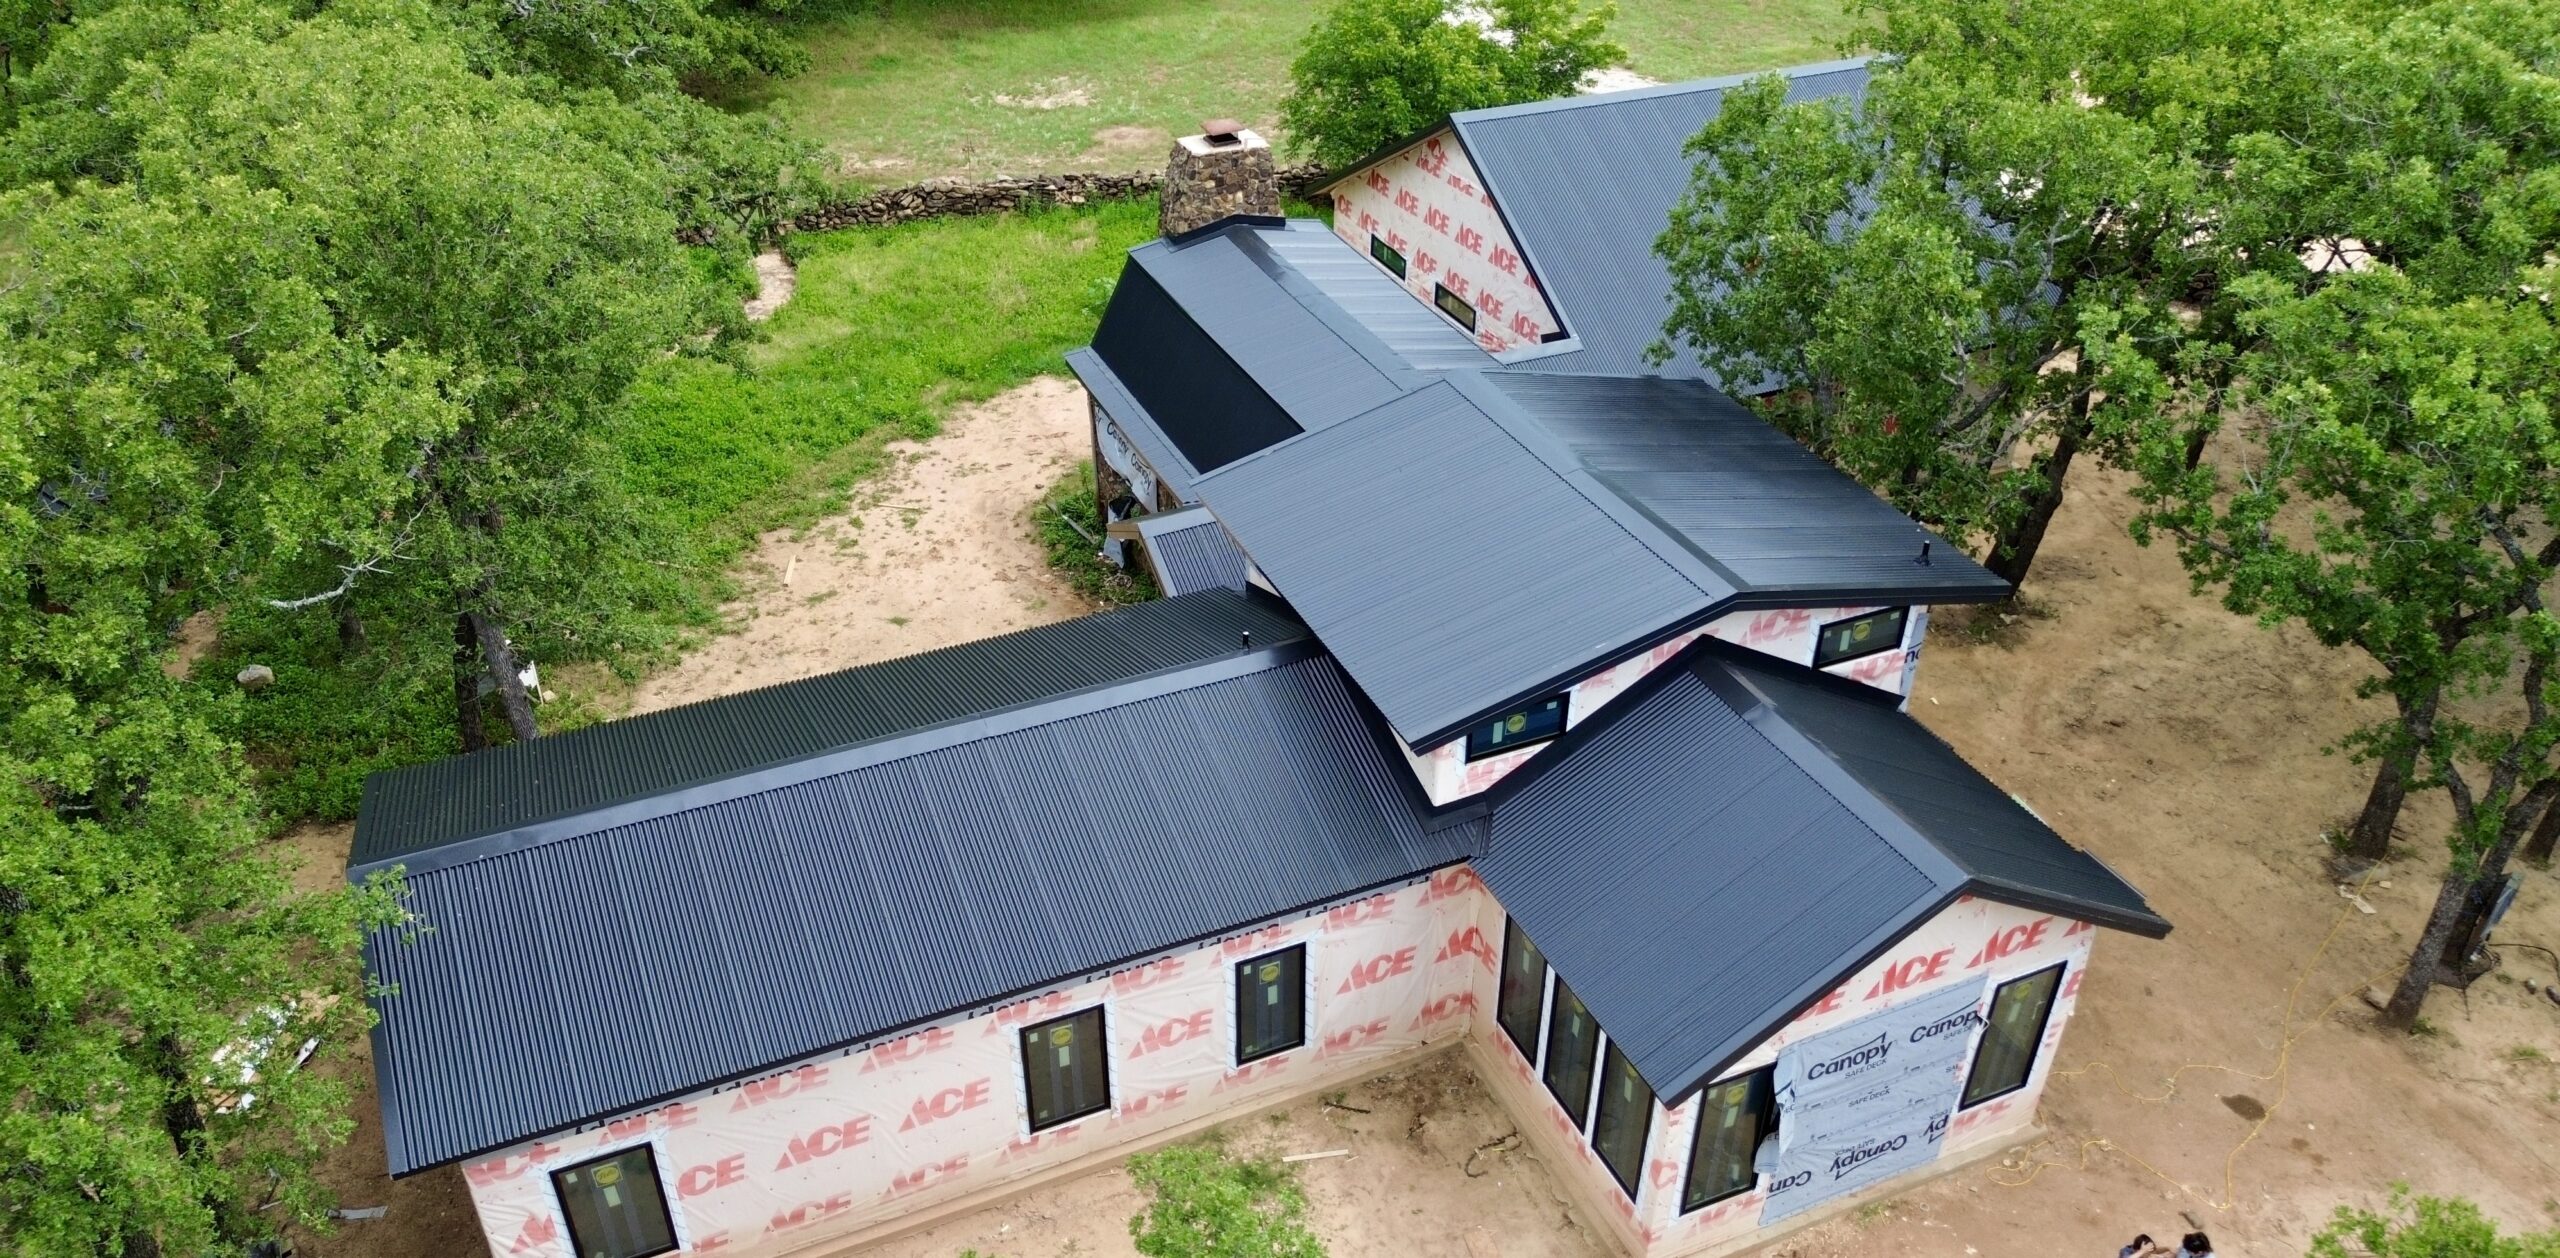
Long Term Roof Maintenance Tips
A professionally installed roof is designed to provide reliable protection for many years, but every roofing system benefits from regular maintenance. Small maintenance tasks performed consistently often prevent larger repairs while extending the life of the roof.
Homeowners should perform visual inspections several times each year, especially after severe storms. Missing shingles, displaced flashing, damaged gutters, or fallen tree branches should be addressed promptly before they create additional problems.
Keeping gutters clean is one of the simplest and most valuable maintenance practices. Leaves, twigs, and debris can block water flow, allowing rainwater to overflow near roof edges. Proper drainage protects both visible roofing materials and hidden structural components.
Tree branches hanging over the roof should be trimmed periodically. Branches may scrape roofing materials during windy conditions while dropping leaves that trap moisture against the roof surface. Maintaining adequate clearance reduces unnecessary wear and minimizes the risk of storm damage.
Attic inspections also contribute to long term roof health. Homeowners should occasionally check for signs of moisture, mold, or unusual odors inside the attic. These conditions may indicate ventilation issues or hidden roof leaks that require professional attention.
Avoid walking on the roof unless absolutely necessary. Roofing materials can become damaged by unnecessary foot traffic, particularly during hot weather when asphalt shingles become softer. If roof access is required, hiring a qualified professional is usually the safest option.
Preventive maintenance protects every roofing layer while helping homeowners avoid unexpected repair expenses throughout the roof’s lifespan.
Questions Every First Time Homeowner Should Ask Their Roofing Contractor
Open communication with a roofing contractor contributes significantly to a successful project. Asking thoughtful questions before, during, and after installation helps homeowners understand the work being performed while building confidence in the contractor’s recommendations.
Important questions to discuss include:
- Which roofing materials are best suited for my local climate?
- What type of underlayment will be installed?
- Will waterproof membranes be added in vulnerable areas?
- How will roof ventilation be designed?
- What workmanship warranty do you provide?
- How should I maintain my new roof?
- How often should professional inspections be scheduled?
- What signs indicate that repairs may eventually be needed?
These conversations provide valuable information while helping homeowners understand exactly what is included in the project. Contractors who answer questions clearly often demonstrate professionalism and a commitment to customer satisfaction.
Maintaining communication after installation is equally beneficial. Homeowners should know whom to contact if questions arise or warranty service becomes necessary in the future.
Residential Roof Installation Checklist
Once the roofing project is complete, homeowners can use the following checklist to confirm that every major step has been completed successfully.
- Confirm the roof deck was properly inspected before installation.
- Verify underlayment covers the entire roof surface.
- Ensure waterproof membranes were installed where required.
- Check that flashing surrounds chimneys, vents, skylights, and valleys.
- Confirm roofing materials are aligned evenly across the roof.
- Verify ridge caps and ventilation components have been installed.
- Review warranty documents and contractor paperwork.
- Inspect property cleanup and nail removal.
- Complete the final walkthrough with the contractor.
- Schedule future roof inspections as part of regular home maintenance.
Following this checklist provides reassurance that the roofing project has been completed thoroughly while helping homeowners organize important project documentation.
Common Mistakes to Avoid After Roof Installation
Although professional installation is essential, homeowner decisions after construction also influence roof performance. Avoiding a few common mistakes helps preserve the roofing system while reducing unnecessary repairs.
One mistake is ignoring small signs of damage. Missing shingles, loose flashing, or clogged gutters may appear minor initially, but they often become larger problems if left unaddressed. Early repairs usually cost far less than correcting extensive structural damage later.
Another mistake involves delaying gutter maintenance. Overflowing gutters expose roof edges and fascia boards to unnecessary moisture, increasing the likelihood of wood deterioration and water intrusion.
Some homeowners also install satellite dishes, solar equipment, or holiday decorations without consulting roofing professionals. Improper mounting methods may damage roofing materials or create leaks around fasteners. Any roof mounted equipment should be installed carefully using approved methods.
Neglecting attic ventilation is another common issue. Blocking soffit vents with stored items or insulation reduces airflow and may shorten the lifespan of roofing materials. Maintaining proper ventilation helps protect both the roof and the home’s interior.
Regular attention to these simple maintenance practices allows homeowners to protect the investment they made during roof installation.
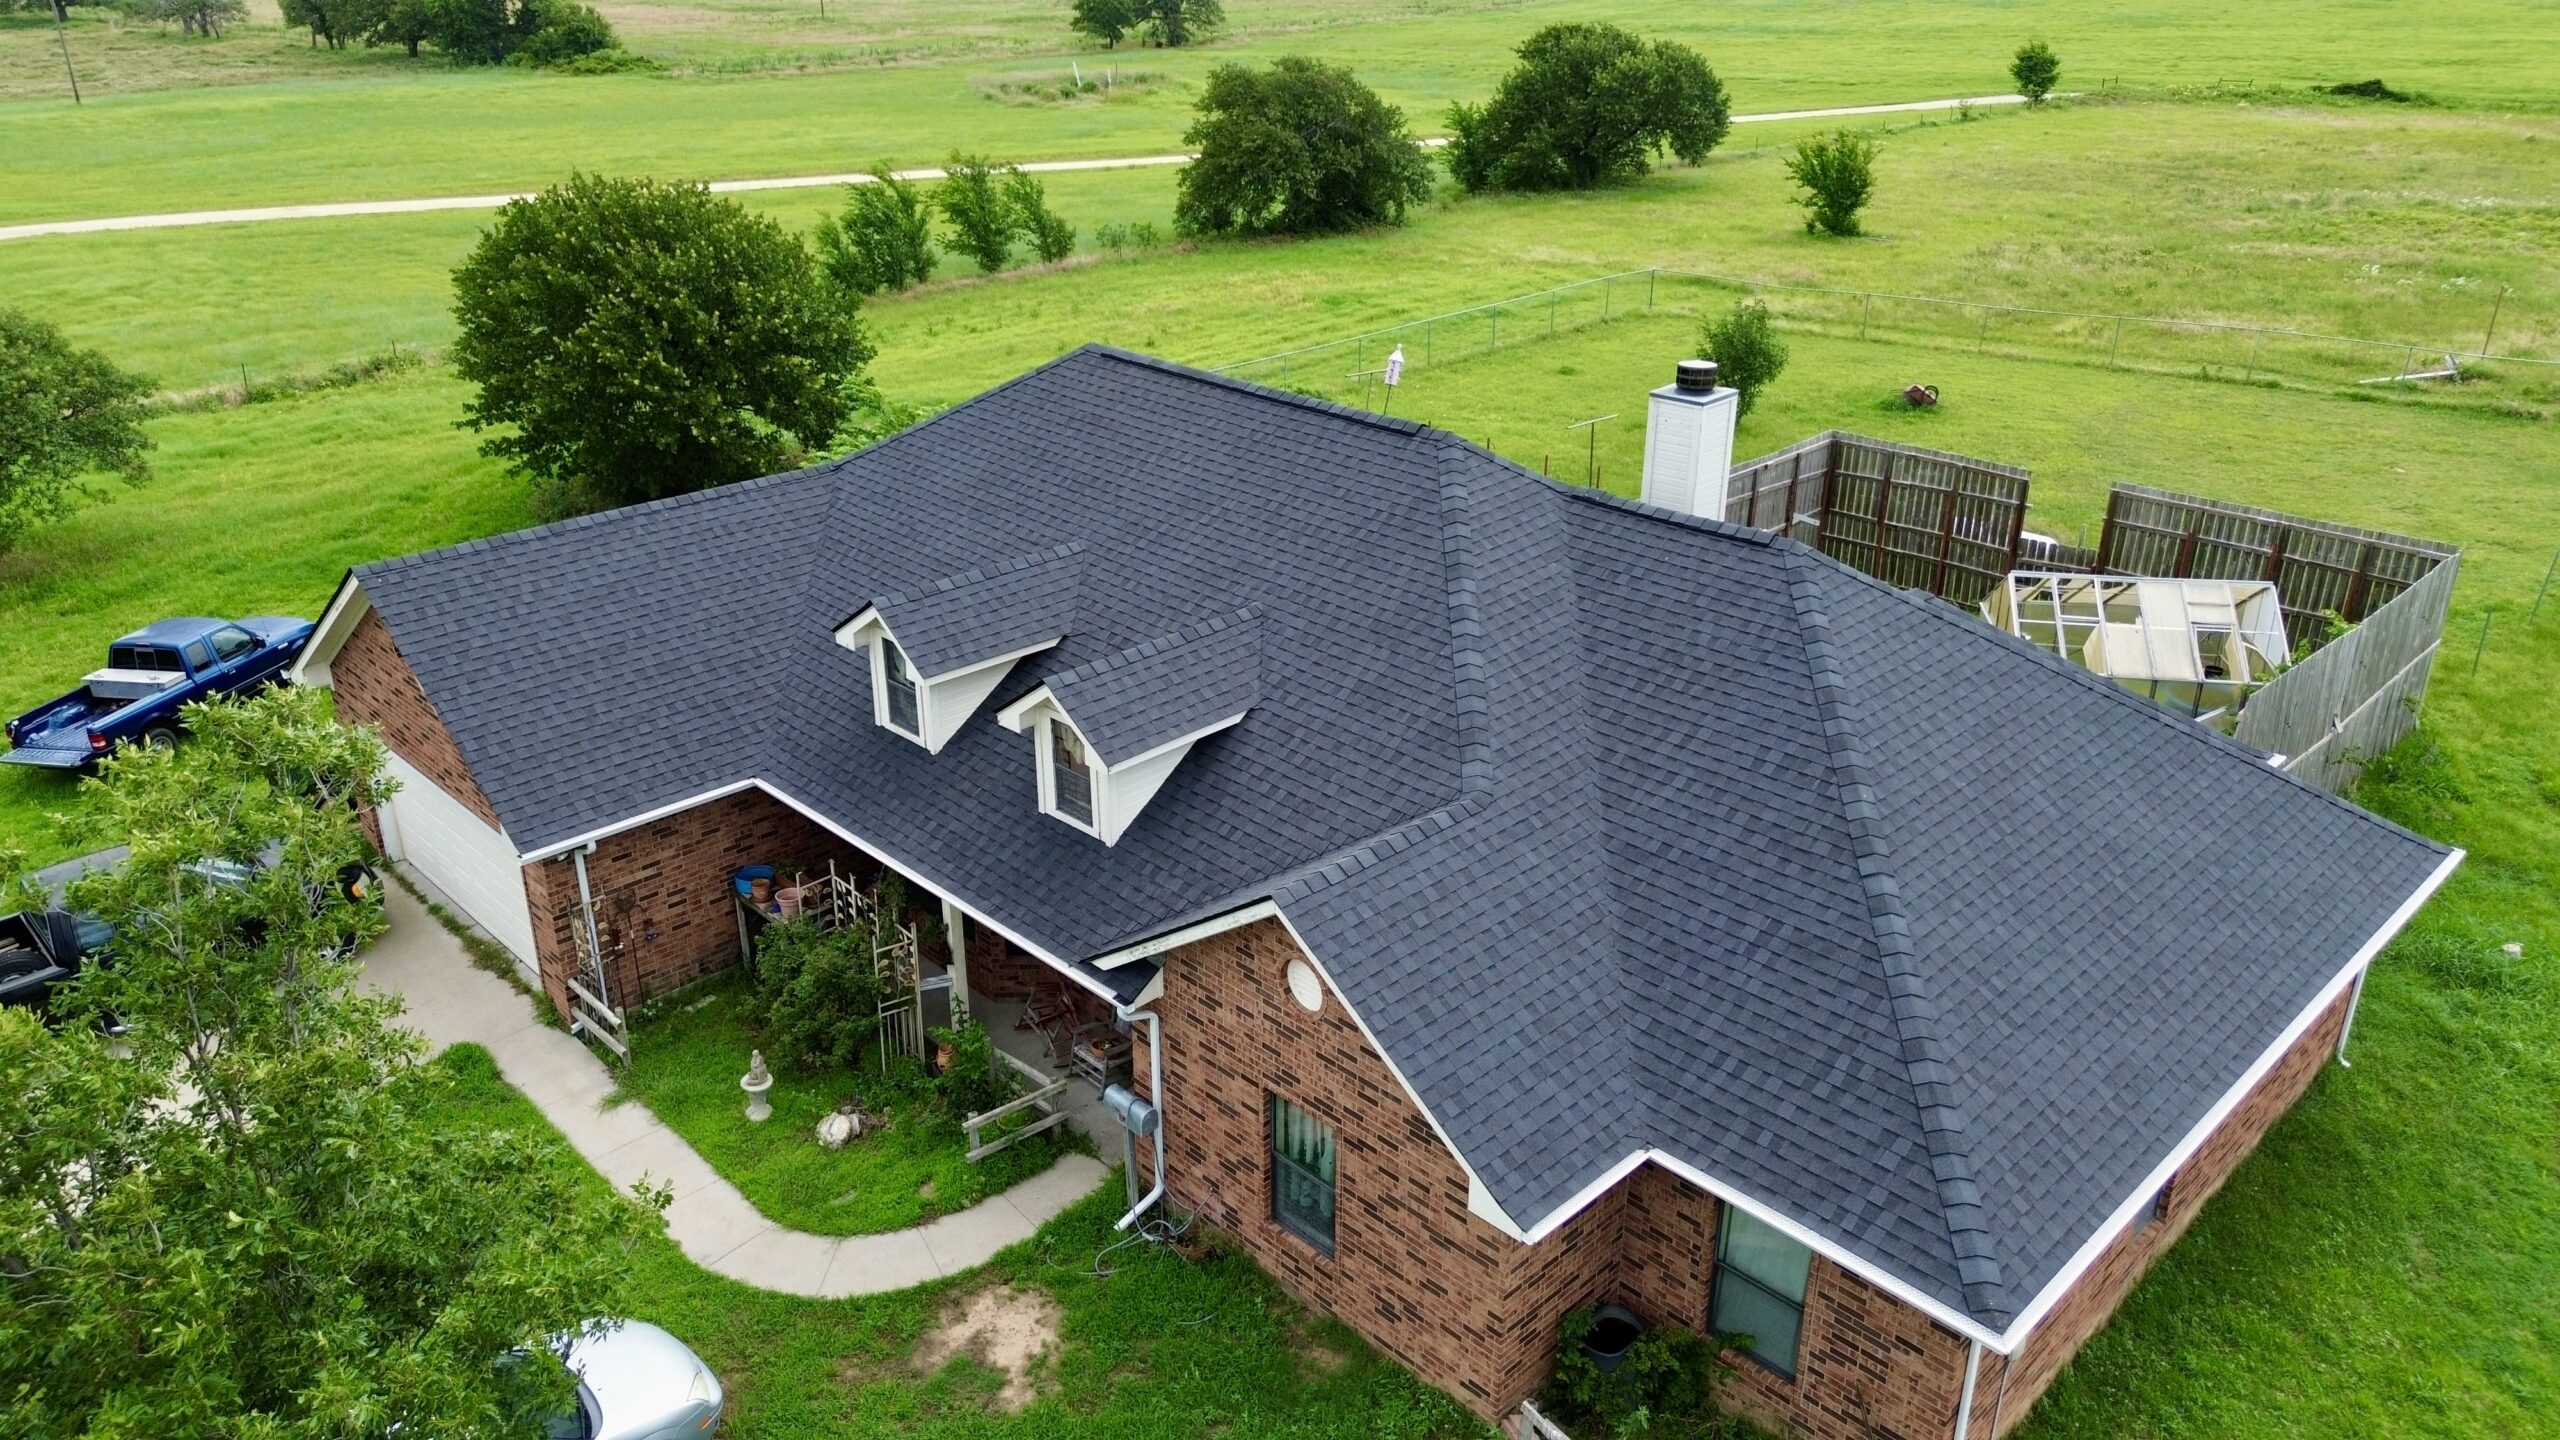
Protecting Your Roofing Investment for the Future
A new residential roof is designed to provide decades of dependable service, but its long term performance depends on consistent care and informed decision making. Viewing the roof as an important part of the home’s overall maintenance plan helps homeowners respond quickly when issues arise.
Scheduling professional inspections every few years provides valuable peace of mind. Roofing professionals can identify subtle signs of wear that homeowners may overlook while recommending minor repairs before larger problems develop.
Maintaining records of inspections, maintenance, repairs, and warranty information also benefits homeowners in the future. These documents demonstrate responsible maintenance and may prove valuable when selling the property or submitting warranty claims.
Weather awareness is another important habit. After major storms involving high winds, hail, or falling tree limbs, homeowners should perform a visual inspection from the ground and arrange professional evaluation if damage is suspected.
By treating roof maintenance as an ongoing responsibility rather than a one time project, homeowners maximize both the lifespan and value of their roofing investment.
Conclusion
Installing a residential roof for the first time is a significant milestone in the construction of a new home. While the process may initially seem complex, understanding each stage allows homeowners to approach the project with greater confidence and realistic expectations. From structural preparation and material selection to final inspections and long term maintenance, every step contributes to the performance and durability of the finished roofing system.
Throughout this guide, we explored the essential components of residential roof installation, including roof decking, underlayment, waterproof barriers, flashing, ventilation systems, roofing materials, and ridge caps. We also examined the importance of planning, contractor selection, quality inspections, warranties, and ongoing maintenance. Together, these elements create a roofing system that protects the home against weather while supporting energy efficiency and structural stability.
For first time homeowners, knowledge is one of the most valuable tools available during a roofing project. Understanding how the installation process works makes it easier to communicate with contractors, evaluate recommendations, and appreciate the hidden layers that provide long term protection. Rather than focusing only on the finished appearance, informed homeowners recognize the importance of every component beneath the surface.
Choosing experienced roofing professionals, investing in quality materials, and following manufacturer recommendations establish a strong foundation for success. Regular maintenance, prompt repairs, and periodic inspections then help preserve that investment for decades to come.
A residential roof is much more than the top layer of a home. It is a complete protective system designed to safeguard the people, belongings, and structure beneath it every day of the year. By approaching roof installation with careful planning, informed decision making, and a commitment to long term maintenance, first time homeowners can enjoy lasting peace of mind knowing their home is protected by a roofing system built for strength, reliability, and years of dependable performance.