

How to Document Roof Damage for Replacement Claims
Introduction
Roof damage can happen without warning, leaving homeowners facing unexpected repair costs and the challenge of navigating an insurance claim. Whether the damage is caused by hail, strong winds, heavy rain, fallen trees, or aging roofing materials, the way you document the damage often plays a major role in determining whether your claim is approved. Accurate documentation provides evidence that supports your request for a roof replacement and helps insurance companies understand the full extent of the loss.
Many homeowners focus only on taking a few photographs after a storm, but successful roof replacement claims require much more than that. A complete documentation process includes detailed photographs, written notes, inspection records, weather information, contractor assessments, and organized evidence that tells a clear story of what happened. The stronger your documentation is, the easier it becomes to demonstrate why replacement is necessary instead of a simple repair.
Insurance companies review thousands of roof damage claims every year, and adjusters rely heavily on evidence when making decisions. Missing photographs, incomplete records, or poor documentation can lead to unnecessary delays or even claim denials. By understanding the correct documentation process from the beginning, homeowners can avoid many common mistakes that weaken otherwise valid claims.
This guide explains how to properly document roof damage for replacement claims from the initial inspection through collecting evidence and preparing for the insurance process. By following these best practices, you can create a well organized record that supports your claim while protecting your investment and increasing the likelihood of a fair settlement.
Why Proper Roof Damage Documentation Matters
Roof replacement claims depend on evidence rather than assumptions. Even if damage appears obvious to a homeowner, an insurance company still requires proof that the damage occurred during a covered event and that replacing the roof is justified. Proper documentation creates a factual record that supports every stage of the claims process.
Detailed documentation also protects homeowners from disputes that may arise later. Insurance adjusters, roofing contractors, and claim representatives may inspect the property on different dates, making it important to preserve the original condition of the roof before temporary repairs or weather changes alter the damage.
Good documentation provides several important benefits:
- Creates clear evidence of roof damage.
- Helps distinguish new storm damage from older wear.
- Supports replacement instead of minor repair recommendations.
- Reduces misunderstandings during inspections.
- Speeds up claim reviews by providing organized information.
Comprehensive records also make communication easier with roofing professionals, insurance companies, and restoration contractors. Everyone involved can reference the same evidence instead of relying on memory or verbal descriptions, leading to more consistent evaluations throughout the project.
Understanding How Insurance Companies Evaluate Roof Damage
Insurance companies evaluate roof damage by examining both the cause and the severity of the damage. Policies generally cover sudden accidental events such as hailstorms, windstorms, lightning strikes, or falling trees, while gradual deterioration caused by age or lack of maintenance is usually excluded.
The insurance adjuster investigates whether the reported damage matches the documented weather event and whether the condition of the roof supports replacement. They compare photographs, inspection findings, maintenance history, and policy coverage before determining the amount of compensation available.
Several factors commonly influence claim decisions.
| Evaluation Factor | Why It Matters |
|---|---|
| Cause of damage | Determines whether the policy provides coverage. |
| Age of the roof | Older roofs may receive different settlement calculations depending on the policy. |
| Extent of damage | Larger damaged areas are more likely to require replacement. |
| Roof material | Different materials experience different forms of storm damage. |
| Maintenance history | Regular maintenance shows responsible ownership and reduces disputes. |
| Supporting documentation | Strong evidence increases claim credibility. |
Understanding these evaluation criteria helps homeowners gather documentation that answers the questions adjusters are most likely to ask. Instead of collecting random photographs, you can focus on evidence that directly supports your replacement request.
Common Causes of Roof Damage That May Qualify for Replacement Claims
Roof damage develops in many different ways, but not every type of damage results in a full roof replacement. Insurance companies generally consider whether the damage resulted from a covered event and whether repairs would restore the roof to a safe and functional condition.
Wind damage is one of the most common reasons homeowners file replacement claims. Strong winds can lift shingles, expose underlayment, loosen flashing, or even remove entire sections of roofing materials. Wind may also carry debris that creates additional impact damage across the roof surface.
Hailstorms often produce widespread damage that is difficult to recognize from the ground. Hail impacts may crack shingles, remove protective granules, dent metal components, damage roof vents, and shorten the roof’s remaining lifespan even when leaks are not immediately visible.
Heavy rain can reveal weaknesses that already existed while also causing new damage. Water intrusion may affect decking, insulation, ceilings, walls, and structural framing if moisture enters through damaged roofing materials or flashing.
Falling tree limbs create obvious structural damage that frequently requires major repairs or complete replacement. Large impacts can break rafters, puncture decking, damage gutters, and create openings that allow water into the home.
Snow and ice can also contribute to replacement claims in colder climates. Ice dams may trap melting water beneath shingles, while excessive snow loads can stress the roof structure beyond its intended capacity.
Fire, lightning, and severe weather events such as tornadoes or hurricanes often produce extensive roof destruction that exceeds repair thresholds. These situations usually require immediate documentation before emergency stabilization work begins.
Understanding the origin of the damage helps homeowners collect evidence that connects the roof condition with the event that caused it. This connection often becomes one of the most important elements of a successful insurance claim.
Knowing the Difference Between Repairable Damage and Replacement Level Damage
One of the most common sources of disagreement during insurance claims is whether the roof requires repair or complete replacement. While homeowners may assume replacement is necessary, insurance companies often examine whether localized repairs could restore the roof without replacing the entire system.
Repairable damage usually affects a relatively small portion of the roof while leaving the overall roofing system structurally sound. Individual shingles, flashing, or vents can often be replaced without compromising the performance of surrounding materials.
Replacement level damage generally involves widespread deterioration or damage that significantly reduces the roof’s ability to protect the building. Structural damage, extensive hail impacts, repeated leaks, or missing materials across multiple roof sections often make replacement the more practical long term solution.
Several conditions may indicate replacement is appropriate.
- Damage affects multiple roof slopes.
- Matching roofing materials are no longer available.
- Structural decking has been compromised.
- Water intrusion has spread beneath roofing layers.
- The roof has reached the end of its service life while also suffering storm damage.
Proper documentation should capture both the damaged areas and the overall roof condition. Wide angle photographs, close up images, and written observations together provide a complete picture that supports the need for replacement rather than isolated repairs.
Essential Safety Precautions Before Inspecting Your Roof
Documenting roof damage should never place personal safety at risk. Storm damaged roofs may contain hidden hazards including loose shingles, weakened decking, unstable gutters, exposed nails, broken tree limbs, and slippery surfaces that increase the risk of serious injury.
Before beginning any inspection, carefully evaluate whether the roof can be viewed safely from the ground. Many forms of damage can be documented using binoculars, zoom camera lenses, or drones without requiring anyone to climb onto the roof.
If you decide to inspect the property more closely, wear appropriate footwear with good traction and avoid climbing onto wet roofing materials. Always use a stable ladder placed on level ground and ensure another adult is present in case assistance becomes necessary.
Avoid inspecting roofs during severe weather or immediately after storms when surfaces remain unstable. Strong winds, rain, lightning, or snow create unnecessary risks that outweigh the benefits of immediate documentation.
Electrical hazards also deserve careful attention. Fallen power lines, damaged electrical service equipment, or tree limbs contacting utility lines require immediate reporting to the utility provider before any roof inspection begins.
Professional roofing contractors have specialized safety equipment and training that allow them to inspect hazardous roofs more safely than most homeowners. If the roof appears structurally compromised or difficult to access, hiring a qualified professional is often the safest approach while also improving the quality of your documentation.
Creating a Roof Damage Documentation Plan Before You Begin
A systematic documentation plan helps ensure that important evidence is not overlooked. Instead of taking random photographs and scattered notes, approach the inspection with a consistent process that records every important detail in an organized manner.
Start by documenting basic information about the property and the event that caused the damage. Record the date, approximate time, weather conditions, and any observations about what occurred during the storm or incident. If neighbors experienced similar damage, noting those observations may also provide useful context for the claim.
Next, divide the property into sections and inspect each area individually. Begin with the exterior before moving indoors, recording observations as you progress through each location. Consistency helps create a complete inspection record that can easily be reviewed later.
Maintain a dedicated folder for all documentation related to the claim. Store photographs, inspection notes, repair estimates, invoices, maintenance records, warranty information, and correspondence with insurance representatives together so nothing becomes misplaced during the claims process.
A well organized documentation plan saves time later when insurance companies request additional evidence. Instead of searching through multiple devices or paperwork, you can quickly locate the information needed to support your claim.
The Tools and Equipment Needed for Accurate Roof Documentation
Effective roof documentation requires more than a smartphone camera. While modern phones capture high quality images, additional tools improve both the accuracy and completeness of your inspection records.
A digital camera with optical zoom can capture detailed images from a safe distance. Binoculars help identify damaged shingles, flashing, vents, and ridge caps without requiring roof access, making inspections safer while still producing useful observations.
A flashlight is valuable when inspecting attic spaces or interior ceilings where water stains, mold growth, or structural damage may be hidden. Moisture meters can also help identify damp materials that are not yet visibly stained but may indicate active leaks beneath the roof covering.
Measuring tapes allow you to estimate damaged areas more accurately, while notebooks or digital note taking applications help organize observations immediately during the inspection. Date and time stamped records strengthen the credibility of your documentation by establishing when evidence was collected.
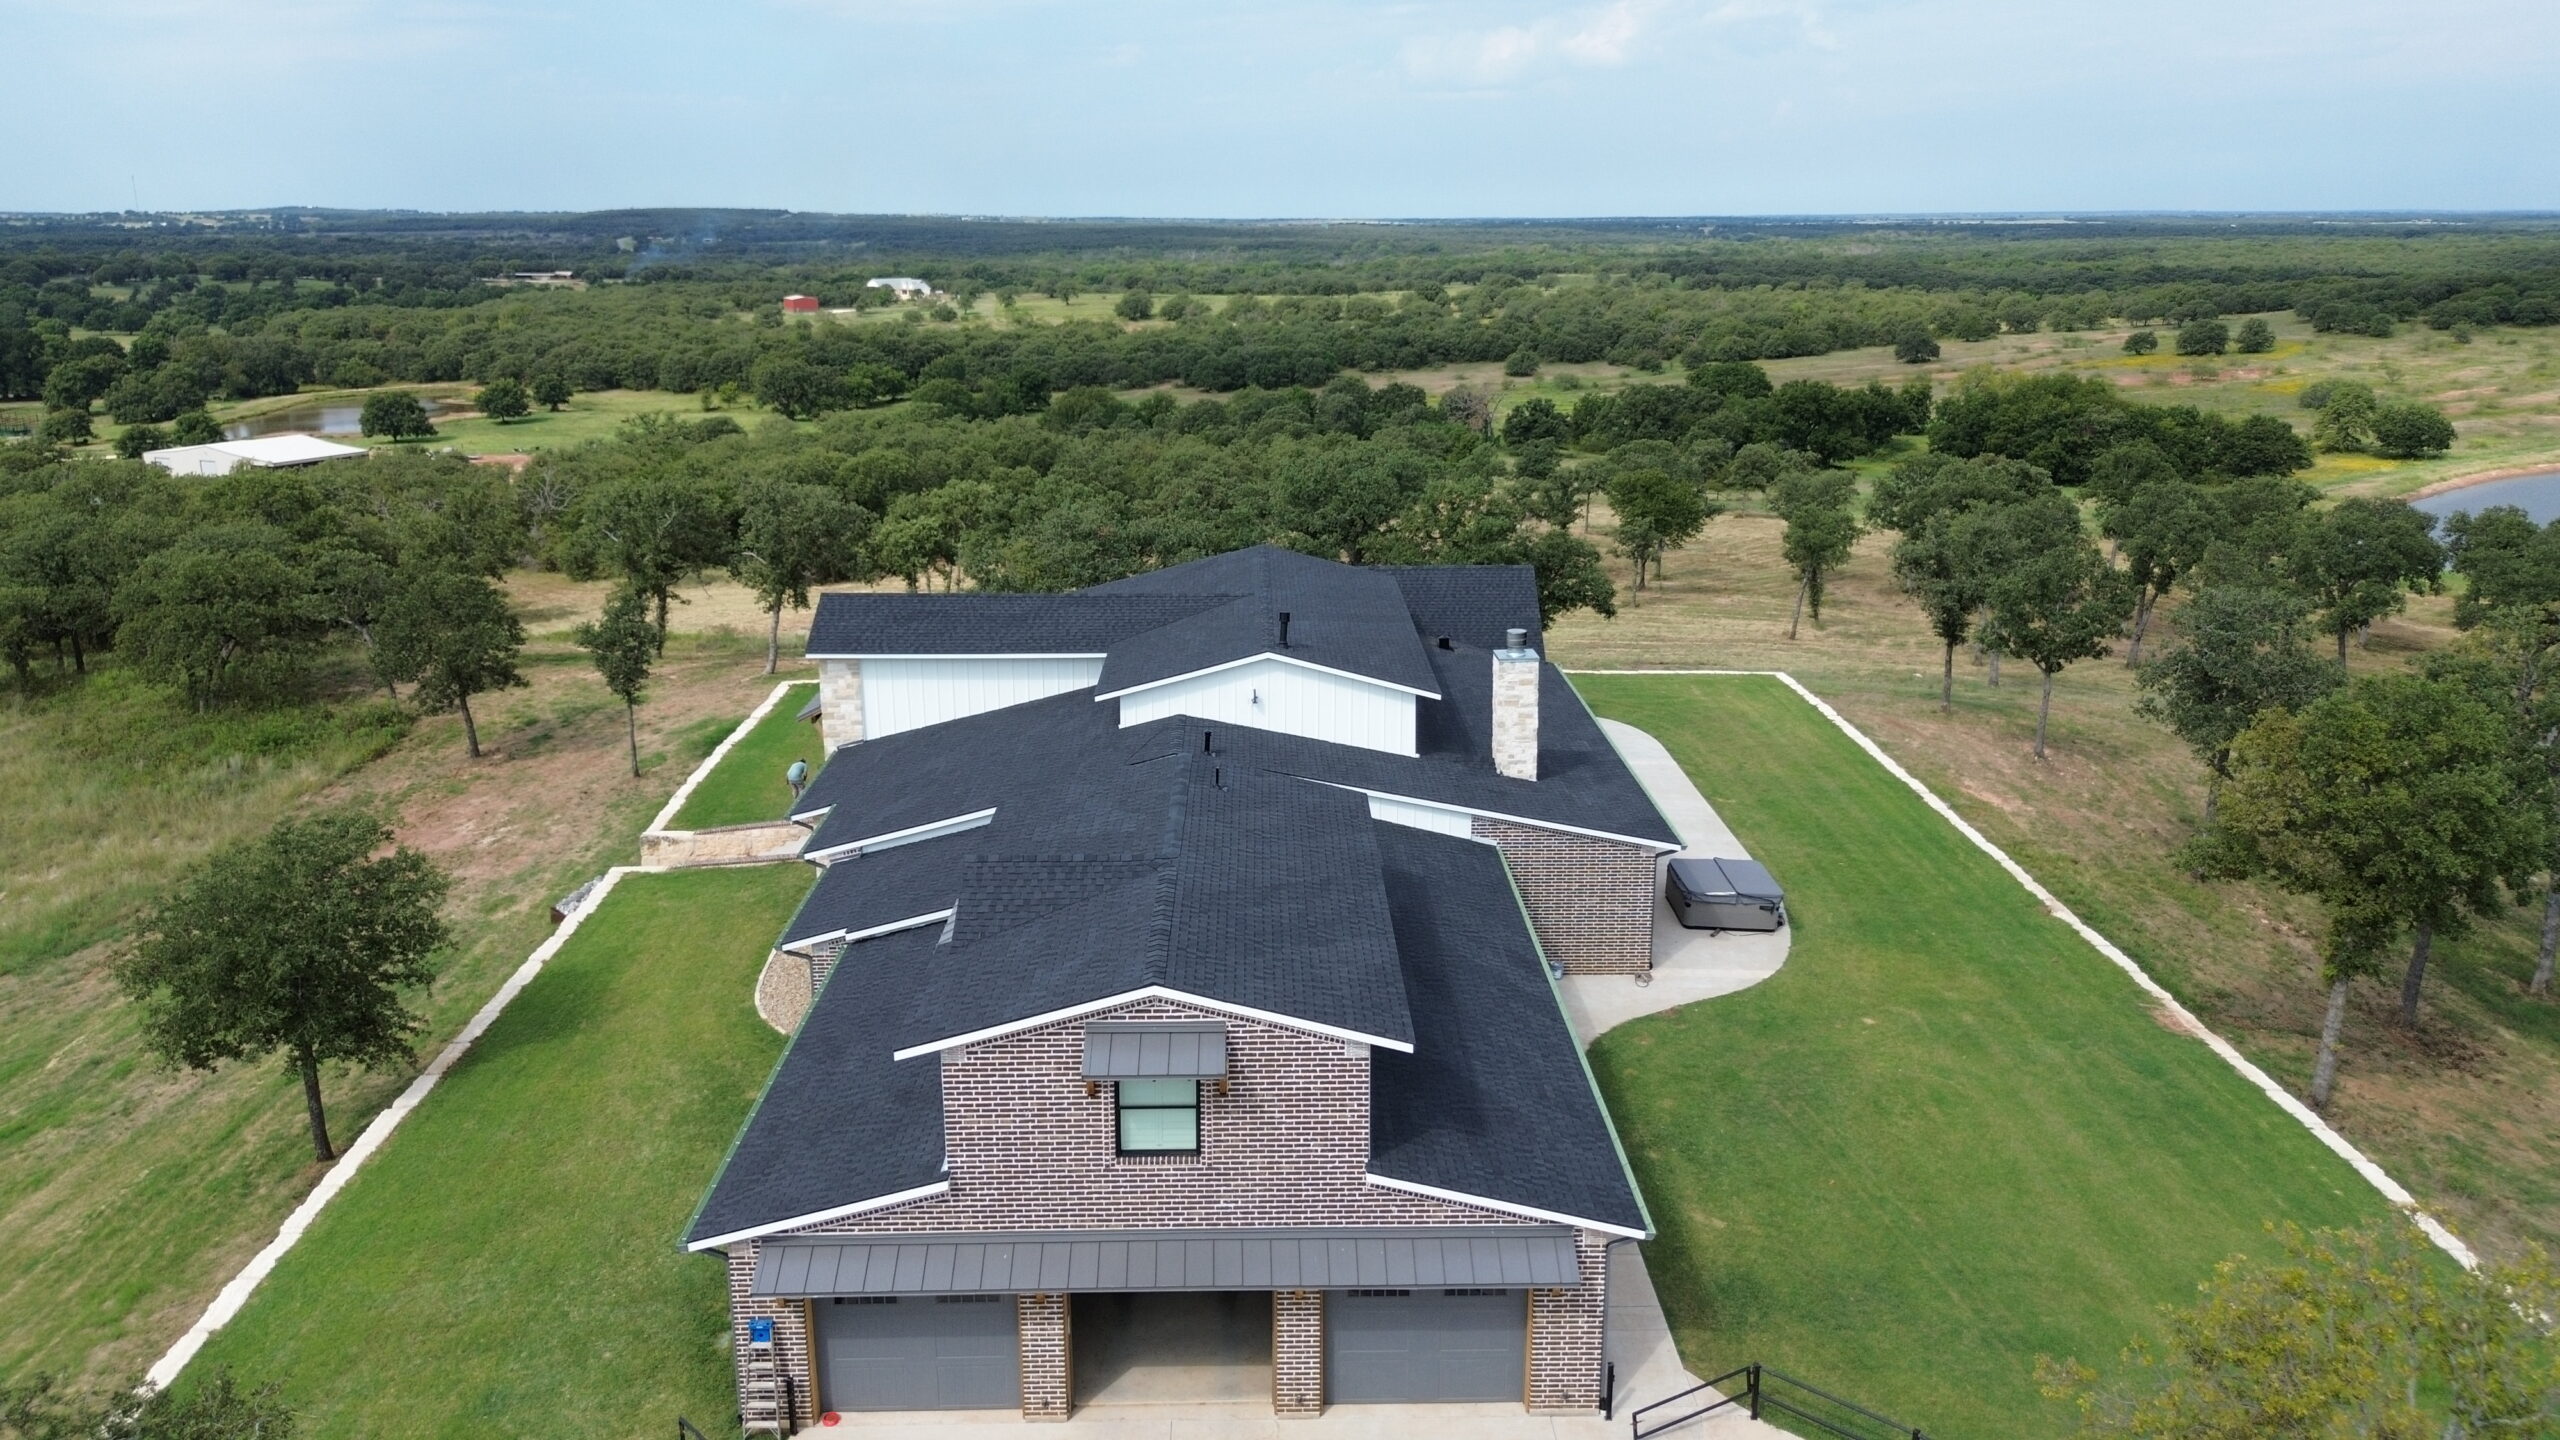
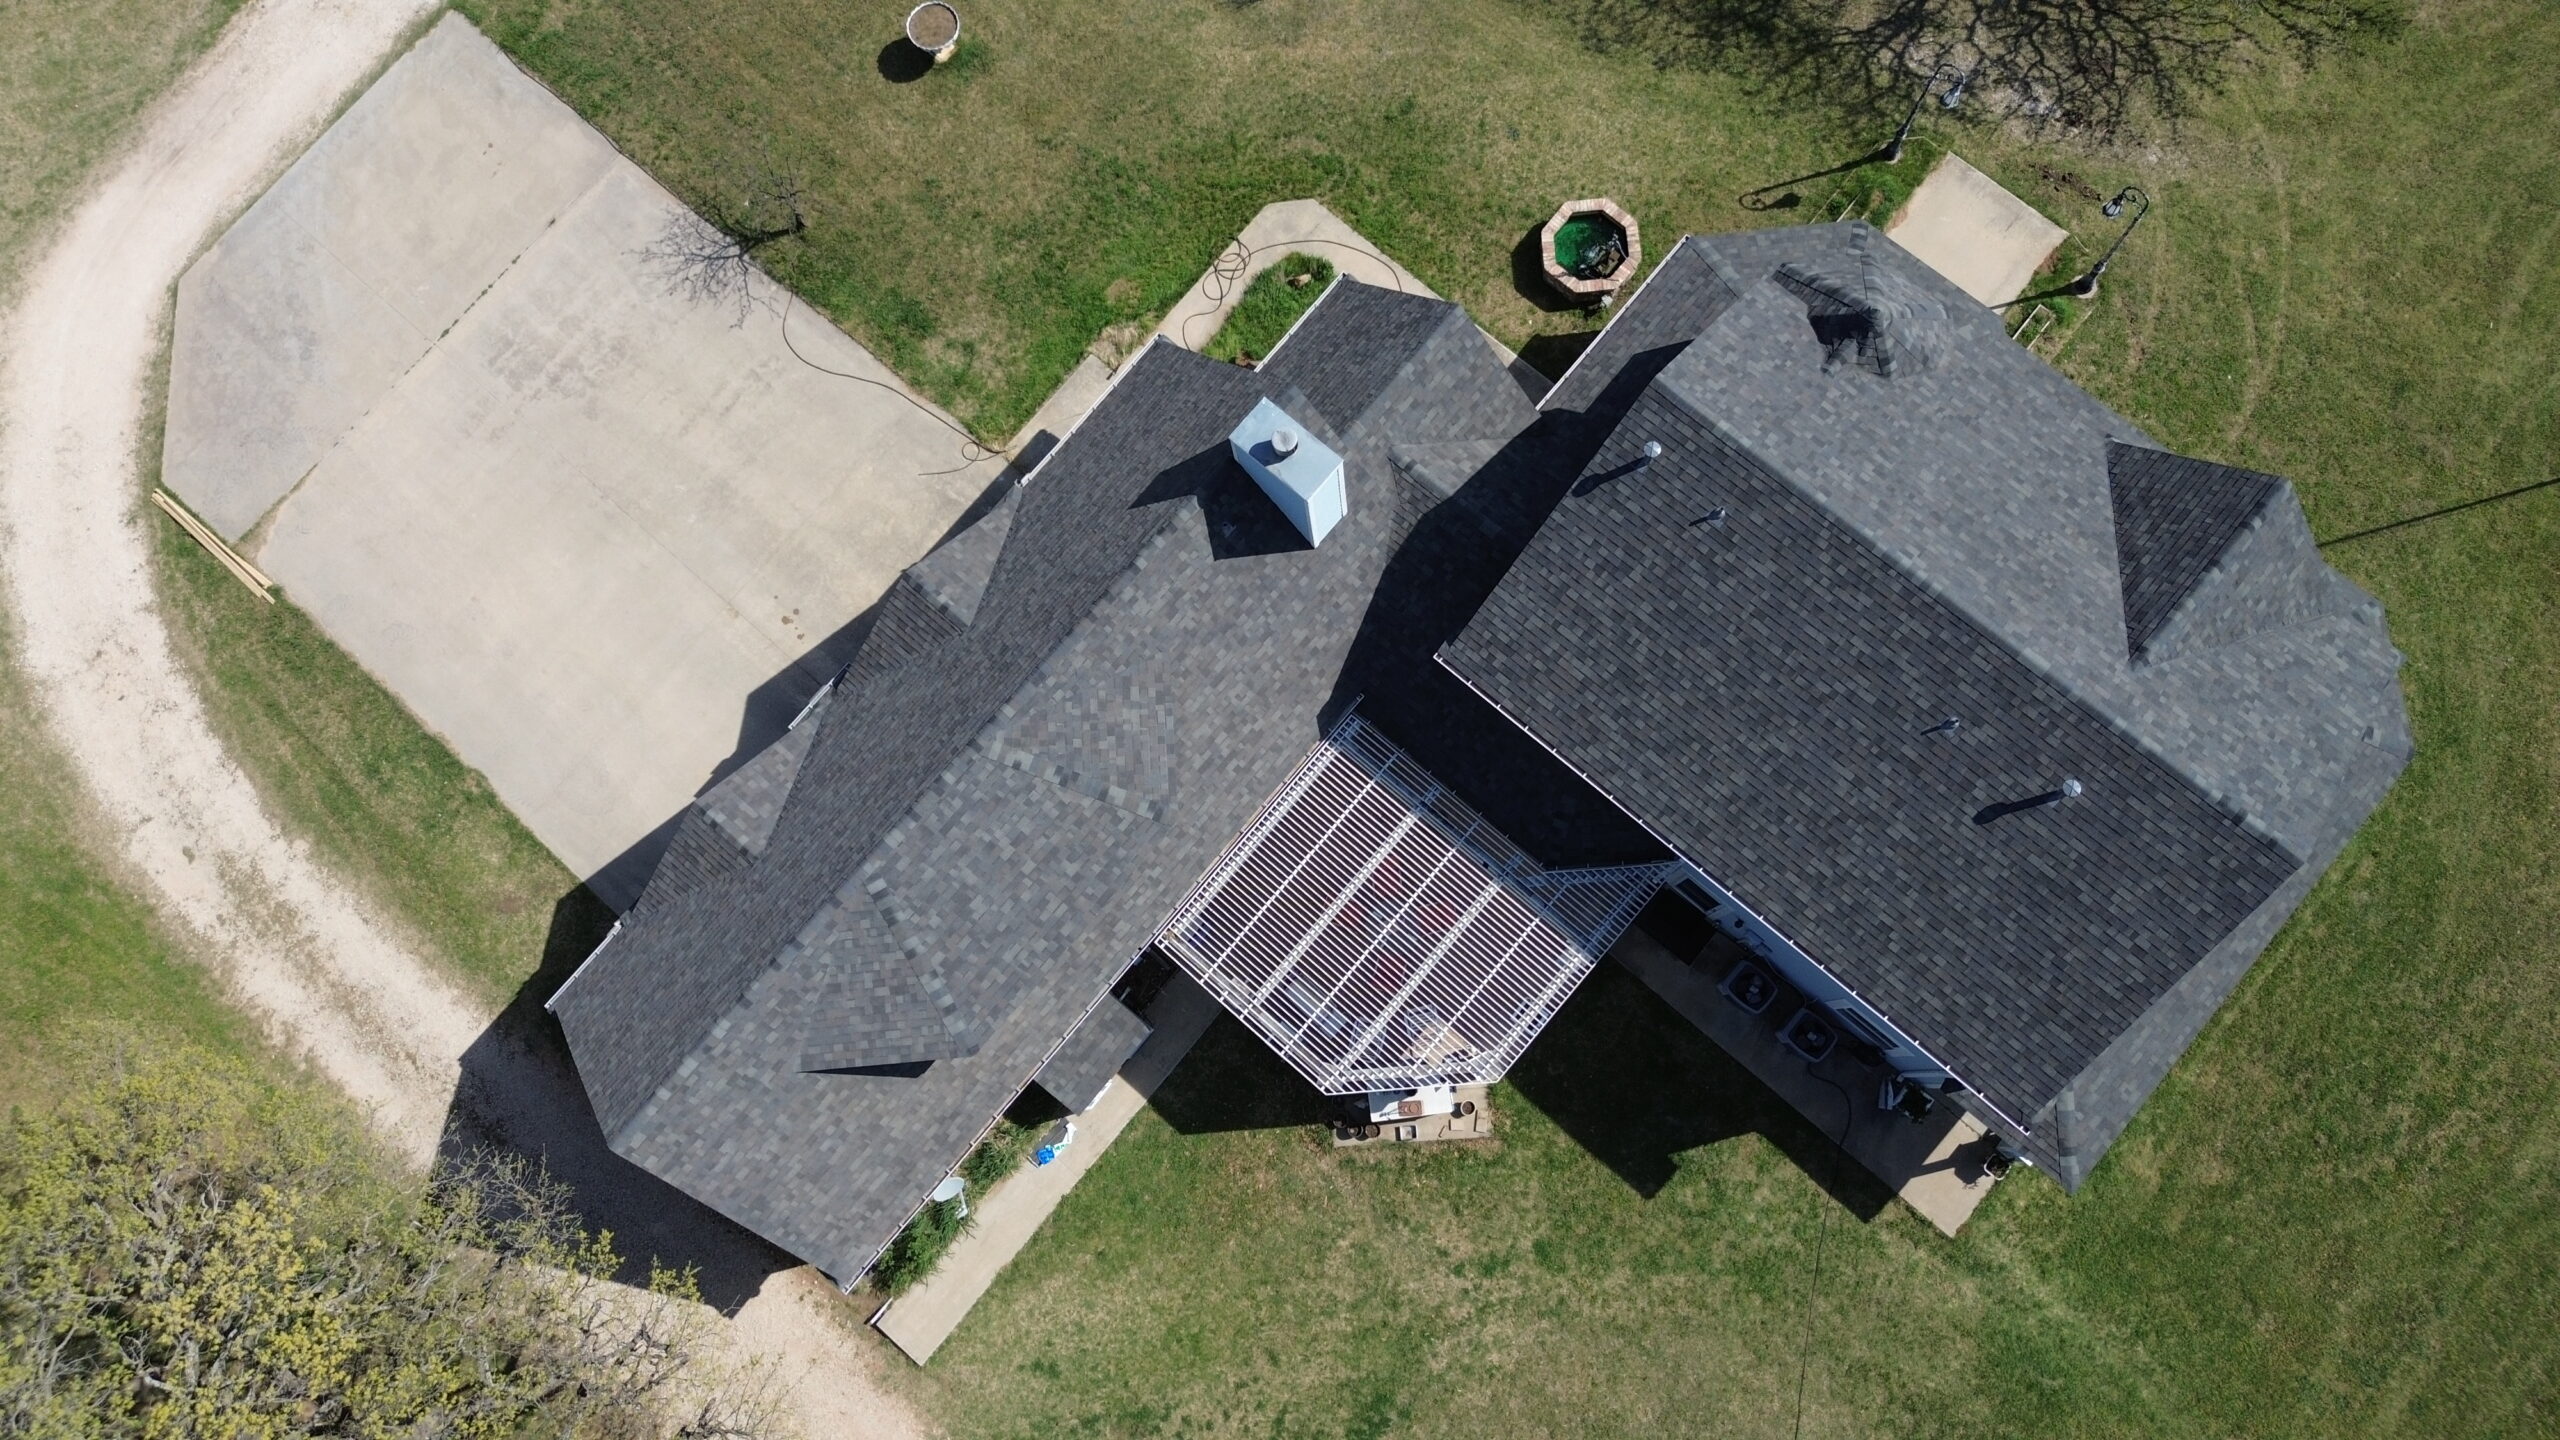
If available, drones equipped with high resolution cameras provide detailed overhead views without exposing homeowners to climbing hazards. Drone photography has become increasingly useful for documenting large residential roofs and commercial buildings because it captures angles that are otherwise difficult to inspect safely.
Having the proper tools prepared before beginning the inspection creates a more efficient process while reducing the likelihood of returning later to capture missing information.
How to Conduct a Thorough Exterior Roof Inspection
A careful exterior inspection forms the foundation of every roof replacement claim. Begin by walking completely around the property and observing the roof from multiple angles rather than focusing only on the area where damage seems most obvious.
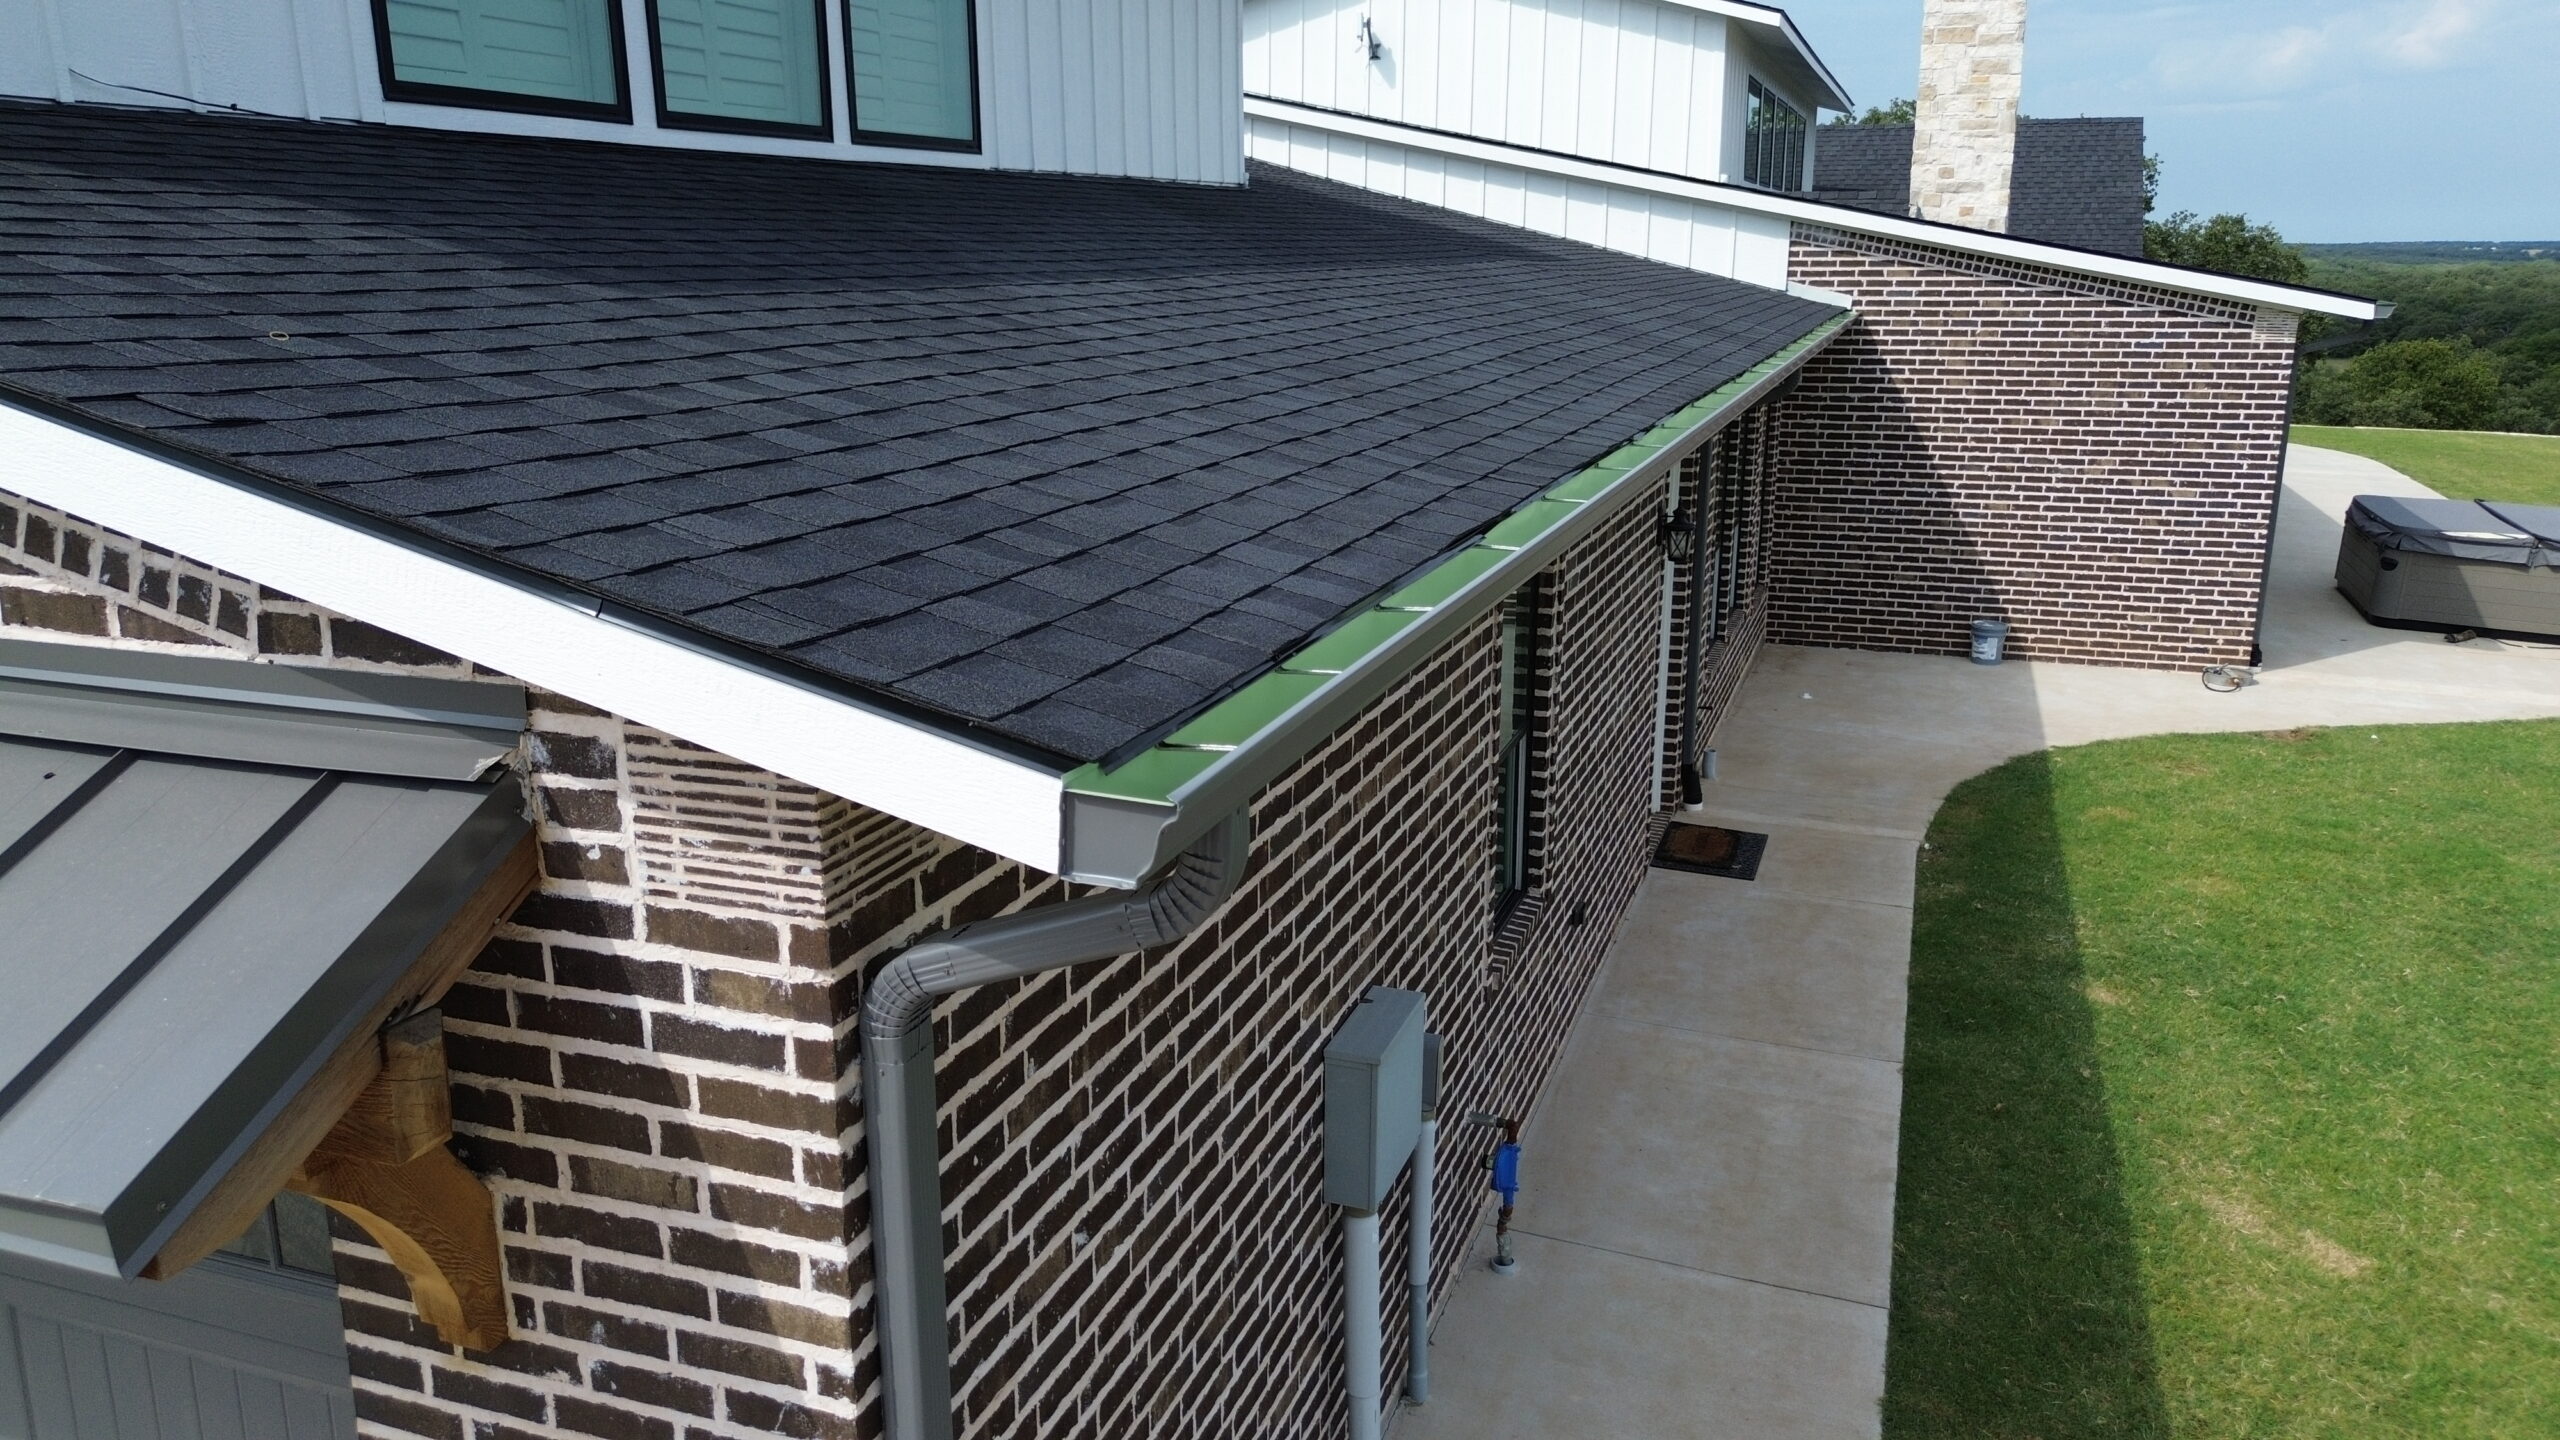
Look for missing shingles, curled edges, exposed underlayment, cracked flashing, damaged vents, displaced ridge caps, sagging roof sections, broken gutters, and debris that may indicate impact damage. Wide angle photographs should capture the overall roof while close up images document individual damaged components.
Continue inspecting siding, windows, fences, outdoor equipment, and nearby structures for evidence of the same storm event. Damage across multiple areas often supports the claim by demonstrating the severity of the weather conditions rather than isolated roof deterioration.
Pay close attention to roof penetrations such as chimneys, skylights, plumbing vents, and exhaust vents because these locations frequently experience leaks after storms. Document any visible gaps, cracked sealant, or damaged flashing that could contribute to water intrusion.
Do not overlook detached structures such as garages, sheds, or carports if they were affected by the same event. Their condition may provide additional supporting evidence that strengthens the overall insurance claim.
Documenting Visible Signs of Roof Damage Correctly
Accurate documentation requires more than simply taking photographs of damaged shingles. Each image should clearly show the location, scale, and condition of the damage while remaining organized enough for others to interpret without explanation.
Take photographs from different distances to establish context. Start with wide shots showing the entire roof section, then move closer to capture individual areas of damage before finishing with detailed close ups that reveal cracks, dents, missing granules, torn shingles, or exposed roofing materials.
Whenever possible, include a familiar object or measuring tape in close up photographs to provide scale. This makes it easier for adjusters and contractors to understand the actual size of damaged areas when reviewing documentation remotely.
Written notes should accompany every photograph rather than relying on images alone. Record where each photograph was taken, what it shows, and why the damage appears significant. These notes become especially valuable if inspections occur several weeks after the original storm.
Organizing documentation from the very beginning creates a stronger foundation for the insurance claim and reduces confusion throughout the replacement process. In the next part, we will examine how to collect stronger photographic evidence, inspect interior damage, organize documentation effectively, and avoid common mistakes that frequently weaken roof replacement claims.
How to Take High Quality Roof Damage Photos
Photographs are often the most important evidence in a roof replacement claim because they provide visual proof of the damage before repairs begin. Insurance adjusters frequently review photographs before visiting the property, making image quality and organization just as important as the number of pictures taken.
Begin photographing the roof as soon as it is safe after the damaging event. Waiting several days may allow rain, wind, or temporary repairs to alter the original condition, making it more difficult to demonstrate the full extent of the damage. Immediate documentation preserves evidence while it is still fresh.
Take photographs in good natural lighting whenever possible. Bright daylight makes cracks, missing shingles, dents, exposed underlayment, and damaged flashing easier to identify than photographs taken at night or during heavy rain. Avoid excessive shadows that may hide important details.
Capture images from multiple perspectives instead of relying on one angle. Wide photographs establish the location of the damage while medium range photographs narrow the focus to individual roof sections. Close up images then provide detailed evidence of the damaged materials themselves.
Avoid using excessive digital zoom because it often reduces image clarity. Instead, move closer when it is safe to do so or use a camera with optical zoom to preserve detail. Sharp photographs are much easier for adjusters to evaluate than blurry or heavily cropped images.
Photograph every roof slope even if only one side appears damaged. Storms rarely affect every section equally, but documenting the entire roof demonstrates that the inspection was complete rather than selective. This comprehensive approach increases the credibility of your claim.
Do not delete photographs simply because they seem repetitive. Images that appear similar may later reveal small differences that become important during the claims review. It is generally better to have additional evidence than to discover later that a critical angle was never captured.
Recording Videos That Support Your Roof Replacement Claim
While photographs freeze individual moments, videos provide context that still images sometimes cannot capture. A continuous walkthrough helps demonstrate how damage is distributed across the property and shows the relationship between different affected areas.
Begin recording from the street before slowly moving around the home. Narrate what you observe during the inspection by describing damaged shingles, missing flashing, broken gutters, fallen branches, or other visible issues. Speaking naturally while recording creates a useful record that complements written notes.
Move the camera slowly to avoid shaky footage that becomes difficult to review. Pause briefly whenever documenting significant damage so the affected area remains visible long enough for viewers to examine it carefully.
If safe access is available, record the roof from multiple viewpoints without making sudden movements. When climbing onto the roof is unsafe, use a drone or record from elevated positions that provide better visibility while maintaining personal safety.
Interior videos can also strengthen the claim by documenting active leaks, water stains, ceiling discoloration, damaged insulation, or warped drywall. Showing the connection between roof damage and interior effects provides additional evidence that the roof failure has impacted the home beyond the exterior surface.
Keep original video files instead of editing or shortening them. Raw footage provides stronger evidence because it preserves the original recording without raising questions about missing sections or modifications.
Inspecting Interior Areas for Hidden Roof Damage
Roof damage is not always limited to the shingles or exterior materials. Water often travels through insulation, framing, and ceilings before becoming visible inside the living space. A thorough documentation process therefore includes careful inspection of interior areas that may reveal hidden problems.
Start in the attic if it is safely accessible. Look for daylight entering through the roof, damp insulation, mold growth, stained wood, sagging decking, or water trails running along rafters. These conditions often indicate leaks that have developed after storm damage.
Continue inspecting ceilings throughout the home for discoloration, bubbling paint, peeling wallpaper, or softened drywall. Water stains may appear several feet away from the actual roof opening because moisture frequently follows framing members before dripping into living areas.
Walls around chimneys, skylights, and upper floor windows should also receive close attention. These areas commonly experience leaks when flashing becomes damaged or roofing materials separate during severe weather.
Flooring can provide additional clues about hidden roof leaks. Warped hardwood, damp carpeting, or swollen laminate flooring beneath ceiling stains may indicate prolonged water intrusion that should be documented before cleanup begins.
Take photographs of every interior symptom even if the connection to roof damage is not immediately obvious. Professional inspectors can later determine how these conditions relate to the damaged roofing system, and complete documentation prevents valuable evidence from being overlooked.
Documenting Damage After Different Types of Storms
Every weather event leaves its own pattern of roof damage, and understanding these patterns helps homeowners gather more meaningful evidence. Instead of documenting only obvious destruction, focus on the types of damage commonly associated with the specific event that affected the property.
After a hailstorm, inspect shingles for bruising, impact marks, granule loss, cracked edges, and dents on metal vents, gutters, and flashing. Soft impact areas may not appear dramatic in photographs, so close up images from different angles help highlight these subtle defects.
Windstorms often leave missing shingles, lifted roofing materials, damaged ridge caps, and scattered debris around the property. Document the direction of fallen branches and displaced roofing materials because these observations may help explain how the damage occurred.
Heavy rainfall can expose roof leaks even when exterior damage appears limited. Photograph overflowing gutters, standing water, stained ceilings, damp insulation, and moisture around roof penetrations. These signs demonstrate how water entered the structure after the storm.
Tree impact damage should be documented before branches are removed whenever possible. Photograph the fallen tree from several angles, including its position on the roof, the damaged roofing materials, and any structural damage visible beneath the impact area.
Lightning strikes may damage roofing materials, electrical systems, vents, and nearby structures. Burn marks, damaged electrical equipment, and cracked masonry around chimneys should all become part of the documentation package.
By tailoring your inspection to the type of storm involved, you create evidence that aligns more closely with the expected damage patterns insurance adjusters routinely evaluate.
Creating a Complete Roof Damage Inventory
Photographs alone rarely provide enough information for a comprehensive insurance claim. A written inventory helps organize the evidence while ensuring every damaged component is accounted for during the inspection.
Begin by listing each damaged roof section separately. Include the approximate location, the type of material affected, the visible condition, and any related interior damage. Consistent descriptions make it easier to compare your observations with contractor reports and adjuster findings.
Record damage to accessories as carefully as damage to the roofing materials themselves. Gutters, flashing, skylights, vents, fascia boards, soffits, and downspouts all contribute to the overall roofing system and may require replacement if damaged during the same event.
Temporary emergency repairs should also become part of the inventory. If tarps, temporary patches, or protective coverings were installed to prevent additional water intrusion, document when they were installed, who performed the work, and why they were necessary.
Keep receipts for emergency supplies, temporary repairs, and cleanup expenses. Many insurance policies reimburse reasonable mitigation costs when homeowners act promptly to prevent additional damage after a covered event.
A detailed inventory transforms scattered observations into a structured record that supports both the insurance claim and future repair planning.
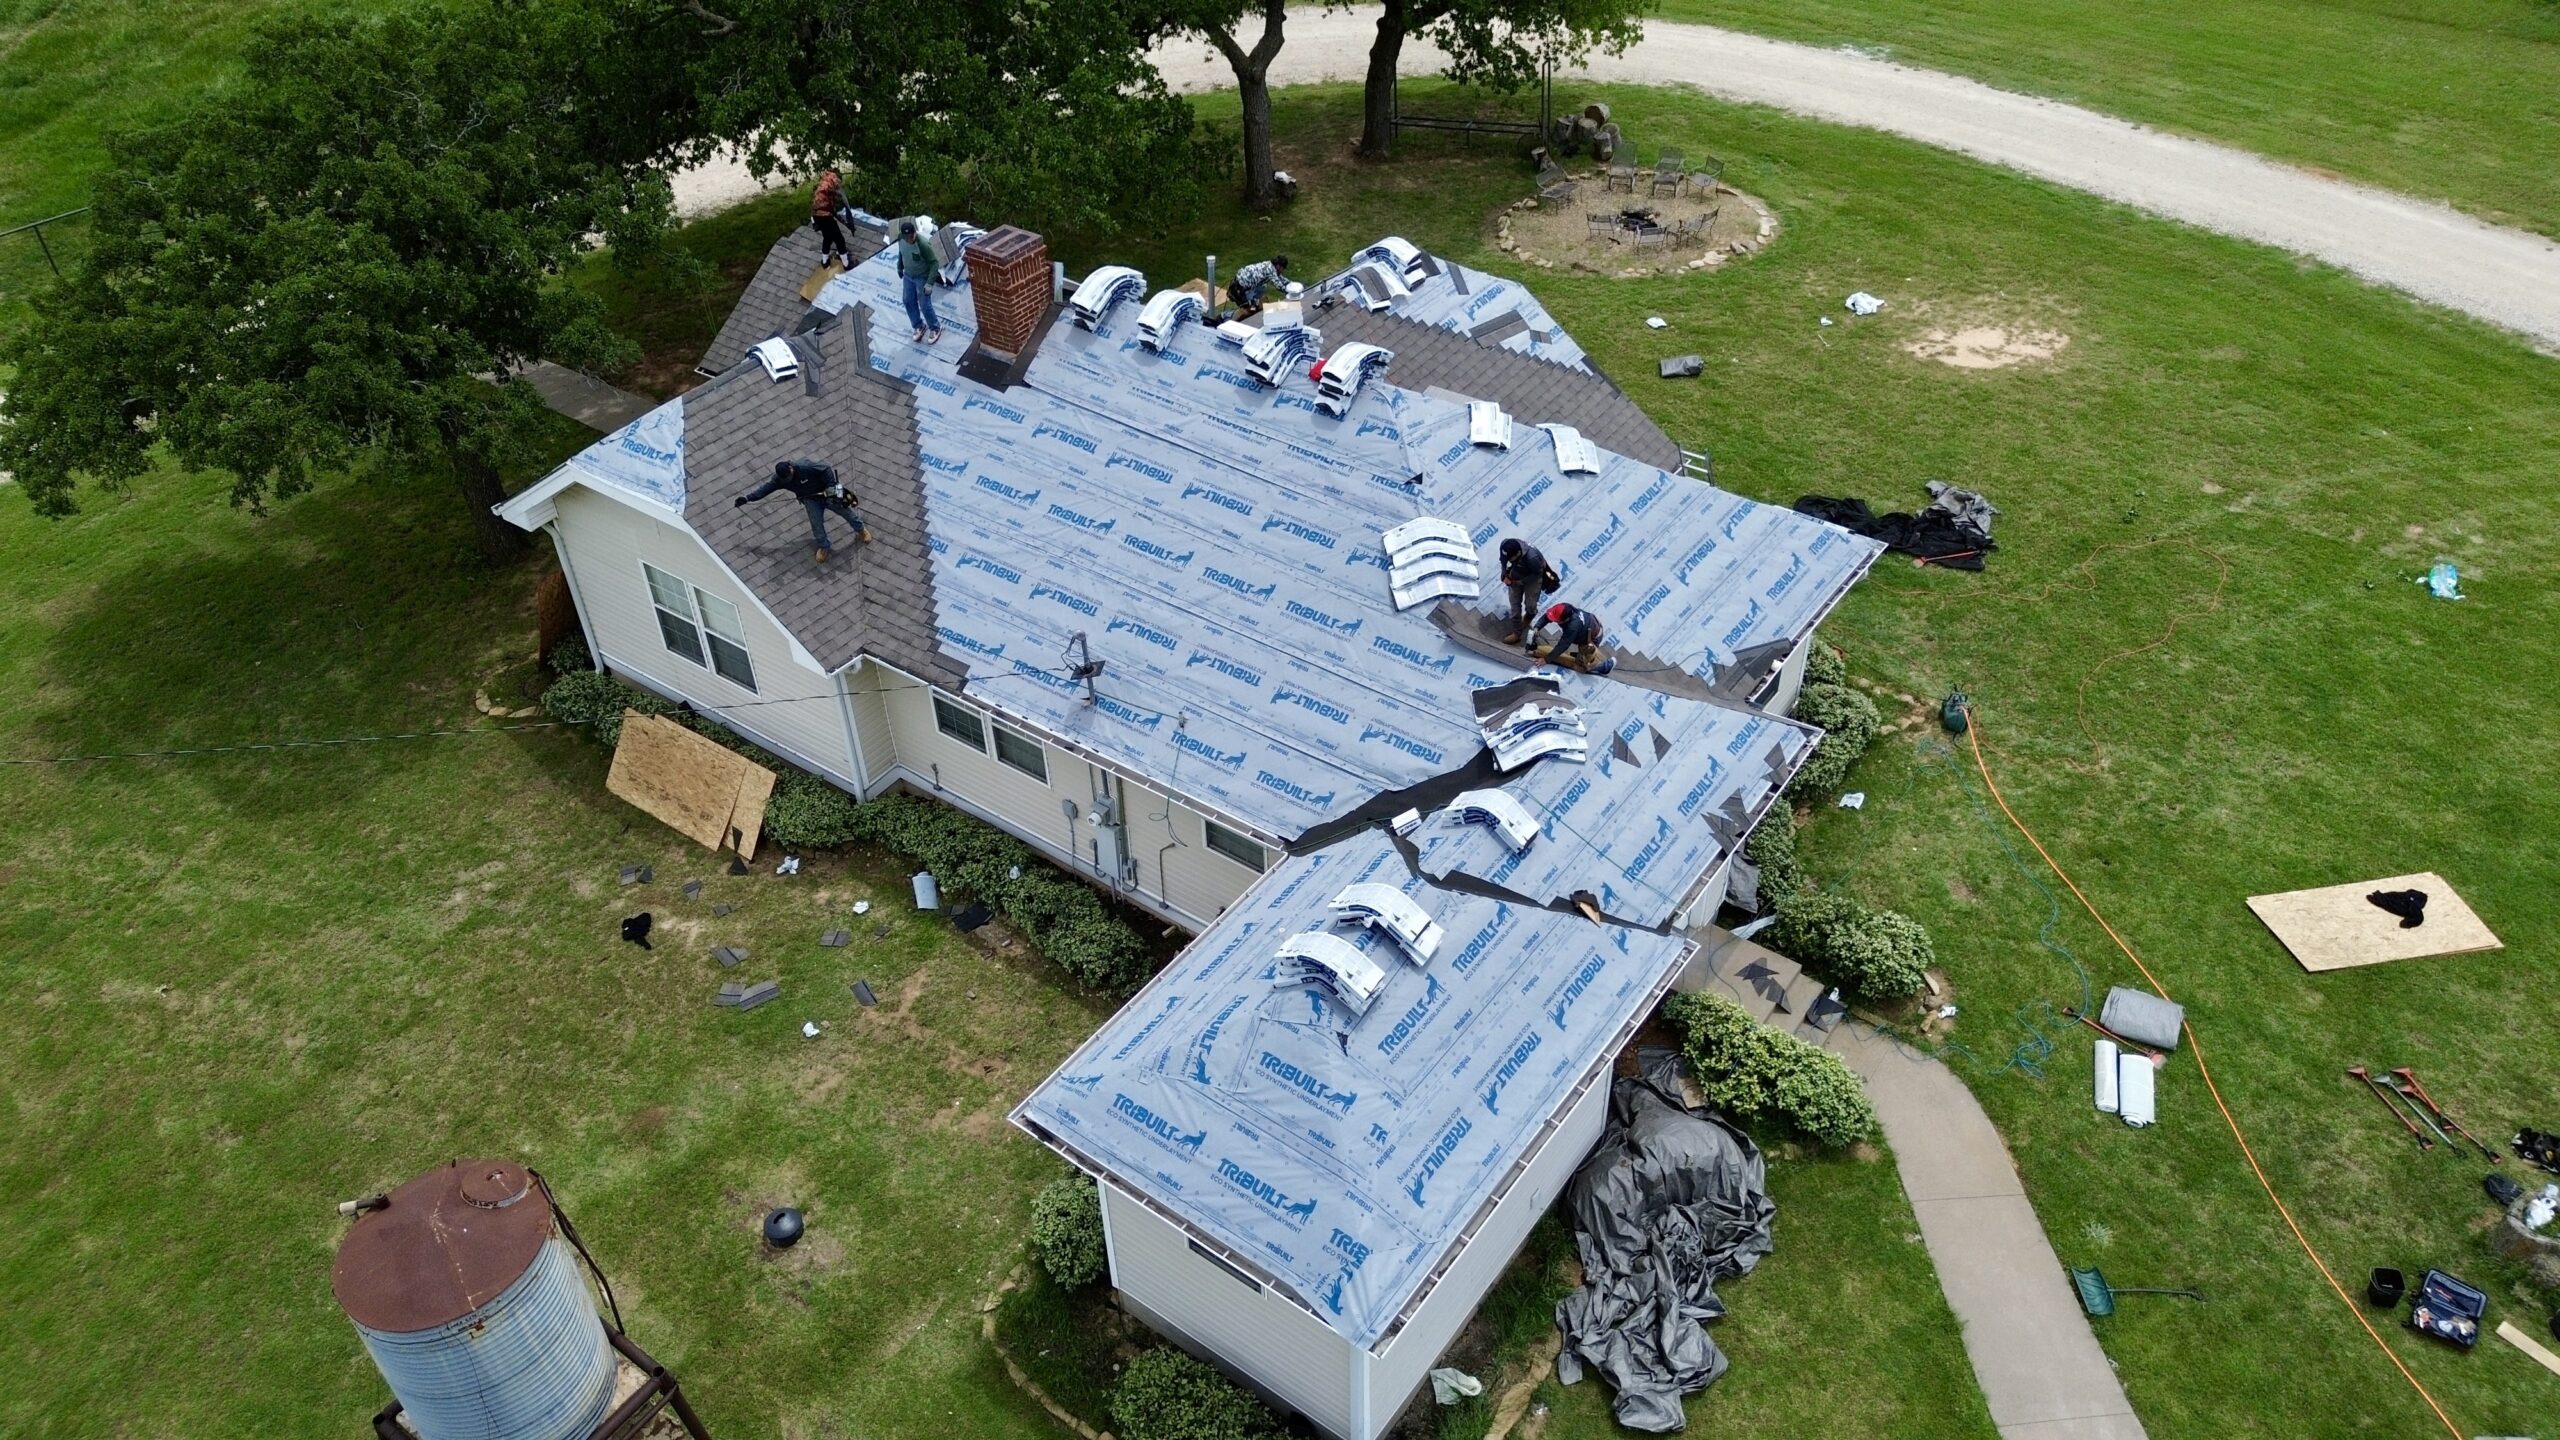
Organizing Your Evidence for Maximum Credibility
Even excellent documentation loses value if it becomes disorganized. Insurance companies often request additional information throughout the claim process, and quickly locating the required evidence demonstrates preparation and professionalism.
Create separate folders for photographs, videos, inspection notes, contractor reports, receipts, maintenance records, warranties, and insurance correspondence. Digital folders should use consistent file names that describe both the location and date of the documentation.
For example, rather than saving a photograph as “IMG001,” rename it with a descriptive title that identifies the affected area and inspection date. This simple practice saves considerable time when reviewing dozens or even hundreds of images later.
Keep both digital and printed copies of important records whenever possible. Cloud storage provides protection against device failure, while printed copies remain useful during in person meetings with contractors or insurance representatives.
Maintain a chronological timeline of events beginning with the storm itself. Include the weather event, initial inspection, emergency repairs, contractor visits, adjuster inspections, claim submission, and all follow up communications. This timeline creates a clear narrative that helps everyone involved understand how the situation developed.
Sample Roof Damage Documentation Checklist
The following checklist provides a practical way to verify that all important evidence has been collected before submitting a roof replacement claim.
| Documentation Item | Purpose | Completed |
|---|---|---|
| Exterior roof photographs | Show visible roof damage | □ |
| Close up damage photographs | Capture material defects clearly | □ |
| Interior damage photographs | Document leaks and water damage | □ |
| Roof inspection videos | Show overall roof condition | □ |
| Written inspection notes | Describe observations accurately | □ |
| Weather event information | Connect damage to the covered event | □ |
| Contractor inspection report | Provide professional assessment | □ |
| Temporary repair receipts | Support reimbursement requests | □ |
| Maintenance records | Demonstrate responsible roof care | □ |
| Insurance correspondence | Track claim progress | □ |
Using a checklist reduces the chance of overlooking important evidence before filing the claim. It also provides a convenient reference if the insurance company later requests additional documentation.
Common Documentation Mistakes That Can Delay or Reduce Claims
Many roof replacement claims encounter unnecessary delays because homeowners make avoidable documentation mistakes. These issues do not always result in claim denial, but they often require additional inspections, repeated requests for information, or extended review periods.
One common mistake is taking too few photographs. Homeowners sometimes focus only on the most obvious damage while ignoring surrounding areas that provide important context. Insurance adjusters need to understand both the damaged sections and the overall roof condition to make informed decisions.
Another frequent problem is failing to document the roof before temporary repairs begin. Emergency tarps and patches are important for preventing further damage, but they can hide the original condition if photographs are not taken first. Always document the damage thoroughly before covering affected areas whenever it is safe to do so.
Poor organization also creates unnecessary complications. When photographs, receipts, inspection reports, and correspondence are scattered across multiple devices or folders, responding to insurance requests becomes much more difficult. Organized records improve efficiency throughout the claims process.
Some homeowners mistakenly discard damaged roofing materials during cleanup. Broken shingles, flashing, vents, or other roofing components may serve as physical evidence that supports the claim. If practical, retain representative samples until the insurance company confirms they are no longer needed.
Waiting too long to report the damage can also weaken a claim. Delays may raise questions about when the damage occurred or whether additional deterioration resulted from lack of prompt action. Reporting the incident quickly demonstrates responsible property ownership while preserving stronger evidence.
Finally, relying entirely on memory instead of written records often leads to inconsistencies. Dates, observations, conversations, and inspection findings become more difficult to recall over time. Recording information immediately creates a more accurate account that supports your documentation.
By avoiding these common mistakes, homeowners significantly improve the quality of their claim package while reducing the likelihood of disputes or unnecessary delays. In the final part of this guide, we will explore how to prepare your complete insurance claim package, work effectively with roofing contractors and adjusters, respond if a claim is denied, maintain long term roof records, answer frequently asked questions, and conclude with the key practices that lead to stronger roof replacement claims.
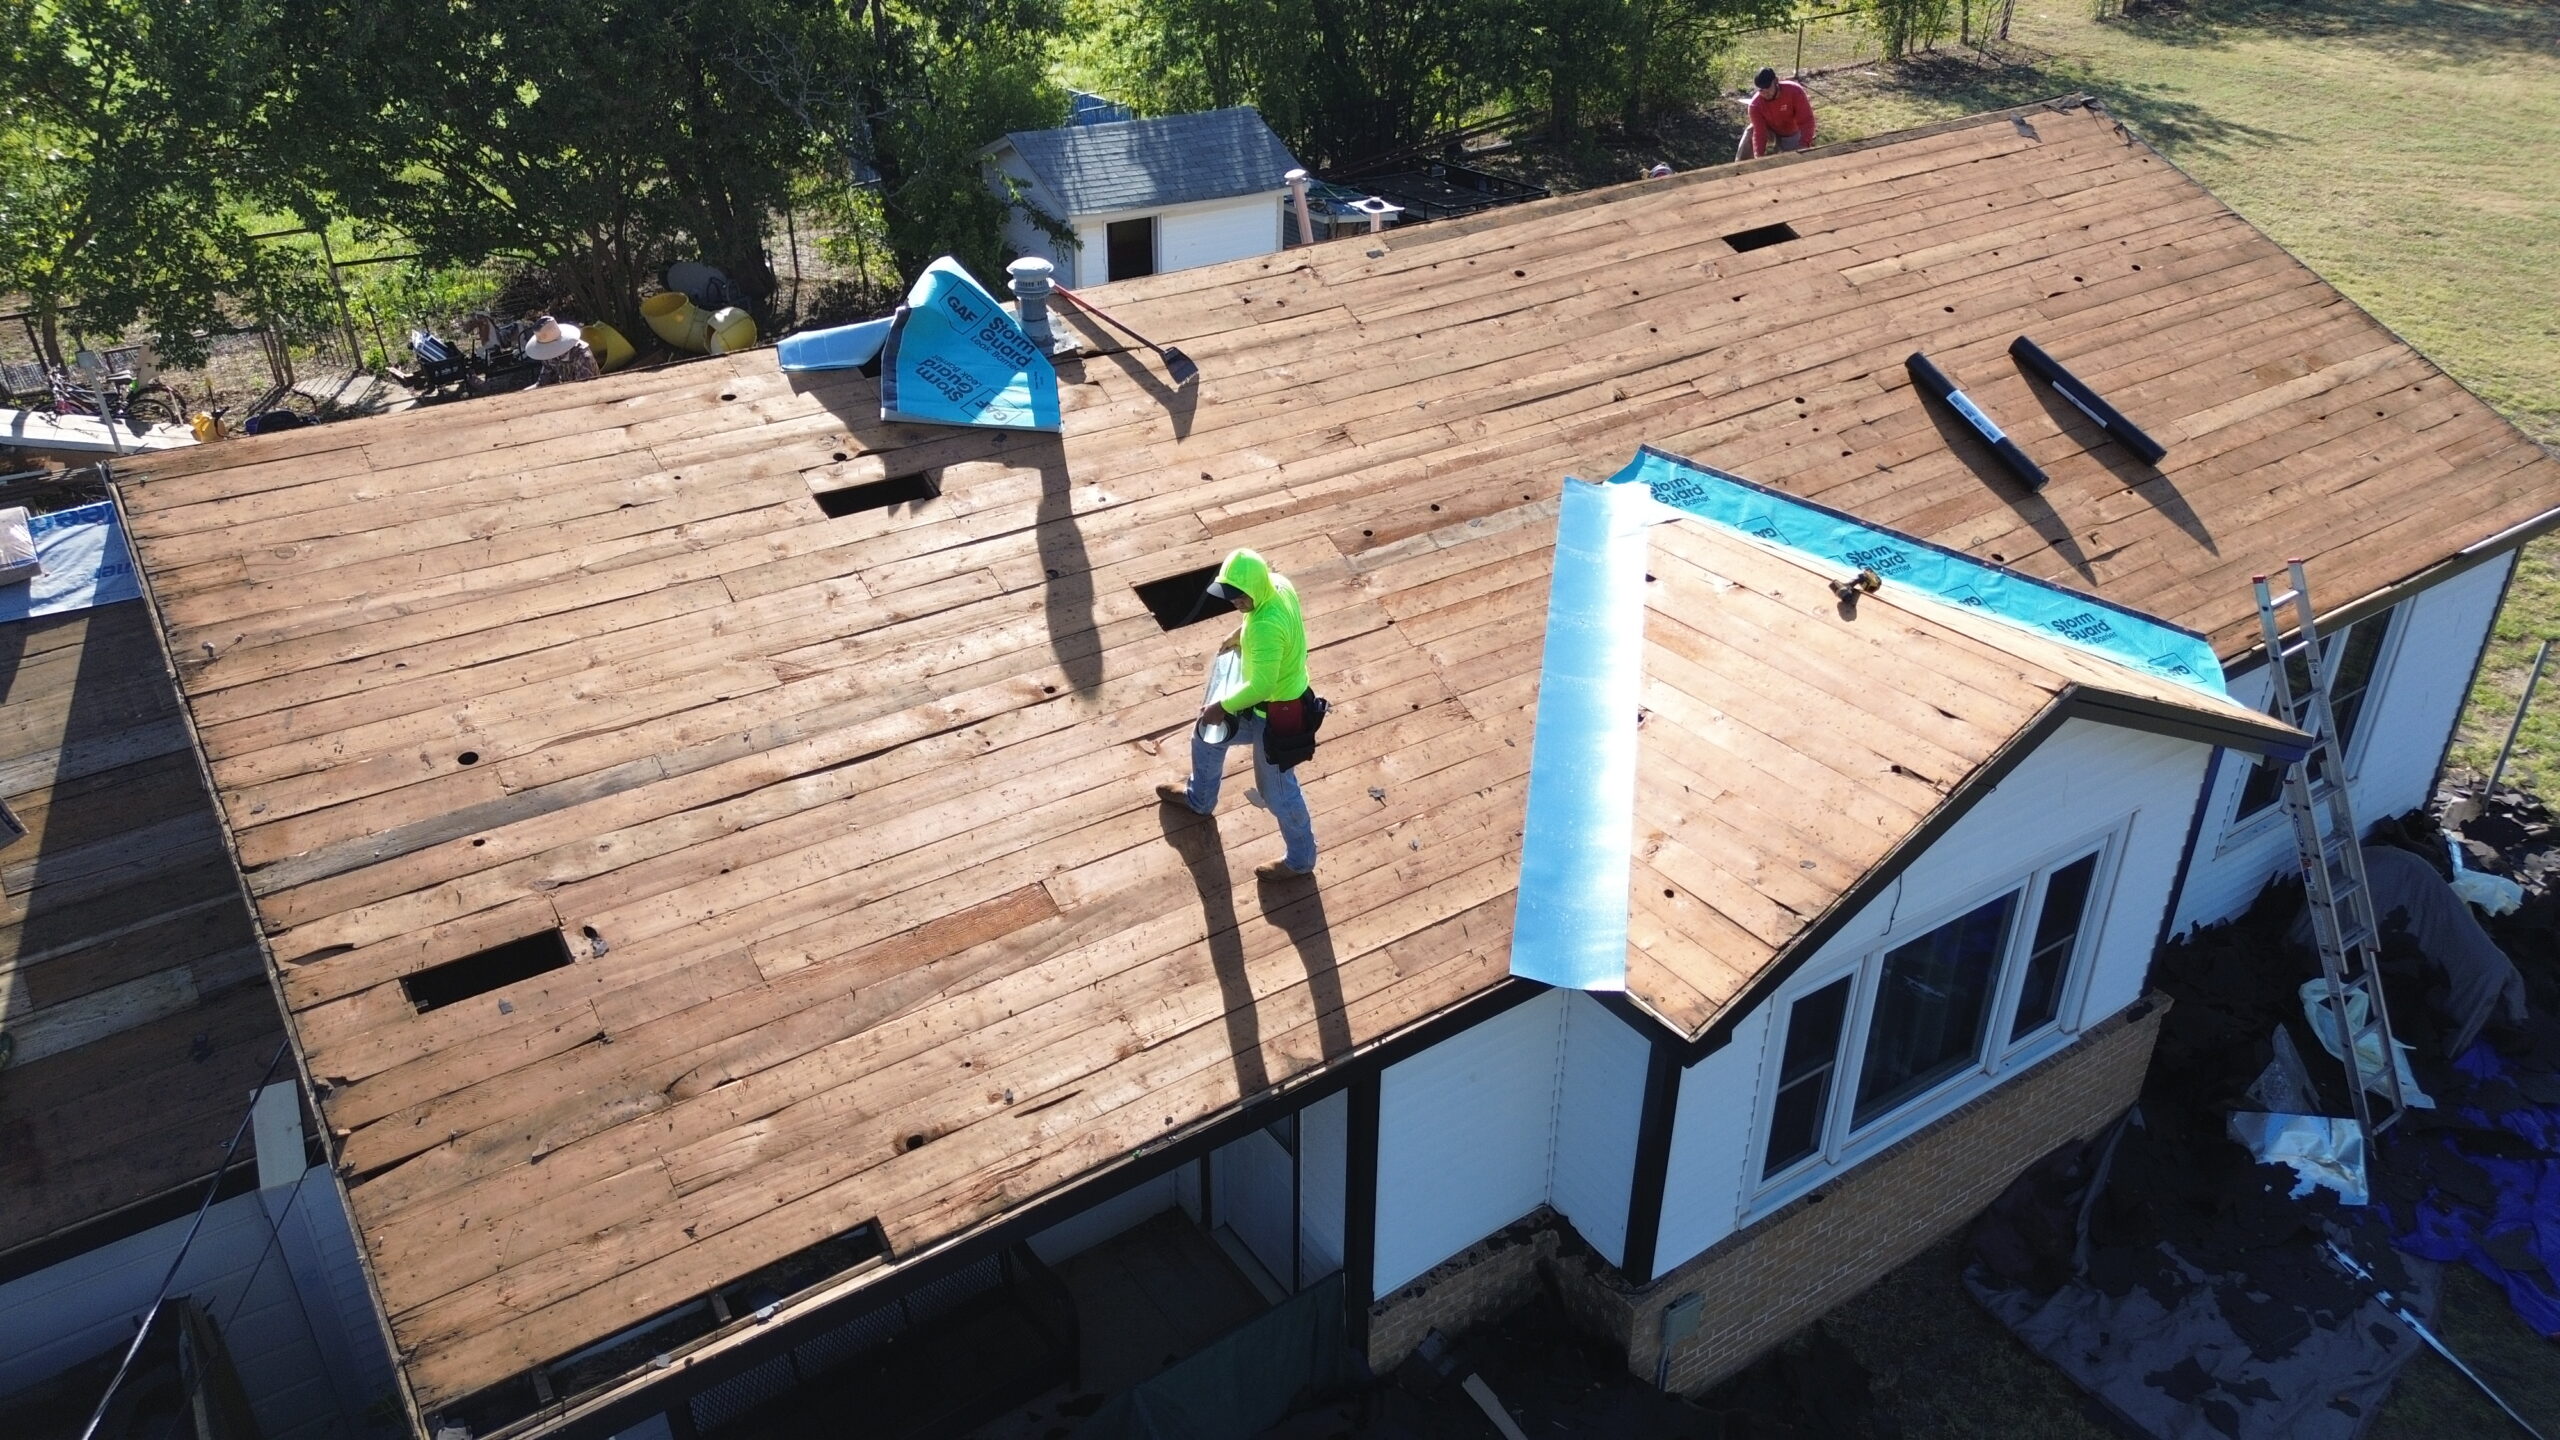
Preparing Your Insurance Claim Package
Once all roof damage has been documented, the next step is preparing a complete insurance claim package. A well organized submission helps the insurance company review your evidence efficiently and reduces the chances of repeated requests for missing information. Presenting everything in a logical order also demonstrates that the claim is supported by detailed records rather than assumptions.
Begin by reviewing your insurance policy so you understand the types of roof damage covered under your plan. Pay attention to deductibles, exclusions, claim deadlines, and any documentation requirements listed by your insurer. Knowing these details before submitting the claim allows you to address potential questions in advance.
Gather every document related to the incident into one organized file. This typically includes photographs, videos, written inspection notes, contractor reports, receipts for emergency repairs, maintenance records, warranty information, and any communication with the insurance company. Keeping these materials together creates a complete record that can be referenced throughout the claim process.
Write a concise summary describing what happened, when the damage occurred, and how it affected the roof. Include the date of the storm or other damaging event, the areas impacted, and any immediate steps taken to prevent further damage. A clear explanation provides useful context that supports the evidence included with the claim.
Before submitting anything, double check that every photograph and document is properly labeled. Organized evidence helps adjusters review the claim more efficiently and minimizes confusion during the evaluation process.
Working With Professional Roofing Contractors During Documentation
Experienced roofing contractors play an important role in documenting roof damage because they understand how different roofing systems fail and what evidence insurance companies typically expect. Their inspections often identify issues that homeowners may overlook during an initial evaluation.
Schedule an inspection with a reputable roofing contractor soon after the damage occurs. The contractor can examine shingles, flashing, underlayment, roof decking, ventilation systems, and structural components to determine the full extent of the damage. Their written report often becomes valuable supporting documentation for the insurance claim.
Professional contractors also provide detailed photographs that highlight damage from angles not easily accessible to homeowners. Because they regularly inspect roofs, they know how to document impact marks, wind damage, lifted shingles, damaged flashing, and structural concerns in a manner that supports accurate evaluations.
Ask the contractor to explain their findings clearly and provide written estimates that distinguish between repairs and complete replacement. Insurance companies appreciate documentation that clearly explains why replacement is necessary rather than relying on vague recommendations.
Choose contractors who are licensed, insured, and experienced with insurance restoration projects. Reliable professionals focus on documenting actual damage rather than making unrealistic promises about guaranteed claim approval.
Maintaining open communication between the contractor and the insurance company often helps resolve technical questions more efficiently. Accurate documentation from qualified professionals adds credibility to the overall claim while reducing misunderstandings during the review process.
Understanding the Insurance Adjuster Inspection Process
After a claim is filed, the insurance company usually schedules an inspection with an adjuster. The adjuster’s responsibility is to evaluate the damage, verify that it falls within policy coverage, and estimate the cost of restoring the property.
The inspection typically begins with an exterior evaluation of the roof. The adjuster looks for missing shingles, impact damage, lifted roofing materials, damaged flashing, structural concerns, and signs of water intrusion. They may also inspect gutters, downspouts, siding, windows, and other exterior components affected by the same weather event.
Interior inspections are equally important because they help establish whether roof damage has caused water intrusion inside the home. Ceiling stains, attic moisture, damaged insulation, peeling paint, warped drywall, and mold growth may all support the conclusion that the roof no longer provides adequate protection.
During the inspection, provide copies of your photographs, videos, contractor reports, and written notes if requested. These records allow the adjuster to compare the current roof condition with documentation collected immediately after the incident.
Remain available to answer questions while allowing the adjuster to complete the inspection independently. Honest communication builds trust and ensures that all relevant information is considered during the evaluation.
After the inspection, the insurance company reviews the adjuster’s findings together with your submitted documentation before determining coverage and settlement amounts. Maintaining organized records throughout this stage makes responding to follow up questions much easier.
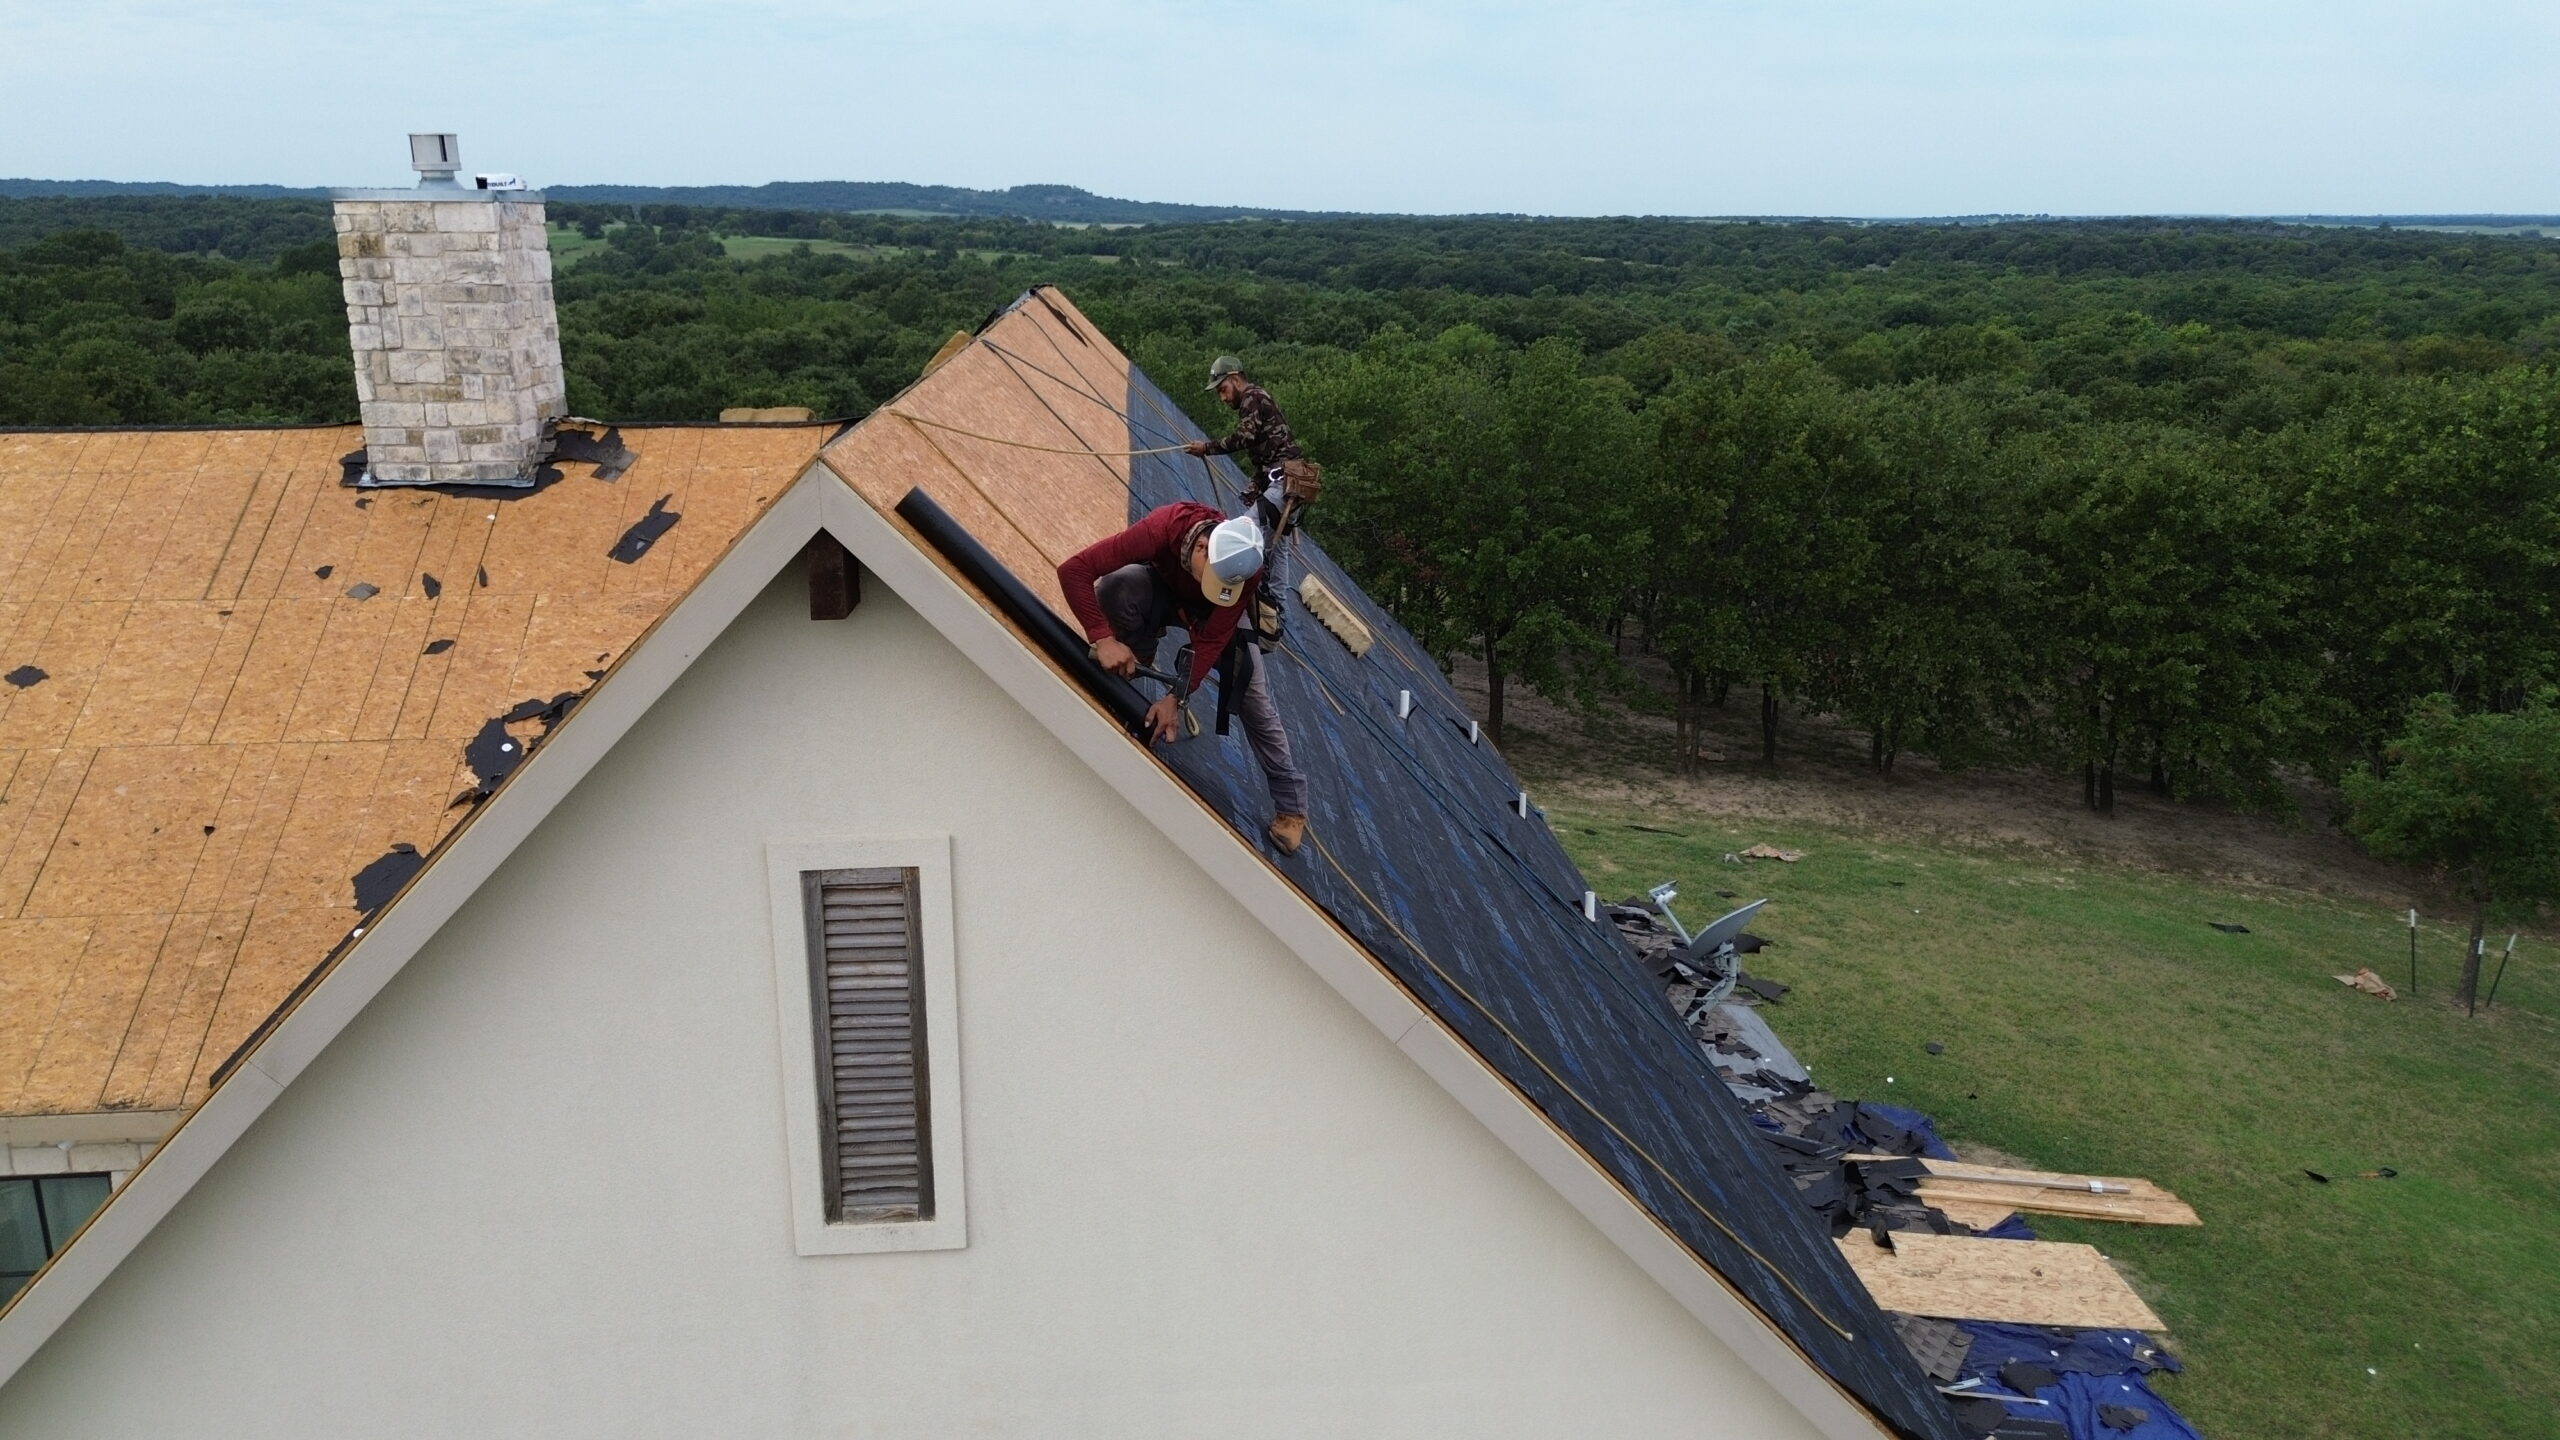
How Independent Roof Inspections Strengthen Your Claim
In some situations, homeowners choose to obtain an independent roof inspection in addition to the insurance company’s evaluation. Independent inspectors provide unbiased assessments based solely on the roof’s condition rather than the insurance claim itself.
An independent inspection can be especially valuable when there is disagreement about whether repairs are sufficient or a complete roof replacement is necessary. The inspector evaluates structural integrity, roofing materials, installation quality, moisture intrusion, and long term performance before preparing a detailed report.
These reports often include photographs, measurements, diagrams, and technical observations that provide additional evidence supporting the claim. Because independent inspectors specialize in roof evaluations, they frequently identify hidden damage that may not be immediately visible during a standard inspection.
Independent inspections also help homeowners better understand the true condition of their roof. Even if the insurance company ultimately reaches the same conclusion, having another professional opinion provides confidence that important issues have not been overlooked.
While an independent inspection may involve additional cost, it can prove worthwhile when significant roof replacement expenses are involved or when claim decisions remain uncertain.
What to Do If Your Roof Replacement Claim Is Denied
Receiving a claim denial can be frustrating, but it does not always represent the final decision. Insurance companies deny claims for many reasons, including insufficient documentation, policy exclusions, delayed reporting, or disagreements regarding the cause of the damage. Understanding the reason for the denial helps determine the most appropriate next step.
Start by carefully reviewing the denial letter. The insurance company should explain why the claim was denied and identify any policy provisions supporting its decision. Reading this explanation thoroughly prevents misunderstandings and helps focus your response on the actual issues.
Compare the denial with your existing documentation. You may discover that additional photographs, contractor reports, maintenance records, or weather information could strengthen the claim if submitted during an appeal.
If necessary, request clarification from the insurance representative. Politely asking questions about the decision often helps identify missing documentation or misunderstandings that can be addressed without unnecessary conflict.
Consider obtaining another professional roof inspection if the disagreement involves technical issues such as hail damage, structural concerns, or the need for complete replacement. Additional expert documentation may provide evidence that was unavailable during the original evaluation.
Keep detailed records of every conversation, email, and letter exchanged during the appeal process. Organized communication demonstrates professionalism and ensures that important information remains available if further review becomes necessary.
Best Practices for Keeping Long Term Roof Maintenance Records
Roof documentation should not begin only after a damaging event. Maintaining accurate records throughout the life of the roof creates valuable evidence that supports future insurance claims while helping homeowners monitor the overall condition of their roofing system.
Keep copies of installation invoices, warranties, inspection reports, maintenance records, repair receipts, and contractor recommendations in a dedicated folder. These documents establish the roof’s maintenance history and demonstrate responsible ownership over time.
Schedule periodic roof inspections even when no obvious problems exist. Regular inspections identify minor issues before they become major repairs while creating a documented history of the roof’s condition.
Photograph the roof after routine maintenance and seasonal inspections. These images provide useful comparison points if storm damage occurs in the future, making it easier to distinguish recent damage from older conditions.
Clean gutters, remove debris, trim overhanging branches, and address small repairs promptly. Routine maintenance extends roof life while reducing the likelihood of disputes regarding neglect during future insurance claims.
Digital storage systems simplify long term record keeping. Backing up important documents to cloud storage ensures that maintenance records remain accessible even if physical paperwork becomes damaged or misplaced.
Consistent maintenance documentation benefits both homeowners and insurance companies by creating a transparent history of the roof’s condition before and after significant weather events.
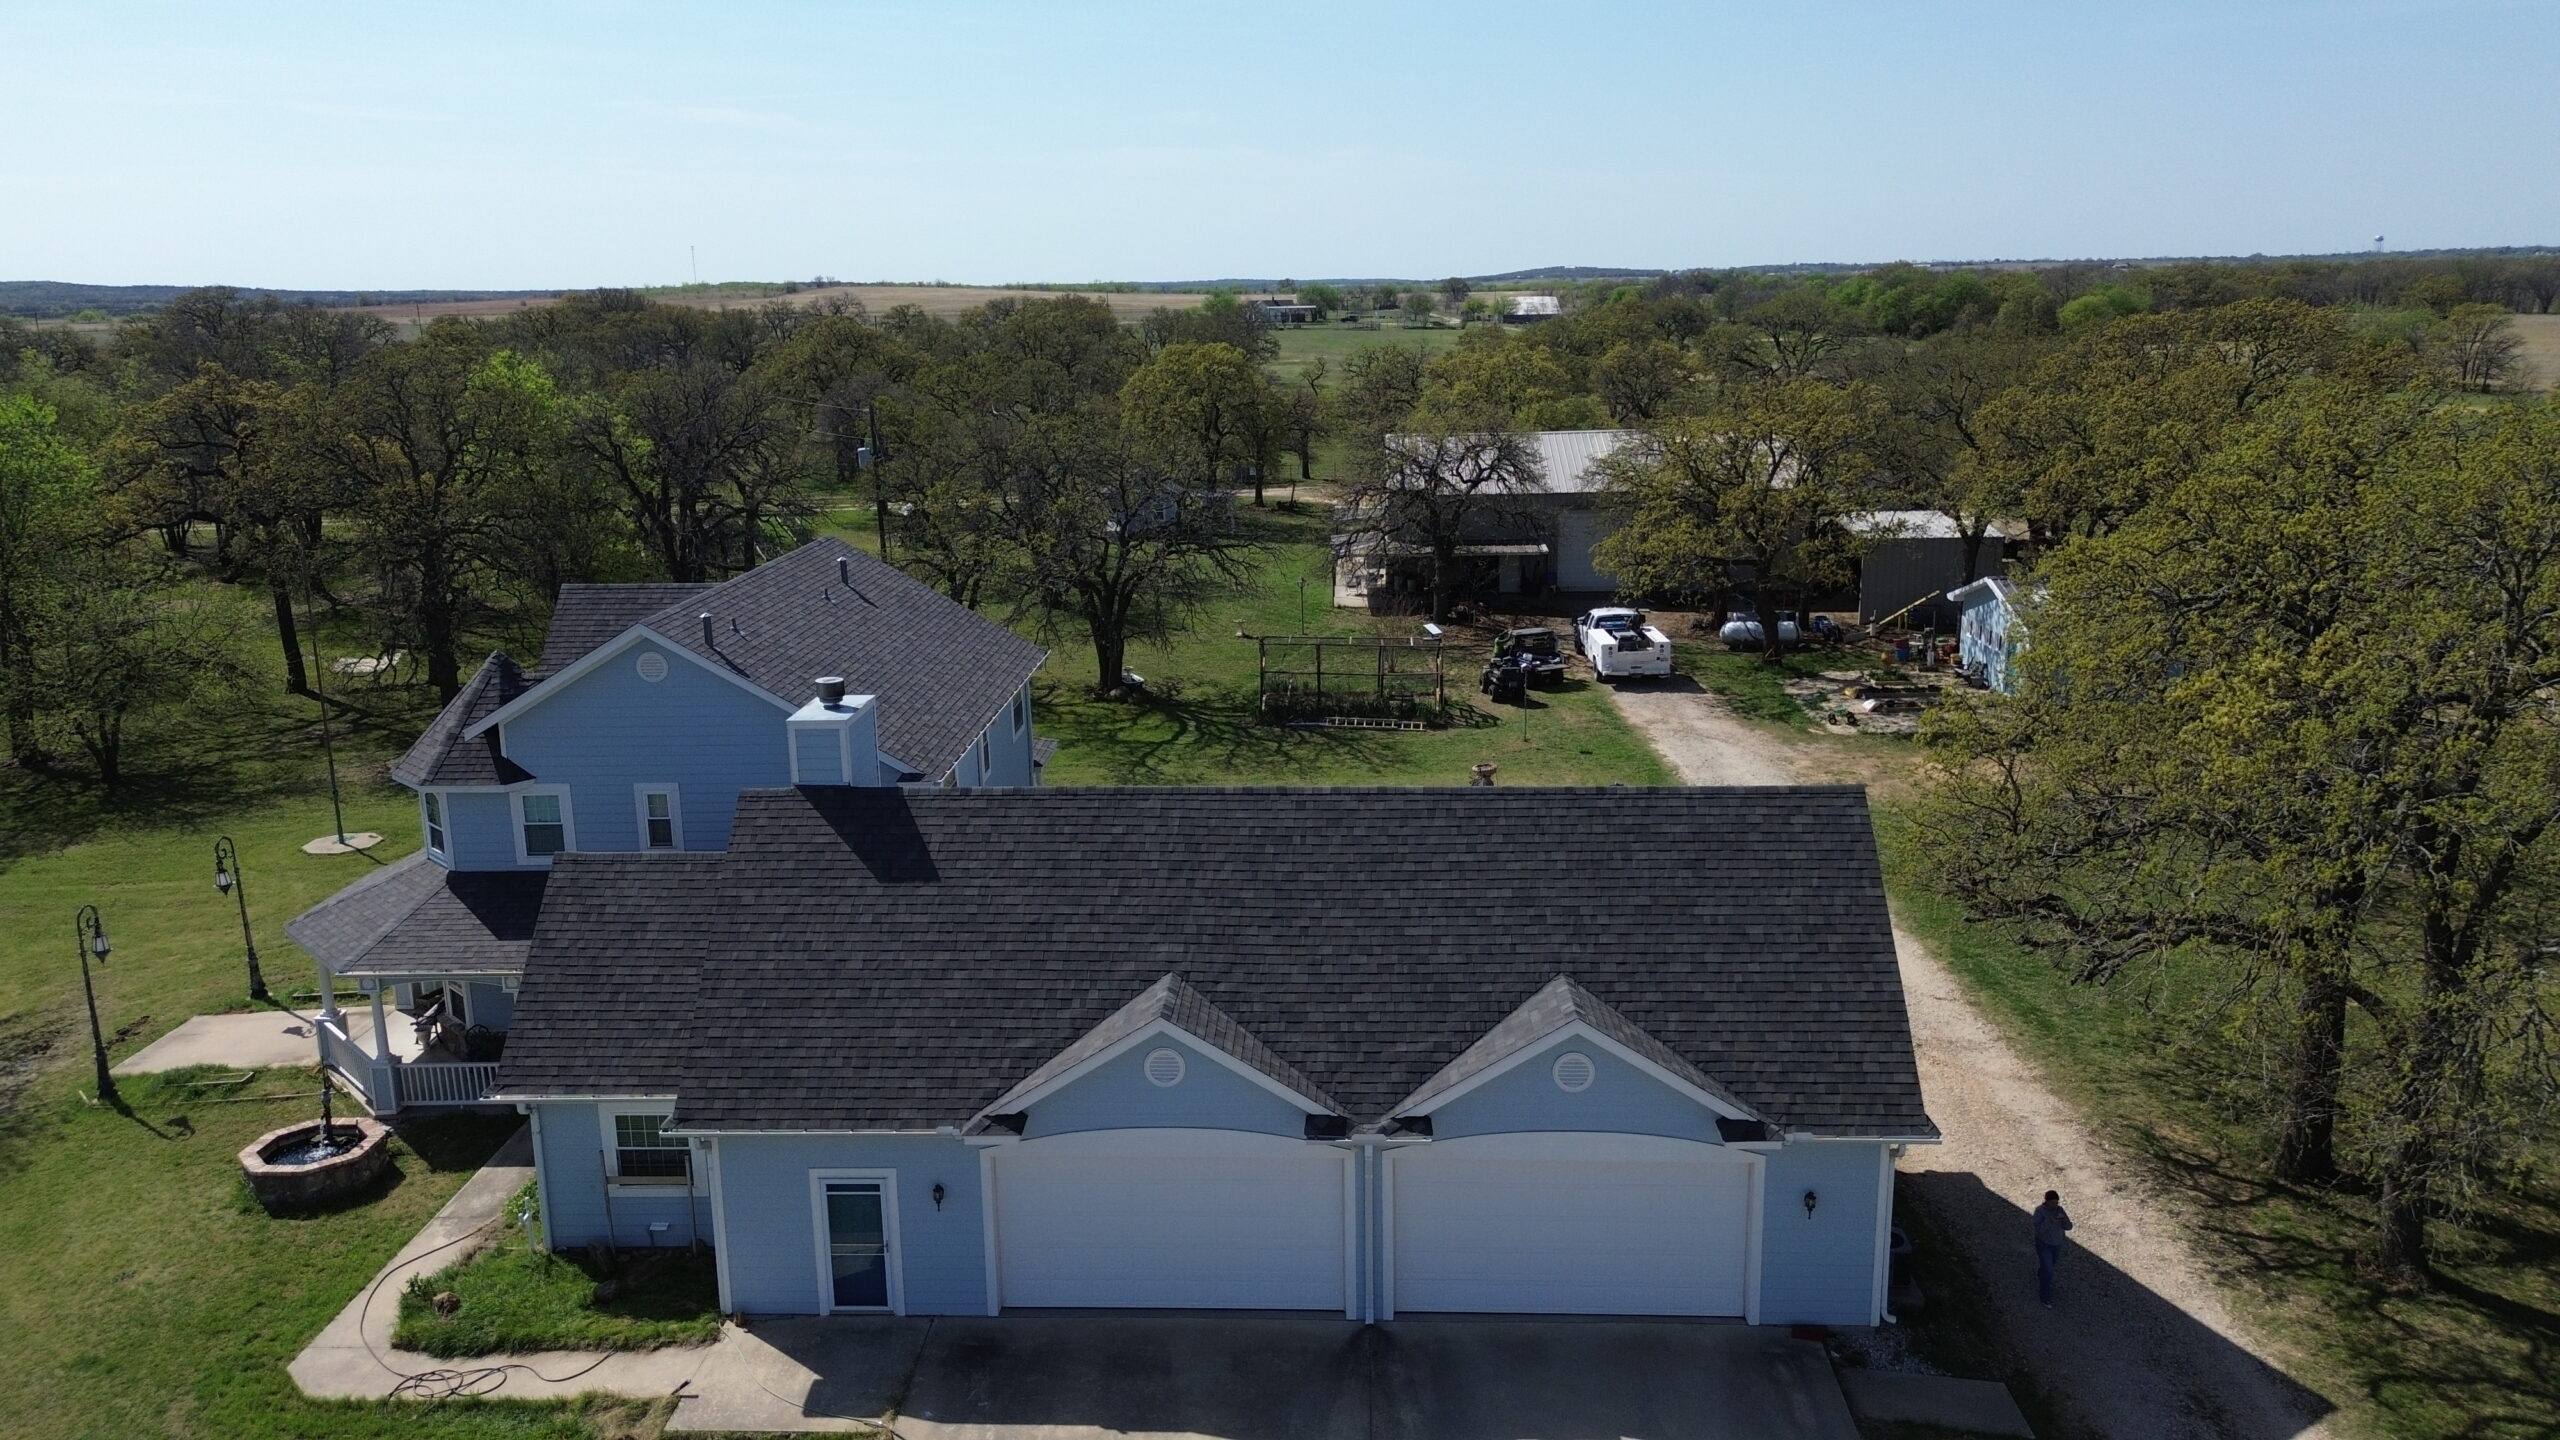
Frequently Asked Questions About Roof Damage Documentation
Should I document roof damage before calling my insurance company?
Yes. If it is safe to do so, photograph and record the damage before temporary repairs begin. Early documentation preserves evidence that may later be covered by tarps or altered by additional weather.
Can I make temporary repairs before the adjuster arrives?
Yes. Most insurance policies encourage homeowners to take reasonable steps to prevent additional damage. Be sure to document the original condition thoroughly before performing temporary repairs and keep receipts for any emergency expenses.
How many photographs should I take?
There is no fixed number. Instead of focusing on quantity, aim for complete coverage by photographing every roof section, damaged component, surrounding property, and any related interior damage from multiple angles.
Should I keep damaged roofing materials?
Whenever practical, retain representative pieces of damaged roofing materials until the insurance company confirms they are no longer needed. These materials may provide additional physical evidence supporting the claim.
Is a contractor’s report enough for an insurance claim?
A contractor’s report is valuable, but it should be combined with photographs, videos, written notes, maintenance records, and other supporting documentation. Multiple forms of evidence create a stronger claim than relying on a single report.
How long should I keep roof documentation?
Maintain copies of all claim related documents even after repairs are completed. These records may prove useful if future questions arise or if additional weather events affect the property.
Steps to Submit a Complete Roof Replacement Claim
Submitting a well prepared claim becomes much easier when each stage follows a logical sequence.
- Inspect the property as soon as it is safe after the damaging event.
- Photograph and record all exterior and interior roof damage.
- Document the date, weather conditions, and circumstances surrounding the incident.
- Complete temporary repairs to prevent additional property damage while keeping all receipts.
- Arrange a professional roof inspection and obtain a detailed written report.
- Organize photographs, videos, inspection notes, maintenance records, and repair estimates.
- Notify the insurance company and submit the complete documentation package.
- Attend the insurance adjuster inspection and provide supporting evidence when requested.
- Review the settlement carefully and ask questions if clarification is needed.
- Keep copies of every document until the replacement project and claim are fully completed.
Following these steps creates a structured process that reduces confusion while improving communication between homeowners, contractors, and insurance representatives.
Conclusion
Properly documenting roof damage is one of the most important steps in securing a successful roof replacement claim. Thorough records provide clear evidence of the damage, demonstrate how the incident affected the property, and help insurance companies evaluate claims more efficiently. From the first photographs taken after a storm to the final inspection reports submitted with the claim, every piece of documentation contributes to building a stronger case.
A successful claim depends on preparation, organization, and attention to detail rather than relying on memory or incomplete evidence. High quality photographs, detailed written notes, professional inspections, maintenance records, and accurate timelines work together to create a complete picture of the roof’s condition. These records not only support insurance decisions but also simplify communication with contractors and adjusters throughout the replacement process.
Homeowners who act promptly, document thoroughly, and maintain organized records place themselves in a much stronger position when unexpected roof damage occurs. By following the best practices outlined throughout this guide, you can protect your investment, reduce unnecessary claim delays, and improve the likelihood of receiving the roof replacement coverage needed to restore your home safely and effectively.