
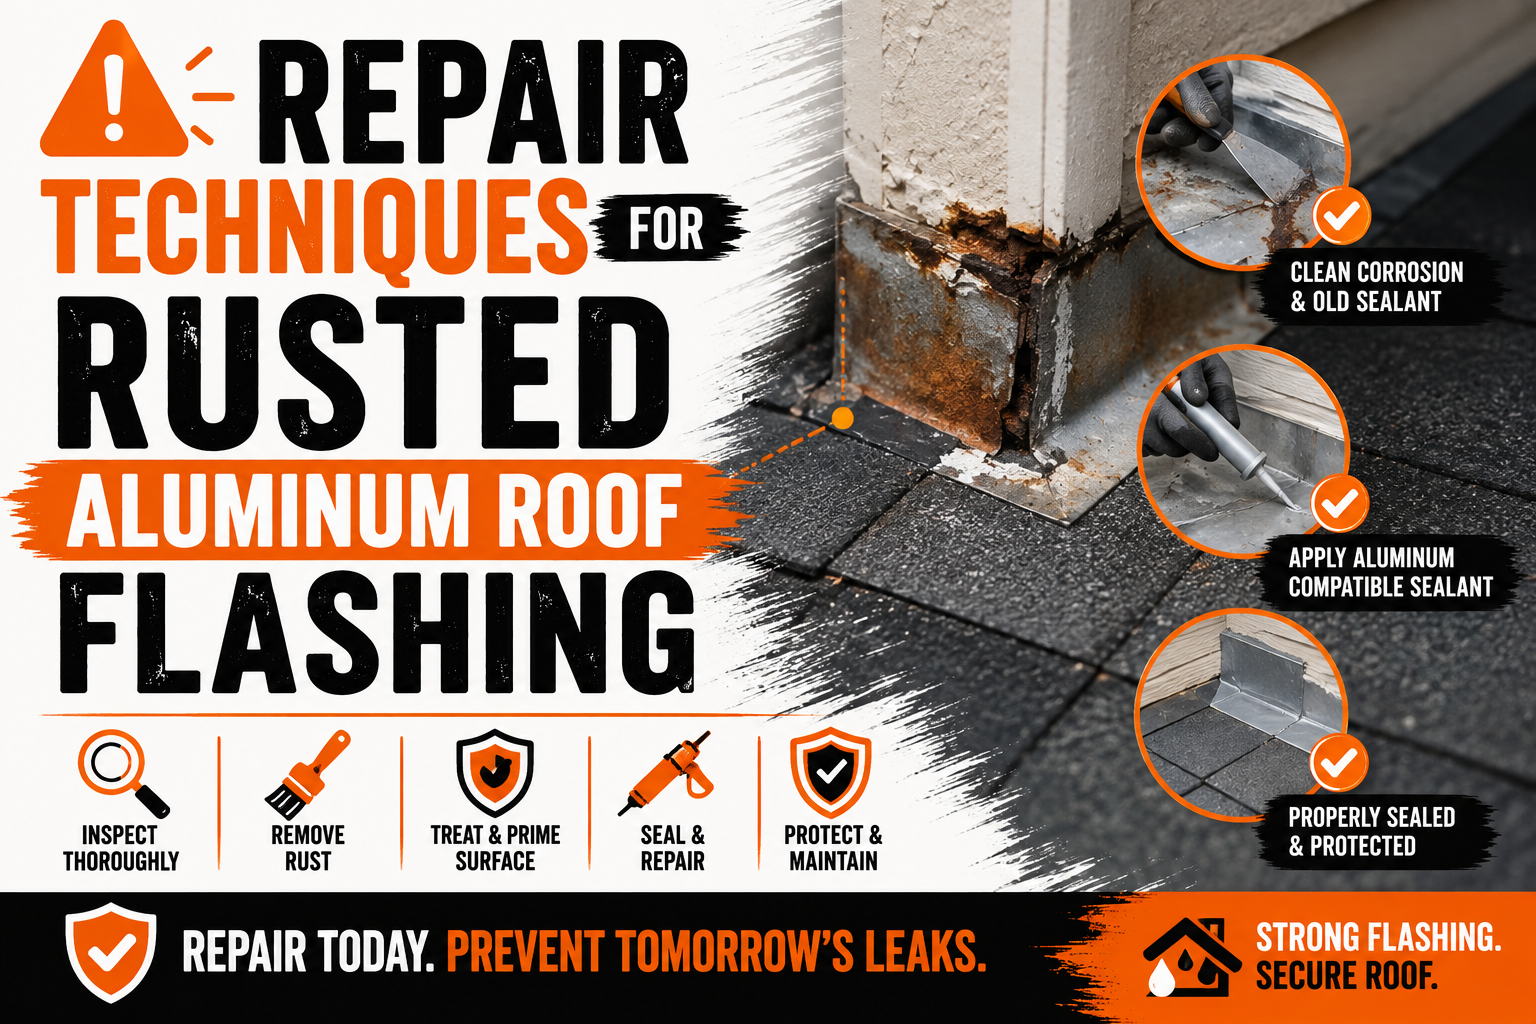
Repair Techniques for Rusted Aluminum Roof Flashing
Introduction
Roof flashing plays a vital role in protecting a home from water intrusion. It creates a waterproof barrier around roof joints, chimneys, skylights, vents, valleys, and wall intersections where leaks are most likely to develop. Even a high quality roofing system can experience serious water damage if the flashing begins to deteriorate.
Aluminum flashing has become one of the most popular materials because it is lightweight, easy to shape, and naturally resistant to corrosion. While aluminum does not rust in the same way as steel, it can still suffer from oxidation, pitting, and corrosion that weaken its protective capabilities. These problems often appear after years of exposure to moisture, harsh weather, salt air, or improper installation.
Many homeowners overlook early signs of flashing deterioration because the damage often develops gradually. Small areas of oxidation or loose sealant may seem harmless, but they can quickly allow water to penetrate beneath roofing materials. Once moisture enters the roof assembly, it can damage insulation, decking, framing, and interior finishes while creating favorable conditions for mold growth.
Repairing rusted or corroded aluminum roof flashing at the right time can significantly extend the life of a roofing system. Proper repair techniques restore waterproof performance while preventing corrosion from spreading into surrounding areas. In many cases, timely repairs eliminate the need for expensive flashing replacement and help preserve the integrity of the entire roof.
This guide explains how aluminum flashing becomes damaged, how to recognize early warning signs, and how professionals evaluate flashing before selecting the most effective repair method. Understanding these fundamentals creates a strong foundation before moving into the detailed repair procedures covered later in the article.
Understanding Aluminum Roof Flashing
Roof flashing refers to thin pieces of metal that direct water away from vulnerable areas of a roof. These components prevent rainwater from entering gaps where different roofing materials meet or where roof penetrations interrupt the surface. Without properly functioning flashing, water can easily find pathways into the building envelope.
Aluminum remains one of the most common flashing materials because it combines durability with excellent workability. Contractors can easily bend and shape aluminum flashing to fit complex roof designs while maintaining reliable water protection. Its relatively low weight also reduces structural load compared to heavier metals.
Unlike iron or untreated steel, aluminum does not develop traditional reddish brown rust. Instead, it forms a thin layer of aluminum oxide when exposed to oxygen. This protective layer normally slows additional corrosion and helps preserve the metal for many years under normal conditions.
Problems begin when that protective oxide layer becomes damaged or overwhelmed by environmental conditions. Constant moisture, salt exposure, chemical contamination, and contact with incompatible metals can accelerate corrosion and eventually weaken the flashing itself. Over time, small imperfections may grow into holes, cracks, or severely deteriorated sections.
Properly installed aluminum flashing performs several important functions throughout a roofing system.
- Directs rainwater safely toward gutters.
- Prevents water from entering roof joints.
- Protects roof penetrations from leaks.
- Reduces moisture damage beneath roofing materials.
- Extends the service life of surrounding roofing components.
Every section of flashing works together to create continuous water protection. When one section fails, nearby roofing materials often become vulnerable to moisture intrusion as well.
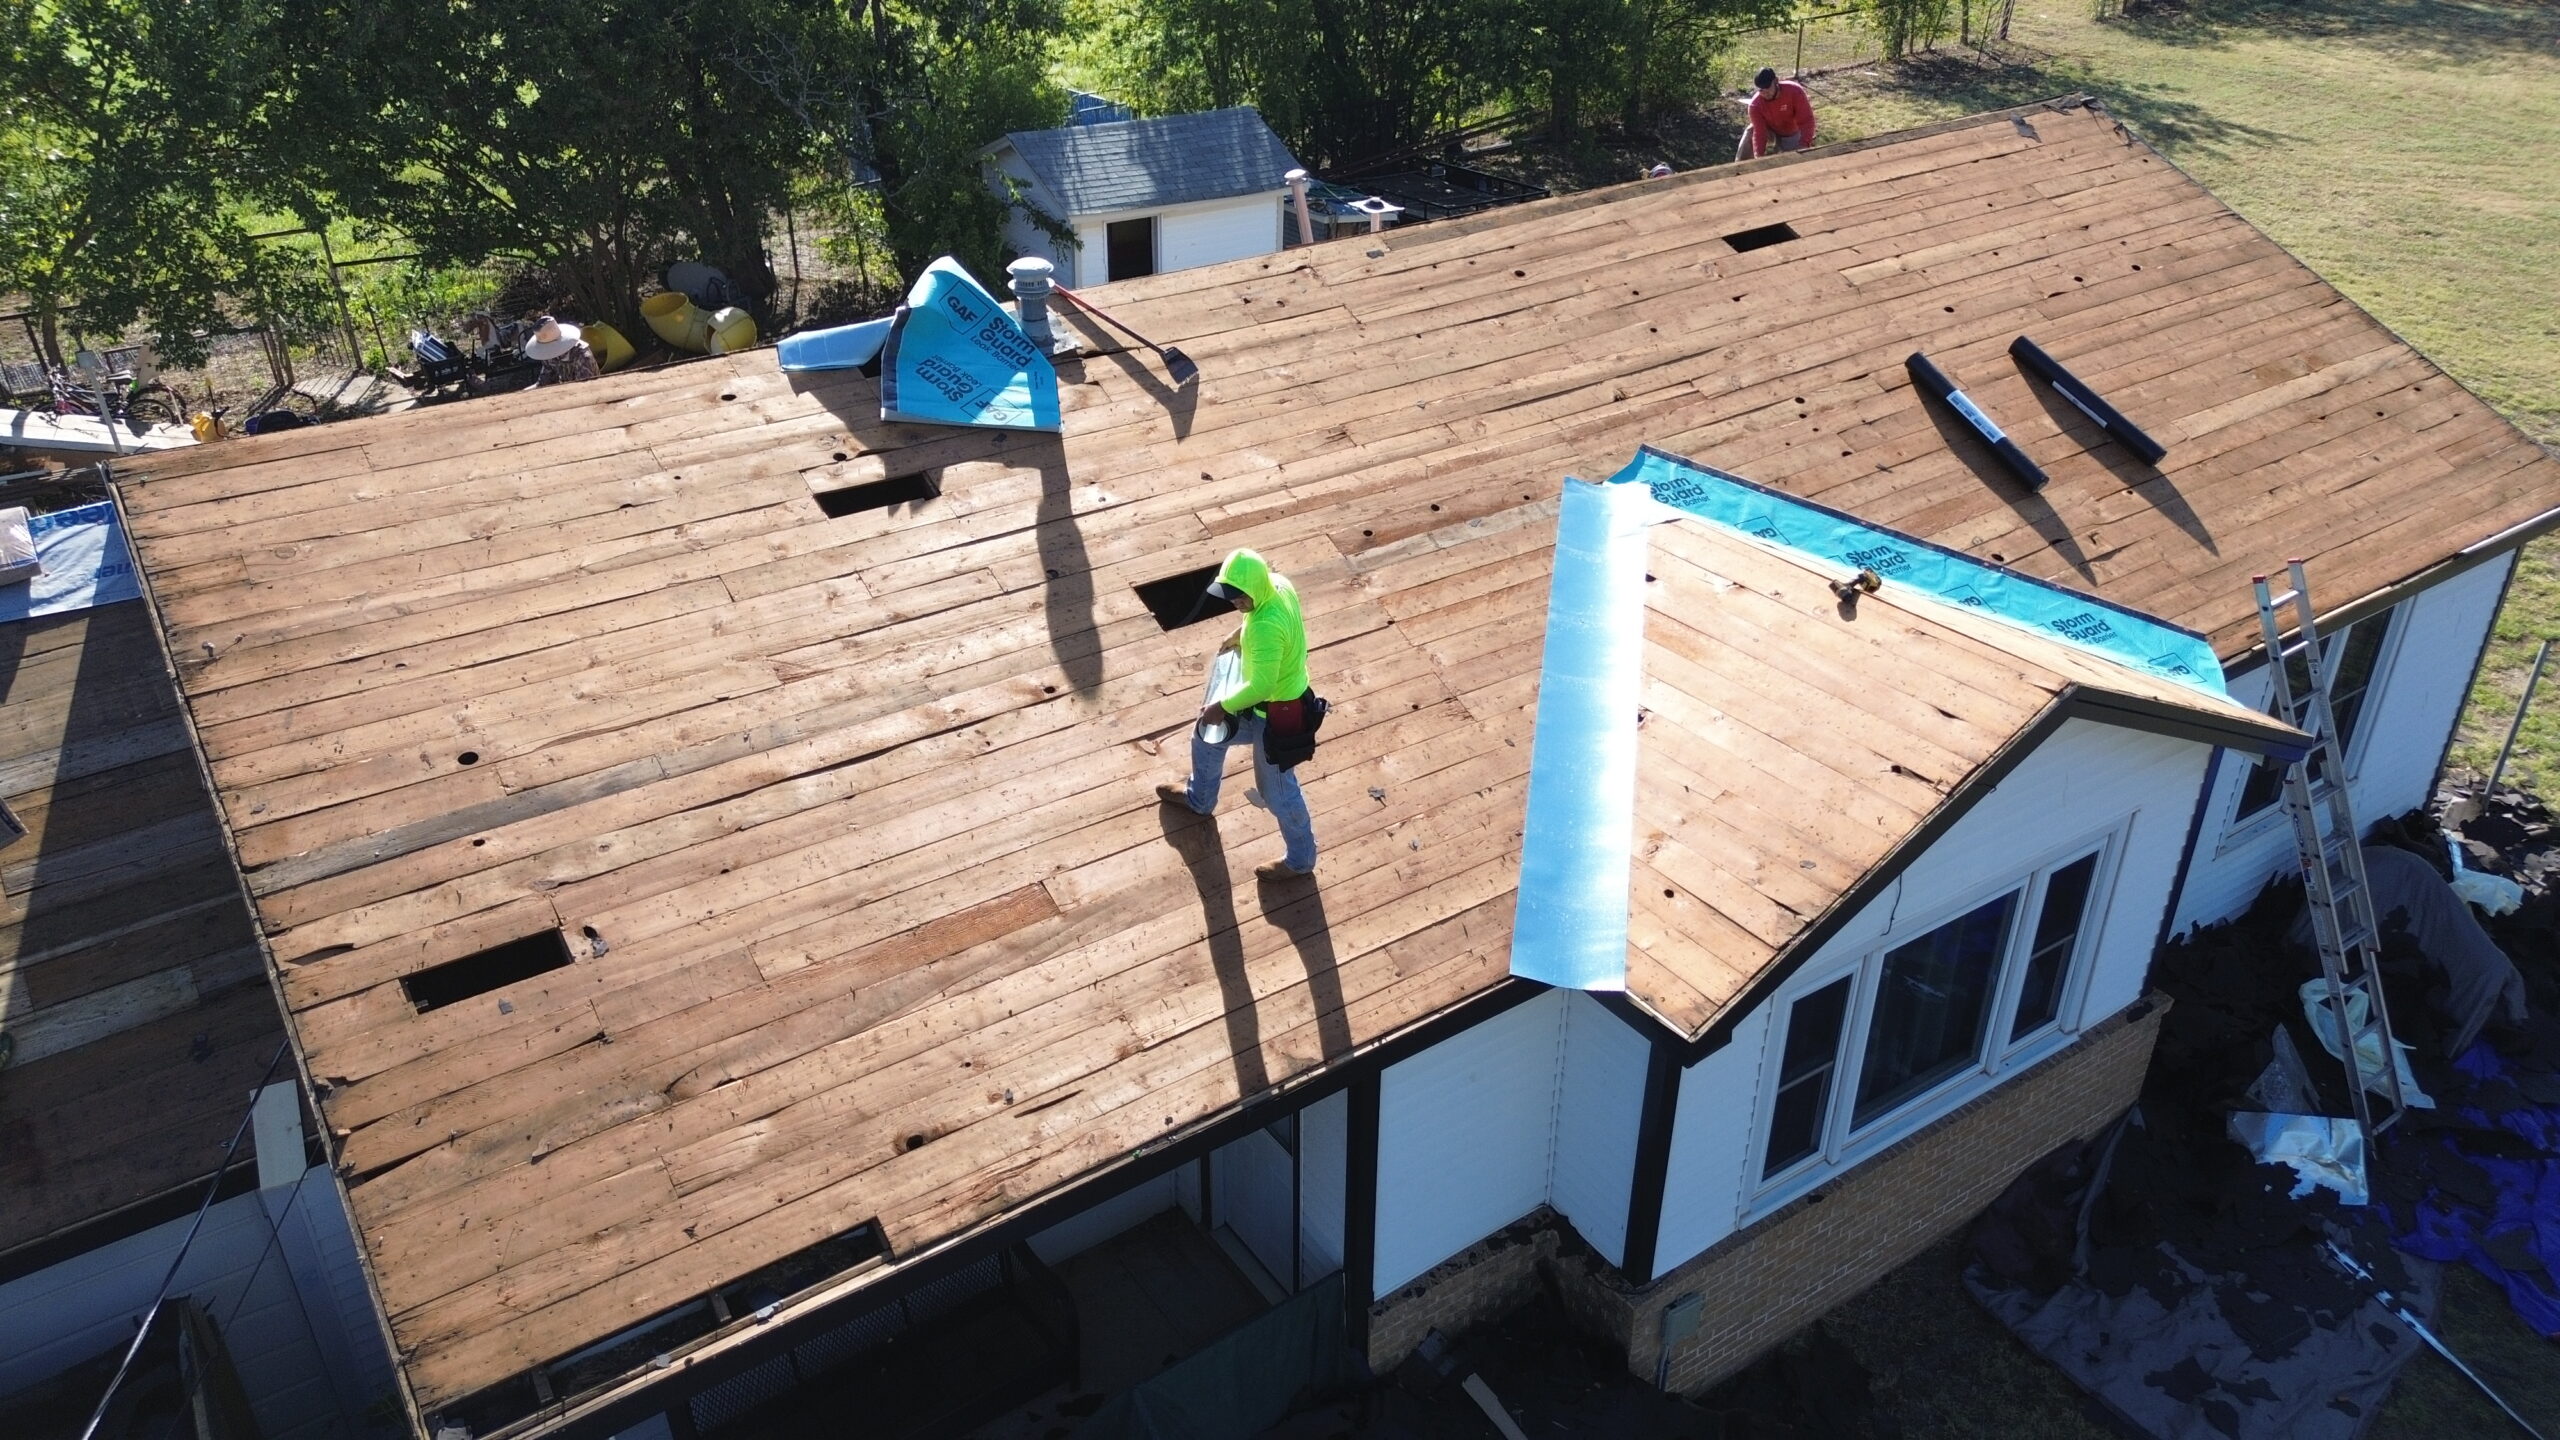
Common Locations Where Aluminum Flashing Is Installed
Flashing is installed anywhere water naturally concentrates or changes direction across the roof. These locations experience higher moisture exposure than flat roofing surfaces, making durable flashing especially important.
Roof valleys carry large amounts of rainwater during storms because water from two roof slopes converges into a single channel. Valley flashing protects these high flow areas from erosion and water penetration while directing runoff safely toward gutters.
Chimneys require carefully installed flashing because masonry and roofing materials expand and contract differently with changing temperatures. Step flashing and counter flashing work together to maintain a watertight seal despite seasonal movement.
Skylights also rely heavily on properly installed flashing systems. Water naturally flows around the perimeter of skylights, and damaged flashing can quickly allow leaks into ceilings and surrounding framing.
Roof vents, plumbing stacks, and HVAC penetrations interrupt the roofing surface with multiple openings. Specialized flashing boots and metal components create flexible seals that prevent water from entering around these penetrations.
Wall intersections where roofs meet vertical siding or masonry also require flashing. These transitions experience continuous water runoff and often develop leaks if flashing becomes loose or corroded.
Drip edge flashing installed along roof edges protects the roof deck from water infiltration while directing runoff into gutters. Although often overlooked, this flashing plays a major role in preventing wood rot along roof edges.
Understanding where flashing is installed helps homeowners know where inspections should be focused. These vulnerable areas typically show the earliest signs of deterioration before other parts of the roofing system.
Why Aluminum Flashing Begins to Rust or Corrode
Although aluminum naturally resists corrosion better than many other metals, it is not immune to deterioration. Various environmental and installation related factors gradually damage its protective surface and accelerate corrosion.
One of the most common causes is prolonged moisture exposure. Water that remains trapped beneath leaves, branches, or accumulated debris keeps aluminum wet for extended periods. Constant dampness gradually breaks down protective coatings and encourages localized corrosion.
Coastal environments present another significant challenge. Salt carried by ocean air settles on roofing materials and increases the rate of corrosion. Even homes located several miles inland may experience accelerated flashing deterioration due to airborne salt particles.
Galvanic corrosion develops when aluminum comes into direct contact with incompatible metals while moisture is present. Electrical reactions occur between the metals, causing the aluminum to corrode much faster than normal. Improper fastener selection is one of the leading causes of this problem.
Aging protective coatings also contribute to corrosion. Many aluminum flashing products include factory applied finishes that improve weather resistance. Years of ultraviolet exposure, temperature changes, and weathering gradually wear away these coatings, exposing bare aluminum underneath.
Poor drainage allows standing water to remain against flashing for extended periods after rainfall. Repeated wet and dry cycles increase corrosion while encouraging debris accumulation that traps additional moisture.
Industrial pollution may introduce airborne chemicals that react with aluminum surfaces. Acidic contaminants slowly degrade protective oxide layers and increase susceptibility to corrosion over time.
Improper installation practices also shorten flashing life. Bent sections, exposed fasteners, inadequate overlaps, and poor sealing allow moisture to reach vulnerable areas more easily. Small installation mistakes often become major repair issues after several years of weather exposure.
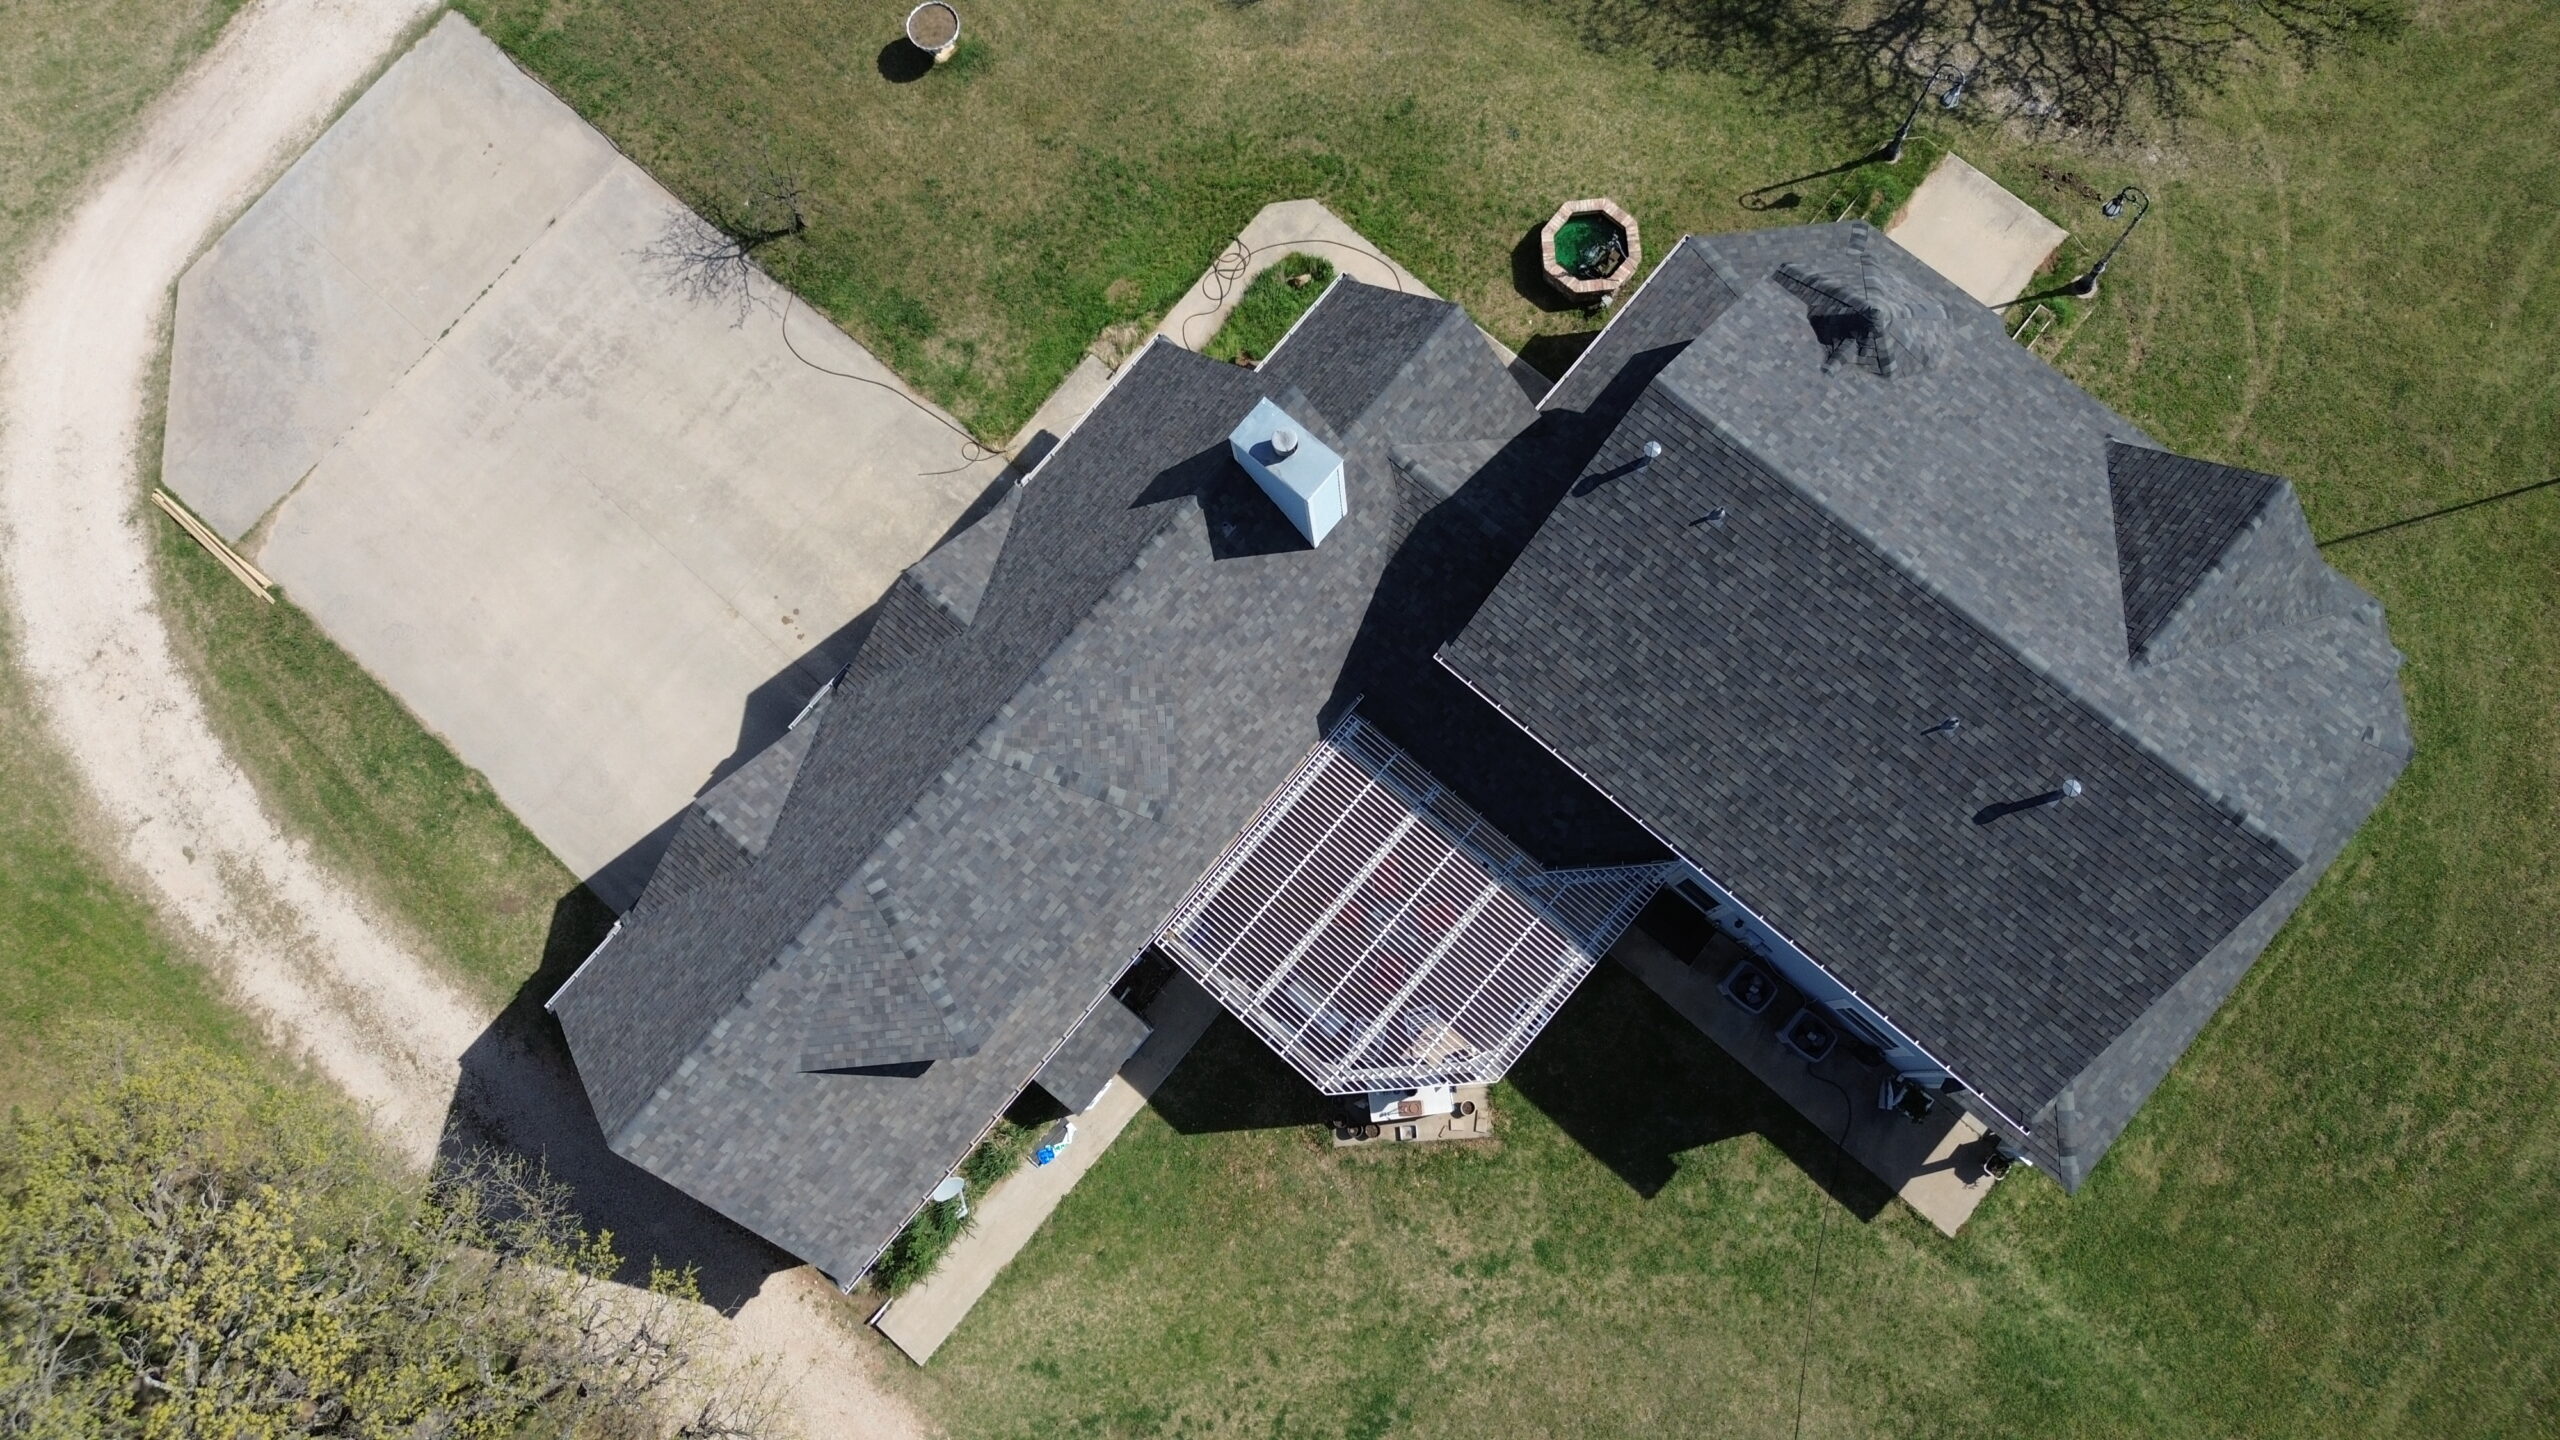
Difference Between Surface Oxidation and Serious Corrosion
Many homeowners mistake normal oxidation for severe flashing failure. Understanding the difference helps determine whether simple maintenance or more extensive repairs are needed.
Surface oxidation appears as a dull gray or white film on aluminum. This thin oxide layer is actually a natural protective barrier that forms when aluminum reacts with oxygen. In most situations, light oxidation does not reduce flashing performance and can often be cleaned without affecting structural integrity.
Serious corrosion develops when moisture, chemicals, or environmental conditions break through this protective layer. Instead of remaining on the surface, corrosion begins eating into the metal itself and creates permanent damage.
Corroded aluminum often develops rough textures, pits, holes, flaking surfaces, or areas of thinning metal. These defects weaken flashing and eventually reduce its ability to shed water effectively.
Pitting deserves particular attention because small holes often penetrate deeper than they appear. What seems like minor surface damage may actually extend through much of the flashing thickness, creating hidden leak pathways during heavy rainfall.
Professional inspections often include careful probing of suspicious areas to determine whether corrosion remains superficial or has compromised structural strength. This evaluation helps determine whether cleaning, patching, reinforcement, or replacement provides the most reliable solution.
Warning Signs That Flashing Needs Repair
Early identification of flashing problems prevents small defects from developing into widespread roof damage. Many warning signs appear months or even years before serious leaks begin.
Discoloration is often the first visible indicator. Areas that appear dull, chalky, or uneven compared to surrounding flashing may indicate oxidation or coating deterioration. Although cosmetic changes alone may not require immediate repairs, they deserve closer inspection.
White powdery deposits commonly form on aluminum surfaces experiencing oxidation. While light oxidation is usually manageable, heavy accumulation combined with surface roughness may indicate advancing corrosion.
Small pits or pinholes deserve immediate attention because they allow water to penetrate beneath roofing materials. Even tiny openings can permit repeated moisture intrusion during storms.
Loose flashing sections frequently develop after fasteners corrode or roofing materials shift over time. Movement allows wind driven rain to bypass flashing and reach vulnerable roof components.
Cracked or separated sealant around flashing joints also increases leak risk. Sealants naturally shrink and harden as they age, eventually pulling away from metal surfaces and creating gaps where water can enter.
Interior water stains often provide the first indication that flashing has already failed. Brown ceiling stains, peeling paint, damp insulation, or mold growth near roof penetrations frequently point toward deteriorated flashing above.
Homeowners should pay close attention if they notice any combination of these warning signs.
- White oxidation deposits on aluminum surfaces.
- Pitting, holes, or thinning metal.
- Loose flashing sections or exposed fasteners.
- Cracked, brittle, or missing sealant.
- Water stains on ceilings or walls.
- Rust streaks from nearby steel components affecting aluminum.
Ignoring these early symptoms often allows corrosion to spread further, increasing repair costs and making full flashing replacement more likely.
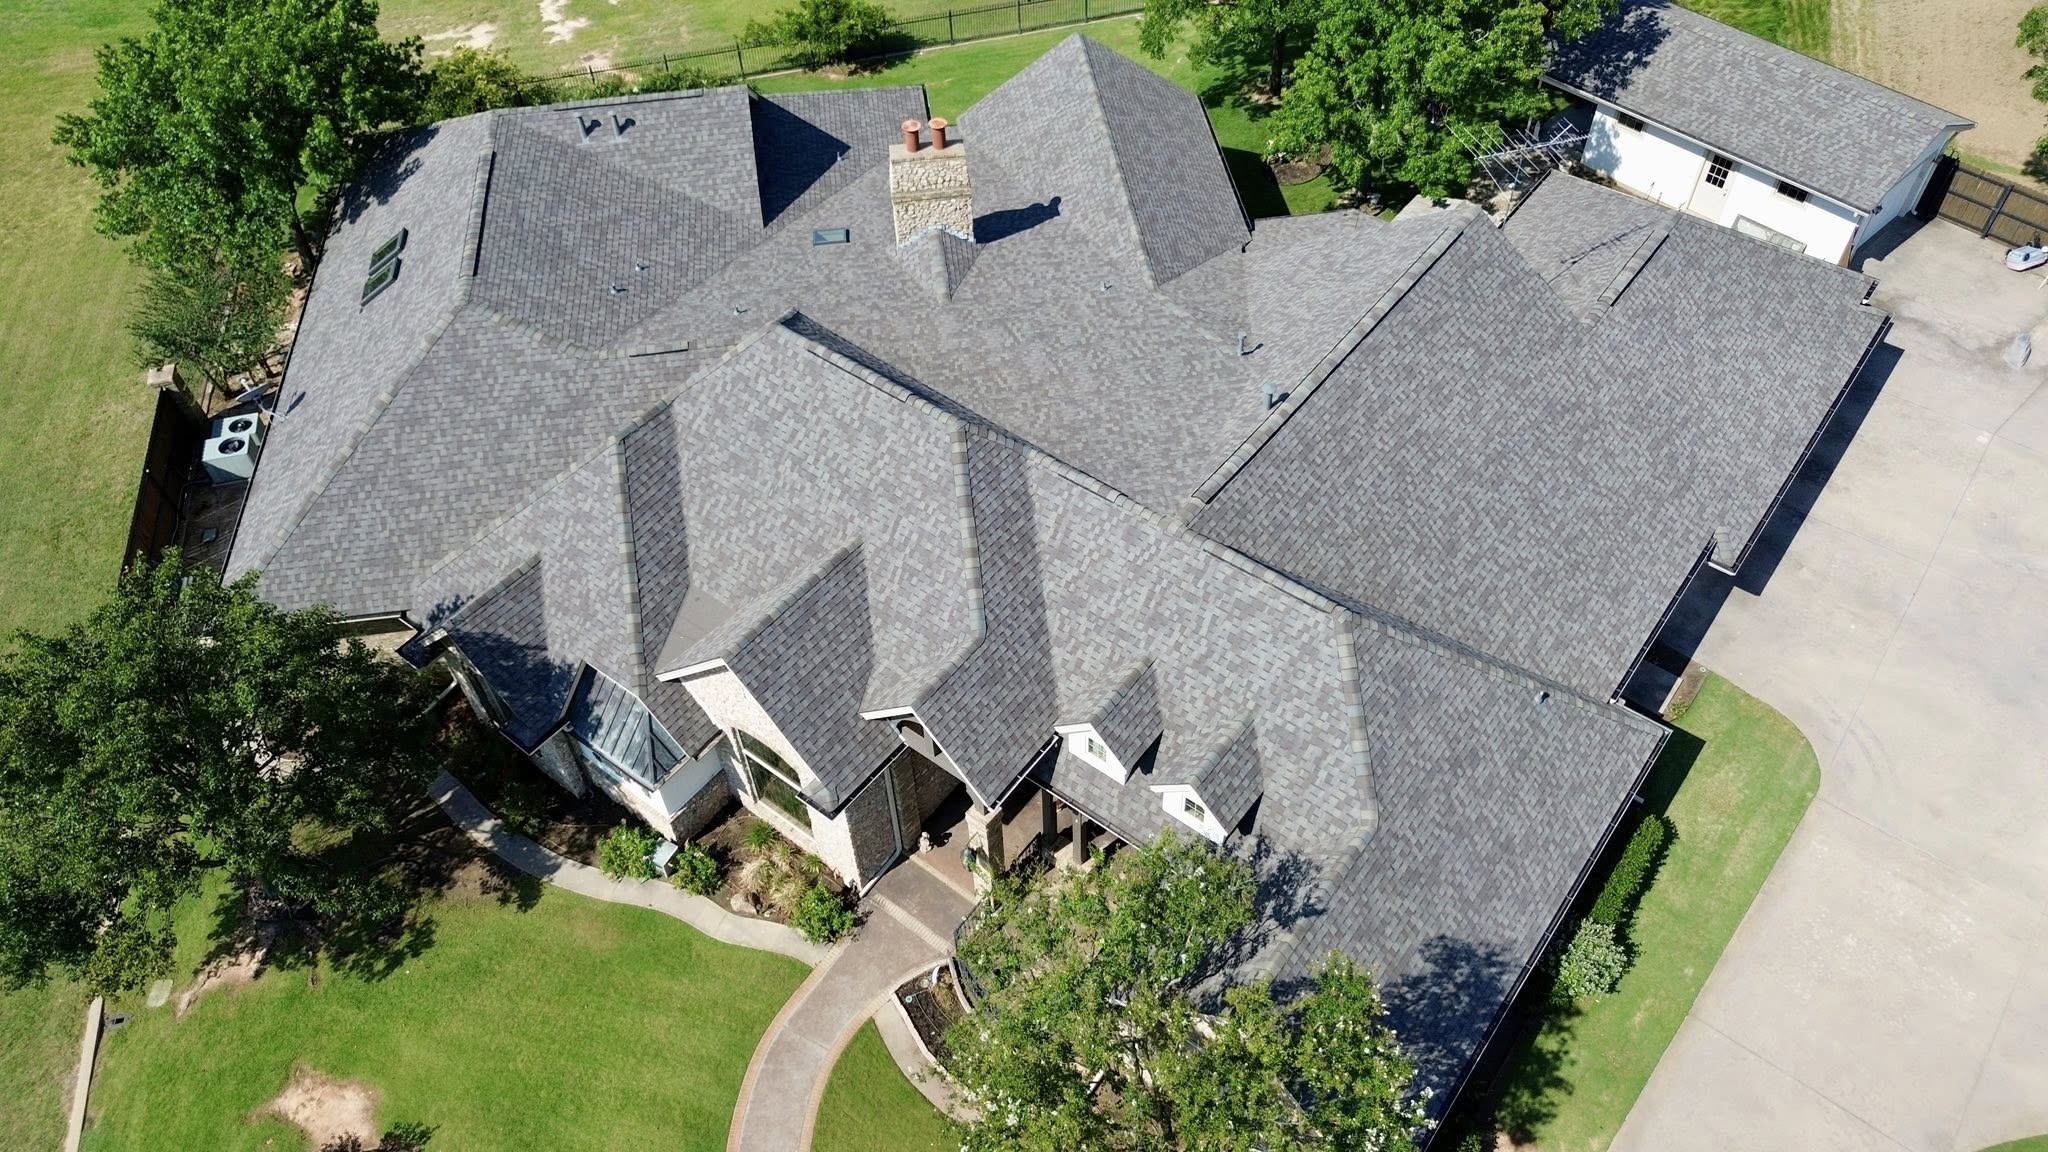
Inspecting Rusted Aluminum Roof Flashing Safely
Before beginning any repair work, a thorough inspection is essential. Proper evaluation identifies not only visible corrosion but also hidden damage that may affect long term repair success.
Safety should always be the first priority during roof inspections. Wet roofs, steep slopes, and unstable surfaces significantly increase the risk of falls. Inspections should only be performed under dry weather conditions using appropriate fall protection whenever necessary.
Binoculars provide a useful starting point for inspecting roofs from ground level. Homeowners can often identify loose flashing, missing sections, or obvious corrosion without climbing onto the roof. More detailed inspections may then be performed safely if conditions allow.
A close inspection typically includes examining flashing edges, joints, fasteners, sealant lines, and surrounding roofing materials. Special attention should be given to areas where water naturally collects, since corrosion usually develops faster in these locations.
Inspectors also look beneath nearby shingles or roofing panels whenever possible. Hidden moisture, deteriorated underlayment, or stained roof decking may indicate flashing failures that are not yet visible from above.
Moisture meters can help identify concealed water intrusion inside the roof assembly. These tools detect elevated moisture levels before major structural damage becomes visible, allowing repairs to begin earlier.
Photographing damaged areas during inspection is also valuable. Images create a record of existing conditions and make it easier to monitor whether corrosion continues spreading over time.
Essential Tools and Materials for Flashing Repairs
Successful flashing repairs depend on using the proper tools and compatible materials. Attempting repairs with incorrect products often leads to premature failure or additional corrosion.
Cleaning tools remove dirt, oxidation, and loose debris before repairs begin. Soft wire brushes designed for aluminum, non abrasive pads, and mild cleaning solutions help prepare surfaces without causing unnecessary damage.
Sanding equipment smooths rough corrosion and creates an even surface for primers or coatings. Fine grit sandpaper is generally preferred because aggressive grinding may remove excessive amounts of healthy aluminum.
High quality corrosion resistant primers improve coating adhesion while providing additional protection against future oxidation. Primers specifically formulated for aluminum typically deliver the best long term performance.
Roof sealants designed for metal flashing create flexible waterproof joints that accommodate normal expansion and contraction. Choosing sealants compatible with aluminum helps prevent chemical reactions that may accelerate deterioration.
Replacement fasteners should also match aluminum flashing whenever possible. Using compatible materials reduces the risk of galvanic corrosion and extends the service life of repaired sections.
Personal protective equipment remains equally important throughout the repair process. Gloves, safety glasses, dust masks, and slip resistant footwear help protect workers while cleaning and repairing corroded flashing.
With a complete understanding of flashing construction, corrosion causes, warning signs, inspection methods, and essential repair materials, the next stage focuses on preparing damaged flashing for restoration and applying the most effective repair techniques for different levels of corrosion.
Preparing Rusted Aluminum Flashing for Repair
Successful flashing repairs begin long before any patch, sealant, or protective coating is applied. Proper preparation determines whether the repair lasts for many years or begins failing after only a few seasons. Skipping surface preparation often leads to poor adhesion, trapped moisture, and recurring corrosion.
The first step is removing loose debris from the repair area. Leaves, dirt, twigs, roofing granules, and accumulated organic matter should be cleared away carefully to expose the entire flashing surface. This cleaning also makes it easier to identify hidden corrosion that may have been concealed beneath debris.
Once loose material has been removed, the flashing should be washed with a mild cleaning solution that is safe for aluminum. Soft brushes or non abrasive pads help lift oxidation, dirt, and contaminants without scratching the protective surface. Harsh wire brushes designed for steel should be avoided because they may damage the aluminum and introduce particles that promote corrosion.
Old sealant around damaged joints often requires careful removal before new materials are applied. Hardened or cracked sealants lose flexibility over time and may prevent fresh sealants from bonding properly. Removing deteriorated material creates a clean surface that supports stronger adhesion.
The repair area must also be completely dry before primers or sealants are used. Moisture trapped beneath repair materials can weaken the bond and create new corrosion beneath the surface. Allowing adequate drying time greatly improves repair durability.
Surrounding roofing materials should be protected during the preparation process. Gentle cleaning methods help prevent damage to shingles, metal panels, membranes, or nearby painted surfaces. Taking extra care at this stage reduces the chance of creating additional repair work elsewhere on the roof.
Evaluating the Extent of Corrosion
Cleaning often reveals that corrosion extends farther than initially expected. Areas that appeared to have only minor discoloration may contain pitting or weakened metal once oxidation has been removed. A careful evaluation ensures that the selected repair technique matches the actual condition of the flashing.
Surface corrosion generally affects only the outer layer of aluminum. The metal remains structurally sound, and repairs typically involve cleaning, priming, and recoating. These repairs restore protection while preserving the existing flashing.
Moderate corrosion creates visible pits, rough textures, and isolated weak spots. Although the flashing may still function, localized reinforcement or patching is usually necessary to restore strength and waterproof performance.
Severe corrosion results in holes, cracks, extensive thinning, or widespread structural weakness. Repairs become more complex because damaged sections may no longer provide reliable support. In these situations, replacing portions of the flashing often delivers a more dependable long term solution.
Inspectors also examine nearby roofing materials because corrosion rarely develops in isolation. Water intrusion around flashing frequently affects underlayment, roof decking, fasteners, and surrounding shingles. Addressing only the flashing while ignoring related damage may allow leaks to continue.
Repair Techniques for Minor Surface Corrosion
Minor surface corrosion represents one of the easiest flashing problems to correct. When detected early, these repairs can significantly extend the life of aluminum flashing without requiring replacement.
The repair process begins by removing remaining oxidation using gentle abrasive pads or fine sandpaper. Only damaged material should be removed, leaving as much healthy aluminum as possible. Excessive sanding unnecessarily thins the flashing and may reduce its service life.
After sanding, the surface should be cleaned again to eliminate dust and loose particles. Any residue left behind can interfere with primer adhesion and reduce the effectiveness of protective coatings.
A corrosion resistant primer designed specifically for aluminum is then applied. The primer improves adhesion while creating an additional barrier against moisture and environmental contaminants. Following the manufacturer’s recommended drying time is essential before applying finish coatings.
Protective roof coatings restore weather resistance while shielding repaired areas from ultraviolet exposure and moisture. Multiple thin coats generally provide better coverage and durability than one heavy application. Uniform coverage ensures that vulnerable edges receive the same level of protection as flat surfaces.
Allowing each coating layer to cure completely produces a stronger finish that resists peeling and premature deterioration. Although curing requires patience, it greatly improves the long term success of the repair.
Repairing Pitted Aluminum Flashing
Pitting presents a greater challenge because corrosion extends beneath the surface rather than remaining purely cosmetic. Even small pits can trap moisture and continue growing if they are not repaired correctly.
The first step involves cleaning each pit thoroughly to remove corrosion products and loose material. Small brushes or specialized cleaning tools help reach into narrow cavities without enlarging the damaged area unnecessarily. Complete cleaning allows repair materials to bond directly with solid aluminum.
After cleaning, shallow pits may be filled using aluminum compatible repair compounds. These materials restore a smoother surface while preventing moisture from collecting inside the damaged areas. Proper shaping also improves water runoff across the flashing.
Deeper pits require additional evaluation because they may indicate significant metal loss. If corrosion has substantially reduced flashing thickness, reinforcing the area may provide better long term protection than simply filling the cavity.
Repairs should blend smoothly into the surrounding flashing to minimize locations where water can collect. Uneven patches sometimes create small depressions that encourage standing water and accelerate future deterioration.
Careful finishing and protective coating complete the repair by sealing the restored surface from further exposure. The repaired area should match surrounding sections as closely as possible to maintain consistent performance.
Repairing Small Holes and Localized Damage
Small holes often develop after corrosion progresses beyond surface pitting. Although these openings may appear insignificant, they provide direct pathways for water to enter beneath roofing materials during rainfall.
Repairing small holes requires removing weakened metal around the damaged area. Loose or severely corroded material should never remain beneath repair patches because it continues deteriorating and eventually causes repair failure.
Aluminum repair patches provide additional strength while covering damaged sections completely. Patches should extend beyond the edges of the hole to ensure solid attachment to healthy flashing. Proper overlap also improves waterproof performance during heavy rain.
Compatible roofing sealants help create watertight edges around repair patches. The sealant fills small surface irregularities while preventing water from entering beneath the patch. Even coverage without excessive buildup produces the most reliable results.
Fasteners may also be used when appropriate, but they should be compatible with aluminum flashing to avoid galvanic corrosion. Improper fastener selection remains one of the leading causes of premature repair failure.
Once repairs are complete, protective coatings should cover both the patch and surrounding flashing. Continuous coating provides uniform protection and reduces differences in weathering between old and new materials.
Repairing Loose or Lifted Flashing
Corrosion is not always the only problem affecting aluminum flashing. Years of thermal expansion, wind movement, and fastener deterioration can cause flashing sections to loosen or lift away from the roof surface.
Repairs begin by identifying why the flashing has shifted. Corroded fasteners, deteriorated wood decking, failed sealant, or structural movement may all contribute to loose flashing. Correcting the underlying cause prevents the problem from returning after repairs.
Loose fasteners should be replaced with corrosion resistant alternatives that are compatible with aluminum. Secure attachment restores proper contact between the flashing and roofing materials while reducing movement during strong winds.
Flashing edges should also be checked for proper overlap. Insufficient overlap may allow wind driven rain to enter beneath the flashing even after it has been refastened. Adjusting overlaps improves water shedding and overall leak resistance.
Sealant should be applied only where required rather than being used as the primary method of holding flashing in place. Mechanical fastening combined with properly placed sealant generally produces stronger and longer lasting repairs.
After refastening, repaired sections should sit flush against the roof without visible gaps or lifted corners. Proper alignment allows water to flow smoothly over the flashing instead of collecting along uneven edges.
Sealing Joints and Overlaps
Many flashing leaks originate not from holes in the metal itself but from failed joints where separate flashing pieces meet. These joints experience continual expansion and contraction as temperatures change throughout the year.
Old sealant should be removed completely before applying new material. Simply covering deteriorated sealant often traps moisture beneath the new layer and limits adhesion. Clean metal surfaces provide a stronger foundation for fresh sealant.
Modern roof sealants remain flexible after curing, allowing flashing joints to move without cracking. This flexibility helps maintain waterproof protection despite seasonal temperature changes and roof movement.
Sealant should be applied in continuous, even beads that completely cover the joint without creating unnecessary buildup. Excessive sealant can trap debris and water while creating an untidy appearance that complicates future inspections.
After application, the sealant should be smoothed carefully to eliminate air pockets and ensure full contact with both flashing surfaces. Proper finishing improves appearance while strengthening the waterproof barrier.
Periodic inspection of repaired joints remains important because even high quality sealants gradually age under constant weather exposure. Early maintenance prevents small cracks from developing into significant leaks.
Comparing Common Aluminum Flashing Repair Methods
The most appropriate repair technique depends on the severity of corrosion, flashing condition, and overall roof health. Each method offers different advantages depending on the specific situation.
| Repair Method | Best For | Expected Durability | Typical Difficulty |
|---|---|---|---|
| Cleaning and recoating | Light surface corrosion | Moderate to High | Easy |
| Filling pits | Localized pitting | Moderate | Moderate |
| Aluminum patch repair | Small holes | High | Moderate |
| Joint resealing | Failed sealant and overlaps | Moderate | Easy |
| Partial flashing replacement | Severe localized damage | High | Advanced |
Selecting the correct repair method often determines whether the flashing continues performing for years or requires additional work after only a short period. Matching the repair to the extent of corrosion provides the most reliable long term results.
Common Repair Mistakes to Avoid
Many flashing repairs fail because important preparation or installation steps are overlooked. Even high quality repair materials cannot compensate for poor workmanship or incompatible products.
Painting directly over corrosion remains one of the most common mistakes. Protective coatings cannot stop corrosion that continues beneath the surface. Cleaning and preparing the metal first allows coatings to bond properly and perform as intended.
Using incompatible metals during repairs may also accelerate corrosion instead of preventing it. Certain fasteners, brackets, or repair patches create galvanic reactions that damage aluminum whenever moisture is present.
Applying excessive amounts of roof sealant is another frequent problem. Thick layers may appear more protective, but they often trap moisture, collect debris, and deteriorate faster than properly applied sealant. Controlled application generally provides better waterproofing.
Ignoring drainage issues allows repaired flashing to remain exposed to standing water. Even excellent repairs may fail prematurely if water continues collecting in the same location after every rainfall. Correcting drainage should always accompany flashing repairs whenever possible.
Some homeowners also overlook surrounding roof components while focusing only on visible flashing damage. Deteriorated shingles, damaged underlayment, or loose roof panels may continue allowing water intrusion despite successful flashing repairs. A complete roof evaluation provides the best opportunity for lasting results.
With the flashing properly prepared, cleaned, repaired, reinforced, and sealed, the next stage focuses on deciding when repairs remain practical, how to prevent corrosion from returning, and the maintenance practices that help aluminum roof flashing deliver reliable protection for many years.
When Flashing Should Be Repaired Instead of Replaced
Not every damaged piece of aluminum flashing requires complete replacement. In many situations, timely repairs restore waterproof performance while extending the service life of the existing flashing. Choosing between repair and replacement depends on the condition of the metal rather than its appearance alone.
Repairs are generally appropriate when corrosion remains localized and the flashing still retains its structural strength. Small pits, isolated holes, deteriorated sealant, or limited surface oxidation can often be corrected without removing the entire flashing section. Addressing these issues early prevents corrosion from spreading into surrounding areas.
Replacement becomes the better option when corrosion has affected large portions of the flashing or when repeated repairs have failed. Extensive thinning, multiple holes, severe deformation, or widespread separation from the roof usually indicate that the flashing can no longer perform reliably. Installing new flashing in these situations provides greater long term value.
The age of the roofing system should also be considered during decision making. Repairing aging flashing on a roof that is already approaching replacement may not be the most practical investment. Coordinating flashing replacement with future roofing work often reduces labor costs while ensuring better compatibility between new materials.
Professional evaluations consider more than visible corrosion. Inspectors assess flashing thickness, attachment points, surrounding roofing materials, moisture damage, and the likelihood that repairs will provide dependable performance over time.
Factors That Influence Repair Success
Several conditions determine whether flashing repairs will continue protecting the roof for many years. Understanding these factors helps homeowners make informed maintenance decisions while avoiding unnecessary replacement.
The quality of the original installation plays a significant role in repair longevity. Flashing that was installed correctly with proper overlaps and compatible fasteners usually responds well to repairs because the underlying system remains structurally sound.
Environmental conditions also influence repair performance. Roofs located in coastal regions, industrial areas, or locations with frequent heavy rainfall experience more aggressive corrosion than roofs in milder climates. Maintenance schedules should reflect these environmental challenges.
Material compatibility is equally important. Repair products that are specifically designed for aluminum generally provide stronger adhesion and better corrosion resistance than generic roofing materials. Using compatible components reduces the likelihood of chemical reactions that may accelerate deterioration.
Routine maintenance after repairs often determines how long those repairs remain effective. Cleaning debris, inspecting sealants, and correcting drainage problems help preserve repaired flashing while reducing exposure to conditions that encourage corrosion.
Preventing Future Corrosion After Repairs
Completing a flashing repair is only part of the long term maintenance process. Preventive care greatly reduces the likelihood that corrosion will return and damage the repaired sections.
Regular roof cleaning removes leaves, branches, dirt, and organic debris that trap moisture against flashing. Keeping drainage paths clear allows rainwater to flow away quickly instead of remaining in prolonged contact with the metal.
Gutters and downspouts also deserve regular attention because clogged drainage systems allow water to back up onto roof edges. Overflowing gutters frequently expose flashing to unnecessary moisture and increase corrosion around roof perimeters.
Sealants should be inspected periodically for cracking, separation, or shrinking. Replacing deteriorated sealant before leaks develop helps preserve both the flashing and surrounding roofing materials.
Fasteners should remain tight and free from corrosion. Loose fasteners permit flashing movement during wind events, while incompatible fasteners may create galvanic corrosion that damages nearby aluminum.
Homeowners should also trim overhanging tree branches whenever practical. Branches deposit leaves and debris while increasing shade that slows roof drying after rainfall. Better sunlight and airflow help reduce the amount of time flashing remains wet.
A few preventive maintenance habits provide significant long term benefits.
- Remove roof debris before it traps moisture.
- Keep gutters flowing freely throughout the year.
- Inspect sealant around roof penetrations regularly.
- Replace incompatible or corroded fasteners promptly.
- Schedule periodic roof inspections after severe storms.
These simple maintenance practices greatly reduce conditions that encourage corrosion while helping repairs achieve their maximum service life.
Avoiding Galvanic Corrosion
Galvanic corrosion remains one of the most overlooked causes of aluminum flashing deterioration. This form of corrosion occurs when aluminum comes into direct contact with certain dissimilar metals while moisture is present. The resulting electrical reaction gradually consumes the aluminum at an accelerated rate.
Copper and untreated steel are among the materials most commonly associated with galvanic corrosion when installed directly against aluminum. Even small contact points such as incompatible fasteners can create long term corrosion problems if moisture repeatedly enters the connection.
Using aluminum or appropriately coated fasteners helps minimize this risk. Where different metals must be installed near each other, insulating barriers or specialized separation materials prevent direct electrical contact while maintaining structural performance.
Roof repairs performed by experienced professionals generally account for material compatibility during every stage of installation. Selecting appropriate products from the beginning often eliminates future corrosion issues that would otherwise require additional repairs.
Seasonal Maintenance Checklist
Roof flashing experiences different challenges throughout the year as weather conditions change. Seasonal inspections help identify developing problems before they become major repairs.
| Season | Recommended Maintenance |
|---|---|
| Spring | Inspect flashing for winter damage, remove debris, and check sealants. |
| Summer | Examine protective coatings for UV damage and verify flashing remains securely attached. |
| Fall | Clear leaves from valleys, gutters, and flashing before heavy seasonal rainfall. |
| Winter | Watch for ice buildup, standing moisture, and signs of water intrusion after storms. |
Following a seasonal maintenance routine keeps flashing in better condition while reducing the likelihood of unexpected leaks during severe weather.
Best Practices for Long Lasting Aluminum Flashing Repairs
Successful repairs depend on combining quality materials with proper installation techniques. Following established best practices helps maximize the lifespan of both repaired flashing and the surrounding roofing system.
Surface preparation should never be rushed because clean metal provides the strongest foundation for primers, coatings, and sealants. Even premium repair products perform poorly when applied over dirt, oxidation, or trapped moisture.
Manufacturers provide specific recommendations regarding drying times, application temperatures, and compatible materials. Following these guidelines improves adhesion while reducing the possibility of premature repair failure.
Drainage should always remain a priority throughout the repair process. Water that flows efficiently away from flashing creates fewer opportunities for corrosion while helping protective coatings last longer.
Periodic professional roof inspections provide another layer of protection. Experienced inspectors often recognize subtle warning signs that homeowners may overlook, allowing maintenance to be completed before major deterioration develops.
Homeowners should also keep records of previous flashing repairs. Knowing when repairs were completed and which materials were used simplifies future maintenance planning while helping inspectors evaluate long term performance.
Frequently Asked Questions
Can rusted aluminum flashing always be repaired?
No. Minor oxidation, localized corrosion, and small holes are often repairable, but flashing with widespread deterioration, extensive thinning, or major structural damage usually requires replacement. A thorough inspection helps determine the most appropriate solution.
How long do aluminum flashing repairs typically last?
Well executed repairs using compatible materials can last many years. Longevity depends on environmental conditions, installation quality, ongoing maintenance, and whether underlying drainage problems have been corrected.
Is roof sealant alone enough to repair damaged flashing?
Sealant works well for sealing joints and preventing water intrusion, but it should not be considered a solution for severe corrosion or structural damage. Flashing that has lost strength generally requires reinforcement or replacement in addition to sealing.
Can homeowners repair aluminum flashing themselves?
Some minor maintenance tasks such as cleaning oxidation or replacing deteriorated sealant may be manageable for experienced homeowners working safely. More advanced repairs involving structural damage, steep roofs, or extensive corrosion are generally better handled by roofing professionals.
What causes repaired flashing to fail again?
Recurring failures often result from incomplete surface preparation, incompatible repair materials, poor drainage, improper fasteners, or untreated underlying moisture problems. Correcting these issues during the initial repair greatly improves long term performance.
Conclusion
Aluminum roof flashing serves as one of the most important defenses against water intrusion, protecting vulnerable roof joints, penetrations, valleys, and transitions from costly moisture damage. Although aluminum naturally resists corrosion better than many other metals, years of weather exposure, standing moisture, salt air, incompatible materials, and aging protective coatings can gradually weaken its ability to perform effectively.
Recognizing early warning signs such as oxidation, pitting, loose flashing, cracked sealant, or small holes allows repairs to be completed before widespread damage develops. Careful inspection, thorough surface preparation, proper cleaning, compatible repair materials, and correct sealing techniques all contribute to repairs that restore reliable waterproof protection.
Repair methods should always match the severity of the damage. Minor surface corrosion may only require cleaning, priming, and recoating, while localized holes or weakened sections often benefit from patching or reinforcement. When corrosion becomes extensive or structural integrity has been compromised, replacing the affected flashing provides the most dependable long term solution.
Preventive maintenance remains just as important as the repair itself. Routine roof inspections, debris removal, gutter cleaning, sealant maintenance, and the use of compatible fasteners all help reduce corrosion and extend the lifespan of repaired flashing. Consistent attention to these details minimizes future repair costs while protecting the entire roofing system.
By understanding how aluminum flashing deteriorates, selecting the appropriate repair techniques, and following a proactive maintenance schedule, homeowners can preserve the integrity of their roofs for many years. Timely action not only prevents leaks and structural damage but also ensures that aluminum flashing continues directing water safely away from the areas where reliable protection matters most.