
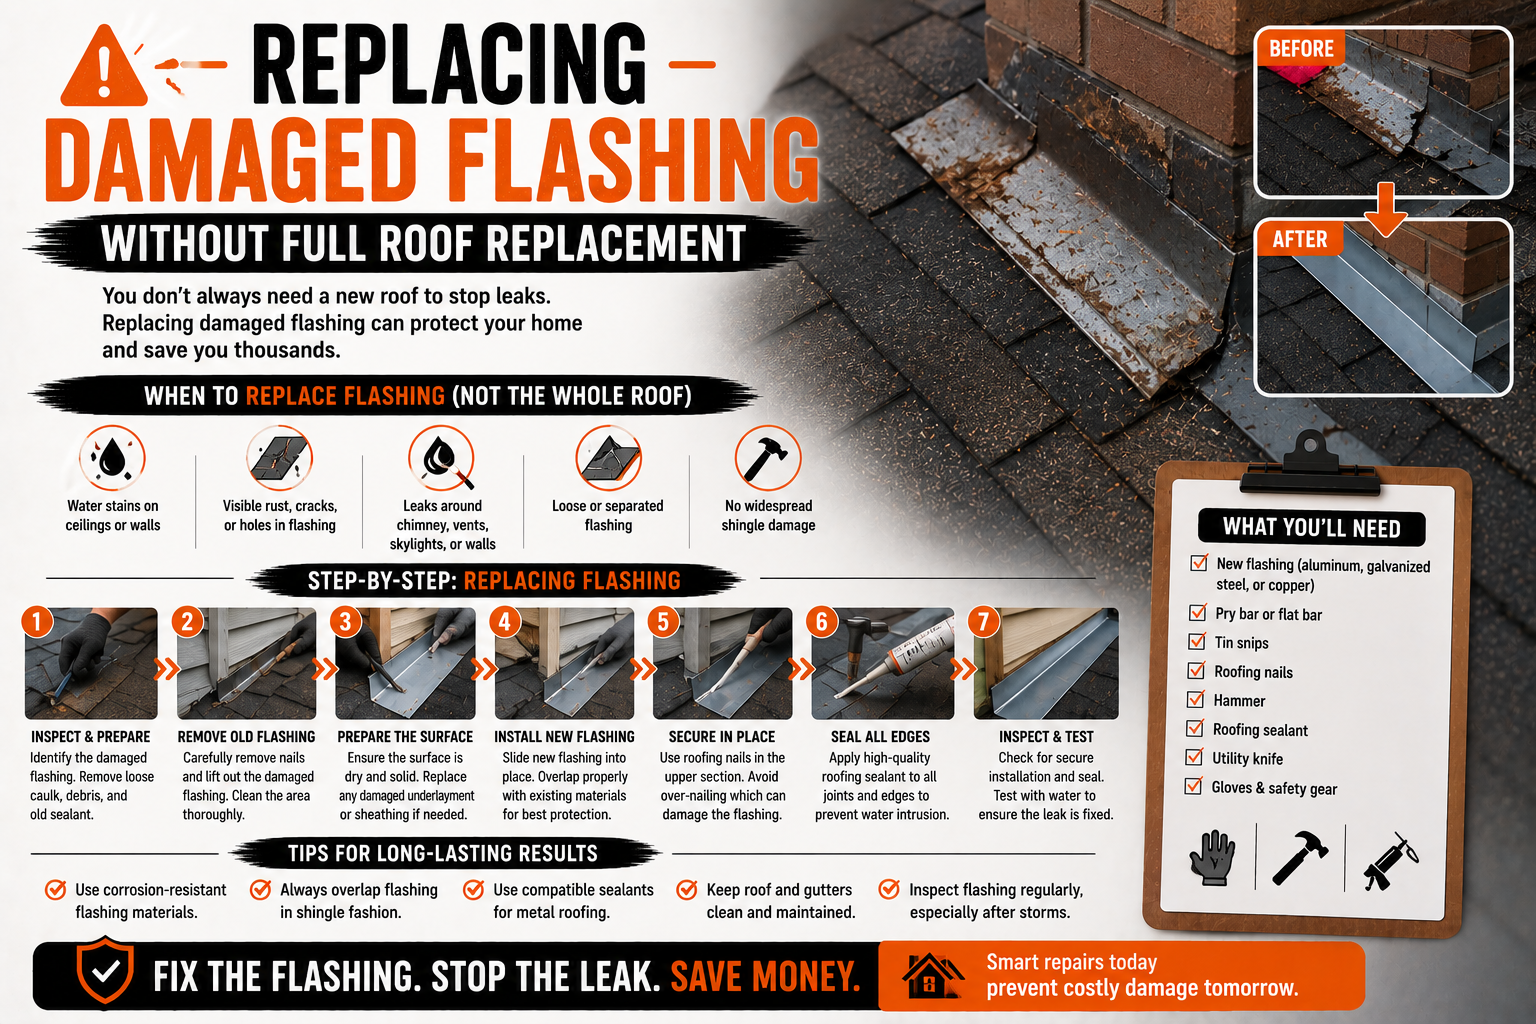
Replacing Damaged Flashing Without Full Roof Replacement
Introduction
Roof flashing is one of the most important yet overlooked components of a roofing system. While shingles, metal panels, or tiles receive most of the attention, flashing quietly protects the areas where water is most likely to enter. It creates a waterproof barrier around roof penetrations, valleys, chimneys, skylights, vents, and roof-to-wall intersections, helping keep moisture away from the roof deck and the home’s interior.
When flashing becomes damaged, many homeowners assume the entire roof must be replaced. In reality, flashing problems are often localized and can usually be repaired or replaced without removing the entire roofing system. As long as the surrounding roofing materials remain in good condition, targeted flashing replacement can restore the roof’s waterproof performance while saving considerable time and expense.
Ignoring damaged flashing is rarely a good idea. Even a small crack, loose section, or corroded piece of flashing can allow water to penetrate beneath the roofing materials. Once moisture reaches the underlayment or roof deck, it can lead to wood rot, mold growth, insulation damage, and costly structural repairs that extend far beyond the original flashing problem.
Understanding when flashing can be replaced independently helps homeowners make informed maintenance decisions. Knowing the warning signs of flashing failure and the conditions that make targeted replacement possible allows repairs to be completed before larger roofing issues develop.
This guide explains how roof flashing functions, why it becomes damaged, how to recognize when replacement is necessary, and why full roof replacement is not always the only solution. Later sections will cover inspection methods, replacement procedures, material comparisons, and maintenance practices that help new flashing perform for many years.
Understanding Roof Flashing
Roof flashing consists of thin pieces of metal or other waterproof materials installed wherever the roof surface changes direction or meets another structure. These components redirect water away from vulnerable joints and prevent it from entering beneath the roofing materials.
Unlike shingles or roofing panels that protect broad roof surfaces, flashing focuses on areas where water naturally concentrates. Every roof contains multiple transition points that require additional waterproofing because they interrupt the continuous roofing surface.
Flashing functions by overlapping roofing materials in a way that encourages water to continue flowing downhill. Properly installed flashing relies on gravity rather than sealants alone to direct rainwater away from potential leak points.
Because flashing is constantly exposed to moisture, sunlight, temperature fluctuations, and wind, it must be made from durable materials capable of withstanding years of environmental exposure. High quality flashing often lasts for decades when installed correctly and maintained regularly.
Although flashing occupies only a small portion of the overall roof area, its performance has a significant impact on the roof’s ability to remain watertight. A failure in one flashing section can compromise an otherwise healthy roofing system.
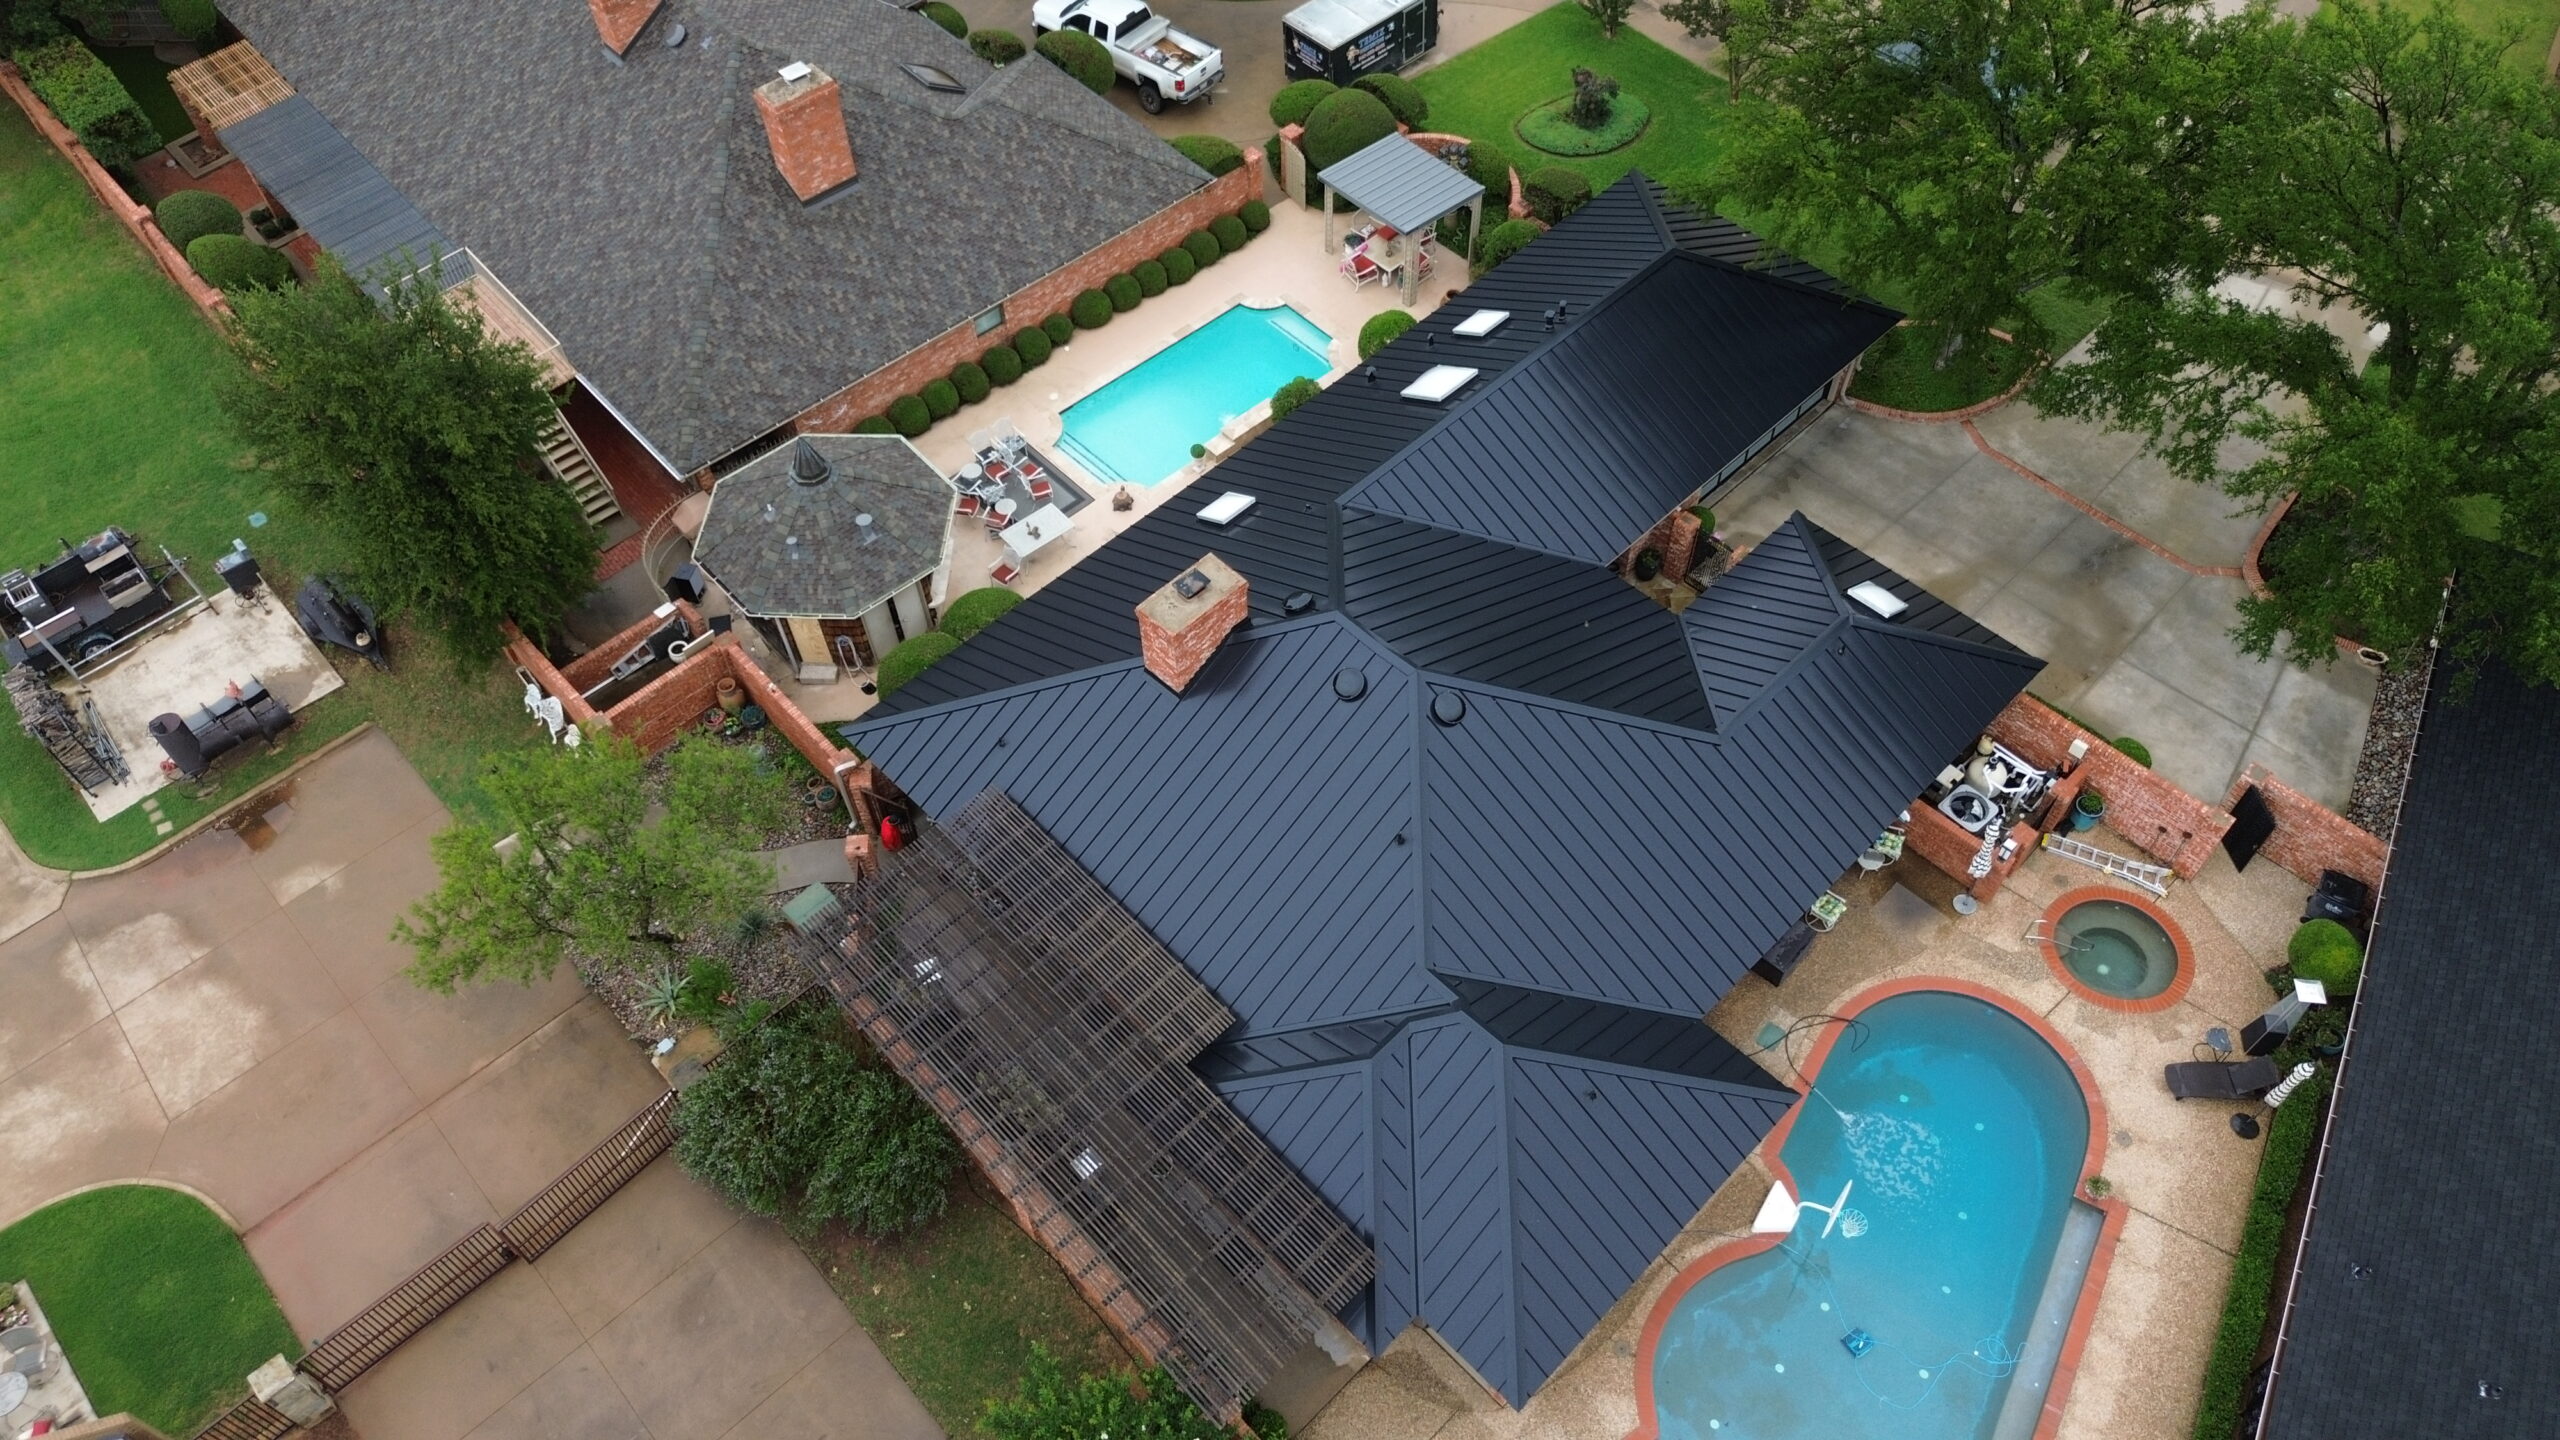
The Purpose of Roof Flashing
Roof flashing performs several important functions that extend beyond simply covering gaps between roofing materials. Its primary purpose is to control water movement while protecting areas where leaks commonly develop.
Flashing directs rainwater around roof penetrations instead of allowing it to seep beneath roofing materials. Chimneys, skylights, plumbing vents, and exhaust pipes all interrupt the roof surface, making flashing essential for maintaining waterproof protection.
It also protects roof-to-wall intersections where sloped roofs meet vertical walls. These locations experience concentrated water flow during storms and require carefully installed flashing to prevent moisture from entering behind siding or masonry.
Roof valleys benefit from flashing because they collect runoff from multiple roof slopes. Without durable valley flashing, continuous water flow can eventually wear through roofing materials and reach the roof deck.
Flashing also helps reduce long term structural damage by preventing moisture from entering the roof assembly. Dry roof decking, insulation, and framing last significantly longer than materials exposed to repeated water intrusion.
Properly functioning flashing offers several important benefits.
- Prevents roof leaks around vulnerable intersections.
- Directs rainwater safely toward drainage systems.
- Protects roof penetrations from water intrusion.
- Reduces the risk of mold and wood rot.
- Extends the lifespan of surrounding roofing materials.
Because flashing works continuously throughout every rainfall, even small defects deserve prompt attention before they develop into more serious roofing problems.
Common Materials Used for Roof Flashing
Several materials are commonly used for roof flashing, each offering different advantages depending on the roof design, environmental conditions, and budget. Choosing the appropriate material helps ensure long lasting waterproof performance.
Aluminum is one of the most widely used flashing materials because it is lightweight, corrosion resistant, and easy to shape during installation. It performs well on many residential roofs and is available in painted finishes that complement different roofing styles.
Galvanized steel provides greater strength than aluminum while offering good durability under normal weather conditions. Protective zinc coatings help resist corrosion, although these coatings may gradually wear away after many years of exposure.
Copper flashing is valued for its exceptional longevity and natural resistance to corrosion. Although it costs more than other materials, copper can last for several decades and develops an attractive protective patina as it ages.
Stainless steel offers excellent durability and corrosion resistance, making it particularly suitable for coastal environments where salt exposure accelerates metal deterioration. It also performs well in areas subject to severe weather.
Lead flashing remains common on some historic buildings and specialty roofing projects because of its flexibility and ability to conform to complex shapes. However, it is generally less common on modern residential construction.
Selecting the appropriate flashing material depends on several factors, including climate, roof design, compatibility with surrounding materials, and long term maintenance expectations.
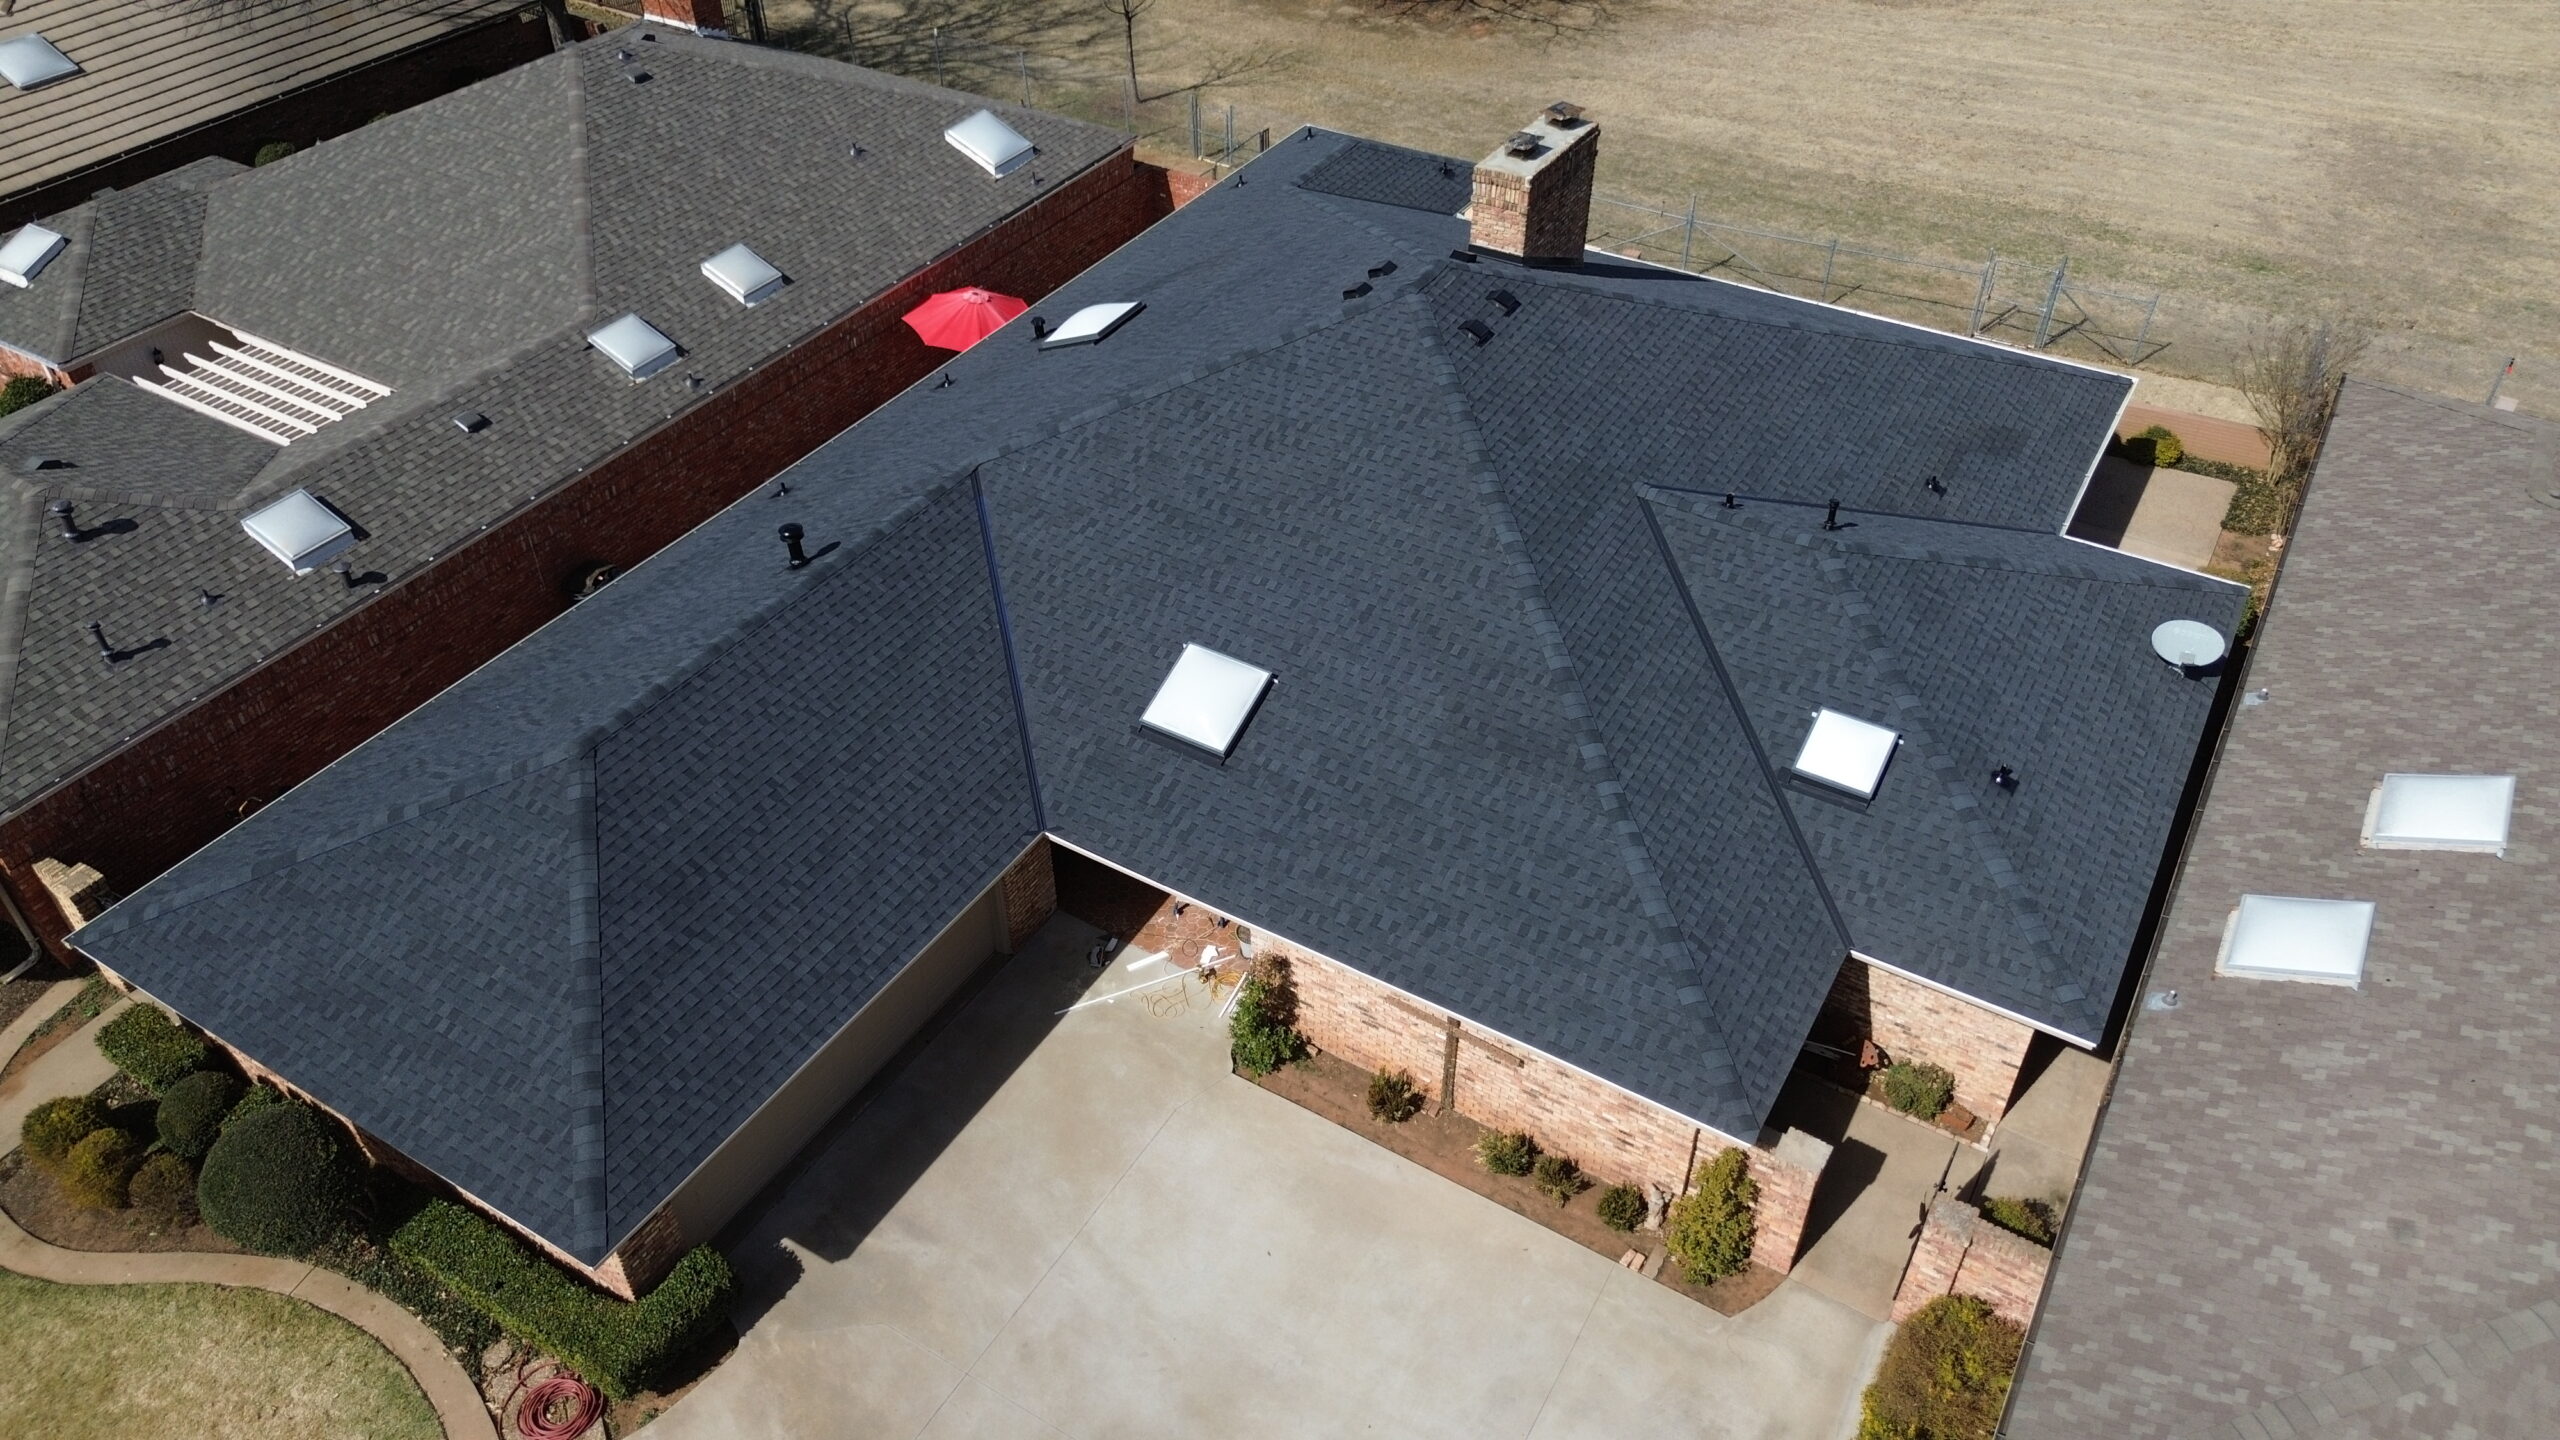
Areas Where Flashing Is Typically Installed
Flashing is installed anywhere the roof surface changes direction or where another building component interrupts the roofing system. These locations require additional waterproofing because they naturally collect or redirect water.
Chimneys represent one of the most common flashing locations. Step flashing and counter flashing work together to prevent rainwater from entering where masonry meets the roof surface.
Skylights also require complete flashing systems because water flows around all sides of the window assembly. Proper flashing directs runoff away while preventing leaks around the skylight frame.
Roof vents and plumbing stacks penetrate the roof through relatively small openings. Specialized flashing boots create flexible seals that protect these penetrations while accommodating slight movement over time.
Roof valleys handle large amounts of water during rainfall because they collect runoff from multiple roof slopes. Valley flashing protects these high flow areas from wear while directing water toward the gutter system.
Roof-to-wall junctions require carefully integrated flashing because they combine roofing materials with vertical walls. Proper flashing prevents water from entering behind siding while maintaining continuous drainage.
Drip edge flashing installed along roof edges protects exposed roof decking while helping channel water into gutters instead of behind fascia boards.
Understanding these flashing locations helps homeowners know where routine inspections should be focused during roof maintenance.
Why Roof Flashing Gets Damaged
Although flashing is designed for long term durability, continuous exposure to the environment gradually affects its condition. Damage often develops slowly over many years before eventually causing noticeable roof leaks.
Weather remains one of the leading causes of flashing deterioration. Rain, snow, hail, strong winds, and ultraviolet radiation continually stress flashing materials, coatings, and fasteners throughout their service life.
Temperature fluctuations also contribute to flashing wear. Metal expands during warm weather and contracts as temperatures fall, creating repeated movement that may loosen fasteners or weaken sealant joints over time.
Corrosion gradually affects certain flashing materials, particularly when protective coatings become damaged or incompatible metals come into contact. Moisture trapped beneath debris accelerates this process while reducing flashing lifespan.
Storm damage may bend, puncture, or loosen flashing during periods of high winds or falling branches. Even if roofing materials appear undamaged after a storm, flashing should still be inspected carefully because minor displacement can eventually lead to leaks.
Improper installation also causes many flashing problems. Incorrect overlap, exposed fasteners, insufficient support, or poor integration with roofing materials often create weaknesses that become apparent only after several years of weather exposure.
Foot traffic during roof maintenance or equipment installation may accidentally damage flashing as well. Bent sections, punctures, or displaced components sometimes occur when workers step on flashing or move equipment across the roof.
Signs That Flashing Needs Replacement
Flashing rarely fails without showing warning signs first. Identifying these indicators early allows replacement to be completed before widespread water damage develops.
Visible corrosion is often the first sign that flashing has reached the end of its service life. Rust on steel flashing or severe oxidation on aluminum may indicate that protective coatings have deteriorated significantly.
Cracks and small holes deserve immediate attention because they provide direct pathways for water to enter beneath the roofing materials. Even tiny openings can allow repeated moisture intrusion during heavy rainfall.
Loose flashing sections often result from corroded fasteners, structural movement, or prolonged weather exposure. Flashing that lifts away from the roof cannot direct water properly and may allow wind driven rain to enter vulnerable areas.
Sealants around flashing naturally age over time. Cracked, brittle, or separated sealants no longer provide reliable waterproofing and frequently indicate that flashing maintenance or replacement is needed.
Interior water stains near chimneys, skylights, or exterior walls often point toward flashing problems rather than damaged roofing materials. Investigating these signs promptly helps prevent additional structural damage.
Homeowners should also watch for these common indicators during routine roof inspections.
- Rust, corrosion, or severe oxidation.
- Loose or lifted flashing sections.
- Cracks, holes, or bent metal.
- Missing flashing pieces after storms.
- Failed or deteriorated sealant.
- Water stains inside the home near roof penetrations.
Recognizing these warning signs early often allows flashing replacement before water spreads into insulation, framing, or finished interior surfaces.
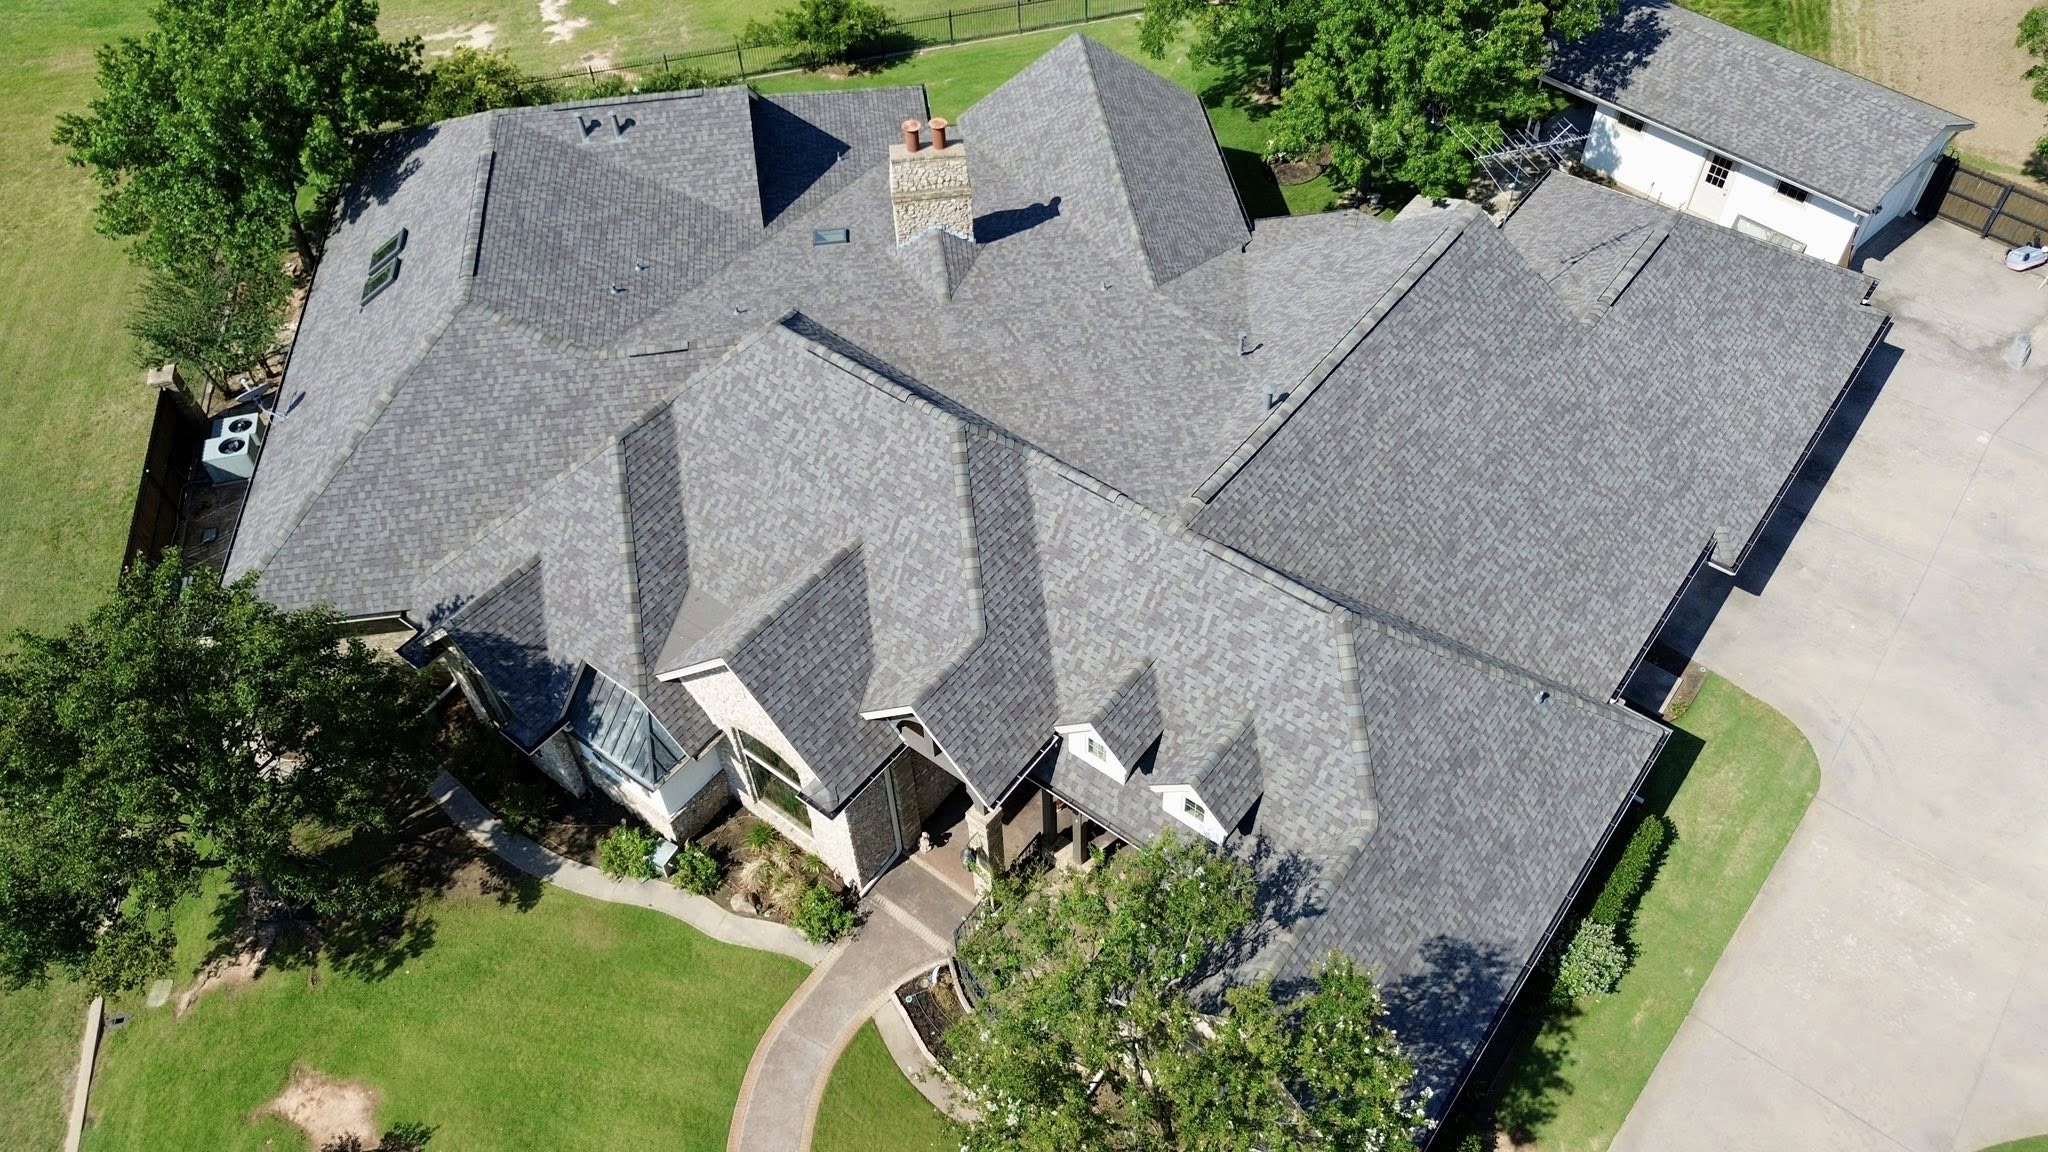
When Full Roof Replacement Is Not Necessary
Many flashing problems are confined to relatively small sections of the roof, making complete roof replacement unnecessary. Replacing only the damaged flashing often restores waterproof performance while preserving the existing roofing materials.
If shingles, tiles, or metal panels surrounding the flashing remain in good condition, they can usually be lifted carefully to access the damaged flashing beneath. After replacement, the roofing materials are reinstalled without affecting the rest of the roof.
Localized leaks also support targeted flashing replacement. When moisture enters through a single chimney, skylight, roof vent, or valley, replacing the affected flashing generally resolves the problem without disturbing healthy roofing elsewhere.
Roof deck condition is another important consideration. If the decking remains structurally sound and shows no widespread moisture damage, replacing flashing alone is often the most practical and cost effective solution.
Targeted flashing replacement also reduces labor compared to complete reroofing. Fewer roofing materials are removed, repairs are completed more quickly, and homeowners avoid replacing shingles or panels that still have many years of useful life remaining.
However, flashing replacement may not be sufficient if roofing materials have reached the end of their lifespan or if widespread leaks indicate larger roofing system failures. A thorough inspection helps determine which approach provides the greatest long term value.
Tools and Materials Required
Replacing flashing successfully requires using the correct tools and compatible materials. Proper equipment allows damaged flashing to be removed safely while minimizing disruption to surrounding roofing materials.
Basic hand tools such as pry bars and utility knives help lift shingles or remove old flashing without causing unnecessary damage. Measuring tools ensure replacement flashing is cut accurately to fit the existing roof configuration.
Replacement flashing should match the original material whenever practical to maintain compatibility and reduce the risk of galvanic corrosion. Selecting flashing of the proper thickness also helps maintain structural performance.
Corrosion resistant fasteners secure the new flashing while reducing the likelihood of future deterioration. Fasteners should always be compatible with the flashing material to prevent chemical reactions that shorten service life.
Roofing sealants designed for flashing provide additional waterproof protection around joints and transitions. Sealants should complement proper flashing installation rather than serving as the primary method of preventing leaks.
Personal protective equipment remains essential throughout the replacement process. Gloves, safety glasses, slip resistant footwear, and fall protection help reduce injury risks while working on the roof.
With a clear understanding of flashing functions, common damage causes, warning signs, and situations where replacement can be completed without replacing the entire roof, the next section explores inspection procedures, safe flashing removal, installation techniques, replacement around common roof features, and the most common mistakes to avoid during the replacement process.
Inspecting Flashing Before Replacement
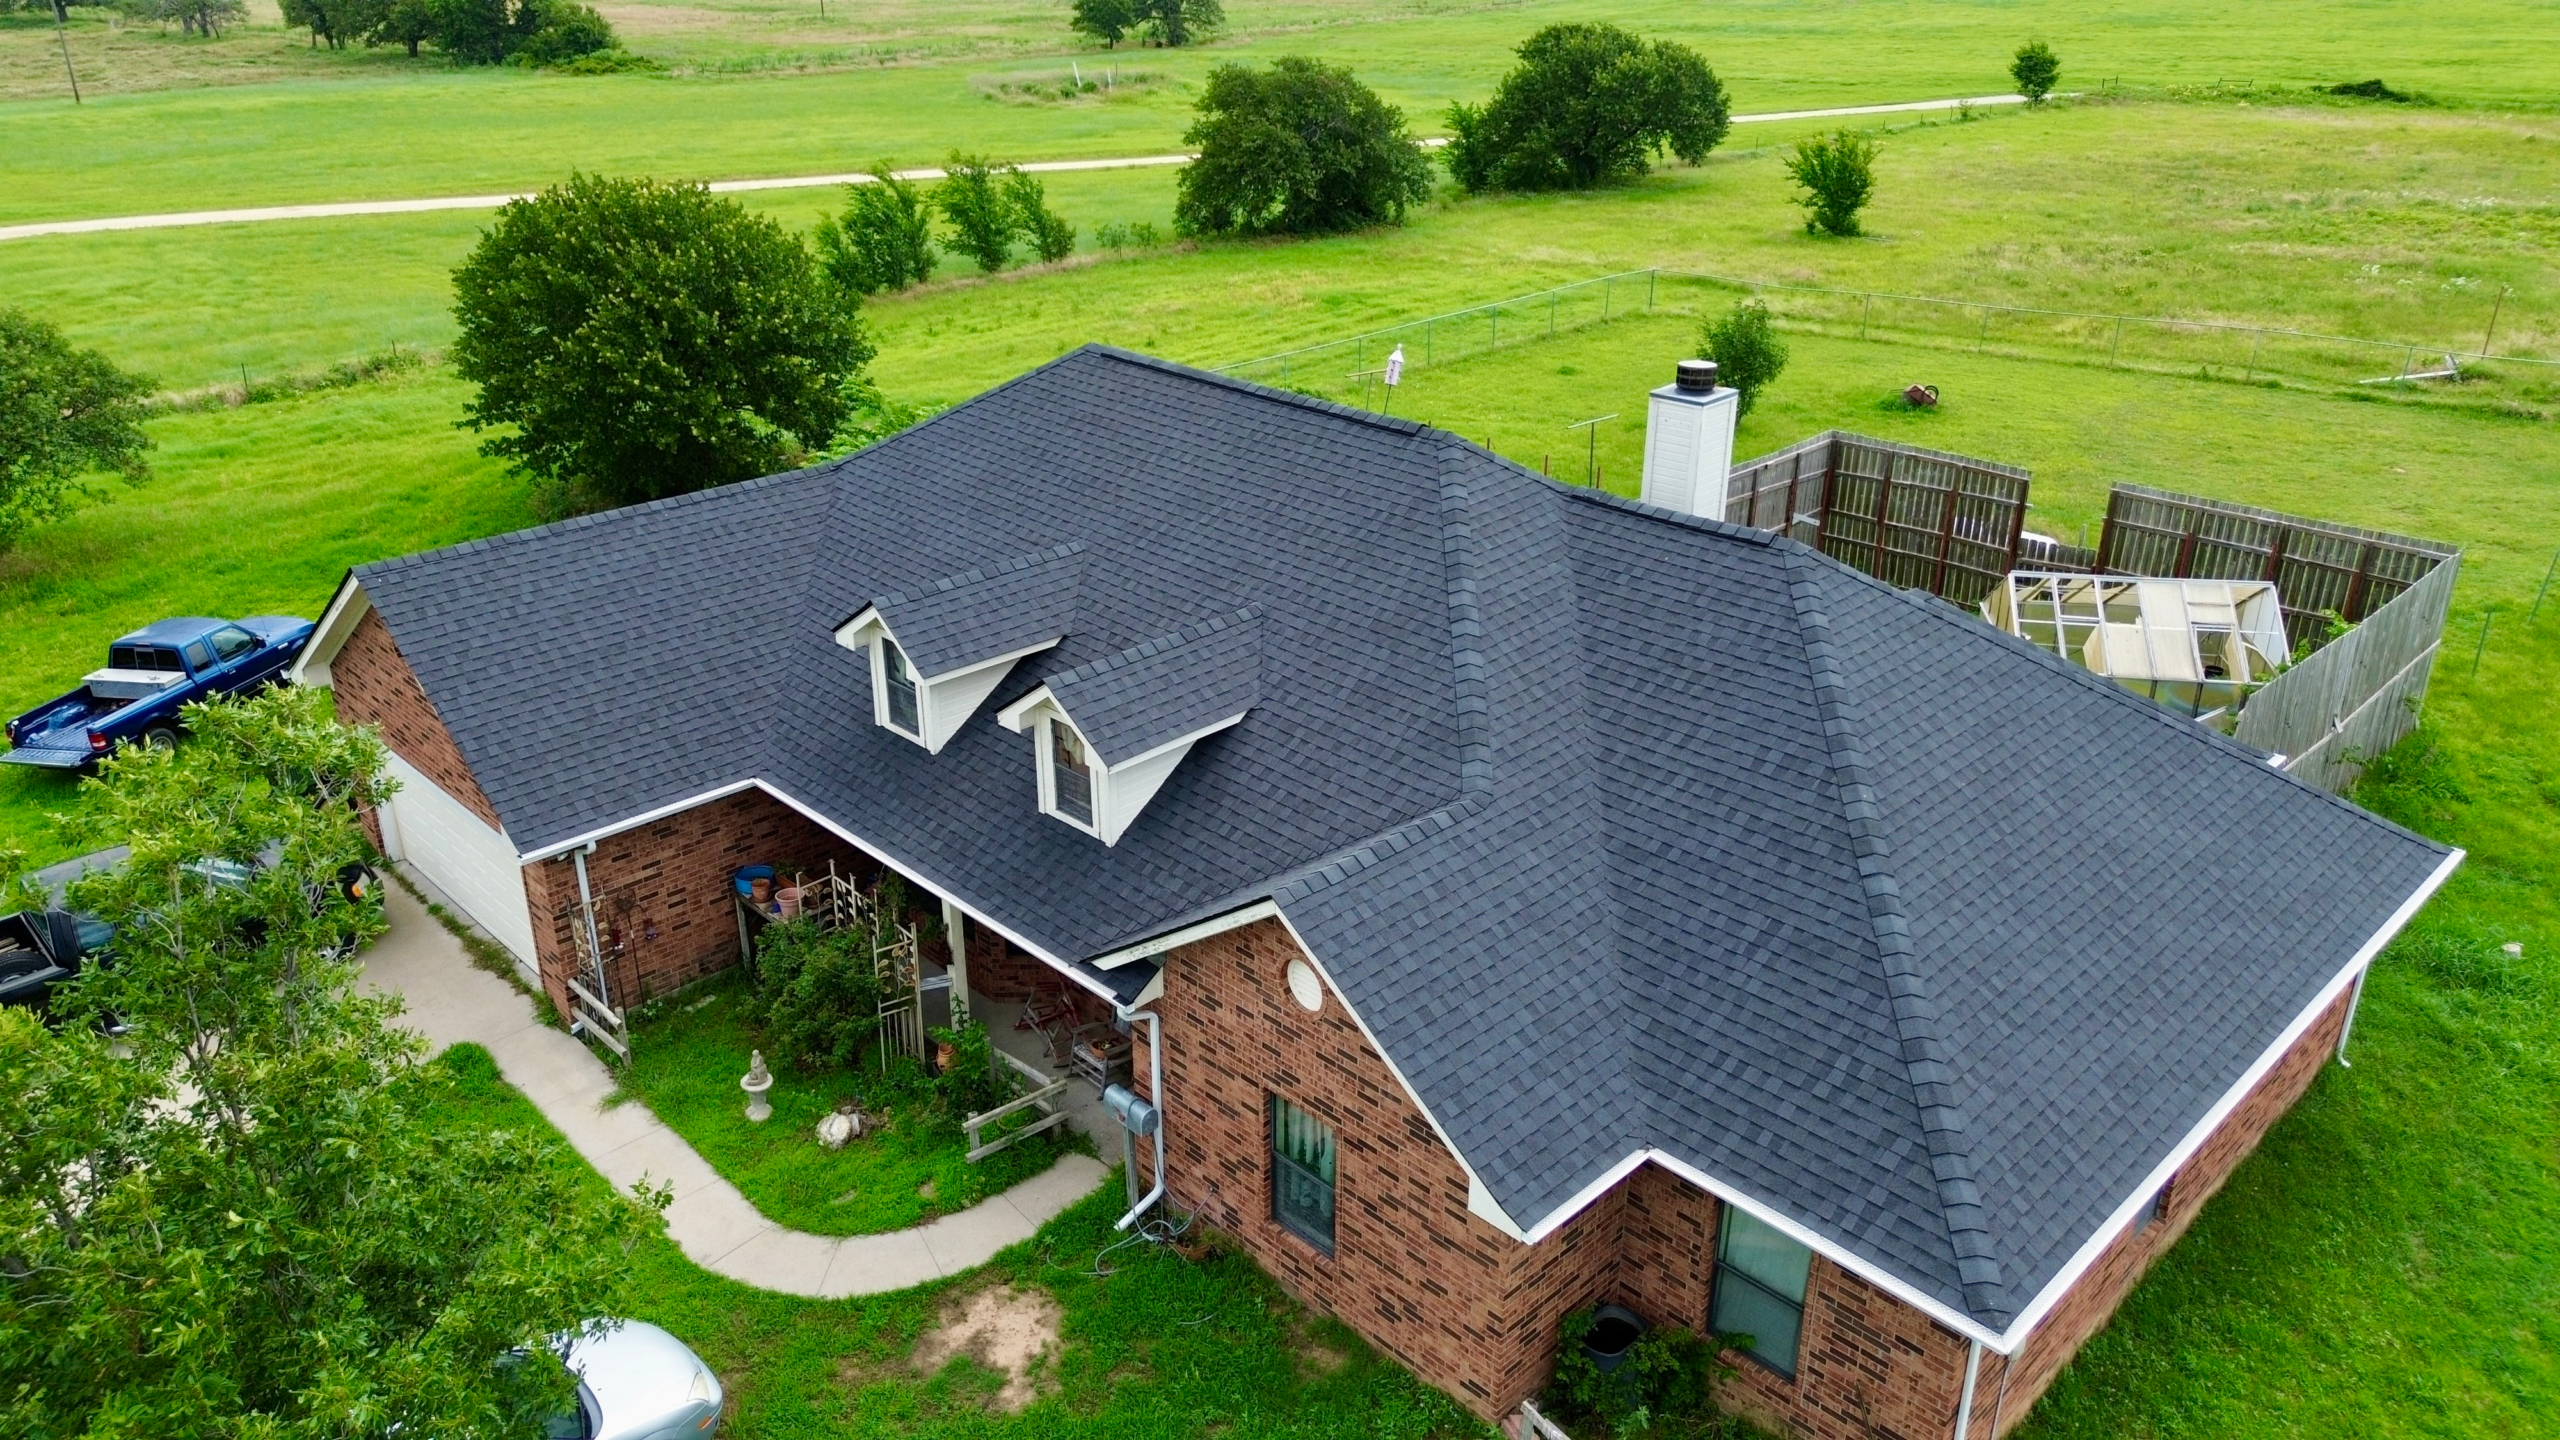
A thorough inspection is the first step before replacing damaged flashing. Replacing flashing without identifying the full extent of the problem can leave hidden issues unresolved, allowing leaks to continue even after new flashing has been installed. Careful evaluation ensures that repairs address both visible damage and any underlying conditions contributing to water intrusion.
Safety should always come first during roof inspections. Roof surfaces should be dry, stable, and free of loose debris before anyone climbs onto them. Steep roofs or buildings with multiple stories often require professional safety equipment to reduce the risk of falls.
The inspection begins by locating the damaged flashing and evaluating the surrounding roofing materials. Missing shingles, cracked tiles, bent metal panels, or deteriorated sealants may indicate that additional repairs are necessary before new flashing is installed.
Inspectors also examine the roof deck whenever access is available. Soft wood, discoloration, mold, or signs of prolonged moisture exposure suggest that water has been entering the roof for some time. Addressing these issues before installing replacement flashing improves the durability of the repair.
Interior inspections provide valuable information as well. Water stains in the attic, damp insulation, or discoloration on ceilings often help identify the exact location of leaks, making it easier to confirm which flashing sections require replacement.
Evaluating Surrounding Roofing Materials
Flashing works together with the surrounding roofing system rather than functioning independently. Before replacing damaged flashing, nearby roofing materials should be evaluated to ensure they remain capable of protecting the roof after the repair is complete.
Shingles surrounding the flashing should be checked for cracking, curling, missing granules, or storm damage. Roofing materials nearing the end of their service life may not provide a reliable foundation for newly installed flashing.
Metal roofing panels should be inspected for dents, corrosion, loose fasteners, or movement caused by thermal expansion. Even minor panel damage can affect how new flashing fits against the roof.
Tile roofs require special attention because cracked or displaced tiles may allow water to bypass flashing. Damaged tiles should be replaced before completing flashing installation to restore proper drainage.
Inspectors also evaluate the condition of the underlayment beneath the roofing materials. If water has penetrated beyond the flashing, deteriorated underlayment should be replaced to prevent hidden moisture problems from continuing after the repair.
Examining the surrounding roof ensures that flashing replacement becomes part of a complete waterproofing solution rather than an isolated repair.
Removing Damaged Flashing
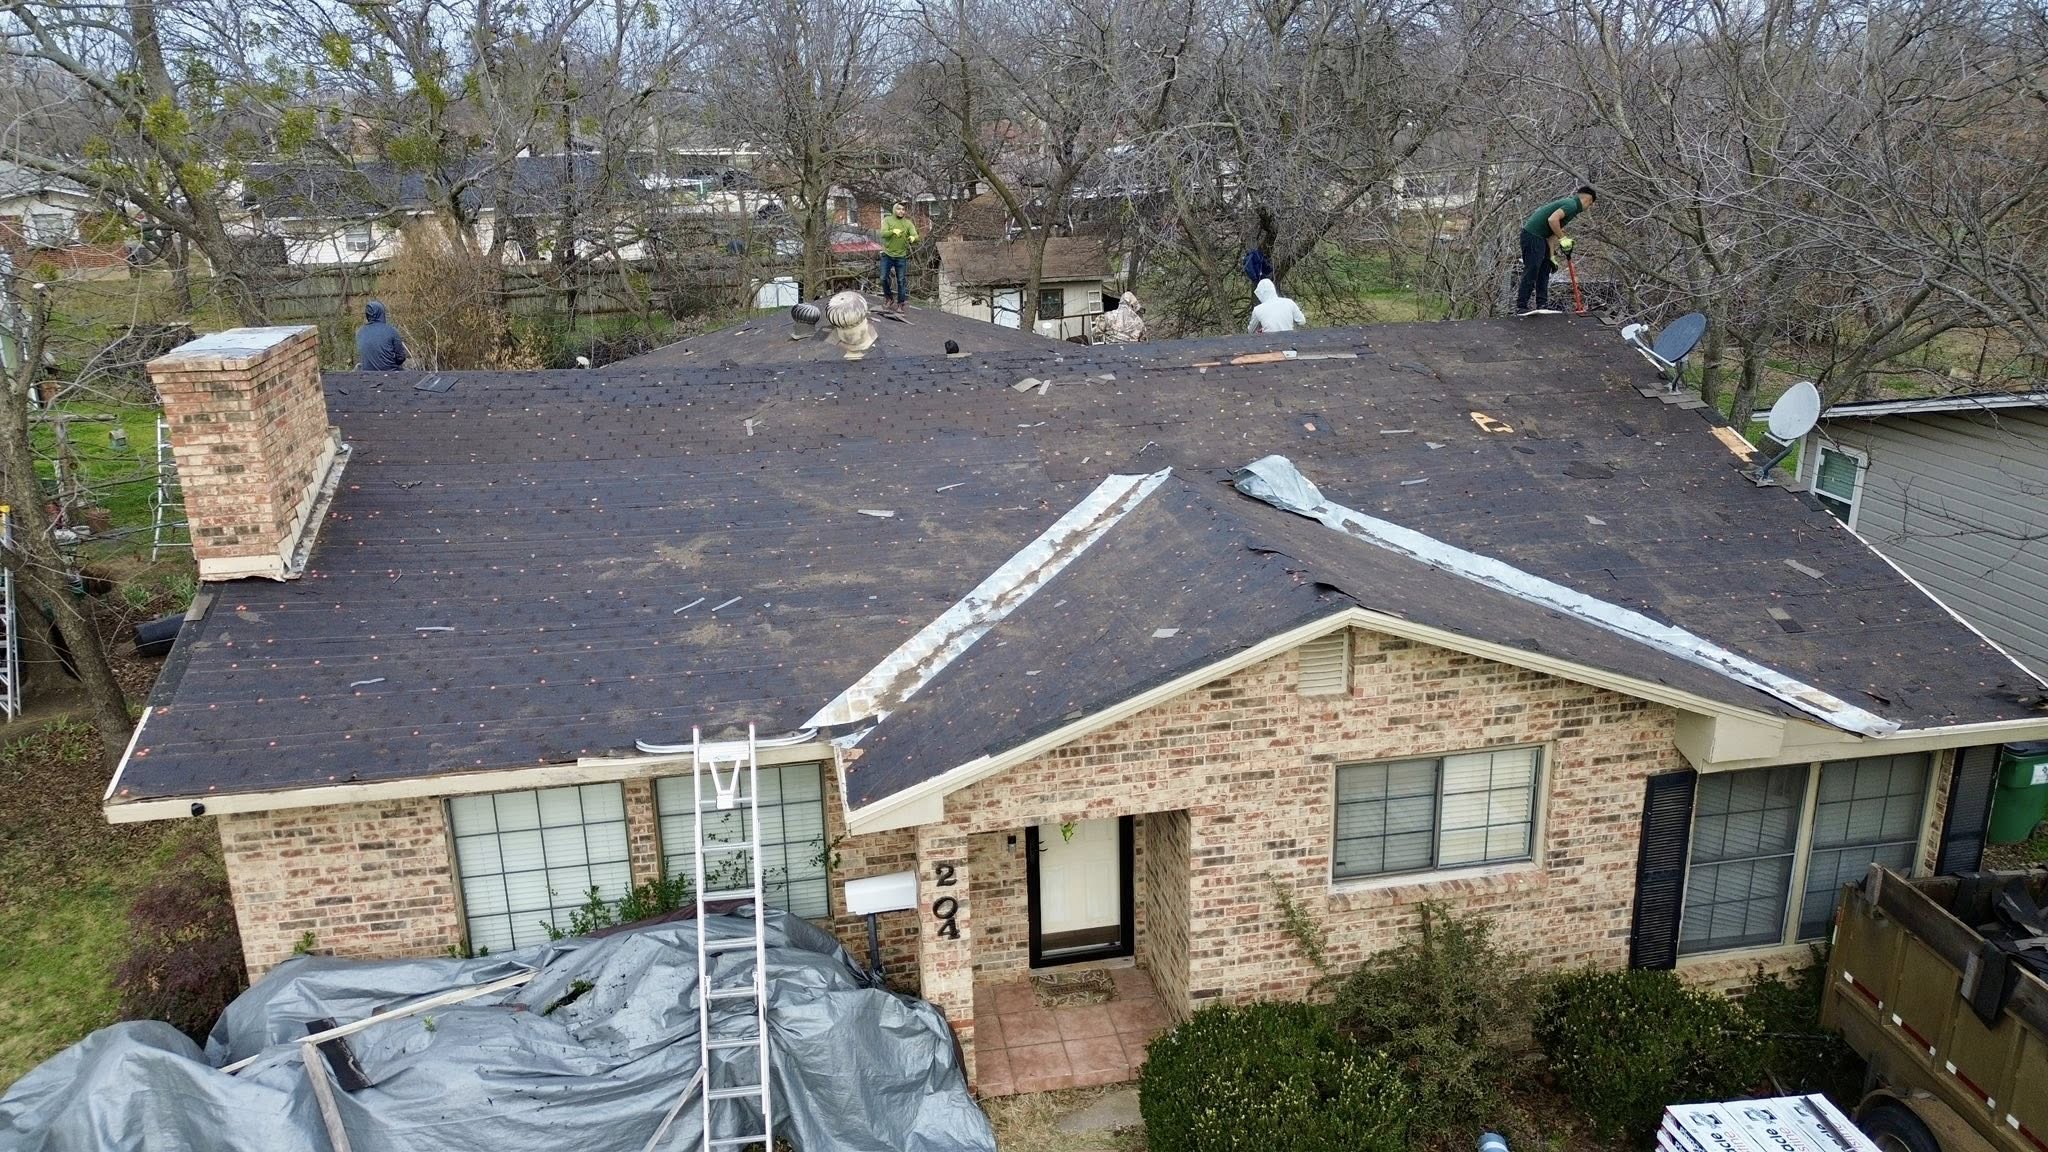
Once the inspection is complete, the damaged flashing can be removed carefully. Proper removal protects reusable roofing materials while providing a clean foundation for the new flashing.
The process usually begins by gently lifting the roofing materials that overlap the flashing. Shingles should be loosened slowly to avoid cracking or tearing them during removal. Preserving existing roofing materials helps reduce repair costs while maintaining the appearance of the roof.
Old fasteners securing the flashing should then be removed without damaging nearby roofing components. Corroded nails or screws may require additional care because forcing them out too aggressively can enlarge fastener holes or damage the roof deck.
After fasteners have been removed, the flashing should slide out carefully from beneath the roofing materials. Any resistance may indicate hidden fasteners or sealant that still needs to be released before continuing.
The exposed work area should then be cleaned thoroughly. Dirt, old sealant, roofing debris, and corrosion should be removed so the replacement flashing sits flat against the roof surface. Clean surfaces also improve the adhesion of new sealants where they are required.
Removing flashing patiently helps preserve surrounding materials while preparing the roof for a secure and long lasting installation.
Preparing the Roof for New Flashing
Installing new flashing without preparing the roof surface can reduce the effectiveness of the repair. A properly prepared surface allows flashing to fit correctly while supporting reliable waterproof performance.
Old sealants remaining on the roof should be removed before new materials are applied. Hardened sealant often prevents flashing from sitting flush against the roof, creating small gaps where water may collect.
The roof deck should be examined for signs of deterioration once the flashing has been removed. Any damaged wood should be repaired or replaced before installation continues. Sound structural support ensures the flashing remains securely attached throughout its service life.
Roofing underlayment should also be inspected for tears or moisture damage. Replacing compromised sections restores an important secondary moisture barrier beneath the finished roofing materials.
Measurements should be confirmed carefully before cutting replacement flashing. Accurate dimensions reduce unnecessary waste while ensuring proper overlap with adjacent flashing sections and roofing materials.
Preparing every layer of the roof before installation greatly increases the likelihood that the repair will remain leak free for many years.
Installing New Flashing
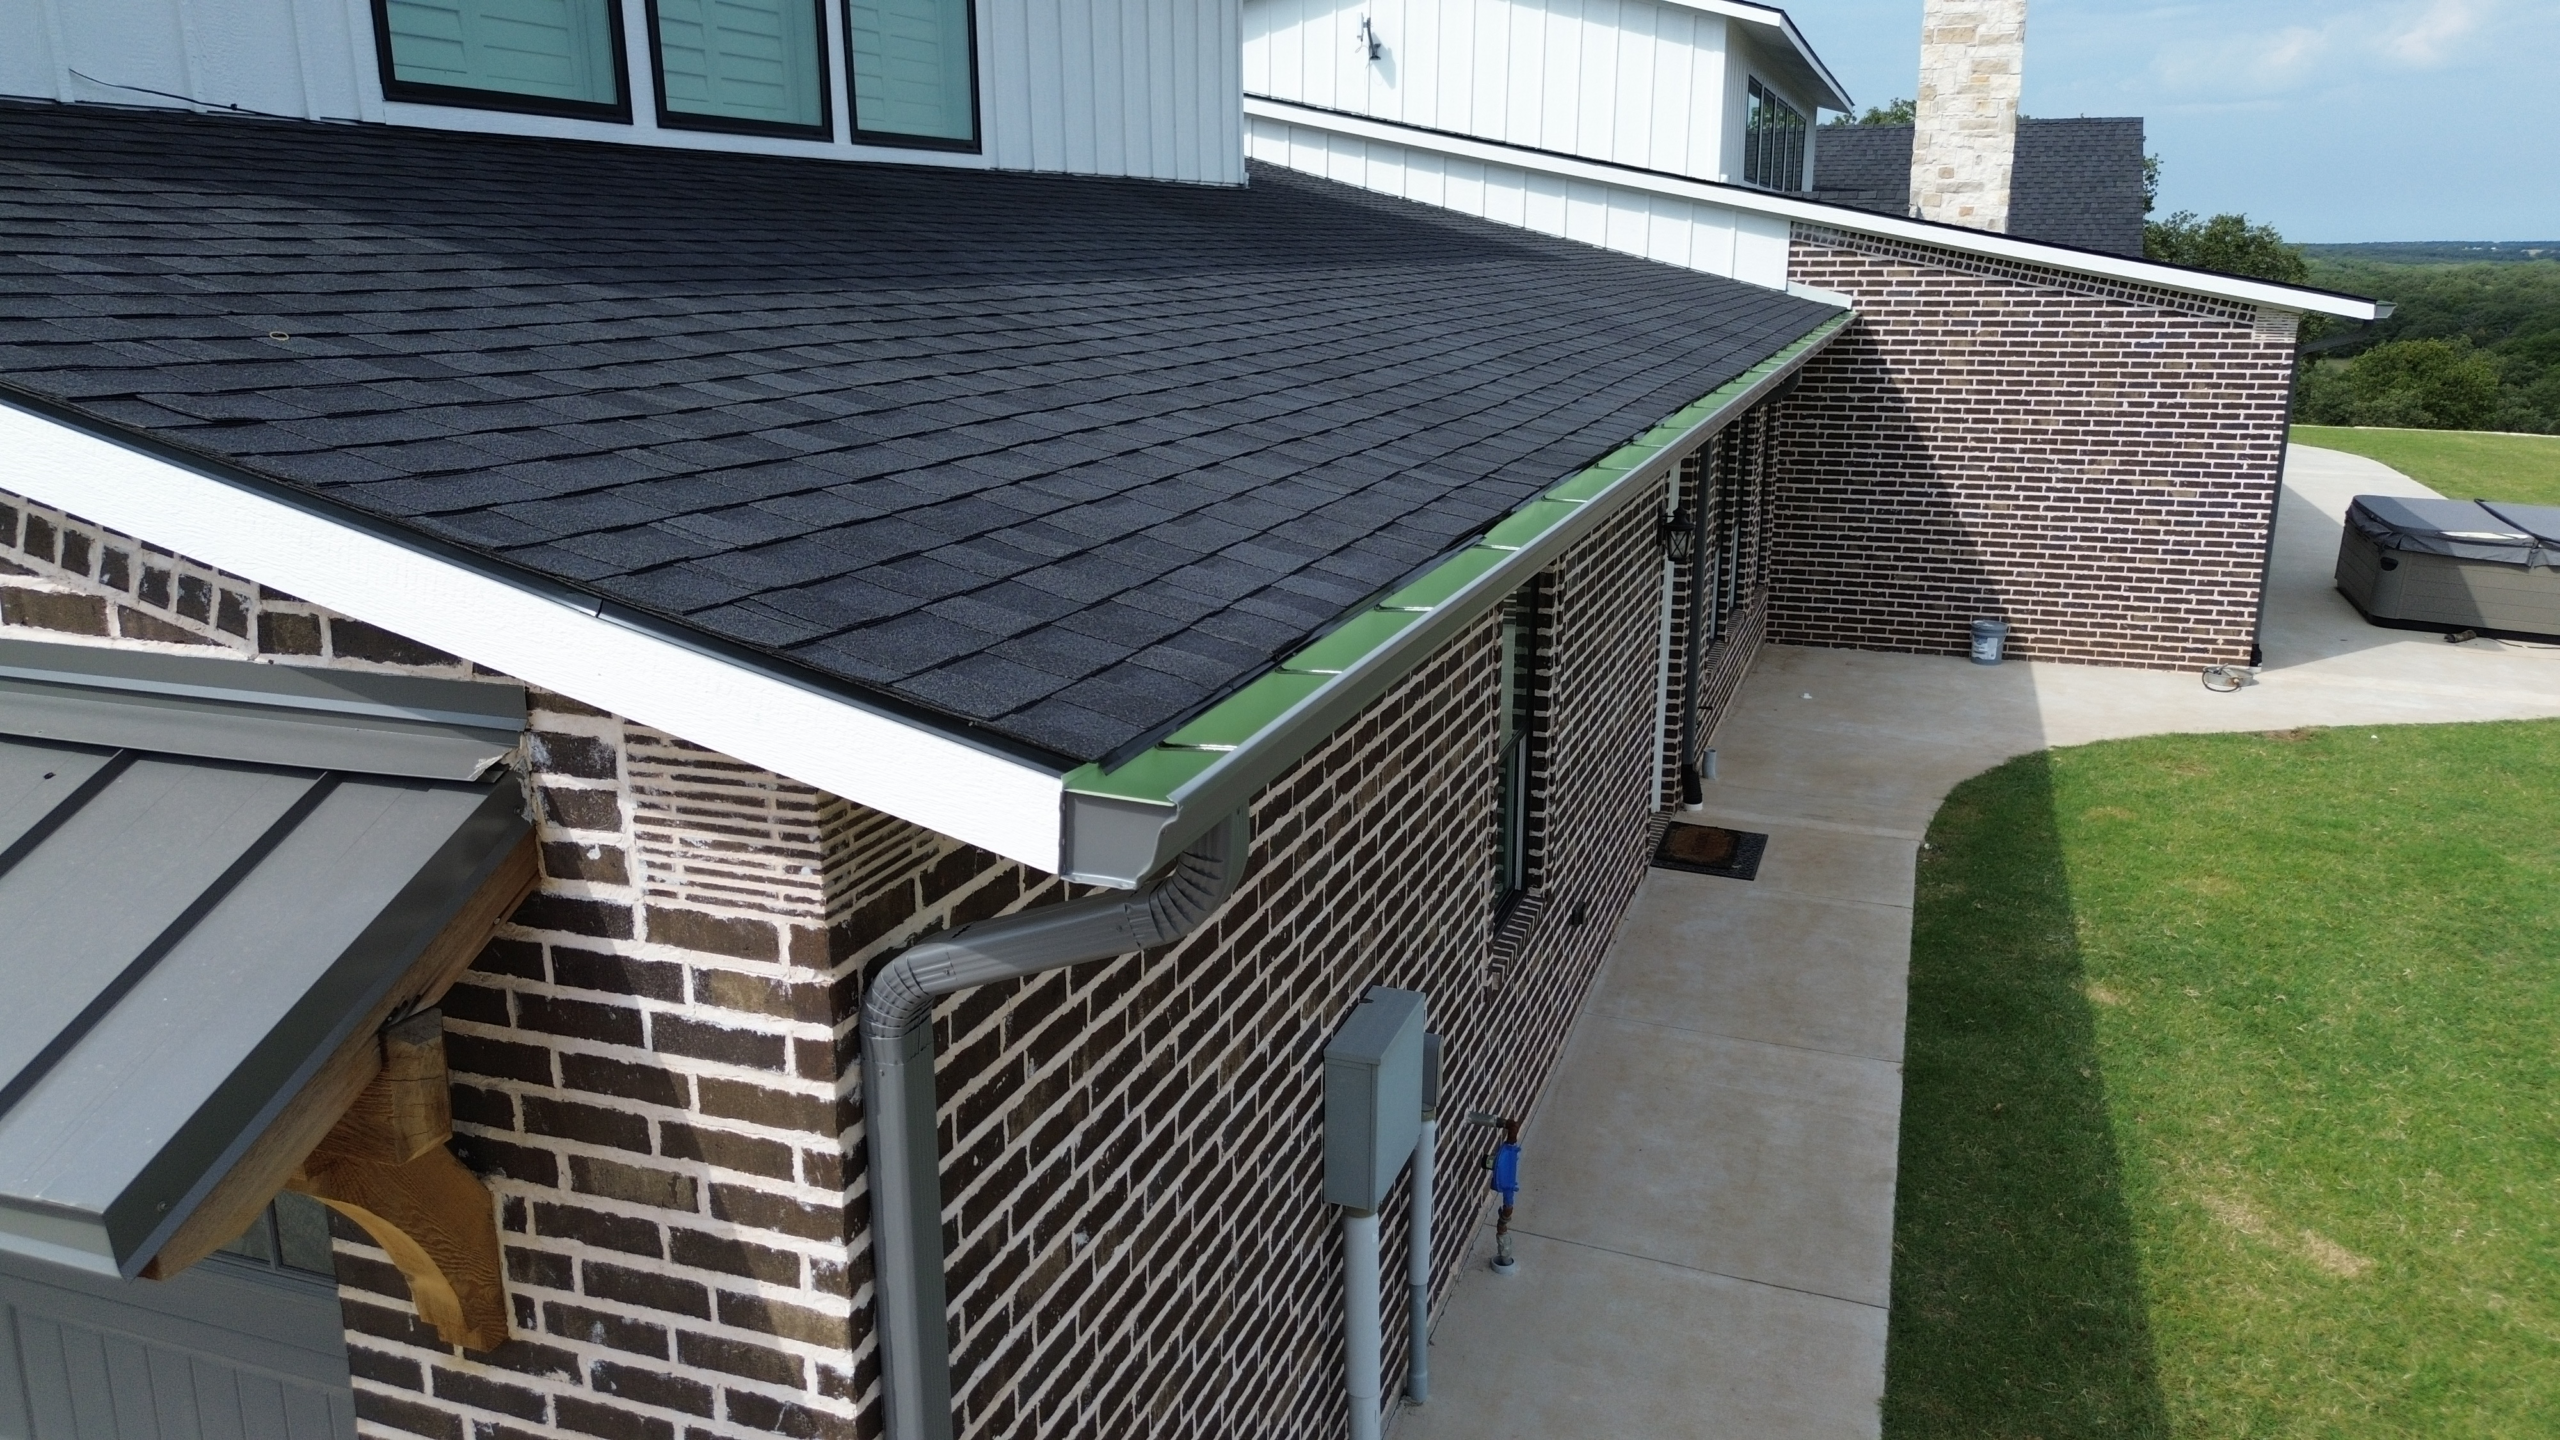
Proper installation is the most important factor in achieving a successful flashing replacement. Even high quality flashing materials cannot perform effectively if they are installed incorrectly or integrated poorly with the surrounding roof.
Replacement flashing should be cut to match the dimensions of the original component while allowing the recommended overlap at joints and transitions. Correct sizing helps maintain continuous water flow without creating unnecessary seams.
The flashing should slide beneath the roofing materials in the proper sequence so water naturally flows over each overlapping layer. Gravity should always direct runoff away from vulnerable joints rather than toward them.
Fasteners should be installed only where recommended for the specific flashing design. Proper placement secures the flashing while minimizing exposed penetrations that could eventually become leak points.
Roofing materials lifted during the replacement process should then be repositioned carefully over the new flashing. Every layer should return to its original position so the roof continues shedding water as intended.
Sealant may be applied at designated locations where flashing components meet or where manufacturer guidelines require additional waterproofing. Sealant should enhance the flashing system rather than compensate for poor installation.
Once installation is complete, the repaired section should appear uniform with the surrounding roof while maintaining smooth drainage across the entire area.
Replacing Flashing Around Common Roof Features
Different roof features require different flashing techniques because each location experiences unique water flow patterns and structural conditions. Understanding these differences helps ensure the replacement matches the specific application.
Chimney flashing usually consists of both step flashing and counter flashing. Replacing damaged sections often requires carefully removing surrounding shingles while preserving the masonry whenever possible. Proper overlap between flashing components is essential for directing water safely around the chimney.
Skylight flashing surrounds all four sides of the window assembly. Replacement flashing should integrate with both the skylight frame and the roofing materials to prevent water from entering around the opening.
Roof vents and plumbing stacks typically use specialized flashing boots designed to seal tightly around circular penetrations. Damaged boots should be replaced before cracks allow water to enter beneath the surrounding shingles.
Roof valleys require flashing capable of handling large volumes of runoff during heavy rainfall. Replacement valley flashing should remain smooth and free from obstructions so water continues flowing efficiently toward the gutters.
Roof-to-wall junctions depend on properly installed step flashing that overlaps each course of roofing material. Any damaged flashing at these intersections should be replaced carefully to maintain continuous protection where the roof meets the vertical wall.
Although each flashing type differs slightly, the overall objective remains the same. Every replacement should restore an uninterrupted path that directs water safely away from vulnerable roof components.
Comparing Common Flashing Materials
Different flashing materials offer varying levels of durability, corrosion resistance, and suitability for different roofing systems. Choosing the appropriate material helps maximize the lifespan of the replacement.
| Flashing Material | Durability | Corrosion Resistance | Typical Applications |
|---|---|---|---|
| Aluminum | High | High | General residential roofing |
| Galvanized steel | High | Moderate | Roof valleys and chimneys |
| Copper | Very High | Excellent | Premium residential and historic roofs |
| Stainless steel | Very High | Excellent | Coastal and severe weather environments |
| Lead | High | Excellent | Historic buildings and specialty roofing |
Matching the replacement flashing to the existing roofing system generally provides the best balance of appearance, compatibility, and long term performance.
Common Flashing Replacement Mistakes
Many flashing replacements fail not because of poor materials but because important installation details are overlooked. Avoiding these mistakes significantly improves repair durability while reducing the likelihood of future leaks.
Incorrect flashing overlap is one of the most common installation errors. Flashing pieces that do not overlap sufficiently allow water to bypass the intended drainage path during heavy rainfall. Proper overlap ensures each layer directs water onto the next lower section.
Reusing severely damaged flashing is another frequent mistake. While it may seem economical, corroded or weakened flashing often continues deteriorating after installation, reducing the lifespan of the repair.
Improper fastener placement creates unnecessary leak risks. Fasteners installed through exposed water channels may eventually allow moisture to enter as sealants age or fasteners loosen over time.
Some repairs rely too heavily on roofing sealant instead of proper flashing installation. Although sealant provides valuable secondary protection, it cannot replace correctly installed flashing because all sealants gradually deteriorate with weather exposure.
Hidden moisture damage is also sometimes ignored during flashing replacement. Installing new flashing over deteriorated roof decking or damaged underlayment may leave ongoing structural problems concealed beneath the finished roof.
Homeowners and contractors should avoid these common mistakes during flashing replacement.
- Installing flashing with insufficient overlap.
- Leaving damaged underlayment beneath the repair.
- Using incompatible flashing and fastener materials.
- Applying excessive amounts of sealant.
- Ignoring nearby roofing damage contributing to leaks.
- Skipping a final inspection after installation.
Replacing flashing correctly requires attention to every detail rather than focusing only on the visible metal components. Careful preparation, accurate installation, and proper integration with surrounding roofing materials produce repairs that remain reliable for many years.
The final section of this guide explains when professional flashing replacement is recommended, outlines maintenance practices that extend flashing lifespan, answers common homeowner questions, and concludes with practical recommendations for protecting your roof without requiring a complete roof replacement.
When Professional Flashing Replacement Is Recommended
Many flashing replacement projects can be completed without replacing the entire roof, but some situations require professional expertise. Complex roof designs, hidden structural damage, or extensive flashing deterioration often demand specialized knowledge and equipment to ensure the repair is completed correctly.
Large sections of damaged flashing are one example. When multiple roof features such as chimneys, skylights, valleys, and roof-to-wall junctions all require replacement, the project becomes more complicated. Proper sequencing and integration between flashing components are essential for maintaining a watertight roofing system.
Steep roofs also present significant safety risks. Working at height while lifting roofing materials and installing flashing requires appropriate fall protection and experience. Professional roofers have the equipment needed to complete these repairs safely while minimizing the risk of injury.
Historic homes or specialty roofing systems often require customized flashing that matches the original construction. Materials such as slate, clay tile, or copper roofing demand precise fabrication and installation techniques that differ from standard residential roofing practices.
Persistent leaks that continue after previous repairs should also be evaluated professionally. Repeated water intrusion may indicate hidden damage beneath the roofing materials or multiple flashing failures that require a comprehensive inspection rather than another localized repair.
Situations That May Require Partial Roof Repairs
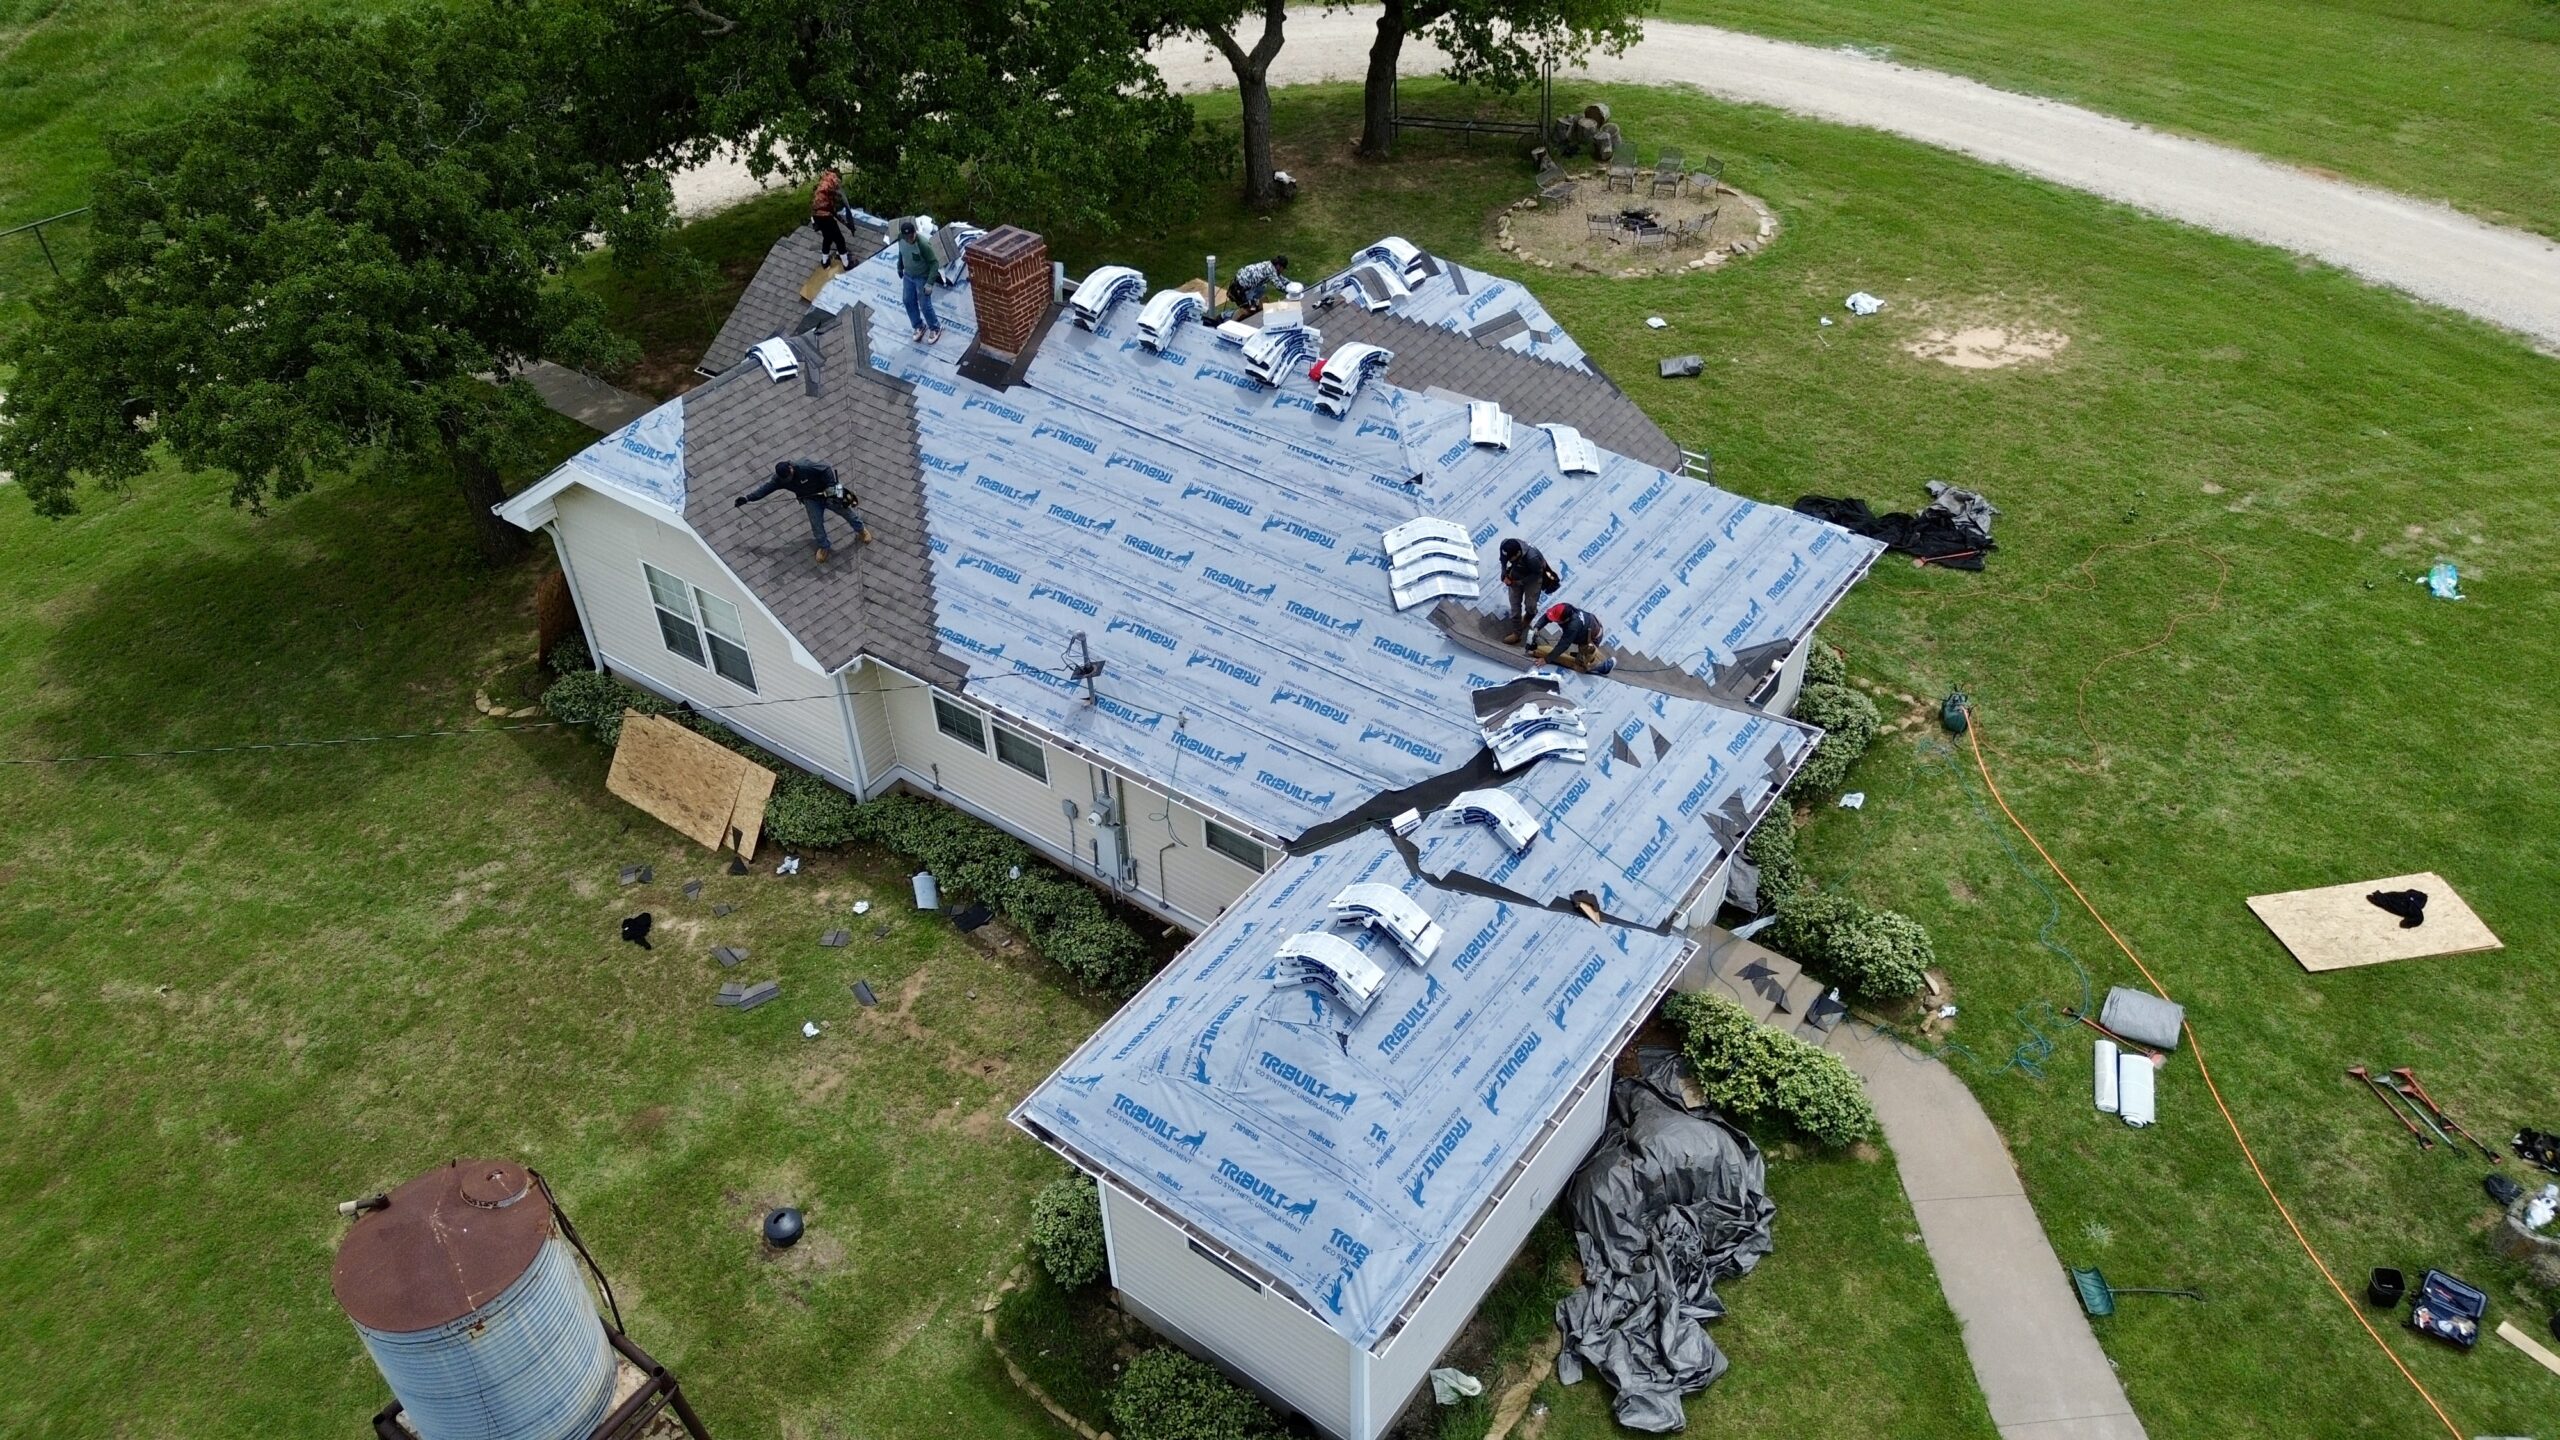
Although full roof replacement is not always necessary, flashing replacement sometimes reveals additional roofing issues that should be repaired at the same time. Addressing these conditions during the flashing project helps prevent future leaks while reducing labor costs.
Damaged roof decking is one common example. If prolonged moisture has weakened the wood beneath the flashing, replacing the affected decking restores structural support before the new flashing is installed.
Underlayment that has become torn or saturated should also be replaced whenever access is available. Since flashing depends on the underlayment as a secondary moisture barrier, repairing both components together provides more reliable protection.
Nearby shingles or roofing panels may also require replacement if they were damaged during storms or have reached the end of their service life. Integrating these repairs with flashing replacement creates a more consistent and durable roofing system.
Minor structural adjustments may occasionally be necessary if settling has altered the roof geometry around the flashing. Correcting these issues helps maintain proper drainage while reducing stress on the replacement flashing.
Combining related repairs during one project often provides better long term performance than addressing each issue separately over several years.
Preventing Future Flashing Damage
The lifespan of replacement flashing depends not only on installation quality but also on ongoing maintenance. Preventive care reduces wear while helping flashing continue protecting the roof for many years.
Routine roof inspections allow homeowners to identify developing problems before they become major repairs. Flashing should be examined for corrosion, loose fasteners, cracked sealants, and movement after severe weather events.
Keeping the roof clean also plays an important role. Leaves, branches, and accumulated debris trap moisture against flashing while restricting normal drainage. Removing this debris helps flashing dry more quickly after rainfall.
Gutters and downspouts should remain free from obstructions as well. Overflowing gutters may expose flashing to continuous moisture, increasing the likelihood of corrosion and water intrusion around roof edges.
Tree branches hanging over the roof should be trimmed whenever practical. Falling branches may dent or loosen flashing, while accumulated leaves create favorable conditions for moisture retention and corrosion.
Prompt storm inspections help identify flashing damage before leaks develop. High winds may lift flashing slightly or displace nearby roofing materials even when no obvious damage is visible from the ground.
Protecting Flashing from Corrosion
Corrosion is one of the leading causes of flashing deterioration, particularly in environments exposed to frequent moisture or salt air. Taking steps to reduce corrosion extends flashing life while lowering future maintenance costs.
Compatible materials should always be used during repairs. Mixing certain metals may create galvanic corrosion, where electrical reactions gradually damage the flashing whenever moisture is present. Selecting matching fasteners and flashing materials minimizes this risk.
Protective coatings should remain in good condition throughout the flashing’s service life. If coatings begin peeling or wearing away, timely maintenance helps restore the barrier before corrosion reaches the underlying metal.
Standing water should never be allowed to remain around flashing after rainfall. Improving roof drainage prevents prolonged moisture exposure while reducing the conditions that encourage corrosion.
Homes located near coastal areas benefit from more frequent inspections because airborne salt accelerates metal deterioration. Regular cleaning removes salt deposits before they begin affecting flashing surfaces.
Maintaining good roof ventilation also supports flashing longevity by helping moisture evaporate more quickly after rain or snow. Drier roof conditions reduce corrosion while preserving nearby roofing materials.
Maintenance Tips After Flashing Replacement
Proper maintenance begins immediately after new flashing has been installed. Regular monitoring ensures the repair continues performing as expected while identifying minor issues before they become significant problems.
Seasonal roof inspections provide an excellent opportunity to examine newly installed flashing. Looking for movement, corrosion, or sealant deterioration helps verify that the repair remains in good condition.
The attic should also be checked periodically for signs of moisture. Stains on roof decking, damp insulation, or mold growth may indicate that water has found another pathway into the roof assembly.
Gutters should be cleaned regularly to maintain efficient drainage around flashing. Water that flows freely away from the roof reduces unnecessary stress on repaired areas.
Homeowners may also benefit from keeping a maintenance record that documents inspections, repairs, and material replacements. This information helps identify recurring issues while making future roof evaluations more efficient.
Several simple maintenance practices contribute to longer flashing life.
- Inspect flashing after major storms.
- Clean gutters and roof valleys regularly.
- Replace cracked sealants promptly.
- Remove debris from roof intersections.
- Monitor attic spaces for signs of moisture.
- Schedule periodic professional roof inspections.
Consistent maintenance protects the investment made during flashing replacement while helping the entire roofing system perform more reliably.
Best Practices for Long Lasting Flashing Performance
Quality materials alone cannot guarantee successful flashing performance. Proper installation techniques, compatible products, and ongoing maintenance all contribute to the long term durability of replacement flashing.
Choosing flashing manufactured from corrosion resistant materials appropriate for the local climate provides an excellent foundation for long service life. Matching the flashing material to the surrounding roofing system also improves compatibility while reducing maintenance requirements.
Following manufacturer installation recommendations ensures flashing performs as designed. Proper overlap, secure fastening, and correct integration with roofing materials create dependable drainage paths that remain effective under varying weather conditions.
Roof drainage should always remain a priority. Flashing functions best when water moves quickly across the roof without becoming trapped by debris, clogged gutters, or improper roof slopes.
Routine professional inspections provide additional confidence that the flashing continues performing correctly. Experienced roofing specialists often recognize subtle warning signs before homeowners notice visible leaks or structural damage.
Preventive maintenance should always take priority over emergency repairs. Addressing minor issues while they remain localized helps preserve both the flashing and the surrounding roofing materials.

Frequently Asked Questions
Can flashing be replaced without removing all the shingles?
Yes. In many cases, only the roofing materials immediately surrounding the damaged flashing need to be lifted carefully. Once the new flashing is installed, the existing shingles can often be reinstalled if they remain in good condition.
How long does replacement flashing usually last?
Flashing lifespan depends on the material, installation quality, local climate, and maintenance practices. Properly installed flashing made from quality materials can often provide reliable service for several decades.
Is replacing flashing less expensive than replacing the entire roof?
In most situations, yes. When flashing damage is localized and the surrounding roofing materials remain in good condition, replacing only the flashing is significantly more economical than installing a completely new roof.
Can damaged flashing cause structural damage?
Yes. Water entering through failed flashing may eventually affect the roof deck, framing, insulation, drywall, and other structural components if repairs are delayed. Early replacement helps prevent these secondary problems.
How often should roof flashing be inspected?
Flashing should generally be inspected at least once each year and after severe storms. Homes located in coastal regions or areas with frequent extreme weather may benefit from more frequent inspections.
Conclusion
Roof flashing serves as one of the most important waterproofing components in any roofing system. Although it occupies only a small portion of the roof, it protects the areas most vulnerable to water intrusion, including chimneys, skylights, roof valleys, vents, and roof-to-wall intersections. When flashing becomes damaged, replacing it promptly helps preserve the integrity of the entire roof.
Fortunately, flashing problems do not always require a complete roof replacement. If the surrounding roofing materials remain in good condition and the damage is limited to specific sections, targeted flashing replacement provides an effective and cost efficient solution. Careful inspection, proper removal techniques, accurate installation, and compatible materials all contribute to a successful repair.
Replacing flashing also presents an opportunity to identify hidden roofing issues such as deteriorated underlayment, damaged roof decking, or drainage problems. Addressing these concerns during the repair process improves long term performance while reducing the likelihood of recurring leaks.
Regular inspections, routine cleaning, timely sealant maintenance, and prompt repairs after storms help extend the lifespan of replacement flashing. Preventive maintenance minimizes corrosion, preserves drainage performance, and protects surrounding roofing materials from unnecessary moisture exposure.
By understanding when flashing can be replaced independently, recognizing the warning signs of flashing failure, and following proven installation and maintenance practices, homeowners can avoid unnecessary full roof replacements while maintaining a durable, watertight roofing system. Early attention to flashing issues not only saves money but also helps ensure the roof continues protecting the home for many years to come.