
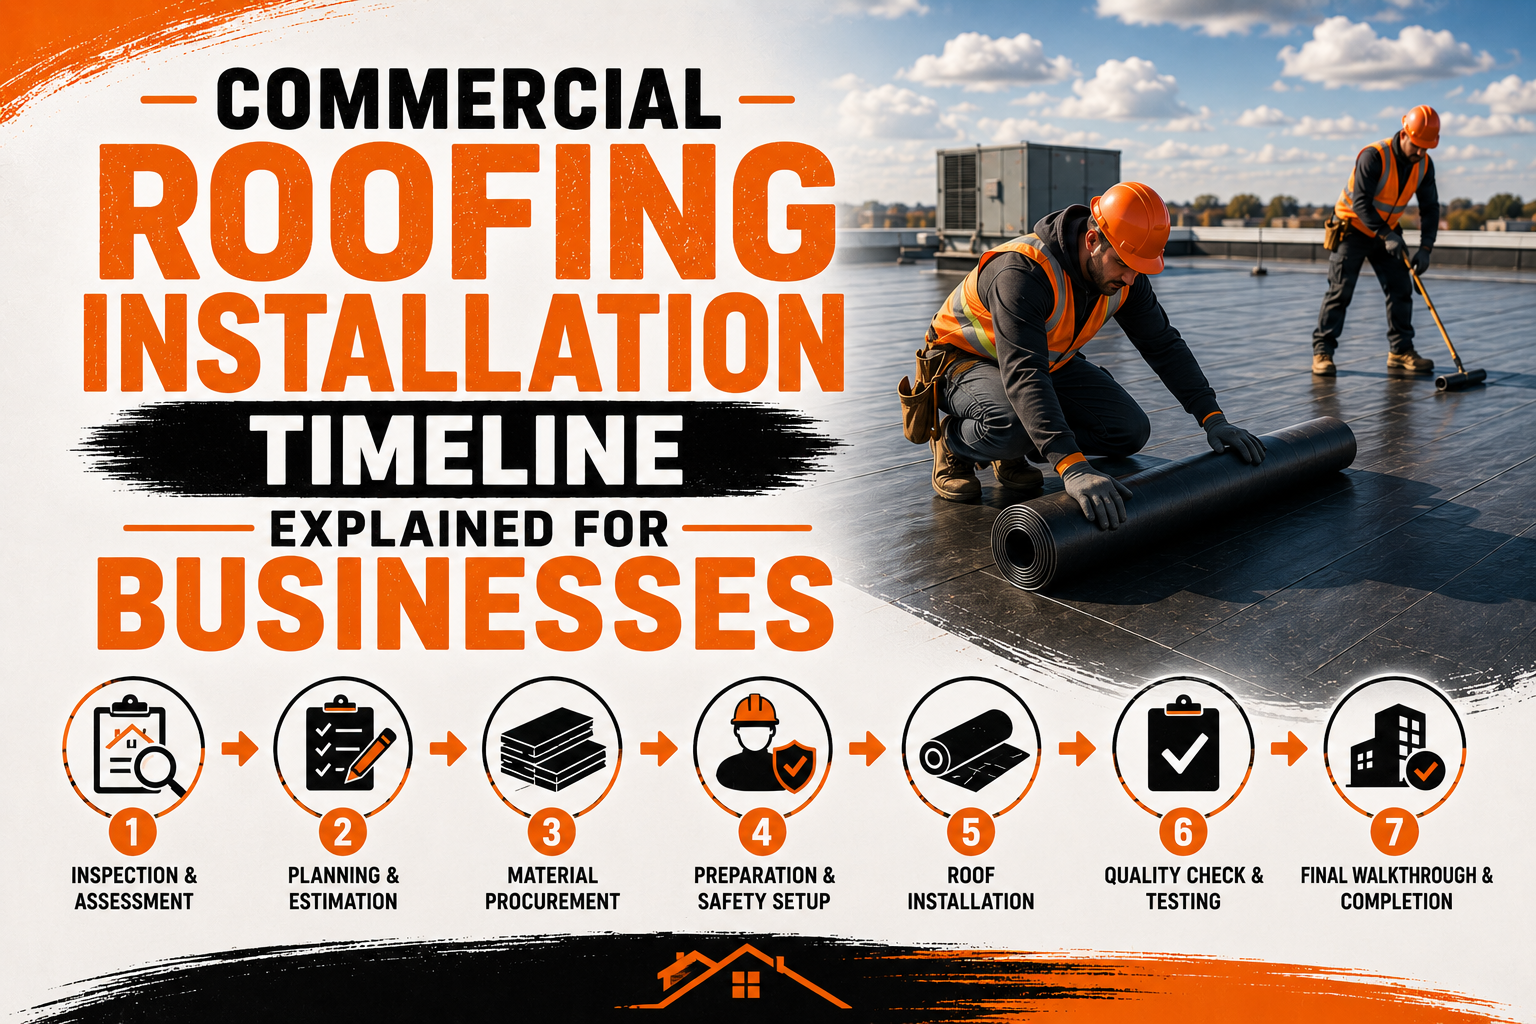
Commercial Roofing Installation Timeline Explained for Businesses
Introduction
Commercial roofing installation is a major project that can affect a business’s daily operations, employees, customers, equipment, and long-term property plans. Unlike a simple maintenance visit or minor roof repair, a full commercial roof installation involves several stages that must be completed in the correct order. Understanding the timeline helps business owners prepare their properties, coordinate with contractors, and reduce unexpected disruptions during construction.
The exact duration of a commercial roofing project varies from one building to another. Roof size, existing roof condition, selected materials, weather, building access, labor availability, permits, structural requirements, and the complexity of the roof can all influence how long the project takes. A large facility with multiple rooftop systems and complicated drainage may require significantly more time than a smaller building with an open and accessible roof.
A roofing timeline should therefore be viewed as a project framework rather than a fixed schedule. Some activities can overlap, while others must be completed before the next stage can begin. For example, materials can be ordered while permits are being processed, but the new roofing system cannot be installed properly until the existing surface and roof deck have been prepared.
For businesses, the most important goal is not simply completing the roof quickly. The project should progress safely and systematically while maintaining protection for the building and minimizing disruption to normal operations. Knowing what happens during each stage makes it easier to anticipate delays, plan staff and customer access, and communicate effectively with the roofing contractor.
Initial Roof Assessment and Project Consultation
The commercial roofing timeline usually begins with an inspection and consultation rather than physical installation. During this stage, the roofing contractor evaluates the existing roof and discusses the building owner’s concerns, priorities, budget expectations, and long-term goals. This initial assessment provides the information needed to determine what type of roofing project is appropriate.
The inspection may examine the visible roof surface, seams, flashing, drains, insulation, penetrations, edges, and other components. Contractors may also look for signs of leaks, ponding water, damaged materials, corrosion, deterioration, or previous repairs. Interior areas can sometimes provide additional evidence through ceiling stains, moisture damage, or other signs that water has entered the building.
The condition of the existing roof is especially important when estimating the project timeline. A roof that is relatively stable and suitable for a straightforward replacement may move through the preparation stage more efficiently. If the inspection suggests extensive damage, moisture problems, or structural concerns, additional investigation and repairs may be required.
The contractor also considers the building’s use during this stage. A retail property, warehouse, office building, manufacturing facility, school, or healthcare property may have very different operational requirements. The roofing team needs to understand when the building is occupied, where customers or employees enter, which areas contain sensitive equipment, and whether certain activities must continue during construction.
The initial consultation can also help determine whether the existing roof should be completely removed or whether a suitable roof recovery approach may be possible. This decision can have a substantial effect on the timeline because a complete tear-off generally requires additional labor, debris handling, and substrate inspection.
Once the initial inspection is complete, the contractor can begin developing a more detailed project scope. The business owner should receive a clear explanation of the recommended work and the factors that could affect the expected schedule.
Developing the Roofing Project Plan
After the initial assessment, the roofing contractor develops a project plan that establishes how the installation will be organized. This planning stage connects the condition of the existing roof with the practical requirements of the upcoming construction. A detailed plan can help prevent avoidable delays once crews arrive on site.
The scope should identify the major work involved, such as roof removal, deck repairs, insulation installation, membrane installation, flashing, drainage improvements, edge details, and final inspections. The project team should also clarify whether other building components need to be coordinated with the roofing work.
A commercial roofing timeline can be influenced by several planning factors:
- Roof size and layout
- Existing roof condition
- Selected roofing system
- Material availability
- Building access
- Required permits and inspections
- Weather conditions
- Business operating hours
- Availability of roofing crews and equipment
The contractor should also determine how the work will be divided into sections. On a large commercial building, completing the entire roof at once may not be practical. Instead, crews may work in controlled sections, removing existing materials and installing the new system progressively.
Phased construction can be especially useful for occupied businesses. It allows certain parts of the property to remain operational while other areas are being worked on. The approach may take longer than working across the entire roof simultaneously, but it can reduce disruption and improve control over the construction area.
The project plan should also establish how unexpected conditions will be handled. Hidden damage may not become visible until the existing roof is removed, so the schedule should allow some flexibility for repairs. Having a process for documenting and approving additional work can help prevent confusion if unforeseen problems are discovered.
A realistic timeline should balance efficiency with proper installation practices. Rushing critical roofing activities to meet an arbitrary deadline can increase the risk of workmanship problems, while excessive delays can unnecessarily interfere with business operations. Good planning aims to keep the project moving without compromising quality.
Selecting Roofing Materials and Confirming Availability
Material selection is another important stage that can affect when physical installation begins. Commercial roofing systems come in several forms, and each has different installation requirements, lead times, preparation needs, and weather considerations. The material decision should therefore be made early enough to allow proper ordering and delivery.
Common commercial roofing options include single-ply membranes, modified bitumen, built-up roofing, metal roofing, and other specialized systems. The best choice depends on factors such as the building’s design, climate, expected service life, maintenance requirements, energy goals, and budget.
Once the roofing system has been selected, the contractor needs to confirm the availability of all required materials. This may include the primary roof covering as well as insulation, adhesives, fasteners, flashing components, edge systems, sealants, drainage components, and other accessories.
Material availability can have a direct impact on the project timeline. If a specialized product is not immediately available, installation may need to be postponed until the materials arrive. Ordering the required products early gives the contractor more control over the schedule and reduces the likelihood of construction stopping because an essential component is missing.
Storage requirements should also be considered. Some roofing materials need to be protected from moisture, contamination, extreme temperatures, or physical damage. The contractor should determine where materials can be stored safely and how they will be moved to the roof.
Material coordination becomes even more important for larger projects. A commercial roof may require substantial quantities of insulation, membrane, metal components, fasteners, and other products. Deliveries may need to be scheduled in stages to prevent the work area from becoming overcrowded or overloaded.
The selected roofing system can also influence the installation speed. Some systems can be installed relatively quickly across large open areas, while others involve multiple layers or more detailed application methods. The contractor should account for these requirements when preparing the expected completion schedule.
Permits, Approvals, and Pre-Construction Requirements
Before installation begins, the project may require permits, inspections, approvals, engineering information, or other documentation. These requirements vary according to the location, building type, scope of work, and applicable regulations. Completing these administrative steps early can help prevent delays once construction is ready to begin.
The contractor should identify the permits and approvals required for the project and determine who is responsible for obtaining them. In some cases, the roofing contractor manages much of this process, while other projects may involve building owners, architects, engineers, property managers, or local authorities.
The timeline should account for any required inspections. Some jurisdictions or projects may require specific inspections before certain construction stages can proceed. If an inspection is required after deck repairs or before covering a structural component, the crew may need to wait for approval before continuing.
Manufacturer requirements can also influence project preparation. Certain commercial roofing systems require installation by approved contractors or adherence to specific procedures to qualify for particular warranty coverage. The contractor should understand these requirements before work starts rather than discovering them during installation.
Building-specific approvals may be necessary as well. A commercial property may be located within a managed complex, business park, shopping center, industrial facility, or other development where property management approval is required. Access restrictions, working hours, delivery procedures, and temporary closures may need to be agreed upon in advance.
This stage is also a good time to establish communication procedures. Business owners should know who will provide daily updates, how schedule changes will be communicated, and who should be contacted when unexpected conditions are discovered. Clear communication can make a significant difference when construction is taking place in an occupied building.
Although permits and paperwork may not appear to be part of the physical roofing process, they can have a major effect on the timeline. A project that is technically ready but lacks an essential approval cannot always proceed as planned.
Preparing the Business and Construction Site
Once planning and approvals are in place, attention turns toward preparing the building and surrounding property for construction. This stage is particularly important for businesses because roofing work can affect areas far beyond the roof itself. Proper preparation helps protect employees, customers, inventory, vehicles, equipment, and normal business activities.
The contractor and property manager should identify the areas that will be used for equipment, material storage, waste containers, delivery vehicles, and worker access. These locations should be selected carefully so they do not unnecessarily interfere with entrances, loading zones, emergency routes, or customer parking.
Roof access also needs to be planned. Depending on the building, workers may use ladders, stairs, lifts, scaffolding, or other access systems. Materials may need to be transported to elevated areas, so the contractor must determine how this will be done safely and efficiently.
Businesses should also prepare employees and occupants for changes during construction. Temporary access restrictions, noise, equipment movement, and changes to parking arrangements may occur. Providing advance information can help employees and customers understand what to expect and reduce confusion during the project.
Sensitive areas of the building may require additional protection. Warehouses may need to protect inventory, offices may need protection from dust and noise, and facilities with specialized equipment may require specific precautions. The roofing contractor should coordinate with building management to identify these concerns before work begins.
Weather protection should also be included in site preparation. If sections of the existing roof are removed, temporary protection may be necessary until the new roofing system is installed. This is especially important when weather conditions can change quickly.
The site should ultimately be ready for the roofing crew to begin work without unnecessary obstacles. Good preparation can save time because workers can focus on construction rather than repeatedly stopping to solve access, storage, or operational problems.
Removing the Existing Roofing System
For projects requiring a complete roof replacement, removing the existing roofing system is one of the first major construction activities. The duration of this stage depends on the size of the roof, number of existing layers, material type, access conditions, disposal requirements, and condition of the underlying assembly.
The tear-off process generally involves removing the old roof covering in controlled sections. Depending on the existing system, crews may remove membrane, insulation, flashing, fasteners, edge materials, and other components. The work should be organized so that exposed areas are not left unprotected unnecessarily.
Debris management is an important part of the tear-off timeline. Removed roofing materials must be collected, moved, and disposed of appropriately. On a large commercial building, the volume of waste can be substantial, so dumpsters, hauling arrangements, and material movement need to be coordinated with the construction schedule.
As the old roofing materials are removed, the crew can inspect the roof deck and underlying layers. This is a critical point in the timeline because previously hidden problems may become visible. Wet insulation, corroded metal decking, damaged wood, deteriorated fasteners, or other deficiencies may require additional work.
Unexpected deck damage is one of the most common reasons a roofing timeline can change after construction begins. If damaged areas are discovered, they should be assessed and repaired before the new roofing assembly is installed. Proceeding over a compromised substrate can create problems that remain hidden beneath the finished roof.
The tear-off stage therefore serves two purposes: it removes the old roofing system and provides an opportunity to verify the condition of the building beneath it. Once the existing materials have been removed and the roof deck has been inspected and prepared, the project can move into the installation of insulation and the new roofing system.
Inspecting and Preparing the Roof Deck
After the existing roofing materials have been removed, the roof deck becomes the main focus of the next stage. This part of the timeline is important because the new roofing system depends on a stable and properly prepared surface. Although the deck may have appeared sound before the tear-off, removing the old materials can reveal moisture damage, corrosion, deterioration, movement, or other conditions that need attention.
The roofing crew first clears loose debris and examines the exposed deck across the work area. The inspection may identify damaged sections, weakened fasteners, holes, uneven areas, or other defects that could interfere with the new roof assembly. The type of deck, such as metal, concrete, or wood, also influences how repairs are approached.
If damaged areas are discovered, the contractor may need to replace or reinforce sections before installation continues. This additional work can extend the timeline, especially when the damage is more extensive than expected. Business owners should understand that these repairs are not simply delays because they help establish a reliable foundation for the new roofing system.
The deck should also be clean and suitable for the next installation stage. Dust, loose materials, standing water, and other contaminants can interfere with insulation attachment or other roofing components. Once repairs and preparation are complete, the contractor can move forward with the installation of the new roof assembly.
Deck preparation is one of the stages where patience is particularly important. Covering a damaged or unsuitable substrate may allow the project to move faster temporarily, but it can create expensive problems later. Proper preparation at this point supports the performance and service life of the finished roof.
Installing Roof Insulation and Slope Components
Once the roof deck has been approved for installation, insulation and other underlying components can be placed. Roof insulation contributes to the building’s thermal performance and forms an important part of the overall roofing assembly. Its installation can also affect drainage when tapered materials are used to establish or improve roof slope.
The insulation selected for a commercial building depends on the roofing system, climate, energy objectives, building design, and applicable requirements. Contractors may install rigid insulation boards or other approved materials in one or more layers. The selected products need to be compatible with the rest of the roofing system.
The installation team must position insulation carefully so that boards remain stable and gaps are minimized. Depending on the system, insulation may be mechanically fastened, adhered, or attached using another approved method. Correct attachment helps prevent movement that could affect the roofing membrane above it.
Tapered insulation can be particularly useful on low-slope commercial roofs. Although these roofs may appear almost flat, they are normally designed to direct water toward drains, scuppers, or other collection points. Properly planned insulation slopes can help reduce low areas where water might otherwise collect.
The timeline for insulation installation depends on roof size, board layout, attachment method, number of layers, and the complexity of the roof. Large open areas may progress efficiently, while roofs containing many penetrations, curbs, equipment platforms, and changes in elevation require more detailed work.
Insulation should be inspected before the primary roof covering is installed. The crew needs to confirm that boards are positioned correctly, secured properly, and ready to receive the membrane or other covering. Addressing problems at this stage is generally easier than correcting them after the roof has been covered.
Installing the Primary Roofing System
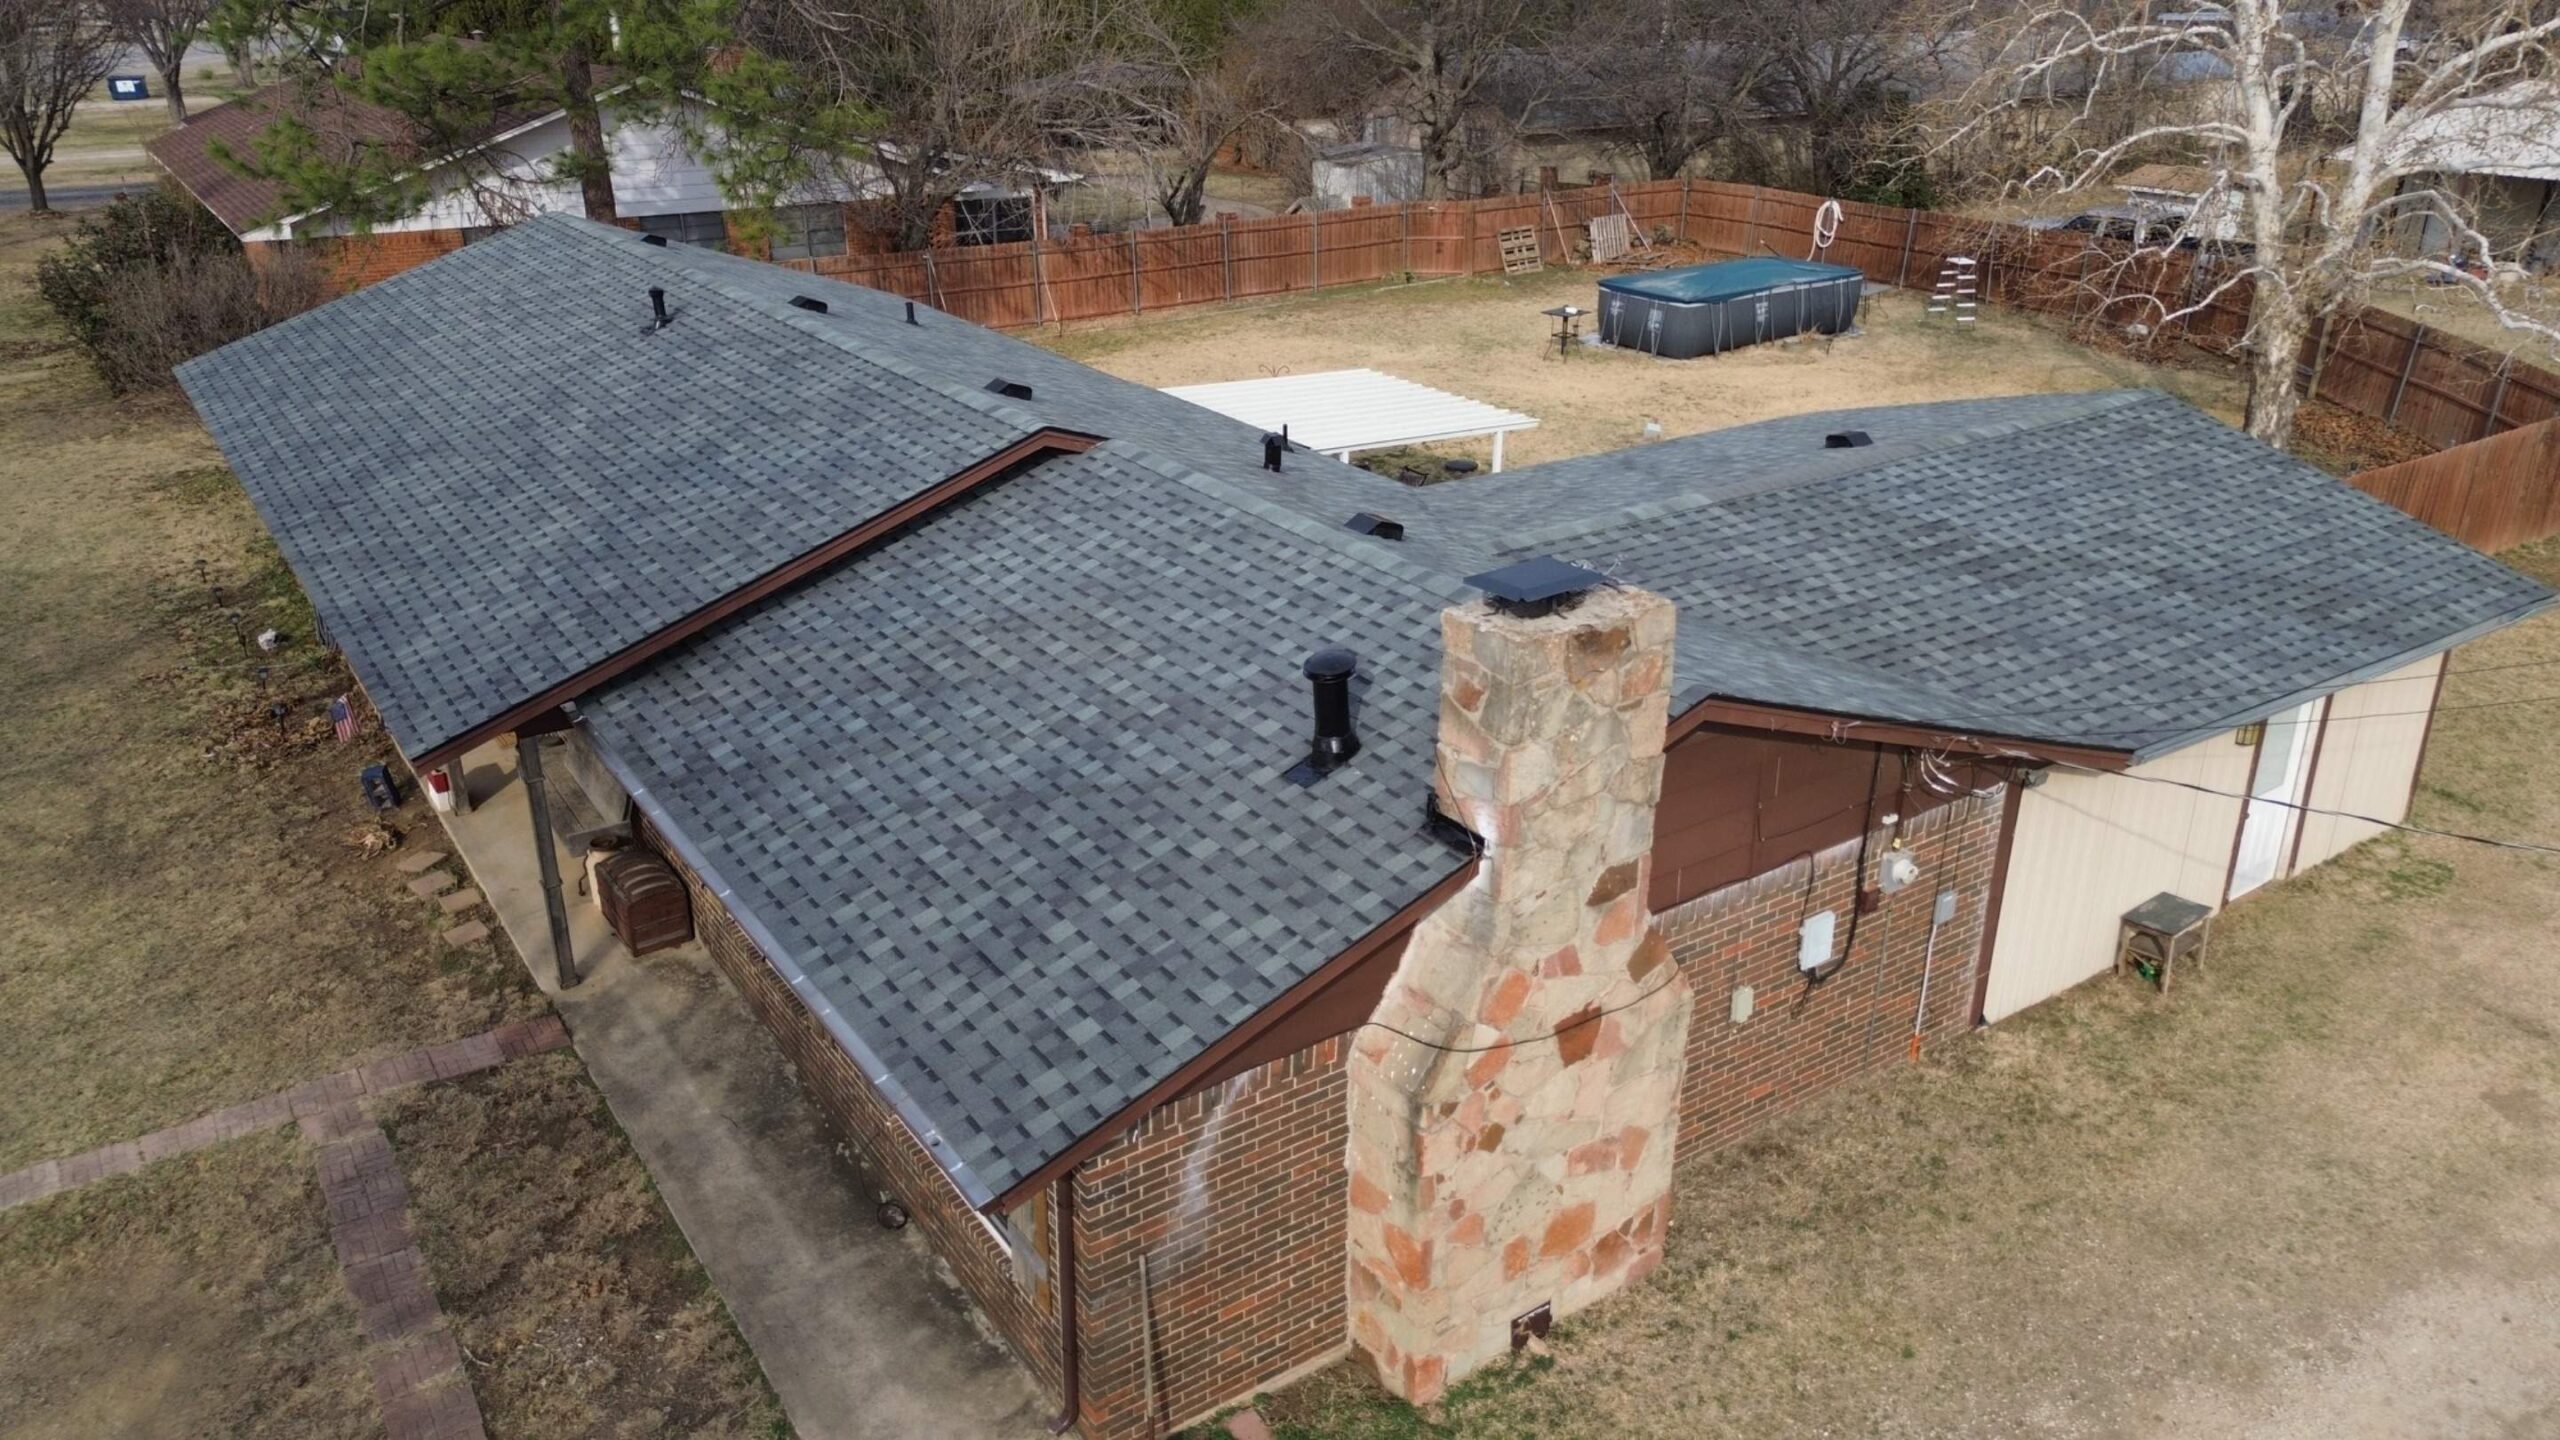
With the deck and insulation prepared, the project moves into one of its most visible stages: installing the primary roofing system. This may involve a single-ply membrane, modified bitumen, built-up roofing, metal panels, or another system selected during the planning phase. The installation method and daily production rate depend heavily on the specific material.
For membrane systems, the roofing crew begins by positioning the sheets according to the planned layout. Proper alignment is important because the membrane must cover the roof while leaving appropriate areas for seams, edges, penetrations, and transitions. Large rolls can cover substantial areas, but they still require careful handling and positioning.
The membrane may be mechanically fastened, adhered, or installed using another approved attachment method. The chosen method must be compatible with the roof assembly and appropriate for expected environmental conditions. Fasteners, plates, adhesives, and other attachment components should be installed according to the roofing system specifications.
Seaming is a major part of this stage. Adjacent membrane sections must be joined to create a continuous weather-resistant surface. Depending on the material, seams may be heat welded, chemically bonded, taped, or completed using another approved method.
Weather can have a significant influence on this part of the timeline. Rain, strong winds, or unsuitable temperatures may interrupt certain installation activities. Contractors may need to secure unfinished sections and protect exposed areas before work can resume.
Large commercial roofs are often divided into manageable sections. Crews may complete one area before moving to another, allowing the building to remain protected throughout the process. This approach also makes quality control easier because completed sections can be checked while work continues elsewhere.
The primary roofing stage often represents a substantial portion of the physical installation schedule. However, completing the central roof surface does not mean the project is finished because perimeter details, penetrations, drainage, and other critical components still require careful installation.
Completing Flashing, Edges, Curbs, and Penetrations
After or alongside the main roof covering, contractors complete the details that connect the roofing system to the rest of the building. These areas often require more precision than large open roof sections because they involve transitions between different materials and surfaces.
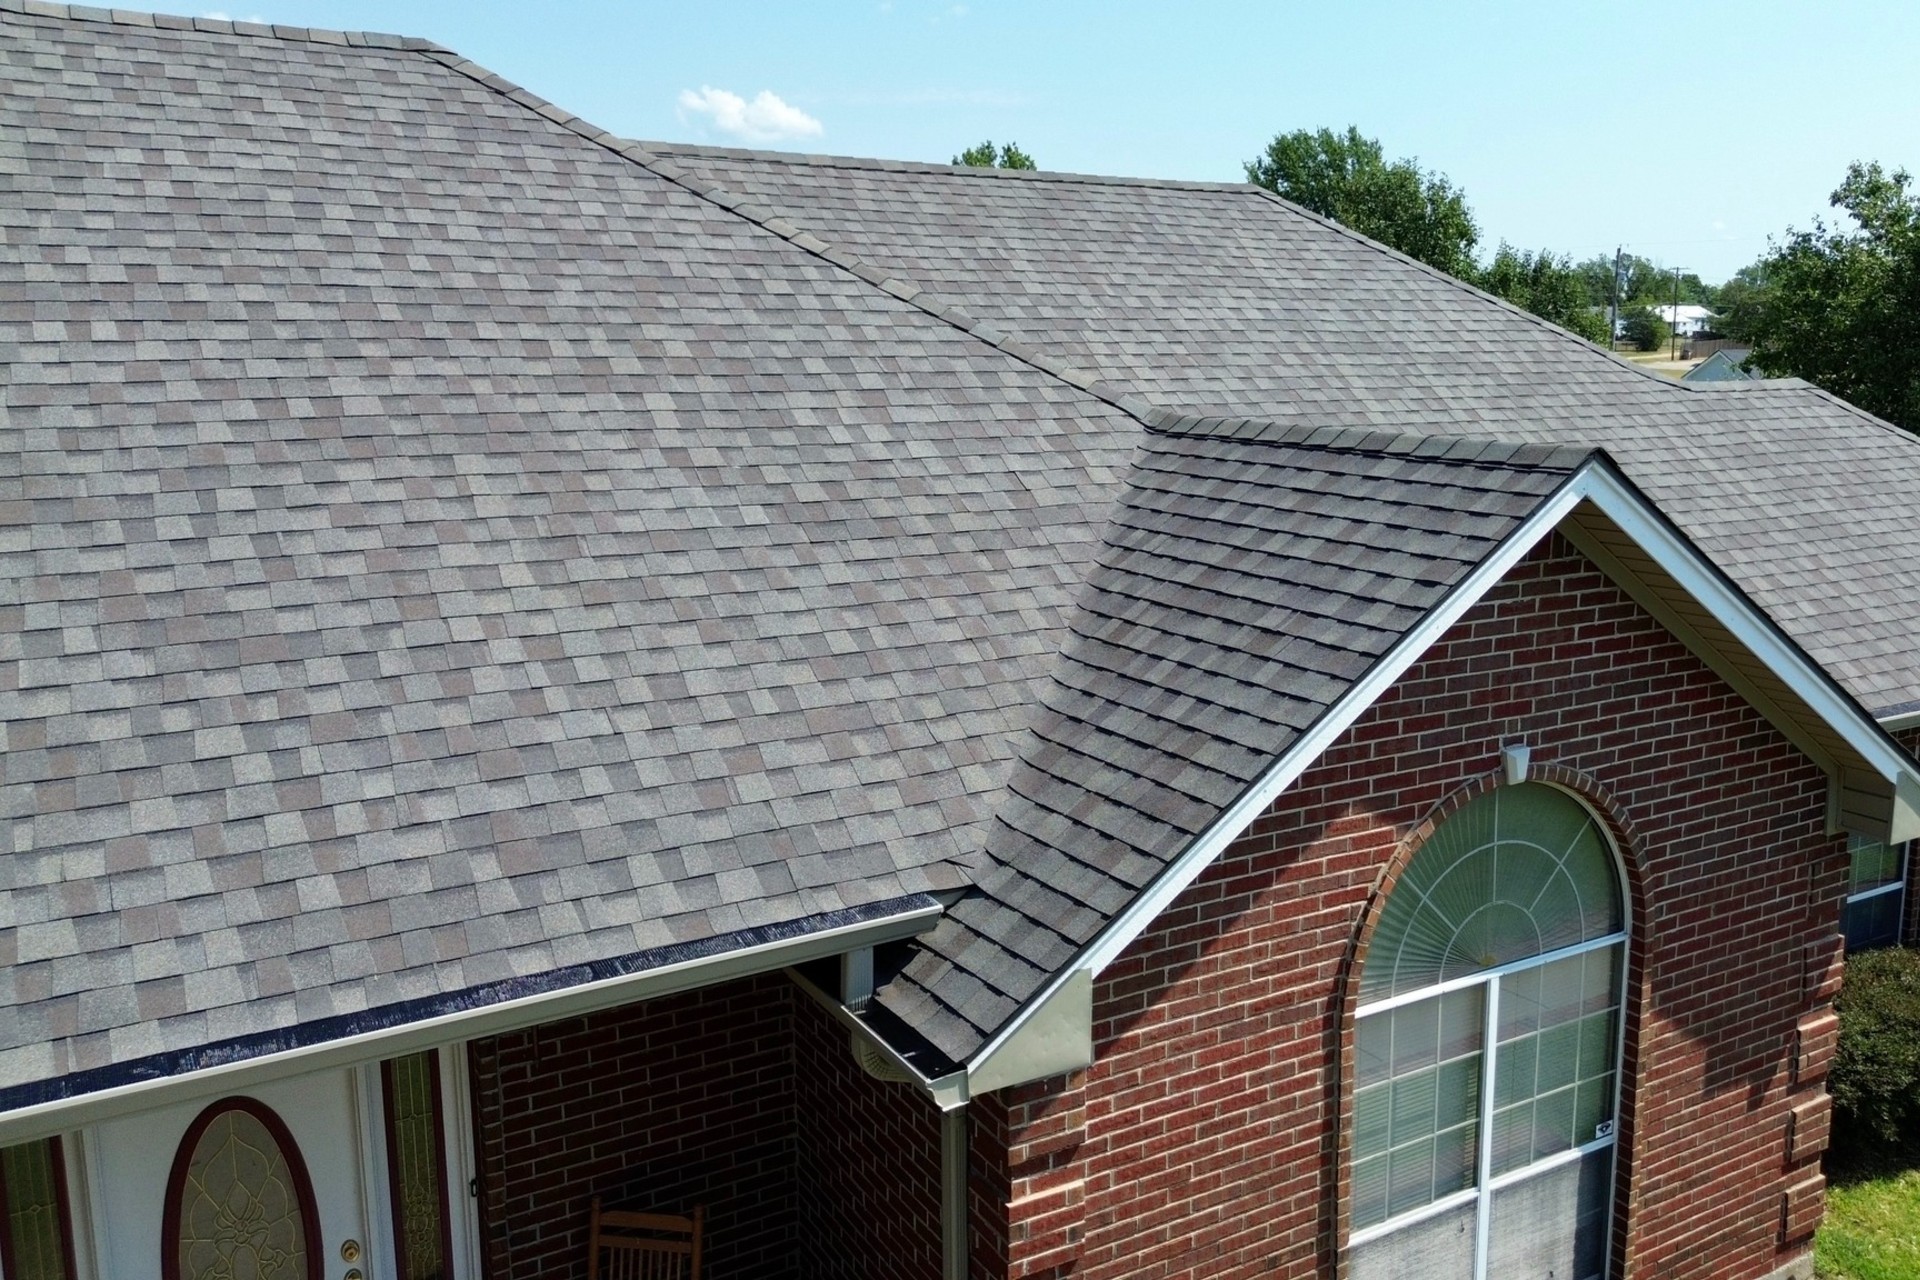
Flashing is used around walls, parapets, curbs, penetrations, and other locations where water could potentially enter. Properly installed flashing helps direct water away from vulnerable areas and maintains continuity between the main roofing material and adjacent building components.
Roof edges are especially important because they are exposed to weather and wind forces. Edge metal, termination systems, and related components need to be properly positioned and secured according to the roofing system’s requirements. An improperly installed edge can compromise the roof even if the central membrane is in good condition.
Commercial buildings frequently have HVAC units and other mechanical equipment on the roof. These systems are often supported by curbs that require detailed flashing and membrane connections. The roofing crew must maintain watertight transitions while ensuring that equipment remains accessible for future maintenance.
Pipe penetrations, vents, conduits, skylights, and other openings also need specialized treatment. Each opening interrupts the continuous roof surface, creating a potential point of water entry. Contractors may use flashing components, boots, sealants, membrane details, or other approved materials to create secure transitions.
The timeline for this stage can vary considerably depending on roof complexity. A simple warehouse roof with few penetrations may progress quickly, while an office, industrial, or mixed-use building with numerous rooftop systems can require substantially more detailing.
These details should not be treated as minor finishing work. They are among the most important parts of the roofing system because water often enters buildings through poorly executed transitions rather than through large, properly installed sections of membrane.
Installing and Checking the Drainage System
An effective drainage system is essential for maintaining the performance of a commercial roof. Rainwater needs a reliable path away from the roof surface, and drainage components must be integrated carefully with the roofing assembly. Drainage work can occur alongside membrane installation or during later stages, depending on the project design.
Commercial buildings may use internal drains, scuppers, gutters, downspouts, or combinations of these systems. The appropriate arrangement depends on roof design, slope, building size, local conditions, and the way water is intended to leave the property.
Roof drains require careful detailing because the membrane must connect securely to the drain assembly. The surrounding area should be checked for proper attachment and sealing, while drain openings should remain free from construction debris.
Scuppers and gutters also need inspection as installation progresses. The roofing system should direct water toward these collection points without creating unnecessary low areas. If tapered insulation or other slope-building components are part of the project, their layout should support the planned drainage paths.
Ponding water is an important concern during the installation timeline. Standing water that remains on the roof after rainfall can place additional demands on the roofing assembly and may contribute to long-term deterioration. Proper drainage design and installation can reduce this risk.
The drainage system should be checked before the final project inspection. Construction debris, packaging, membrane scraps, and other materials can accidentally block drains or outlets during installation. Clearing these areas before handover helps ensure the roof is ready to manage rainfall.
Quality Control During Installation
Quality control should occur throughout the roofing project instead of being saved for the final day. Regular checks allow the contractor to identify problems while materials and details are still accessible. This approach can prevent small workmanship issues from becoming expensive repairs after the project is complete.
The roofing crew should review membrane alignment, attachment, seams, flashing, edges, penetrations, and drainage components as work progresses. Any damaged material should be addressed promptly rather than covered by subsequent layers.
Seams deserve particular attention because they are critical to membrane performance. The contractor should verify that seams have been formed using the correct method and that visible defects are repaired. The exact inspection method depends on the roofing system being installed.
Mechanical fasteners should also be checked for appropriate positioning and attachment. Incorrectly installed fasteners can affect the security of the roofing system, particularly in areas exposed to wind. Quality control helps confirm that the installation follows the approved system requirements.
The project team should also inspect completed areas after other workers have accessed the roof. HVAC technicians, electricians, and other trades may need to work around rooftop equipment. Their activities can unintentionally damage newly installed roofing materials, so coordination and follow-up inspection are important.
Documentation can be useful during this stage. Photographs, inspection notes, material records, and other project information can establish a clear record of the installation. These records may also help with warranty requirements and future maintenance.
Consistent quality control supports both the timeline and the final result. Correcting a defect while a crew is already working in the area is generally faster and easier than returning weeks or months later to investigate a leak.
Managing Safety and Business Operations During Installation
Commercial roofing work often takes place while businesses continue operating, making safety and scheduling an important part of the installation timeline. The contractor must manage elevated work, material movement, equipment, construction debris, and changing site conditions while the business continues serving employees, customers, tenants, or visitors.
Fall protection is one of the central safety considerations. Appropriate systems and procedures should be established according to the building, work activities, and applicable requirements. Workers also need safe routes onto and across the roof while unauthorized people should be kept away from active construction areas.
Material movement can affect business operations as well. Roofing materials may arrive by truck and need to be moved to roof level using lifting equipment or other methods. Delivery schedules should be coordinated so they do not unnecessarily block entrances, loading areas, emergency routes, or customer access.
Noise is another consideration. Tear-off, drilling, fastening, material movement, and other roofing activities can be disruptive. Contractors and business managers can often reduce the impact by scheduling particularly noisy activities during appropriate operating periods.
The project may also need to be divided into phases to protect business operations. Instead of working over every part of the building at once, the crew can focus on specific roof sections while keeping important areas operational. This approach requires careful coordination but can make the construction experience more manageable for the business.
Weather protection remains essential throughout this stage. If a section of the roof is incomplete at the end of a working period, the contractor should protect it appropriately against unexpected weather. This helps prevent water from entering the building while the installation continues.
Final Roofing Inspection and Quality Review
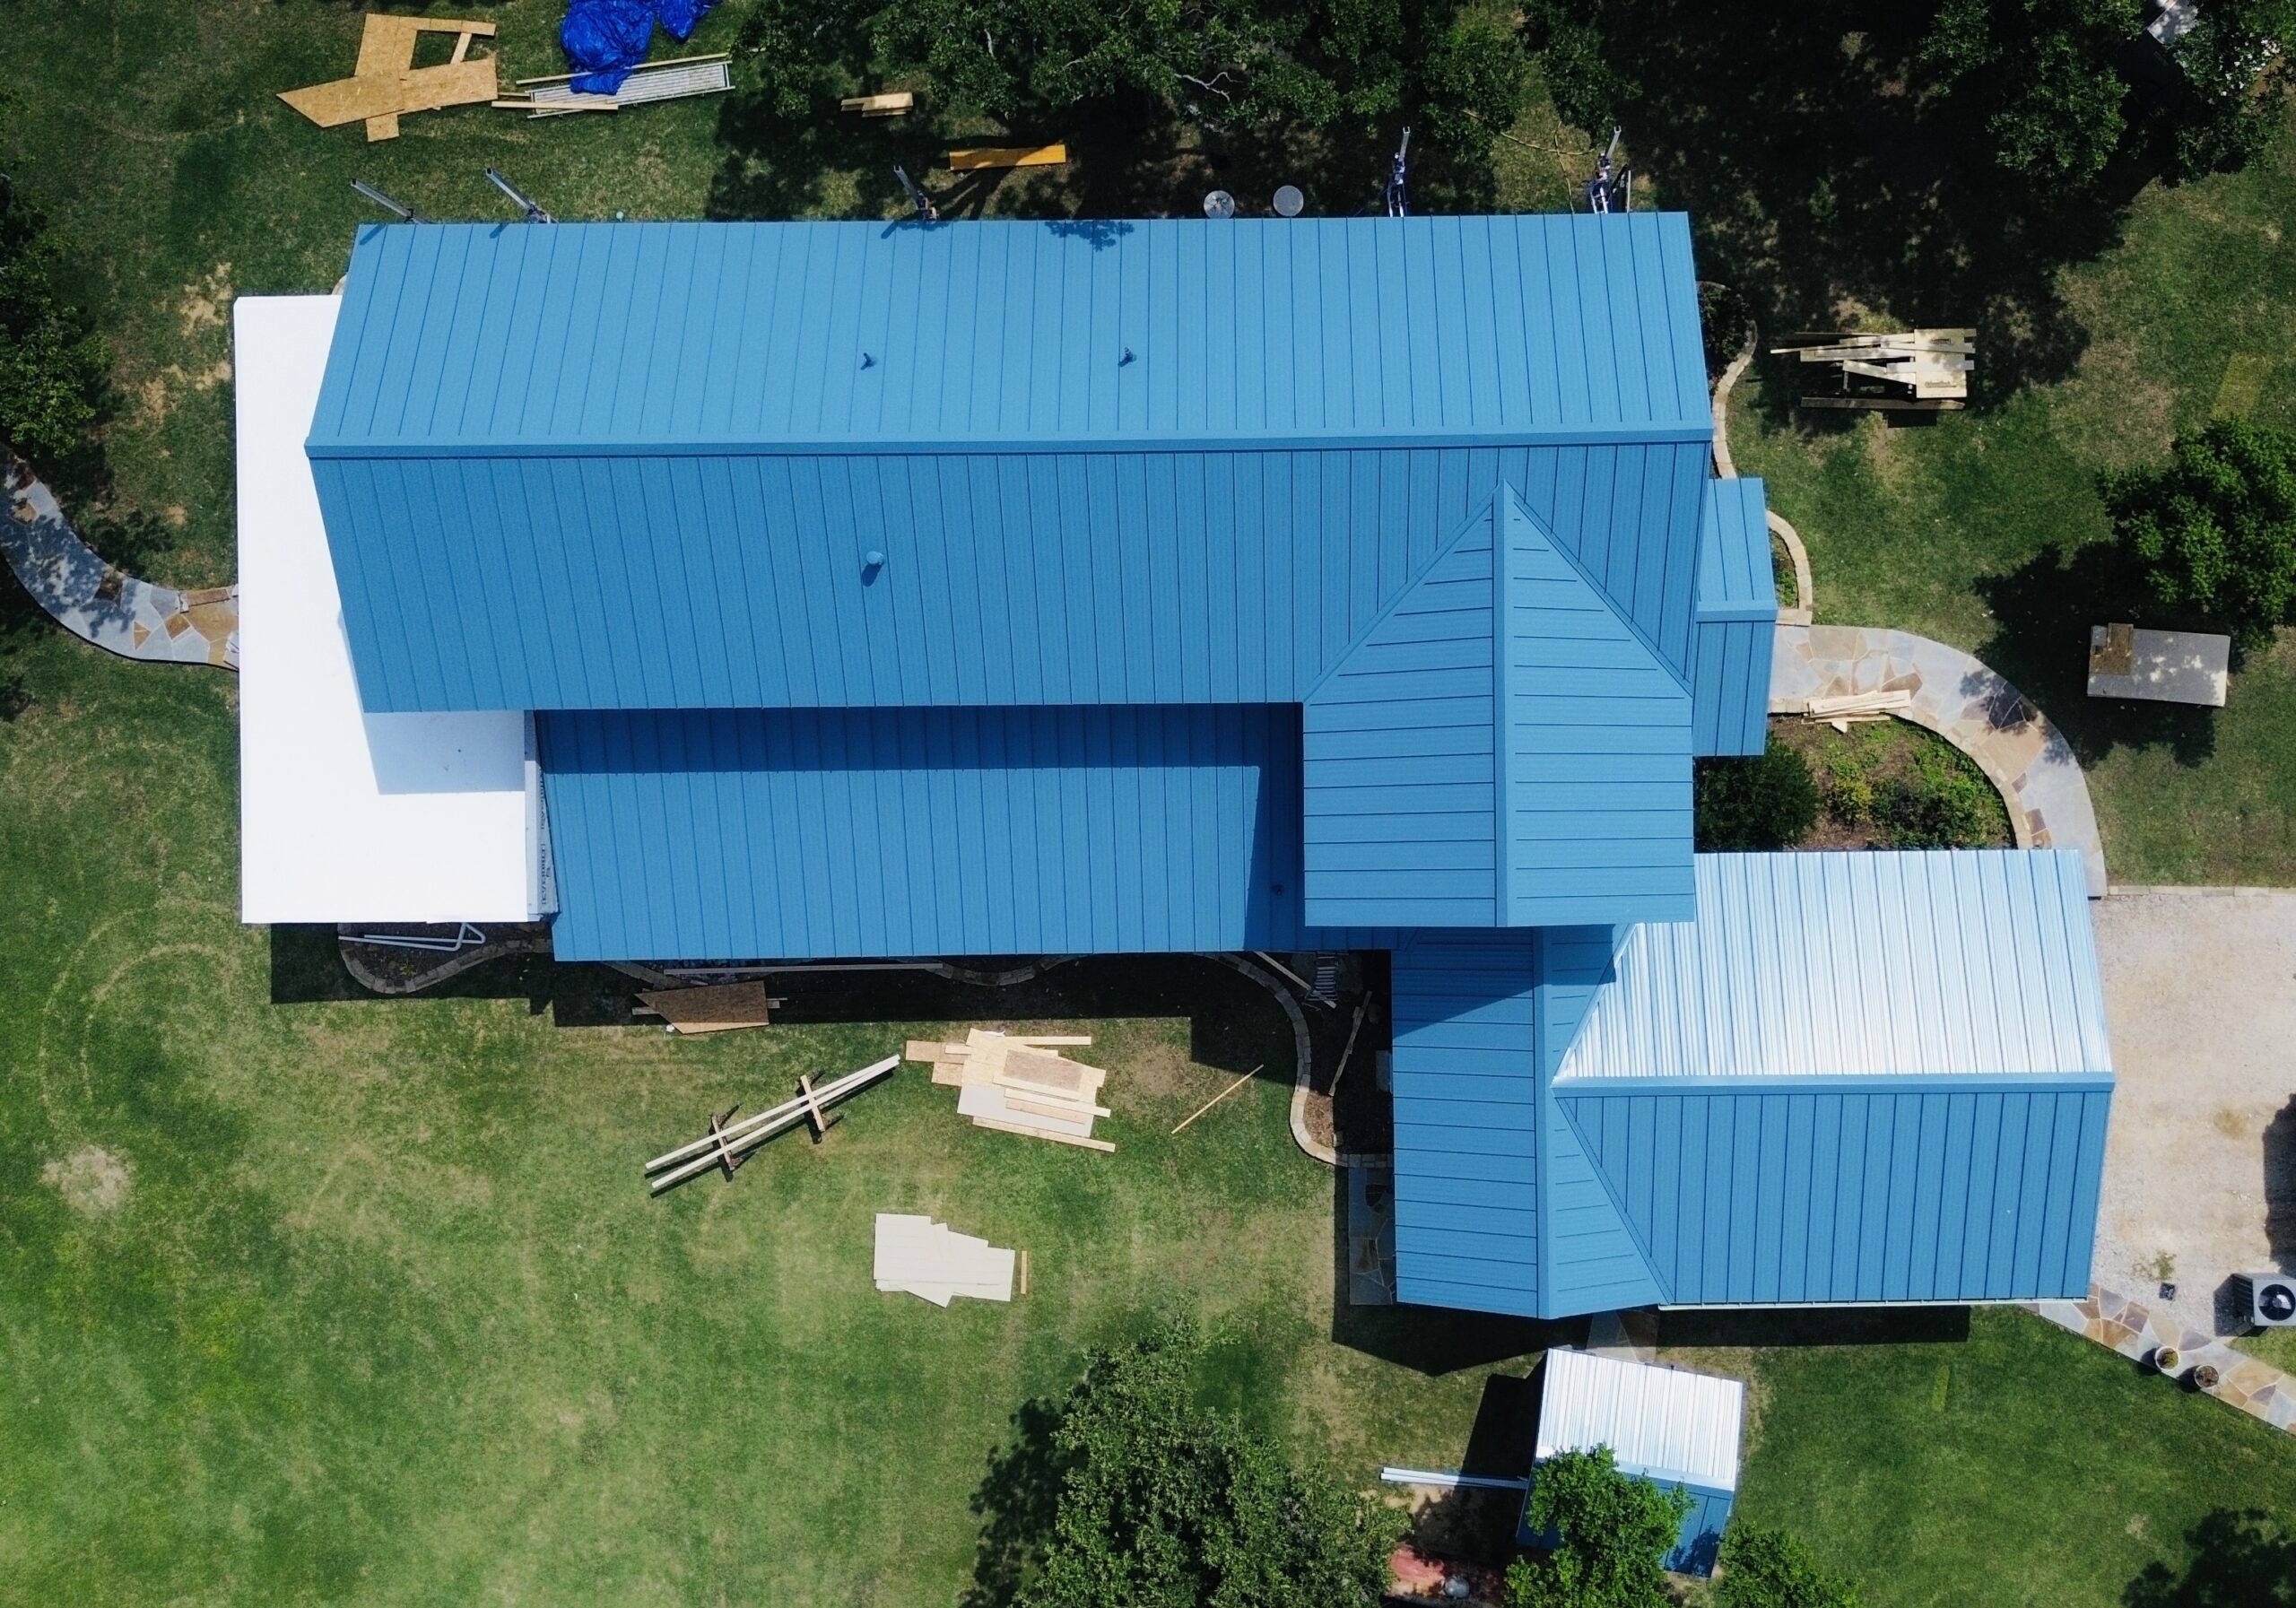
Once the main roofing system and supporting details have been installed, the project enters the final inspection stage. This stage confirms that the completed roof meets the agreed project requirements and that important components have been installed correctly. A final inspection should be thorough because the roof is about to transition from an active construction site into a long-term building asset.
The inspection normally covers the primary roof covering, seams, fasteners, flashing, edges, curbs, penetrations, drains, scuppers, gutters, and other important details. The contractor should look for visible defects, incomplete work, damaged materials, loose components, gaps, exposed fasteners, and areas that require additional attention. Problems identified during this inspection should be corrected before the project is formally closed.
Seams and transitions deserve particular attention because they connect different sections of the roofing system. Areas around pipes, HVAC curbs, skylights, parapet walls, drains, and other penetrations can be more complicated than large open roof areas. A detailed inspection helps ensure that these locations provide the same level of protection expected from the main roofing surface.
The roof perimeter should also be reviewed carefully. Edge components experience exposure to wind and weather, so their attachment and alignment are important to overall roof performance. Any areas that appear loose, incomplete, or inconsistent with the approved roofing system should be corrected.
The inspection should also consider damage caused during the later stages of construction. Other workers may have accessed completed roof sections to install equipment or perform related work. The roofing team should verify that these activities have not created punctures, loose materials, or other defects.
A final quality review does more than confirm that the roof looks finished. It provides an opportunity to make sure the installation is functional, complete, and ready for testing and handover.
Testing the Completed Roofing System
Depending on the project requirements, the completed roof may undergo additional testing after the visual inspection. Testing methods vary according to the roofing system, building design, manufacturer requirements, and project specifications. The purpose is to identify potential weaknesses before the roof is placed into normal long-term service.
Leak detection may be performed when appropriate, particularly on large or complex commercial properties. Testing can help identify areas where moisture could enter through seams, penetrations, flashing, or other details. Any problems found during testing should be addressed before final acceptance.
Drainage is another important part of the final review. Drains, scuppers, gutters, and downspouts should be checked to confirm that they are clear and connected properly. Construction debris can accidentally block drainage points, so these components should receive specific attention before the project is completed.
The contractor may also document inspection and testing results. Photographs, reports, material information, and other records can create a useful reference for the building owner. These records can help establish the condition of the roof at completion and may be useful for future maintenance or warranty discussions.
Testing can sometimes extend the project timeline, but this should not automatically be viewed as unnecessary delay. Finding a defect before the contractor leaves the site is generally preferable to discovering the same problem after the building has experienced a leak.
The final testing stage therefore acts as an additional layer of quality assurance. It helps confirm that the completed roof is ready for the next stage, which involves cleanup, documentation, and formal handover.
Cleaning the Construction Site and Restoring Business Areas
Roofing projects produce substantial amounts of waste and construction material, especially when an existing roof has been removed. Before the business returns fully to normal conditions, the contractor needs to clean the roof and surrounding property. Proper cleanup is an important part of completing the project rather than simply an optional finishing activity.
The roof should be inspected for loose fasteners, metal scraps, membrane pieces, packaging, tools, insulation fragments, and other debris. Sharp materials can damage roofing surfaces or create hazards for maintenance workers who later access the roof. Removing these materials helps protect both the new roof and anyone working around it.
Ground-level areas should also be cleaned. Dumpsters, delivery equipment, temporary barriers, unused materials, protective coverings, and other construction resources should be removed according to the project schedule. Parking areas, sidewalks, loading zones, landscaping, and entrances should be checked for materials or damage associated with the work.
Drainage components need another check during cleanup. Small pieces of roofing material or construction debris can collect around drains and outlets, potentially restricting water movement. Clearing these areas before final handover helps ensure the new roof is ready for rainfall.
The contractor should also restore access routes used during construction. Employees, customers, tenants, and delivery personnel may have experienced temporary changes to normal movement around the property. Removing temporary controls and returning the site to its planned operating arrangement helps the business resume normal activities.
Cleanup can take anywhere from a short period to several days depending on the size of the project and the amount of construction equipment involved. However, it should be planned as part of the overall timeline so the project does not appear complete while important site restoration work remains unfinished.
Final Walkthrough and Project Handover
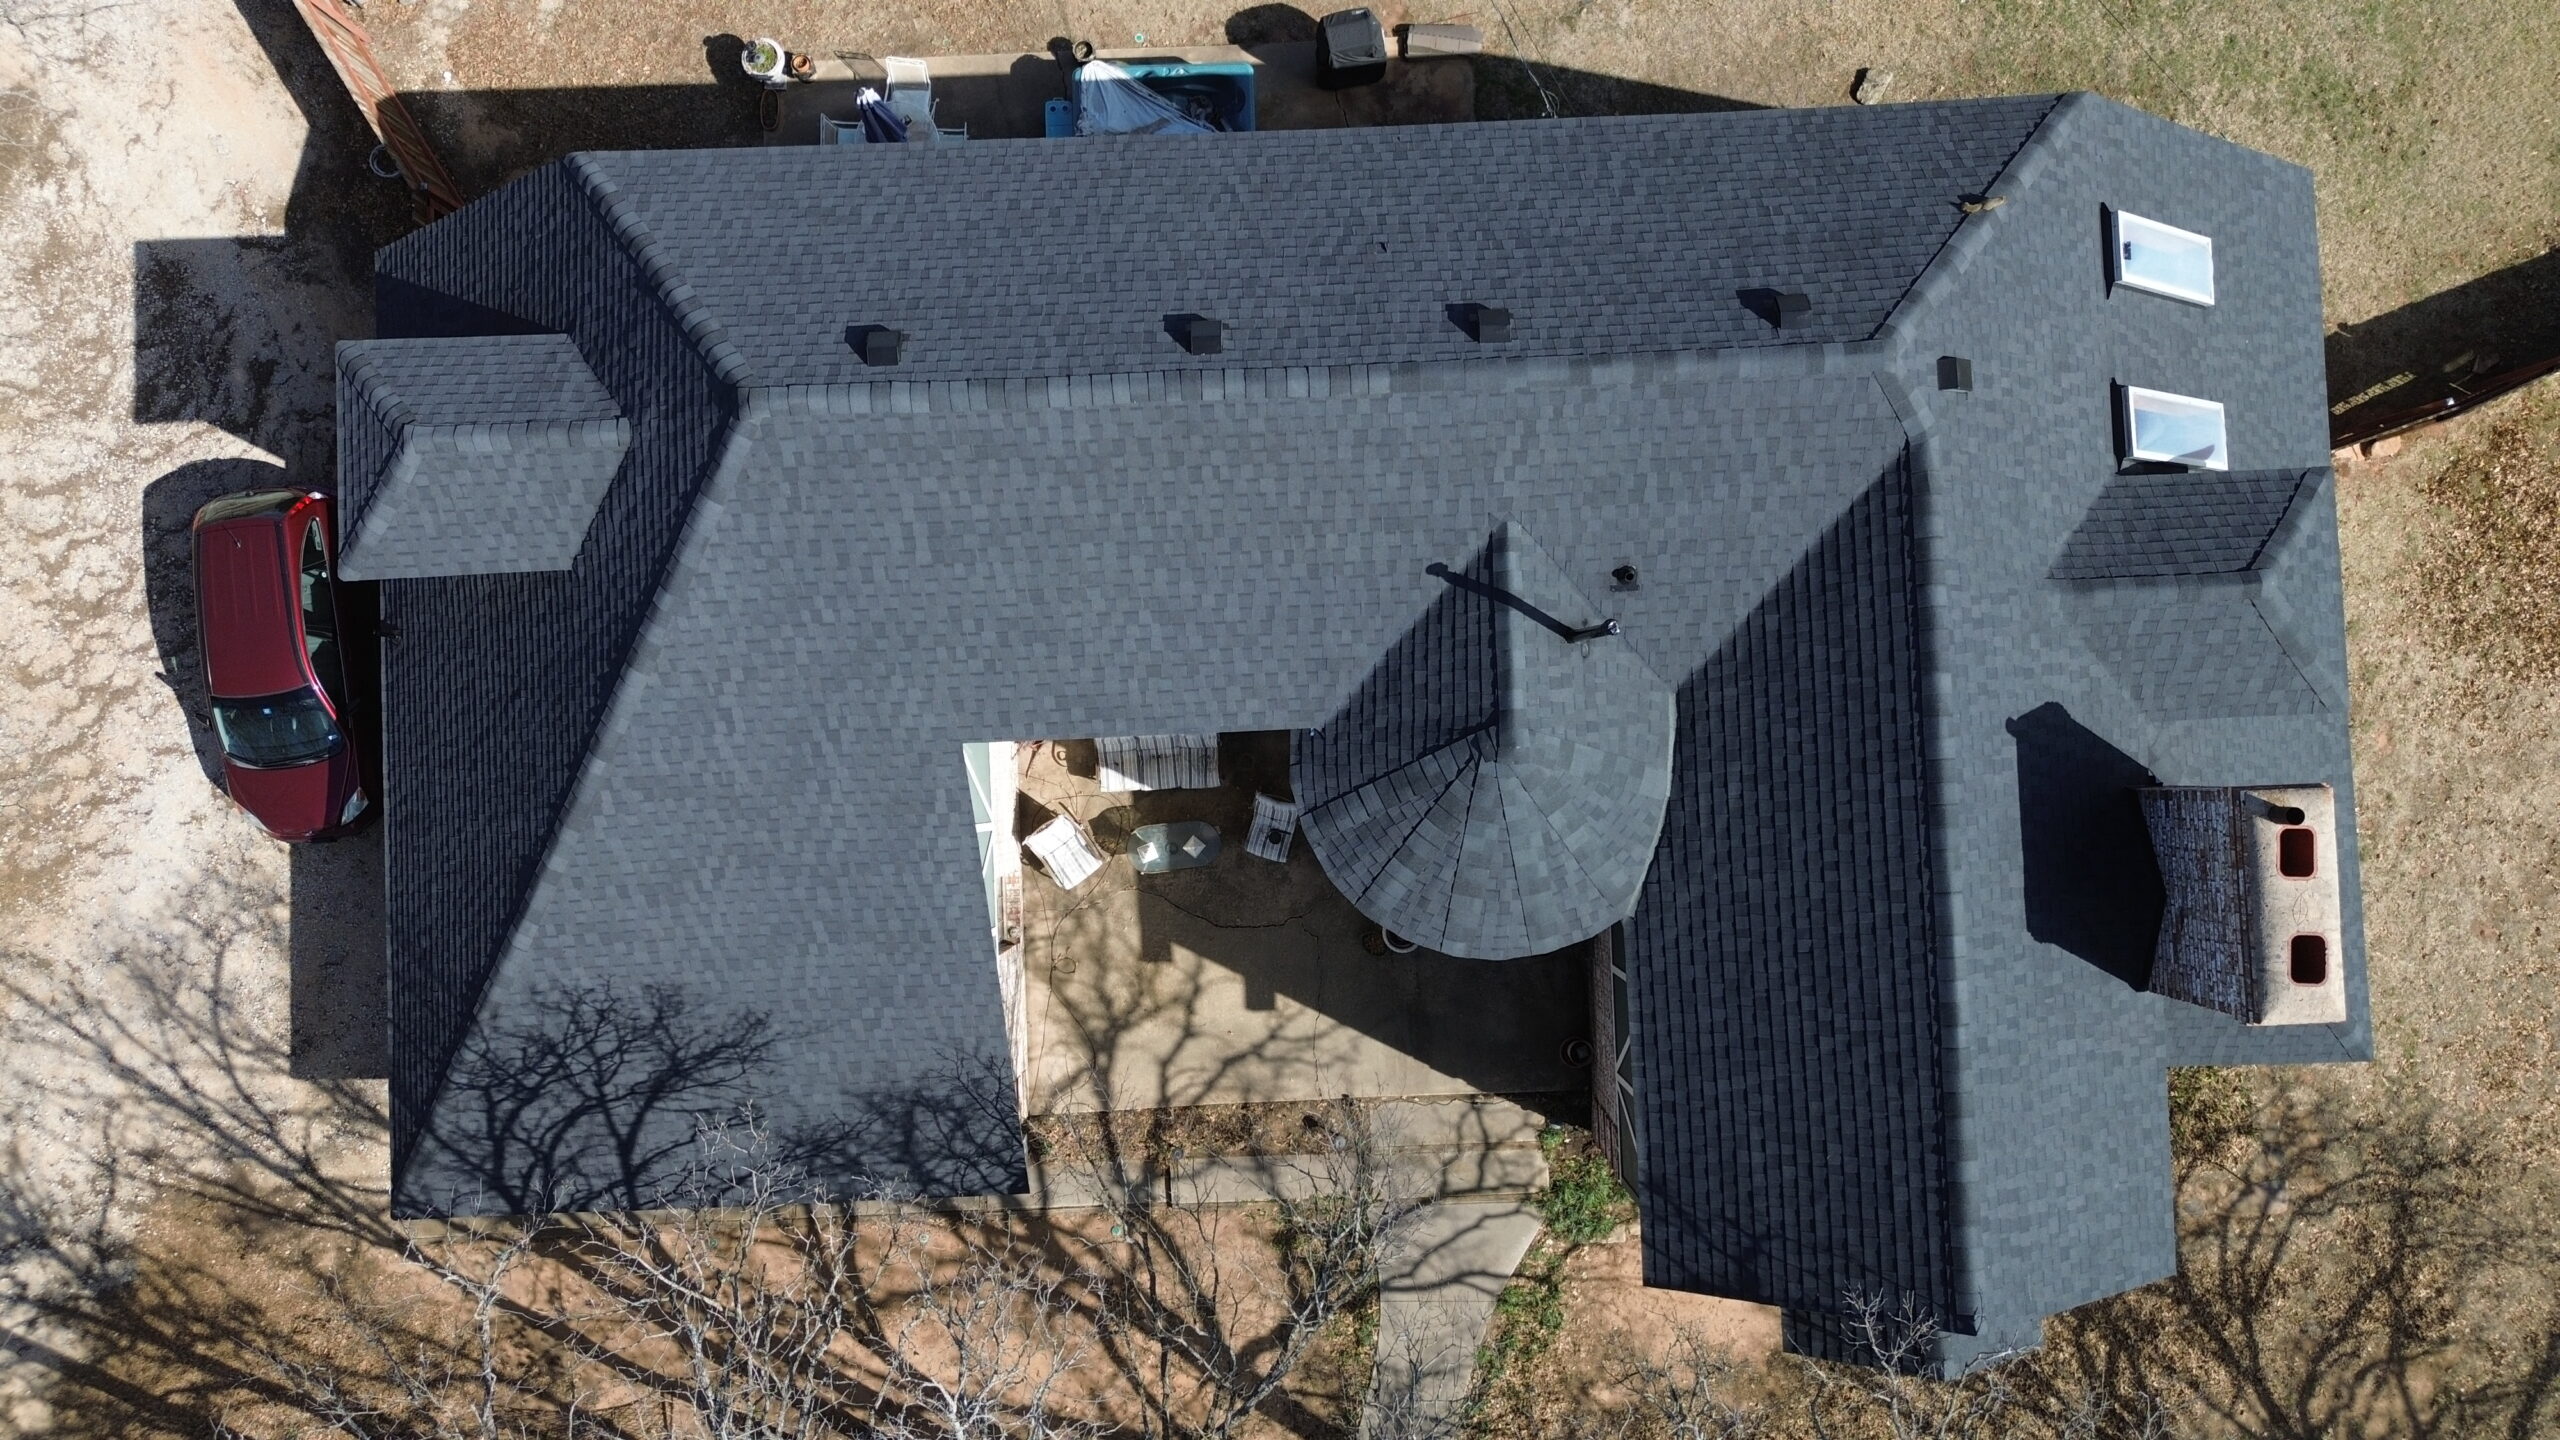
The final walkthrough marks an important transition between construction and long-term roof ownership. During this stage, the contractor and business representative review the completed work together. The walkthrough provides an opportunity to discuss the finished roof, remaining questions, maintenance needs, and project documentation.
The business owner or property manager should review the roof’s major components and understand any features that require special attention. These may include drainage systems, equipment curbs, access areas, expansion joints, rooftop walkways, or other details that need regular monitoring.
Relevant documentation should be provided as part of the handover. Depending on the project, this may include product information, warranties, inspection records, photographs, maintenance recommendations, and other project documents. Keeping these materials organized can make future maintenance and repair decisions easier.
Warranty information should be reviewed carefully. Different warranties may cover materials, workmanship, or complete roofing systems, and their requirements can vary. Business owners should understand any maintenance, inspection, or documentation obligations associated with the warranty.
The final walkthrough should also address outstanding deficiencies. If an item remains incomplete or requires correction, it should be documented and assigned for follow-up. The project should not be treated as fully closed simply because most of the roof appears finished.
A clear handover helps the business understand exactly what was installed and what should happen next. It also establishes a useful starting point for long-term roof maintenance.
How Long Does Commercial Roofing Installation Take?
There is no single timeline that applies to every commercial roofing project. A smaller and relatively simple building may have a much shorter installation period than a large facility with multiple roof levels, equipment penetrations, complicated drainage, and extensive preparation requirements. The estimated duration should therefore be based on the specific property rather than a generic industry average.
Roof size is one of the main factors affecting installation time. Larger areas naturally require more materials and labor, but roof complexity can be equally important. A roof containing numerous corners, curbs, pipes, skylights, drains, and changes in elevation can require considerably more detailed work than a large open surface.
The condition of the existing roof can also change the schedule. If tear-off reveals damaged decking, wet insulation, structural concerns, or unexpected deterioration, repairs may need to be completed before installation continues. These conditions can add days or longer depending on their severity.
Weather is another major factor. Rain, strong winds, extreme temperatures, and other unfavorable conditions can prevent certain roofing activities from being completed safely or correctly. Projects scheduled during seasons with unpredictable weather may therefore require additional flexibility.
Material availability, crew size, equipment access, permits, and inspection requirements can also affect the timeline. Businesses should ask contractors to explain the assumptions behind the proposed schedule rather than treating a completion date as guaranteed.
Operational requirements can influence the calendar as well. If a business must remain open throughout construction, roofing crews may need to work in phases or during limited hours. This can increase the total project duration while reducing disruption to normal business activities.
A realistic schedule should therefore include some flexibility. The goal is to provide a useful completion estimate while recognizing that construction conditions can change after work begins.
Common Delays That Can Affect the Roofing Timeline
Unexpected roof conditions are among the most common causes of delays. Damage hidden beneath the existing roofing system may only become visible during tear-off. If repairs to the deck or supporting components are necessary, the installation schedule may need to be adjusted.
Weather delays can also affect progress. Roofing crews may have to stop work when conditions create safety concerns or interfere with material installation. Protecting unfinished sections can require additional time before the crew can resume normal production.
Material problems can create another source of delay. Products may arrive late, arrive damaged, or be supplied in incorrect quantities. Ordering materials well in advance and verifying deliveries can help reduce these risks.
Changes requested after construction begins may also extend the timeline. A business owner might decide to add insulation, improve drainage, replace additional decking, or modify another part of the roof after seeing the existing conditions. While such changes can improve the final result, they need to be incorporated into the schedule.
Coordination with other contractors can create additional challenges. HVAC, electrical, mechanical, and maintenance teams may need roof access during construction. Poor scheduling can create conflicts or increase the risk of damage to completed roofing areas.
Good communication helps manage these challenges. When an issue appears, the contractor should explain what happened, how it affects the timeline, and what steps are needed to resolve it. This allows the business owner to make informed decisions instead of being surprised by an unexplained completion delay.
Protecting the Roof After Installation
The end of installation marks the beginning of long-term roof management. Even a professionally installed commercial roof requires routine inspections and maintenance to remain in good condition. Regular care can identify developing issues before they become major problems that disrupt business operations.
Property managers should monitor visible roof conditions and arrange professional inspections when appropriate. Areas around drains, flashing, seams, penetrations, edges, and rooftop equipment deserve particular attention because these components can experience wear or damage over time.
Drainage maintenance is especially important. Leaves, dirt, branches, and other debris can restrict drains and outlets, allowing water to collect on the roof. Keeping drainage components clear helps maintain proper water movement and reduces unnecessary stress on the roofing system.
Roof access should also be controlled. Employees, contractors, and maintenance personnel should avoid unnecessary foot traffic and should use designated walkways where available. Tools and equipment should not be placed directly on vulnerable roofing materials without appropriate protection.
Businesses should also maintain accurate roof records. Important information can include the installation date, roofing system, materials used, warranty documents, inspection reports, repairs, and maintenance activities. This history can help property managers make better decisions as the roof ages.
Prompt attention to minor problems is another key part of protecting the investment. Small punctures, damaged flashing, loose components, or drainage issues can become more serious when ignored. Addressing these conditions early can help reduce repair costs and prevent avoidable business disruption.
Conclusion
A commercial roofing installation timeline is made up of several connected stages, beginning with inspection and planning and continuing through material selection, approvals, site preparation, tear-off, deck preparation, insulation, roofing installation, detailing, inspection, testing, and final handover. Each stage contributes to the quality and reliability of the completed roof.
For businesses, understanding this sequence makes it easier to prepare for construction and communicate with the roofing contractor. A clear timeline helps managers plan employee access, customer movement, deliveries, equipment protection, and other operational requirements while the work is underway.
The timeline should always allow room for conditions that cannot be identified before construction begins. Hidden deck damage, weather, material availability, unexpected repairs, and changes to project requirements can affect completion dates. Building some flexibility into the schedule allows the contractor to address these issues without sacrificing workmanship.
The fastest installation is not necessarily the best installation. Commercial roofing requires careful attention to preparation, attachment, seams, flashing, drainage, safety, and final quality checks. Rushing critical stages simply to meet an aggressive deadline can create problems that cost more time and money later.
Once installation is complete, the business should maintain the roof through regular inspections, drainage care, controlled access, and prompt repairs. Proper maintenance helps preserve the new roofing system and supports its long-term performance.
Ultimately, a well-managed commercial roofing timeline balances efficiency, safety, quality, and business continuity. By understanding what happens before, during, and after installation, business owners can plan more effectively, reduce unnecessary disruption, and protect their commercial property for years to come.