

What Happens During Residential Roofing Installation Day
Introduction
Residential roofing installation day can feel like a major event for homeowners because the roof is one of the most important protective components of a house. When the roofing crew arrives, several activities may happen at the same time, including property protection, equipment setup, material preparation, removal of the existing roof, and inspection of the roof structure. Understanding what happens during these stages helps homeowners know what to expect and makes it easier to cooperate with the roofing team.
The exact process can vary depending on the roof size, design, roofing material, weather, crew size, and condition of the existing roof. A simple roof may move through the installation stages relatively quickly, while a complex roof with multiple slopes, valleys, dormers, skylights, or damaged decking may require additional time. Professional contractors generally organize the work into a sequence that allows the old roofing system to be removed, the underlying structure to be checked, and the new system to be installed correctly.
Homeowners should expect some noise, movement, and temporary disruption throughout the day. Workers may walk across the roof, carry materials, use hand and power tools, move ladders, and transport debris to designated collection areas. Although these activities are normal, homeowners should remain outside active work zones and follow the contractor’s safety instructions throughout the project.
Arrival of the Roofing Crew
The installation day usually begins with the roofing crew arriving at the property according to the agreed schedule. Depending on the size of the project, several workers may arrive together with trucks, tools, ladders, safety equipment, and other supplies. The crew may first review the property and confirm the areas that were discussed during the pre-installation planning stage.
Before active roofing work starts, the crew may identify suitable locations for vehicles, equipment, roofing materials, and debris collection. This initial organization is important because roofing work involves constant movement between the roof and ground level. A well-planned work area allows workers to carry materials safely while reducing unnecessary interference with household activities.
The project manager or crew leader may also speak with the homeowner before work begins. This conversation can be used to confirm access arrangements, discuss any changes caused by weather or material delivery, and answer final questions. If the homeowner has specific concerns about landscaping, exterior fixtures, pets, or household access, this is a useful time to communicate them.
Workers will then begin preparing their tools and safety equipment. Ladders, harnesses, protective gear, tarps, tools, and other equipment may be positioned around the house. Homeowners should avoid moving these items because the crew places them according to its working plan and safety requirements.
Protecting the Property Before Work Begins
Property protection is an important early stage of roofing installation because removing an existing roof can create substantial amounts of debris. Old shingles, underlayment, nails, flashing, and other materials must be removed from the roof and transported to the appropriate collection area. Without proper planning, falling debris could affect landscaping, siding, windows, outdoor furniture, and other parts of the property.
Roofing crews may use protective coverings or other methods to reduce the impact of falling debris. Ground areas near the walls may be covered where appropriate, while certain landscaping features may receive additional attention. The exact protection method depends on the roof design, property layout, roofing materials, and location of vulnerable features.
Windows and doors near active work areas may require particular care. Workers need enough space to position ladders and move materials without unnecessarily interfering with these features. Homeowners should keep exterior doors closed when practical and avoid placing personal belongings near the construction zone.
Landscaping should also remain clear while the crew establishes the work area. Plants, shrubs, decorative items, patio furniture, toys, and gardening equipment that were not already moved during preparation may need to be relocated before work begins. This creates more room for workers and reduces the likelihood of accidental damage.
A good roofing crew should also establish a plan for collecting debris rather than allowing waste to accumulate randomly around the property. Debris containers, tarps, collection systems, or other methods may be used depending on the project. Keeping the site organized from the beginning helps maintain a safer working environment.
Setting Up Materials and Equipment
Once the property has been prepared, the crew will organize the materials and equipment needed for installation. Roofing materials may already have been delivered before installation day, or they may arrive shortly before the crew begins work. Shingles, underlayment, flashing, ventilation components, fasteners, sealants, and other supplies need to be positioned where workers can access them efficiently.
Material staging is an important part of the process because roofing materials must be moved from ground level to the roof or to another convenient location. Workers may use ladders, material handling equipment, or other approved methods depending on the project. Heavy materials should be handled by trained workers rather than homeowners.
The crew will also organize ladders and other access equipment around the house. Ladder placement needs to provide safe access while avoiding unnecessary contact with fragile exterior features. Workers may establish more than one access point when the roof design or size of the project requires it.
Tools are arranged according to the sequence of work. Roofing crews may use nail guns, hammers, cutting tools, measuring equipment, pry bars, utility tools, and other equipment during different stages of installation. Safety equipment is also kept readily available because workers may need to transition between ground-level preparation and elevated roofing work.
Homeowners may notice that the property becomes temporarily crowded with equipment. This is normal during active construction, but household members should remain clear of these areas. Children and pets should be kept away from the staging zones because tools, materials, ladders, and debris can create hazards.
Removing the Existing Roofing
For a roof replacement, one of the first major construction activities is removing the existing roofing system. Workers typically begin by carefully removing old shingles, tiles, panels, or other surface materials according to the type of roof. The removed materials are then collected and moved toward the designated disposal area.
Roof removal is often one of the noisiest stages of the project. Workers may use hand tools and equipment to loosen roofing materials, which can create hammering, scraping, and impact sounds. Vibrations may also be noticeable inside the house, particularly in rooms directly below the roof.
Homeowners should not be concerned simply because the roof sounds active during this stage. Removing old materials requires physical work, and the noise usually decreases once the removal phase is completed. However, household members should remain aware that workers may be moving continuously around the property.
As the old roof is removed, the underlying components become visible. This is an important moment because the contractor can assess conditions that were hidden beneath the previous roofing material. The roof deck, flashing, underlayment, ventilation components, and other areas can be examined more closely.
Old nails and debris should be collected as part of the removal process. Professional crews generally use planned disposal and cleanup procedures to prevent loose materials from remaining around the property. Homeowners should still avoid walking through active debris collection areas while removal is underway.
Inspecting the Roof Deck and Underlying Structure
After the existing roofing materials have been removed, the contractor can inspect the roof deck more thoroughly. The roof deck provides the structural surface that supports the roofing system, so it needs to be in suitable condition before new roofing materials are installed.
Some problems cannot be identified accurately until the old roofing material has been removed. Moisture damage, deteriorated wood, soft areas, damaged sheathing, or other hidden conditions may become visible during this stage. A contractor should evaluate these areas and determine whether repairs are needed before continuing with the installation.
If damaged decking is discovered, the installation schedule may change temporarily. Sections that are not structurally suitable may need to be removed and replaced so that the new roofing system has a stable surface. Homeowners should understand that these repairs can increase project time or cost when they were not visible during the initial inspection.
The same inspection can identify issues involving flashing, roof penetrations, valleys, edges, and ventilation. Addressing these components while the roof is exposed can be more practical than leaving an underlying problem concealed beneath a new roofing system.
Homeowners should avoid making assumptions about hidden roof damage before the inspection is complete. Some discoloration or minor surface irregularities may not require major repairs, while other areas may need immediate attention. The contractor should explain significant findings and discuss any required changes before additional work is performed.
Preparing the Roof for the New Installation
After the old roofing system has been removed and the roof deck has been inspected, the surface is prepared for the new roofing materials. This stage connects the removal process with the actual installation of the new roof and requires careful attention to the condition of the roof structure.
The crew may remove remaining debris, replace damaged decking, and prepare edges and vulnerable areas. The roof surface needs to be clean and stable before underlayment and other protective components are installed.
Preparation can also involve checking roof penetrations and areas where different roof sections meet. Chimneys, vents, skylights, walls, valleys, and other transitions require careful treatment because these locations can be more vulnerable to water intrusion.
The contractor may also review ventilation requirements before the new roofing material is installed. Proper ventilation can help manage heat and moisture in the attic and should be coordinated with the design of the roofing system.
At this stage, the homeowner may notice that the roof looks very different from its original appearance. The old materials have been removed, and the underlying structure may be temporarily visible. This is a normal part of roof replacement and represents the preparation needed before the protective layers and new roofing materials are installed.
The first portion of installation day is therefore focused heavily on organization, protection, removal, and inspection rather than immediately placing the finished roofing material. These early stages are essential because the quality of the final roof depends on the condition of the underlying surface and the care taken before new materials are installed. Once the roof deck has been properly prepared, the crew can move into the installation of underlayment, flashing, drip edges, ventilation components, and the new roofing material.
Installing the Protective Underlayment
Once the old roofing materials have been removed and the roof deck has been inspected and prepared, the crew can begin installing the protective layers beneath the finished roofing material. Underlayment acts as an additional barrier between the roof deck and the exterior roofing material, helping protect the structure from moisture that may reach beneath shingles or other roofing products.
The type of underlayment used depends on the roofing system, local requirements, roof design, and contractor specifications. Some projects use synthetic underlayment, while others may include specialized moisture-resistant products in areas that require additional protection.
Workers generally install the underlayment across prepared sections of the roof while maintaining the required overlaps and fastening patterns. Proper installation matters because gaps, incorrect overlaps, or inadequate fastening can reduce the effectiveness of the protective layer.
Certain areas may receive additional waterproofing protection. Roof valleys, eaves, penetrations, and other vulnerable locations can require specialized materials or installation techniques based on the roofing system. These areas deserve particular attention because water naturally concentrates around transitions and changes in roof direction.
The crew may also work progressively across the roof instead of completing every preparation step at once. This approach allows workers to maintain an organized sequence and reduces the amount of roof area that remains exposed during construction.
Installing Drip Edges and Flashing
After the roof surface has been prepared, workers install or replace important edge and flashing components. Drip edges are installed along appropriate roof edges to help direct water away from vulnerable areas and toward the drainage system.
Flashing is used around locations where roofing surfaces meet walls, chimneys, vents, skylights, and other structures. These transitions can create potential pathways for water if they are not properly sealed and integrated with the roofing system.
The crew may inspect existing flashing and determine whether it can be reused or should be replaced. When a complete roof replacement is being performed, replacing deteriorated flashing can provide a better opportunity to address areas that may have contributed to previous leaks.
Roof valleys require especially careful installation because they collect and direct significant amounts of rainwater. Depending on the roof design, the contractor may use specific valley materials or installation methods to provide appropriate water management.
Proper flashing is not simply a cosmetic detail. It is part of the roof’s water-shedding system, and mistakes around these areas can create leaks even when the main roofing surface appears correctly installed.
Homeowners generally do not need to supervise each flashing detail themselves. However, they should understand that these components are important parts of the roofing system and should be included in the contractor’s installation plan.
Installing the New Roofing Material
Once the protective layers, edges, and necessary flashing have been prepared, the crew can begin installing the main roofing material. For many residential projects, this means installing asphalt shingles, although other systems such as metal panels, tiles, or other roofing products may follow different procedures.
For shingle installation, workers generally begin at designated lower sections of the roof and work upward in planned courses. Maintaining consistent alignment is important because the rows need to overlap correctly to create an effective water-shedding surface.
Workers use approved fasteners to secure the roofing material according to the product requirements and installation specifications. Fastener placement, quantity, and positioning can affect how well roofing materials resist wind and remain securely attached over time.
The crew also needs to account for roof penetrations and changes in the roof design as installation progresses. Shingles or other roofing materials must be carefully cut and fitted around vents, chimneys, skylights, and other structures without creating unnecessary gaps.
The appearance of the roof will gradually change as each section is completed. Homeowners may see one portion of the roof finished while other sections remain covered with underlayment or partially installed materials. This is a normal part of the installation sequence and does not necessarily indicate that work is incomplete or disorganized.
The speed of installation can vary considerably. A large, simple roof may allow workers to progress quickly, while a roof with multiple angles, valleys, dormers, and penetrations requires more measuring, cutting, fitting, and fastening.
Installing Roof Ventilation Components
Roof ventilation is another important part of residential roofing installation. A properly designed ventilation system helps manage heat and moisture within the attic, which can contribute to the long-term performance of the roofing system and the condition of the building materials.
The ventilation approach depends on the home’s design and the existing ventilation system. Some roofs use ridge vents combined with appropriate intake ventilation, while other properties may use different vent types based on their structure.
When a ridge vent is part of the roofing design, the crew may prepare the ridge area and install the vent before applying the appropriate ridge roofing material. The ventilation opening and components need to be integrated carefully so that airflow is maintained without creating an unnecessary pathway for water.
Workers should also ensure that ventilation components are compatible with the roofing materials being installed. Poor coordination between roofing and ventilation work can affect both performance and appearance.
Homeowners may not notice ventilation components once the roof is finished because many systems are designed to blend into the roofing surface. Their importance, however, extends beyond appearance because attic moisture and excessive heat can contribute to long-term building problems when ventilation is inadequate.
If the existing home has ventilation concerns, homeowners should discuss them with the contractor before or during installation. Installing a new roof can provide an opportunity to address ventilation problems that may otherwise remain hidden.
Working Safely Throughout the Installation
Safety remains a major concern throughout roofing installation day because workers are operating at height while handling tools and materials. Professional crews use appropriate safety practices based on the roof design, working conditions, equipment, and applicable requirements.
Ladders must be positioned securely, while workers may use fall protection systems when appropriate. Tools and materials also need to be handled carefully so that they do not create hazards for workers or people on the ground.
Homeowners should remain outside active work zones throughout the installation. Walking underneath workers or standing close to the walls where materials are being handled can expose household members to unnecessary risks.
Children and pets should remain away from the construction area even when they are supervised. Roofing tools, loose materials, ladders, and debris can present hazards that are difficult for children or animals to recognize.
Household members should also avoid entering the roof area for photographs or inspections during active construction. A homeowner may want to see the progress, but the safest approach is to view the work from an approved location or wait for a contractor-guided walkthrough.
Good communication between the household and roofing crew supports safer working conditions. If a homeowner needs access through an area currently being used by workers, they should communicate with the crew rather than entering unexpectedly.
Managing Weather During Installation
Weather conditions can have a significant effect on roofing installation day. Roofing materials are installed outdoors, so rain, strong winds, extreme temperatures, and other conditions can influence both safety and installation quality.
Before starting work, the contractor should consider the expected weather and determine whether conditions are suitable for the planned activities. If severe weather develops, the crew may need to pause work and protect exposed portions of the roof.
Rain can be particularly important when sections of the roof deck or underlayment are exposed. A professional crew should have procedures for protecting the structure if weather conditions prevent immediate completion.
Strong winds can also create challenges because roofing materials and tools can become difficult to handle safely. Workers may need to stop certain activities when wind conditions become unsafe.
Hot weather can create additional concerns for workers, particularly on dark roofing surfaces that absorb sunlight. Crews may adjust work practices, hydration routines, break periods, or working schedules when conditions become demanding.
Homeowners should understand that a weather-related delay does not necessarily indicate poor project management. In many situations, temporarily stopping work is a responsible decision that protects workers, materials, and the exposed structure of the home.
Weather can also affect the expected completion time. If a planned installation takes longer because of unsuitable conditions, homeowners should communicate with the contractor to understand the revised schedule rather than pressuring workers to continue during unsafe conditions.
Coordinating the Work Across the Roof
Roof installation is generally completed in organized sections rather than randomly across the entire structure. Workers may divide the roof into manageable areas and progress systematically so that preparation, installation, and finishing activities remain coordinated.
The sequence can vary depending on the roof design and materials. Some sections may require additional flashing or specialized preparation before the main roofing material can be installed, while straightforward areas may progress more quickly.
Workers need to maintain proper overlaps and alignment as they move across the roof. They also need to account for valleys, hips, ridges, edges, and penetrations that interrupt the regular pattern of the roofing material.
This organized approach helps maintain consistency throughout the installation. It also makes it easier for the crew to identify areas that still require attention before moving toward final completion.
Homeowners may notice different workers performing different tasks during the same day. One person may prepare materials while others install roofing products, flashing, or ventilation components. Specialization can help the crew maintain productivity while ensuring that different parts of the system receive appropriate attention.
As the installation progresses, completed sections may begin to show the final appearance of the roof. However, the visible surface is only one part of the system. Underlayment, flashing, ventilation, fastening, and edge details all contribute to the roof’s overall performance.
Handling Unexpected Problems During Installation
Roofing installation can reveal conditions that were not visible during the original inspection. Once the old roofing materials are removed, the contractor may discover damaged decking, deteriorated flashing, inadequate ventilation, or other issues requiring attention.
When an unexpected problem appears, the contractor should explain what was discovered and why it matters. Depending on the issue, the homeowner may need to approve additional repairs before the roofing work can continue.
Unexpected repairs can affect both the schedule and project cost. Homeowners can reduce confusion by discussing the contractor’s process for handling additional work before installation day.
Not every discovered issue necessarily requires extensive repairs. The contractor should explain the condition and recommended solution so the homeowner can make an informed decision.
In some cases, repairs can be completed as part of the normal installation process without significantly delaying the project. More extensive structural problems may require additional time or specialized work.
The important point is that the new roofing material should not simply cover a serious underlying defect. Addressing problems before the finished roof is installed can help protect the investment and reduce the possibility of future complications.
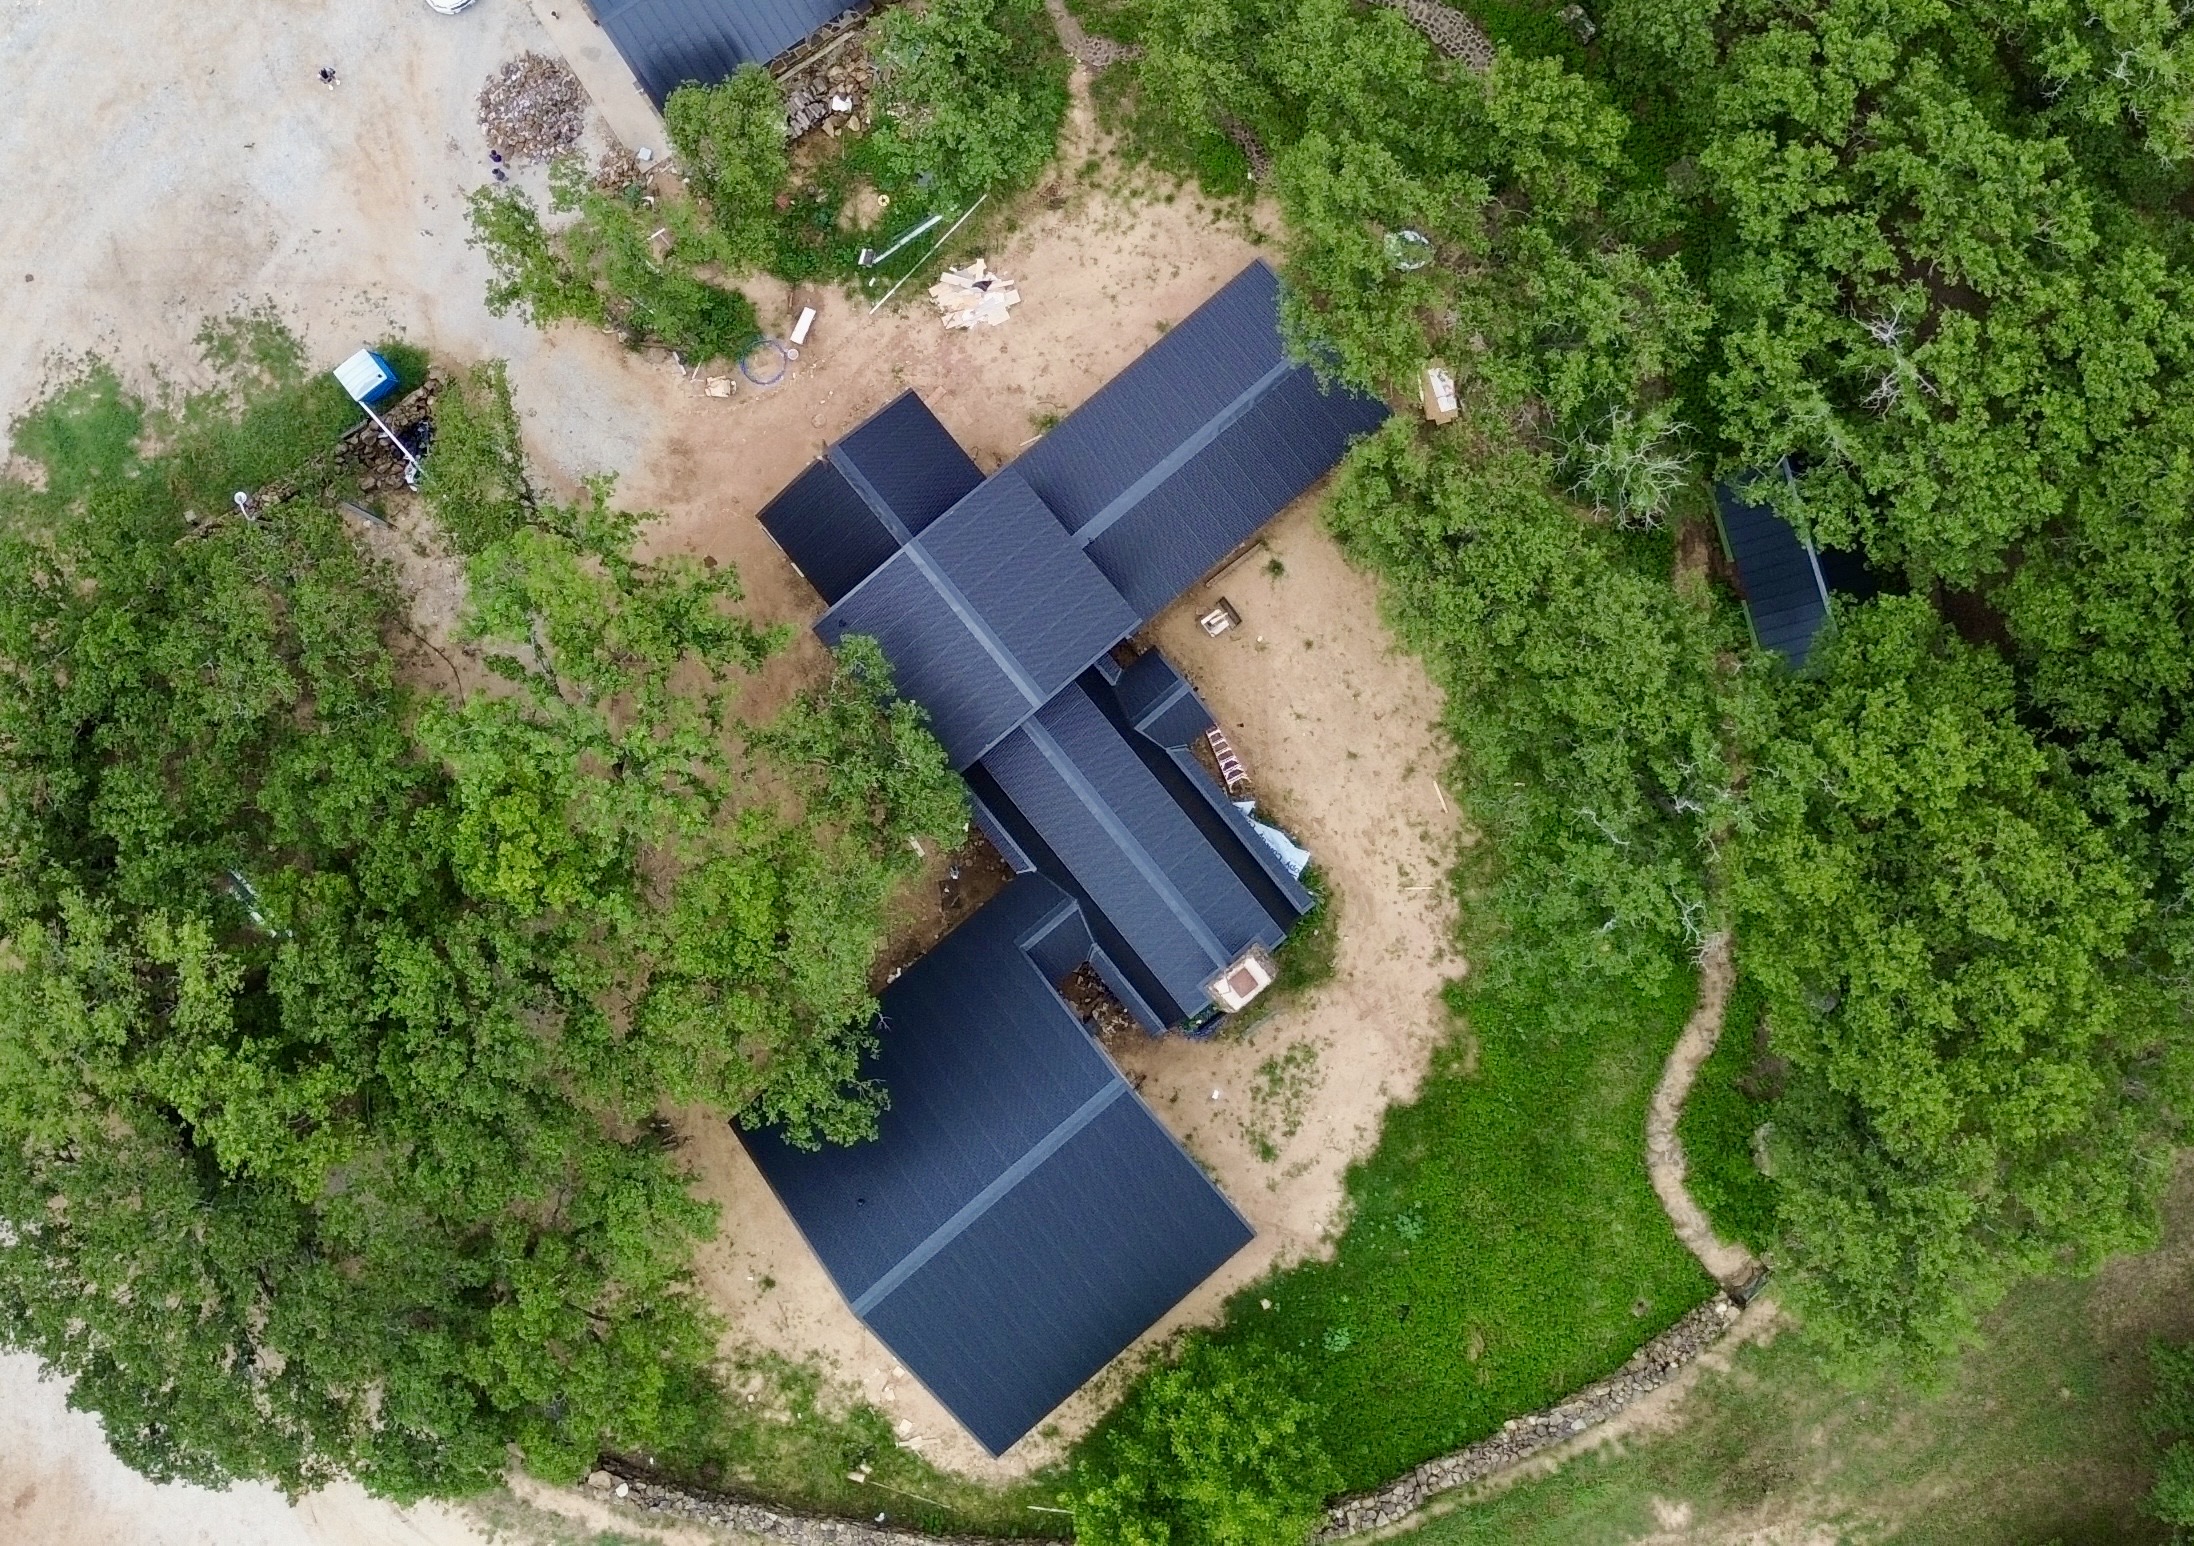
By the end of this stage, much of the main roofing surface may already be installed, while specialized areas such as ridges, hips, valleys, penetrations, and final edges still require attention. The final stage of installation day focuses on completing these details, cleaning the property, inspecting the finished roof, and conducting a walkthrough with the homeowner.
Completing the Main Roofing Installation
As the roofing crew moves toward the final stages of installation, the remaining sections of the roof are completed according to the planned layout. Workers continue checking alignment, fastening, overlaps, and transitions as they move across the remaining roof areas. This stage may look straightforward from the ground, but careful attention is still required because small installation details can affect the roof’s long-term performance.
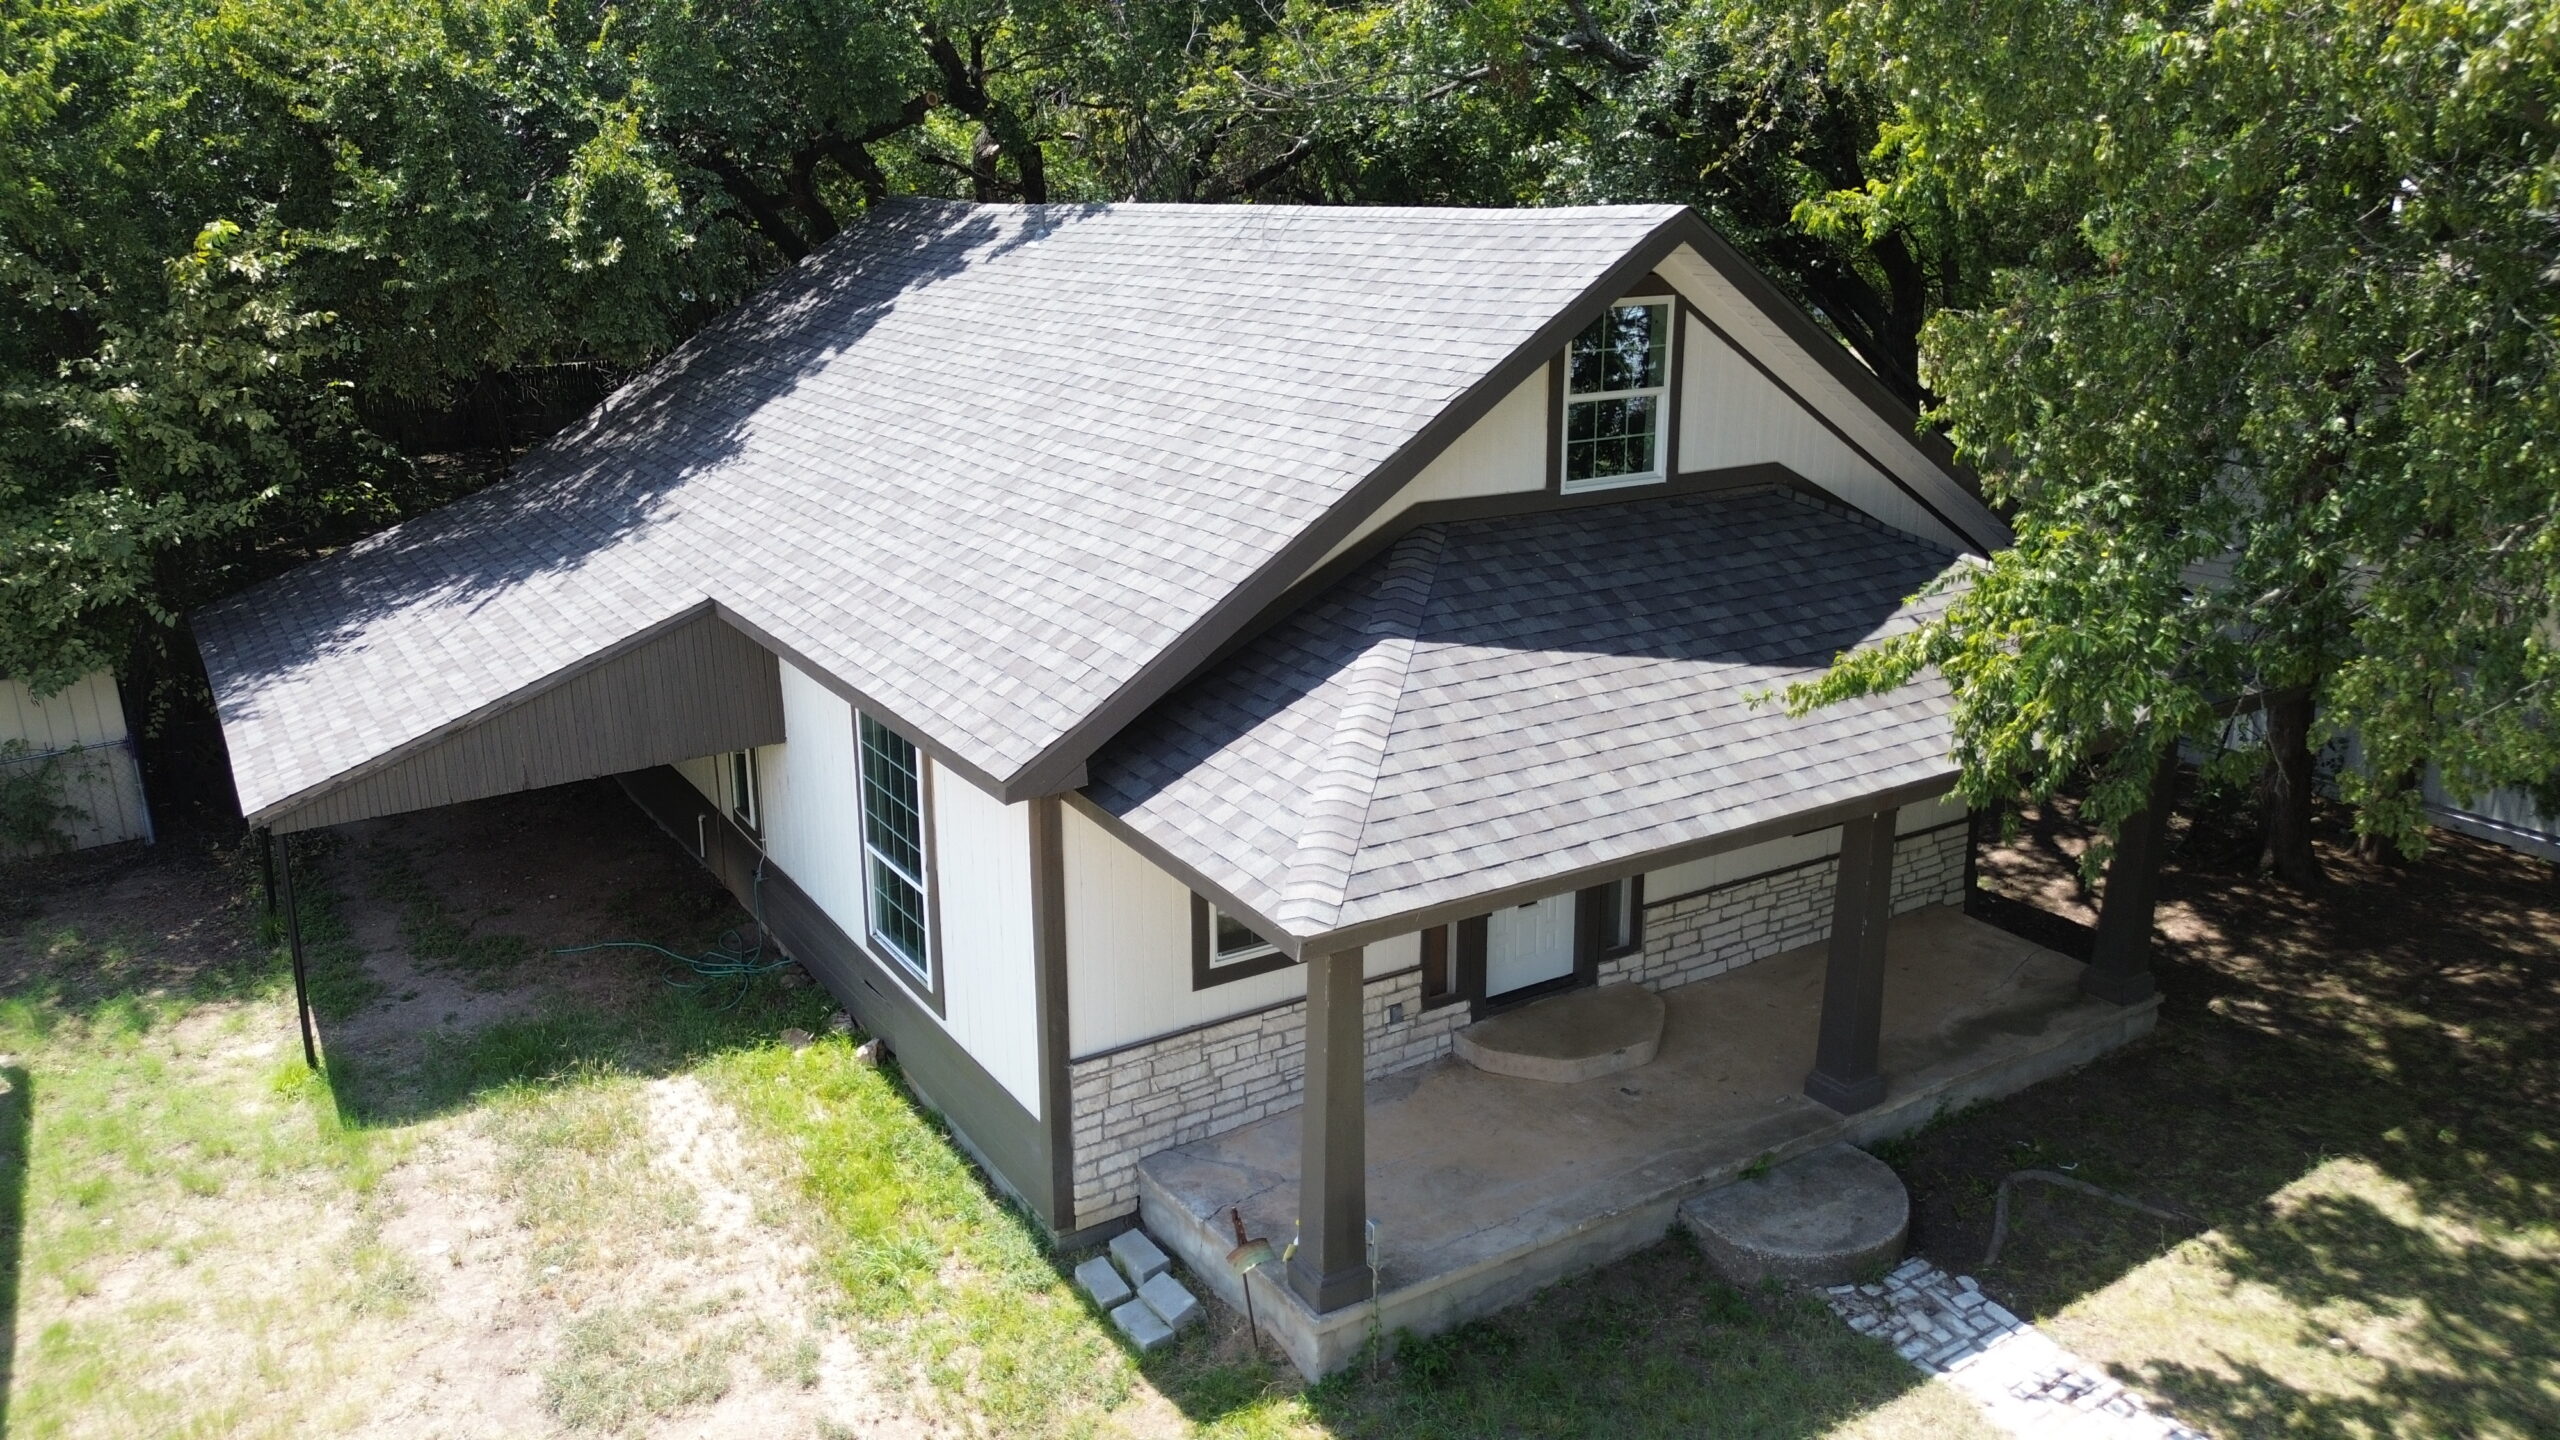
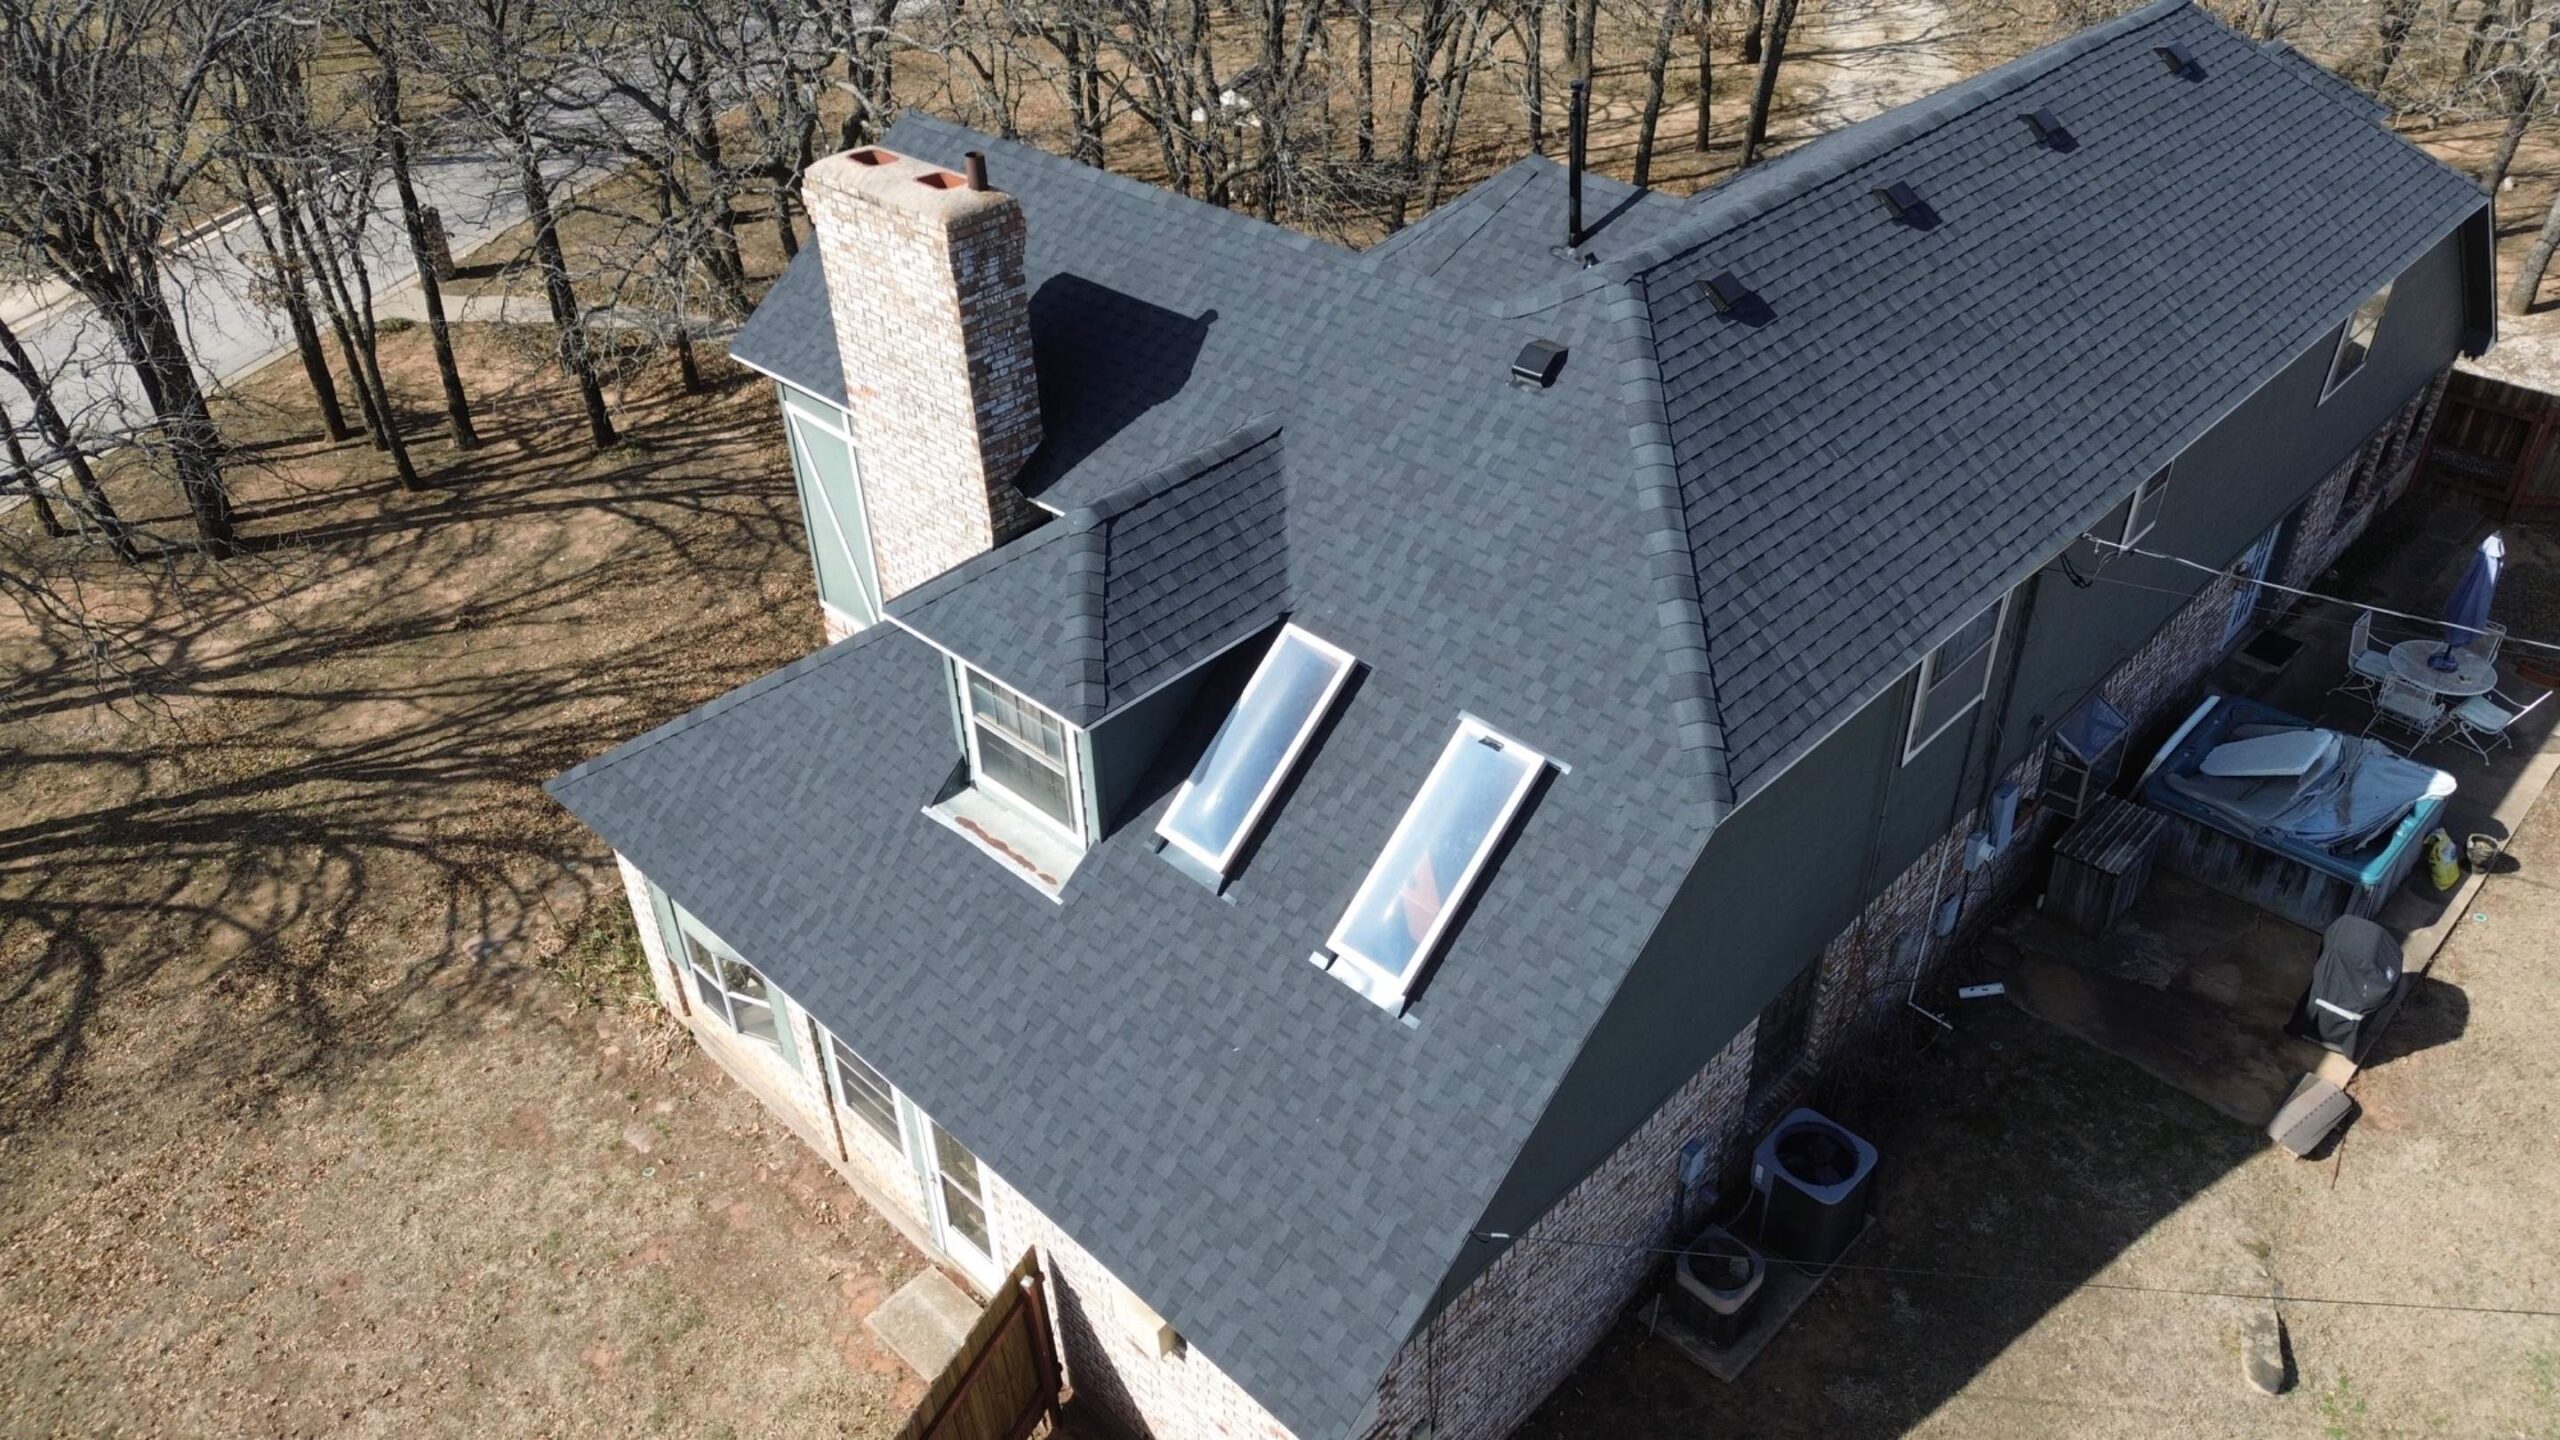
The crew may finish sections around dormers, valleys, roof edges, skylights, chimneys, vents, and other interruptions in the roof surface. These areas often require more measuring and cutting than large open sections, so progress may appear slower while workers complete them. Proper fitting around these features helps create a continuous roofing system rather than simply covering the roof with surface material.
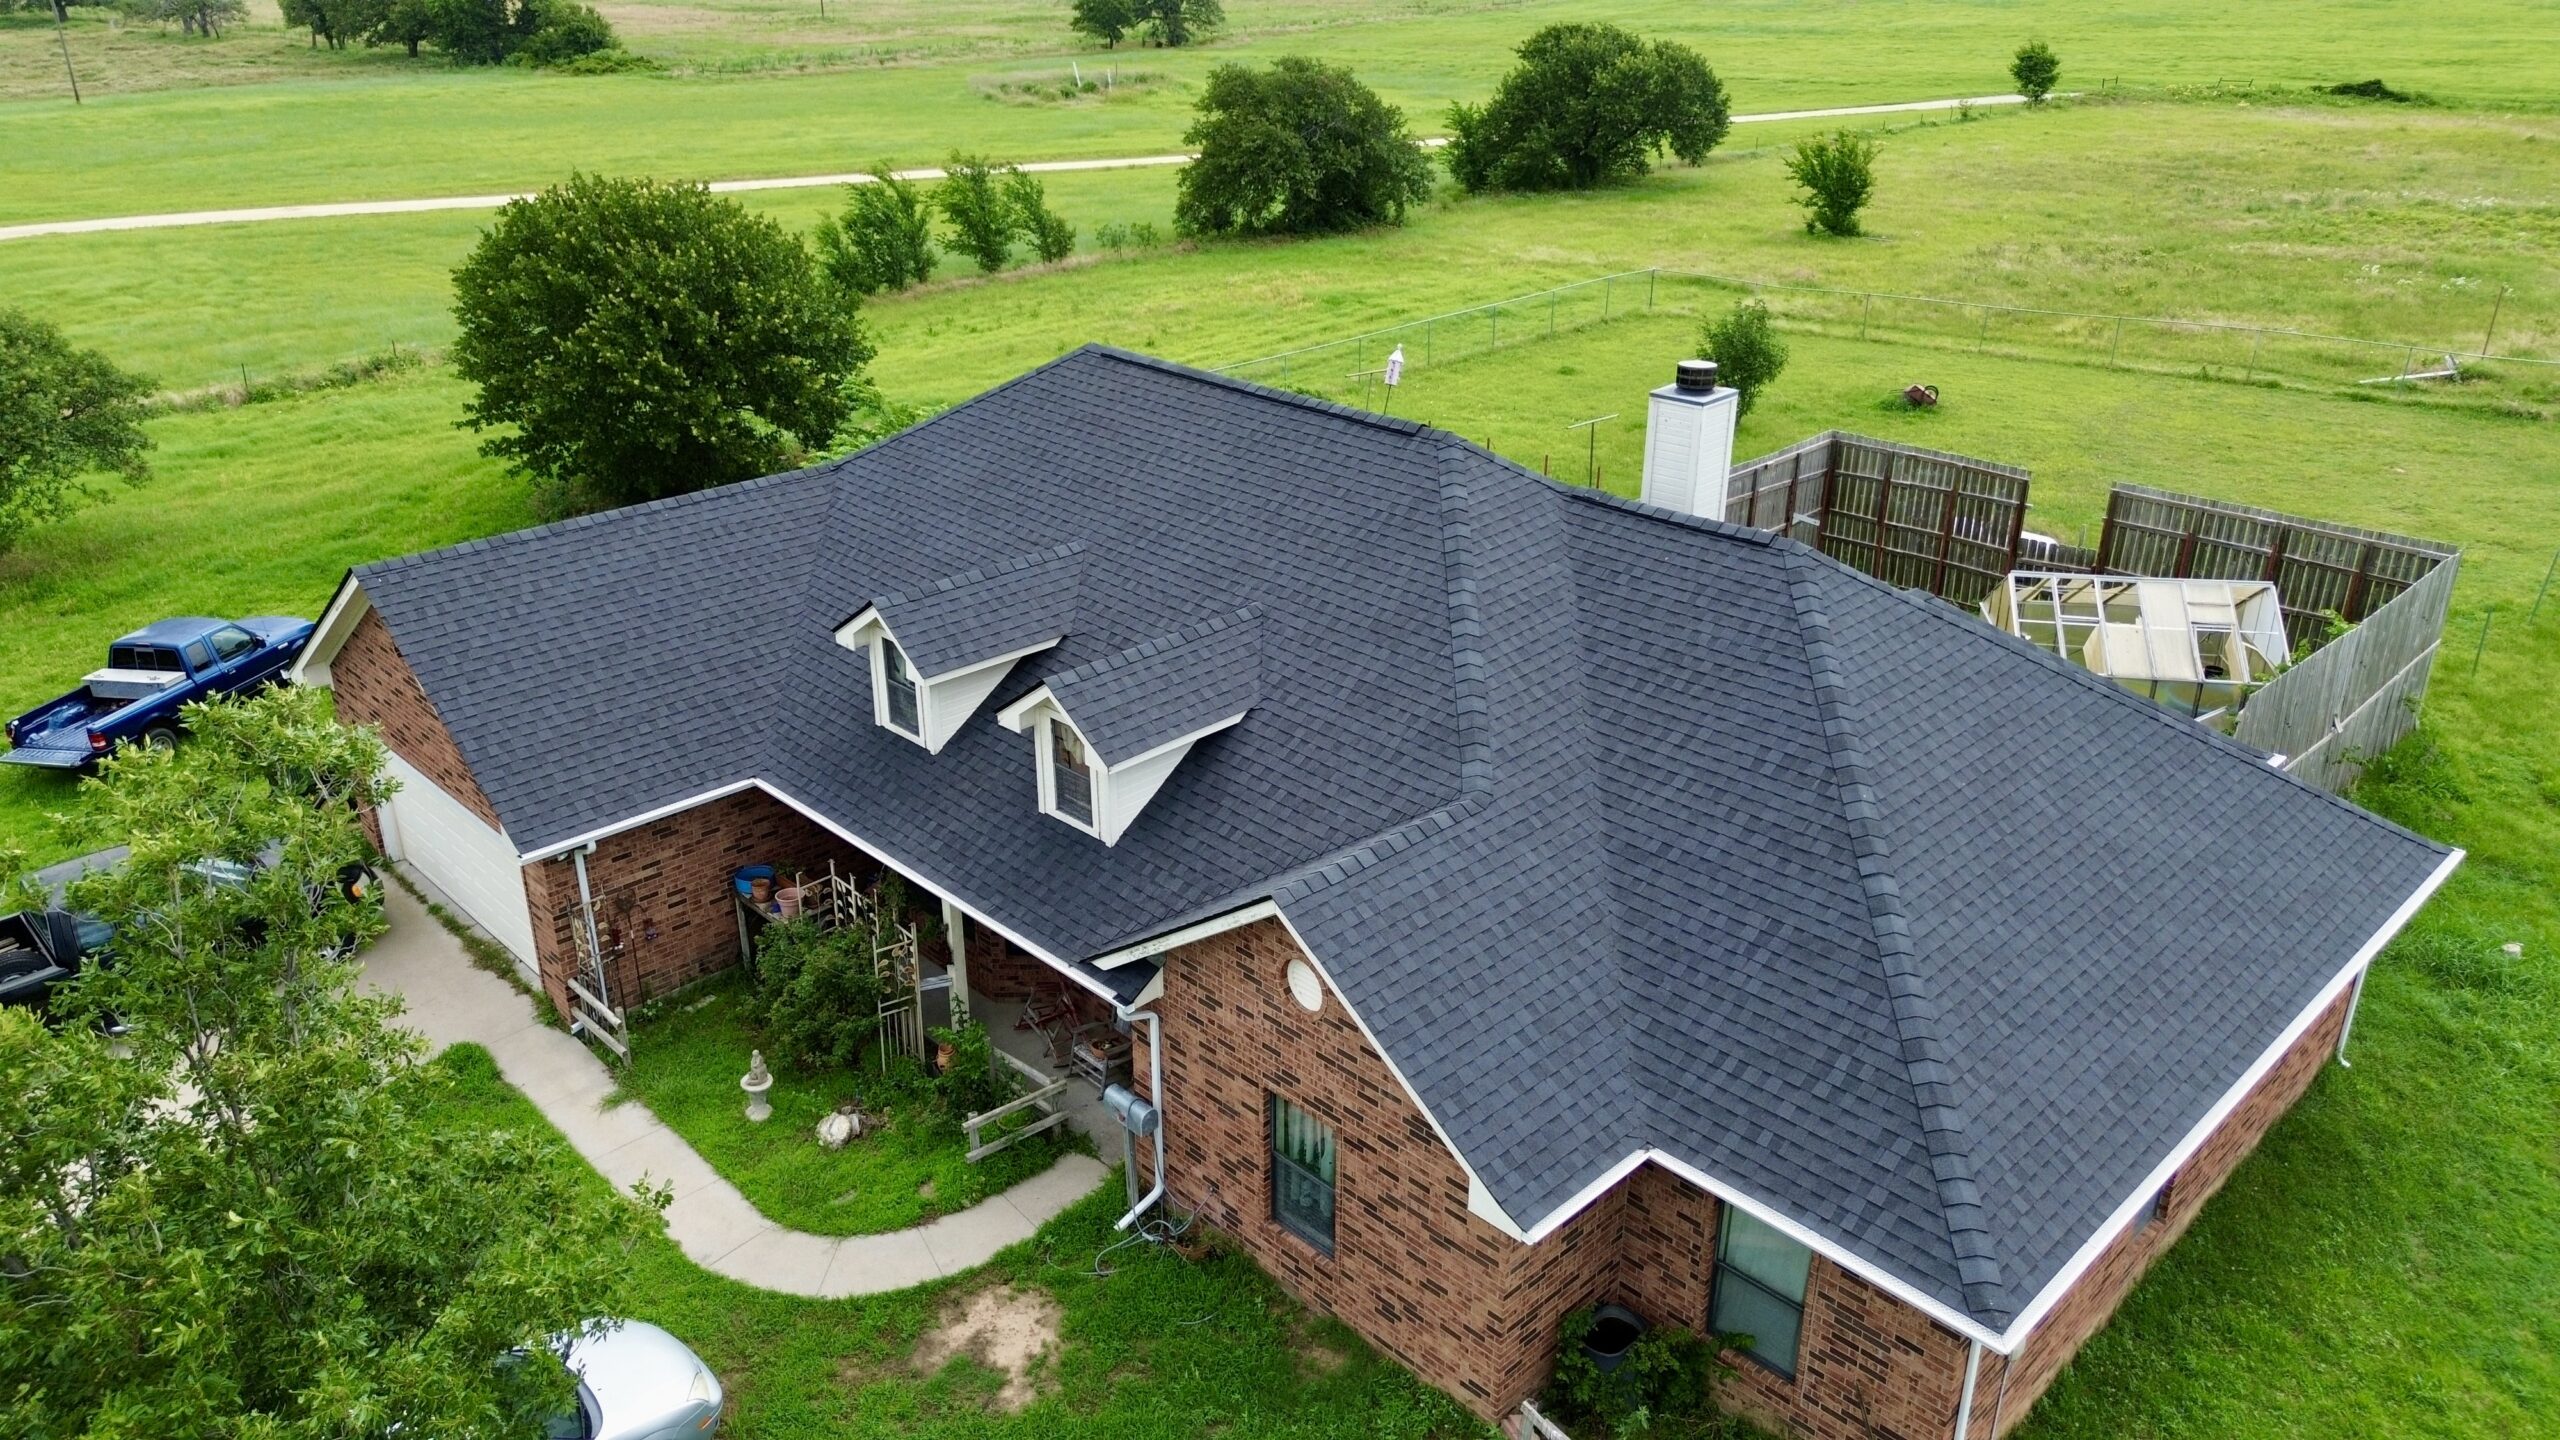
Ridge and hip areas are normally completed after the main field roofing has been installed. Specialized ridge or hip materials are positioned and secured to provide protection while also creating the finished appearance of the roof. The crew may also complete remaining ventilation components in these areas if the roofing system includes ridge ventilation.
The final installation work should include a careful review of exposed edges and transitions. Workers check that roofing materials are properly secured and that important areas have been integrated with flashing and other protective components. These finishing details help the roof shed water effectively and withstand normal environmental conditions.
Installing Final Roof Components
Several components may remain after the primary roofing material has been installed. These can include ridge caps, flashing, pipe boots, vents, edge details, sealants, and other products required by the specific roofing system. Each component has a particular purpose, so installation should follow the manufacturer’s requirements and the contractor’s established procedures.
Roof penetrations deserve special attention because pipes, vents, chimneys, and similar structures interrupt the otherwise continuous roofing surface. Proper flashing and compatible sealing materials help reduce the possibility of water entering around these locations. Workers should inspect these areas carefully before considering the roof installation complete.
The edges of the roof are also checked during the finishing stage. Drip edges, starter materials, fascia-related transitions, and other edge components need to be properly positioned so water can move toward the drainage system instead of entering vulnerable areas. Poorly finished edges can create problems even when the main roof surface appears attractive.
The contractor may also inspect visible fasteners, exposed material edges, and areas where roofing products meet other surfaces. Any obvious installation issue should be corrected before the crew moves into final cleanup. This final attention to detail helps ensure that the finished roof is more than visually complete.
Homeowners generally do not need to inspect these components from the roof themselves. Walking on a newly installed roof without proper training or equipment can create safety risks and may also damage roofing materials. A professional inspection from the contractor is the safer way to evaluate these details.
Cleaning the Property After Installation
Once the roofing work is substantially complete, the crew begins removing construction materials and cleaning the surrounding property. Roof replacement can produce a considerable amount of waste, including old shingles, underlayment, packaging, nails, small material pieces, and other debris. Proper cleanup is therefore an important part of completing the project.
The crew may collect debris from the ground, roof edges, walkways, driveway, and areas around the house. Temporary coverings and protective materials are also removed when they are no longer needed. This allows the property to gradually return to its normal condition.
Special attention should be given to areas where small nails or sharp pieces could remain. Professional roofing crews generally use appropriate cleanup equipment and methods to collect loose fasteners. However, homeowners should still avoid walking barefoot around recently completed construction areas until the contractor confirms that cleanup is finished.
Landscaping should also be checked after debris collection. Plants, shrubs, garden beds, and decorative areas may have been protected during installation and should be restored as appropriate. If any property feature appears different from its original condition, the homeowner should raise the concern with the project manager before the crew leaves.
The driveway and walkways should receive a final cleanup as well. Removing loose debris helps make these areas safer for household members and reduces the chance of roofing materials being carried into the home.
Conducting the Final Roof Inspection
A final inspection is one of the most important activities before the roofing project is considered complete. The contractor or project manager should review the finished roofing system and look for areas that require correction, adjustment, or additional attention. This inspection provides an opportunity to identify small issues before the crew leaves the property.
The inspection may cover the main roofing surface, edges, valleys, ridges, hips, flashing, vents, penetrations, and other components included in the project. Workers may also verify that roofing materials have been properly fastened and that visible details are consistent with the installation requirements.
The contractor should also review areas where repairs were made during installation. If damaged decking or other hidden problems were discovered, the homeowner may receive an explanation of what was repaired and why. Photographs can sometimes be useful for documenting concealed repairs that cannot be seen after the new roofing material has been installed.
Ventilation components should be checked as part of the final review when they are included in the roofing system. Proper integration between ventilation and roofing materials helps maintain the intended performance of the roof and attic system.
A final inspection does not mean homeowners should climb onto the roof. Instead, the contractor can explain what was inspected and provide information about the completed work from a safe location. If the homeowner has questions about a particular area, the contractor can address them without creating unnecessary safety risks.
Completing the Homeowner Walkthrough
After the contractor completes the main inspection and cleanup, the homeowner may participate in a final walkthrough. This is an important communication stage because it gives both sides an opportunity to review the finished project and discuss anything that remains outstanding.
The contractor may explain the materials installed, repairs completed, ventilation changes, flashing work, and other important project details. Homeowners should use this opportunity to ask questions about maintenance, warranties, expected roof performance, and any unusual features of the completed system.
The walkthrough should also include a review of the property around the house. Homeowners can look at the driveway, walkways, landscaping, siding, windows, doors, and other nearby features from ground level. If something appears to need additional cleaning or attention, it should be discussed before the project is formally closed.
Homeowners should also confirm that all agreed project components have been addressed. If the original contract included specific repairs, ventilation improvements, flashing replacement, or other work, the homeowner can ask the contractor to confirm that those items were completed.
Communication during this stage should remain practical and specific. If a concern exists, describing exactly what was noticed makes it easier for the contractor to investigate and respond. Minor questions are often easier to resolve immediately than after the crew has completely left the property.
Checking the Home After Installation
The exterior is not the only part of the home that deserves attention after roofing work is completed. Homeowners should also check interior areas, especially rooms and attic spaces located directly below the newly installed roof. This provides an additional opportunity to identify anything unusual following construction.
Ceilings and upper walls can be checked for new stains, unexpected damage, or other visible changes. If the home had existing marks or stains before installation, homeowners can compare the current condition with photographs or notes made during preparation.
The attic can also be reviewed when it is safe and practical to do so. Homeowners may look for visible signs of moisture or unexpected disturbance, but they should avoid climbing over insulation or entering difficult areas without appropriate precautions. A professional should handle any detailed structural or moisture inspection that goes beyond a simple homeowner check.
Gutters and downspouts should also be observed after installation. Roofing work can temporarily affect these components because old materials and debris may enter drainage systems during removal. The contractor should address cleanup and any project-related concerns identified during the final review.
Homeowners should remember that a newly installed roof still requires routine maintenance. A successful installation provides the foundation for long-term performance, but gutters, flashing, ventilation, and other components should continue to receive appropriate attention over the life of the roof.
Understanding Completion Time and Final Responsibilities
The length of a residential roofing installation day depends on many factors, including roof size, design complexity, roofing material, crew size, weather, material availability, and the condition of the existing structure. Some projects can be completed within a single working day, while larger or more complicated roofs may require several days.
Weather is one of the most common reasons a project schedule can change. Rain, strong winds, or unsuitable temperatures may require work to stop temporarily, particularly when roof sections are exposed. A responsible contractor should prioritize safe working conditions and proper installation rather than rushing to meet an original schedule.
Unexpected structural repairs can also extend the project. If damaged decking, deteriorated flashing, or other concealed problems are discovered, the contractor may need additional time to complete the work correctly. Homeowners should consider these possibilities when planning around the installation schedule.
After completion, homeowners should keep all important project records together. Contracts, invoices, product information, warranty documents, photographs, inspection records, and repair details can become valuable if maintenance or warranty questions arise later.
It is also useful to understand which maintenance responsibilities belong to the homeowner and which concerns should be reported to the contractor. Keeping gutters clear, monitoring visible roof components, addressing signs of moisture promptly, and arranging appropriate inspections can help protect the new roofing system.
Most importantly, homeowners should not assume that the project is finished simply because the new roof looks complete from the ground. Proper completion includes installation, finishing details, cleanup, inspection, documentation, and communication between the contractor and homeowner.
Conclusion
Residential roofing installation day involves much more than placing new shingles or other roofing materials over a house. The process normally includes final preparation, installation of protective layers, flashing and ventilation work, placement of the main roofing material, detailed finishing, cleanup, inspection, and a final homeowner walkthrough.
Understanding these stages helps homeowners remain prepared for the noise, activity, temporary disruption, and changing appearance of the property throughout the project. It also makes it easier to recognize why certain steps, such as roof deck inspection and flashing installation, are necessary even though they may not be visible once the finished roof is complete.
Safety should remain a priority throughout the entire installation. Homeowners, children, and pets should stay away from active construction areas, while roofing workers should be allowed enough space to handle tools, materials, ladders, and equipment safely. Weather conditions and unexpected structural problems may also affect the schedule, so flexibility and communication are important.
A successful roofing installation ends with more than a new-looking roof. The contractor should complete the required details, clean the property, inspect the finished system, explain the completed work, and provide appropriate project documentation. By understanding what happens during residential roofing installation day and cooperating with the roofing team, homeowners can help create a safer, smoother, and more successful roofing project.