
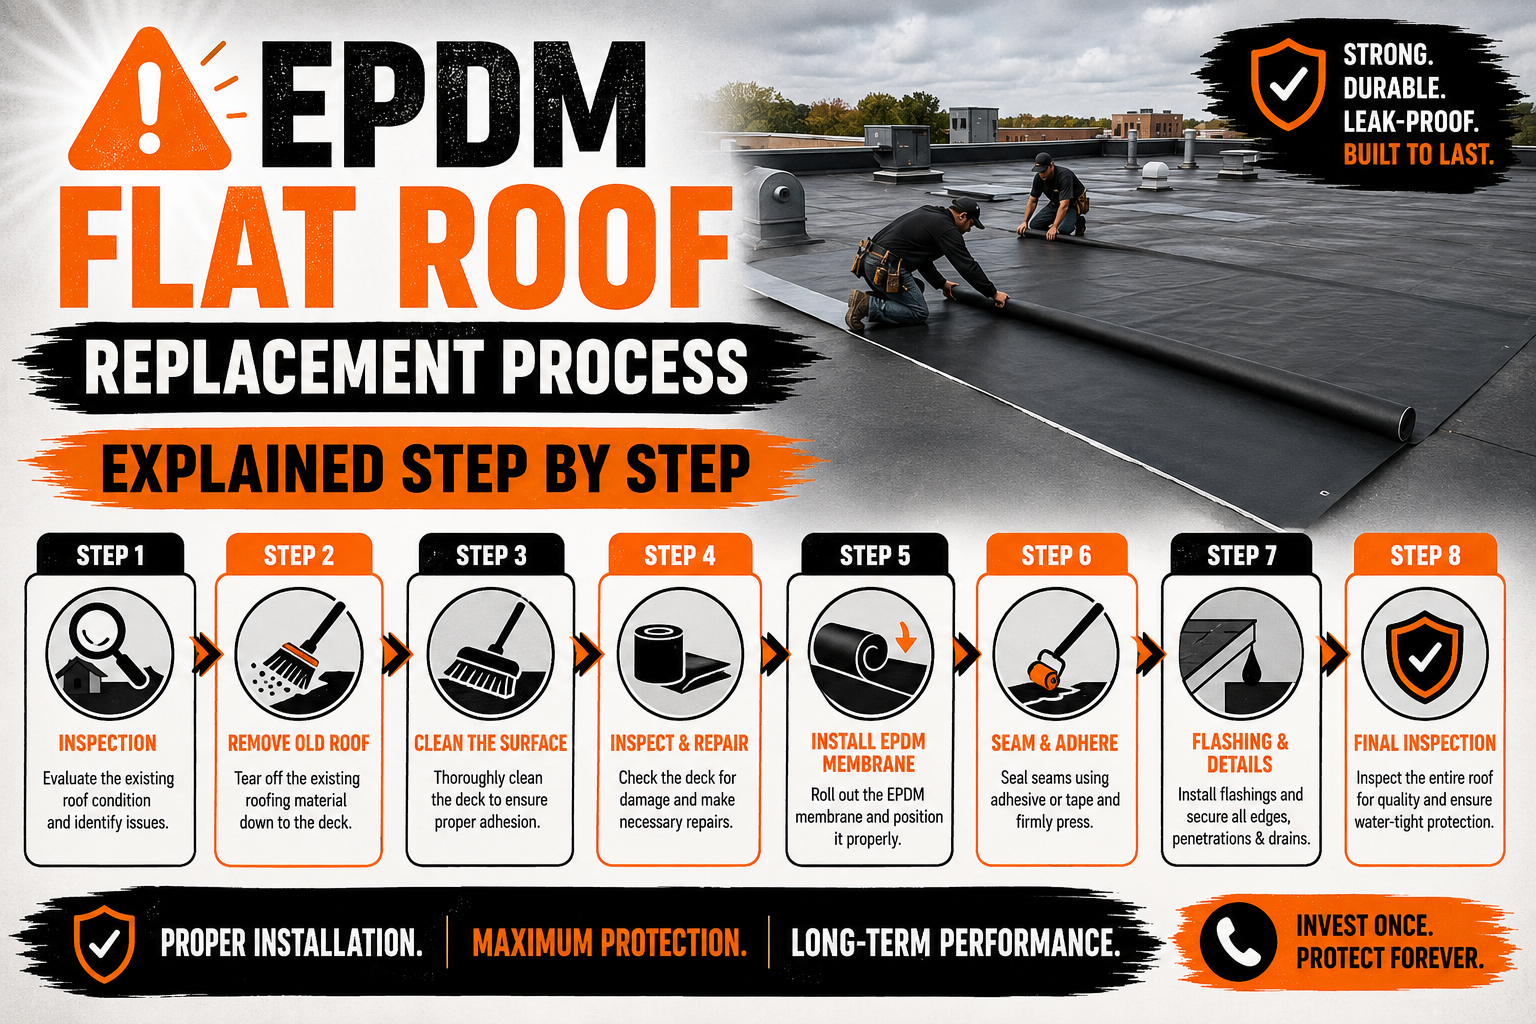
EPDM Flat Roof Replacement Process Explained Step by Step
Introduction
EPDM roofing has become one of the most trusted solutions for flat and low slope roofs because of its durability, flexibility, and long service life. It is widely installed on commercial buildings, warehouses, schools, office complexes, and an increasing number of residential properties. When properly installed and maintained, an EPDM roof can provide reliable weather protection for decades while requiring relatively little maintenance compared to many traditional roofing systems.
Despite its excellent reputation, no roofing material lasts forever. Continuous exposure to sunlight, changing temperatures, rain, wind, and everyday environmental conditions gradually affects the roofing membrane. Small defects that seem insignificant at first can develop into larger issues over time, eventually making a complete roof replacement the safest and most practical solution.
Replacing an EPDM roof involves much more than simply removing the old membrane and installing a new one. Every stage of the project plays an important role in ensuring the finished roof performs efficiently for many years. The roof deck must be carefully inspected, insulation evaluated, drainage checked, and installation completed according to manufacturer specifications. Skipping any step can reduce the lifespan of the new roofing system and increase the likelihood of future repairs.
Understanding the complete replacement process helps property owners make informed decisions before work begins. Knowing what to expect also improves communication with roofing contractors, allows better project planning, and provides confidence that the investment is being made wisely. A well planned replacement project not only restores waterproof protection but also improves energy efficiency, structural reliability, and the overall value of the building.
This guide explains the EPDM flat roof replacement process from start to finish. Beginning with preparation and planning, it follows each stage of the project in a logical sequence so property owners understand how experienced roofing professionals replace an aging EPDM roof safely and effectively.
What Is an EPDM Flat Roof?
EPDM stands for Ethylene Propylene Diene Monomer, which is a synthetic rubber membrane specifically designed for flat and low slope roofing systems. It has been used in the roofing industry for many decades because it combines flexibility, weather resistance, and long term durability. These qualities have made EPDM one of the most widely installed roofing materials throughout the world.
The membrane is typically available in large sheets that reduce the number of seams across the roof surface. Fewer seams generally mean fewer potential locations for water infiltration, which contributes to the system’s overall reliability. Depending on project requirements, EPDM membranes are manufactured in different thicknesses and widths to accommodate buildings of various sizes.
One of EPDM’s greatest strengths is its ability to remain flexible during changing weather conditions. The material expands and contracts with temperature fluctuations without becoming excessively brittle or cracking under normal circumstances. This flexibility allows the roofing system to accommodate minor building movement throughout its lifespan.
EPDM also performs well under prolonged exposure to ultraviolet radiation. Unlike some roofing materials that deteriorate rapidly under intense sunlight, properly installed EPDM membranes resist many forms of environmental aging. Their resistance to ozone, moisture, and weathering contributes to the material’s long service life.
Although EPDM roofs are highly durable, they are not immune to damage. Aging, physical punctures, poor drainage, improper installation, and inadequate maintenance can eventually reduce the effectiveness of the roofing system. Once deterioration becomes widespread, replacement often provides greater long term value than repeated repairs.
Modern EPDM roofing systems are also compatible with improved insulation products and drainage designs. This allows replacement projects to enhance overall building performance rather than simply restoring waterproof protection. As roofing technology continues evolving, property owners can often improve energy efficiency while replacing an aging roof.
Why EPDM Roofs Eventually Need Replacement
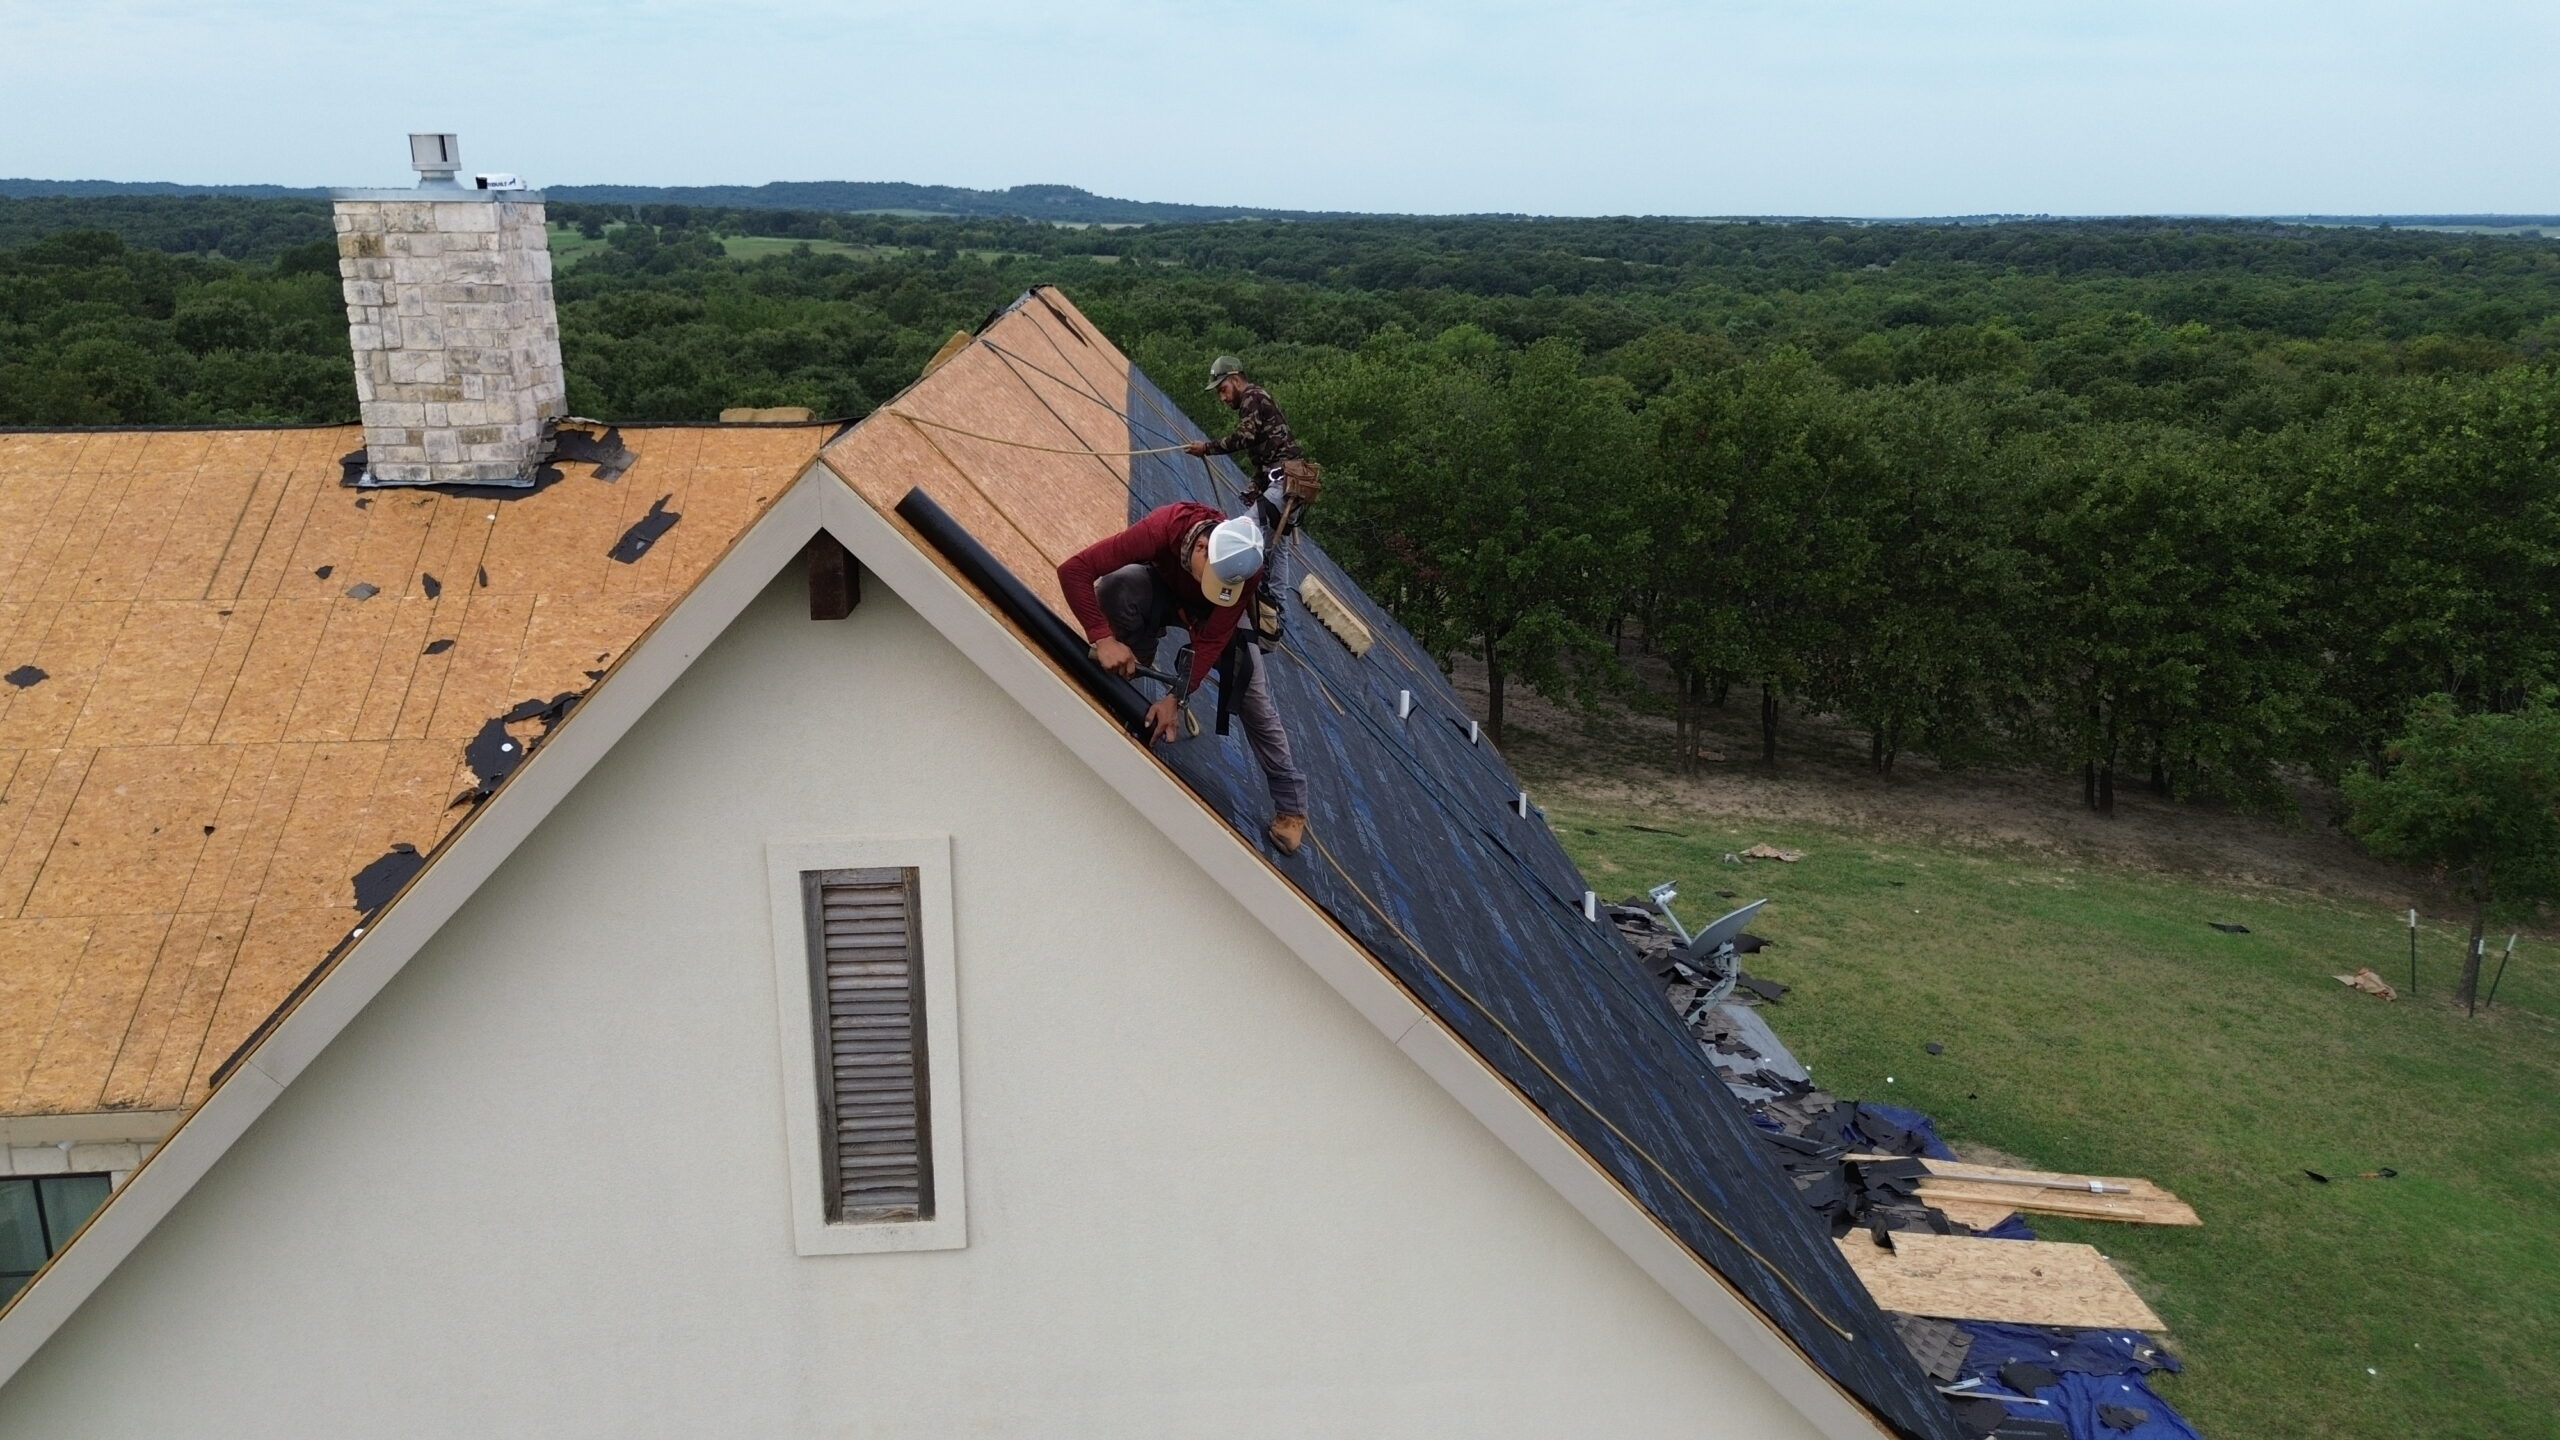
Every roofing material has a practical service life, including EPDM. Although many systems continue performing well for several decades, constant exposure to environmental conditions gradually weakens roofing components. Eventually the membrane, flashing, adhesives, insulation, or supporting materials no longer provide dependable protection against moisture.
Natural aging is one of the primary reasons replacement becomes necessary. Continuous exposure to sunlight slowly changes the chemical properties of the membrane, reducing its elasticity over time. As the material becomes less flexible, it becomes more vulnerable to cracking, shrinking, and seam separation.
Weather also contributes significantly to long term deterioration. Rain, hail, snow, wind, and repeated temperature changes place ongoing stress on the roofing system. Even when no major storms occur, years of seasonal expansion and contraction gradually weaken seams, flashing details, and adhesive bonds.
Physical damage represents another common cause of replacement. Maintenance personnel, contractors servicing rooftop equipment, or falling debris may puncture or tear the membrane. While isolated punctures can usually be repaired successfully, repeated physical damage across an aging roof often signals that replacement is becoming more practical.
Poor drainage also shortens roof lifespan. Standing water places continuous stress on roofing materials while increasing the likelihood of seam deterioration and moisture infiltration. If ponding water persists for extended periods, hidden damage beneath the membrane may develop even when the roof surface appears relatively intact.
Installation quality has a lasting influence on roof performance as well. Roofing systems installed incorrectly may experience premature seam failures, loose flashing, inadequate drainage, or insulation problems that reduce overall service life. Even premium roofing materials cannot perform as intended if critical installation procedures were not followed.
Property owners should recognize that replacement decisions rarely depend on one single issue. Instead, roofing professionals evaluate the combined effects of age, visible deterioration, leak history, insulation condition, drainage performance, and structural integrity before recommending complete replacement.
Signs It Is Time to Replace an EPDM Roof
An EPDM roof usually provides several warning signs before complete replacement becomes necessary. Recognizing these indicators early helps property owners schedule replacement before severe interior damage develops. Waiting until major leaks occur often increases both repair costs and project complexity.
Recurring leaks are among the strongest indicators that an EPDM roof may have reached the end of its useful life. While isolated leaks can often be repaired successfully, repeated leaks appearing in different locations usually indicate widespread deterioration beneath the membrane. New leaks frequently develop even after previous repairs have been completed.
Visible membrane shrinkage also deserves immediate attention. As EPDM ages, sections of the membrane may gradually contract, placing additional stress on seams, flashing, and attachment points. This movement can create openings that allow moisture to enter beneath the roofing system.
Seam failures become increasingly common as adhesives age. Separated seams reduce the roof’s waterproof integrity and allow wind driven rain to penetrate below the membrane. If seam separation appears across multiple areas, localized repairs may no longer provide dependable long term performance.
Surface damage such as tears, punctures, cracks, and excessive weathering also indicates declining roof condition. Although individual defects may appear relatively minor, their combined effect often signals widespread material aging. Large numbers of repair patches scattered across the roof usually suggest that replacement should be considered.
Interior warning signs should never be ignored either. Ceiling stains, peeling paint, damp insulation, mold growth, and unexplained moisture often indicate hidden roof leaks that have been developing beneath the membrane for an extended period. These symptoms frequently appear long after moisture has already entered the roofing assembly.
The following warning signs often indicate that an EPDM roof requires comprehensive evaluation.
- Recurring leaks despite previous repair work.
- Shrinking membrane pulling away from flashing.
- Multiple seam separations across the roof.
- Persistent standing water after rainfall.
- Widespread punctures, tears, or surface deterioration.
- Interior water damage or damp insulation.
When several of these warning signs appear together, replacing the entire roofing system often provides a more dependable and cost effective solution than continuing isolated repairs.
Planning an EPDM Roof Replacement Project
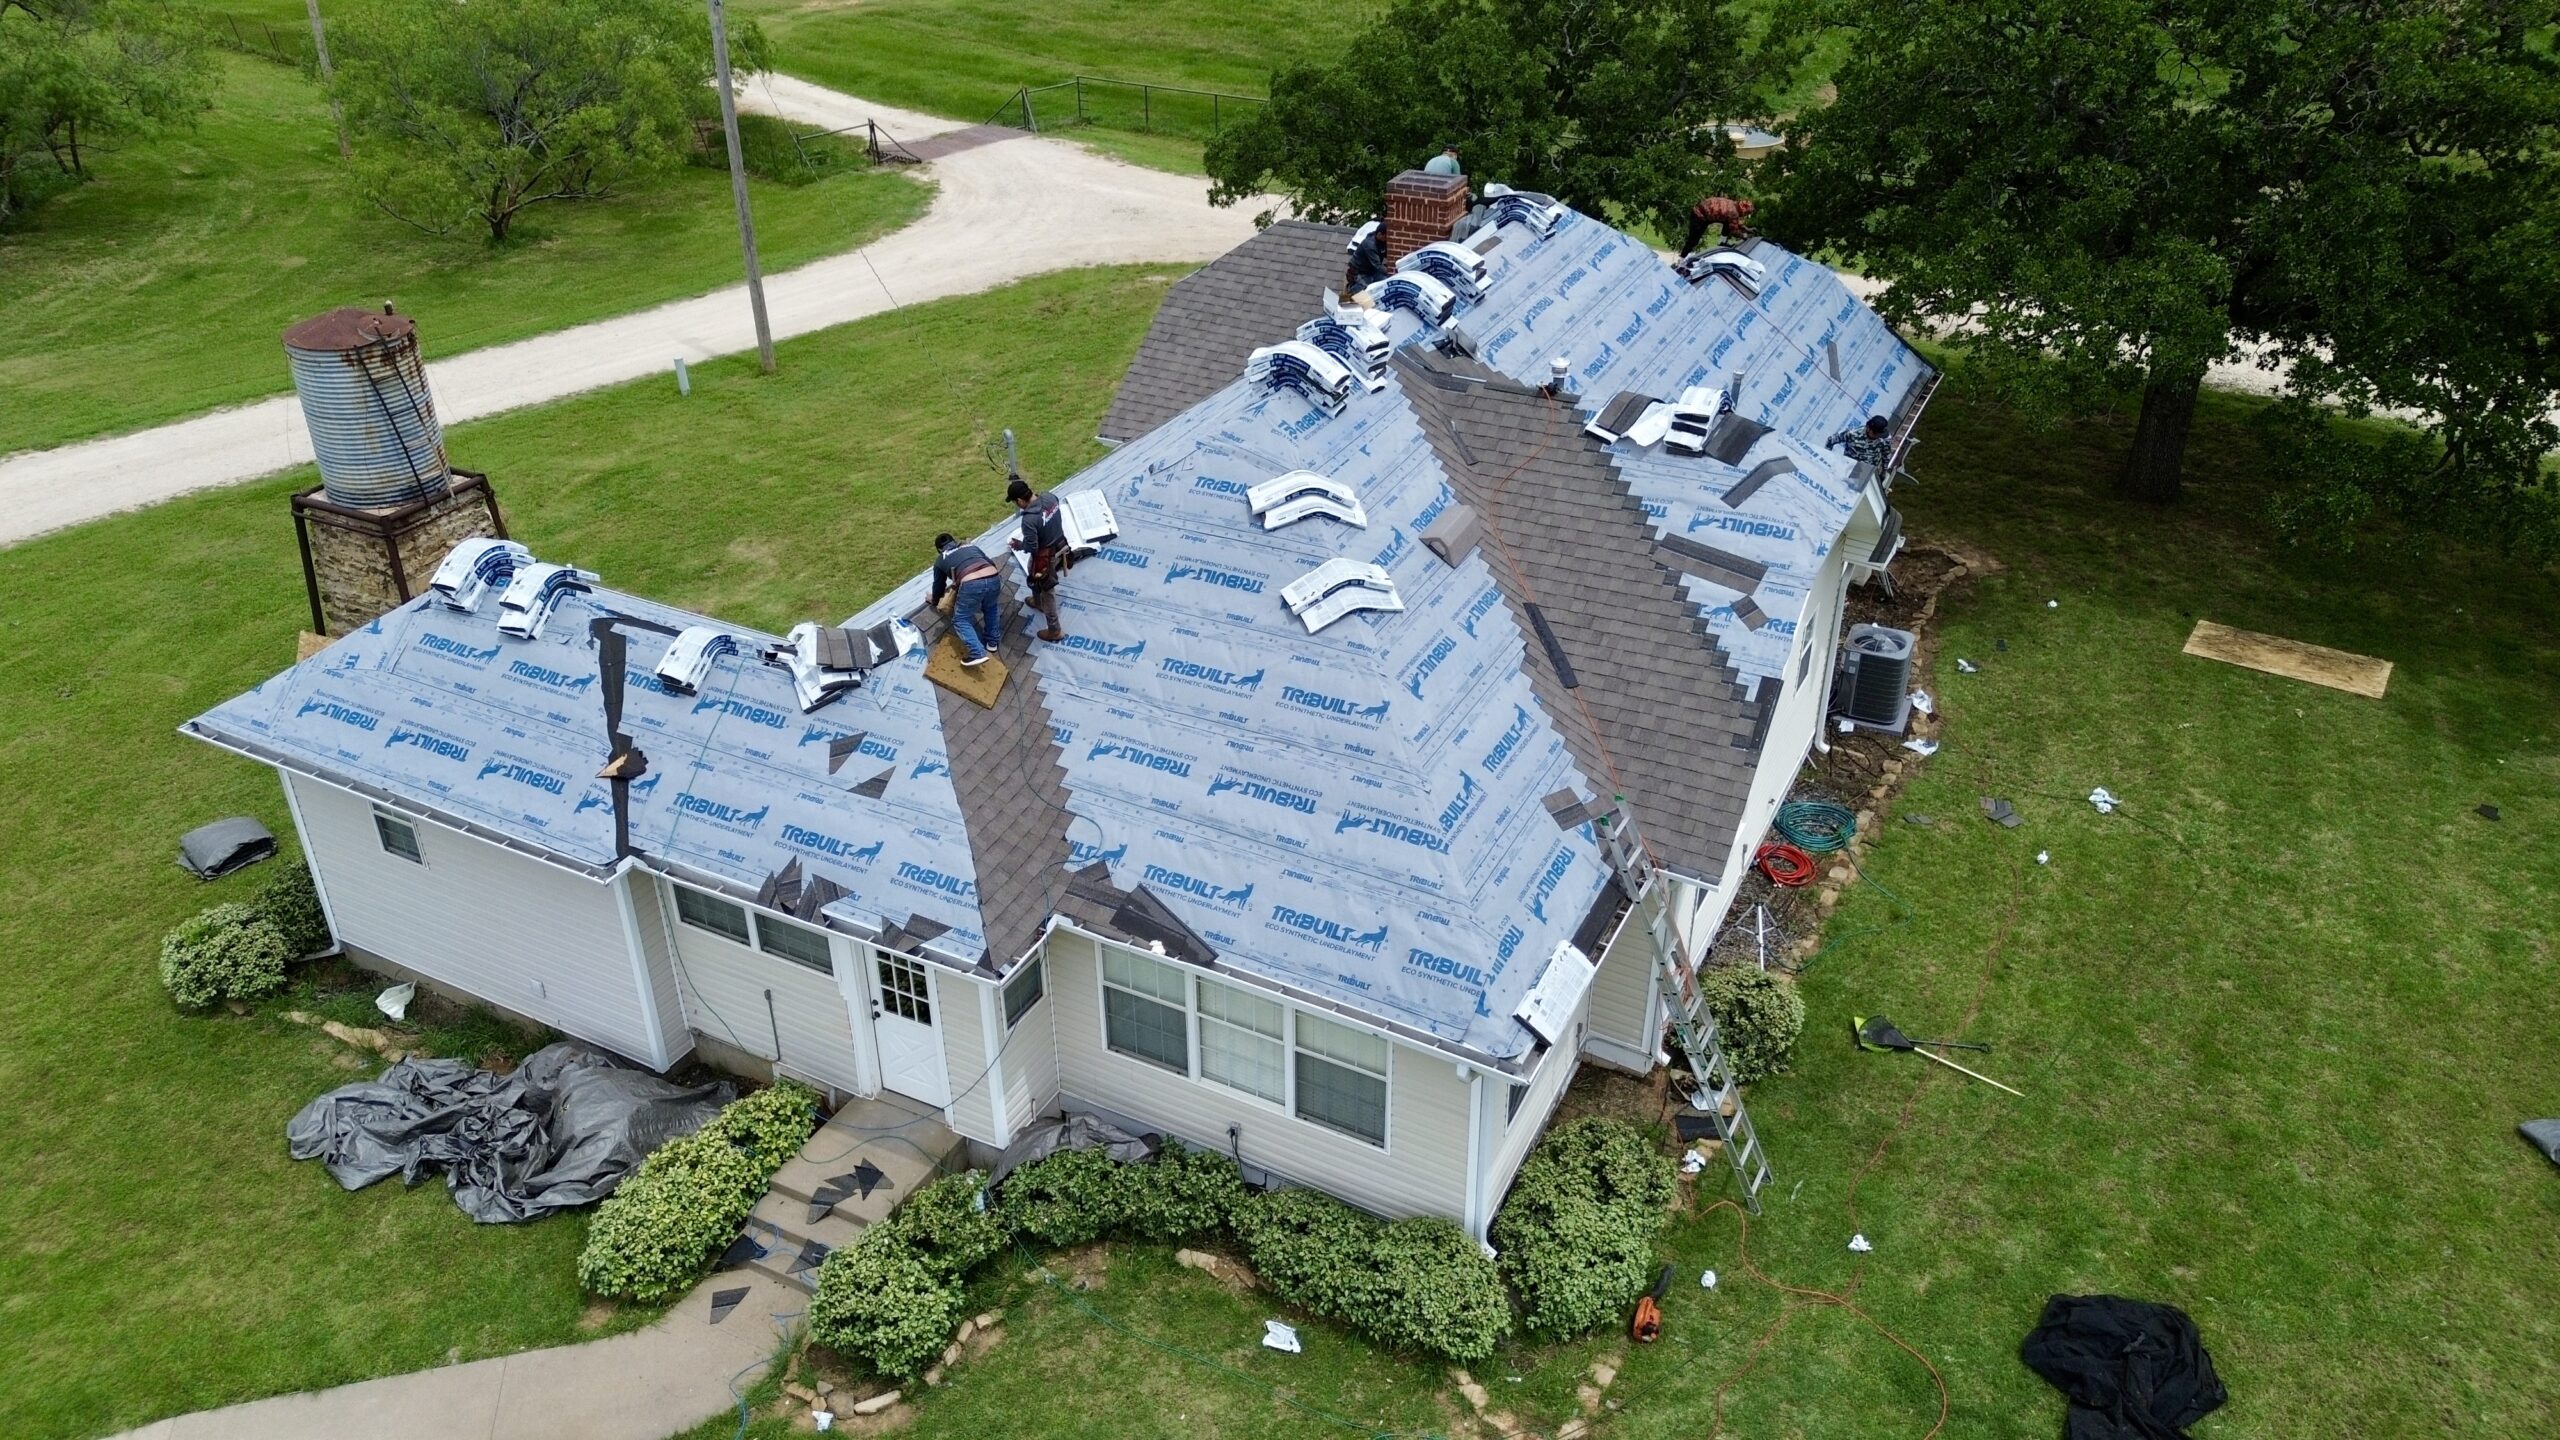
Successful roof replacement begins with careful planning rather than immediate construction. A well organized project reduces delays, controls costs, improves installation quality, and minimizes disruption for building occupants. Proper planning also allows contractors to identify potential challenges before work begins.
The first step usually involves a detailed professional roof inspection. Experienced roofing contractors examine the membrane, flashing, insulation, drainage components, and roof deck to determine the full extent of deterioration. This assessment forms the basis for the replacement plan and helps identify any structural repairs that may be necessary.
Property owners should also establish realistic project goals. Some buildings require only replacement of the roofing membrane, while others benefit from upgraded insulation, improved drainage systems, or additional structural reinforcement. Understanding these objectives early helps develop accurate project specifications and budgets.
Budget planning should include more than installation costs alone. Material selection, disposal of old roofing materials, structural repairs, permit requirements, and temporary weather protection may all influence the total investment. Planning for these expenses in advance helps avoid unexpected costs during construction.
Project scheduling is equally important. Roofing work should ideally be completed during favorable weather conditions whenever possible. Scheduling replacement before the rainy season or periods of severe weather reduces installation risks while helping contractors maintain consistent progress throughout the project.
Communication with building occupants should also begin before construction starts. Commercial tenants, employees, residents, and maintenance personnel should understand the expected project timeline, work areas, temporary access restrictions, and potential noise associated with roof replacement. Clear communication minimizes inconvenience while promoting a safer work environment.
Planning also includes selecting a qualified roofing contractor with demonstrated experience installing EPDM roofing systems. Proper licensing, insurance coverage, manufacturer certifications, and positive references all contribute to a successful replacement project.
Tools, Materials, and Safety Equipment Required
Replacing an EPDM roof requires specialized equipment designed to ensure accurate installation while maintaining worker safety. Professional roofing contractors use carefully selected tools that allow efficient removal of existing materials and proper installation of the new roofing system.
Roof removal typically requires utility knives, roof cutters, pry bars, shovels designed for roofing removal, scrapers, and debris handling equipment. These tools allow contractors to remove aging membranes while minimizing unnecessary damage to the roof deck beneath.
Installation tools vary depending on the attachment method selected for the new EPDM membrane. Adhesive application equipment, rollers, seam rollers, measuring tools, chalk lines, cutting tools, and fastening equipment all contribute to precise installation. Proper use of these tools helps ensure watertight seams and secure attachment throughout the roofing system.
Several important materials are also required during replacement.
- New EPDM roofing membrane.
- Adhesives and bonding agents.
- Seam tape and primers.
- Flashing materials.
- Roof insulation boards.
- Cover boards when specified.
- Fasteners and attachment hardware.
- Sealants designed for EPDM systems.
Safety remains the highest priority throughout every roofing project. Working at height presents significant risks, making appropriate protective equipment essential for every member of the roofing crew. Contractors follow established safety procedures while using specialized equipment to reduce the risk of accidents.
Personal protective equipment generally includes safety harnesses, fall protection systems, helmets, protective footwear, gloves, eye protection, and high visibility clothing where appropriate. Additional safety measures may include warning barriers, controlled access zones, material handling procedures, and emergency response planning.
Professional contractors also monitor weather conditions carefully. High winds, lightning, heavy rain, or other hazardous conditions may require temporary suspension of work until safe operating conditions return. Prioritizing safety protects both workers and building occupants throughout the replacement process.
Preparing the Roof for Replacement
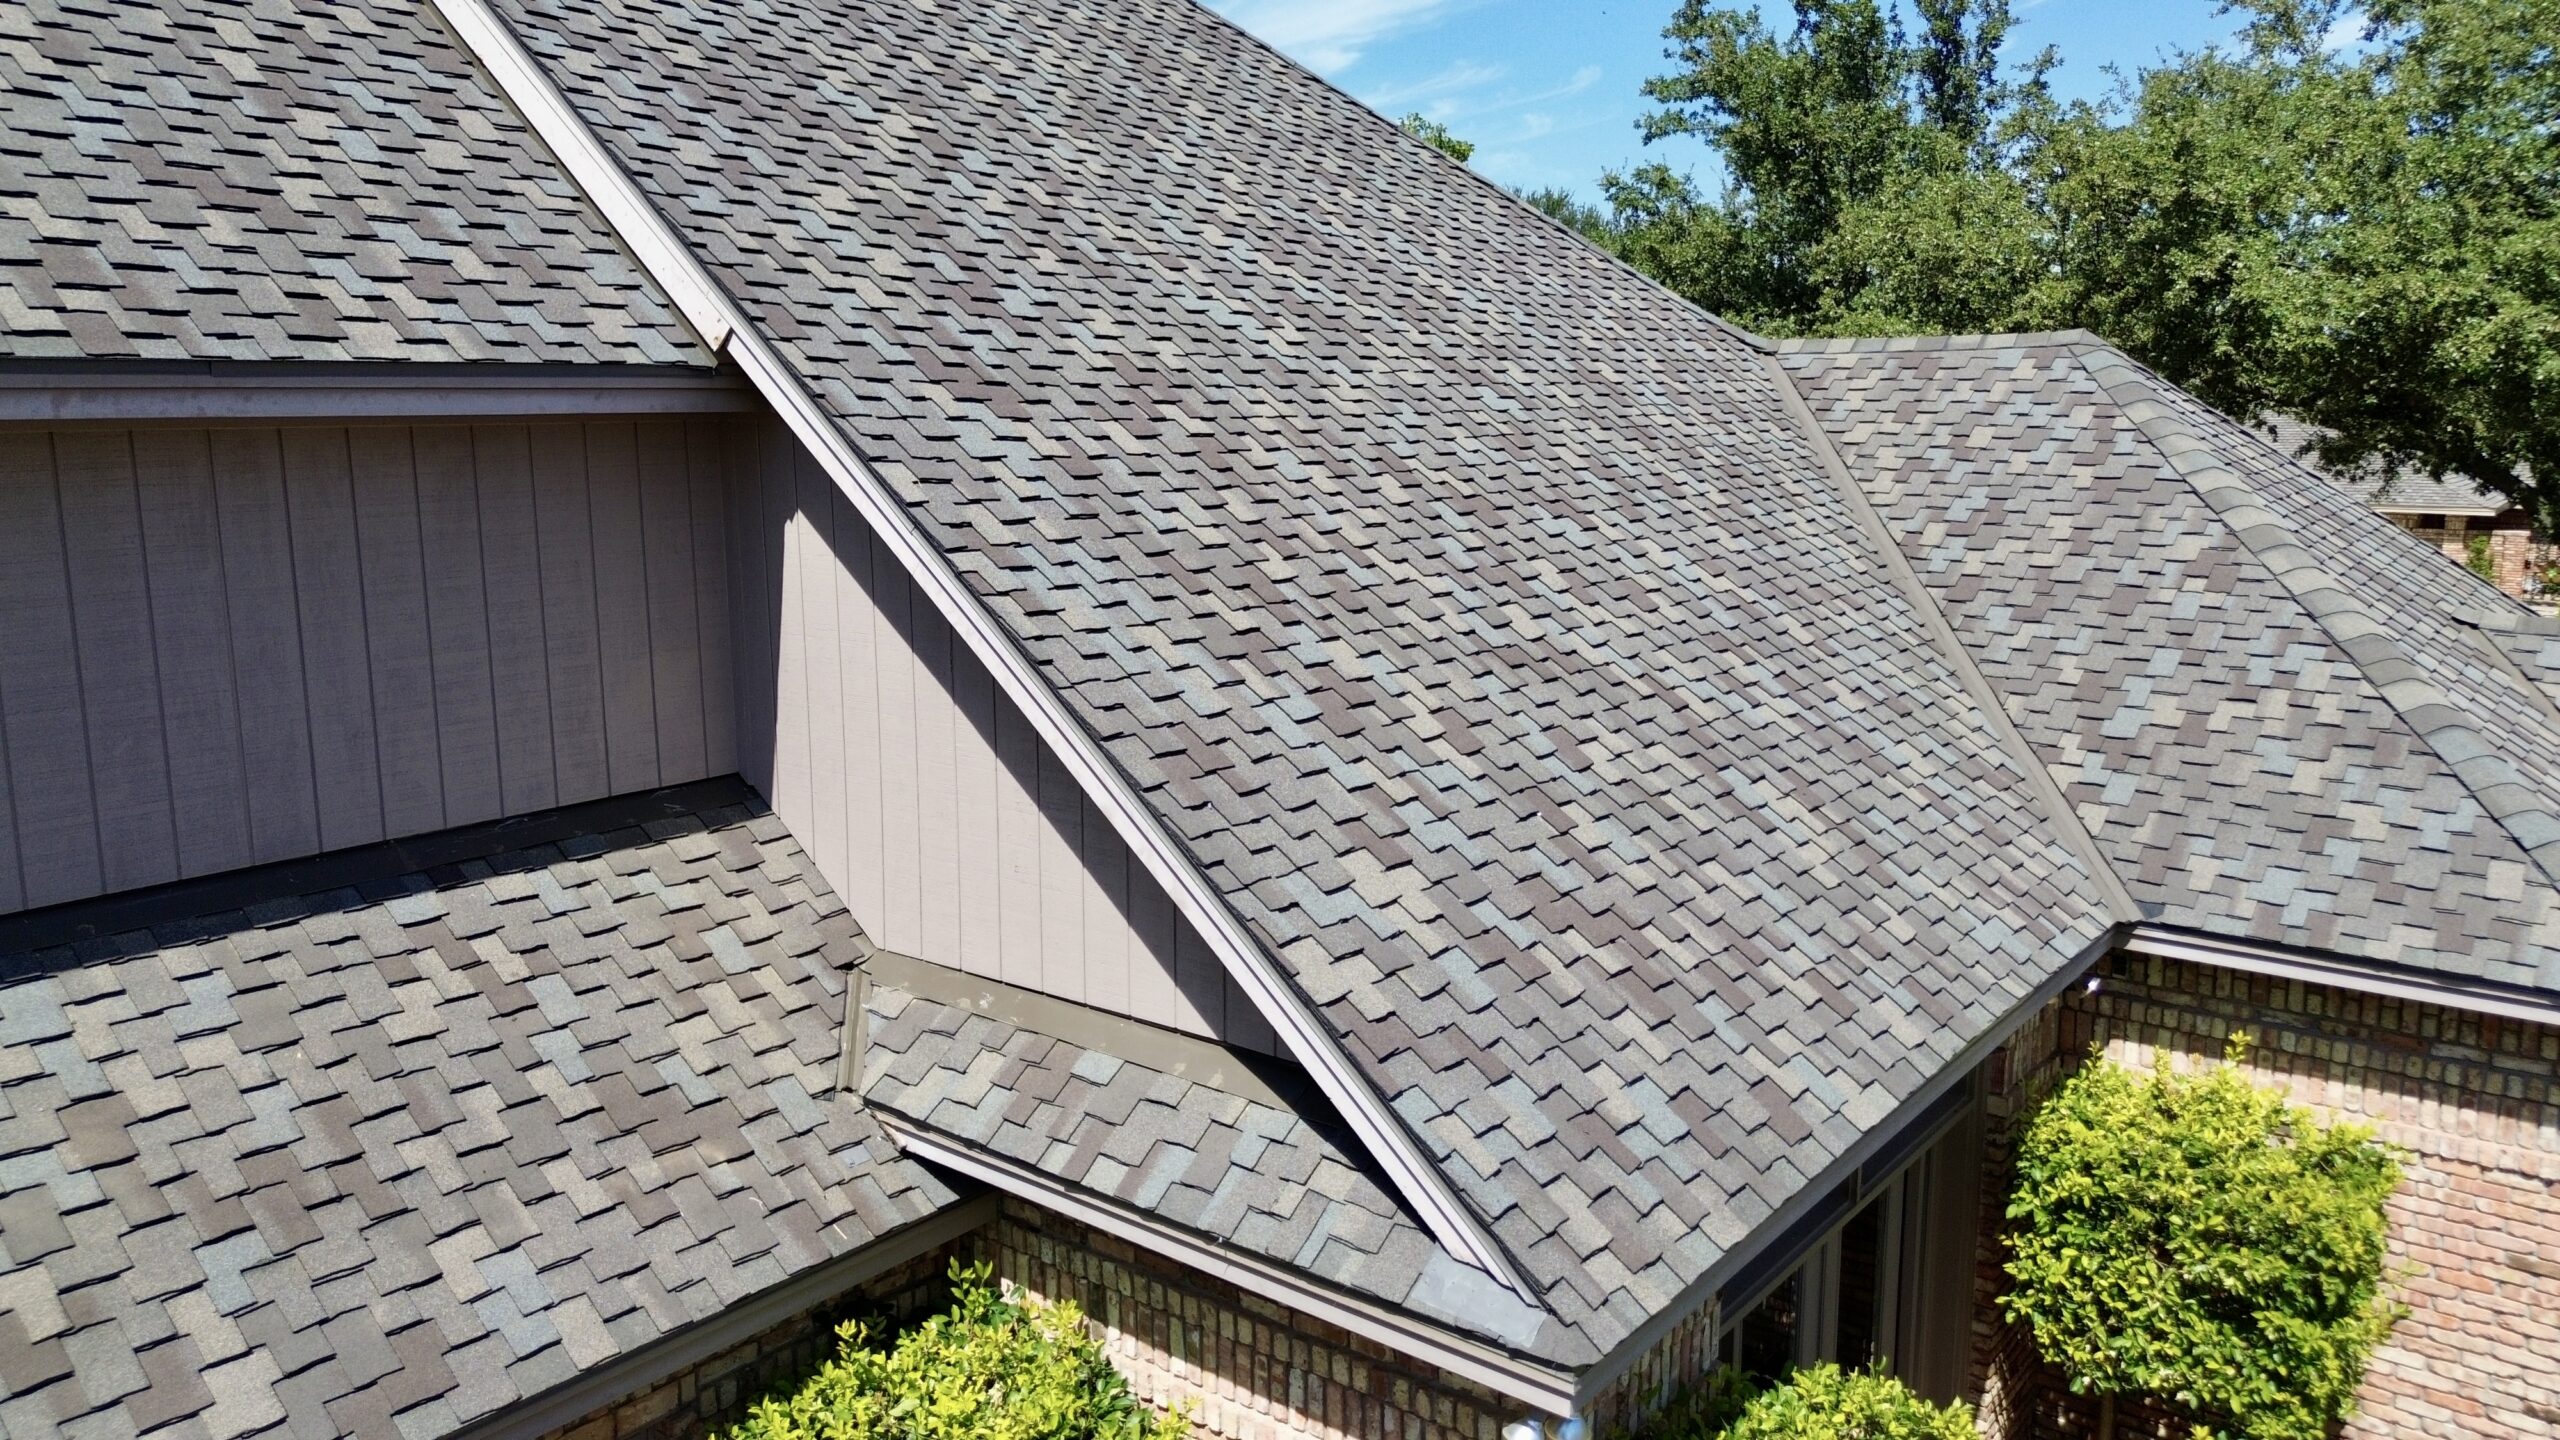
Before installation of the new EPDM roofing system can begin, the existing roof must be carefully prepared. Proper preparation establishes the foundation for every stage that follows and helps ensure the new roofing system performs as intended throughout its expected lifespan.
Preparation usually begins with removing loose debris from the roof surface. Leaves, branches, dirt, gravel, abandoned equipment, and unnecessary materials are cleared away to provide safe working conditions. Cleaning the roof also allows contractors to inspect existing conditions more accurately before demolition begins.
Temporary protection measures are then established around the building. Landscaping, outdoor equipment, entrances, vehicles, and pedestrian walkways may require protective coverings or restricted access while roofing materials are removed. These precautions help reduce the risk of accidental damage during construction.
Contractors also identify rooftop equipment that may require special handling during replacement. Heating and cooling units, vents, skylights, communication equipment, and electrical systems must remain protected while allowing roofing work to proceed efficiently. Coordinating with building managers ensures critical building systems continue operating whenever possible.
Material staging is another important preparation step. Roofing materials are delivered and positioned strategically to reduce unnecessary handling while avoiding excessive loading in any one section of the roof. Careful planning improves productivity while protecting the building’s structural capacity during construction.
Weather monitoring becomes especially important once roof replacement preparations begin. Contractors carefully review forecasts to reduce the likelihood of exposing the building to unexpected rainfall before temporary weather protection or the new roofing system has been installed.
With preparation complete, the project is ready to move into the installation phase. In the next part, we will examine each step of the actual replacement process, including removing the existing EPDM membrane, inspecting and repairing the roof deck, installing insulation, positioning the new membrane, creating waterproof seams, and completing flashing around roof penetrations and edges.
Removing the Existing EPDM Roofing System
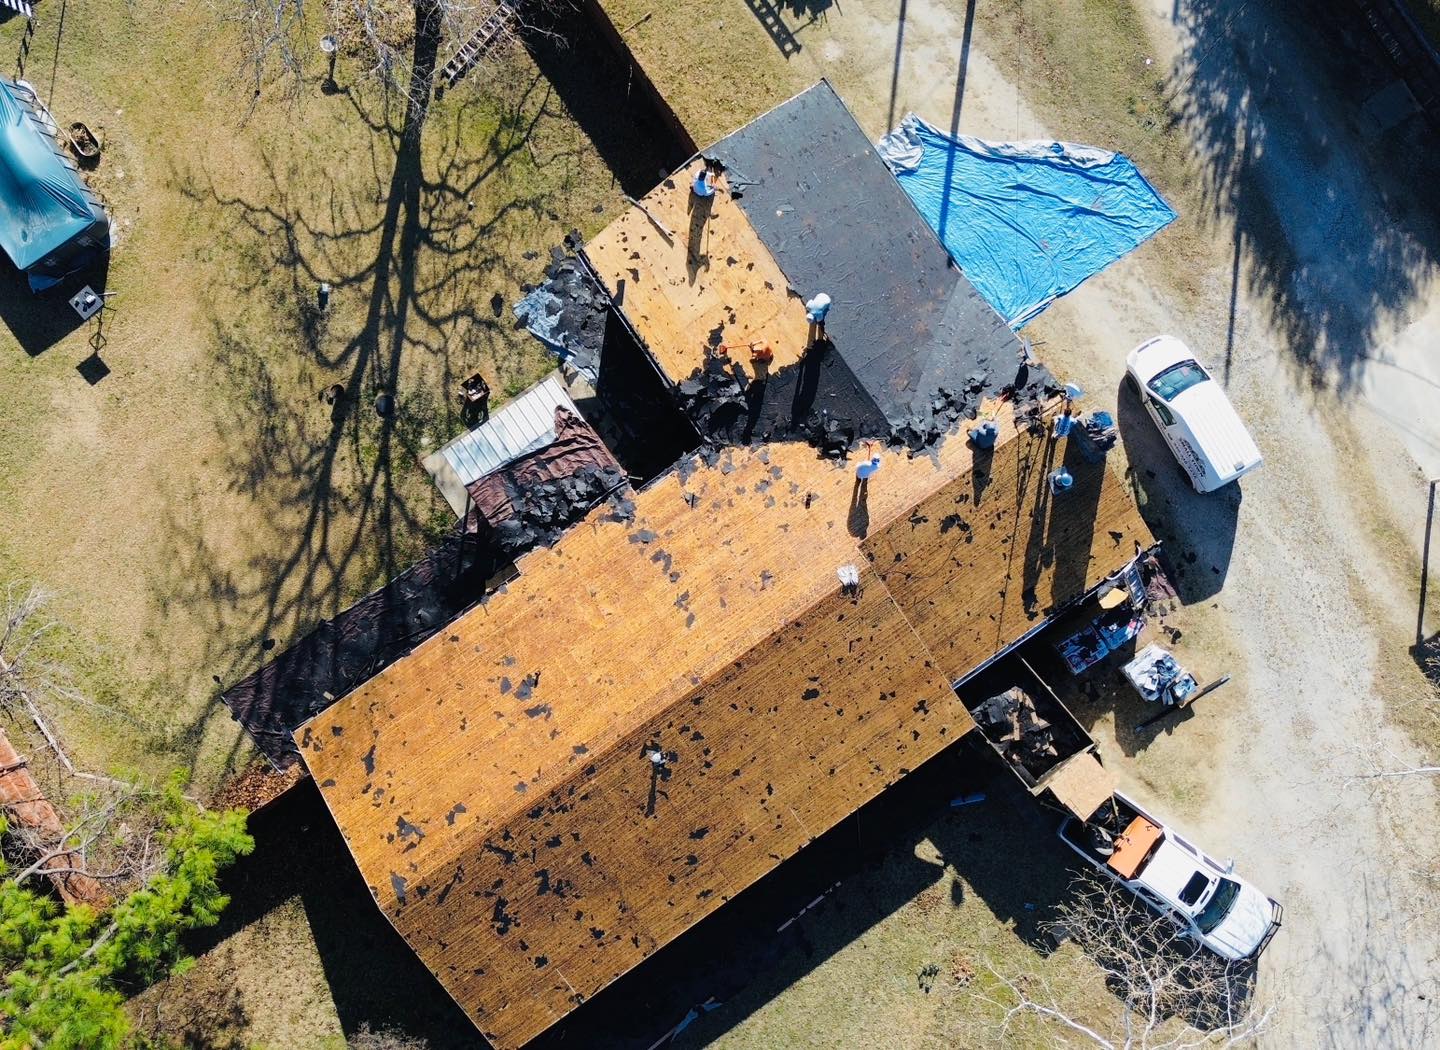
Once preparation has been completed and weather conditions are favorable, the replacement process moves to removing the existing EPDM roofing system. This stage requires careful planning because the goal is not only to remove old materials efficiently but also to protect the roof deck and expose any hidden damage that may need repairs before the new roof is installed.
Roofing crews usually begin by removing rooftop accessories that interfere with installation. Loose equipment, abandoned cables, damaged flashing, old sealants, and other unnecessary materials are cleared away before the membrane is removed. This creates a clean work area and allows the replacement process to move smoothly.
The existing EPDM membrane is then cut into manageable sections using specialized roofing knives. Working in smaller sections makes removal safer and reduces the risk of damaging the structural deck underneath. Each section is carefully lifted while separating adhesives or fasteners that secured the membrane to the roof.
If the roof uses mechanically attached EPDM, contractors remove fasteners and plates before lifting the membrane. Fully adhered systems require additional effort because adhesives bond the membrane directly to the insulation or cover board. Ballasted systems involve removing stone ballast before the membrane itself can be taken away.
As materials are removed, roofing crews continuously inspect what lies beneath. Any evidence of trapped moisture, deteriorated insulation, mold, or structural damage is documented immediately. Discovering these conditions during demolition allows repairs to be completed before installation continues.
Proper disposal is another important part of the removal process. Old roofing materials, insulation, adhesives, flashing, and construction debris are collected throughout the project rather than being allowed to accumulate on the roof. Maintaining a clean worksite improves safety while reducing delays during installation.
Removing the old roof carefully also provides valuable information about the causes of previous roofing failures. Contractors often identify drainage issues, installation mistakes, or hidden moisture paths that can be corrected during the replacement project to improve the performance of the new roofing system.
Inspecting and Repairing the Roof Deck
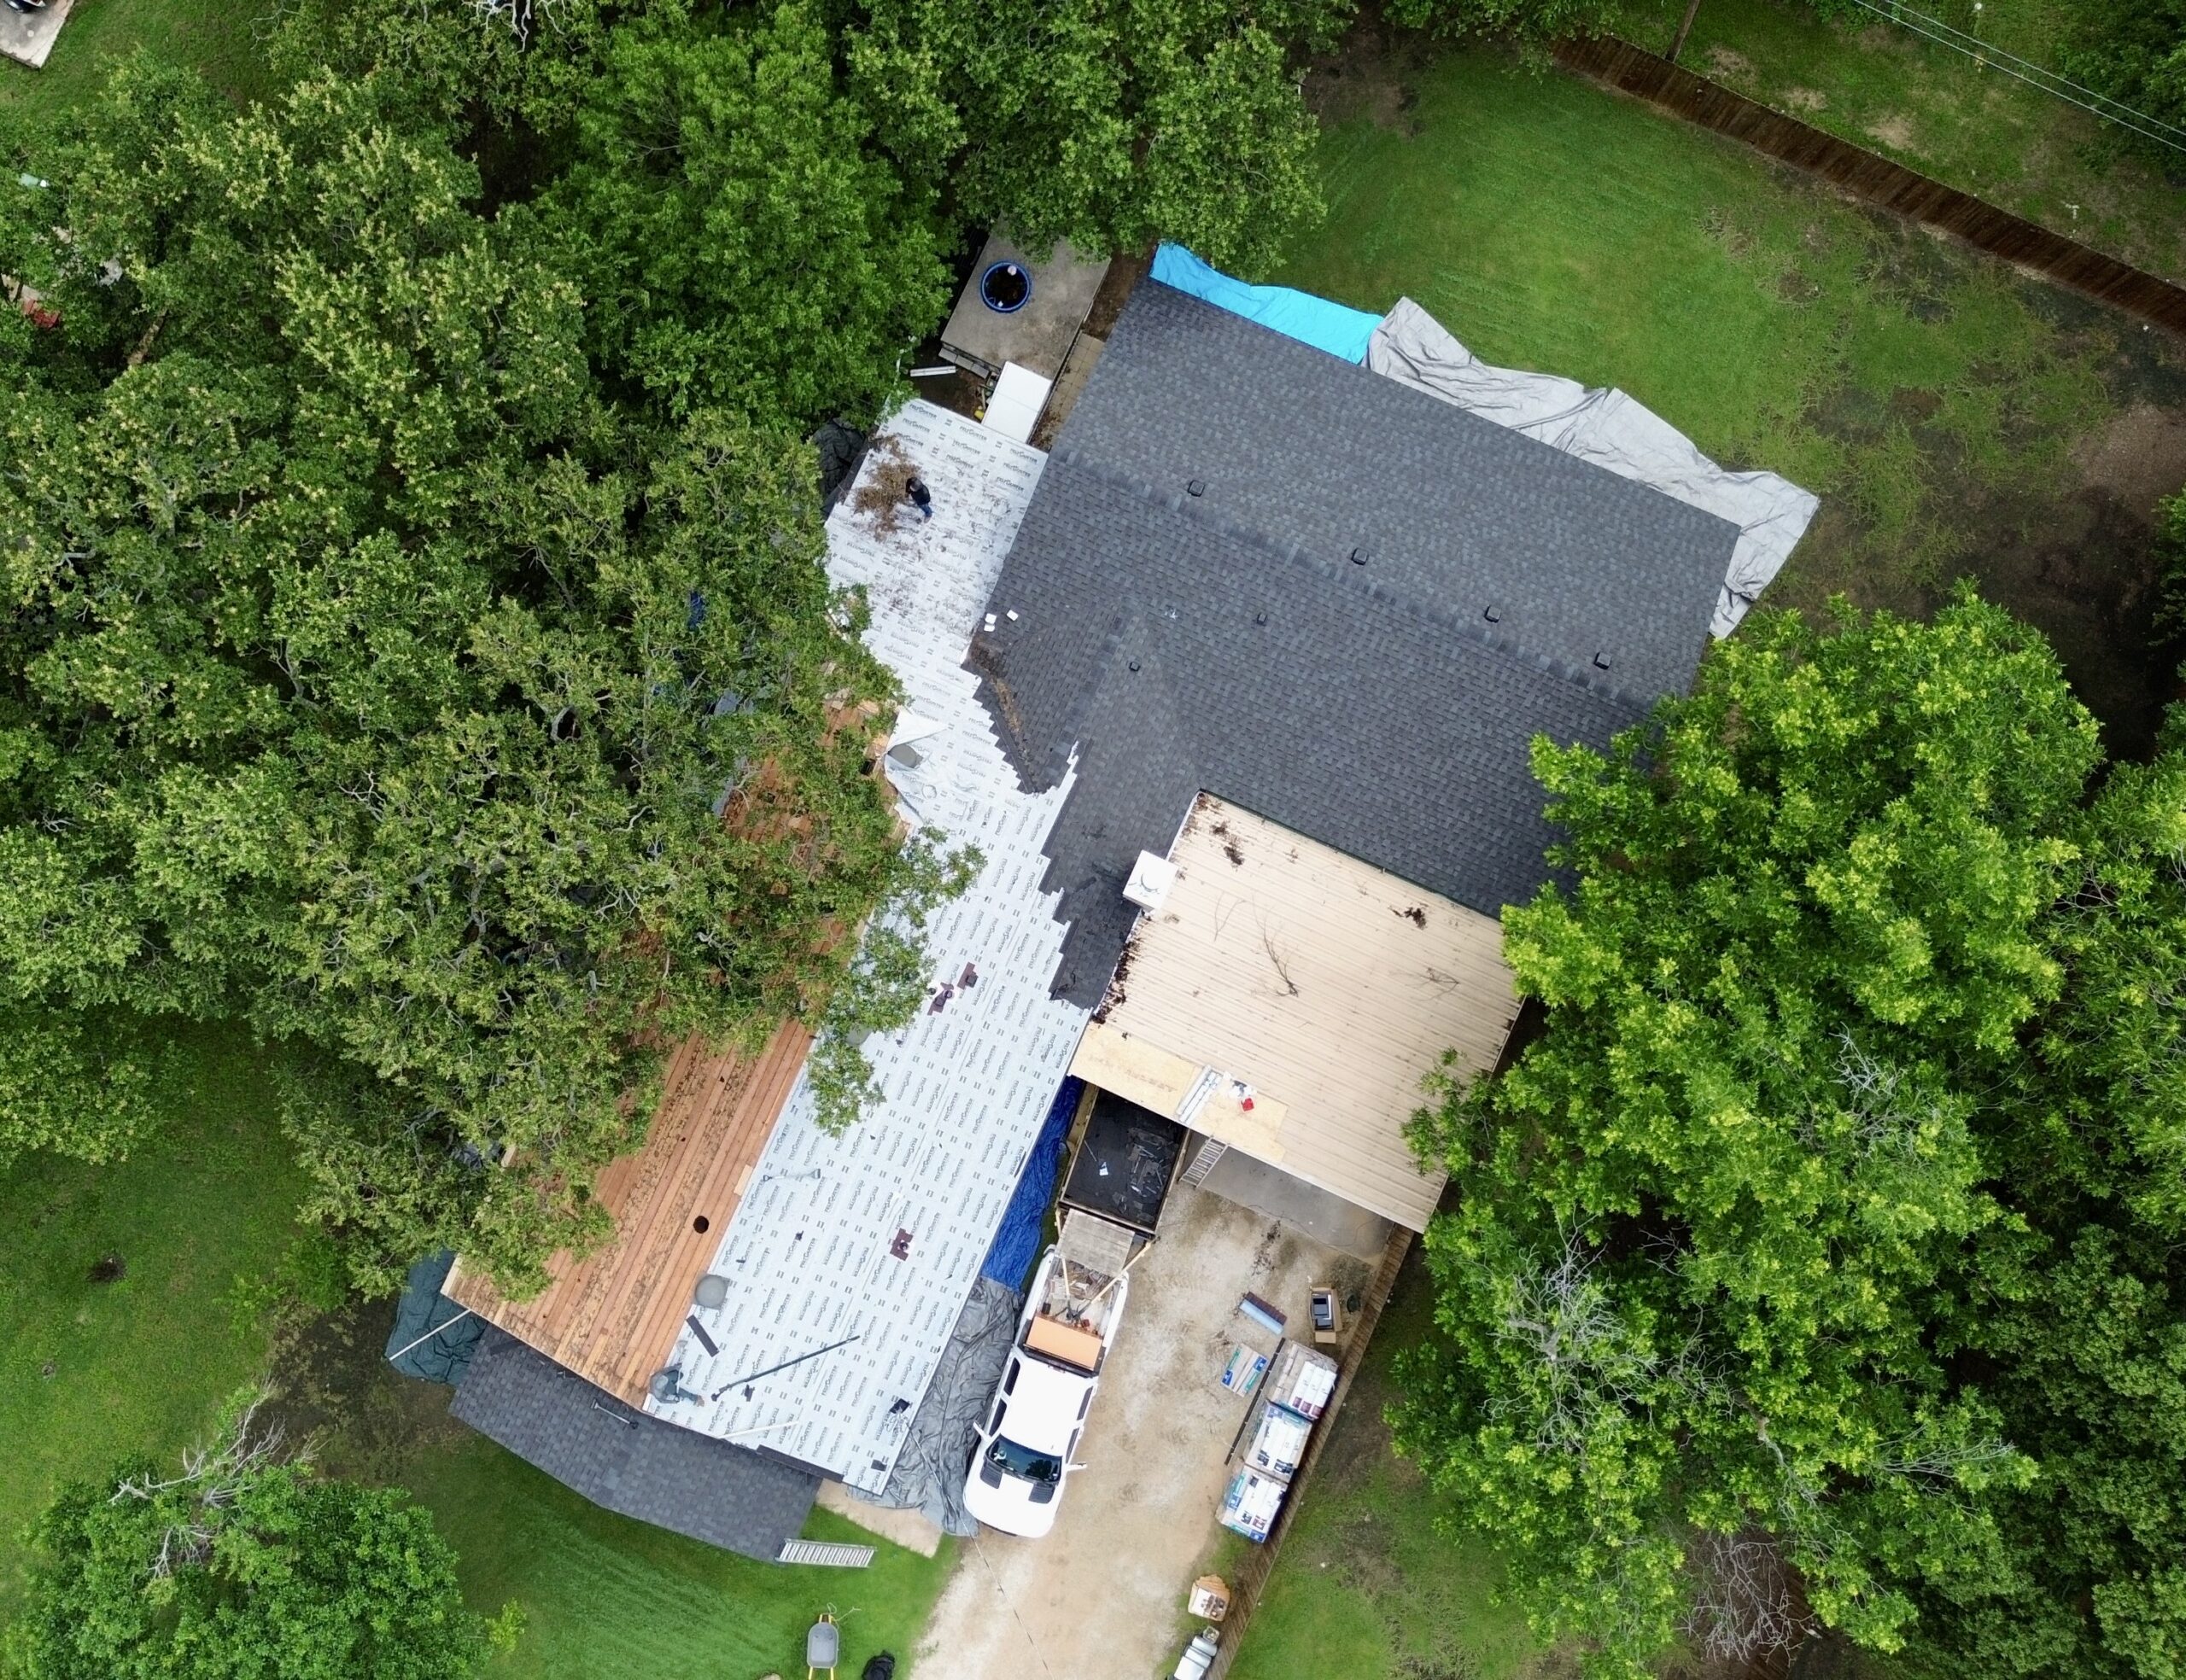
After the existing roofing materials have been removed, the roof deck becomes fully visible for inspection. This stage is one of the most important parts of the entire replacement process because even the highest quality EPDM membrane cannot perform properly if installed over a damaged foundation.
The inspection begins with evaluating the structural condition of the deck. Contractors check for signs of rot, corrosion, cracking, warping, moisture damage, or weakened fastening points. These problems are common beneath aging roofs that have experienced long term leaks.
Moisture damage receives particular attention because water often remains trapped beneath roofing materials for extended periods. Wooden decking may become soft or deteriorated, while steel decks may develop corrosion that weakens structural performance. Concrete decks are examined for cracks, surface deterioration, and moisture related defects.
Any damaged sections are repaired or replaced before new roofing materials are installed. Attempting to cover deteriorated decking with a new membrane would simply hide existing problems while reducing the lifespan of the replacement roof. Correcting structural issues at this stage provides a stable base for the entire roofing assembly.
Contractors also verify that the roof deck remains level and capable of supporting the new roofing system. If low areas contribute to ponding water, corrective measures may be recommended before installation continues. Improving drainage during replacement often prevents future maintenance problems.
Fasteners remaining from the previous roof are removed or secured properly to prevent puncturing the new membrane. Sharp edges, loose hardware, and surface irregularities are eliminated to create a smooth installation surface. These seemingly small details play an important role in protecting the new roofing system from premature damage.
Once repairs have been completed, the deck is cleaned thoroughly to remove dust, debris, and loose particles. A clean surface helps insulation boards, adhesives, and attachment systems perform according to manufacturer specifications.
Installing Insulation and Cover Boards
With the roof deck fully prepared, the next stage involves installing new insulation and, where required, cover boards. These components contribute significantly to the roof’s overall performance by improving energy efficiency, supporting the membrane, and increasing resistance to moisture and physical damage.
Modern insulation provides far more than temperature control. Properly installed insulation also helps create consistent drainage slopes, reduces thermal movement within the building, and improves indoor comfort throughout the year. Replacing older insulation during an EPDM roof replacement often results in noticeable energy savings over time.
Insulation boards are positioned according to the project design. Contractors ensure joints are staggered properly to improve stability while minimizing heat transfer between panels. Boards are attached using approved fastening systems or adhesives depending on the roofing assembly being installed.
In many projects, a cover board is installed above the insulation before the EPDM membrane is applied. Cover boards provide a smooth, durable surface that improves membrane support while increasing resistance to impact damage and foot traffic. They also help distribute loads more evenly across the roofing system.
Proper alignment is essential throughout this stage. Gaps between insulation boards are minimized, uneven surfaces are corrected, and attachment methods follow manufacturer recommendations. Careful installation reduces movement beneath the membrane and improves long term roof performance.
Contractors also verify that insulation thickness meets current building requirements. In many older buildings, replacement projects provide an opportunity to upgrade insulation levels beyond the original installation. These improvements often enhance energy efficiency without significantly increasing maintenance requirements.
By the end of this stage, the roof has a solid, level, and well insulated foundation ready to receive the new EPDM membrane.
Installing the New EPDM Membrane
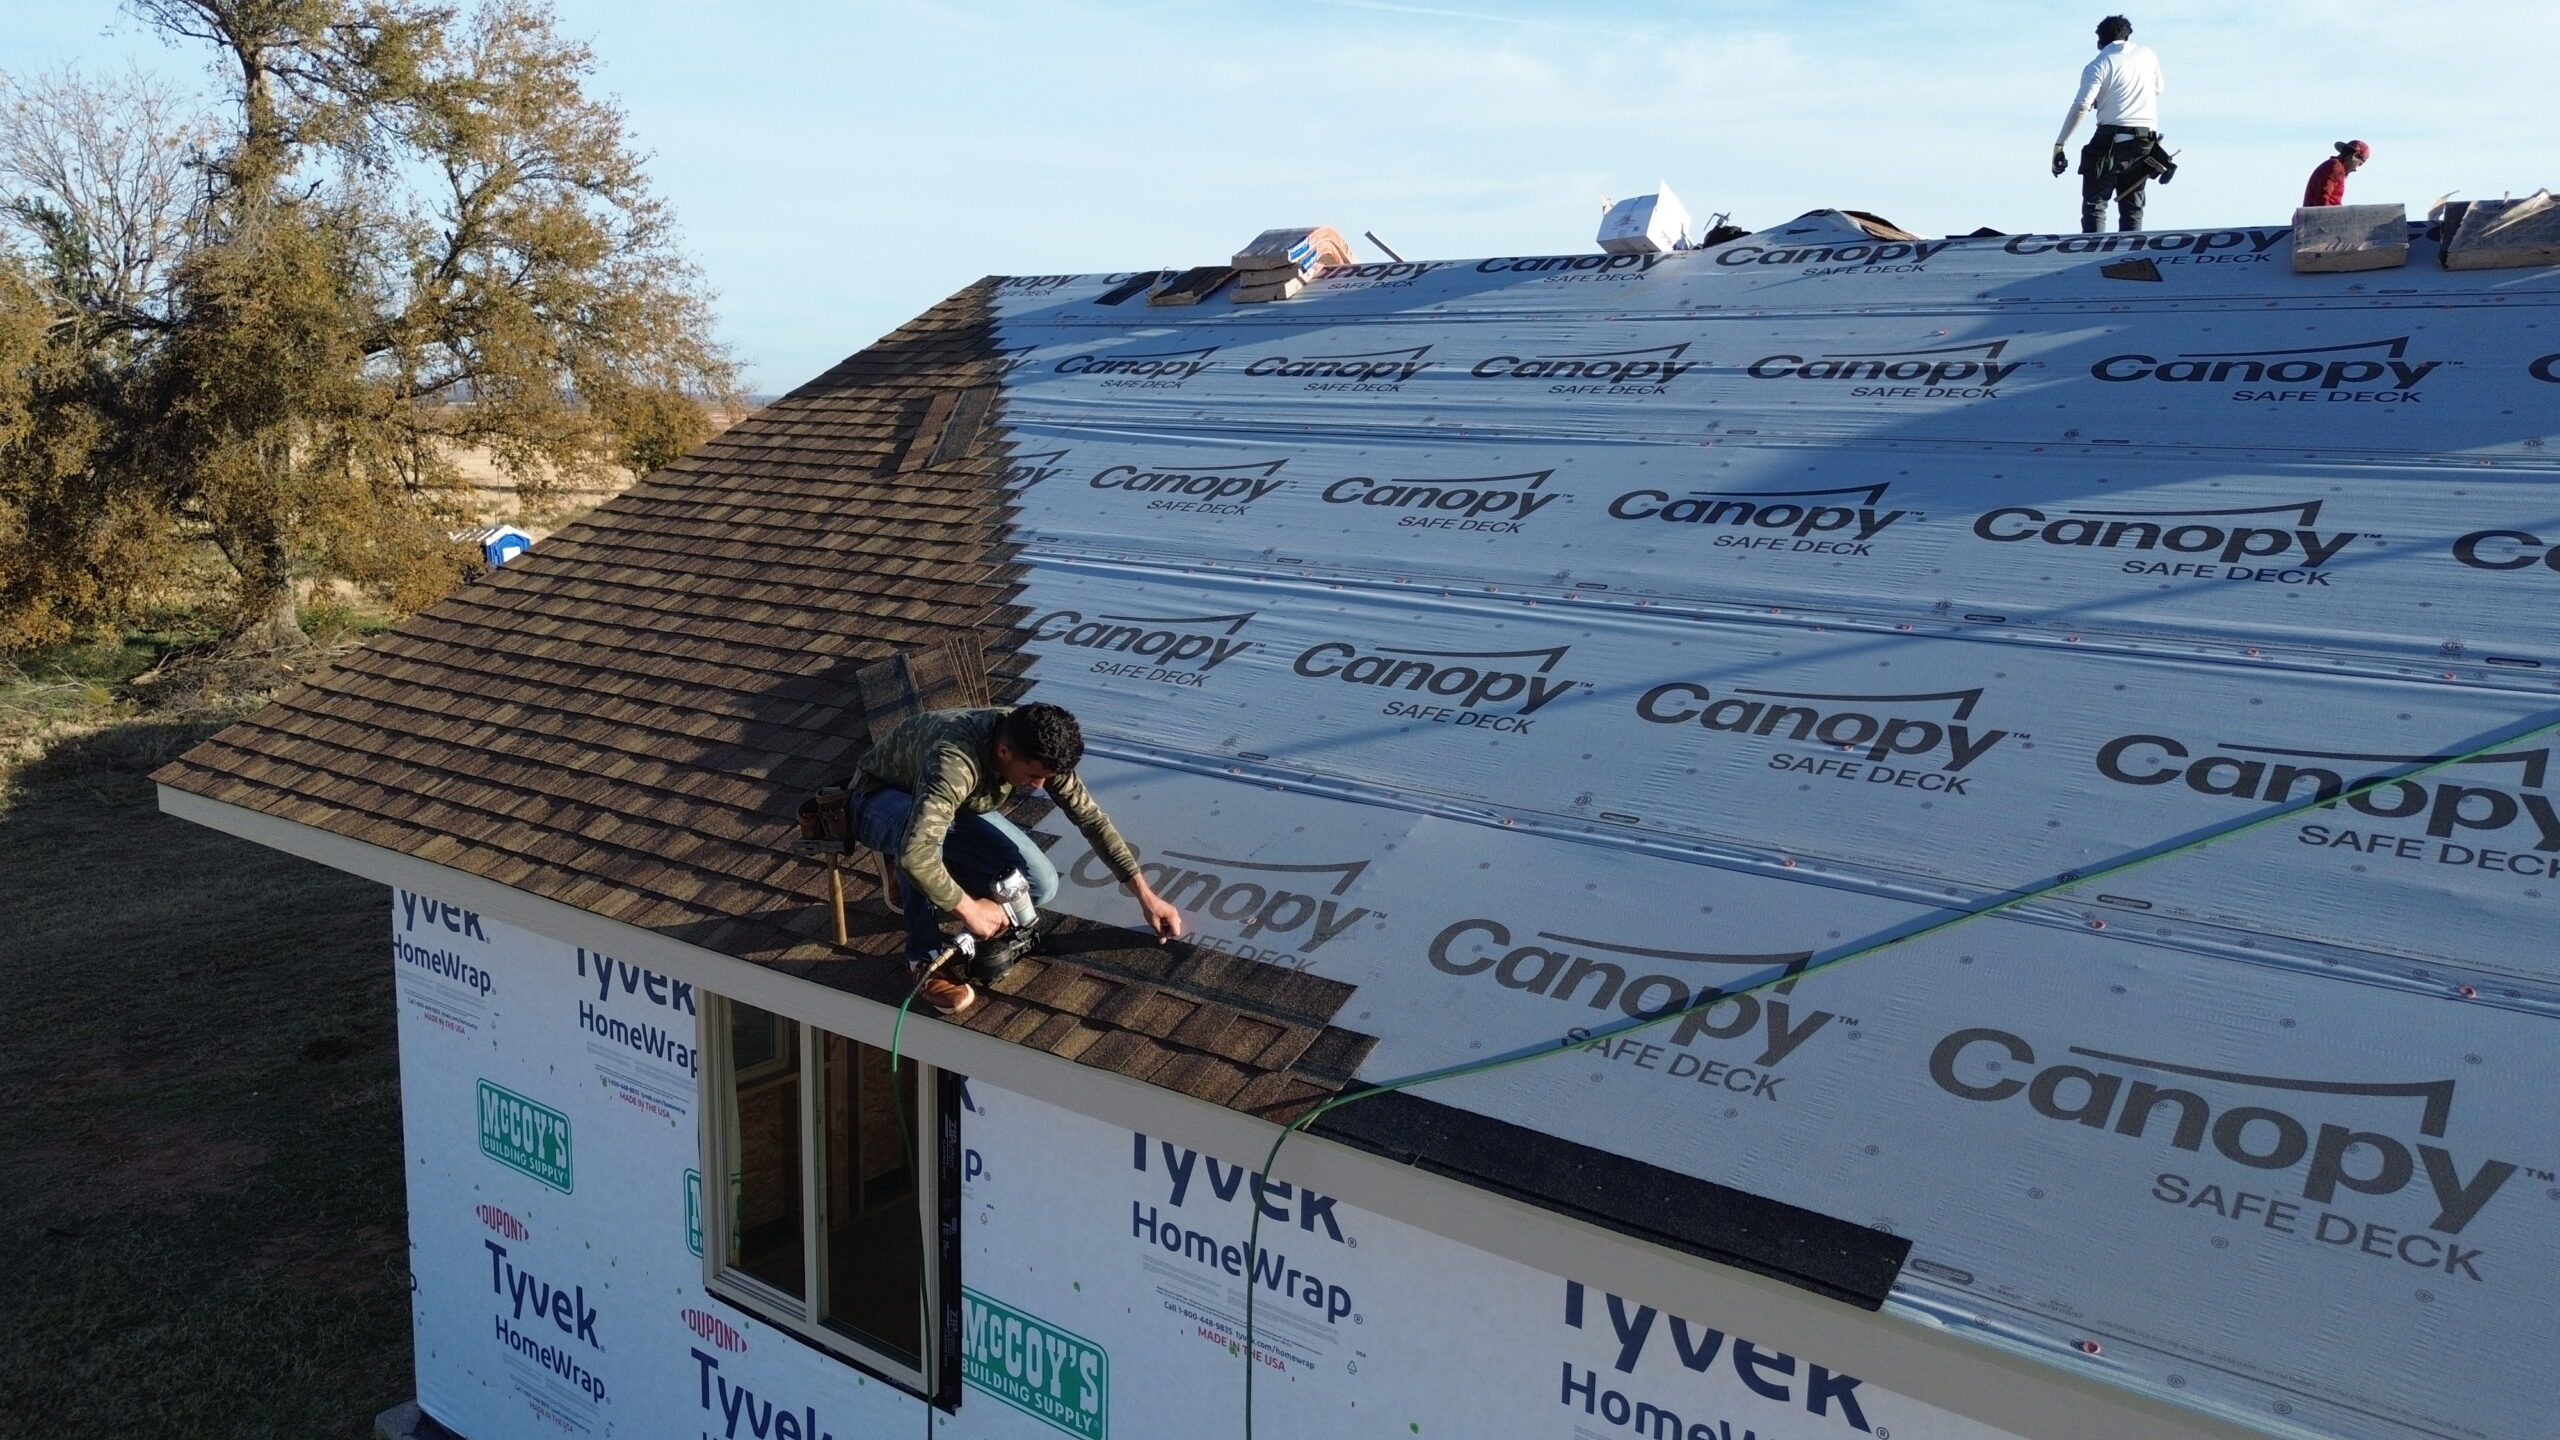
Installing the new EPDM membrane is the central stage of the replacement process. Every previous step has prepared the roof for this moment, ensuring the membrane can perform effectively for many years. Precision during installation is essential because proper positioning influences waterproof performance, seam quality, and overall system durability.
Large rolls of EPDM membrane are carefully lifted onto the roof and positioned according to the installation plan. Contractors unroll each sheet slowly while allowing the material to relax naturally. This relaxation period reduces internal stress and helps the membrane lie flat before permanent attachment begins.
Correct alignment is checked repeatedly throughout installation. The membrane must extend properly around roof edges, penetrations, drains, and expansion joints while maintaining sufficient overlap for seam construction. Small alignment errors can become much larger problems once adhesives or fasteners have been applied.
Depending on the selected installation method, the membrane is either fully adhered, mechanically attached, or secured beneath ballast. Fully adhered systems use specialized bonding adhesives to attach the membrane directly to the substrate. Mechanically attached systems rely on engineered fasteners and plates, while ballasted systems use stone ballast to hold the membrane securely in place.
As each section is installed, contractors smooth the membrane carefully to remove wrinkles and trapped air. Proper rolling techniques improve adhesive contact while reducing stress concentrations that could affect long term performance. Attention to detail during installation contributes significantly to the finished roof’s reliability.
Large roof areas are completed systematically rather than randomly. Working in an organized sequence allows contractors to maintain consistent quality while minimizing unnecessary movement across newly installed sections. This careful approach also improves efficiency and reduces the likelihood of accidental membrane damage.
By the time the membrane installation is complete, the roof has regained its primary waterproof barrier. However, the roofing system is not yet finished because seam construction and flashing installation remain critical to achieving complete weather protection.
Seaming, Adhesives, and Fastening Methods
Although EPDM membranes are manufactured in large sheets, seams remain unavoidable on most roofing projects. These seams must be constructed carefully because they represent some of the most important waterproof connections within the roofing system. Proper seam installation often determines whether the roof performs successfully for decades or develops premature leaks.
Before seams are joined, contractors clean the membrane surfaces thoroughly to remove dust, moisture, and contaminants. Primers are then applied where required to improve bonding between seam tape and the EPDM membrane. Following manufacturer instructions precisely is essential because improper preparation can reduce seam strength.
Seam tape is positioned carefully along overlapping membrane edges. Rollers are used to apply consistent pressure across the entire seam, ensuring complete contact without trapped air pockets. Each completed seam is inspected immediately to verify continuous bonding.
Adhesives also play a major role in fully adhered roofing systems. These specialized products are designed specifically for EPDM installation and must be applied at the correct coverage rate. Too much adhesive may create uneven bonding, while insufficient coverage can reduce long term attachment strength.
Mechanically attached systems rely on engineered fastening patterns to secure the membrane against wind uplift. Fasteners are installed according to manufacturer specifications, ensuring proper spacing and adequate structural attachment. Consistency throughout the fastening process contributes directly to roof performance during severe weather.
The three primary EPDM installation methods each offer unique advantages depending on building design and project requirements.
| Installation Method | Characteristics | Best Applications |
|---|---|---|
| Fully Adhered | Membrane bonded directly to substrate using adhesive | Buildings requiring maximum wind resistance and clean appearance |
| Mechanically Attached | Membrane secured with engineered fasteners and plates | Large commercial buildings with efficient installation needs |
| Ballasted | Membrane held in place by stone ballast | Suitable structures designed to support additional roof weight |
Regardless of the installation method selected, careful workmanship remains essential. High quality materials alone cannot compensate for poorly constructed seams or incorrect attachment techniques.
Flashing Around Roof Penetrations and Edges
The final major installation stage involves flashing every location where the continuous roofing membrane is interrupted. Roof penetrations, walls, parapets, skylights, drains, vents, HVAC equipment, and perimeter edges all require carefully constructed flashing details to maintain complete waterproof protection.
Flashing installation begins by preparing each penetration individually. Existing materials are removed where necessary, surfaces are cleaned thoroughly, and compatible primers or adhesives are applied according to manufacturer requirements. Proper preparation ensures strong bonding between flashing materials and surrounding roofing components.
Preformed flashing pieces or field fabricated EPDM flashing are then installed around penetrations. Contractors carefully shape these materials to fit irregular surfaces while avoiding unnecessary stretching that could reduce long term durability. Every flashing detail must remain watertight while still allowing normal building movement.
Roof edges receive special attention because they experience constant exposure to wind and weather. Edge metal, termination bars, and flashing membranes are secured carefully to prevent wind driven rain from entering beneath the roofing system. Strong edge construction also improves resistance during severe storms.
Drain areas are equally important because they manage water leaving the roof. Flashing around drains must direct water efficiently without creating opportunities for leakage beneath the membrane. Poor drain detailing is one of the most common causes of premature roofing problems, making precision during installation especially valuable.
Throughout this stage, contractors inspect completed flashing details repeatedly before moving to the next area. Any imperfections are corrected immediately rather than left for later adjustment. This systematic quality control helps ensure every roof penetration performs as intended.
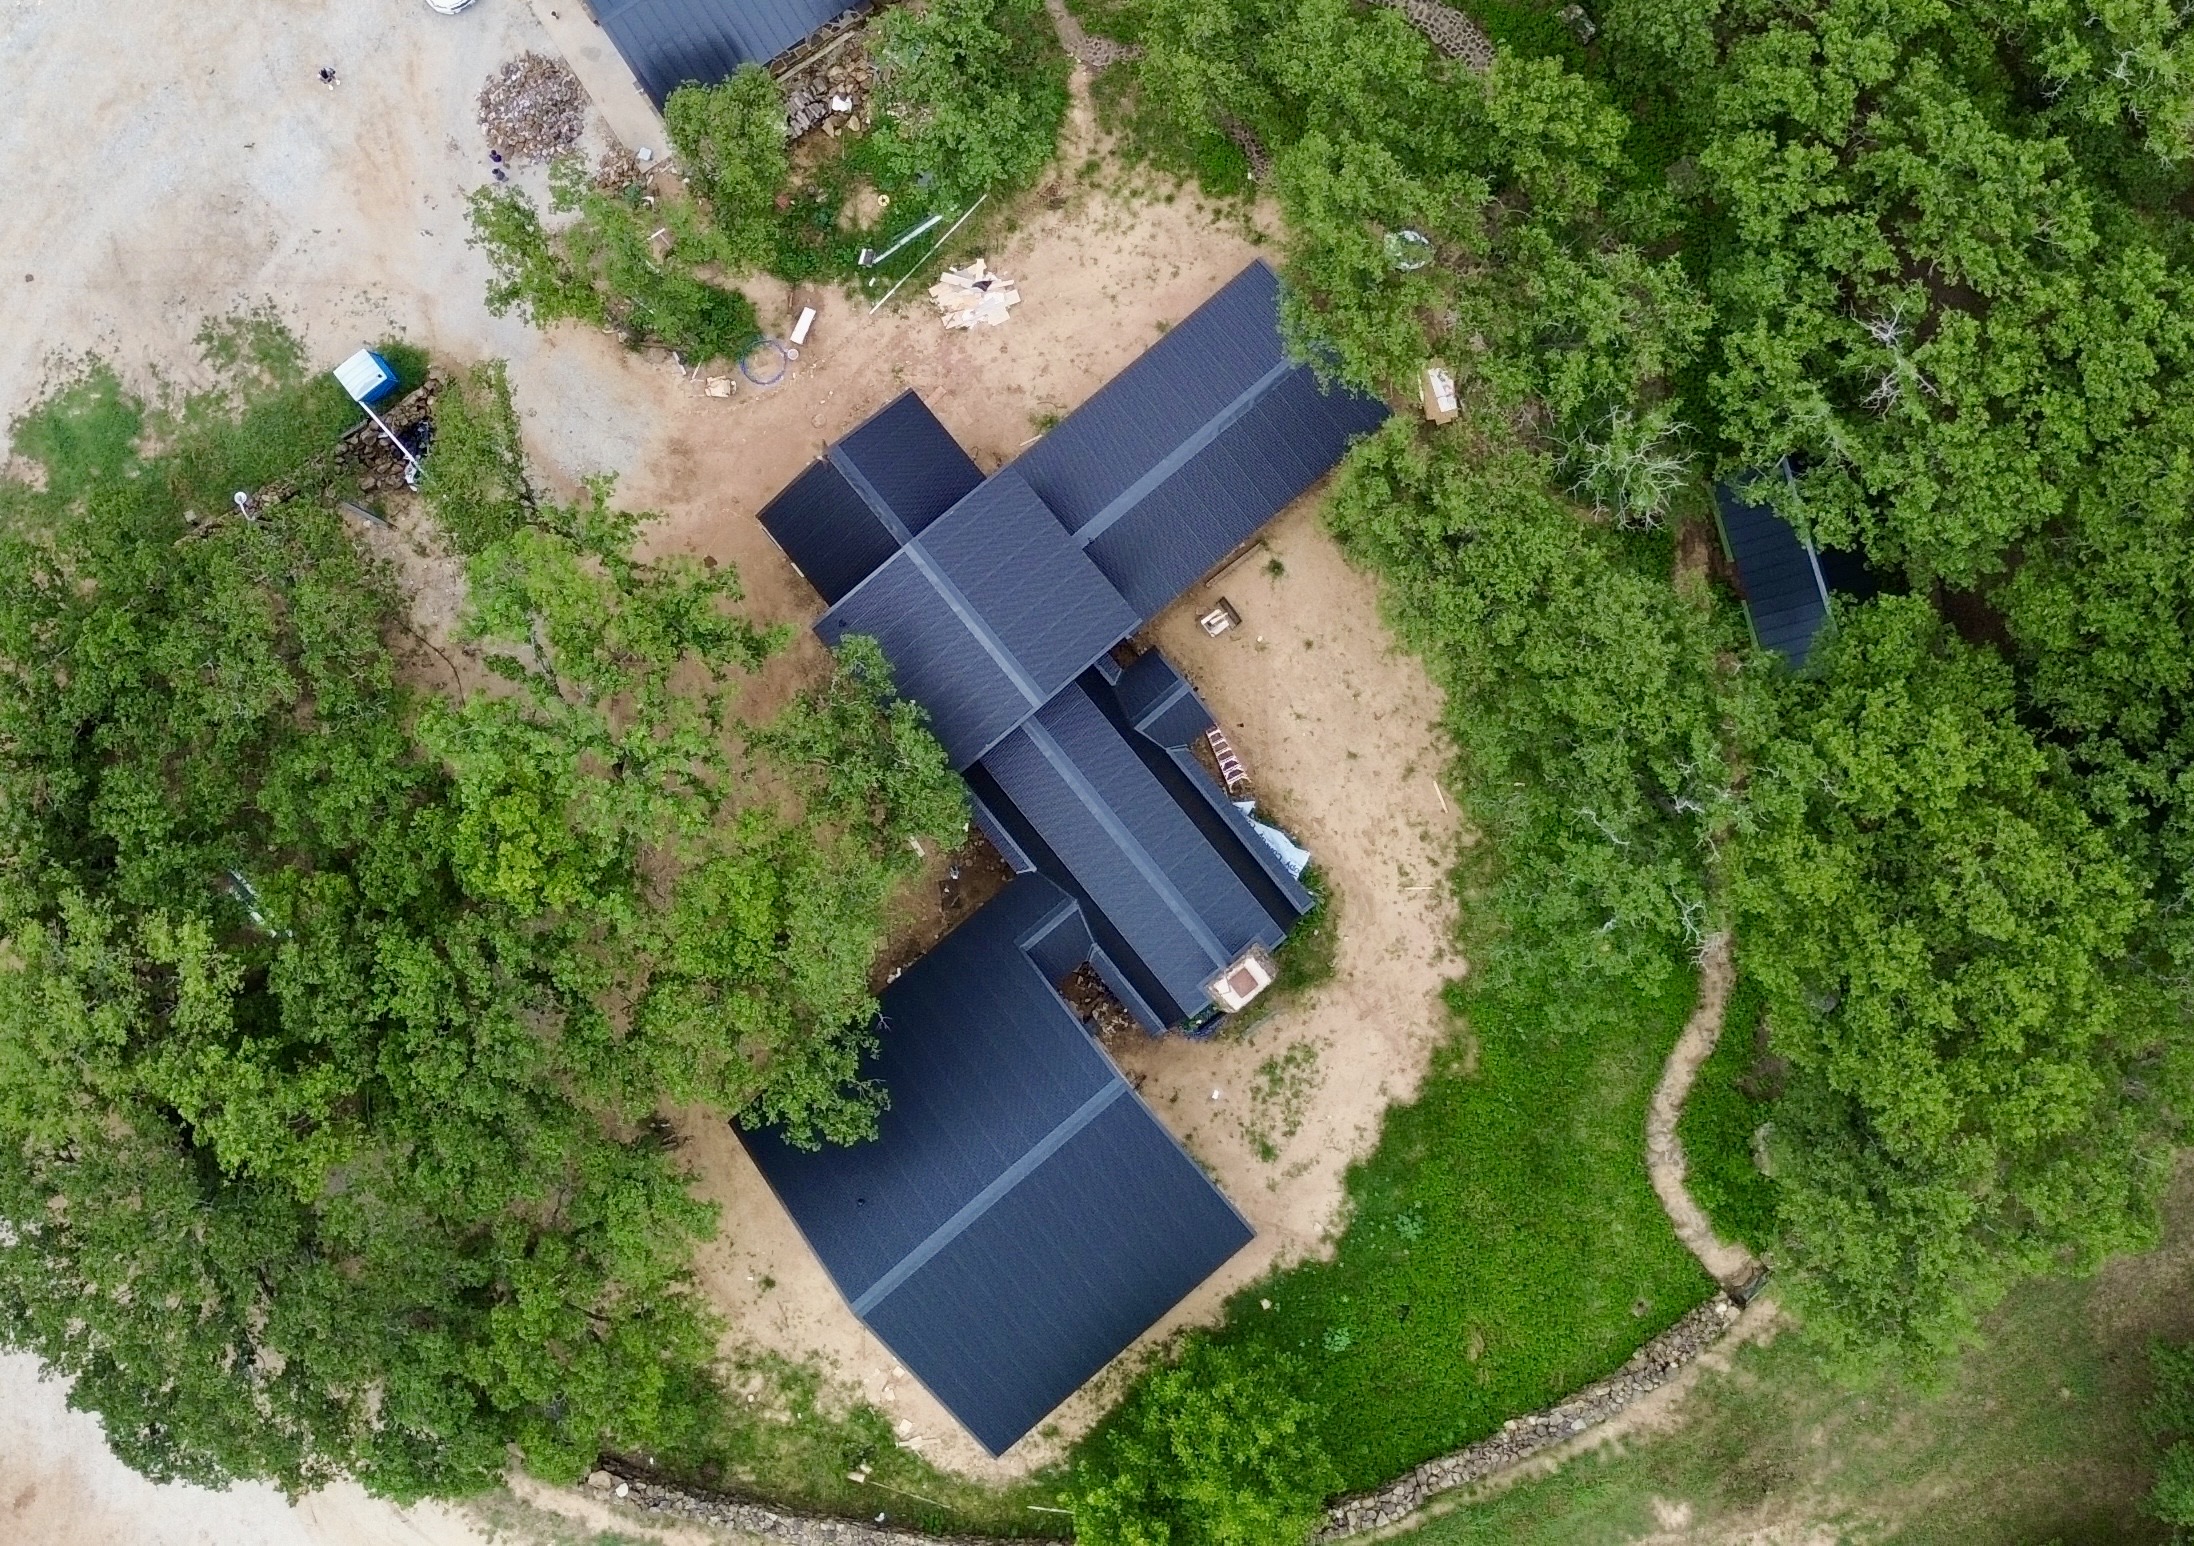
With flashing complete, the new EPDM roofing system is fully assembled. The final part of this guide will explain the inspection and testing process, highlight common installation mistakes to avoid, discuss maintenance practices that maximize roof lifespan, answer frequently asked questions, and conclude with practical guidance for protecting your investment through proper long term care.
Final Inspection and Quality Checks
After the new EPDM roofing system has been installed, the project enters its final inspection phase. Although the membrane, seams, insulation, and flashing are already in place, thorough quality checks are essential before the roof is considered complete. This final stage verifies that every component has been installed correctly and that the roofing system is ready to provide reliable long term protection.
Contractors begin by inspecting the entire roof surface for visible defects. They look for wrinkles, loose membrane sections, uneven adhesive coverage, damaged flashing, exposed fasteners, and any other conditions that could affect performance. Small imperfections identified during this inspection are corrected immediately before the project is finalized.
Seams receive especially close attention because they are among the most critical waterproof components of the roof. Roofing professionals carefully examine each seam to confirm proper overlap, complete bonding, and consistent adhesion across the entire joint. Any area showing incomplete bonding is repaired before the roof is approved.
Drainage performance is also evaluated. Contractors confirm that drains, scuppers, and gutters remain clear and that water can flow freely without collecting in low areas. Proper drainage reduces the risk of standing water and helps maximize the lifespan of the new roofing system.
Roof penetrations such as vents, skylights, HVAC units, and pipe boots are inspected individually. Flashing around these areas must remain completely sealed while allowing the natural movement of building components. Even a small gap around a penetration can eventually become a source of water infiltration if overlooked.
Many contractors also perform additional testing depending on project requirements. Electronic leak detection, moisture testing, or controlled water testing may be used to verify waterproof performance before the project is handed over to the property owner. These evaluations provide additional confidence that the roof has been installed correctly.
The inspection concludes with a final review of workmanship, cleanup, and project documentation. Warranty information, maintenance recommendations, and inspection records are typically provided to the owner so they have complete documentation for future reference.
Common Mistakes to Avoid During EPDM Roof Replacement
A properly installed EPDM roof can perform successfully for decades, but mistakes during replacement can significantly reduce its lifespan. Understanding these common installation errors helps property owners appreciate the importance of hiring experienced roofing professionals who follow manufacturer guidelines carefully.
One of the most common mistakes is installing the new membrane over damaged or wet materials. Some projects attempt to save time by leaving deteriorated insulation or moisture damaged decking in place. Although this may reduce initial labor, hidden damage continues beneath the new roof and often causes premature failure.
Poor surface preparation is another frequent problem. Dust, debris, moisture, or loose materials left on the roof deck reduce adhesive performance and prevent proper membrane attachment. Thorough cleaning before installation creates a stronger bond and improves long term reliability.
Improper seam construction also leads to many roofing failures. Incorrect primer application, insufficient rolling pressure, contaminated surfaces, or inadequate seam overlap may allow water to enter beneath the membrane. Since seams play such an important role in waterproofing, precision during installation is essential.
Weather conditions should never be ignored during replacement. Strong winds, rain, excessive humidity, or temperatures outside manufacturer recommendations can affect adhesives and membrane performance. Experienced contractors monitor weather forecasts carefully and adjust project schedules when necessary.
Some installations also suffer because flashing details receive less attention than the main roof surface. Roof edges, penetrations, drains, and transitions require the same level of workmanship as the membrane itself. Weak flashing details often become the first locations where leaks develop.
Property owners sometimes contribute to problems by choosing contractors based solely on the lowest price. While controlling costs is important, selecting experienced professionals with proper certifications, insurance, and manufacturer training usually provides much better long term value than accepting the least expensive proposal.
Avoiding these mistakes protects both the roofing investment and the building beneath it. High quality materials combined with skilled installation produce the dependable performance that EPDM roofing systems are known for.
Maintenance Tips After Installing a New EPDM Roof
A new EPDM roof represents a significant investment, and routine maintenance helps protect that investment throughout its expected lifespan. Although EPDM requires relatively little maintenance compared to many roofing materials, regular inspections and simple preventive care greatly reduce the likelihood of unexpected repairs.
One of the most important maintenance tasks is keeping the roof clean. Leaves, branches, dirt, and other debris should be removed regularly because they can block drainage systems and contribute to standing water. Maintaining proper drainage reduces unnecessary stress on the roofing membrane.
Routine inspections allow small issues to be identified before they become expensive repairs. Property owners should examine the roof periodically for punctures, loose flashing, seam separation, or physical damage caused by storms or maintenance activities. Minor defects are much easier and less expensive to repair when discovered early.
Foot traffic should also be controlled carefully. While EPDM membranes are durable, unnecessary walking across the roof increases the likelihood of punctures and surface wear. Maintenance personnel should use designated walkways whenever possible, especially around frequently serviced rooftop equipment.
Tree branches extending above the roof deserve regular attention as well. Falling limbs, rubbing branches, and accumulated leaves can all contribute to premature membrane damage. Trimming nearby vegetation reduces these risks while helping keep drainage systems clear.
Professional maintenance inspections remain valuable even when no obvious problems are visible. Experienced roofing contractors often identify developing issues long before they become noticeable to building owners. Their observations allow preventive maintenance to be completed while repairs remain relatively minor.
A simple maintenance routine can greatly extend roof performance.
- Inspect the roof every spring and autumn.
- Remove leaves, dirt, and debris from the roof surface.
- Keep drains, gutters, and scuppers completely clear.
- Examine flashing around rooftop equipment regularly.
- Repair minor damage as soon as it is discovered.
- Schedule professional inspections after severe storms.
- Maintain records of inspections and maintenance work.
Following these practices helps preserve waterproof performance while reducing long term ownership costs. Consistent maintenance also supports warranty requirements for many EPDM roofing systems.
Expected Lifespan and Long Term Performance
EPDM roofing has earned its reputation because of its impressive durability. When installed correctly using quality materials and maintained properly, an EPDM roof often provides dependable protection for several decades. Its flexibility and resistance to weather make it one of the most reliable choices for flat and low slope roofing applications.
Actual service life depends on several important factors rather than the membrane alone. Installation quality has perhaps the greatest influence because even premium materials cannot compensate for poor workmanship. Proper seam construction, flashing installation, drainage design, and substrate preparation all contribute directly to long term performance.
Environmental conditions also affect roof longevity. Buildings located in regions with intense sunlight, frequent storms, heavy snowfall, or large seasonal temperature variations place additional stress on roofing materials. Regular maintenance becomes even more important under these demanding conditions.
Roof traffic and rooftop equipment also influence service life. Buildings with numerous maintenance activities often experience greater membrane wear than structures requiring minimal rooftop access. Installing protective walk pads in high traffic areas helps reduce concentrated wear and extends membrane durability.
The condition of the supporting roof assembly is equally important. Dry insulation, a stable roof deck, effective drainage, and secure flashing all contribute to a roofing system that performs efficiently throughout its intended lifespan. Because every component works together, maintaining the entire roofing assembly is just as important as protecting the membrane itself.
Modern EPDM systems also benefit from ongoing improvements in roofing technology. Enhanced adhesives, stronger seam tapes, improved insulation products, and better installation techniques have increased the reliability of today’s replacement systems compared to many older installations. Property owners replacing aging roofs often experience improved energy efficiency and reduced maintenance requirements in addition to restored waterproof protection.
Frequently Asked Questions
How long does an EPDM roof replacement usually take?
The timeline depends on roof size, weather conditions, building complexity, and any structural repairs required. Smaller residential projects may be completed within a few days, while large commercial buildings can require several weeks.
Can a new EPDM membrane be installed over the existing roof?
In some situations, roofing systems may allow an overlay if the existing roof remains structurally sound and meets local building requirements. However, complete removal is often recommended because it allows hidden moisture, damaged insulation, and structural problems to be corrected before installation.
Is EPDM suitable for both residential and commercial buildings?
Yes. EPDM is widely used on both residential and commercial flat roofs because of its durability, flexibility, weather resistance, and relatively low maintenance requirements.
Does replacing an EPDM roof improve energy efficiency?
It often does. Replacement projects commonly include upgraded insulation and modern roofing materials that reduce heat transfer, helping improve indoor comfort while lowering heating and cooling costs.
How often should a new EPDM roof be inspected?
Most roofing professionals recommend comprehensive inspections at least twice each year, along with additional inspections after severe storms or unusual weather events.
Conclusion
Replacing an aging EPDM flat roof is a carefully planned process that involves much more than installing a new waterproof membrane. Every stage, from the initial inspection and project planning to deck repairs, insulation installation, membrane placement, seam construction, flashing, and final quality checks, contributes to the long term success of the roofing system. Attention to detail throughout each step ensures the finished roof provides dependable protection against weather, moisture, and daily environmental exposure.
Understanding the replacement process allows property owners to make informed decisions before work begins. Recognizing when replacement is necessary, selecting experienced roofing professionals, choosing quality materials, and following manufacturer approved installation methods all help maximize the value of the investment. A properly executed project not only restores waterproof performance but also improves energy efficiency, structural reliability, and overall building protection.
Long term performance depends just as much on maintenance as it does on installation quality. Regular inspections, prompt repairs, clean drainage systems, and controlled roof access help preserve the condition of the new EPDM roof while reducing future maintenance costs. Small maintenance efforts performed consistently often prevent much larger problems from developing later.
Ultimately, an EPDM roof replacement should be viewed as a long term investment rather than simply a construction project. When completed correctly and supported by routine maintenance, a modern EPDM roofing system can deliver decades of dependable service while protecting the building, improving operational efficiency, and providing property owners with lasting peace of mind.