
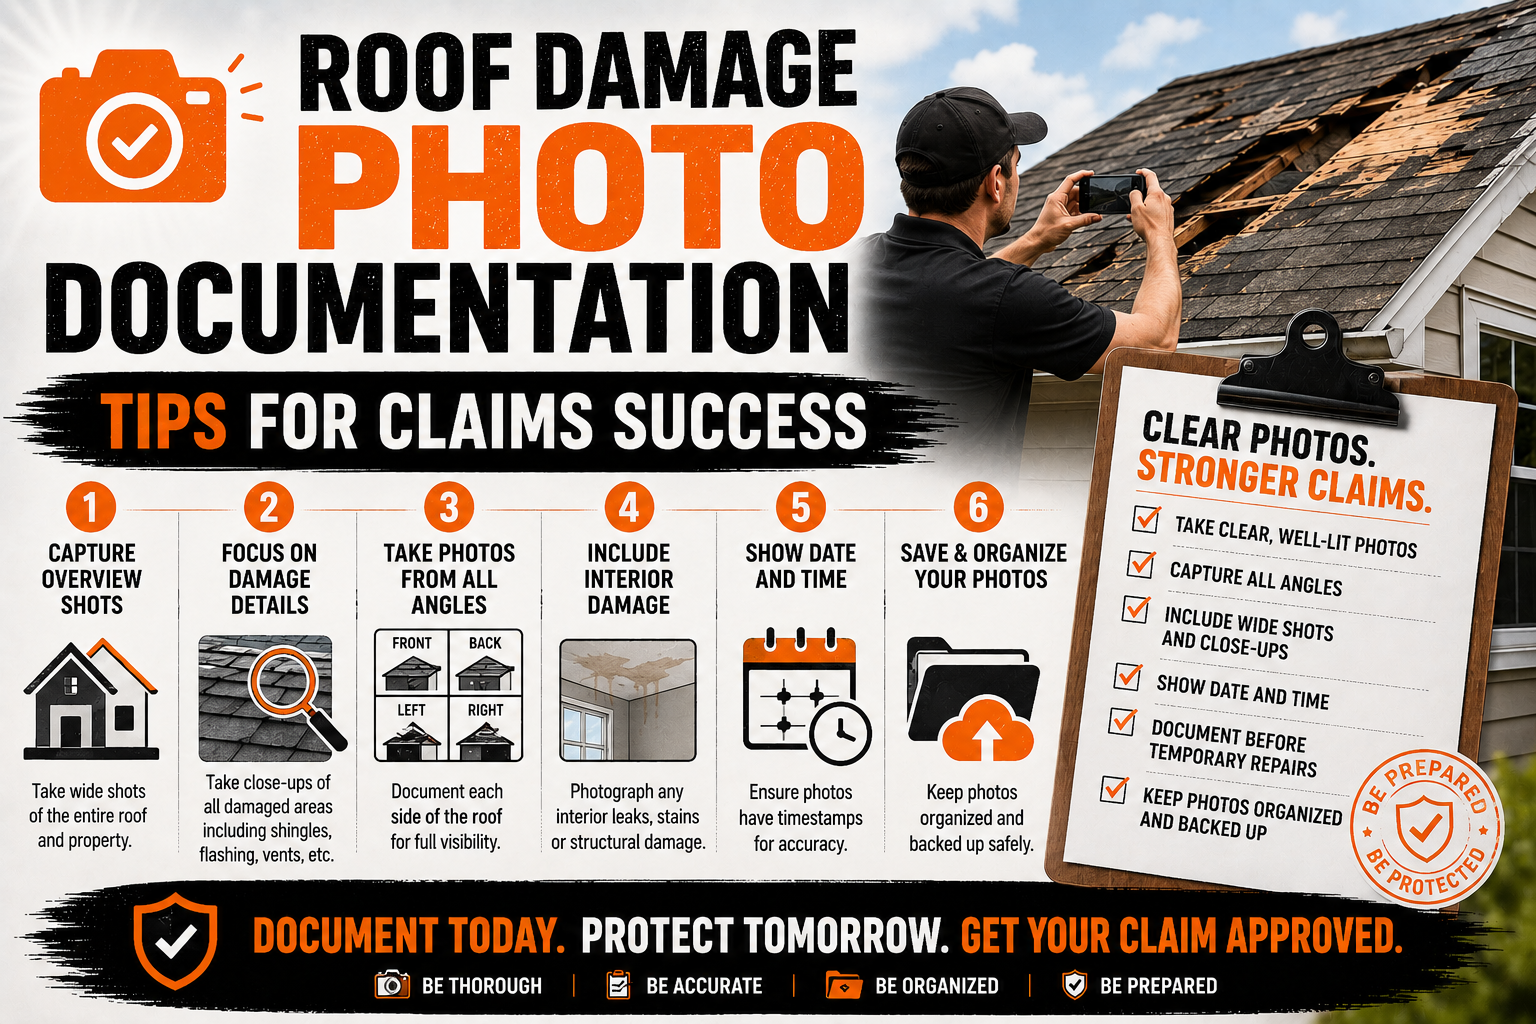
Roof Damage Photo Documentation Tips for Claims Success
Introduction
Photographs often become some of the most valuable pieces of evidence in a roof insurance claim. While written descriptions explain what happened, clear images allow insurance companies to see the condition of the roof, understand the extent of the damage, and verify whether the loss may qualify for coverage. High quality documentation can make the review process more accurate and efficient.
Many homeowners wait until an insurance adjuster arrives before taking photographs. Unfortunately, weather conditions, emergency repairs, or additional damage can change the appearance of the roof before the inspection takes place. Taking timely photographs helps preserve evidence exactly as it appeared after the damaging event.
Photo documentation is about more than simply taking a few pictures with a smartphone. Successful claims usually include a combination of wide shots, close up images, interior damage photos, and supporting pictures that establish the condition of the property immediately after the incident. Each image contributes to the overall story presented to the insurance company.
This guide explains how to document roof damage effectively for insurance claims. From understanding what adjusters look for to capturing clear photographs safely and organizing them properly, each section provides practical guidance that helps homeowners build stronger claim documentation.
Why Photo Documentation Matters for Roof Insurance Claims
Insurance companies rely heavily on visual evidence when evaluating roof damage. Although inspections and contractor reports play important roles, photographs provide an immediate record of the property’s condition before repairs begin or weather causes additional changes.
A well documented collection of photographs helps establish the severity of the damage. Images showing missing shingles, dented metal panels, broken flashing, fallen tree limbs, or visible water intrusion allow adjusters to better understand what occurred without relying solely on written descriptions.
Photographs also create a timeline for the claim. Images captured shortly after a storm demonstrate that the homeowner acted promptly to document the damage. This timeline may become especially valuable if the claim review extends over several weeks or months.
Clear documentation reduces misunderstandings during the claims process. Instead of debating whether damage existed at a particular location, adjusters can compare inspection findings with photographs taken immediately after the incident.
Photos can also support contractor recommendations. When roofing professionals identify hidden or widespread damage, accompanying photographs help explain why repairs may not fully restore the roof and why replacement could be necessary.
Good documentation benefits everyone involved in the claim. Homeowners, contractors, and insurance representatives all rely on accurate visual records to evaluate damage objectively and make informed decisions.
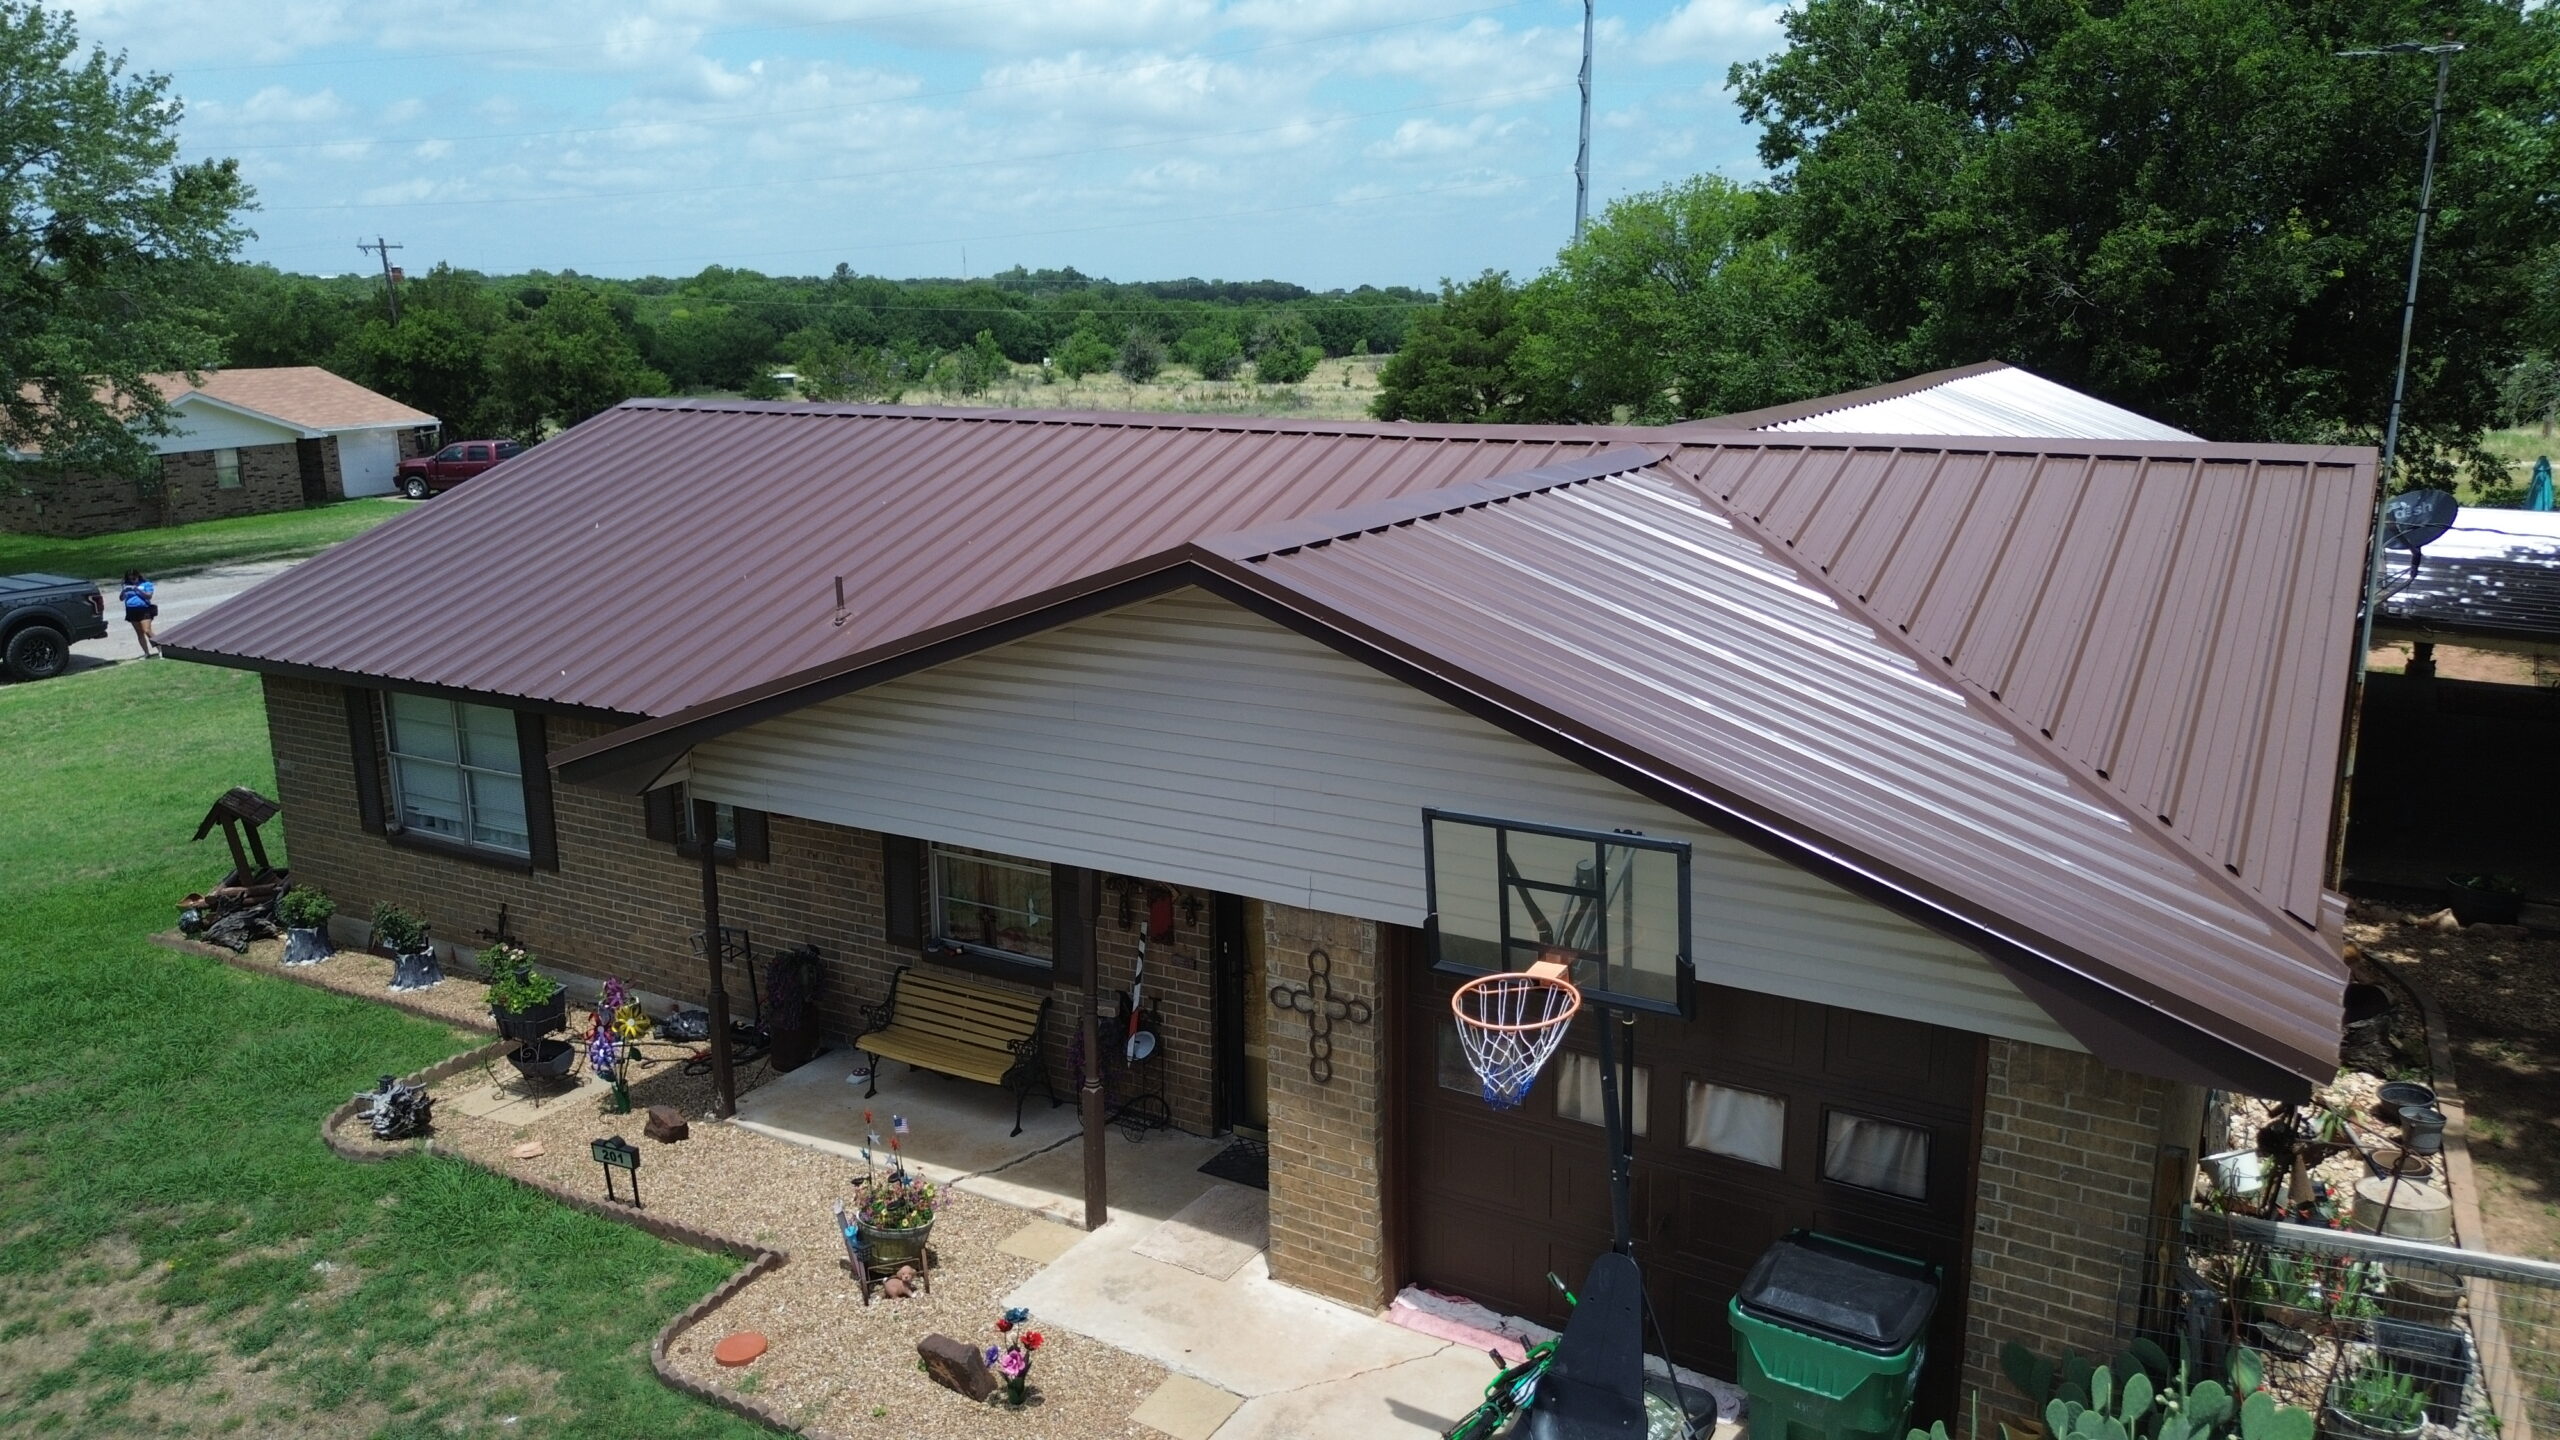
Understanding What Insurance Adjusters Want to See
Insurance adjusters examine roof damage with a specific purpose. Their responsibility is to determine whether the reported damage resulted from a covered event and whether the requested repairs or replacement are supported by the available evidence.
Adjusters prefer photographs that show both the overall condition of the roof and individual damaged areas. Wide angle images establish context by showing where damage occurred, while close up photographs provide detail about cracked shingles, hail impacts, lifted roofing materials, damaged vents, flashing failures, and other visible issues.
Context is just as important as detail. A close up image of a broken shingle becomes more meaningful when accompanied by wider photographs showing its location on the roof. Together, these images create a complete visual record rather than isolated snapshots.
Insurance representatives also appreciate photographs taken from multiple directions. Damage that is difficult to see from one angle may become much clearer when viewed from another position. Multiple perspectives reduce uncertainty during claim evaluation.
Interior photographs can also support the claim. Water stains on ceilings, peeling paint, damaged insulation, warped drywall, or wet flooring may indicate that roof damage has allowed moisture to enter the home. These images help establish the broader impact of the roof failure.
Photographs with accurate dates further strengthen documentation. Time stamped images help demonstrate when the damage was discovered and provide additional support for the homeowner’s timeline of events.
When to Start Taking Roof Damage Photos
Timing is one of the most important aspects of successful roof documentation. Homeowners should begin photographing damage as soon as conditions are safe after the storm or other damaging event has passed.
Early photographs preserve evidence before additional weather changes the roof’s appearance. Heavy rain, strong winds, or cleanup activities can alter damaged areas, making it more difficult to determine the original condition of the roof.
Initial documentation should begin from ground level whenever possible. Homeowners can photograph missing shingles, fallen branches, damaged gutters, debris, and other visible signs without exposing themselves to unnecessary risks.
If additional damage becomes visible later, more photographs should be added to the documentation file. Insurance claims often develop over time as hidden leaks or structural problems become apparent during inspections.
Emergency protective measures should also be documented. If temporary tarps or other protective coverings are installed to prevent additional water intrusion, photographs should be taken before and after these measures are completed. This demonstrates responsible efforts to reduce further property damage.
Homeowners should continue documenting the property throughout the claims process. Additional photographs taken before inspections, during temporary repairs, and after permanent replacement provide a complete record of the roof’s condition from beginning to end.
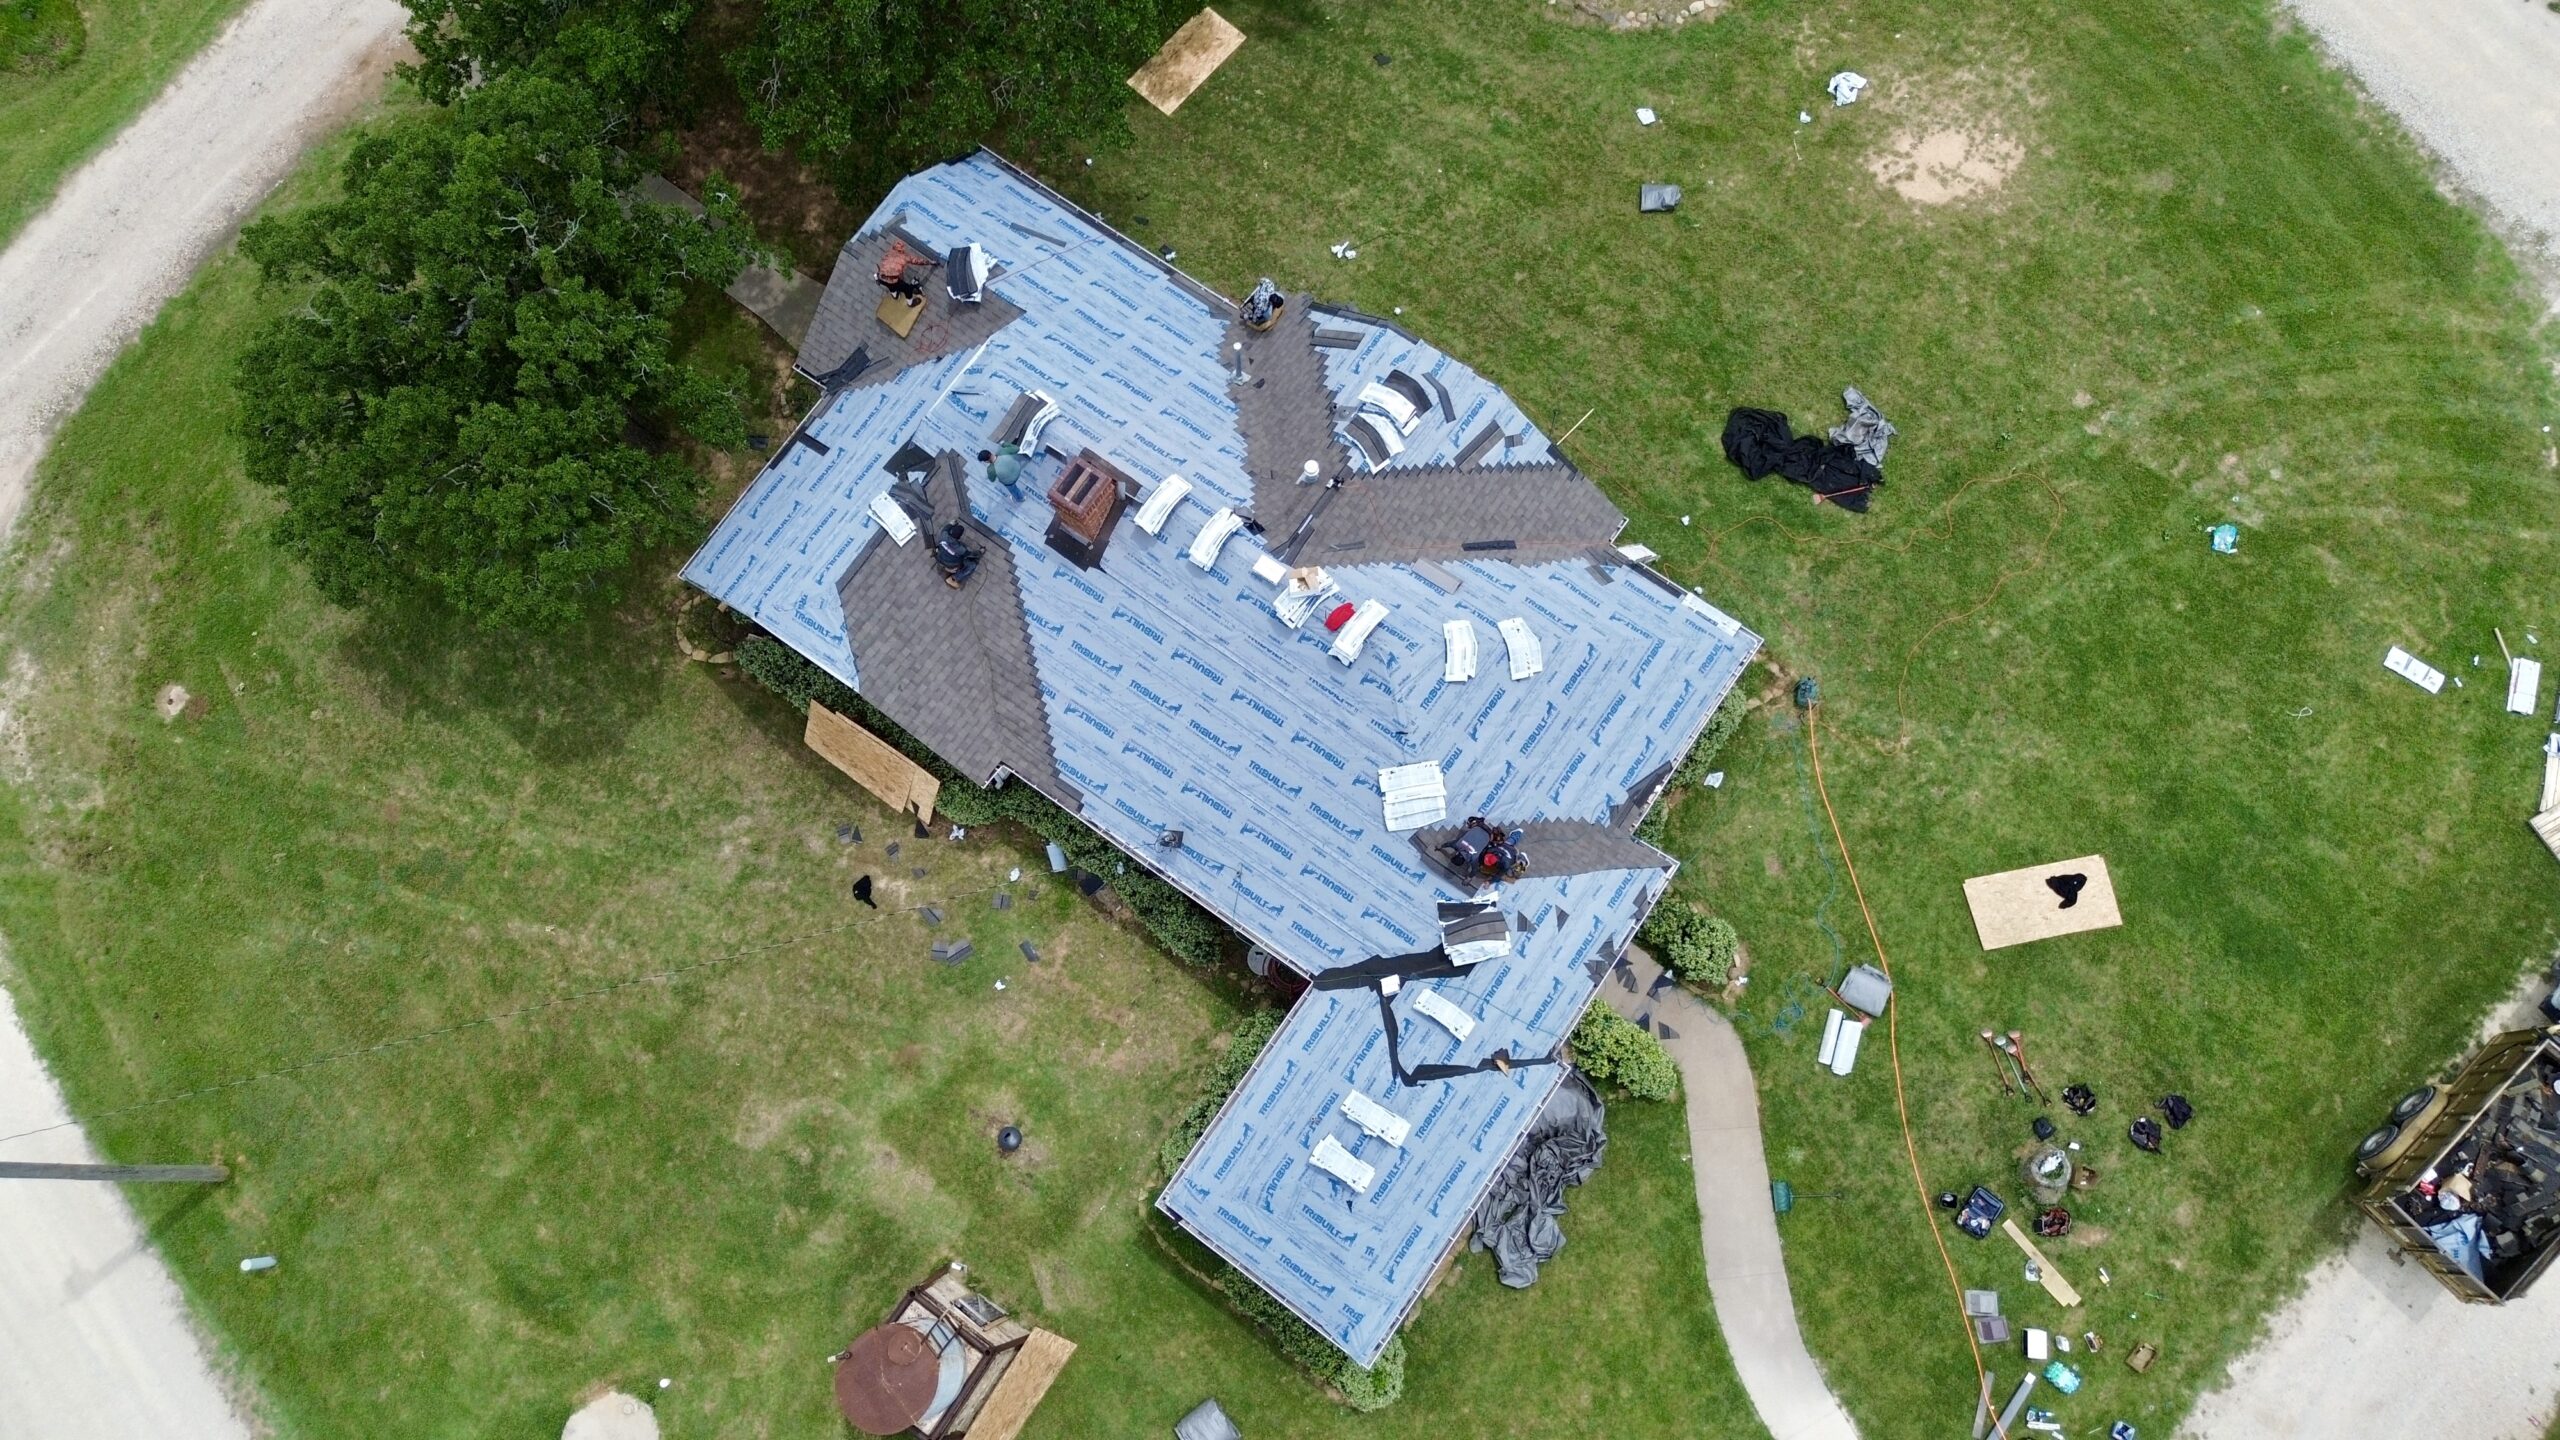
Safety Tips Before Photographing Roof Damage
Photographing roof damage should never place personal safety at risk. Storm damaged roofs can be unstable, slippery, or structurally weakened, making careful planning essential before attempting any inspection.
The safest approach is to begin from the ground using a smartphone or camera with zoom capabilities. Many important signs of damage, including missing shingles, damaged gutters, displaced flashing, fallen tree limbs, and visible debris, can often be documented without climbing onto the roof.
Homeowners should avoid walking on wet roofing materials. Rain, hail, snow, or accumulated debris can create slippery surfaces that increase the risk of falls and serious injury.
Power lines present another important hazard. If storm damage has affected nearby electrical equipment or utility lines, homeowners should remain at a safe distance and avoid attempting to photograph areas where electrical hazards may exist.
When damage cannot be safely photographed from the ground, it is generally best to contact a qualified roofing professional. Contractors have appropriate safety equipment and experience working on damaged roofing systems.
The following safety practices should always be followed before taking roof damage photographs:
- Wait until severe weather has completely passed.
- Begin documentation from ground level whenever possible.
- Stay away from damaged power lines.
- Avoid walking on wet or unstable roofs.
- Contact professionals if safe access is not possible.
Protecting personal safety should always remain the highest priority. No insurance claim is worth risking serious injury while attempting to collect photographs.
Essential Equipment for High Quality Roof Documentation
Professional photography equipment is not required to produce useful insurance documentation. Most modern smartphones capture images with sufficient quality when used carefully and under good lighting conditions.
A smartphone with a high resolution camera provides an excellent starting point. Clean camera lenses before taking photographs to avoid blurry images that may reduce the usefulness of the documentation.
Digital cameras with optical zoom can also improve image quality, especially when photographing roof areas that cannot be reached safely. Optical zoom preserves detail better than excessive digital enlargement.
Lighting plays an important role in documentation quality. Natural daylight generally produces the clearest photographs because it accurately shows roofing materials, color differences, and surface damage. Early morning or late afternoon light often reduces harsh shadows that can hide important details.
Simple accessories may also improve documentation. A flashlight helps illuminate attic damage or dark interior spaces, while a measuring tape placed beside damaged areas provides helpful size references for cracks, punctures, or hail impacts.
The following table summarizes equipment commonly used for roof damage documentation.
| Equipment | Primary Purpose |
|---|---|
| Smartphone | General roof and interior photography |
| Digital camera | Higher quality images with optical zoom |
| Flashlight | Photographing attic and interior damage |
| Measuring tape | Showing the size of damaged areas |
| Notebook | Recording dates, locations, and observations |
| Waterproof storage folder | Organizing printed records and documents |
Using simple but reliable equipment allows homeowners to produce clear photographs that support accurate insurance claim evaluations without requiring specialized photography experience.
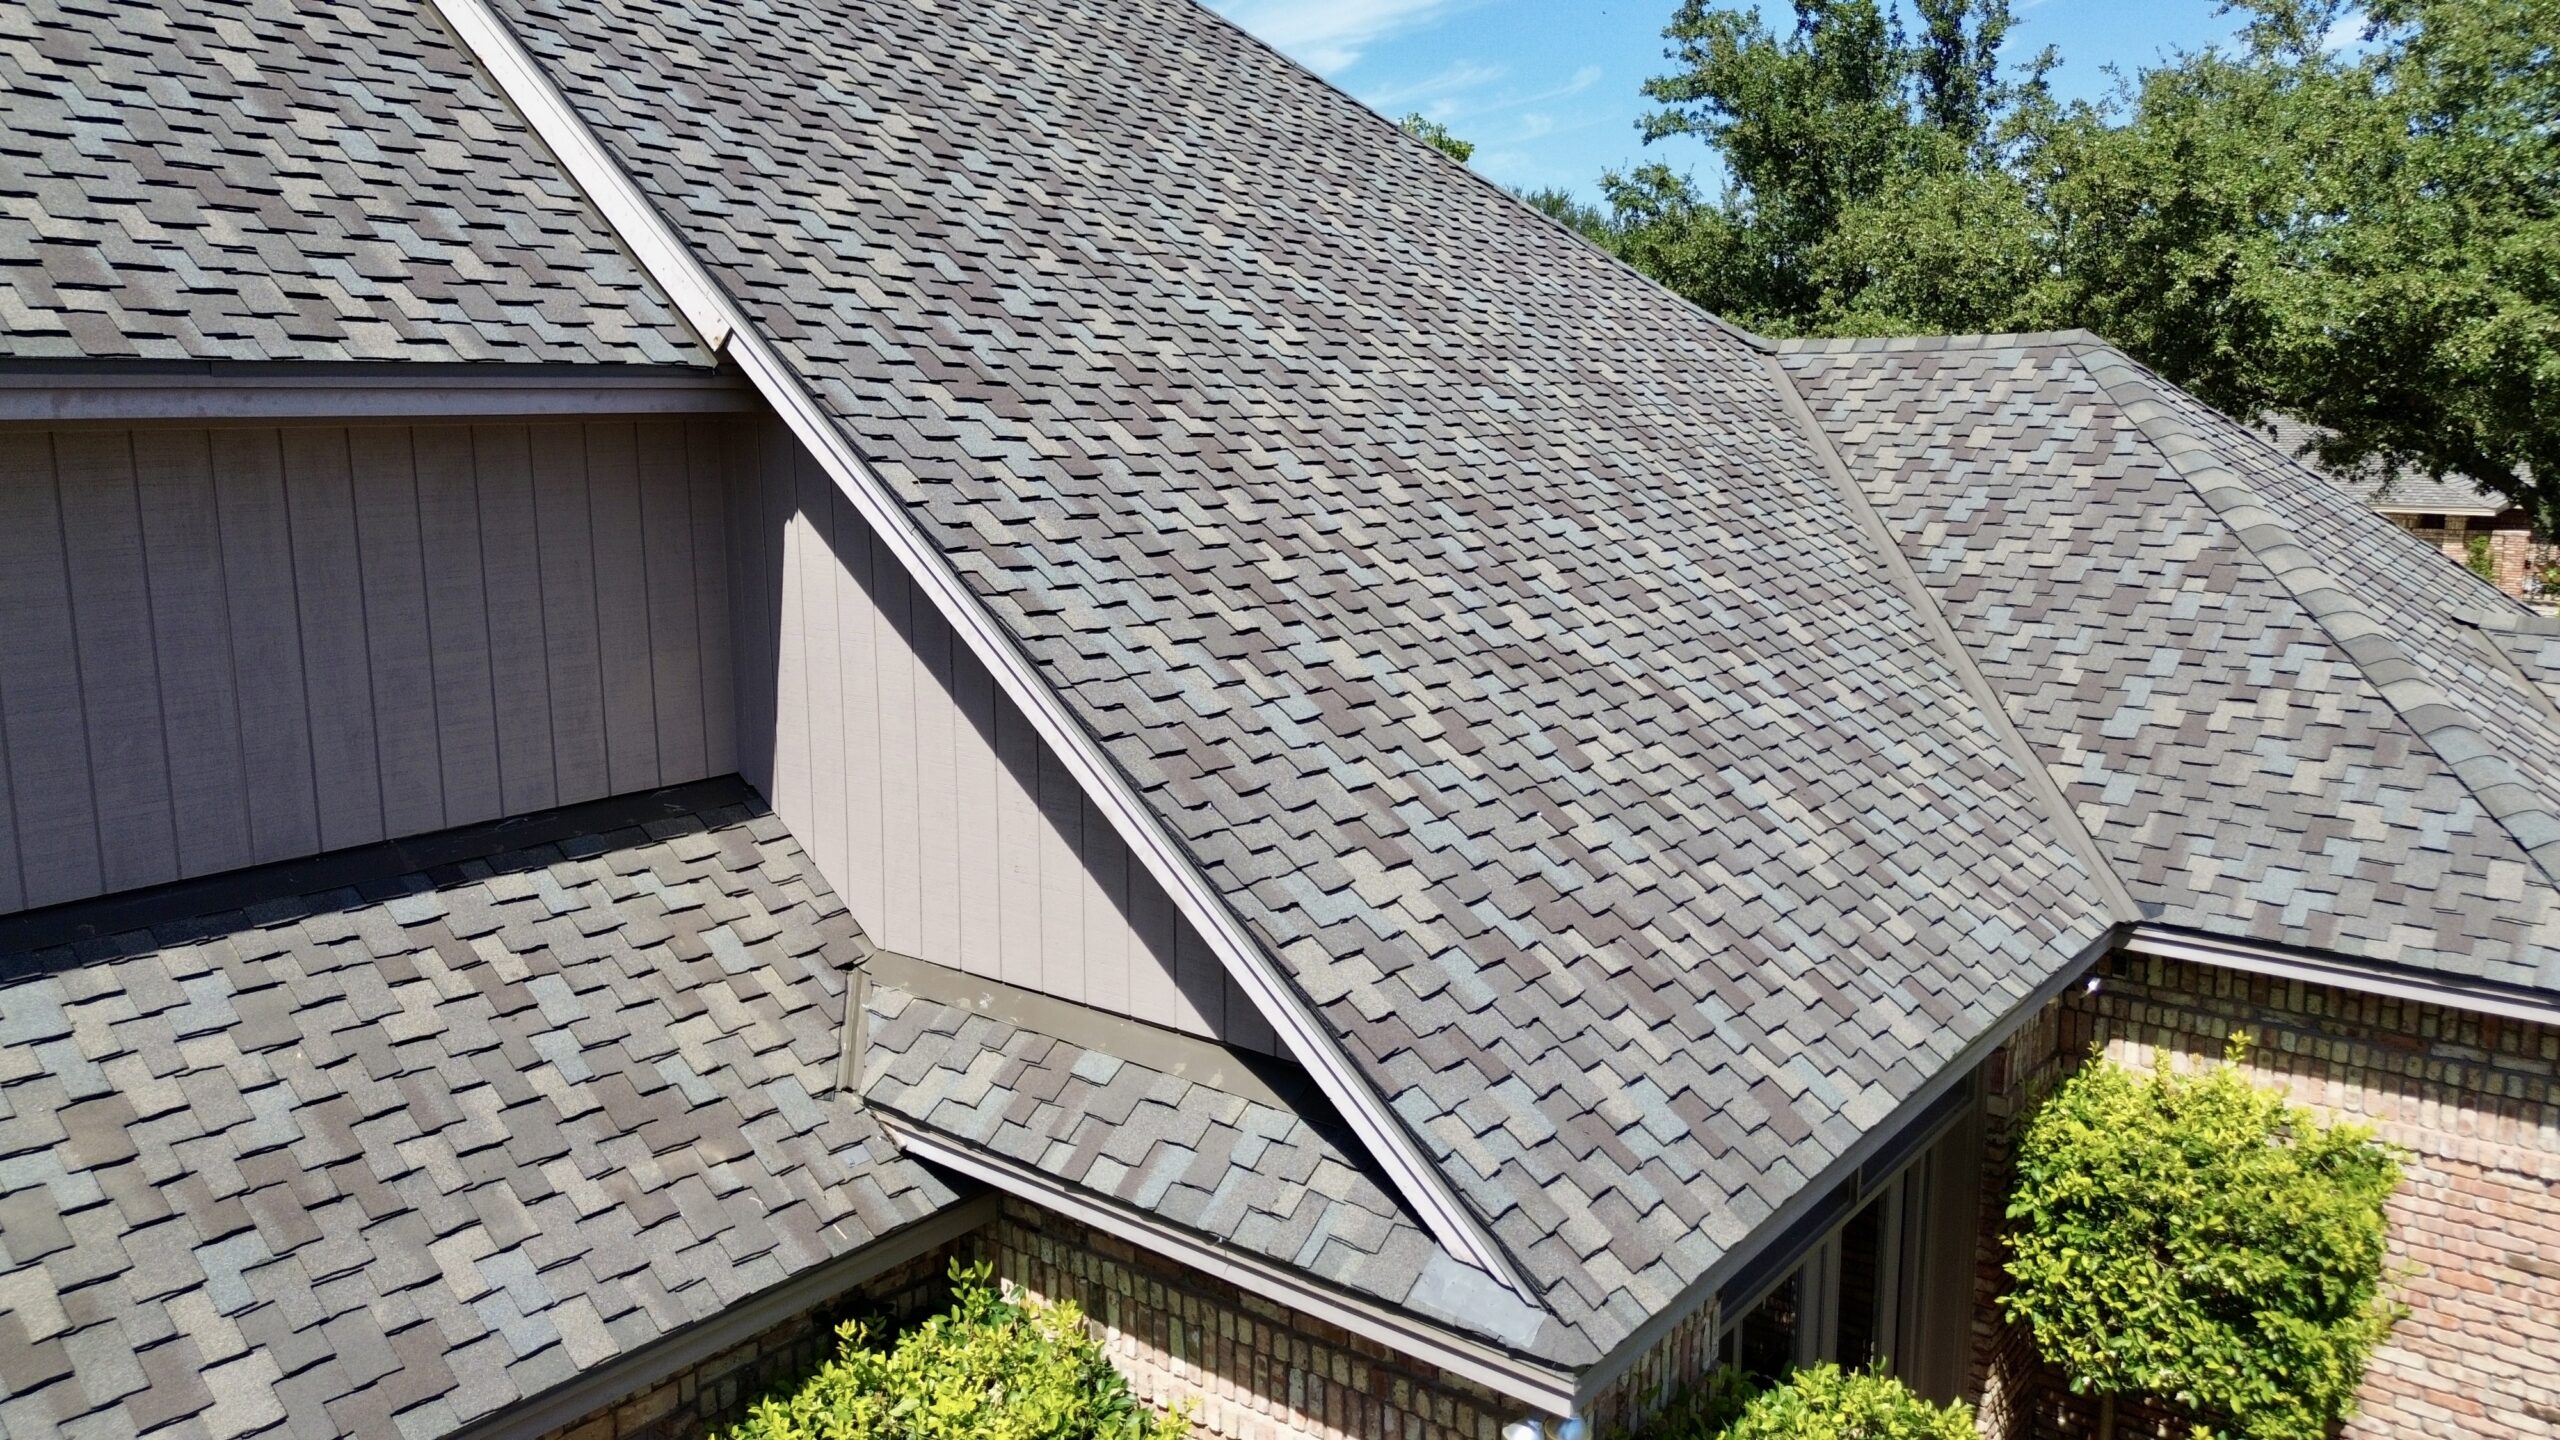
Capturing the First Set of Roof Damage Images
The first photographs taken after roof damage often become the most valuable evidence in an insurance claim. These images capture the property’s condition before temporary repairs, cleanup efforts, or additional weather events alter the appearance of the damage.
Begin by taking wide photographs of the entire home from multiple sides. These overview images establish the general condition of the property and show where roof damage is located in relation to the rest of the structure.
Next, move closer to visible damage while maintaining safe positions. Photograph missing shingles, cracked roofing materials, damaged flashing, broken gutters, fallen tree limbs, hail impacts, and debris resting on the roof. Take several images of each damaged area from different angles to provide a complete visual record.
After documenting exterior damage, inspect the interior for signs of water intrusion if it is safe to do so. Ceiling stains, wet insulation, peeling paint, warped drywall, and dripping water should all be photographed because they help demonstrate how roof damage has affected other parts of the home.
It is also helpful to document areas that appear undamaged. Photographs showing sections of the roof that remain intact provide valuable context and help adjusters understand the overall distribution of the damage rather than assuming the entire roof was affected equally.
As photographs are collected, record the location and description of each damaged area in a notebook or digital file. Pairing written observations with visual evidence creates a comprehensive documentation package that supports both contractor inspections and insurance claim reviews.
Establishing thorough photographic documentation immediately after the damaging event creates a strong foundation for the rest of the claims process. In the next part, we will explore how to photograph specific types of roof damage, document interior water intrusion more effectively, avoid common photography mistakes, organize image files for easy access, and work with roofing professionals to create even stronger claim documentation.
Photographing Different Types of Roof Damage
Not all roof damage appears the same, and each type requires a slightly different approach when documenting it for an insurance claim. A complete collection of photographs should capture both the overall condition of the roof and the specific characteristics of the damage.
Wind damage often results in missing, lifted, or creased shingles. Begin with wide photographs showing the affected roof slope before taking close up images of individual shingles. If pieces of roofing material have fallen into the yard, photograph them where they were found before moving them.
Hail damage can be more difficult to capture because dents and impact marks are sometimes subtle. Take photographs from different angles so sunlight highlights the damaged areas. Images of metal vents, flashing, gutters, and downspouts are particularly useful because hail often leaves visible dents on these surfaces.
Tree impact damage should be documented before any debris is removed whenever it is safe to do so. Photograph the fallen tree or branches from several angles, showing how they came into contact with the roof. Then capture close up images of broken shingles, damaged decking, crushed gutters, and any structural damage that is visible.
Fire damage should be photographed carefully without entering unsafe areas. Burn marks, damaged roofing materials, smoke staining, and compromised structural components should all be documented from a safe distance until professionals declare the area secure.
Water damage caused by storms often leaves evidence on both the exterior and interior of the home. Missing shingles, damaged flashing, clogged drainage systems, and standing water should all be photographed because they help explain how moisture entered the building.
Taking multiple photographs of every damaged area improves the quality of the documentation. Different lighting conditions and viewing angles often reveal details that may not be visible in a single image.
Documenting Interior Damage Caused by Roof Leaks
Roof damage is not always limited to exterior roofing materials. Water entering through a damaged roof can affect ceilings, walls, insulation, flooring, electrical fixtures, and even personal belongings. Interior photographs help demonstrate the full extent of the damage resulting from the roof failure.
Begin by photographing every room where signs of water intrusion are visible. Ceiling stains, peeling paint, bubbling drywall, warped wood, and wet flooring should all be documented before cleanup begins. Wide shots provide context, while close up photographs show important details.
If water is actively leaking, photograph the source before placing containers underneath to collect the water. These images establish that moisture entered the home immediately after the damaging event rather than developing gradually over time.
Attics should also be inspected when it is safe to do so. Wet insulation, visible daylight through the roof structure, water stains on rafters, mold growth, or damp roof decking may provide valuable evidence supporting the insurance claim.
Damaged personal property should not be overlooked. Furniture, electronics, rugs, curtains, or stored belongings affected by roof leaks should be photographed before disposal whenever practical. These images may support additional portions of the insurance claim depending on the policy.
Consistency is important throughout the documentation process. Taking photographs from multiple angles while keeping lighting conditions as clear as possible creates a more complete visual record for adjusters reviewing the claim.
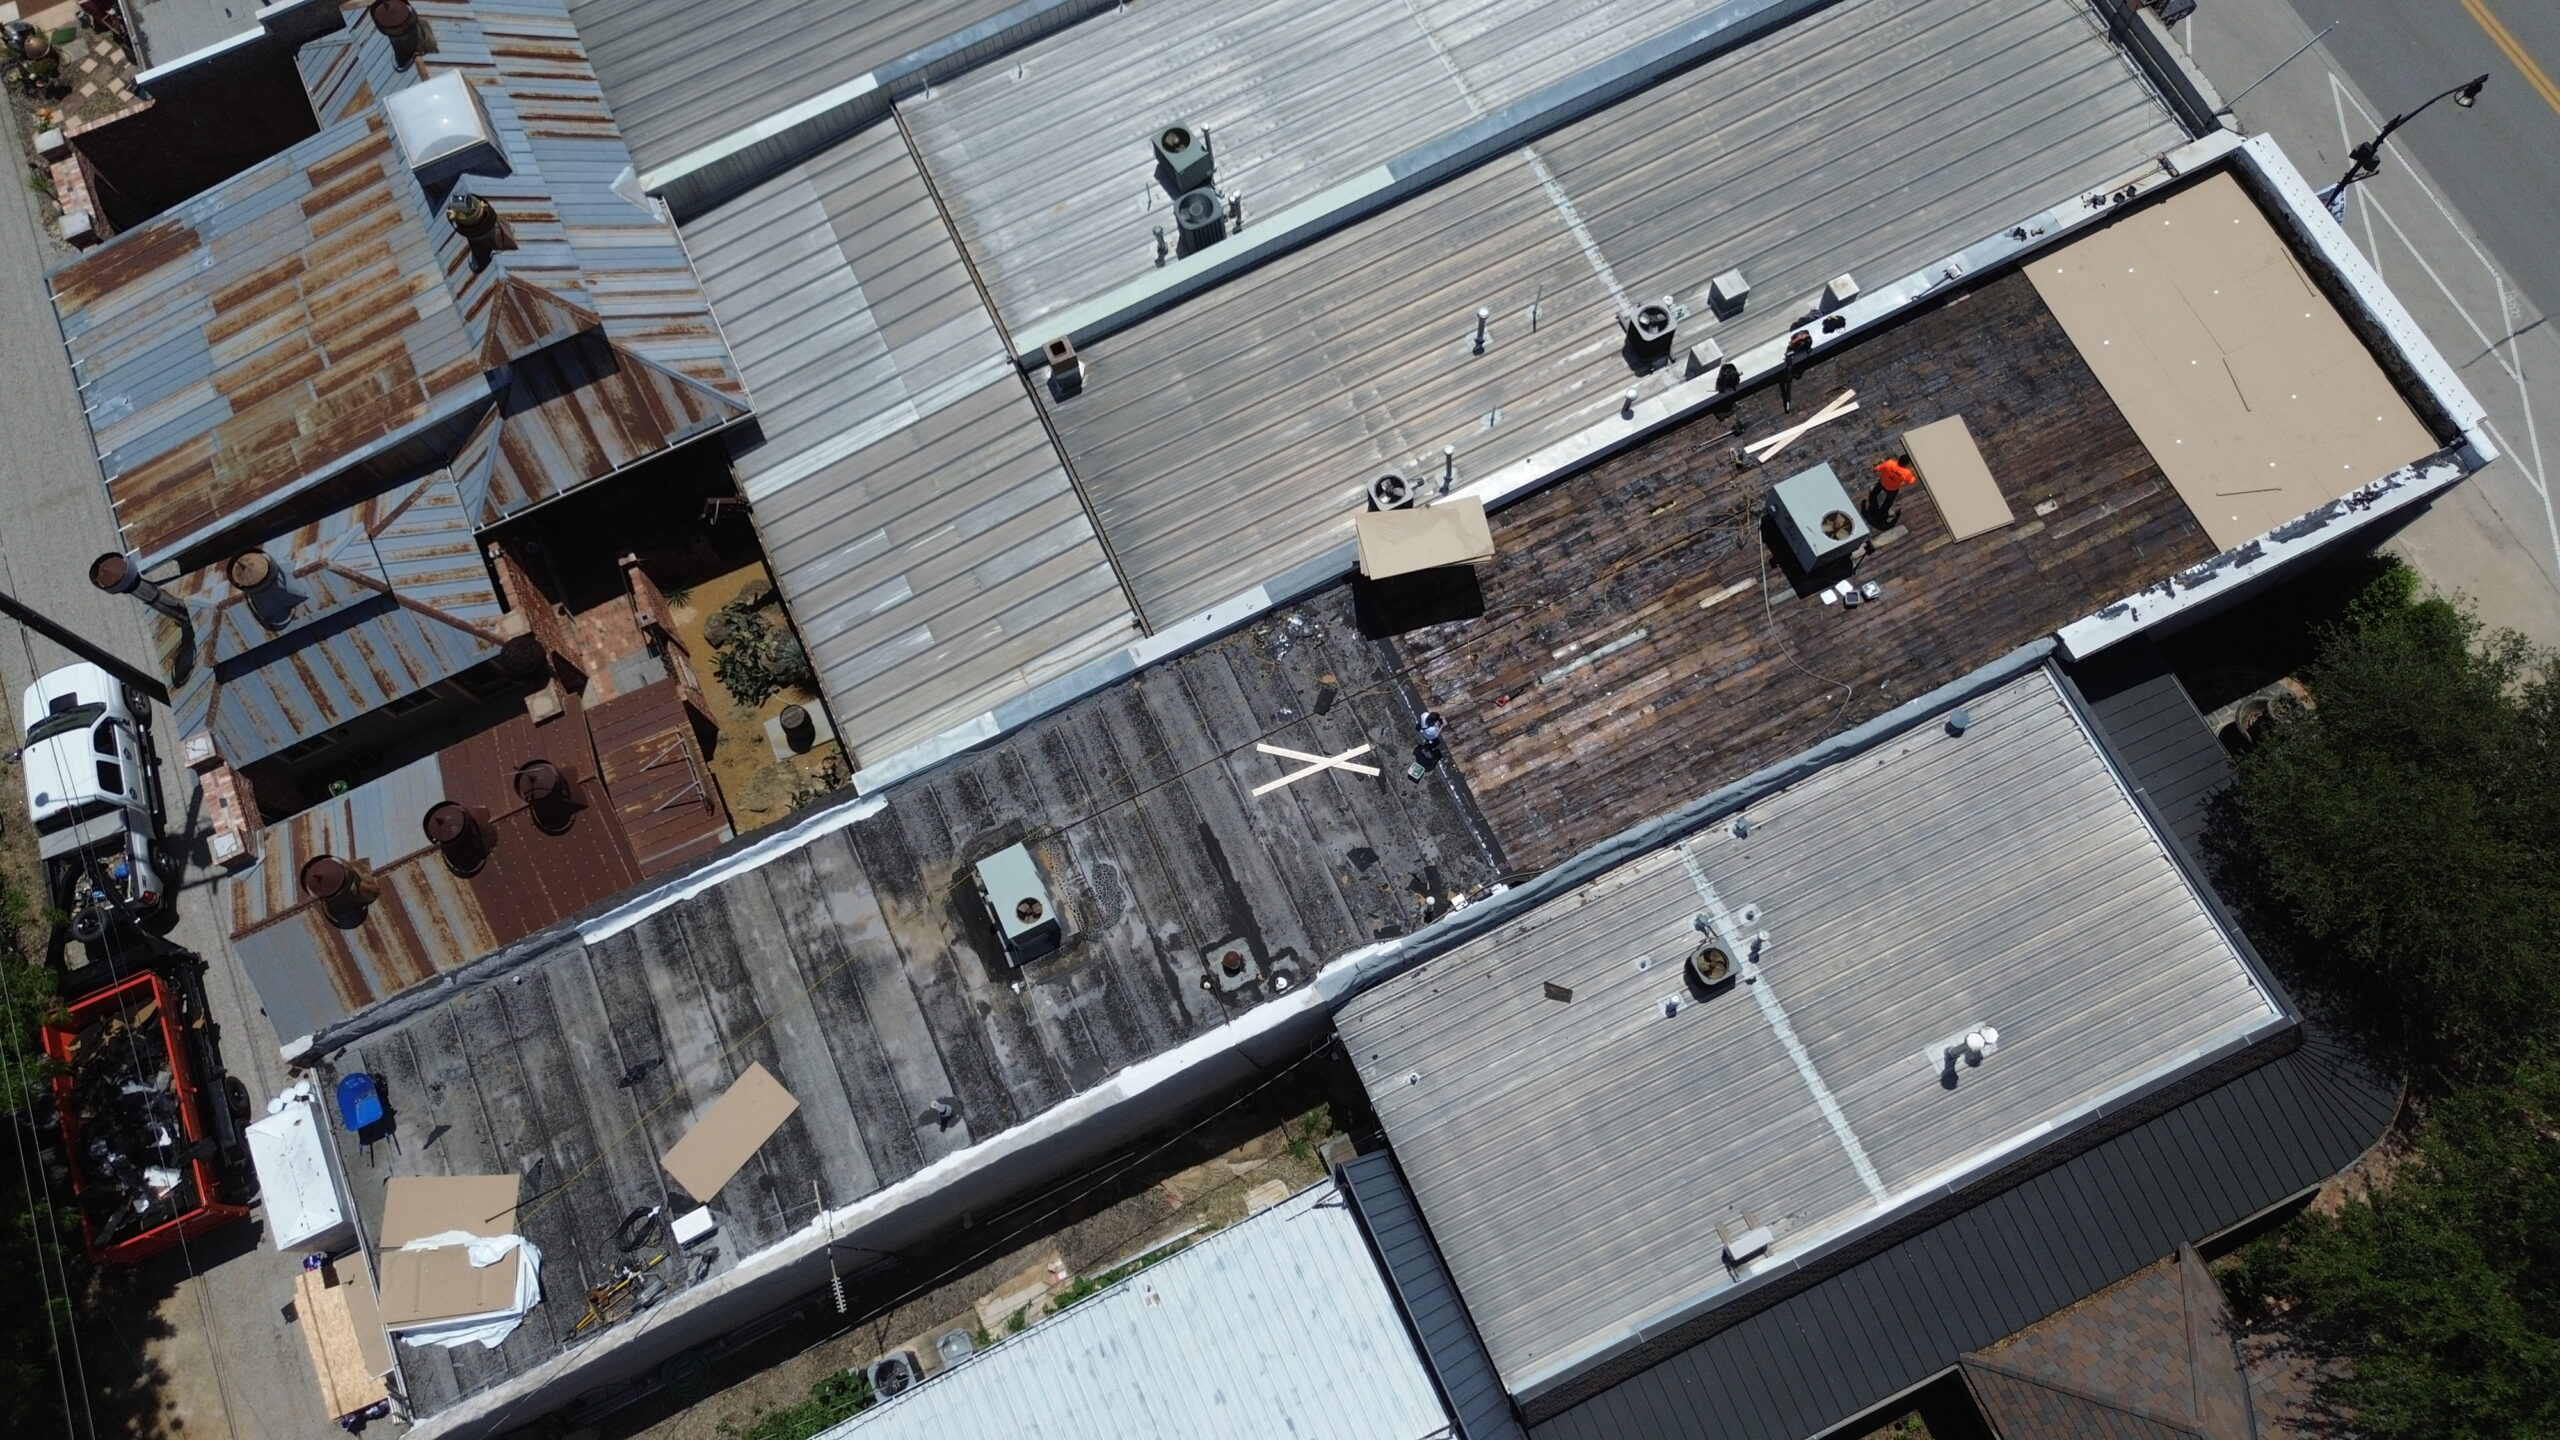
Taking Photos That Strengthen Your Insurance Claim
Insurance companies evaluate claims using the quality of the available evidence as much as the quantity. Hundreds of random photographs are often less helpful than a smaller collection of organized images that clearly explain what happened.
Every photograph should have a purpose. Instead of taking repeated images of the same location, focus on documenting different perspectives, damaged materials, and the relationship between affected areas.
A useful approach is to begin with wide shots of the entire property before gradually moving closer to damaged sections. This sequence helps adjusters understand where each close up photograph fits within the overall roof layout.
Including recognizable landmarks also improves documentation. Chimneys, skylights, roof vents, satellite dishes, gutters, and valleys provide reference points that help identify the exact location of the damage.
When possible, photograph damage before and after temporary protective measures are installed. Images showing exposed roofing materials followed by properly secured tarps demonstrate that reasonable steps were taken to prevent additional water intrusion.
Natural lighting generally produces the most accurate results. Bright daylight allows roofing materials, cracks, dents, and missing shingles to appear more clearly than photographs taken in poor lighting conditions.
It is also helpful to avoid excessive editing. Cropping images for clarity is acceptable, but changing brightness, colors, or contrast dramatically may reduce confidence in the authenticity of the documentation.
Common Photography Mistakes That Hurt Claims
Even when homeowners take many photographs, certain mistakes can reduce the usefulness of the documentation. Understanding these errors helps create stronger evidence for the insurance company.
One common mistake is taking blurry photographs. Images that lack sharp detail make it difficult for adjusters to evaluate damaged materials accurately. Cleaning the camera lens and holding the device steady often improves image quality significantly.
Another frequent problem is photographing only close up damage. While detailed images are important, adjusters also need wider photographs showing where the damage is located on the roof. Both perspectives are necessary for a complete understanding of the claim.
Poor lighting can also limit the value of photographs. Dark, shadowed, or backlit images may hide cracks, dents, or missing roofing materials. Whenever possible, photographs should be taken during daylight with sufficient natural light.
Some homeowners unintentionally delete photographs after submitting the claim. Original image files should always be preserved because insurance companies may request them later during the review process.
Photographing only the roof without documenting interior damage is another missed opportunity. Water stains, damaged insulation, ceiling discoloration, and affected belongings often strengthen the overall claim by demonstrating the consequences of the roof failure.
Another mistake involves waiting too long before taking photographs. Delays allow weather, cleanup activities, or temporary repairs to change the appearance of the damage, making it harder to establish the original condition of the roof.
Avoiding these common errors increases the reliability of the documentation and provides adjusters with clearer evidence during the claim evaluation.
Organizing and Storing Your Roof Damage Photos
Collecting photographs is only part of the documentation process. Organizing those images properly ensures they remain easy to locate and submit whenever the insurance company requests additional information.
A practical approach is to create separate folders for each category of photographs. Exterior roof damage, interior water damage, contractor inspections, temporary repairs, and completed replacement work can each be stored in their own clearly labeled folders.
Renaming files with descriptive titles also improves organization. Instead of relying on automatically generated file names, homeowners can include the date and location in the file name to make searching much easier later.
Backing up photographs is equally important. Storing copies on a computer, an external storage device, and a secure cloud service reduces the risk of losing valuable documentation because of hardware failure or accidental deletion.
Maintaining a simple photo log can further improve organization. Recording when each photograph was taken and what it shows creates a helpful reference during conversations with contractors or insurance representatives.
The following organizational practices make documentation easier to manage:
- Create separate folders for different categories of damage.
- Rename photographs with clear, descriptive file names.
- Save copies in more than one secure location.
- Keep original image files without editing or deleting them.
- Maintain a written record describing each group of photographs.
Well organized documentation allows homeowners to respond quickly whenever insurers request additional information during the claim review.
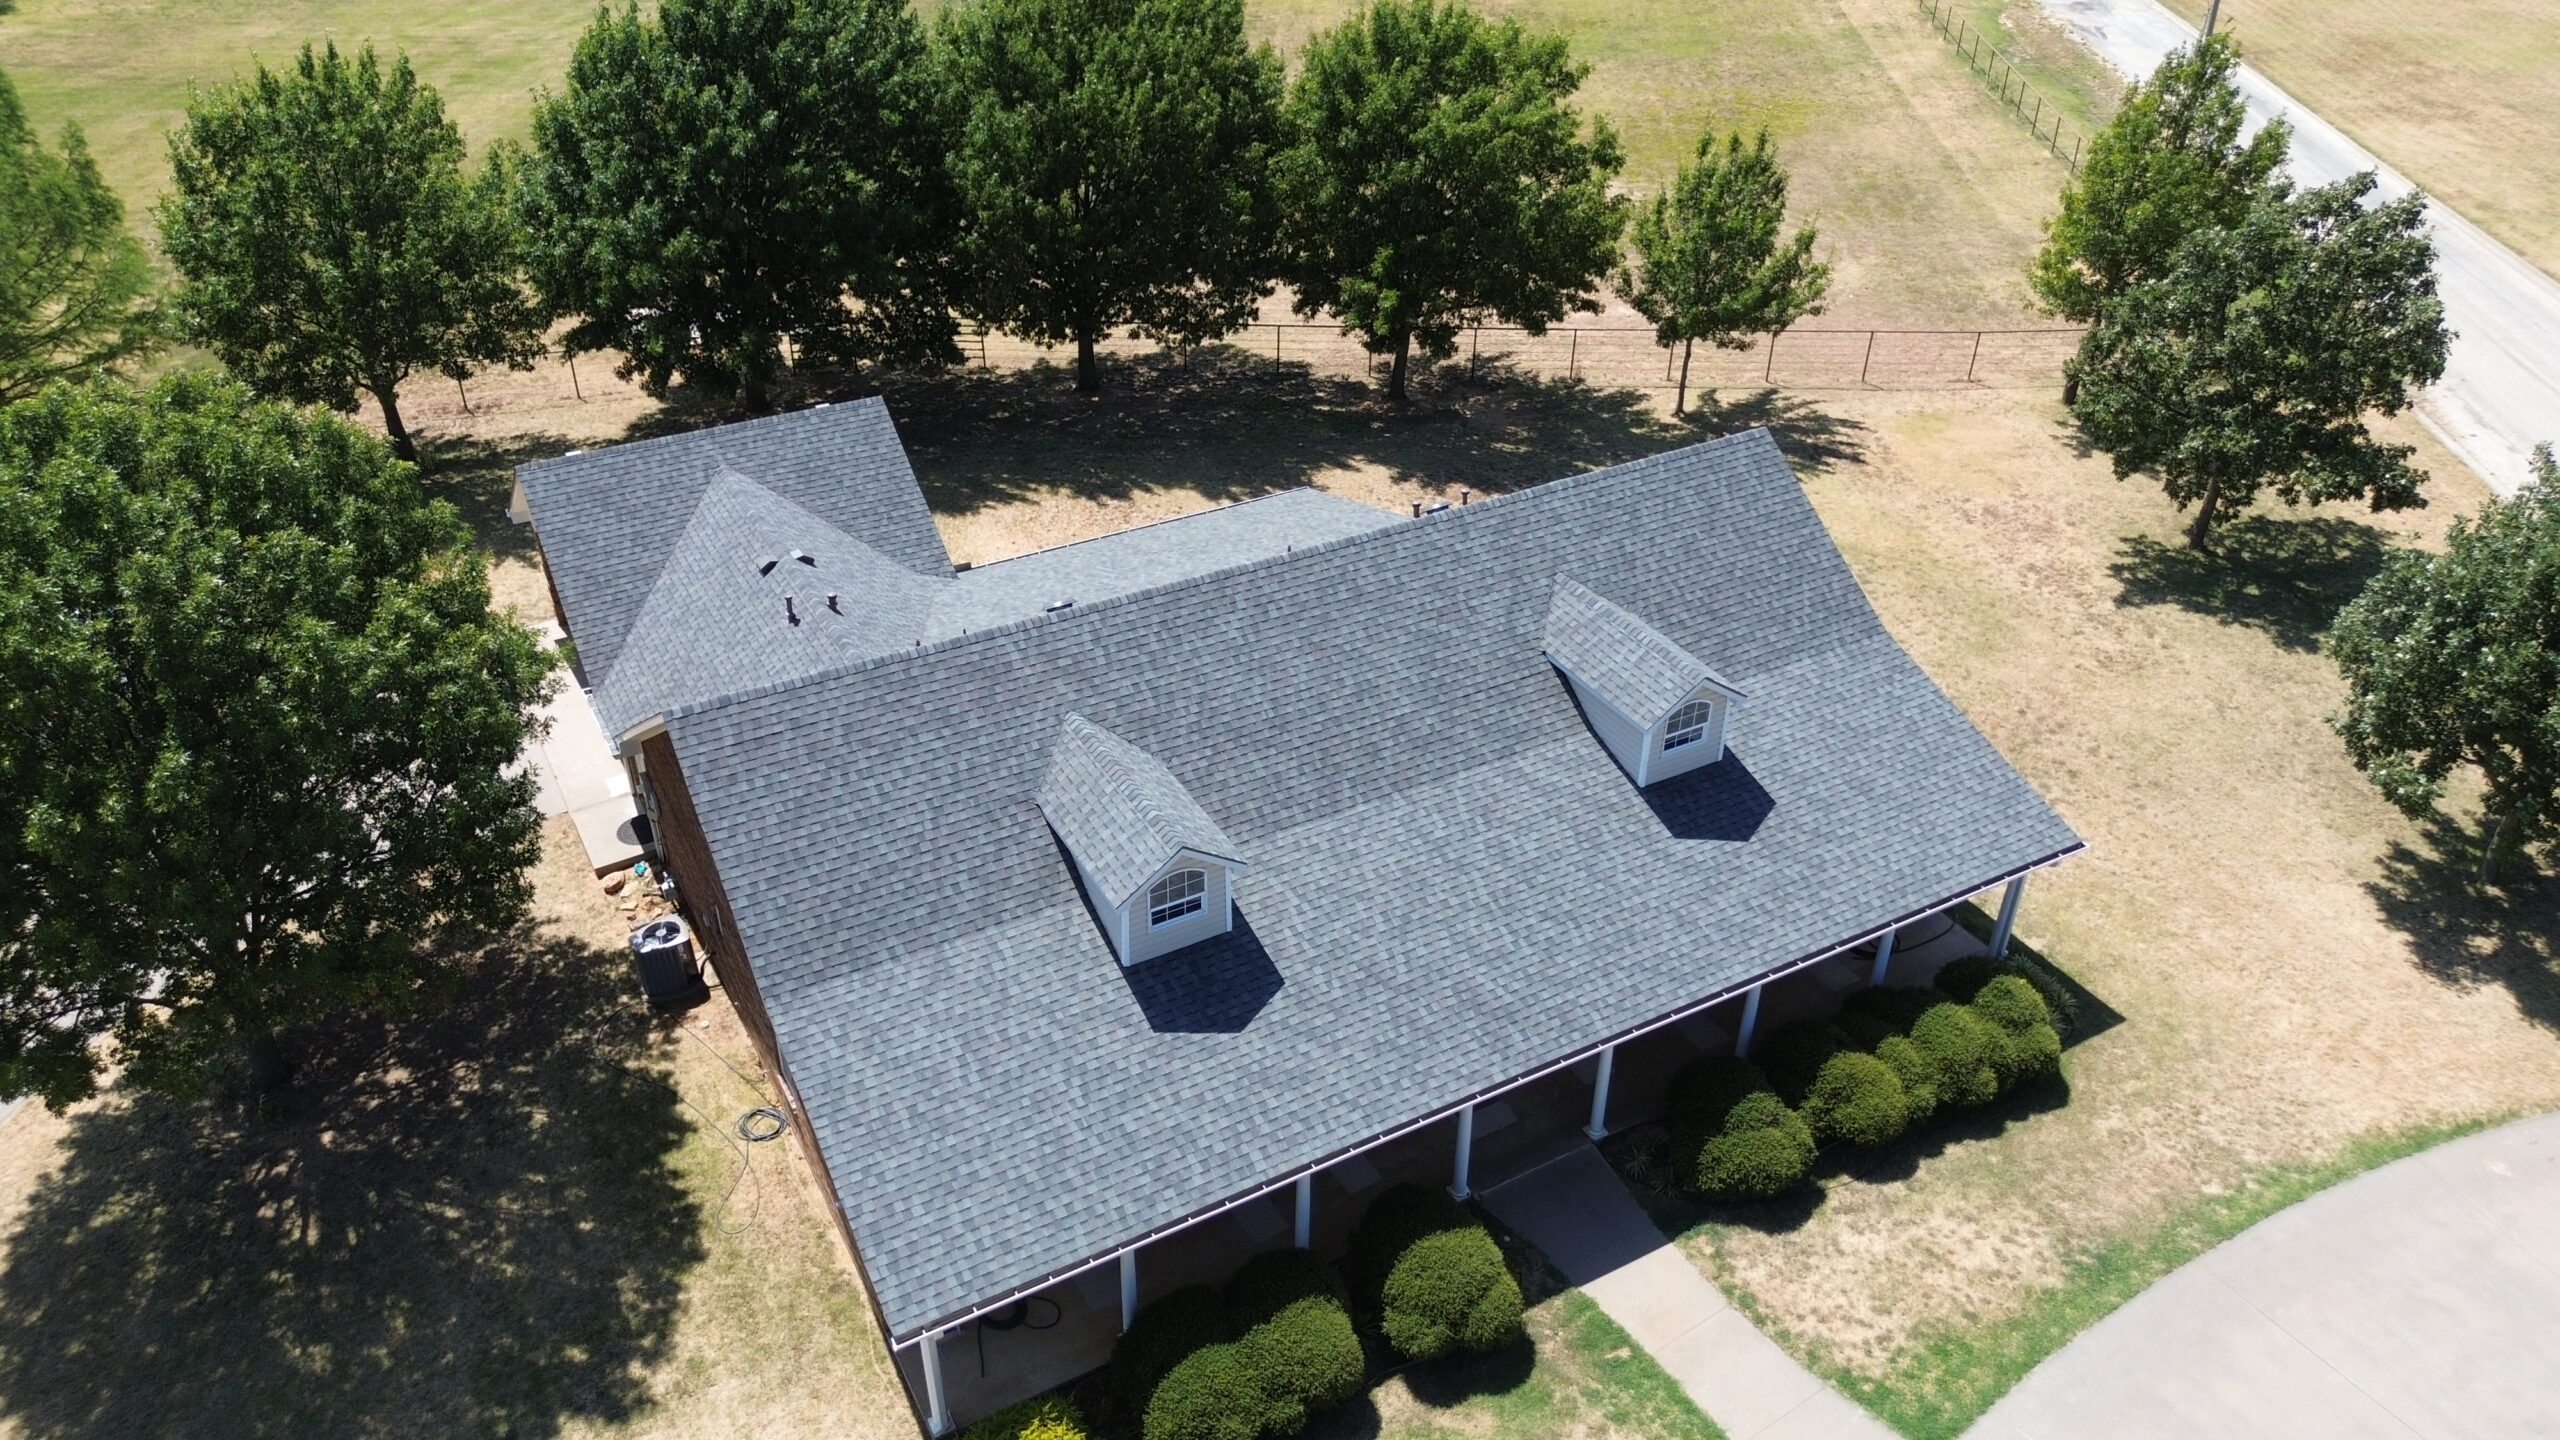
Working With Roofing Contractors to Improve Documentation
Roofing contractors often play an important role in creating comprehensive photographic documentation. Their experience allows them to identify damage that homeowners may overlook while ensuring important evidence is recorded before repairs begin.
Professional contractors understand where storm damage commonly occurs. They photograph roof valleys, flashing, ridge caps, vents, underlayment, gutters, and structural components that may not be visible during a ground level inspection.
Many contractors also use specialized equipment to improve documentation. Extension cameras, drones where permitted, moisture detection tools, and detailed inspection photographs help create a more complete record of the roof’s condition.
Contractor photographs should complement the homeowner’s documentation rather than replace it. Images taken immediately after the storm establish the original condition, while professional inspection photographs provide additional technical detail during the claim process.
Inspection reports often reference specific photographs within the documentation package. This combination of written observations and supporting images helps insurance adjusters understand the contractor’s conclusions more clearly.
Homeowners should request copies of all photographs taken during the inspection. Maintaining a complete collection of images from every stage of the process ensures that valuable evidence remains available throughout the claim.
Good communication between homeowners and contractors also improves documentation quality. Discussing areas of concern before the inspection helps ensure every part of the roof receives careful attention.
By photographing different types of roof damage carefully, documenting interior water intrusion, avoiding common photography mistakes, organizing image files properly, and working with experienced roofing professionals, homeowners create a much stronger visual record for their insurance claim. In the final part of this guide, we will examine how these photographs are used throughout the claims process, when additional documentation becomes necessary, provide a practical roof damage photo documentation checklist, answer frequently asked questions, and conclude with the key practices that contribute to insurance claim success.
Using Photos During the Insurance Claims Process
Photographs continue to play an important role long after the initial documentation is complete. They are used throughout the insurance claim to verify damage, support contractor findings, answer adjuster questions, and provide a visual record of the property’s condition before repairs begin.
When filing the claim, homeowners should submit photographs in a logical order rather than sending a large collection of unrelated images. Beginning with wide exterior views, followed by close up damage photos and interior evidence, helps adjusters review the documentation more efficiently.
Photographs are often compared with inspection reports prepared by both the insurance adjuster and the roofing contractor. When the written findings match the visual evidence, the documentation becomes more persuasive and reduces uncertainty during the evaluation process.
Images may also be useful if additional questions arise later. Insurance companies sometimes request clarification about specific areas of the roof or ask for evidence supporting contractor recommendations. Having organized photographs readily available allows homeowners to respond without unnecessary delays.
If temporary repairs become necessary before permanent replacement, photographs should be taken before and after the work is completed. These images show that the homeowner acted responsibly to prevent additional property damage while preserving evidence of the original condition.
Photographs also provide value after the claim has been approved. Keeping copies of all images alongside repair invoices and warranty documents creates a complete property record that may be useful for future maintenance, insurance renewals, or home sales.
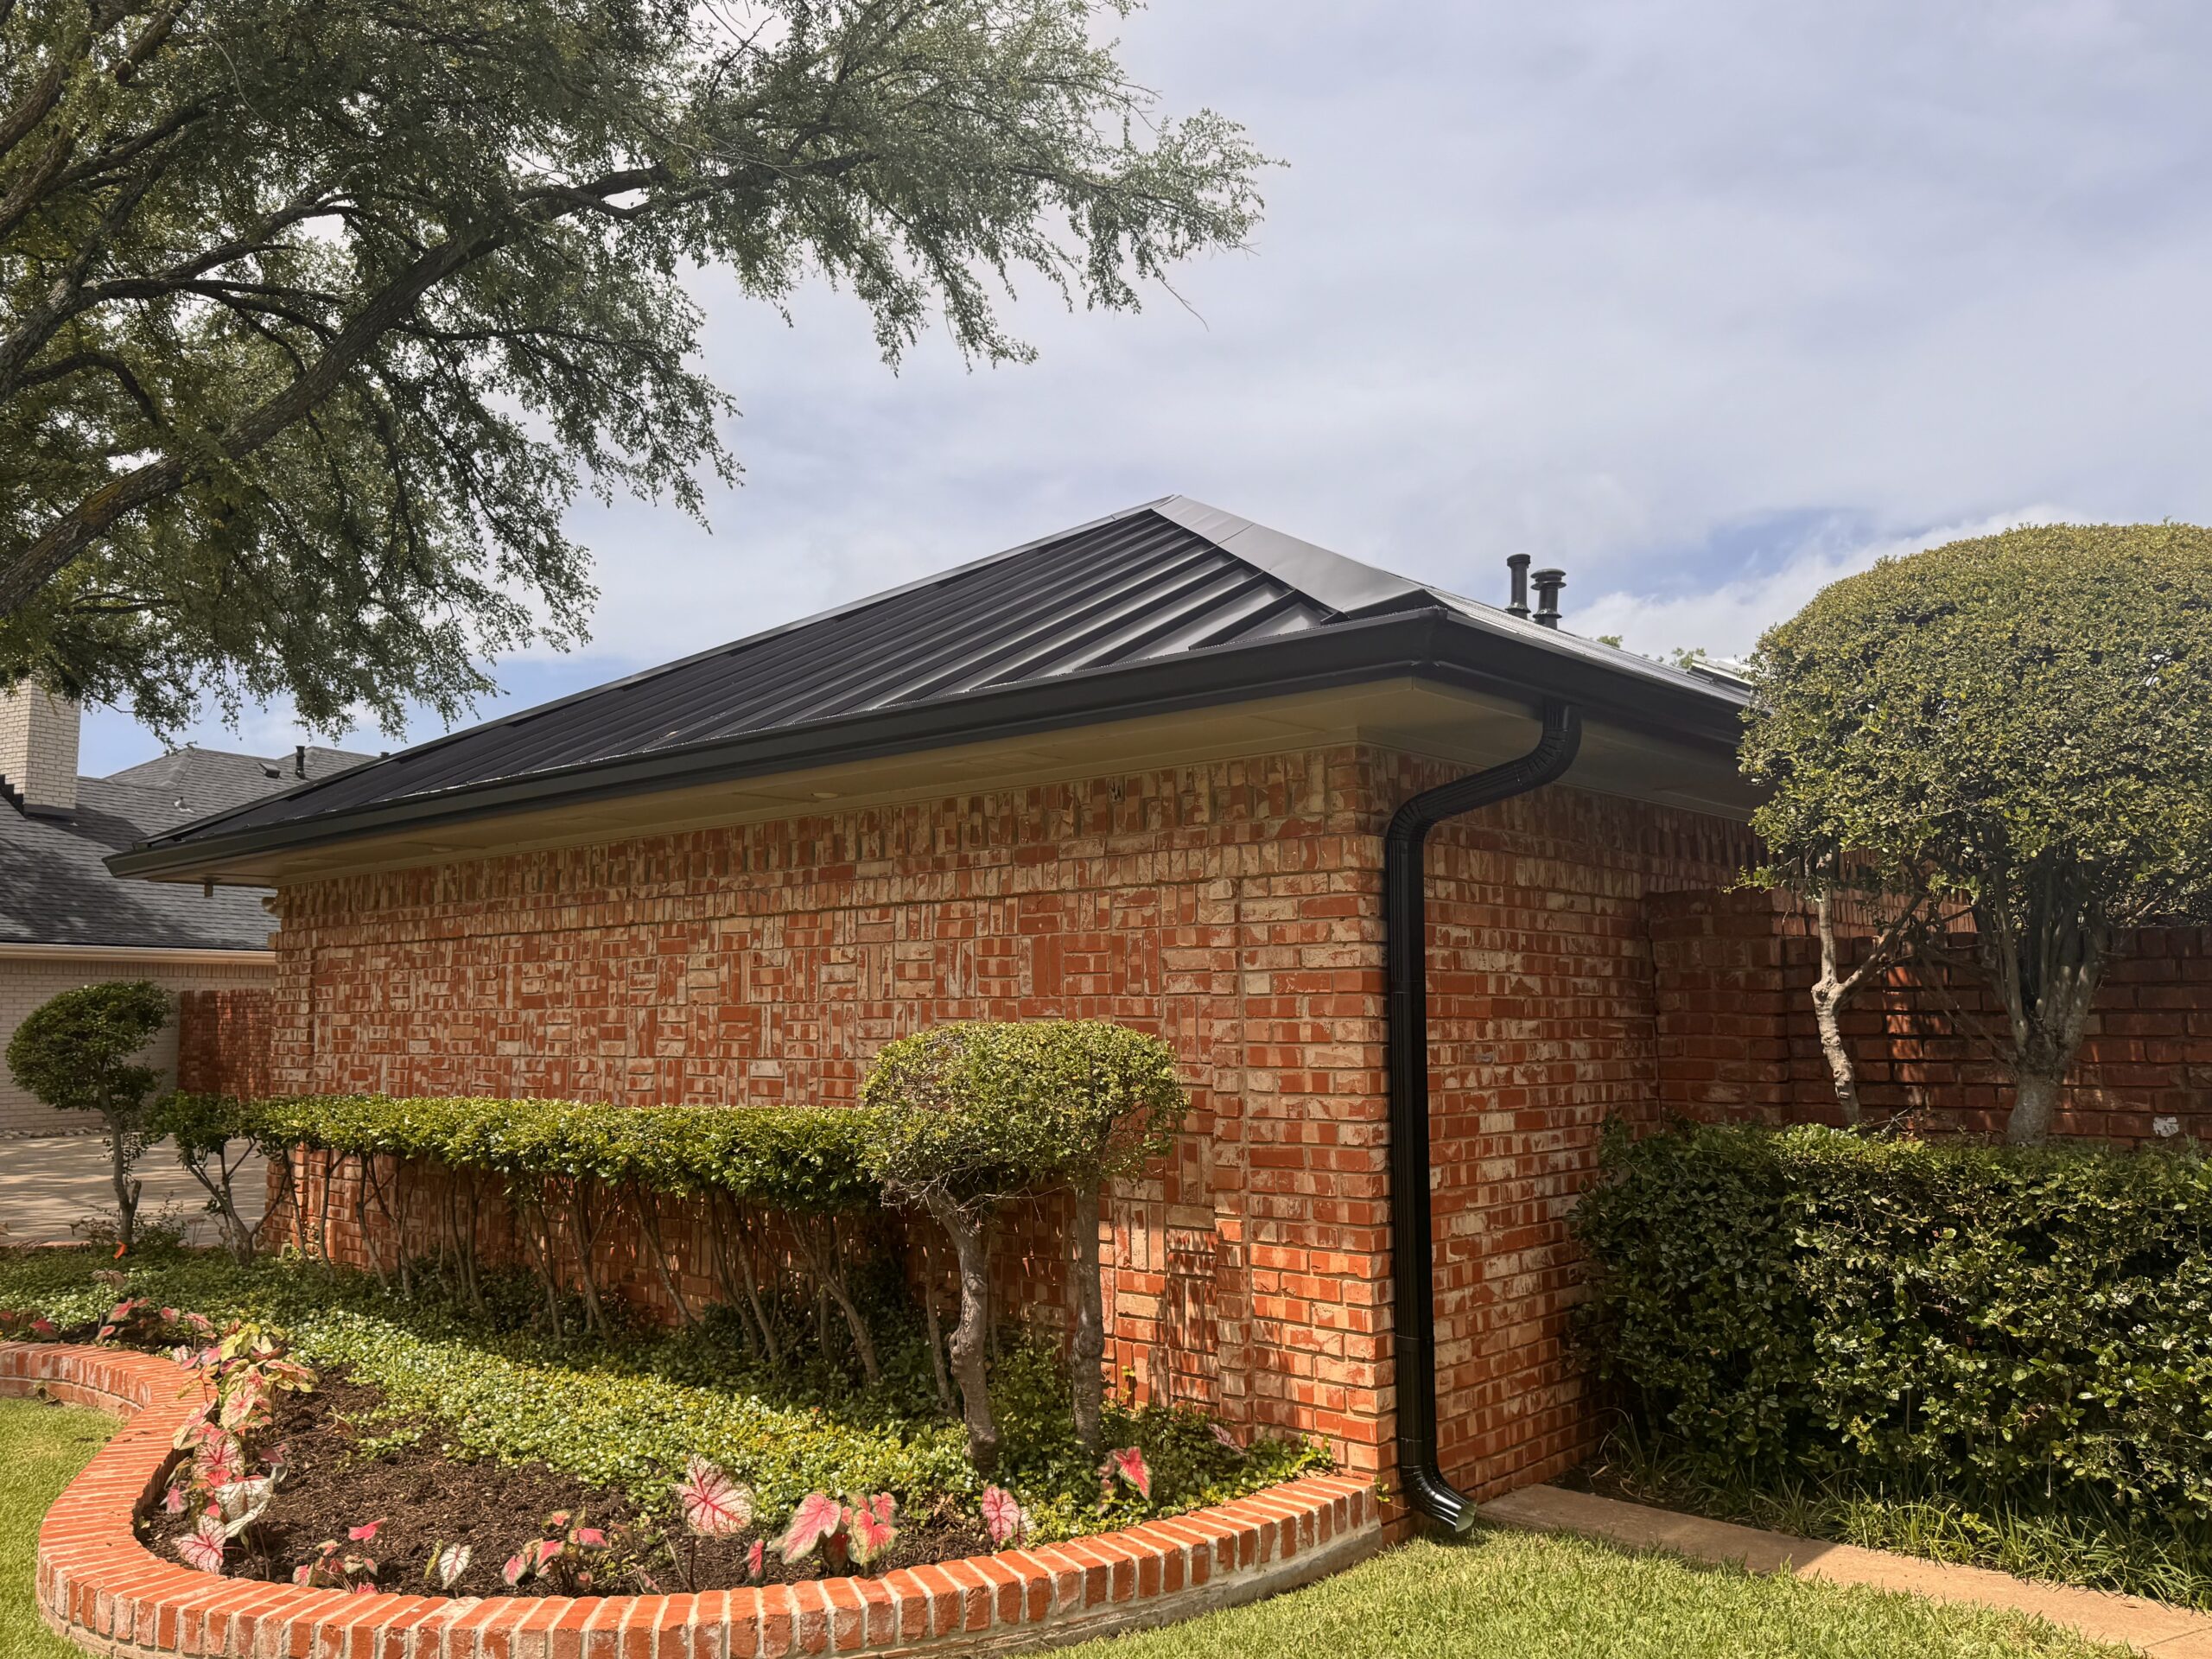
When Additional Photos Are Needed
The first set of photographs rarely represents the end of the documentation process. As inspections continue and repairs begin, additional photographs may become necessary to capture newly discovered damage or changes in the roof’s condition.
Hidden damage is one of the most common reasons for taking more photographs. Once roofing materials are removed, contractors may discover deteriorated decking, damaged underlayment, moisture trapped beneath shingles, or structural problems that were not visible during the initial inspection.
Insurance companies may also request additional documentation if certain areas were not clearly visible in the original photographs. Providing updated images from better angles or under improved lighting conditions can help answer these questions quickly.
If severe weather occurs before the claim is resolved, homeowners should document any new damage separately. Keeping photographs from different events organized by date helps distinguish recent damage from the original loss and prevents confusion during claim evaluation.
Progress photographs are also valuable during the replacement process. Images showing roof removal, structural repairs, installation of new materials, and project completion provide a complete visual history of the work performed.
Final photographs should be taken after the replacement is complete. These images demonstrate that repairs have been finished properly and provide useful records for future warranty claims or property maintenance.
Continuing to document the roof throughout the claims process creates a complete timeline that supports accurate record keeping from the initial damage through the completed replacement.
Roof Damage Photo Documentation Checklist
Preparing photographs systematically helps ensure that important evidence is not overlooked. A simple checklist also makes it easier to verify that every stage of the documentation process has been completed.
| Documentation Item | Completed |
|---|---|
| Wide photographs of the entire property | □ |
| Close up images of roof damage | □ |
| Photos of gutters, flashing, and vents | □ |
| Images of fallen trees or debris | □ |
| Interior water damage photographs | □ |
| Attic damage documented | □ |
| Temporary repair photos | □ |
| Contractor inspection photographs collected | □ |
| Additional hidden damage documented | □ |
| Final roof replacement photographs | □ |
Using a checklist helps homeowners remain organized during what can often be a stressful situation. It also reduces the chance of forgetting important photographs that may strengthen the insurance claim.
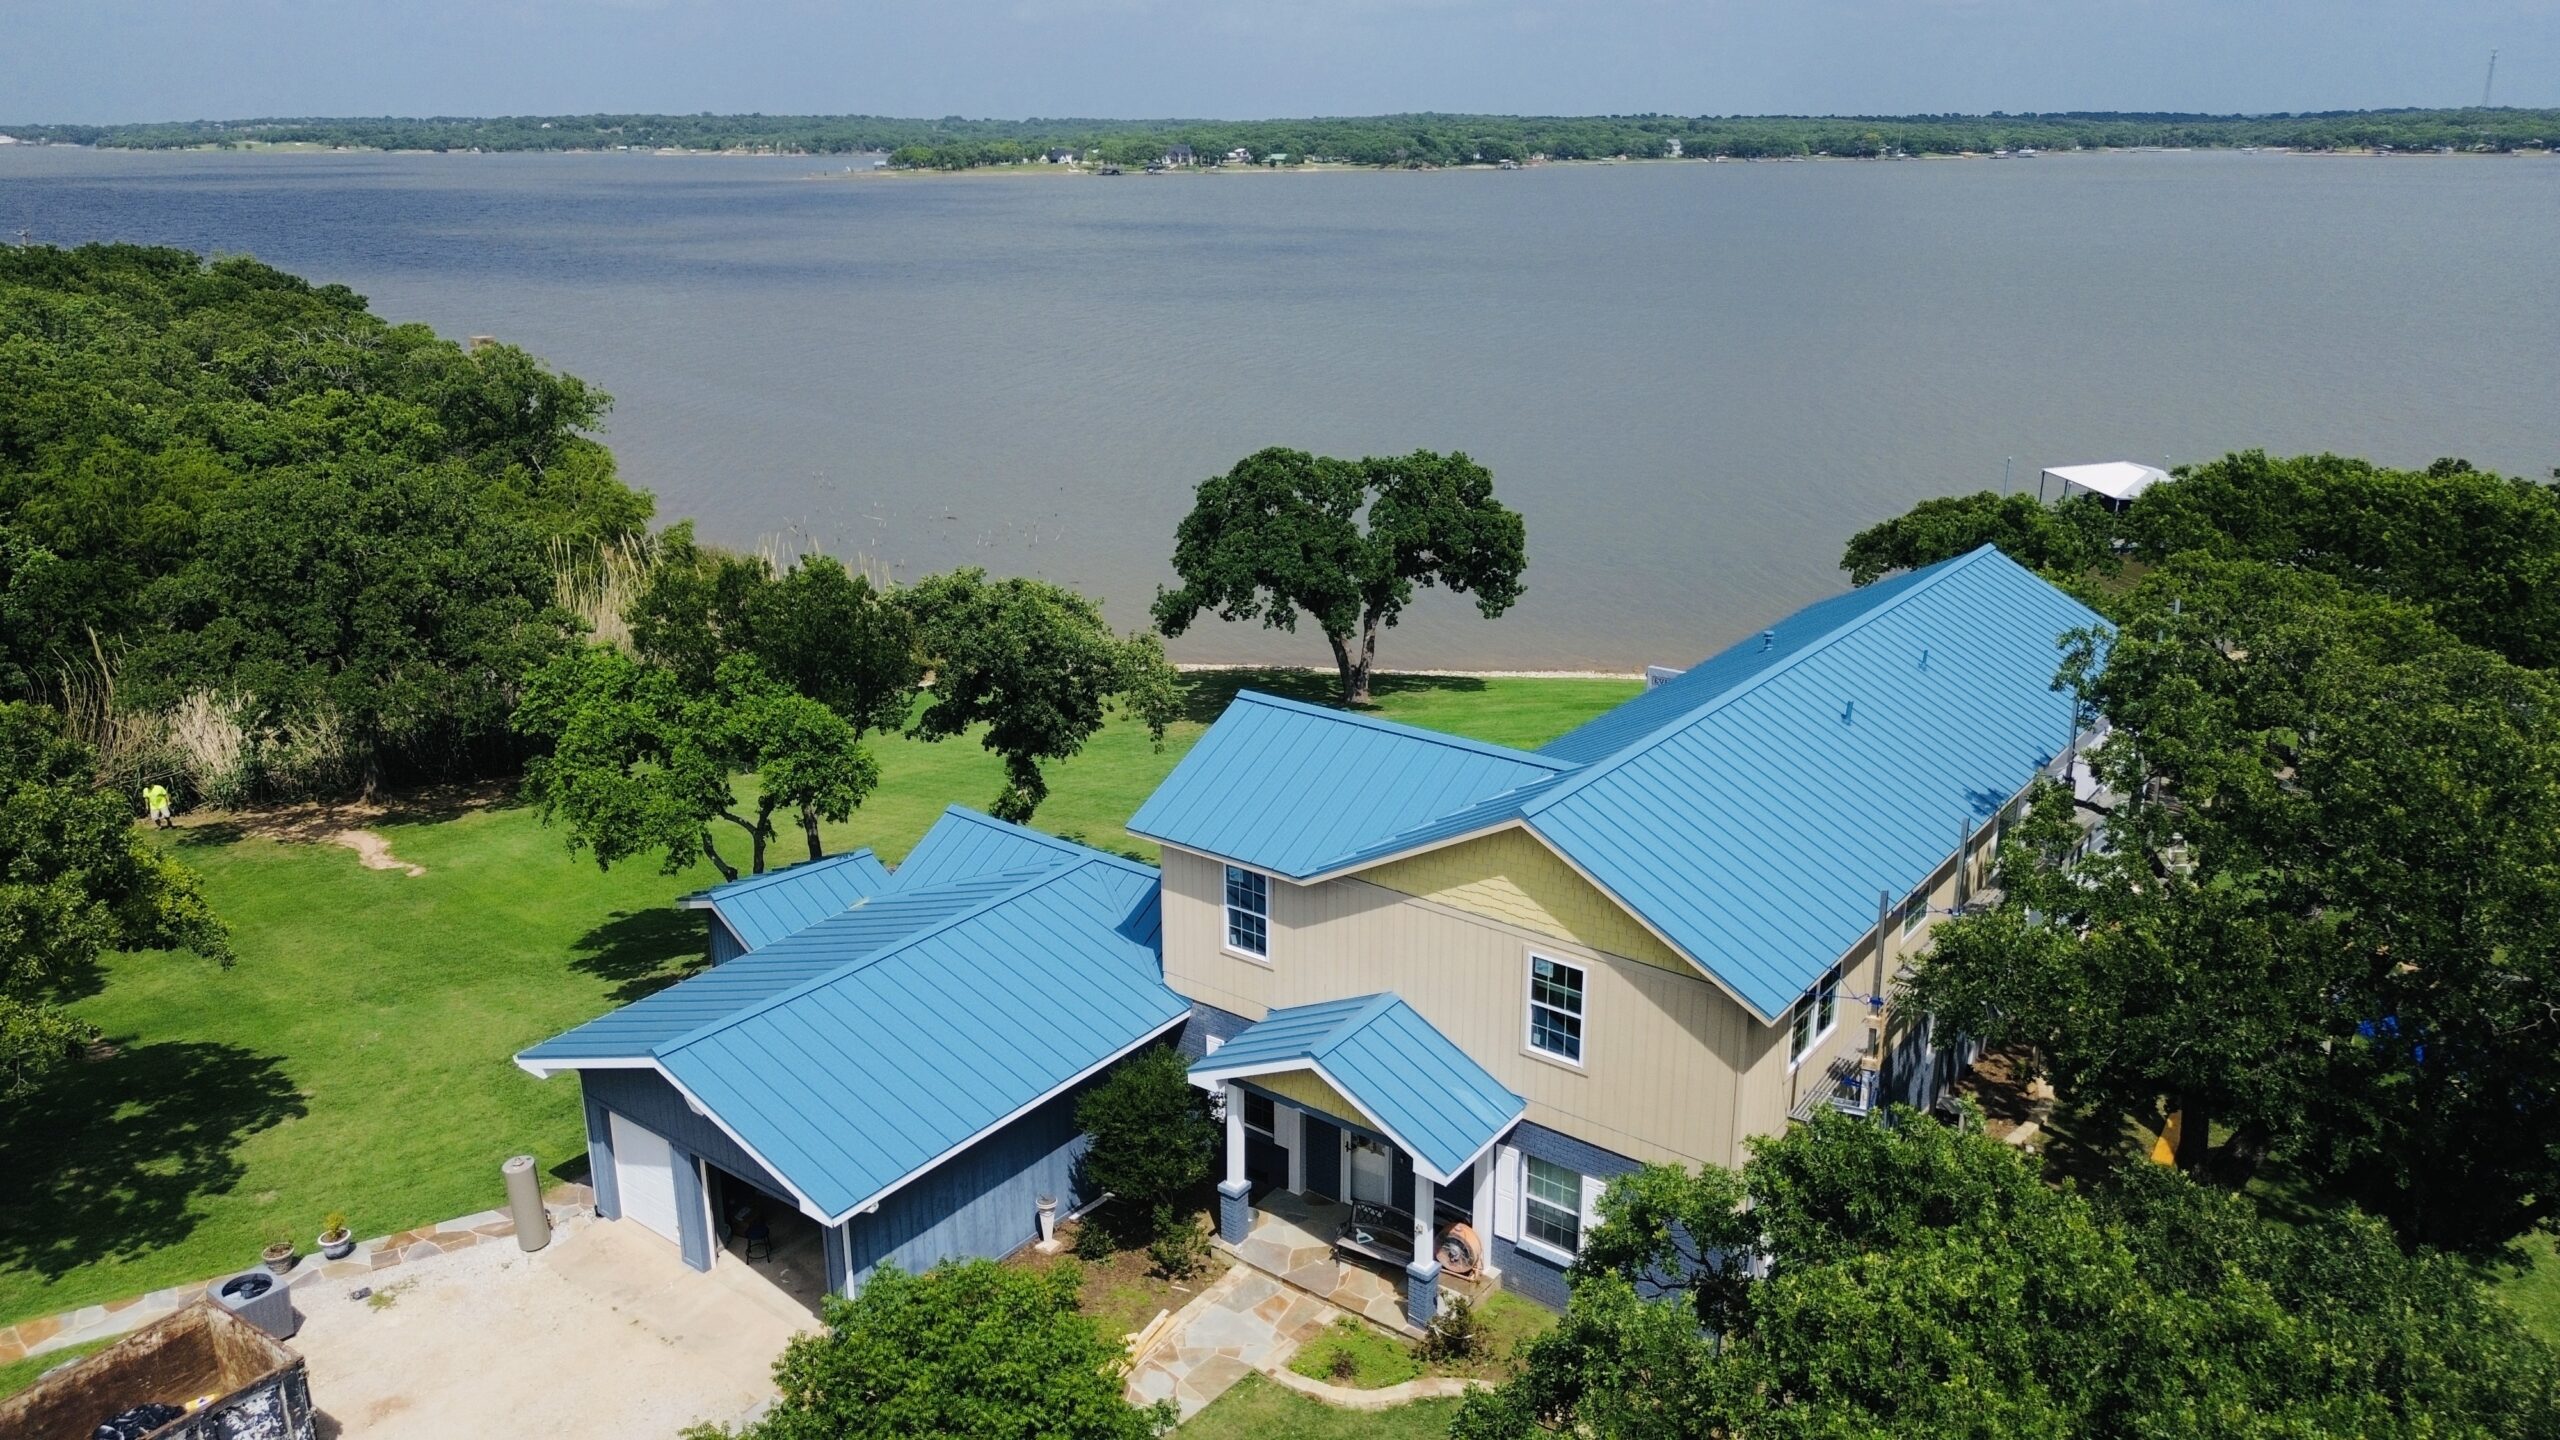
Frequently Asked Questions
Should I use my phone or a professional camera?
A modern smartphone is usually sufficient for documenting roof damage. The most important factors are clear image quality, good lighting, and photographing the damage from multiple angles rather than the type of camera used.
Is it necessary to photograph the entire roof?
Yes. Wide photographs showing the complete roof provide valuable context for close up images. Insurance adjusters need to understand both the location and the extent of the damage across the roofing system.
Should I photograph damage after temporary repairs?
Yes. Photograph the damage before installing temporary protection whenever possible, then take another set of images after tarps or other emergency measures have been installed. This creates a complete record of the property’s condition and the steps taken to prevent additional damage.
Can I edit my roof damage photographs?
Minor adjustments such as cropping are generally acceptable if they improve visibility. However, homeowners should always keep the original image files and avoid making changes that alter the appearance of the damage.
How long should I keep my roof damage photographs?
It is recommended to keep all photographs until the insurance claim is fully resolved. Many homeowners also retain them afterward along with inspection reports, invoices, warranties, and repair records for future reference.
What if I cannot safely photograph the roof?
Safety should always come first. If the roof is steep, unstable, or damaged by severe weather, contact a qualified roofing contractor who has the proper equipment and training to document the damage safely.
Should I include photographs that show no visible damage?
Yes. Images of undamaged roof sections provide useful context and help demonstrate how damage is distributed across the property. They allow adjusters to evaluate the overall condition of the roof more accurately.
Best Practices for Maintaining Roof Damage Photo Records After Your Claim
Even after an insurance claim has been resolved, roof damage photographs continue to serve an important purpose. Keeping these records organized allows homeowners to reference past repairs, support future insurance discussions, and monitor the long term condition of the roofing system. A well maintained photo archive can also simplify future maintenance planning.
Create a dedicated folder that contains every photograph related to the claim. Include the original damage images, contractor inspection photos, temporary repair documentation, replacement progress photos, and final completion photographs. Keeping everything together prevents important records from being misplaced over time.
It is also beneficial to save supporting documents alongside the photographs. Inspection reports, insurance correspondence, contractor estimates, invoices, warranties, and receipts create a complete history of the roofing project. Having these files in one location makes future reference much easier.
Cloud storage provides an additional layer of protection for valuable records. Saving copies on a secure cloud platform, along with backups on a computer or external storage device, reduces the risk of losing important documentation because of accidental deletion or hardware failure.
Homeowners should avoid deleting original image files even after repairs have been completed. Original photographs contain important details, including timestamps and image quality, that may become valuable if questions arise in the future.
How Good Photo Documentation Benefits Future Homeownership
Many homeowners view roof damage photographs as documents that are only useful during the insurance claim. In reality, these records often provide value for many years after the claim has been closed.
If additional roof problems develop in the future, previous photographs allow contractors to compare the roof’s earlier condition with its current appearance. This comparison helps determine whether new issues are related to recent events or represent normal aging since the previous repairs.
Detailed documentation may also be useful when selling a home. Potential buyers often ask about previous insurance claims or major repairs. Providing organized photographs and repair records demonstrates that the damage was professionally addressed rather than temporarily concealed.
Insurance companies may also request information during future policy renewals or when new claims are submitted. Having a complete record of past repairs allows homeowners to answer questions accurately and provide supporting evidence if necessary.
Routine roof inspections become more meaningful when compared with historical photographs. Reviewing earlier images allows homeowners to identify gradual changes that may otherwise go unnoticed during regular maintenance.
Developing the habit of documenting the roof even after repairs are complete creates a valuable maintenance history. Taking photographs during annual inspections or after major storms helps track the roof’s condition and makes it easier to identify new damage quickly.
Strong photo documentation is not only about obtaining claim approval. It also contributes to better property management, supports future maintenance decisions, and provides a reliable record of one of the home’s most important structural components. Investing a little extra time in organizing and preserving these photographs today can provide significant benefits for years to come.
Conclusion
Photographs are one of the strongest forms of evidence a homeowner can provide during a roof insurance claim. Clear, well organized images preserve the condition of the property immediately after the damaging event and help insurance companies evaluate the claim using objective visual information rather than written descriptions alone.
Successful documentation begins with acting quickly while conditions are safe. Wide photographs, close up images, interior damage documentation, and ongoing progress photos work together to create a complete visual timeline that supports contractor inspections and insurance evaluations throughout the claims process.
Avoiding common photography mistakes, maintaining organized digital records, and working with experienced roofing professionals further improves the quality of the documentation. These practices reduce confusion, strengthen communication with insurance adjusters, and help ensure that important evidence remains available whenever additional information is requested.
Every roof damage claim is unique, but thorough photo documentation provides a consistent advantage regardless of the type of roofing system or the cause of the damage. By following the strategies outlined in this guide, homeowners can present stronger evidence, simplify the claims process, and improve the likelihood of achieving a fair and successful insurance claim outcome.