
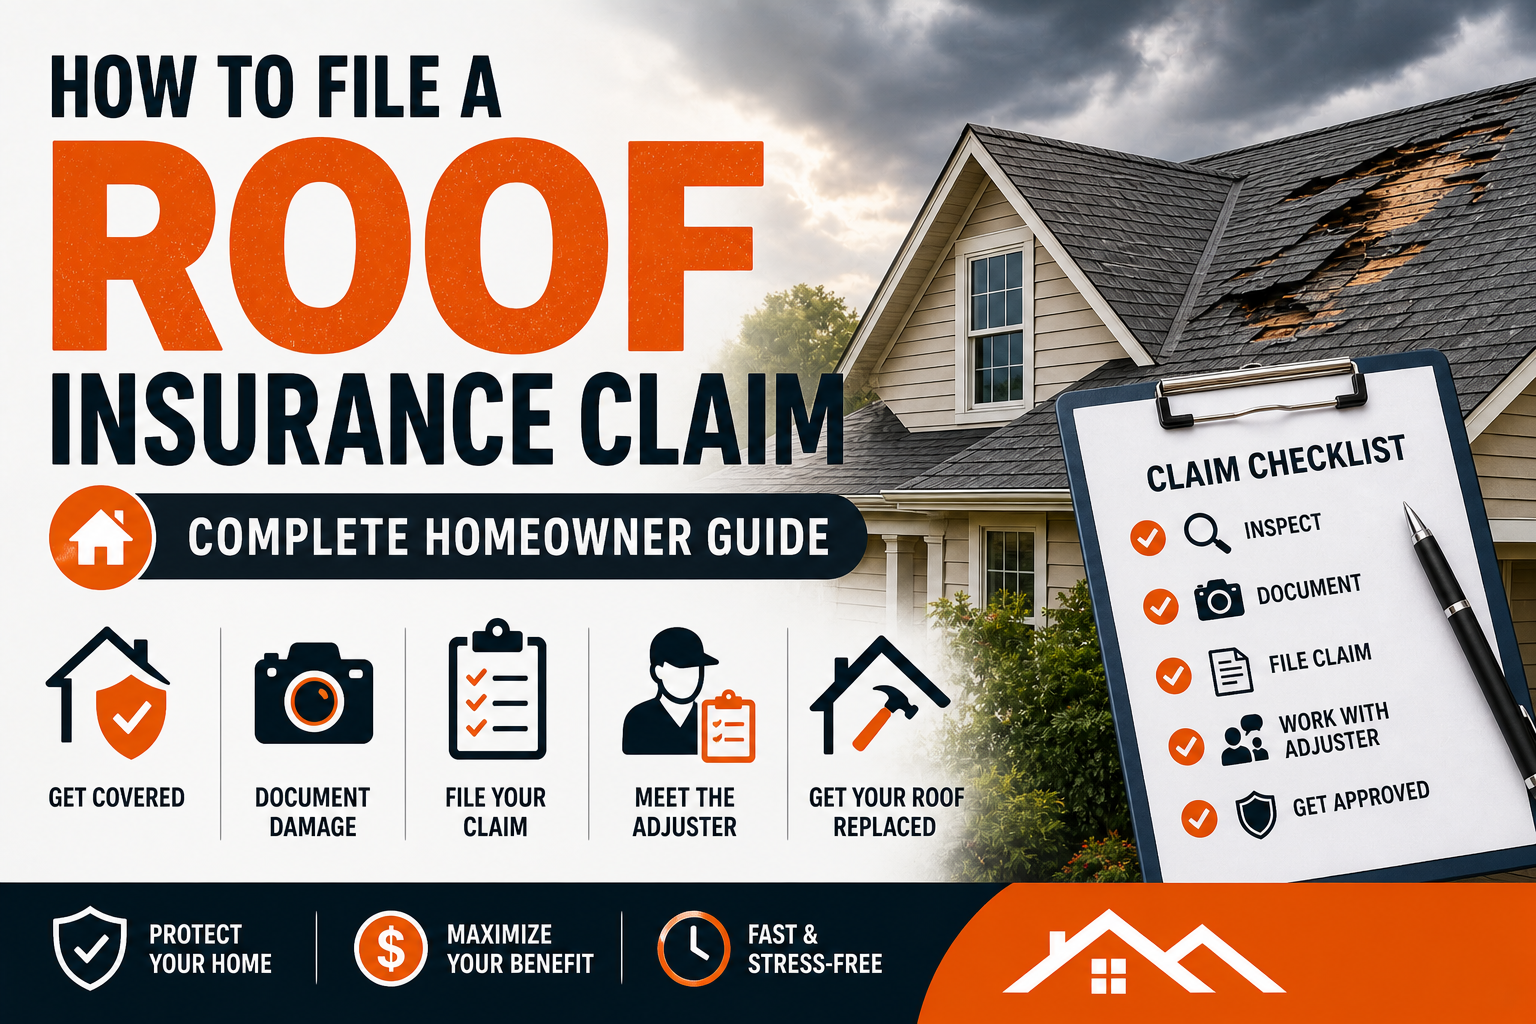
How to File a Roof Insurance Claim (Complete Homeowner Guide)
Filing a roof insurance claim can feel overwhelming, especially after a storm or unexpected damage. Many homeowners are unsure where to start, what their policy covers, or how to avoid mistakes that could delay or reduce their payout. Understanding the process step by step can make a major difference in how smoothly your claim is handled and how much compensation you receive.
This complete guide explains how to file a roof insurance claim from start to finish. It covers what to do immediately after damage occurs, how to work with your insurance company, what documentation you need, and how to avoid common pitfalls that can hurt your claim.
Understanding Roof Insurance Claims
A roof insurance claim is a request you submit to your insurance company asking them to cover the cost of repairing or replacing your roof due to covered damage. Most homeowners insurance policies cover damage caused by sudden and unexpected events such as hailstorms, windstorms, fire, or falling debris.
However, insurance does not usually cover damage caused by normal wear and tear, lack of maintenance, or aging materials. This distinction is important because many claims are denied due to misunderstanding what is and is not covered.
Policies may also differ in how they pay out claims. Some provide replacement cost value, which covers the full cost of replacing the roof, while others provide actual cash value, which factors in depreciation and results in a lower payout.
Step 1: Assess the Damage Safely
After a storm or suspected roof damage, your first step is to assess the situation. Safety should always come first. Avoid climbing onto the roof yourself, especially if there is visible damage or wet conditions.
Instead, inspect your property from the ground. Look for missing shingles, debris, dents on gutters, or damage to siding and windows. Inside your home, check for water stains on ceilings or walls, peeling paint, or damp insulation in the attic.
Document anything you see, but do not attempt risky inspections. A professional roofing contractor can perform a thorough inspection safely and identify damage that may not be visible from the ground.
Step 2: Prevent Further Damage
Most insurance policies require homeowners to take reasonable steps to prevent additional damage after an incident. This is known as mitigation.
For example, if your roof is leaking, you should cover the damaged area with a tarp to prevent water from entering your home. If debris has fallen onto the roof, it may need to be carefully removed to avoid further harm.
Keep all receipts for any temporary repairs or materials you purchase. These costs are often reimbursable as part of your insurance claim.
Step 3: Review Your Insurance Policy
Before filing a claim, it is important to understand what your insurance policy covers. Review your policy documents carefully or contact your insurance provider for clarification.
Pay attention to your deductible, which is the amount you must pay out of pocket before insurance coverage begins. In many areas, roof claims may have separate deductibles for wind or hail damage.
Also check whether your policy is based on replacement cost or actual cash value. This will affect how much compensation you receive.
Understanding your policy helps you set realistic expectations and avoid surprises during the claims process.
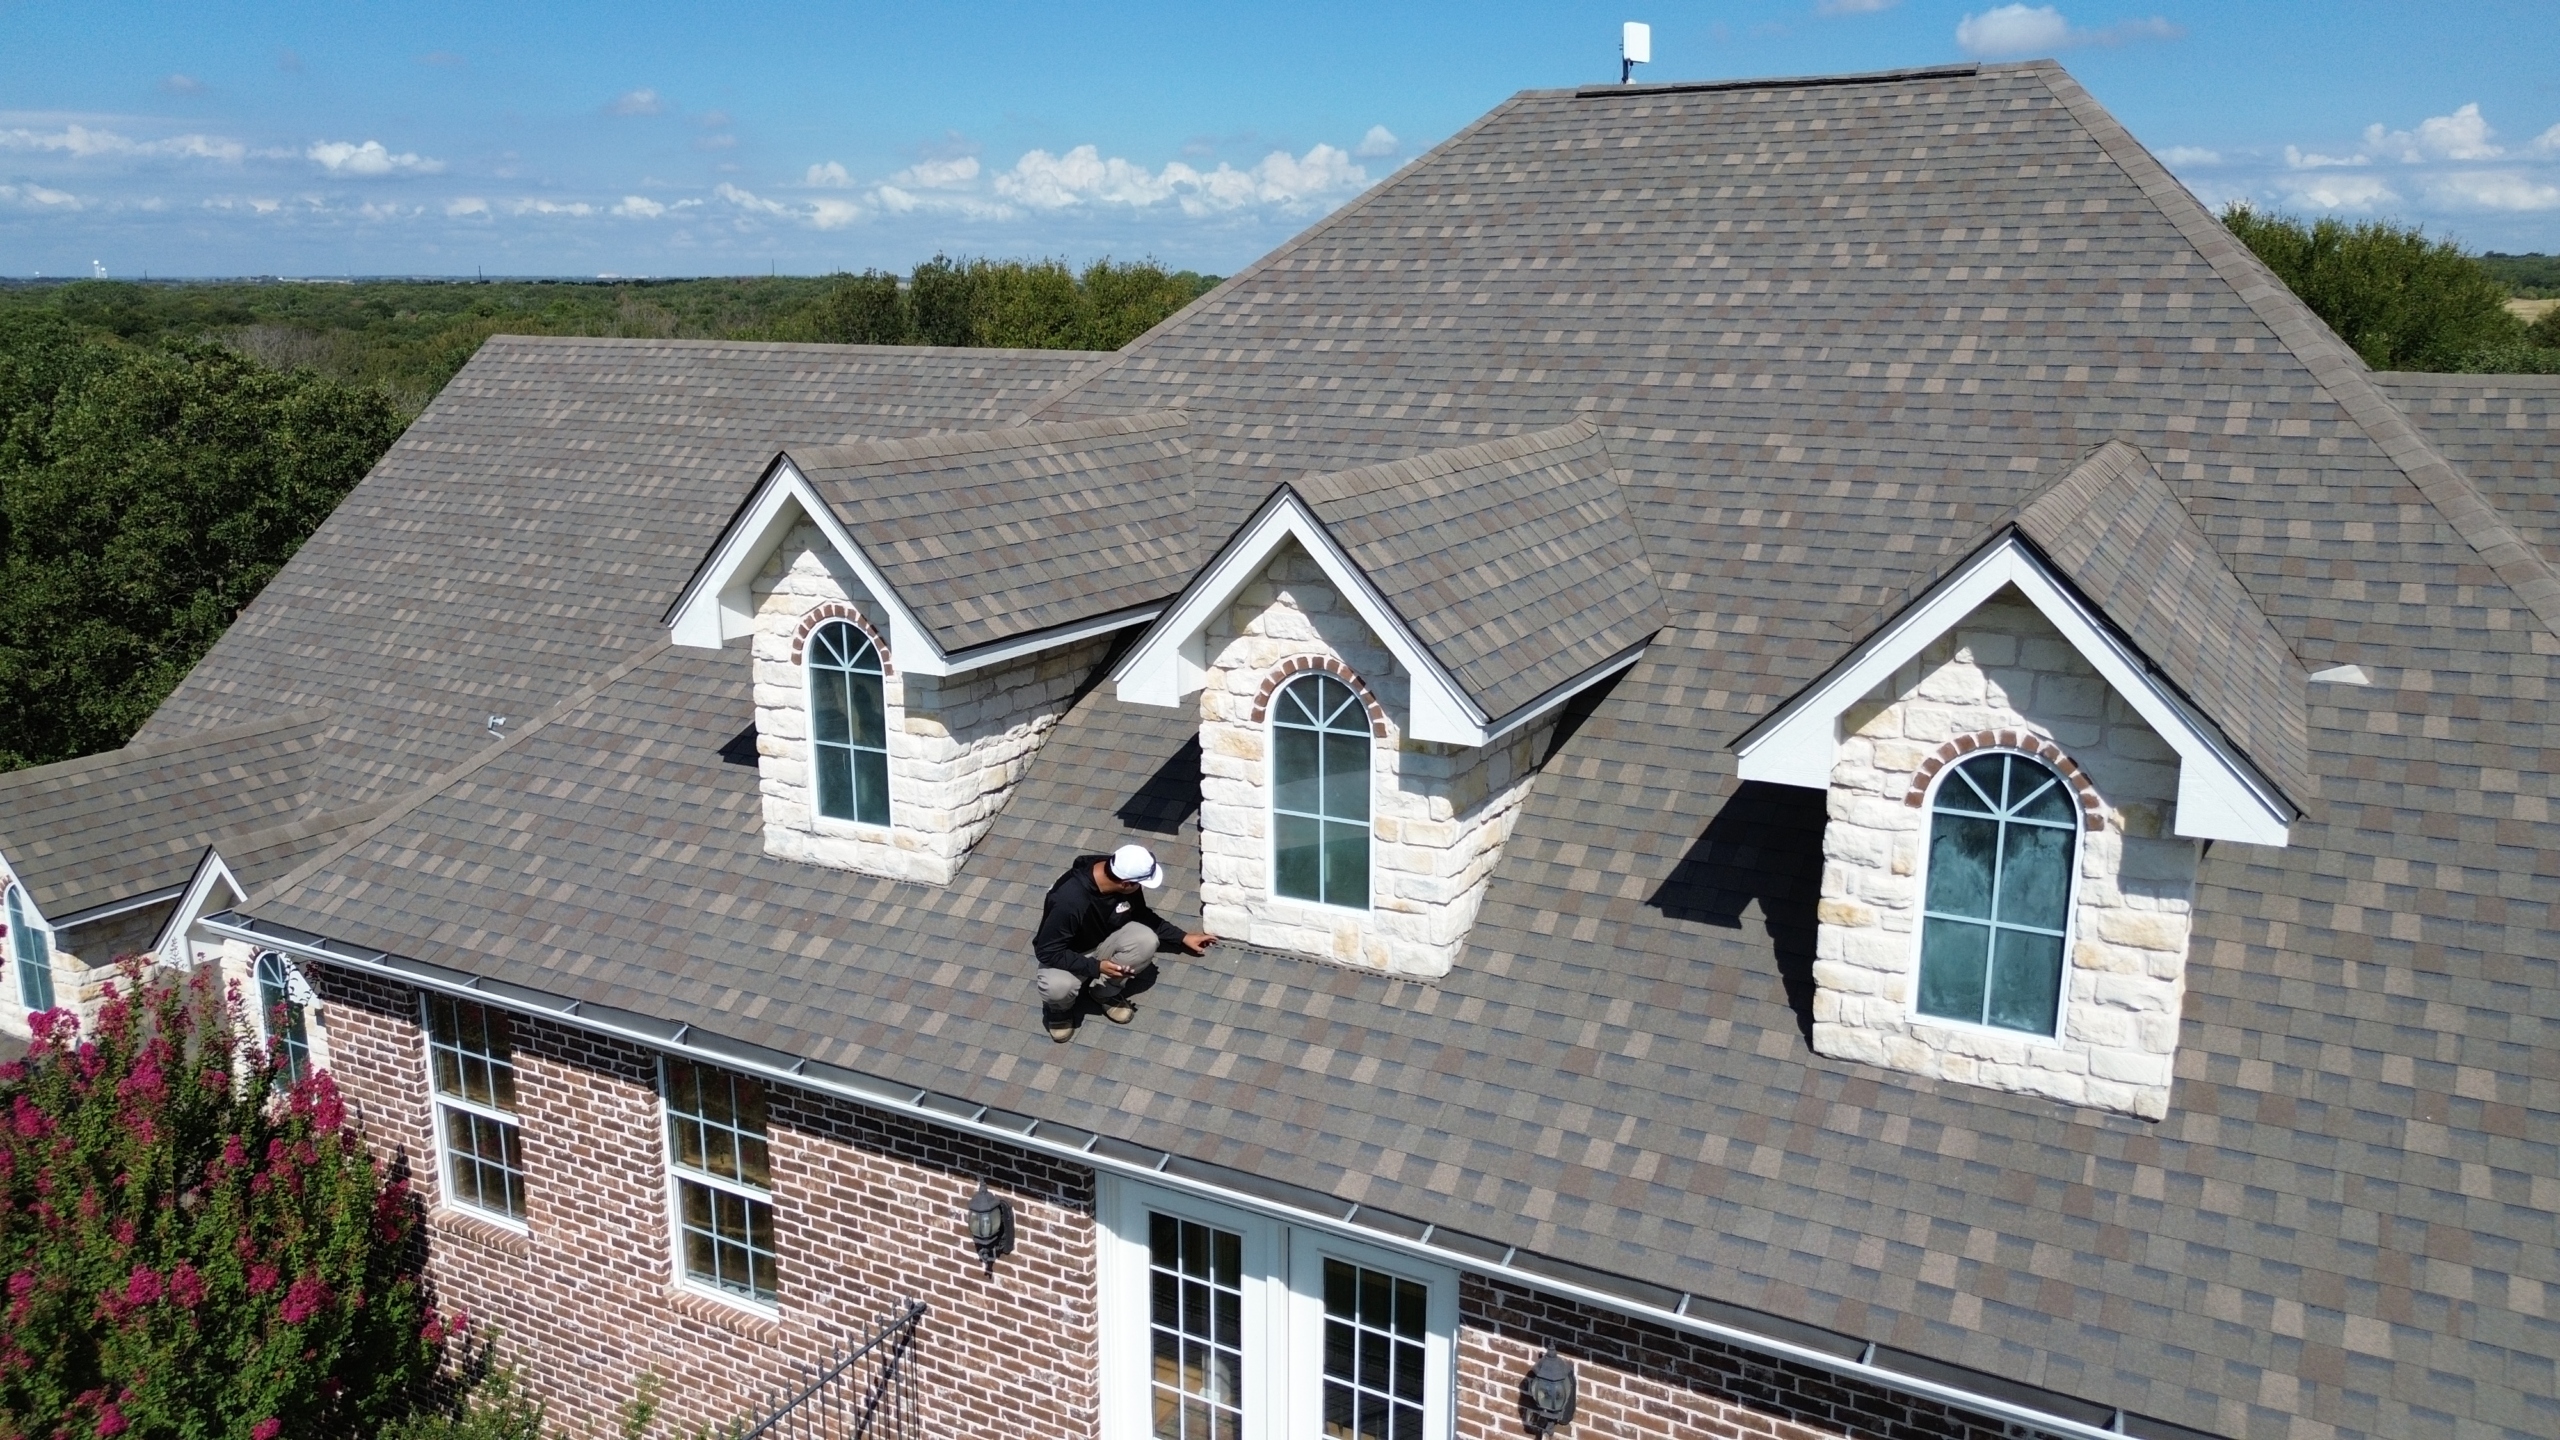
Step 4: Schedule a Professional Roof Inspection
Hiring a qualified roofing contractor to inspect your roof is a crucial step. A professional inspection provides detailed documentation of the damage and helps confirm whether it is covered by insurance.
The contractor will look for signs of hail impact, wind damage, lifted shingles, and other issues. They can also identify hidden damage that may not be immediately visible.
A reputable contractor will provide a written report with photos, which can be used to support your insurance claim. This documentation strengthens your case and improves your chances of approval.
Step 5: Contact Your Insurance Company
Once you have confirmed that there is damage, contact your insurance company to start the claims process. This can usually be done by phone, online, or through a mobile app.
Provide basic information about the damage, including the date of the incident and a brief description of what happened. The insurance company will assign a claim number and provide instructions on next steps.
Be honest and accurate when describing the damage. Avoid guessing or exaggerating details, as this can create issues later in the process.
Step 6: Document Everything
Proper documentation is one of the most important parts of filing a successful roof insurance claim. The more evidence you have, the stronger your claim will be.
Take clear photos and videos of all visible damage, both inside and outside your home. Include wide shots and close ups to show the extent of the problem.
Keep records of all communication with your insurance company, including emails, phone calls, and written correspondence. Save receipts for temporary repairs and any related expenses.
If possible, gather weather reports or news articles that confirm a storm occurred in your area. This can help support your claim.
Step 7: Meet with the Insurance Adjuster
After you file your claim, the insurance company will send an adjuster to inspect your roof. The adjuster’s job is to evaluate the damage and determine how much the insurance company should pay.
It is highly recommended to have your roofing contractor present during this inspection. The contractor can point out damage, answer technical questions, and ensure that nothing is overlooked.
Be prepared to show the adjuster your documentation and explain what happened. The more organized and cooperative you are, the smoother the process will be.
Step 8: Review the Insurance Estimate
After the inspection, the insurance company will provide an estimate of the repair or replacement cost. This document outlines what they are willing to pay for your claim.
Review the estimate carefully. Compare it with the estimate provided by your roofing contractor. If there are differences, discuss them with your contractor and insurance company.
Sometimes the initial estimate may be lower than expected. In such cases, your contractor can submit a supplement request to include additional costs that were not initially considered.
Step 9: Approve the Claim and Begin Work
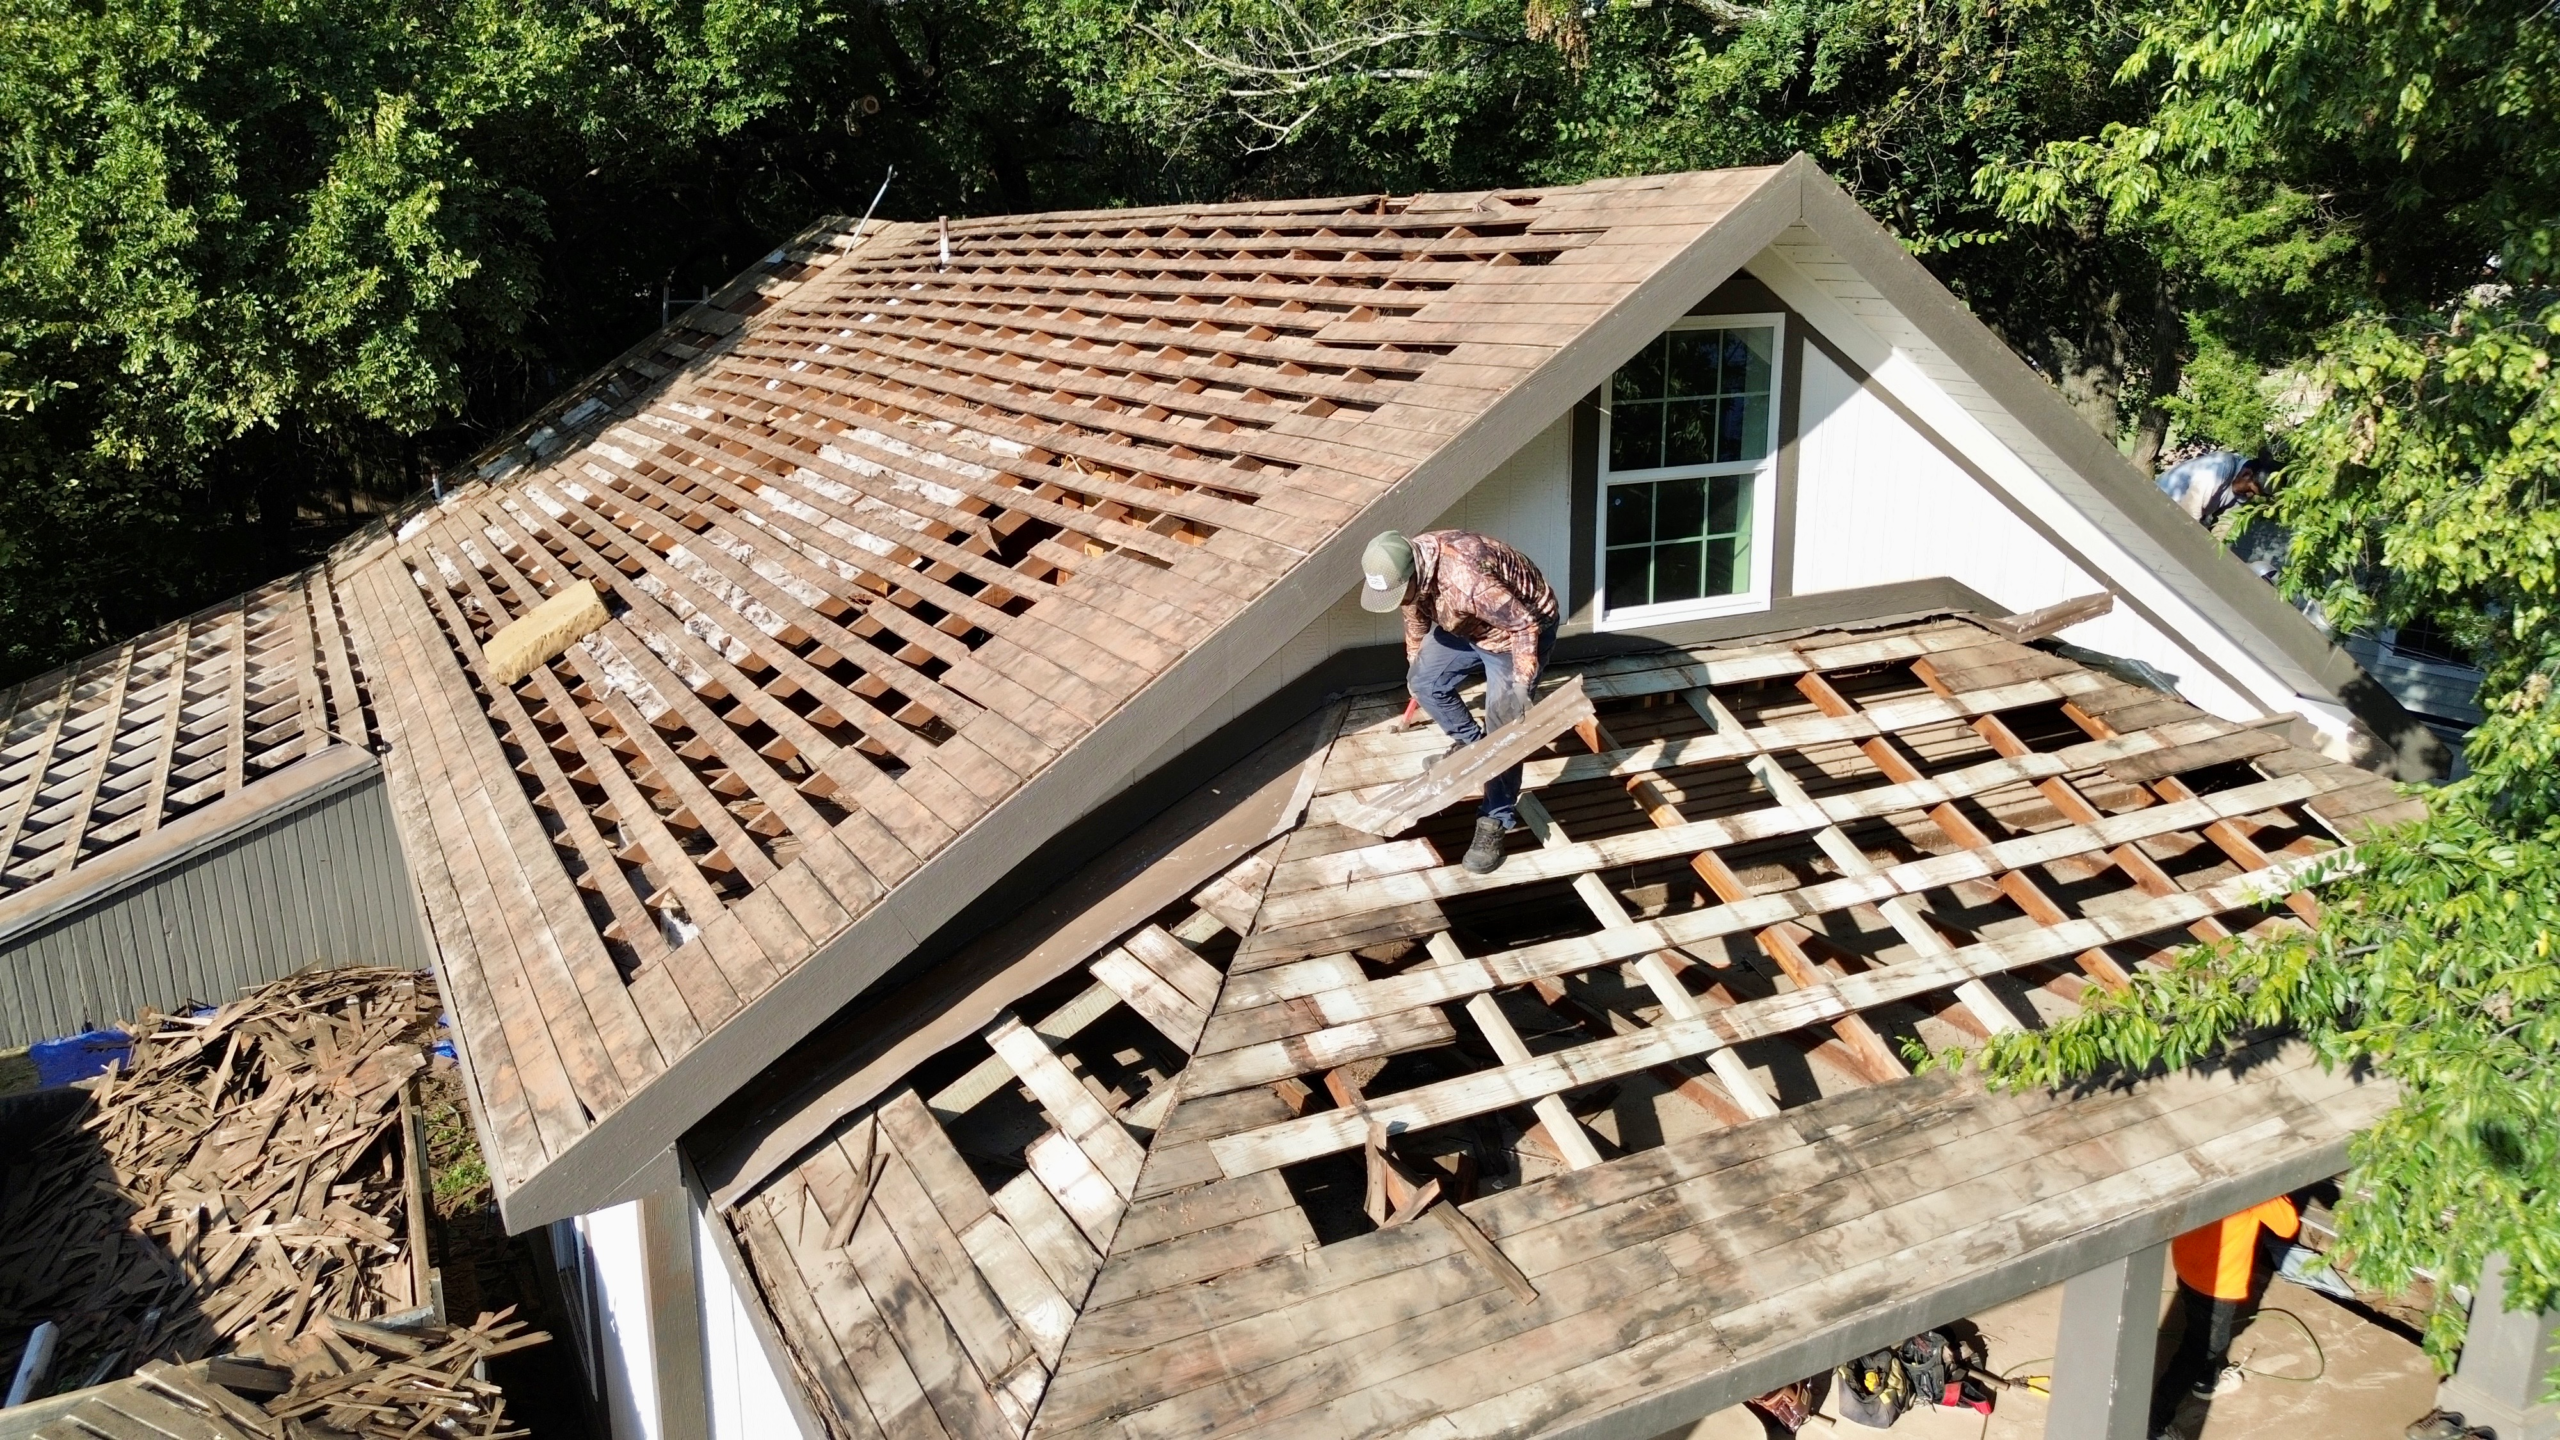
Once you agree with the insurance estimate, you can move forward with the roofing project. Your contractor will schedule the work and begin the replacement or repairs.
In many cases, the insurance company will issue an initial payment, which covers a portion of the total cost. The remaining amount is typically paid after the work is completed.
Make sure you understand the payment structure and timeline before starting the project. Clear communication with your contractor helps avoid misunderstandings.
Step 10: Final Inspection and Payment
After the roofing work is completed, the insurance company may conduct a final inspection to ensure that everything was done according to the approved scope.
Once the work is verified, the insurance company will release the remaining funds. This completes the claims process.
Keep all final documents, including invoices, warranties, and inspection reports, for your records.
Common Mistakes to Avoid
Filing a roof insurance claim involves several steps, and mistakes can lead to delays or denials. Avoiding these common errors can improve your chances of success.
Waiting too long to file a claim is a frequent mistake. Most policies have time limits for reporting damage, so act quickly.
Failing to document damage properly can weaken your claim. Always take photos and keep records.
Not understanding your policy can lead to unrealistic expectations. Review your coverage carefully before filing.
Choosing an inexperienced contractor can result in poor workmanship or incomplete documentation. Always work with a reputable roofing professional.
How Long Does the Process Take
The timeline for a roof insurance claim can vary depending on the complexity of the case and the responsiveness of all parties involved.
Simple claims may be resolved within a few weeks, while more complex cases can take several months. Delays can occur if additional inspections or documentation are required.
Staying organized and responsive helps speed up the process.
Benefits of Filing a Roof Insurance Claim
Filing a roof insurance claim can provide significant financial relief. It allows you to repair or replace your roof without paying the full cost out of pocket.
A successful claim also ensures that your home is protected from further damage. Addressing roofing issues early can prevent more expensive repairs in the future.
Working through the claims process also gives you a better understanding of your insurance coverage, which can be helpful for future situations.
Final Thoughts
Filing a roof insurance claim does not have to be complicated if you understand the process and take the right steps. From assessing damage and documenting evidence to working with your insurance company and contractor, each step plays an important role in the outcome.
By acting quickly, staying organized, and working with experienced professionals, you can navigate the claims process with confidence. Whether your roof has been damaged by a storm or another covered event, knowing how to file a claim properly ensures that you receive the support and compensation you need to protect your home.