

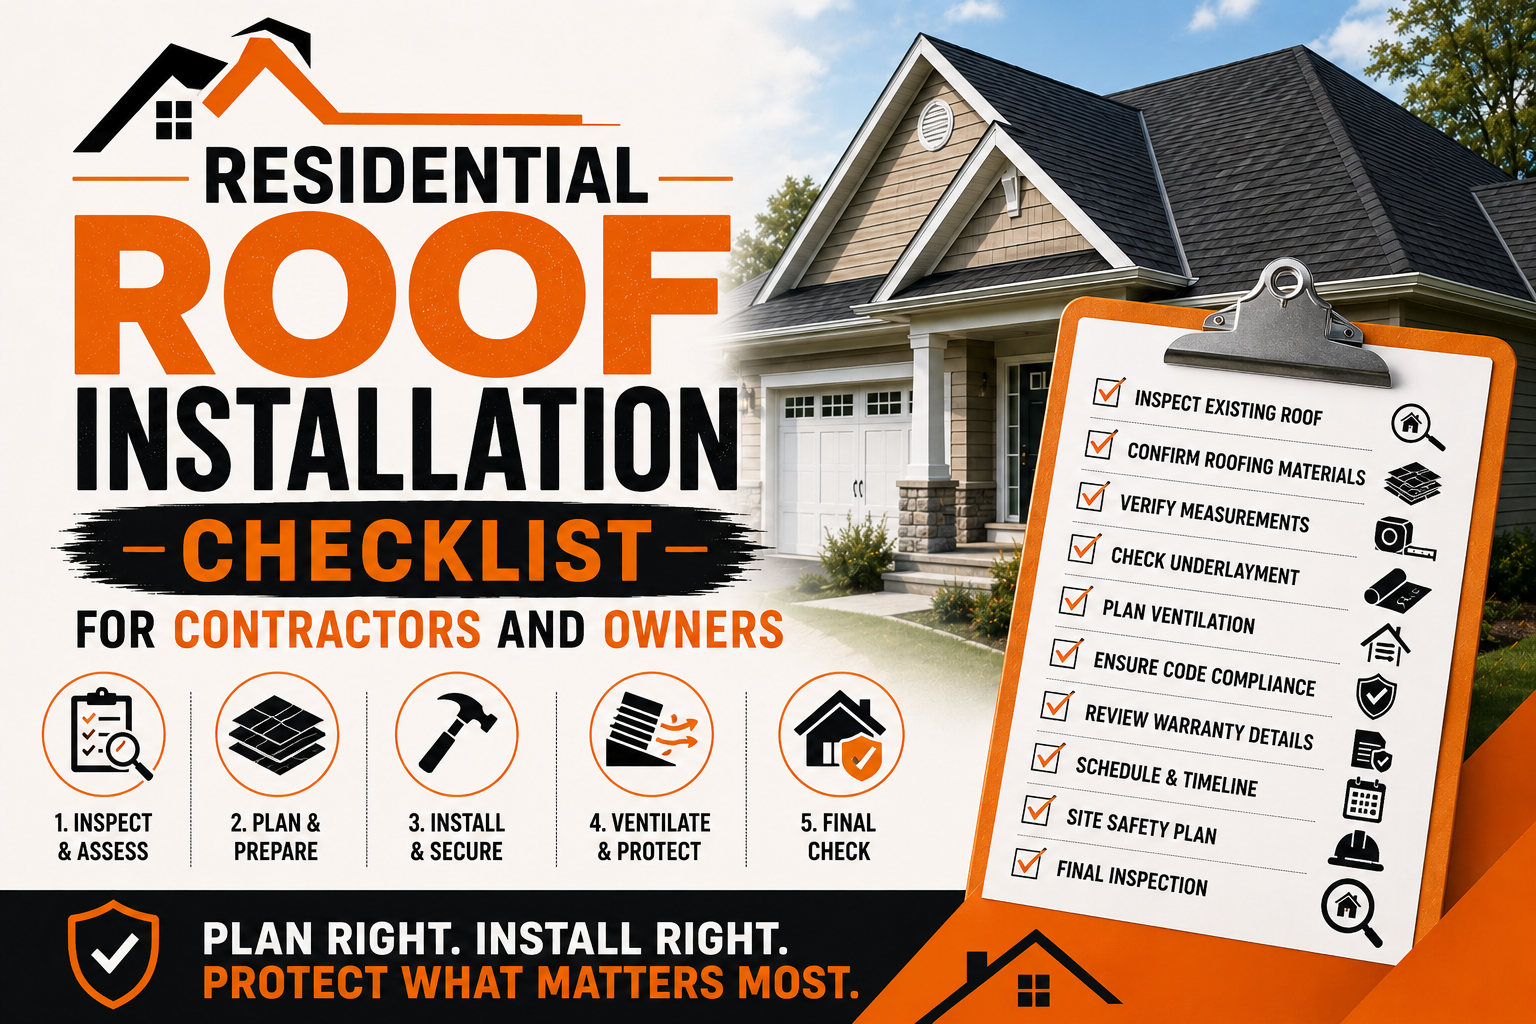
Residential Roof Installation Checklist for Contractors and Owners
Introduction
A residential roof installation is one of the most important phases of building a new home. The roof protects the structure from weather, supports energy efficiency, and contributes to the home’s overall durability and appearance. Because every roofing system contains multiple layers and components, careful planning and organized execution are essential for achieving long lasting results.
One of the best ways to ensure a successful roofing project is by following a detailed installation checklist. A checklist helps contractors maintain consistent workmanship while giving homeowners confidence that every important step has been completed. Instead of relying on memory alone, everyone involved can follow a structured process that reduces mistakes and improves communication throughout the project.
For first time homeowners, roofing terminology and construction procedures may seem unfamiliar. Understanding the purpose of each checklist item makes it easier to communicate with contractors, ask informed questions, and monitor the project’s progress. Contractors also benefit because standardized checklists improve efficiency, simplify quality control, and reduce the chance of overlooking important installation details.
A properly installed roof is much more than the visible shingles or metal panels covering the home. Every layer, from the structural roof deck to the final ridge cap, contributes to protecting the building from moisture, wind, temperature changes, and everyday environmental conditions. Missing even a single step can affect the overall performance of the roofing system.
This guide provides a practical residential roof installation checklist for both contractors and homeowners. It explains what should be completed before installation begins, which items deserve careful attention during construction, and how preparation helps create a durable roofing system that performs reliably for many years.
Why a Roof Installation Checklist Is Important
Roof installation involves dozens of individual tasks that must be completed in the correct order. Without a structured checklist, important details can easily be overlooked, especially on busy construction sites where multiple trades work simultaneously. A checklist helps organize every stage of the project while promoting consistency and accountability.
For contractors, checklists provide a standardized workflow. Every crew member understands which tasks must be completed before moving to the next stage, reducing confusion and improving efficiency. This organized approach also supports quality control because completed work can be inspected systematically rather than relying on memory.
Homeowners benefit from checklists because they gain a clearer understanding of the roofing process. Instead of feeling uncertain about construction progress, they can follow major milestones and discuss specific items with the roofing contractor. This improves communication while reducing misunderstandings throughout the project.
Checklists also contribute to safety. Roofing projects involve elevated work areas, specialized tools, and changing weather conditions. Reviewing safety requirements before work begins helps reduce accidents while creating a safer environment for everyone involved.
Perhaps most importantly, a detailed checklist improves long term roof performance. Every completed task contributes to the strength, weather resistance, and durability of the finished roofing system, making careful planning an essential part of successful residential construction.
Benefits of Using a Checklist for Contractors and Homeowners
Although contractors and homeowners have different responsibilities during roof installation, both groups benefit from using the same organized checklist. Shared expectations improve communication while helping the project progress more smoothly from beginning to end.
For contractors, checklists support consistent workmanship across different projects. Every roofing crew follows the same installation sequence while verifying that important tasks have been completed before continuing. This structured process reduces the likelihood of missed steps and simplifies final inspections.
Homeowners gain confidence because they understand how the roofing project is progressing. Rather than relying entirely on technical explanations, they can review completed milestones and ask informed questions about the installation process. This knowledge helps create realistic expectations throughout construction.
A shared checklist also supports better documentation. Contractors can record inspections, material deliveries, warranty information, and completed work as the project advances. Homeowners receive valuable records that may be useful for future maintenance, warranty claims, or property resale.
Using one organized checklist encourages teamwork between contractors and homeowners. Instead of viewing the roofing project from different perspectives, both parties focus on achieving the same goal of a durable, professionally installed roofing system.
Planning Before Roof Installation Begins
Successful roofing projects begin well before the first roofing material arrives at the construction site. Proper planning ensures that materials, equipment, schedules, and labor are coordinated efficiently while reducing unnecessary delays during construction.
One of the first planning steps involves reviewing architectural drawings and roofing specifications. Contractors confirm roof dimensions, slopes, drainage layouts, ventilation requirements, and selected roofing materials before ordering supplies. Early planning helps prevent material shortages or installation conflicts later in the project.
Project scheduling is equally important. Roofing installation should be coordinated with framing completion and other construction activities so the building receives weather protection as soon as possible. Proper timing also allows interior construction to proceed safely once the roof has been completed.
Weather forecasting plays an important role during planning. Roofing contractors monitor expected conditions carefully because heavy rain, strong winds, or extreme temperatures may affect installation quality. Adjusting schedules when necessary helps protect both materials and workmanship.
Budget planning also deserves attention before construction begins. Homeowners should review estimates carefully to understand exactly which materials, warranties, inspections, and optional upgrades are included. Clear financial planning reduces unexpected expenses during the project.
Careful preparation creates a solid foundation for every stage of roof installation while helping contractors and homeowners work toward the same expectations.
Inspecting the Roof Structure and Deck
Before roofing materials are installed, contractors perform a thorough inspection of the roof structure to confirm it is ready to support the completed roofing system. Although new construction generally presents fewer structural concerns than roof replacement, careful evaluation remains essential.
Roof framing is examined first. Contractors verify that rafters or trusses have been installed according to approved engineering plans and remain securely connected throughout the structure. Proper alignment ensures roofing materials will sit evenly across the completed roof.
The roof deck is then inspected carefully. Most residential homes use plywood or oriented strand board as decking material because these products provide strength while remaining lightweight. Contractors confirm that panels are securely fastened, properly aligned, and free from damage before waterproof materials are installed.
Spacing between roof deck panels is another important consideration. Correct spacing allows natural expansion and contraction as temperatures change while reducing unnecessary stress on roofing materials. Loose fasteners, warped panels, or damaged sections are repaired before installation continues.
Construction debris is removed from the roof deck before underlayment is applied. A clean surface allows waterproof materials to lie flat while improving adhesion where self sealing membranes are used.
Completing these inspections before installation begins helps create a strong structural foundation that supports every roofing layer installed afterward.
Selecting Roofing Materials and Components
Choosing the right roofing materials involves more than selecting a color that matches the home’s exterior. Every component within the roofing system should work together to provide reliable weather protection while meeting local building requirements and homeowner expectations.
The primary roofing material is often selected first. Asphalt shingles remain the most common residential choice because they provide dependable performance at a reasonable cost. Metal roofing, clay tiles, concrete tiles, and synthetic materials offer additional options depending on budget, climate, and architectural style.
Underlayment deserves equal attention because it forms the secondary moisture barrier beneath the visible roofing material. Many contractors recommend synthetic underlayment because it provides improved durability and tear resistance compared to traditional felt products.
Waterproof membranes should also be selected according to project requirements. Valleys, roof edges, chimneys, skylights, and plumbing vents typically receive additional waterproof protection through self adhering membranes designed to reduce moisture infiltration.
Flashing, drip edge, ventilation systems, ridge caps, and fasteners should all be compatible with the chosen roofing material. Using manufacturer approved accessories helps maximize performance while preserving warranty coverage.
Discussing these material choices before construction begins allows homeowners to understand how every component contributes to the overall roofing system.
Preparing the Property and Job Site
A well organized construction site allows roofing work to proceed safely and efficiently. Although new homes generally have fewer landscaping concerns than existing properties, proper site preparation remains an important part of the roofing checklist.
Contractors begin by identifying locations for material deliveries, equipment storage, waste containers, and access routes. Organizing these areas before work starts reduces unnecessary movement around the site while improving productivity throughout the installation process.
Construction materials should be protected from weather before installation. Roofing products stored improperly may become damaged before they are installed, potentially affecting their long term performance. Contractors therefore inspect delivered materials before use.
Builders also coordinate roofing activities with other construction trades working on the home. Electricians, plumbers, exterior finish crews, and window installers often complete related work during similar stages of construction. Good communication prevents scheduling conflicts while keeping the project on track.
Temporary protection may also be installed around finished exterior surfaces if necessary. Windows, siding, and completed architectural features should remain protected throughout roofing operations to reduce the possibility of accidental damage.
Organized job site preparation creates a safer environment while helping roofing crews complete their work efficiently.
Safety Planning Before Installation Starts
Roof installation involves elevated work surfaces, heavy materials, specialized equipment, and constantly changing weather conditions. Safety planning should therefore begin before the first roofing component is installed rather than after work has already started.
Contractors review fall protection requirements with every crew member before beginning work. Safety harnesses, guardrails, anchor systems, ladders, and scaffolding should all be inspected to confirm they remain in good working condition.
Weather conditions are evaluated each day before roofing activities begin. High winds, rain, lightning, or excessive heat may require adjustments to the work schedule in order to maintain safe operating conditions.
Emergency procedures should also be discussed before installation starts. Every crew member should understand communication methods, emergency contact information, and procedures for responding to accidents or severe weather events.
Homeowners contribute to safety by limiting access to active construction areas. Keeping visitors, children, and pets away from the worksite reduces unnecessary risks while allowing roofing crews to work without distraction.
A strong commitment to safety protects workers, homeowners, and the roofing project itself throughout every stage of construction.
Pre Installation Checklist Review
Before roofing work officially begins, contractors typically perform one final review of the installation checklist. This meeting confirms that planning has been completed, materials are available, structural inspections have been approved, and safety preparations are in place.
The review also provides an opportunity to discuss project timelines, expected weather conditions, material handling procedures, and communication expectations with the homeowner. Addressing these topics before installation begins reduces confusion once construction is underway.
Every successful roofing project begins with careful preparation rather than rushing directly into installation. Completing the pre installation checklist establishes a strong foundation for the work that follows while ensuring contractors and homeowners share the same expectations.
With planning complete, the next stage focuses on the installation process itself. Part 2 of this guide will provide a detailed residential roof installation checklist covering roof deck preparation, underlayment, flashing, roofing materials, ventilation systems, quality inspections, and the critical checkpoints that contractors and homeowners should verify throughout construction.
Roof Deck Preparation Checklist
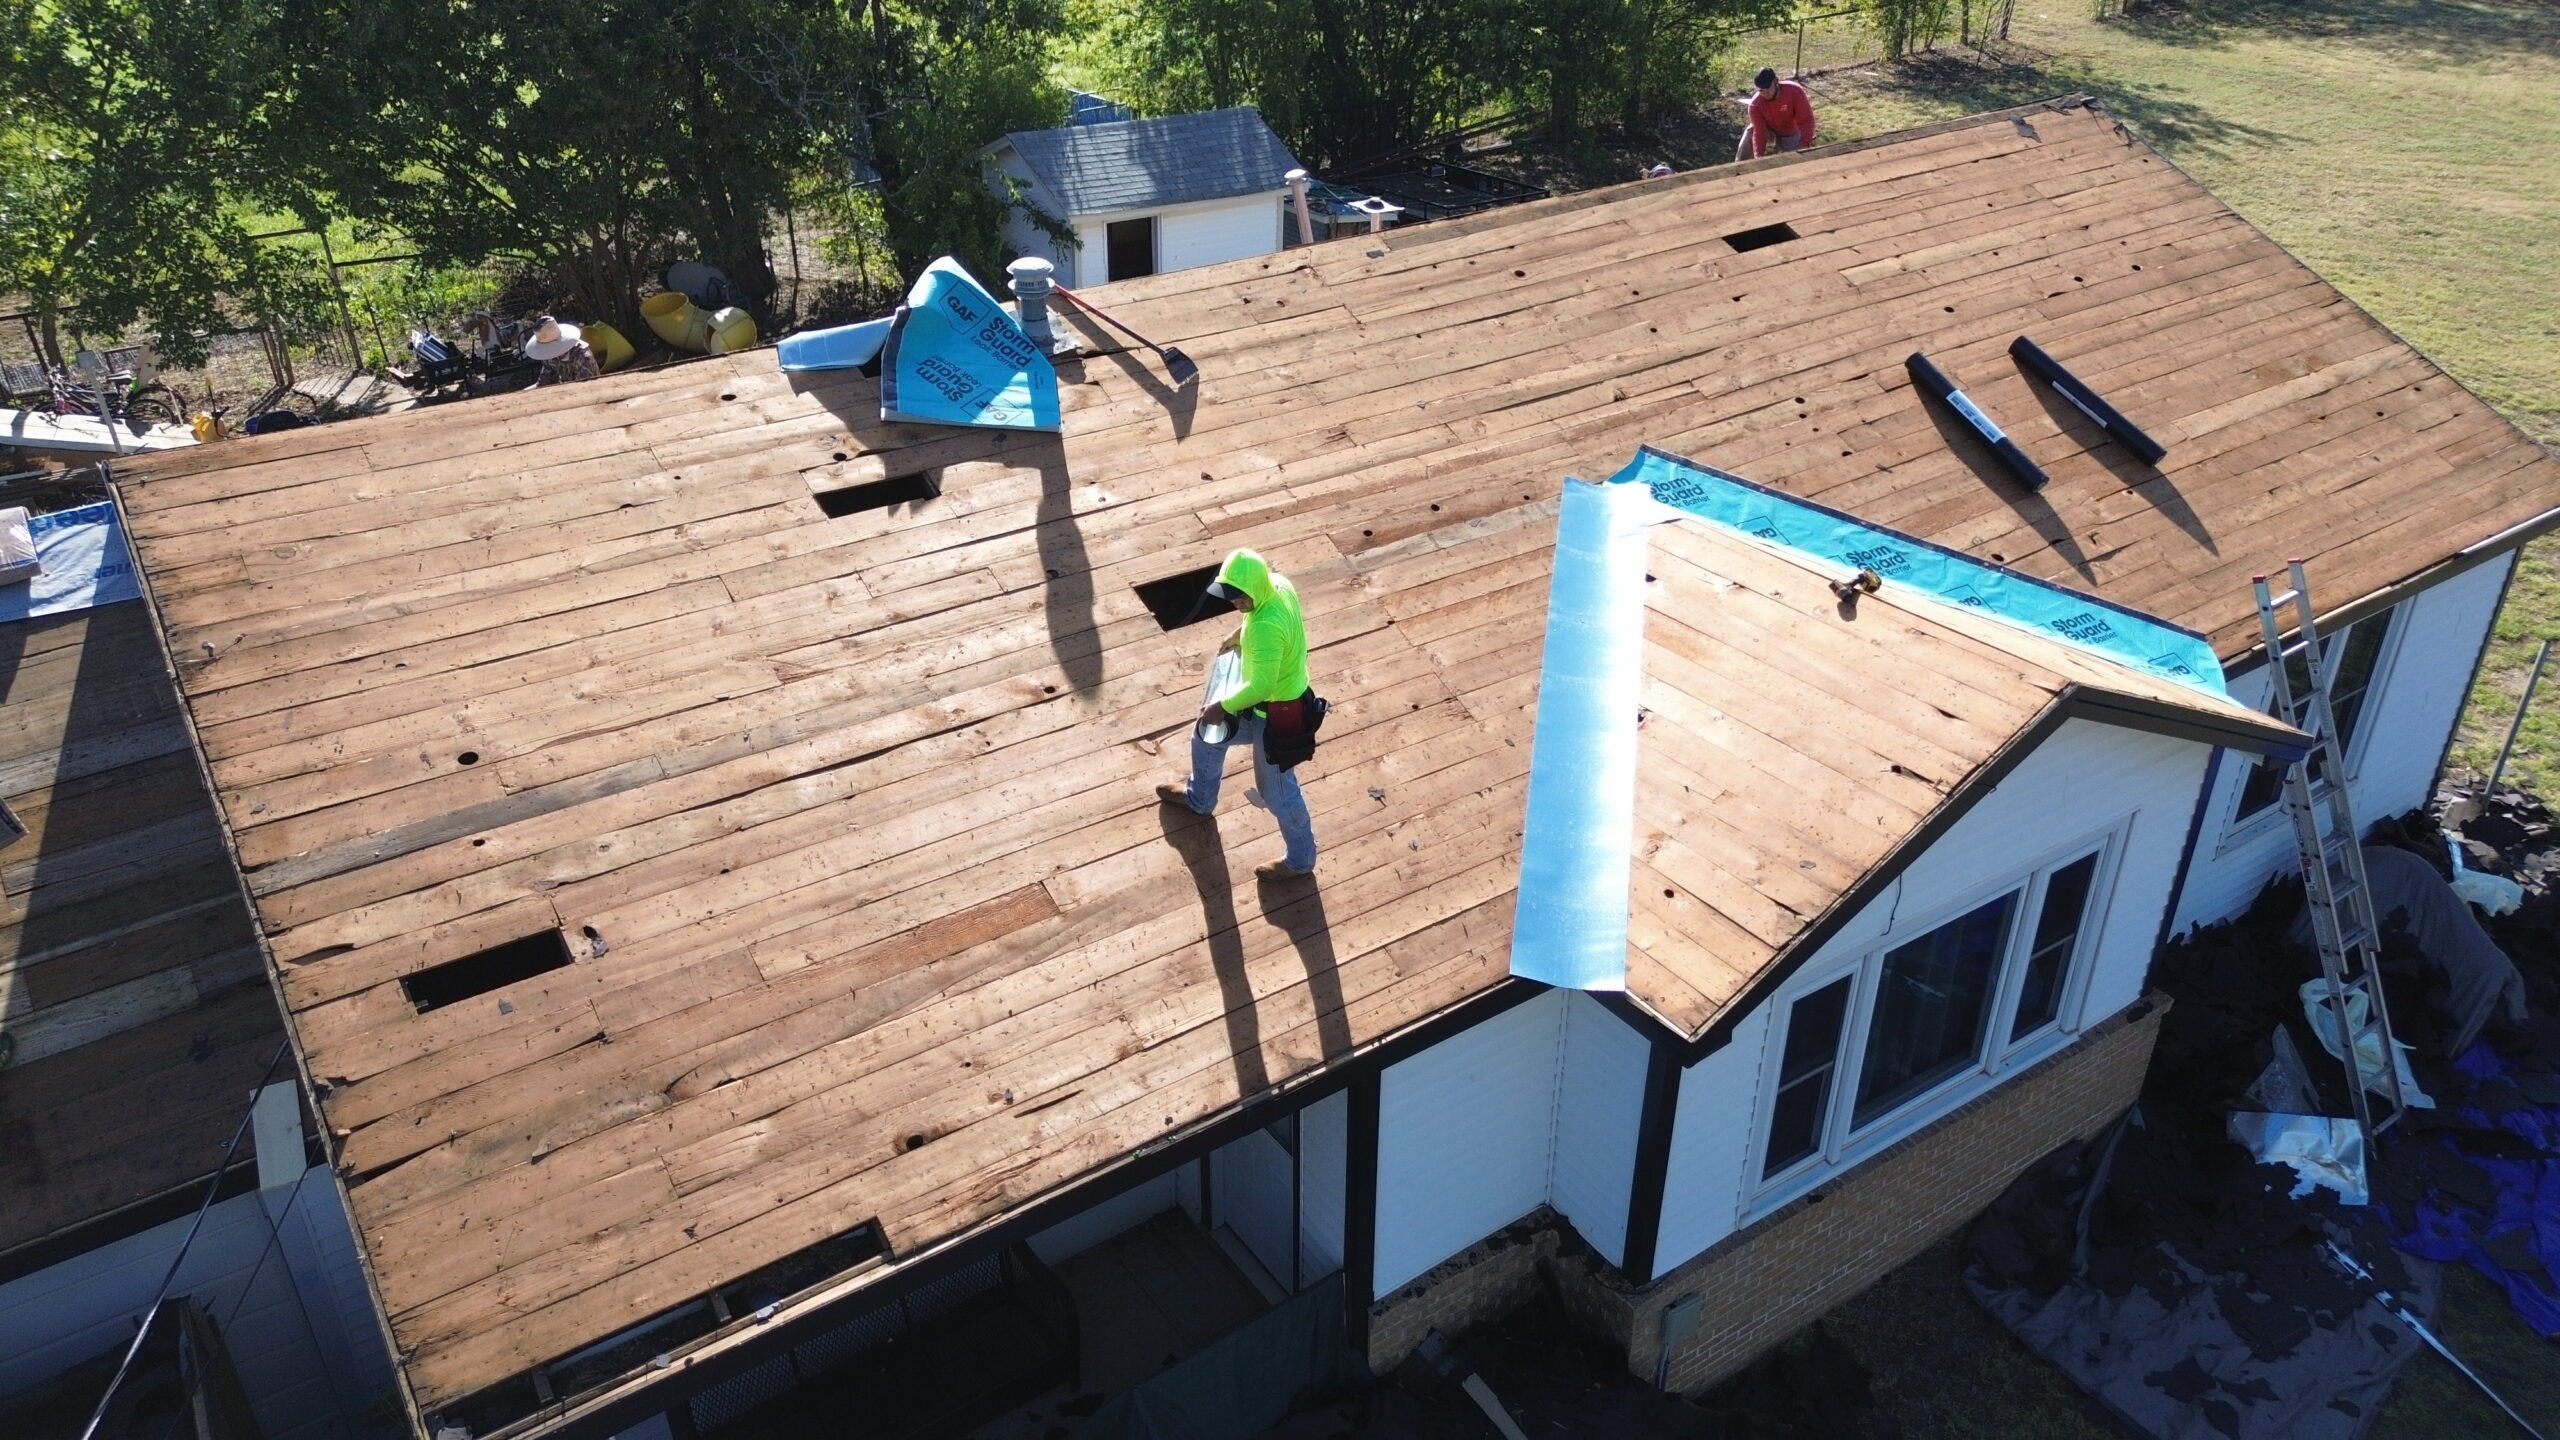
Once planning has been completed and materials have arrived at the job site, contractors begin preparing the roof deck. This stage establishes the structural foundation for every roofing layer that follows. A properly prepared roof deck improves installation quality while supporting the long term durability of the entire roofing system.
The roof deck should first be inspected to confirm that every panel has been installed securely. Contractors verify that plywood or oriented strand board panels are properly aligned, tightly fastened, and free from movement. Loose sections should be corrected before any waterproof materials are installed.
The surface should also be examined for cracks, warping, moisture damage, or construction defects. Although new homes generally have newly installed roof decking, damaged panels can still occur during transportation or construction. Replacing defective sections at this stage prevents larger problems after the roof has been completed.
Contractors should also verify that expansion gaps between panels meet manufacturer recommendations. Proper spacing allows natural movement caused by changing temperatures while reducing unnecessary stress on the roofing system.
Before moving to the next installation stage, all dust, wood fragments, nails, and construction debris should be removed from the roof surface. A clean roof deck allows underlayment to lie flat while improving the effectiveness of waterproof barriers.
Completing every item in the roof deck preparation checklist creates a strong and reliable base for the remaining installation process.
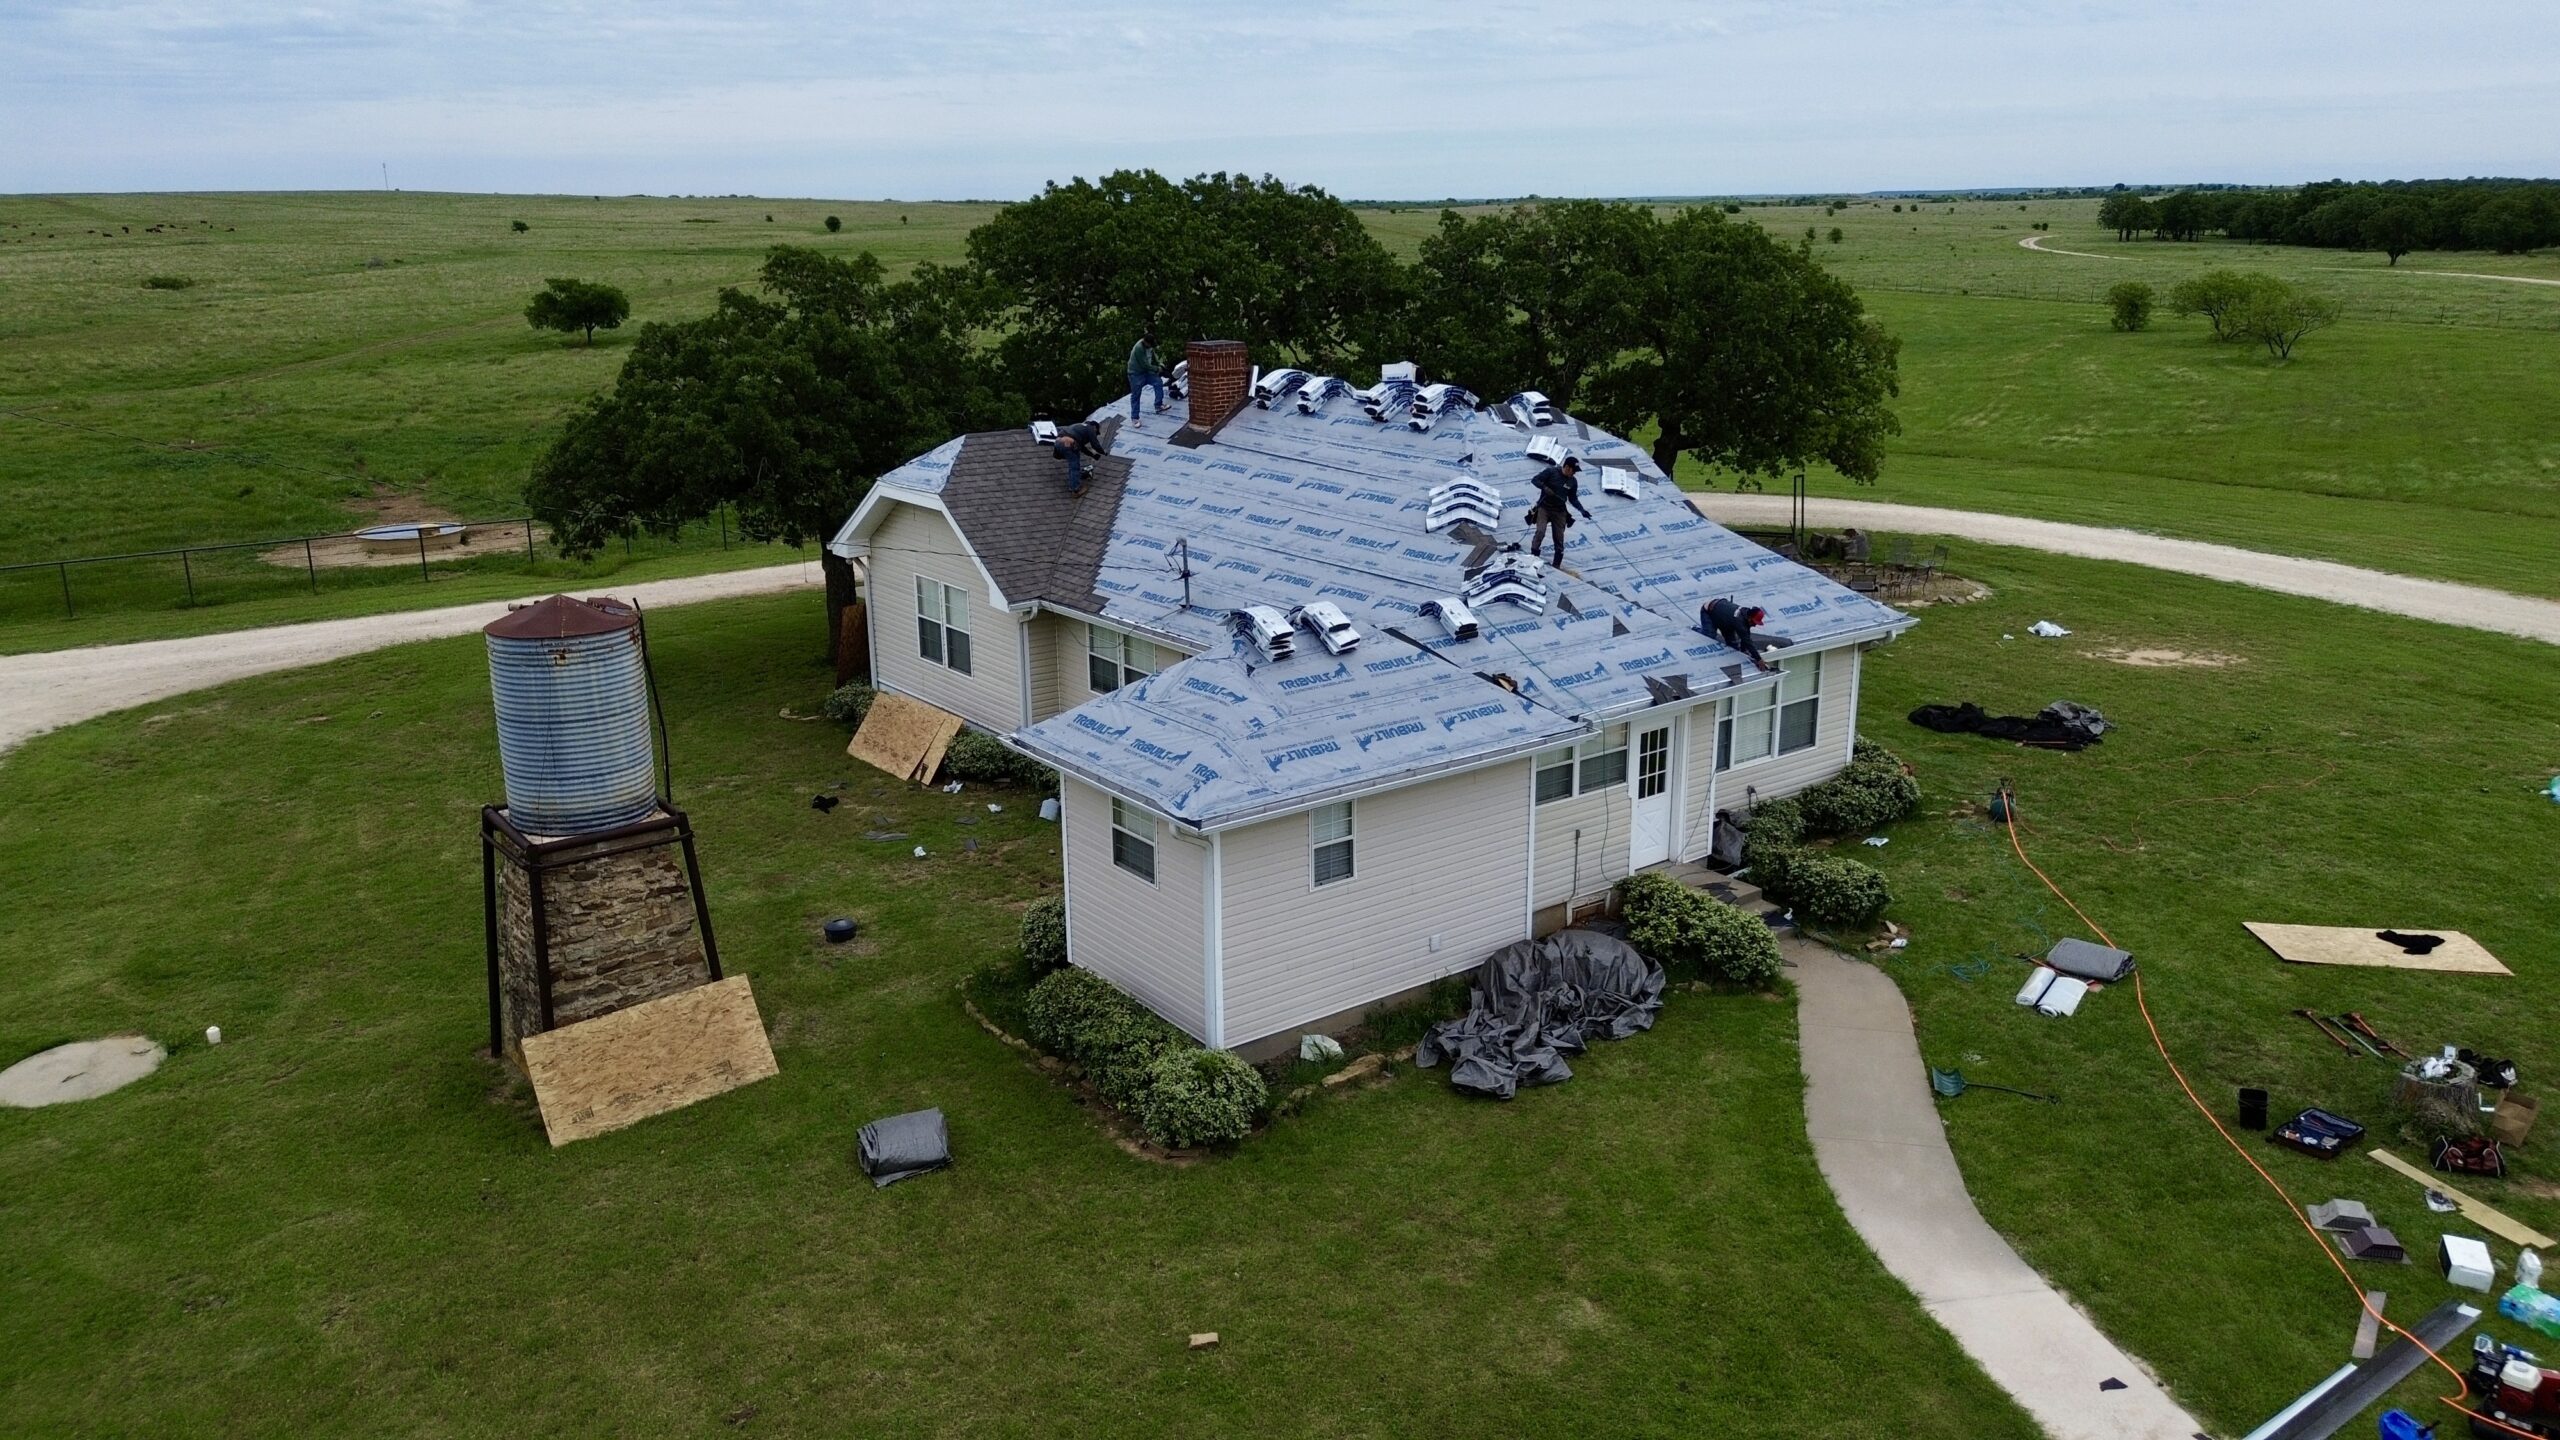
Underlayment and Waterproof Barrier Checklist
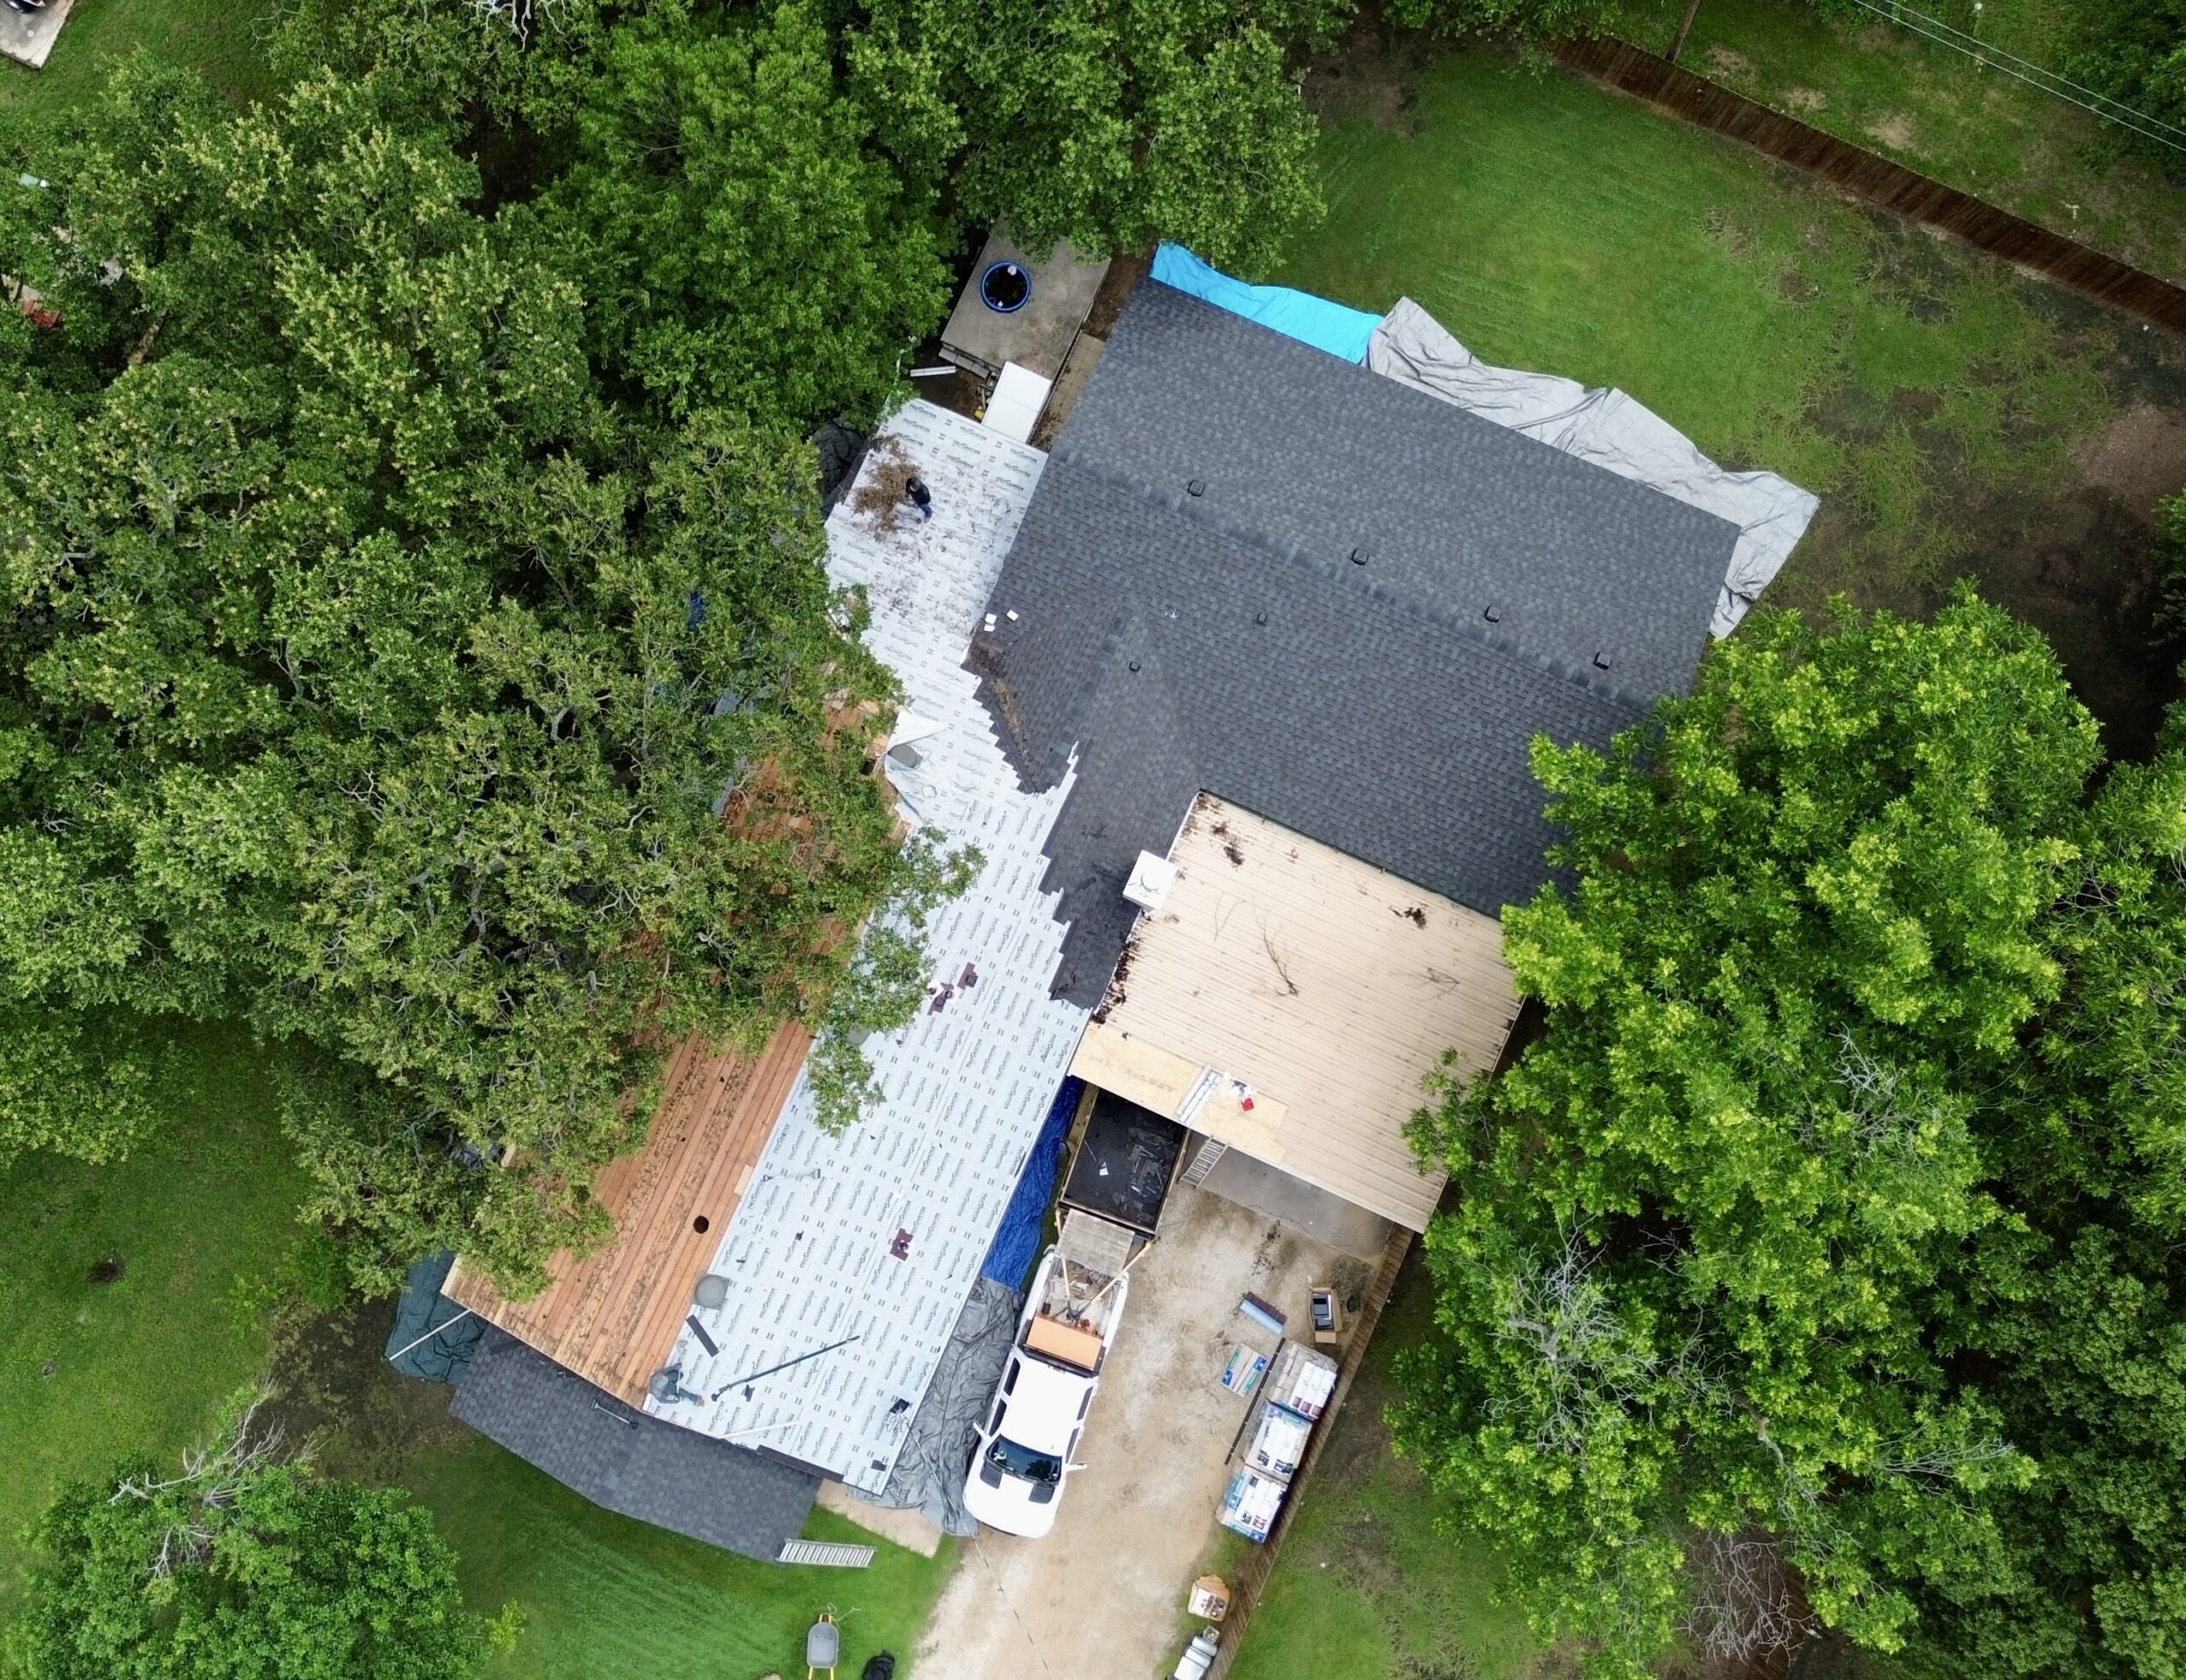
After the roof deck has been prepared, contractors begin installing the underlayment. Although this layer remains hidden after construction is complete, it serves as one of the most important moisture barriers within the roofing system.
The first checklist item is confirming that the correct underlayment has been selected for the roofing material being installed. Synthetic underlayment is commonly used because of its strength, durability, and resistance to tearing. Regardless of the material selected, it should match manufacturer recommendations.
Contractors then verify that installation begins at the lower edge of the roof. Each row must overlap the previous one correctly so rainwater naturally flows over the surface instead of beneath it. Incorrect overlap can reduce the effectiveness of the entire moisture barrier.
Fasteners should also be inspected carefully. Underlayment must remain securely attached without unnecessary punctures or damage caused by overdriven fasteners. Proper fastening prevents movement during windy conditions while maintaining the integrity of the protective layer.
Additional waterproof membranes should be installed wherever extra moisture protection is required. Roof valleys, eaves, chimneys, skylights, and plumbing vents often receive self adhering waterproof barriers because these locations experience greater exposure to water.
Before continuing with roofing material installation, contractors should inspect the completed underlayment for wrinkles, gaps, tears, or exposed roof decking. Correcting these issues immediately helps prevent future moisture problems.
Drip Edge and Flashing Installation Checklist
Managing rainwater effectively is one of the primary responsibilities of every roofing system. Drip edge and flashing work together to direct water away from vulnerable areas while protecting structural components beneath the roof.
The checklist begins with confirming that drip edge has been installed around all appropriate roof edges. Contractors verify that each section overlaps correctly while remaining securely fastened to the roof deck.
Installation order is equally important. Depending on the location, drip edge should be positioned either beneath or above the underlayment according to manufacturer recommendations. Correct sequencing helps maintain proper water flow across the roof.
Flashing should then be installed around every roof penetration and intersection. Chimneys, skylights, plumbing vents, dormers, and wall connections all require carefully fitted flashing to prevent water intrusion.
Contractors should inspect every flashing component to ensure it overlaps surrounding materials correctly. Rather than depending entirely on sealants, flashing should create natural drainage paths that encourage water to flow safely away from vulnerable areas.
Sealants, where required, should be applied neatly and only in locations recommended by the manufacturer. Excessive use of sealants should never replace properly installed flashing.
Completing this checklist carefully helps reduce the likelihood of future roof leaks while strengthening the overall weather resistance of the roofing system.
Roofing Material Installation Checklist
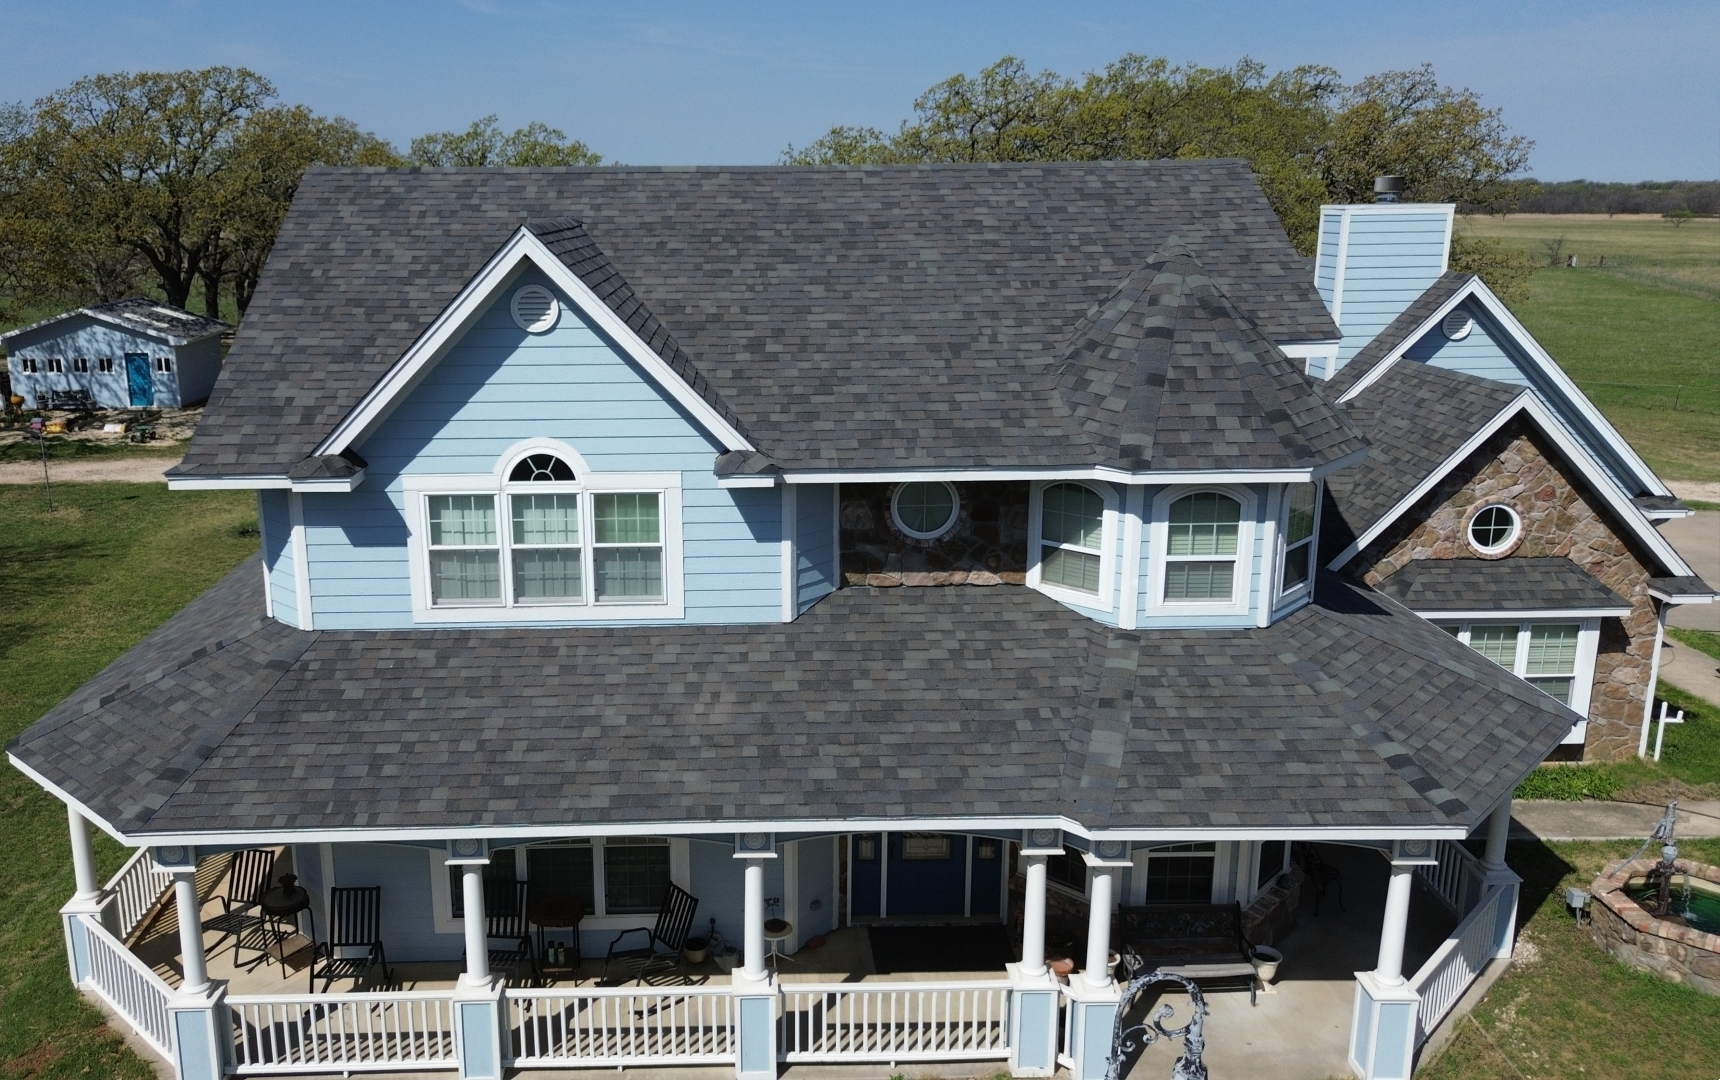
Once all hidden protective layers have been completed, contractors begin installing the visible roofing material. Although homeowners often focus on this stage because it changes the appearance of the home, proper installation requires continuous attention to detail.
Roofing installation should begin with correctly positioned starter strips along the roof edge. These components provide additional wind resistance while supporting proper alignment of the first course of roofing materials.
Each row of roofing material should be installed according to manufacturer specified exposure measurements. Consistent spacing improves appearance while maintaining effective water shedding across the roof surface.
Contractors should verify fastener placement throughout the installation process. Nails or screws must be positioned exactly where manufacturers recommend while remaining neither overdriven nor underdriven. Correct fastening supports wind resistance and long term material performance.
Roofing materials should also be inspected for damage before installation. Cracked shingles, bent metal panels, or chipped tiles should never be installed simply because they were delivered to the job site.
Color consistency deserves attention as well. Many contractors blend roofing bundles during installation to minimize slight manufacturing variations and create a uniform finished appearance.
Periodic alignment checks help maintain straight layout lines from the roof edge to the ridge. Correcting small deviations early prevents larger alignment problems later in the installation process.
Roof Ventilation and Ridge Cap Checklist
Ventilation is one of the most important yet least visible parts of a residential roofing system. Proper attic airflow protects roofing materials while reducing moisture accumulation and improving overall energy efficiency.
The checklist begins by confirming that intake ventilation has been provided through soffit vents or other approved openings near the lower roof edge. Fresh air entering through these locations supports continuous attic airflow.
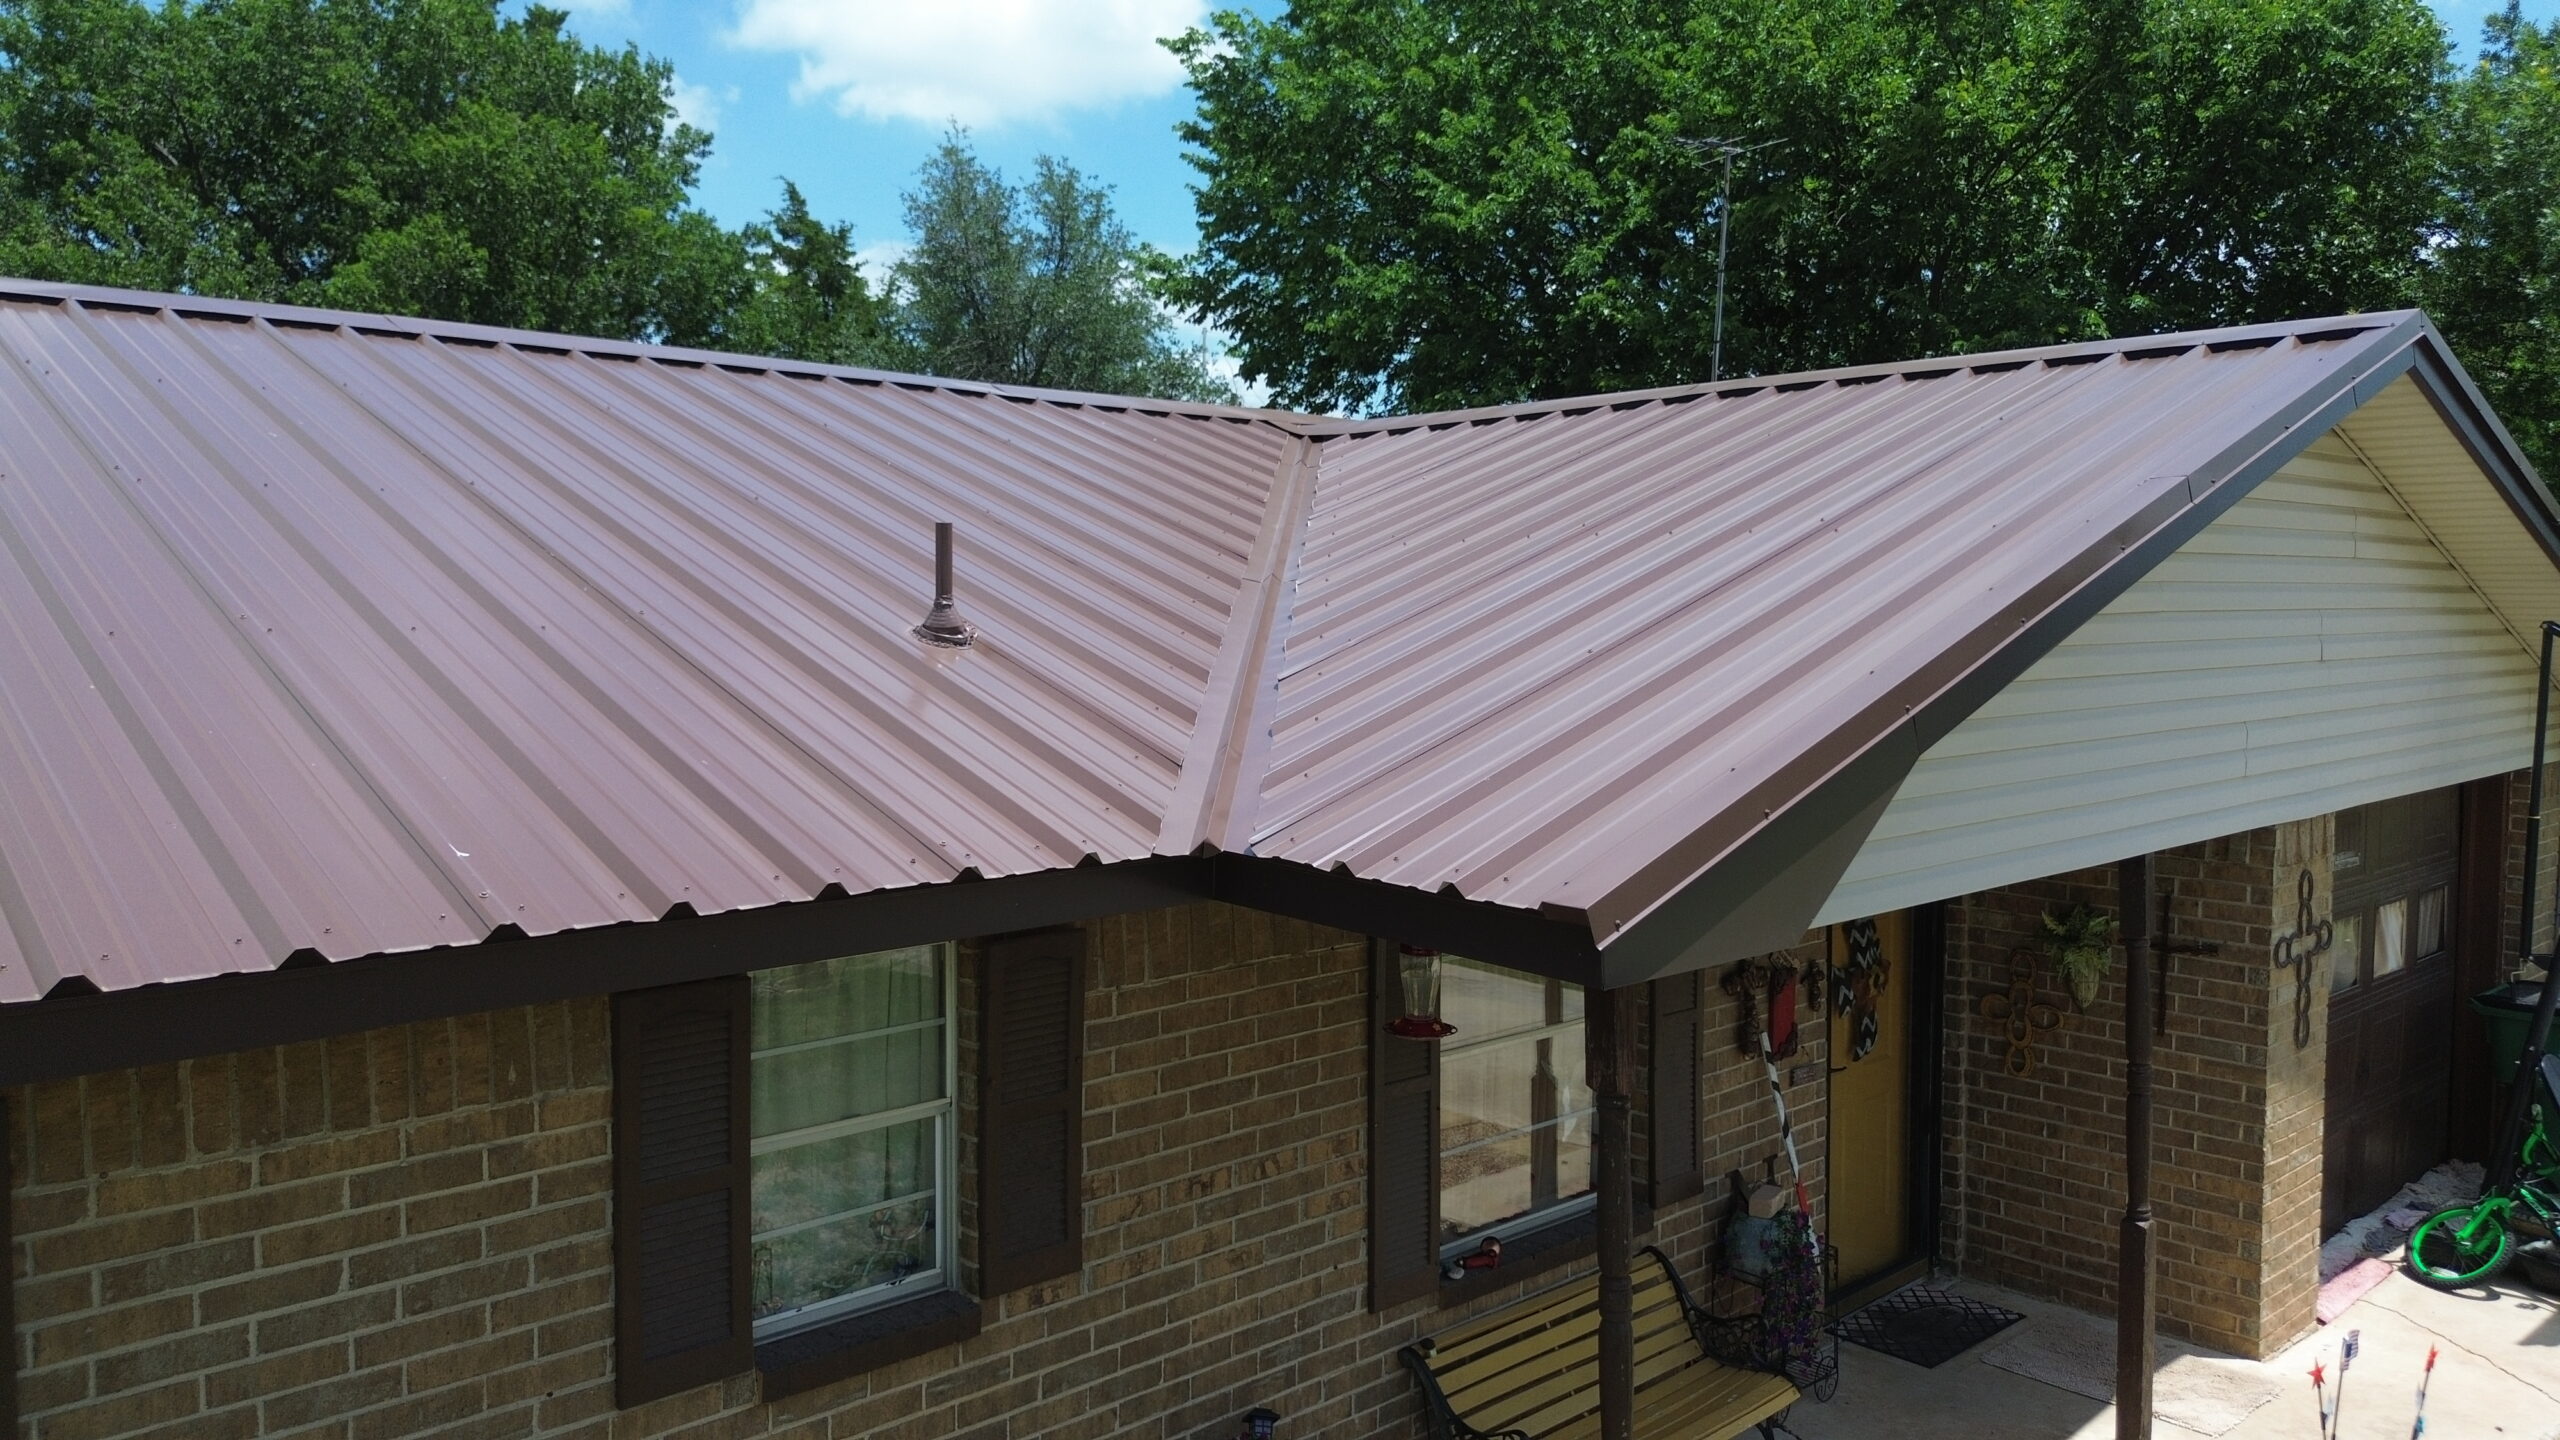
Exhaust ventilation should also be inspected. Ridge vents or other approved exhaust systems should provide an unobstructed pathway for warm air to leave the attic naturally. Balanced intake and exhaust ventilation improves the effectiveness of the entire roofing system.
Contractors should verify that insulation has not blocked airflow near intake vents. Even a properly designed ventilation system performs poorly if air cannot circulate freely through the attic.
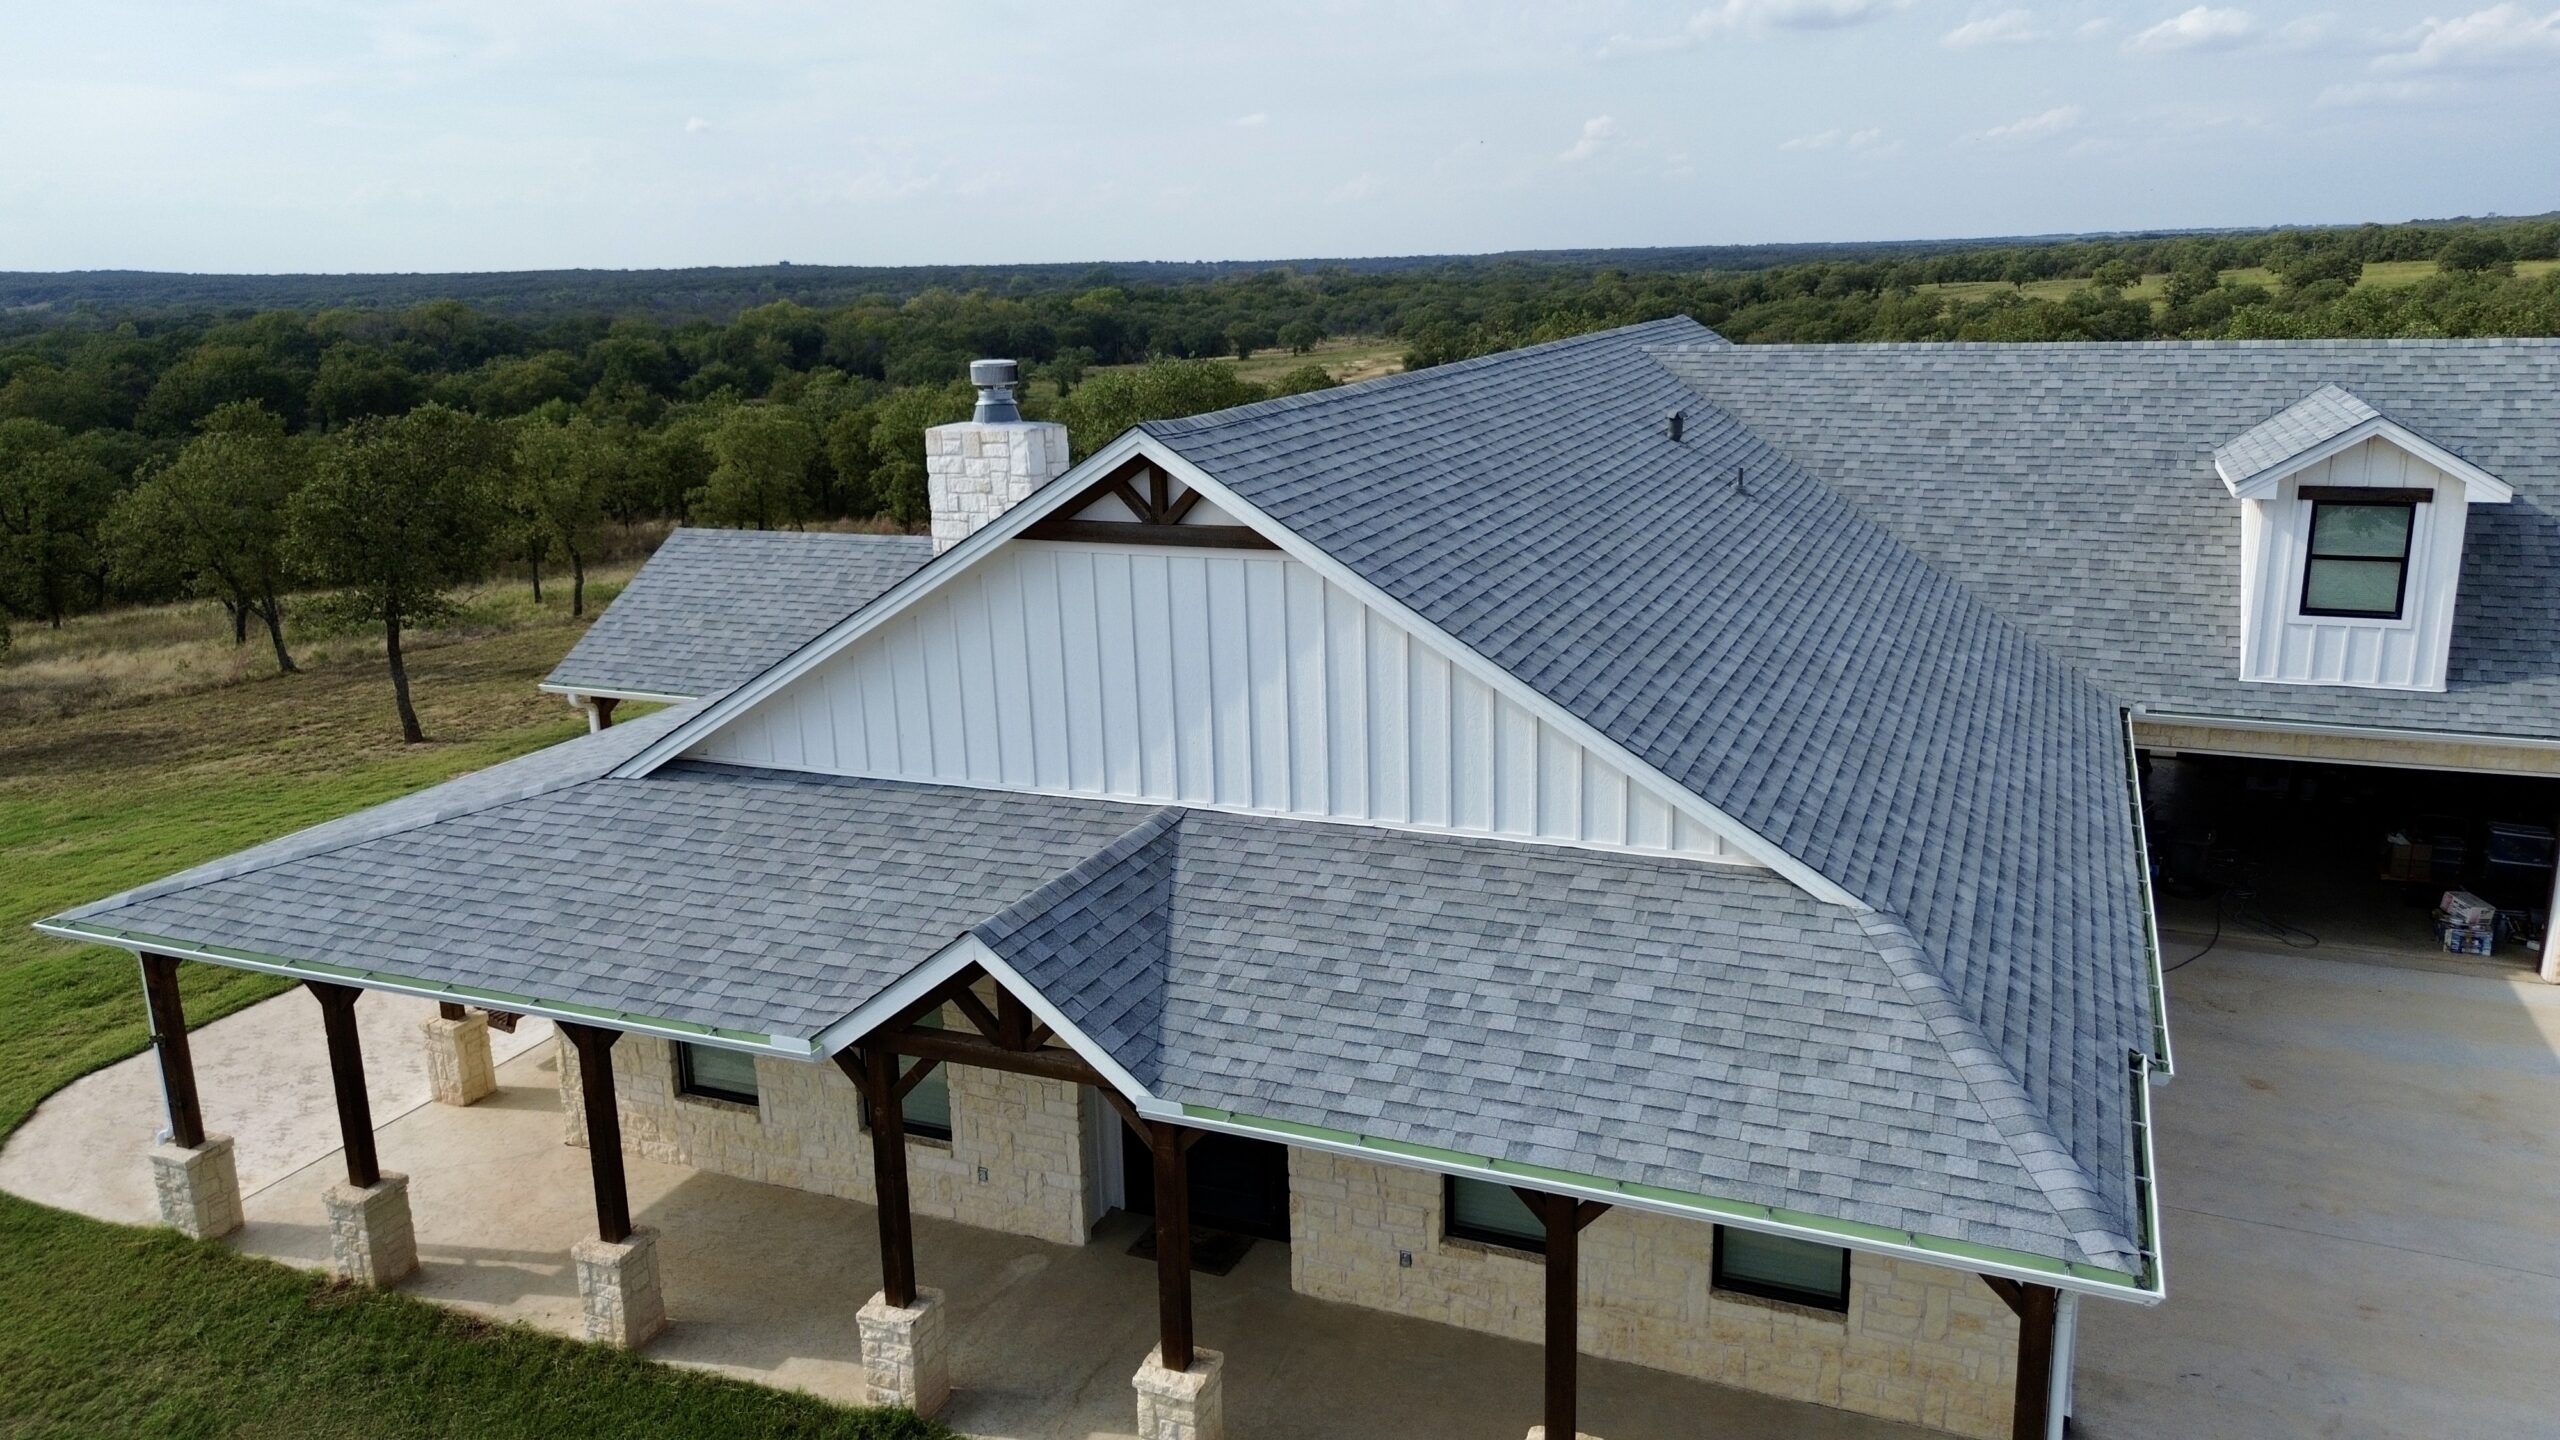
Once ventilation components have been completed, ridge caps are installed to protect the highest points of the roof. Contractors inspect ridge cap alignment, fastening, and overlap to ensure both appearance and weather resistance meet project requirements.
Final ventilation checks should confirm that every airflow component remains functional before the roofing project progresses toward completion.
Installation Stage Inspection Table
The following table summarizes the major stages of residential roof installation along with the primary inspection points contractors and homeowners should review throughout the project.
| Installation Stage | Primary Inspection Points | Purpose |
|---|---|---|
| Roof Deck | Alignment, fastening, surface condition | Creates structural foundation |
| Underlayment | Correct overlap, secure fastening | Secondary moisture protection |
| Waterproof Membrane | Valleys, roof edges, penetrations | Additional leak prevention |
| Drip Edge | Proper overlap and placement | Directs water into gutters |
| Flashing | Chimneys, skylights, vents, valleys | Protects vulnerable roof openings |
| Roofing Material | Alignment, fasteners, exposure | Primary weather barrier |
| Ventilation | Intake and exhaust airflow | Controls attic temperature and moisture |
| Ridge Caps | Secure fastening and alignment | Protects roof peak and completes installation |
Using a structured inspection table helps both contractors and homeowners confirm that every major stage has been completed successfully before moving to the next phase.
Common Checklist Items That Are Often Missed
Even experienced roofing crews can overlook small details when projects become busy or weather conditions create scheduling pressure. Recognizing commonly missed checklist items helps improve installation quality while reducing future maintenance concerns.
One frequently overlooked item is verifying roof deck cleanliness before underlayment installation. Small wood fragments or construction debris trapped beneath waterproof layers may create uneven surfaces that affect roofing material installation.
Another commonly missed detail involves flashing integration. Flashing may appear secure while actually overlapping surrounding materials incorrectly. Careful inspection during installation helps identify these issues before they become future leak points.
Fastener inspection also deserves close attention. Contractors sometimes focus primarily on roofing material alignment while overlooking nail depth or fastening patterns. Routine inspections throughout installation help maintain consistent workmanship.
Ventilation openings should also be checked before the roofing project is completed. Construction materials or insulation occasionally block soffit vents during other building activities, reducing airflow throughout the attic.
Reviewing these commonly overlooked items during each inspection strengthens the overall reliability of the completed roofing system.
Quality Control During Installation
Quality control should be viewed as an ongoing process rather than something performed only after roofing work has been completed. Professional contractors inspect every stage before proceeding to the next, allowing corrections to be made while they remain simple and inexpensive.
Supervisors often review completed work at the end of each day. Structural components, waterproof barriers, flashing, roofing materials, and ventilation systems are all inspected to confirm they meet project specifications and manufacturer requirements.
Photographic documentation has also become increasingly common. Contractors may record completed installation stages before hidden layers are covered, providing valuable reference material for homeowners and warranty records.
Communication between crew members plays an important role in maintaining quality. Questions regarding material placement, installation sequence, or manufacturer recommendations should be addressed immediately rather than after construction progresses further.
Homeowners also benefit from periodic project updates. Reviewing completed milestones with the contractor improves transparency while allowing concerns to be discussed before they affect later stages of construction.
Consistent quality control protects both the contractor’s reputation and the homeowner’s investment by ensuring every roofing component performs its intended function.
Why Following a Checklist Improves Long Term Performance
A residential roofing system functions as a complete assembly where every component supports the performance of the others. Missing or incorrectly completing even one checklist item may reduce the effectiveness of surrounding materials while shortening the overall lifespan of the roof.
Systematic installation improves structural stability, weather resistance, moisture management, and ventilation. Contractors who follow organized checklists create roofing systems that perform more consistently while reducing the likelihood of future repairs.
For homeowners, completed checklists provide confidence that every important installation stage received proper attention. Rather than focusing only on the finished appearance, they gain assurance that hidden components have also been installed correctly.
A carefully followed checklist benefits everyone involved in the project by creating a roofing system designed to provide dependable protection for many years. In the final part of this guide, we will cover the final inspection checklist, site cleanup, warranty documentation, homeowner maintenance responsibilities, and the complete project review that brings a residential roof installation to a successful conclusion.
Final Roof Inspection Checklist
After every roofing component has been installed, the project enters its final and most important quality assurance stage. A thorough final inspection confirms that the roof has been installed according to the construction plans, manufacturer recommendations, and local building codes. Rather than simply looking at the roof from the ground, contractors perform a detailed evaluation of every major component before declaring the project complete.
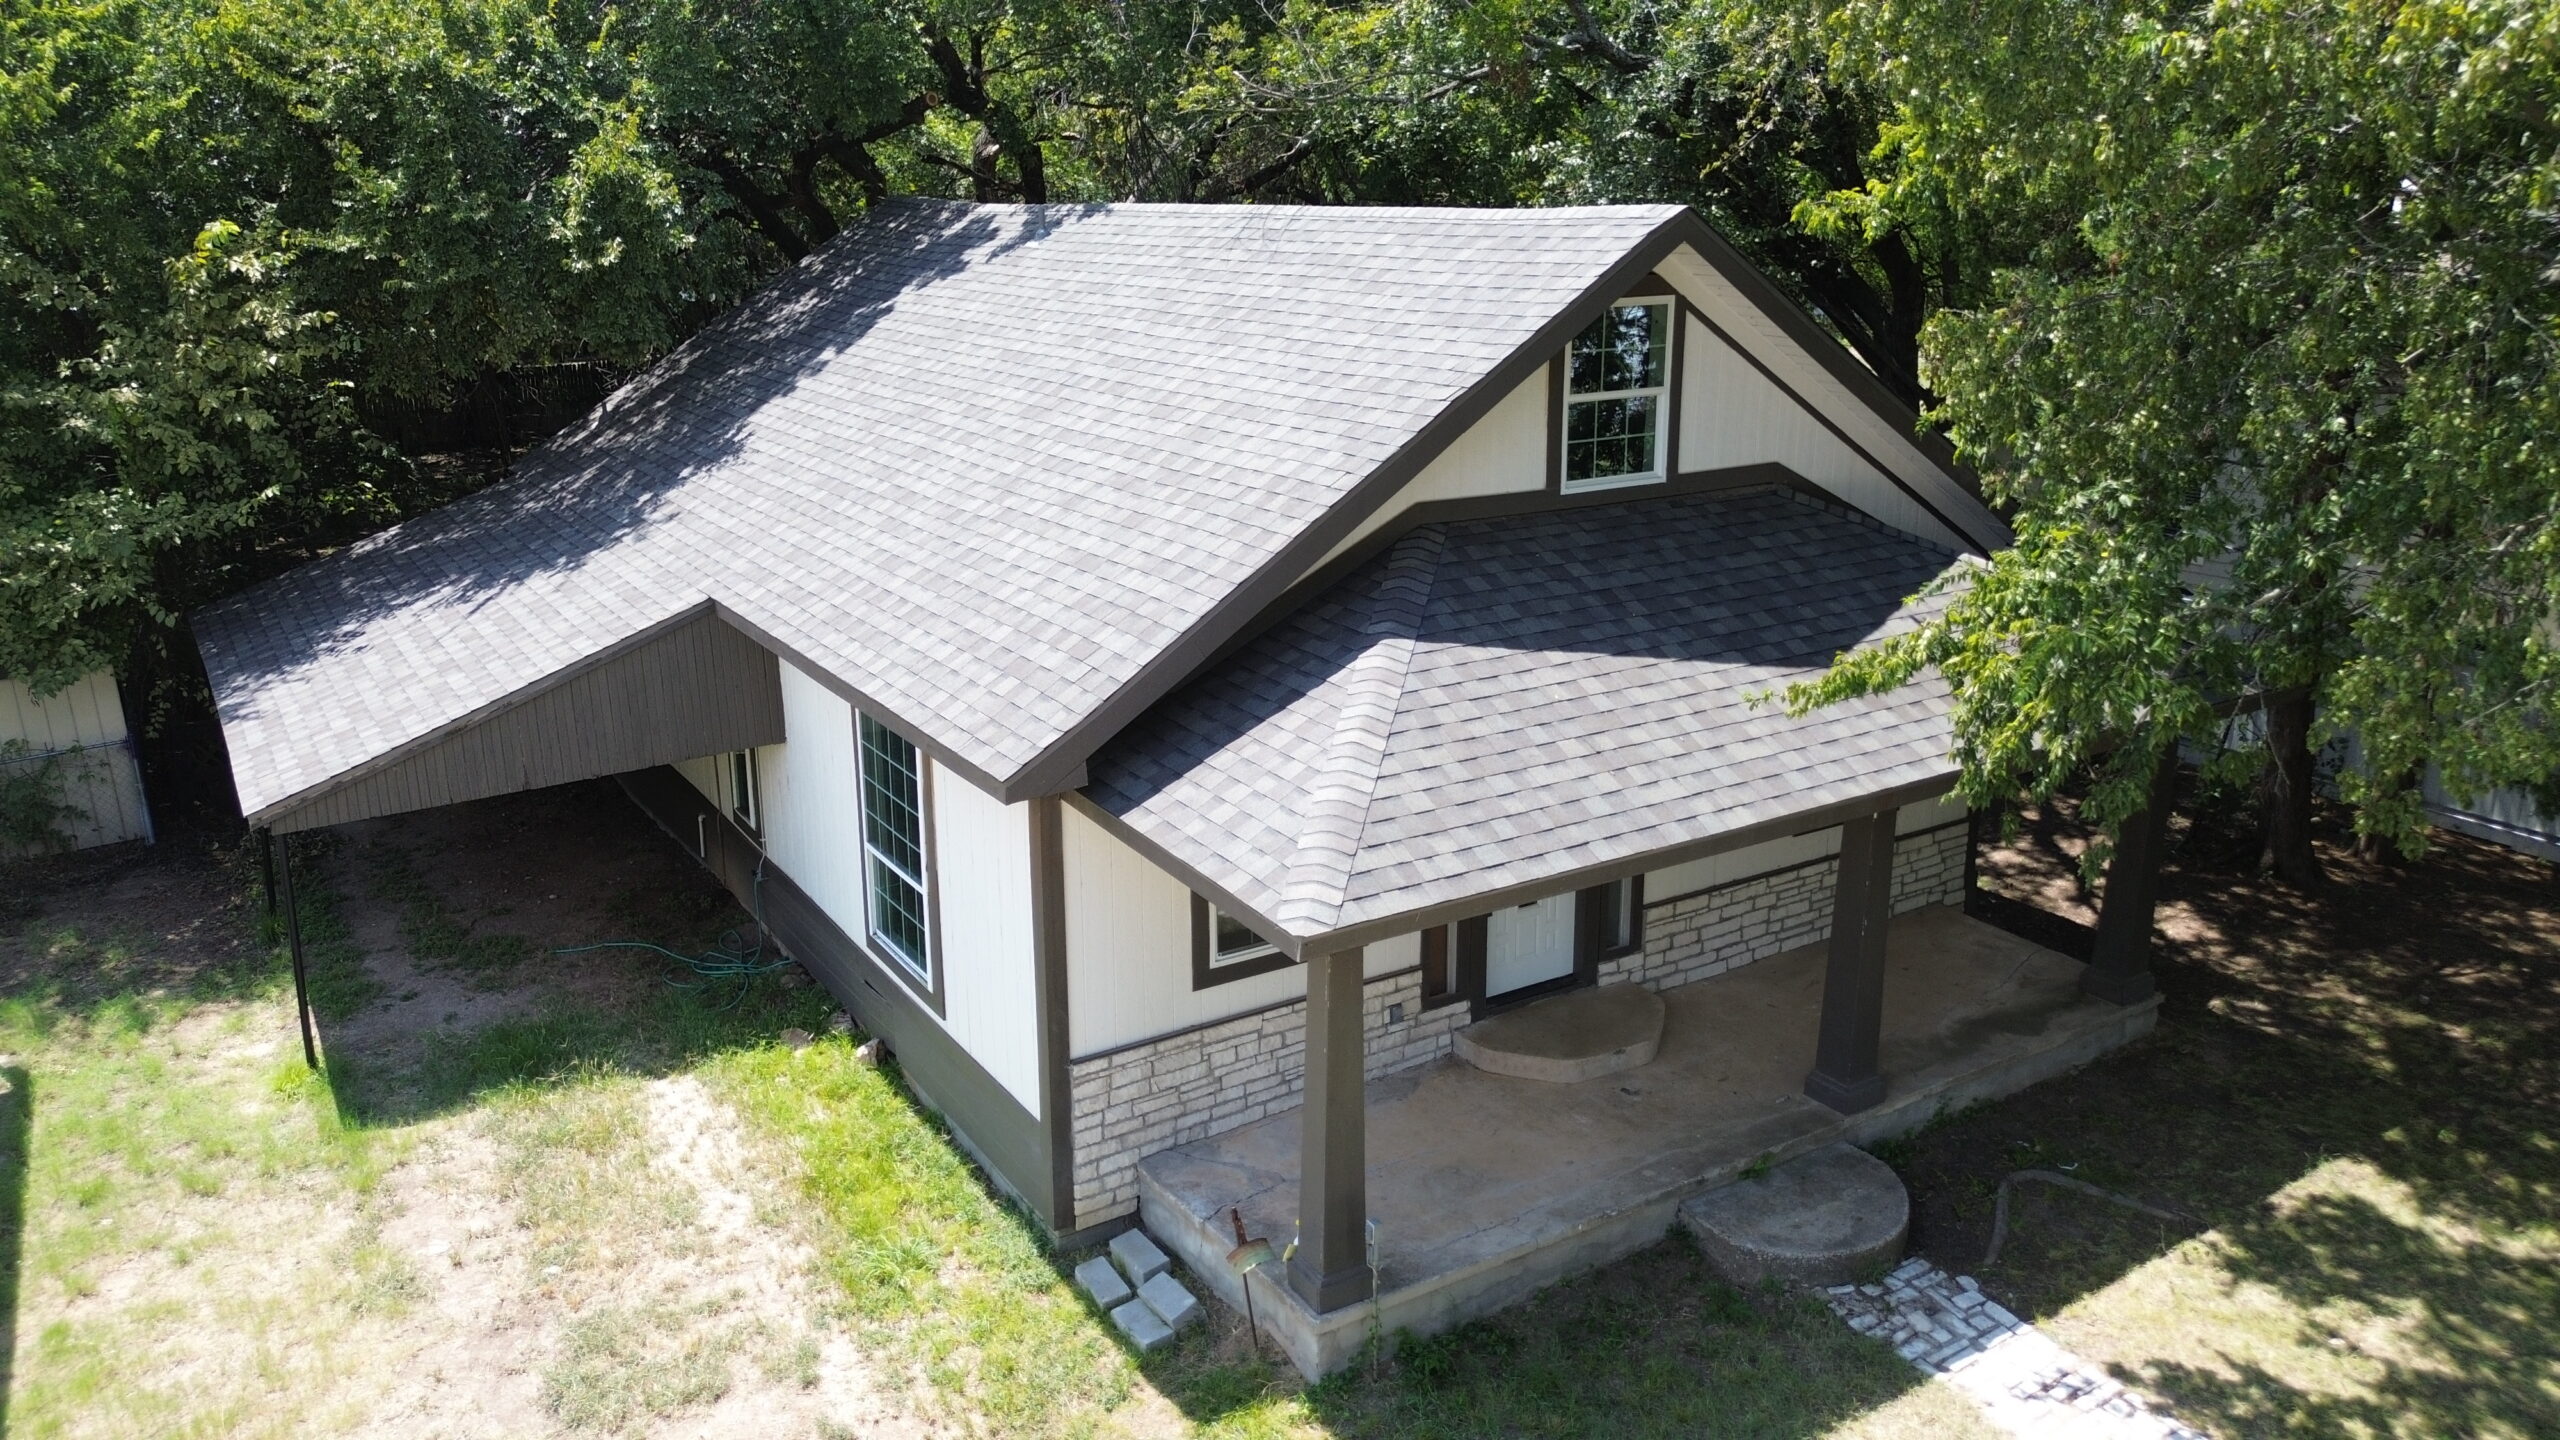
The inspection begins with the overall appearance of the roof. Contractors verify that shingles, metal panels, or other roofing materials are aligned correctly across the entire roof surface. Straight rows, consistent spacing, and secure fastening not only improve appearance but also contribute to long term weather resistance.
Roof edges receive careful attention because they experience constant exposure to wind and rain. Contractors confirm that drip edge, starter strips, and roof edge materials remain securely attached while providing continuous protection around the perimeter of the home.
Flashing around chimneys, skylights, plumbing vents, roof valleys, and wall intersections should also be inspected thoroughly. These areas represent the most common locations for future leaks if installation has not been completed correctly. Every flashing component should overlap surrounding materials properly while directing water away from vulnerable openings.
Ventilation systems are another important inspection point. Ridge vents, soffit vents, and any additional ventilation components should remain free from obstruction. Proper airflow helps regulate attic temperature while reducing moisture accumulation that could shorten the lifespan of roofing materials.
Fasteners should also receive a final review. Contractors inspect exposed fasteners, ridge cap attachment points, and any visible roofing hardware to confirm they have been installed according to manufacturer specifications.
Many contractors also inspect the attic before completing the project. Looking inside the home helps identify unexpected daylight, signs of moisture, or ventilation concerns that may not be visible from the exterior. This additional inspection provides valuable reassurance that the roofing system has been installed correctly.
A complete final inspection allows both contractors and homeowners to confirm that every installation stage has been completed successfully before the project officially ends.
Site Cleanup and Project Completion Checklist
A roofing project should never be considered complete until the property has been thoroughly cleaned and restored. Site cleanup is an important part of professional workmanship because it protects homeowners while demonstrating attention to detail.
Construction debris should first be collected from the roof, surrounding yard, driveways, sidewalks, and other outdoor areas. Packaging materials, underlayment scraps, wood pieces, and other waste should be removed promptly rather than left behind after installation.
Roofing nails require special attention during cleanup. Even a few loose nails can create hazards for family members, pets, visitors, and vehicles. Contractors should perform multiple passes around the property using magnetic sweepers to collect metal debris before leaving the job site.
Gutters should also be inspected after installation has been completed. Roofing granules, wood dust, packaging materials, and construction debris sometimes collect inside the gutter system during installation. Cleaning the gutters ensures rainwater drains properly from the first rainfall onward.
Protective coverings placed over windows, landscaping, patios, or exterior finishes should be removed once construction has been completed. Contractors should also inspect these areas for accidental damage before considering the project finished.
Homeowners benefit from participating in the final property walkthrough. Walking around the home together provides an opportunity to verify cleanup quality while discussing any remaining questions before the contractor leaves the site.
Professional cleanup reflects the same level of care that should be evident throughout every stage of the roofing project.
Warranty Documentation Checklist
Roof installation does not end when the final nail has been driven. Proper documentation is equally important because it provides valuable protection throughout the life of the roofing system. Contractors and homeowners should work together to organize all project records before closing the project.
Material warranty information should be provided by the roofing manufacturer. These documents explain coverage for shingles, metal panels, waterproof membranes, underlayment, and other approved roofing products. Homeowners should verify that warranty registration requirements have been completed if necessary.
Workmanship warranties supplied by the roofing contractor should also be reviewed carefully. These warranties explain what installation related issues are covered, how long protection remains in effect, and how future service requests should be handled.
Additional documentation should include the final invoice, signed contract, permit approvals, inspection reports, material specifications, and maintenance recommendations. Organizing these documents in one location makes them easier to reference in the future.
Many contractors also provide photographs showing hidden roofing layers before they were covered. These images can be useful for future repairs or warranty discussions because they document how the roofing system was constructed.
Keeping complete project records benefits homeowners throughout the life of the roof while providing valuable information if the property is eventually sold.
Maintenance Checklist for Homeowners
Although professional installation provides a strong beginning, every roofing system requires ongoing maintenance to achieve its full lifespan. Following a simple maintenance checklist helps homeowners protect their investment while identifying small concerns before they become major repairs.
Visual roof inspections should be performed several times each year, particularly after severe storms. Missing shingles, displaced flashing, damaged ridge caps, or fallen tree branches should be addressed promptly to prevent additional damage.
Gutters should be cleaned regularly to maintain proper drainage. Leaves, twigs, and debris may restrict water flow, causing moisture to collect near roof edges. Consistent gutter maintenance protects fascia boards, soffits, and roof decking from unnecessary water exposure.
Tree branches extending over the roof should also be trimmed when necessary. Branches rubbing against roofing materials may damage protective surfaces while dropping leaves that retain moisture. Maintaining adequate clearance improves both roof condition and overall property safety.
Homeowners should periodically inspect the attic for signs of moisture, mold, unusual odors, or unexpected daylight. These observations may indicate developing roofing or ventilation concerns that deserve professional evaluation.
Professional roof inspections every few years provide additional confidence. Experienced contractors can identify subtle signs of wear that homeowners may not notice while recommending preventive maintenance before larger problems develop.
Consistent maintenance protects every roofing layer while helping homeowners avoid costly repairs throughout the roof’s lifespan.
Questions Contractors and Owners Should Review Together
Strong communication between contractors and homeowners continues even after installation has been completed. A final discussion helps ensure everyone understands the completed roofing system while addressing any remaining questions before closing the project.
Some important questions include:
- Are all installation stages complete according to the project specifications?
- Have all required inspections been approved?
- What maintenance schedule should the homeowner follow?
- Which roofing materials were installed?
- How does the ventilation system operate?
- What signs indicate future repairs may be needed?
- Who should be contacted for warranty service?
- How often should professional roof inspections be scheduled?
These conversations provide homeowners with valuable knowledge while confirming that contractors have fulfilled their responsibilities. Open communication also creates confidence in the quality of the completed roofing project.
Documenting the answers to these questions provides useful reference material long after construction has been completed.
Complete Residential Roof Installation Checklist Summary
The following checklist summarizes the major steps that contractors and homeowners should verify throughout the roofing project.
- Review architectural plans and roofing specifications.
- Confirm roof framing has passed structural inspection.
- Inspect roof deck alignment, fastening, and cleanliness.
- Verify underlayment covers the complete roof surface.
- Confirm waterproof membranes protect vulnerable areas.
- Inspect drip edge installation around roof edges.
- Verify flashing surrounds chimneys, skylights, vents, and valleys.
- Check roofing material alignment and fastening.
- Confirm ridge caps and ventilation systems have been installed.
- Complete the final roof inspection.
- Remove all debris and perform magnetic nail collection.
- Clean gutters and inspect exterior property condition.
- Review warranty documents and maintenance recommendations.
- Organize project records and inspection reports.
- Schedule future maintenance inspections.
Following this complete checklist helps ensure every important aspect of the roofing project receives proper attention before the home is occupied.
Common Post Installation Mistakes to Avoid
Even after professional installation has been completed, certain homeowner actions may reduce the lifespan of the roofing system. Understanding these common mistakes helps protect the roof while minimizing unnecessary repairs.
One mistake is postponing small repairs. Minor flashing movement, loose shingles, or clogged gutters often appear insignificant initially, but they may eventually allow moisture to reach structural components if ignored. Prompt maintenance usually prevents larger repair costs later.
Walking on the roof unnecessarily is another avoidable mistake. Roofing materials may become damaged by repeated foot traffic, especially during hot weather when asphalt shingles become softer. Whenever possible, roof inspections should be performed from the ground or by qualified professionals.
Some homeowners also install satellite dishes, solar panels, or decorative lighting without consulting roofing professionals. Improper attachment methods may damage roofing materials or create openings where water can enter the roofing system. Professional installation helps avoid these risks.
Ignoring attic ventilation can also affect roof performance. Blocking soffit vents with storage items or insulation reduces airflow while increasing heat and moisture buildup. Maintaining clear ventilation pathways supports both roofing materials and structural wood components.
Avoiding these common mistakes allows homeowners to preserve the quality of their roofing investment for many years.
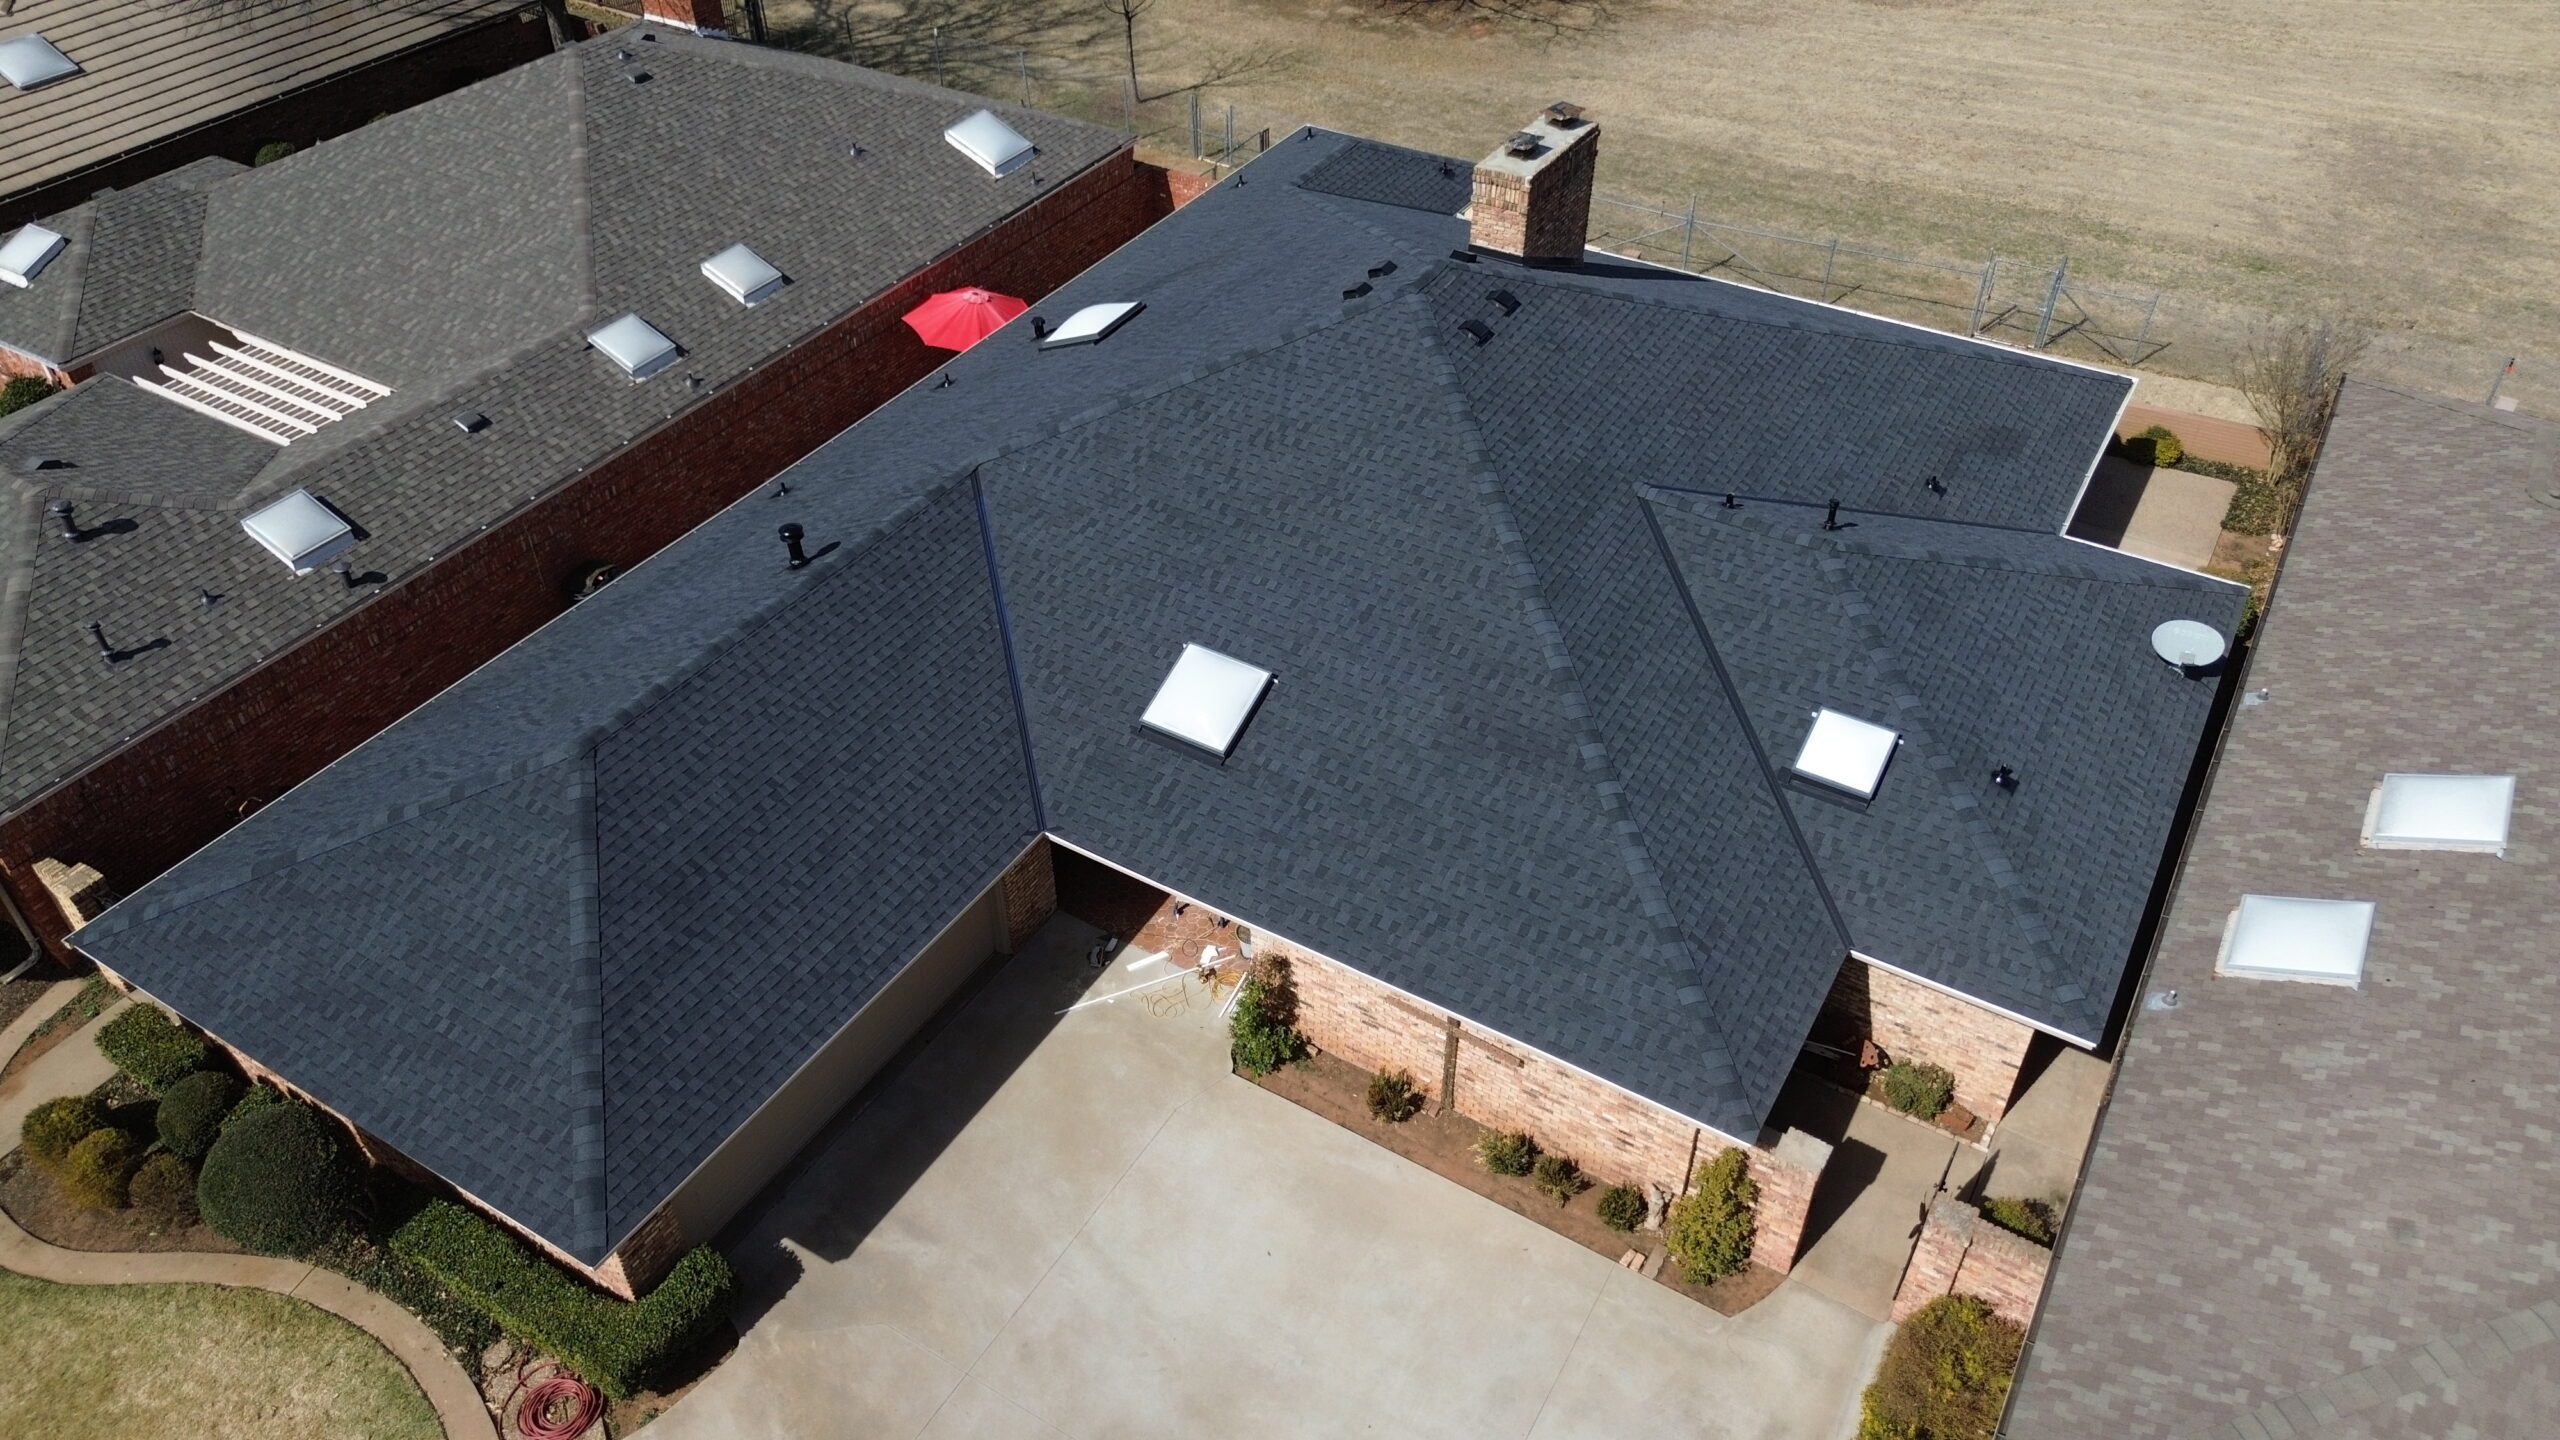
Building a Long Lasting Roofing System Through Teamwork
A successful residential roof installation depends on cooperation between contractors and homeowners rather than the efforts of only one party. Contractors contribute technical knowledge, professional workmanship, and construction experience, while homeowners support the project through informed decision making, communication, and ongoing maintenance.
Using a shared checklist creates common expectations throughout the roofing project. Contractors understand which quality standards must be achieved, and homeowners gain confidence by following the project’s progress through clearly defined milestones.
Regular communication helps address questions before they become misunderstandings. Whether discussing material choices, scheduling adjustments, warranty coverage, or maintenance recommendations, open conversations strengthen the overall success of the roofing project.
This teamwork continues long after construction has been completed. Contractors remain available for inspections and warranty support, while homeowners protect the roofing system through routine maintenance and timely repairs. Together, these efforts maximize the lifespan and performance of the completed roof.
Conclusion
A residential roof installation involves much more than placing roofing materials on top of a home. It is a carefully organized process that includes planning, structural inspections, waterproofing, flashing, ventilation, quality control, cleanup, documentation, and long term maintenance. Every stage contributes to the strength, durability, and weather resistance of the finished roofing system.
Throughout this guide, we developed a comprehensive roof installation checklist designed for both contractors and homeowners. From early project planning and roof deck preparation to final inspections, warranty documentation, and maintenance, each checklist item serves an important purpose in achieving a successful roofing project. Following these steps helps reduce installation errors while ensuring hidden roofing components receive the same attention as the visible finished roof.
For contractors, organized checklists improve consistency, simplify quality control, and promote professional workmanship across every project. For homeowners, they provide greater understanding of the roofing process while creating confidence that every important stage has been completed correctly. Shared expectations encourage better communication and stronger working relationships throughout construction.
The roofing system installed on a home today will protect the structure for decades when built correctly and maintained consistently. Investing time in careful planning, quality materials, professional installation, and regular inspections ensures that investment continues providing reliable performance year after year.
Ultimately, the most successful residential roof installations are those completed through preparation, attention to detail, and ongoing cooperation between contractors and homeowners. By following a structured checklist from the first planning meeting through long term maintenance, both parties contribute to a durable, efficient, and dependable roofing system that protects the home and everyone inside it for many years to come.