

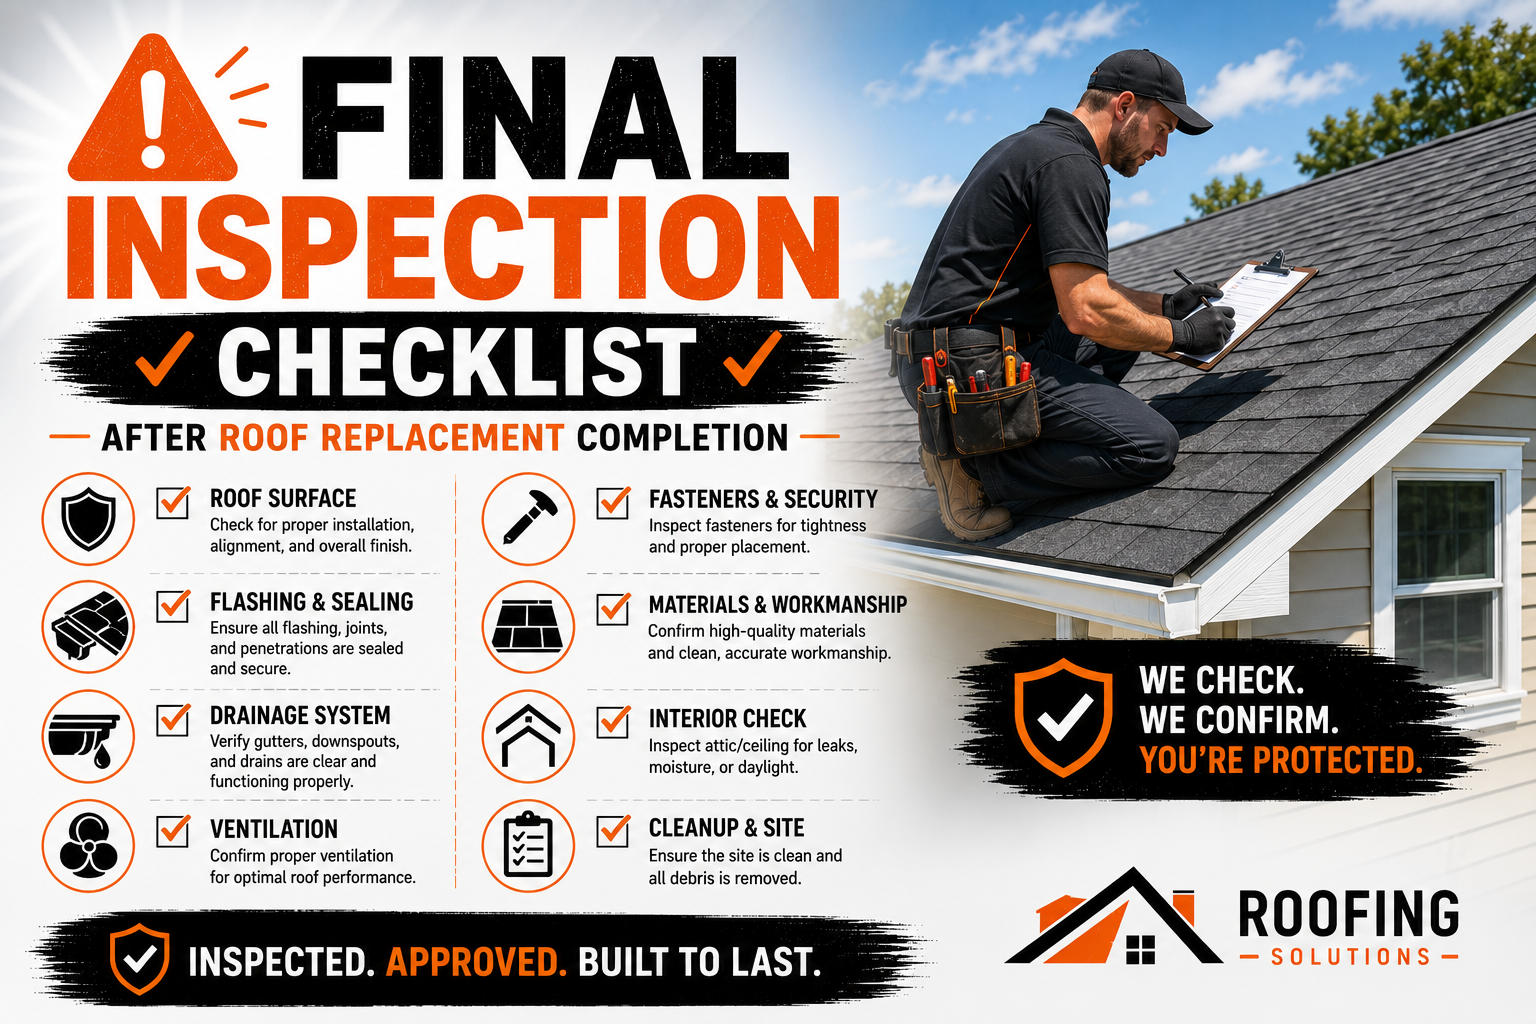
Final Inspection Checklist After Roof Replacement Completion
Introduction
Completing a roof replacement is a major milestone, but the project is not truly finished until a thorough final inspection has been completed. While the installation process focuses on removing old materials and building a new roofing system, the final inspection verifies that every component has been installed correctly and performs as intended. This step helps ensure the roof provides long term protection against weather, moisture, and structural damage.
Professional roofing contractors treat the final inspection as one of the most important stages of the entire replacement project. Instead of performing a quick visual review, they carefully examine roofing materials, flashing, ventilation systems, drainage components, and structural details to confirm that the completed roof meets industry standards. Every section is evaluated because even small installation errors can affect the overall performance of the roofing system over time.
A detailed inspection also gives homeowners confidence in the quality of the work that has been completed. Rather than simply accepting the finished roof at face value, they can better understand how the contractor verifies workmanship and ensures the roof is ready to withstand years of changing weather conditions. This process also provides an opportunity to identify and correct any remaining concerns before the project is officially closed.
The final inspection serves additional purposes beyond quality control. It helps confirm compliance with building codes, supports manufacturer warranty requirements, documents the condition of the completed roof, and ensures the property has been cleaned thoroughly after construction. These steps protect both the homeowner and the contractor while creating a clear record of the completed work.
This guide explains the complete final inspection checklist after roof replacement completion, beginning with why the inspection is essential and continuing through each area that professional roofing contractors evaluate before declaring the project complete.
Why the Final Roof Inspection Is Essential
The final roof inspection is much more than a routine formality. It is the contractor’s opportunity to verify that every stage of the installation has been completed correctly and that the roofing system functions as a complete, integrated structure. Because the roof protects the entire building, even small installation issues deserve careful attention before the project is considered finished.
One of the primary goals of the inspection is to identify any deficiencies that may have developed during installation. Although experienced roofing crews follow strict quality standards throughout construction, a final review provides an additional layer of quality assurance. Minor adjustments made during this stage can prevent more significant problems from developing after the roof has been exposed to changing weather conditions.
The inspection also helps protect the homeowner’s investment. A roof replacement represents a significant financial commitment, and verifying proper installation helps maximize the lifespan of the roofing system. Confirming that all components meet manufacturer recommendations also supports warranty protection, reducing the risk of future disputes if repairs become necessary.
Building code compliance is another important reason for conducting a comprehensive inspection. Roofing systems must satisfy local construction regulations related to structural integrity, moisture protection, ventilation, and fire safety. Contractors verify that these requirements have been met before the project moves to final approval.
The inspection also provides an opportunity for clear communication between the contractor and the homeowner. Contractors explain the completed work, answer questions, discuss maintenance recommendations, and review warranty documentation. This educational discussion helps homeowners understand how to care for their new roof while recognizing signs that may require future professional attention.
A carefully performed final inspection demonstrates professionalism and ensures that the roof replacement concludes with the same level of attention to detail that guided the installation process.
When the Final Inspection Takes Place
The timing of the final inspection is carefully planned so every component of the roofing system can be evaluated after installation has been completed. Conducting the inspection too early may result in unfinished work being overlooked, while waiting unnecessarily may delay project completion and homeowner approval.
Most roofing contractors schedule the inspection immediately after all installation activities have been completed and the work site has undergone an initial cleanup. At this stage, ridge caps, flashing, ventilation components, gutters, and all visible roofing materials have already been installed according to the project specifications.
Before beginning the inspection, contractors verify that temporary equipment such as ladders, scaffolding, debris chutes, and unused roofing materials have been removed from the roof surface. This provides clear access to the completed roofing system and allows inspectors to evaluate the finished installation without construction equipment interfering with their observations.
If local building authorities require an official inspection, contractors coordinate the timing with municipal inspectors. In many areas, the contractor performs an internal quality review before the government inspection takes place. This allows any minor corrections to be completed before the official evaluation occurs.
Weather conditions also influence inspection timing. Contractors generally perform the final inspection under safe weather conditions that allow them to examine the roof surface carefully. Heavy rain, snow, or strong winds may temporarily delay the inspection until visibility and safety improve.
Scheduling the inspection at the appropriate point in the project ensures that the roofing system is evaluated in its completed state while allowing any remaining concerns to be corrected efficiently.
Preparing for the Final Roof Inspection
Preparation plays an important role in ensuring the inspection proceeds smoothly and thoroughly. Before inspectors begin evaluating the roof, contractors organize documentation, verify project completion, and prepare both the property and the homeowner for the walkthrough.
One of the first preparation steps involves reviewing the original project scope. Contractors compare the completed installation with the approved proposal to confirm that all specified materials, accessories, and system components have been installed. This review helps ensure nothing has been overlooked during construction.
Project documentation is also assembled before the inspection. Material specifications, installation records, permit information, warranty details, and photographs taken during construction may all be reviewed as part of the final evaluation. These records provide valuable reference information while demonstrating that installation followed manufacturer recommendations.
Contractors typically perform a preliminary cleanup before inviting the homeowner to inspect the completed roof. Construction debris is removed, gutters are cleared, and surrounding landscaping is checked for nails or leftover materials. Presenting a clean property creates a more accurate impression of the finished project.
Homeowners may also be informed about what to expect during the inspection. Contractors explain which roof areas will be reviewed, whether attic access may be required, and approximately how long the inspection will take. Clear communication helps homeowners participate confidently in the final walkthrough.
Preparing thoroughly before the inspection reduces the likelihood of delays while ensuring every important aspect of the roof replacement receives appropriate attention.
Exterior Roof Surface Inspection
The exterior roof surface is the first major area examined during the final inspection. Although the roof may appear complete from the ground, contractors inspect it closely to verify that every visible component has been installed according to professional standards.
Inspectors begin by evaluating the overall appearance of the roof. Roofing materials should display consistent alignment, uniform spacing, and an even surface across all roof sections. Variations in pattern, uneven rows, or noticeable gaps may indicate installation issues requiring correction.
The roof surface is also examined for physical damage that may have occurred during construction. Broken shingles, scratched metal panels, chipped tiles, or damaged protective coatings are identified and replaced before the project is approved. Maintaining the integrity of every roofing component contributes to both appearance and long term performance.
Attention is given to fastening methods as well. Inspectors verify that roofing materials are secured properly without exposed fasteners appearing where they should remain concealed. Proper fastening improves resistance to wind while helping maintain manufacturer warranty requirements.
Drainage patterns are evaluated by observing roof slopes, valleys, and transitions. Roofing materials should be positioned so water naturally flows toward gutters without encountering obstructions or areas where standing water could develop during heavy rainfall.
A thorough exterior inspection establishes the overall condition of the roofing system while providing the foundation for evaluating more detailed components throughout the remainder of the inspection process.
Checking Roofing Material Installation Quality
Beyond general appearance, contractors carefully evaluate the quality of the roofing material installation itself. Every roofing product has specific manufacturer guidelines governing placement, overlap, fastening, and alignment. Following these requirements ensures the roof performs as designed throughout its expected service life.
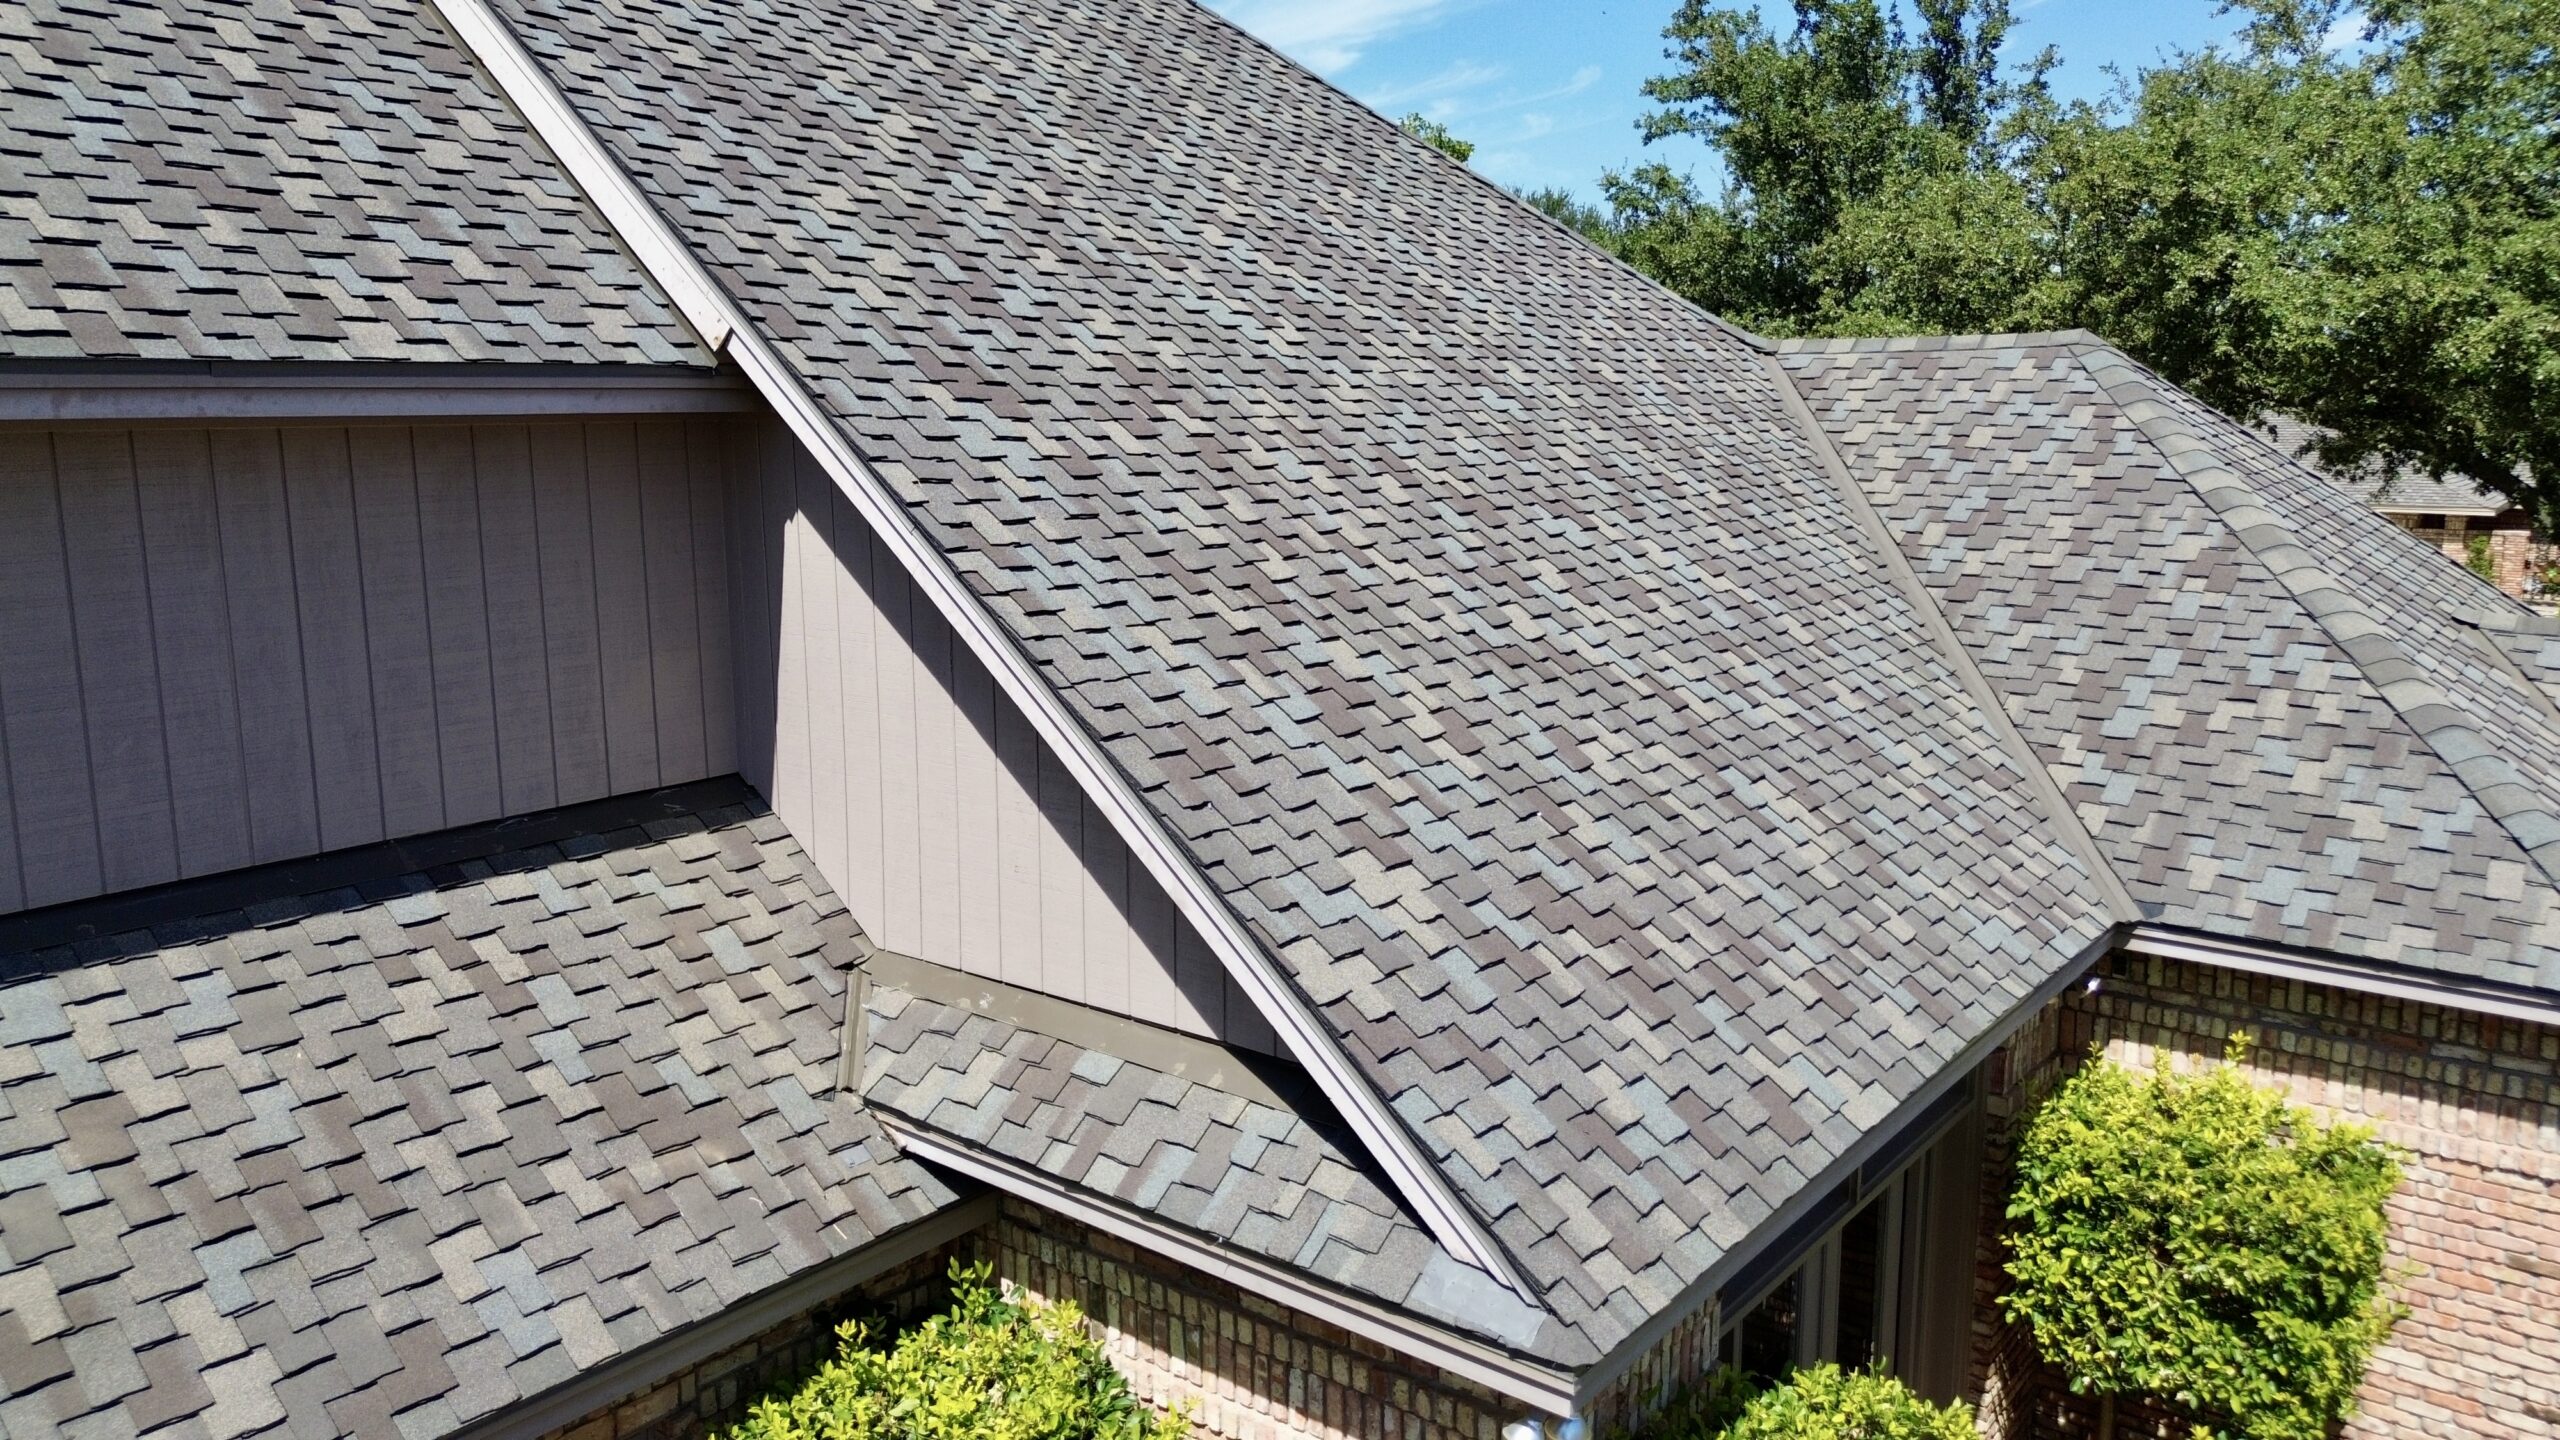
For asphalt shingle roofs, inspectors examine the alignment of each course while confirming that shingles overlap correctly. They verify that staggered joints have been maintained according to installation specifications and that no lifted or improperly seated shingles remain.
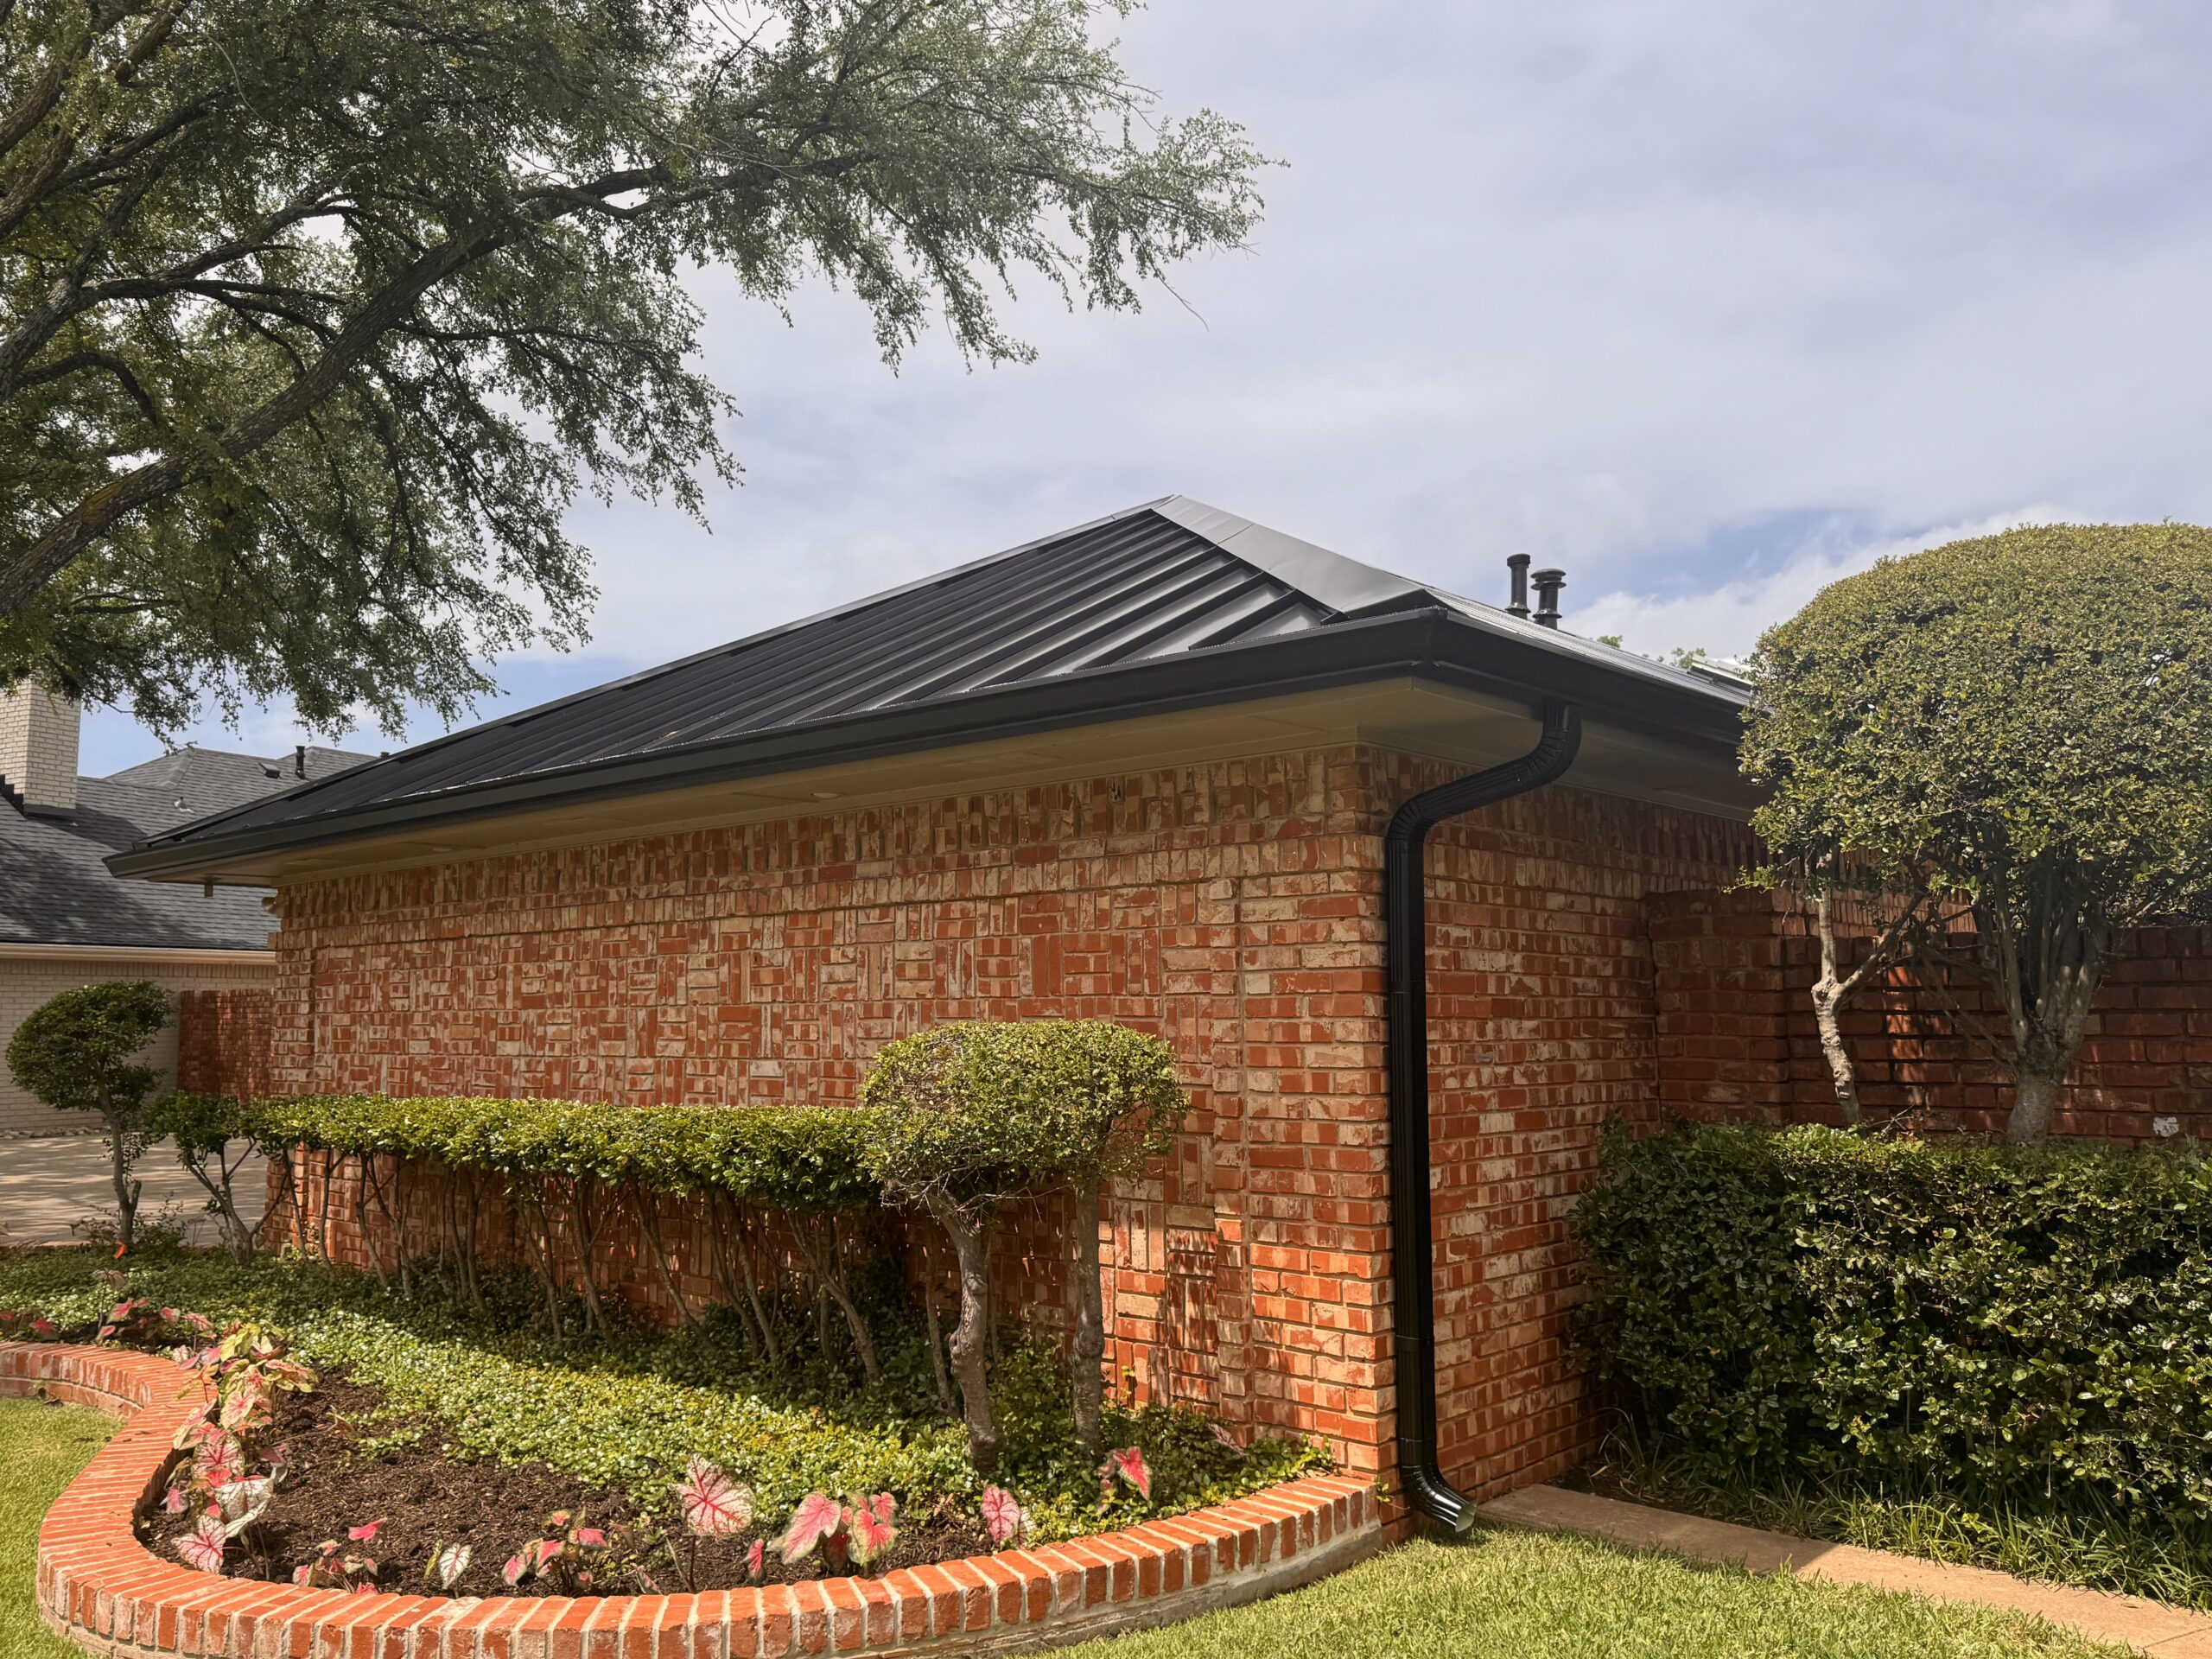
Metal roofing systems receive a different type of evaluation. Inspectors examine panel alignment, seam integrity, fastener placement, and expansion allowances. Proper spacing is especially important because metal expands and contracts as temperatures change throughout the year.
Tile roofs are inspected for secure attachment, consistent spacing, and proper overlap between individual tiles. Broken or cracked tiles discovered during the inspection are replaced immediately to maintain weather resistance and appearance.
Contractors also verify that compatible roofing accessories have been installed throughout the system. Starter strips, ridge caps, drip edges, and underlayment transitions are reviewed to ensure they function together as intended rather than as separate components.
Rather than relying solely on visual appearance, inspectors compare installation details with manufacturer specifications whenever necessary. This careful evaluation helps protect warranty coverage while confirming the roof has been installed according to accepted industry practices.
Inspecting Roof Edges, Ridges, and Valleys
Certain sections of the roof experience greater exposure to wind, water, and changing weather conditions than others. Roof edges, ridges, and valleys therefore receive additional attention during the final inspection because these areas play an essential role in protecting the building from moisture intrusion.
Roof edges are inspected to verify that drip edges have been installed securely and align correctly with the roofing material. Inspectors confirm that water will flow efficiently into the gutter system rather than behind fascia boards or beneath the roof covering.
The ridge area is evaluated for proper installation of ridge caps and ventilation components where applicable. Ridge caps should remain securely fastened while maintaining consistent alignment across the highest point of the roof. If ridge vents are installed, inspectors verify that airflow remains unobstructed beneath the protective cap system.
Roof valleys require especially careful examination because they collect large volumes of rainwater during storms. Contractors inspect valley flashing, roofing material overlap, and drainage pathways to ensure water can move freely without entering beneath the roof covering.
Inspectors also evaluate roof transitions where different roof slopes meet. These intersections must maintain continuous weather protection while accommodating natural building movement over time.
Because these areas experience some of the greatest environmental stress, careful inspection helps prevent future leaks and extends the overall lifespan of the roofing system.
Examining Flashing Around Roof Penetrations
Flashing is one of the most critical components of any roofing system because it protects locations where the roof surface is interrupted by structural features. During the final inspection, contractors examine every flashing installation carefully to confirm that water cannot enter through these vulnerable areas.
Chimneys receive detailed attention because they create large roof penetrations exposed to continuous weather. Inspectors verify that step flashing and counter flashing overlap correctly while remaining securely attached to both the chimney and the surrounding roofing material.
Plumbing vents are inspected to ensure pipe boots fit tightly around each penetration without visible gaps or damage. The flexible sealing materials should remain intact while allowing for normal movement caused by temperature changes.
Skylights, roof vents, satellite mounts, and other roof accessories are also examined carefully. Flashing around these features should direct water away from openings while integrating smoothly with the surrounding roofing system.
Inspectors check sealants where appropriate, but they do not rely solely on sealant for waterproofing. Proper flashing design should provide mechanical water protection even as sealants naturally age over time.
Every flashing component must work together with the roofing material to create a continuous barrier against moisture. Completing this detailed evaluation before project approval helps ensure the roof will continue protecting the building effectively through years of changing weather conditions.
Inspecting Roof Ventilation Components
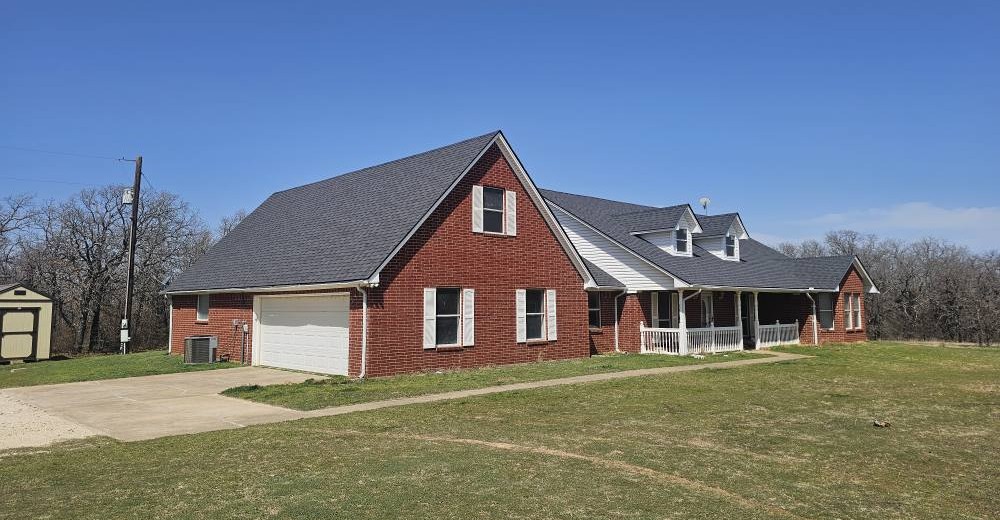
A properly installed roof does more than keep water out. It also allows the building to breathe through an effective ventilation system. During the final inspection, roofing contractors carefully evaluate all ventilation components to confirm they are functioning correctly and supporting the long term performance of the new roofing system.
The inspection begins by examining intake and exhaust ventilation. Soffit vents, ridge vents, roof vents, or gable vents are checked to ensure they are securely installed and free from obstructions. Proper airflow allows fresh air to enter while warm, moisture laden air exits the attic naturally.
Contractors also verify that ventilation components have been integrated correctly with the roofing materials. Ridge vents should be protected by properly installed ridge caps, while roof vents should be surrounded by correctly installed flashing that prevents water intrusion without restricting airflow.
Inspectors confirm that vents have not been blocked accidentally by insulation, roofing materials, or construction debris. Restricted airflow can reduce energy efficiency, increase attic temperatures during summer, and contribute to moisture buildup during colder months.
Balanced ventilation is another important consideration. Contractors evaluate whether intake and exhaust ventilation work together effectively rather than relying excessively on one type of vent. A balanced system improves roof performance while helping roofing materials achieve their expected lifespan.
A thorough ventilation inspection ensures the new roofing system supports both weather protection and healthy airflow throughout the building.
Evaluating Gutters and Drainage Systems
An effective roofing system depends on proper drainage. Even the highest quality roofing materials cannot perform well if rainwater is not directed safely away from the building. For this reason, contractors include gutters and drainage systems as an important part of the final inspection.
The inspection begins by checking gutter alignment along the roof edges. Gutters should maintain a consistent slope that encourages water to flow naturally toward the downspouts without creating standing water inside the gutter channels.
Contractors also inspect gutter attachment points to confirm they remain secure after roof replacement. Fasteners should hold the gutters firmly without causing distortion or movement that could affect drainage performance during heavy rainfall.
Downspouts are evaluated to ensure they remain free of construction debris. Roofing granules, nails, pieces of underlayment, and packaging materials are removed before project completion so water can flow without obstruction.
Inspectors also examine drip edges and roof edges to verify that water transitions smoothly from the roofing material into the gutters. Improper alignment at these locations can cause water to flow behind the gutters, potentially damaging fascia boards, siding, or the building foundation.
The surrounding drainage system is reviewed as well. Contractors confirm that downspouts discharge water away from the building rather than allowing it to accumulate near the foundation.
Proper drainage protects not only the roof but also the entire structure by reducing the likelihood of moisture related damage around the property.
Interior Inspection for Signs of Water Intrusion
Although much of the final inspection focuses on the exterior, the interior of the building also provides valuable information about the performance of the newly installed roofing system. Contractors inspect interior areas to verify that no signs of water intrusion remain following the roof replacement.
Ceilings are examined for water stains, discoloration, peeling paint, or damaged drywall that could indicate active moisture problems. While older stains may remain from previous leaks, contractors confirm that no new moisture is entering the building after installation.
Walls near roof intersections and upper floor ceilings receive additional attention because these areas often reveal hidden leaks more quickly than other parts of the home. Inspectors also look for unusual odors that may suggest ongoing moisture accumulation.
If recent rainfall has occurred before the inspection, contractors carefully evaluate whether any new leaks have developed. The absence of fresh moisture provides additional confidence that flashing, underlayment, and roofing materials are performing correctly.
In some situations, contractors may use moisture detection equipment to evaluate suspicious areas without causing damage to interior finishes. These tools help identify hidden moisture before it develops into more serious structural concerns.
The interior inspection complements the exterior evaluation by confirming that the completed roofing system is effectively protecting the living space below.
Checking the Attic After Roof Replacement
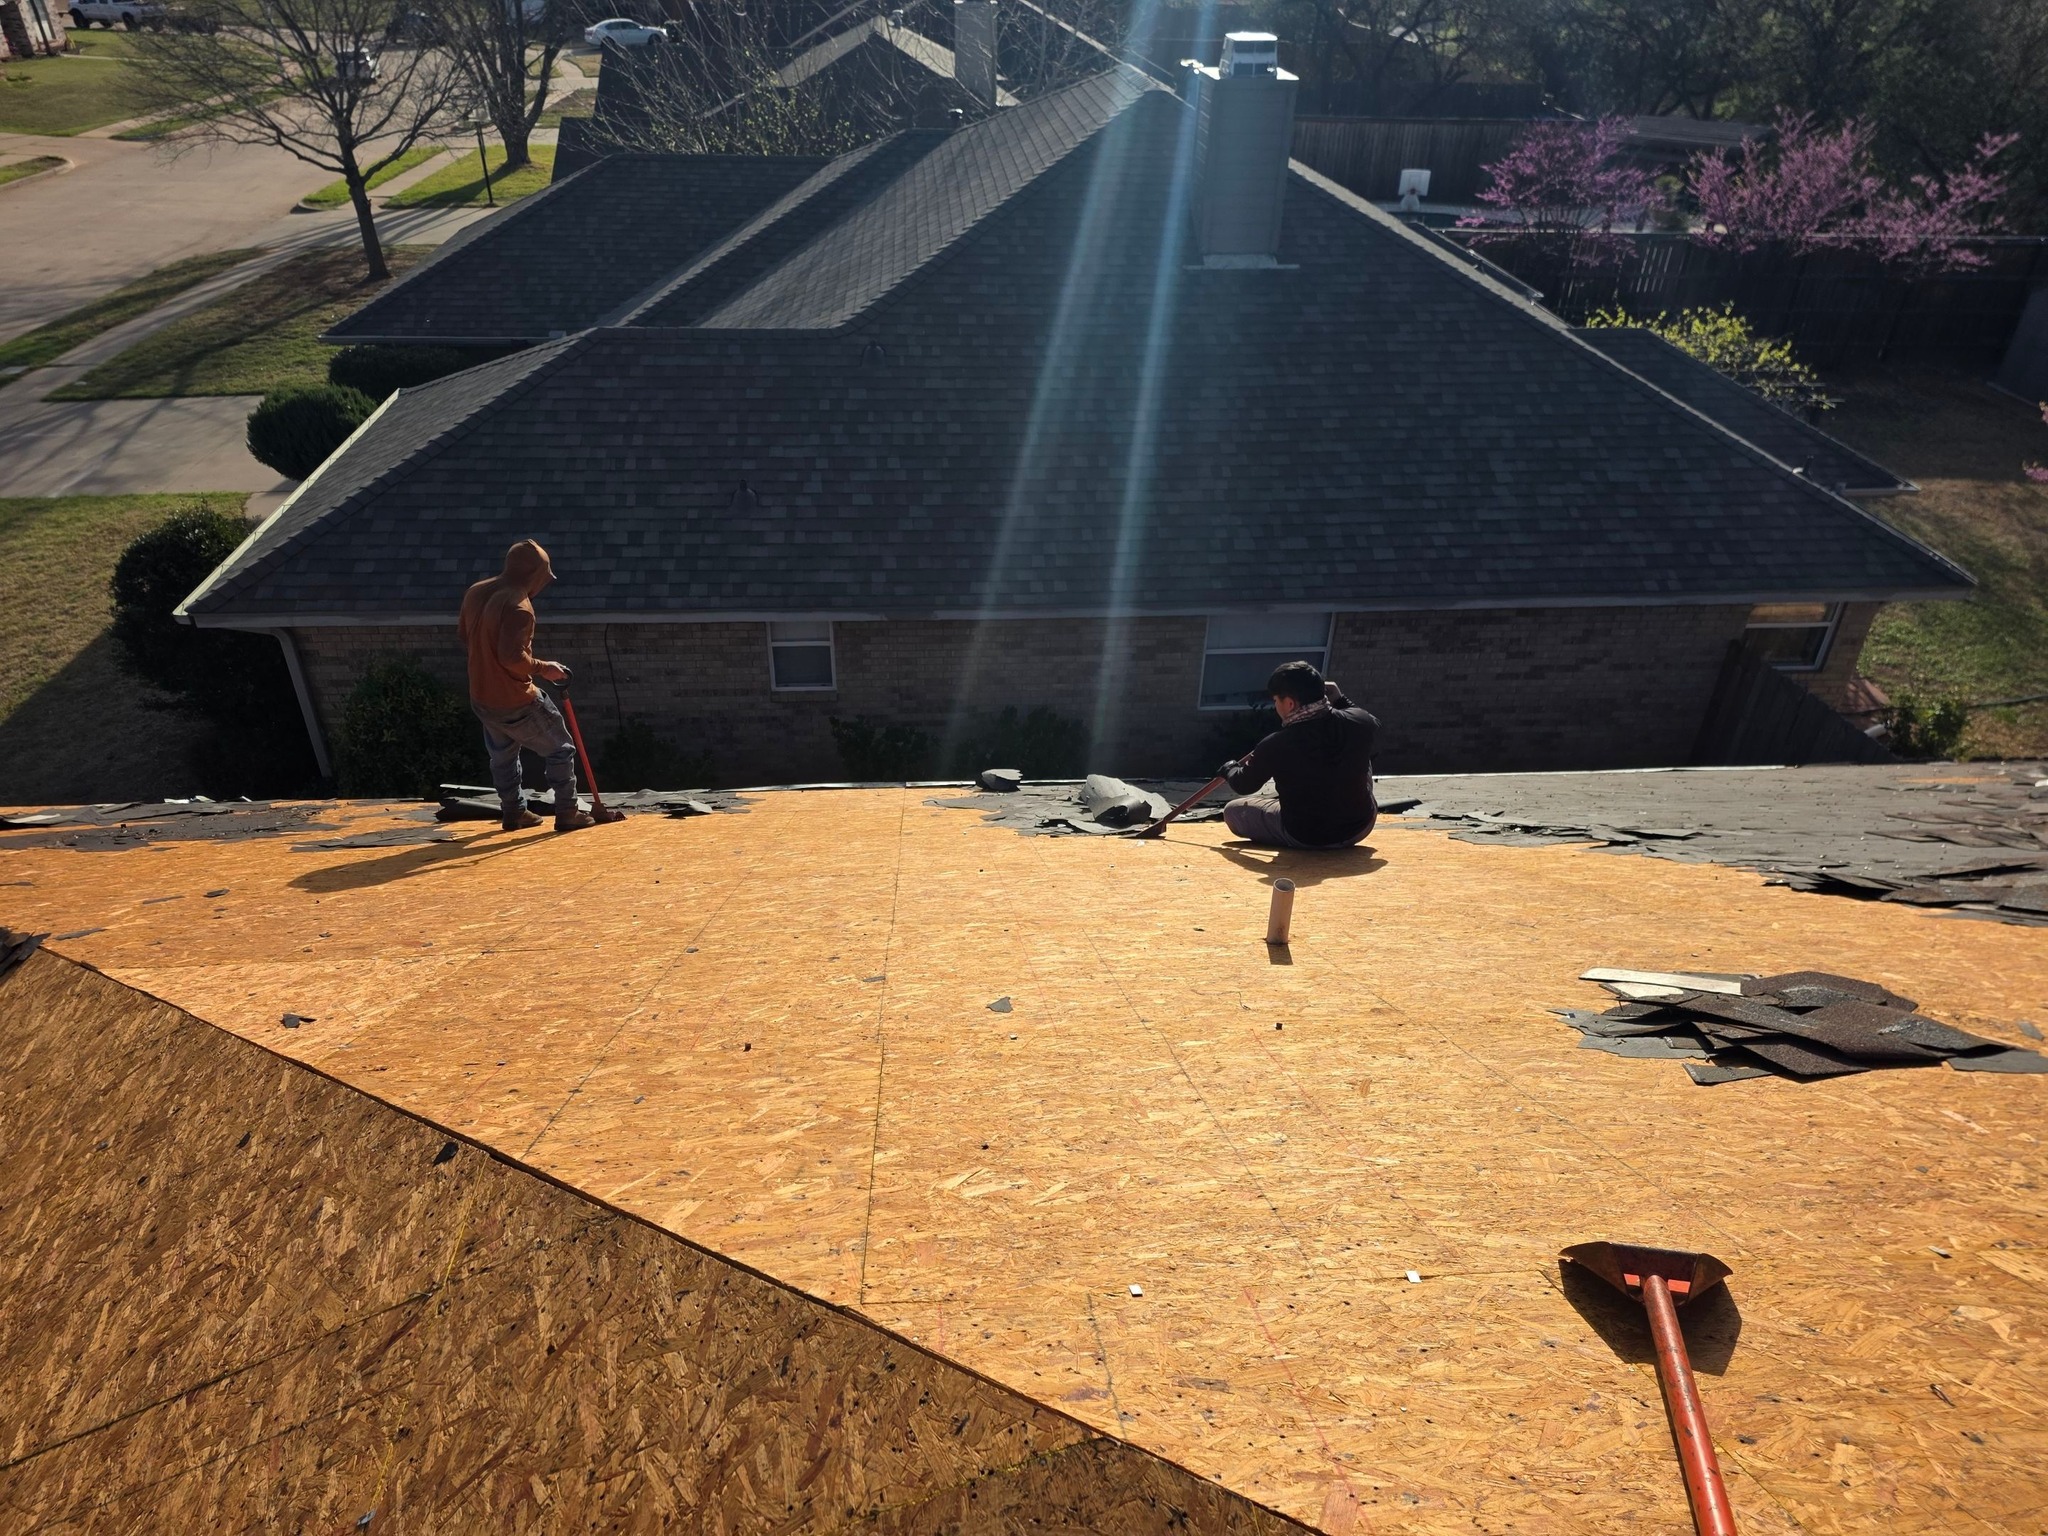
The attic provides direct access to the underside of the roofing system, making it one of the most valuable locations during the final inspection. Evaluating attic conditions helps contractors verify that ventilation, structural components, and moisture protection are all functioning as intended.
Inspectors first look for signs of daylight entering through the roof. Visible light passing through the roof structure may indicate gaps around flashing, vents, or other penetrations that require additional attention before project completion.
The attic is also checked for moisture. Damp insulation, condensation, mold growth, or water stains may suggest ventilation problems or hidden leaks that are not immediately visible from the roof surface. Identifying these concerns early helps prevent future structural damage.
Roof framing components are examined for signs of movement or stress that may have developed during construction. Contractors verify that rafters, trusses, and supporting members remain in good condition while providing stable support for the new roofing system.
Ventilation performance is evaluated from inside the attic as well. Inspectors confirm that air pathways remain open and that insulation has not blocked soffit vents or restricted airflow between intake and exhaust ventilation.
By combining attic observations with exterior findings, contractors gain a more complete understanding of how the roofing system is performing as an integrated structure.
Reviewing Structural Integrity and Roof Deck Performance
The roof deck serves as the structural foundation of the roofing system, making its condition an important consideration during the final inspection. Even though much of the roof deck is concealed beneath the finished roofing materials, contractors evaluate its performance through visible indicators and installation records.
Inspectors verify that any damaged sections identified during roof replacement were repaired or replaced before installation continued. Documentation prepared during construction often confirms where structural repairs were completed and which materials were used.
The roof surface is examined for signs of unevenness, sagging, or movement that might indicate structural concerns beneath the roofing materials. A properly supported roof should display a smooth and consistent appearance across all sections.
Contractors also review fastening methods used to secure the roof deck where repairs were performed. Proper attachment improves structural stability while helping the roof resist wind uplift and other environmental forces.
Attention is given to transitions between repaired and original roof deck sections. These areas should remain level and provide continuous support beneath the roofing materials without creating visible irregularities.
Reviewing structural integrity during the final inspection helps confirm that the roofing system rests on a strong foundation capable of supporting long term performance.
Confirming Compliance with Building Codes and Manufacturer Guidelines
Professional roof replacement projects must satisfy both local building regulations and manufacturer installation requirements. During the final inspection, contractors verify that the completed roof complies with these standards before considering the project complete.
Building codes establish minimum requirements for roofing systems related to structural safety, moisture protection, ventilation, fire resistance, and drainage. Contractors review completed work to ensure every applicable requirement has been addressed throughout the installation.
Manufacturer guidelines receive equal attention because warranty coverage often depends on following approved installation procedures. Roofing materials, underlayment, flashing, ventilation products, and fasteners must all be installed according to the manufacturer’s specifications.
Contractors may compare completed installation details with product documentation to verify proper overlap, fastening patterns, ventilation placement, and flashing configurations. This review helps prevent warranty issues that could arise from incorrect installation methods.
If official inspections by local authorities are required, contractors coordinate these evaluations as part of the project completion process. Successfully passing these inspections confirms compliance with applicable construction regulations.
Meeting both building code requirements and manufacturer recommendations ensures the roofing system delivers reliable performance while maintaining important warranty protections.
Quality Assurance Performed by Roofing Contractors
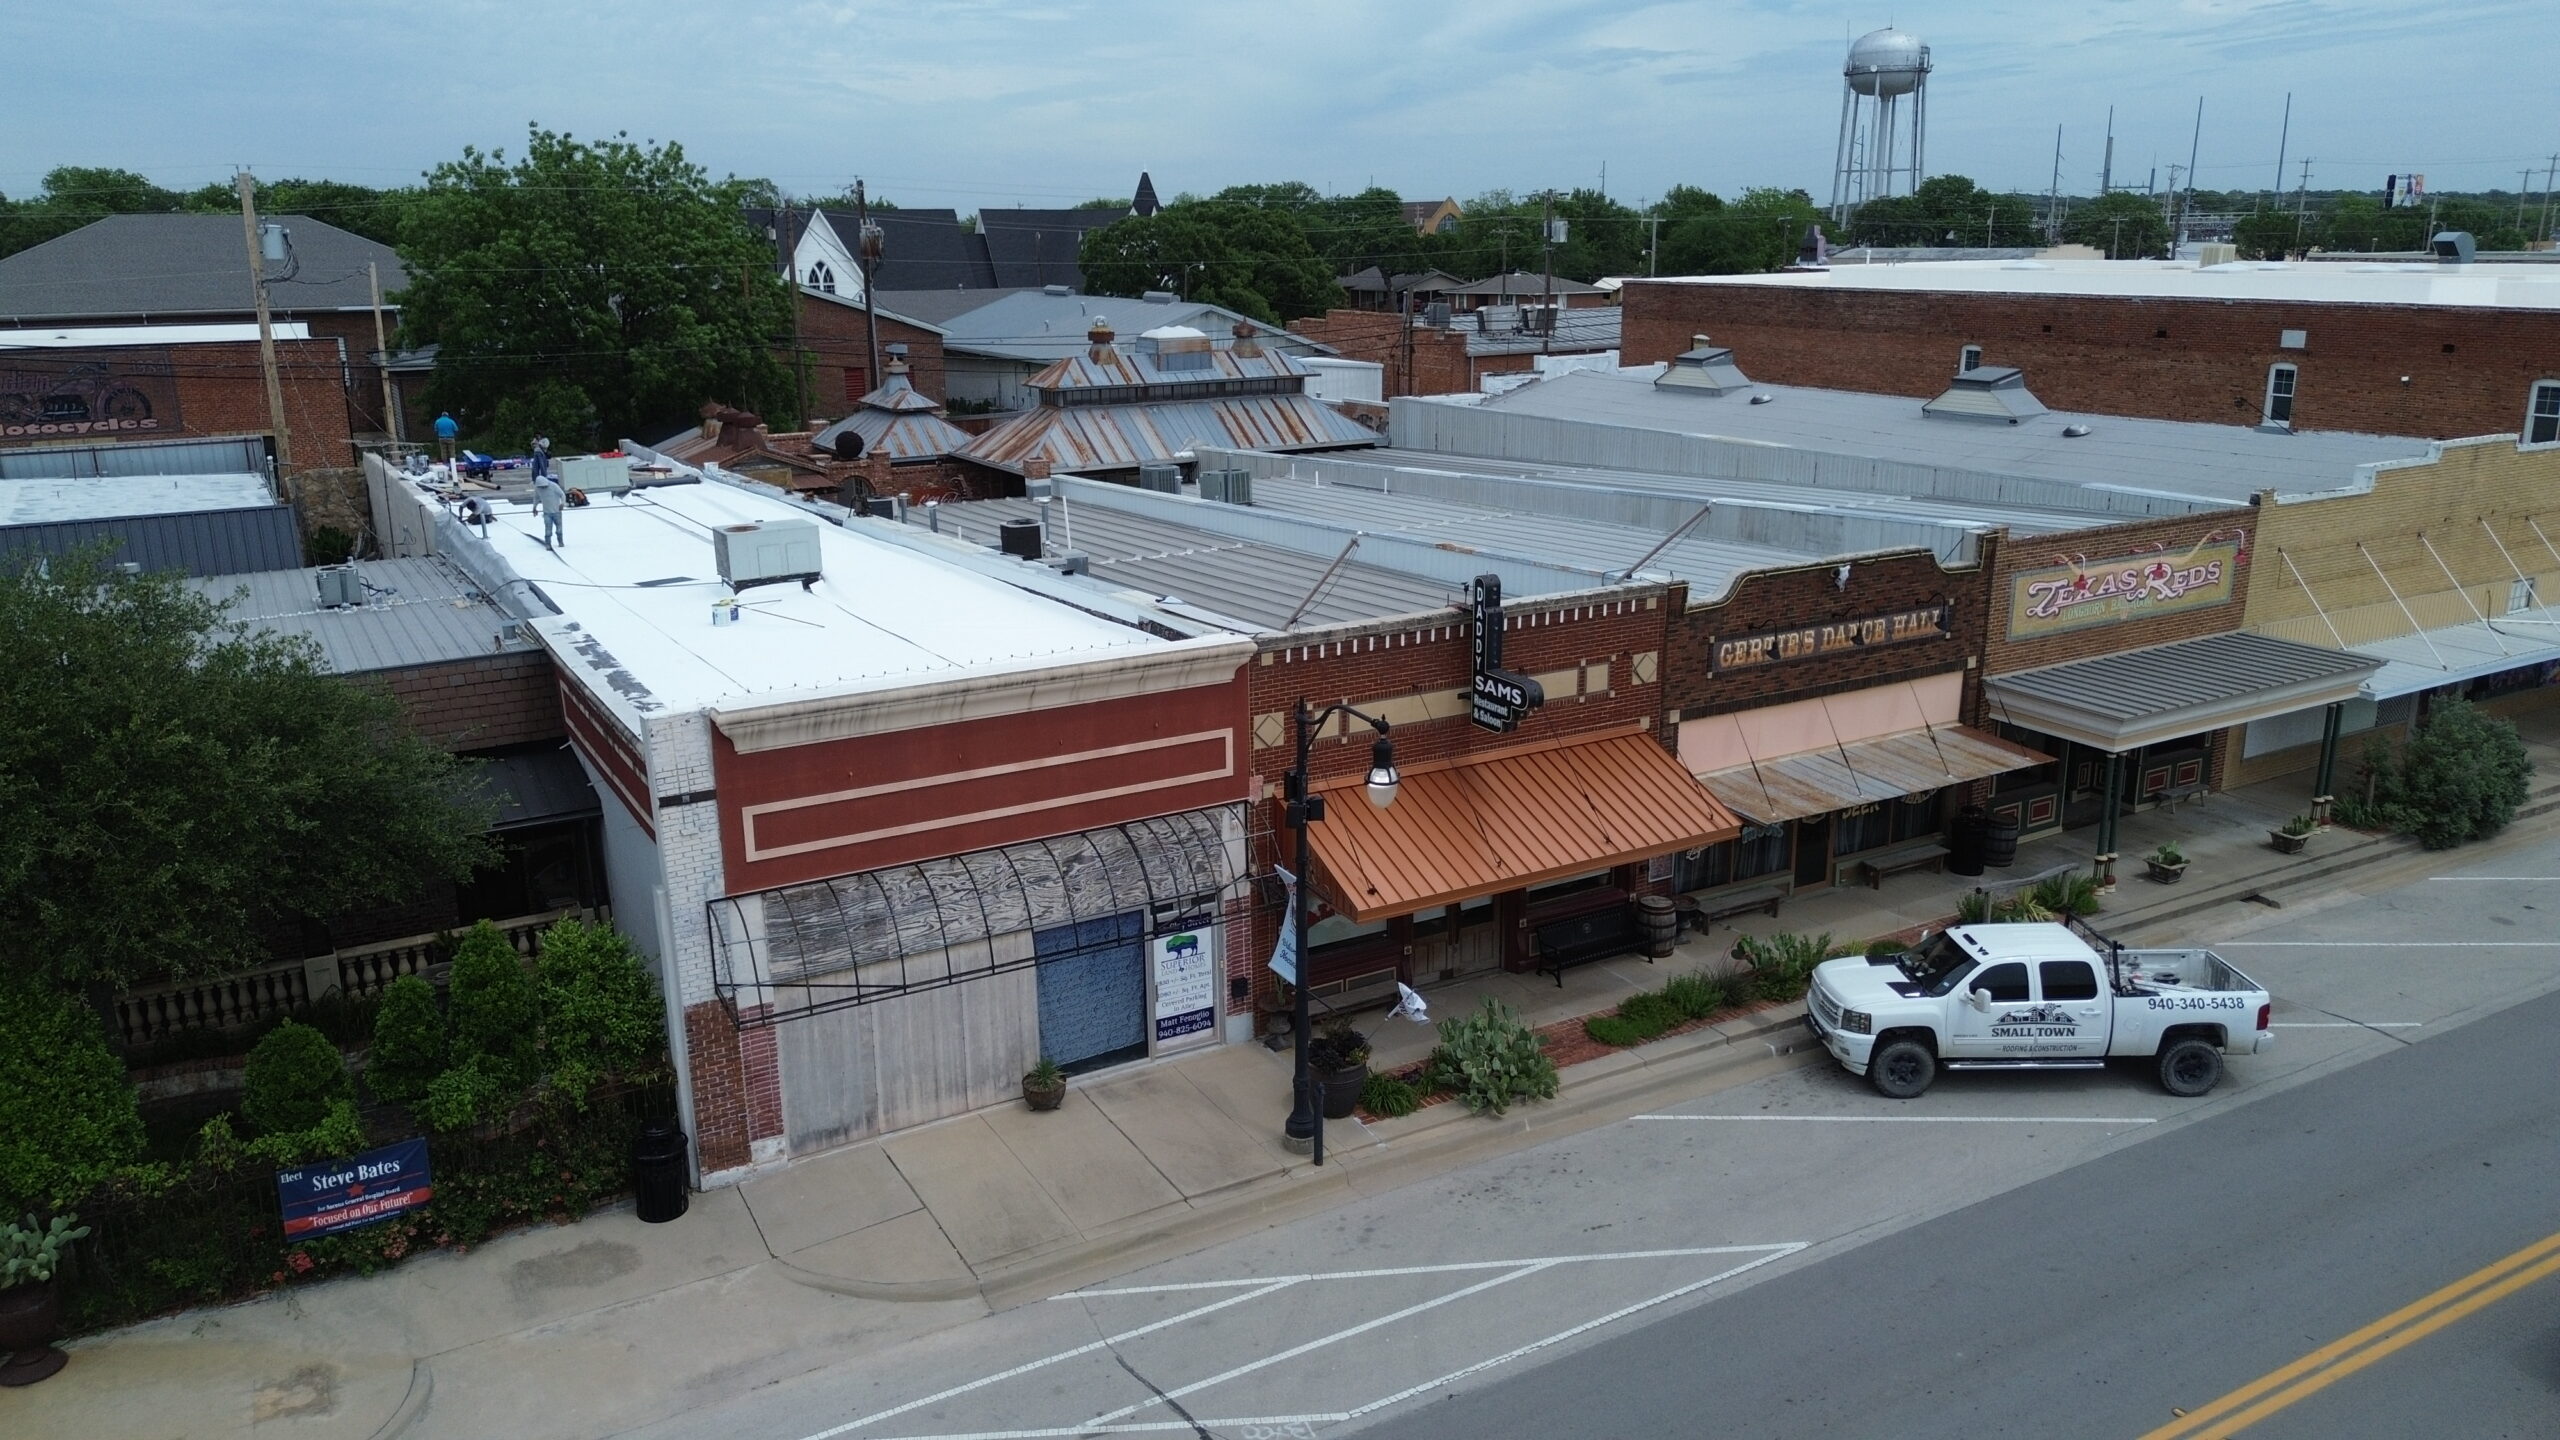
Quality assurance extends throughout the roof replacement project, but the final inspection provides the opportunity to verify that every installation standard has been met before the homeowner accepts the completed work.
Supervisors often perform independent reviews after the roofing crew has finished installation. This second evaluation helps identify any details that may have been overlooked during active construction. Fresh observations often reveal small adjustments that improve the overall quality of the completed project.
Contractors review roofing material alignment, flashing installation, ventilation components, drainage systems, ridge caps, and overall workmanship. They compare the finished roof with the original project specifications to confirm that all promised work has been completed.
Many companies also maintain detailed inspection checklists to ensure consistency across every project. These checklists reduce the likelihood of missing important evaluation points while creating documented records of the completed inspection.
Photographs taken during the final inspection provide additional documentation for project files. Images of completed work may support warranty records, future maintenance planning, or insurance documentation if questions arise later.
Quality assurance demonstrates the contractor’s commitment to delivering a roofing system that meets professional standards rather than simply completing the installation as quickly as possible.
Addressing Deficiencies Before Project Approval
Even after careful installation, minor deficiencies may occasionally be identified during the final inspection. Professional roofing contractors view these findings as opportunities to improve the finished product before the project receives final approval.
Common corrections may include replacing damaged shingles, adjusting flashing alignment, securing loose fasteners, improving sealant application where appropriate, or cleaning remaining construction debris from gutters and roof surfaces. These adjustments are typically completed promptly while equipment and materials remain available.
If structural concerns or unexpected installation issues are discovered, contractors explain the situation clearly to the homeowner before performing corrective work. Transparent communication helps maintain trust while ensuring homeowners understand the purpose of the additional work.
After corrections have been completed, the affected areas are inspected again to verify that the issue has been resolved successfully. Contractors do not consider the project complete until every identified concern has been addressed according to professional standards.
This final review also confirms that warranty requirements remain intact following any adjustments. Maintaining complete documentation ensures homeowners receive accurate records of the finished roofing system.
By resolving deficiencies before project approval, roofing contractors deliver a completed roof that meets quality expectations while providing homeowners with confidence in the durability and reliability of their investment.
Site Cleanup and Property Inspection
A successful roof replacement does not end when the last shingle or metal panel is installed. Before the project is officially completed, contractors perform a detailed site cleanup and property inspection to ensure the home is safe, clean, and free from construction debris. This final stage reflects the same level of professionalism that should be evident throughout the installation process.
Roofing crews begin by removing all remaining construction materials from the roof and surrounding property. Unused roofing products, packaging, temporary equipment, protective coverings, and tools are collected before the final property inspection begins. Leaving these items behind can create unnecessary hazards and detract from the overall quality of the completed project.
Particular attention is given to driveways, sidewalks, patios, decks, flower beds, and landscaped areas. Roofing debris such as nails, flashing fragments, pieces of underlayment, and roofing granules may accumulate during construction, so contractors inspect these areas carefully before leaving the property.
A magnetic nail sweep is one of the most important cleanup procedures. Powerful rolling magnets are used across the entire work area to collect loose nails that may not be visible. This simple but essential step helps protect homeowners, children, pets, lawn equipment, and vehicle tires from hidden sharp objects.
Contractors also inspect gutters to ensure they are free of roofing granules, dust, and debris created during installation. Clean gutters allow rainwater to flow properly and prevent drainage problems once the new roof begins protecting the home.
The surrounding property is reviewed one final time to verify that landscaping, outdoor furniture, air conditioning units, fences, and other exterior features remain in good condition. If protective coverings were used during construction, they are removed carefully after the inspection is complete.
A clean and organized property gives homeowners confidence that every aspect of the roof replacement project has been completed responsibly.
Reviewing Warranty Documentation and Project Records
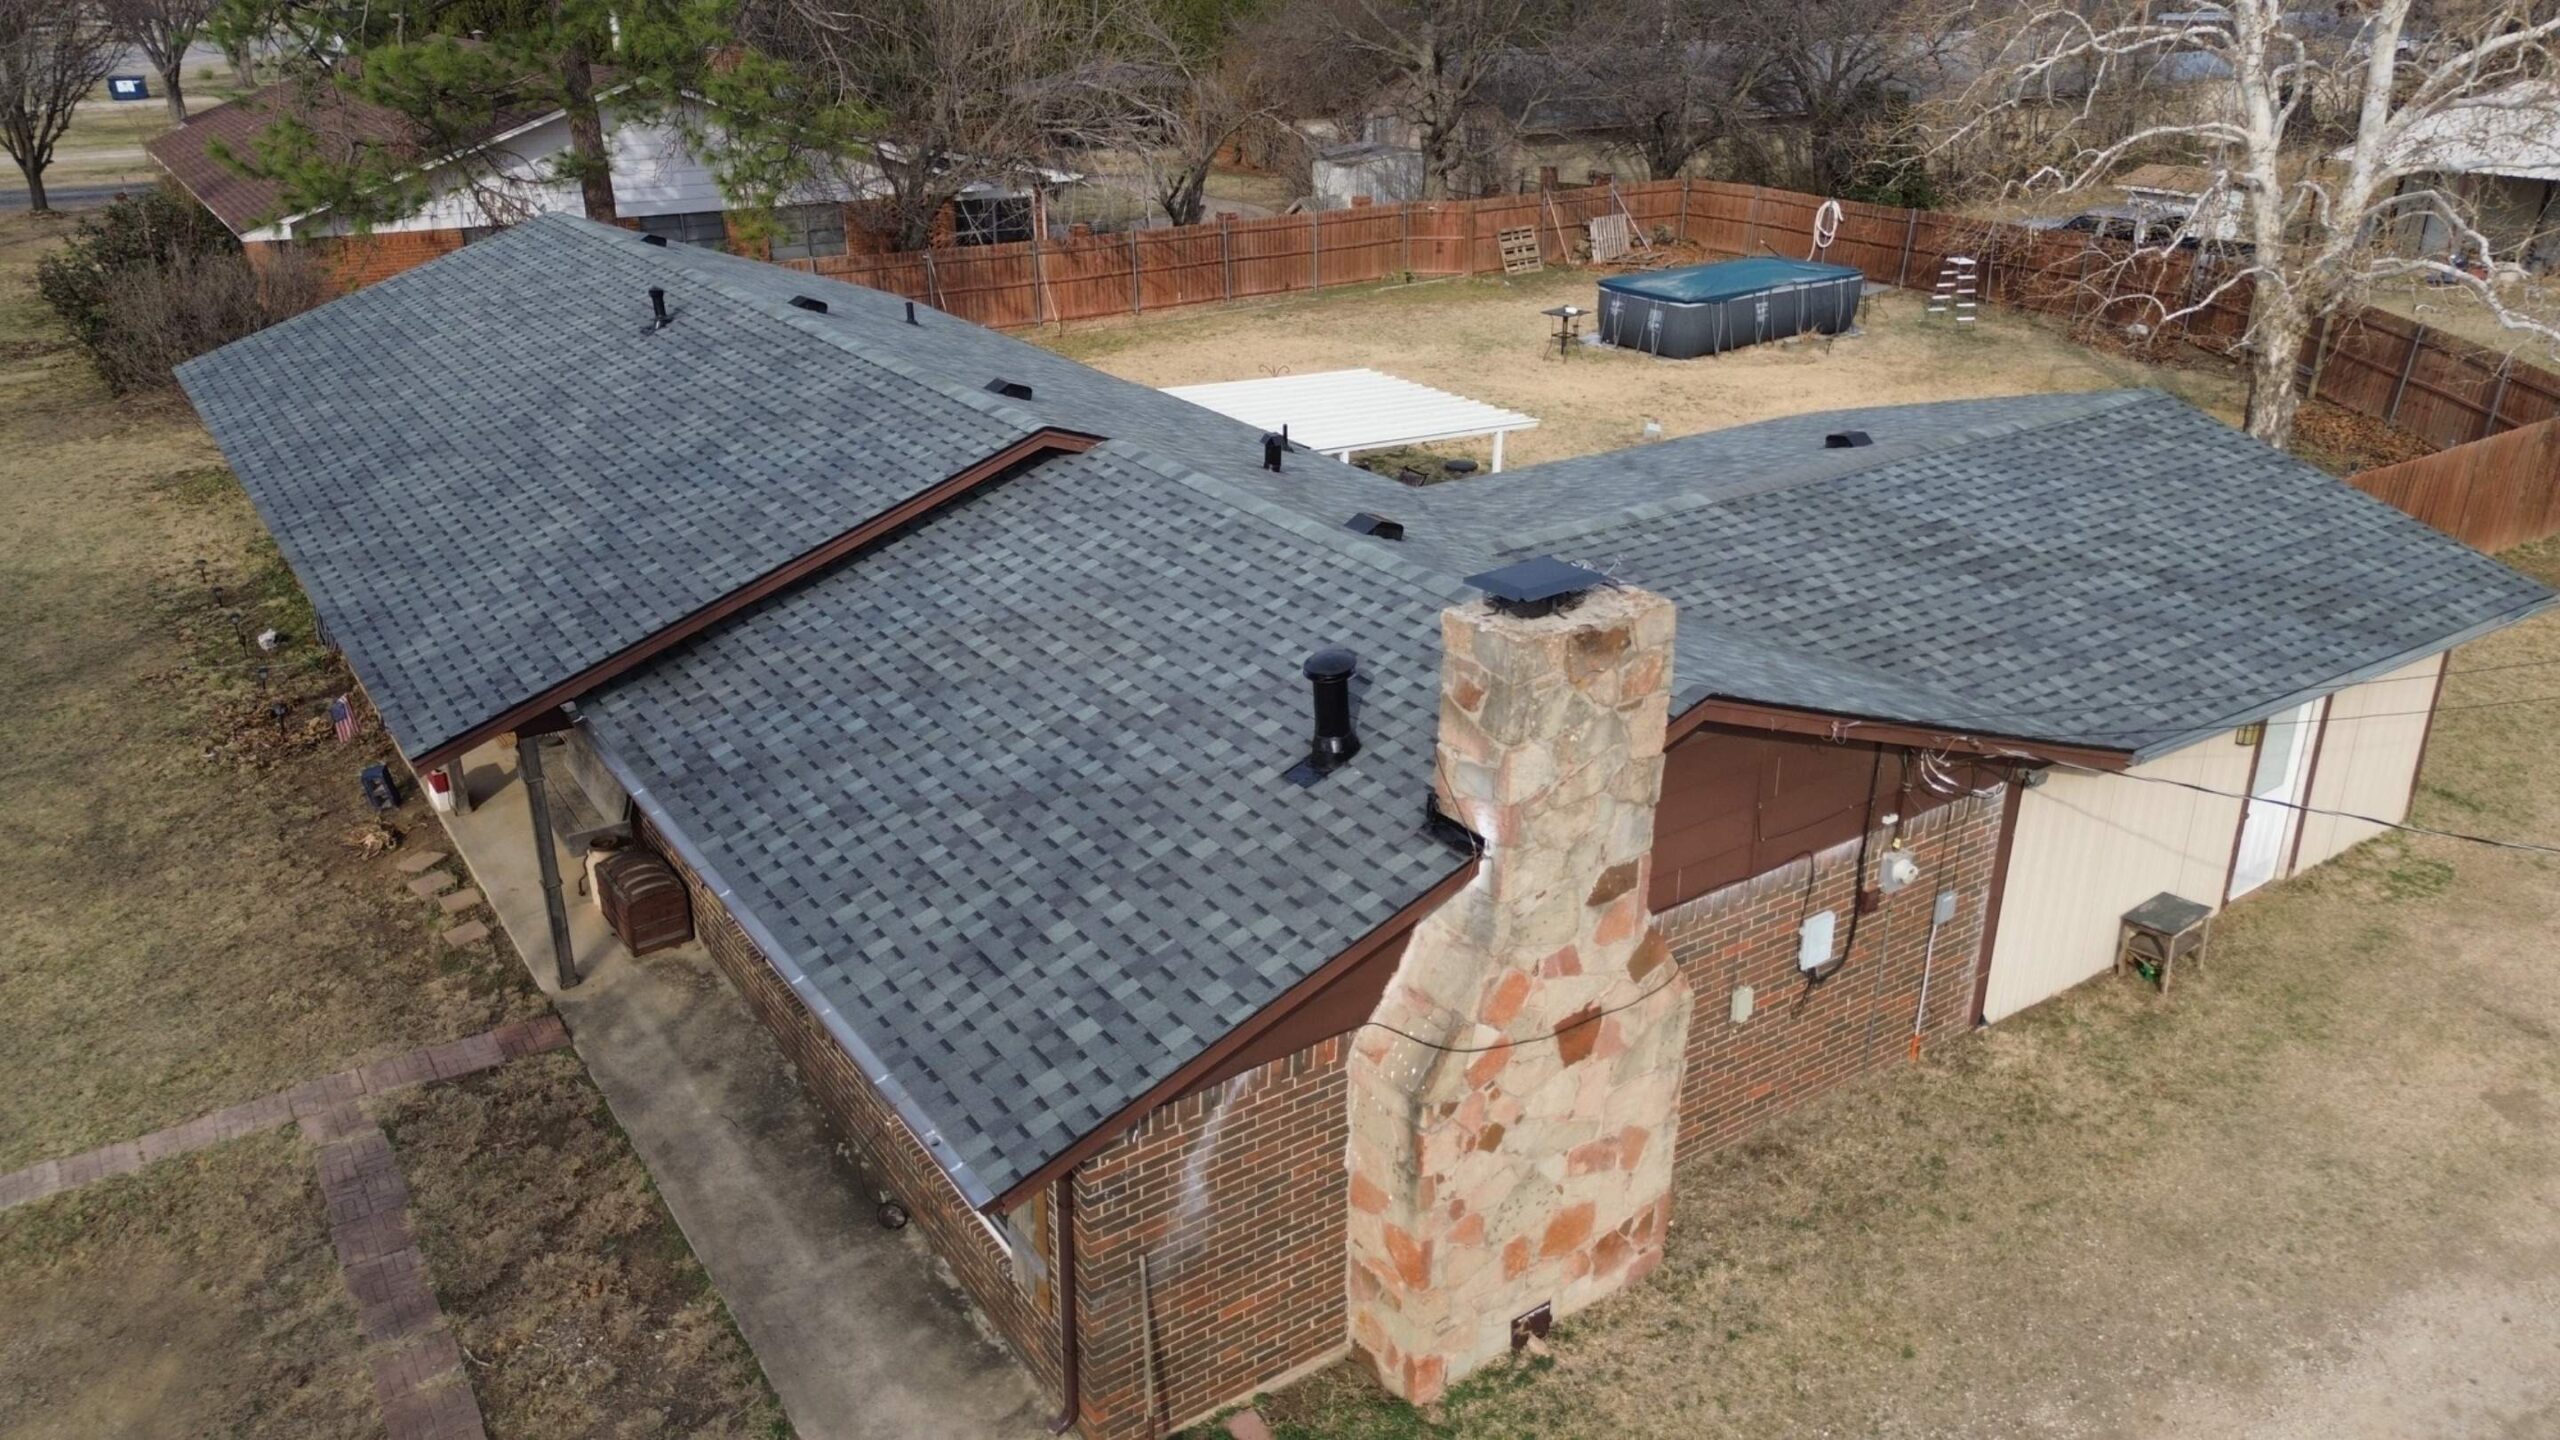
After the physical inspection has been completed, contractors review the documentation associated with the roof replacement. These records provide valuable information about the materials installed, warranty coverage, maintenance recommendations, and the overall scope of the completed project.
Manufacturer warranties are explained carefully because they often provide long term protection for roofing materials. Contractors review the duration of coverage, warranty conditions, and any maintenance requirements homeowners should follow to preserve warranty eligibility.
Workmanship warranties are also discussed during this stage. Unlike manufacturer warranties, which generally cover material defects, workmanship warranties address installation related issues that may arise after project completion. Understanding the difference helps homeowners know who to contact if future concerns develop.
Project records usually include copies of invoices, permits, inspection reports, product specifications, and photographs taken during installation. These documents provide a useful reference for future maintenance, insurance claims, remodeling projects, or property sales.
Contractors may also provide maintenance guidelines specific to the roofing system that was installed. These recommendations help homeowners understand how often inspections should be scheduled, what maintenance tasks are appropriate, and which warning signs should receive immediate professional attention.
Organizing this documentation before the project concludes ensures homeowners have everything they need to protect and maintain their investment over the coming years.
Homeowner Walkthrough After Roof Replacement
The homeowner walkthrough is one of the final opportunities for contractors and property owners to review the completed roof together. Rather than simply announcing that the project is finished, professional roofing contractors explain the work that has been completed and answer any remaining questions before requesting final approval.
During the walkthrough, contractors highlight important areas of the roofing system, including ridge caps, flashing, ventilation components, gutters, and roof edges. Although homeowners may not be able to inspect every roof section closely, the contractor explains how these components contribute to the overall performance of the roof.
Homeowners are encouraged to ask questions about maintenance, warranties, future inspections, and any unique features of the newly installed roofing system. This discussion helps them become familiar with the roof while understanding what to expect throughout its service life.
Contractors also explain normal conditions that homeowners may notice after installation. For example, a small amount of roofing granules may wash into gutters during the early stages of a new asphalt shingle roof, and this is generally considered a normal part of the settling process.
The walkthrough also confirms that the homeowner is satisfied with the overall appearance of the project. Any concerns identified during this discussion can usually be addressed before the contractor closes the project file.
This final meeting strengthens communication between the contractor and homeowner while ensuring both parties agree that the roof replacement has been completed successfully.
Common Issues Found During Final Inspections
Although professional roofing crews work carefully throughout installation, final inspections occasionally reveal minor issues that should be corrected before project completion. Identifying these concerns during the inspection is far preferable to discovering them months later after severe weather has affected the roof.
One common issue involves roofing material alignment. A small number of shingles or tiles may require adjustment to improve appearance or ensure proper overlap. These corrections are generally straightforward when identified during the final inspection.
Flashing also receives close attention because even minor installation errors can increase the likelihood of future leaks. Inspectors verify that flashing remains secure around chimneys, skylights, plumbing vents, and roof intersections while providing complete weather protection.
Loose fasteners, improperly seated ridge caps, blocked ventilation openings, or gutters containing leftover construction debris may also be discovered. Although these issues are usually minor, correcting them immediately helps maintain the overall quality of the roofing system.
Occasionally, inspectors identify cosmetic concerns rather than functional problems. Scratched metal trim, chipped tiles, or damaged shingles caused during installation are typically replaced before the project is approved so the finished roof meets both performance and appearance expectations.
The purpose of identifying these issues is not to criticize the installation but to ensure the roofing system reaches the highest possible standard before the homeowner accepts the completed work.
Final Roof Inspection Checklist
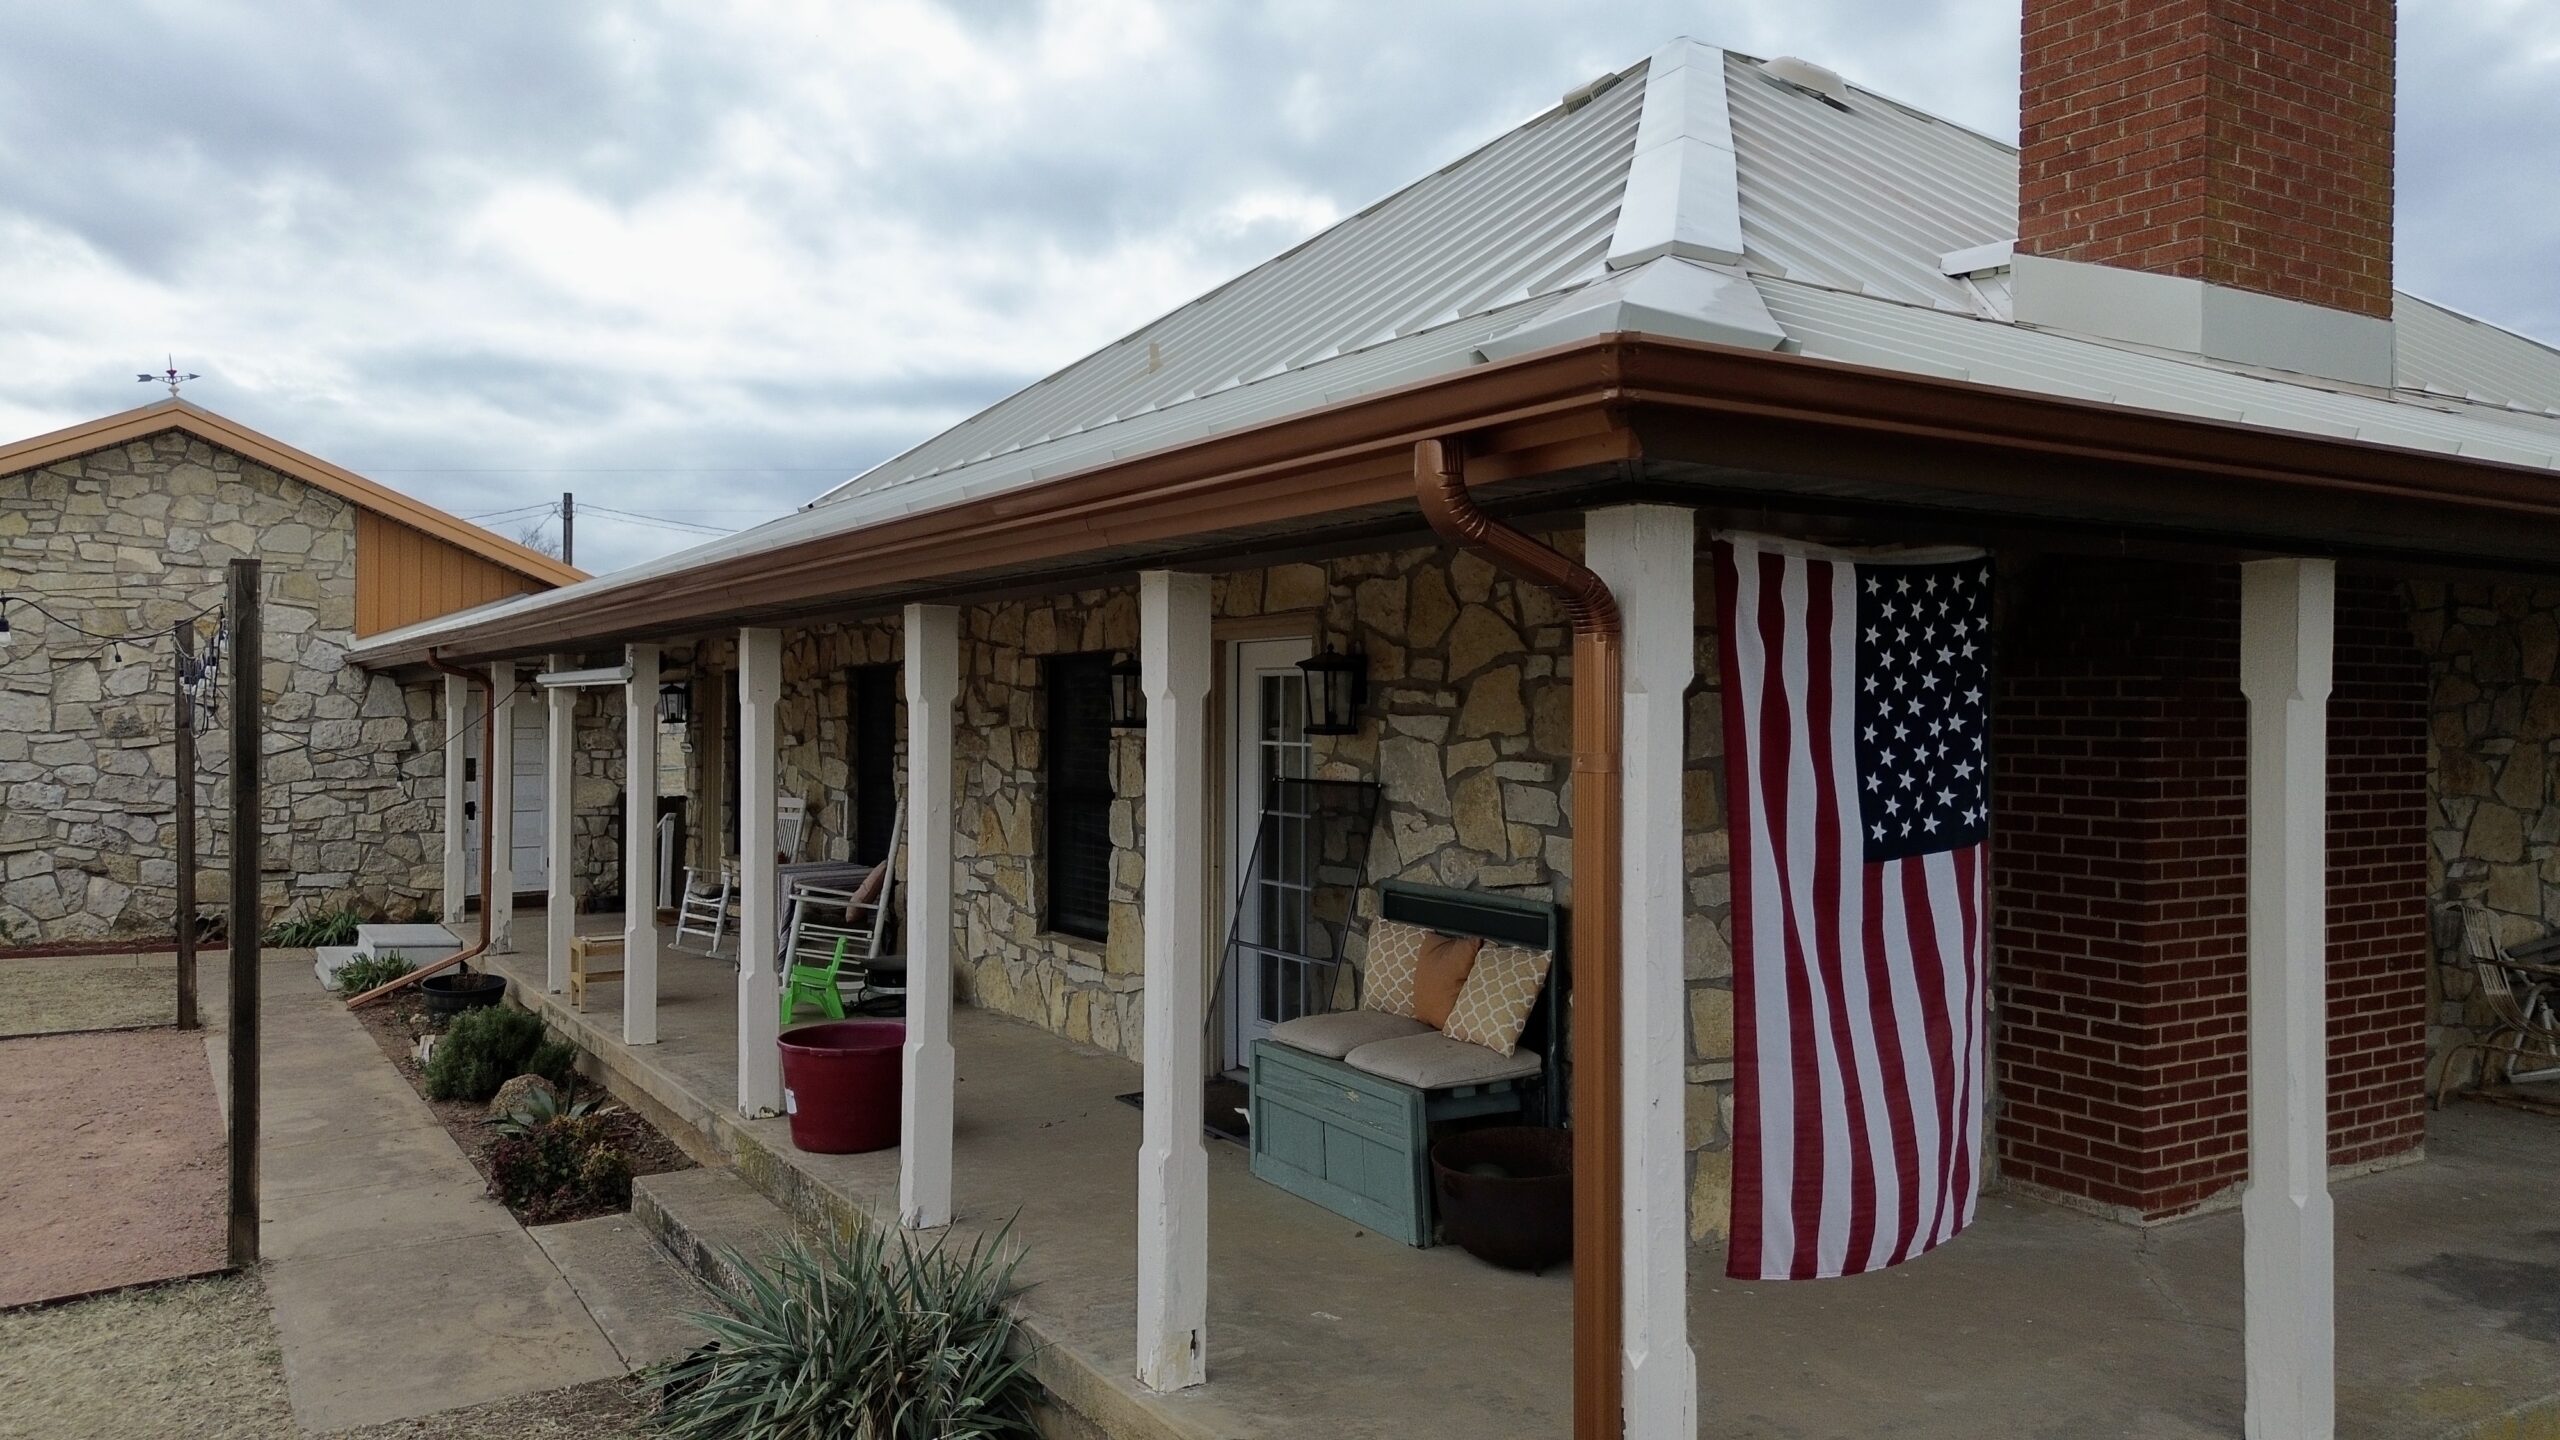
The following checklist summarizes the major items professional roofing contractors evaluate before approving a completed roof replacement project.
| Inspection Area | What Is Verified |
|---|---|
| Roofing Materials | Proper alignment, secure fastening, and consistent appearance |
| Roof Edges and Ridges | Correct installation of drip edges, ridge caps, and transitions |
| Roof Valleys | Proper drainage and flashing installation |
| Flashing | Secure installation around chimneys, skylights, vents, and walls |
| Ventilation System | Balanced airflow and unobstructed vents |
| Gutters and Downspouts | Clean condition and proper drainage |
| Roof Deck | Structural stability and completed repairs |
| Interior Ceilings | No evidence of active leaks or moisture intrusion |
| Attic | Proper ventilation, no daylight penetration, and dry insulation |
| Cleanup | Removal of debris, magnetic nail sweep, and clean property |
| Documentation | Warranty information, permits, inspection reports, and project records |
Using a structured checklist helps contractors maintain consistent inspection standards while ensuring no important details are overlooked.
Maintenance Recommendations After Roof Replacement
Even after the roof has passed its final inspection, regular maintenance remains essential for preserving its condition. Preventive care helps identify small concerns before they become major repairs while extending the overall lifespan of the roofing system.
Homeowners should schedule professional roof inspections at recommended intervals, particularly after severe weather events. Regular inspections help identify loose flashing, damaged roofing materials, blocked gutters, or other issues that may develop over time.
Keeping gutters clean is one of the simplest maintenance practices. Leaves, branches, and debris should be removed regularly so rainwater continues flowing efficiently away from the roof and foundation.
Nearby trees should also be maintained. Trimming overhanging branches reduces the risk of physical damage during storms while minimizing leaf accumulation on the roof surface.
Contractors generally recommend avoiding unnecessary foot traffic on the roof. Walking on roofing materials without proper training may cause accidental damage, especially on tile, slate, or steep roofing systems.
Following these maintenance recommendations helps protect the investment made during roof replacement while supporting reliable long term performance.
Steps Homeowners Should Take After the Final Inspection
Once the final inspection has been completed successfully, homeowners can take several practical steps to maintain accurate records and protect their new roofing system.
- Store all warranty documents in a secure location.
- Keep copies of invoices, permits, and inspection reports.
- Schedule future roof inspections according to the contractor’s recommendations.
- Clean gutters regularly to maintain proper drainage.
- Monitor the attic periodically for signs of moisture or ventilation problems.
- Inspect the roof after major storms from ground level whenever possible.
- Contact the roofing contractor promptly if unexpected issues appear.
- Follow all manufacturer maintenance recommendations to preserve warranty coverage.
These simple actions help homeowners maintain the roof properly while reducing the likelihood of unexpected repair costs.
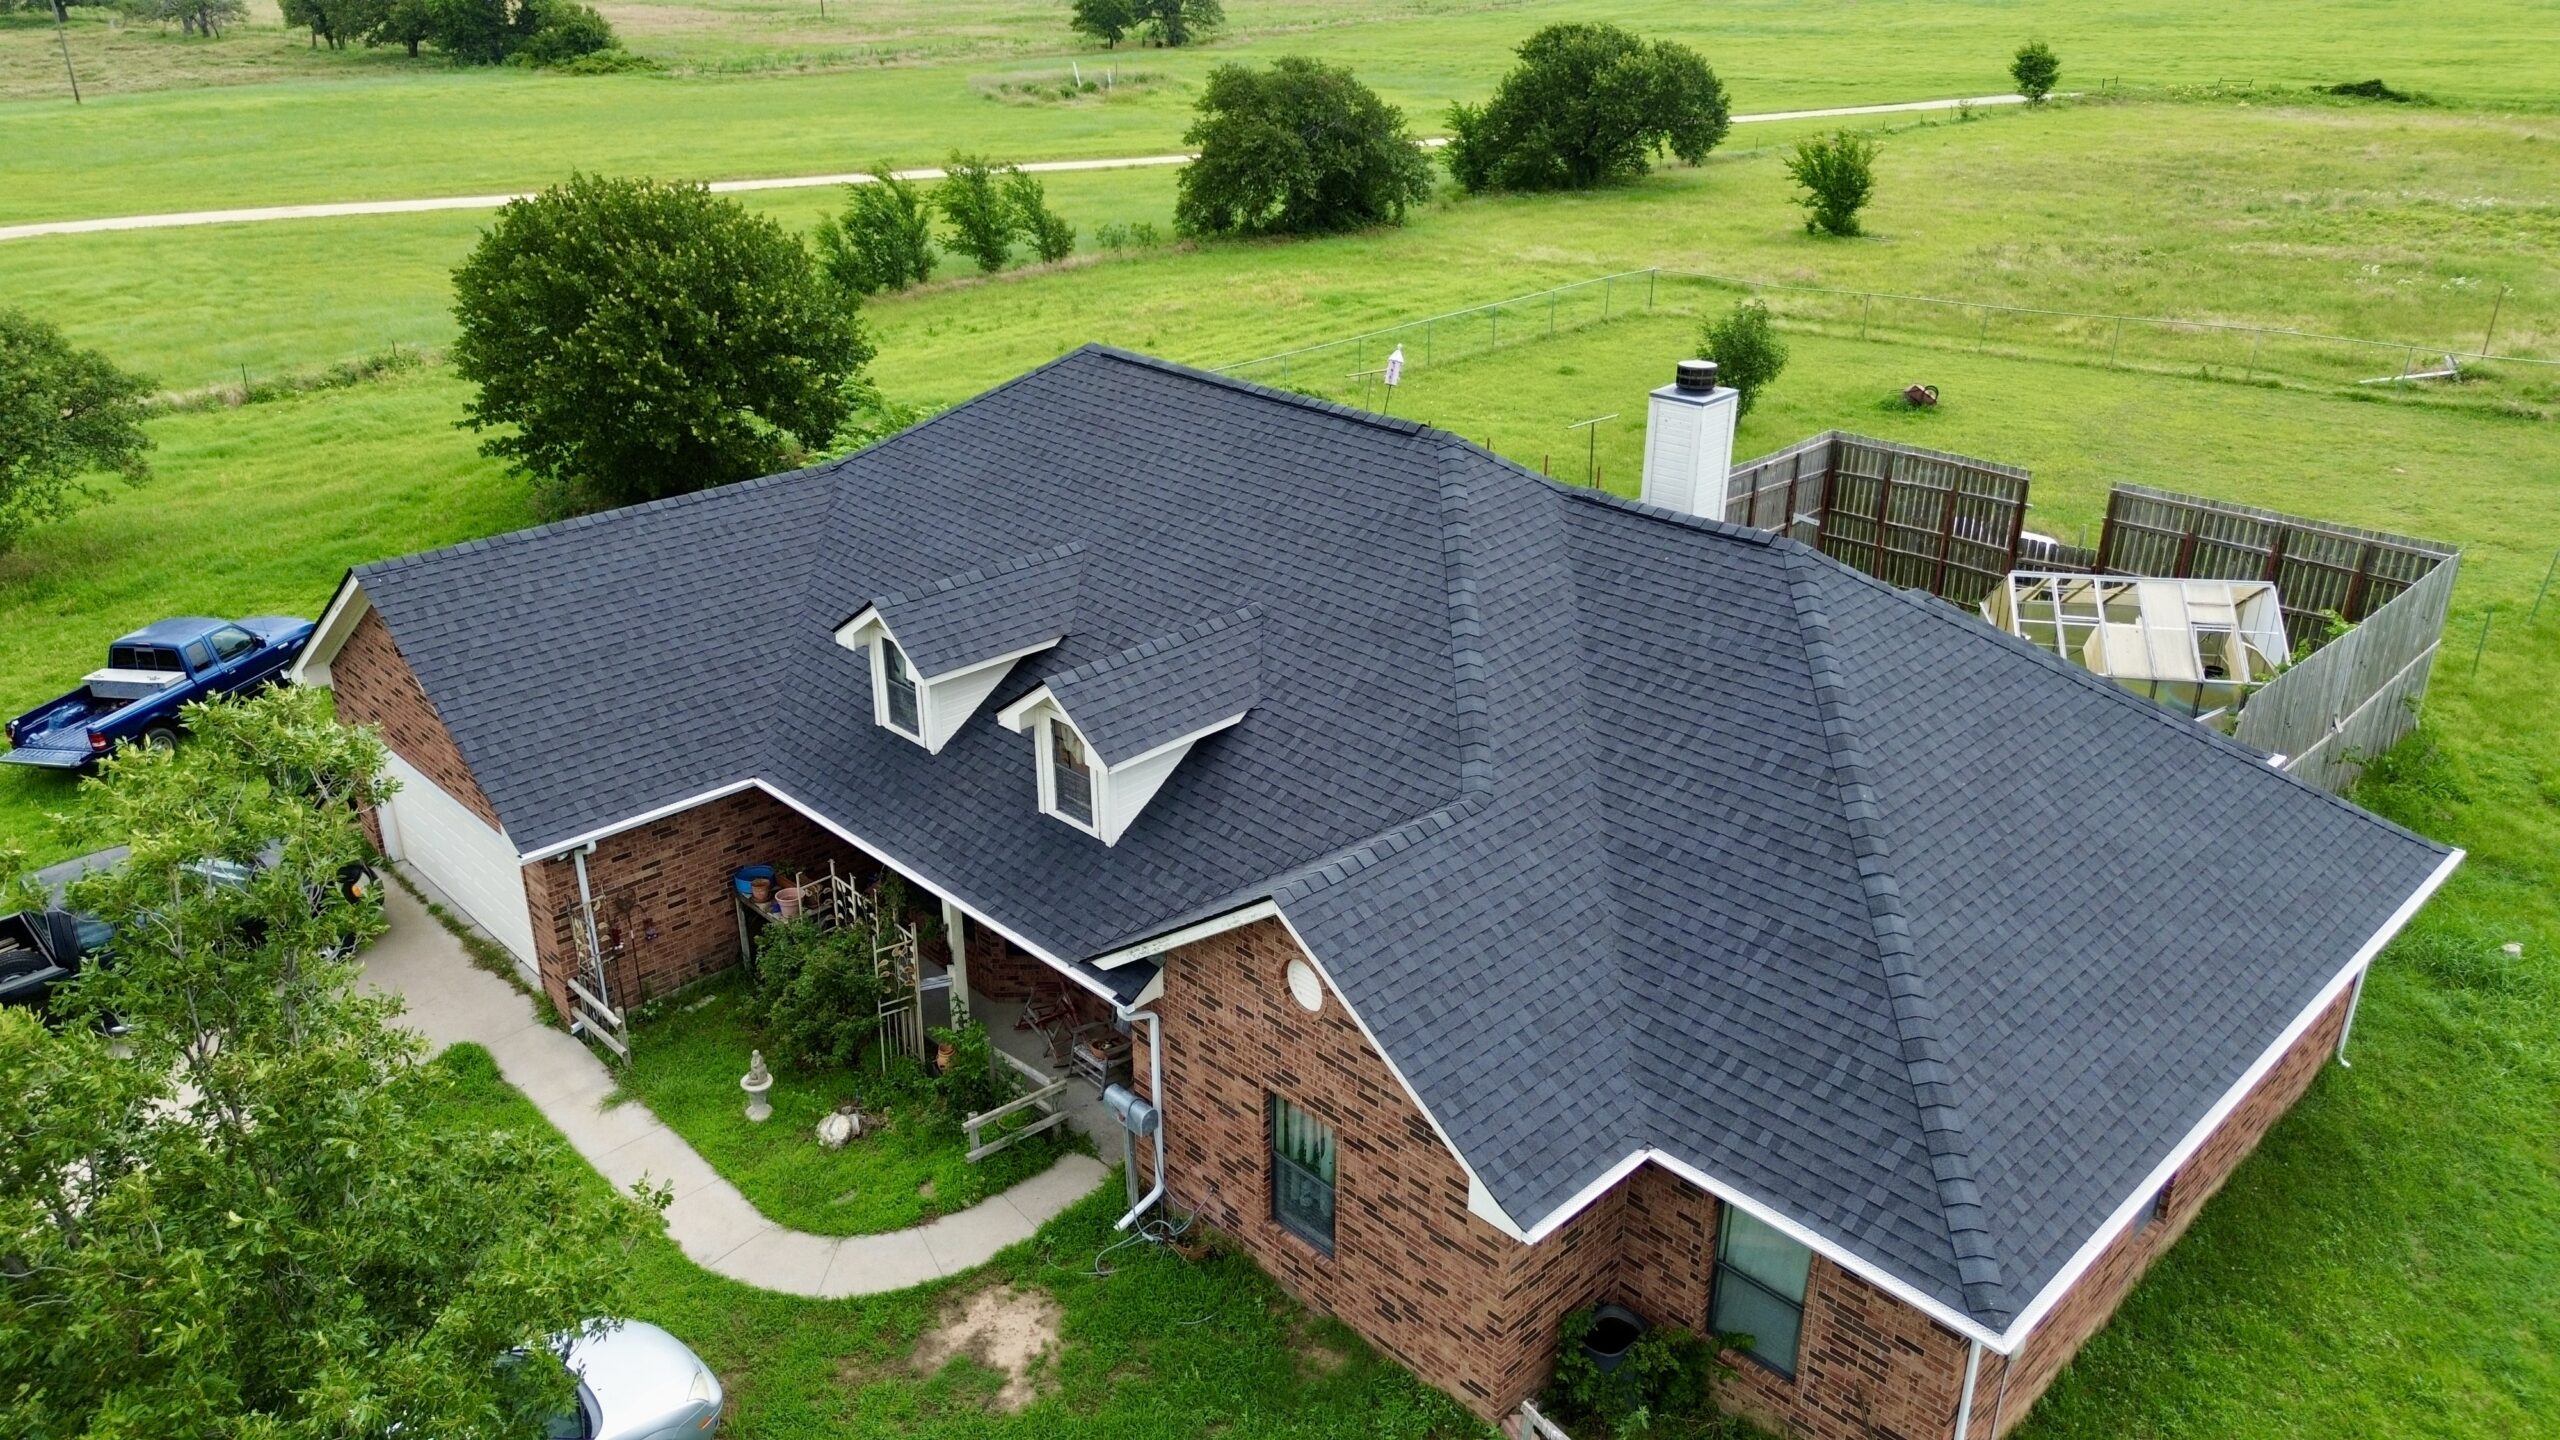
Signs That Your New Roof Passed a Successful Inspection
A professionally inspected roof should display several characteristics that indicate high quality installation and dependable performance. These signs provide reassurance that the roofing system is prepared to protect the property for many years.
The roof should appear uniform with straight installation lines, securely attached materials, and properly aligned flashing around all roof penetrations. Gutters should remain clean and allow water to flow efficiently during rainfall.
Inside the home, ceilings and attic spaces should remain dry with no evidence of moisture intrusion or unusual drafts. Ventilation should function normally while maintaining comfortable attic conditions throughout changing seasons.
Key indicators of a successful roof inspection include:
- Uniform and securely installed roofing materials.
- Properly fitted flashing around chimneys, vents, and skylights.
- Clean gutters with effective drainage.
- No visible roof leaks or interior water stains.
- Balanced attic ventilation with unrestricted airflow.
- Complete warranty documents and inspection records provided by the contractor.
Observing these signs gives homeowners confidence that the roof replacement has been completed according to professional standards.
Conclusion
The final inspection is the last and one of the most important stages of a roof replacement project. It confirms that every component of the roofing system has been installed correctly, performs as intended, and meets both industry standards and manufacturer requirements. Rather than serving as a simple formality, the inspection provides comprehensive quality assurance that protects the homeowner’s investment for years to come.
From evaluating roofing materials and flashing to inspecting ventilation, gutters, attic conditions, and structural integrity, every part of the roof is reviewed carefully before project approval. Thorough site cleanup, complete documentation, and a detailed homeowner walkthrough further ensure that the project concludes with professionalism and transparency.
A structured inspection checklist allows contractors to verify workmanship consistently while correcting any minor deficiencies before the roof is officially accepted. This attention to detail improves long term durability, supports warranty coverage, and reduces the likelihood of future repairs.
For homeowners, understanding the final inspection process provides greater confidence in the completed roof replacement. It also highlights the importance of selecting experienced roofing contractors who prioritize quality control from the initial inspection through the final walkthrough. With proper installation, careful inspection, and regular maintenance, a new roof can deliver dependable protection, energy efficiency, and lasting value for decades.