

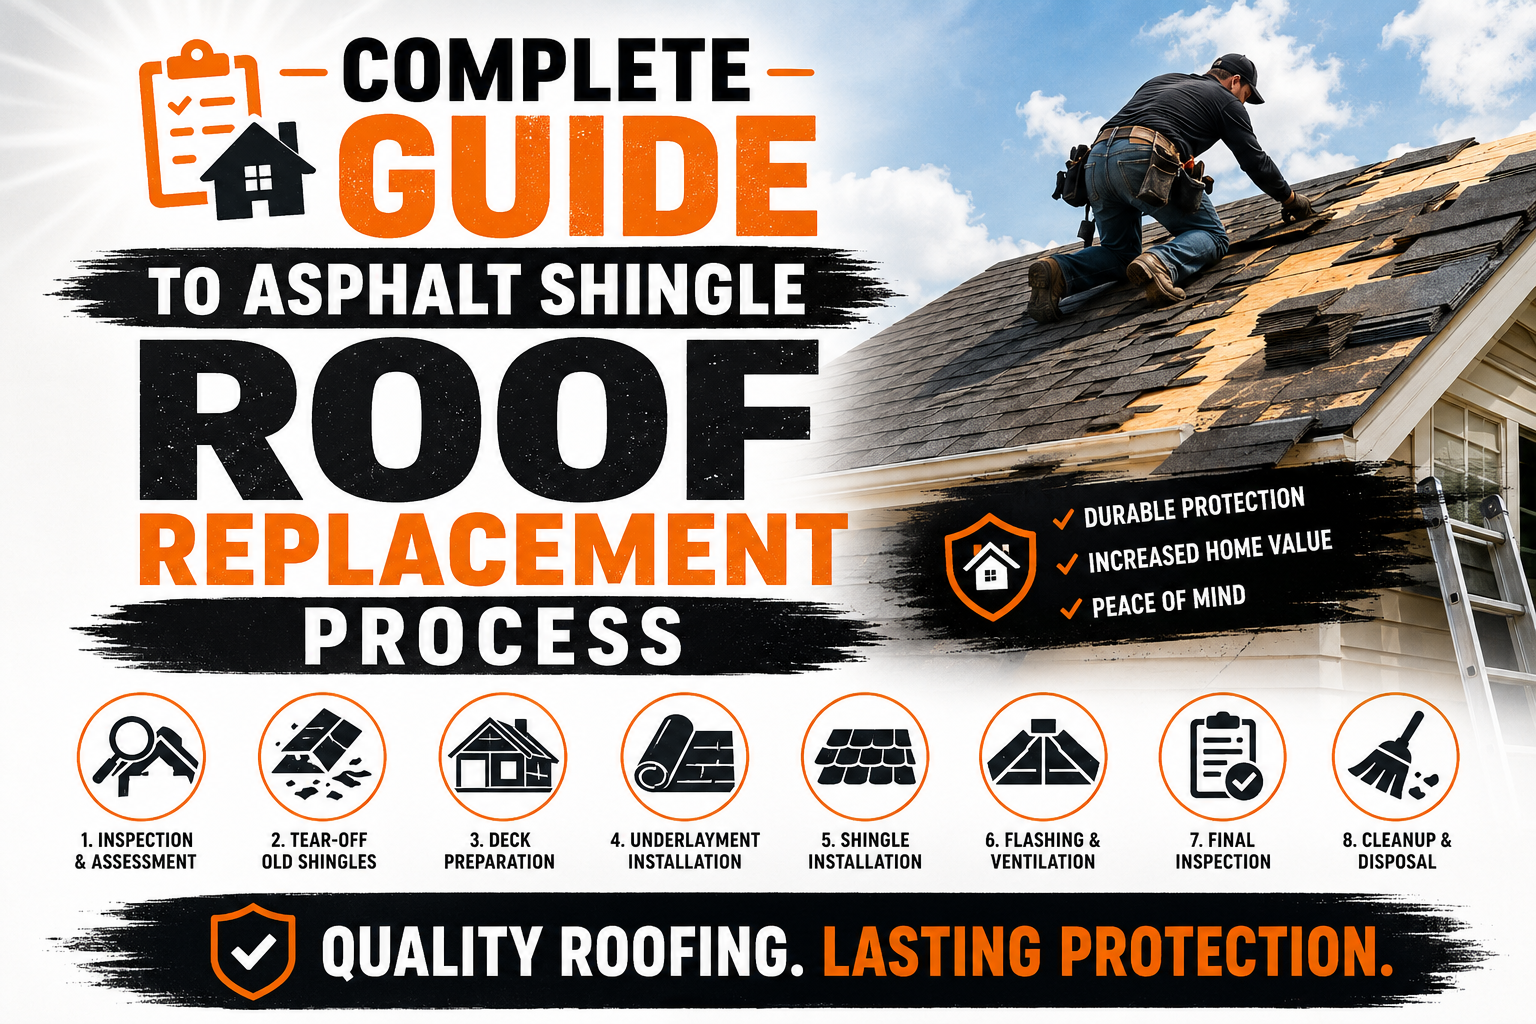
Complete Guide to Asphalt Shingle Roof Replacement Process
Introduction
An asphalt shingle roof is one of the most popular roofing systems for residential properties because it offers an excellent balance of durability, affordability, and visual appeal. Millions of homeowners choose asphalt shingles for new construction and roof replacements thanks to their ability to withstand changing weather conditions while providing reliable protection for decades. Even the highest quality shingles eventually reach the end of their service life and require replacement to maintain the integrity of the home.
Replacing an asphalt shingle roof is a significant investment, but it is also one of the most valuable improvements a homeowner can make. A properly installed roof protects the structure from water damage, improves energy efficiency, enhances curb appeal, and can increase property value. Understanding the replacement process helps homeowners make informed decisions and avoid costly mistakes.
Many people only think about roof replacement when leaks begin appearing inside the house. In reality, waiting until severe damage develops often increases repair costs and may even compromise structural components beneath the roof. Recognizing early warning signs allows homeowners to schedule replacement before major problems occur.
The roof replacement process involves much more than simply removing old shingles and installing new ones. Contractors inspect the roof deck, replace damaged components, install waterproof barriers, improve ventilation, and carefully install every roofing layer according to manufacturer specifications. Each step contributes to the long-term performance of the finished roof.
This guide explains every stage of an asphalt shingle roof replacement in detail. From identifying replacement signs to selecting materials and preparing for installation, each section is designed to help homeowners understand what happens before, during, and after a professional roof replacement project.
Understanding Asphalt Shingle Roofing Systems
Before discussing replacement, it helps to understand how an asphalt shingle roofing system works. Although shingles are the most visible component, they are only one part of a complete roofing assembly that protects the home from moisture, heat, wind, and environmental damage.
A modern asphalt shingle roof consists of several layers that work together. The roof deck provides structural support, while underlayment acts as a secondary moisture barrier beneath the shingles. Flashing protects vulnerable areas around chimneys, vents, valleys, and roof intersections, preventing water from entering places where leaks commonly develop.
The shingles themselves are manufactured using a fiberglass or organic mat coated with asphalt and covered with mineral granules. These granules protect the asphalt from ultraviolet rays, improve fire resistance, and give shingles their distinctive color and texture. Over time, weather gradually wears away these protective granules, reducing the roof’s effectiveness.
Roof ventilation also plays an essential role in overall system performance. Proper airflow helps regulate attic temperatures, reduces moisture buildup, and extends the lifespan of roofing materials. Poor ventilation often accelerates shingle deterioration and contributes to problems such as mold growth and ice dam formation.
Modern roofing systems are designed to function as complete assemblies rather than individual products. Replacing only the visible shingles without addressing damaged underlayment, flashing, or ventilation may shorten the lifespan of the new roof and increase the likelihood of future repairs.
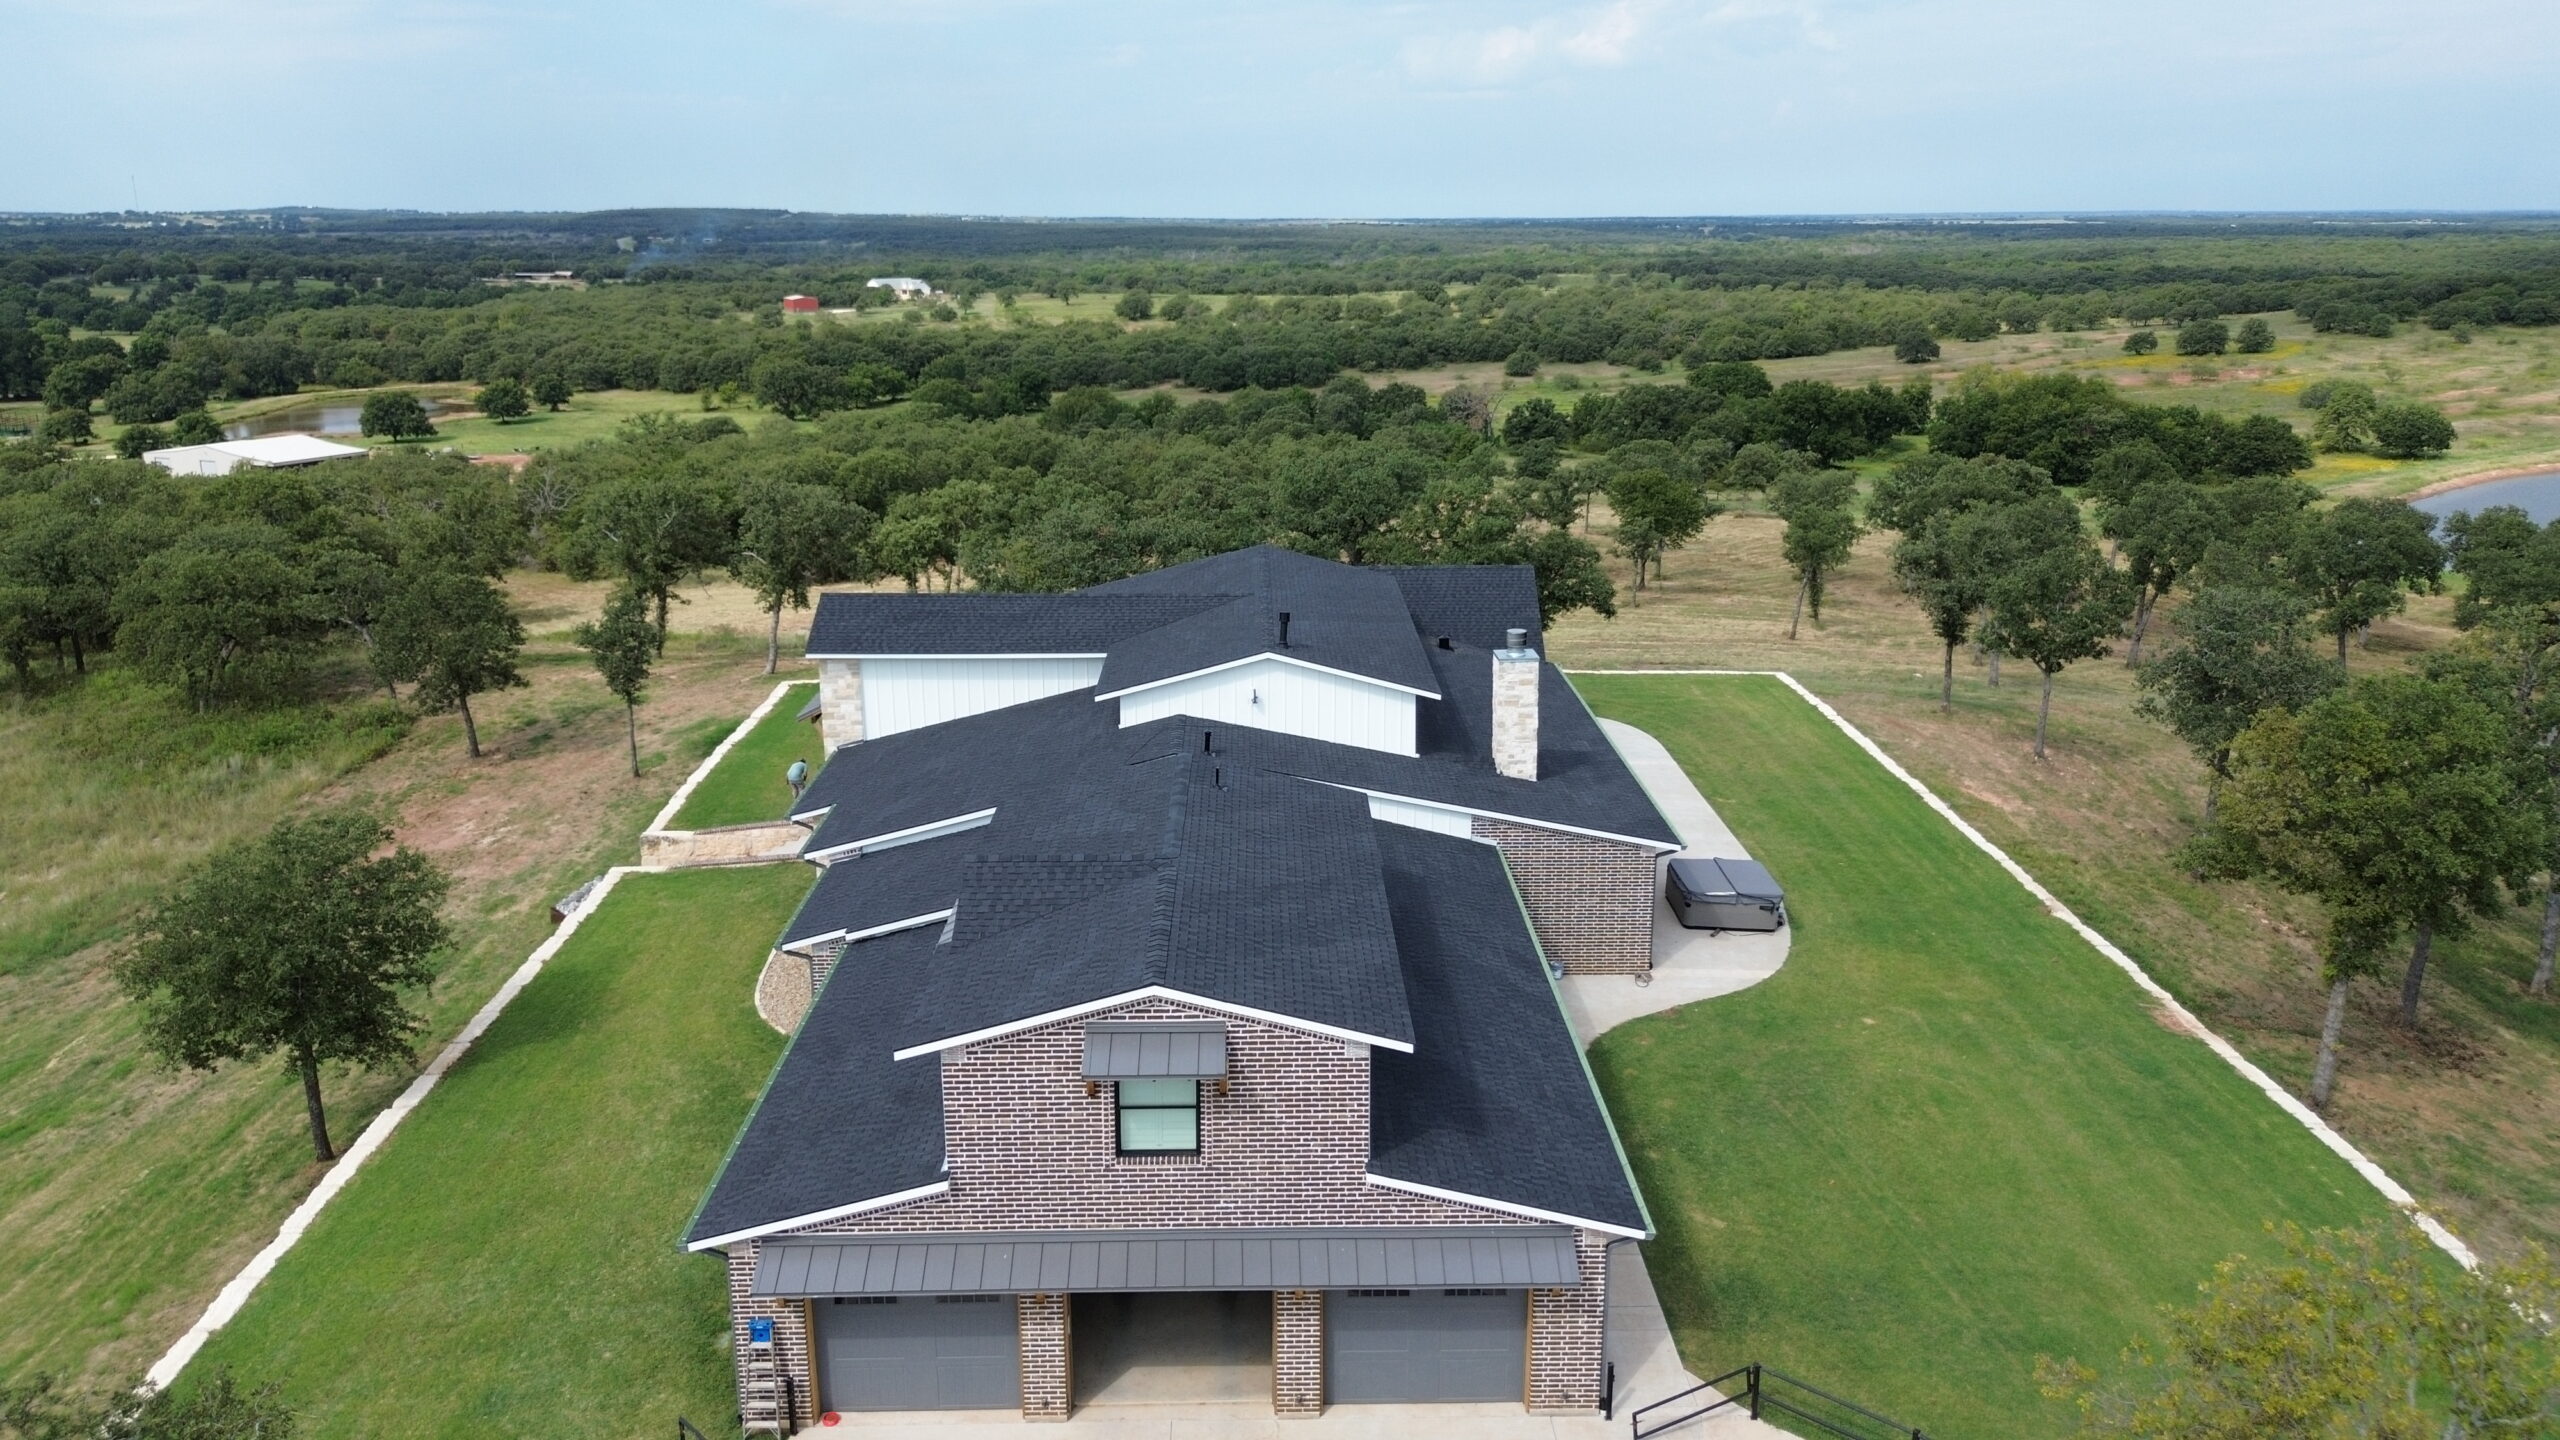
Signs Your Asphalt Shingle Roof Needs Replacement
Recognizing the warning signs of roof failure helps homeowners avoid expensive structural damage. While minor issues can often be repaired, widespread deterioration usually indicates that replacement is the more practical long-term solution.
The age of the roof is often the first consideration. Most asphalt shingle roofs last between 20 and 30 years depending on material quality, installation methods, maintenance practices, and local climate. As the roof approaches the end of its expected lifespan, routine inspections become increasingly important.
Curling shingles are among the most noticeable indicators of aging. As asphalt loses flexibility, the edges begin lifting or curling upward, making the roof more vulnerable to wind damage and water penetration. Once curling becomes widespread, replacement is generally recommended.
Missing shingles expose the underlying roofing materials to moisture and sunlight. While replacing a few missing shingles may temporarily solve the problem, repeated losses often indicate that the surrounding shingles have become brittle and weakened with age.
Granule loss is another common warning sign. Homeowners may notice large amounts of granules collecting inside gutters or near downspouts after heavy rain. Without this protective surface, shingles deteriorate more rapidly under constant ultraviolet exposure.
Dark streaks across the roof may indicate algae growth, while moss accumulation can trap moisture against the roofing surface. Although these conditions can sometimes be cleaned, long-term moisture retention often accelerates roof deterioration.
Interior water stains should never be ignored. Brown discoloration on ceilings or walls frequently signals that water has penetrated the roofing system. Even small leaks can eventually damage insulation, drywall, framing, and electrical systems if left untreated.
Sagging roof sections require immediate professional evaluation. Structural movement may indicate weakened decking, water damage, or compromised framing beneath the roofing materials. In many cases, replacement becomes necessary to restore structural integrity.
Homeowners should also watch for these additional warning signs:
- Cracked or broken shingles
- Frequent roof leaks after storms
- Damaged or rusted flashing
- Soft or spongy roof decking
- Excessive energy bills caused by poor roof performance
- Daylight visible through the attic roof boards
One isolated issue does not always require full replacement. However, multiple warning signs appearing together usually indicate that the roofing system has reached the end of its useful life.
Repair vs Replacement: How to Make the Right Decision
Many homeowners struggle to decide whether repairing the roof will be sufficient or whether complete replacement is the better investment. The answer depends on several factors including roof age, damage severity, repair history, and long-term financial considerations.
If the roof is relatively new and damage is limited to a small area caused by a fallen branch or isolated wind event, repairs often provide a practical solution. Replacing damaged shingles and flashing can restore protection without the expense of a full replacement.
Older roofs present a different situation. When shingles become brittle across large sections, repairing isolated areas often leads to additional failures elsewhere. Investing repeatedly in repairs may ultimately cost more than replacing the roof entirely.
The extent of water damage beneath the shingles also influences the decision. If moisture has affected roof decking, insulation, or structural framing, comprehensive replacement allows contractors to inspect and repair hidden damage before installing new materials.
Insurance coverage may also affect the choice. Storm-related damage may qualify for partial or full replacement depending on the policy and inspection findings. Understanding policy details helps homeowners make financially informed decisions before beginning work.
The following table compares situations where repairs may be appropriate versus when replacement is generally the better option.
| Situation | Repair May Be Enough | Replacement Recommended |
|---|---|---|
| Roof Age | Less than 15 years | More than 20 years |
| Missing Shingles | Few isolated areas | Widespread losses |
| Water Damage | Minor localized leak | Multiple leaks or structural damage |
| Granule Loss | Minimal | Extensive across entire roof |
| Storm Damage | Limited impact | Large sections affected |
| Previous Repairs | Rare | Frequent recurring repairs |
Homeowners should also consider future plans. Someone planning to sell within the next few years may benefit from replacing an aging roof, as buyers often view a new roof as a major selling advantage and a sign that the property has been well maintained.
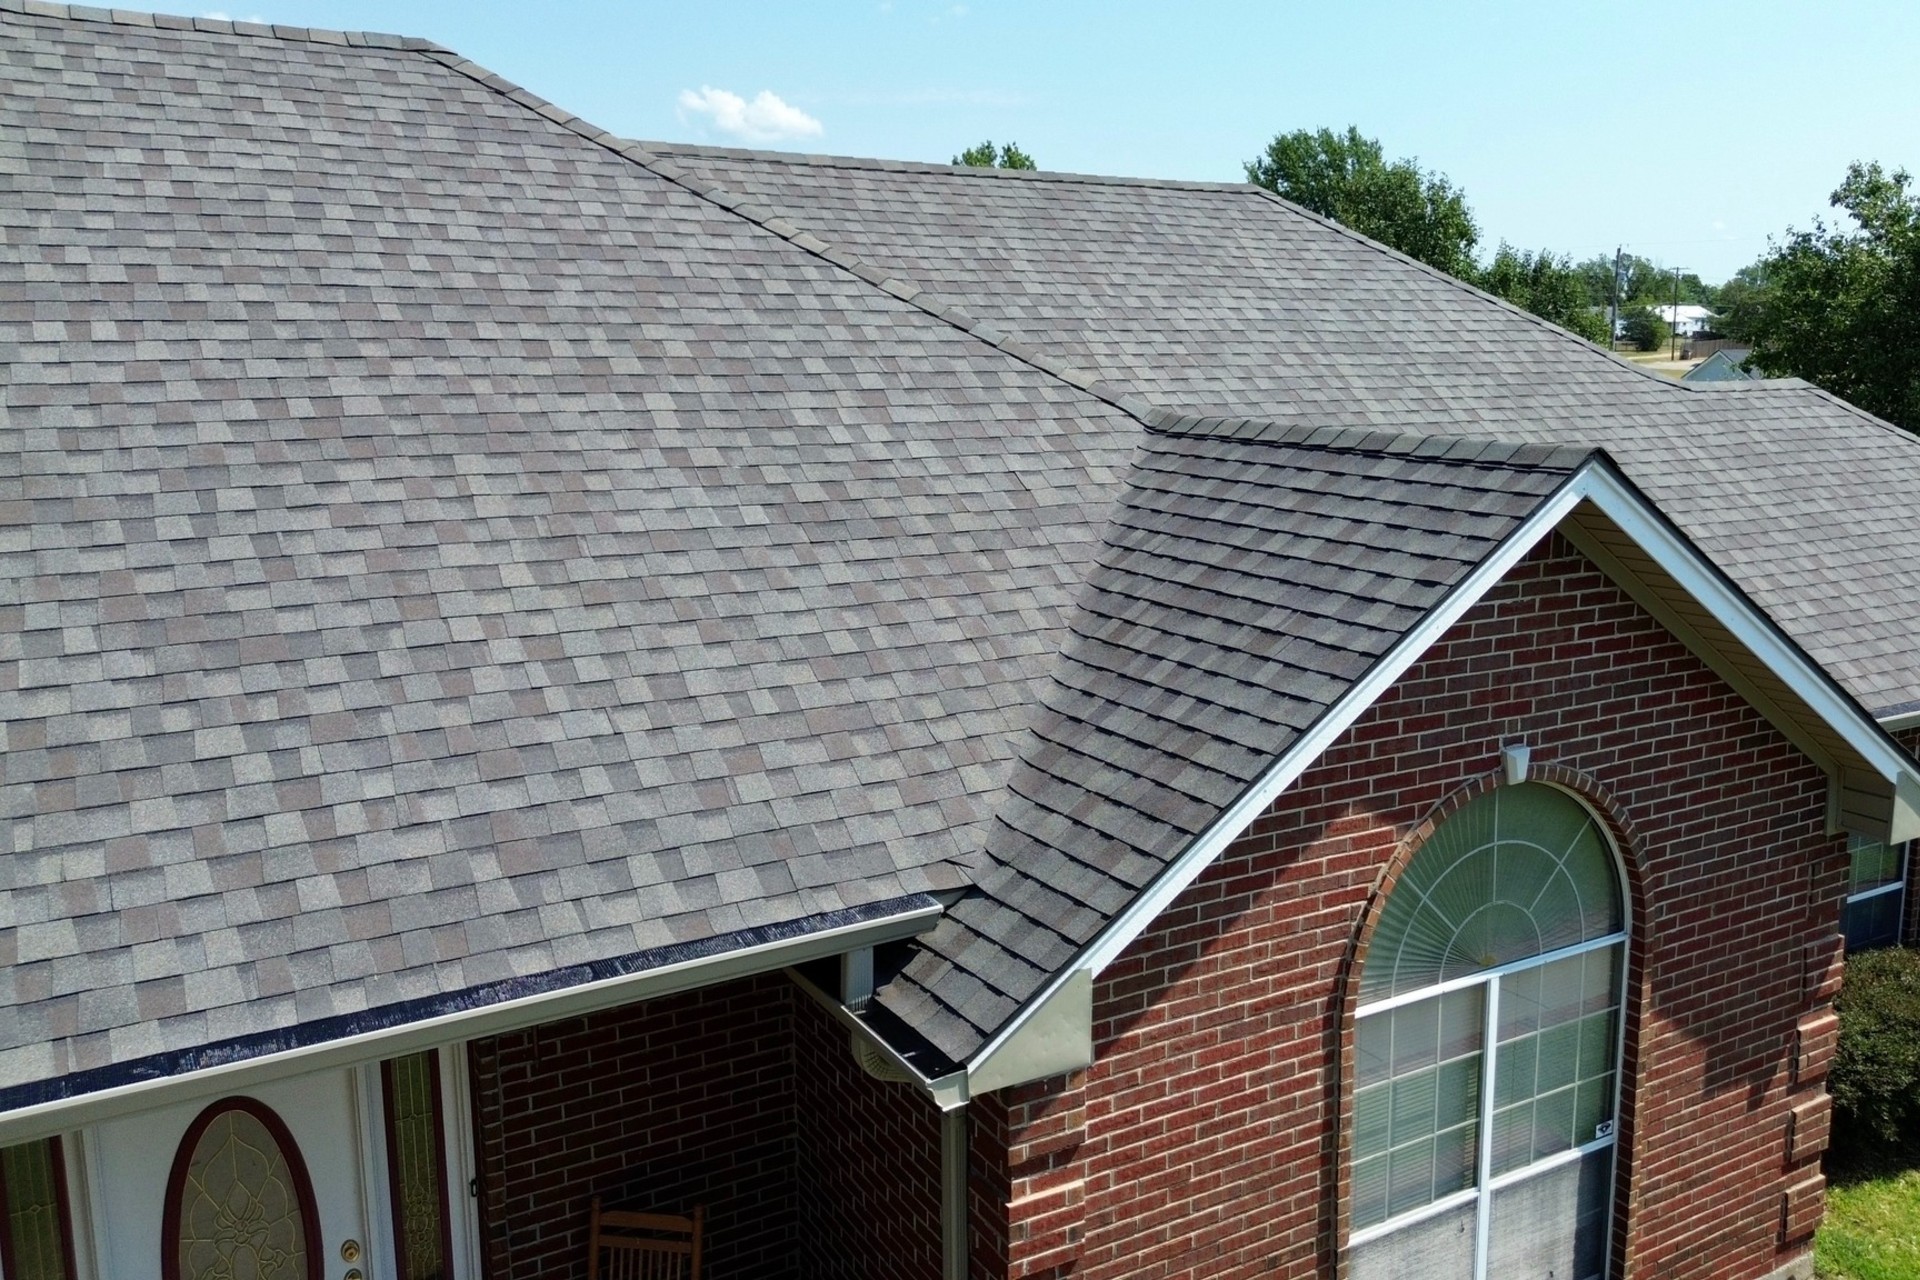
Preparing for an Asphalt Shingle Roof Replacement
Proper preparation helps the entire replacement project proceed efficiently while minimizing disruptions to daily life. Both homeowners and roofing contractors play important roles before installation begins.
The first step involves scheduling a comprehensive roof inspection. Contractors examine the condition of shingles, flashing, ventilation, decking, gutters, and surrounding structures. They also take measurements that determine material quantities and project costs.
After the inspection, homeowners receive an estimate outlining labor, materials, disposal costs, warranties, and projected completion timelines. Reviewing this information carefully helps prevent misunderstandings later in the project.
Selecting an experienced contractor is equally important. A qualified roofing professional should hold appropriate licensing where required, maintain insurance coverage, provide written estimates, and explain the installation process clearly before work begins.
Homeowners can prepare their property by removing vehicles from the driveway and relocating outdoor furniture, grills, and decorative items away from the work area. This creates additional space for material deliveries while protecting belongings from falling debris.
Inside the home, vibrations from roof removal may affect items hanging on walls or stored in the attic. Fragile decorations should be secured, and valuable belongings may be temporarily relocated until construction is complete.
Communication with neighbors is another helpful step. Roof replacement can generate temporary noise during daylight hours, and informing nearby residents in advance demonstrates courtesy while reducing potential concerns.
Choosing the Right Asphalt Shingles for Your Home
Selecting appropriate shingles affects both the appearance and long-term performance of the new roof. Today’s market offers numerous styles, colors, and performance levels designed to meet different budgets and architectural preferences.
Three-tab shingles remain one of the most affordable options available. Their uniform appearance makes them suitable for many homes, although they generally have shorter lifespans and lower wind resistance than premium alternatives.
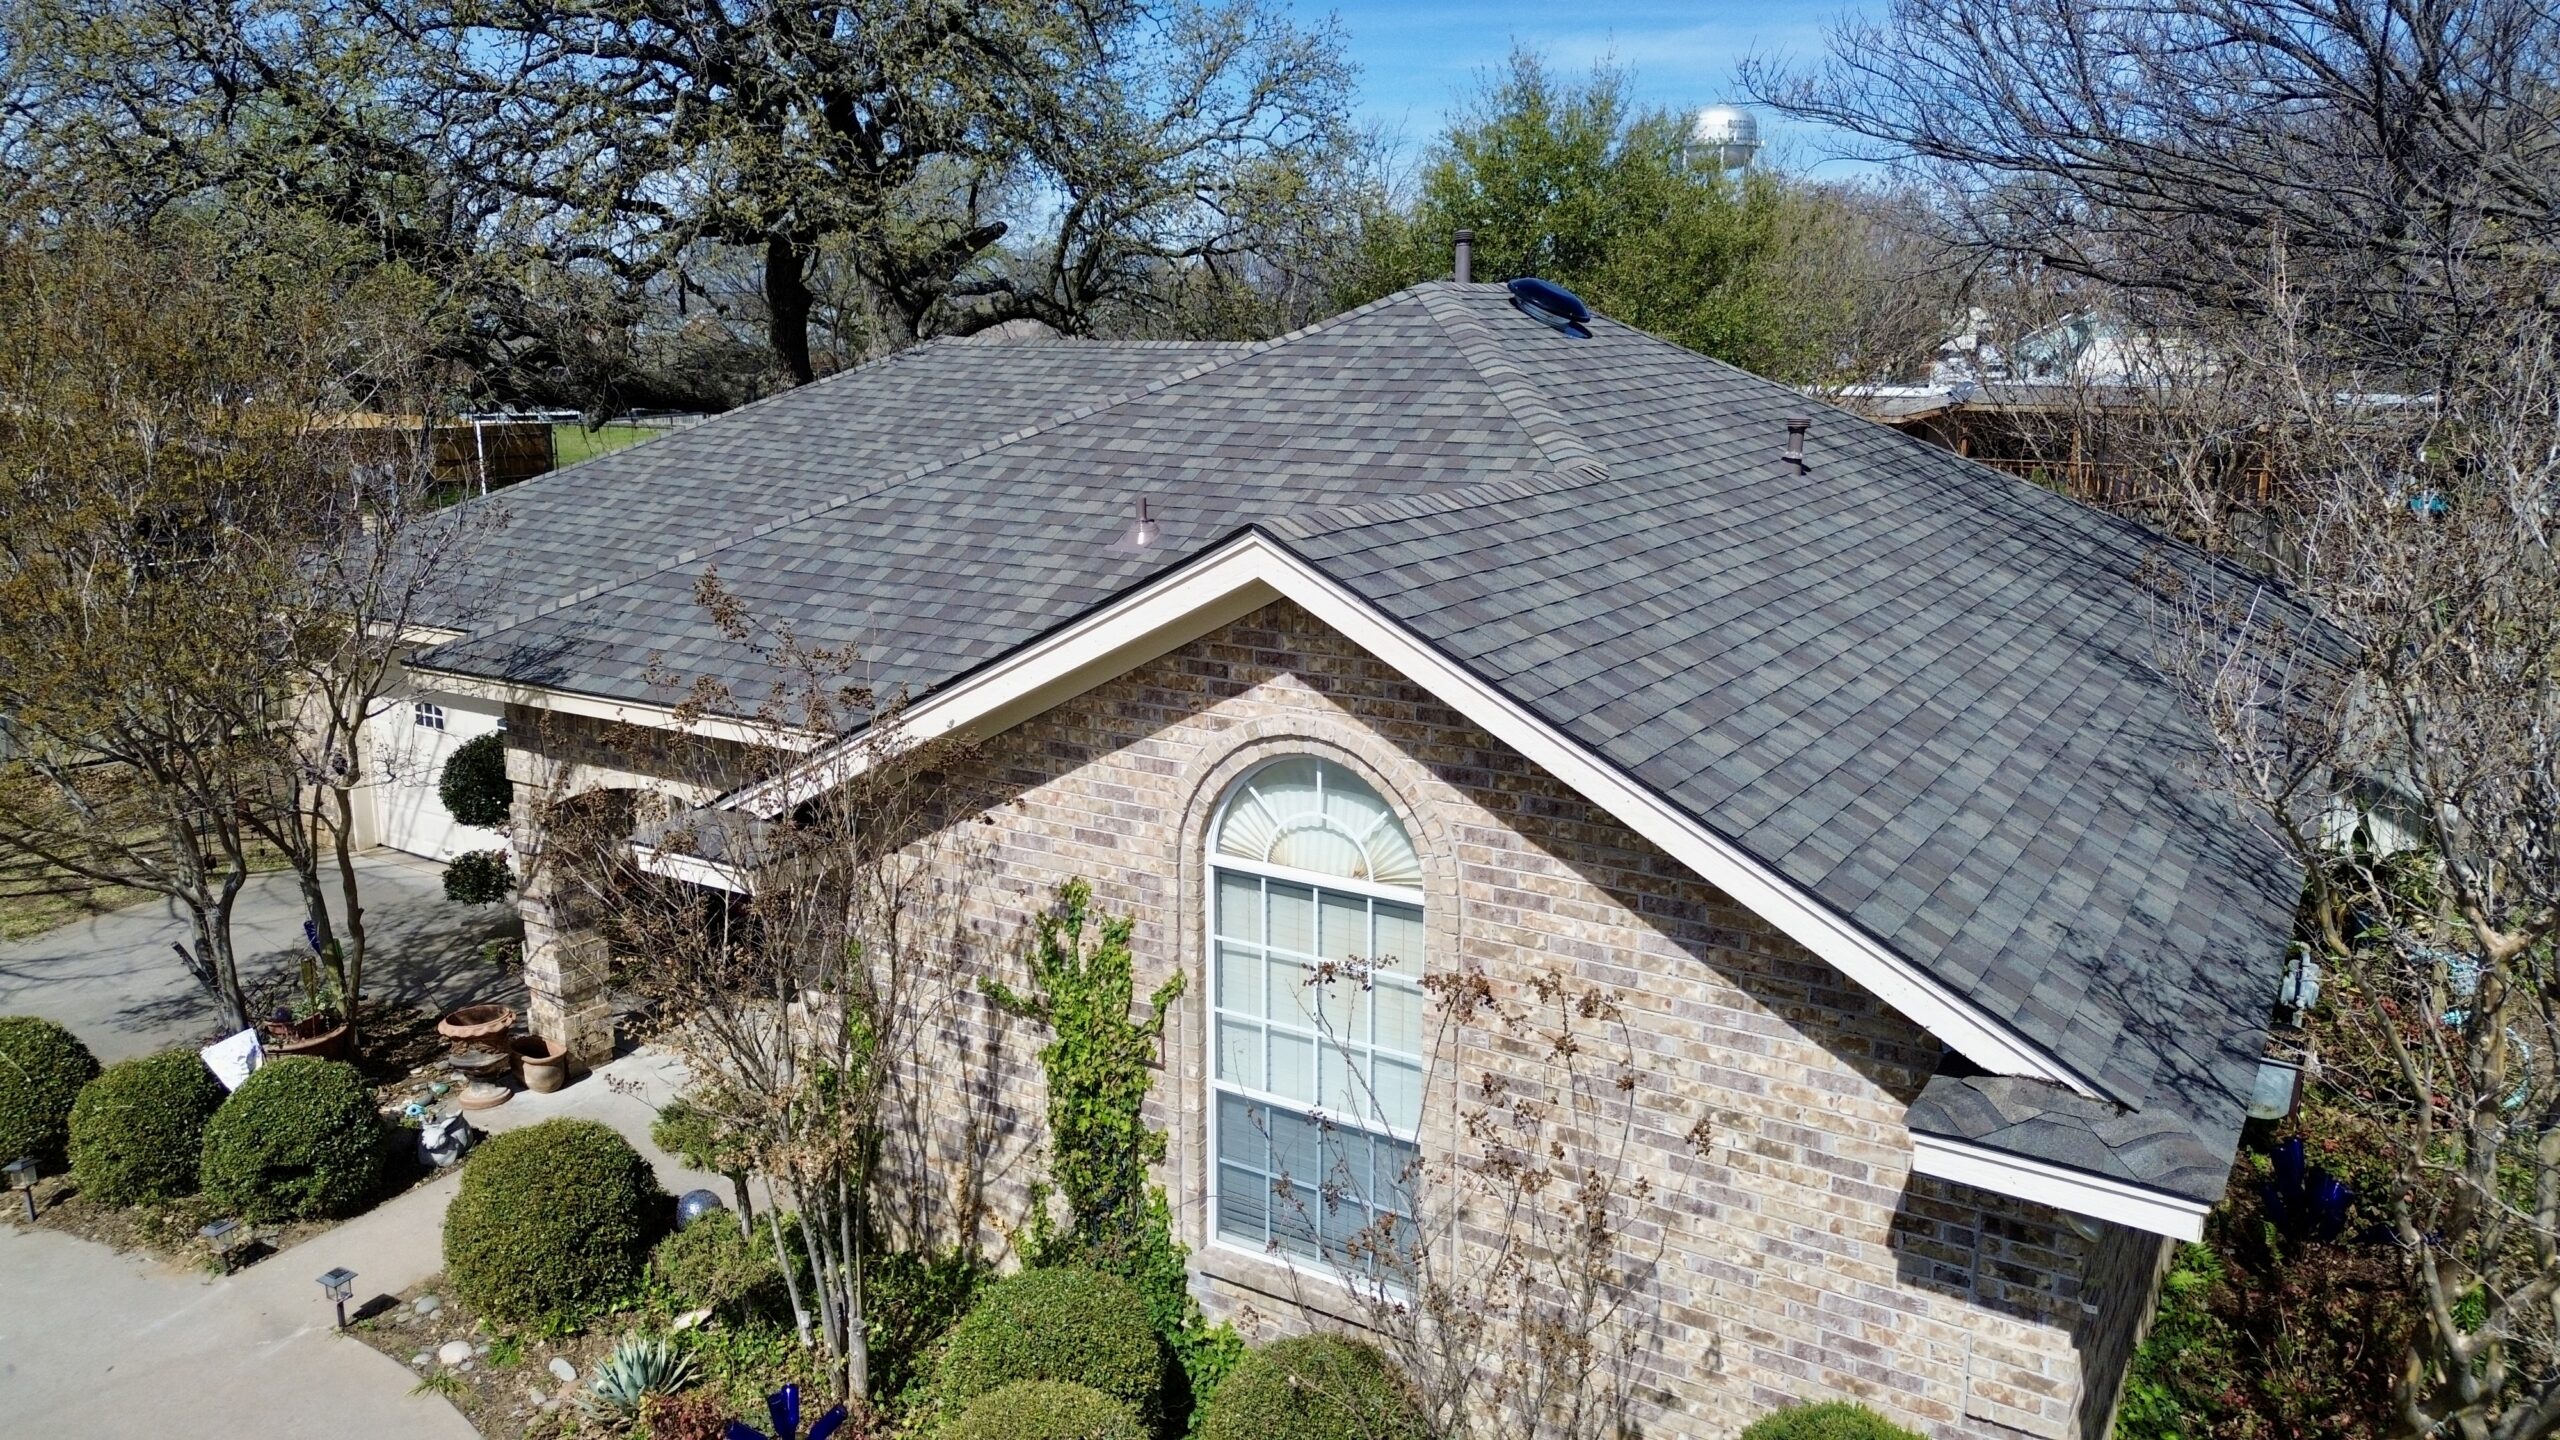
Architectural shingles, also called dimensional shingles, have become the most popular residential choice. Their layered construction creates greater depth, improved durability, and enhanced resistance to wind and impact damage. Many manufacturers also provide longer warranty coverage for these products.
Luxury asphalt shingles replicate the appearance of slate or cedar shake while maintaining easier installation and lower maintenance requirements. Although they cost more than standard shingles, they offer exceptional curb appeal and premium durability.
Color selection should complement the home’s siding, trim, brick, stone, and surrounding landscape. Lighter colors reflect more sunlight and may help reduce attic temperatures, while darker shades create bold visual contrast and often suit traditional architectural styles.
When comparing products, homeowners should evaluate several important characteristics before making a final decision.
- Expected lifespan
- Wind resistance rating
- Impact resistance certification
- Fire resistance classification
- Manufacturer warranty coverage
- Color availability
- Overall installation cost
Choosing high-quality materials may increase initial expenses, but improved durability and reduced maintenance often provide greater value throughout the roof’s lifespan.
Roofing Materials, Tools, and Safety Equipment Overview
Professional roof replacement requires specialized materials and equipment to ensure safe installation and reliable long-term performance. Every component contributes to the overall strength and weather resistance of the finished roofing system.
The primary materials include asphalt shingles, synthetic or felt underlayment, ice and water shield membranes, drip edge, flashing, ridge caps, roofing nails, ridge vents, and sealants. Contractors also replace damaged decking panels whenever inspections reveal structural deterioration.
Professional roofing crews rely on specialized tools to improve efficiency and installation accuracy. Roofing nailers, utility knives, chalk lines, pry bars, magnetic sweepers, ladders, and safety harnesses help crews complete projects according to manufacturer specifications while maintaining safe working conditions.
Safety remains one of the highest priorities during every replacement project. Roofing involves elevated work surfaces, steep slopes, changing weather conditions, and heavy materials. Professional contractors follow established safety procedures and use protective equipment to reduce accident risks.
Understanding the materials and equipment involved helps homeowners appreciate why professional installation plays such an important role in achieving a durable, long-lasting asphalt shingle roof.
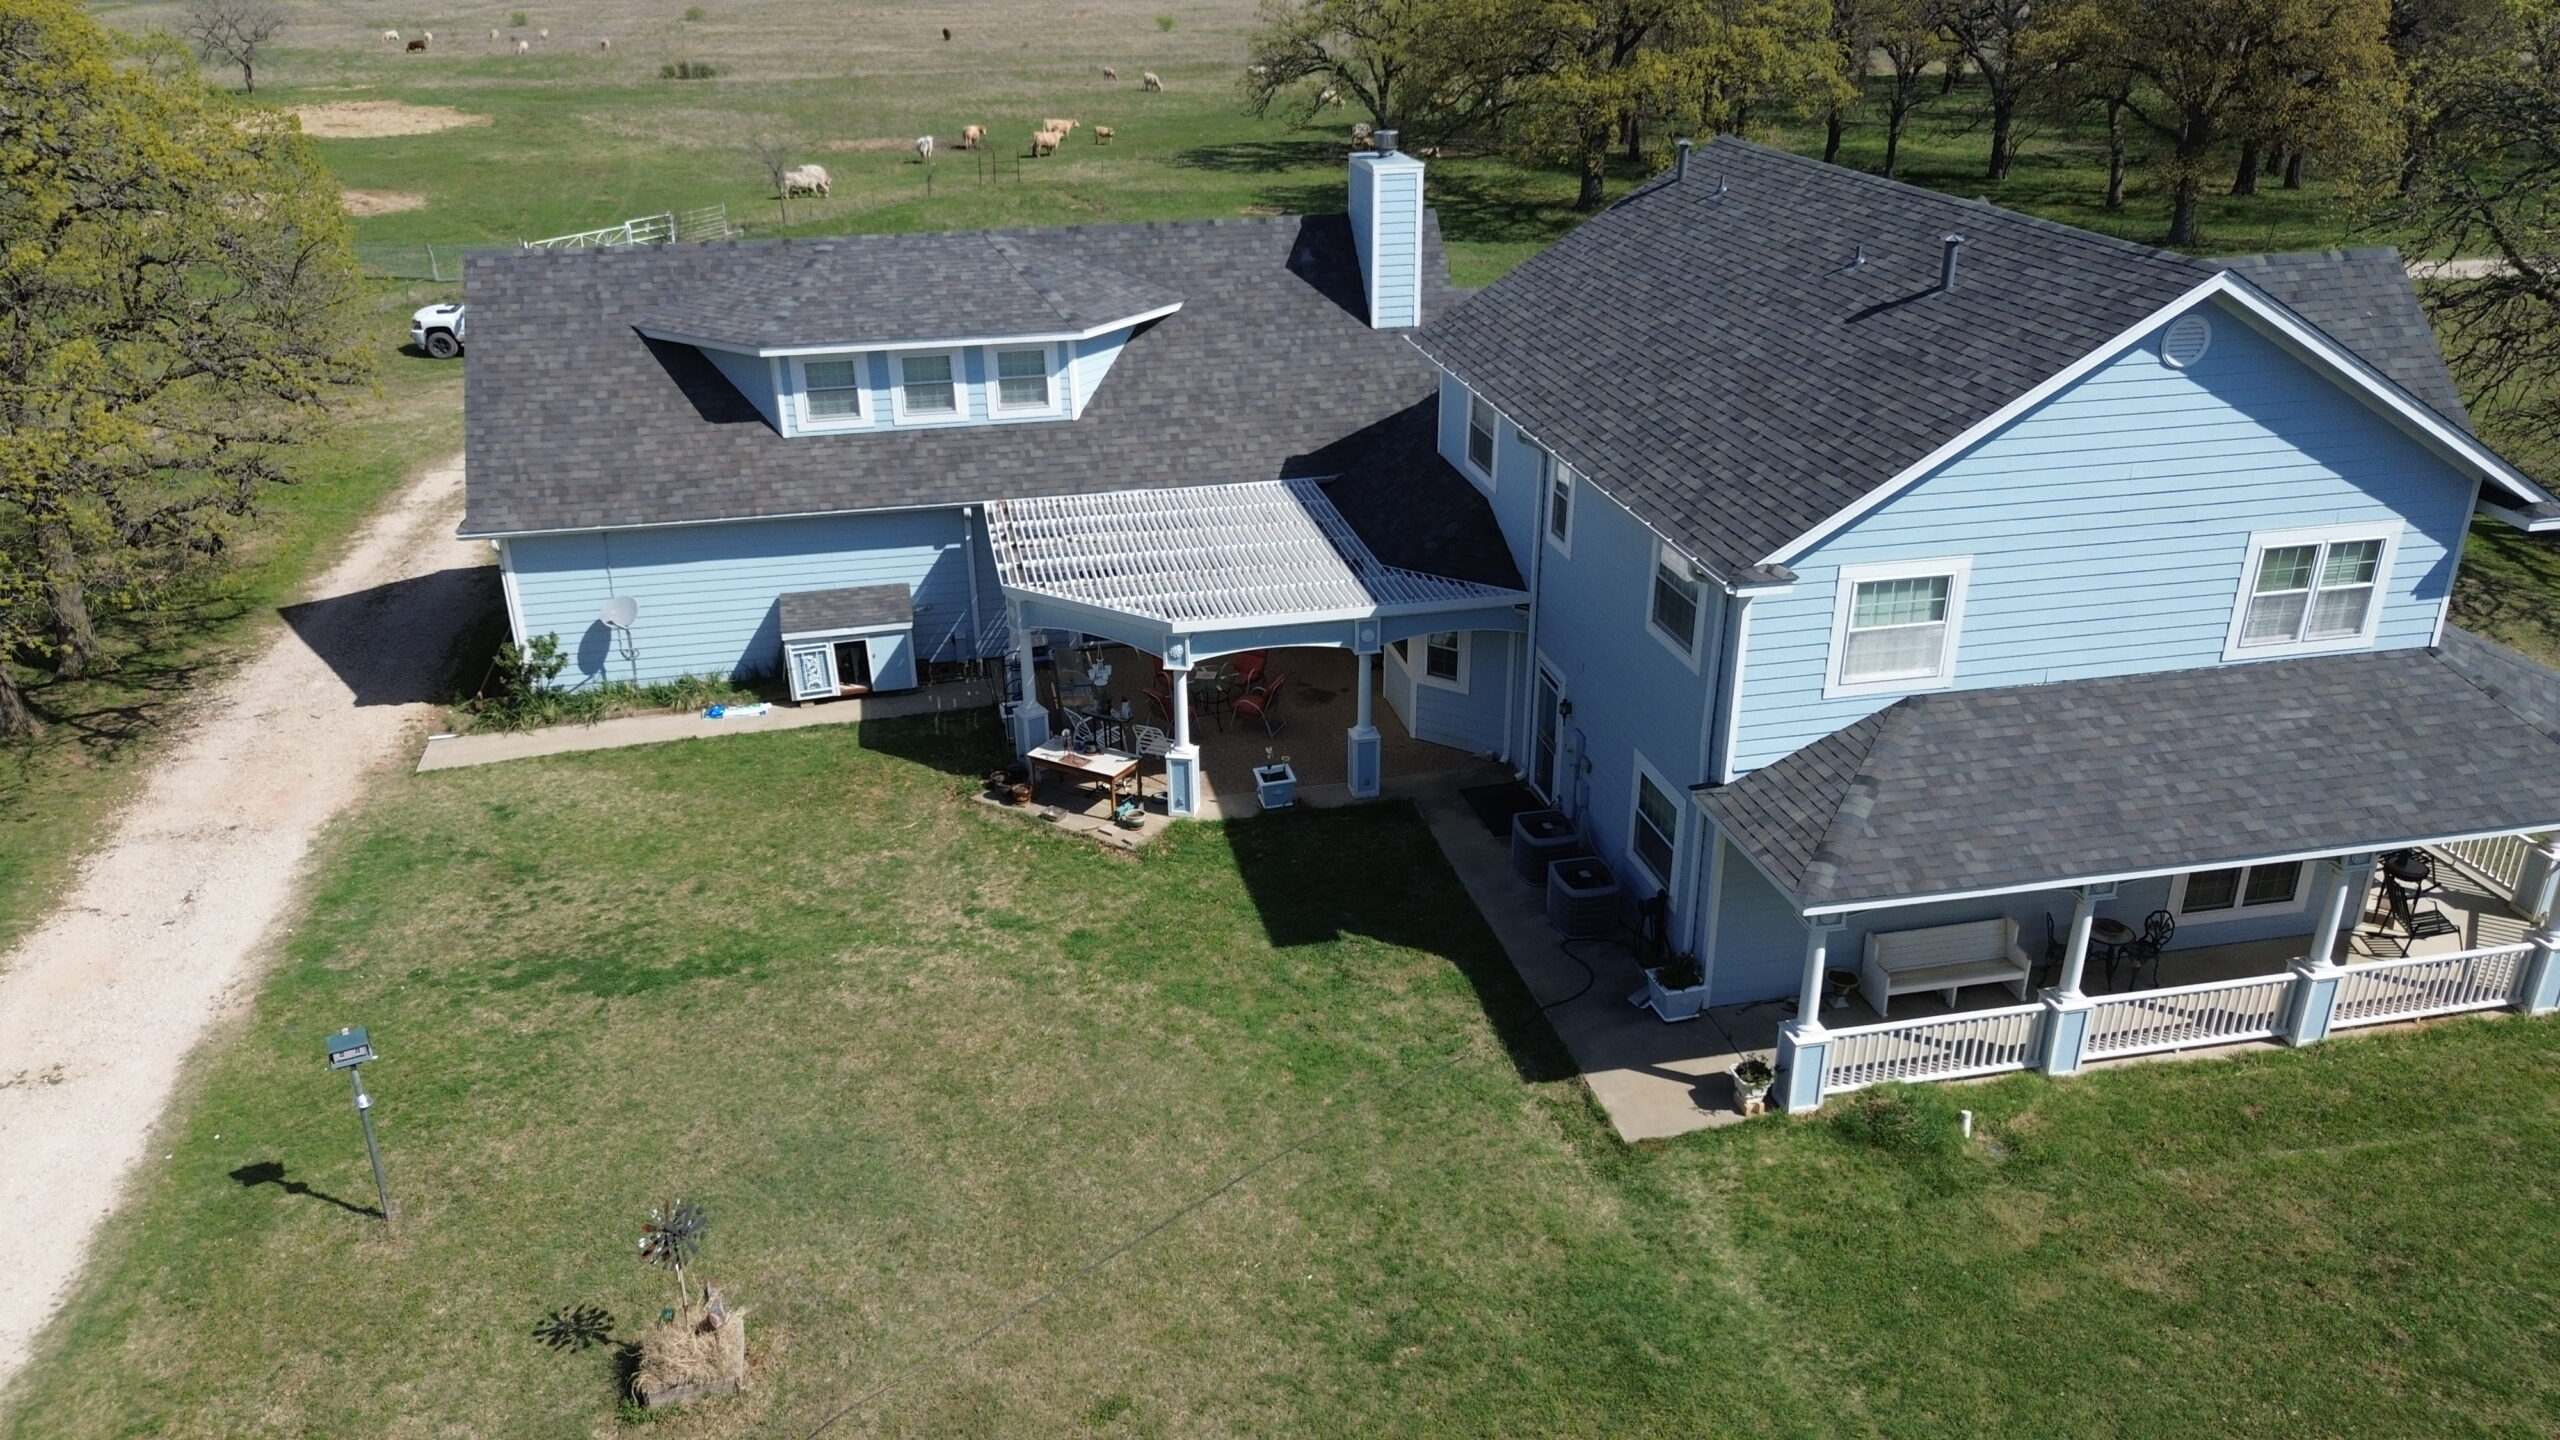
What Happens Before Installation Begins
The period immediately before installation focuses on organizing materials, confirming weather conditions, and protecting the property. Careful planning during this stage helps minimize delays once construction begins.
Roofing materials are typically delivered one or two days before installation. Contractors strategically place shingles across the roof to distribute weight evenly and reduce unnecessary handling during installation.
Protective tarps are positioned around landscaping, flower beds, decks, patios, and outdoor equipment. These coverings help collect debris while reducing the risk of accidental damage throughout the removal process.
The project manager usually conducts a final walkthrough with the homeowner before work begins. This meeting confirms material selections, reviews the project schedule, discusses property access, and answers any remaining questions before the roofing crew starts removing the existing roof.
Once preparations are complete, the replacement project moves into its most visible phase. The existing roofing materials are carefully removed, the underlying structure is thoroughly inspected, and the foundation is prepared for installing a durable new asphalt shingle roofing system that will protect the home for years to come.
Removing the Existing Roof
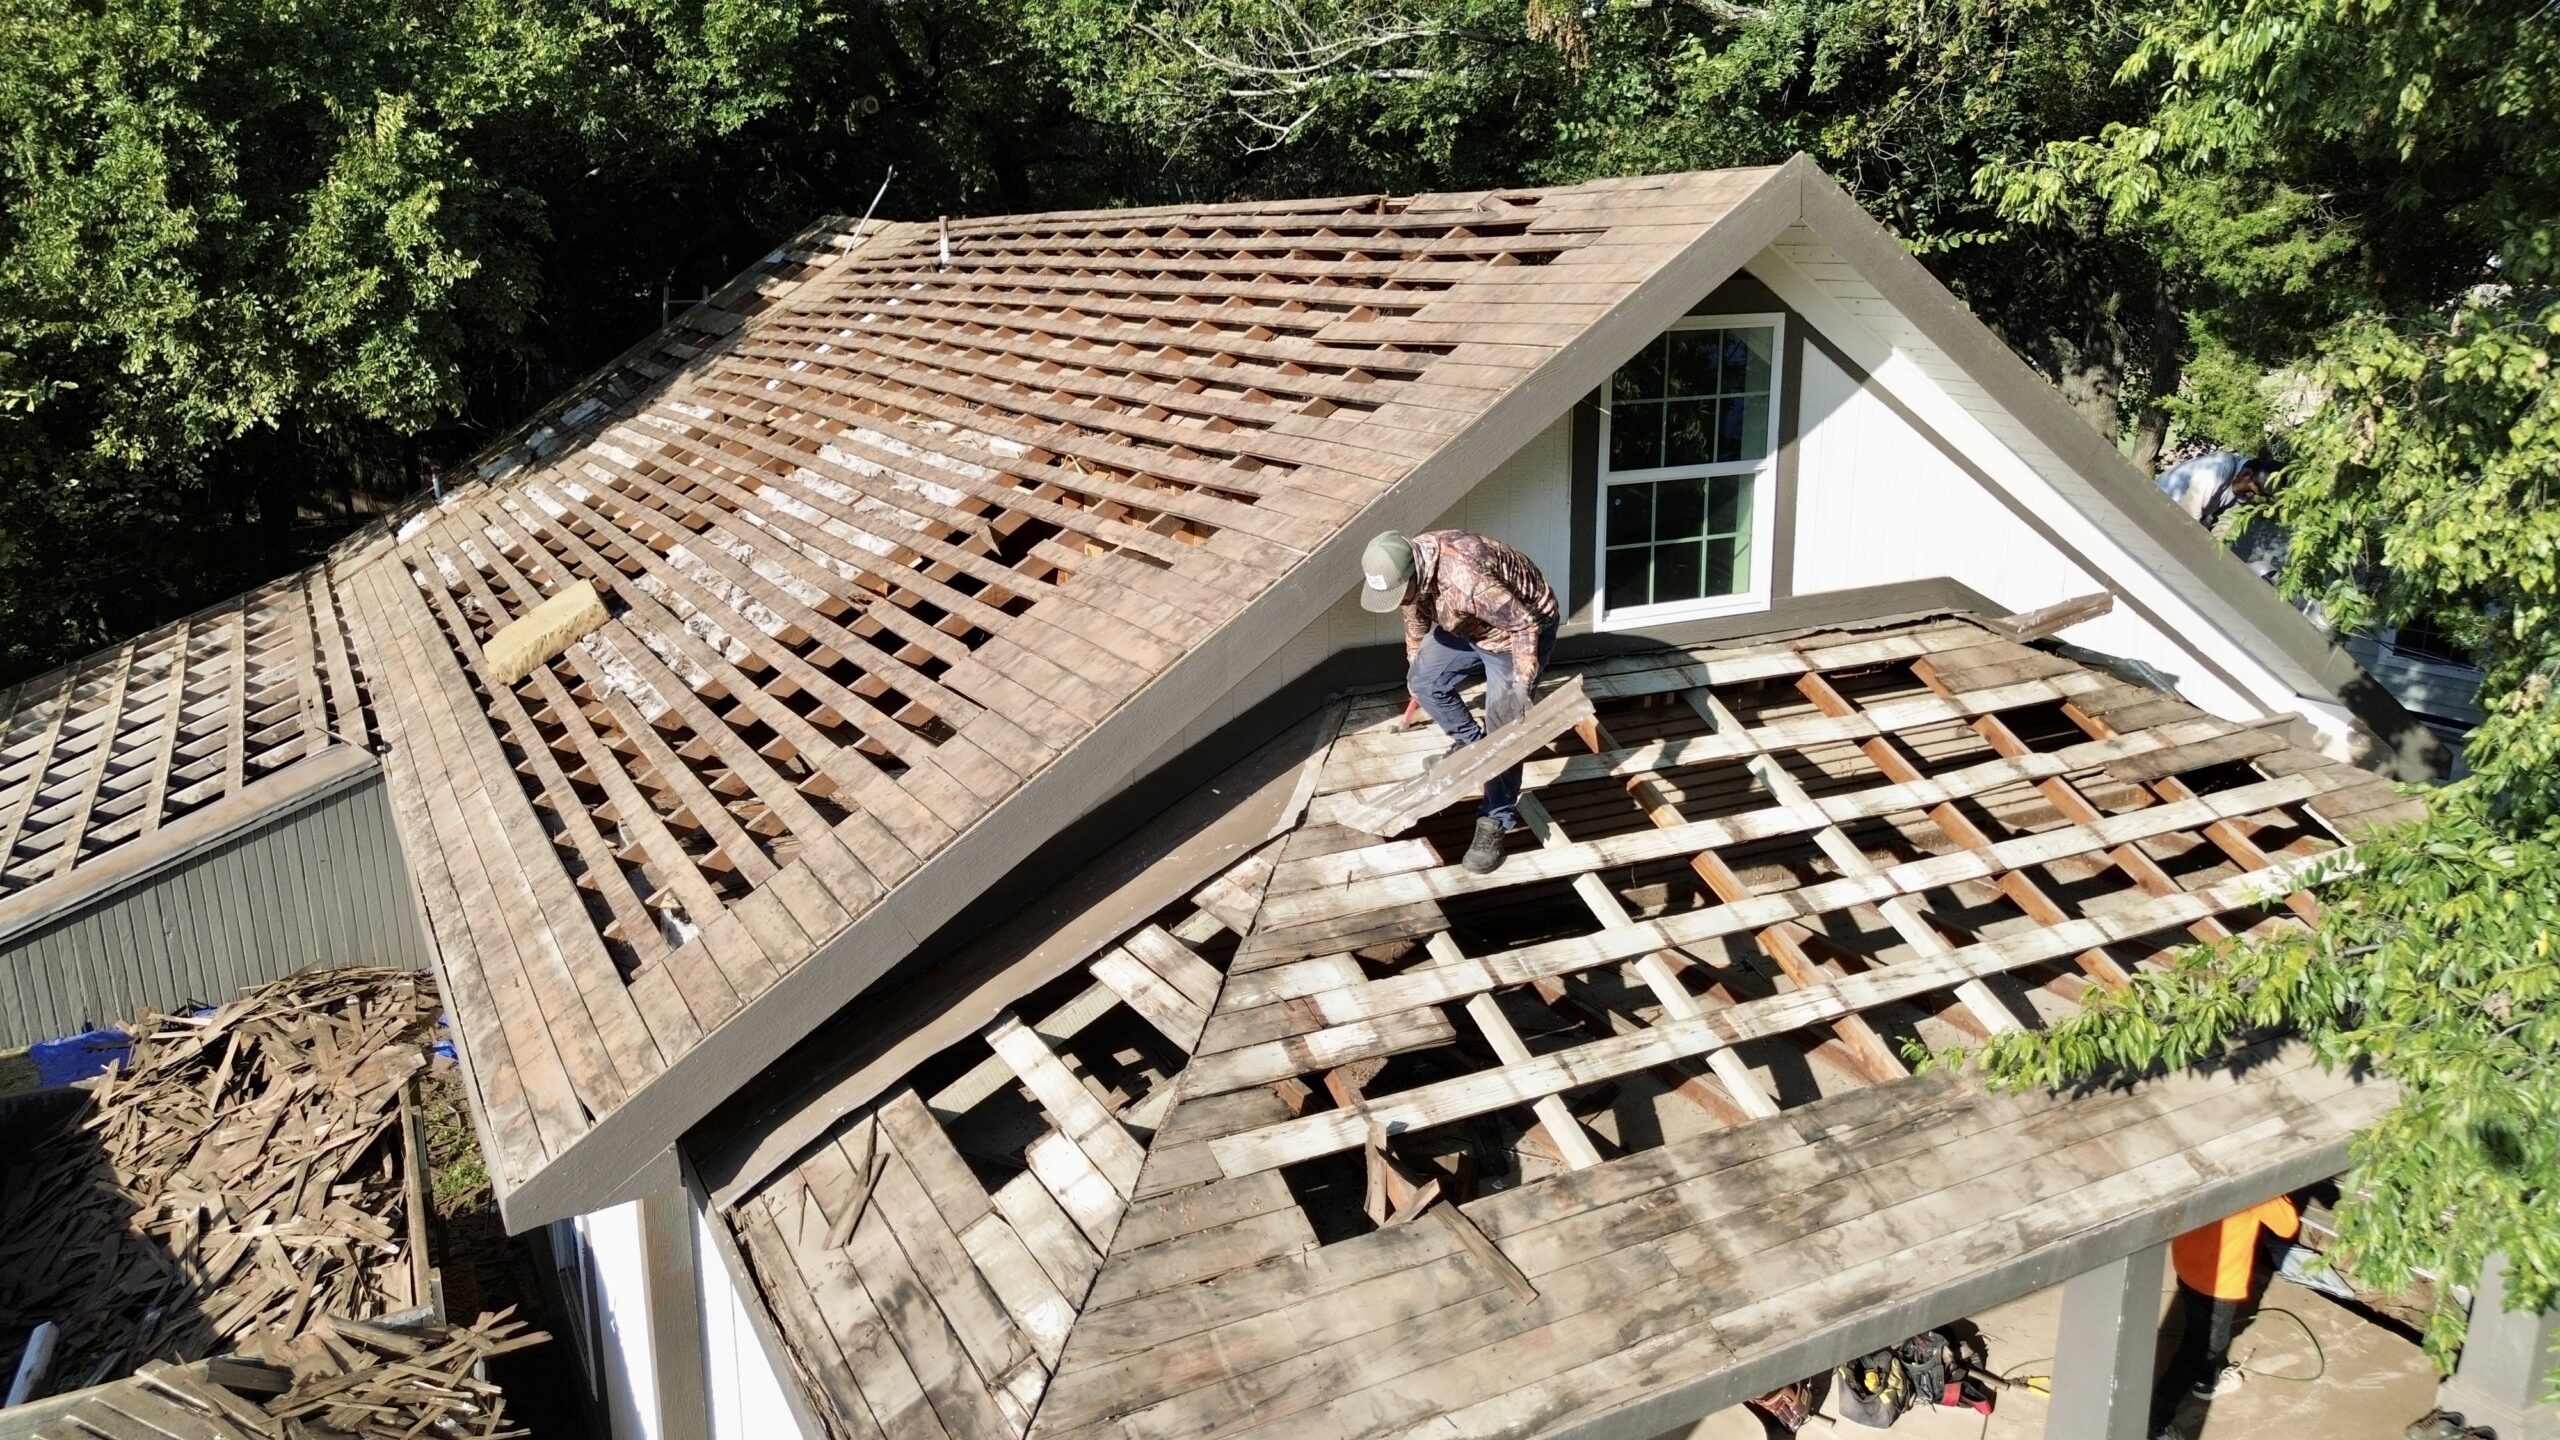
With preparation complete, the roof replacement process begins by removing the existing roofing materials. This stage allows contractors to inspect the roof’s underlying structure and identify hidden problems that may not have been visible during the initial inspection. Although it is one of the noisiest phases of the project, it lays the foundation for a durable new roofing system.
Roofers typically start at the highest point of the roof and work downward. Specialized roofing shovels and pry bars are used to lift shingles, roofing nails, ridge caps, and underlayment without causing unnecessary damage to the roof deck. Working in sections helps crews maintain an organized workflow while reducing safety risks.
All debris is directed into designated disposal containers or trailers. Professional contractors continuously clean the work area throughout the day rather than allowing roofing waste to accumulate. This improves safety while making the final cleanup much easier.
Some homes have multiple layers of old shingles because previous owners installed new roofing over existing materials. Although building codes may permit limited overlay installations in certain situations, complete removal is generally preferred because it allows contractors to inspect every part of the roof deck.
Removing every layer also reduces the roof’s overall weight. Excessive roofing layers place unnecessary stress on structural framing and may shorten the lifespan of the new roofing system if hidden issues remain beneath older materials.
During tear-off, contractors often discover problems that were impossible to identify from the exterior. Small leaks, deteriorated wood, rusted flashing, insect damage, and moisture trapped beneath old shingles frequently become visible only after the roof has been stripped down to the decking.
Homeowners should expect some noise and vibration during this stage. Nails being removed, shingles being scraped away, and workers moving across the roof naturally create temporary disruption, but experienced crews work efficiently to complete removal as quickly as possible.
Inspecting and Repairing the Roof Deck
Once the old roofing materials have been removed, the roof deck becomes fully visible. This inspection is one of the most important stages because the deck serves as the structural base for every roofing component installed afterward.
Most residential roof decks are constructed from plywood or oriented strand board. These panels must remain strong, dry, and securely fastened to support the weight of shingles and withstand changing weather conditions over many years.
Contractors carefully examine every section of the decking for signs of deterioration. Soft areas, water stains, mold growth, rot, delamination, and loose fasteners indicate that repairs may be necessary before installation continues.
Minor damage can sometimes be repaired by replacing individual panels or reinforcing weakened sections. If widespread deterioration is discovered, additional structural work may be required before the new roofing system can be safely installed.
Roof framing beneath the decking is also evaluated whenever necessary. Rafters and trusses affected by long-term water intrusion may require repair to restore structural stability before the project proceeds.
Replacing damaged decking during roof installation may slightly increase project costs, but it prevents much larger problems in the future. Installing premium shingles over weakened wood would only hide existing issues rather than solve them.
This inspection stage also gives contractors the opportunity to verify that roof surfaces remain level. Uneven decking can create visible imperfections after shingles are installed and may interfere with proper water drainage.
Installing Underlayment, Ice and Water Shield, and Flashing
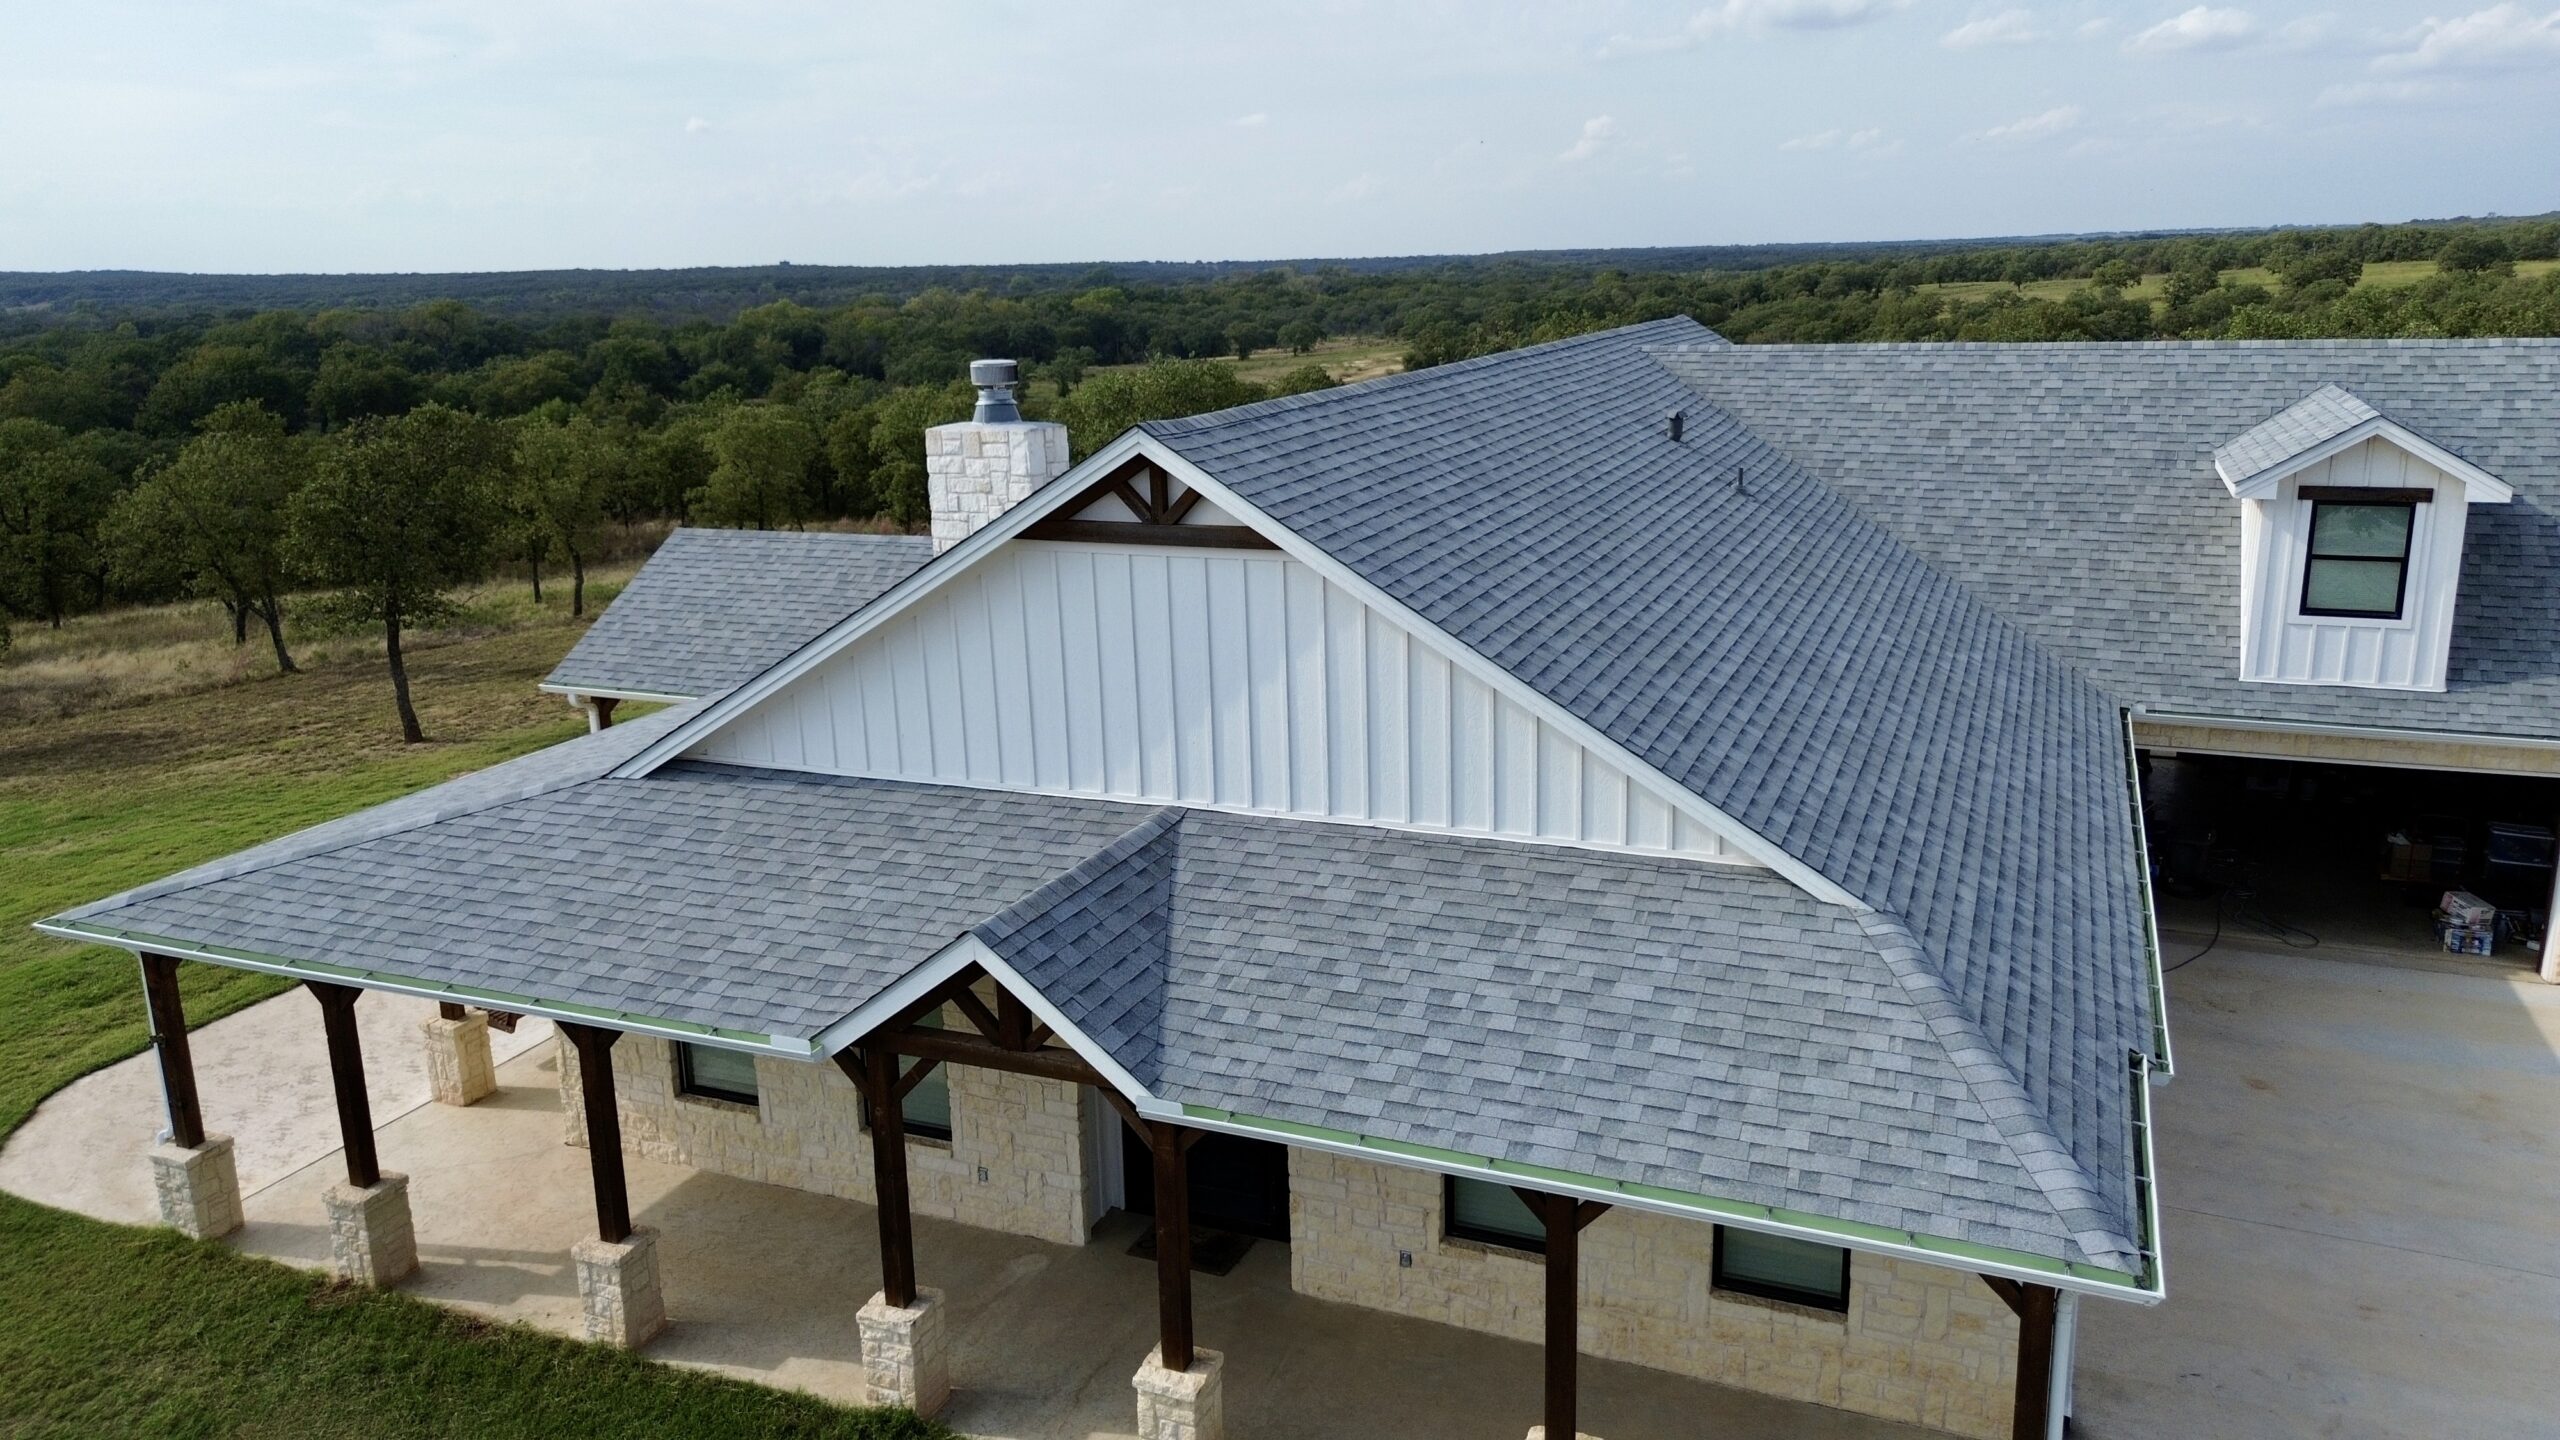
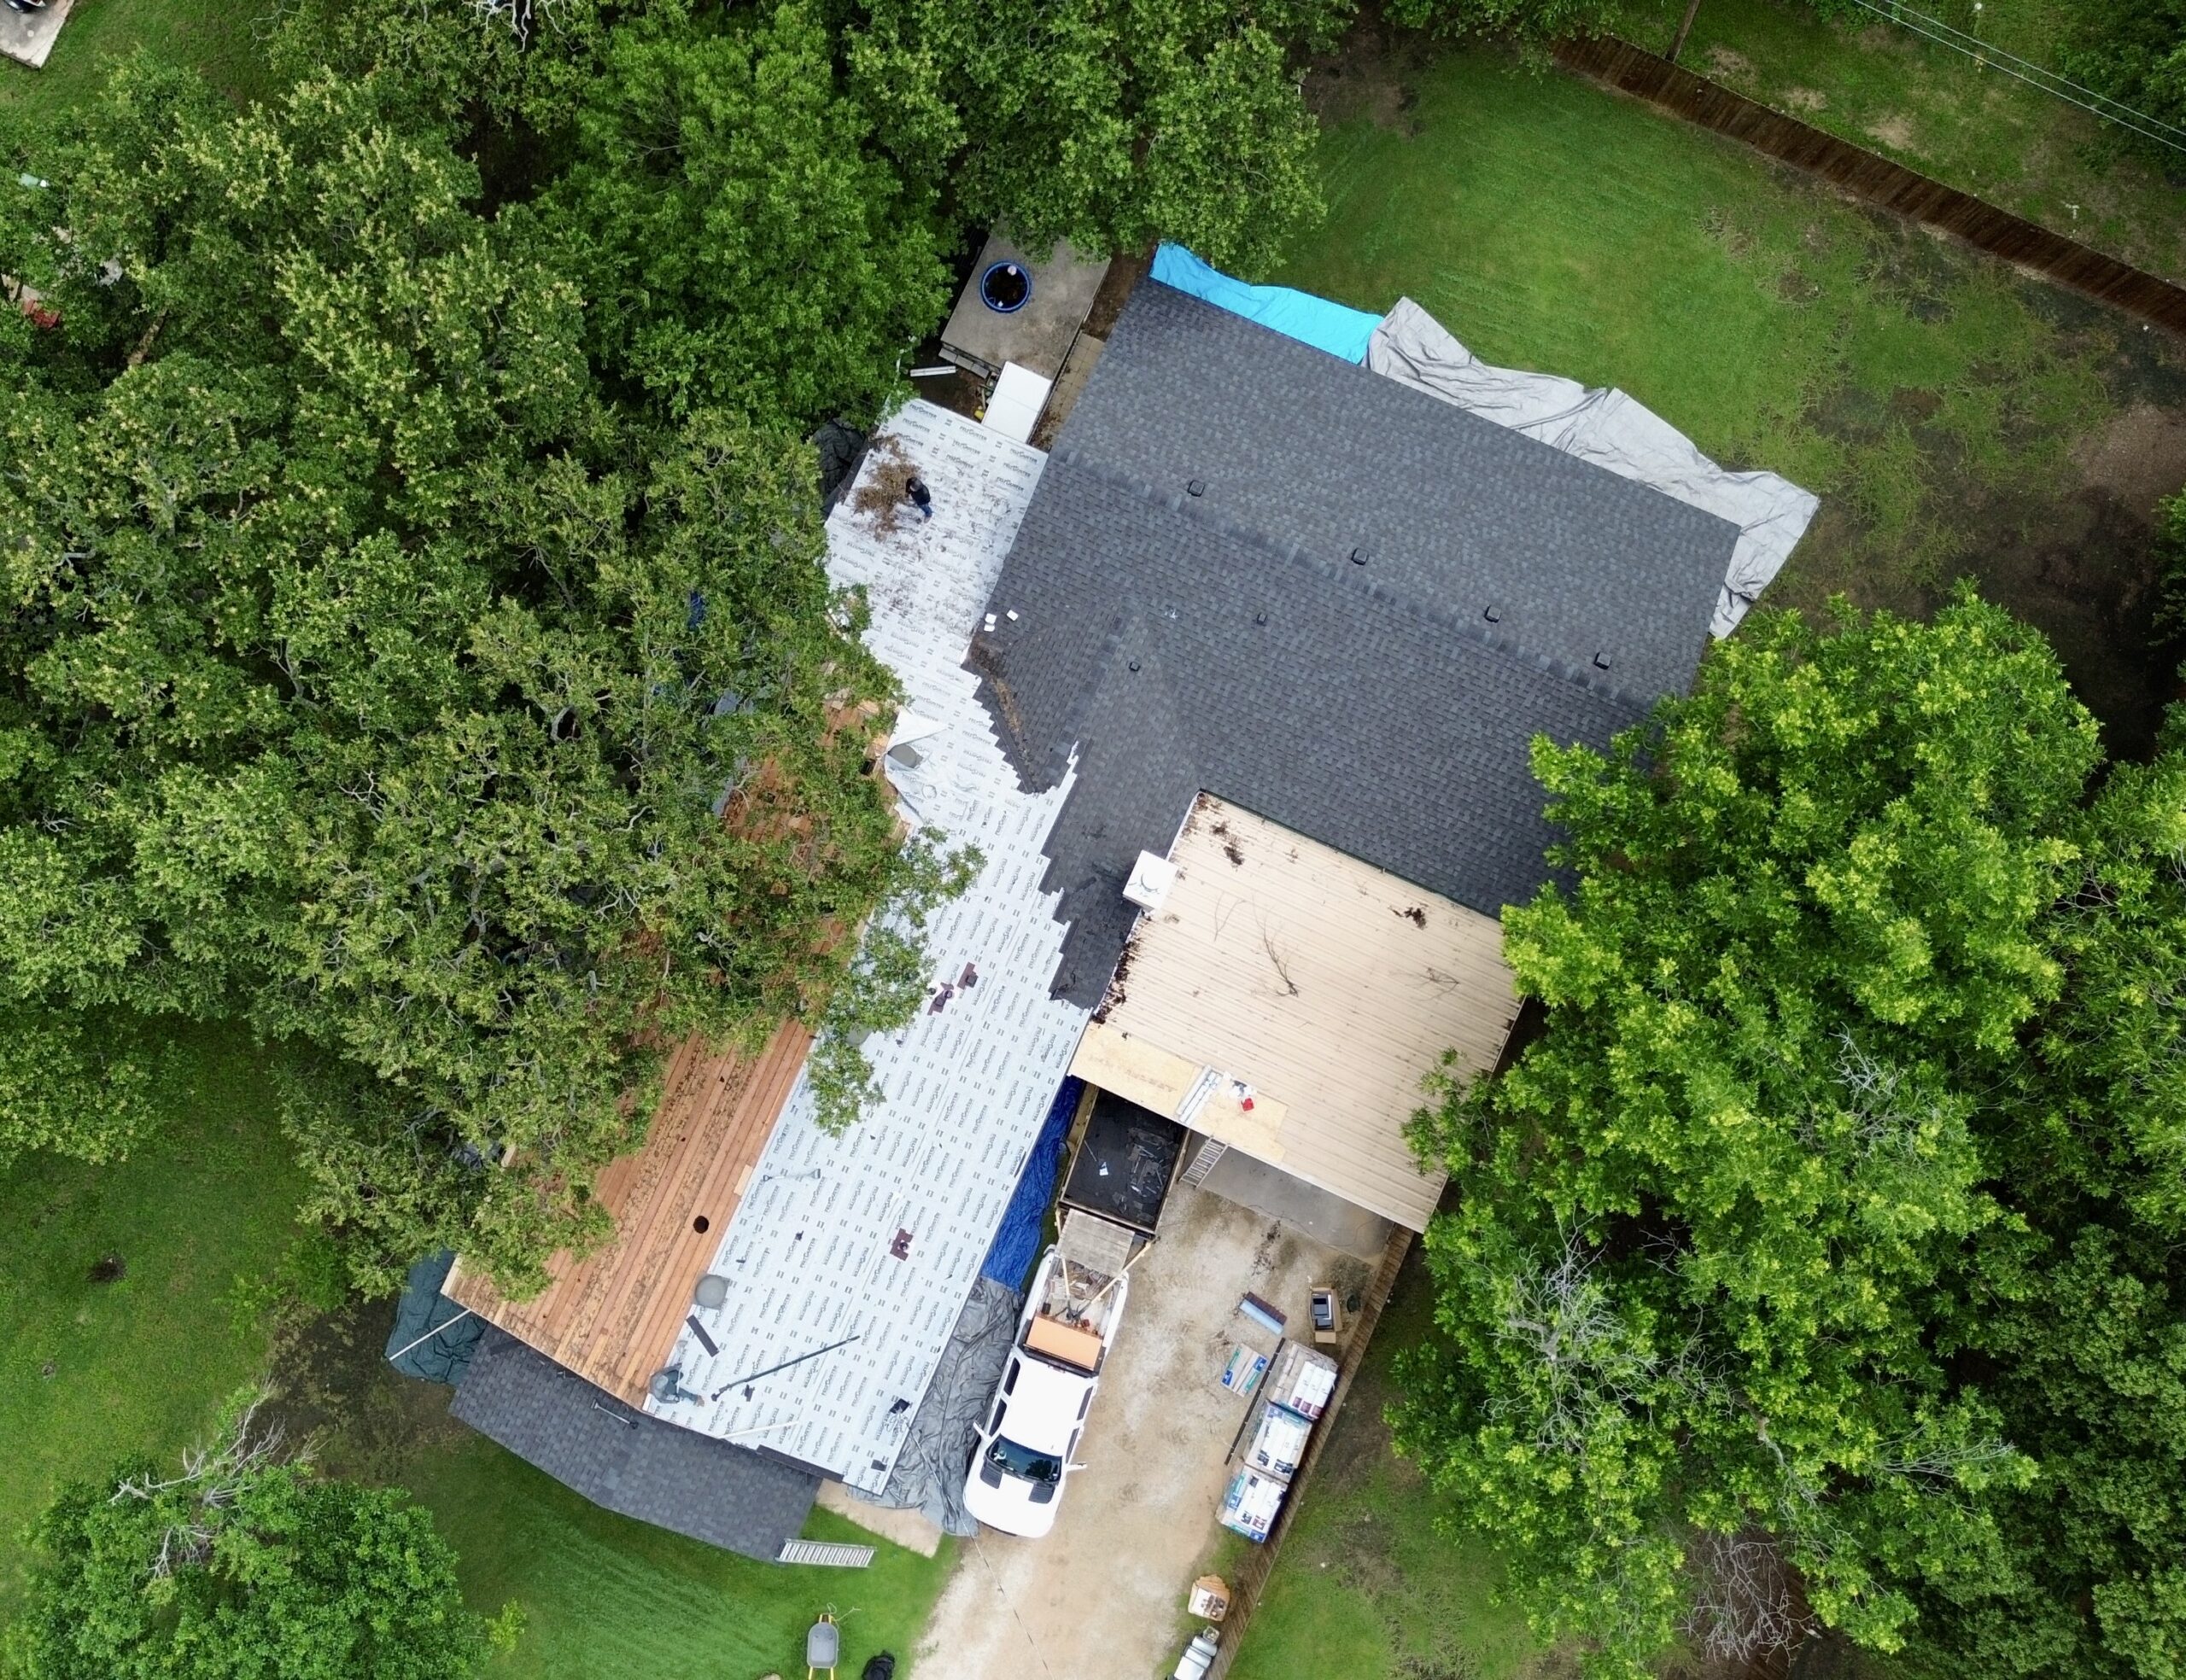
With the roof deck inspected and repaired, contractors begin rebuilding the roofing system by installing protective moisture barriers. These components provide additional defense against water infiltration even if shingles become damaged during severe weather.
The first protective layer is typically the ice and water shield. This self-adhering waterproof membrane is installed in vulnerable areas where water is most likely to collect or back up beneath shingles.
Common installation locations include roof valleys, eaves, around chimneys, skylights, roof penetrations, and other high-risk areas. The membrane creates a watertight seal around roofing nails, providing superior protection against leaks.
After the waterproof membrane is installed, contractors cover the remaining roof deck with roofing underlayment. Modern synthetic underlayments have become increasingly popular because they are lightweight, durable, tear resistant, and provide excellent moisture protection during installation.
Traditional felt underlayment is still used on many projects and continues to perform well when installed correctly. The choice often depends on homeowner preferences, climate conditions, manufacturer recommendations, and project budget.
Flashing installation follows next. Flashing consists of thin metal pieces strategically installed wherever the roof meets another surface or changes direction. These transition areas require additional protection because they experience concentrated water flow during rainfall.
Important flashing locations include:
- Chimneys
- Plumbing vents
- Roof valleys
- Dormers
- Skylights
- Wall intersections
Proper flashing installation is essential because many roof leaks develop where different building materials meet rather than through the shingles themselves.
Drip edge is also installed along roof edges. This metal component directs rainwater into gutters while protecting the roof deck from moisture damage along the perimeter of the roof.
Step by Step Asphalt Shingle Installation Process
After all protective layers are in place, contractors begin installing the asphalt shingles themselves. Careful attention to alignment, fastening patterns, and manufacturer specifications ensures the finished roof performs as intended throughout its lifespan.
Installation usually begins with starter shingles placed along the roof edges. These specialized shingles create a secure base that improves wind resistance and provides proper alignment for the remaining courses.
Roofers then install the first row of shingles above the starter strip. Every shingle overlaps the previous course according to manufacturer specifications, creating multiple layers that effectively shed rainwater.
Accurate nail placement is critical during installation. Roofing nails must penetrate the roof deck while remaining within designated fastening zones on each shingle. Incorrect nail placement can reduce wind resistance, void warranties, or contribute to premature roof failure.
Contractors carefully stagger each successive row so that joints do not align vertically. This installation pattern improves structural integrity while creating a more attractive finished appearance.
Roof valleys receive special attention because they channel significant amounts of rainwater. Contractors use either open valley or closed valley installation methods depending on manufacturer recommendations and homeowner preferences.
As installation progresses upward, crews frequently check alignment using chalk lines and measuring tools. Even small positioning errors can become increasingly noticeable as additional rows are installed.
Once the main roof surfaces are complete, ridge cap shingles are installed along the roof peak. These specially designed shingles protect the highest point of the roof while allowing proper ventilation where ridge vents are present.
Experienced installers continuously inspect their work throughout the installation process. Correcting small issues immediately helps ensure the finished roof meets both manufacturer standards and industry best practices.
Roof Ventilation and Moisture Management
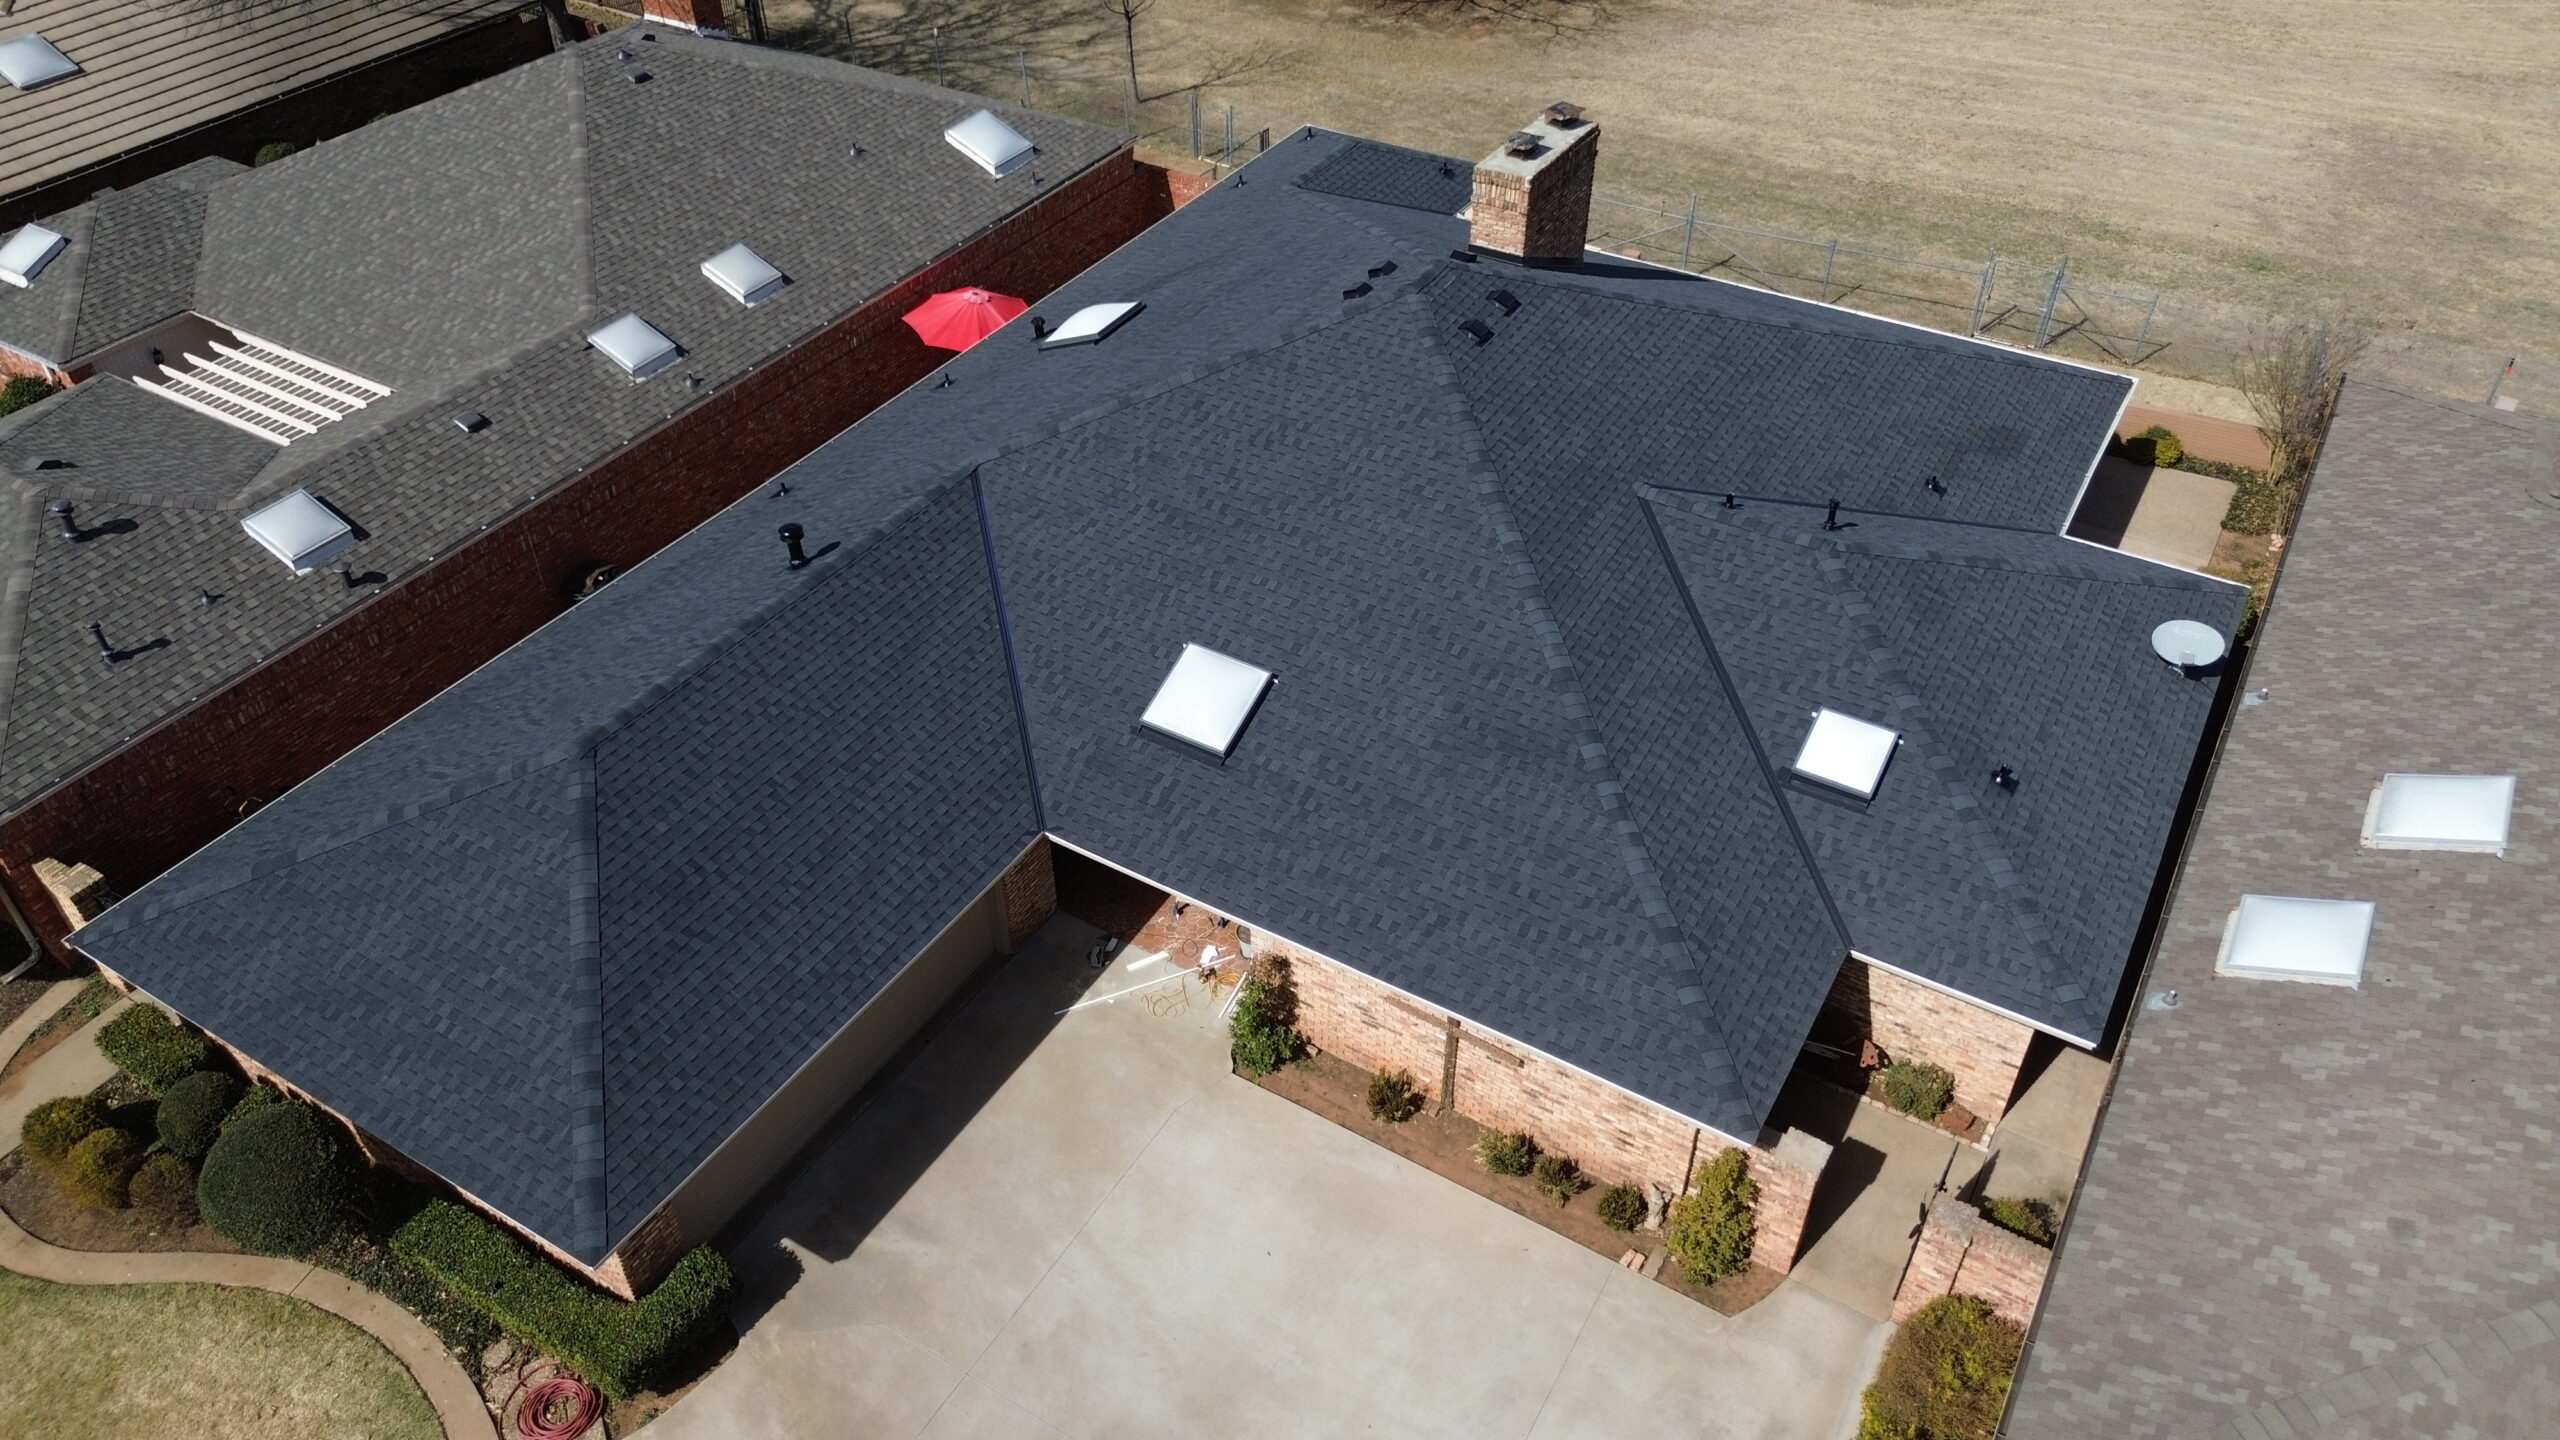
Roof ventilation is often overlooked by homeowners, yet it plays a major role in extending the lifespan of an asphalt shingle roof. A well-designed ventilation system allows fresh air to enter through intake vents while warm, humid air exits through exhaust vents near the roof peak.
Without adequate airflow, attic temperatures can become extremely high during summer months. Excessive heat accelerates asphalt aging, increases cooling costs, and may reduce the overall lifespan of roofing materials.
During winter, poor ventilation allows moisture from everyday household activities to accumulate inside the attic. Warm air carrying water vapor rises through the home and condenses when it contacts cooler roof surfaces.
Over time, trapped moisture can damage insulation, promote mold growth, weaken roof decking, and reduce indoor air quality. Proper ventilation helps prevent these issues by maintaining consistent airflow throughout the attic.
Balanced ventilation systems typically combine soffit vents with ridge vents. This design allows cooler outside air to enter near the roof edges while warmer air naturally exits through the highest point of the roof.
Contractors also evaluate existing attic insulation during roof replacement. Proper insulation works together with ventilation to improve energy efficiency while protecting roofing materials from excessive temperature fluctuations.
Improving ventilation during roof replacement often provides long-term benefits without significantly increasing overall project costs. Since roofing materials have already been removed, this stage presents an ideal opportunity to upgrade outdated ventilation systems.
Common Installation Mistakes and How Professionals Avoid Them
Even premium roofing materials cannot perform properly if installation mistakes occur. Professional contractors follow strict installation procedures because seemingly minor errors may lead to leaks, reduced durability, and expensive repairs later.
One common mistake involves improper nail placement. Nails driven too high, too low, overdriven, or underdriven may fail to secure shingles correctly during strong winds.
Another frequent problem is incorrect shingle alignment. Crooked installation affects both appearance and water drainage, increasing the likelihood of moisture intrusion over time.
Some inexperienced installers use insufficient overlap between shingle courses. Proper overlap directs rainwater safely down the roof surface, while inadequate coverage increases the risk of leaks during heavy storms.
Reusing old flashing is another mistake occasionally seen during low-cost roof replacements. Even if existing flashing appears acceptable, replacing it during roof installation often provides better long-term protection and reduces future leak risks.
Professionals also avoid mixing incompatible roofing products from different manufacturers unless specifically approved. Complete roofing systems are designed to work together, and combining unrelated materials may affect warranty coverage.
Weather conditions influence installation quality as well. Installing shingles during heavy rain, icy conditions, or extremely strong winds creates unnecessary safety hazards and may compromise installation accuracy.
Quality roofing contractors prevent these problems by following manufacturer instructions, conducting continuous inspections, and assigning experienced supervisors to monitor project progress from start to finish.
Understanding Replacement Timelines and Weather Considerations
Every roof replacement project follows its own schedule depending on the size and complexity of the home. While many residential asphalt shingle roofs can be completed within one to three days, larger or more complicated projects naturally require additional time.
Several factors influence project duration. Roof size, slope, architectural complexity, weather conditions, crew size, and the extent of structural repairs all contribute to the overall timeline.
Unexpected rain may temporarily delay installation because exposed roof decking must remain dry before underlayment and shingles are installed. Professional contractors monitor weather forecasts closely and plan work schedules accordingly.
If rain occurs unexpectedly, protective tarps are quickly installed over exposed sections of the roof. These temporary coverings help prevent water from entering the home while work pauses until conditions improve.
Extreme heat can also affect installation. Asphalt shingles become more flexible under high temperatures, requiring careful handling to prevent scuffing or damage before they fully seal.
Cold weather presents different challenges. Some shingles require additional time to form proper adhesive bonds when temperatures remain low, although many modern products are specifically designed for installation across a wider temperature range.
Homeowners should maintain open communication with their contractor throughout the project. Minor schedule adjustments are common and often reflect the contractor’s commitment to completing the installation under safe and suitable weather conditions rather than rushing the job.
Cost Factors That Influence Asphalt Shingle Roof Replacement
Roof replacement costs vary considerably because every home presents unique requirements. Understanding the factors that influence pricing helps homeowners compare estimates more effectively and make informed investment decisions.
Roof size remains one of the largest cost considerations. Larger roofs require more shingles, underlayment, flashing, fasteners, labor, and disposal services than smaller homes.
Roof complexity also affects pricing. Multiple valleys, dormers, skylights, steep slopes, chimneys, and architectural details increase labor requirements because they require additional cutting, flashing, and precision installation.
Material selection has a significant impact on total project cost. Standard three-tab shingles generally cost less than architectural or luxury shingles, although premium products often provide longer service life and stronger warranty coverage.
Other factors that may influence replacement costs include local labor rates, permit requirements, disposal fees, ventilation upgrades, roof deck repairs, accessibility, and seasonal demand for roofing services.
While cost remains an important consideration, homeowners should also evaluate contractor experience, workmanship warranties, material quality, and long-term value. Selecting the lowest estimate without considering installation quality may result in higher repair expenses over the life of the roof.
At this stage, the new asphalt shingle roof has been fully installed and the primary construction work is complete. The final phase focuses on detailed inspections, cleanup, ongoing maintenance, warranty protection, and practical guidance that helps homeowners maximize the lifespan of their new roofing investment.
Final Inspection and Quality Assurance
Once the installation is complete, the project enters its final inspection stage. This step ensures every component has been installed correctly and that the roof meets both manufacturer specifications and local building requirements. A thorough inspection helps identify small issues before they develop into costly problems.
Professional roofing contractors typically inspect the entire roof from multiple angles. They verify that shingles are properly aligned, flashing is securely installed, ridge caps are sealed correctly, and ventilation components are functioning as intended. Every exposed area receives careful attention to confirm the finished roof provides complete weather protection.
Fasteners are also examined during quality assurance. Roofing nails should be properly seated without damaging the shingles, and all sealing strips should be positioned correctly to allow secure bonding over time. Even small installation errors can affect wind resistance if left uncorrected.
The inspection often includes checking roof penetrations such as plumbing vents, chimneys, skylights, and exhaust vents. These locations are among the most common sources of roof leaks, making proper flashing installation especially important.
Many contractors document the completed project with photographs. These images provide valuable records for warranty claims, insurance documentation, and future maintenance planning.
Before considering the project finished, the contractor usually performs a final walkthrough with the homeowner. This provides an opportunity to explain the completed work, answer questions, review warranty information, and discuss recommended maintenance practices.
Cleaning Up After Roof Replacement
A professional roof replacement includes much more than installing new shingles. Thorough cleanup is an essential part of the project because roofing work naturally creates nails, old shingles, packaging materials, and other construction debris.
Roofing crews begin by removing all remaining waste from the roof surface. Loose materials left behind can interfere with drainage, create unnecessary weight, or become hazards during strong winds.
Ground cleanup is equally important. Contractors carefully collect old shingles, damaged flashing, underlayment, wood scraps, and other debris from around the property. Flower beds, sidewalks, driveways, and landscaping are inspected to ensure they remain clean and undamaged.
One of the most important cleanup tasks involves removing roofing nails. Professional contractors use magnetic sweepers across the entire work area to collect loose nails that may have fallen during installation. This reduces the risk of tire damage and helps protect children and pets.
Gutters are also checked before the project is completed. During roof replacement, small amounts of granules or debris may enter the gutter system, and clearing them ensures proper drainage during future rainfall.
Homeowners should inspect the property together with the contractor before final payment. Walking around the house helps confirm that cleanup has been completed properly and that no concerns remain unresolved.
How to Maintain a New Asphalt Shingle Roof
A newly installed asphalt shingle roof requires relatively little maintenance, but regular care significantly extends its service life. Preventive maintenance also reduces the likelihood of unexpected repairs and helps preserve manufacturer warranty coverage.
Annual roof inspections are one of the most valuable maintenance practices. Professional inspections can identify minor problems before they develop into larger issues that require expensive repairs.
Homeowners should also perform visual inspections from the ground after major storms. Missing shingles, fallen tree branches, or visible debris should be addressed promptly to prevent additional damage.
Keeping gutters clean is another important maintenance task. Clogged gutters prevent proper drainage, allowing water to back up beneath roofing materials and increasing the risk of leaks.
Tree branches hanging over the roof should be trimmed regularly. Branches rubbing against shingles can remove protective granules, while falling limbs may cause sudden impact damage during storms.
Moss and algae should be removed when necessary using roofing-safe cleaning methods. Harsh pressure washing is generally not recommended because it may damage the protective granules on asphalt shingles.
The following maintenance practices help maximize roof performance:
- Schedule professional roof inspections every year.
- Clean gutters and downspouts regularly.
- Remove leaves and debris from roof surfaces.
- Trim overhanging tree branches.
- Check attic ventilation periodically.
- Address small repairs before they become major problems.
Consistent maintenance not only protects the roof but also helps preserve the condition of insulation, attic spaces, ceilings, and structural framing throughout the home.
Expected Lifespan and Factors That Affect Durability
The lifespan of an asphalt shingle roof depends on much more than the quality of the shingles themselves. Installation quality, climate conditions, maintenance, ventilation, and environmental exposure all influence how long the roof will continue performing effectively.
Standard three-tab shingles typically provide approximately 20 years of service under normal conditions. Architectural shingles often last between 25 and 30 years, while premium luxury shingles may perform well for even longer when properly maintained.
Regional climate plays a significant role in roof longevity. Homes exposed to frequent hail, hurricanes, heavy snowfall, intense sunlight, or large temperature fluctuations generally experience faster material aging than properties located in milder climates.
Proper attic ventilation contributes directly to roof durability. Excessive attic heat accelerates asphalt deterioration, while trapped moisture can damage roof decking and shorten the lifespan of roofing materials.
Routine maintenance also has a measurable impact. Homeowners who promptly repair minor damage, keep gutters clean, and schedule regular inspections often enjoy longer roof service than those who neglect preventive care.
Installation quality remains one of the most influential factors. Even premium roofing products cannot achieve their expected lifespan if they are installed incorrectly or without following manufacturer guidelines.
Warranty Coverage and What Homeowners Should Know
Roof warranties provide valuable protection, but homeowners should understand exactly what is covered before relying on warranty benefits. Different warranties protect different aspects of the roofing system, and coverage varies between manufacturers and contractors.
Manufacturer warranties generally cover defects in roofing materials. If shingles fail because of manufacturing issues rather than improper installation or external damage, replacement materials may be covered according to the warranty terms.
Workmanship warranties are provided by the roofing contractor. These warranties protect homeowners against installation errors that may lead to leaks or premature roof failure after the project is completed.
Some roofing manufacturers offer enhanced warranty programs when certified contractors install complete roofing systems using approved components. These expanded warranties may include longer coverage periods and additional protection compared to standard material warranties.
Homeowners should carefully review all warranty documentation after installation. Understanding maintenance requirements, claim procedures, and coverage limitations helps avoid misunderstandings if warranty service becomes necessary in the future.
Certain actions may affect warranty validity. Examples include unauthorized roof modifications, improper repairs by unqualified individuals, inadequate maintenance, or failure to address known damage within a reasonable timeframe.
Keeping copies of contracts, inspection reports, photographs, receipts, and warranty certificates provides valuable documentation throughout the life of the roof.
Frequently Asked Questions About Asphalt Shingle Roof Replacement
Many homeowners have similar questions before investing in a roof replacement. Understanding these common concerns helps make the decision process easier and reduces uncertainty before construction begins.
Can a new roof be installed over old shingles?
While some building codes allow limited overlay installations, complete removal of the existing roof is generally recommended. Removing old materials allows contractors to inspect the roof deck, repair hidden damage, and install a stronger roofing system.
How long will roof replacement disrupt daily life?
Most residential projects are completed within one to three days, although larger homes or unexpected structural repairs may require additional time. Contractors work efficiently to minimize inconvenience while maintaining installation quality.
Is roof replacement possible during winter?
Yes, experienced contractors can install asphalt shingles during colder months when weather conditions are suitable. However, extremely cold temperatures, snow, or ice may require schedule adjustments to ensure proper installation.
Will replacing the roof improve energy efficiency?
A properly installed roof combined with adequate ventilation and insulation can help regulate attic temperatures. Improved thermal performance may reduce heating and cooling demands throughout the year.
Should gutters be replaced at the same time?
Not every project requires new gutters, but replacement is often worth considering if the existing system is old, damaged, or unable to drain water effectively. Coordinating both projects may reduce labor costs and improve overall roof performance.
How soon can homeowners walk on a new roof?
Walking on a newly installed roof should be avoided unless absolutely necessary. Unnecessary foot traffic increases the risk of damaging shingles and may also create safety hazards.
Conclusion
Replacing an asphalt shingle roof is one of the most important investments homeowners can make to protect their property. Although the process involves multiple stages, each step contributes to building a roofing system capable of withstanding years of changing weather conditions while safeguarding the home’s structure.
A successful roof replacement begins with recognizing the warning signs of deterioration and selecting high-quality materials that match both the home’s design and local climate. Proper preparation, experienced installation, thorough inspections, and attention to ventilation all work together to maximize the roof’s durability and long-term performance.
The work does not end when the final shingle is installed. Regular maintenance, timely inspections, clean gutters, and prompt repairs help preserve the condition of the roof and reduce the likelihood of unexpected problems. These simple practices often extend the lifespan of the roofing system while protecting the homeowner’s investment.
Choosing a reputable roofing contractor is just as important as selecting quality materials. Skilled professionals follow manufacturer specifications, use proper installation techniques, and provide workmanship that supports long-term reliability. Combined with strong warranty coverage and ongoing maintenance, professional installation gives homeowners confidence that their new roof will continue protecting their home for many years.
Understanding the complete asphalt shingle roof replacement process allows homeowners to make informed decisions from the initial inspection through the final cleanup and beyond. With the right planning, materials, and professional expertise, a new asphalt shingle roof delivers dependable protection, improved curb appeal, greater energy efficiency, and lasting value that benefits the home well into the future.